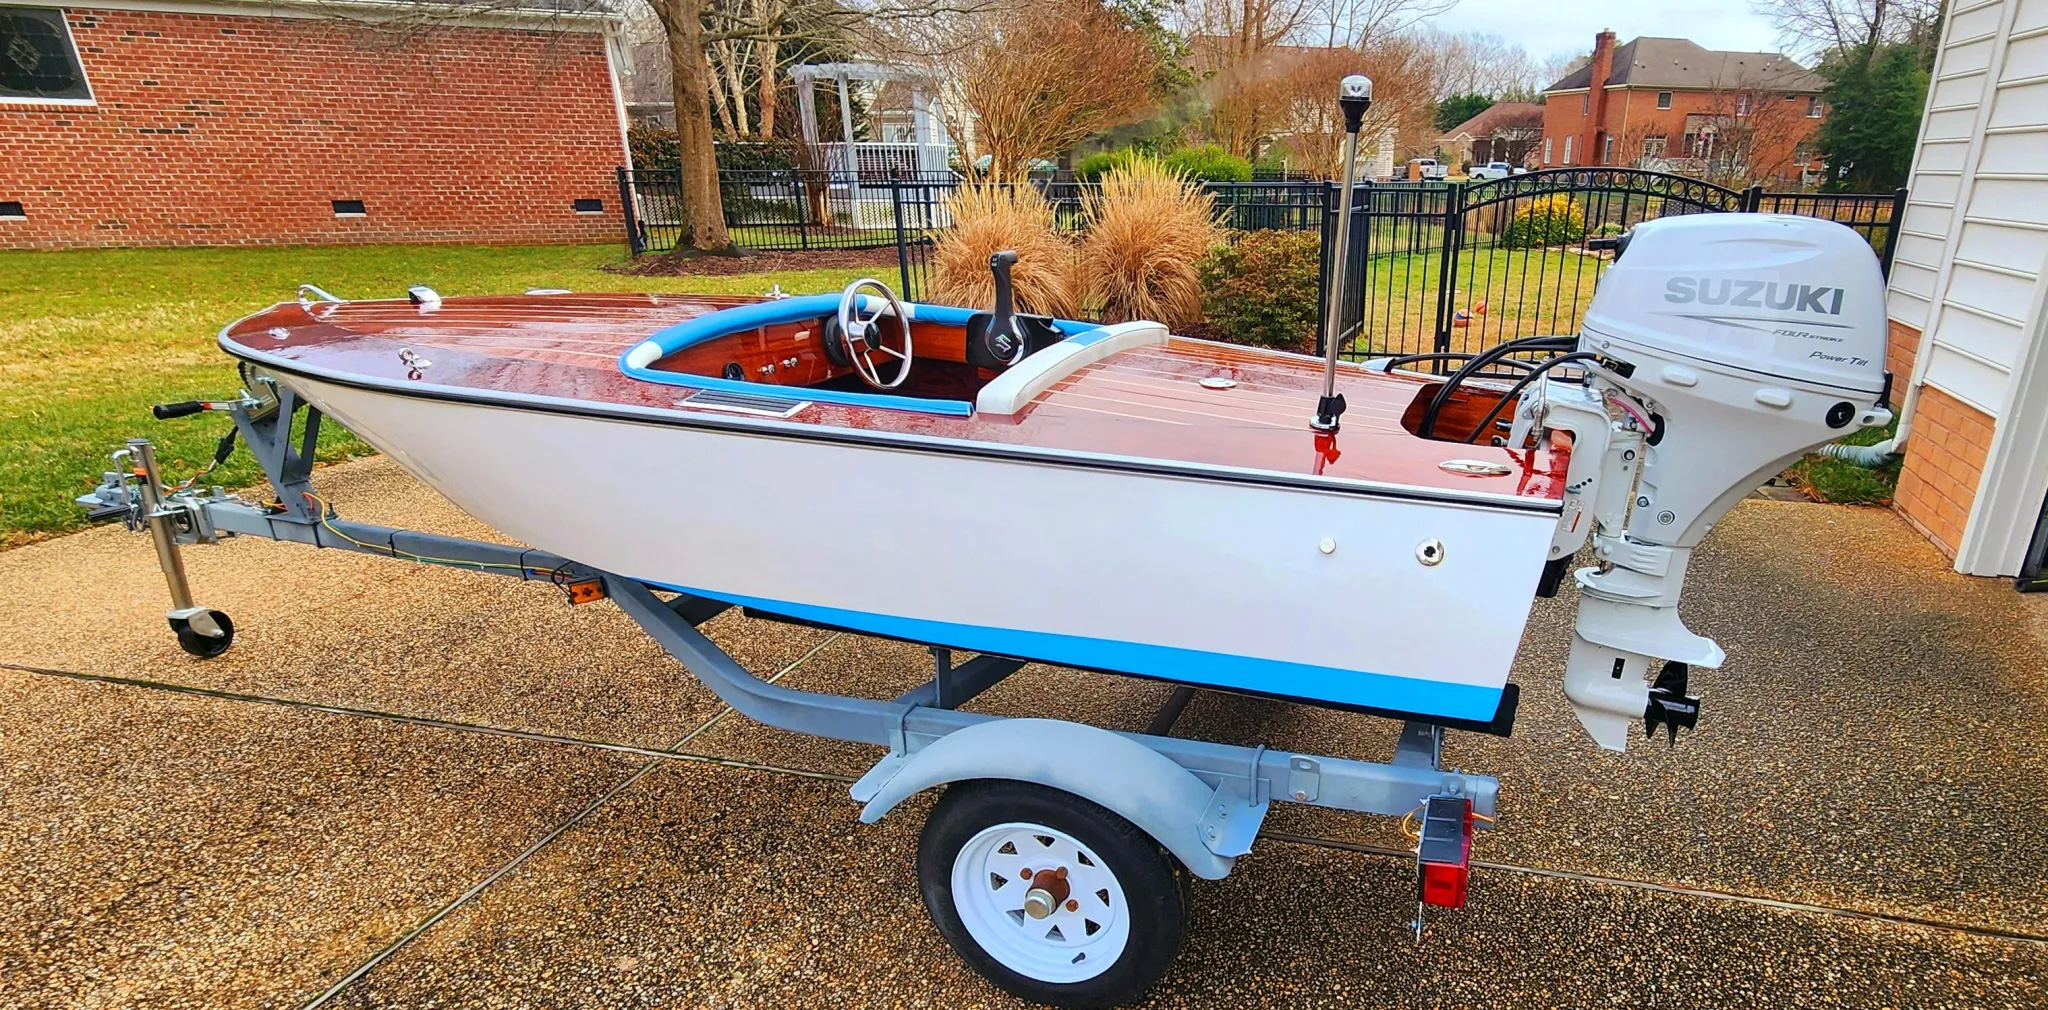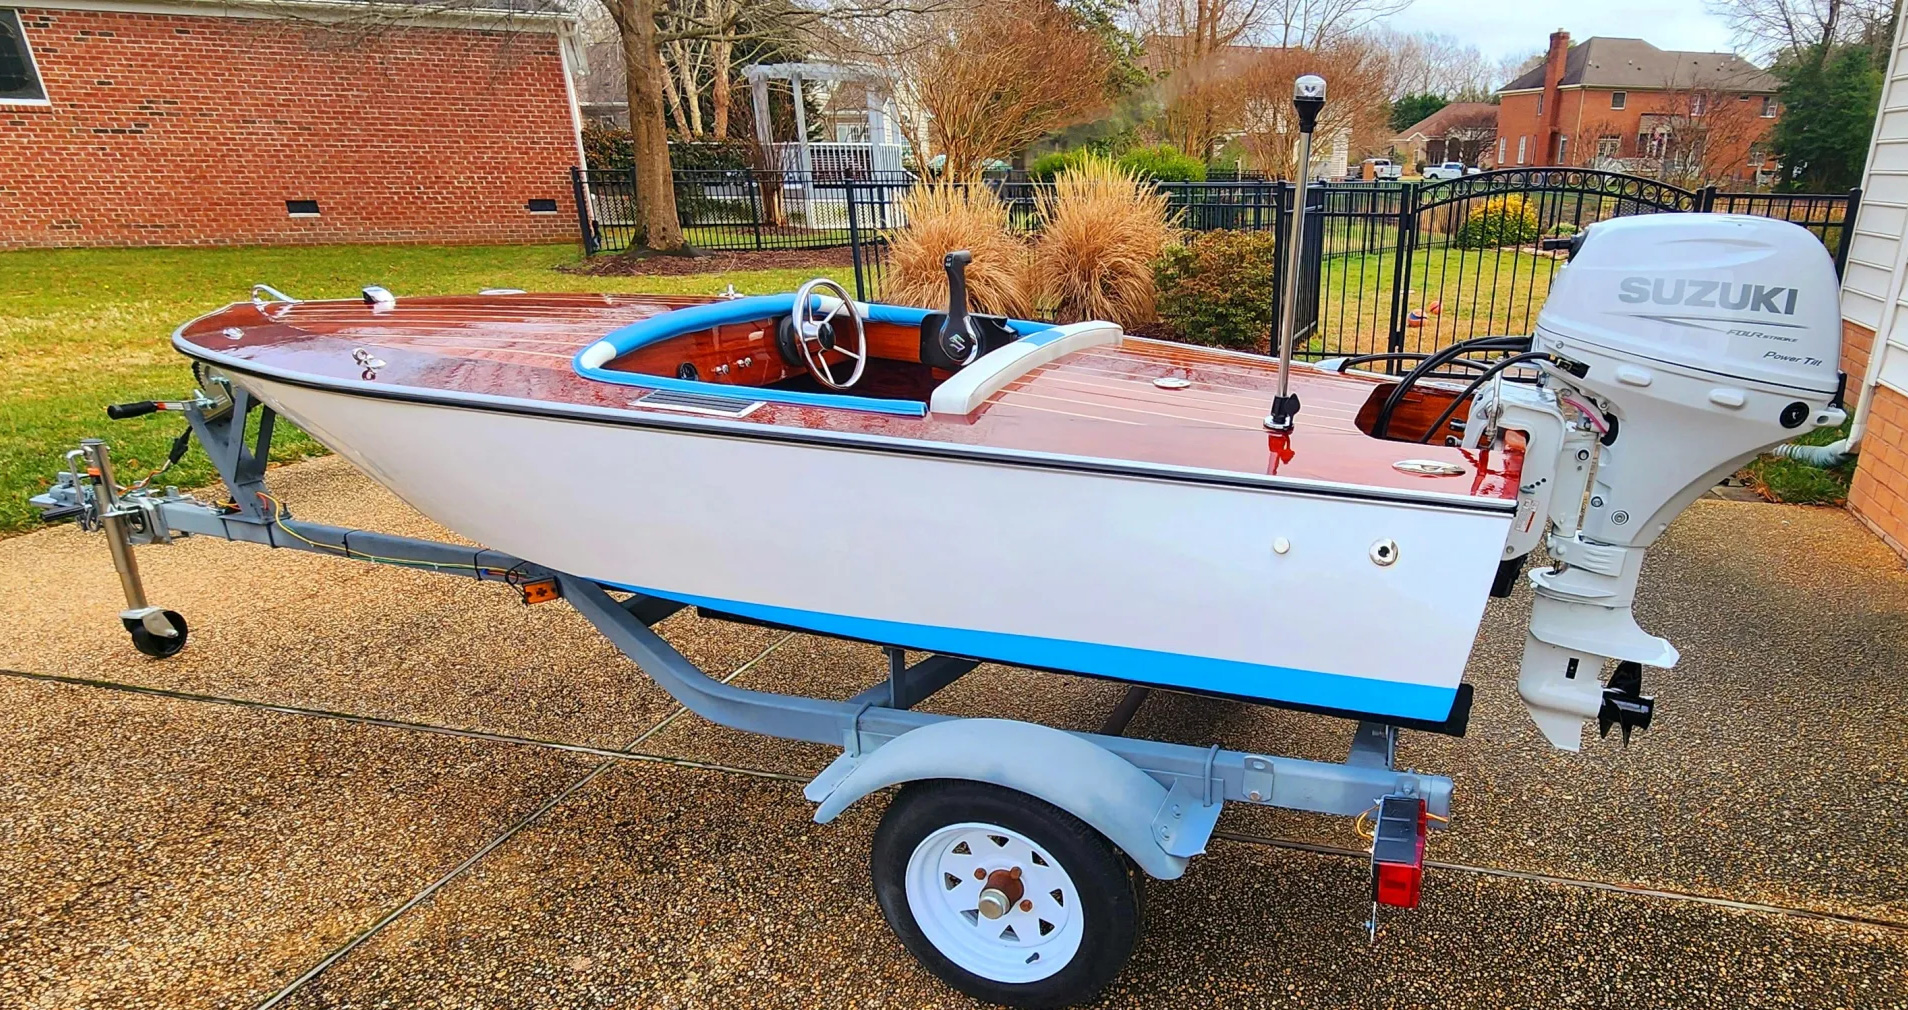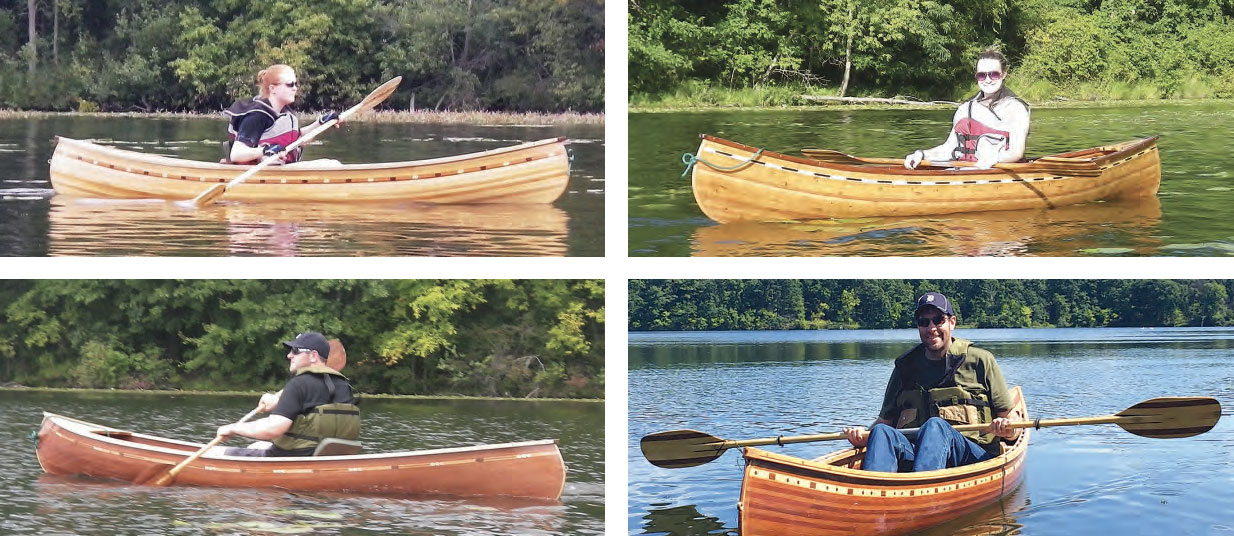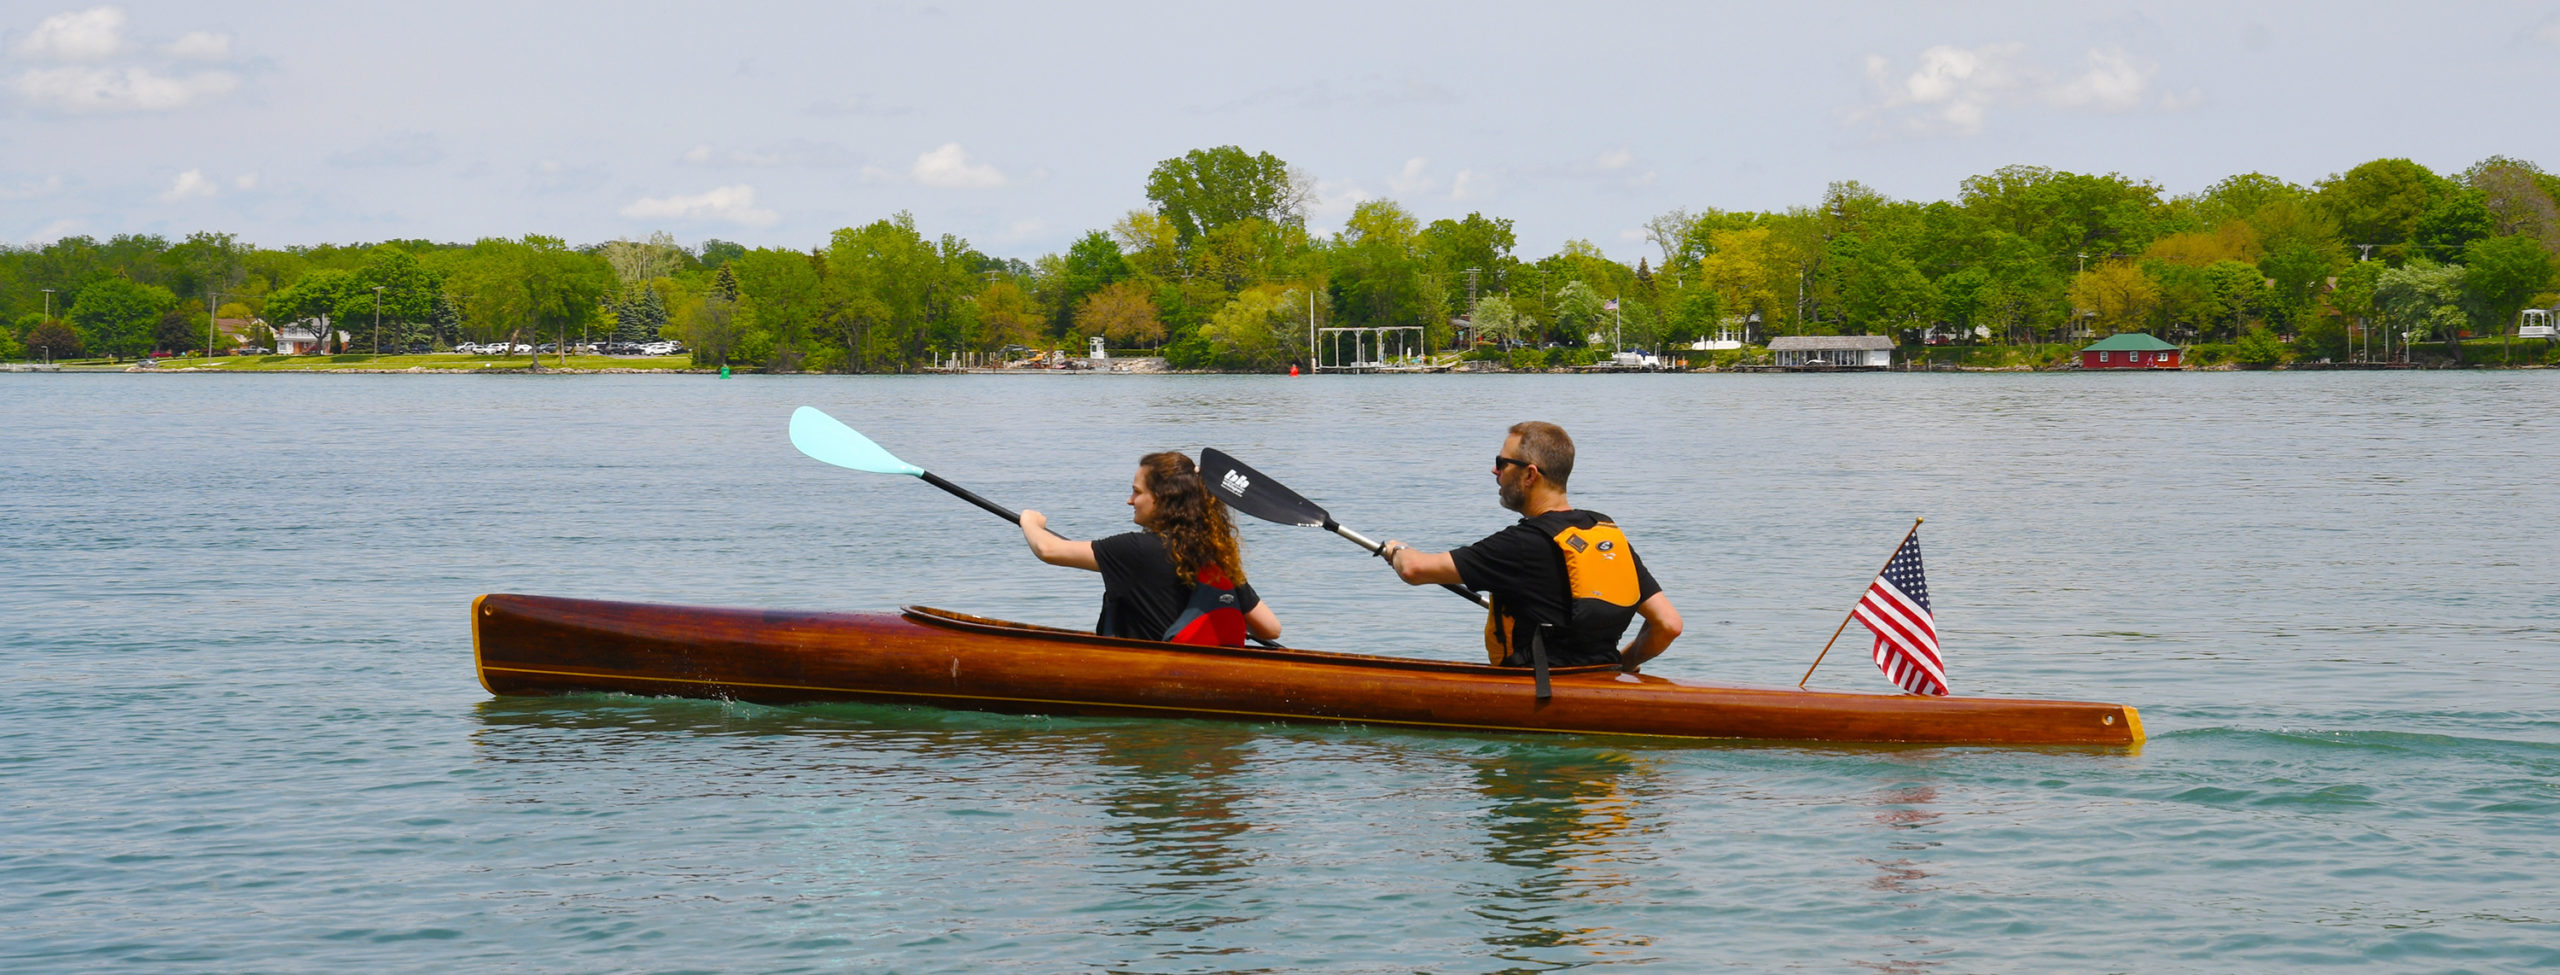
The microBootlegger is an elegant, cedar-strip boat that is a joy to paddle and draws compliments every time I take it out. Designed by Nick Schade of Guillemot Kayaks for use on small lakes or sheltered bays, it was inspired by a 1924 mahogany speedboat named BABY BOOTLEGGER as well as by Henry Rushton’s double-paddle canoes. Nick calls it a “roomy, efficient tandem kayak,” but I usually propel it with a single-bladed canoe paddle. Most people who ask me about the boat are equally confused as to whether it’s a kayak or canoe, and I use both terms for it.
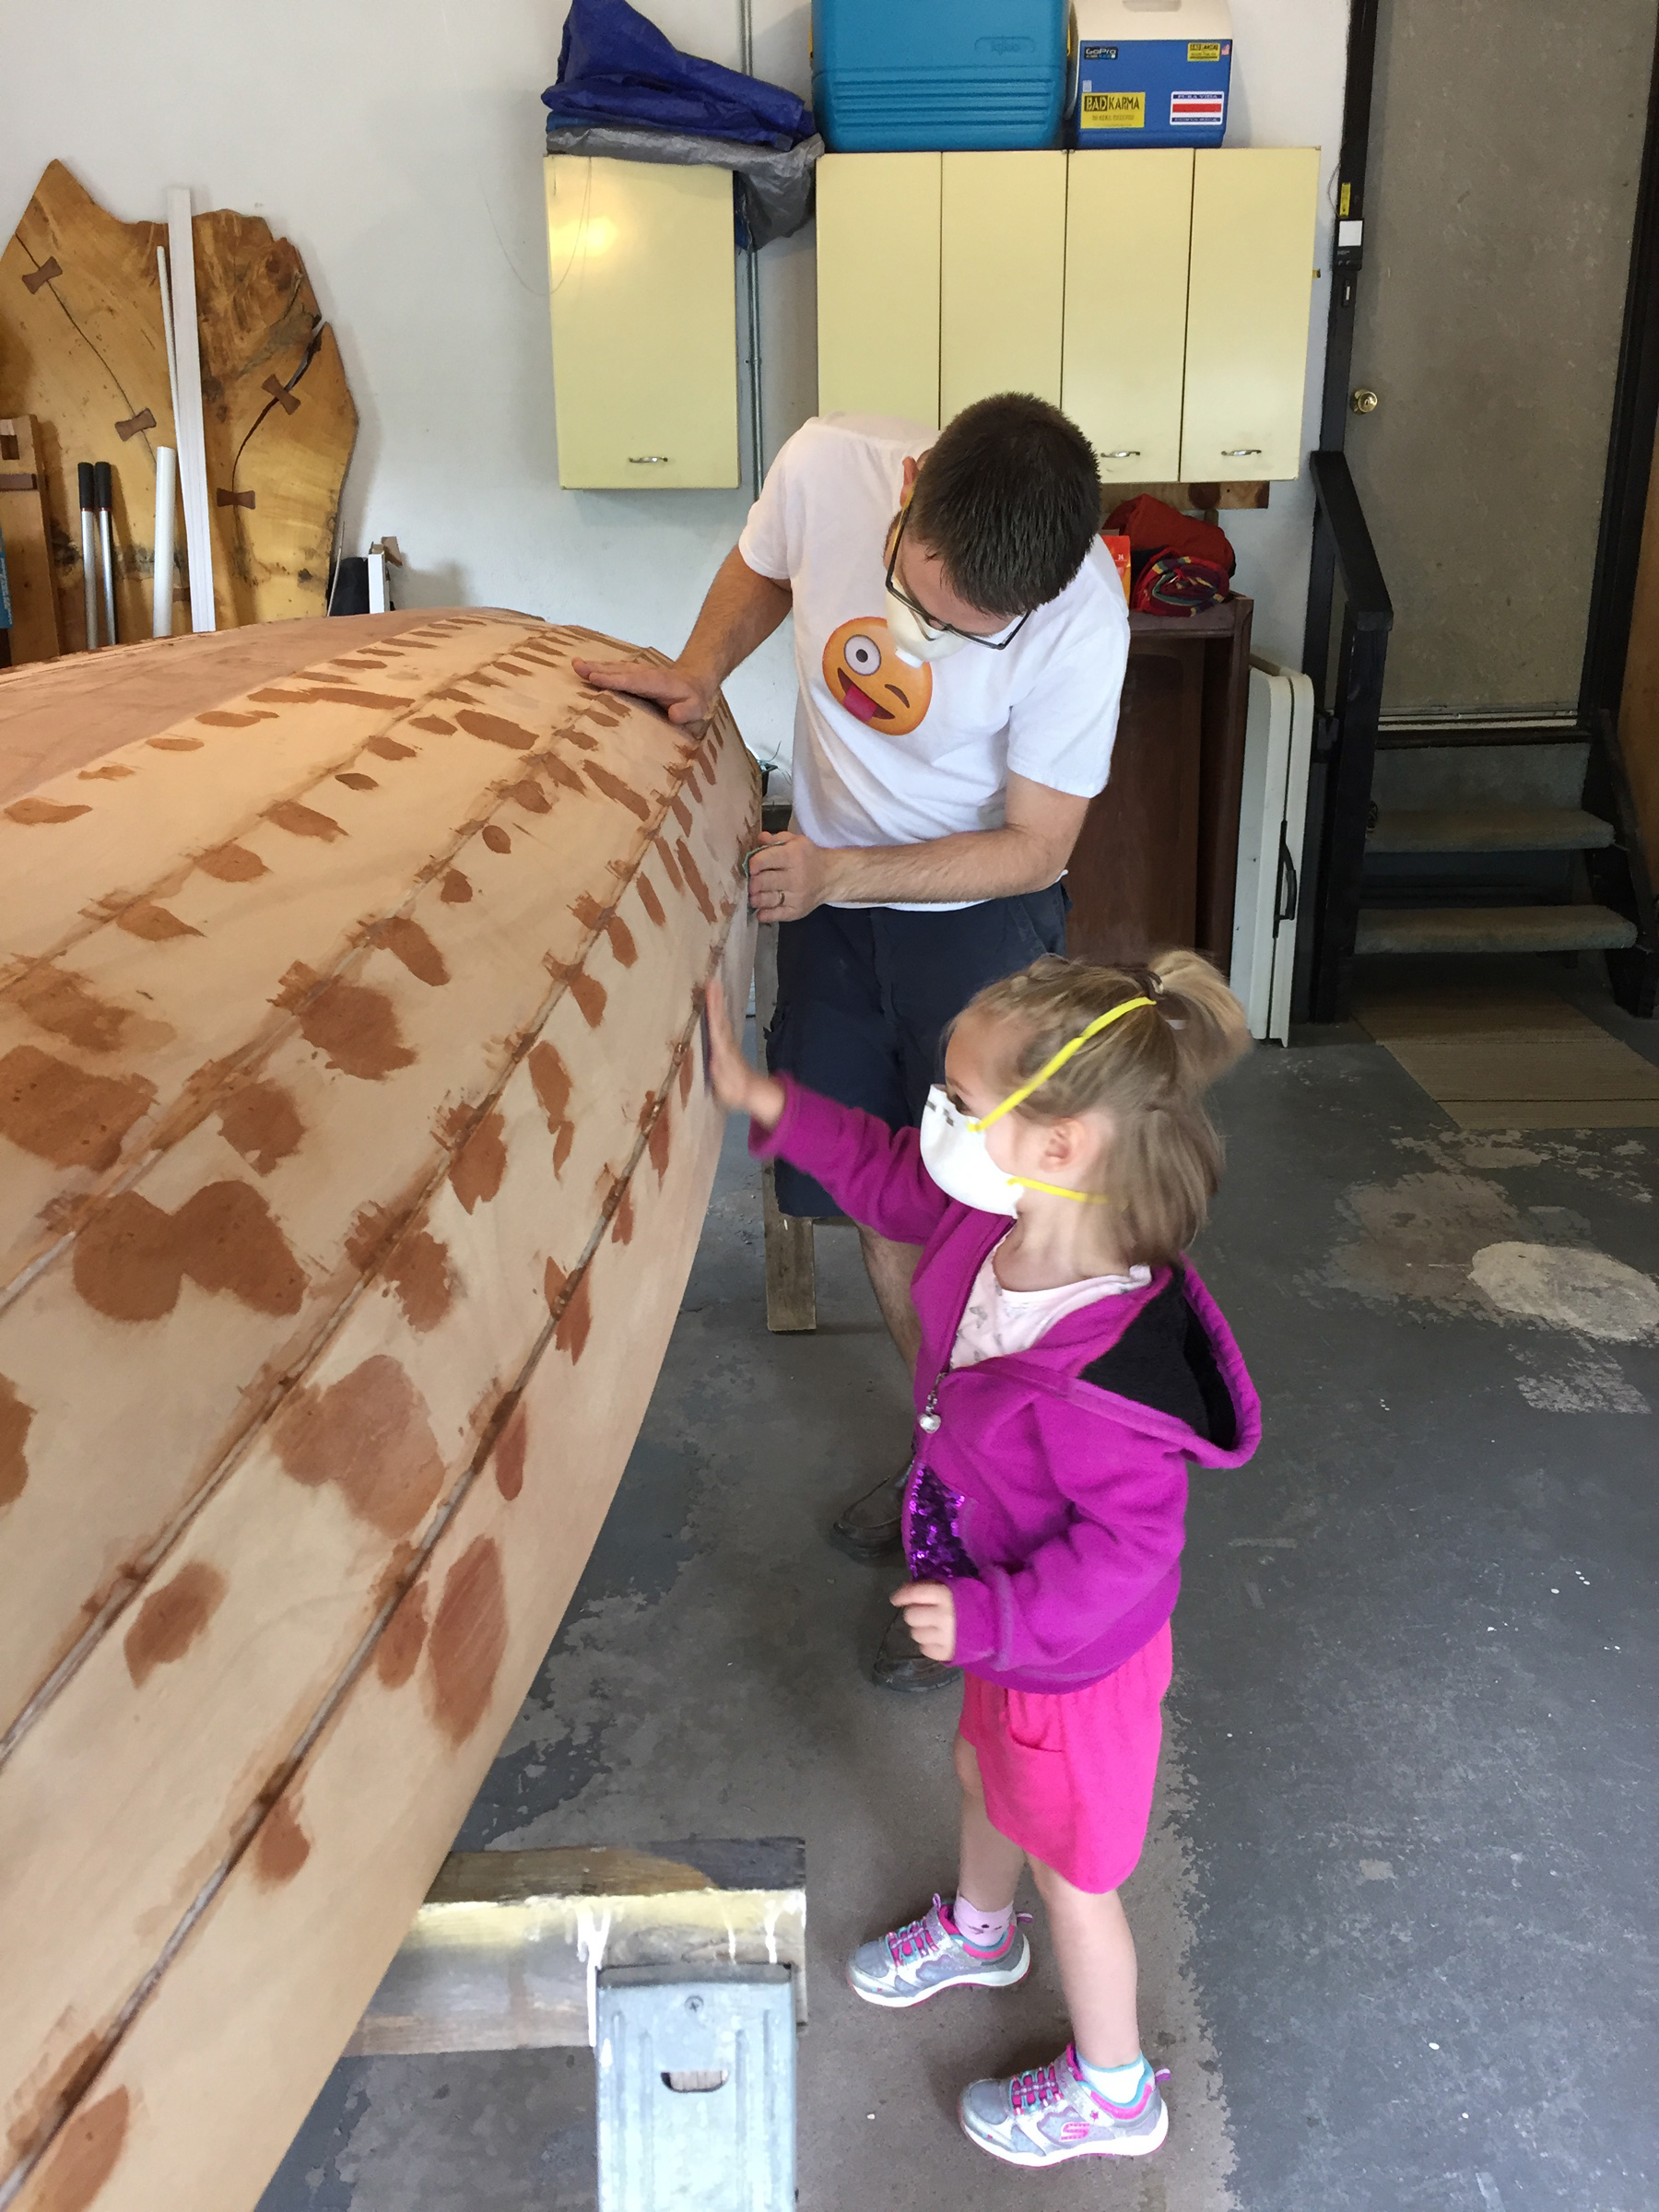
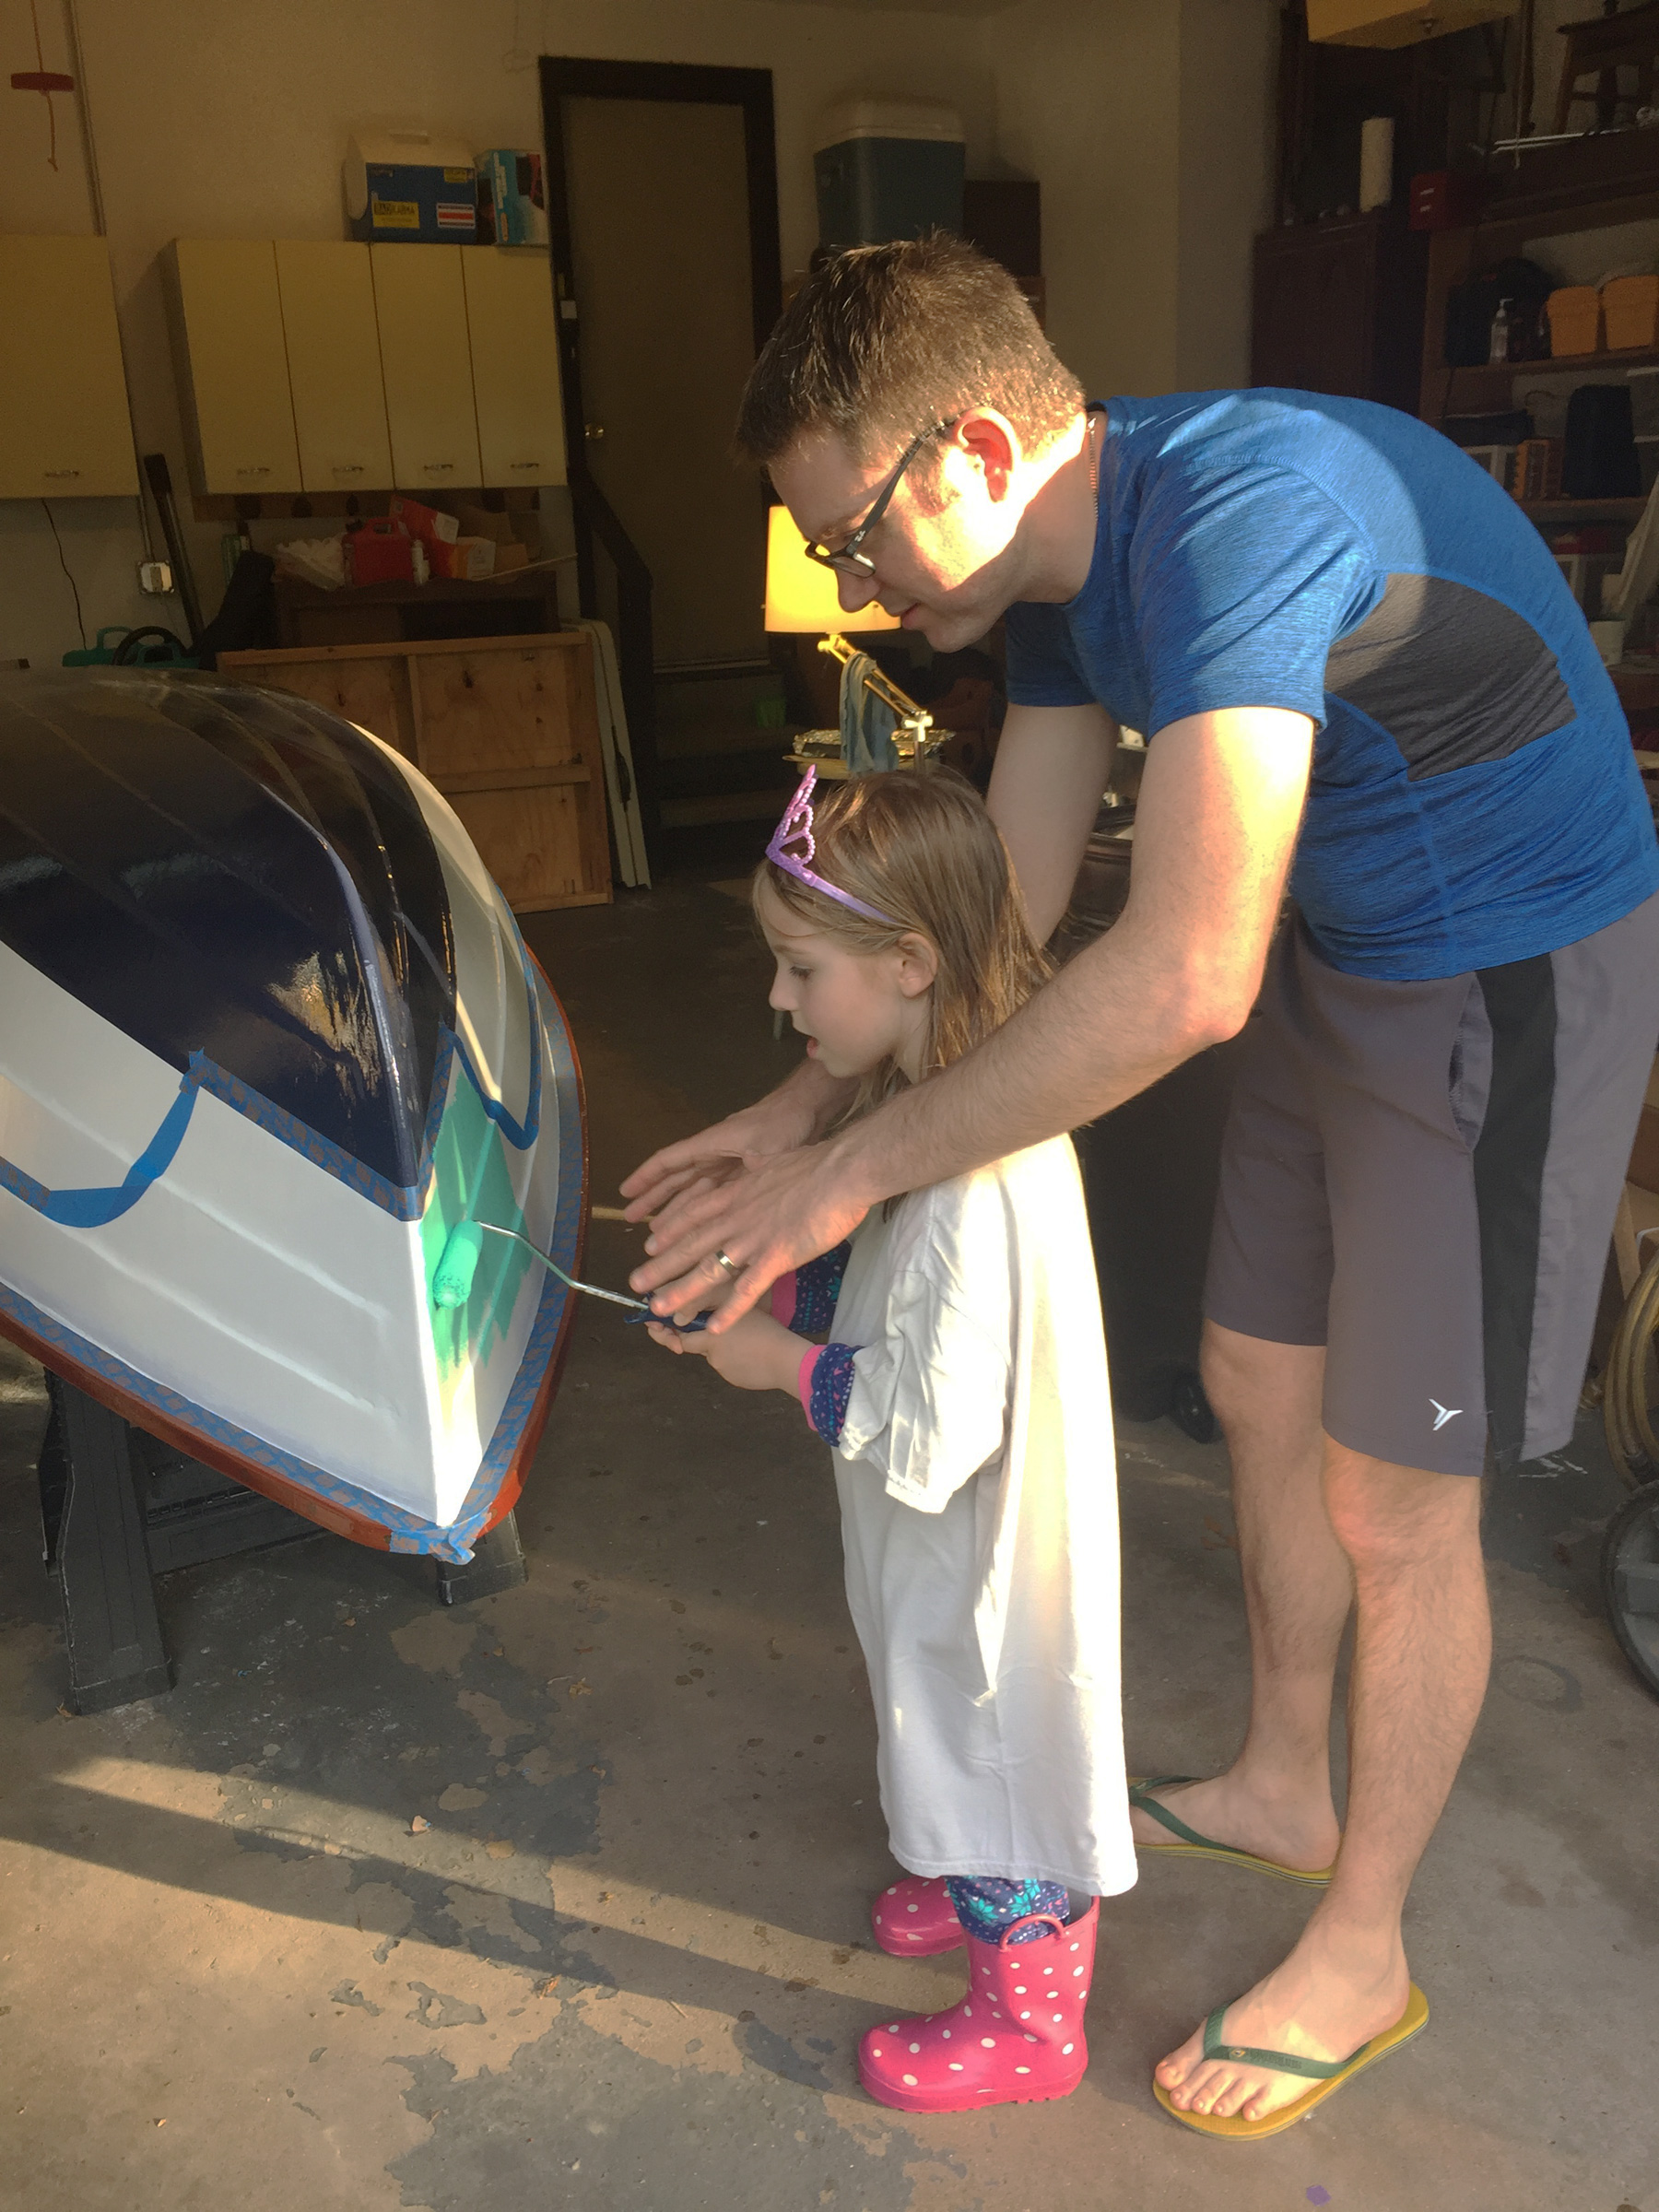
Building the microBootlegger was my initial foray into boatbuilding, and the choice of this design was as much due to its stunning classic styling and aesthetics as to the fact that it can accommodate a second paddler and/or a small child or two to share the paddling experience.

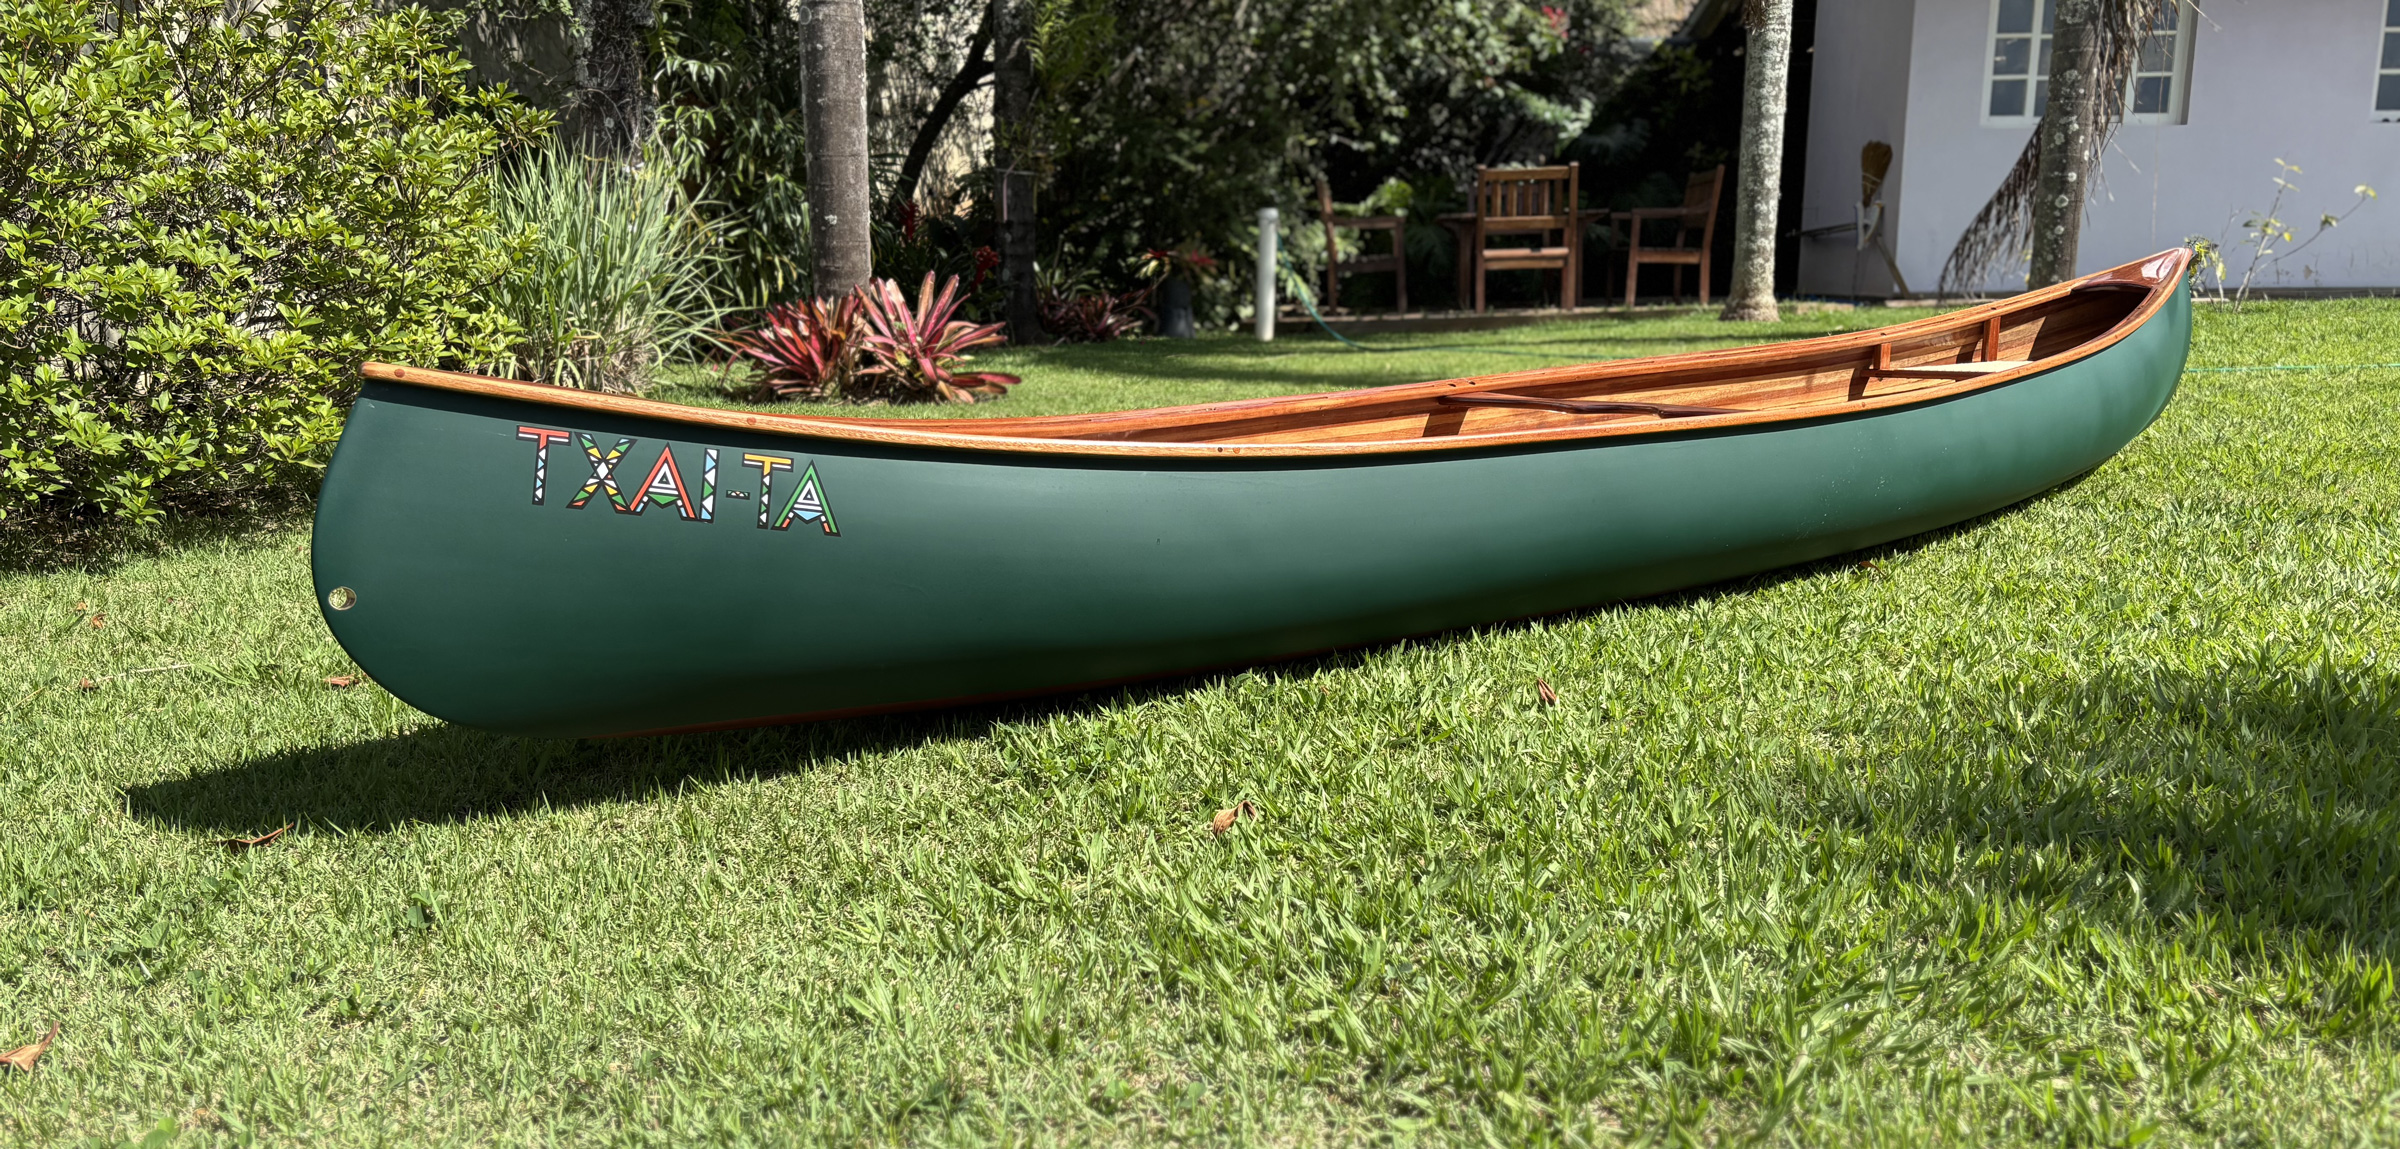
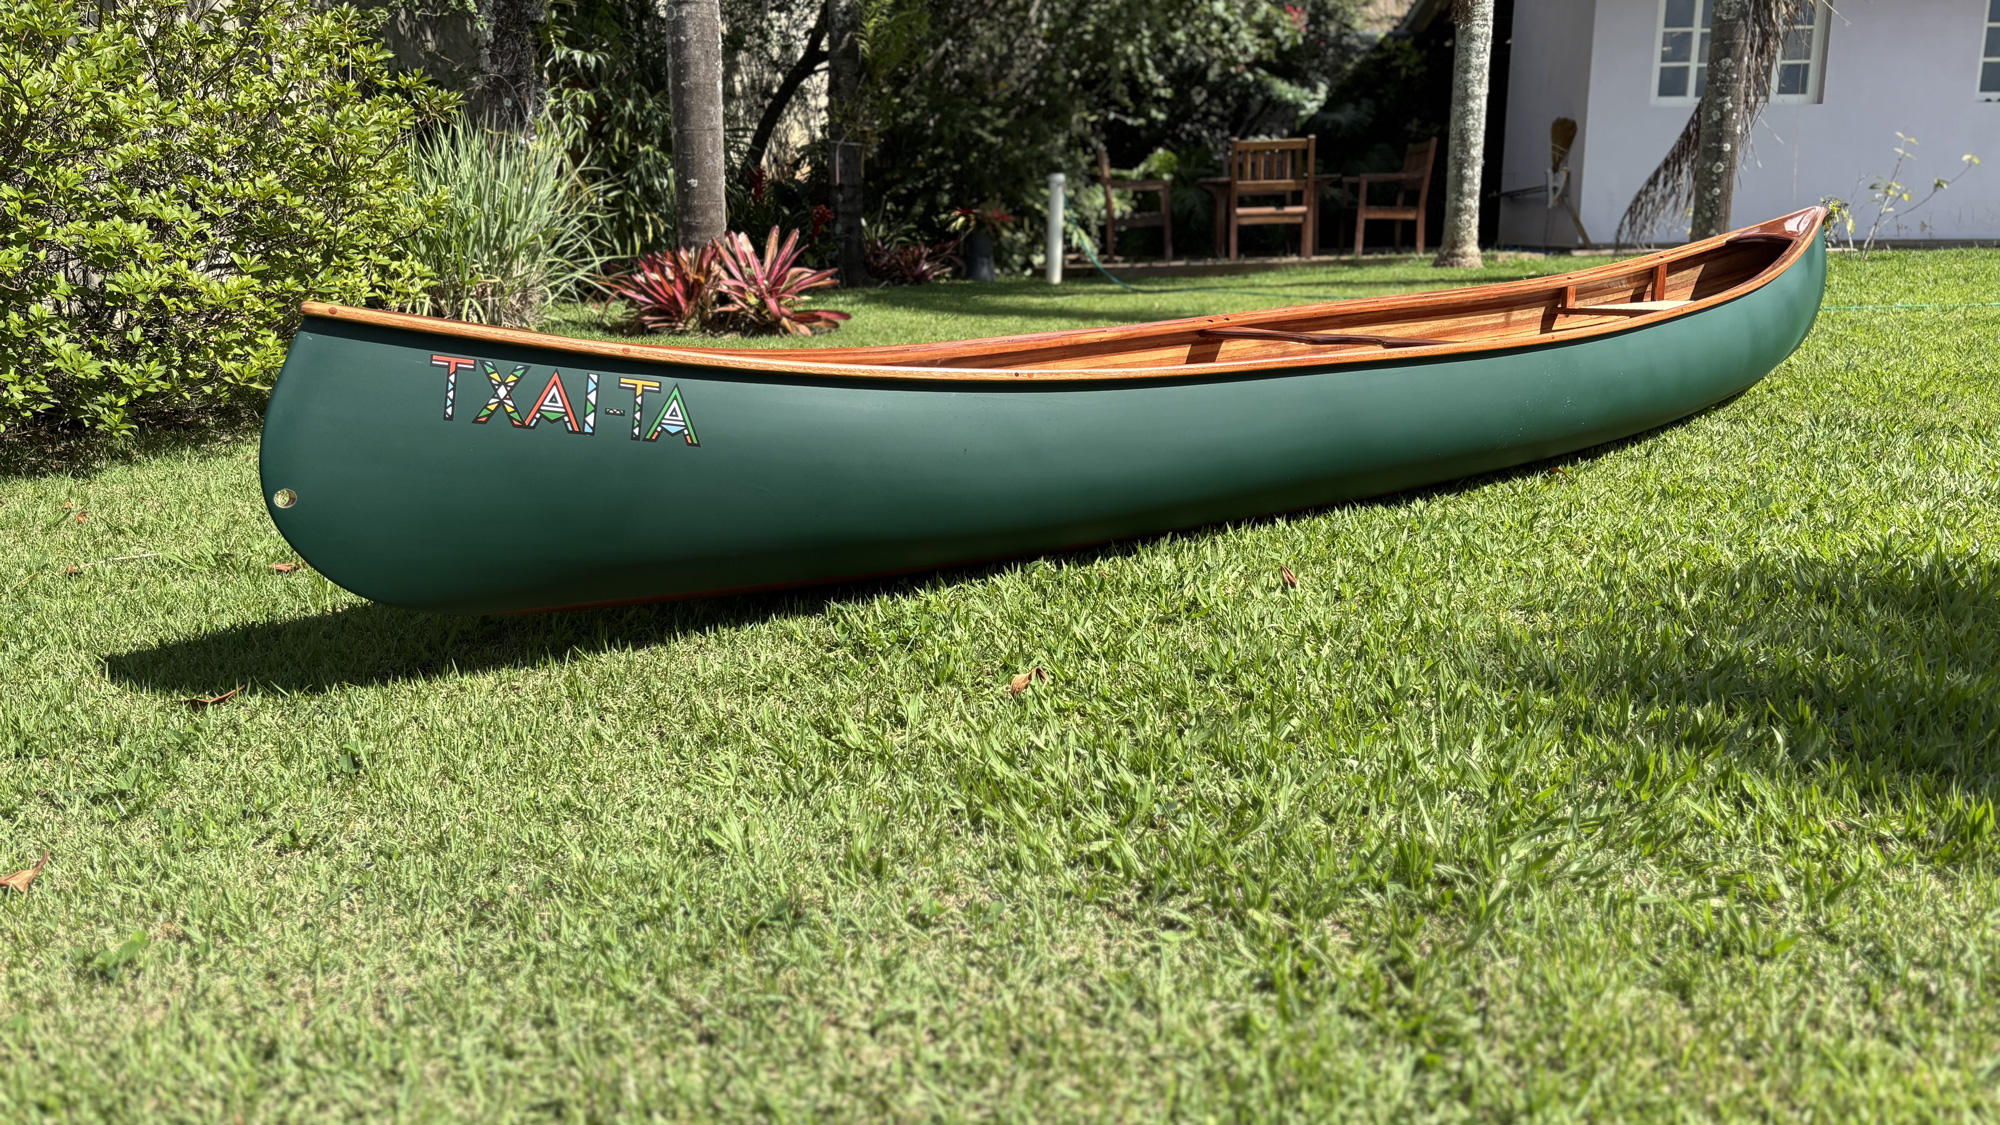
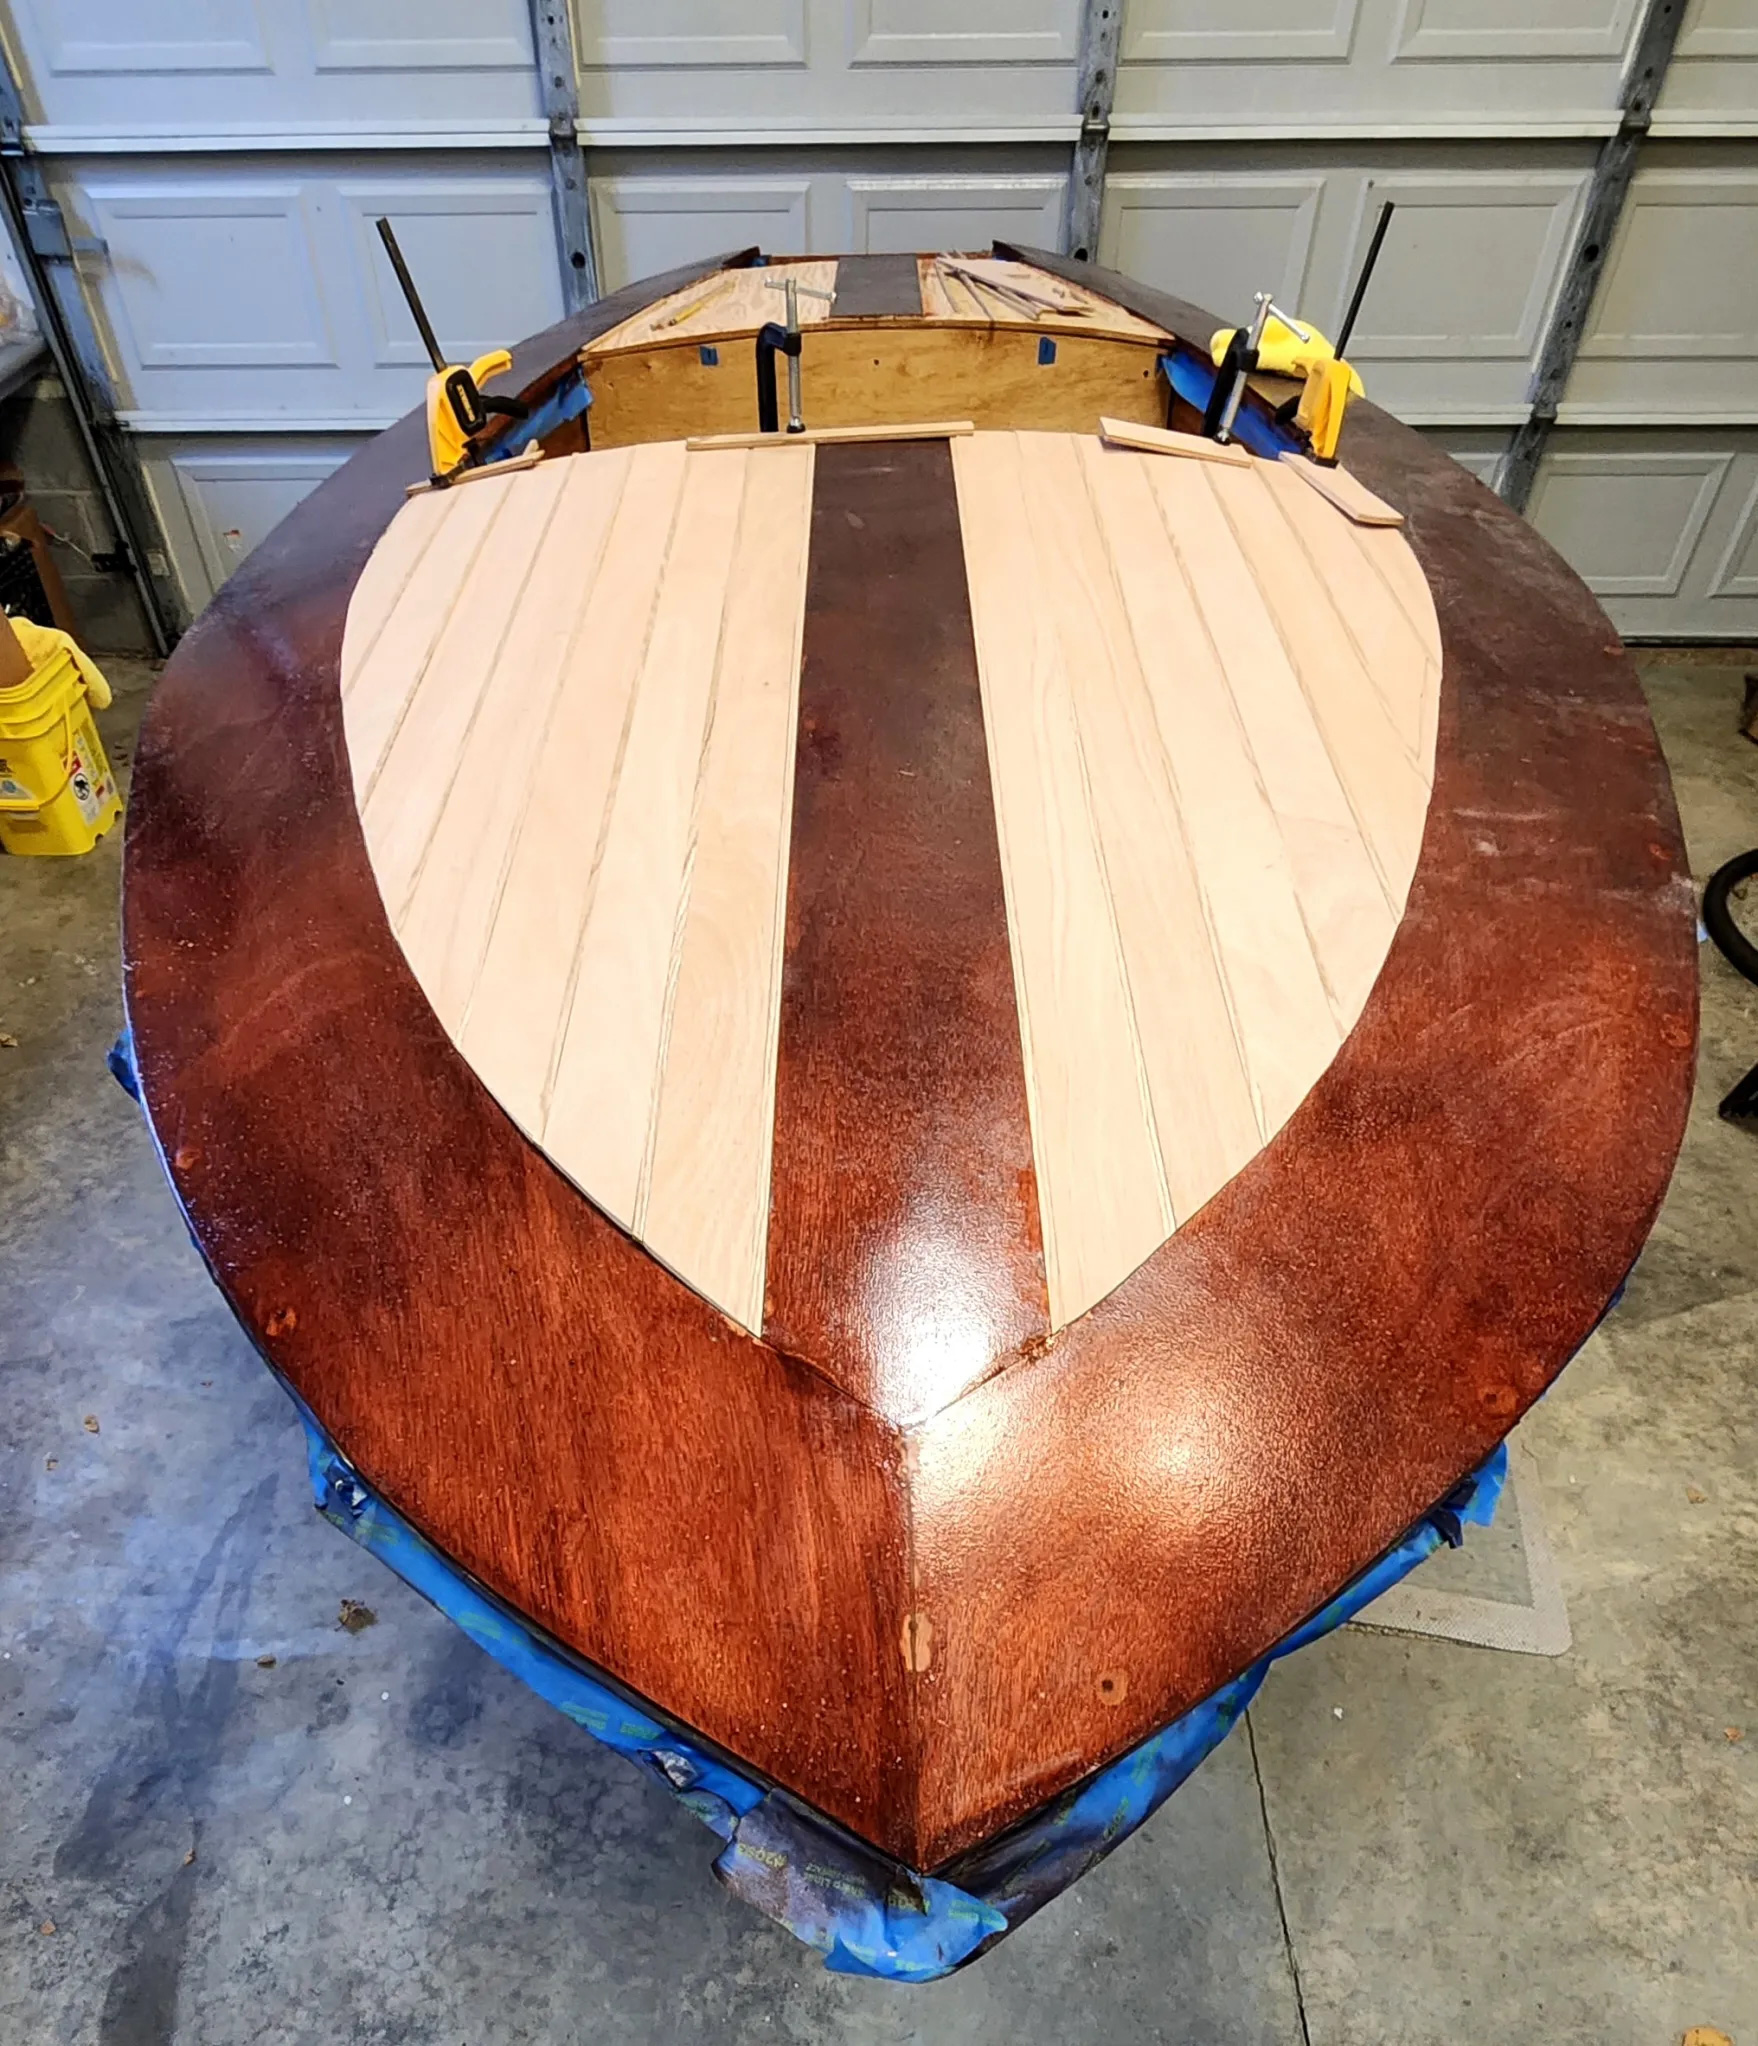
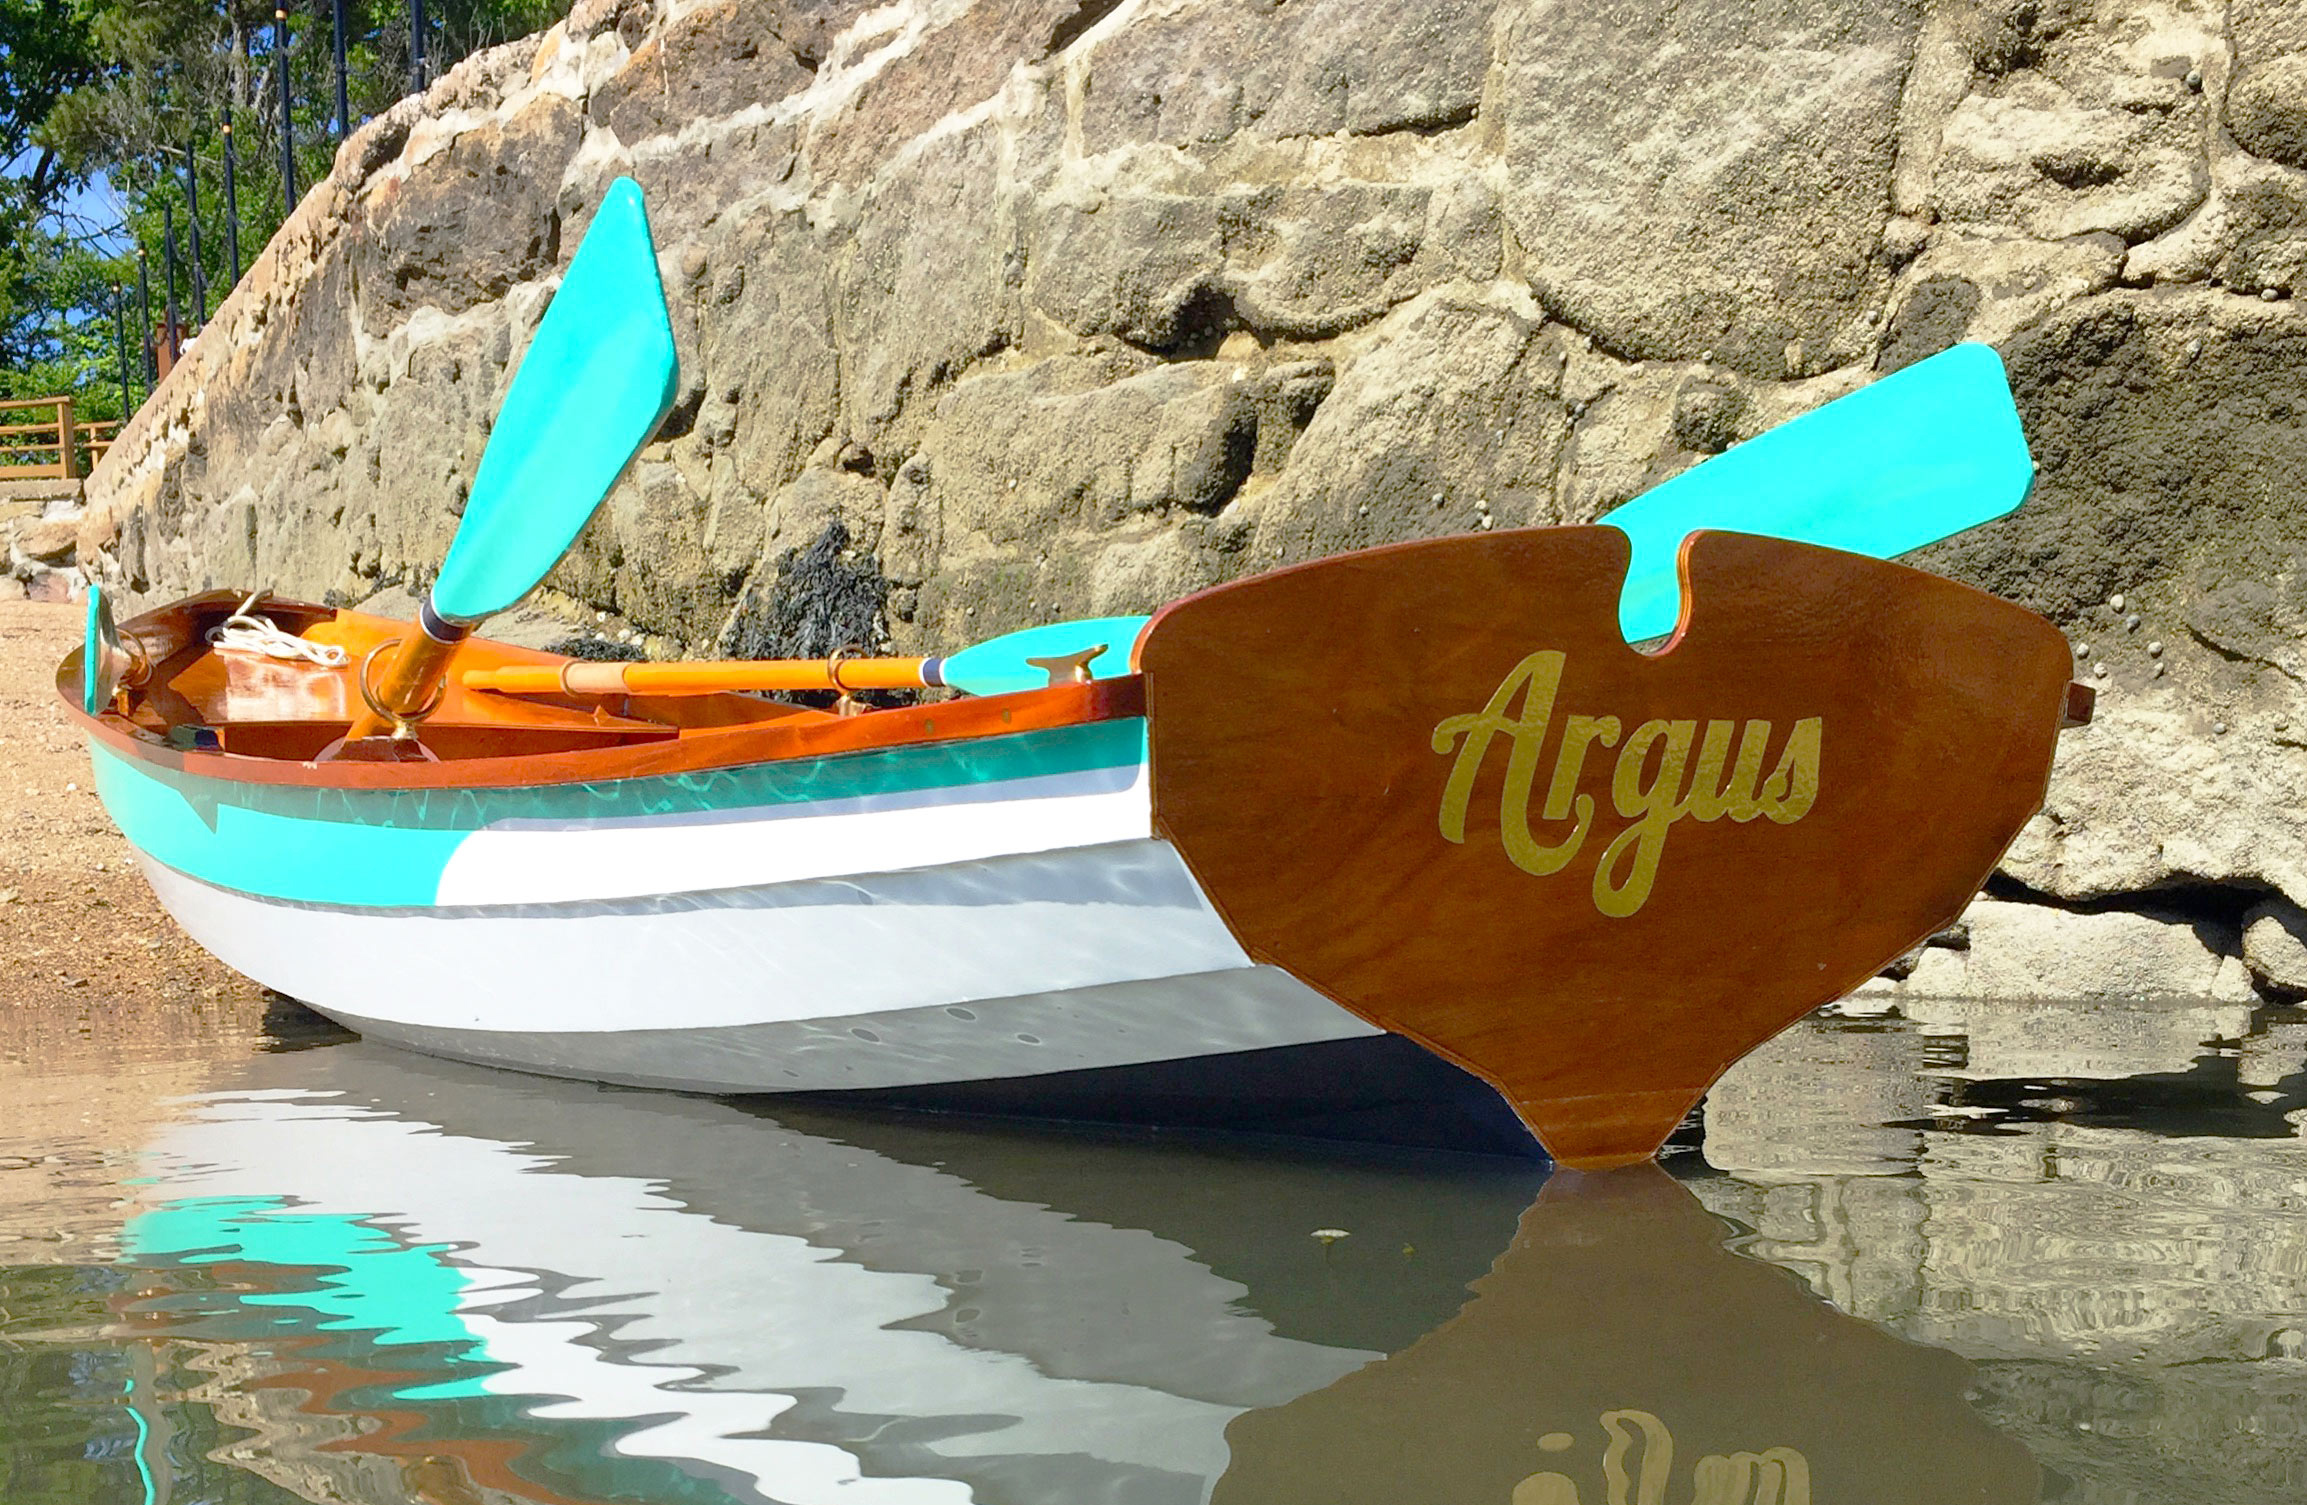
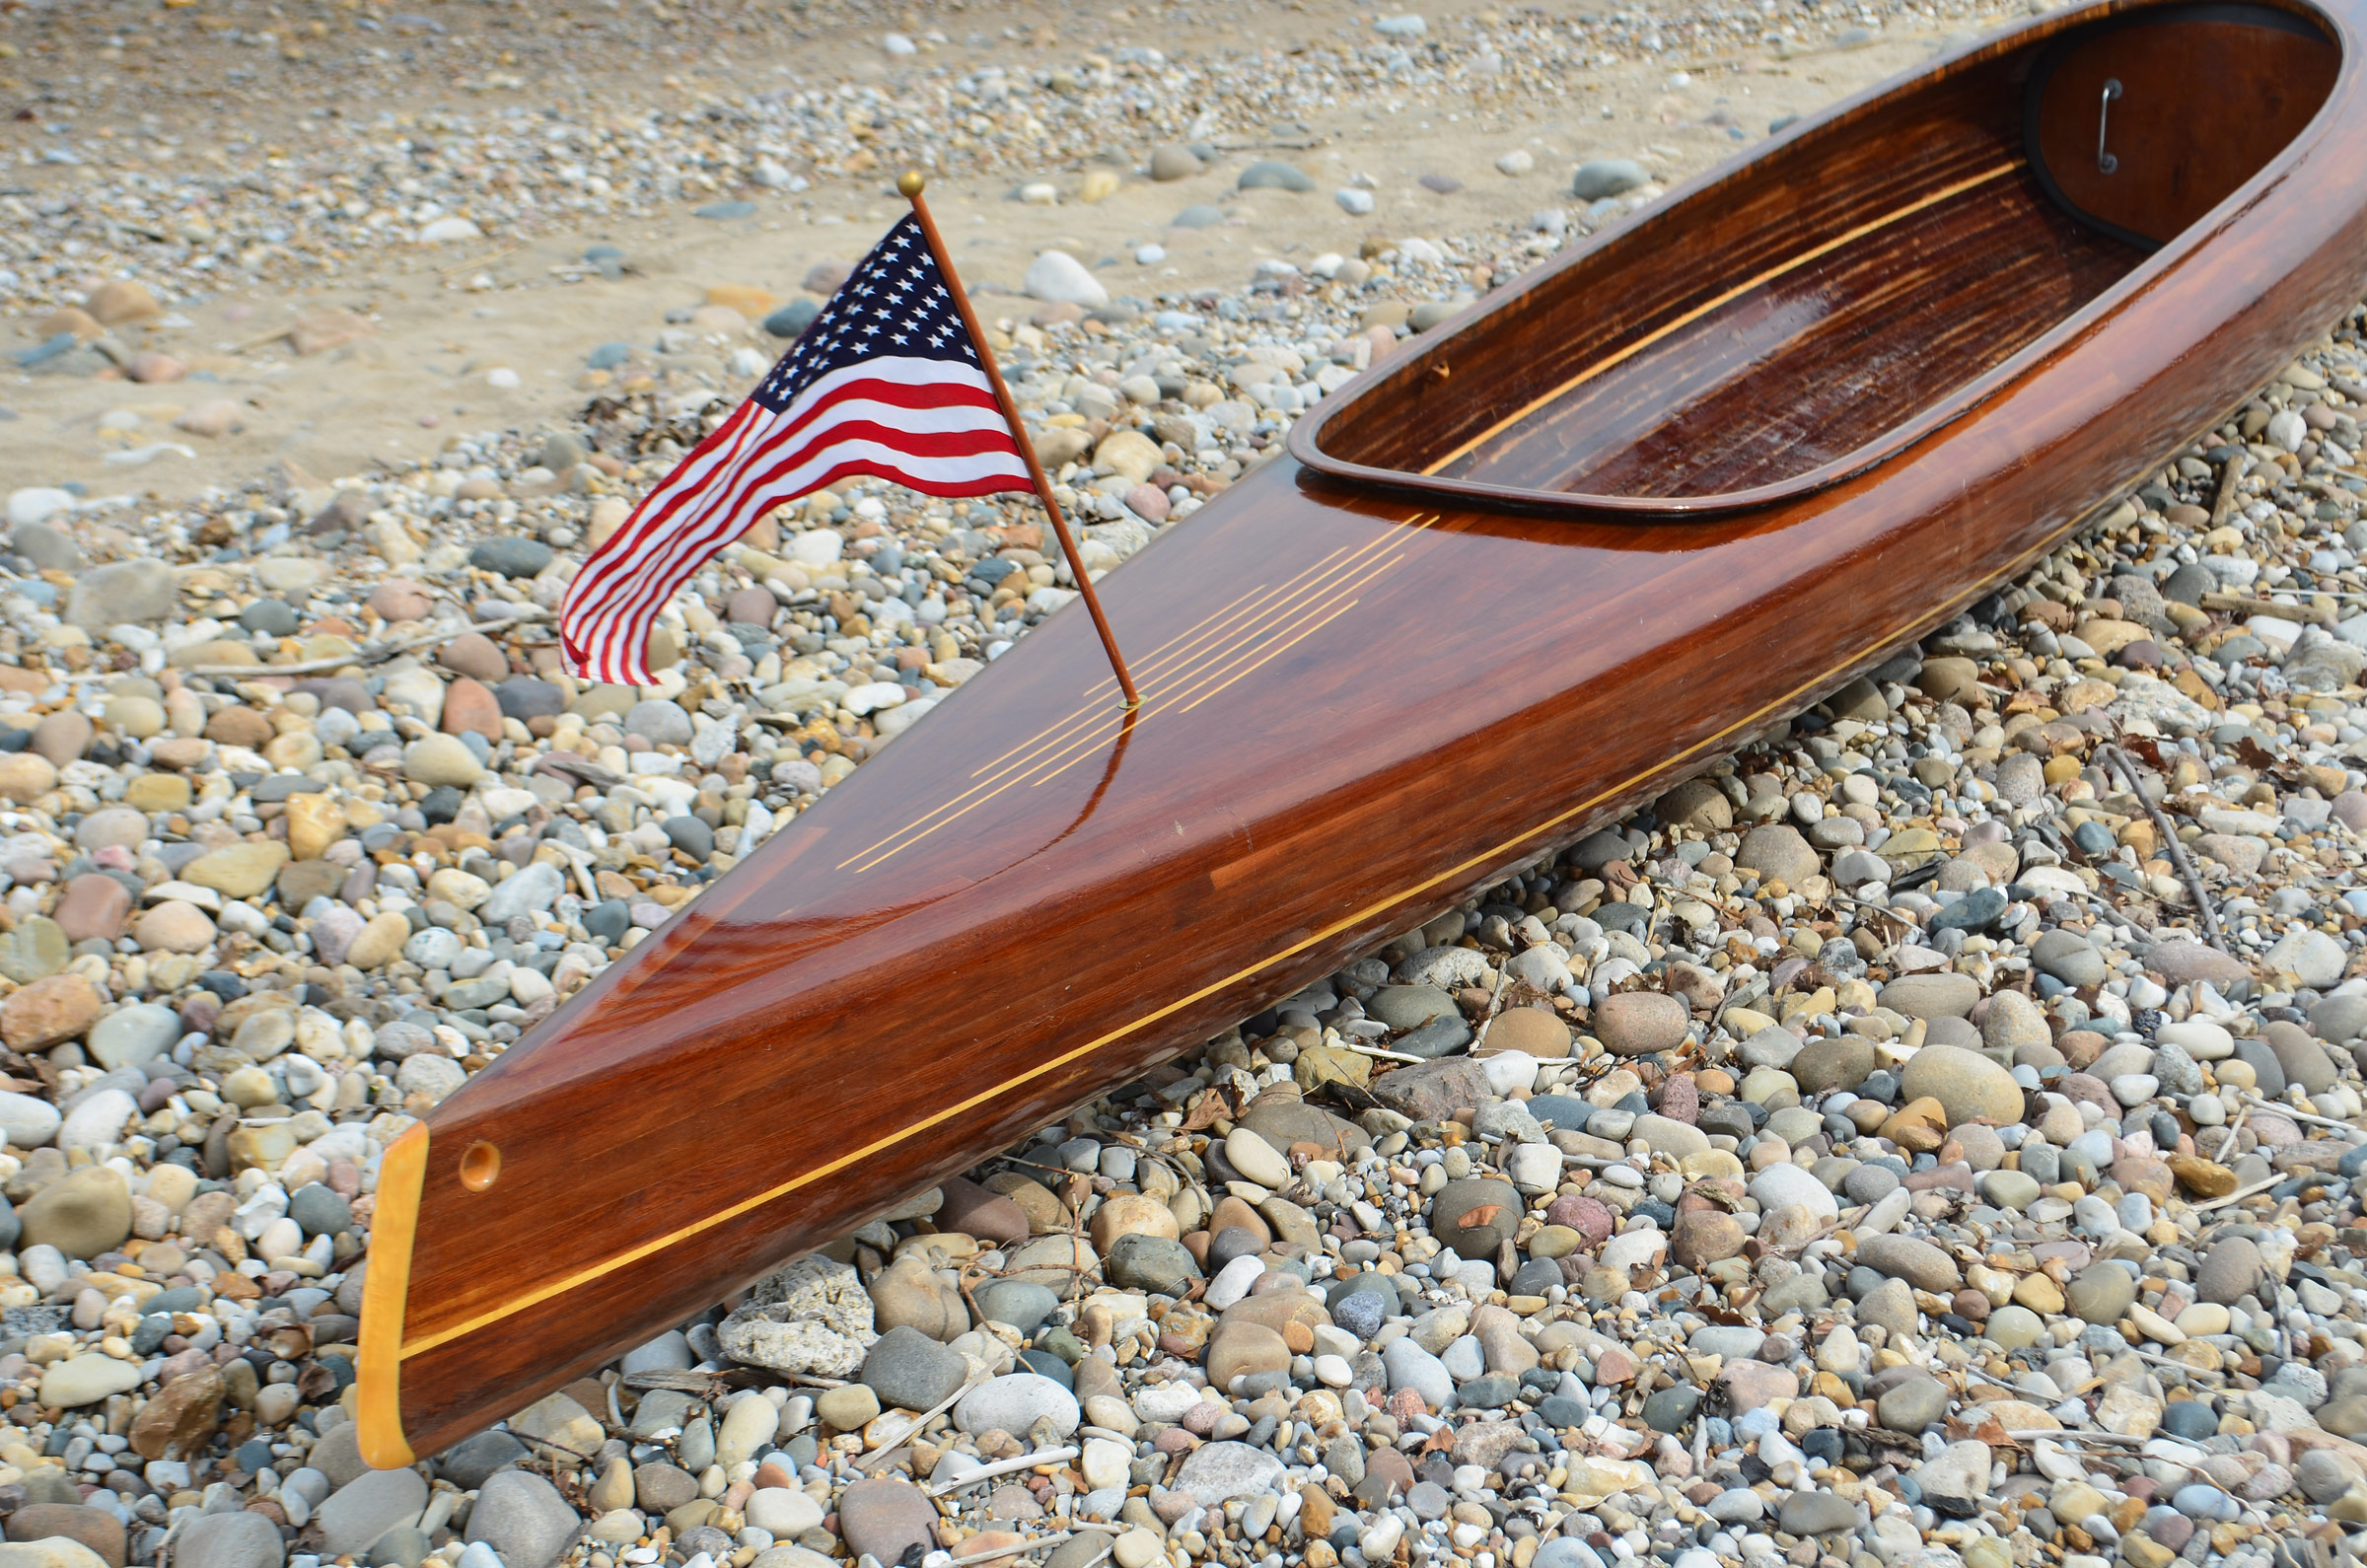
The slightly raked forward bow and stern stems accented in quilted maple against the dark cedar, along with the contrasting maple waterline strip, give this canoe hints of the early 1920s mahogany speedboats. People have asked if the canoe is old and have remarked that it looks like a Chris-Craft or “the Rolls-Royce of canoes”—nice reinforcement for a first-time builder, and a compliment to the creativity and style of Nick’s design.
 Adam Eckhardt
The rounded transition between the hull and deck, known as a rolled sheer, is a feature created in 1924 by George Crouch when he developed the Baby Bootlegger, a speedboat powered by a 220-hp aircraft engine.
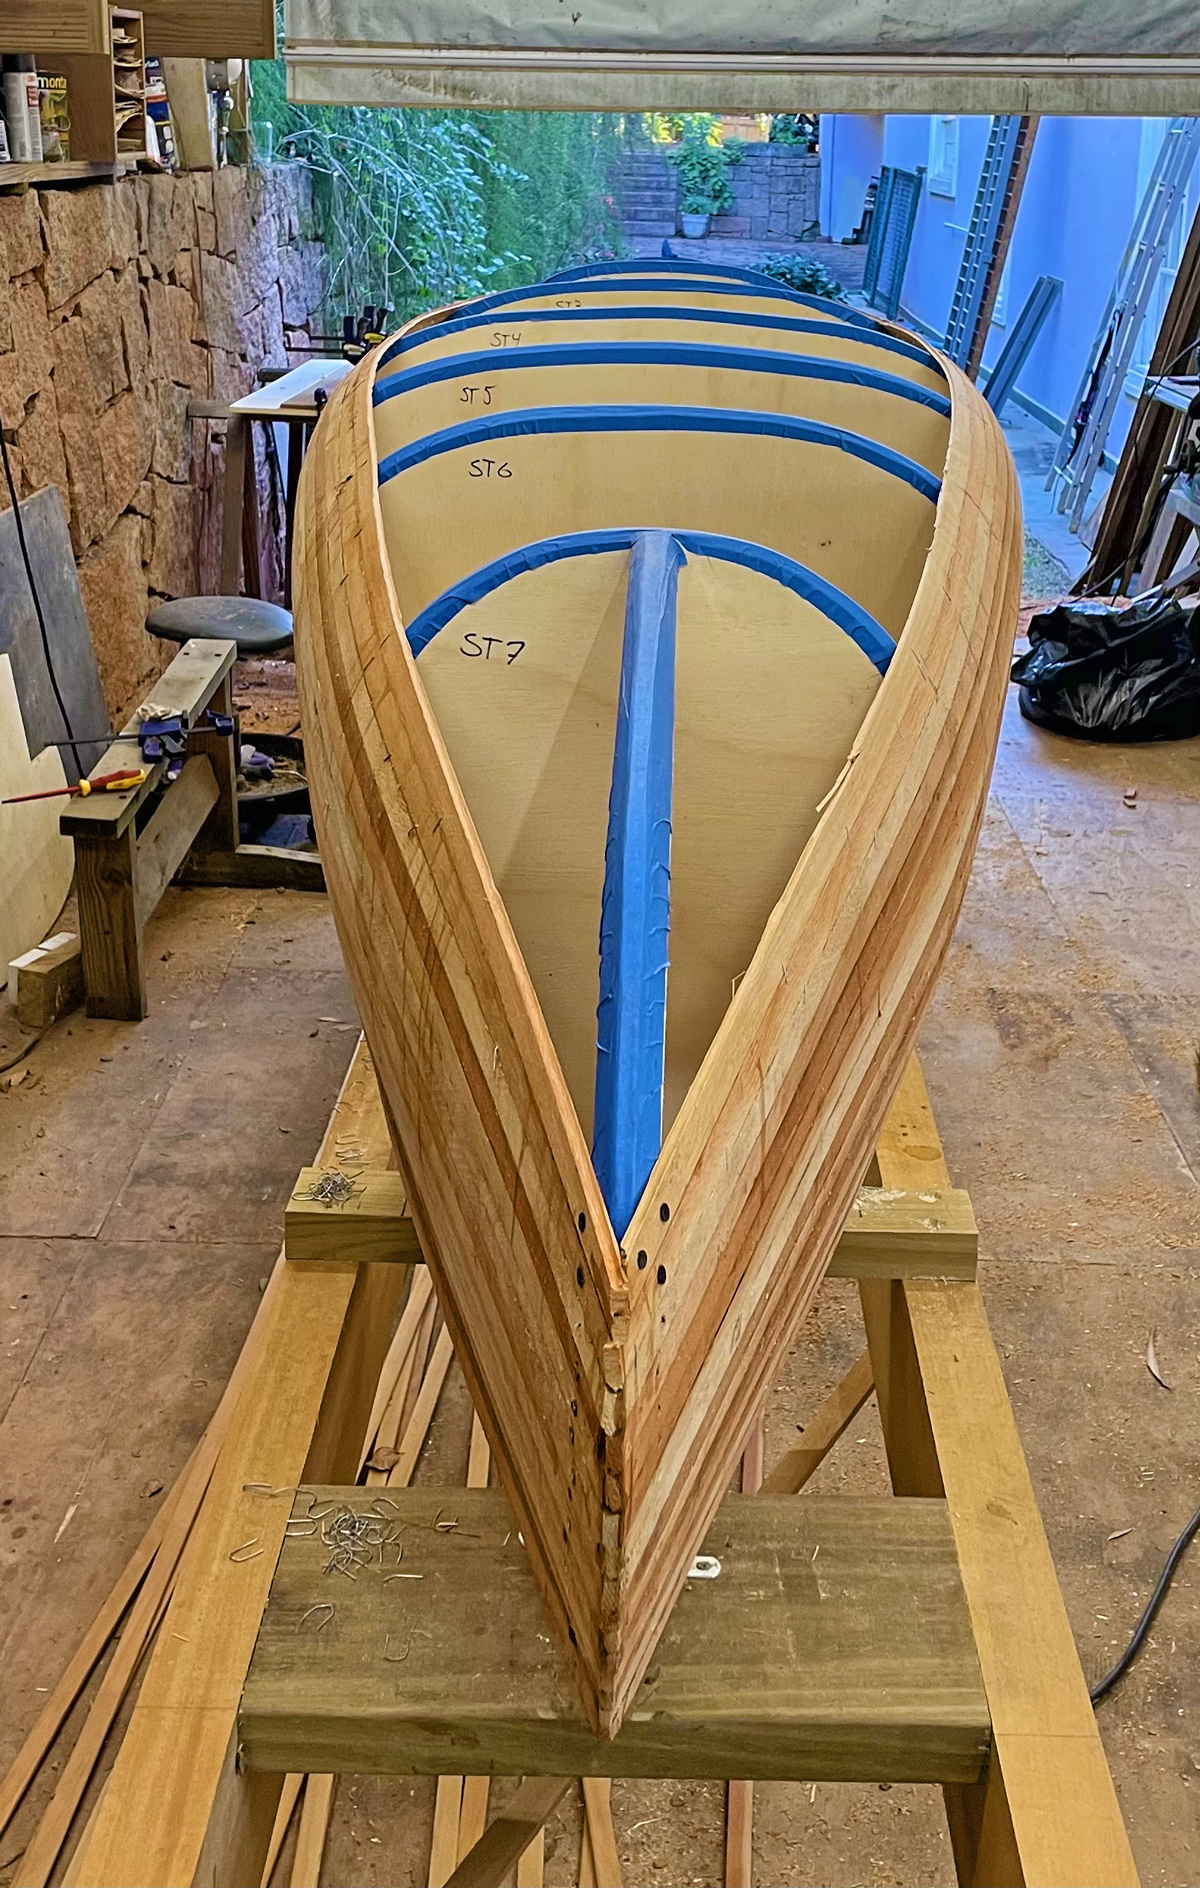
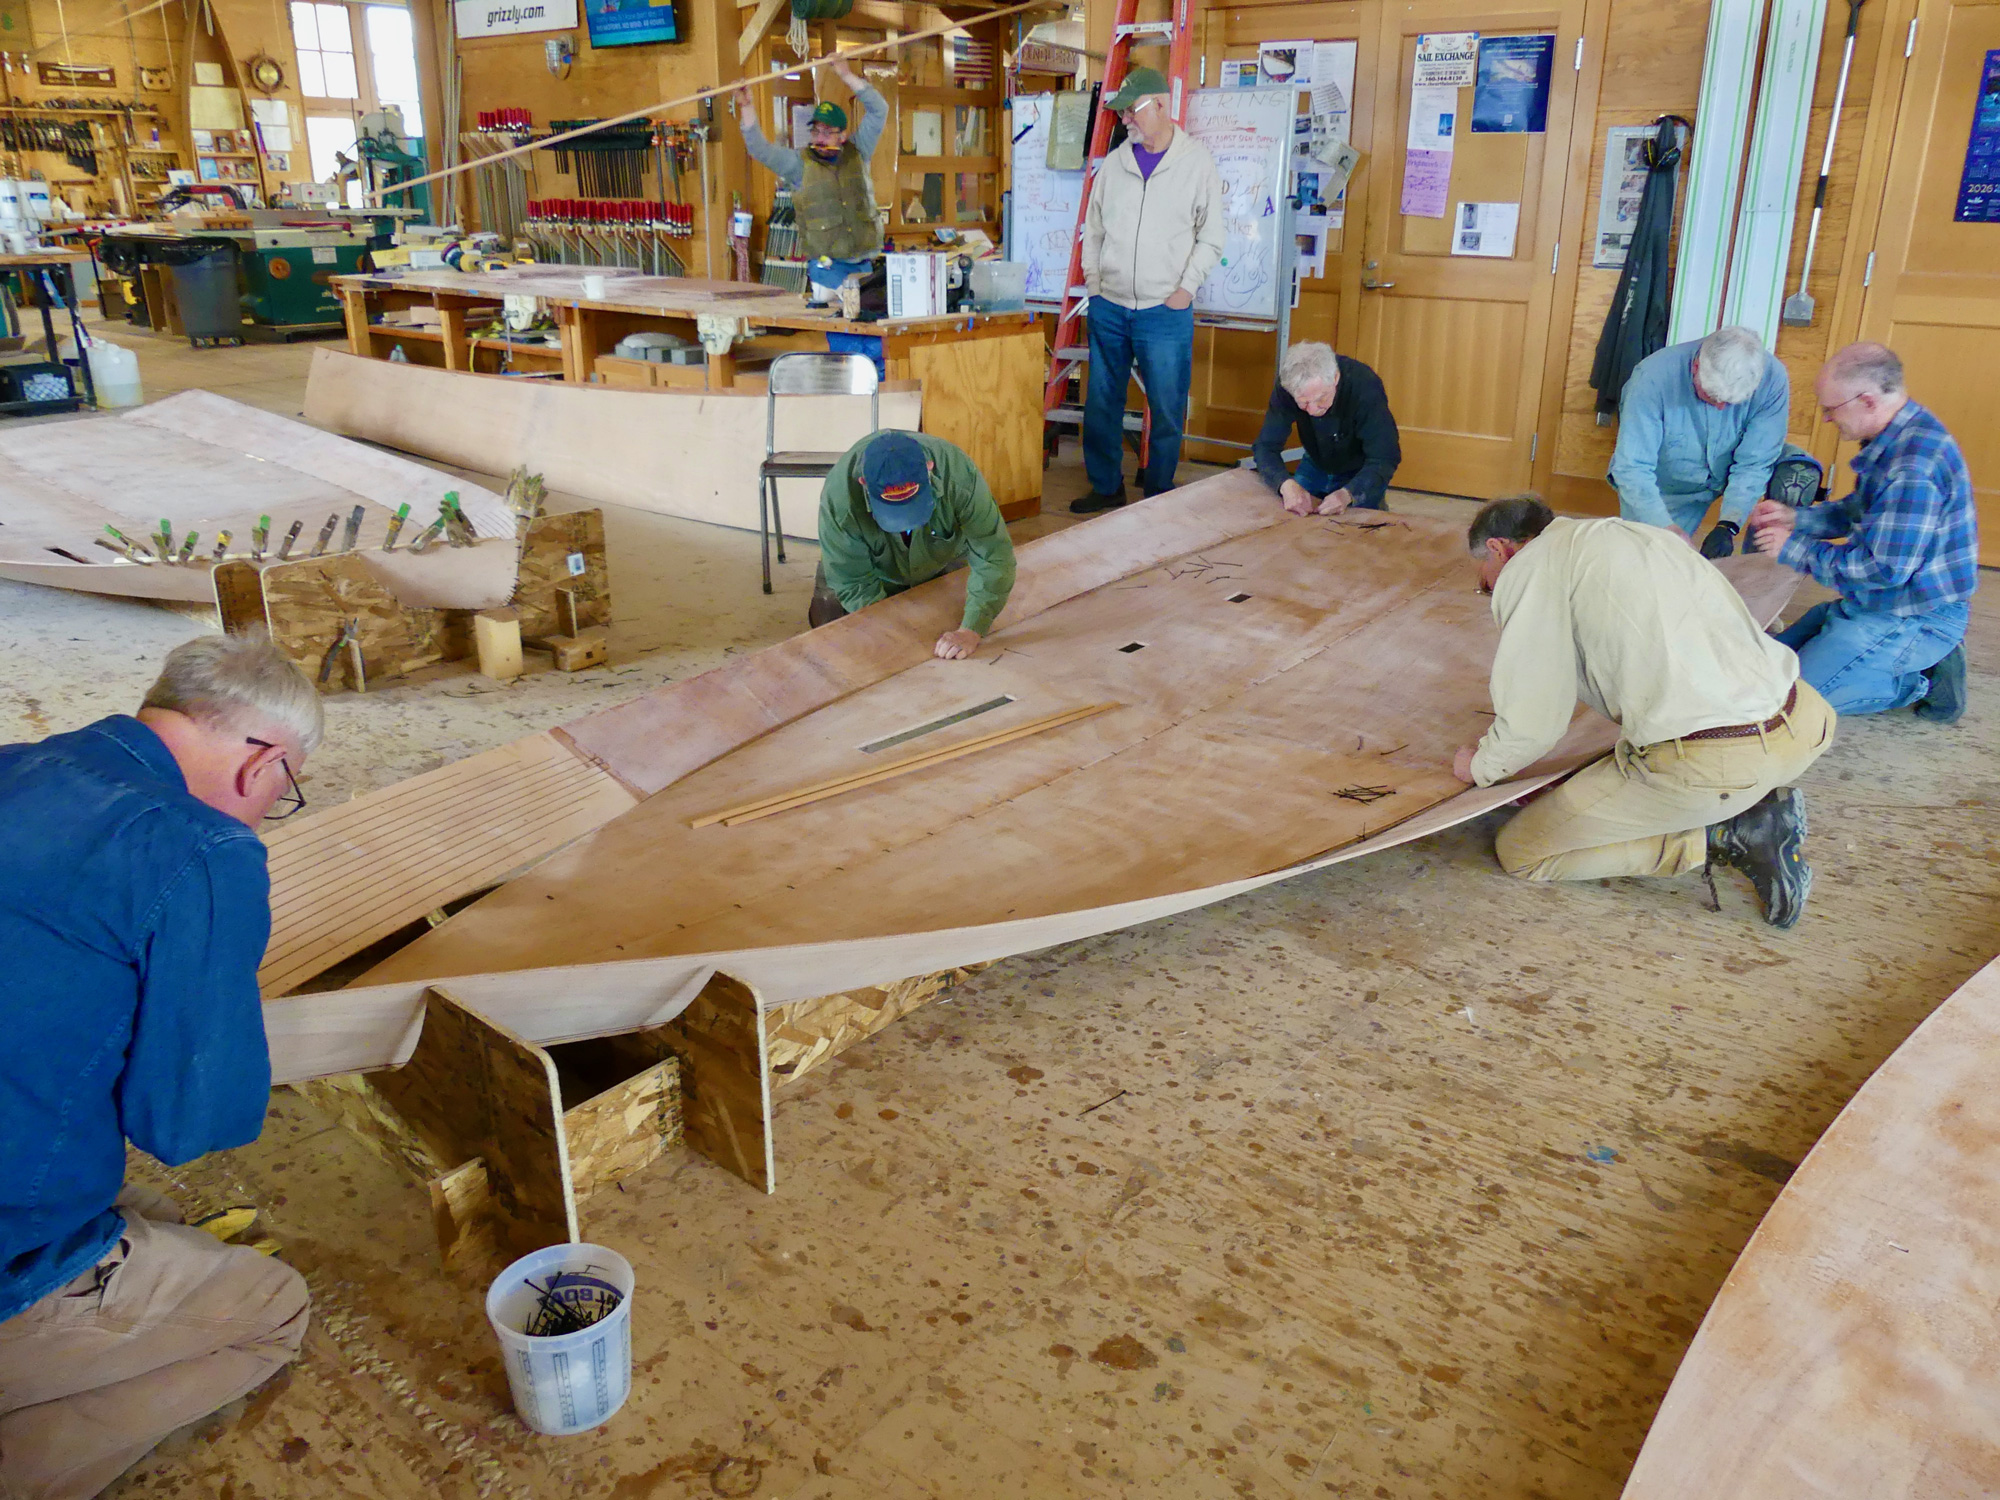
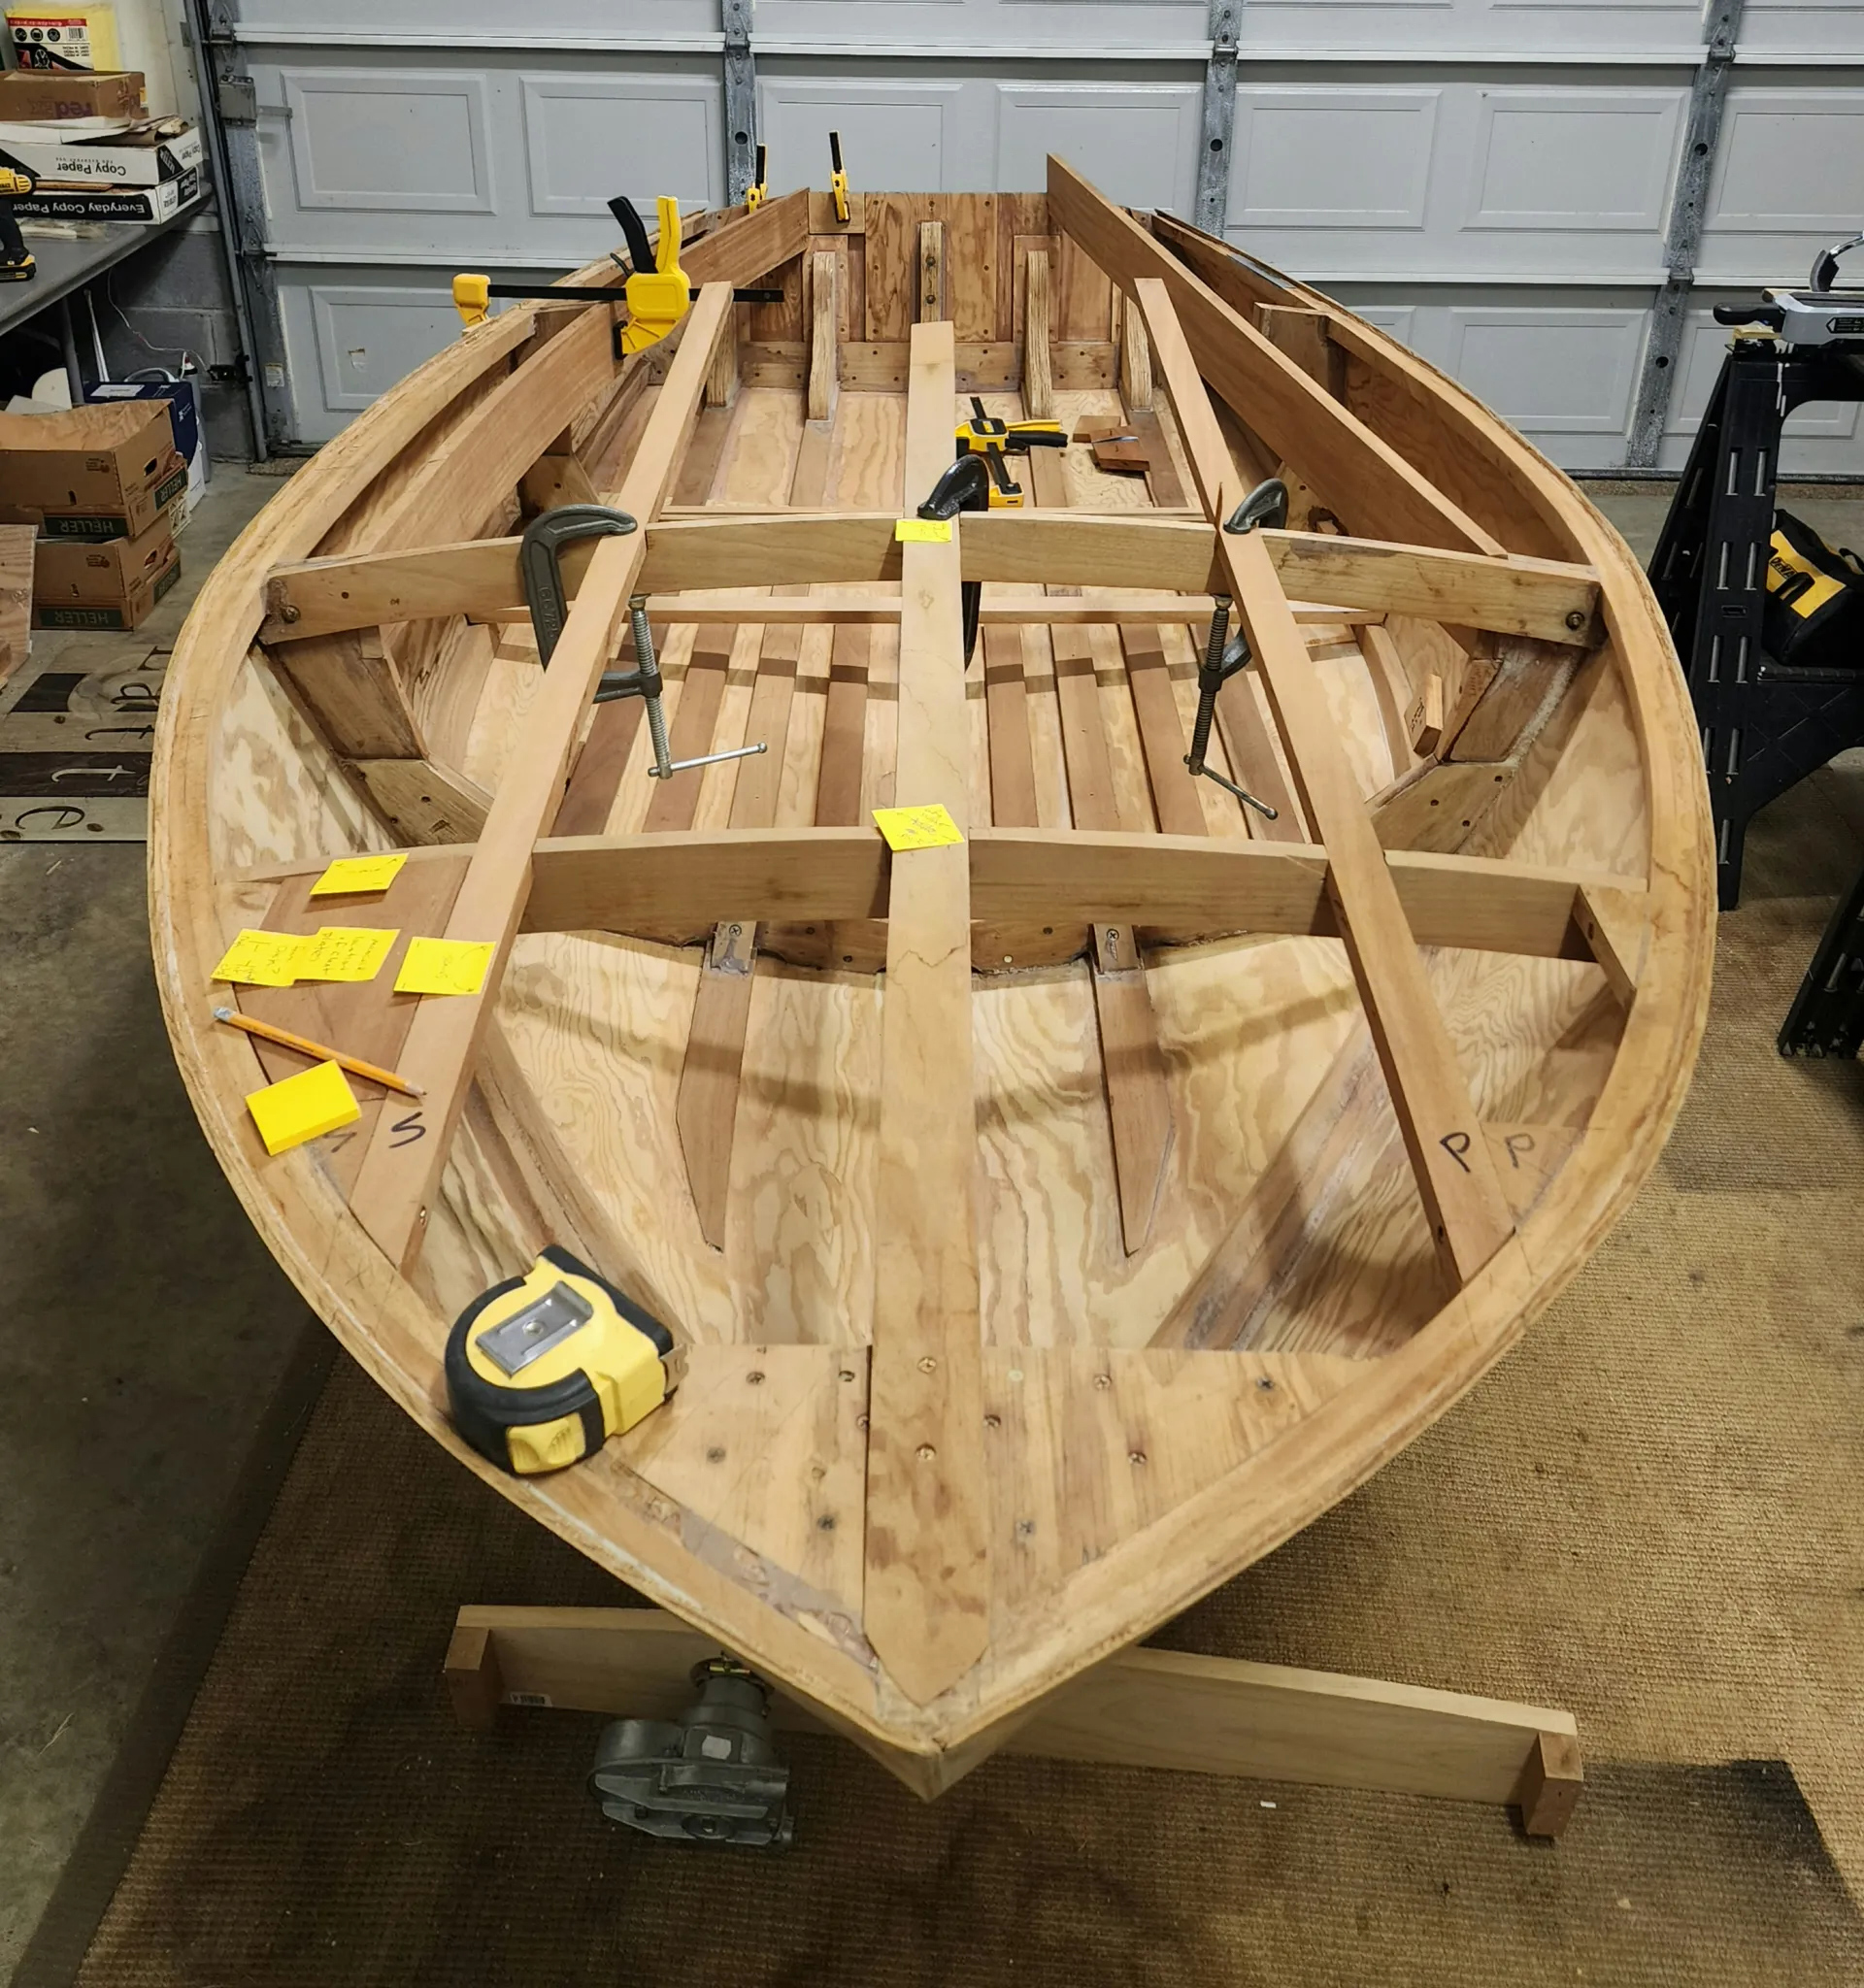
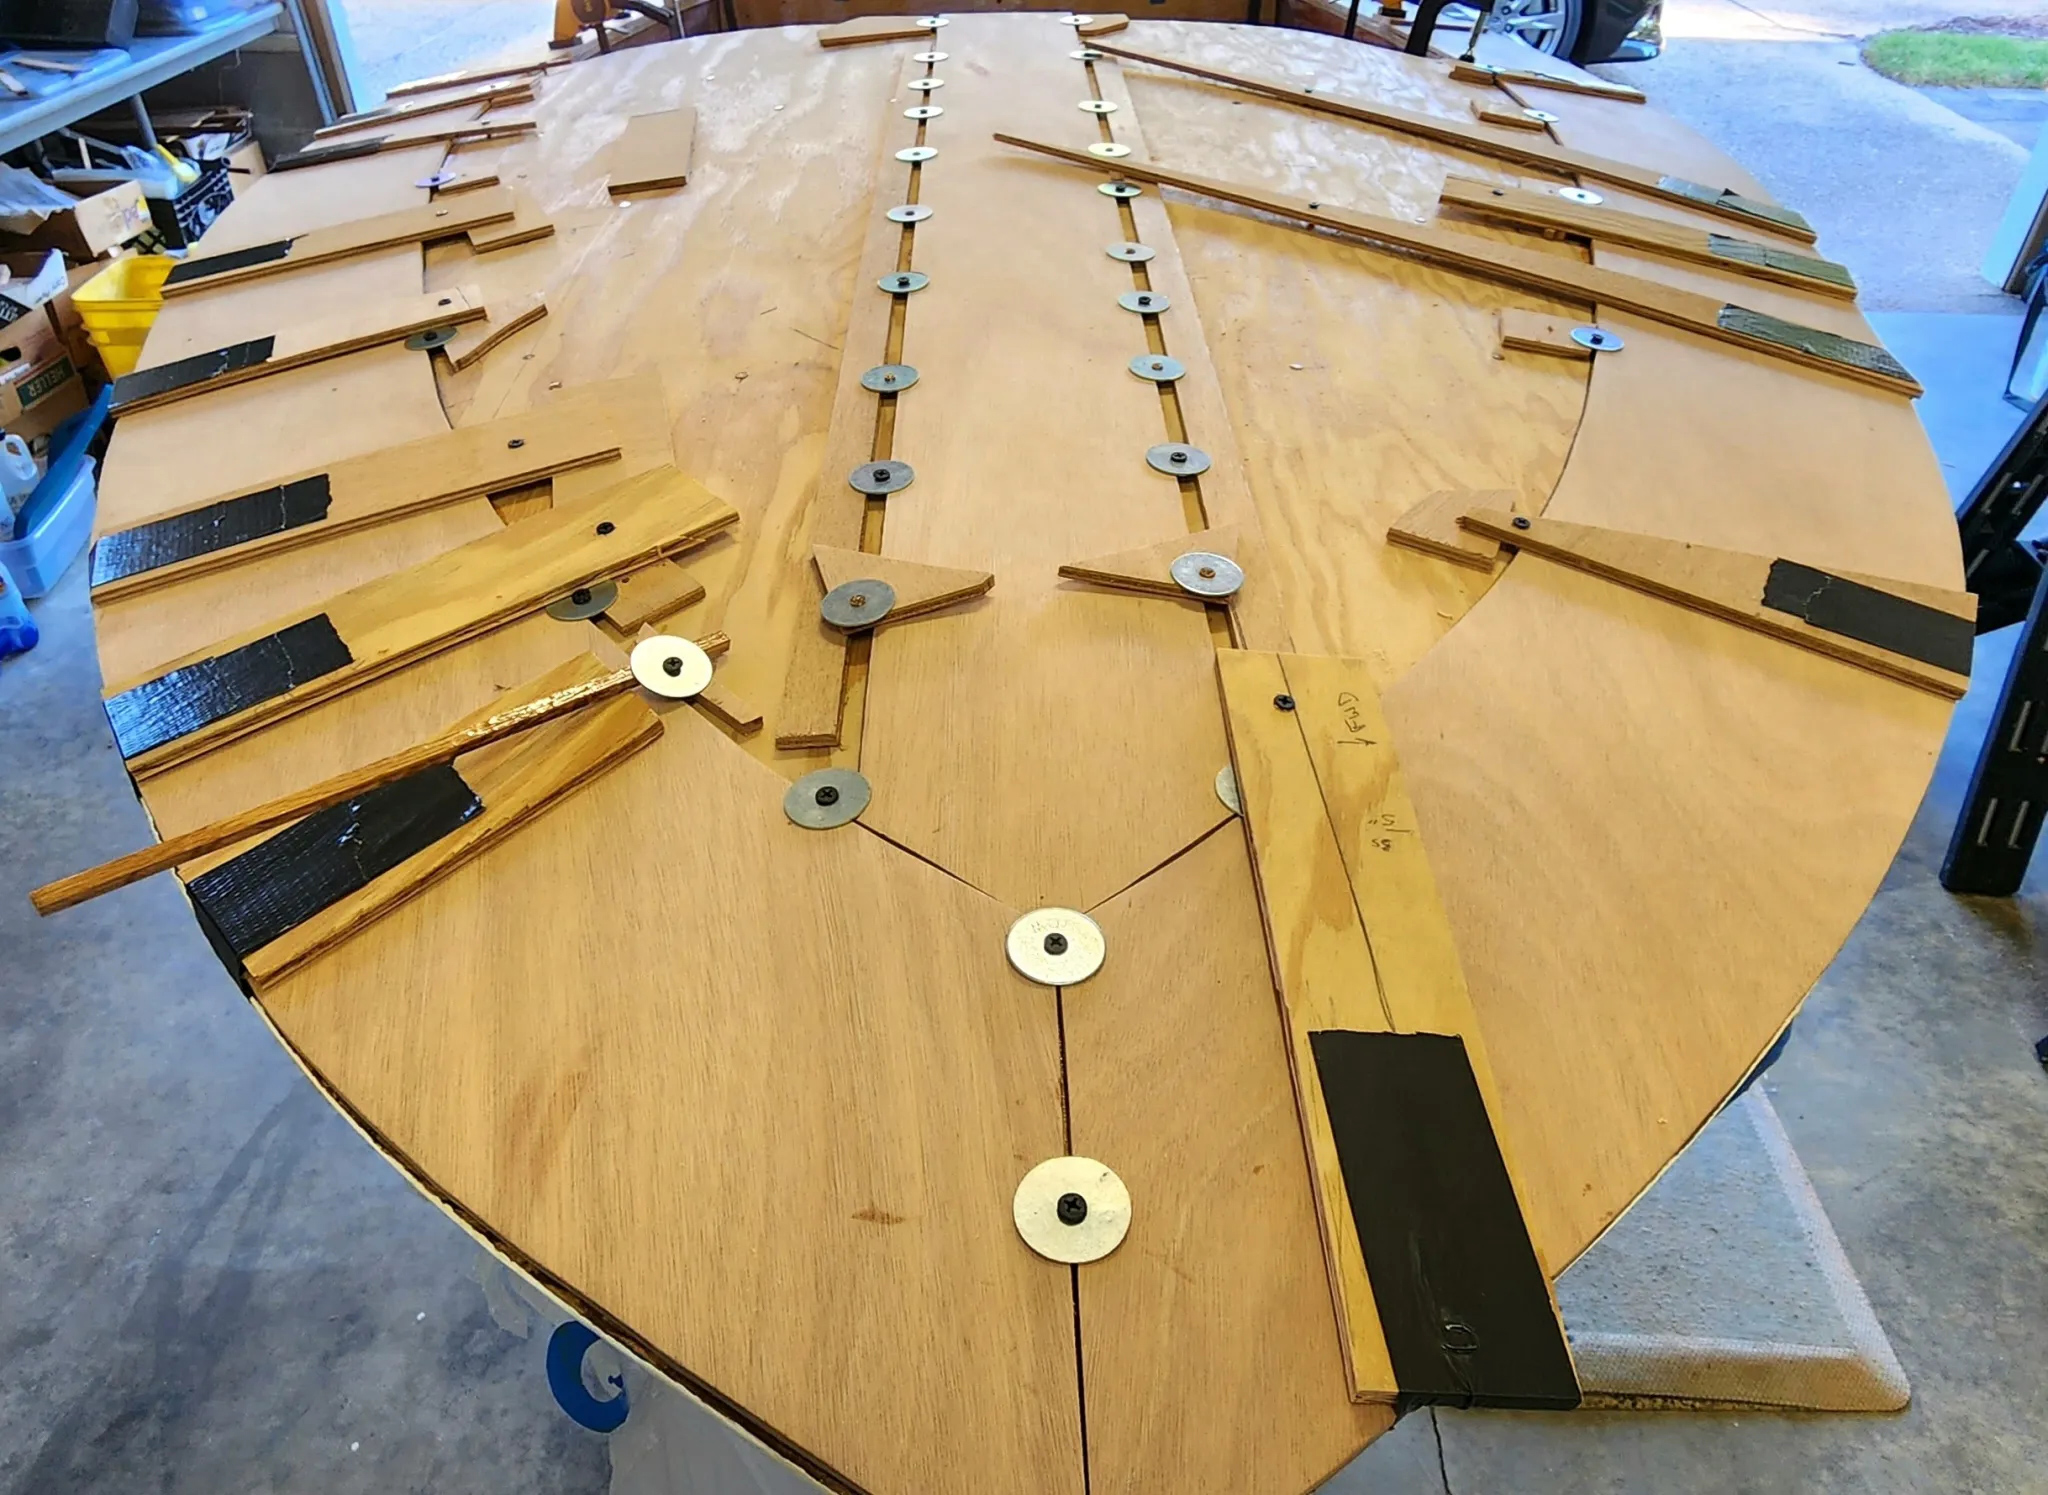
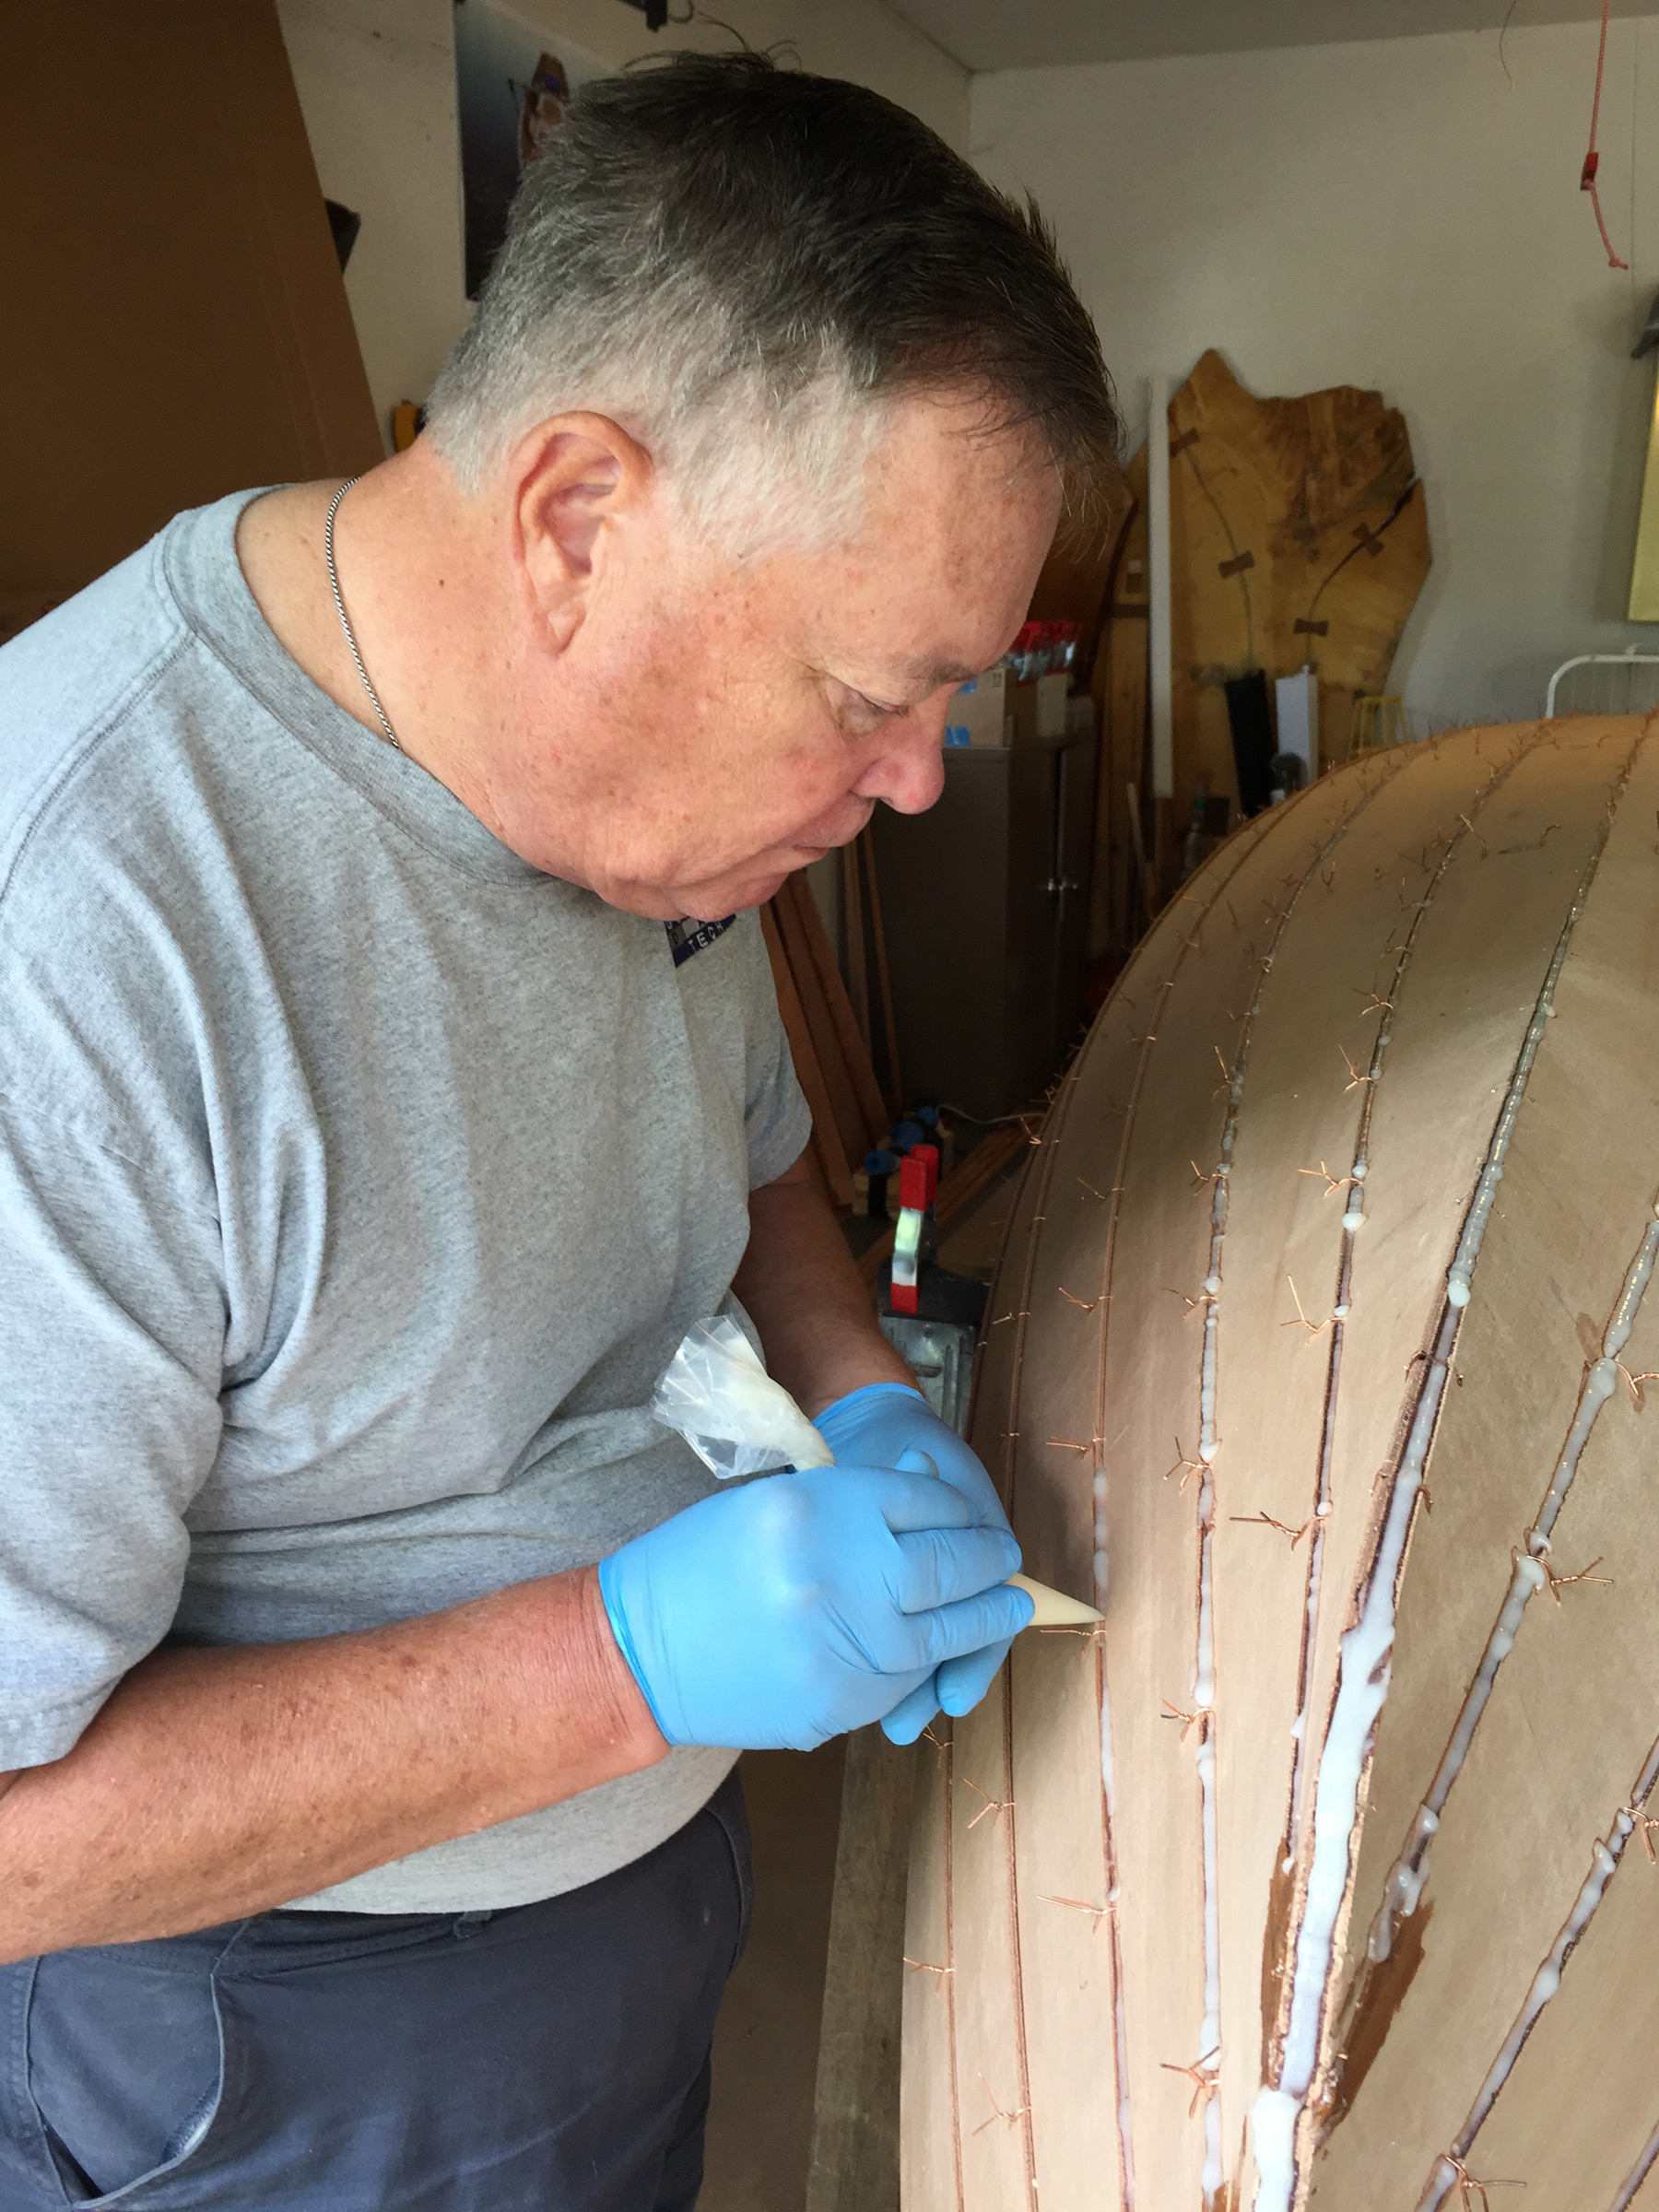
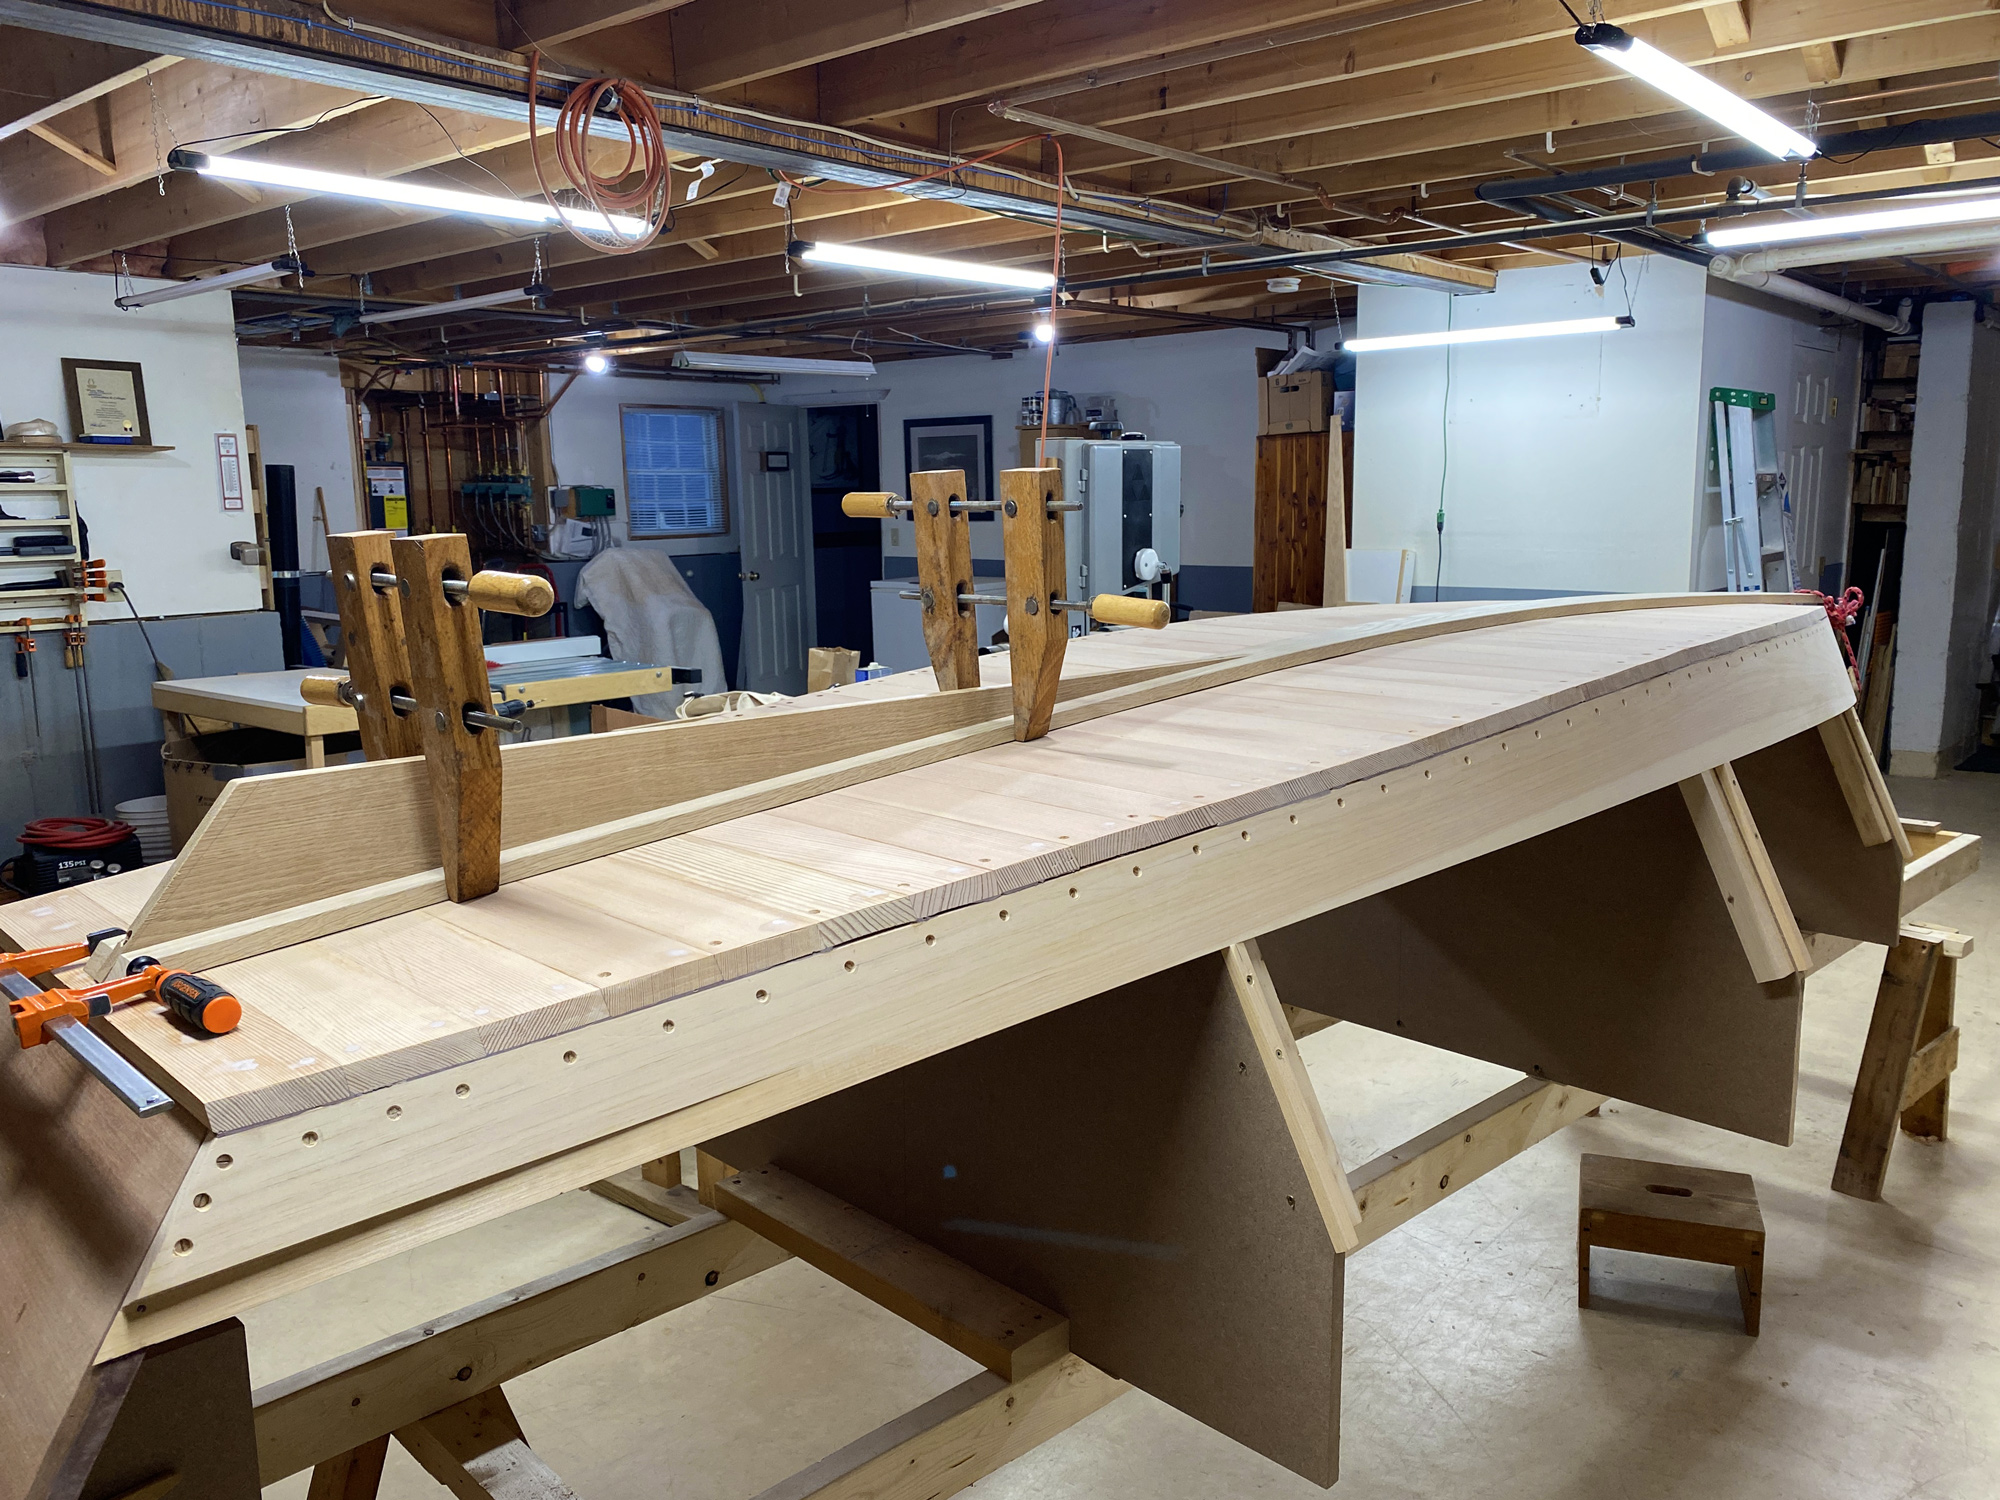
The canoe is built using standard cedar-strip construction, a process which is covered well in numerous books and other resources. I purchased Nick Schade’s book, The Strip-Built Sea Kayak, which walks a builder through every step of the cedar-strip process from building the strongback to finishing touches. He also includes a great chapter on hull design and performance, and how to choose the right boat for your needs.
There are several ways to begin building your microBootlegger. You can purchase plans directly from Guillemot Kayaks or contact Chesapeake Light Craft to choose from numerous options, from plans only to complete kits with everything you need including materials for seats, foot braces, and hardware. I chose one step up from plans only and opted to get the CNC-cut forms, which saved me quite a bit of time and ensured accurate shaping.
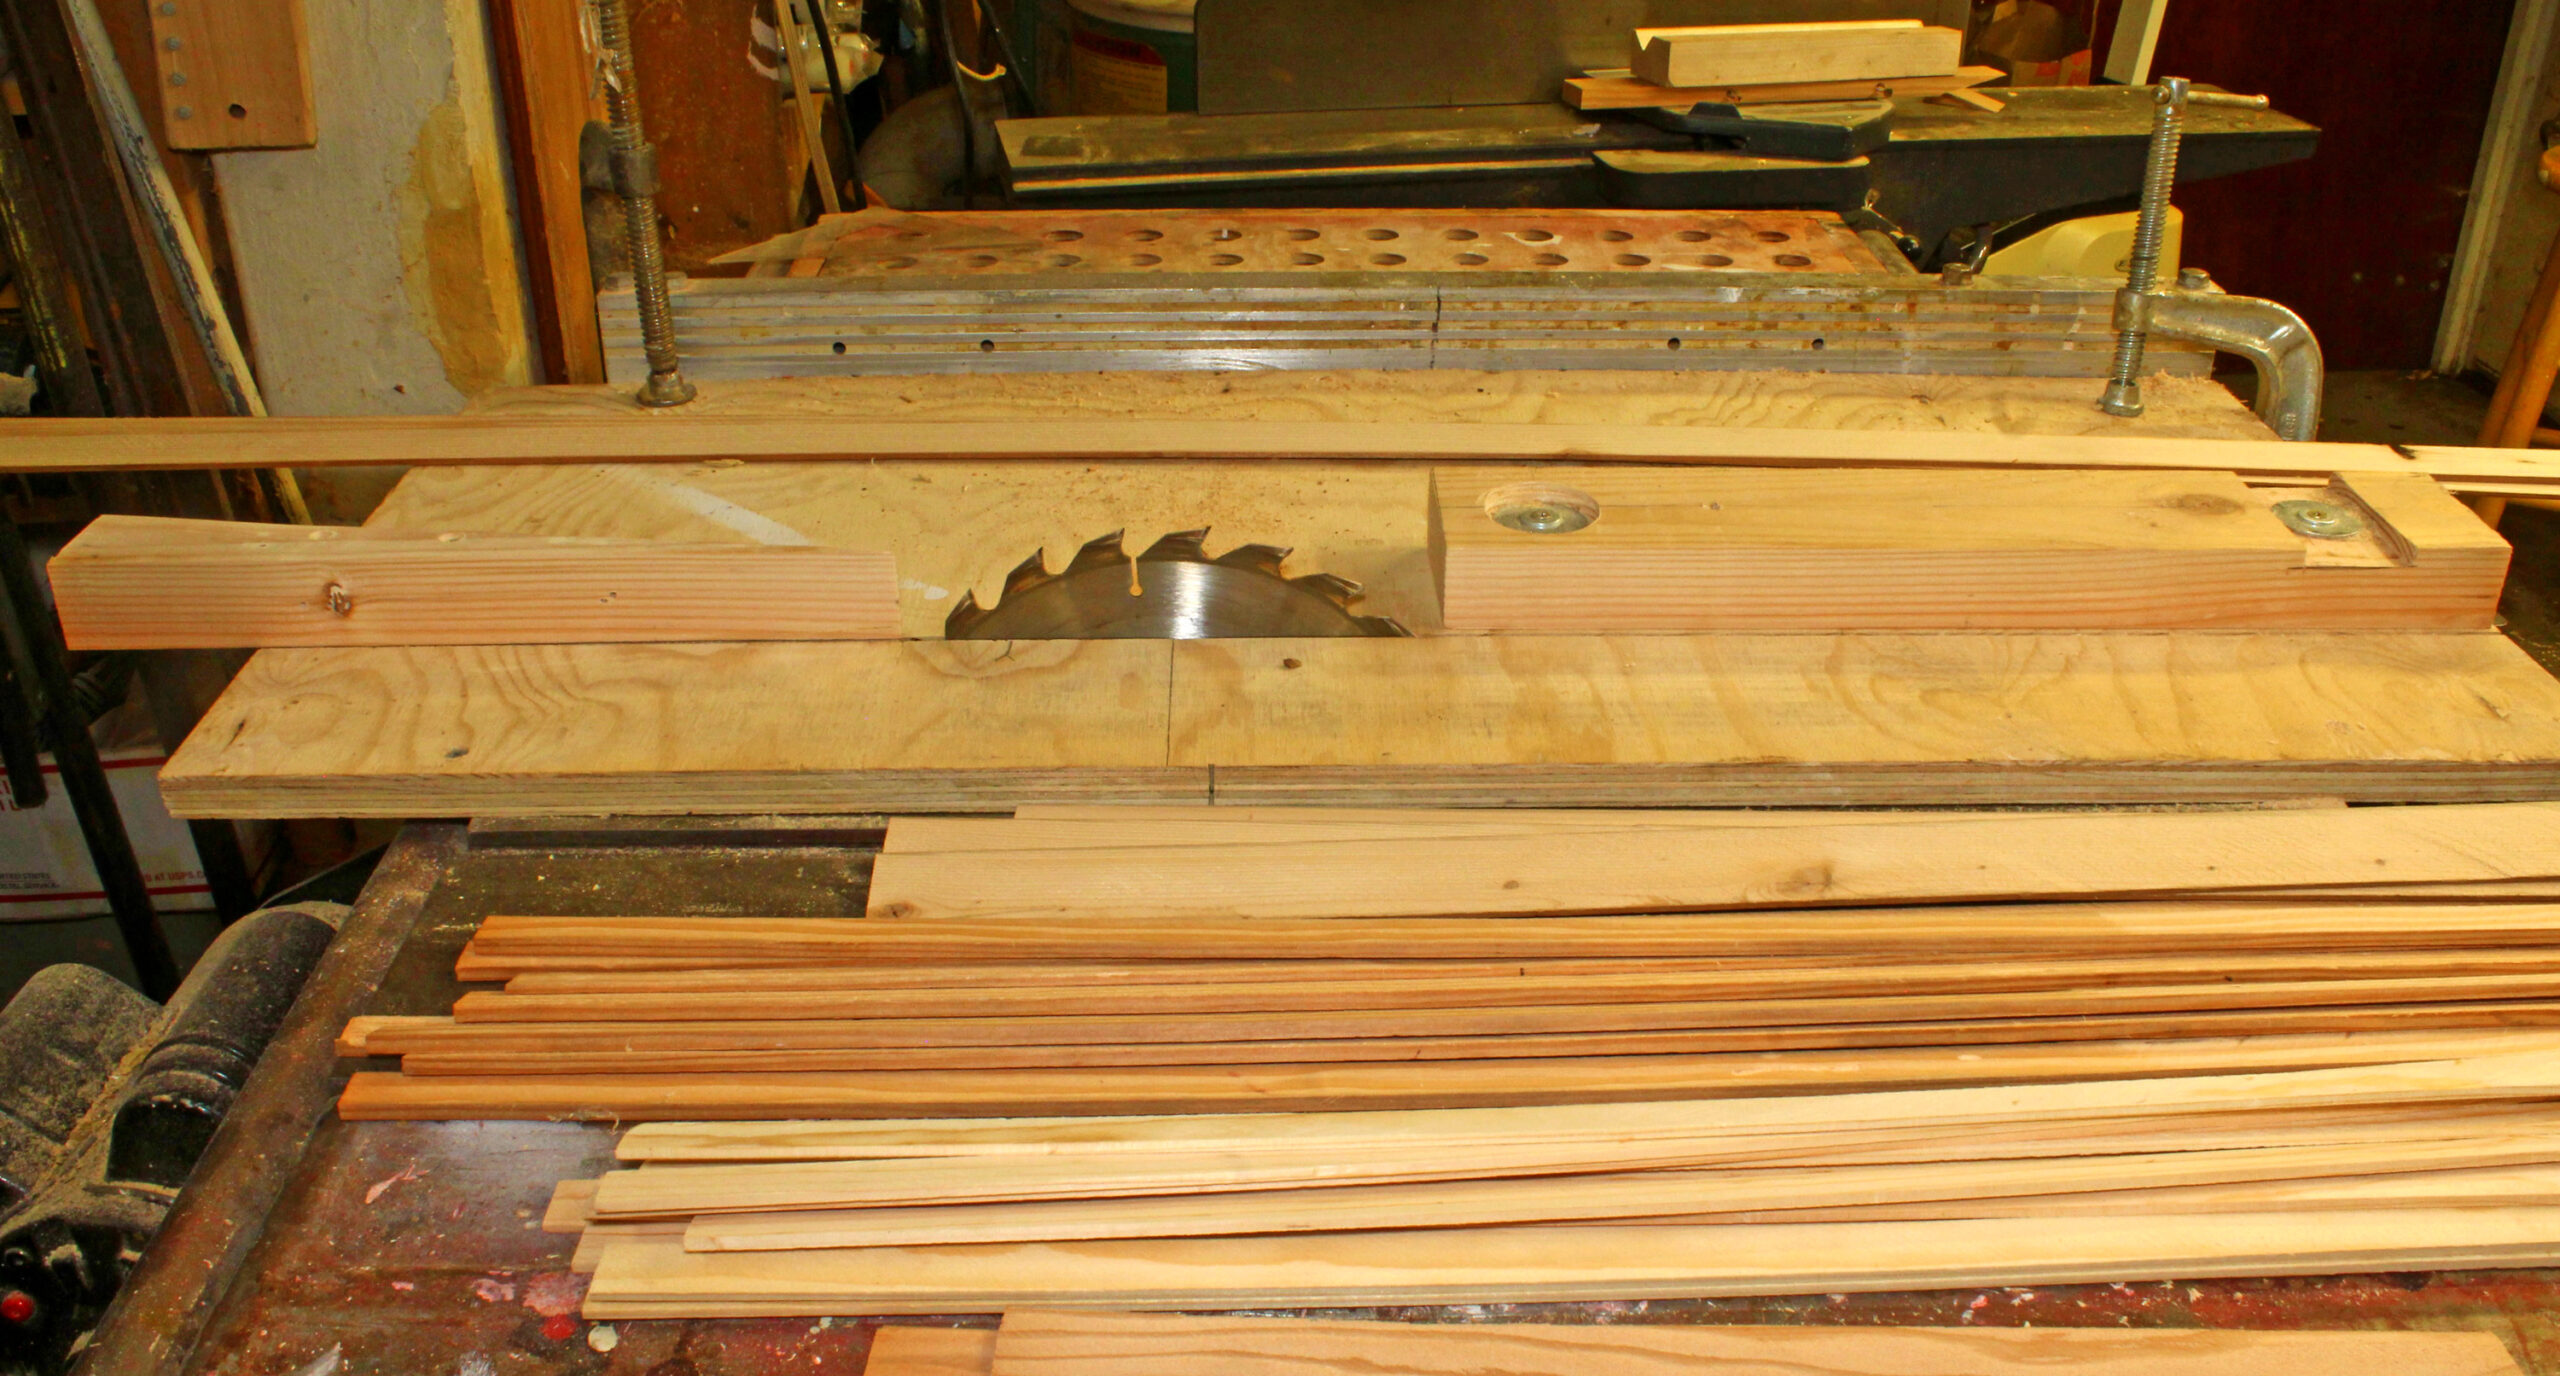
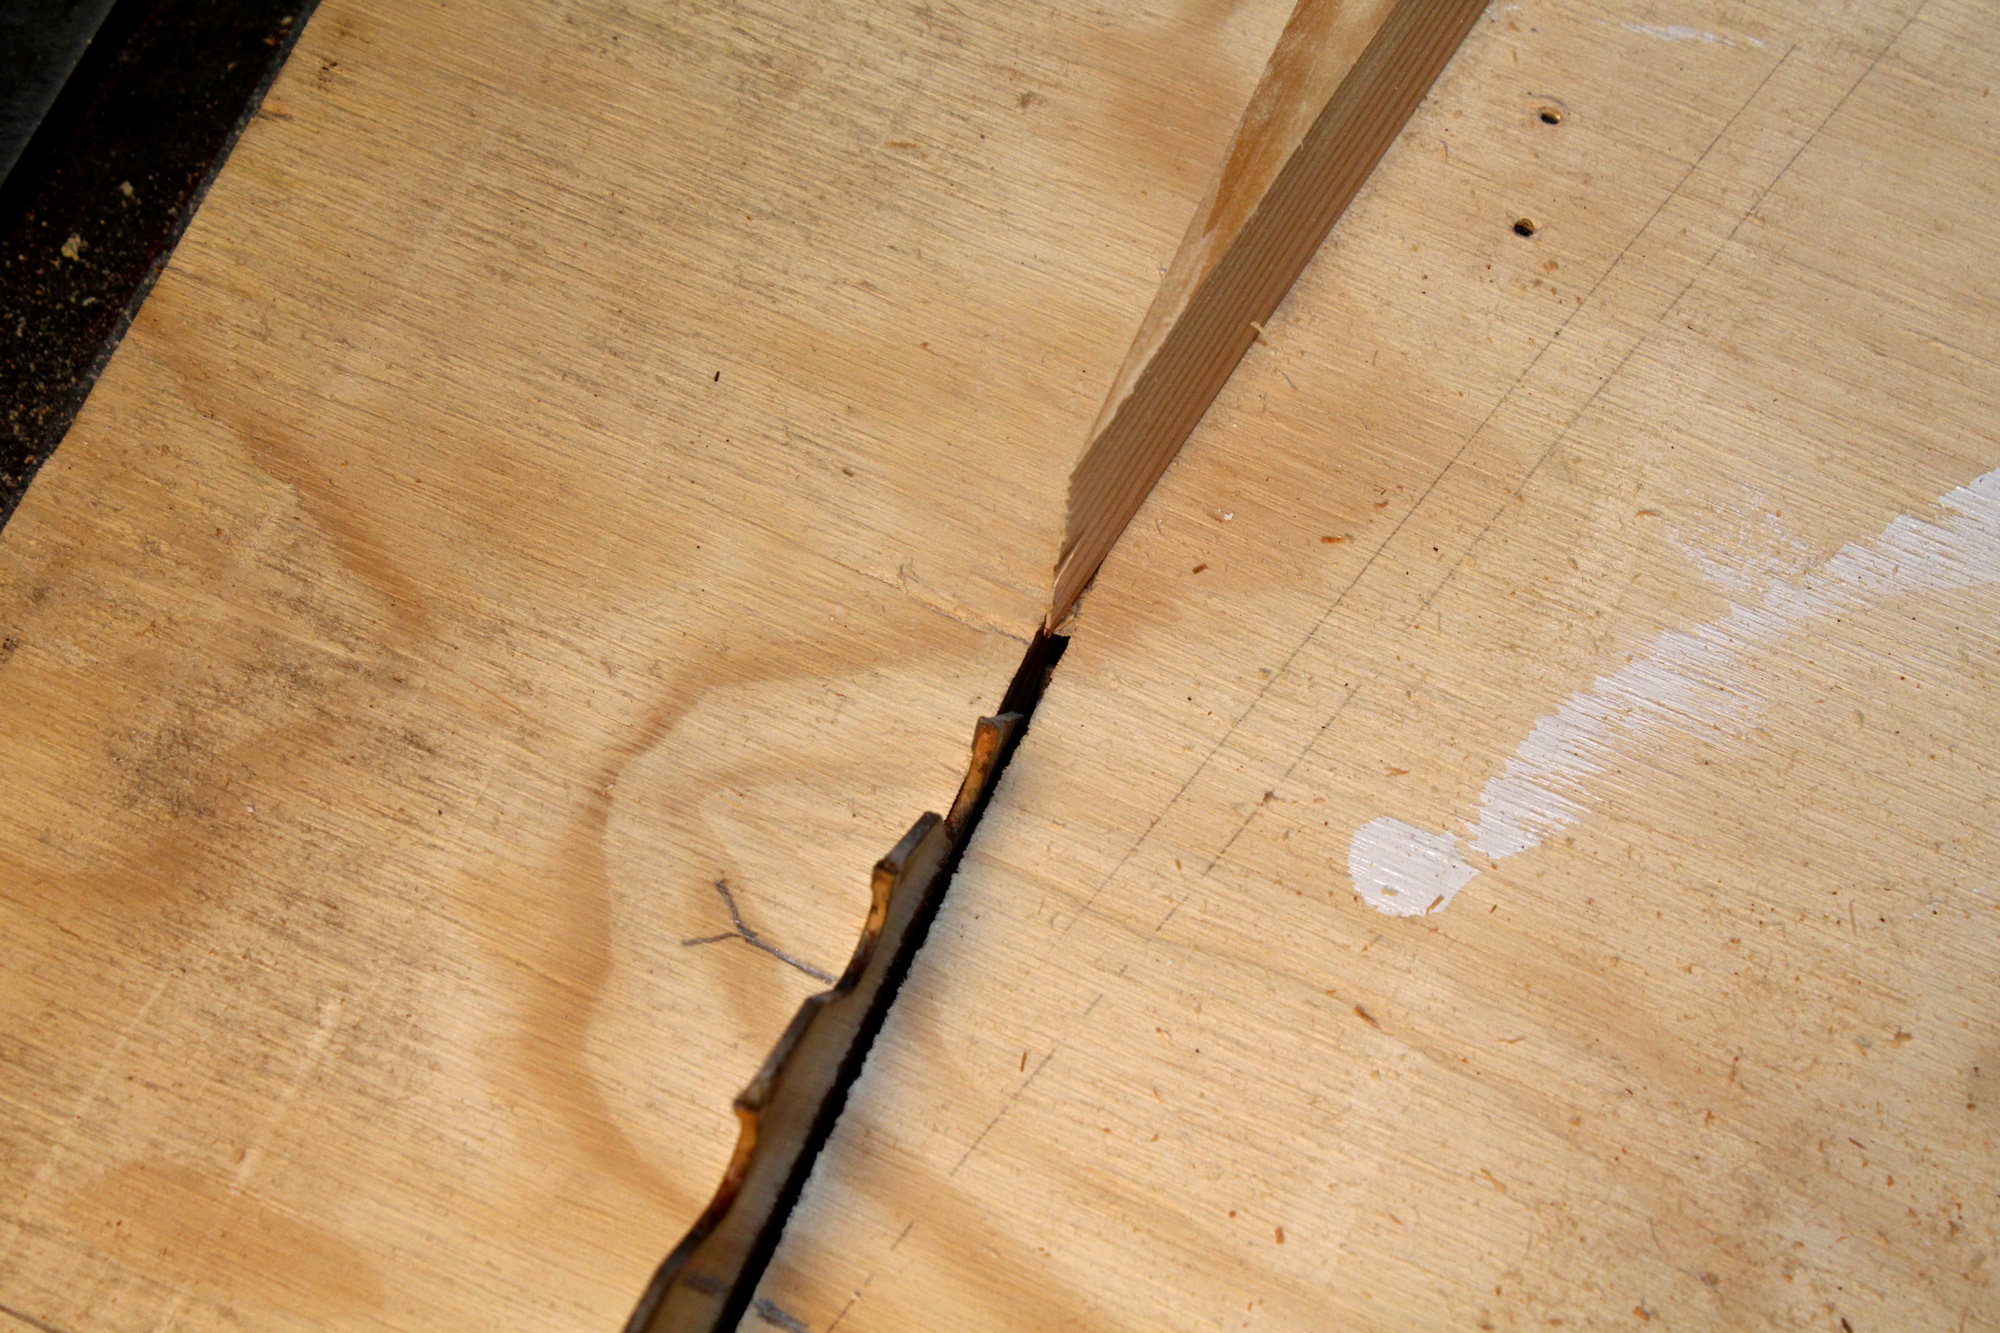
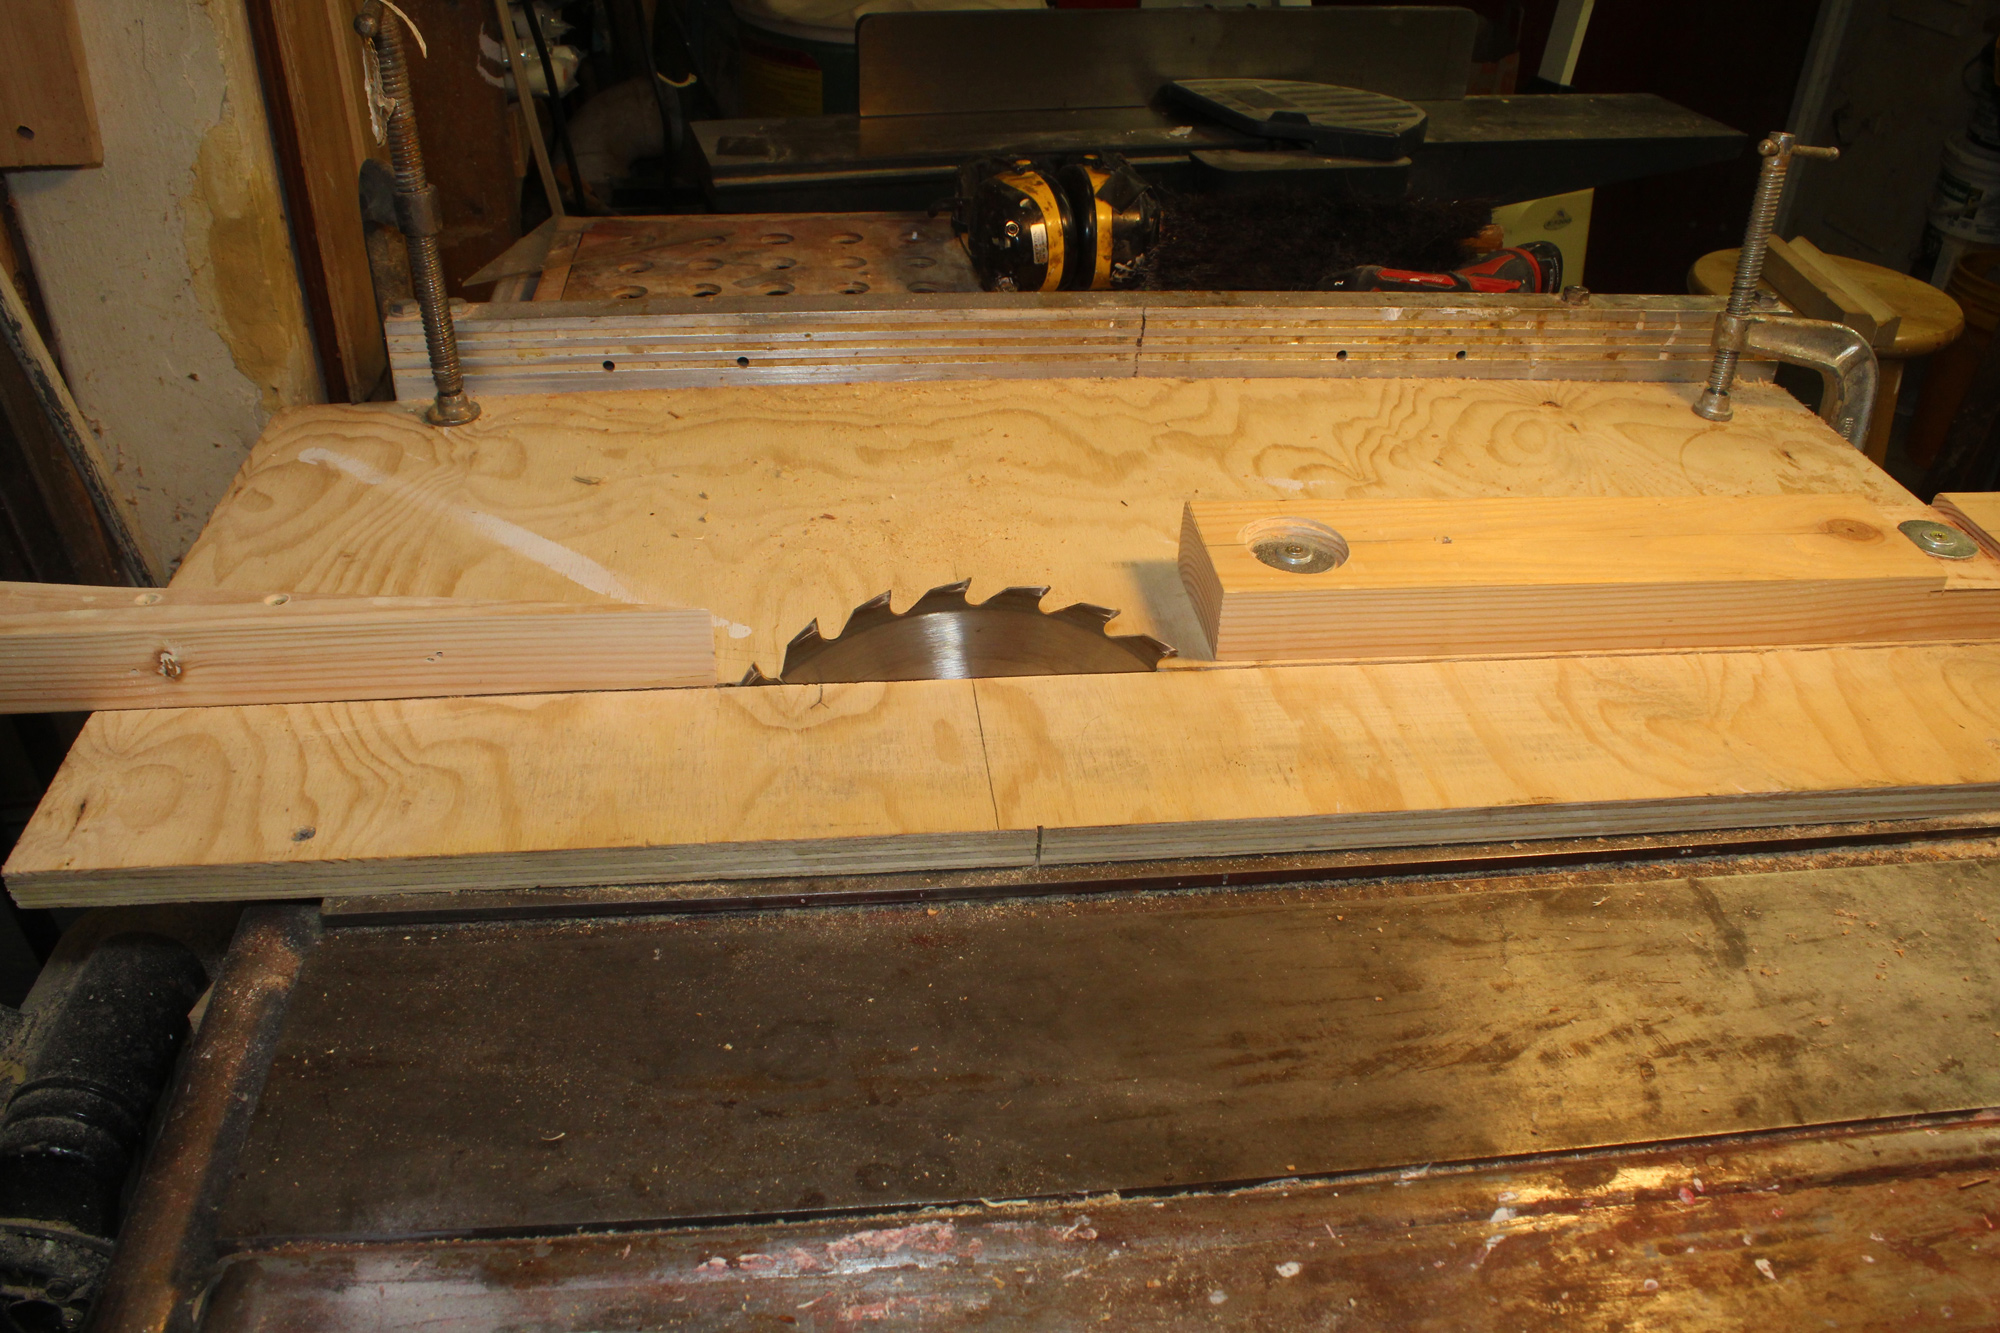
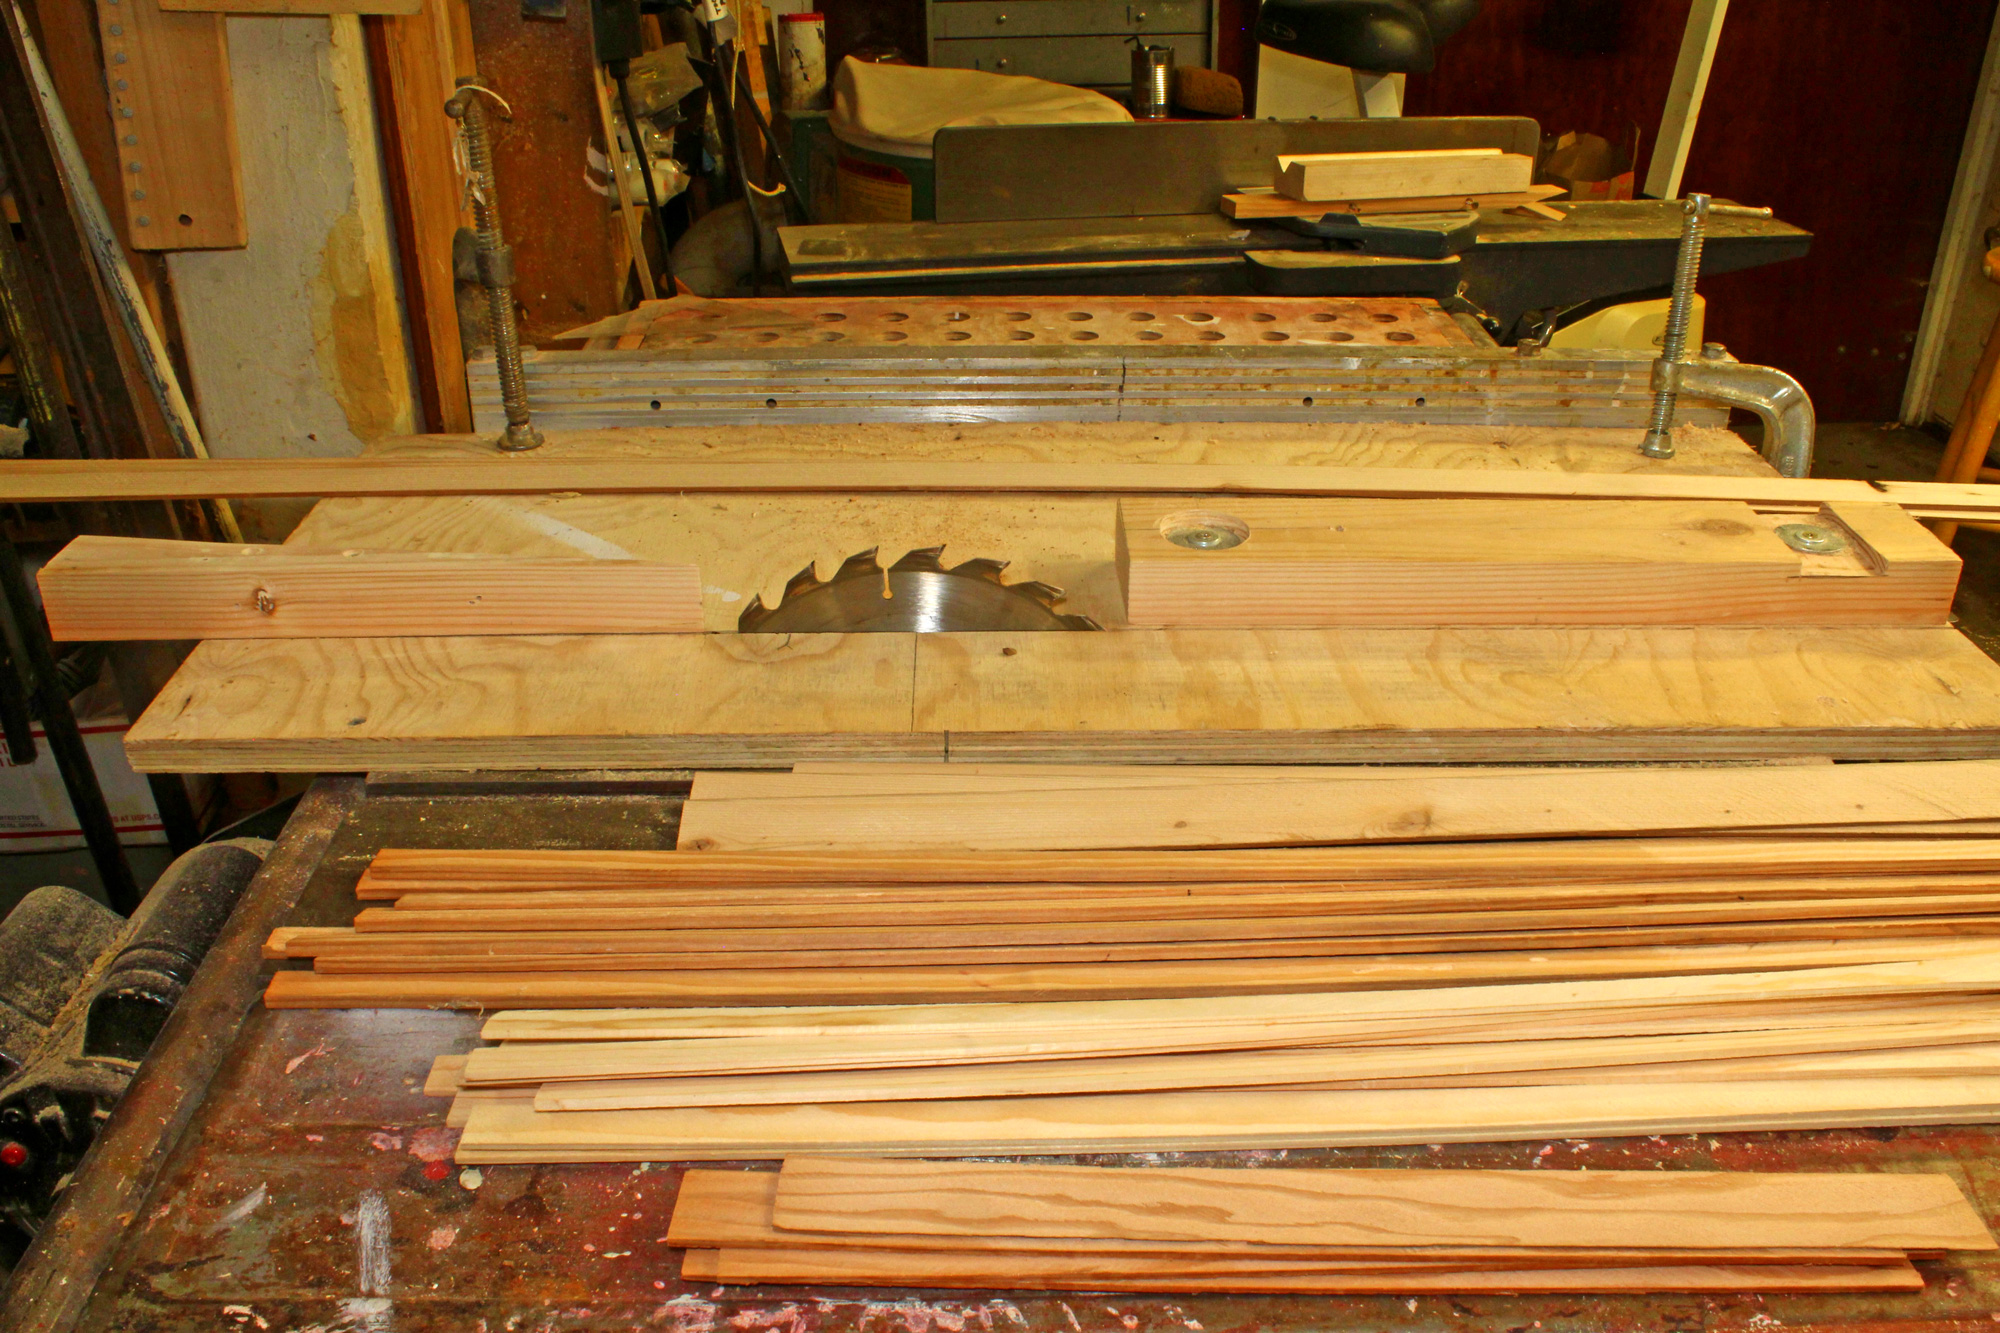
I recalled seeing pictures of a version Nick Schade built himself out of mahogany strips and wanted a similar look for my boat. To get as close to that mahogany runabout look as possible, I decided to select my own lumber locally rather than order pre-milled strips. I already owned a tablesaw and router, so milling the strips involved only a minor incremental investment in bead-and-cove router bits. While CLC offers pre-milled bead-and-cove strips in light, medium, and dark shades (and you can specify your color preference), I also wanted to use sequential strips—especially on the deck for the most uniform color and grain.
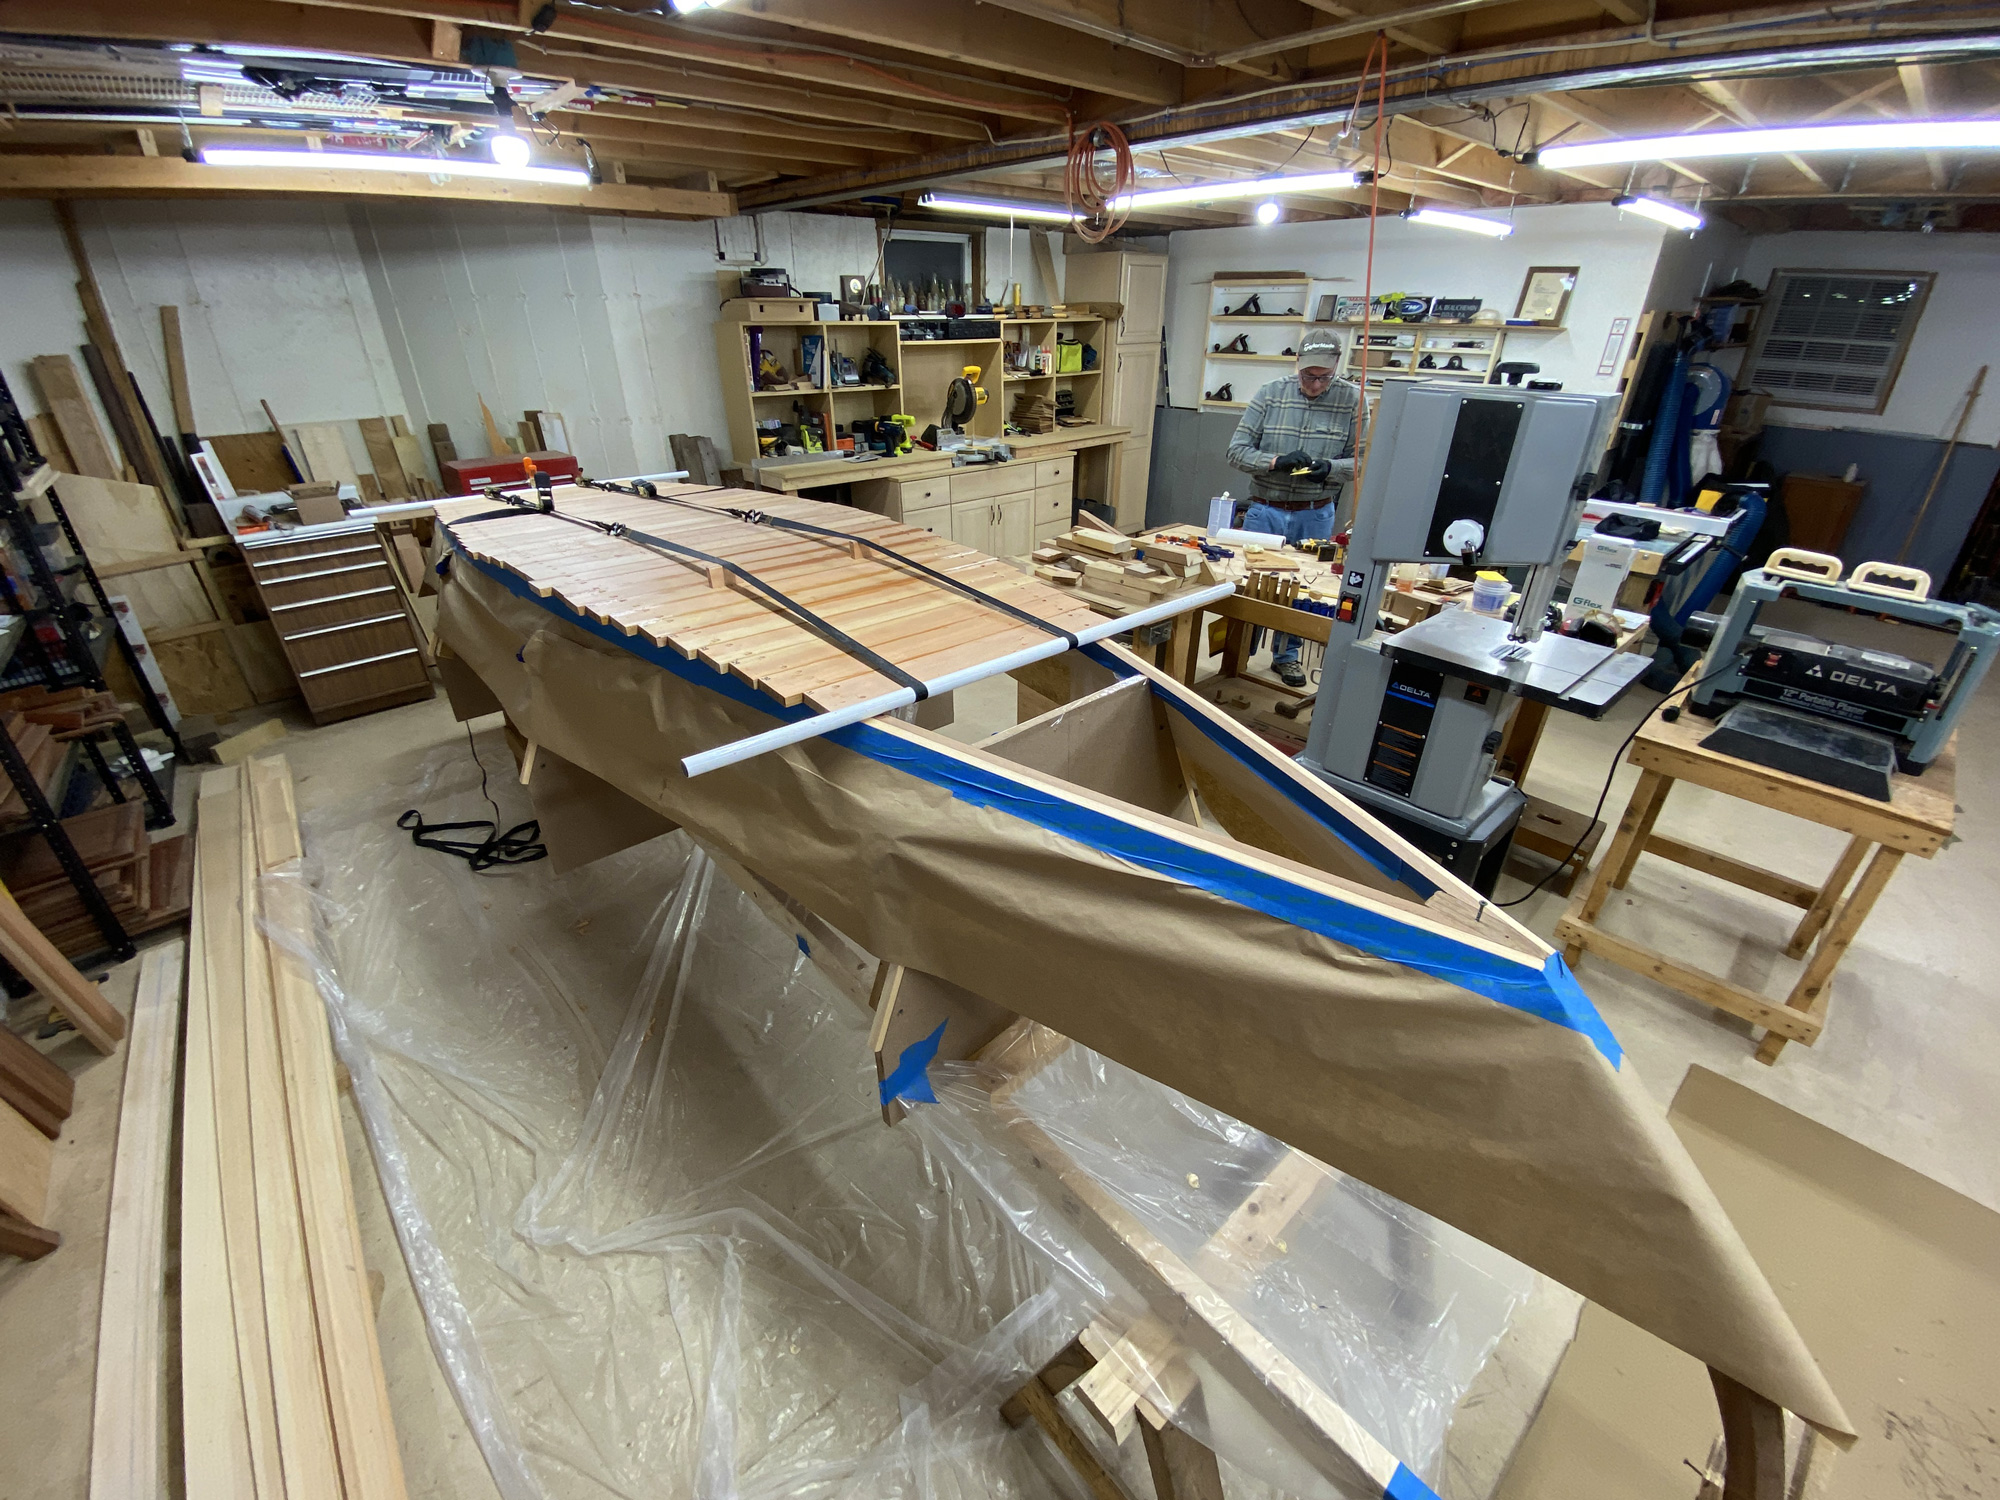
The microBootlegger is a simple build as it does not have any particularly tight curves more common on performance kayaks. That said, as an absolute beginner in the strip-built process, there was one feature that I struggled with—the rear deck-to-side section, which is supposed to have a somewhat sharp transition similar to a hard chine.
As I laid the strips in this area, I was confused about how to manage that sharp transition, and ended up rounding-over the corners of the forms a bit so the strips could actually twist around from deck to side. If I had bothered to think just a bit more about this, contact Nick, or even post a question or two on a forum, I could certainly have accomplished this feature according to the original design.
In the end, my boat is more rounded in this area which looks just fine to my eye. Since I built my boat, Nick has posted a series of videos of an entire microBootlegger build on YouTube, detailing every step.
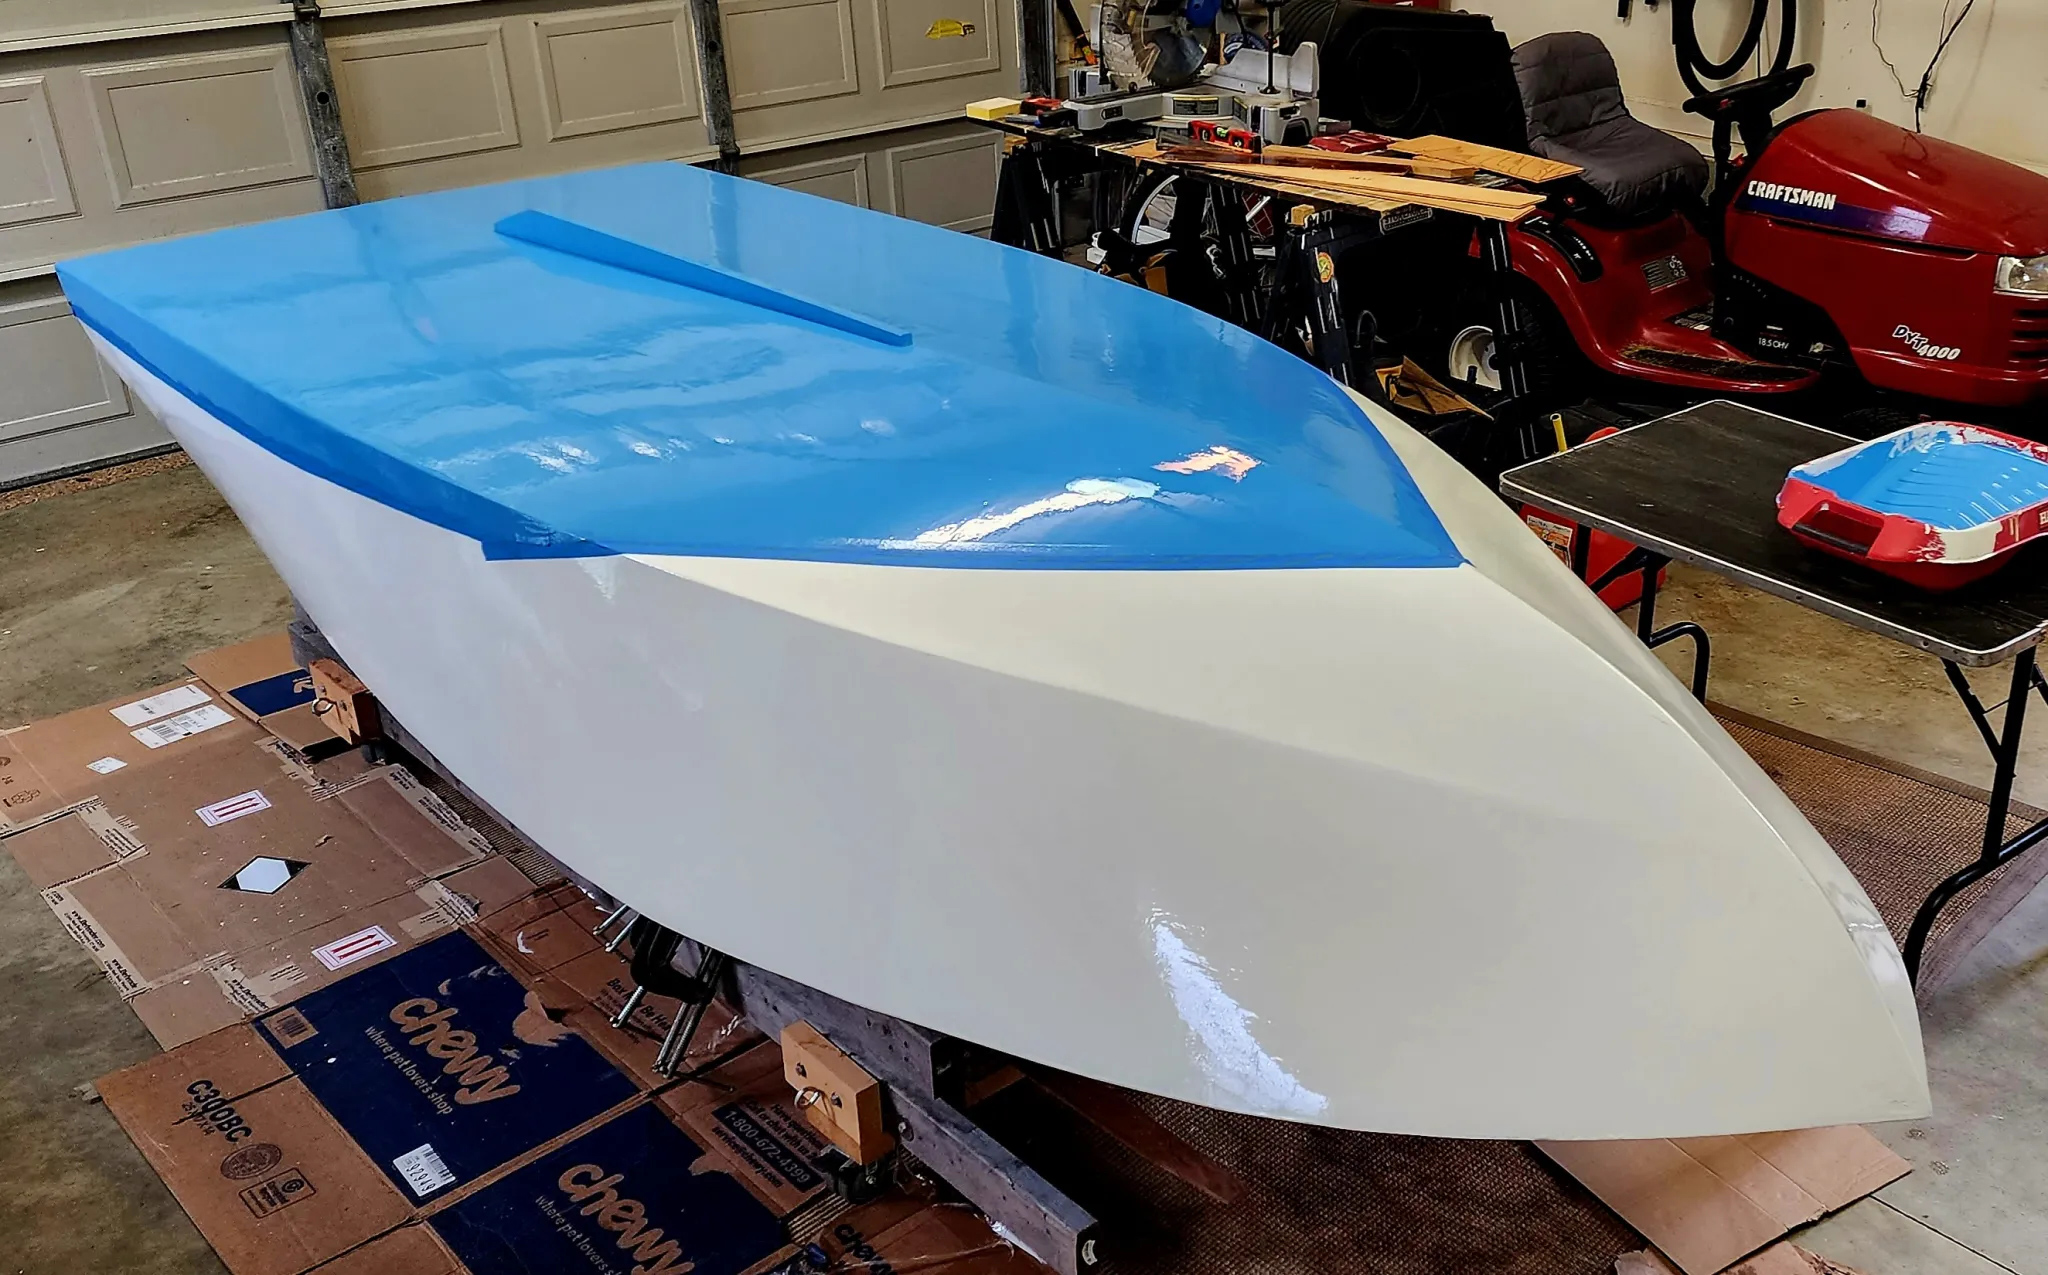
Builders of cedar-strip boats have many opportunities for customizing them, from artful selection of alternating color strips or grain patterns to actual art in the form of inlay or marquetry. What drew me to this design was its classic form and uniform mahogany color, and I didn’t want to deviate too much from that, but I did want to include some accent on the fore and aft decks. I settled on contrasting maple strips on the decks—understated, but something to give the otherwise blank bow and stern decks some visual structure.
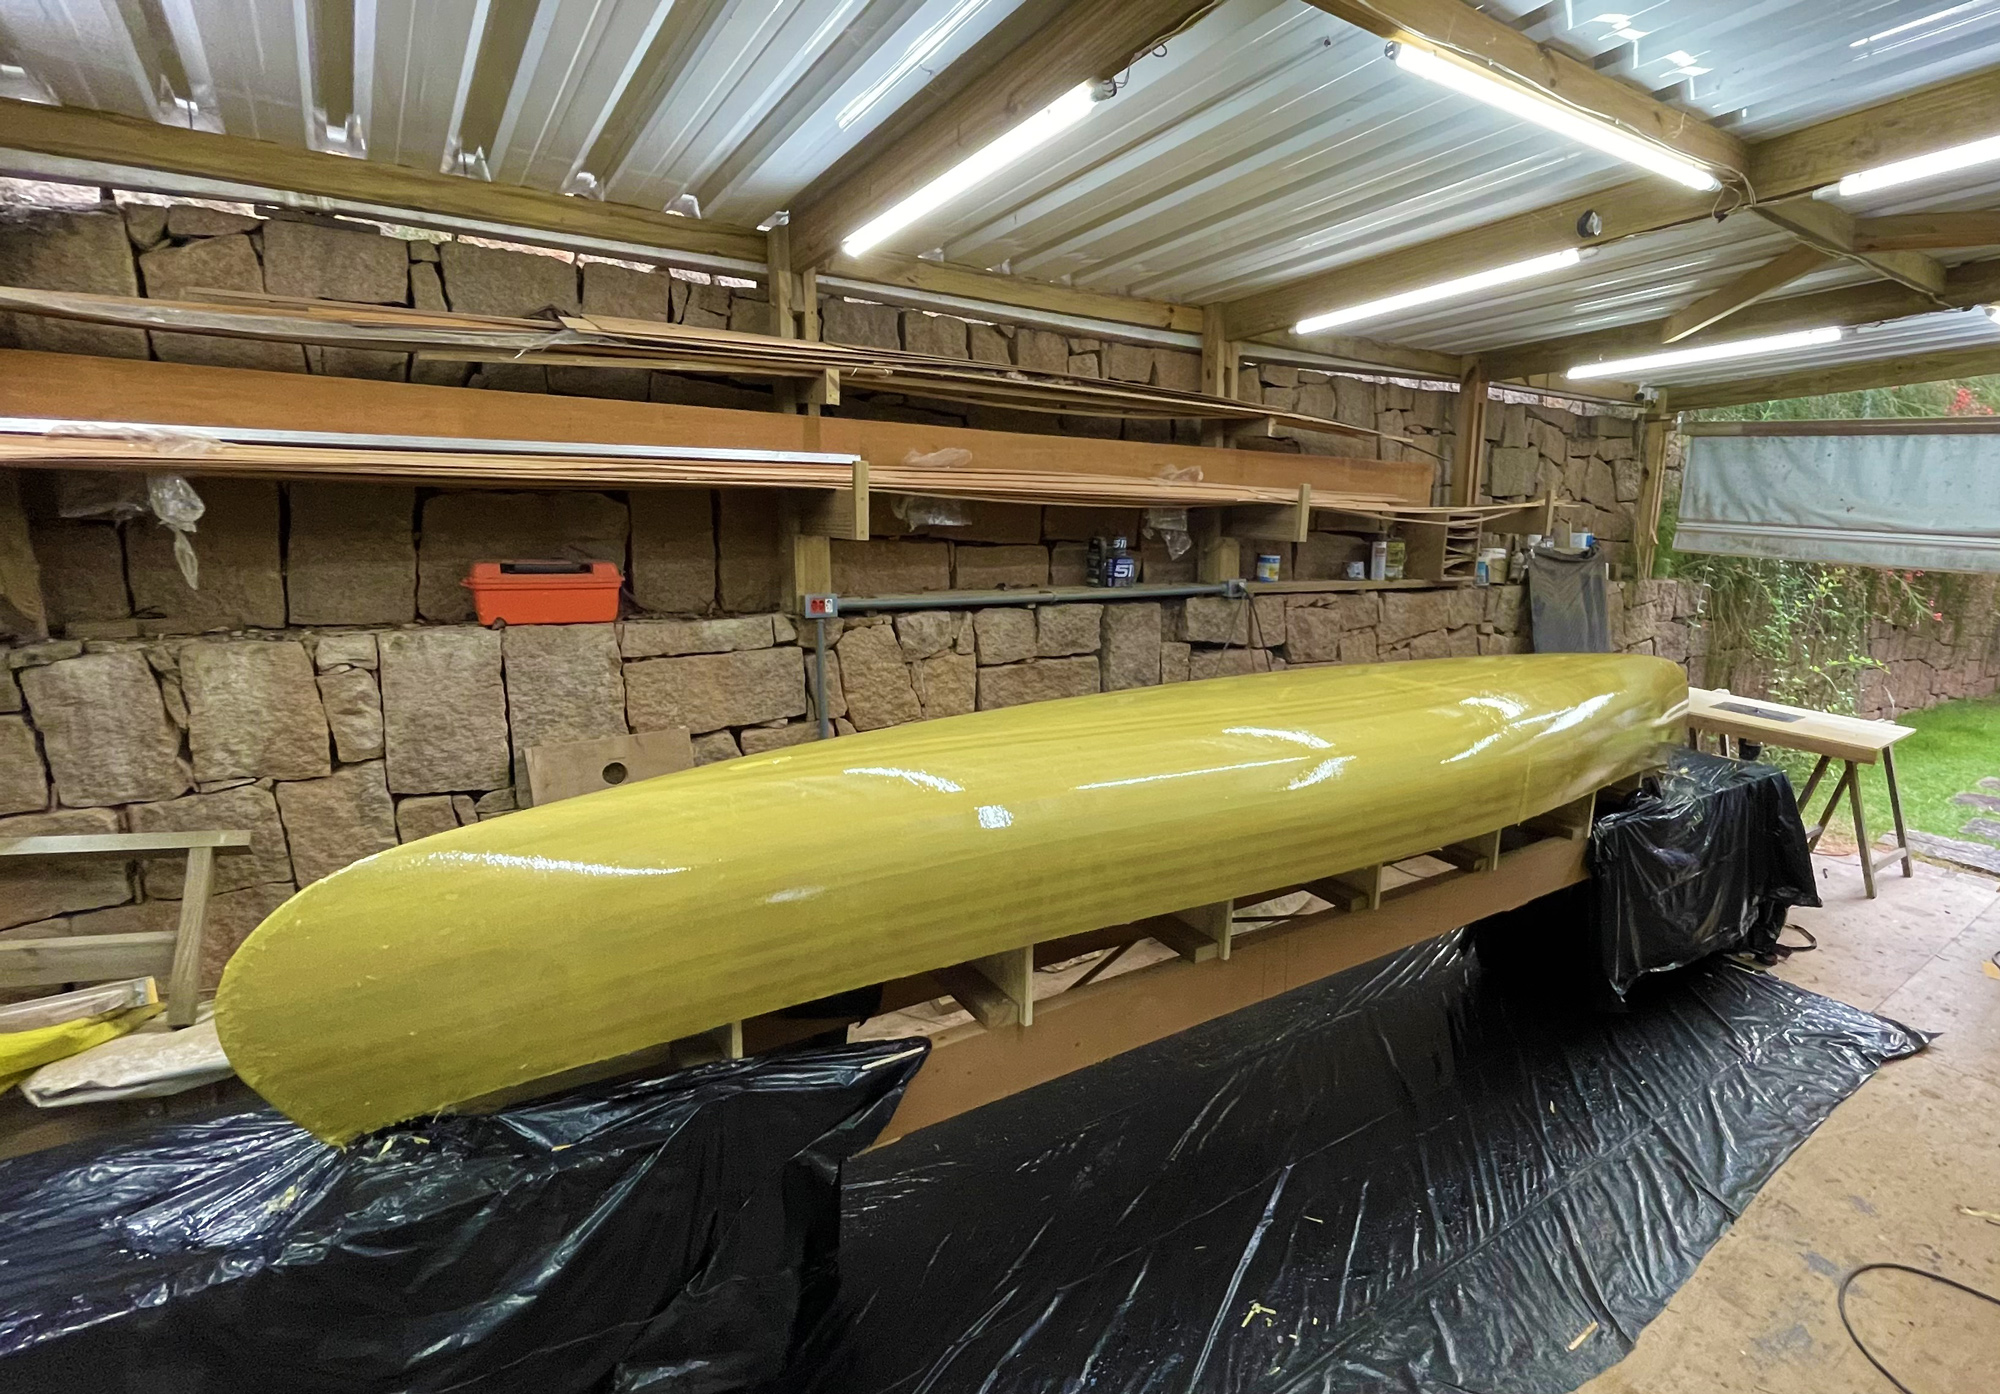
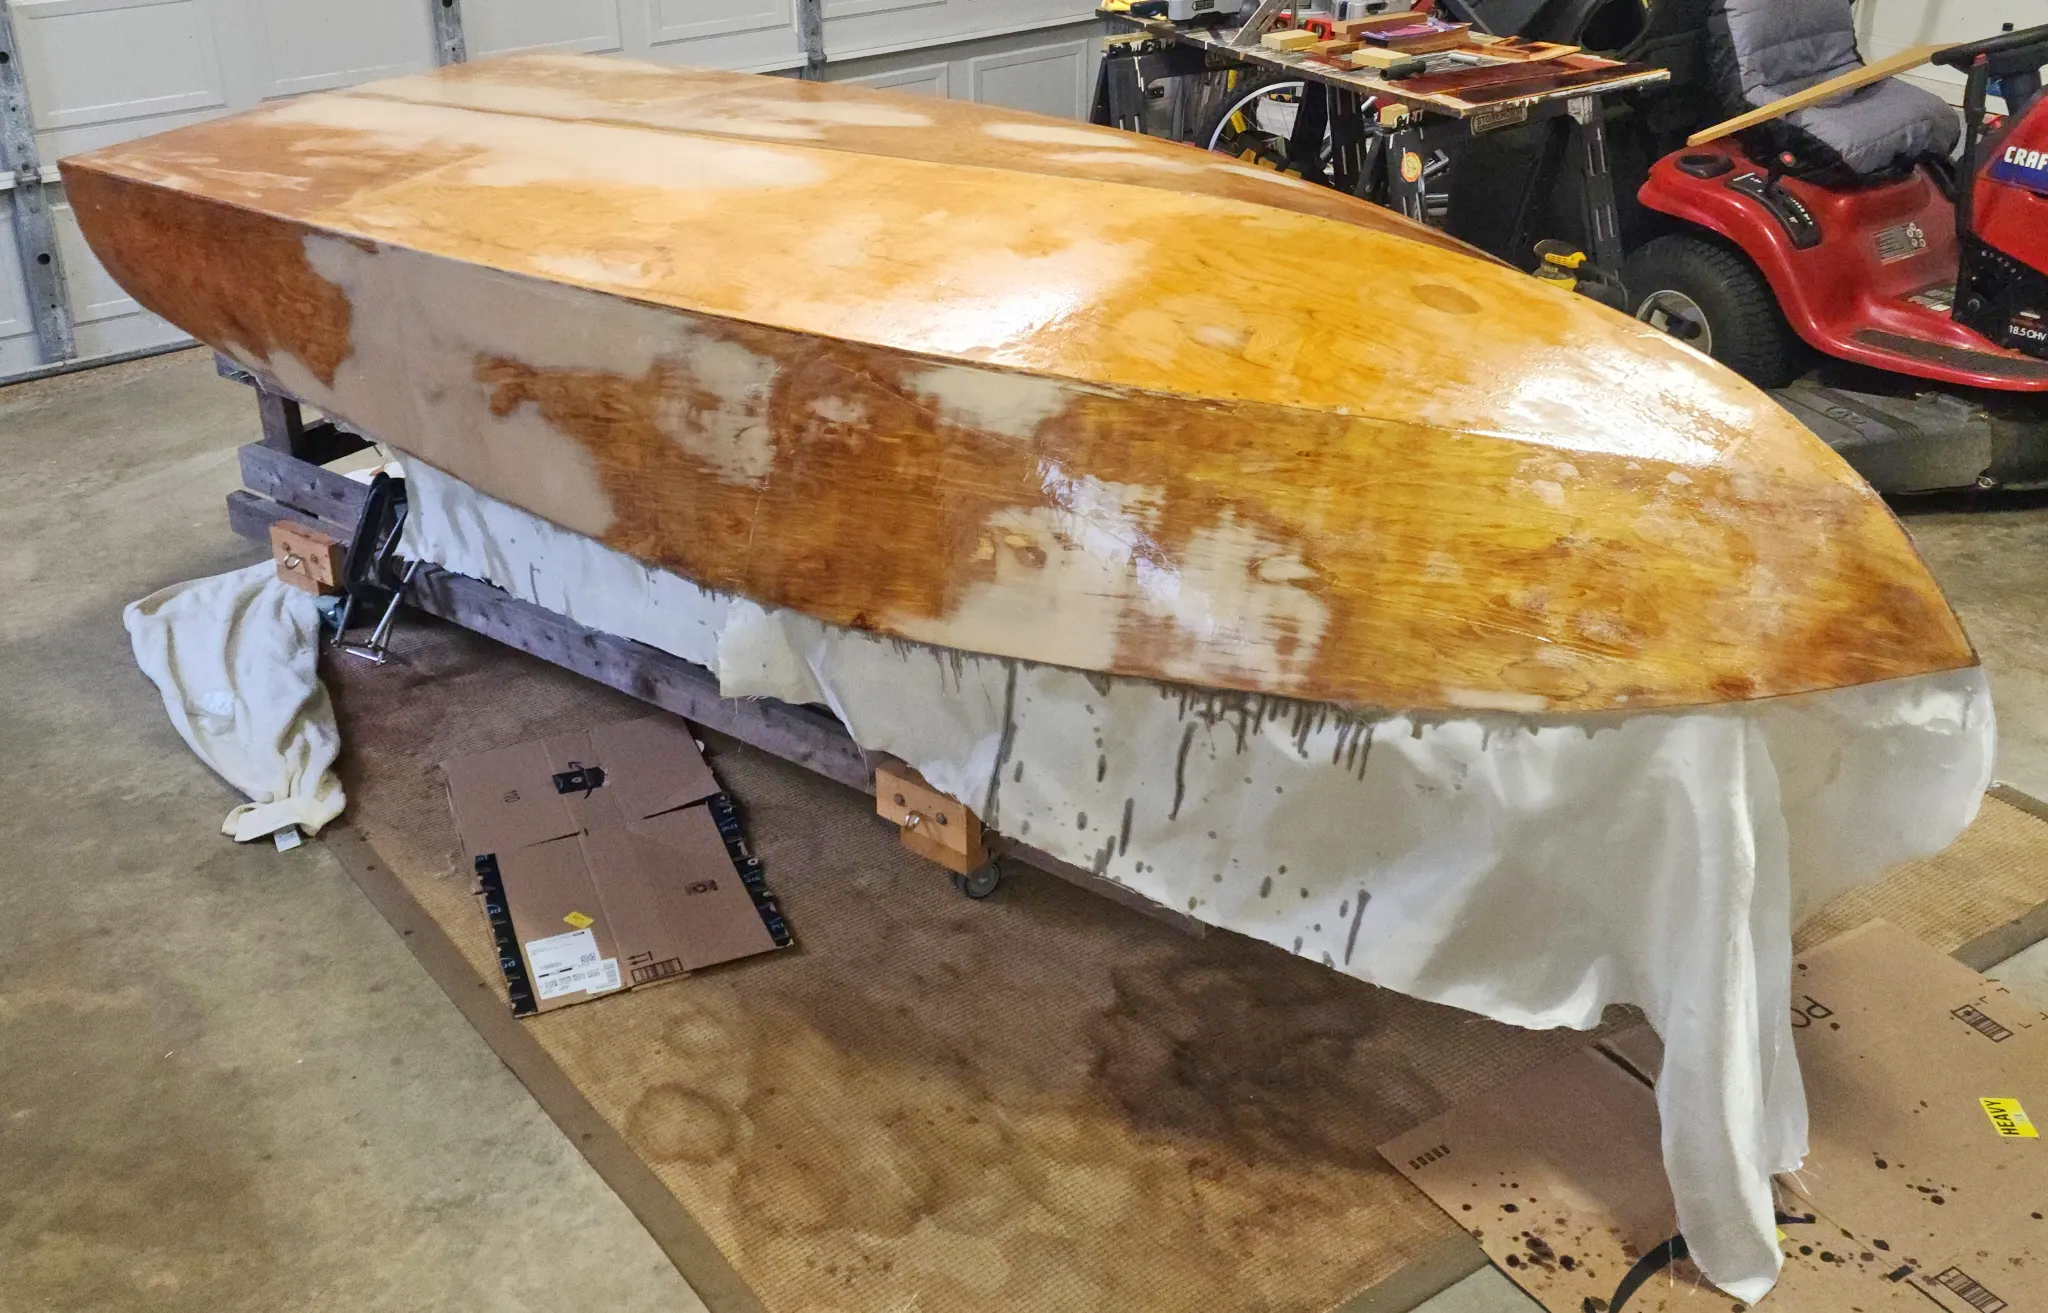
This being my first build and my first time using fiberglass and epoxy, my boat, at 49 lbs, ended up probably heavier than what more experienced builders could achieve. I had turned on a space heater in my basement before applying fiberglass and epoxy to the inside hull. Rising temperature results in expanding air, causing bubbles to form between the wood and the fiberglass skin as the epoxy hardens. While not a structural concern, it was unsightly, and I had to spend extra time sanding and filling.
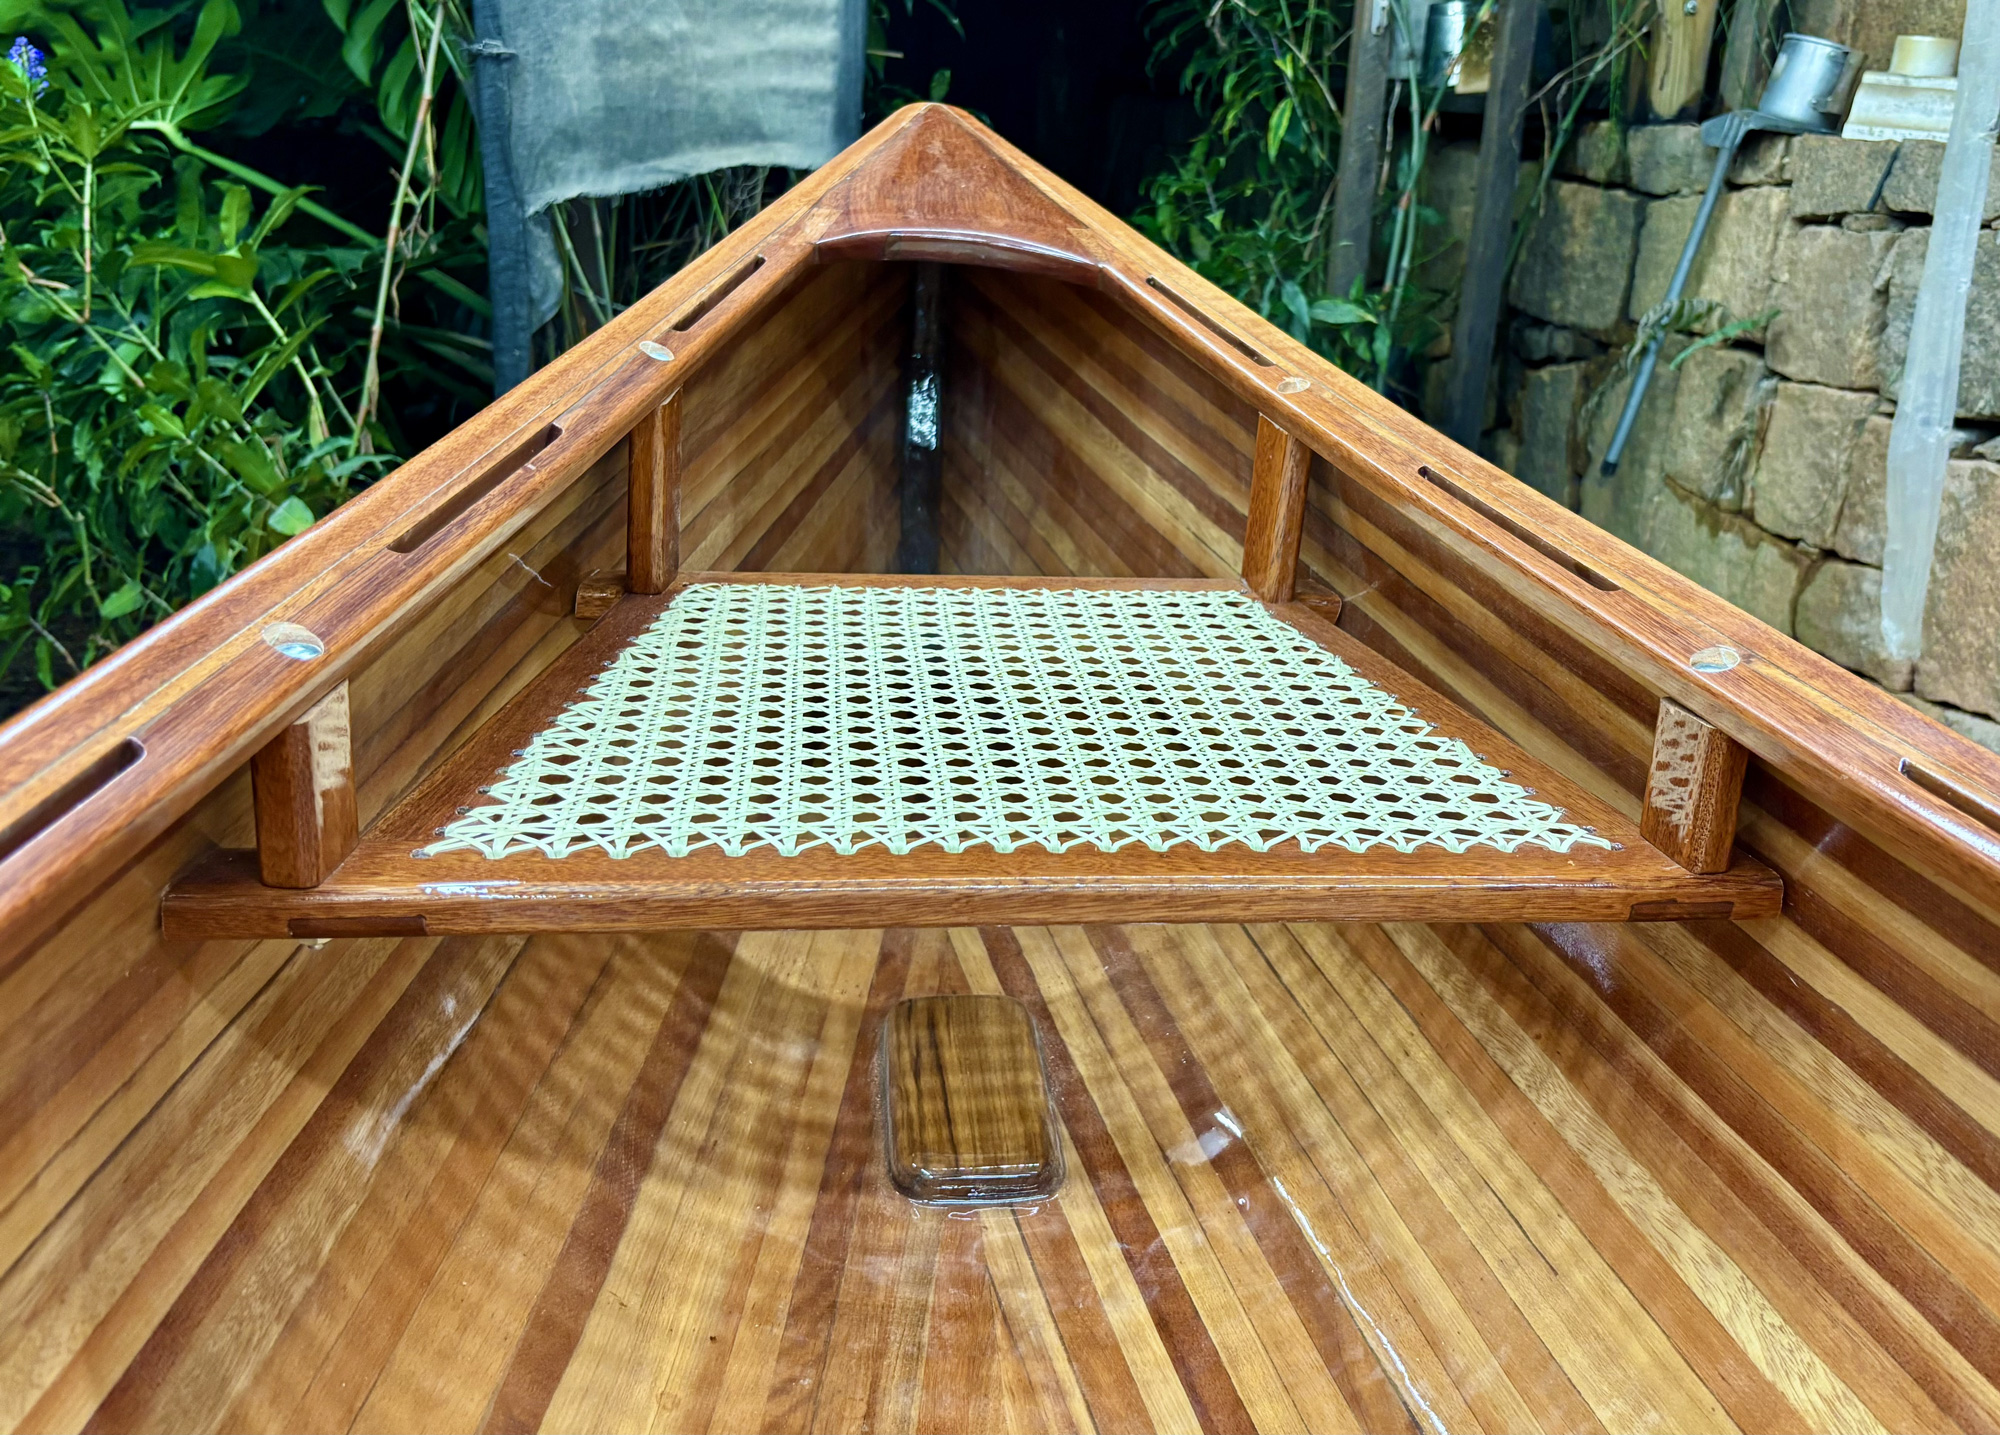
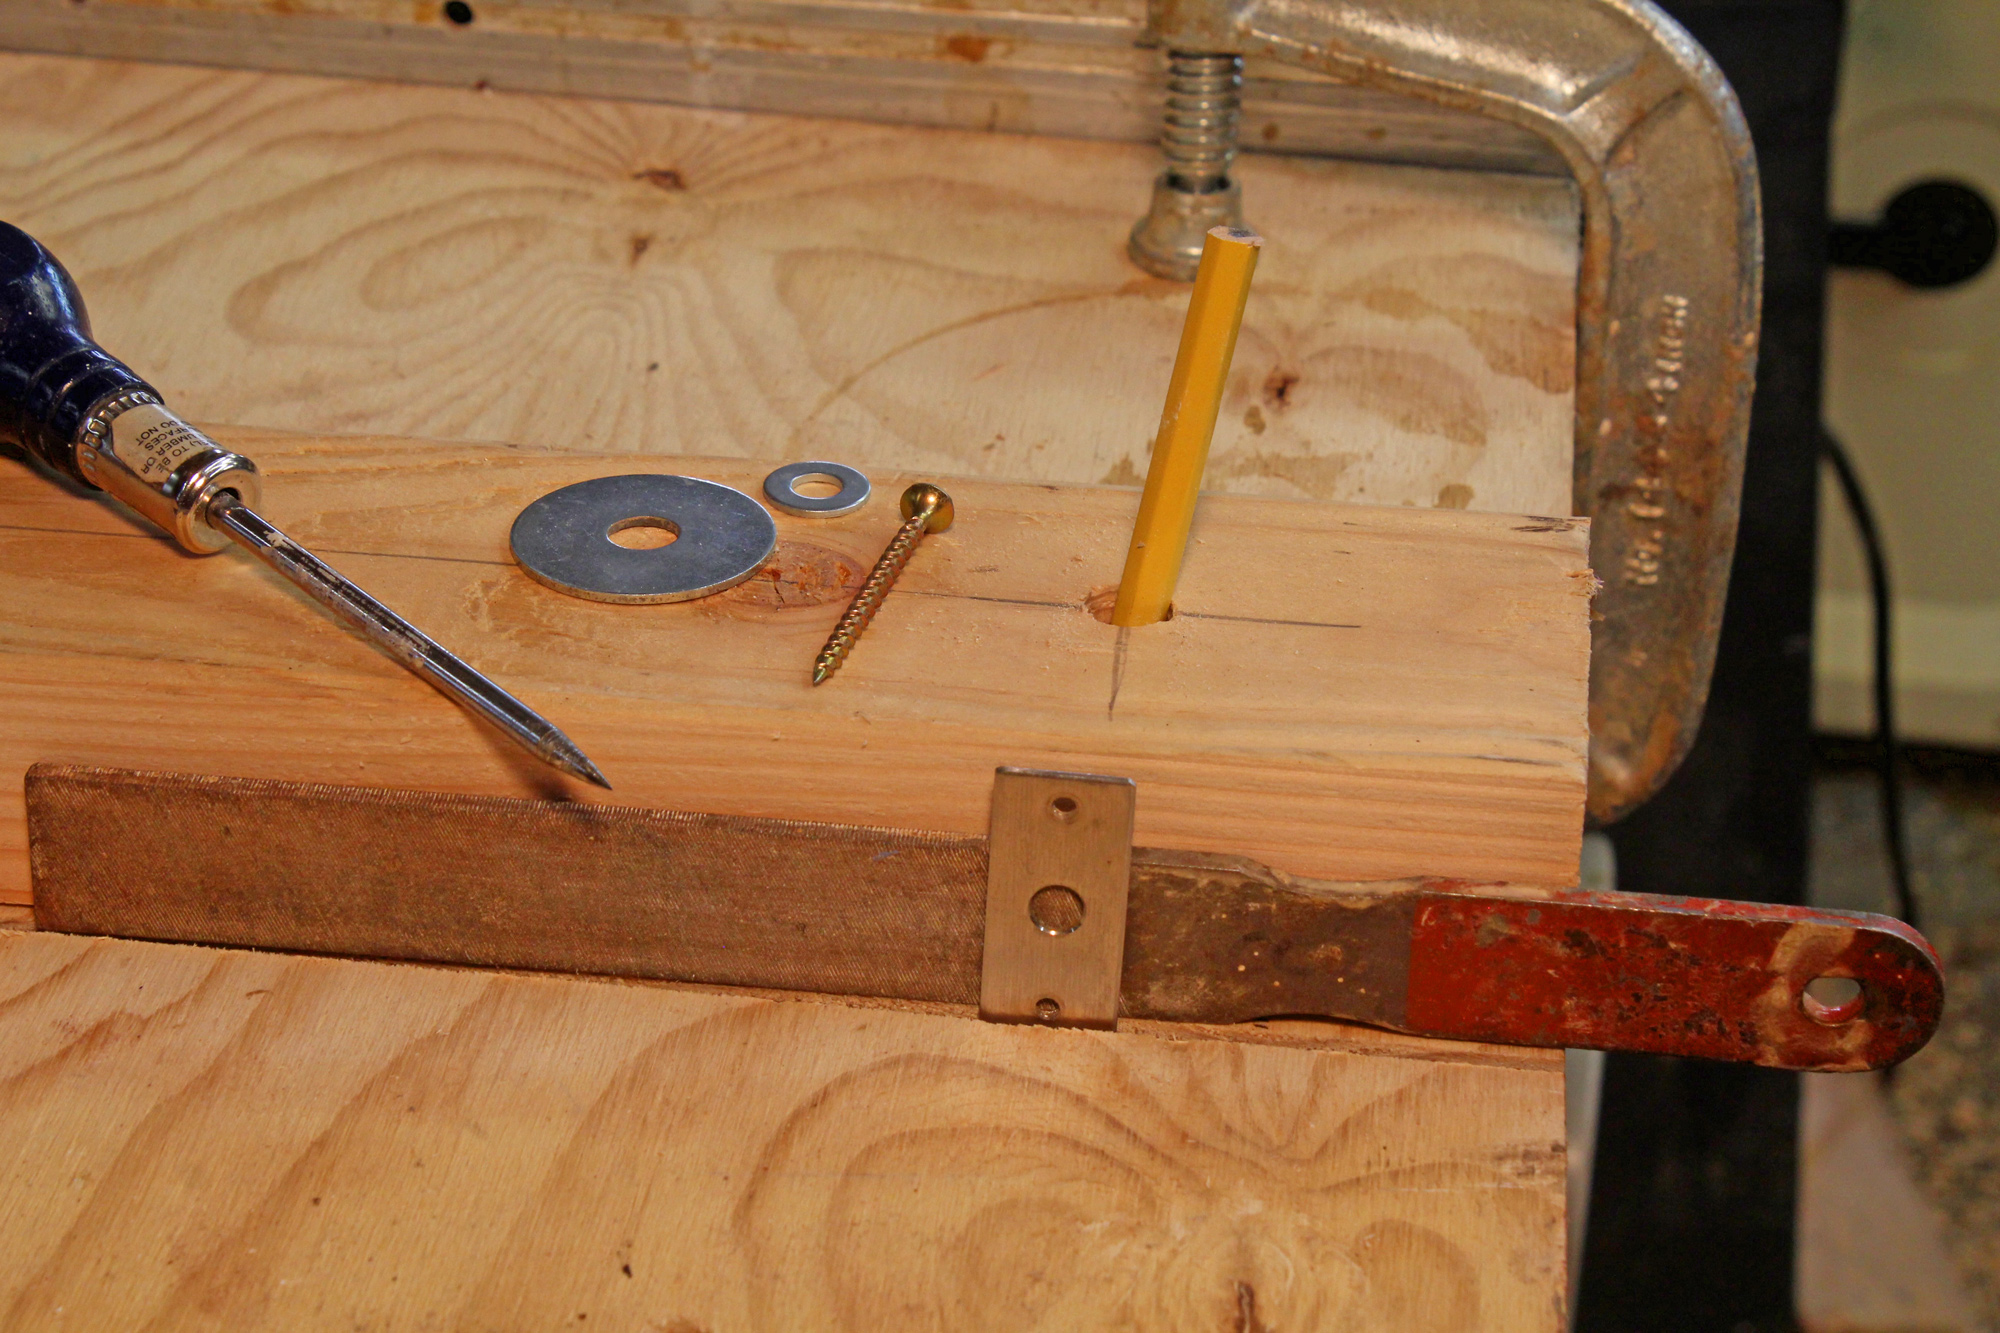
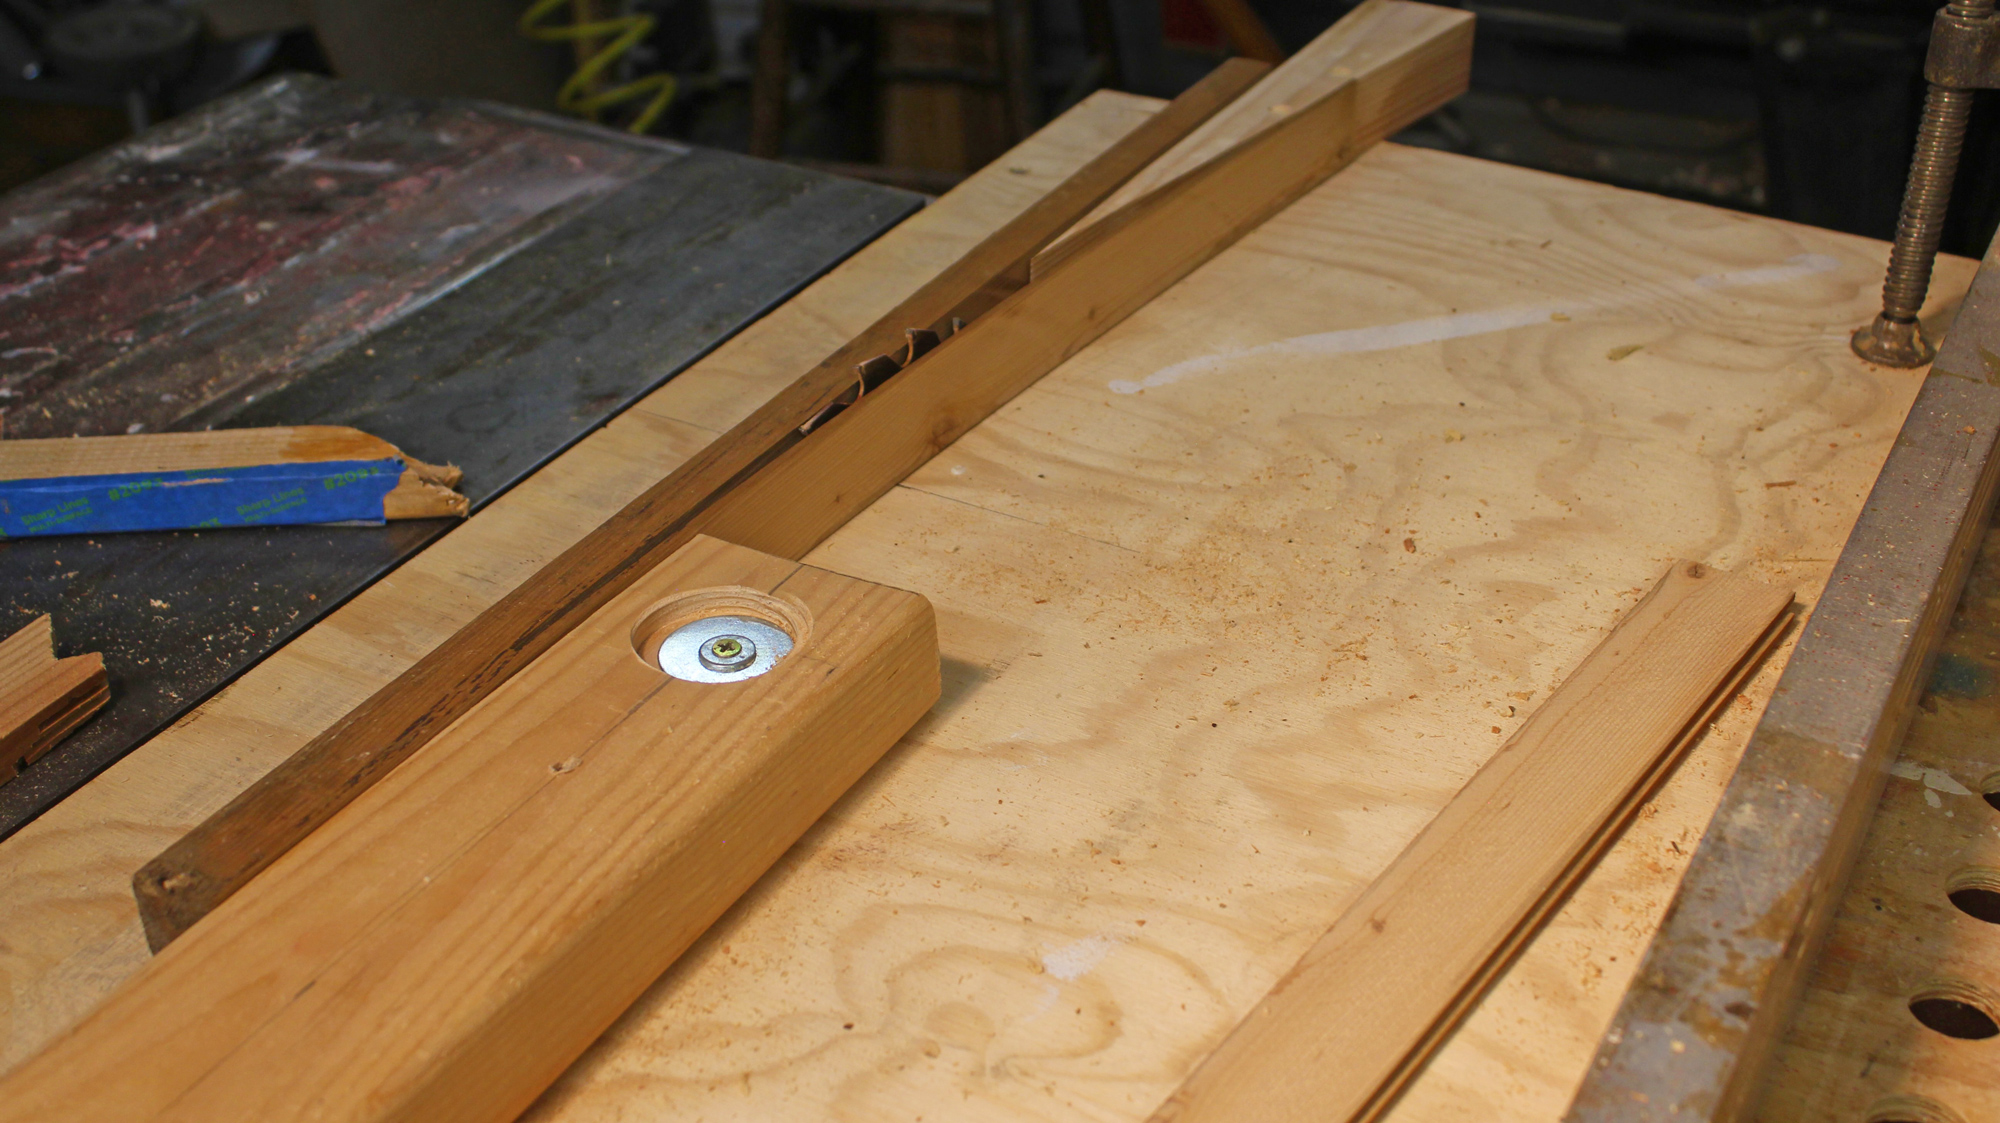
The bow and stern have quilted maple stems, which are a large part of the visual appeal. I used maple edge banding in the coaming buildup for some accent stripes. I also made two other modifications. First was to add some holes in the bow and stern that I could use for carry loops and as tie-down points while transporting on a roof rack. I did this by epoxying a maple dowel into an oversize hole, then drilling out a smaller hole leaving a cylinder of maple for reinforcement and wear protection. Second, I thought a flag seemed perfectly appropriate, so I epoxied a block of maple on the underside of the stern deck, drilled a hole, and reinforced it with an oval brass plate. I finished my microBootlegger after logging 177 hours over seven months.
 Adam Eckhardt
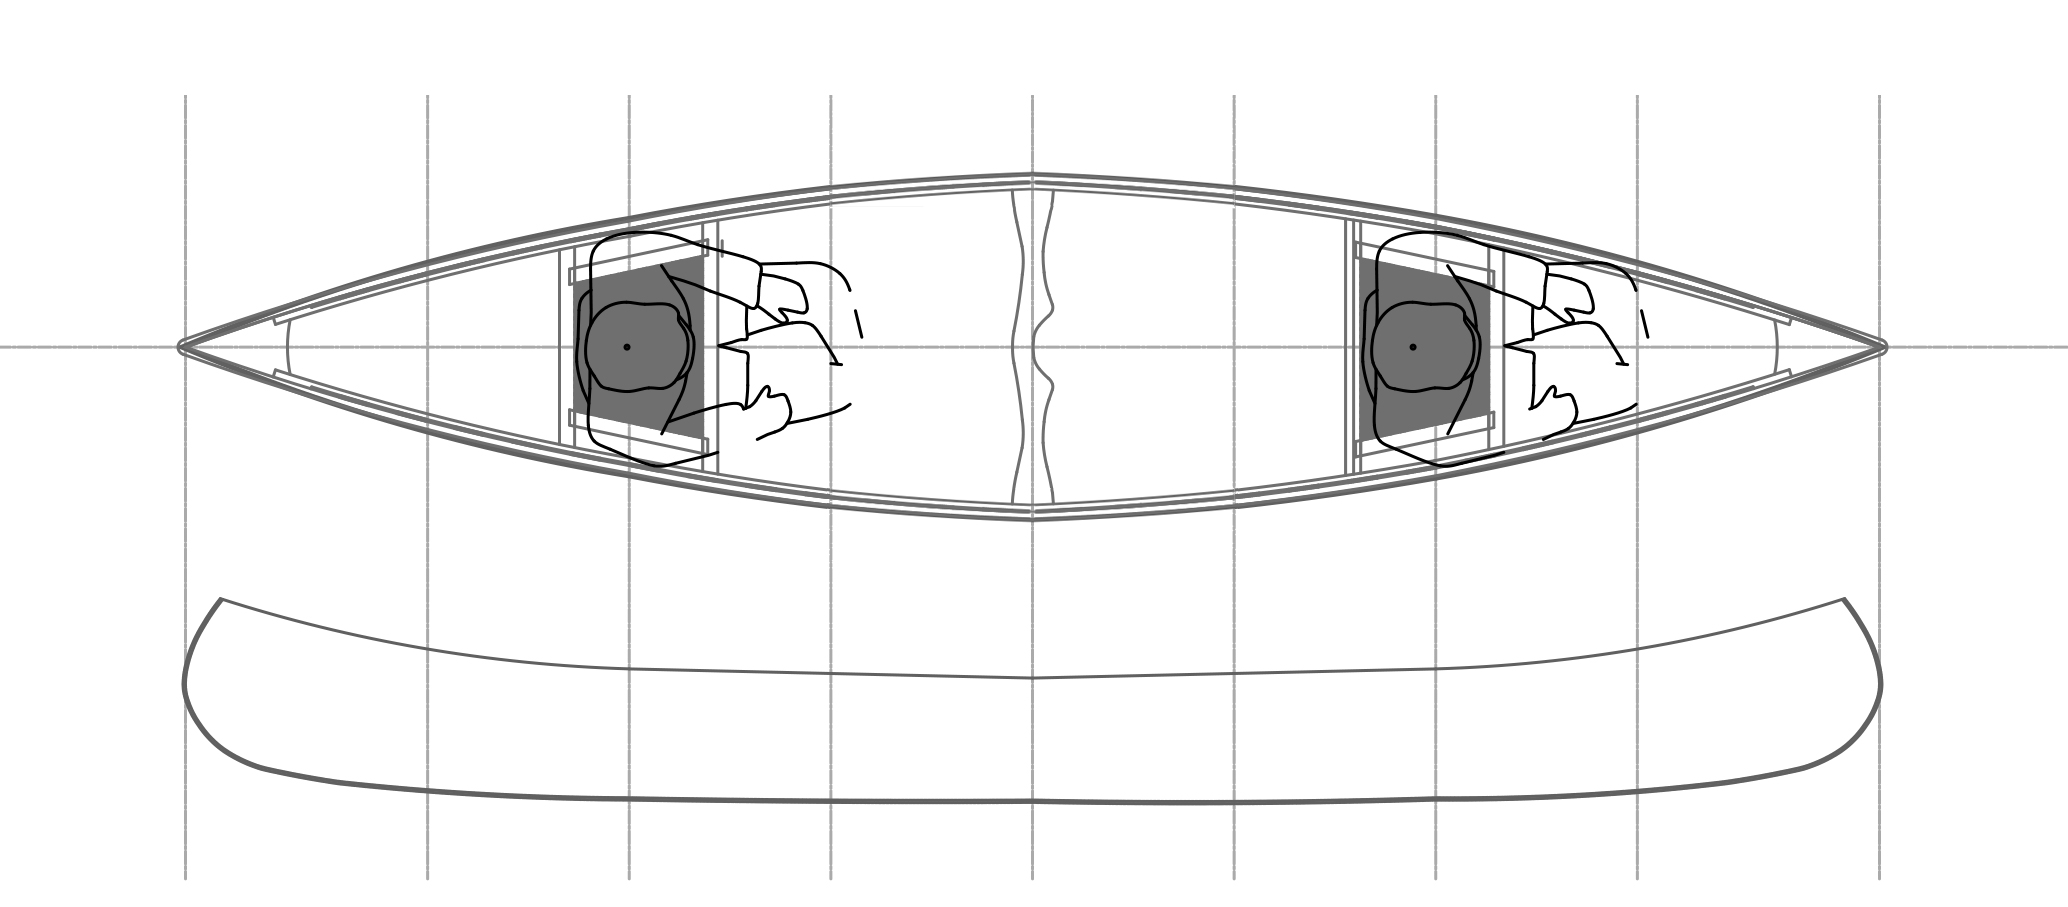
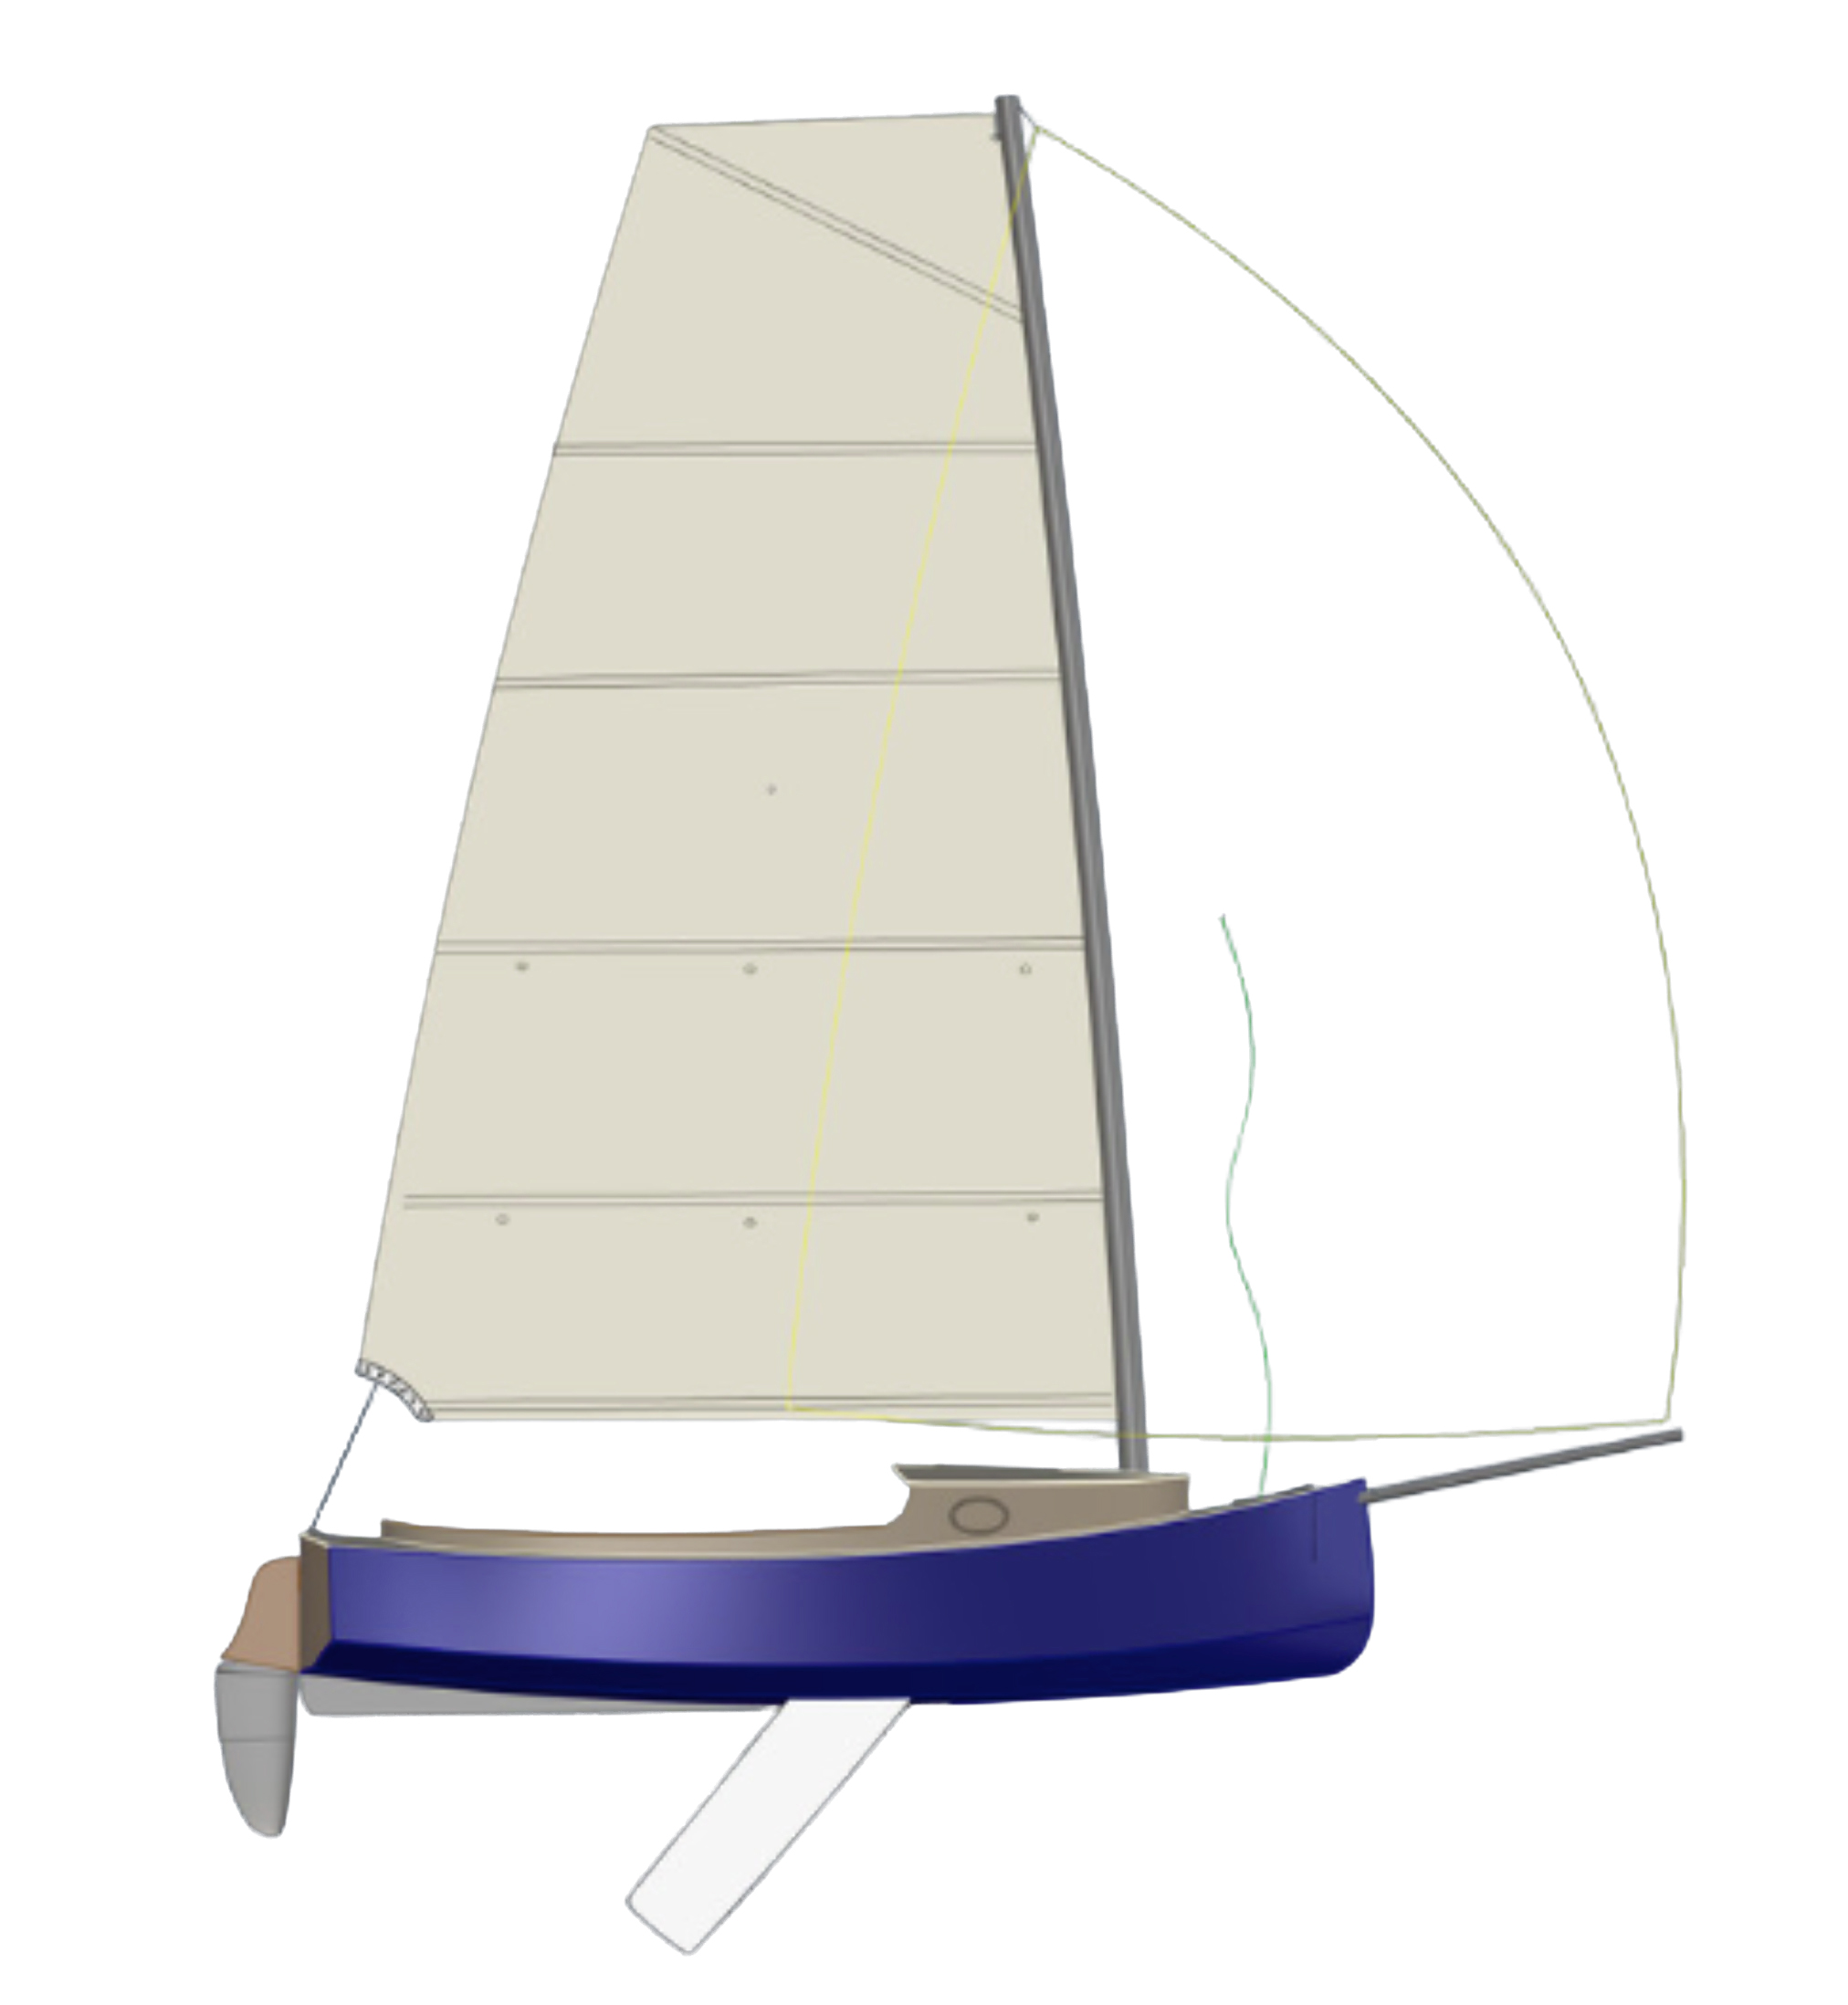
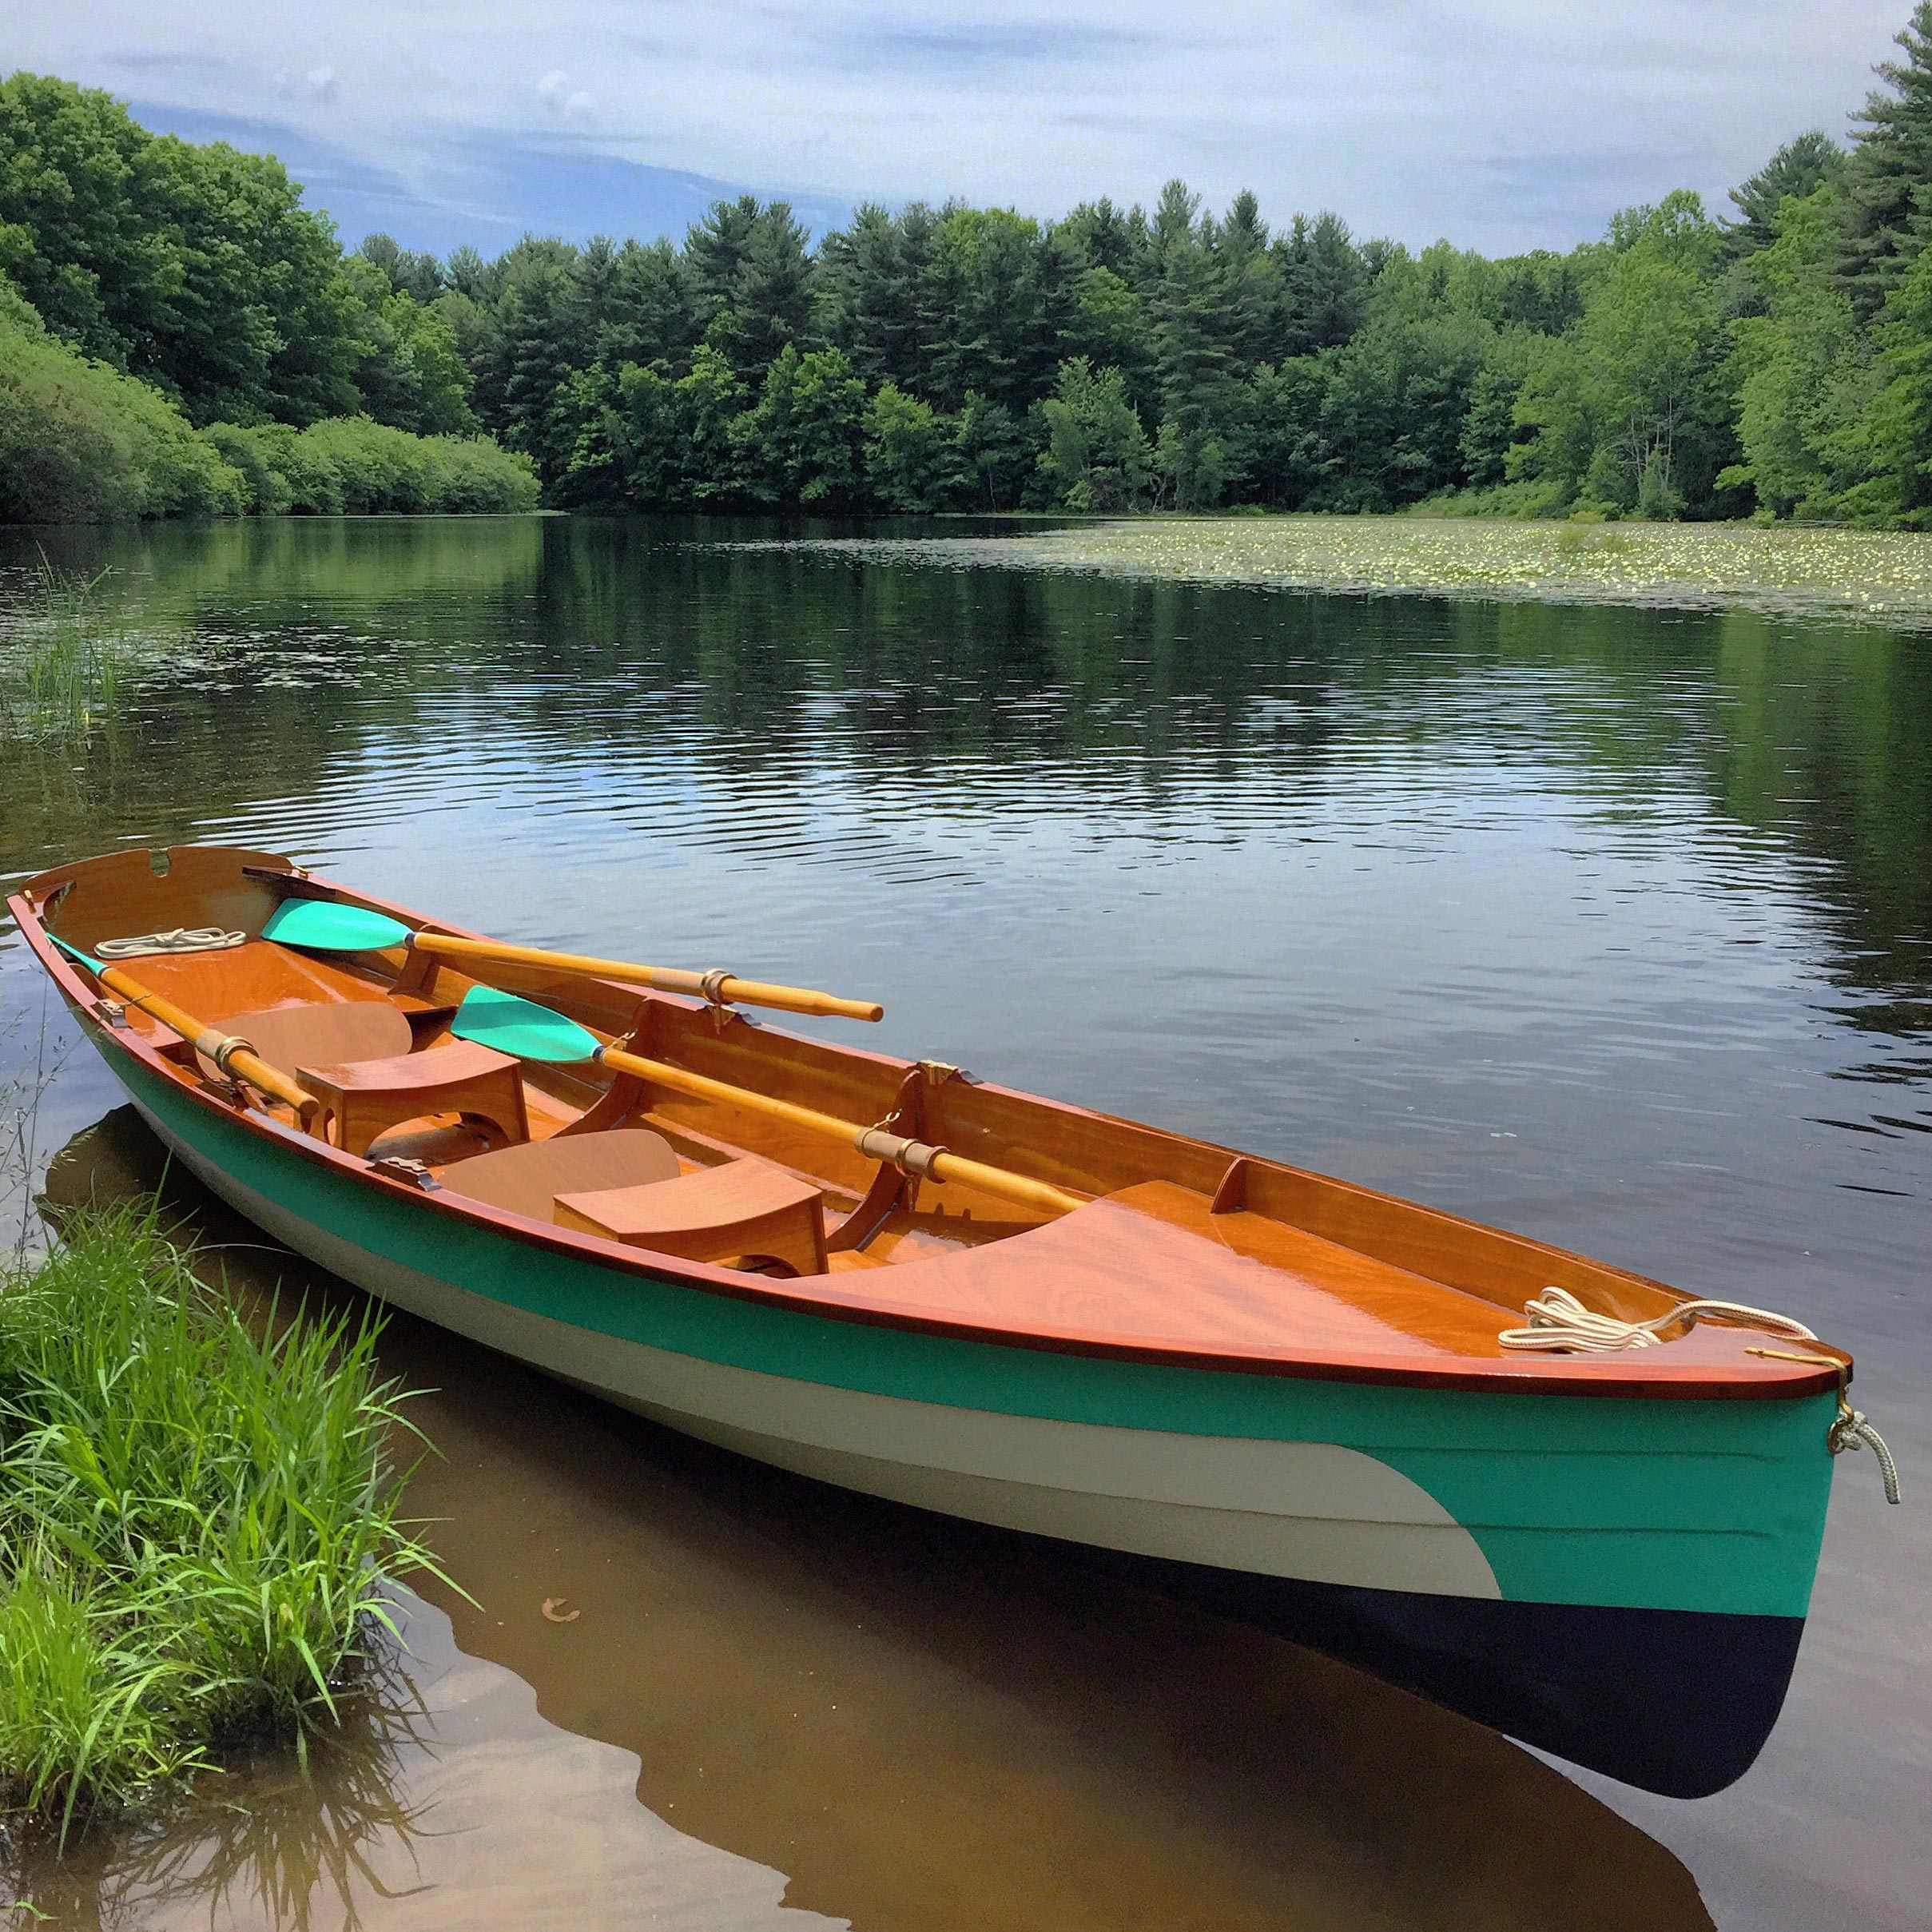
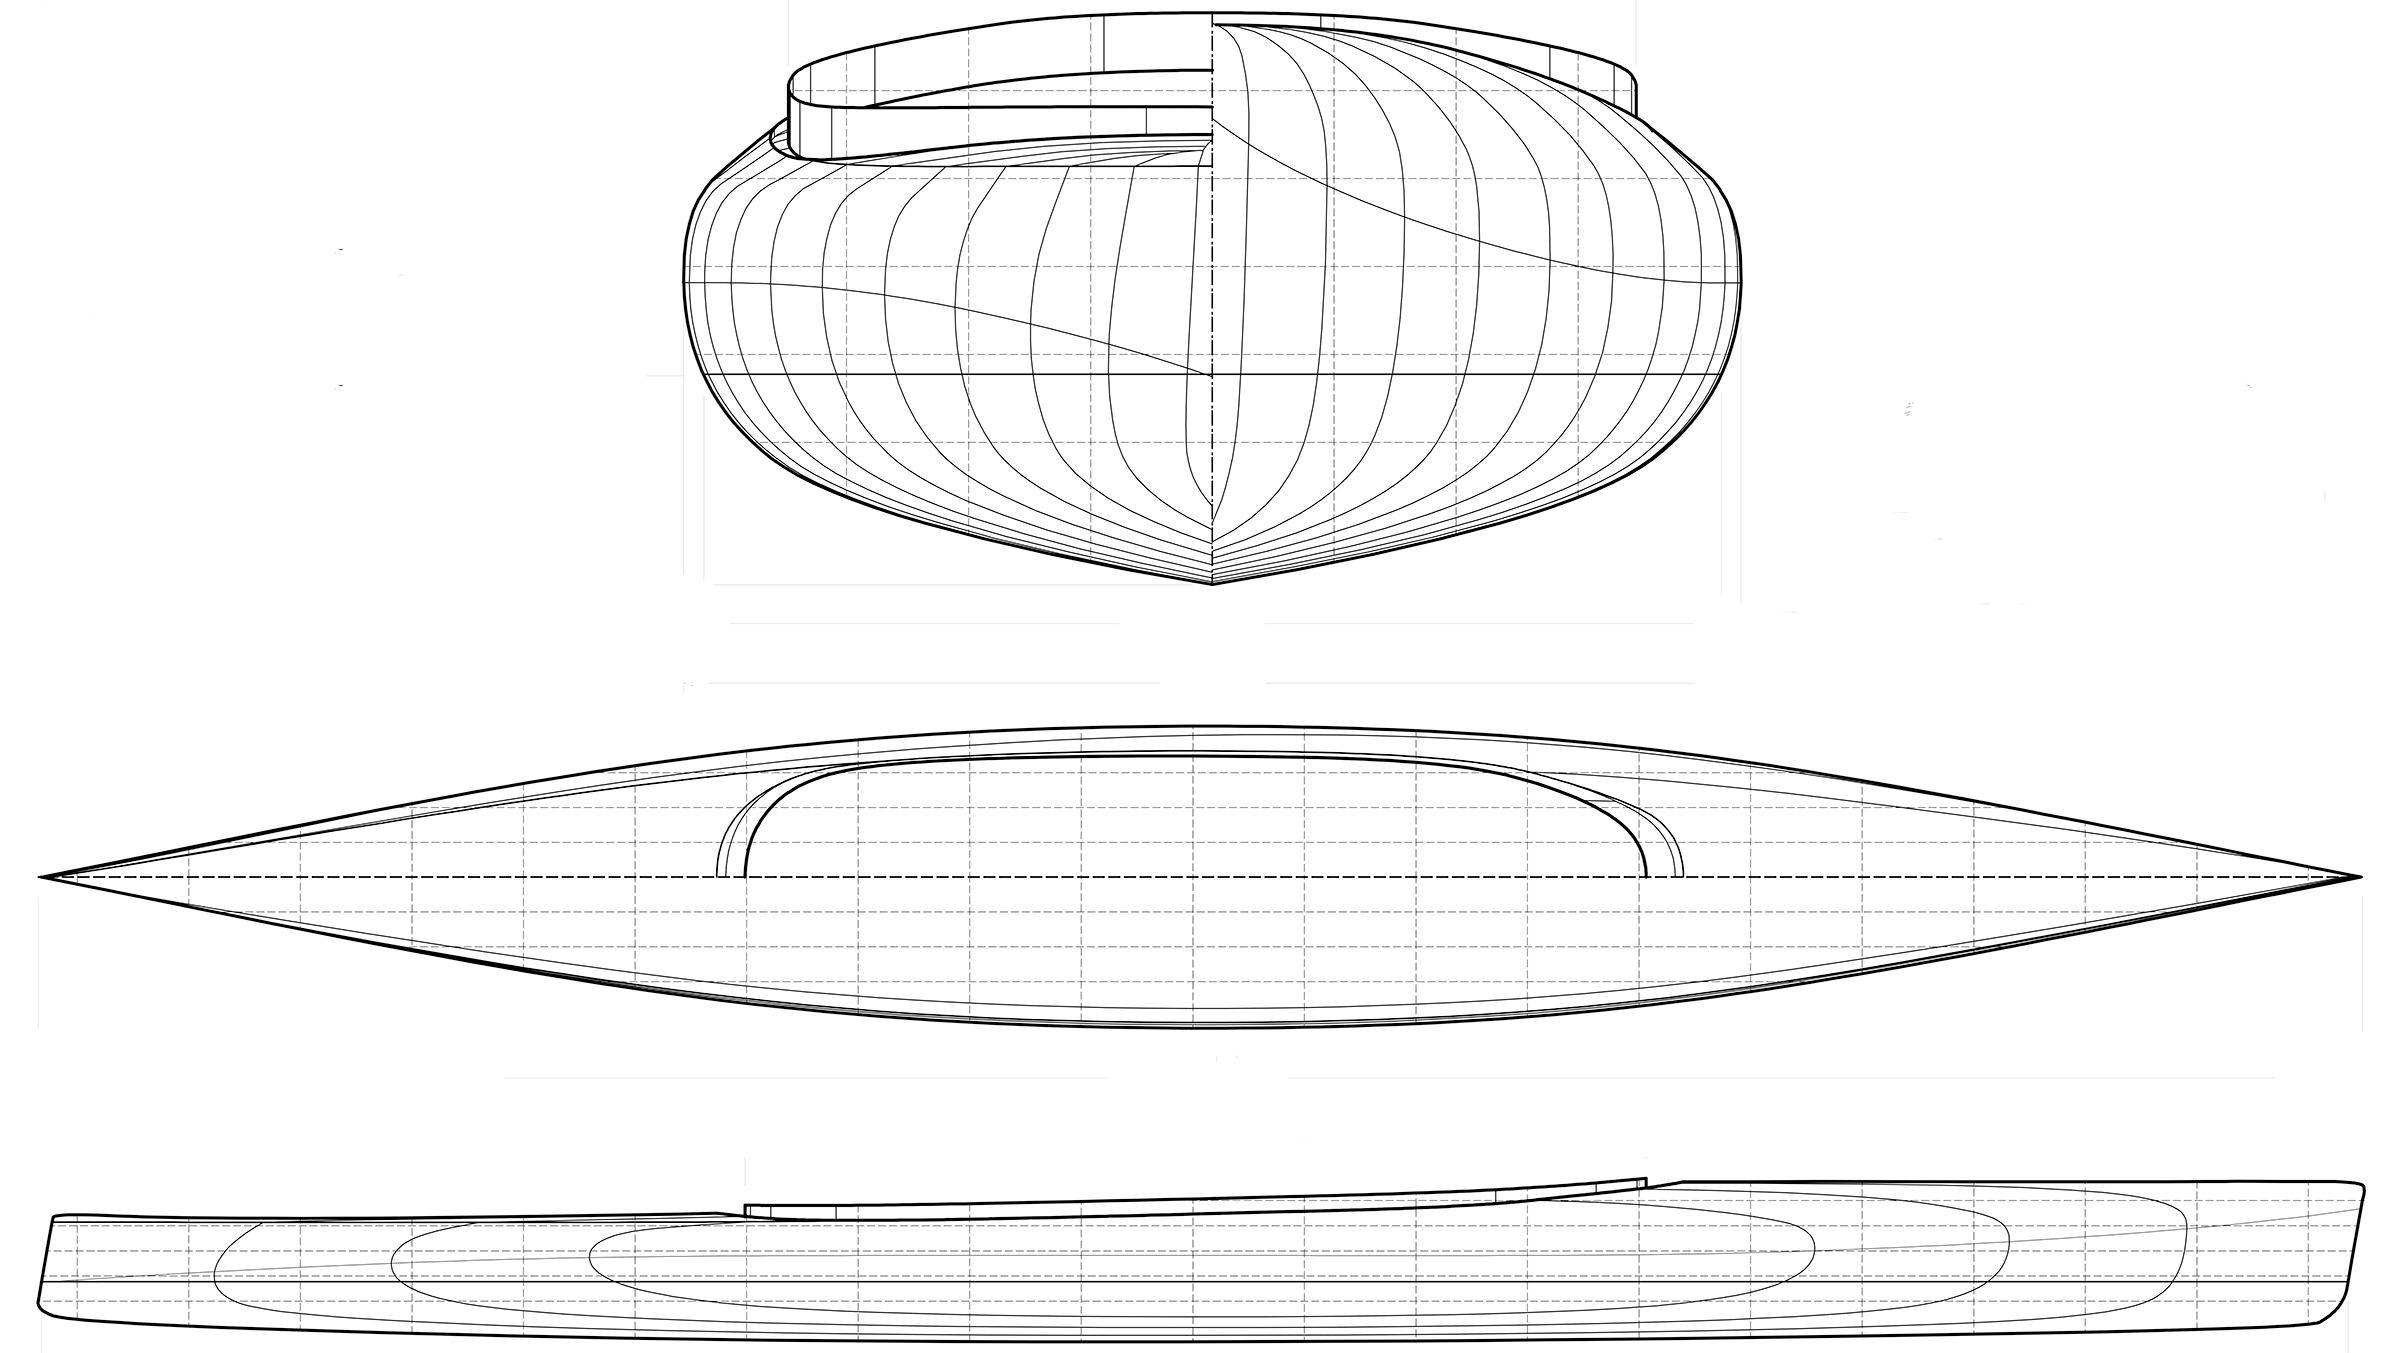
The nearly plumb bow and stern keep the waterline long, just 2.4″ short of the overall length, to keep the potential top speed high.
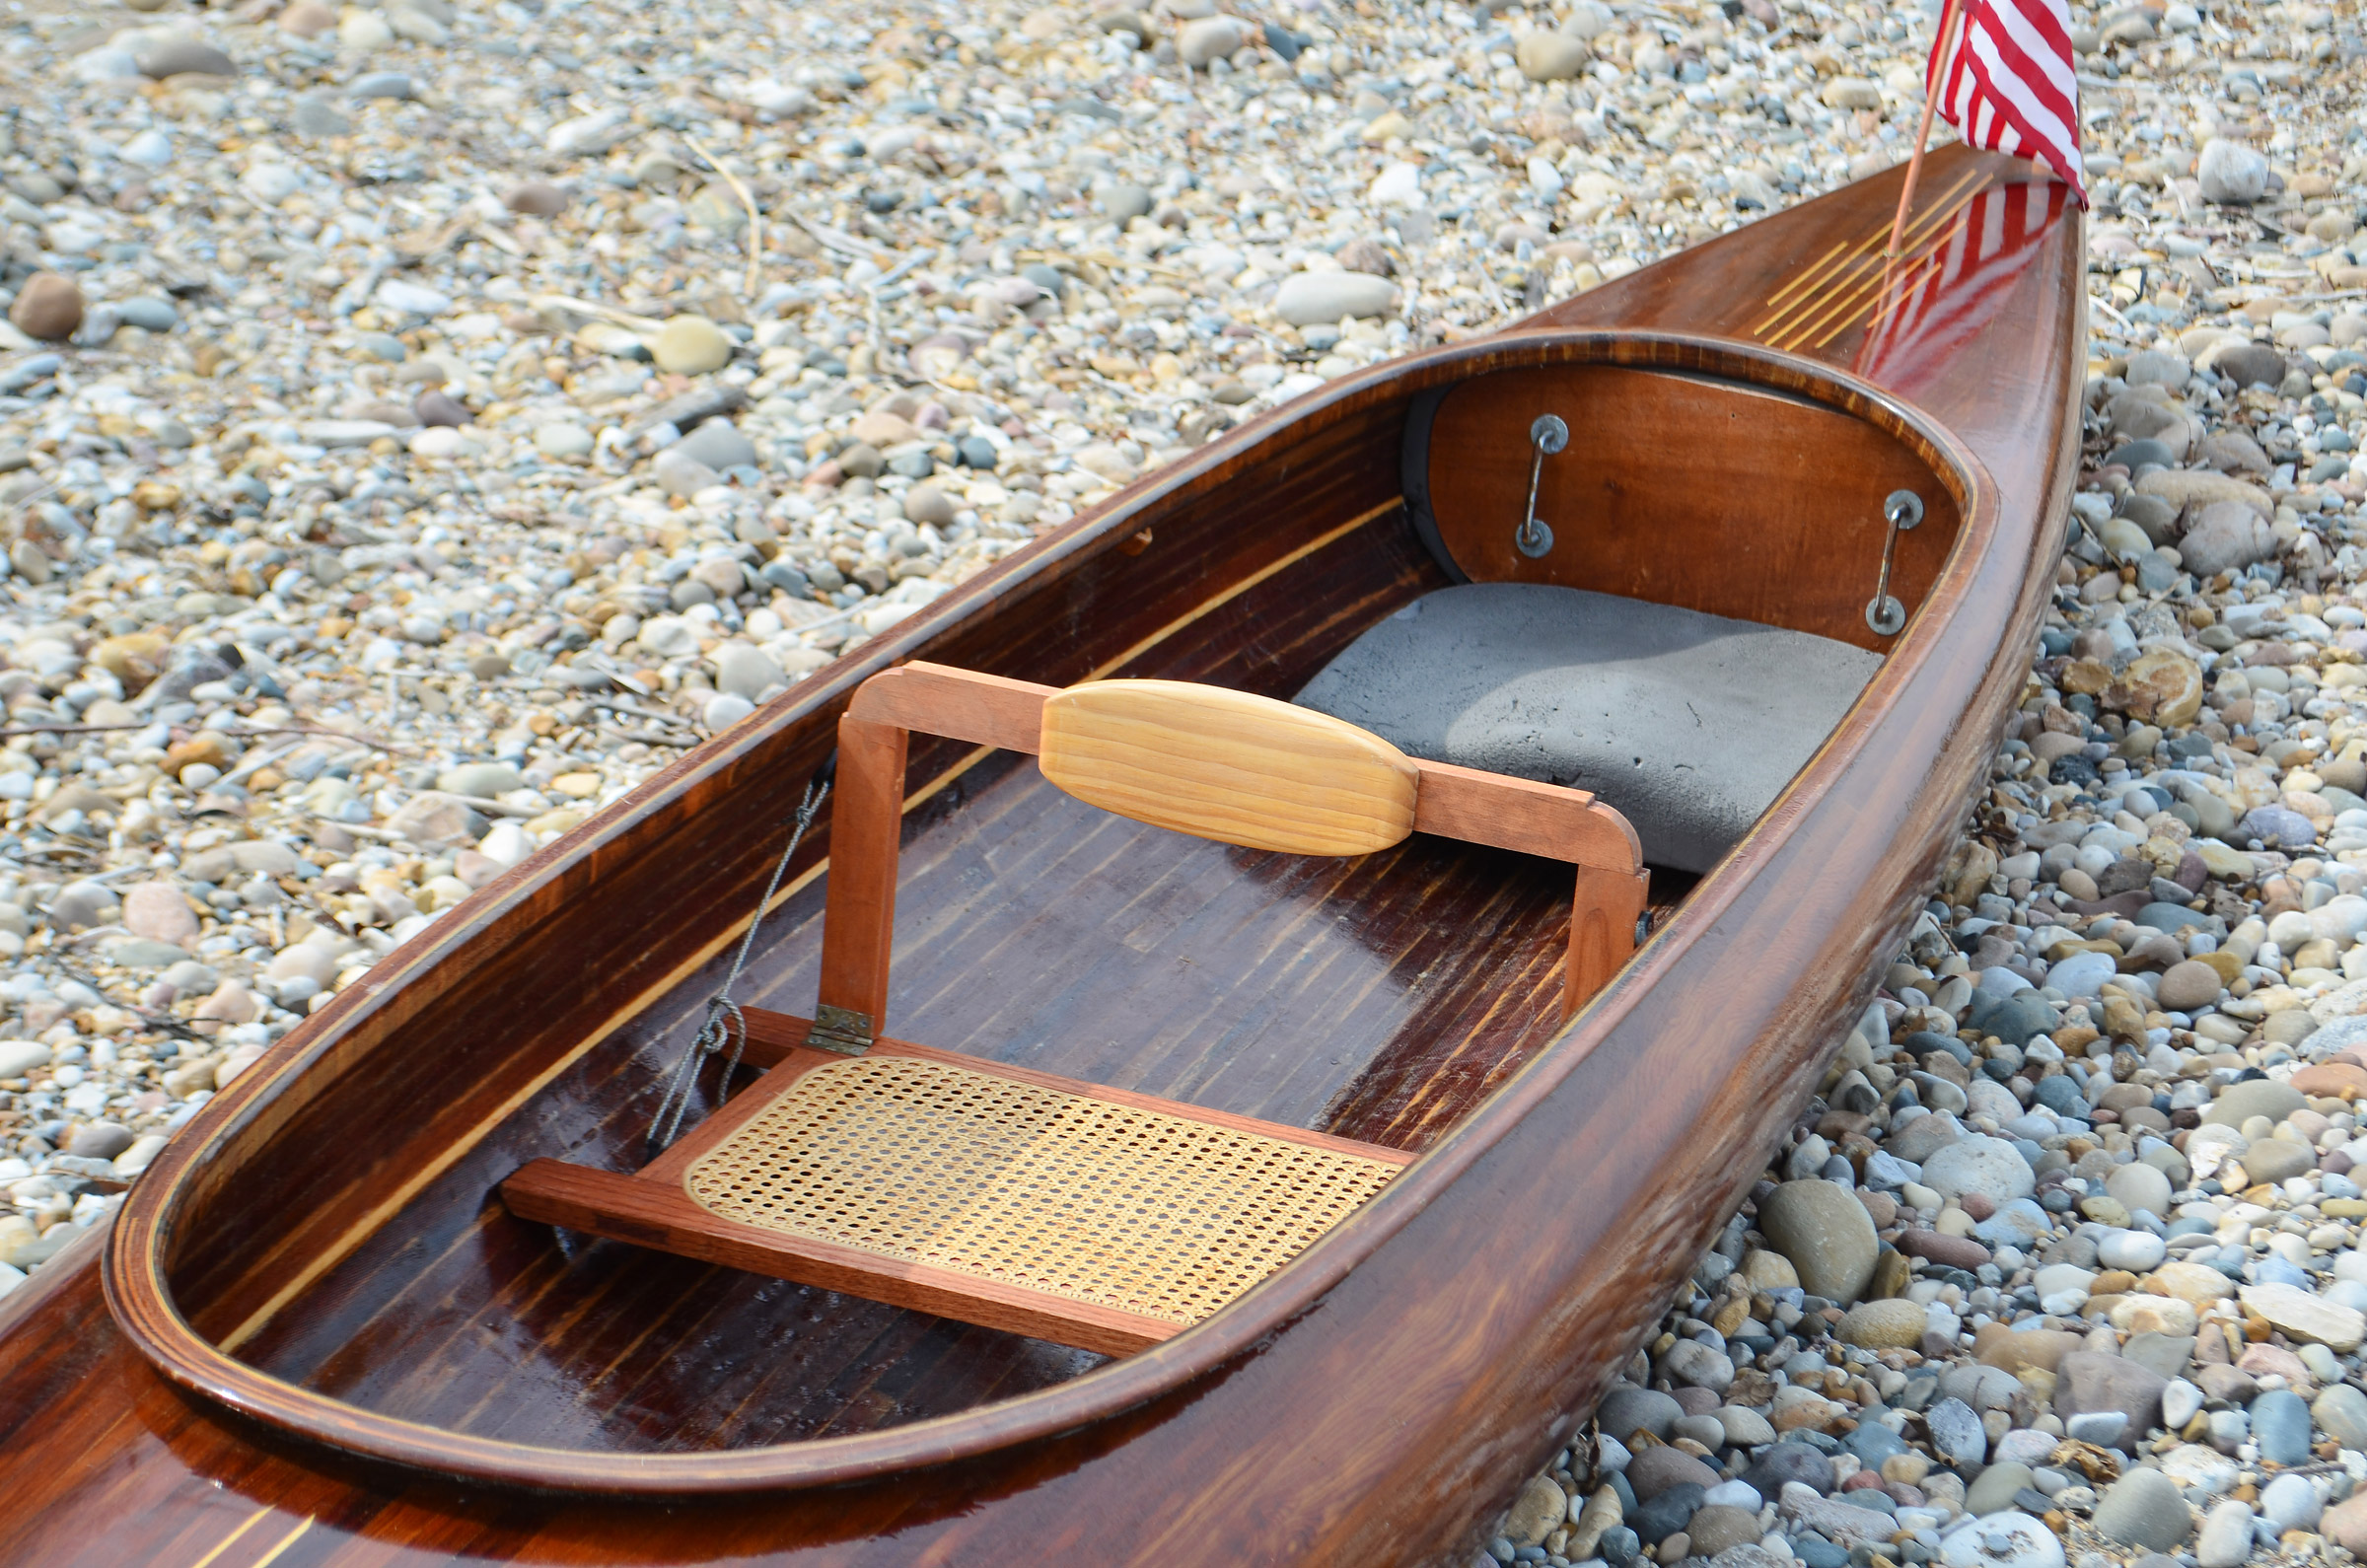
The cockpit is quite roomy and can be organized in a variety of ways. Nick Schade’s carved wooden seats are stunning. At the time, I did not have the confidence to attempt something so complex. I’ve made a couple of variations of seating since launching but have settled on a carved minicell foam seat in the rear, with foam insulation on the back coaming to provide back support, and a caned seat with collapsible backrest for the front paddler or when paddling solo. It rests directly on the bottom of the boat with leather patches at the four corners to eliminate scratching and noise. This seat can be easily installed and slid forward or aft as needed to distribute weight for various conditions.
I have not yet installed foot braces. I was apprehensive about drilling holes or gluing mounts inside of the hull without knowing where I would want them, and I’ve just grown accustomed to paddling without them. The cockpit is so roomy, I can raise one or both knees and sit almost cross-legged. The ability to adjust position like this makes longer paddles more comfortable.
 Adam Eckhardt
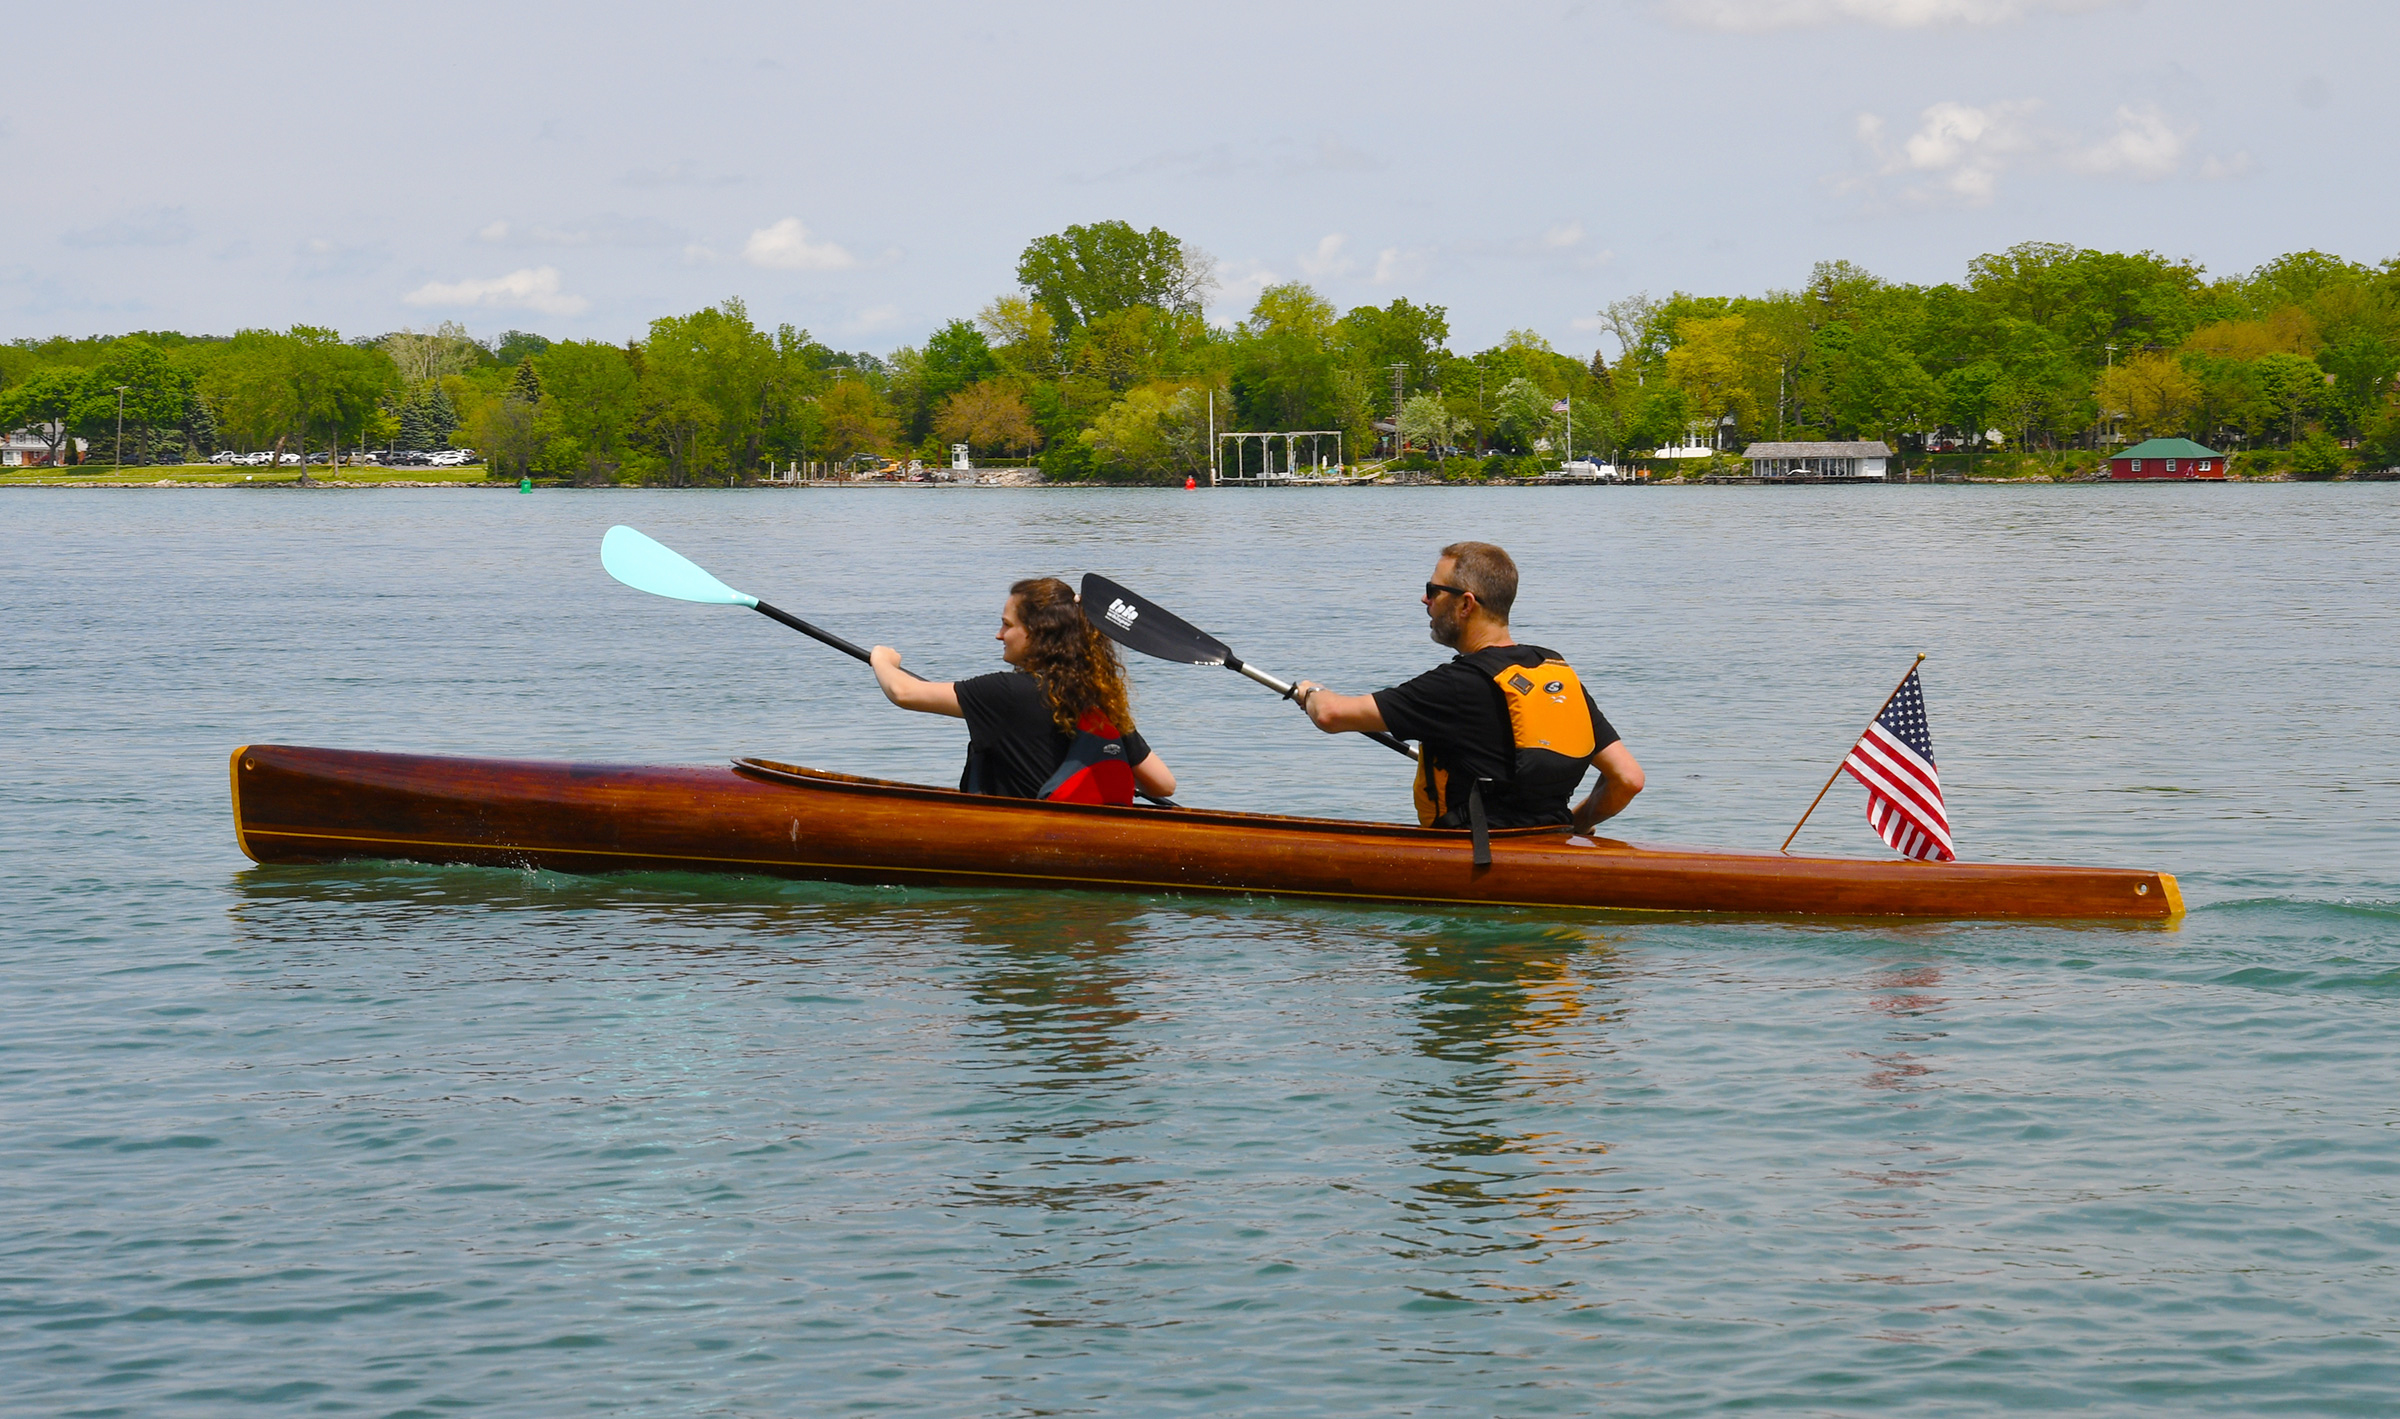
While the cockpit is designed for two, a solo paddler can move a seat and backrest just aft of center to achieve proper trim.
Flotation is provided by removable, press-fit, 3″ minicell foam bulkheads reinforced with plywood on both sides. They are not glued in, as suggested in The Strip-Built Sea Kayak. I put them in place, then pound them in with my fist. The fit is airtight, so much so that I had to add tiny air relief holes near the top to allow me to seat them. Without these, the increased air pressure would push them out like a piston. I’ve tested the bulkheads by intentionally flooding the kayak, and they remained in place and kept both the bow and stern nearly dry except for a few teaspoons of water. Making the bulkheads removable allows for greater gear storage options. If I spent more time paddling offshore in open water, I might consider gluing them in with sealant.
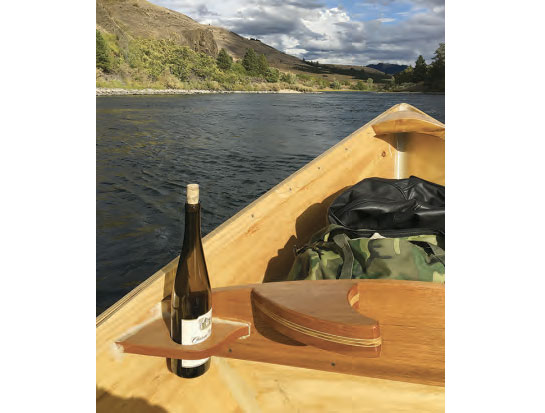
 Adam Eckhardt
The aft bulkhead is made of minicell foam shaped to seal the stern compartment with a press fit. The wood face provides extra rigidity and the two handles easy removal of the bulkhead for access.
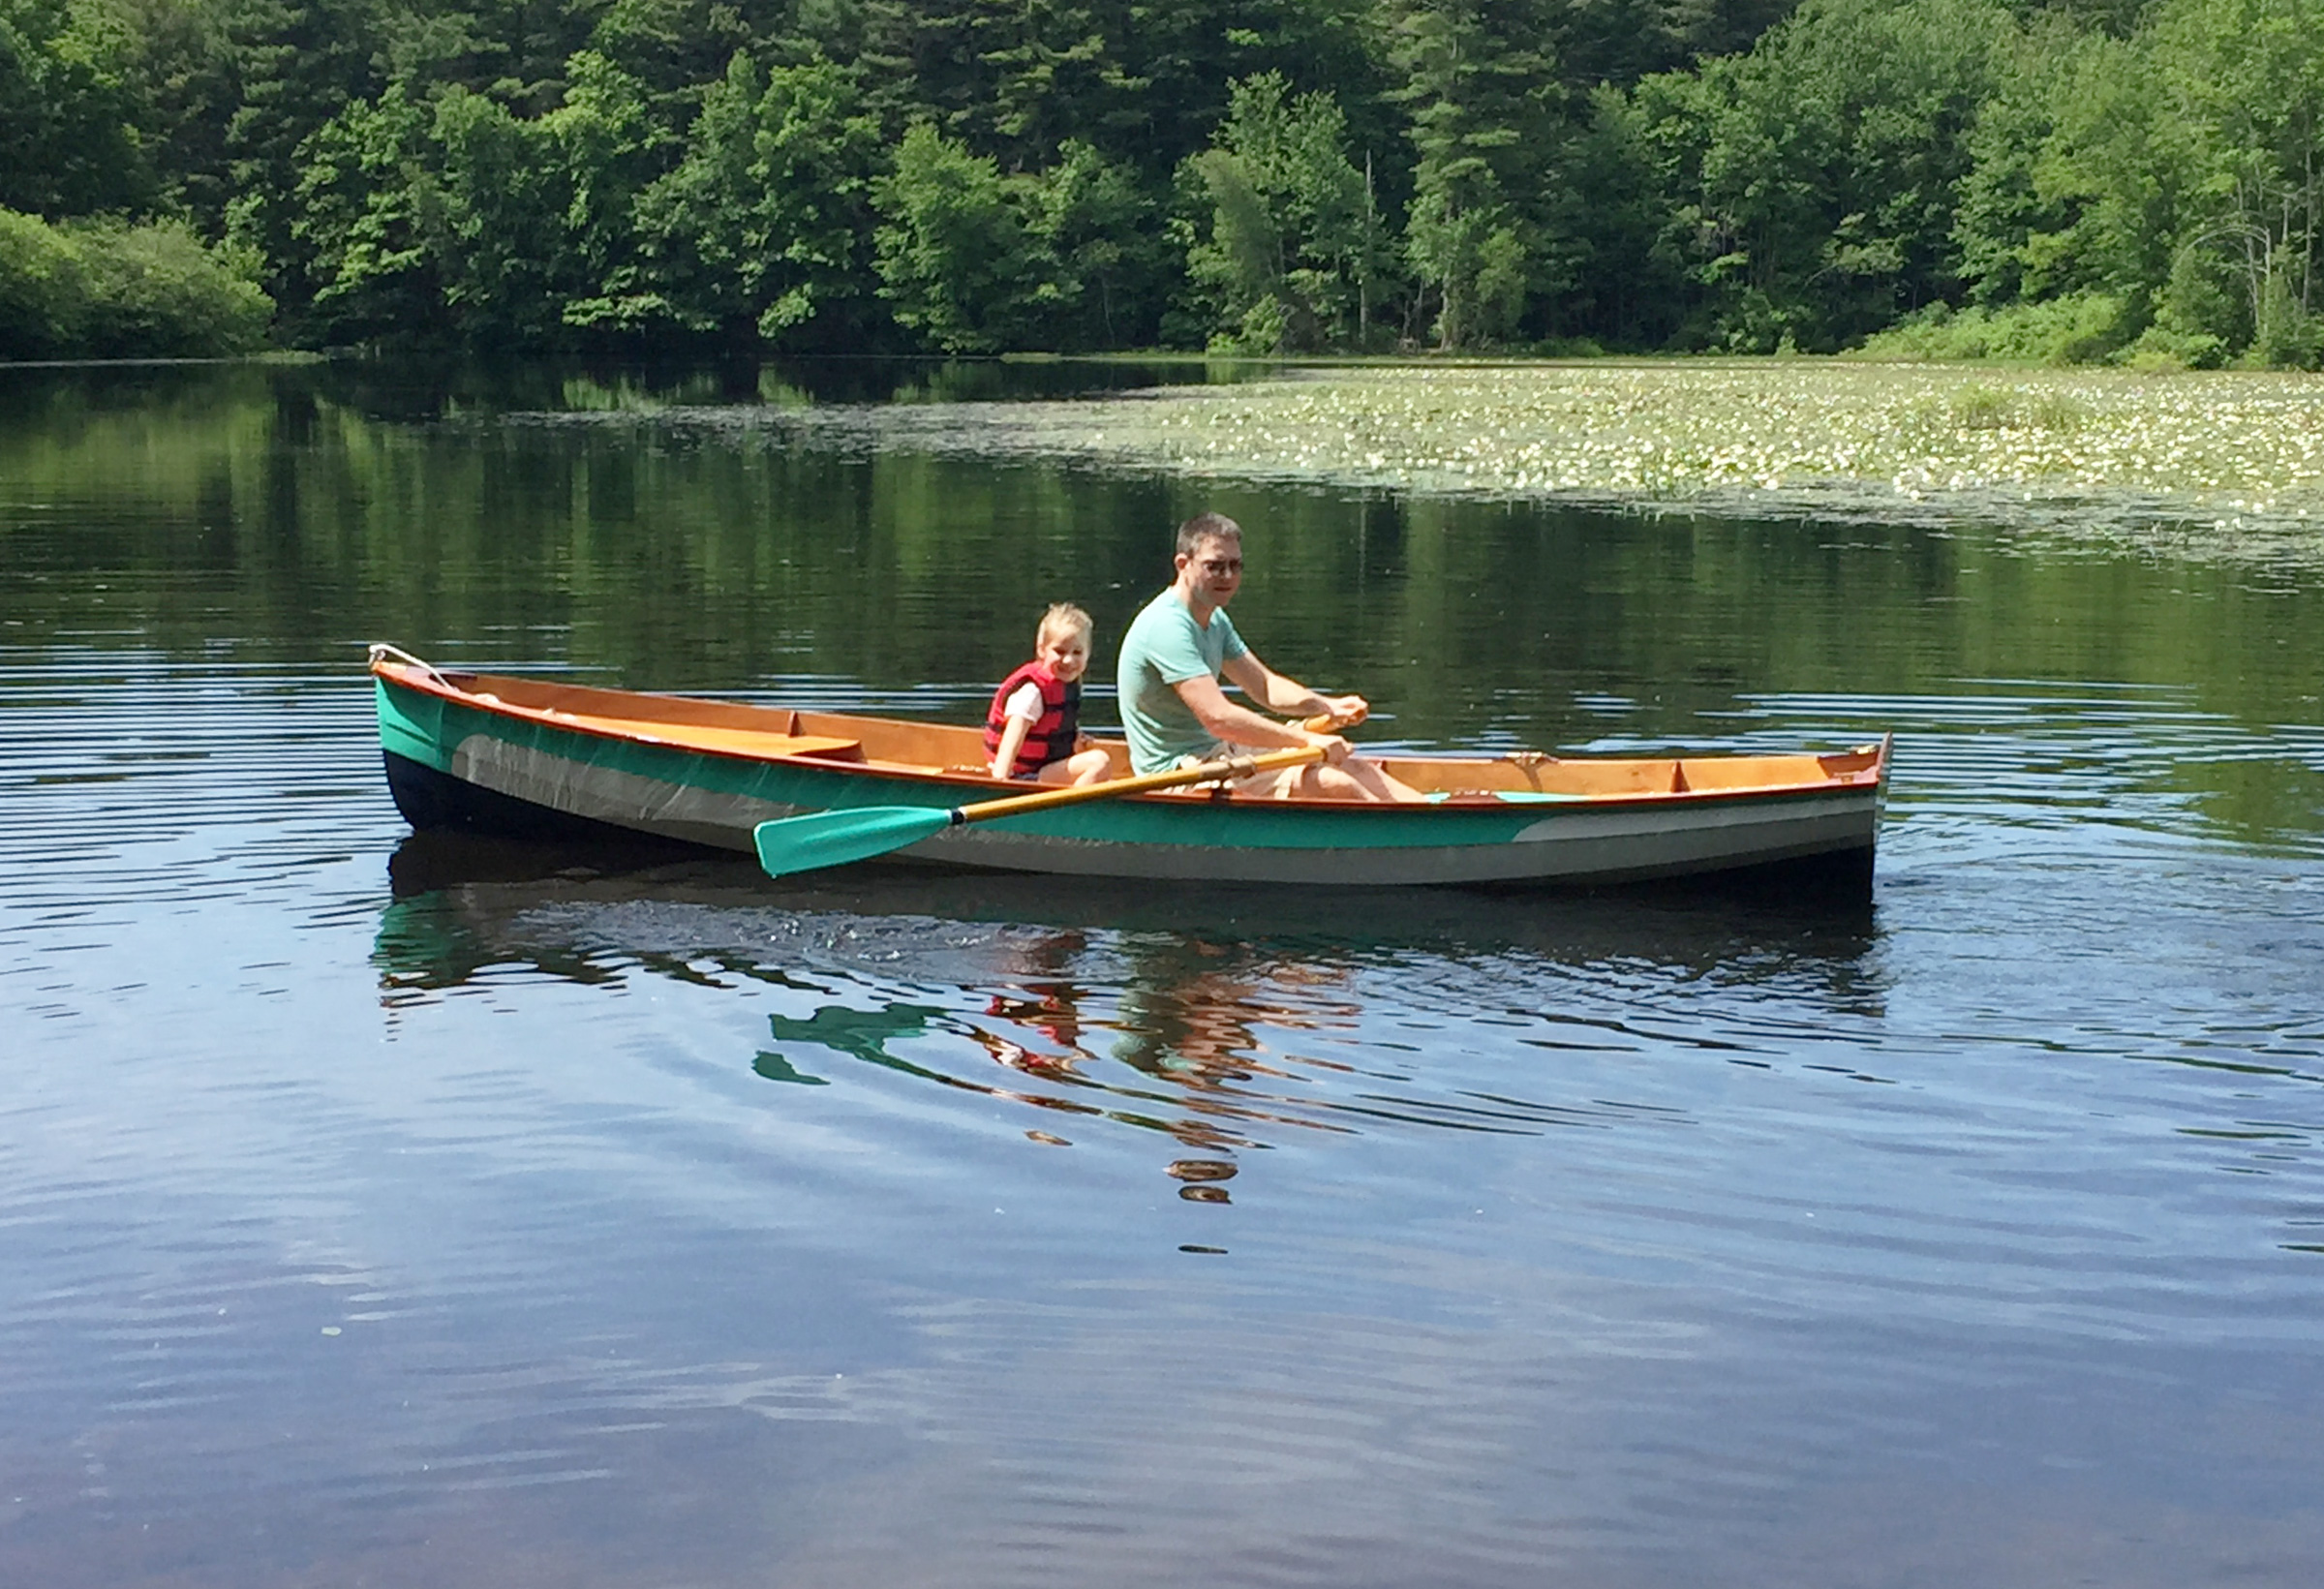
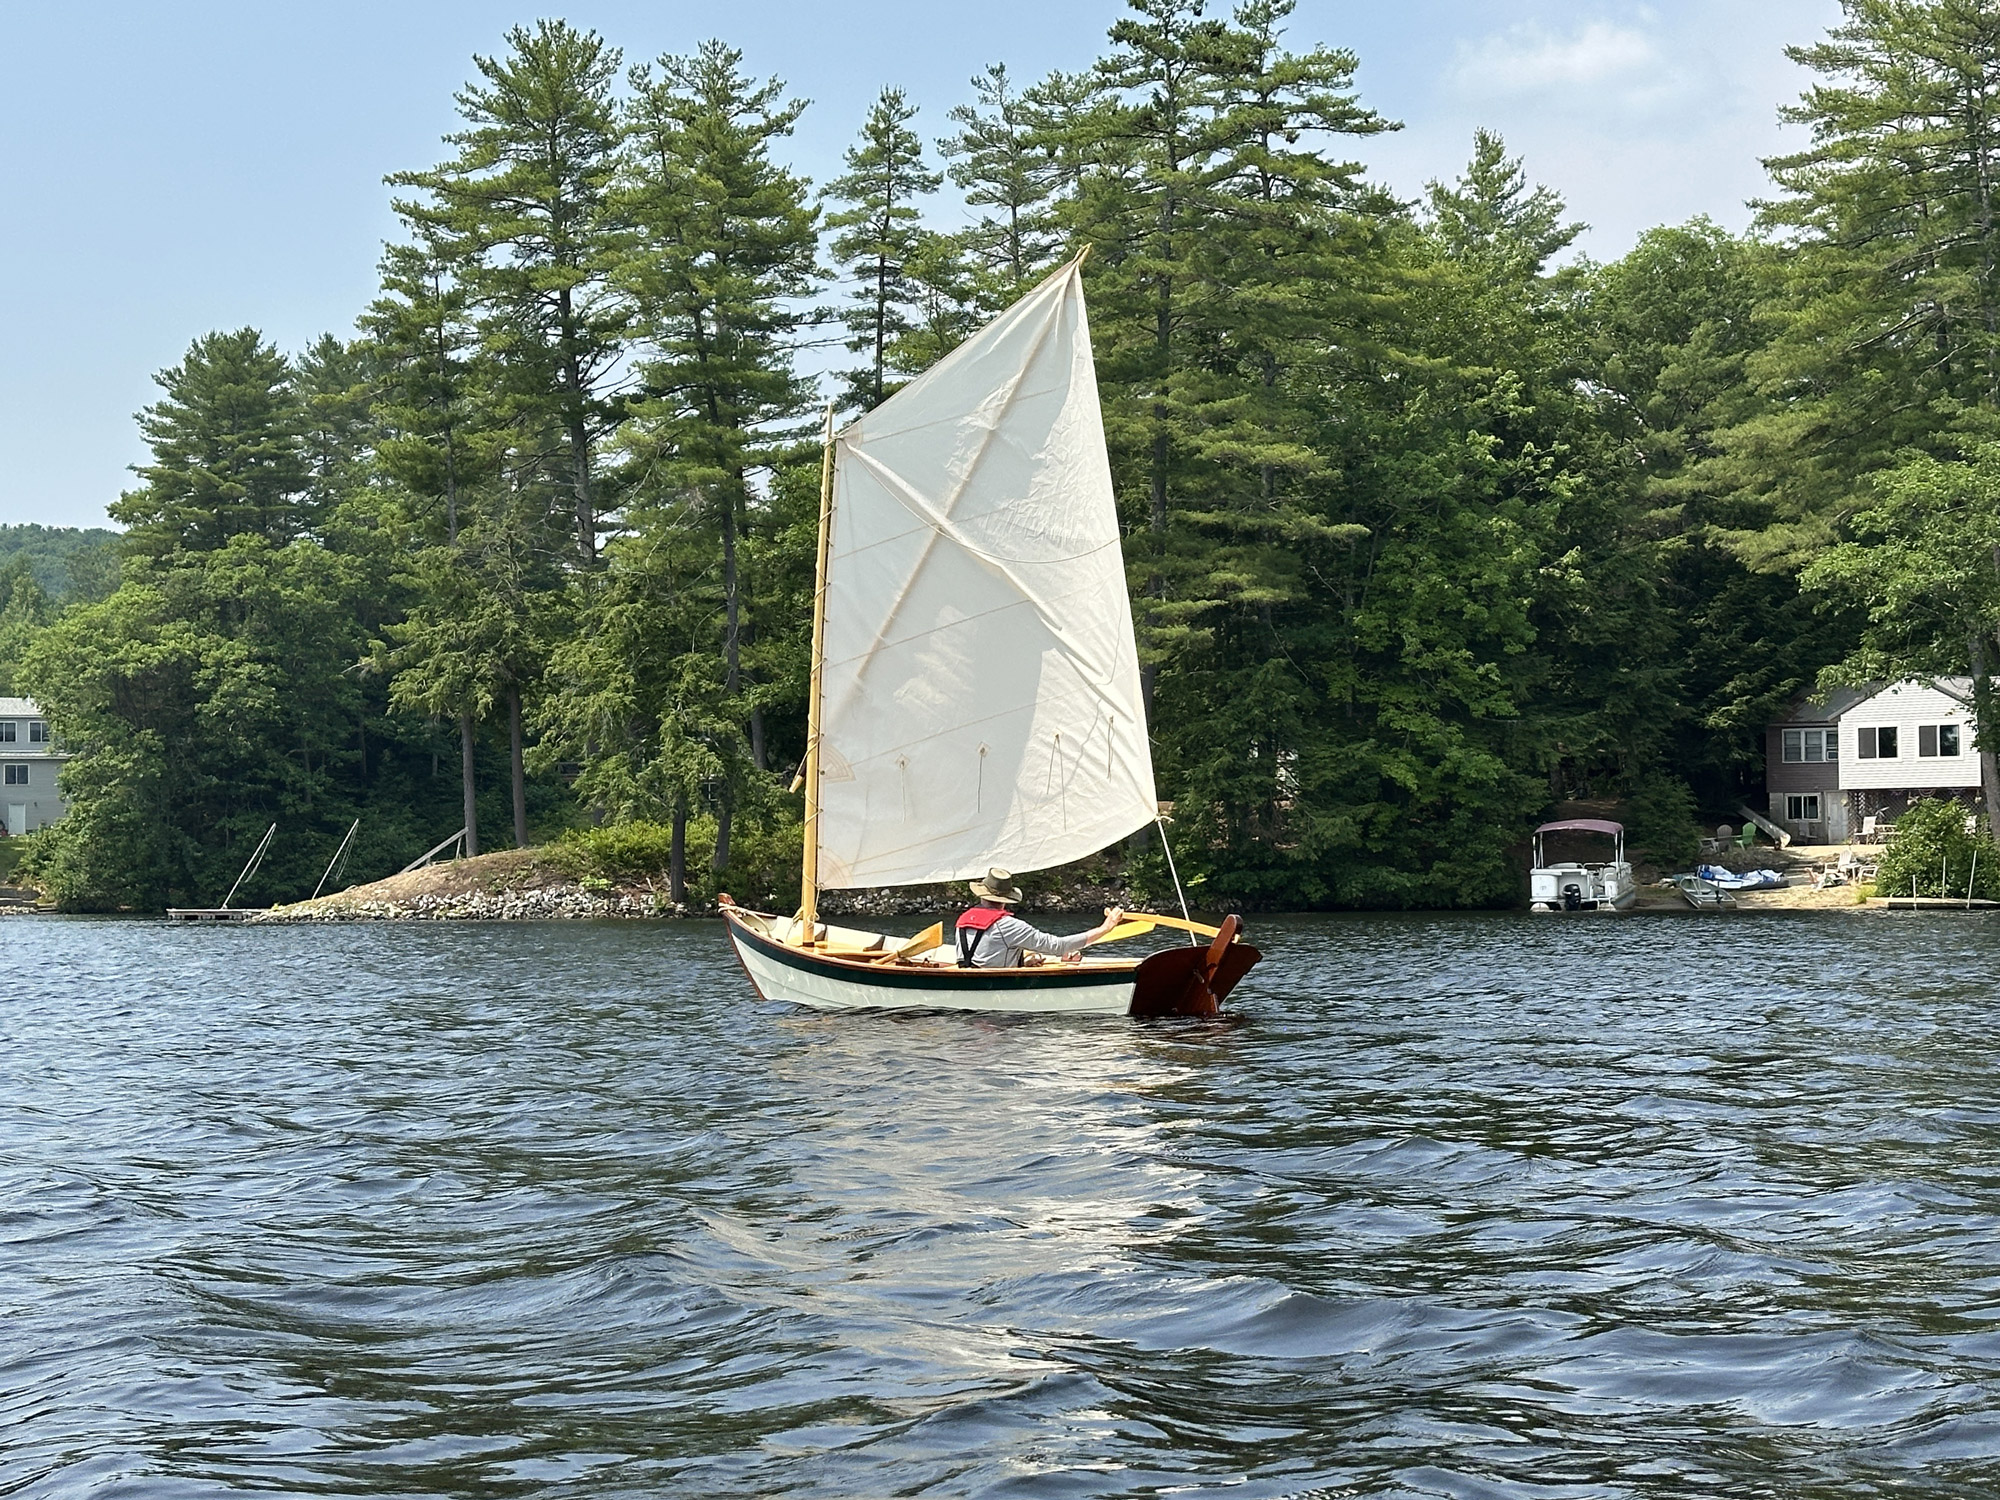
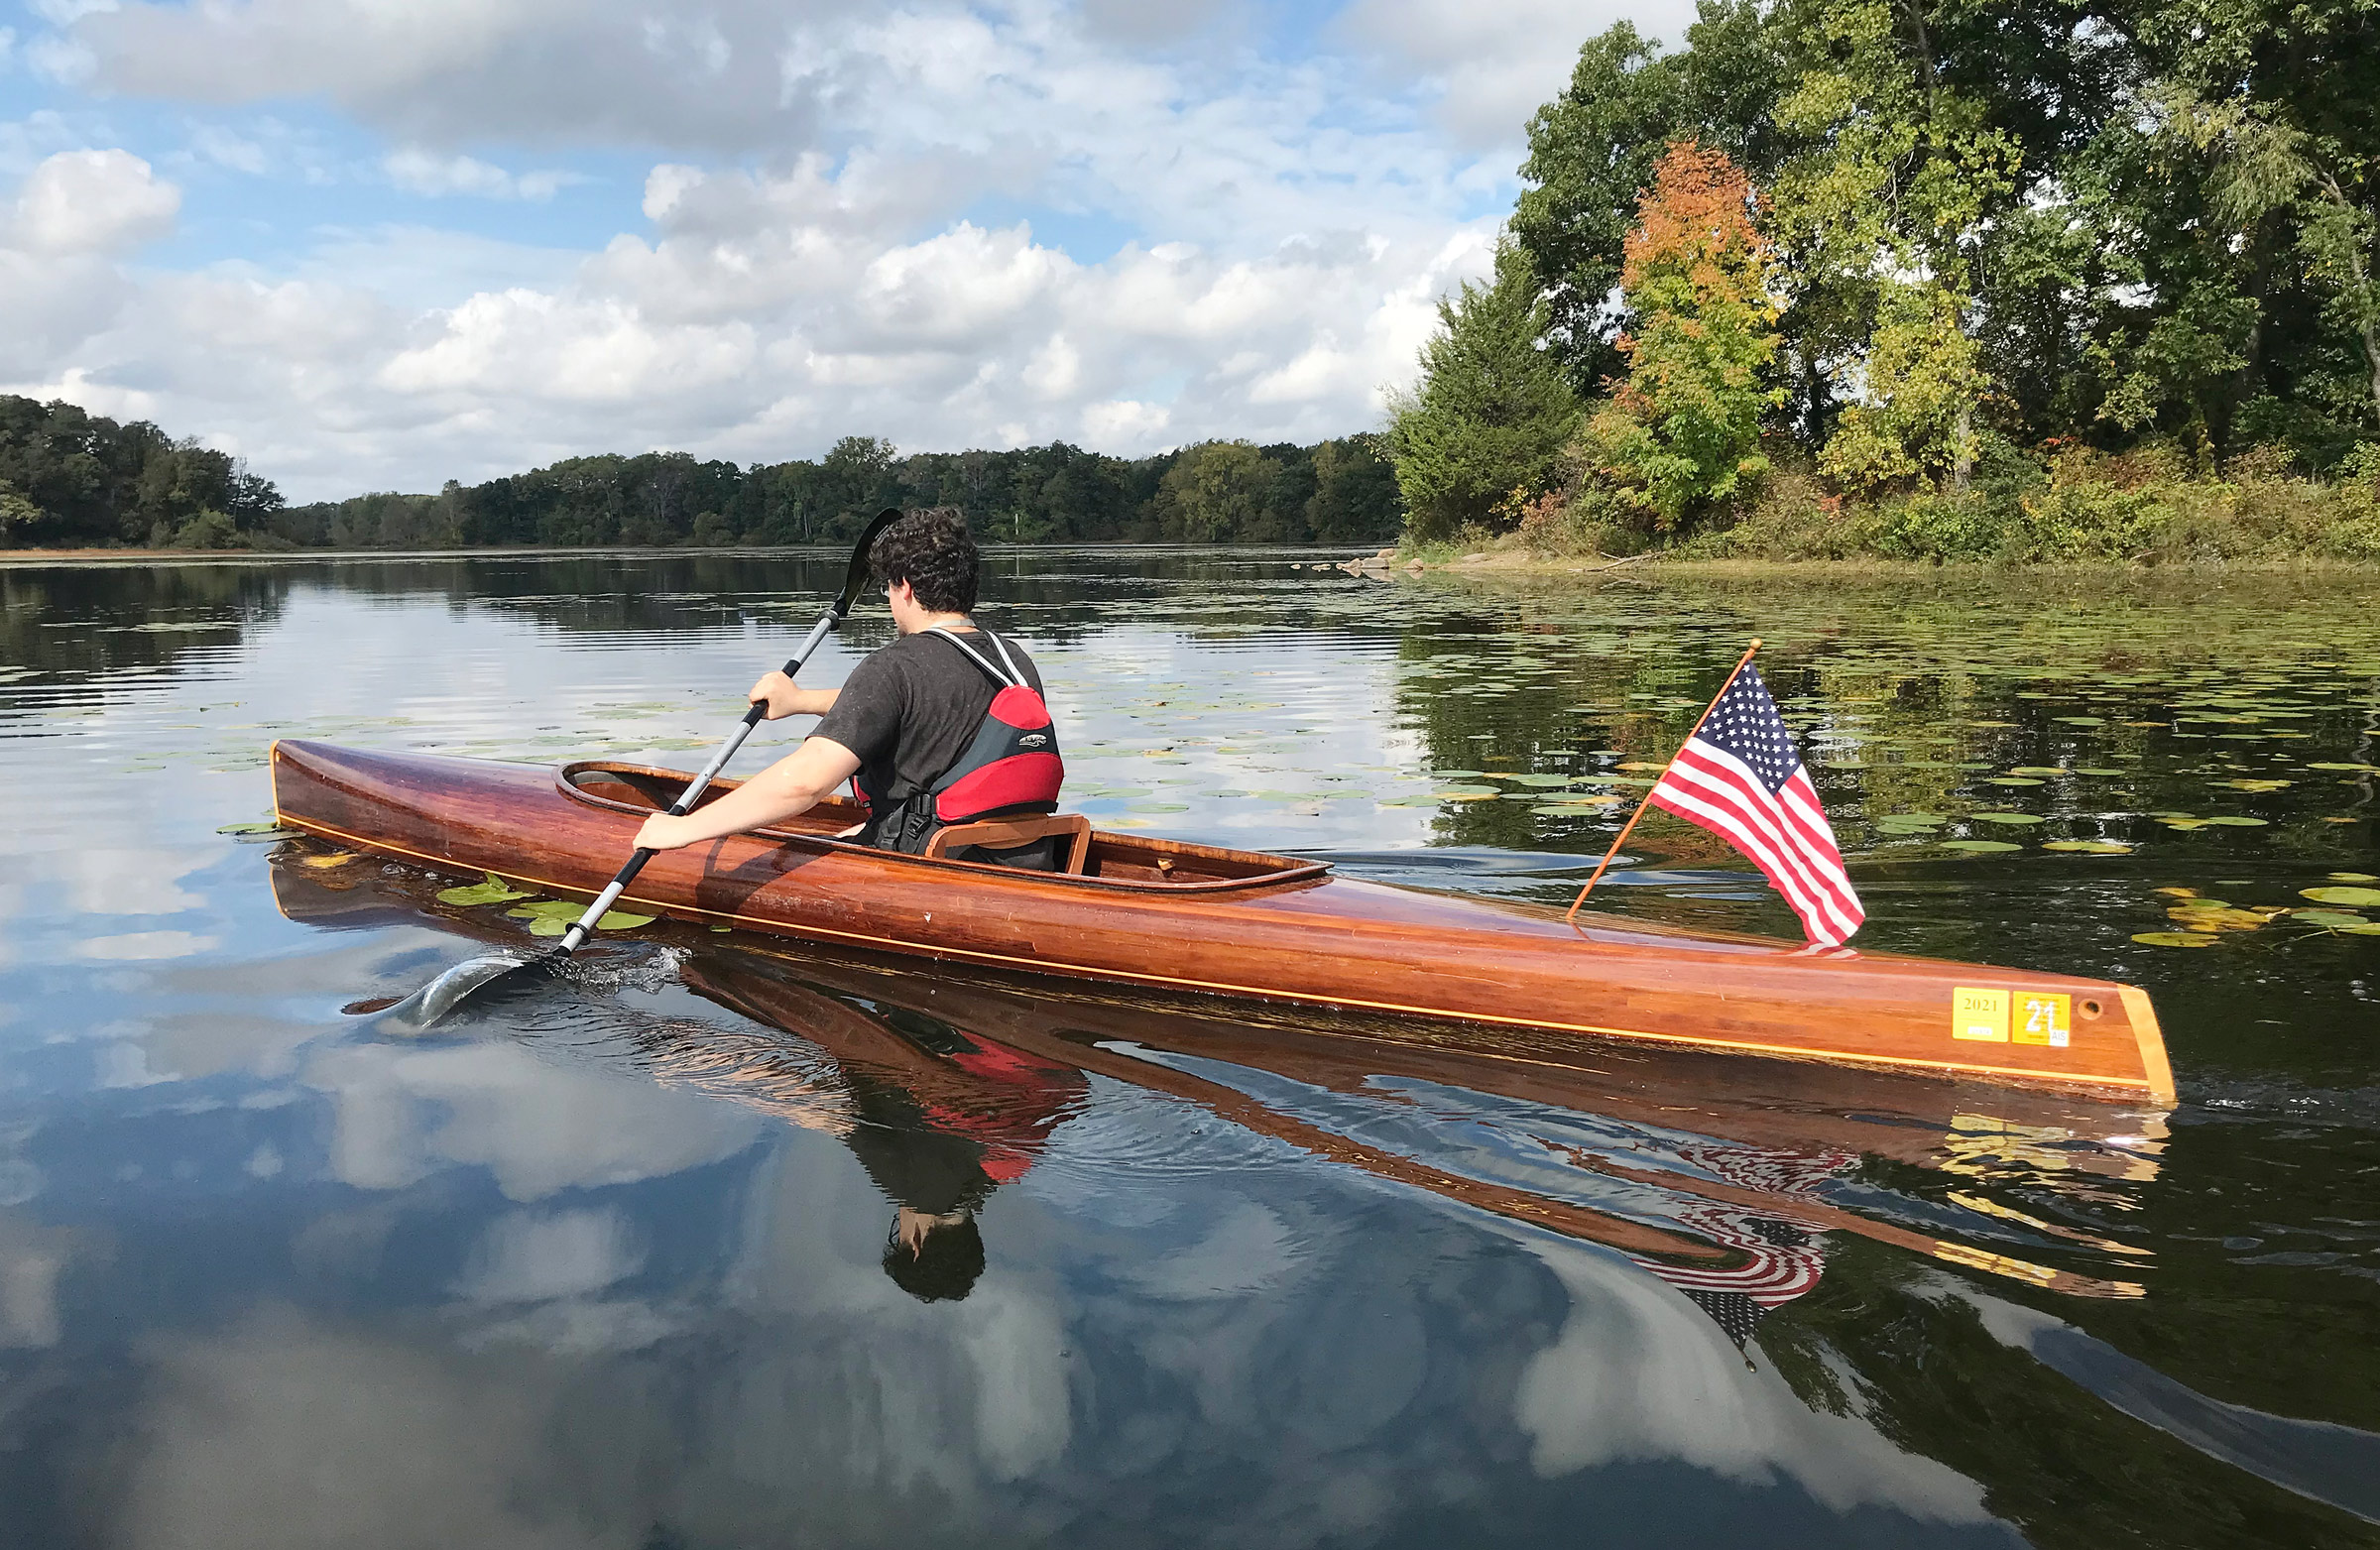
After having paddled this boat for 12 years, I can honestly say that its performance is wonderful and exactly meets Nick’s goal of “a roomy, efficient tandem kayak for cruising a lake or exploring a bay.” At first, I struggled a bit with tracking, and thought that I would want to add a rudder or skeg. However, after having built and paddled some more traditionally shaped canoes, I see that the microBootlegger’s tracking/maneuverability is right in the sweet spot.
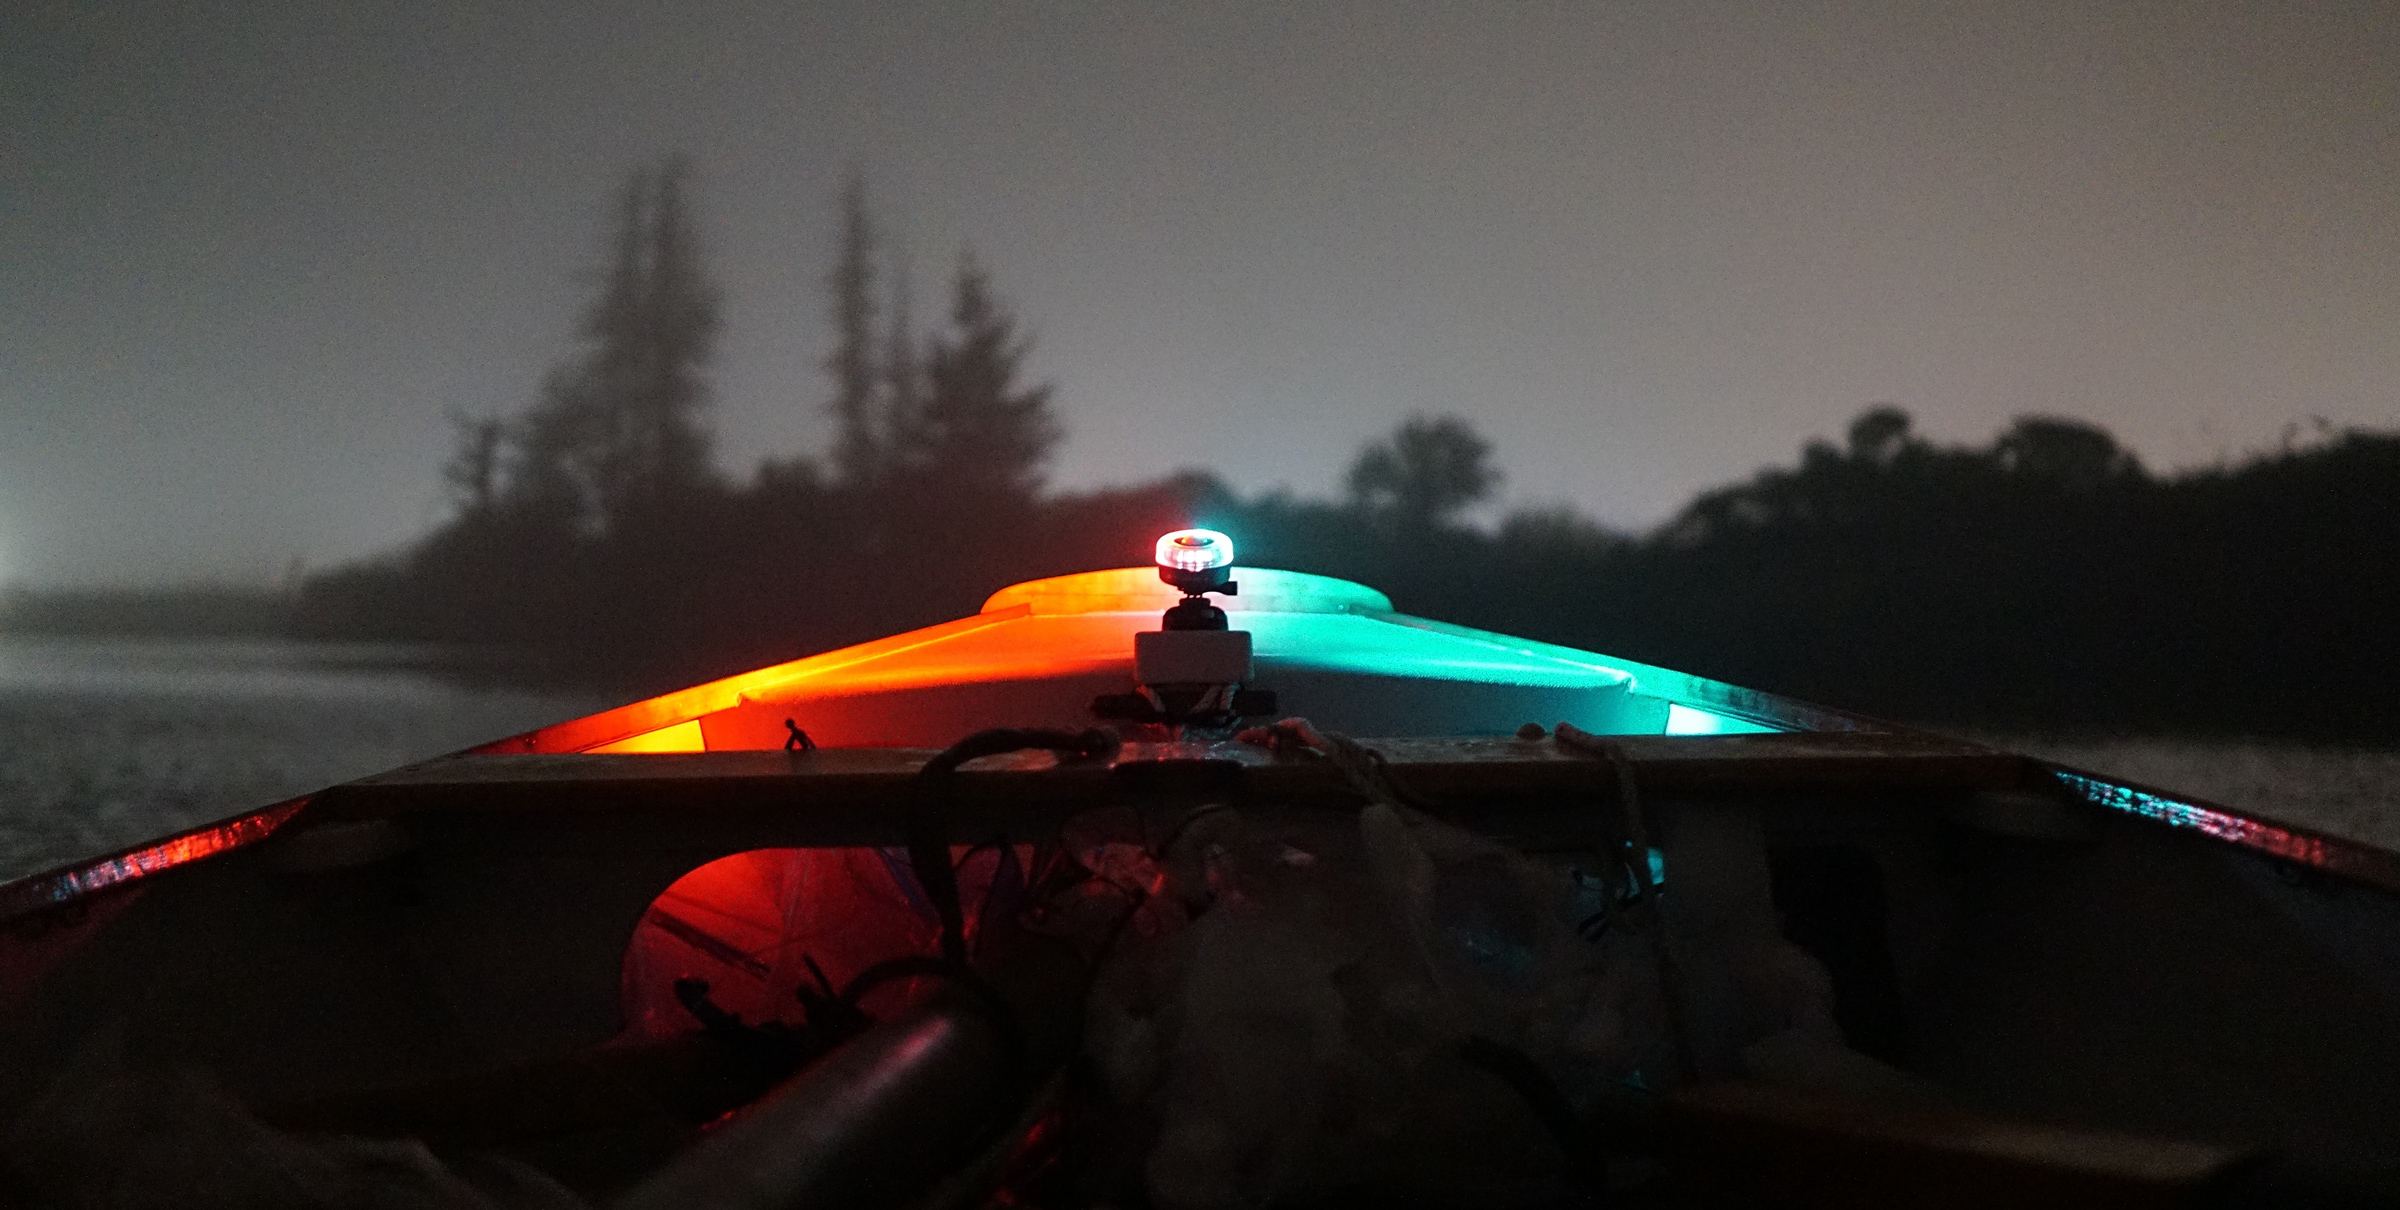
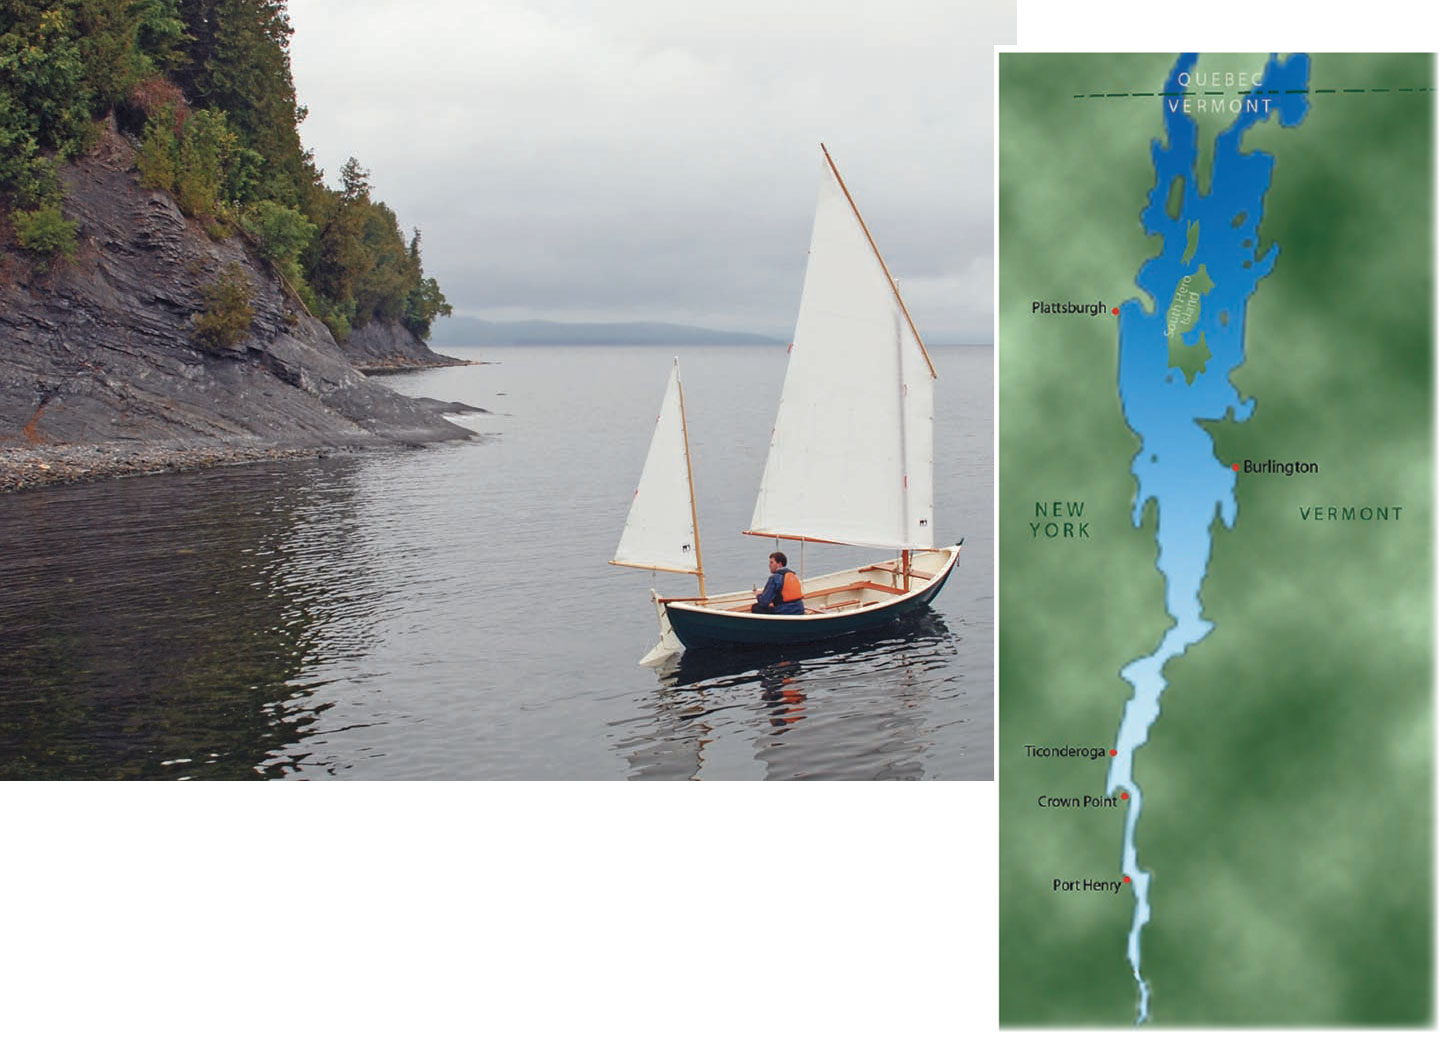
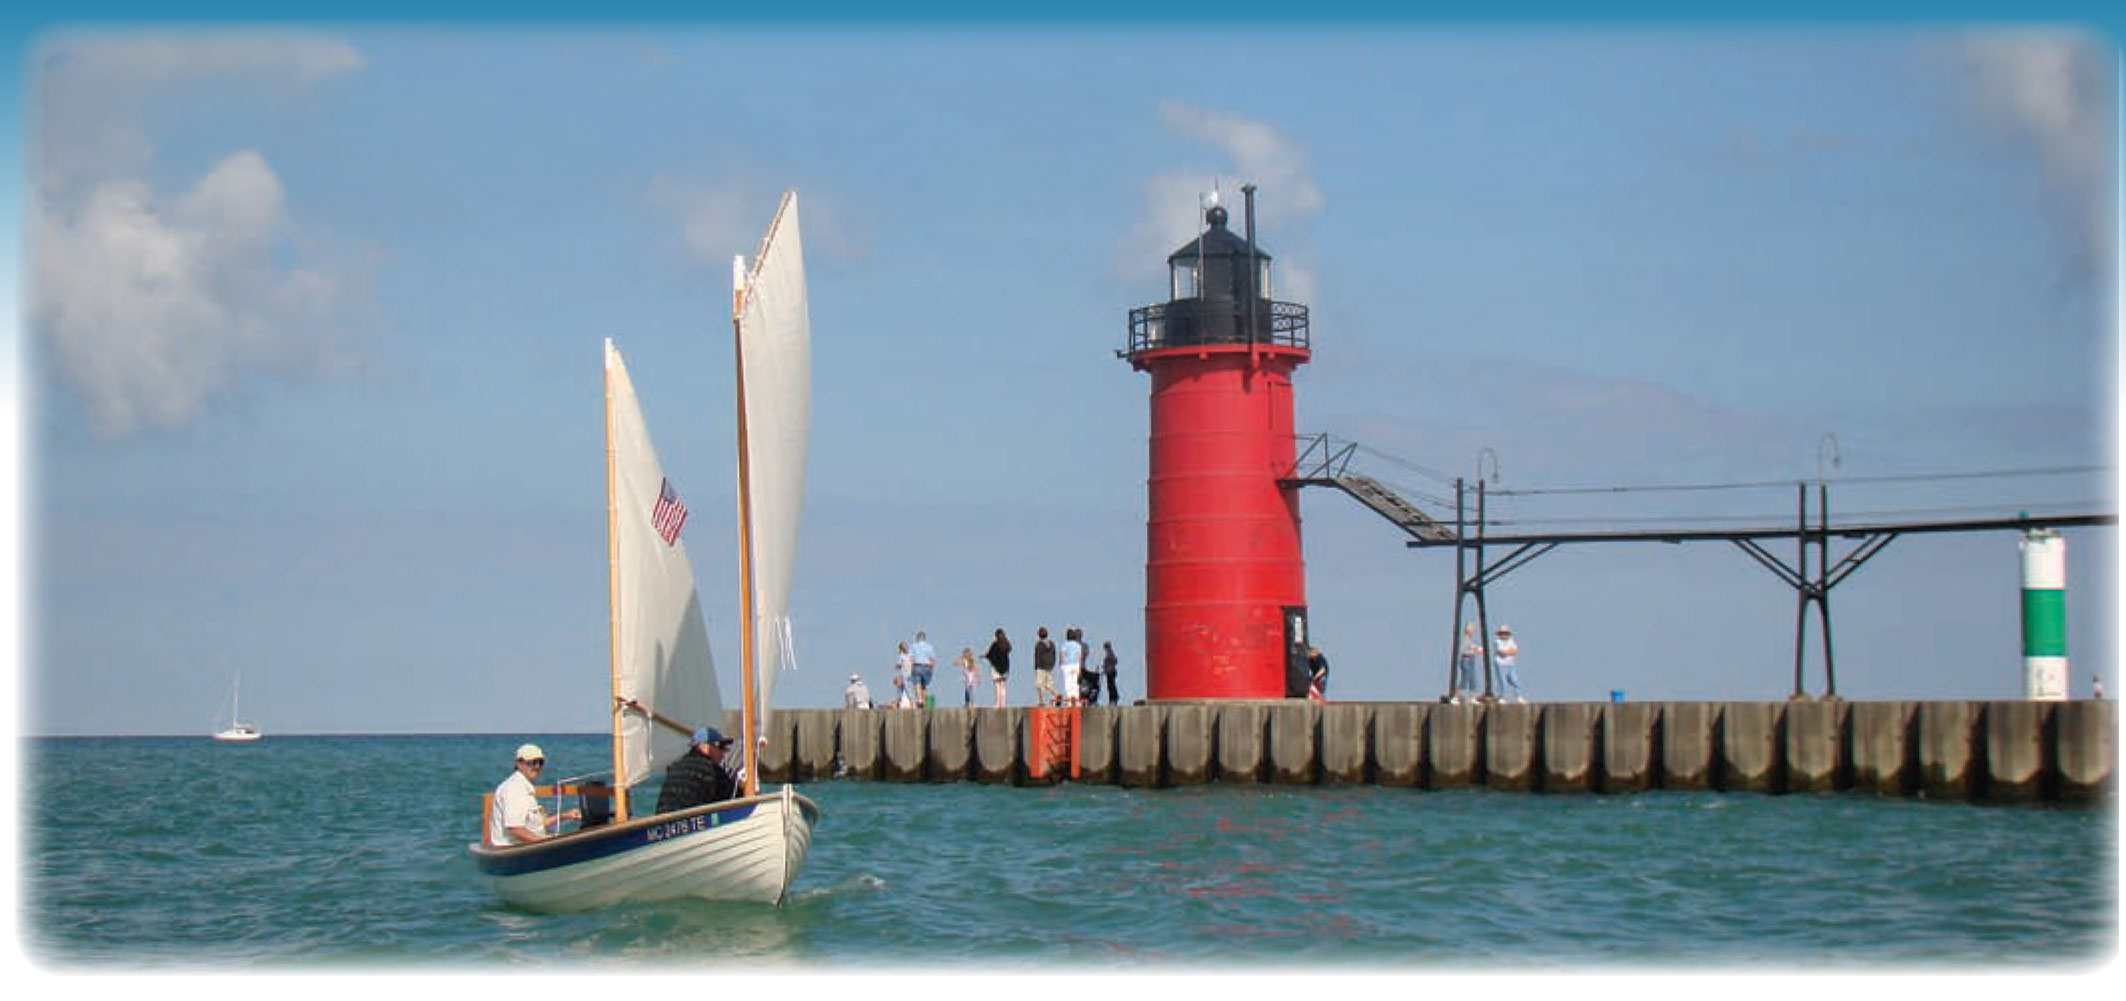
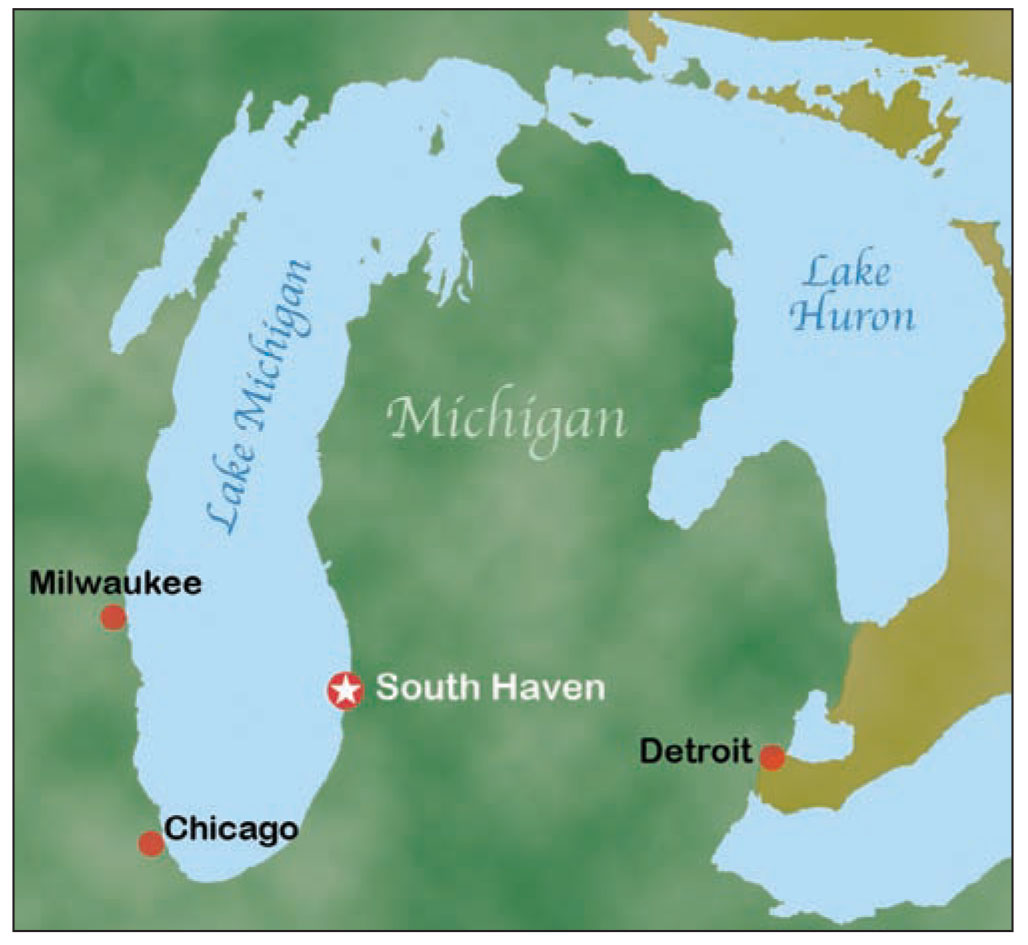
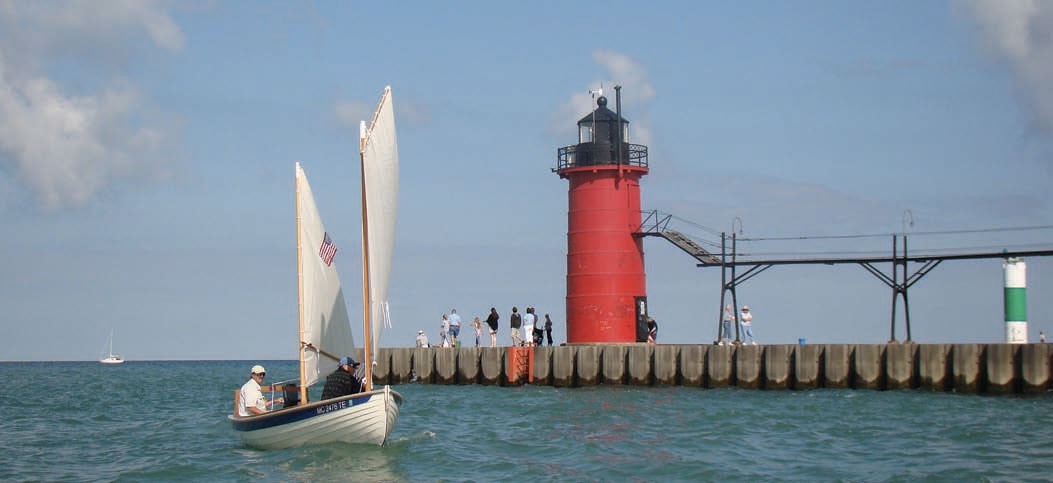
Being just over 17′ long and having a nearly full-length waterline, it tracks strongly compared to my more traditional canoes, yet not so much that it is overly difficult to turn. Most of the time I paddle solo and have become quite adept at maneuvering. The only time I struggle is when there are stronger winds. At 17′, and with that large vertical bow, it can be a challenge to keep microBootlegger going straight when the wind picks up. However, it does indeed handle waves very well. I’ve had it on four of the Great Lakes, in the Detroit River as well as the Gulf of Mexico where waves have come completely over the bow and very little water made it into the cockpit.
While it doesn’t have the initial stability of a recreational canoe, it balances initial and secondary stability well. When inexperienced paddlers use this canoe, I generally help them with entry and exit, but once they’re under way they feel stable and safe. My caned seat supports the paddler right about at the surface of the water.
I usually paddle with a group of friends who use recreational kayaks 10′ to 14′ long. My boat has a significant advantage in efficiency, but they struggle much less than I do in keeping on course in wind. Another factor may be that, although my boat is a tandem with a design displacement of 459 lbs, I always paddle it lightly loaded, with only about 190 lbs onboard.
If I were to take the microBootlegger on extended cruises, I would want to add a rudder or retractable skeg. However, for the paddling I do I am entirely happy with the tracking built into the microBootlegger design without adding the extra weight and complexity of a skeg or rudder.
Another unexpected benefit of the microBootlegger design, specifically its voluminous bow and stern compartments and the large open cockpit, is that it serves marvelously as a cartop cargo carrier for camping gear. I carry it right-side up on the roof rack and made a cover for it to protect cargo from rain, wind, and sun. I carry lighter-weight items in it—sleeping bags and pads—as well as the usual paddling gear, a huge benefit since I have a small car.
 Jason Eckhardt
The cockpit provides enough room between paddlers to keep them out of each other’s way.
Lifting the microBootlegger to the roof rack is not too difficult with my shorter vehicle’s roof height, and I regularly load and unload it myself. It would likely require two people to put it on a larger SUV.
The microBootlegger is a fantastic boat for a first-time builder, as well as a superb performer appropriate for novice as well as more experienced paddlers looking for a comfortable cruising canoe with loads of capacity. If you will likely paddle solo and/or lightly loaded most of the time, and don’t want the tandem capability, the Solo or Sport versions might be better options for you to consider. Regardless of which microBootlegger you choose, you’ll enjoy the roomy comfort, easy paddling, and the compliments on its beauty and style every time you take it out.![]()
Adam Eckhardt of Flatrock, Michigan, has been a maker of things all his life. He has built a Yostwerks Sea Pup and three Cape Falcon 66 canoes, which he reviewed in the December 2021 issue.
microBootlegger Particulars
[table]
Length/17′5″
Width/27″
Weight/42 lbs
Draft/5.4″
Displacement/459 lbs
[/table]
Plans for the microBootlegger are available from Guillemot Kayaks for $129. Nick Schade’s YouTube channel has a 70-video series about building the microBootlegger. Chesapeake Light Craft offers plans, also for $129, and kits, which range from forms only, $280, to complete kit, $1,990.
Is there a boat you’d like to know more about? Have you built one that you think other Small Boats Magazine readers would enjoy? Please email us!