In the parking lot of the South Penobscot, Maine, boat ramp the gravel crunched beneath the tires of my small truck and trailer. I am usually a bit nervous when trailering a boat and had chosen the location as my put-in for a four-day, 20-mile row on the Bagaduce River in part because I knew the ramp would not be busy—there would likely be no one to witness my erratic maneuverings with the trailer. And I was right: save for a great blue heron standing motionless in the water to one side of the ramp, I had the place to myself. Northern Bay of the Bagaduce stretched out before me in the warm early-September sunshine. About a mile away, in the middle of the bay, small whitecaps were lifting in a 10-knot southerly breeze. It was midday and the smell of salt water and mudflats wafted through the air, mingling with the earthy perfume of the mixed forest that lined the shore.
 Photographs by the author
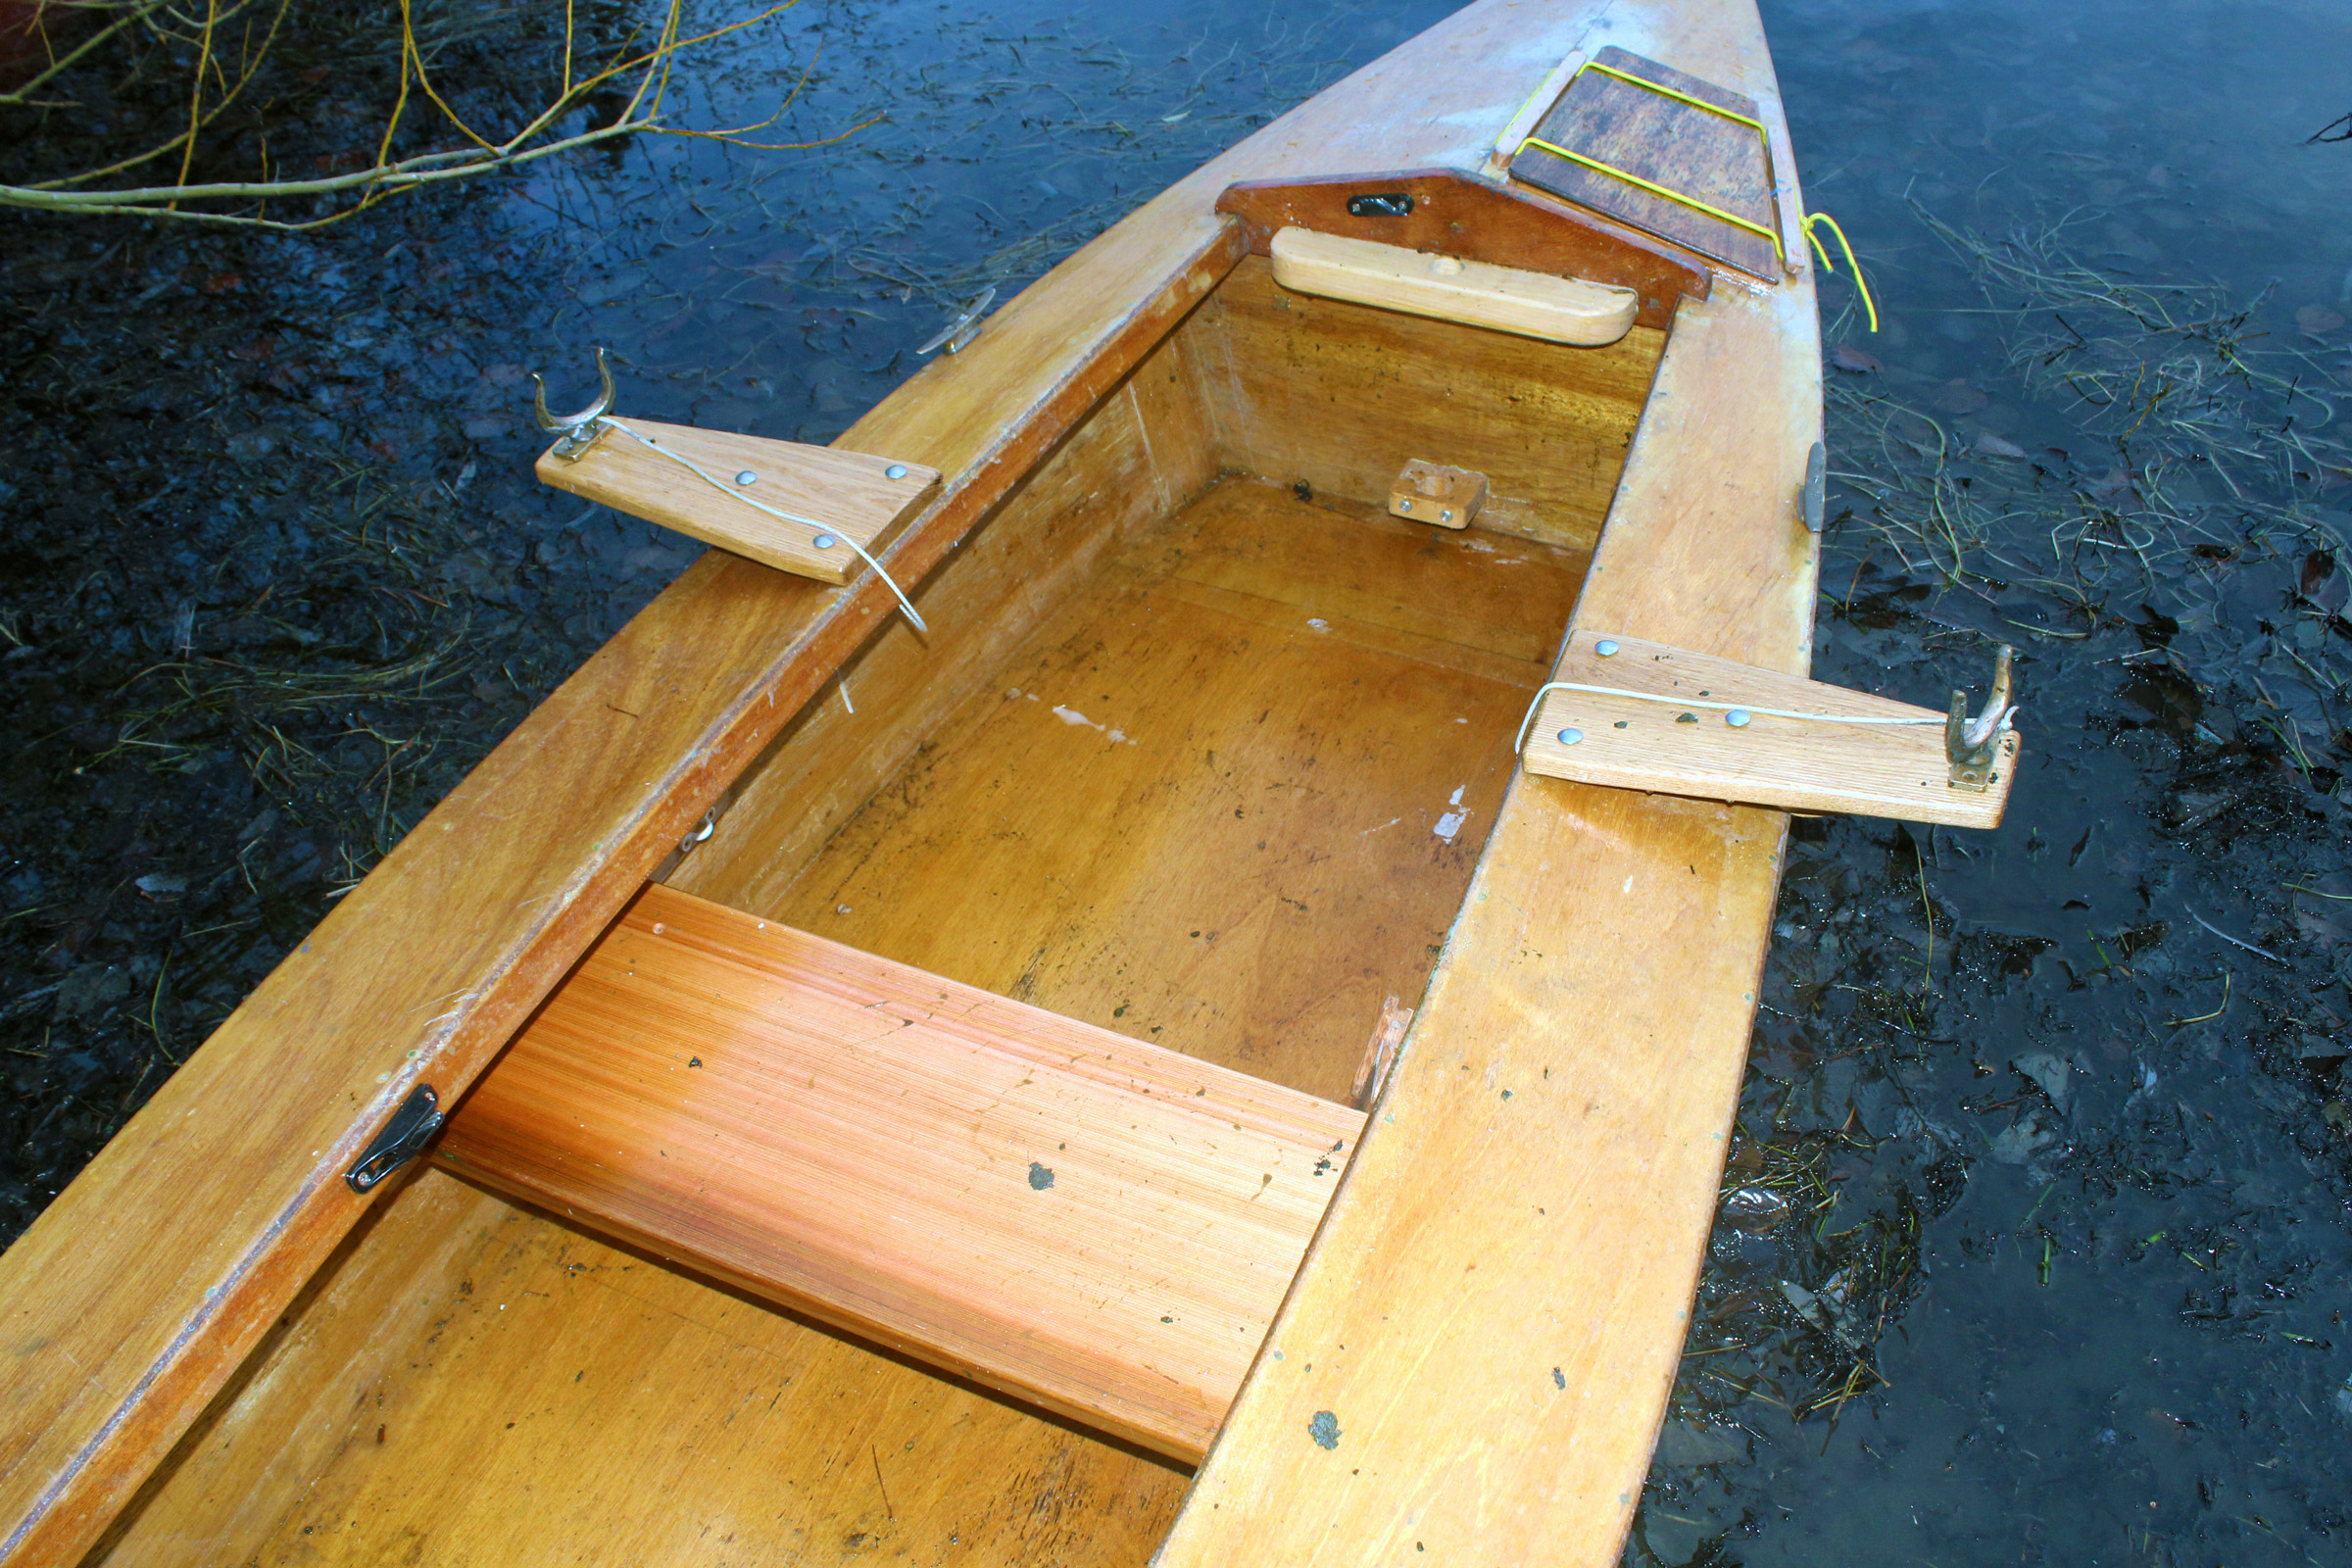
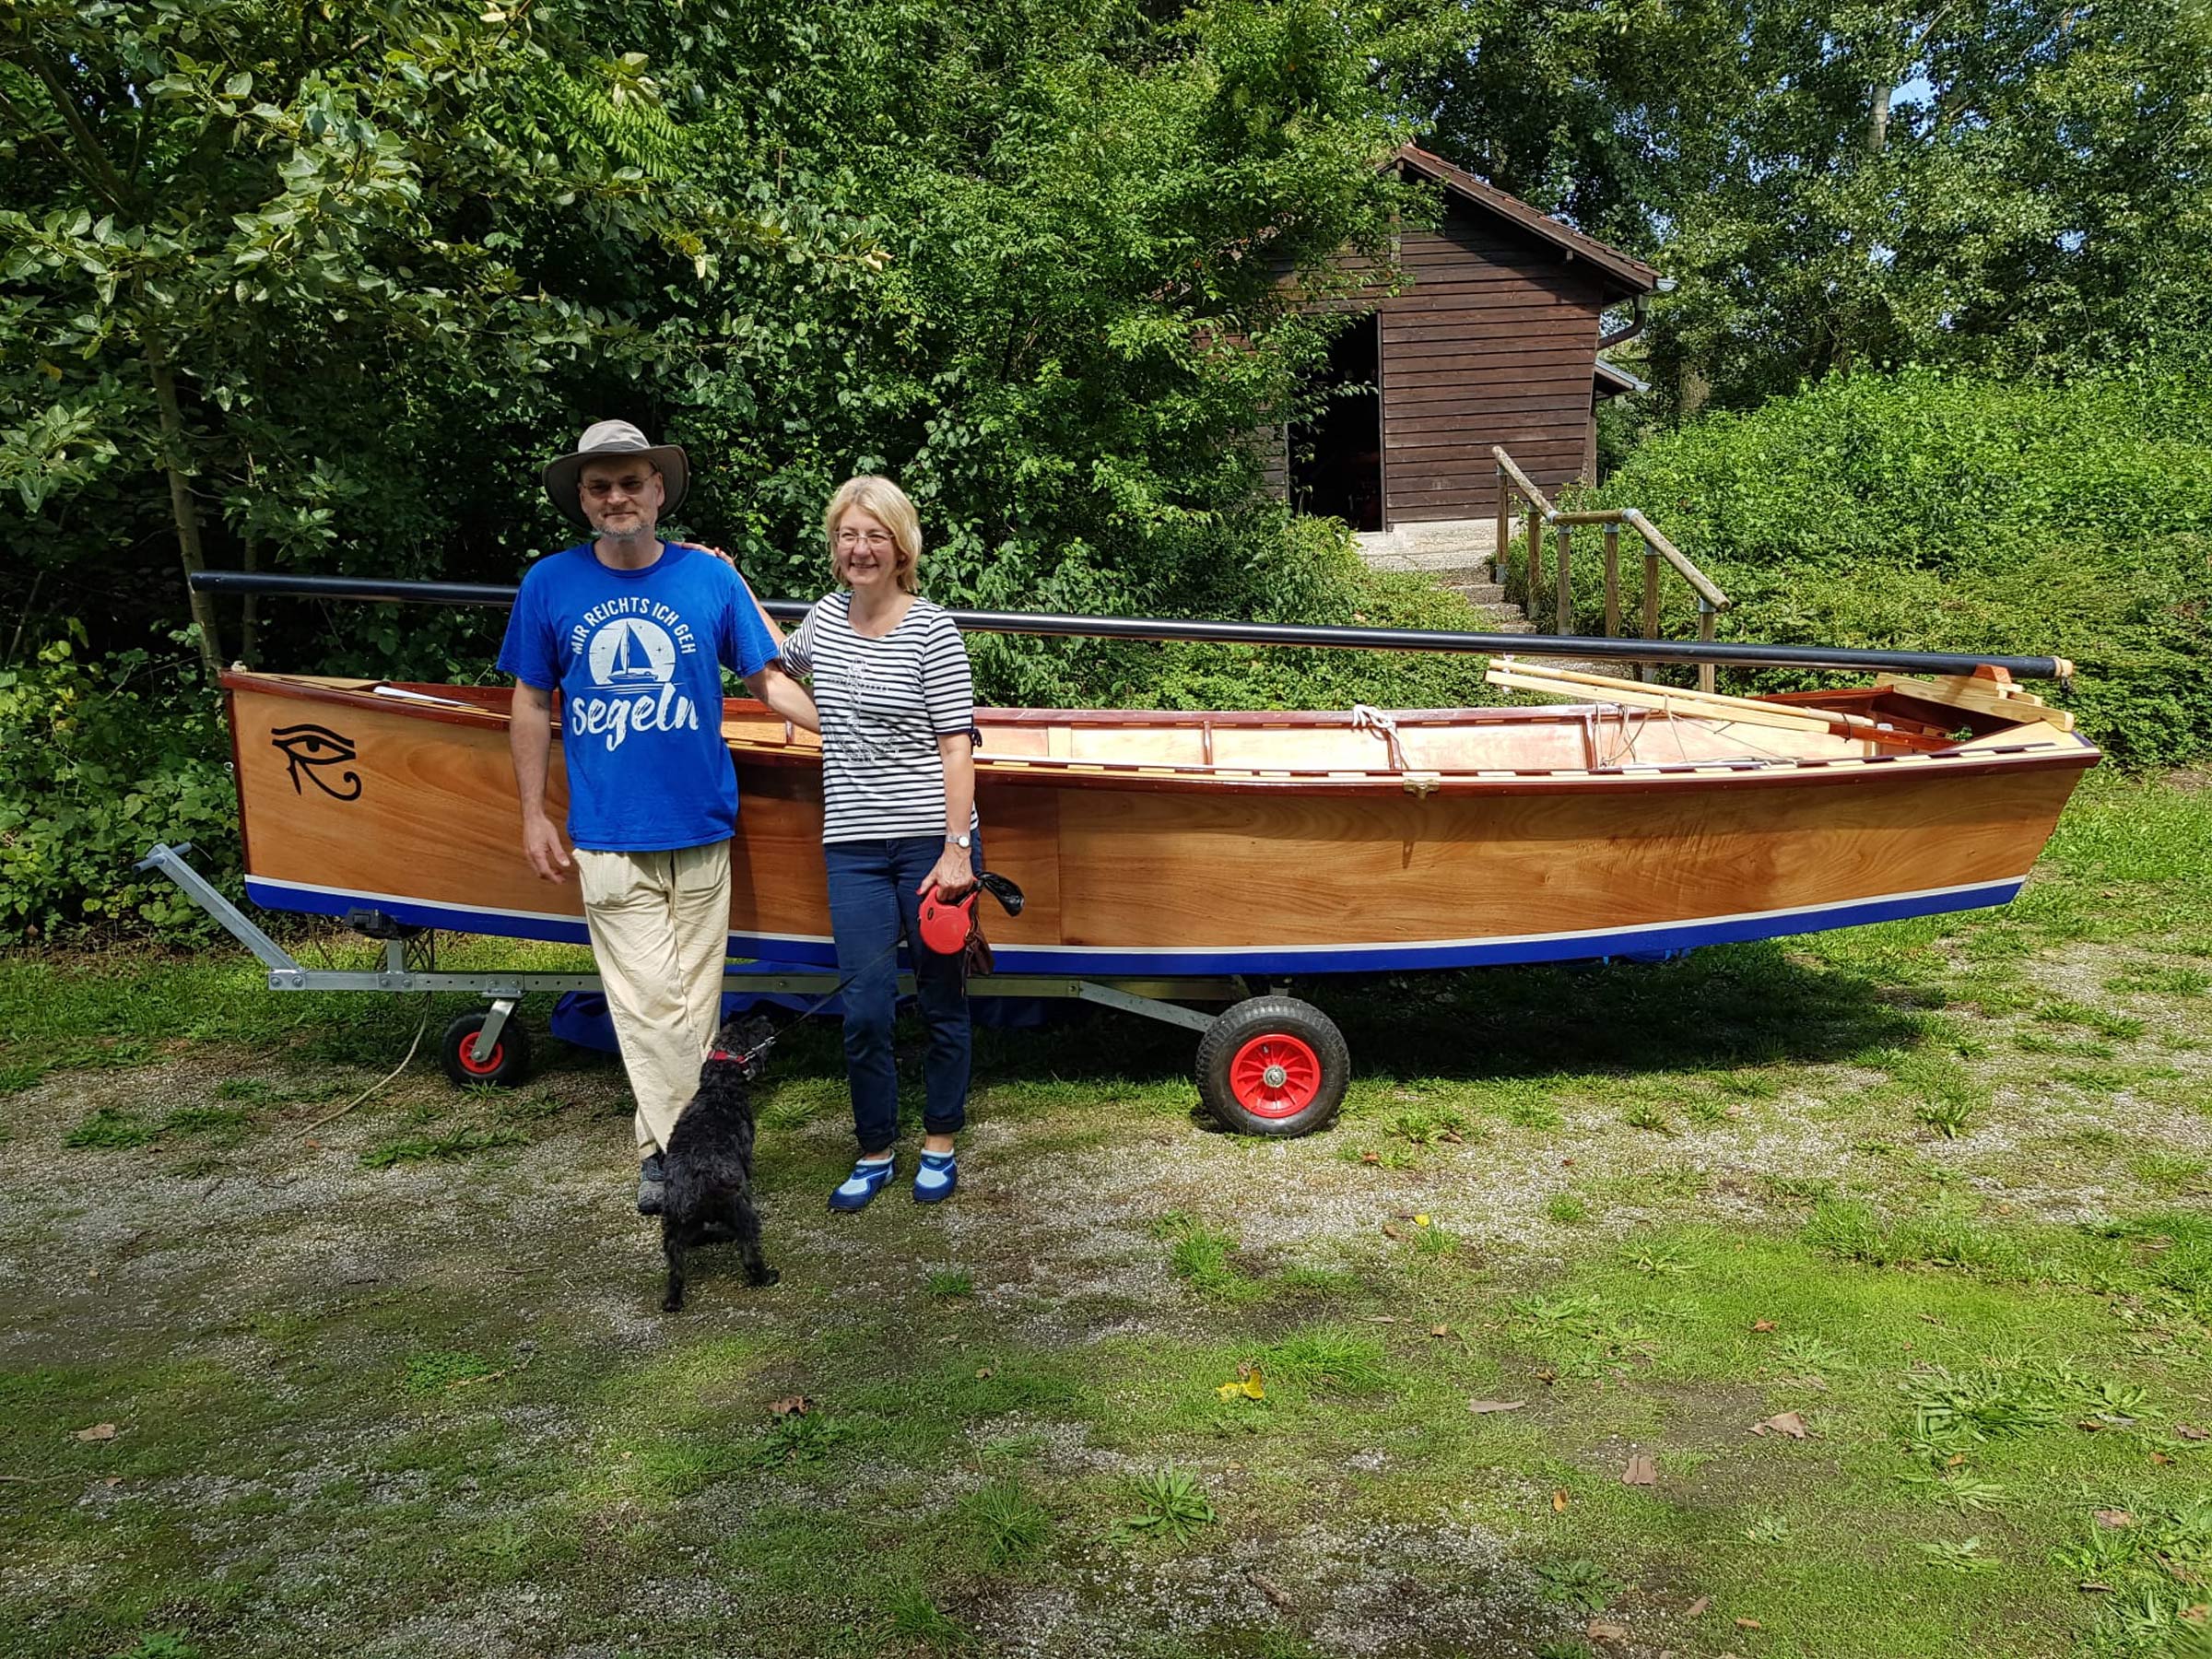
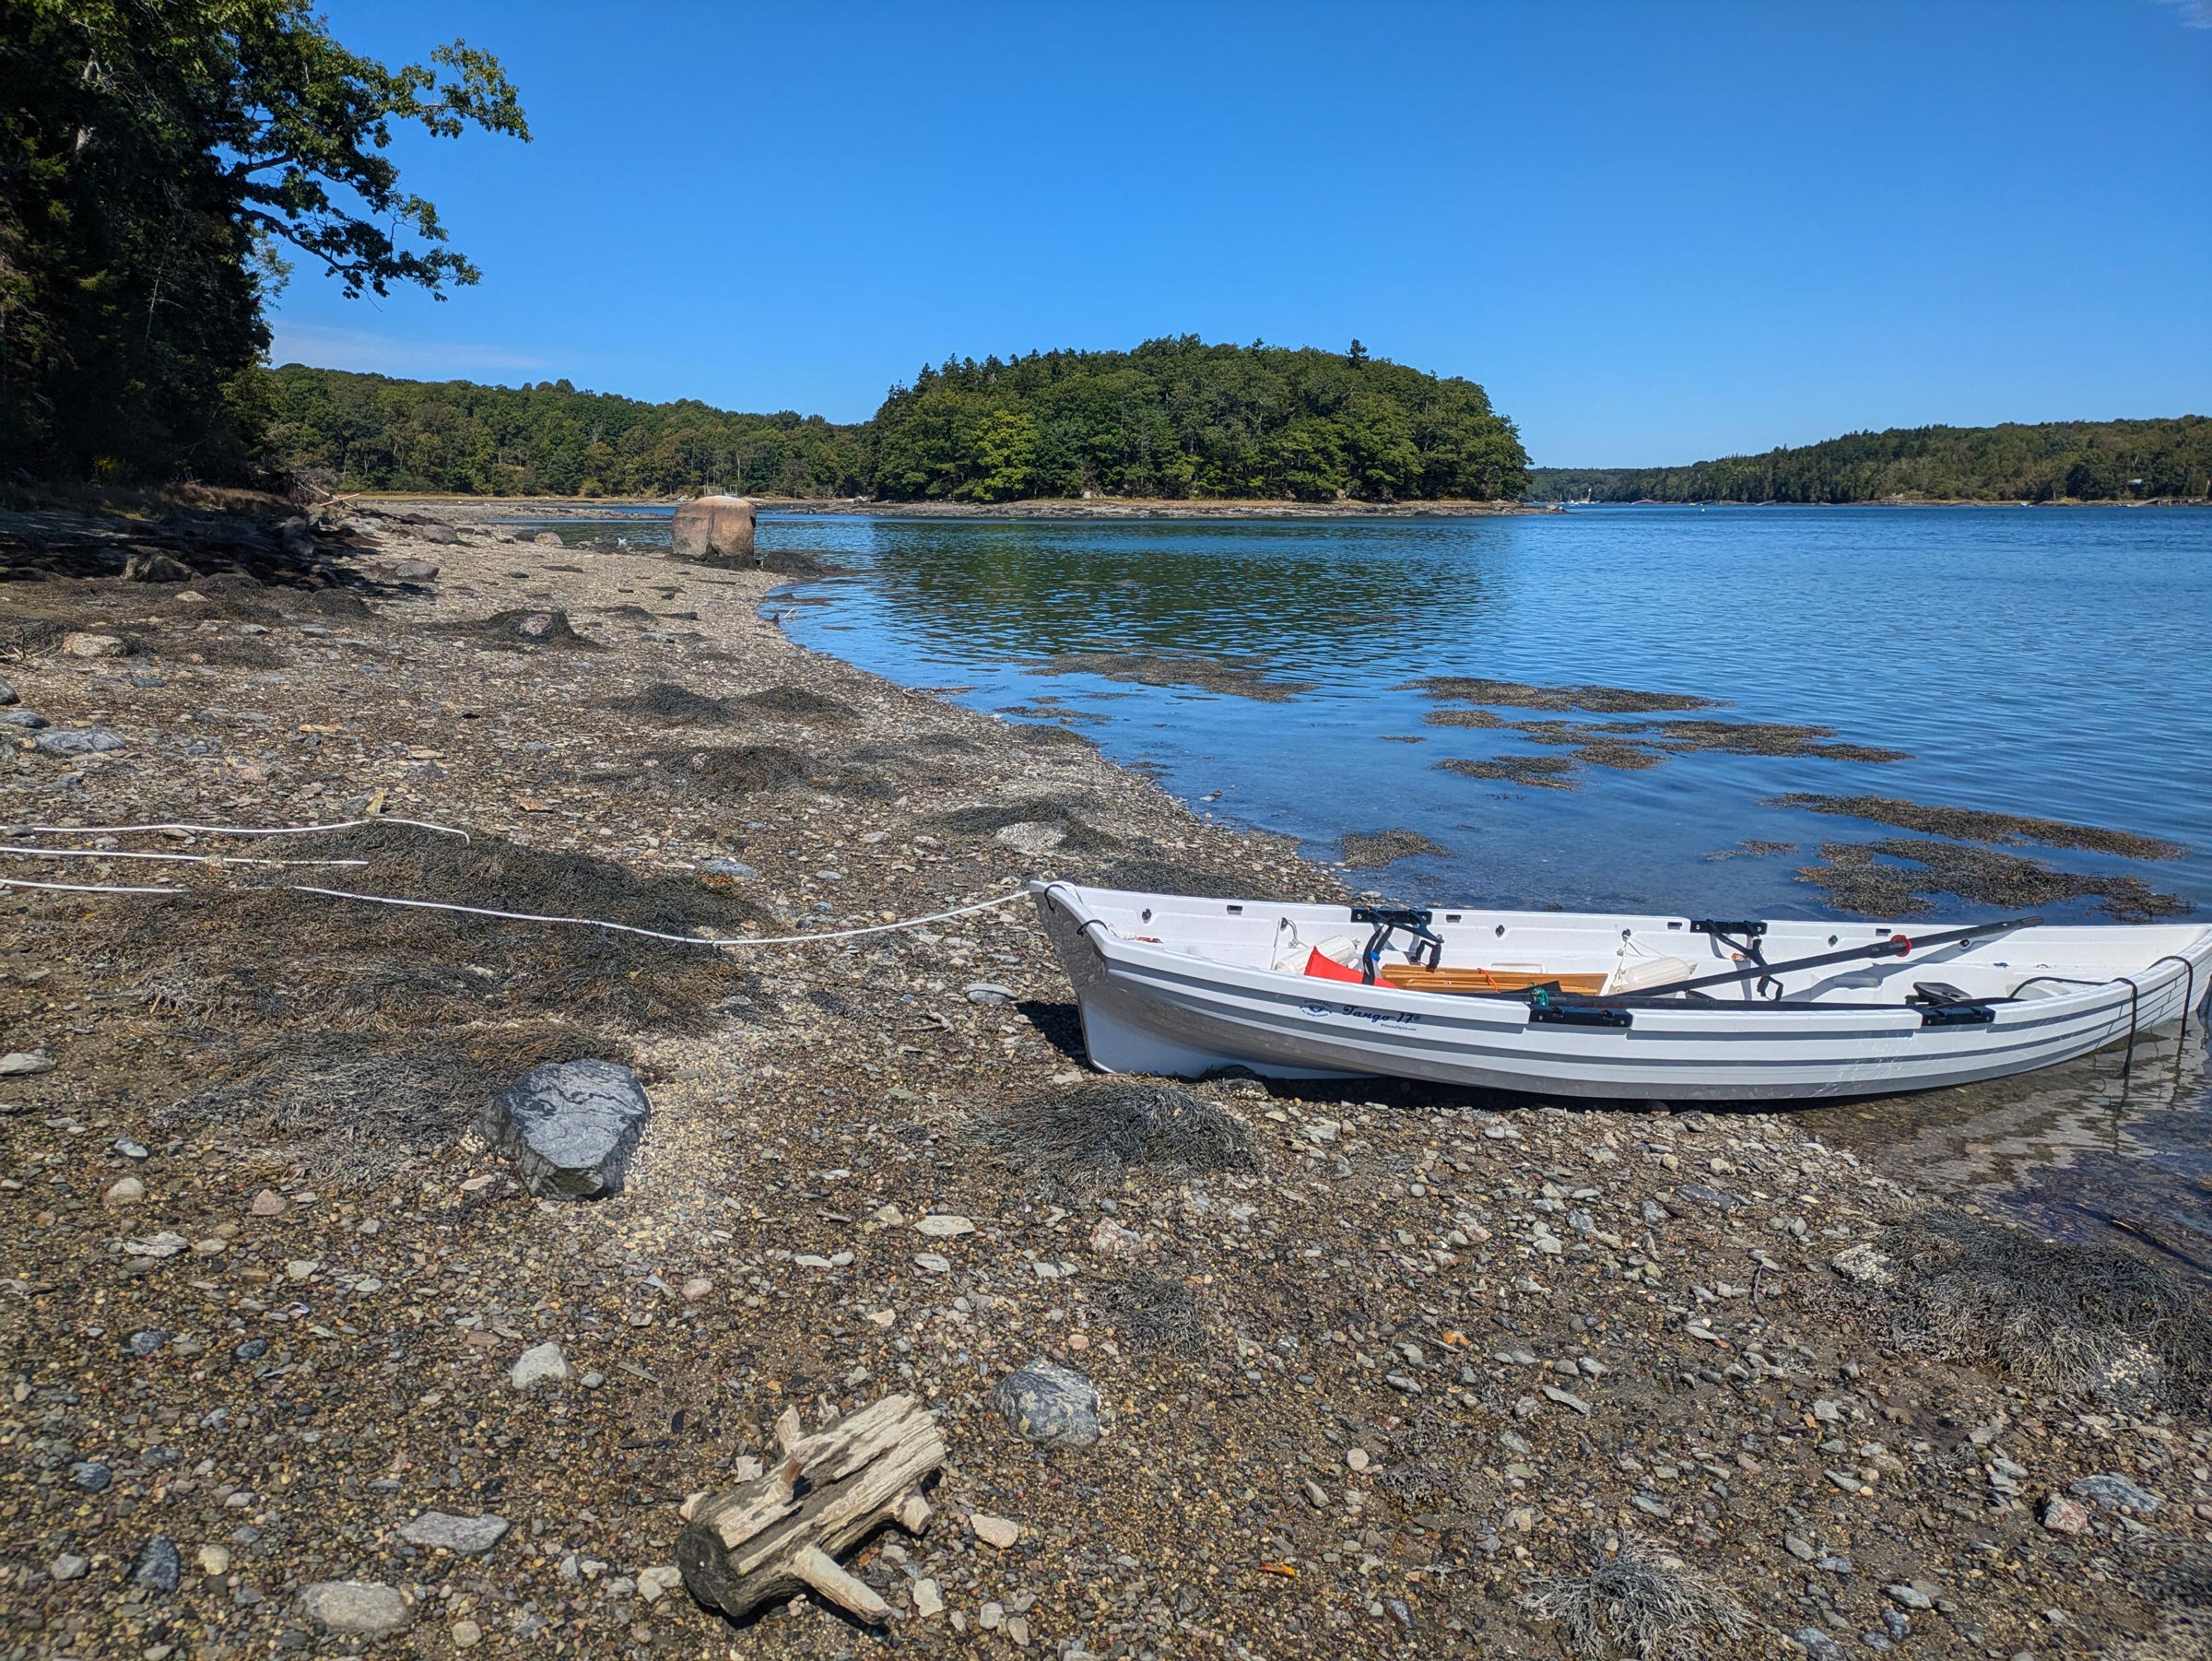
As expected, the public boat ramp in South Penobscot was quiet. When I arrived, the tide was too low to launch, which gave me time to sort my gear and get everything squared away. One way and another there was a lot to tidy up: I carried enough fresh water for the whole four-day trip and, even when rolled up, the homemade wooden sleeping deck (visible beneath the oars) took up quite a bit of space.
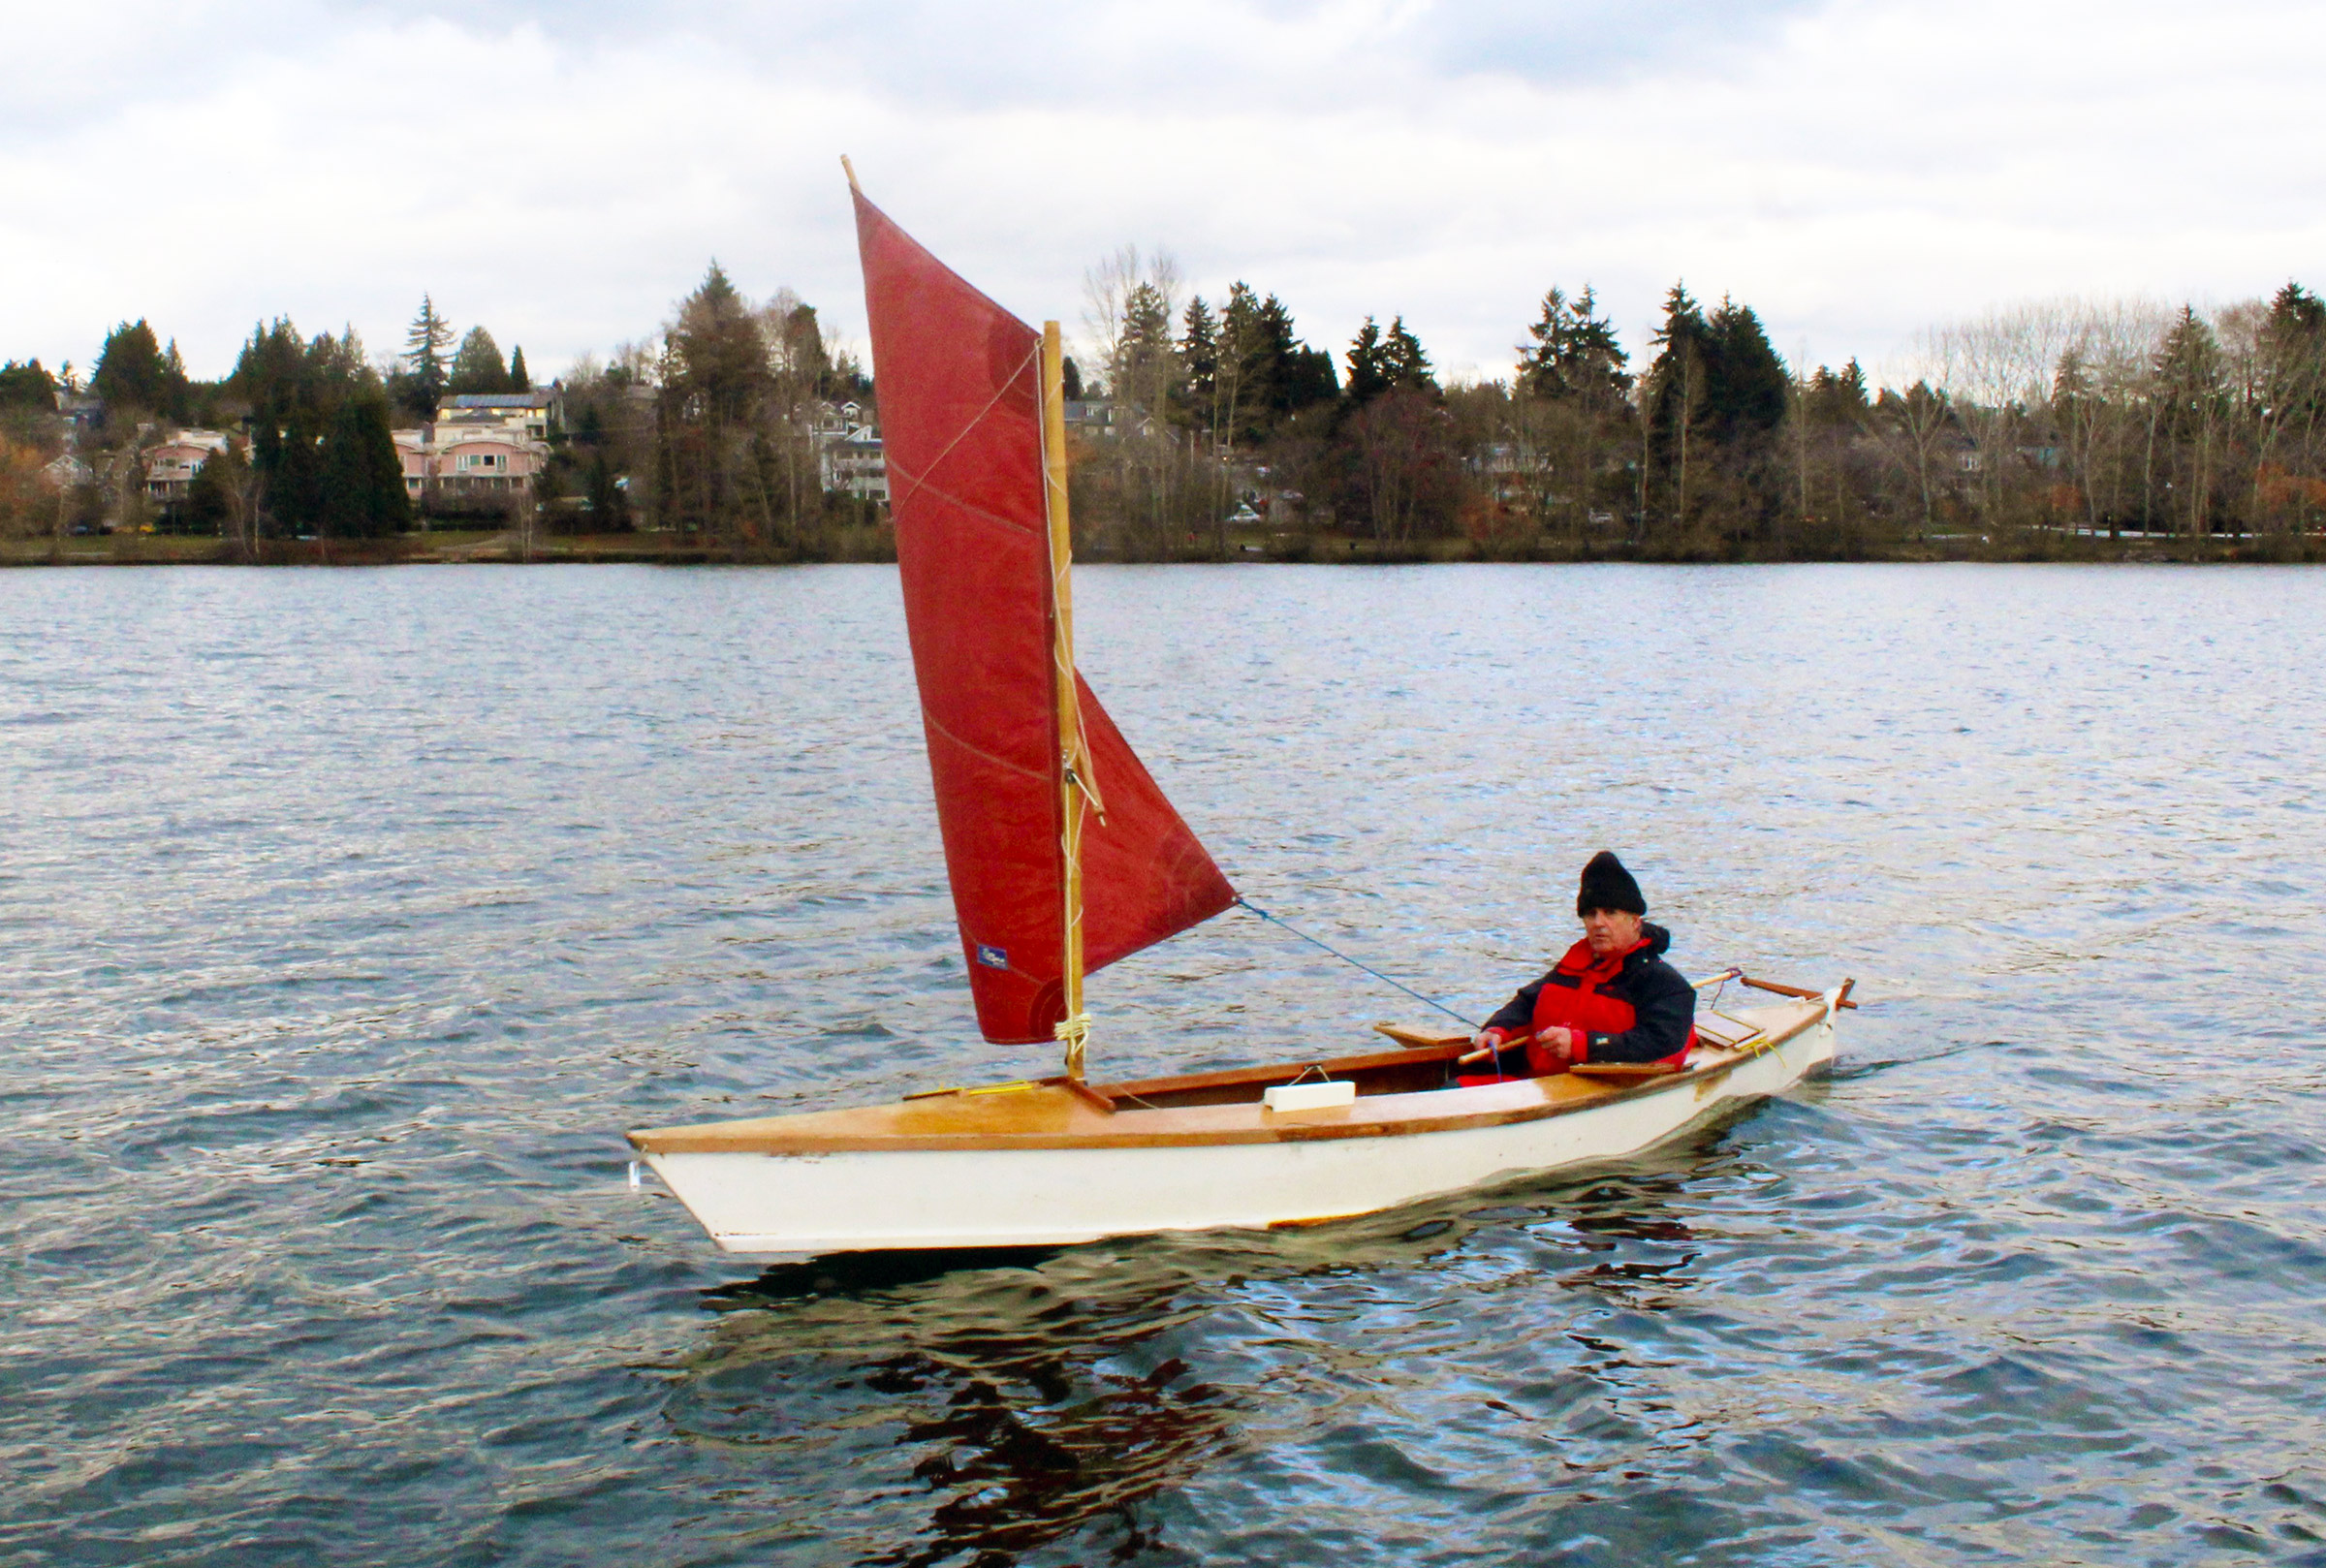
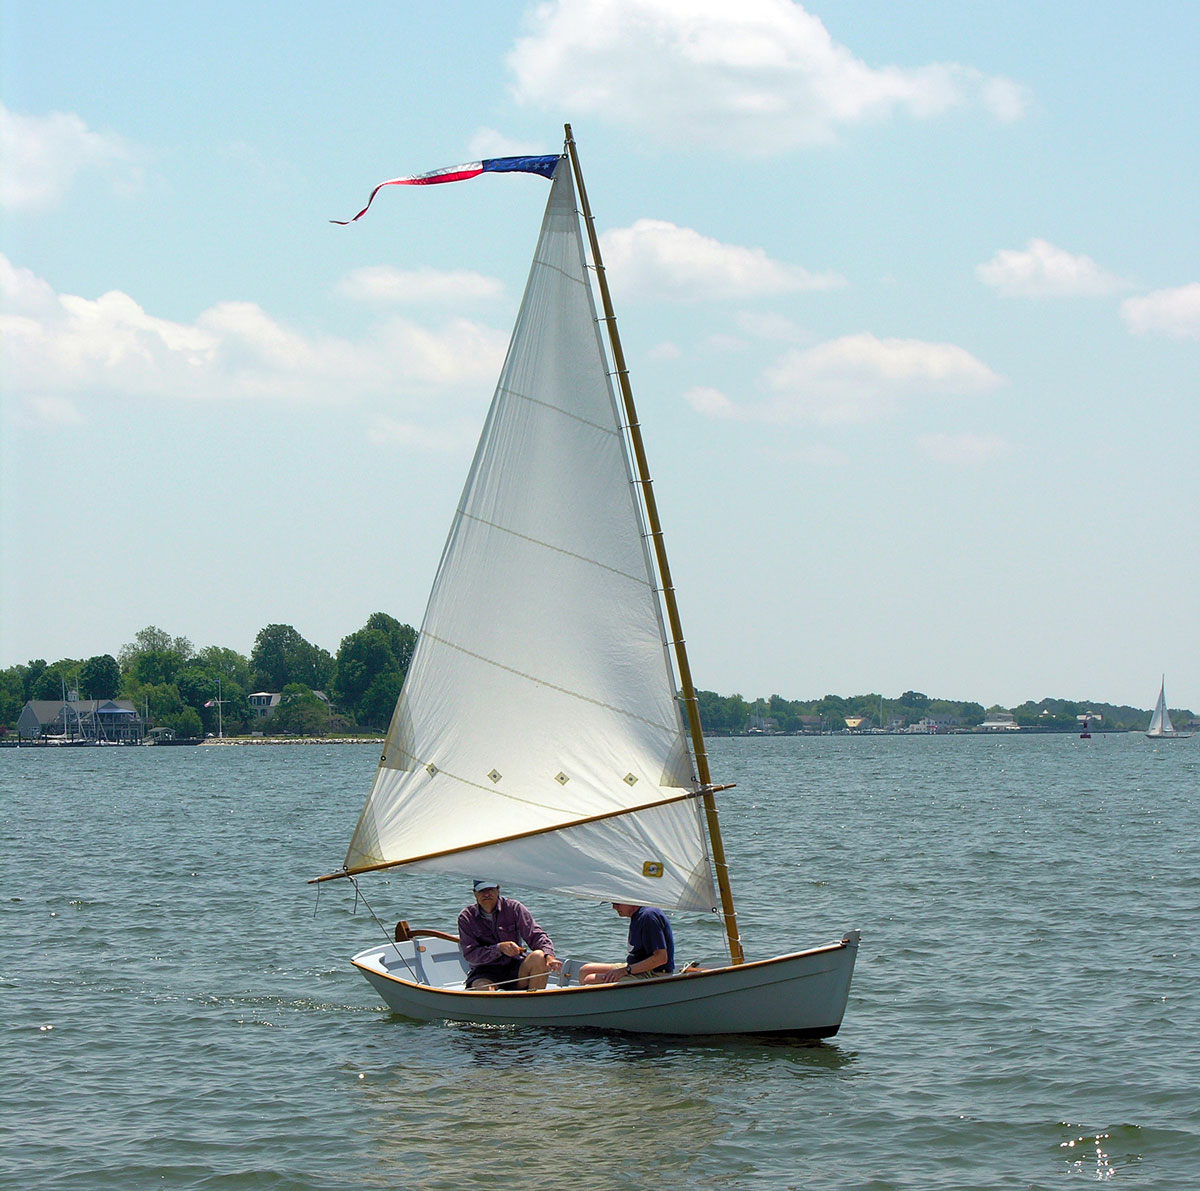
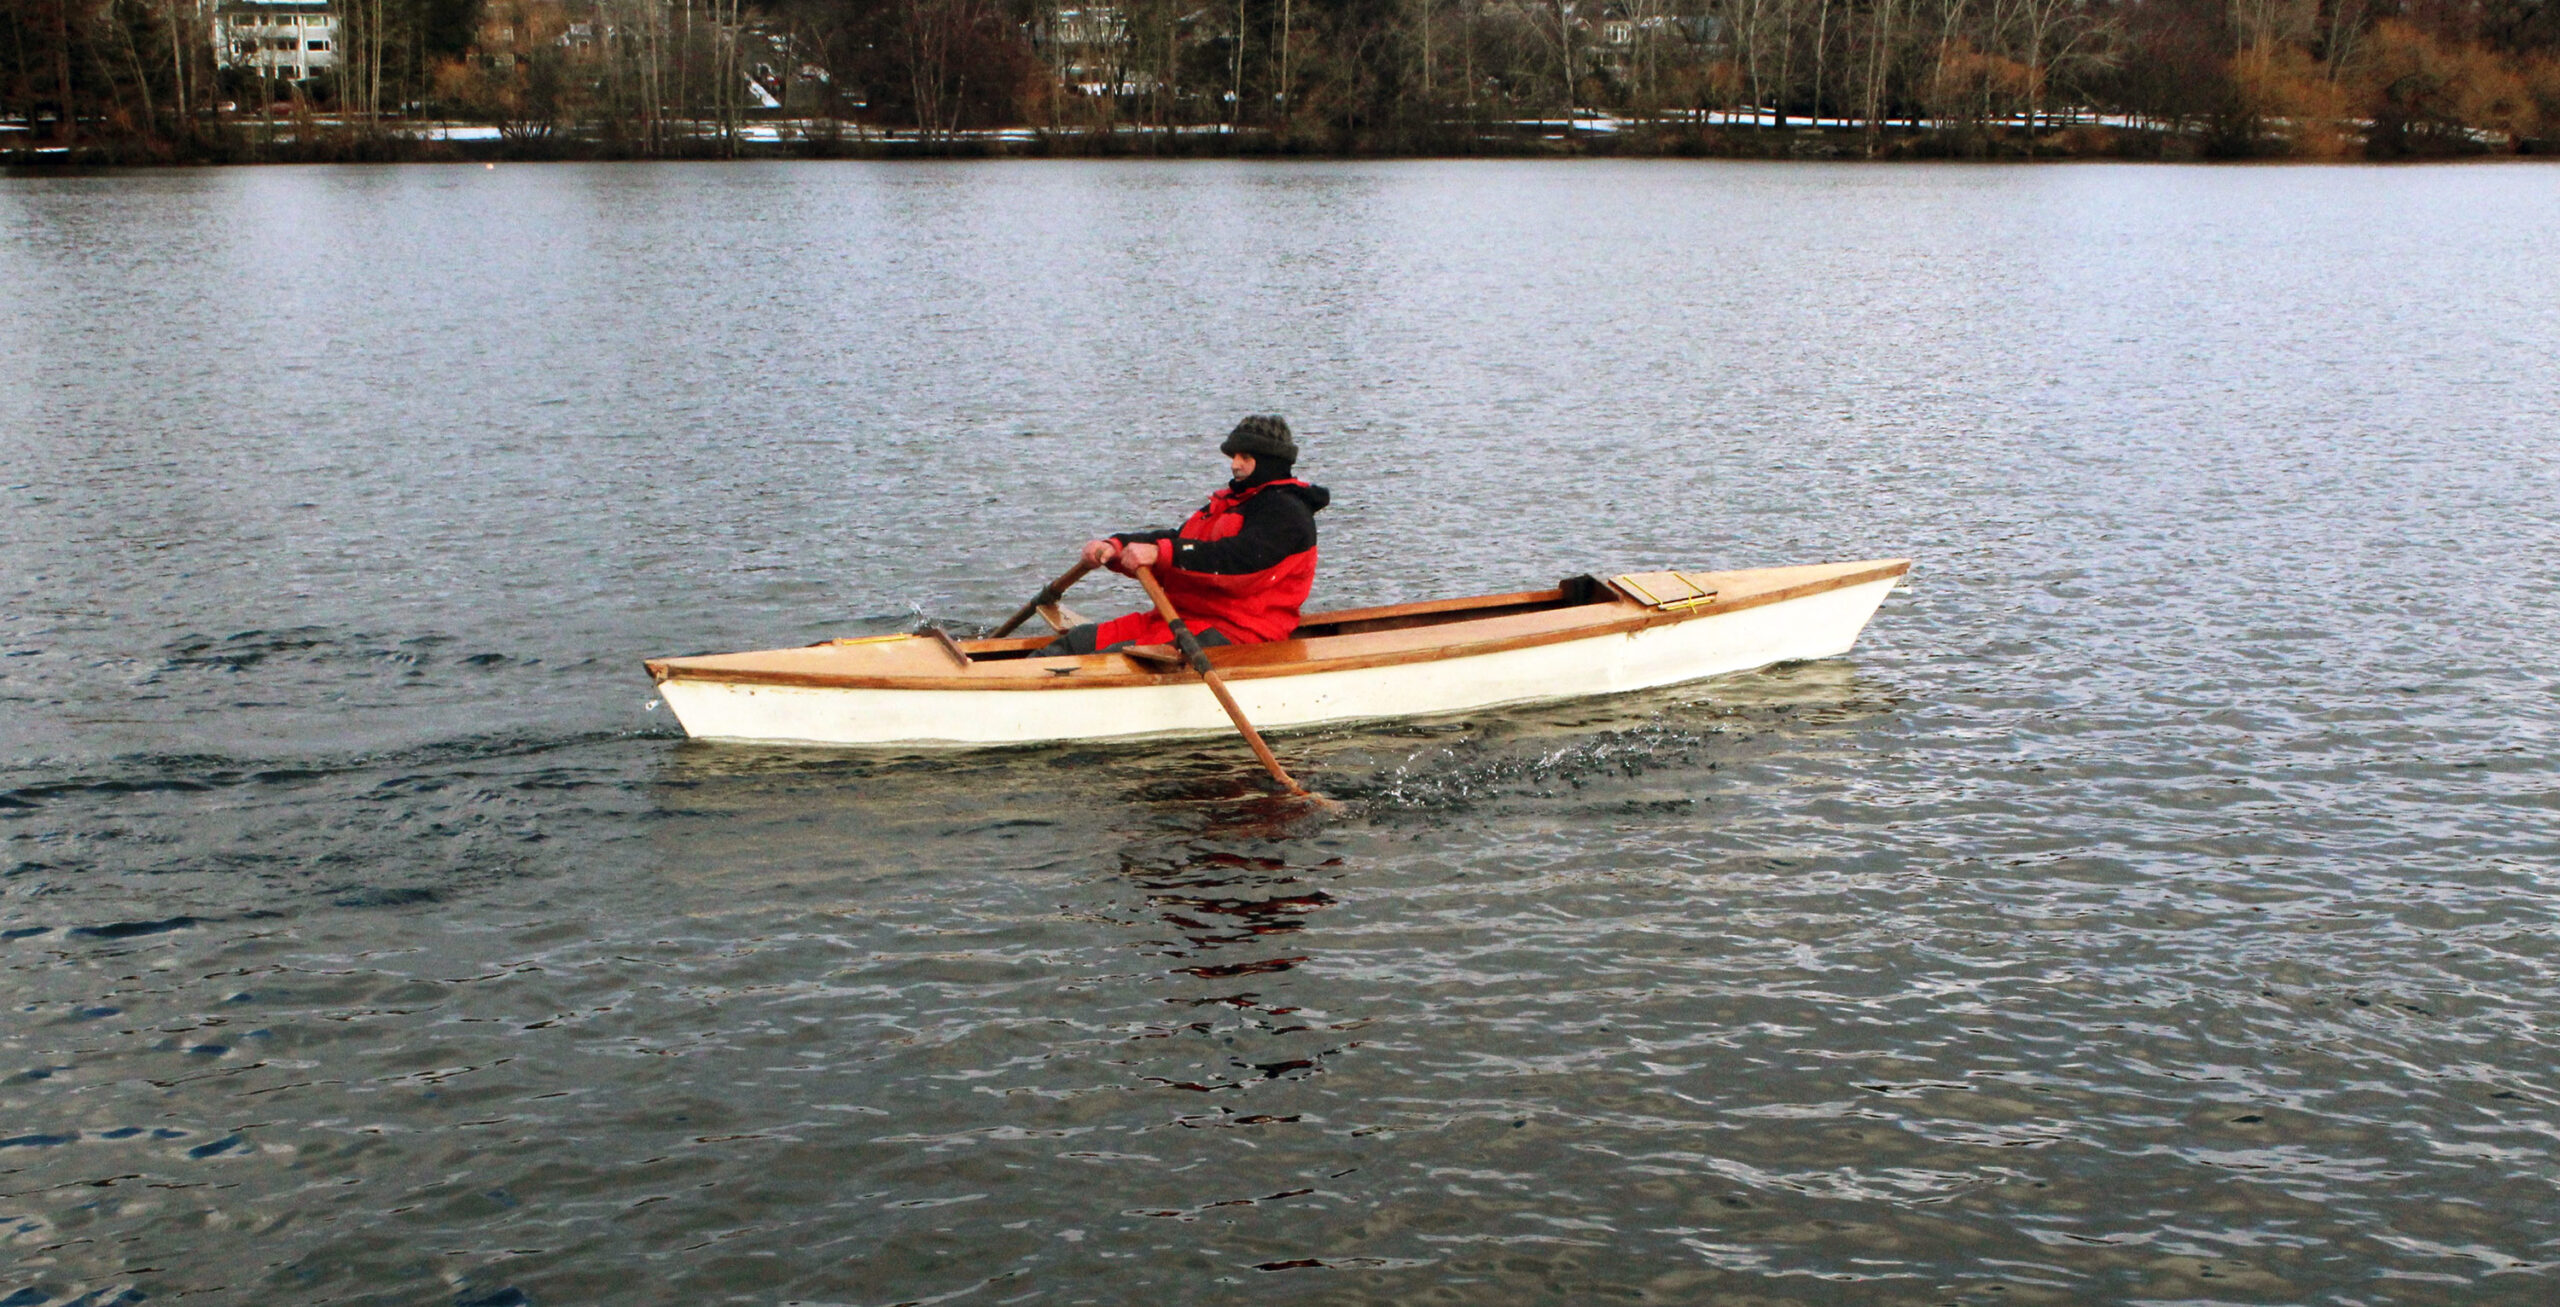
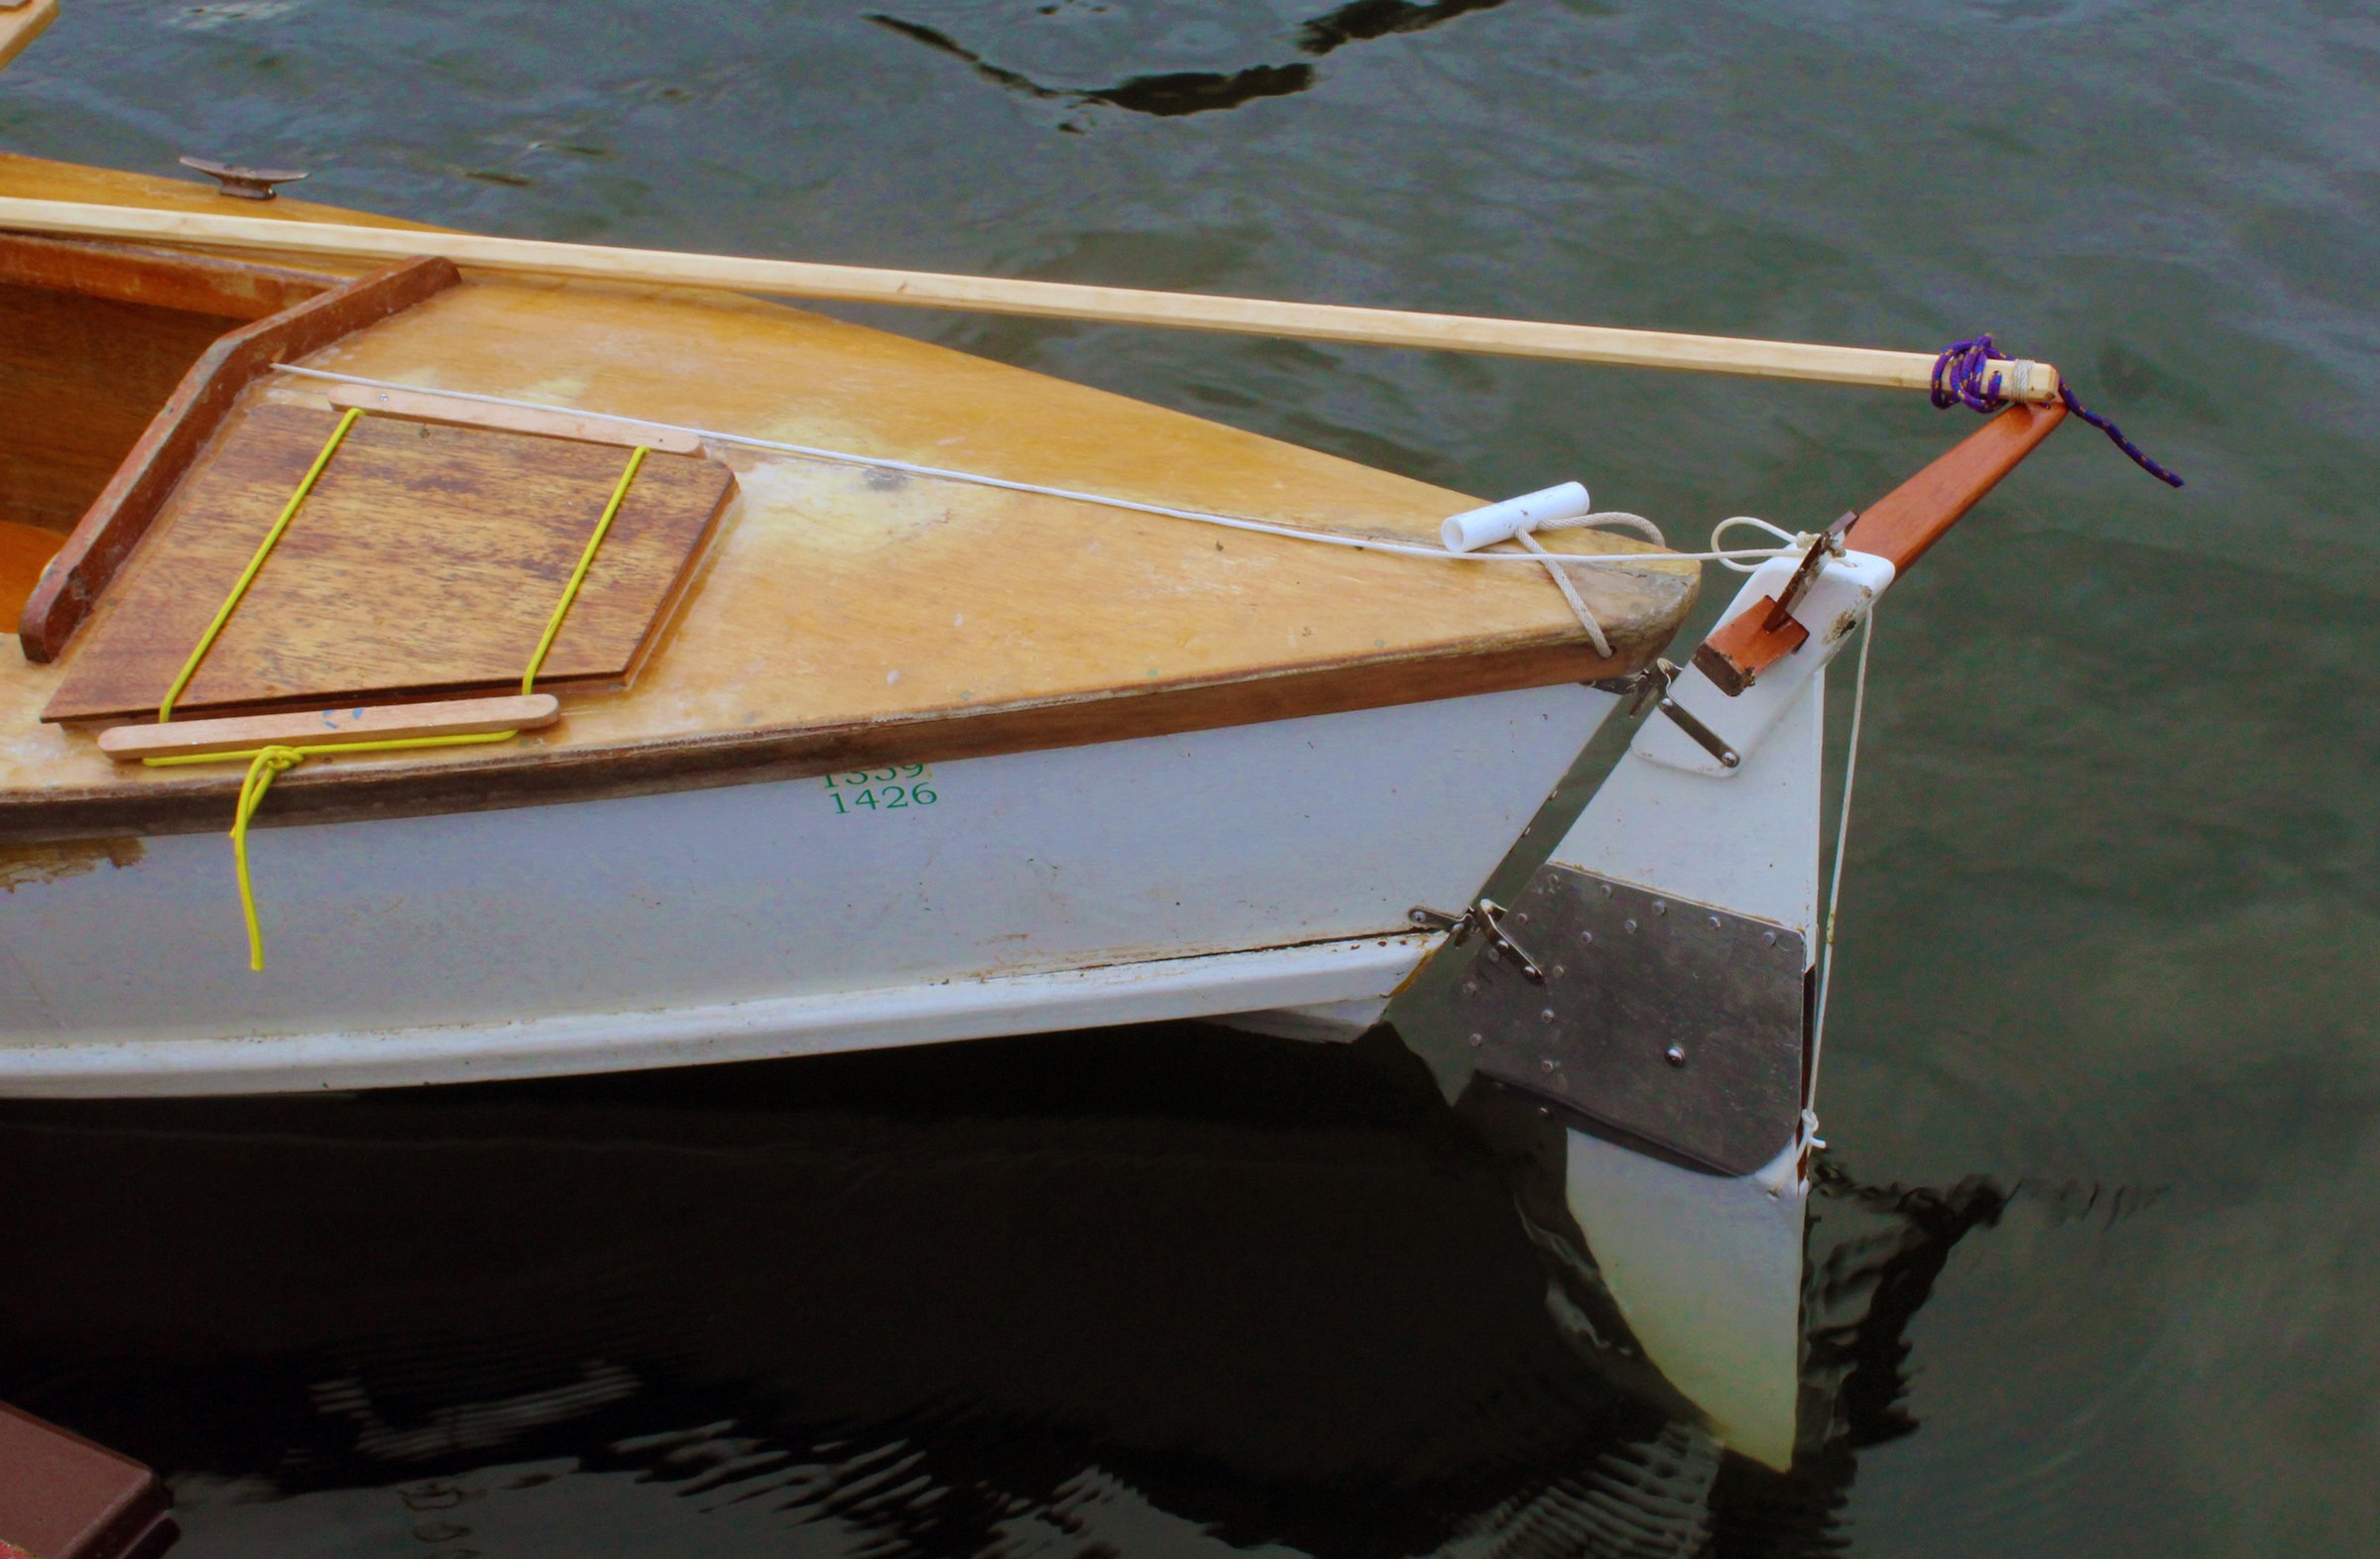
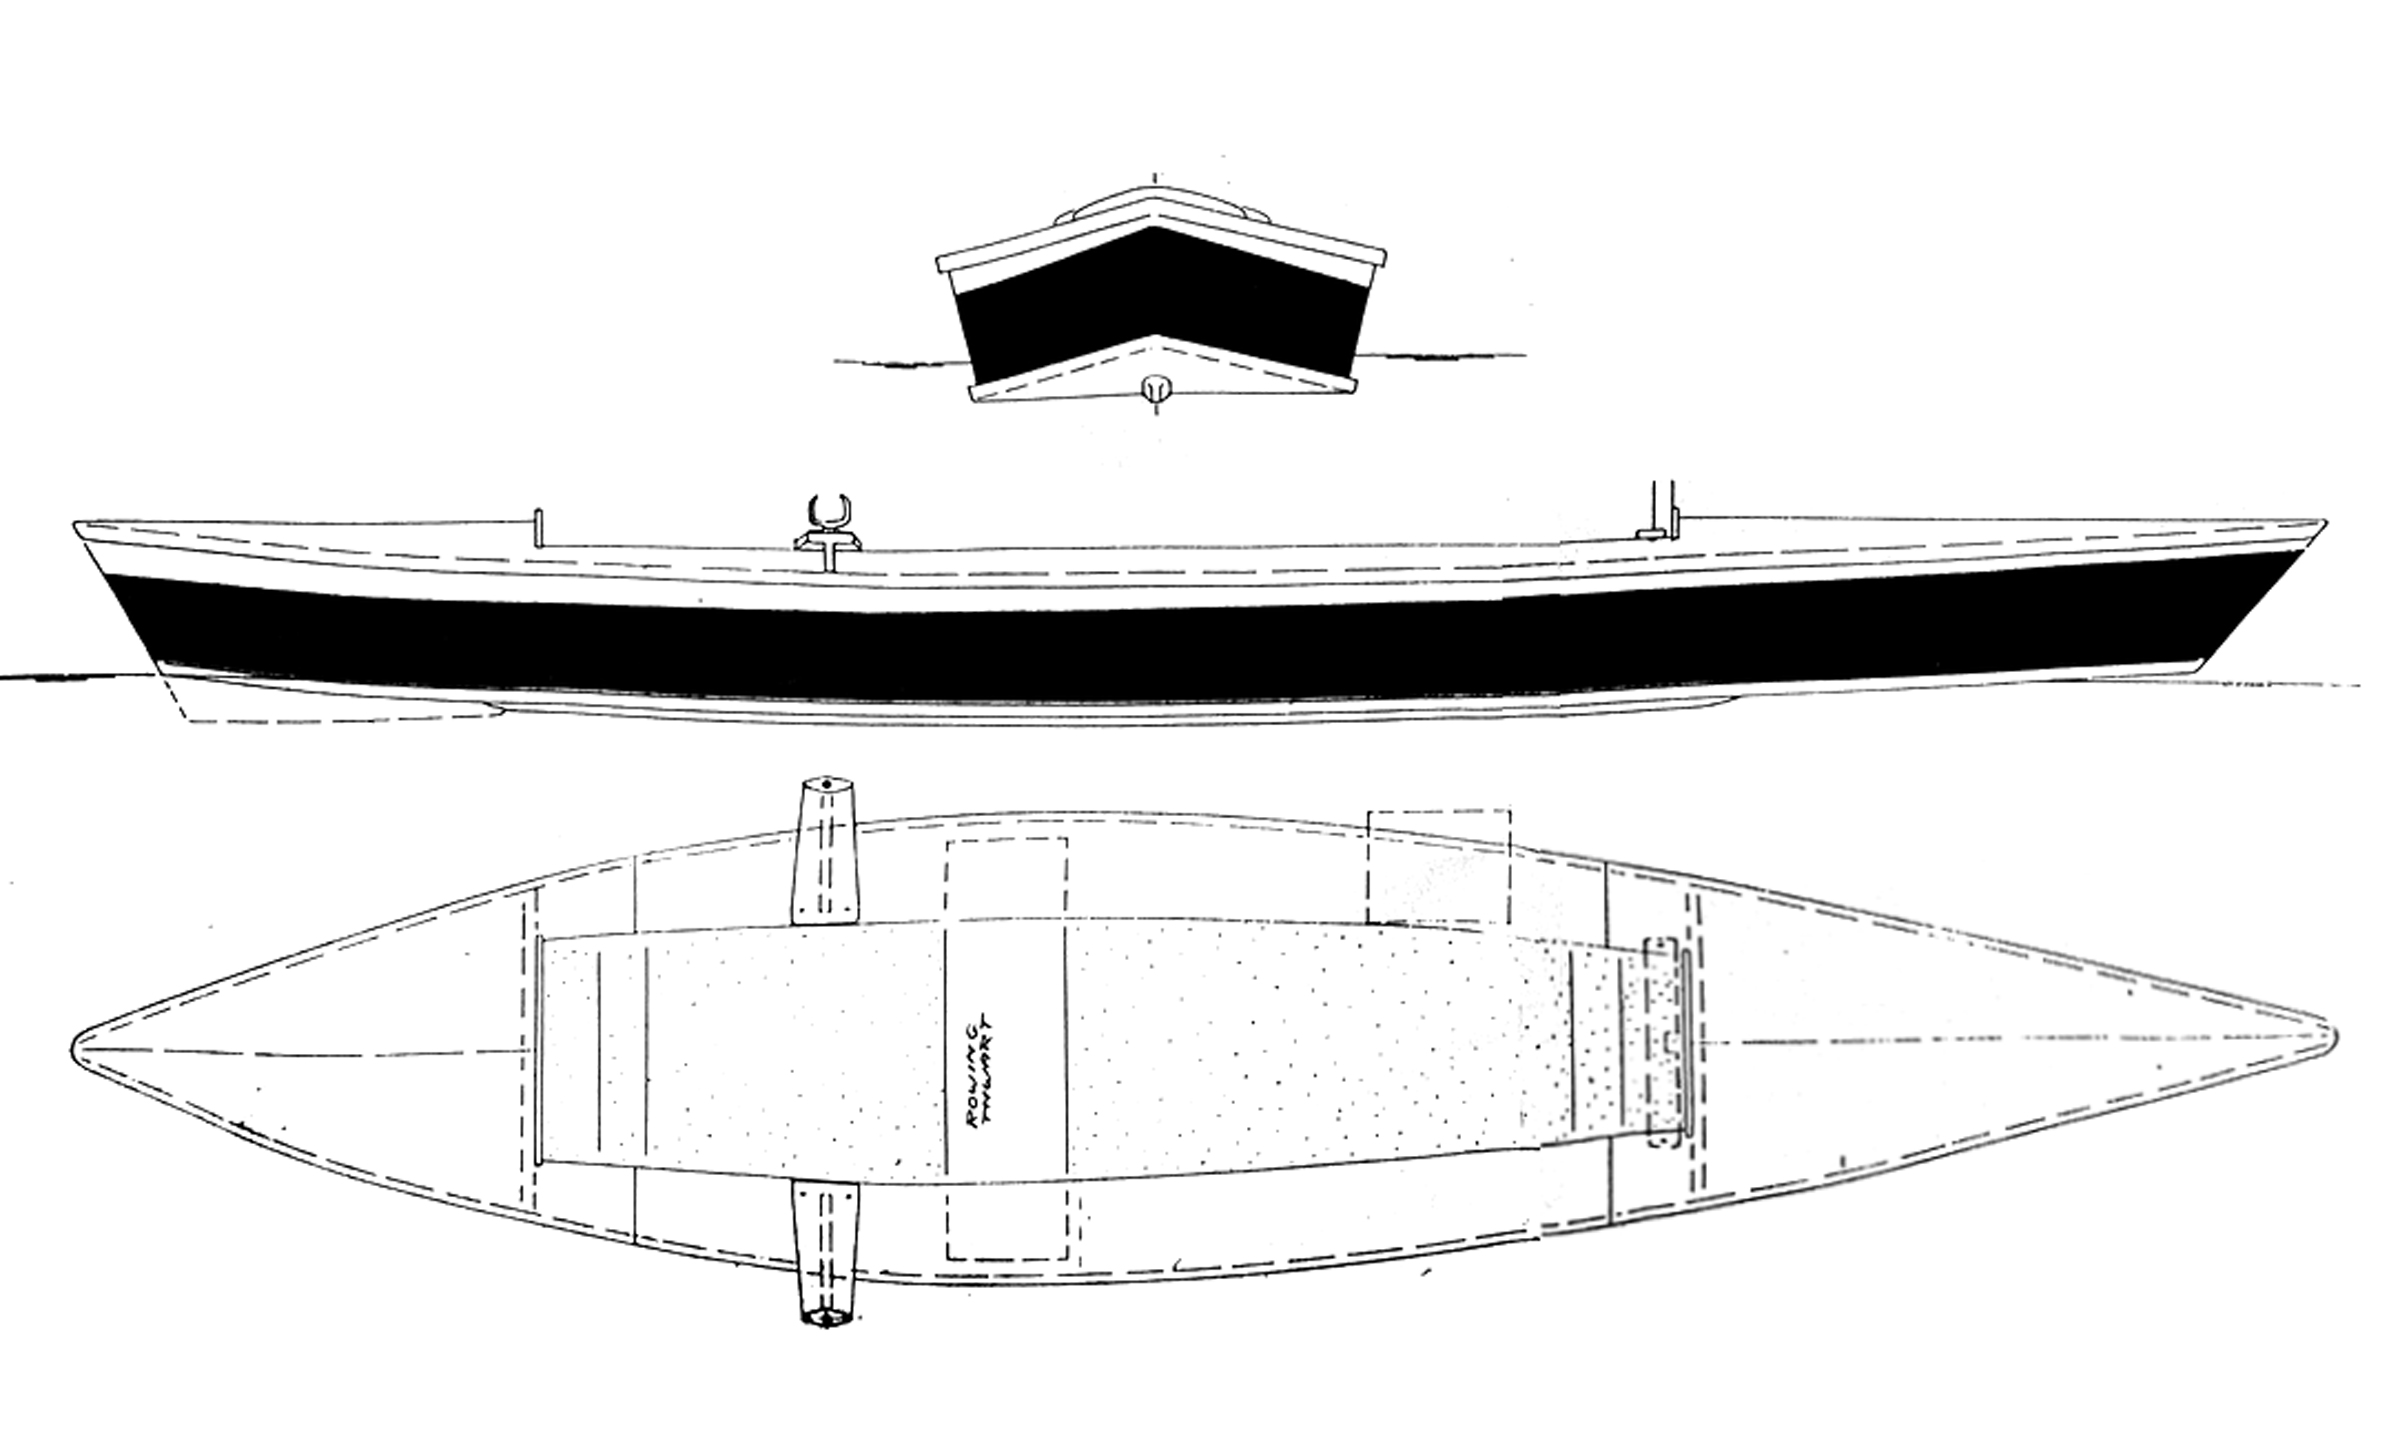
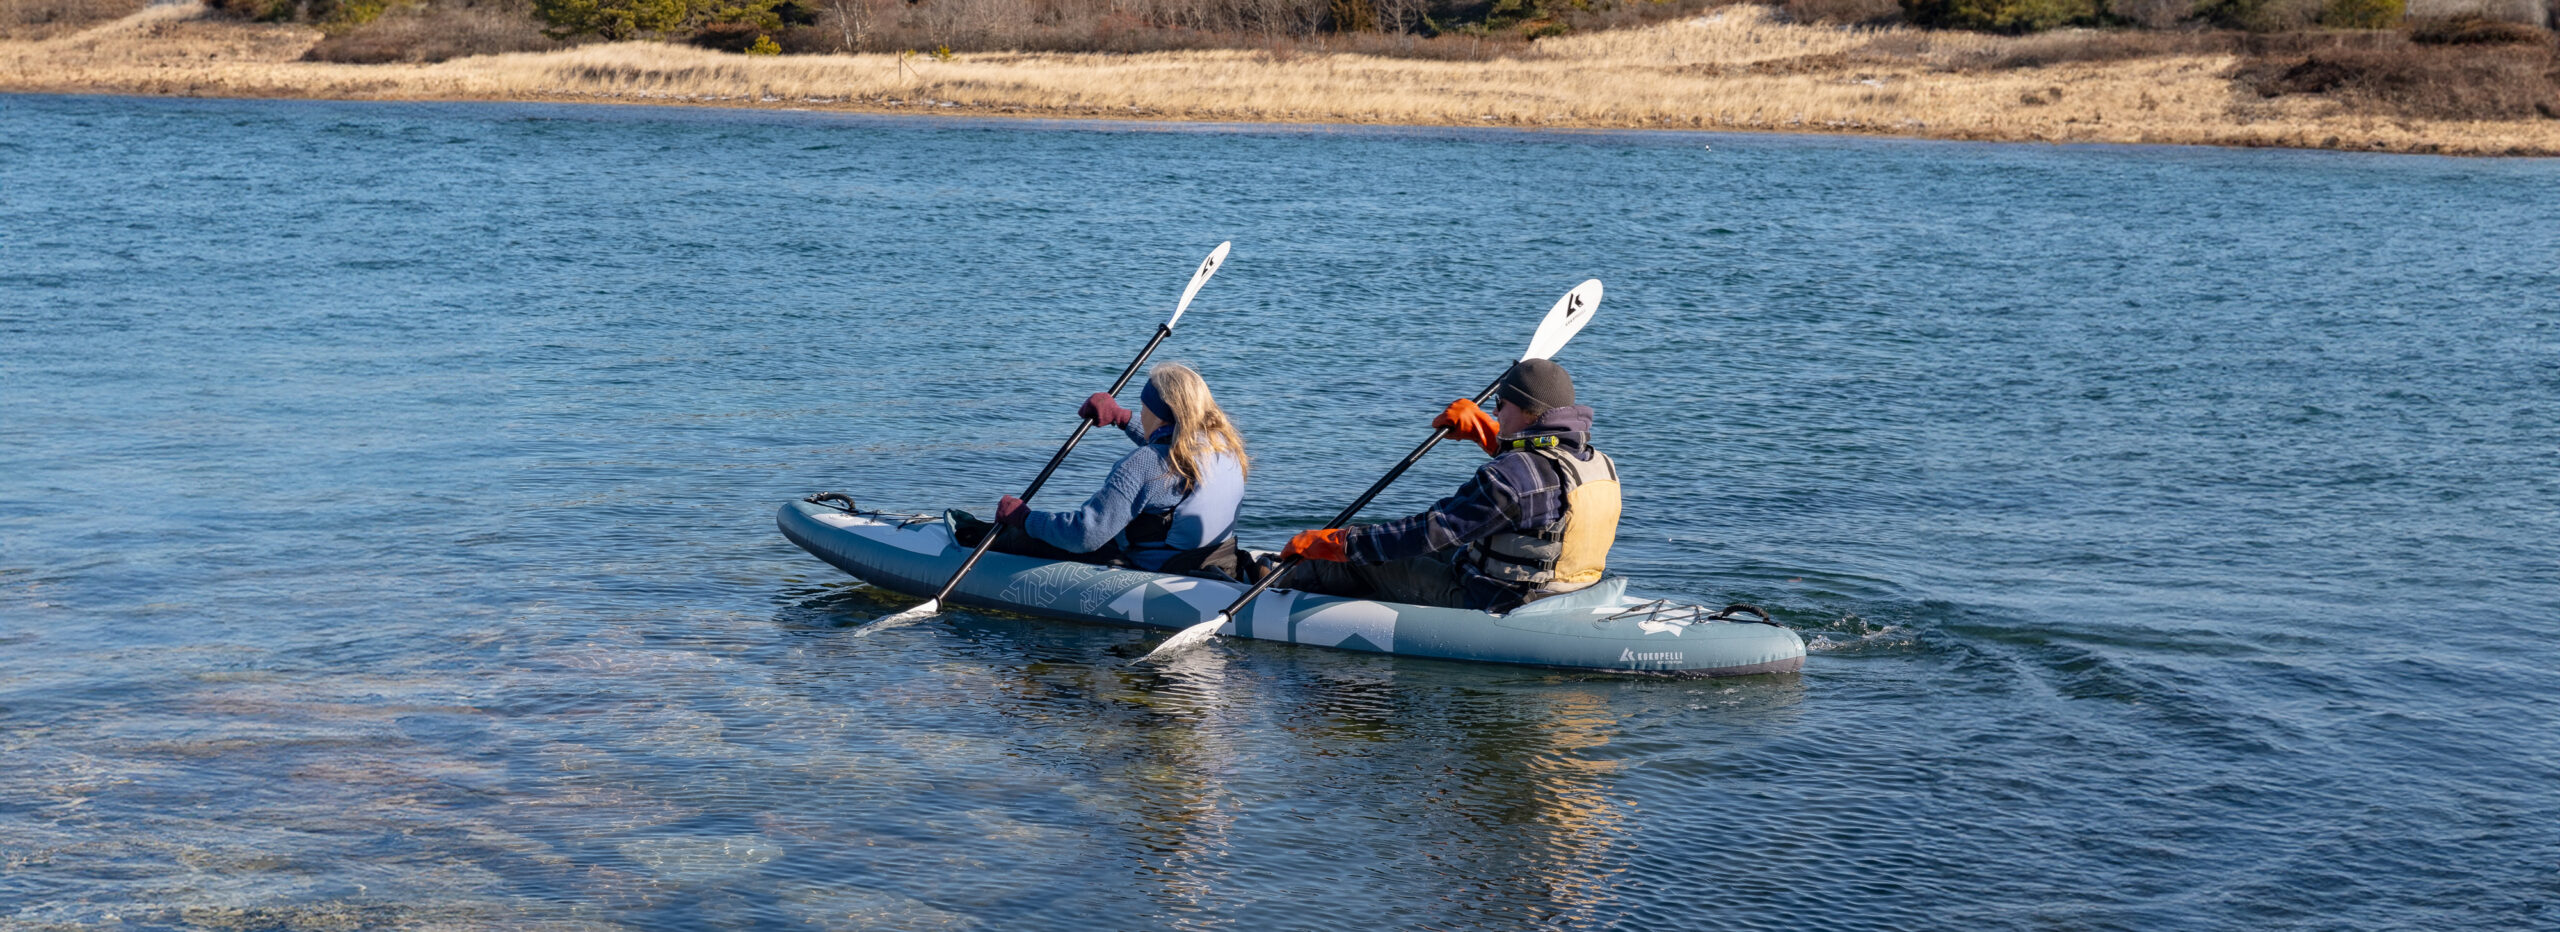
The South Penobscot ramp can only be used at half-tide or higher, and even at half-tide the lower slope looked pretty slick. I decided to wait for the water to come up some more. For a couple of hours I futzed with gear, double-checked the chart, and soaked up the sunshine. At last I was able to ease the trailer down, slip AURELIUS, my Whitehall Spirit Tango 17, into the water, and tie her up to the dock while I went to park the truck and trailer. By early afternoon I was clambering aboard and pulling away. I was heading into both wind and tide, but was happy to be on the water and at the oars.
I eased down Winslow Cove and around 2-acre Winslow Island, a scant half mile from the boat ramp. A narrow channel that started as an uncharted sliver and widened to 40 yards led out of the cove, and I was immediately aware of the navigational challenges I would be facing. The seabed of the Bagaduce’s Northern Bay is a mix of mudflats, rocky shoals, and kelp beds. Even fully laden, AURELIUS draws less than 1′, but although I had rowed her extensively on ponds and lakes, I was new to the river, new to cruising in tidal waters, wary of running aground, and unsure how easily I would get stuck or unstuck if I rowed into mud. So began the oft-repeated pattern of the trip: check the chart, look over my shoulder to verify my location, row a few hundred yards, check, verify, row, repeat. I had a small sports mirror mounted on my baseball hat and, though it took some getting used to, I grew to appreciate not having to crane my neck quite as often. I also discovered that if I could see kelp beds beneath the boat, it was a good sign we were getting into the shallows.

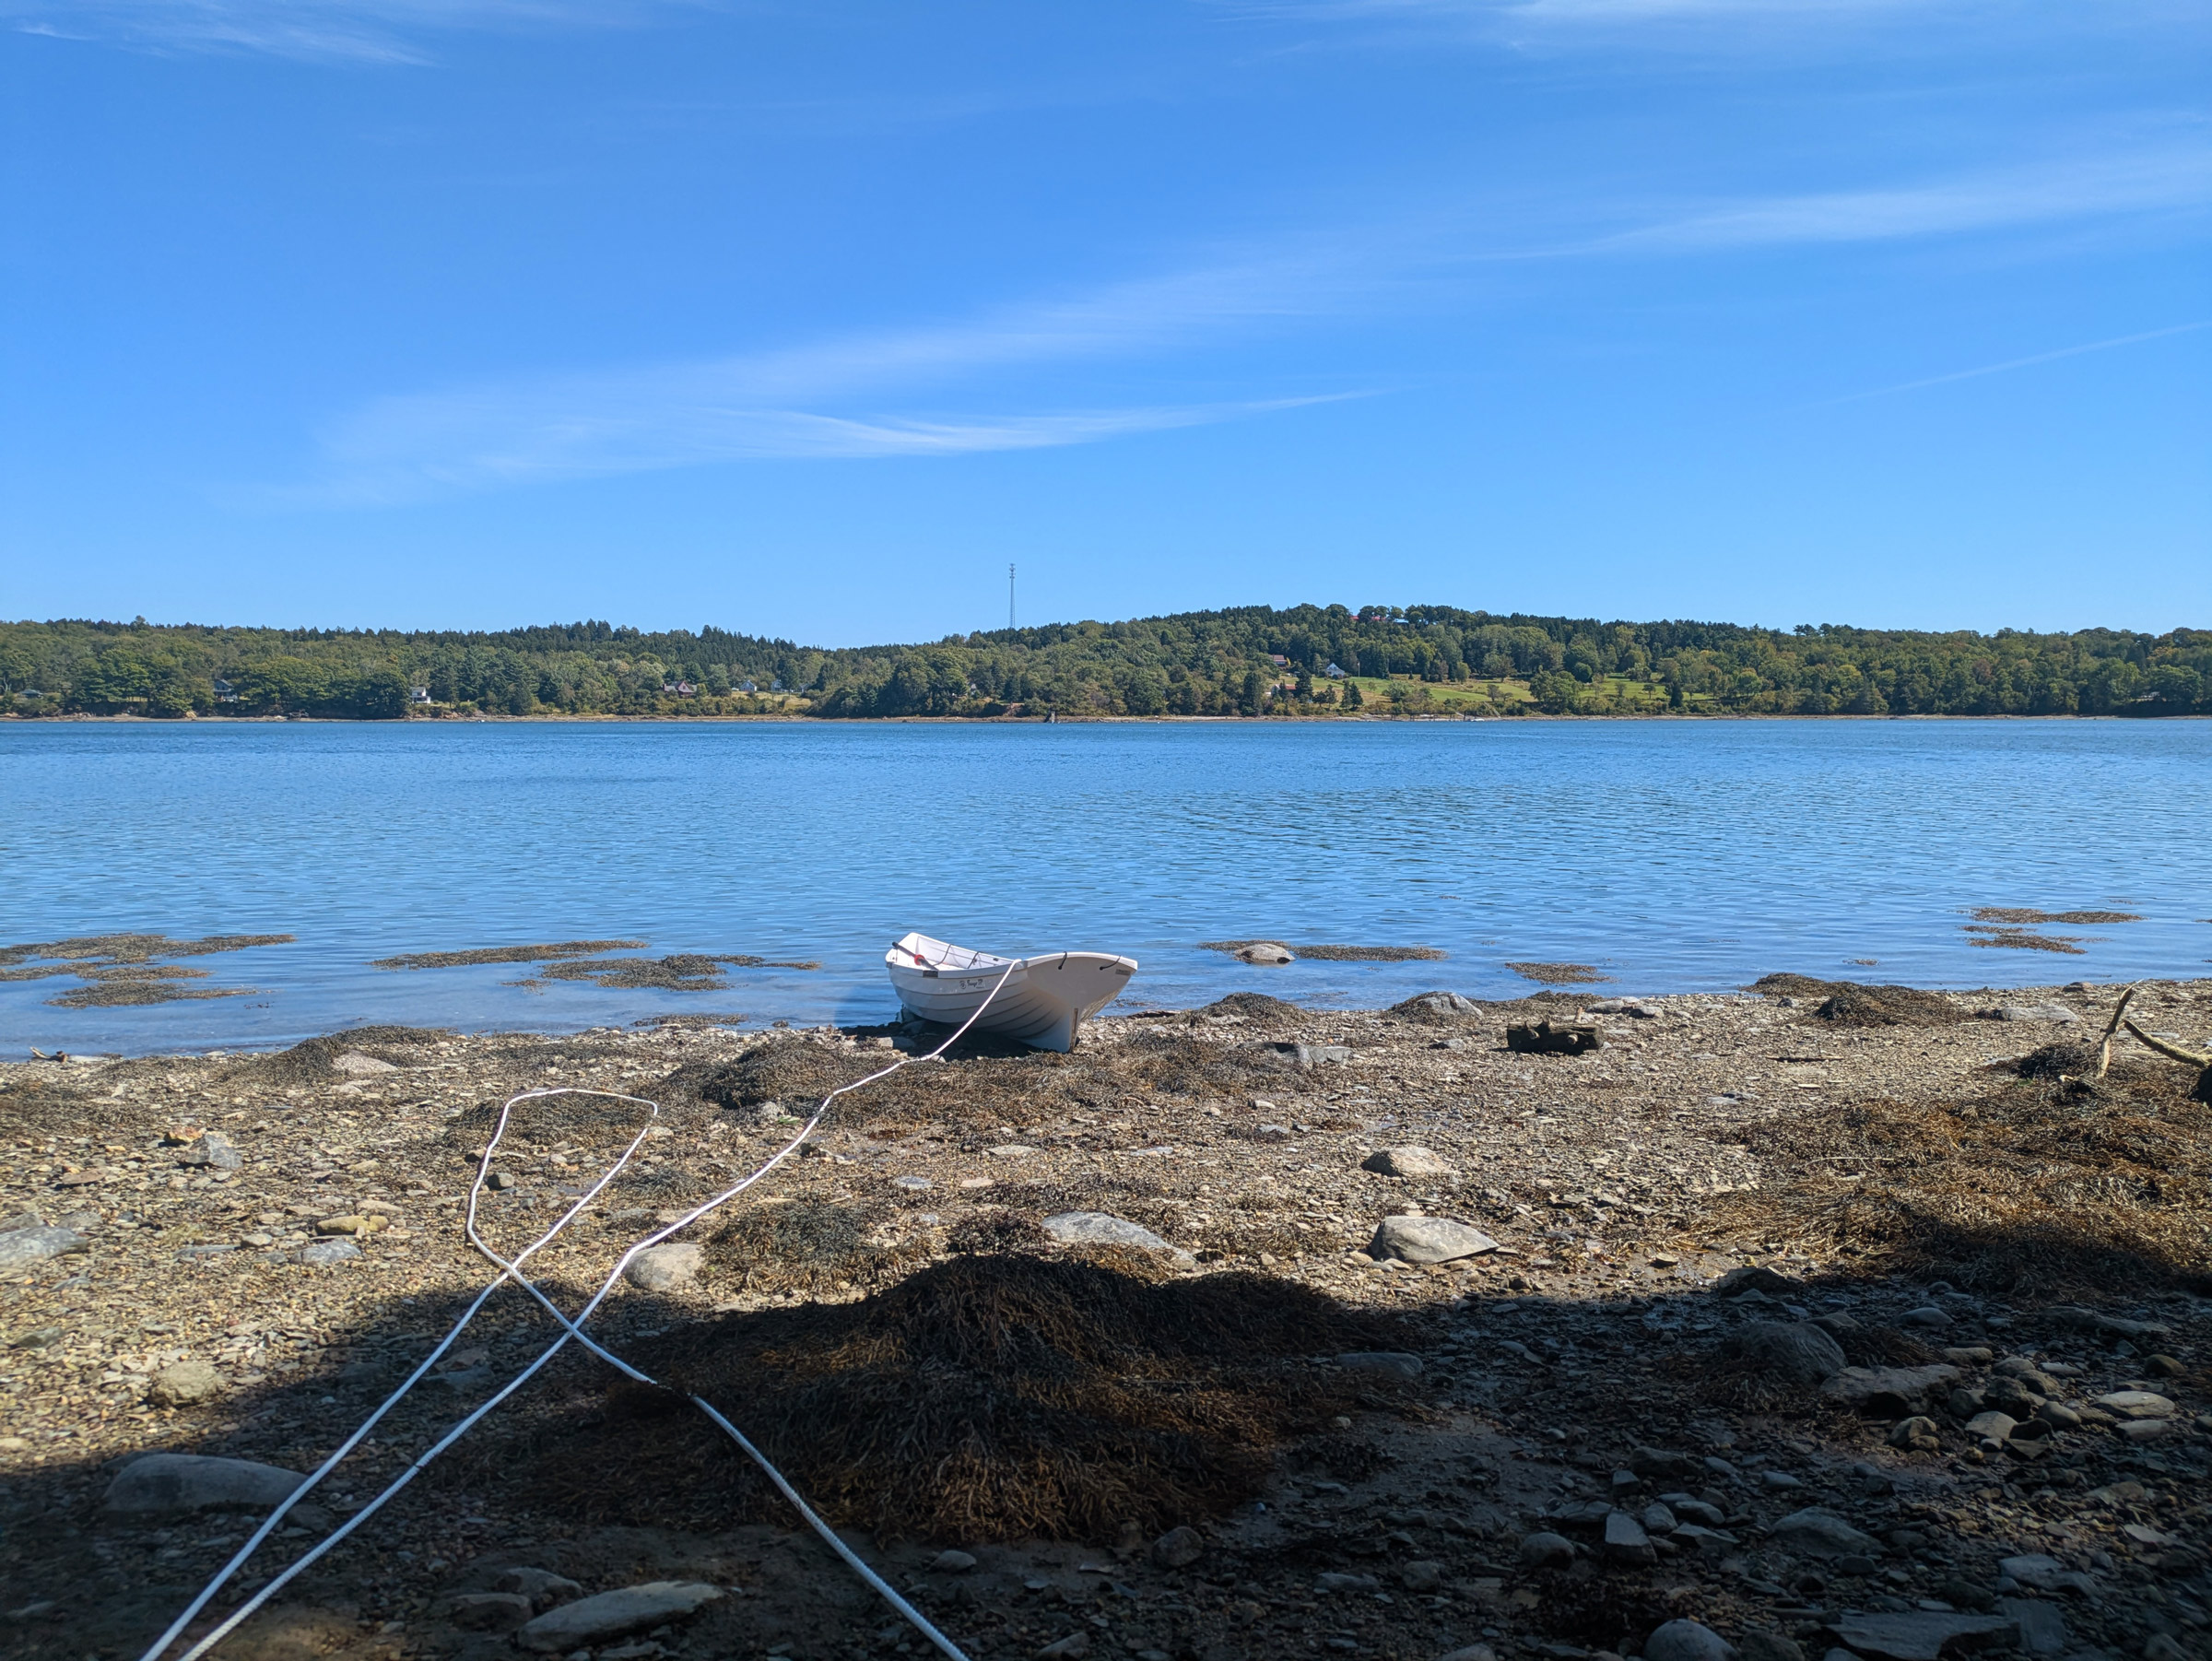
As I readied myself and AURELIUS, I took time to enjoy the view from the parking lot west across Winslow Cove to Winslow Island and beyond to Northern Bay. The conditions were perfect and I could see no one on the water.
From the estuary mouth at the town of Castine, the tidal Bagaduce “river” is more like an extended inlet that winds its way circuitously for 14 miles into the interior of the Blue Hill peninsula. In parts it is relatively bay-like, but elsewhere, especially between Penobscot and Brooksville where I would be, steep forested sides funnel the surging tides into narrows that feature reversing rapids or roiling eddies and slicks. To many people, the Bagaduce is famous for two things: Bagaduce Lunch, a popular take-out restaurant on the upper reaches of the river where patrons can eat fried seafood while shouting above the roar of the reversing falls; and the 11’ tides that create those rapids. While tempted to check out the rapids, I determined that I should play it safe and explore the northern branch of the river, from South Penobscot to Castine and out into the open waters of Penobscot Bay. The river landscape had its appeal, but I also dreamed of sleeping on the edge of a cobbled beach, a jagged line of spruce trees behind me, and the cold waters of the Gulf of Maine in front of me.
Down the Bagaduce River to Emanuel Island
I successfully wound my way out of Winslow Cove and into the half-mile-wide main part of Northern Bay. There was no boat traffic and—extraordinarily for the coast of Maine—not a lobster trap in sight. A 15-knot wind, blowing across a mile of fetch from the south, had built up some chop, but it was scant challenge for AURELIUS. I just had to pull a little harder. I wound my way south through the mouth of the Bay, with Aunt Mollie and Sparks islands to the west, and Gravel Island to the east, easing by rocks and shallows as I went. The islands ranged in size from about 2 to 6 acres, sometimes with gravel beaches but often with 20′-high eroded embankments, topped by oak, maple, pine, and spruce forests. They showed no obvious sign of human habitation, and I was tempted to go ashore to explore. But the rocks, the shallows, and the mudflats warned against it, so I rowed on.
 Roger Siebert
.
The first site where I could camp ashore was Battle Island. Along with a handful of other islands in the Bagaduce, Battle is conserved and maintained by the Maine Coast Heritage Trust (MCHT), and low-impact camping in small groups is permitted. But I was still only 2 miles from the launching ramp, and if I wanted to spend at least one night in Penobscot Bay, I needed to press on. I set a goal of the next MCHT island, Emanuel Island*. I could, of course, have anchored for the night along the river and slept aboard on my homemade sleeping platform, but islands have their magic, and for me, the MCHT islands served as waypoints and preferred destinations.
Getting to Emanuel meant navigating through the Bagaduce Narrows, the channel that wraps around Jones Point, noted for tricky waters. As I eased past the several forested, mudflat-edged islets that comprise Youngs Islands, just north of the narrows, I saw my first lobster-trap buoy; the cant of the buoy and the water racing past it gave me my first real sense of the strength of the current I was rowing against. But I was still making good headway, and consoled myself with the thought that the current would be with me on the return trip.
My first landfall was on the beach of Emanuel Island. After offloading the camping gear, I came back down to set up the outhaul. With a view north toward Esther Island and beyond, I was looking back up the Bagaduce and the route I had taken since leaving Northern Bay earlier that day.
The forested banks along the river rose up steeply to about 40′, and as I approached Jones Point the river narrowed to about 240 yards. The waters of the narrows were threatening, with swirling slicks and mysterious changes in the pattern of surface wavelets and I half expected a kraken to rise up and pull me into the depths. AURELIUS’s bow was tugged a few times, but I stayed mid-channel and was relieved as I came through unscathed into Grindles Eddy and the river opened up again. In truth, the Narrows had been underwhelming; there had been no kraken, but just three harbor seals playing in the disturbed waters. Ahead of me, barely a mile south from Grindles Eddy, lay Emanuel Island.
That last mile seemed long. On the river’s steep, heavily wooded banks were camps and small houses, the first buildings I’d seen since leaving Northern Bay, and every couple of hundred yards a dock reached out from shore. One camp looked much like the next and such was the repetitiveness that it felt like I was making little or no progress, but eventually I came to the tricky shallows off Emanuel, and carefully eased into the shore. I had been on the water about two and a half hours.

There is nothing like waking up on an island and making a cup of coffee on the camp stove. My mornings were slow as I waited each day for the rising tide, but I made the most of them to relax, read, eat a leisurely breakfast, drink coffee, and soak in the sights, smells, and sounds of Maine.
Emanuel was longer and narrower than the other islands I had passed, and its 4 acres were scattered with fire-damaged (but still living) older trees standing amongst younger saplings and occasional blowdowns. The forest stood atop a 10′–15′-high embankment, worn away by tidal erosion. At high tide the beach would be almost entirely underwater, but there was plenty of room to camp above it at the edge of the forest. I was faced with a choice: should I camp ashore or onboard on my new homemade sleeping deck? Ashore, I would have to haul my gear up the embankment by way of the rickety, makeshift wooden ladder. And the slope of the beach was shallow so, even using the full extent of my outhaul line, AURELIUS would be high and dry at low tide, forcing me to wait in the morning for the tide to rise. Perhaps I should anchor off and sleep in the boat. But, I reasoned, I have always found sleeping ashore more comfortable than afloat and, somewhat carelessly, I had forgotten to bring a proper anchor light. There was little or no traffic on the river, and I could pop a lightstick and be fairly visible for most of the night, but I was wary of testing my nascent anchoring skills on a river known for its powerful currents. Besides, waiting for the tide in the morning would enforce some much-needed leisure time. I rowed ashore, made AURELIUS fast to a spruce sapling, offloaded my gear, and clambered up the wobbly ladder.
By the time I had all my gear moved to the campsite, I was utterly exhausted. The challenge of rowing and navigating, the unspoiled beauty of the river, and the sense of exploration had kept me energized on the water, but now fatigue hit hard. I set up the tent, arranged the kitchen, and wearily returned to the boat to set the outhaul.
Dinner was a quick affair. I was as hungry as I was tired and dug into some snacks as I cooked. The food revived me and, not wanting to miss the sunset, I made my way along the winding, 100-yard trail through the woods to the south end of the narrow island to witness a deep red western sky, and see the lights come on in Castine about 2 miles away. In the dark, I strolled back to the tent by headlamp, and almost as soon as my head hit the pillow fell into a deep sleep.

On the first morning, the view from my campsite on Emanuel Island was uninterrupted down the Bagaduce to Castine. By early afternoon, I would be pulling into Castine and wandering through town in search of a late lunch.
Downriver to Penobscot Bay
Fffft, plunk, crack! I awoke at dawn to an unfamiliar sound. I lay still. There it was again—ffffft, plunk, crack! Tentatively I peered out of the tent. Nothing. I waited. Ffffft, plunk, crack! And then I saw… no strange wild creature but acorns falling off the oak trees that grew among the pines all over the island. Reassured that I was not about to come face to face with a savage rodent, I rose, and 15 minutes later was enjoying a cup of hot instant coffee heavily laced with sugar and creamer. Ffffft, plunk, crack! I was hit, fairly painfully, on the shoulder. For the rest of the trip, I took to wearing a hat and fleece pullover around camp.
For several hours I waited for the incoming tide to lift AURELIUS off the rockweed and mud she had settled onto during the night. I was in no hurry—there were no bugs, the warm air was laced with the sweet tang of mudflat, spangling light danced on dappled waters under mostly sunny skies, and I had plenty of coffee and a good book.
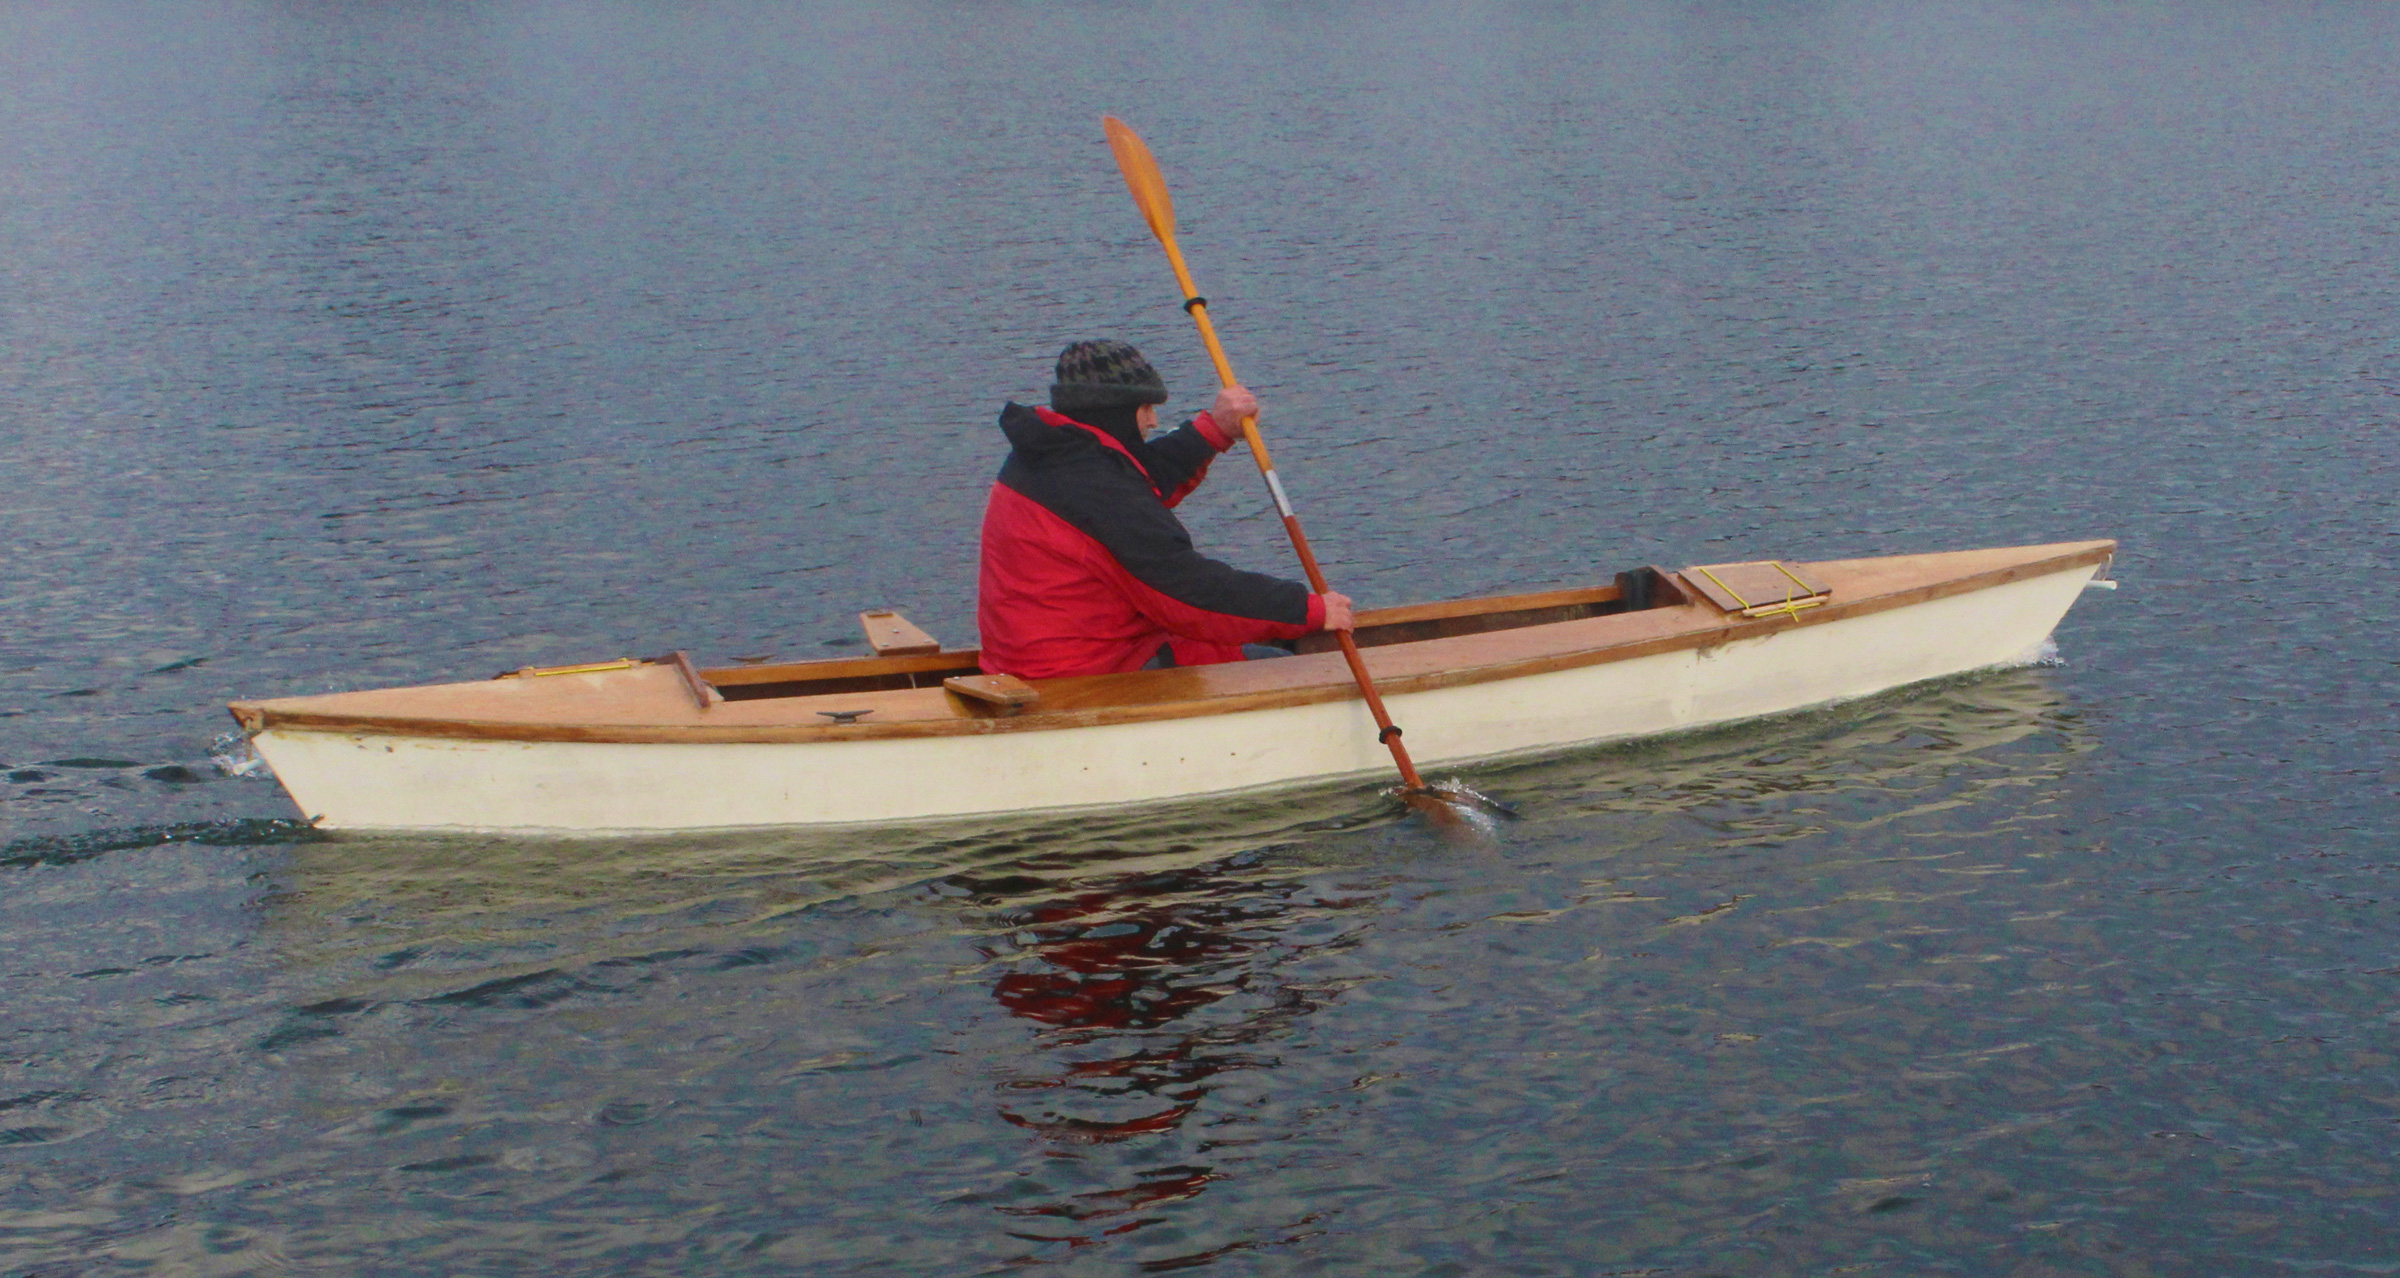
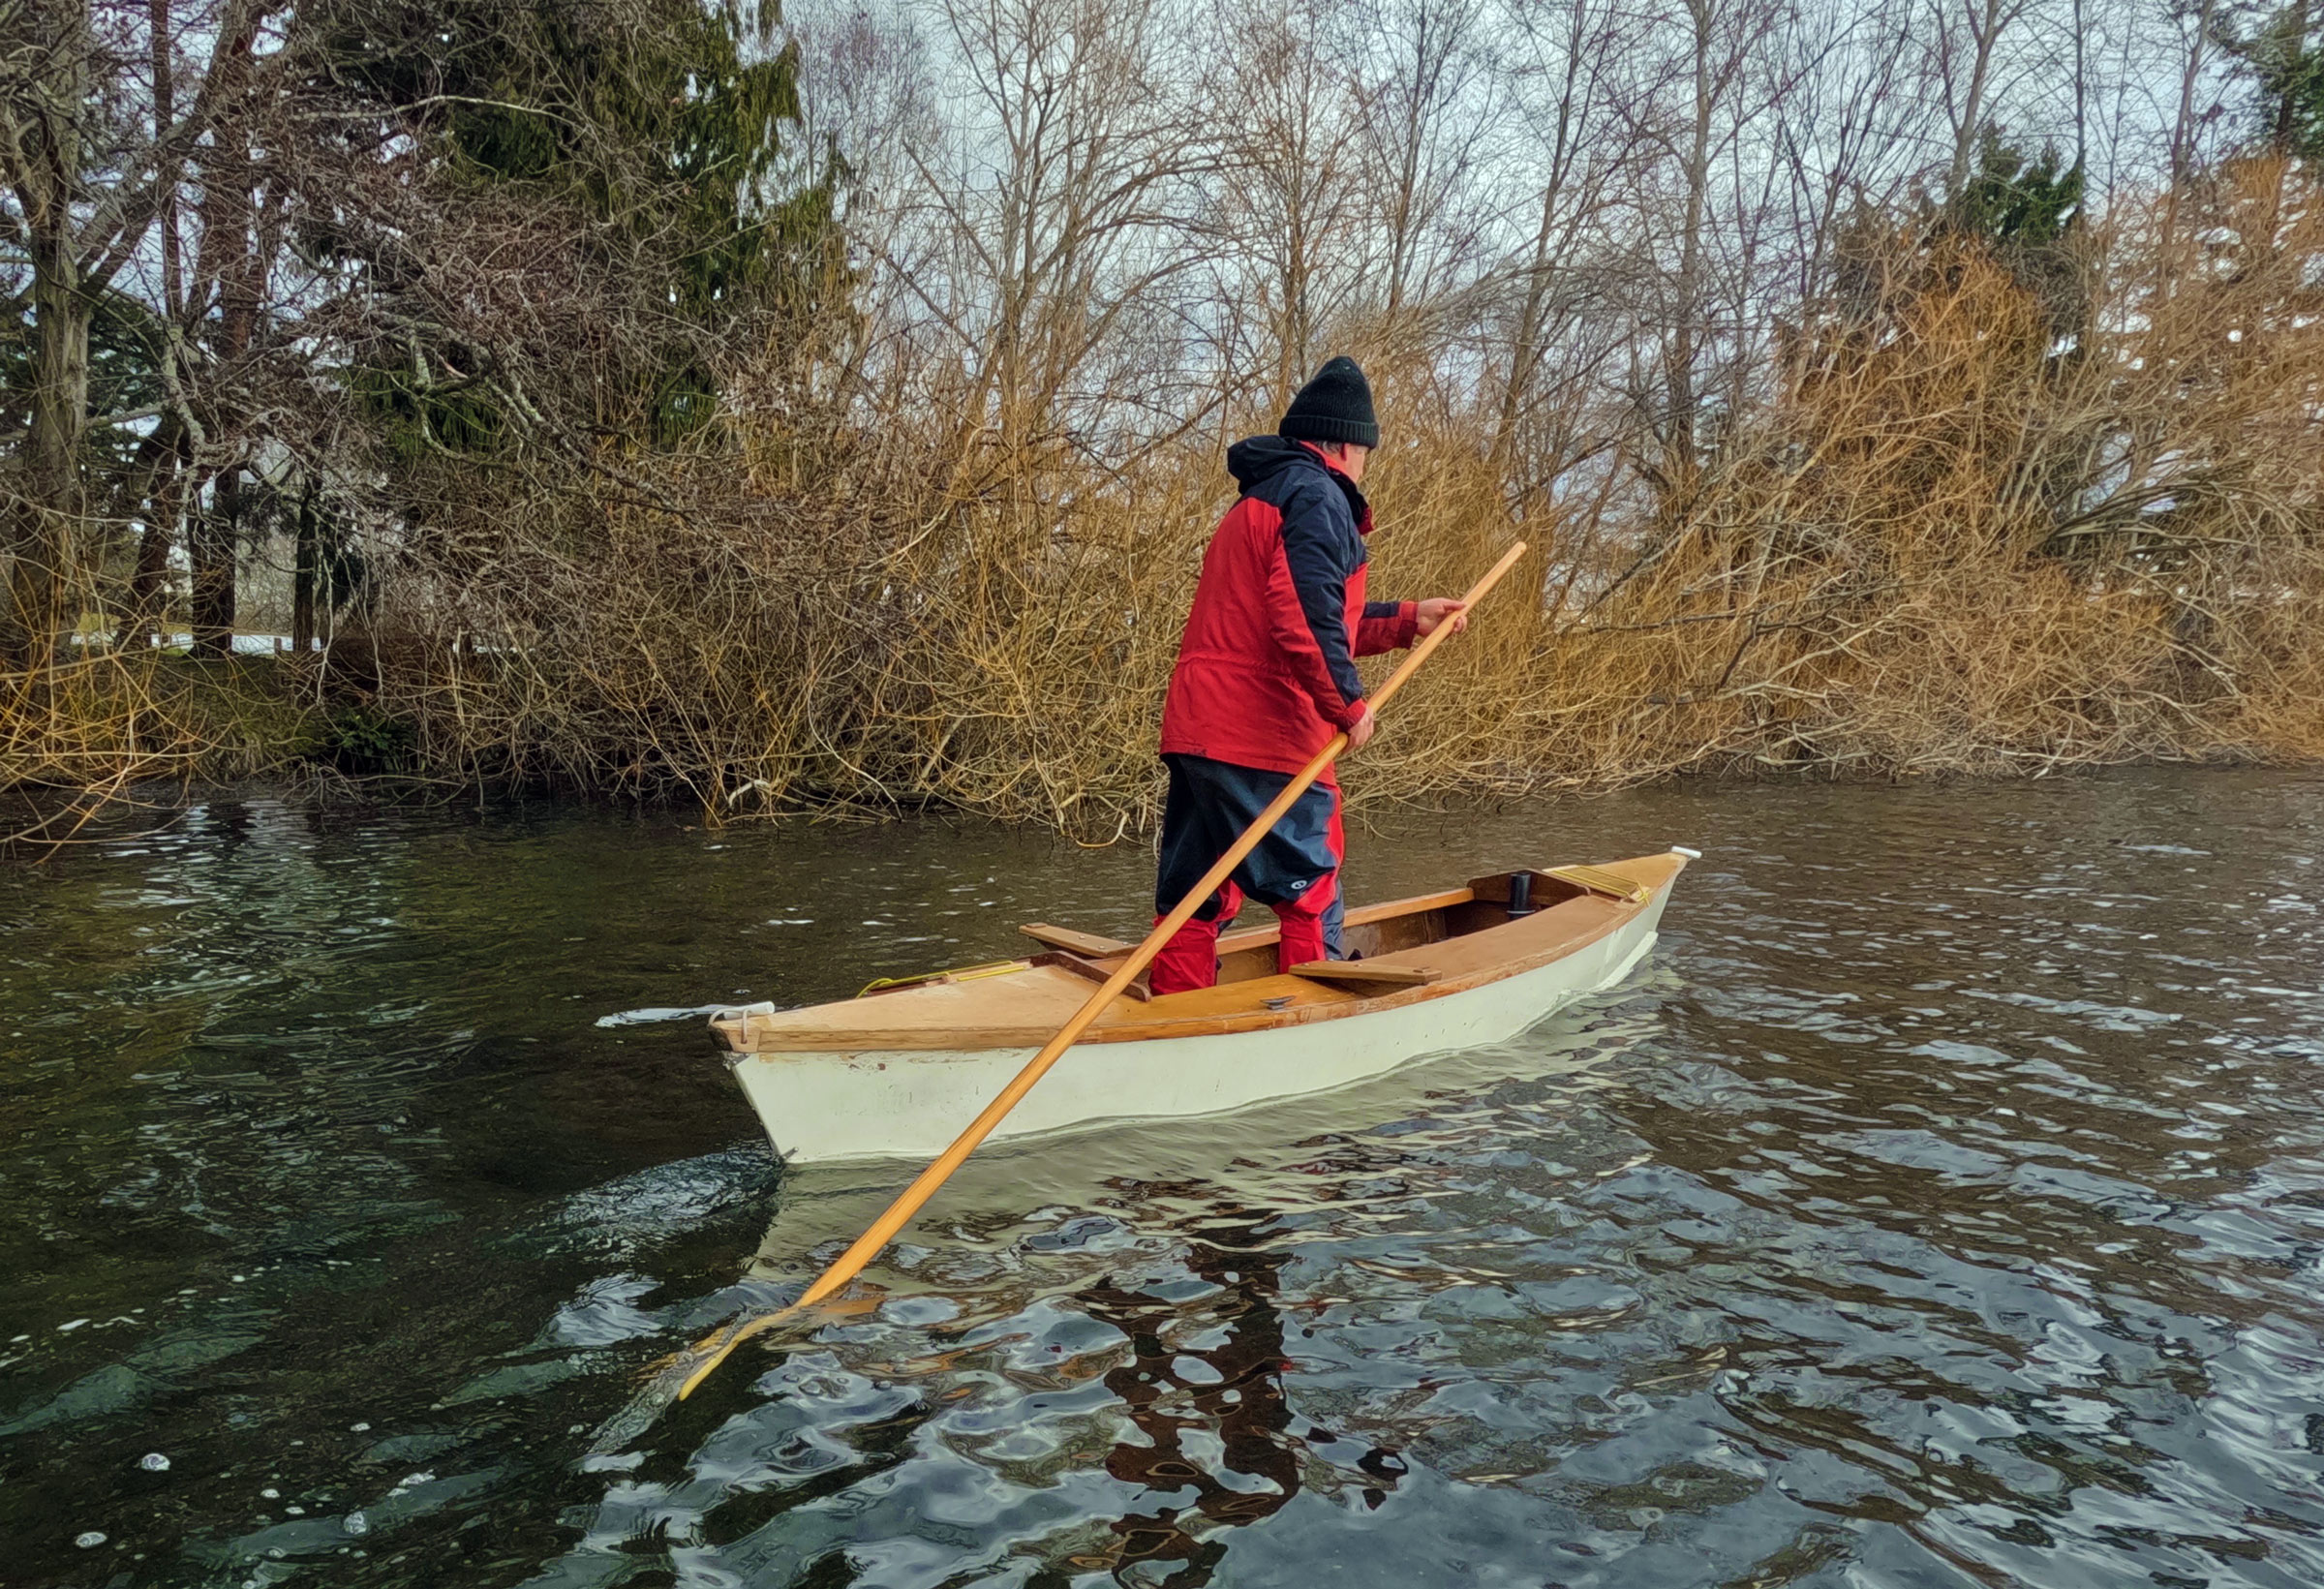
By 11:30 a.m., AURELIUS was afloat. I carried my gear down the ladder, loaded up, and pushed off just before noon. The current was flowing fast against me: a few minutes after pushing off, I paused to tighten the collar of one of my oars, and saw Emanuel Island slide past me in the wrong direction. I quickly reset the oars, put my back into the stroke, and inched forward at 1 or 2 knots.
Each morning, I awoke to find AURELIUS high and dry. The gently sloping, almost flat beaches and 11’ tidal range meant that my 120′ of outhaul line was not nearly enough to keep AURELIUS afloat at all tides when I went ashore. And even though I had thought I might sleep on board, nights ashore on Maine islands were always too tempting and the inconvenience of waiting for the tide next day was a small price to pay.
I aimed for a series of green cans and red nuns that sent me first along the eastern bank, then along the western bank of the broadening river. My goal for the morning was Castine. One of the earliest European settlements in North America, present-day Castine was the site of a French fort in the 1630s, but by 1713 the region was under British rule. The earliest permanent settlement began in the 1760s and by 1776 the town boasted some 20 houses. Today, it is most famous for Maine Maritime Academy, which was opened in 1941, and as a popular destination for visiting yachts.
I had decided to go ashore for some lunch and a cold drink. I enjoy arriving at a town by boat, and was sure that a place with such a storied maritime pedigree as Castine would welcome an unkempt boater who had rowed down the Bagaduce. I was under the impression (wrongly, as I later learned) that I could not tie up at the town dock, so, instead, I landed at the first floating dock I encountered. There were a handful of kayaks on the dock—a positive sign—but as I made my way up the ramp to check in at the building immediately ashore, I realized I was at the Castine Yacht Club, and was suddenly aware that my salt-stained shirt, blistered hands, and neon-green drybag might not fit in. There was no one in the office, so I made my way the few short blocks to Castine’s small, quaint downtown. There I was dismayed to learn that the only pub still open in September would not start serving until 4 p.m. It was only 2 p.m. and, not wanting to wait that long, I opted instead for a quick lunch of fish and chips at the closest restaurant, before making my way back to the still-deserted yacht club. Somewhat disappointed that my arrival at Castine had not quite lived up to my elevated expectations, I pushed off, happy at least to have the tide finally in my favor.

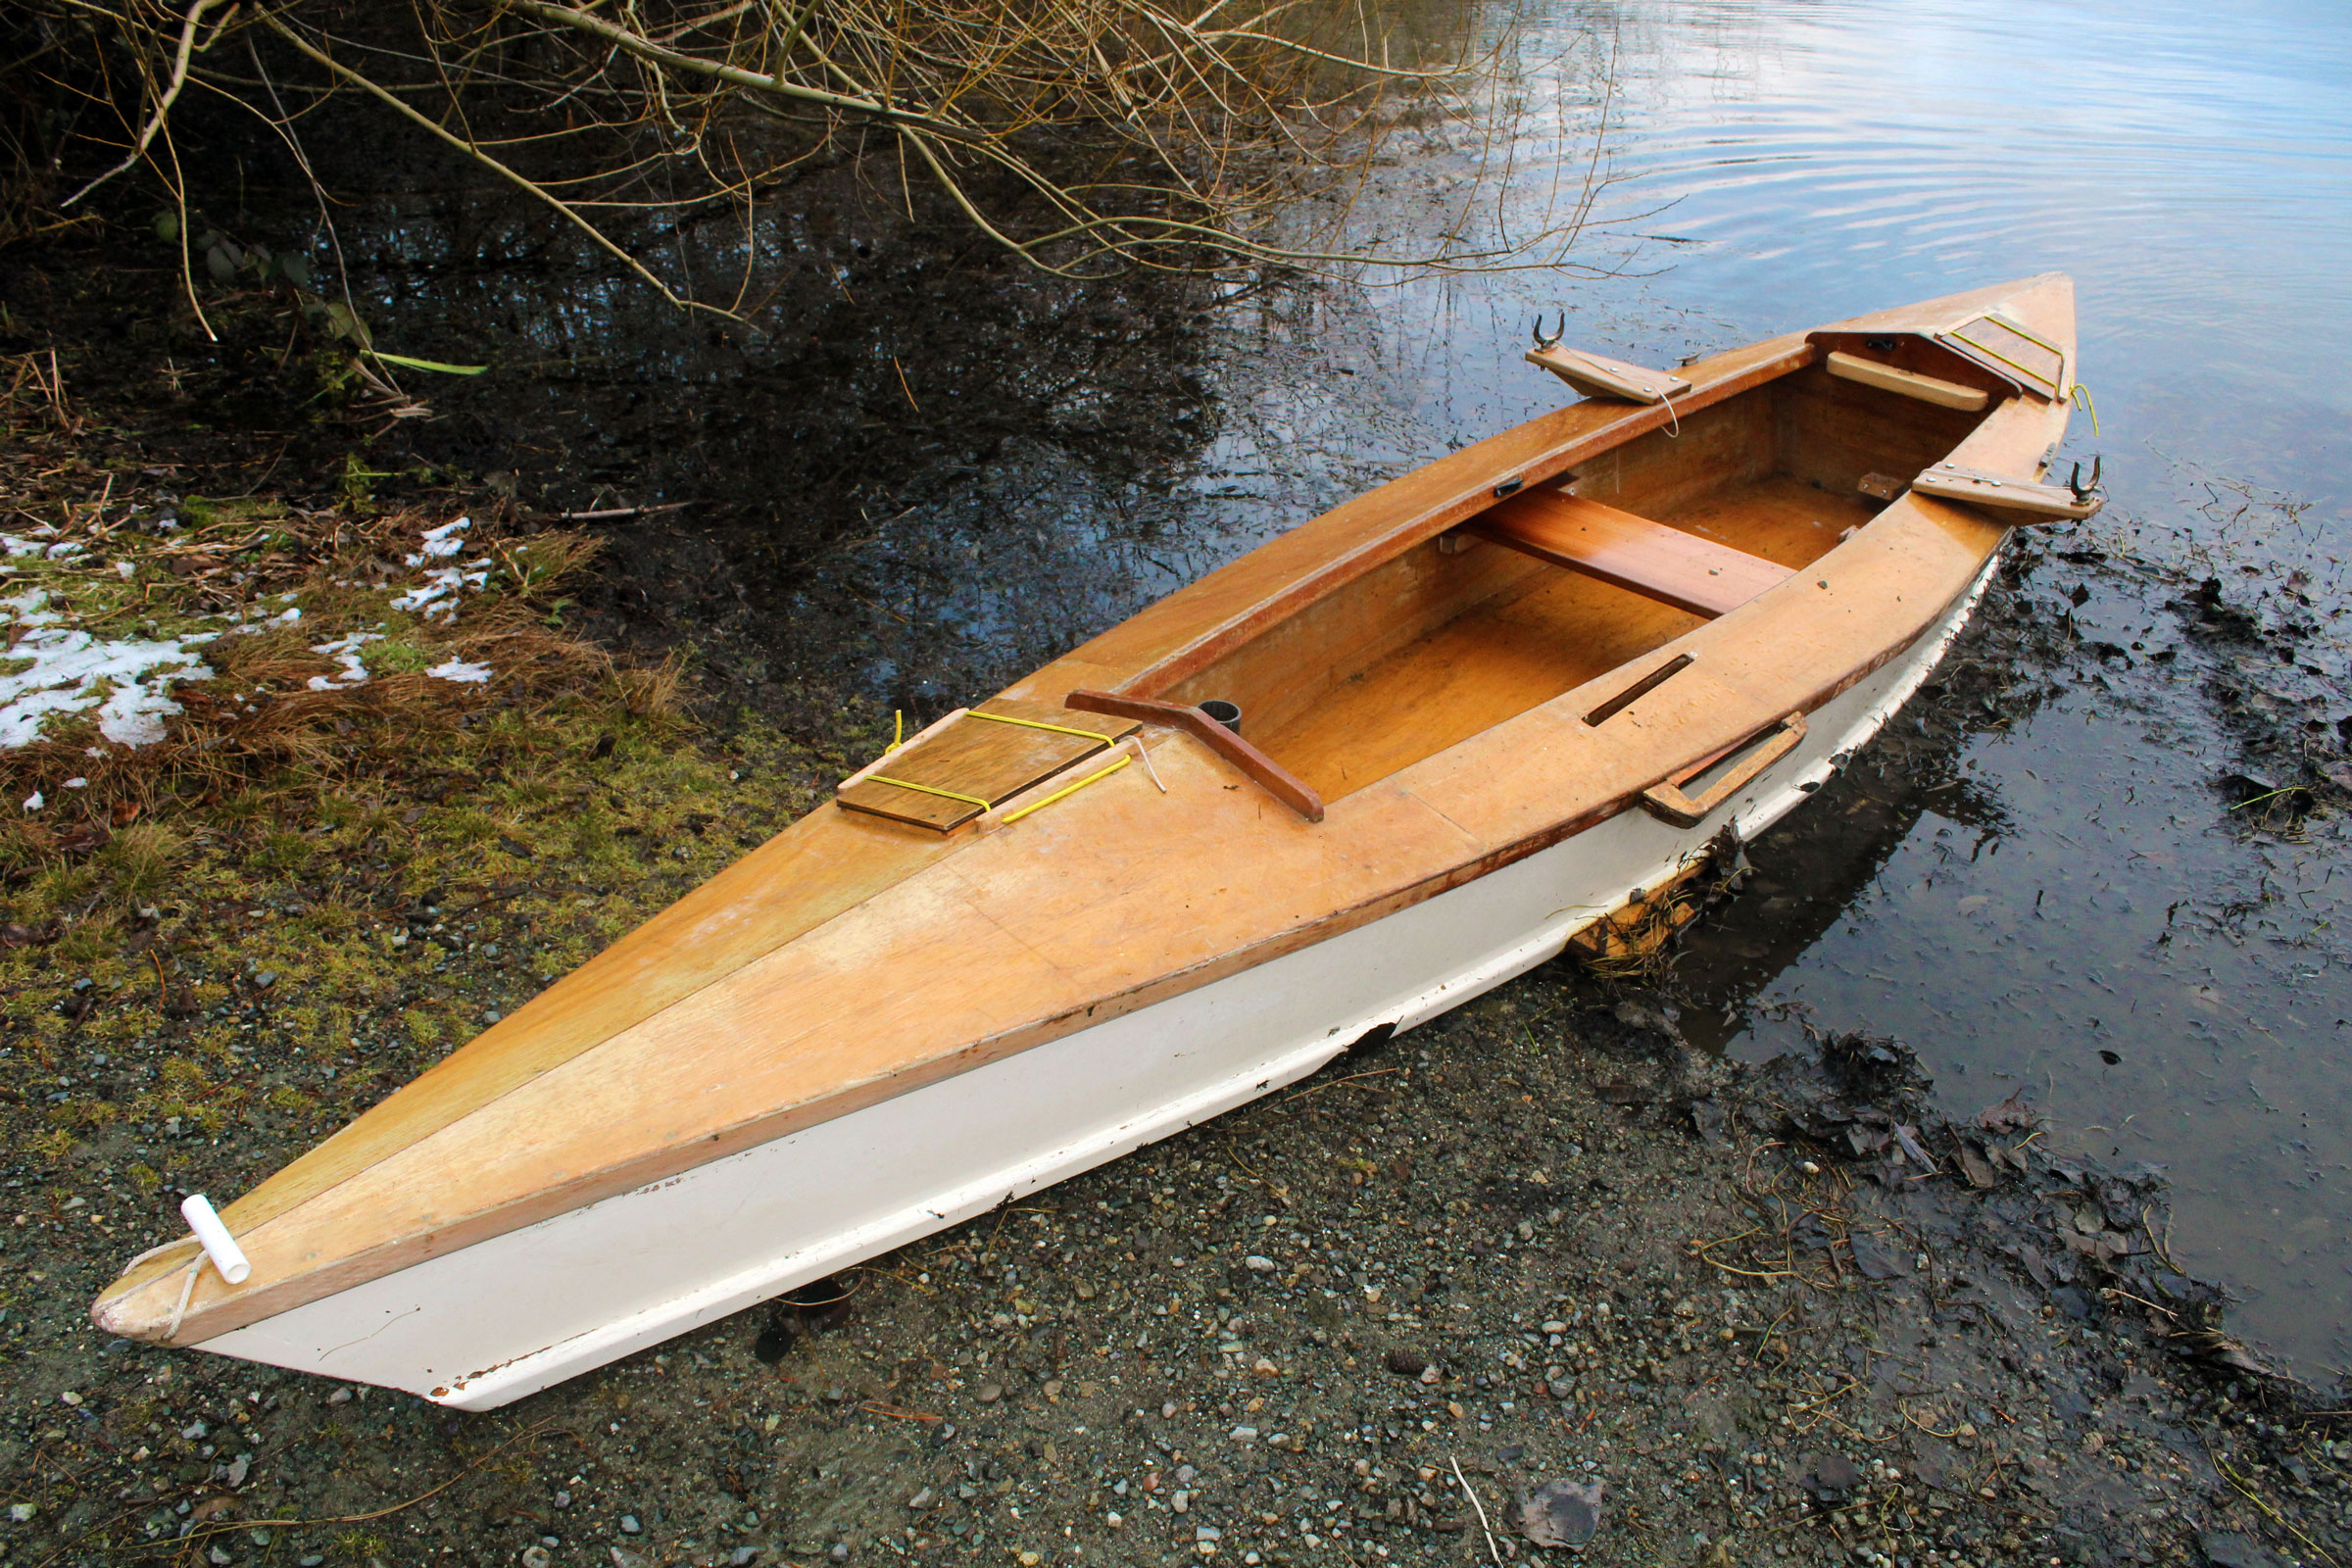
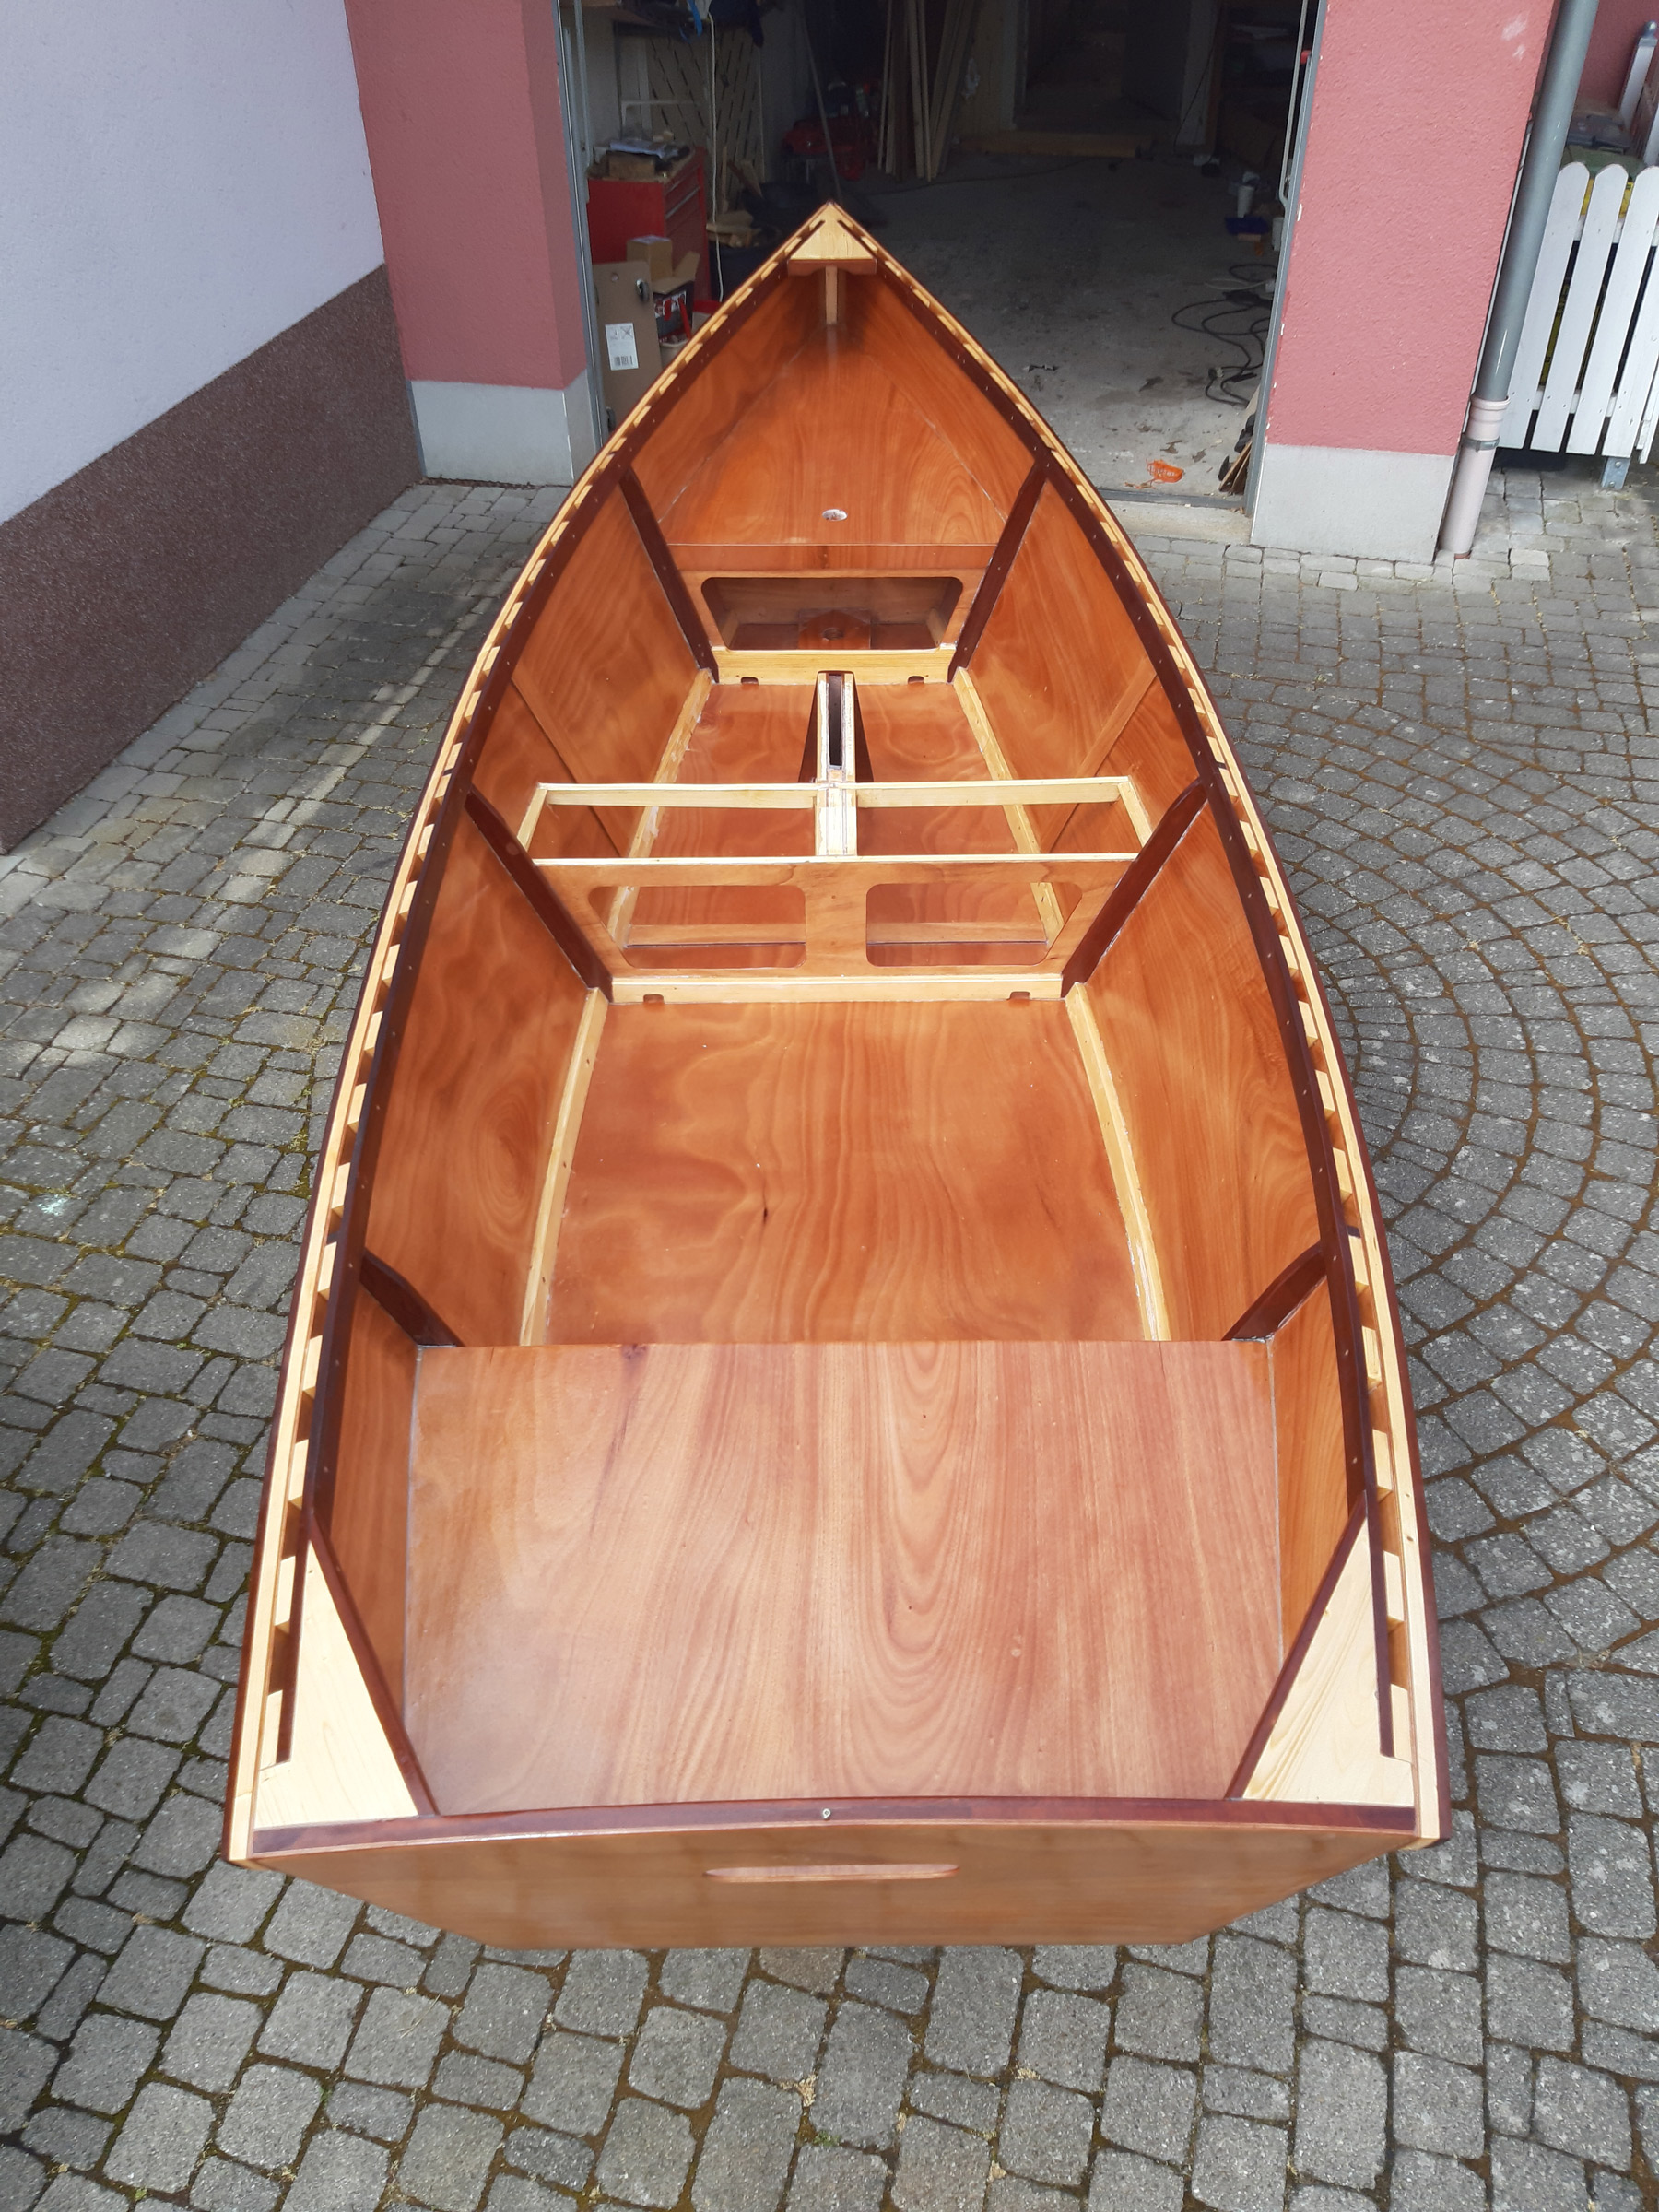
I had thought about camping on the boat rather than ashore and had experimented with the setup on a pre-trip overnight excursion on a local pond. My tongue-and-groove boards, held together by bungee cords, rest on a molded lip that runs around the inside of AURELIUS’s cockpit. The narrow one-person back-packing tent fits perfectly atop the platform and within the boat. In lieu of stakes I experimented with weights to stabilize the tent
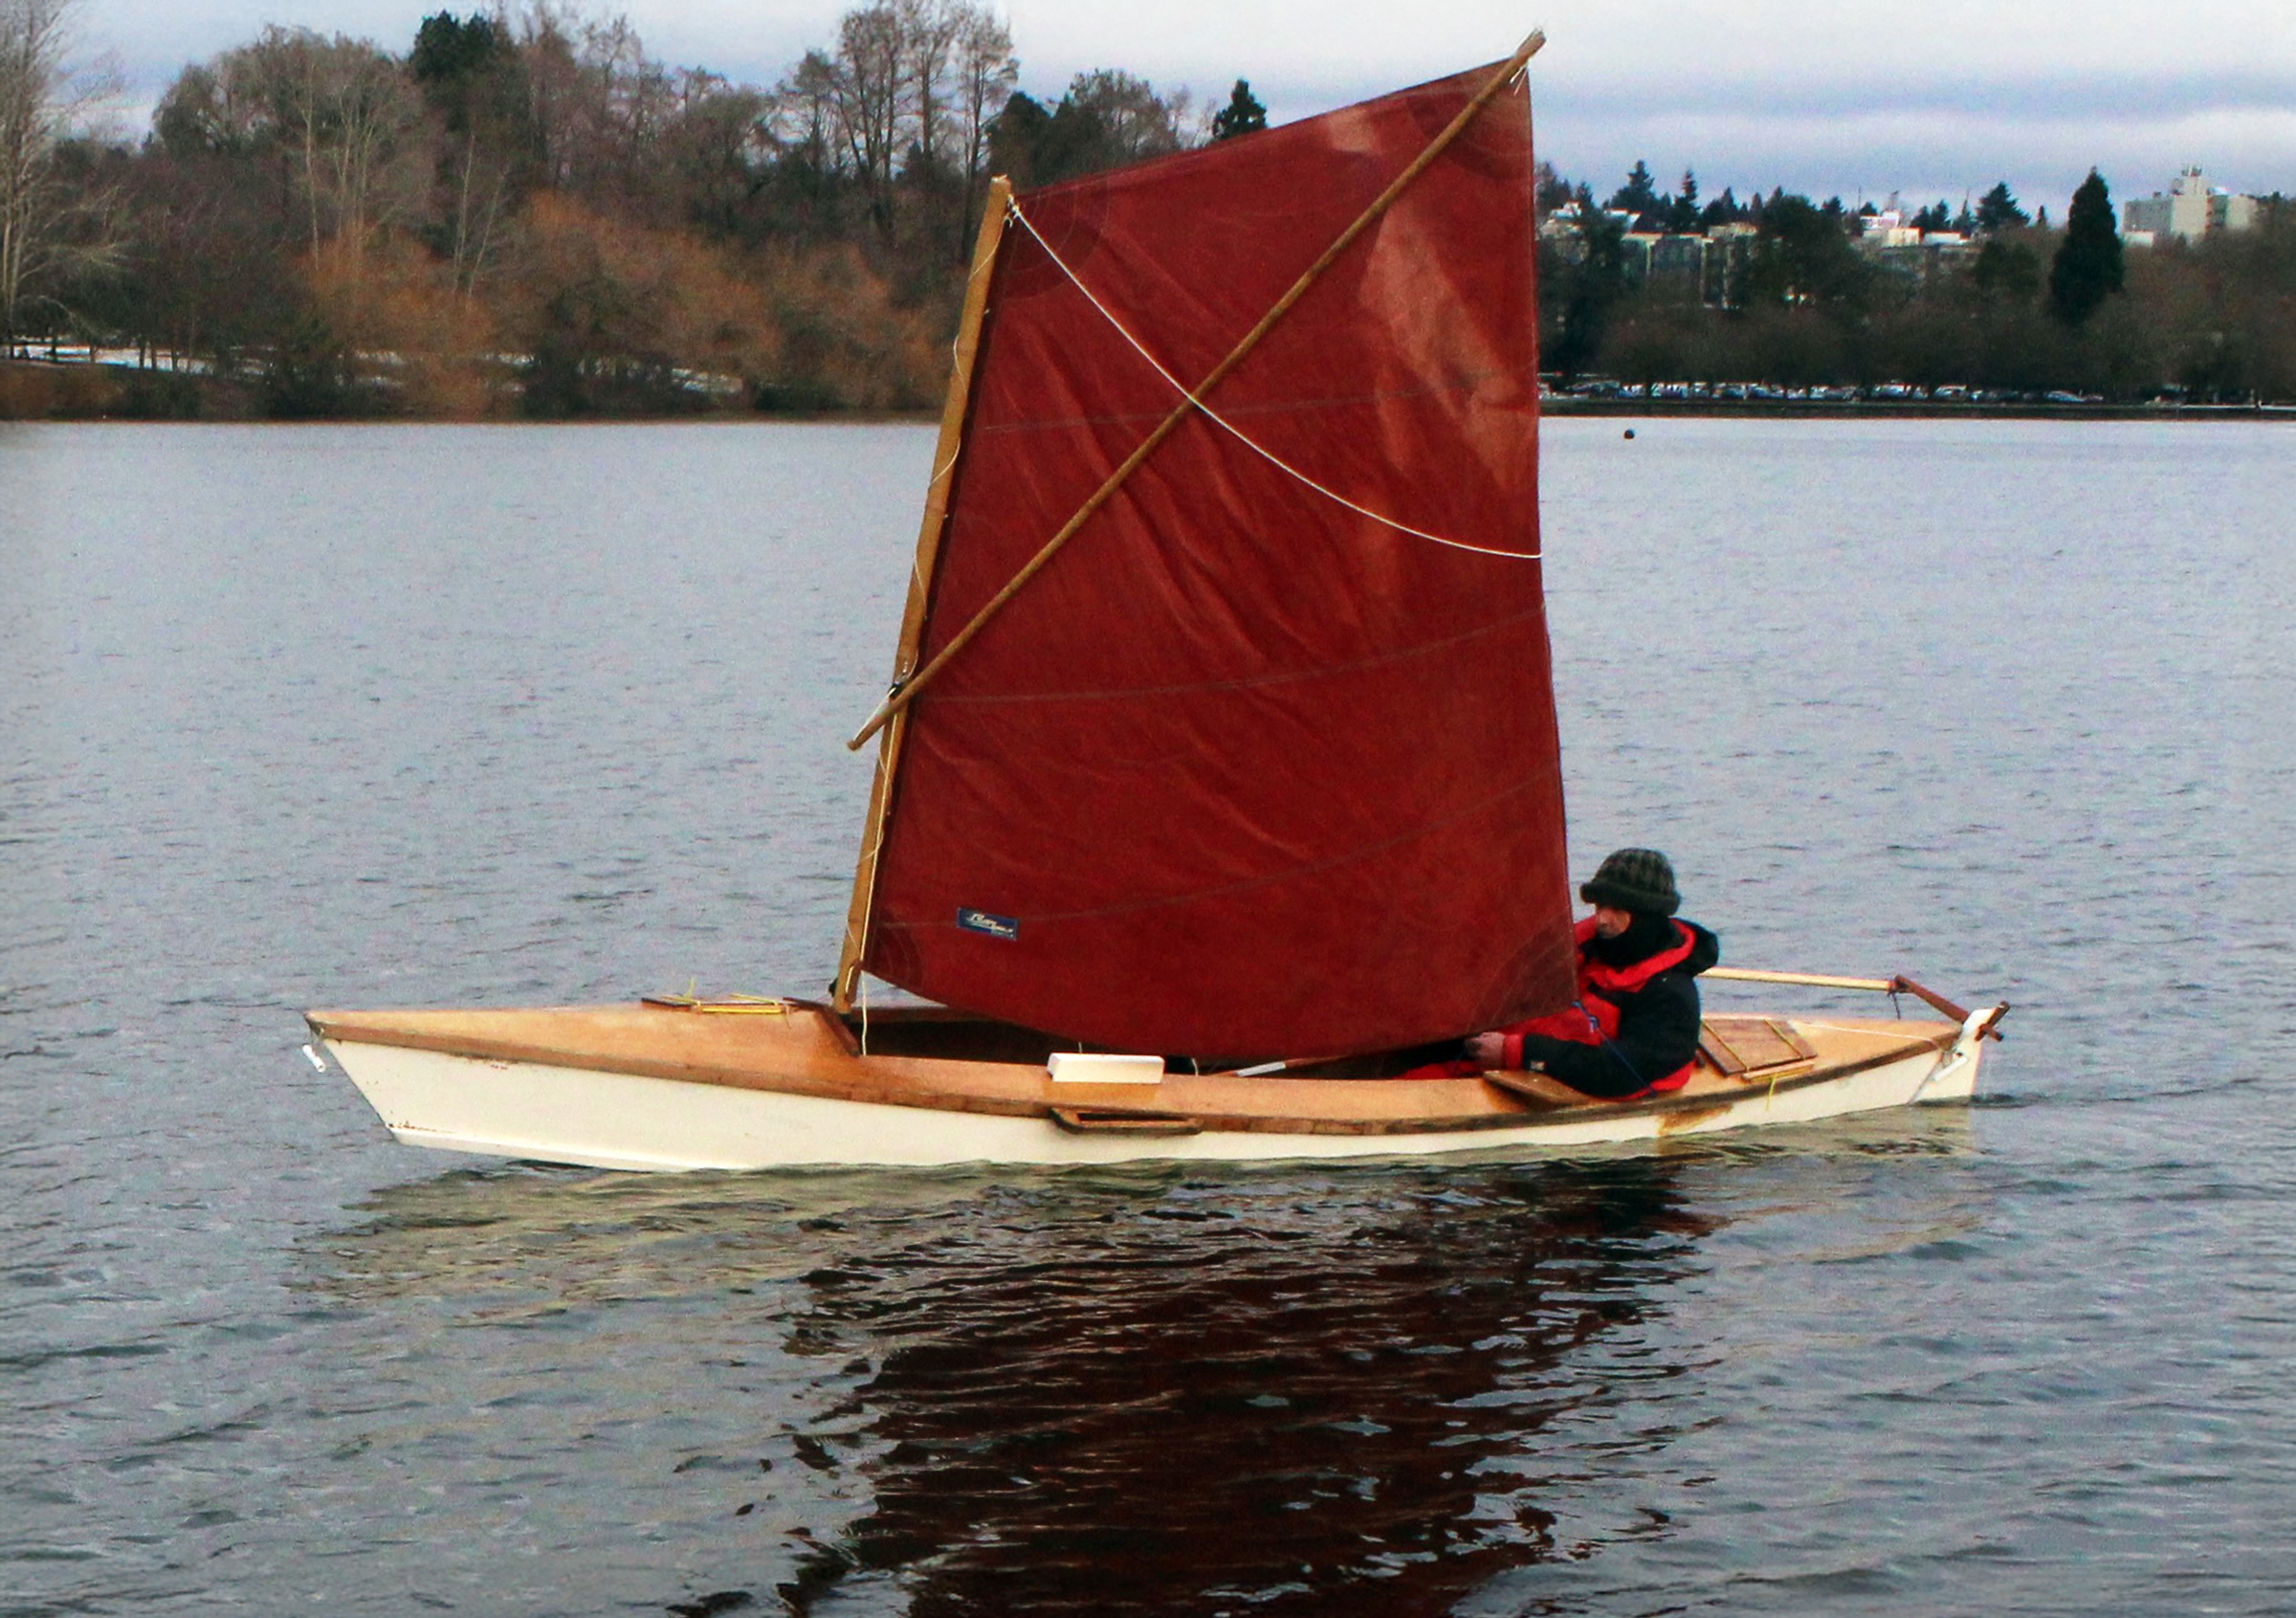
Bright sunlight and calm waters surrounded Castine Harbor as I made my way past the working waterfront of Maine Maritime Academy, but a few hundred yards beyond that the Bagaduce opened up into Penobscot Bay, and the outgoing tide collided with waves produced by a strong southwesterly wind and a fetch of more than 2 miles. A cloud cover rolled in, and the shuttered summer homes on the bluffs of Dice Head, a mile to the west, seemed a long way off. The sea was confused but dominated by a 3′ long-interval swell, broken by a chop going in the same direction, straight at me and AURELIUS.
For the first time on the journey, I became uncertain of my precise location. All I had to do was make my way around the southern end of Nautilus Island, less than a mile southeast of Dice Head, find the green can that marked the shoals at Nautilus Rock to the southwest of the island and, once past that, turn east into a virtual hurricane hole (unnamed on the chart) created by a combination of islands and a steep, forested peninsula on the northern tip of Cape Rosier. But I could see no green can. Perhaps the island I thought was Nautilus was something else entirely; perhaps I had somehow misread the chart. I was bobbing up and down on the 3′ swell, the biggest I’d ever experienced in AURELIUS, the wind howling and the sky dark, not sure how my boat would handle these seas. I had to fix my location. As fast as I could, I shipped my oars, set the chart aside, and pulled out my phone to check my location. AURELIUS immediately turned broadside to the swell, but she handled it well. I studied the phone and confirmed that I was, indeed, off Nautilus Island. Relieved, I relaxed, but by then was being pushed uncomfortably close to the lee shore. I quickly tucked the phone back into the drybag and put my back into the oars. It was hard, wave-tossed rowing for another 20 minutes or so, but at last the green can came into view, and as I pulled past Nautilus Rock, the water immediately flattened out. As if by magic, the clouds parted and in sunlight I made my way across the anchorage to Ram Island, the most southerly of the MCHT islands in and around the Bagaduce.
Six-acre Ram Island is actually two small islands, joined by a bar exposed at low tide. I made my way to the smaller eastern isle, where camping is permitted. The beach was a mix of gravel, mud, and rocks, and the embankment up to the forested center of the island was a mere 4′. It was late afternoon when I stepped ashore and once again, when the excitement and adrenaline dissipated, I found I was exhausted.

My sunset dinner spot on Ram was surely unbeatable. To my left was the western islet of Ram, in front of me and to my right was Nautilus Island, and away to the west, silhouetted blue against the sunset sky, was the far shore of Penobscot Bay.
Unlike the upriver islands Ram was a typical Maine-coast island: a cobbled beach with a scattering of large boulders, a few oaks within an otherwise entirely spruce forest, and too many islands to count silhouetted in the setting sun. Once more I elected to sleep on land. If I slept on board, I reasoned, I would be committed to an eastward view of just the anchorage—nice enough in its way—but on shore I could make my way across a small isthmus and enjoy long sweeping views of Penobscot Bay. Within the hour, the gear was ashore, AURELIUS was anchored for the night, the tent was up, and I was making dinner as the nearby spruce trees stood stark against a blazing sunset, first orange, then fiery red, and finally deep purple. A bald eagle flew overhead. It had been a good day, and the forecast for the morning was for sunshine and southerly winds that would help me on my way back upriver.
From Ram Island to Battle Island
When I awoke, low gray clouds scudded overhead, pushed by a northeasterly wind. How could this be? I had strained against wind and tide most of the way down the Bagaduce, confident that at least I’d have things working in my favor on my return trip to South Penobscot. I felt cheated. All too soon I was aware of another predicament: my unnamed hurricane hole remained as calm as a millpond but beyond its entrance at the southwest end of Nautilus Island, the seas looked even more wave-tossed than they had on the way in. The northwest wind was fighting a closely spaced swell from the south—the product of a nasty little storm east of Cape Cod. I wouldn’t know exactly how rough things were until I got out into the mix. And then I realized: there was an alternative route.
Since leaving South Penobscot I had been determined to do things “right” on this, my first big trip. I had heeded the navigational aids and avoided taking shortcuts, even though AURELIUS’s shallow draft probably would have allowed her to pass over many an obstacle at half-tide or higher. But Nautilus is, of course, an island, not a peninsula, and there was a way around to the northeast that would be sheltered from the wind. At low tide Nautilus is linked by a bar to Whites Head on the Cape Rosier peninsula, but at high tide that bar would be covered. I had to wait on Ram Island for the tide to rise and lift AURELIUS off the beach. By then, maybe the bar would also be covered; the slight risk of something going amiss as I crossed that way seemed very preferable to the adventurous ride I would have in the open waters of the bay.

On each of the islands I found a convenient spot to pitch my tent from which I could see AURELIUS. Here on Ram, as on my other two nights away, the good weather allowed me to sleep without a rainfly and with only a lightweight sleeping bag.
I spent several hours breaking camp, reading, and trying not to fret about the weather. An osprey nesting on the island cried out at me every 20 minutes or so, making it quite clear that I was not welcome. When the tide lifted AURELIUS in the early afternoon, I packed her up quickly and pushed off. There was only a slight riffle on the waters of the anchorage, but the wind was still blowing 15 knots, gusting 20. I strained hard against the wind and leaned into the starboard oar as the wind continually threatened to push the boat off course. I nervously approached the bar. There was insufficient detail on the chart to know where was the best place to cross, so I aimed for the middle and held my breath…I never saw the bottom. I crossed into Castine Harbor in a more modest breeze of around 10 knots across a tolerable chop with only the occasional whitecap. It was time to head back up the sheltered waters of the Bagaduce.
At last, the tide was with me, and as the river narrowed, the wind diminished. Most of the Blue Hill peninsula is not mountainous—apart from the eponymous hill, which comes in at 934′ while most of the land is below 200′—but it is hilly, with almost no extended flat land. This terrain, along with the twisting route of the Bagaduce itself, means that there are few places on the river where wind can really make boating a challenge—it is the tidal currents that have to be watched.

The wooden steps up from the beach on Battle Island led to a short trail to the southernmost tip of the island from where I watched the sunset and the lights coming on downriver in Castine. The late summer/early fall conditions were perfect with clear dry air, comfortable temperatures—even overnight—and no biting insects.
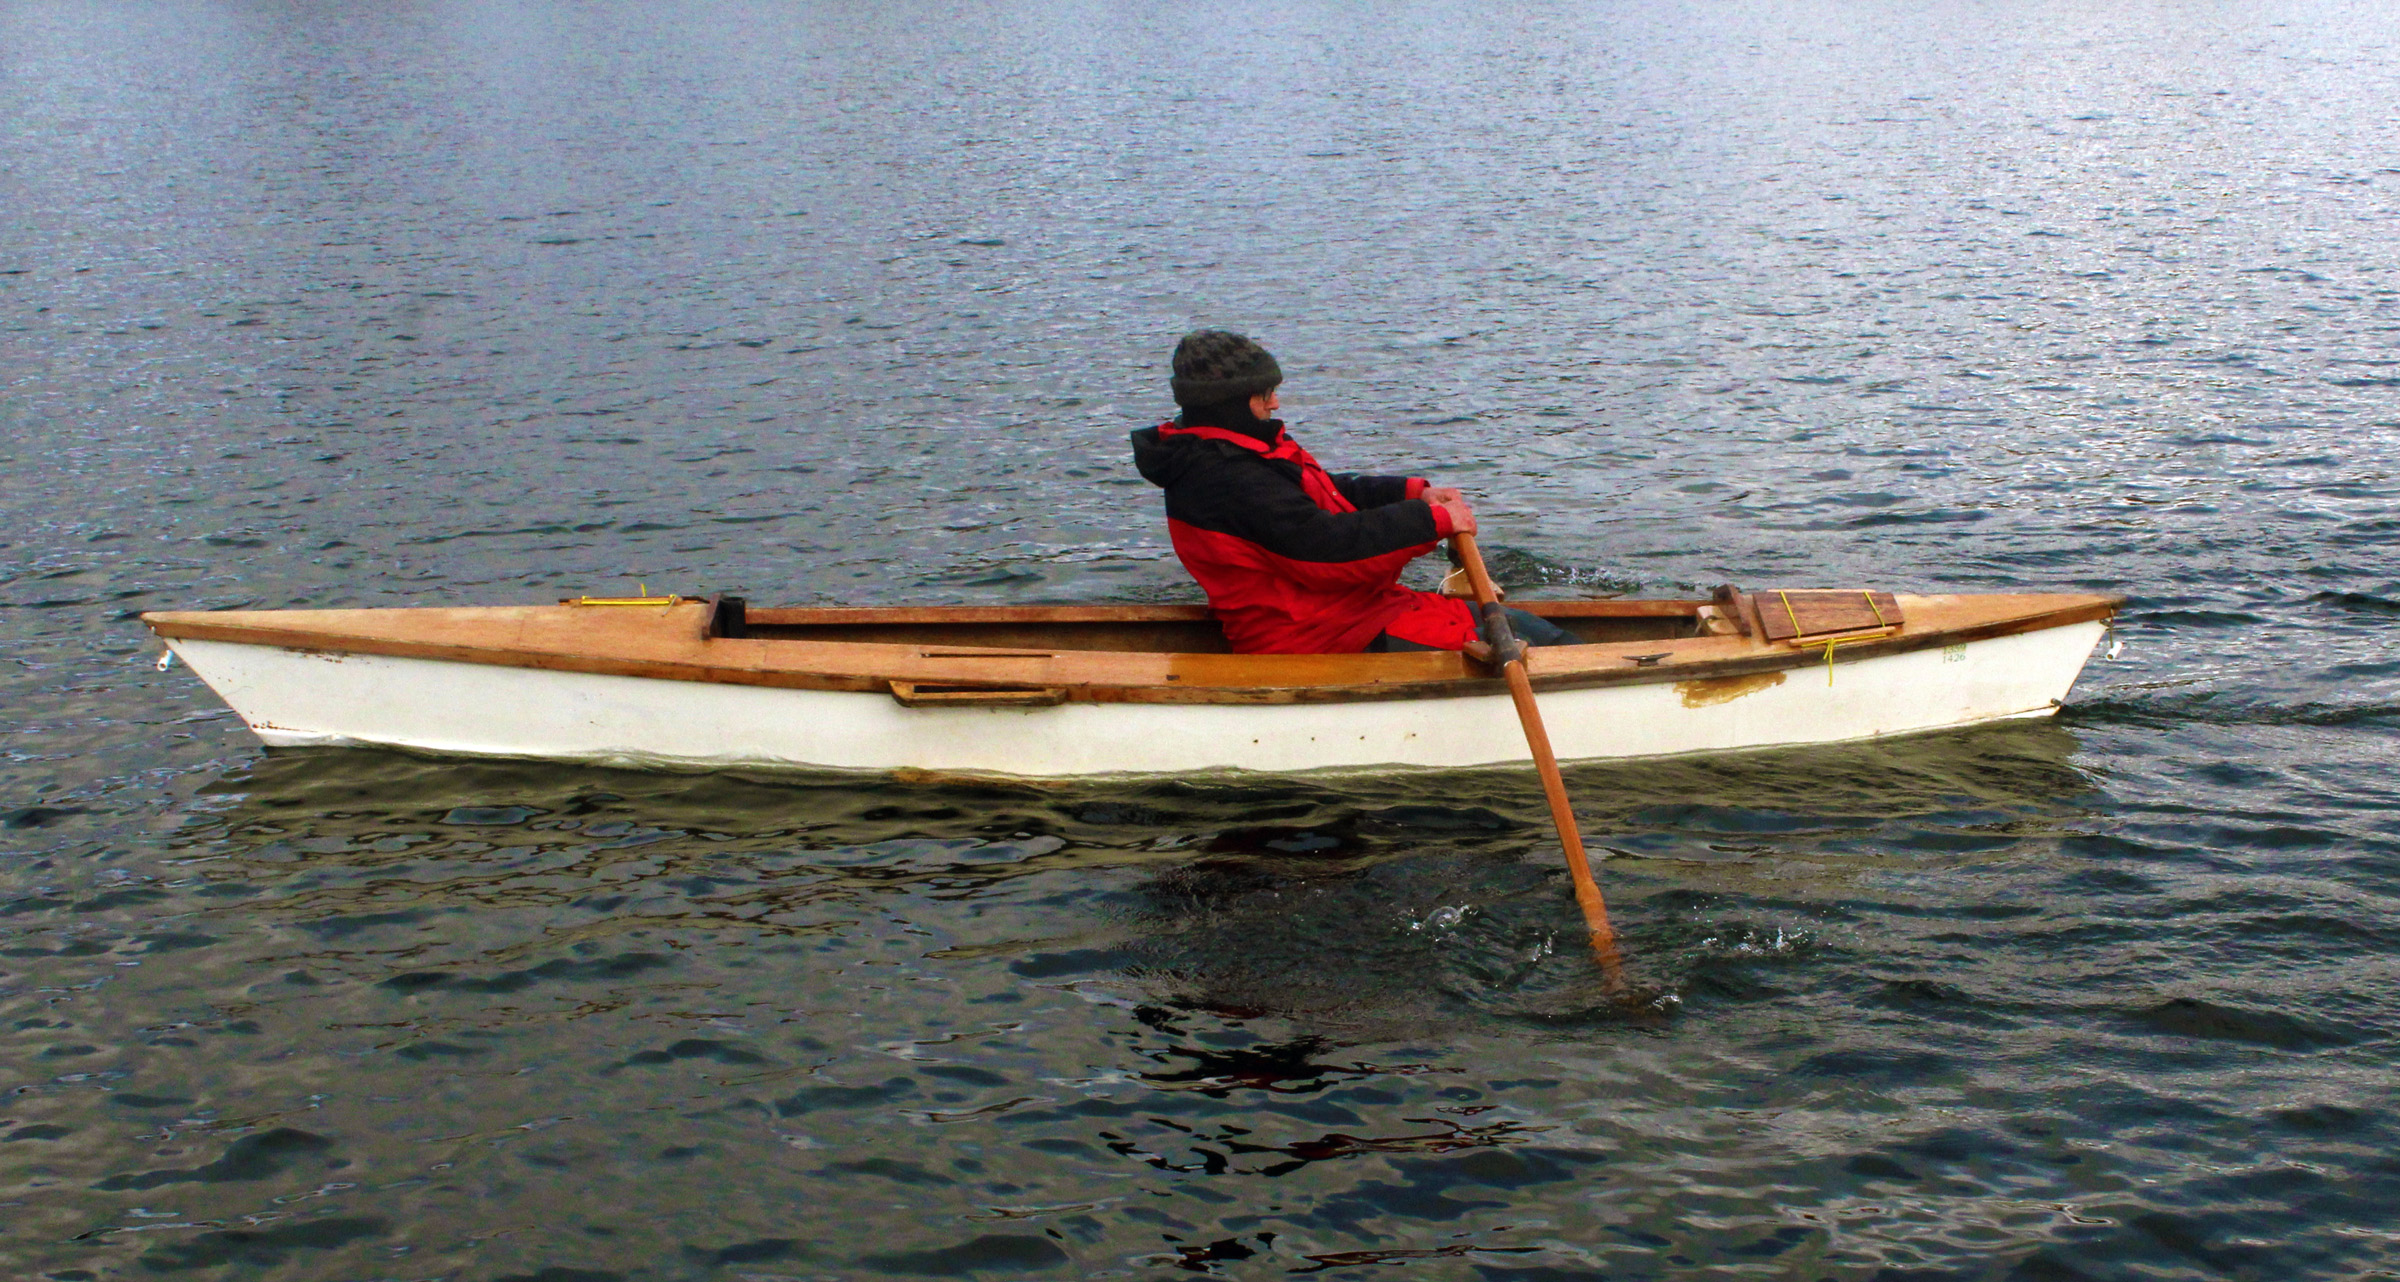
I raced past Emanuel Island, happy to be making good speed, and was soon back at Jones Point, where I was again greeted by three seals. I rowed through the turbulent slicks heading first north, then east, then northeast. As I made the passage through the final stretch, I kept AURELIUS pointed at a green can to the east of Youngs Islands. As I neared it, I took a couple of good strokes on the oars to pull away from it…and AURELIUS refused to respond. The current had me. Bam! I slammed into the large metal can. Between the current and my rowing, I was moving at about 6 knots, and the force of impact, gunwale to can, was substantial. As I pushed off and sped away, I made a quick inspection of AURELIUS’s gunwale, she seemed unscathed. I, however, was chastened. On my downriver leg, I had treated the Narrows with caution and respect, and my passage had been uneventful. Now, on my return, I had made the mistake of being nonchalant and had paid the price.
Heart pounding, I picked my way past Youngs Islands and headed north again. For my last night on the river, I had decided to stay on Battle Island, a bit less than a mile farther upstream, and within minutes of my altercation with the can I was easing into the calm shallows at the south end of the island.

Eager to perfect my onboard sleeping arrangements for future trips, I have tried leaving the platform up while rowing through the day. On this occasion, not having the rolled-up boards lying around in the boat was a good thing, but I had not brought the tent—the overnight weather was forecast fine—and the temperatures dipped below freezing with a heavy frost. I awoke cold and very wet in the morning.
As with Emanuel, most of Battle Island’s 2 acres is no more than 10′ or 15′ above the high-tide mark, with steep embankments eroded by the river’s currents. A sturdy wooden staircase rose from the rock-and-mud beach up to a mature forest of mixed hardwoods and conifers, where a short trail, no more than 20 yards long, led to a shady clearing in the island’s center. I would sleep ashore. Once more I trundled my gear up to the campsite, set an outhaul for AURELIUS, made camp in the late-afternoon shade, and settled down to an early dinner. The current-assisted rowing of the day had been easier than the previous days, but I had covered 8 miles and the cumulative effect of three days of rowing had once again left me drained. After another hurried dinner I settled down in the tent. The air was cool and dry, and I slept soundly, lulled by the distant cries of seagulls and the occasional thud of the falling acorns.
From Battle Island back to South Penobscot
Turning in early led to rising early, aided in part by a dawn chorus of coyotes somewhere on the mainland. I enjoyed my coffee and toast on the upper steps of the beach ladder, watching the sky turn from gray to orange to yellow as I waited for the water to lift AURELIUS. Overnight, the wind had died completely and the only movement on the water’s surface was from the tidal current. From time to time gulls and cormorants flew by. A great blue heron passed, its wings rising and falling in slow deliberate arcs, its long legs trailing behind.

I spent the last night on Battle, mooring AURELIUS on the south side of the island. It wasn’t always easy to find the best spot so that the boat lay somewhat level and didn’t dry out resting atop a large boulder. As I waited through my last morning, I looked down the river that I had rowed the previous day. The waters around Youngs Islands and beyond were glass-like in the calm conditions.
I struck camp early in the afternoon, about half an hour before the water lifted AURELIUS, and when she was loaded and floating, pushed off in bright sunshine and a modest northerly breeze. The South Penobscot ramp was just 2 miles away in the southeast corner of Northern Bay. In the four days I’d been on the river, and despite the green-can incident of the day before, I had gained a sense of confidence in my rowing, navigational abilities, and “river sense.” But I was still cautious. I knew that this last leg was challenging with its narrow channel through the otherwise very shallow Northern Bay. I pulled past Gravel, Sparks, and Aunt Mollie islands, and made the sharp turn eastward toward Winslow Cove. I rowed, glanced over my shoulder, checked the chart, noticed the several small white channel-marker buoys that I had missed on the first day, and all too soon, it was over. AURELIUS’s stainless-steel keel guard scraped the South Penobscot boat ramp, and I was back. My hands were blistered, my heart was lifted, and my mind was already thinking about possible overnights on local ponds before the Maine winter overtook me.![]()
Davis Taylor lives in Bar Harbor, Maine, where he has sailed and rowed for the past 30 years. He enjoys being on any kind of boat, but has definitely found that the smaller the boat, the more it gets used and enjoyed.
*In 2021, the people of Castine, Maine, voted to rename the Negro Islands as the Meguntic Islands. Upper Negro is now Esther and Lower Negro is Emanuel. The name change has yet to be federally approved.
If you have an interesting story to tell about your adventures with a small boat, please email us a brief outline and a few photos.