Over the past few years, I’ve been experimenting with different ways of finishing wood kayaks. Most homemade kayaks are finished bright to show off the wood grain and color, but other techniques can be used to make a kayak unique and expressive. On the most recent boats I’ve built, I’ve painted the whole kayak one color, and on another I stained the wood and added touches of paint. I’ve used high-tech fabric blends for their aesthetic appeal and I’ve added colorful designs by laminating patterned fabric under fiberglass or using specialty fiberglass that has been custom printed.
None of these techniques is difficult for anyone who can put down a layer of fiberglass and epoxy clean enough to be finished bright. I’ll start with the simplest and work through the materials I’ve tried on these kayaks.
Paint
 Photographs by the author
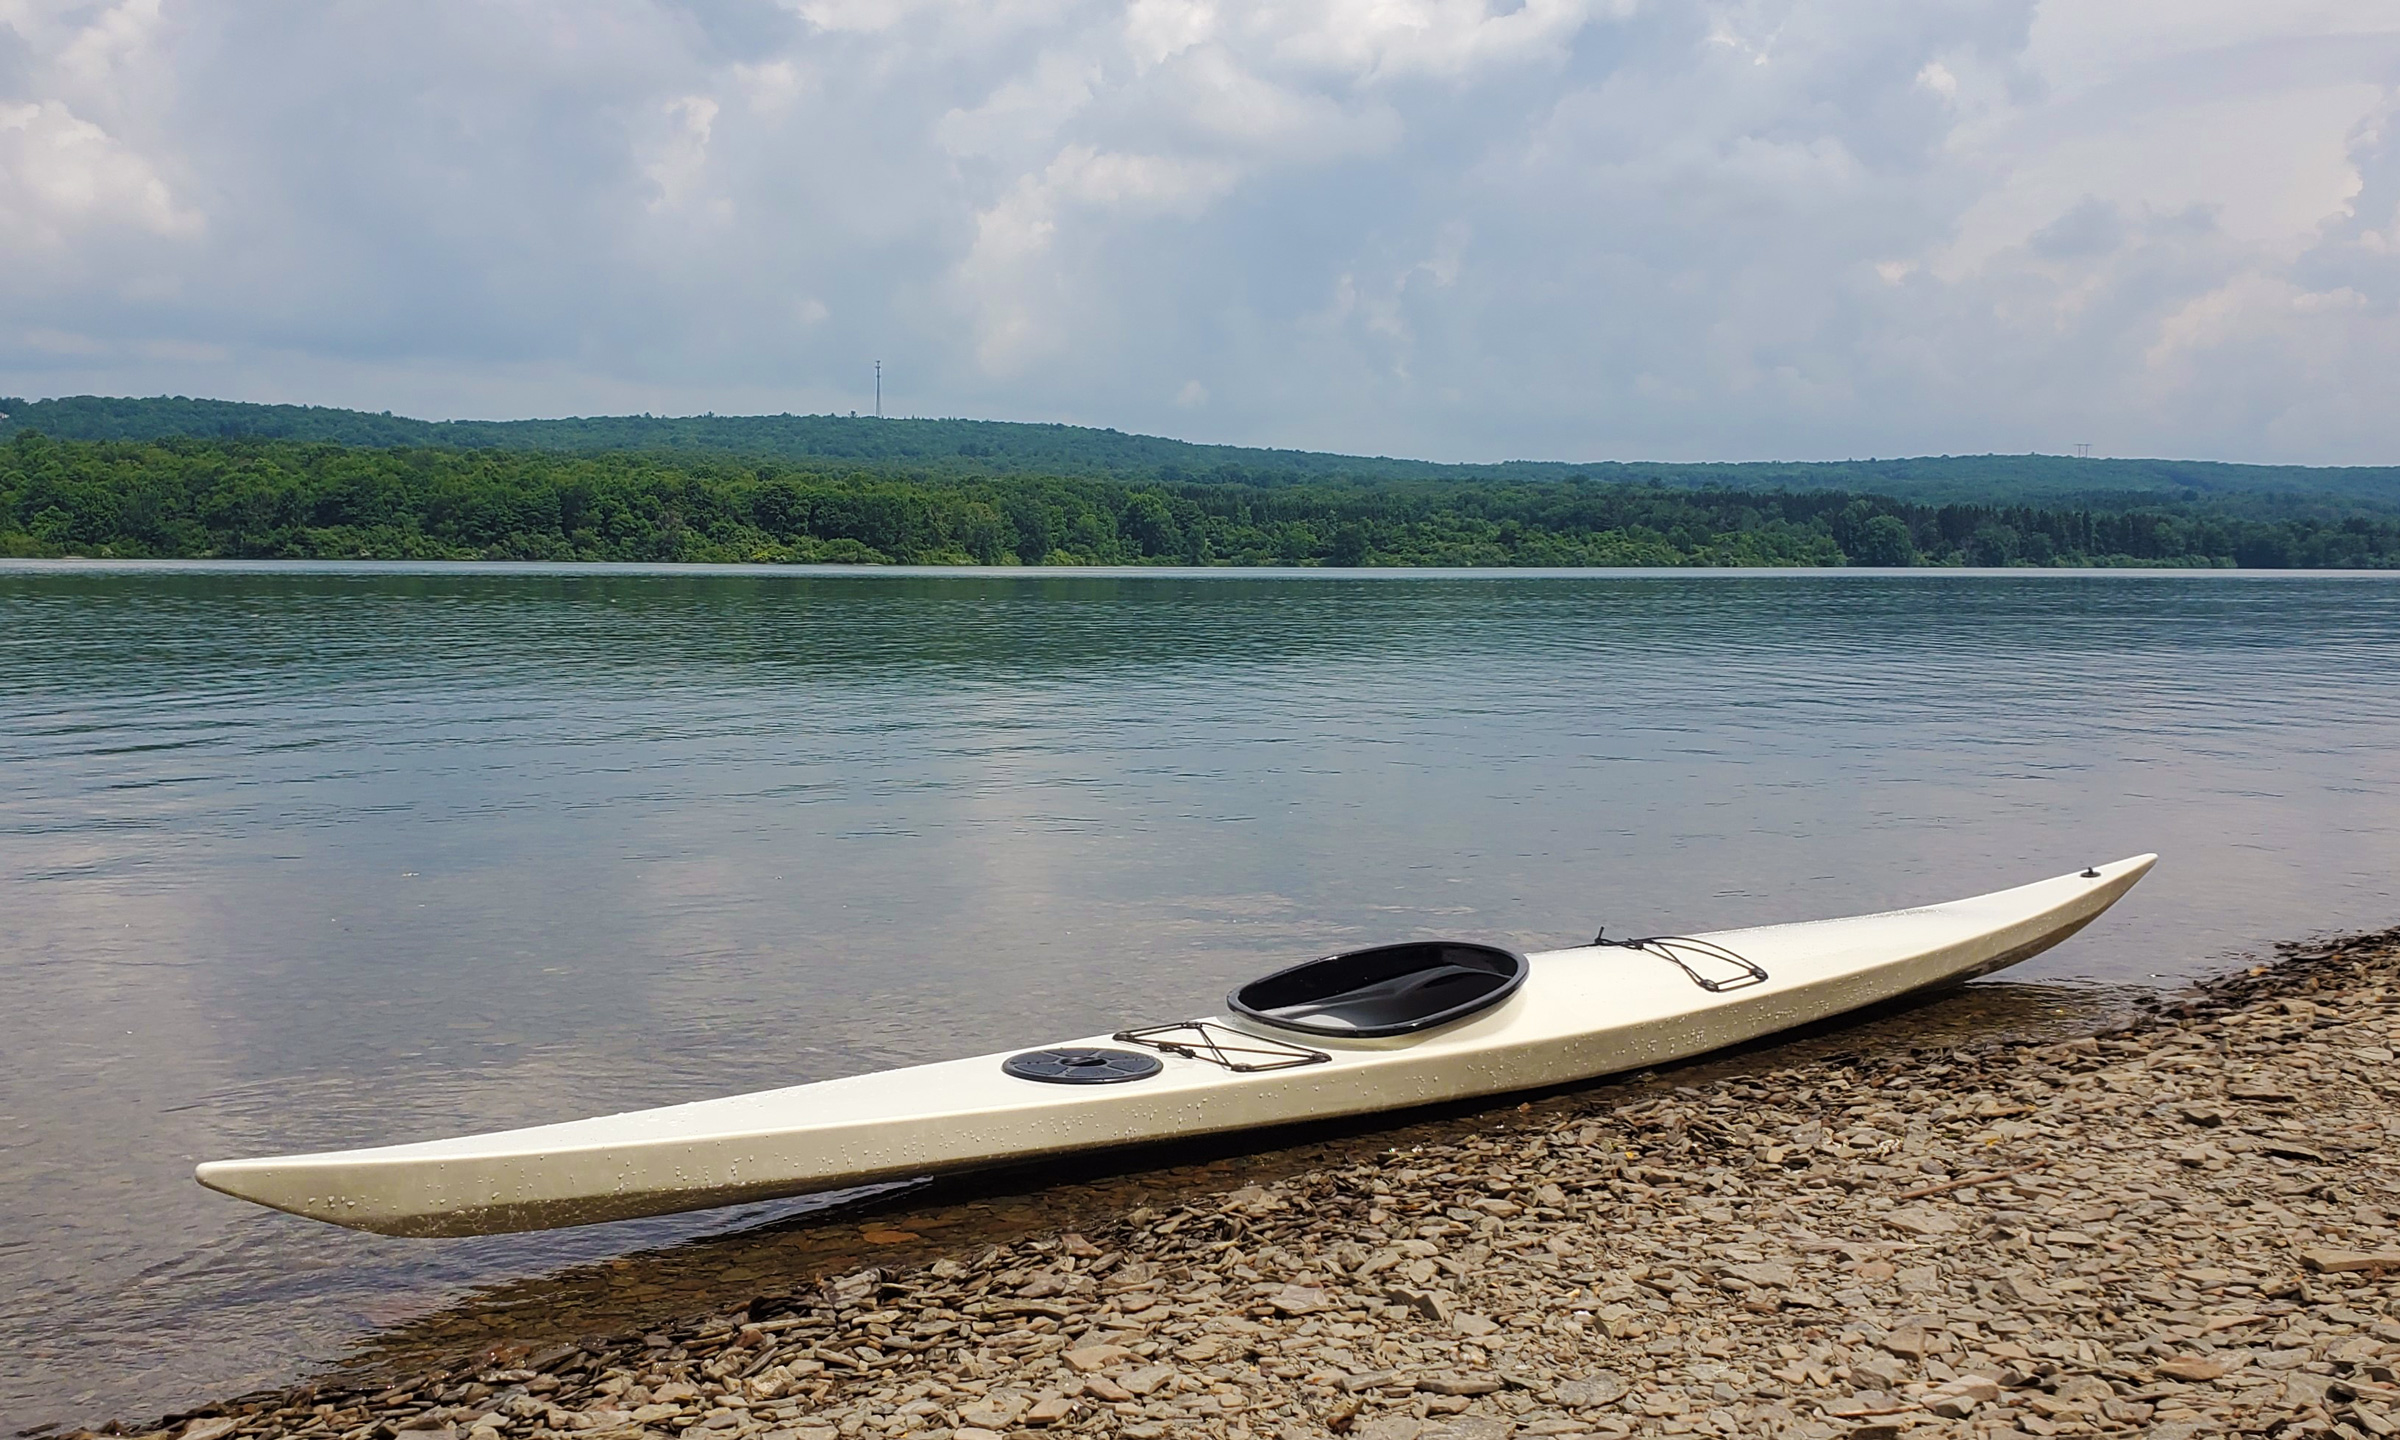
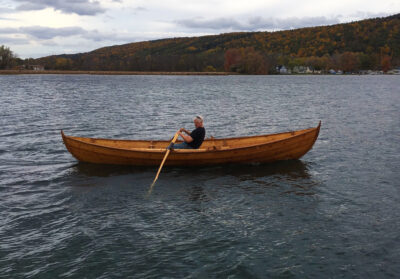
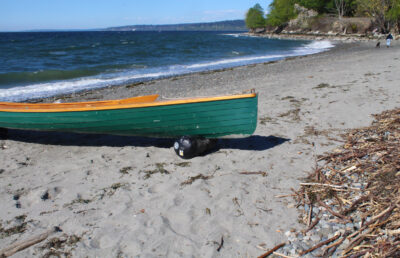
I finished this kayak with a carefully buffed and polished coat of marine-grade enamel, keeping it simple and elegant. Beneath the paint is a stitch-and-glue okoume plywood hull.
Paint does not have to look cheap. I’d always wanted a solid-white, Greenland-style stitch-and-glue kayak. The 3mm okoume plywood I used to build it had no grain with any figure to it, and without stain wouldn’t have an appealing color, so paint was a good option.
I went to some trouble to ease all the edges during construction and then buff out the final paint finish to a fine polish. Most people think it’s a fiberglass boat. To most builders of wooden boats, this may seem an odd result, but sometimes a good, shiny coat of paint is just the right kind of bling.
After I had ’glassed the kayak and filled the weave of the 5-oz fiberglass with two additional coats of epoxy, I mixed titanium dioxide pigment into the final coat of epoxy to begin the transition to white and to ensure that the usual dings and scratches wouldn’t stand out. After that final coat of epoxy had had several days to cure fully, I applied a high-build white primer. While that kind of primer is standard practice on wooden boats, it’s not used much over fiberglass, but it provides a really smooth base for the topcoat, even on epoxy-filled ’glass.
The paint used for the topcoat is important. I’ve long used Pettit EZPoxy, a one-part polyurethane topside enamel, because it goes on very nicely, self-levels, and has proven to hold up well to weather and use. There are other brands of marine-grade topside paints, and they can also produce good results. The local hardware store exterior enamels are far cheaper, yes, and they do look okay after initial application, but they don’t hold up like the more expensive marine paints do. One $40 to $50 quart is more than enough, and I find it’s worth the extra $20 or $25.
After the primer has been block-sanded smooth, apply the topcoat with a short-nap roller. Apply a light coat, then tip it off, working by sections, with the brush of your choice (I use a disposable foam brush).
To get a really smooth gloss on the finish, there’s work to be done after the topcoat is dry. Go at it the way auto-body paint-shop guys do: working over the last coat of paint with increasingly fine sandpaper—800-grit, 1,500-grit, 2,000 grit—wet-sanding the finest levels, and then break out the buffing compound. I have an electric buffer, but the panels on a kayak are so narrow, I prefer to do it by hand. Once you have a truly smooth and shiny surface, add a coat of wax and your kayak can have a finish that looks totally professional. All that elbow grease pays off well.
Stain and Gold Trim

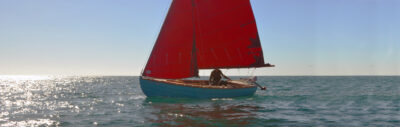
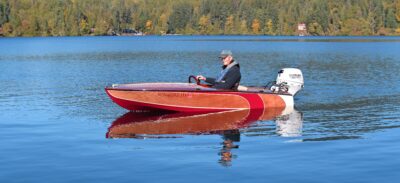
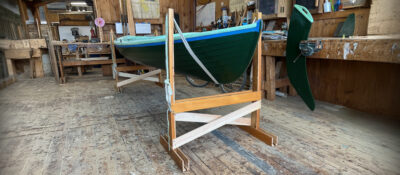
I achieved the look of Prohibition-era speedboats with stained cedar and gold paint. Brass and bronze hardware and leather straps complement the Art Deco style.
Strip-built boats with patterns created with different species of wood can look spectacular, but when I strip-built a 17′ kayak, I wanted a different look, something in a style that would suggest the speedboats of the rumrunner days of the 1920s. I used northern white-cedar strips for the entire boat, stained it a mahogany color, and then used gold paint to add the stylized wing motif popular on trains, planes, and even clocks and doors in that era of Art Deco.
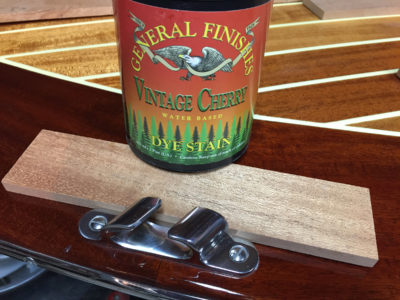
Not all stains are suitable to go under epoxy. Oil-based stains are out—epoxy and oil don’t get along. Water-based stains are available in a wide range of colors, but there’s a risk of raising the grain on stripper boats (however, for okoume ply, that’s not an issue). Alcohol-based stains are easy to use and don’t affect the wood, so I went with Behlen’s medium red mahogany. (This product is no longer available, but Mohawk Ultra Penetrating Stain is comparable.)
After the boat was ’glassed and finished with System Three Silvertip epoxy I was ready to add the gold trim. I thought gold leaf would be the perfect touch, but after some frustrating trials on a sample piece, I gave up on it. Serious skill is needed to get the leaf to lie flat on a smooth surface and make a clean edge. At a local art-supply store I found Sign-Painters’ One Shot Lettering Enamel made specifically for sign-painting, and selected one with a rich gold color. At the same store I picked up some rolls of masking tape in various widths to help ensure crisp borders. The closest match I can find to that tape is Dick Blick’s Intertape Masking Tape, although the 1⁄2″ size is wider than the narrowest widths I had found. FrogTape gives a very clean edge that I appreciate, but you can’t get it in the narrow widths that readily take to curves. I recently bought some narrow stuff from Amazon, but it doesn’t seal like the Intertape or FrogTape.
Once the paint was on, I added several coats of System Three Marine Spar Varnish. This UV-blocking varnish is designed to cure properly over System Three epoxy; I found on previous projects that other varnishes don’t work well over this brand’s epoxy. I completed the boat’s period look with brass hardware and leather straps. I even covered the plastic seat and backband with leather. To top it off, I made a paddle to match.
Fabric Underlay
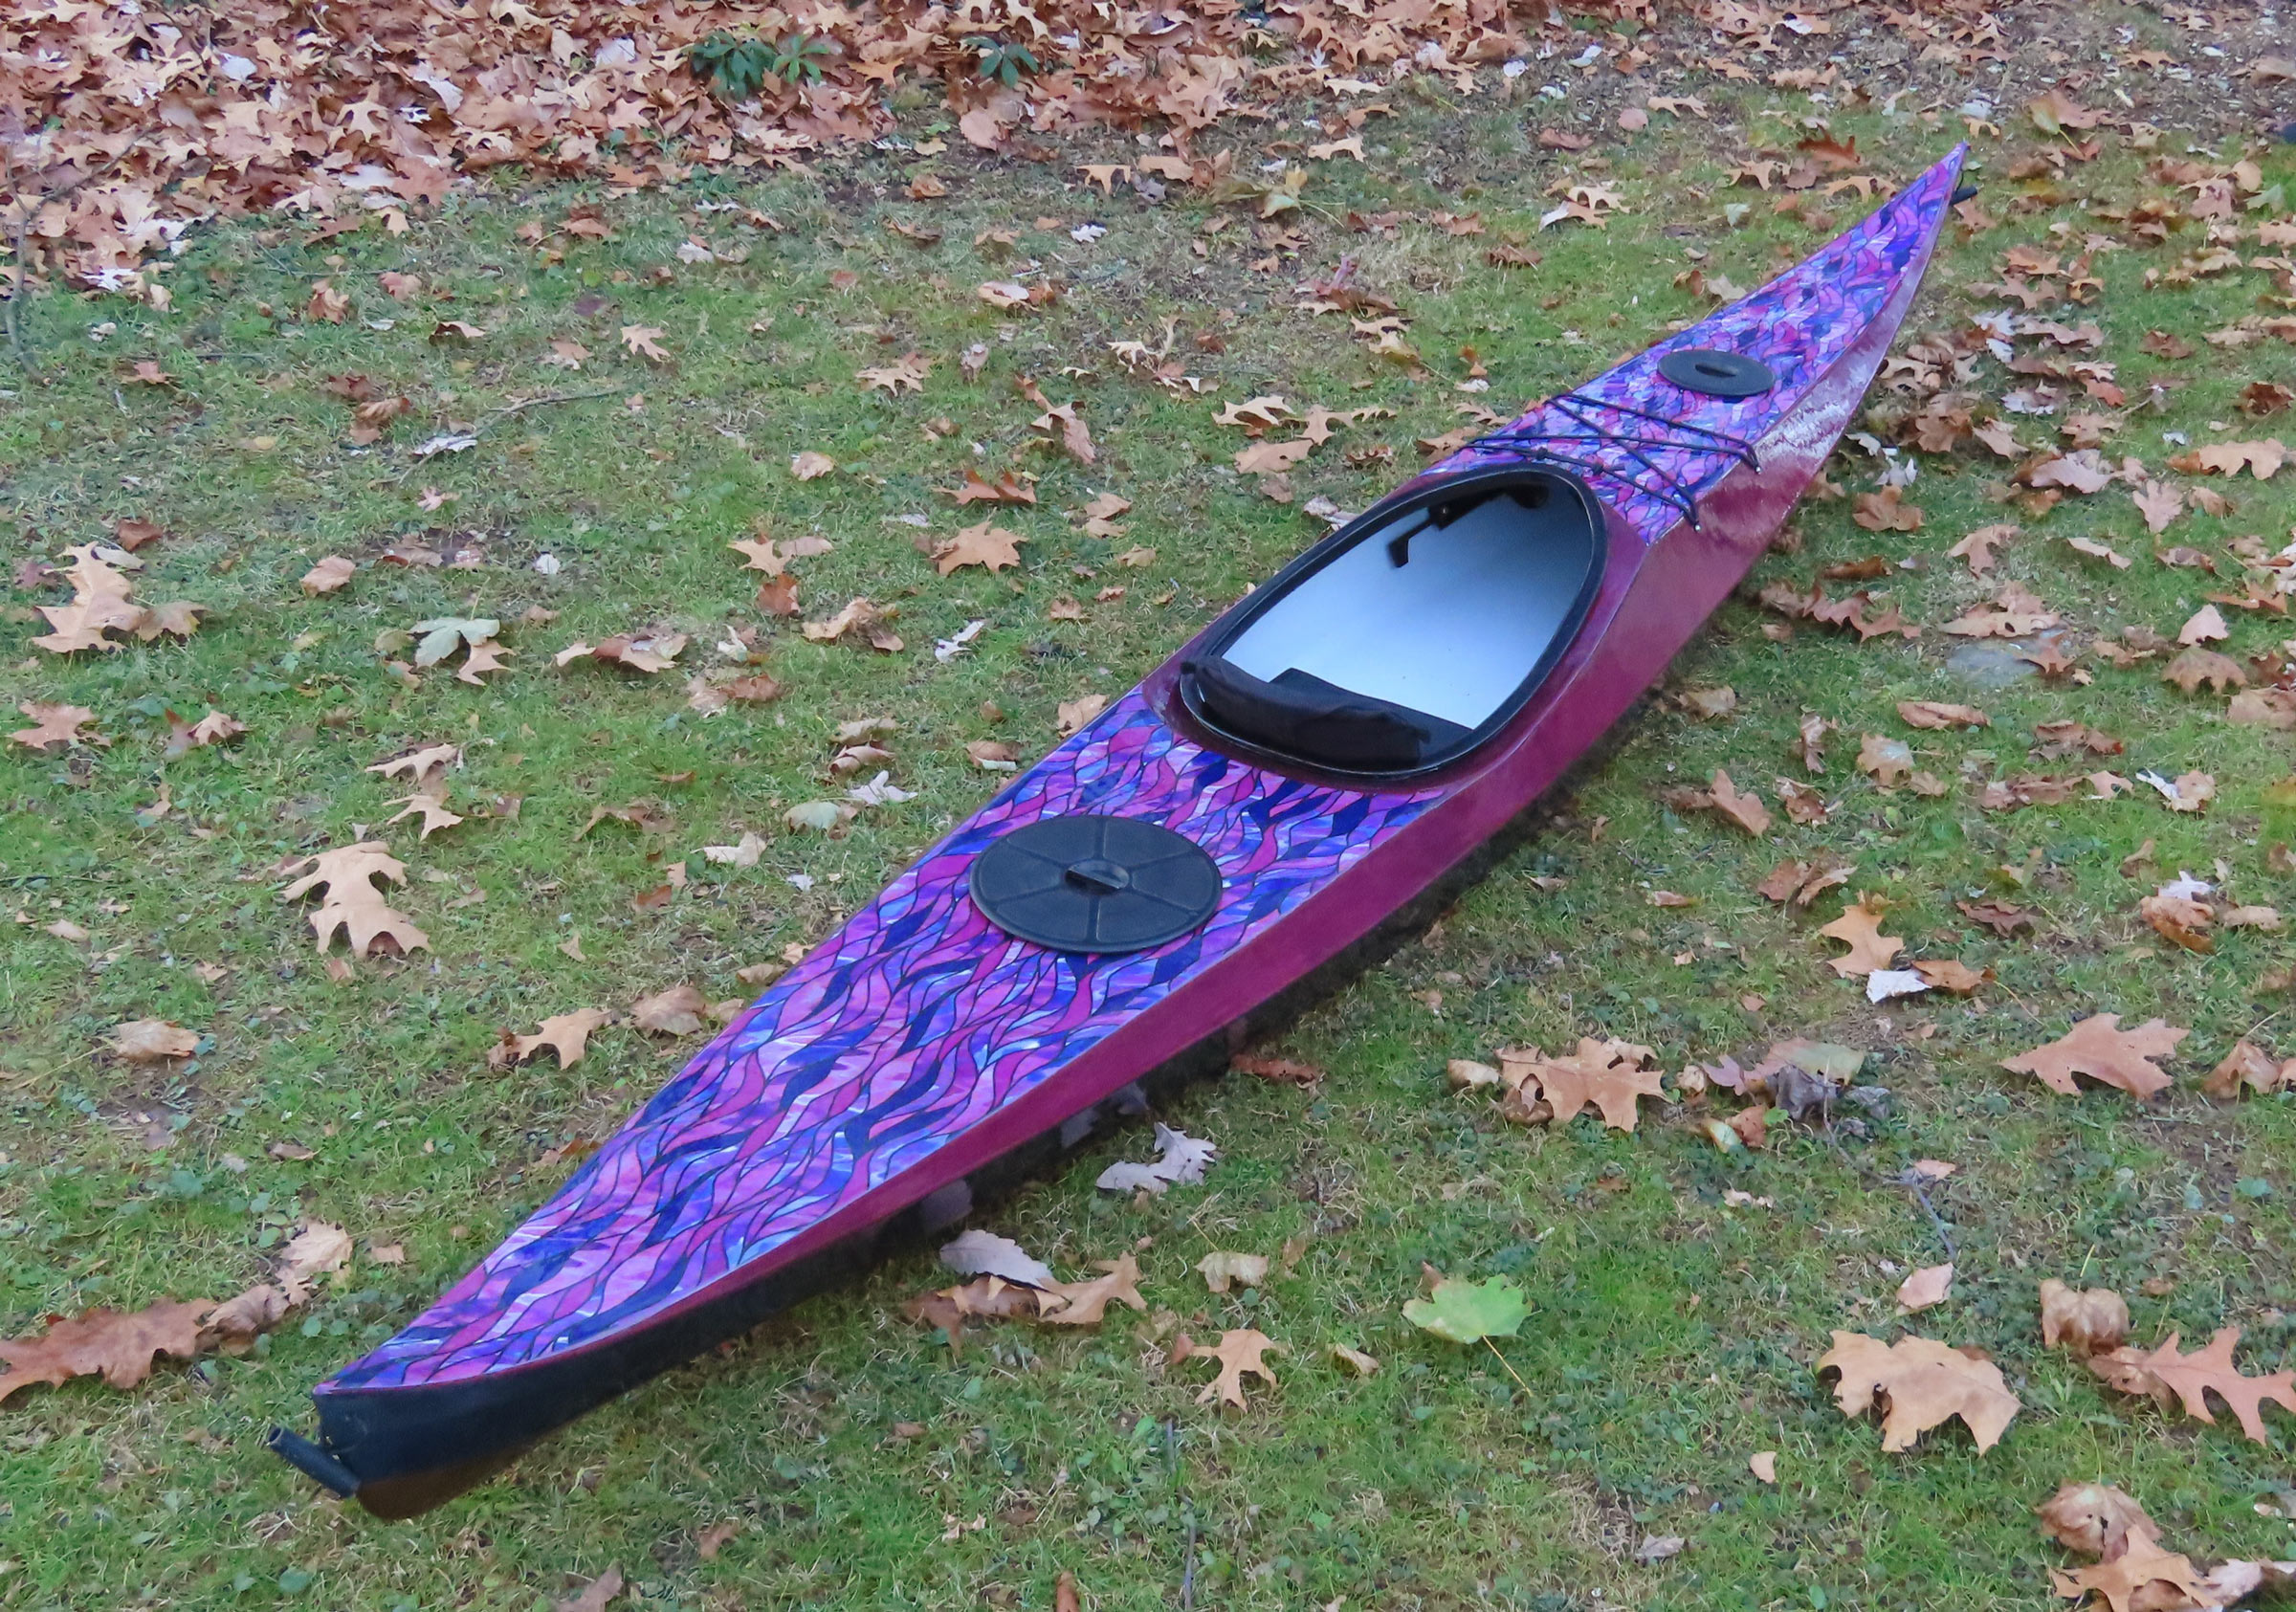
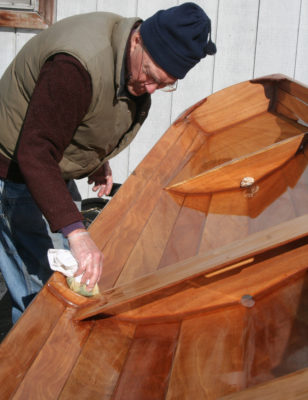
A printed-fabric deck underlayment is the highlight of this stitch-and-glue kayak. The side panels and hull are stained to echo the colors in the fabric.
My wife, Caroline, had a hand in choosing the decorative finish of the stitch-and-glue kayak I built for her. As is often done with stitch-and-glue boats, I stained the plywood side panels and hull with two water-based stains from Minwax. But for the deck, we ordered fabric from Spoonflower, a company that prints designs to order and has over a million patterns available, all of them uploaded to its site by individual designers. You can create and upload your own fabric pattern, but with so many to choose from it’s hardly necessary. Caroline found an undulating purple, pink, and blue pattern that she liked.
You can get sample swatches of any print on any of the many fabrics available to create sample pieces. I strongly recommend doing this. Colors change when the fabric is saturated with epoxy, and the color of the substrate can show through. I tested quite a few swatches before I determined that Spoonflower’s Satin fabric, a satin-weave 100% polyester, shows best under fiberglass. I also found that the pattern we chose needed a thin white undercoat painted on the wood before applying the fabric. The cloth goes on the boat before fiberglass is applied to the exterior panels.
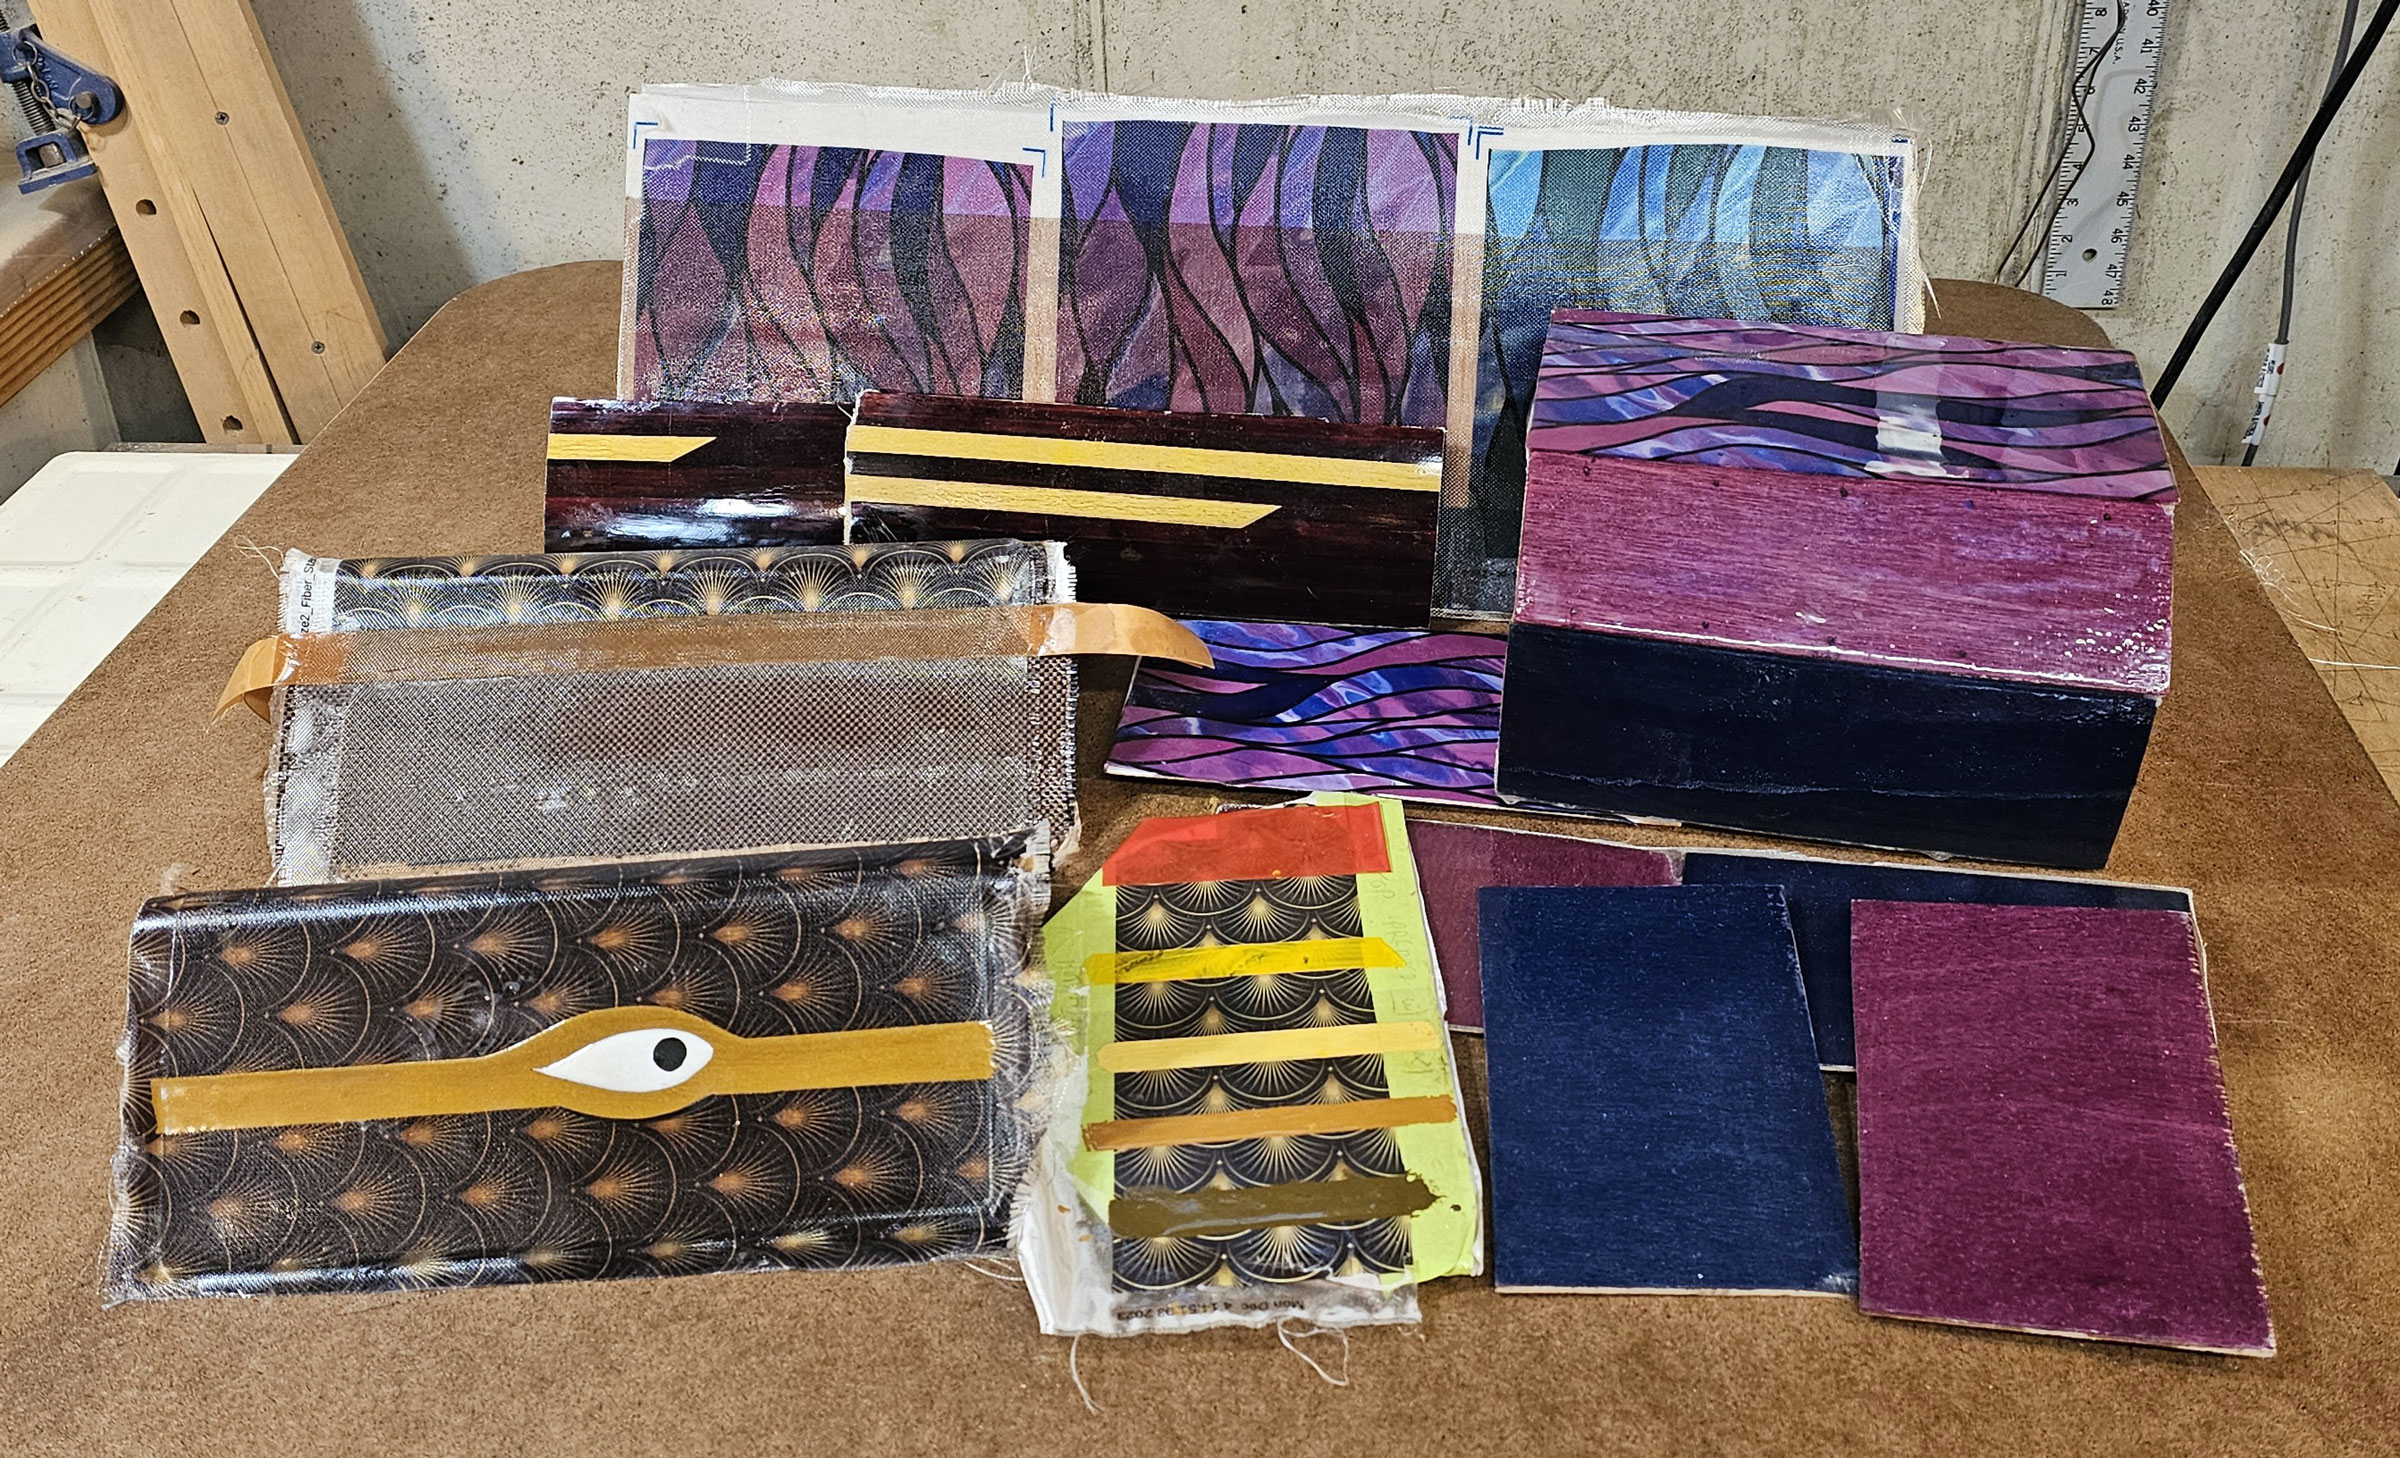
These are just some of the many sample pieces that I made to test and practice application techniques and colors.
First, tape off the area that will be covered with the fabric. I like stucco tape for this. It’s a stretchy red polyethylene masking tape that comes in a 2″-wide roll. It forms a nice tight edge that epoxy doesn’t sneak under, and that same edge shows well when it’s time to trim off the excess fabric. It’s also less prone to tear when removed. Home Depot carries it.
For the undercoat, I used Zinsser Bullseye 123 primer. It settles into the wood rather than creating a film on top. It’s water-based, and I’ve found that adhesion of epoxy-bonded materials over it is very good. Once the undercoat is on and thoroughly dry—a full day at least—it’s time for a light sanding before applying the fabric. The 2.2-oz Satin material from Spoonflower takes some care to get out all the wrinkles and air bubbles. After the fabric is saturated with epoxy, squeegee off all the excess resin—every last drop—because extra epoxy underneath will float the very light fabric up from the substrate, creating an uneven surface, and drips and ridges on top can’t be sanded off the next day without the risk of sanding into the printed design.
Once the fabric is down and the epoxy has cured overnight, run a utility knife with a fresh blade along the top edge of the tape, which will show through the fabric. The tape and excess fabric will strip off easily. Then proceed with fiberglassing the hull in the usual way.
One bonus with this fabric: it comes in a 54″ roll that’s more than twice as wide as a kayak deck, so there’s plenty of extra. I sewed up a matching neck scarf for Caroline.
Printed Fiberglass
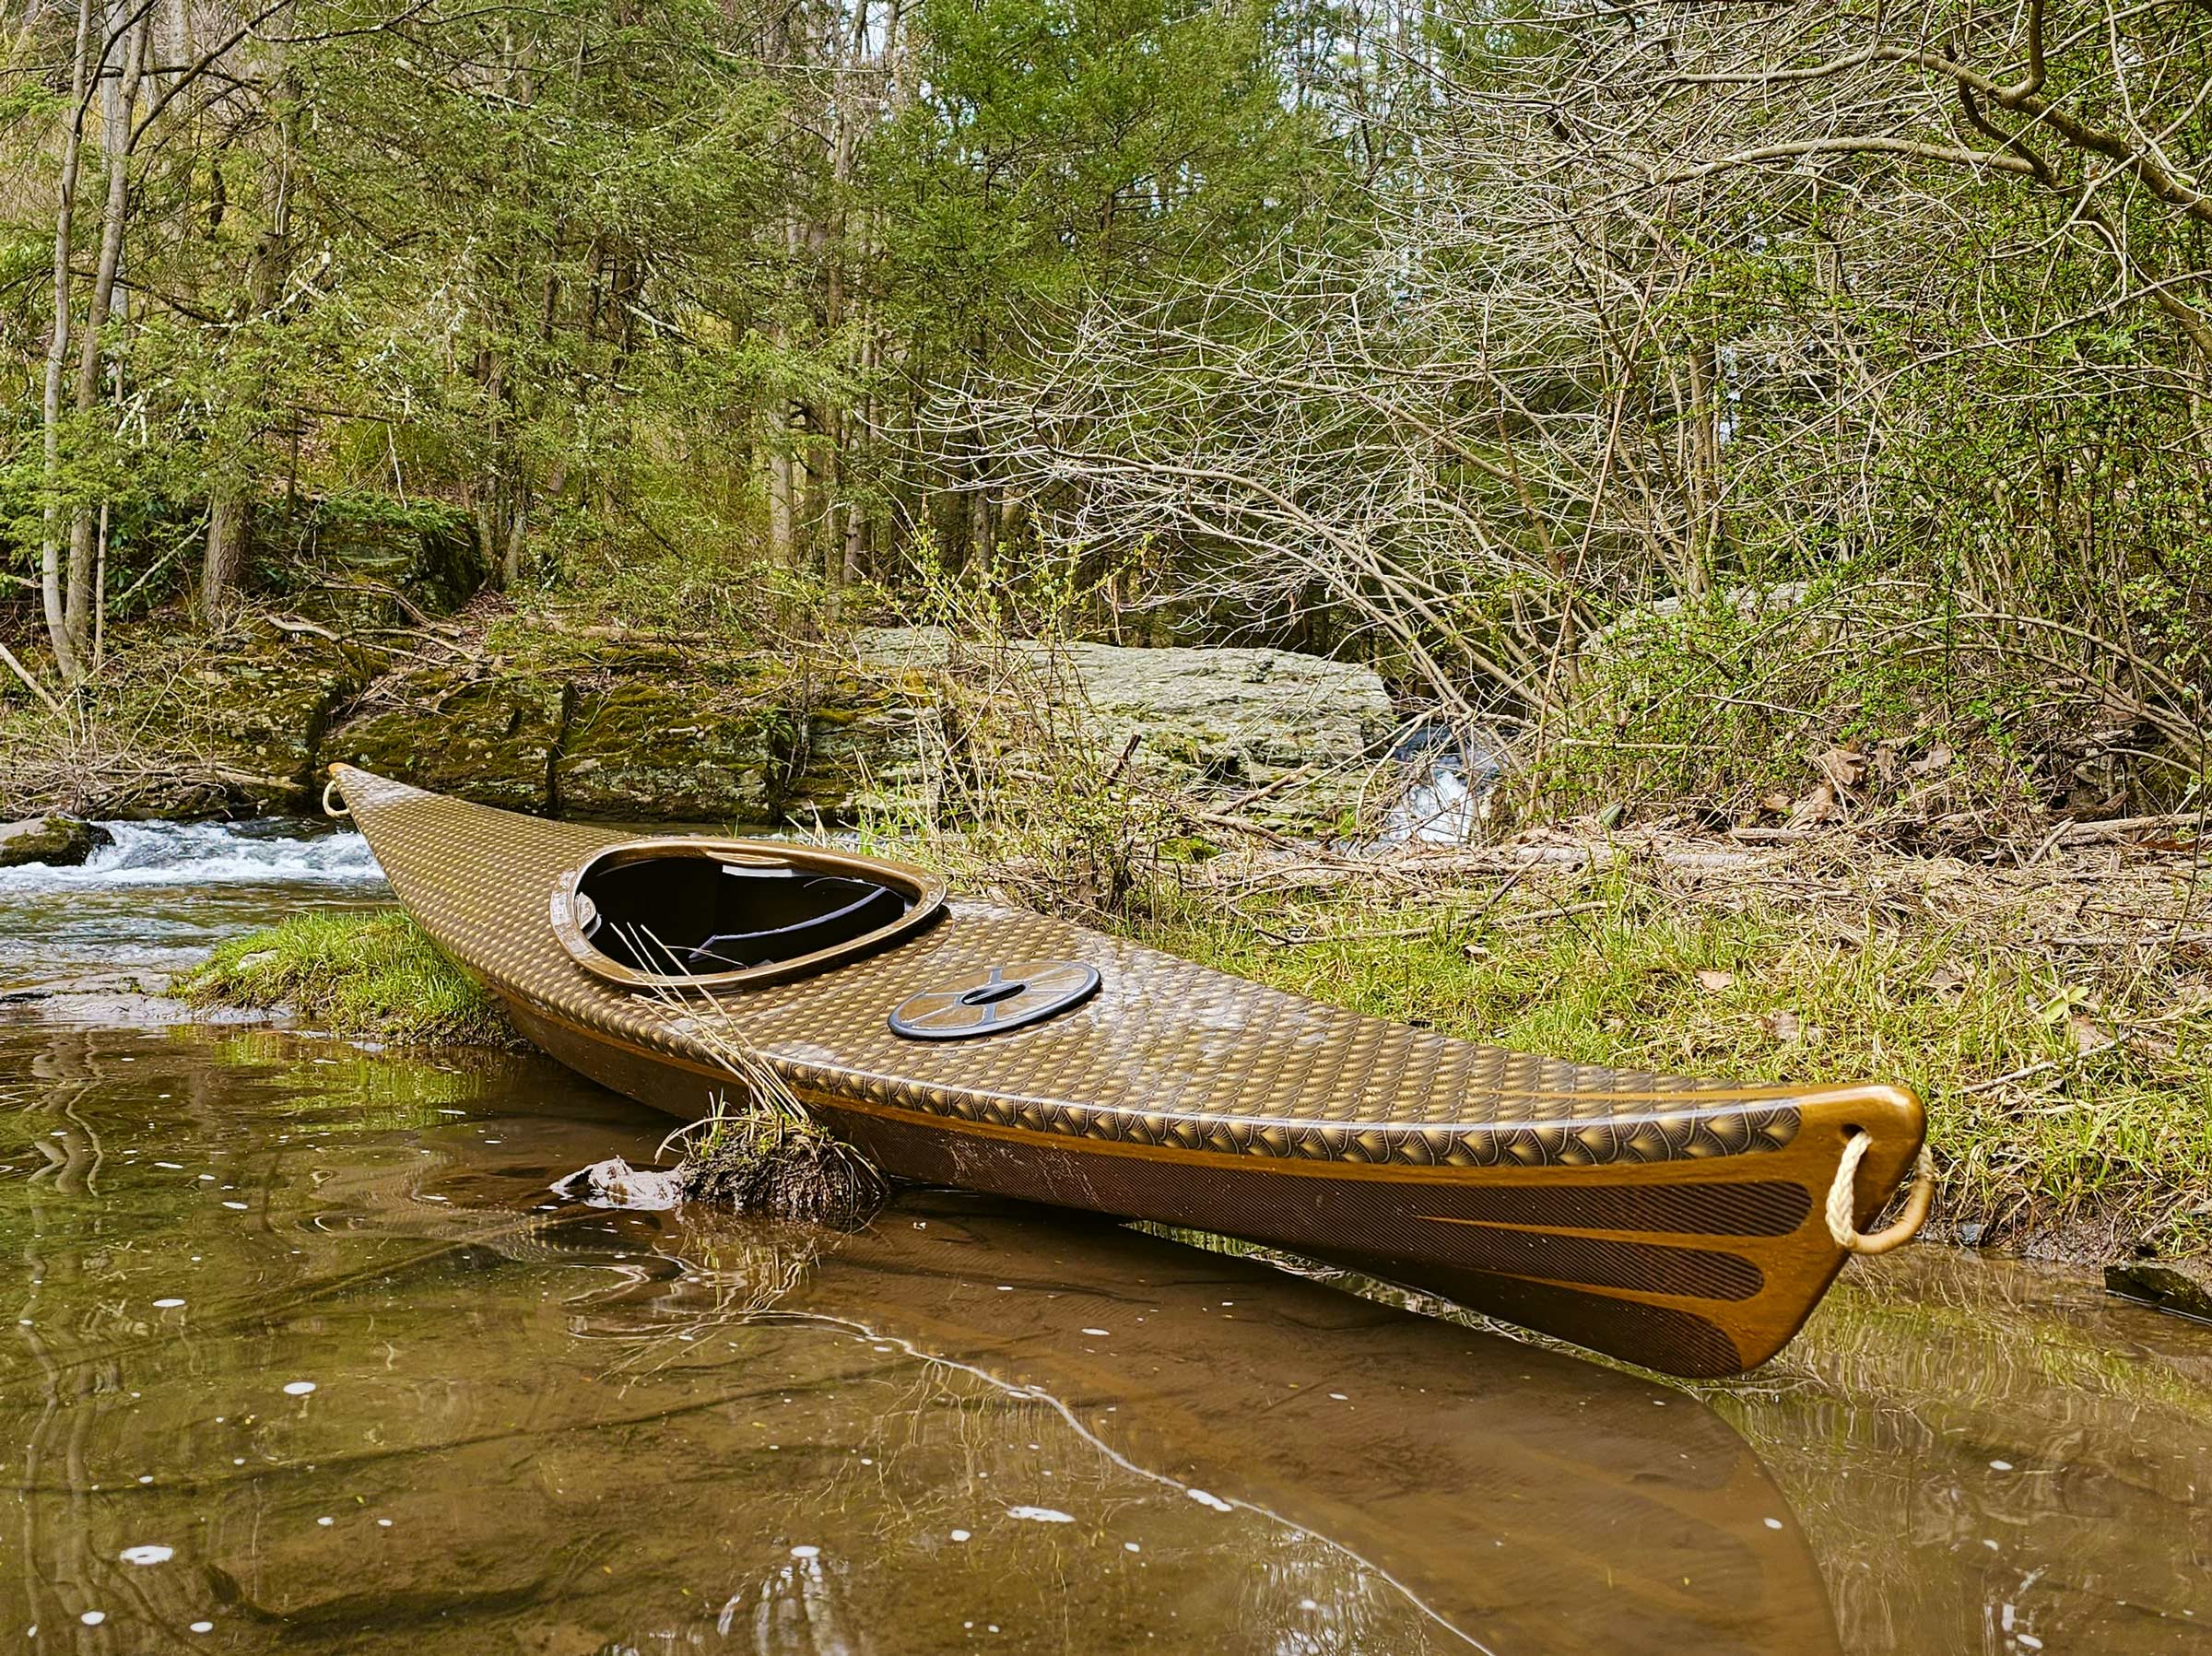
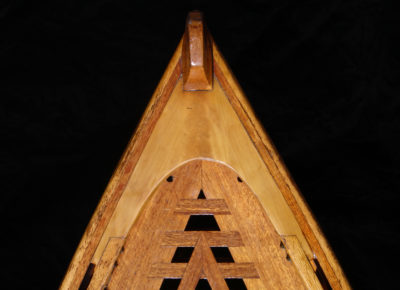
This okoume plywood boat is sheathed with printed fiberglass on the deck and a carbon-Kevlar woven fabric over the hull. The metallic trim was achieved by mixing pigment powders into epoxy. With this combination of materials, the boat was given a stylized fish design, with an eye forward and the suggestion of a tail aft.
My most recent boat, a Shearwater 14, was built to be light and simple for quick, casual day trips. I wanted the plywood deck to be uncluttered by bungee cords and hatches and to have a special look. I chose an Art Deco pattern that suggests fish scales, and had it printed on fiberglass by BoardLams in California. This company has been doing fiberglass prints to order for surfboard builders since 2008, and I know of no other company that provides the same service. What’s good for a surfboard can be great for a kayak. I chose a repeating graphic, but they can print absolutely any graphic pattern you send them.
You need to create your graphic on a computer and save it as a jpeg file the actual size to be printed, with a print quality of 200 dpi or better. The website offers standard print sizes geared to surfboard makers, but if you call, they can print just about anything you want in any size. I used a photo-editing program to tile a small sample into the 32″ by 15′ graphic that BoardLams printed for me on a roll of fiberglass.
The standard BoardLams material, a 3-oz, tight-weave fiberglass, is easy to work with. I used MAS LV, a low-viscosity epoxy, that saturated it well, and this fabric will follow the contours of the boat if they’re not extreme. A wood substrate may darken the appearance; a white undercoat on the wood is a remedy.
BoardLams also offers a premium fabric. It’s the same 3-oz ’glass, but it gets a white coating before the pattern is printed. The pattern will show more brightly, but the coated fabric is less flexible—I struggled to get it to lie properly on the radiused edges of the deck—and the epoxy doesn’t penetrate it readily. To ensure a solid bond, I wet the deck with epoxy before laying down the fabric.
Applying printed fiberglass from BoardLams is like using prints from Spoonflower. Squeegee off all excess resin, understanding that sanding this ’glass risks cutting into the printed surface. To protect the design and give the deck a deep gloss, I added a layer of 2-oz fiberglass, finished normally with a fill coat, a topcoat of epoxy, and sanding to get it ready for varnish.
High-Tech Fabric Blends

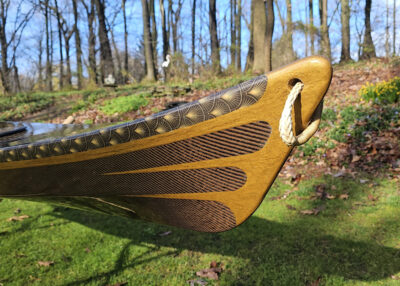
The black and gold weave of the carbon-Kevlar covering the hull inspired the color scheme of this kayak. The gold-pigmented epoxy decorating the stern conceals a strip of carbon-Kevlar that didn’t blend in with the rest of the fabric.
For the Shearwater hull, I covered the outside with a carbon-Kevlar blend for its extreme strength, resistance to abrasion, and classy appearance. There are many different options and colors in very strong fabrics that aren’t as pricey as they used to be and look great. Most are as easily applied as fiberglass, but there are some caveats.
Carbon-Kevlar blends have a very loose weave that makes pulling the fabric over the contours of a kayak hull even easier than fiberglass, but these materials don’t cut readily. You can buy scissors specifically made for Kevlar, which have a finely serrated edge on one blade to grip the fabric while the other blade does the cutting. Some tin snips and kitchen shears are also made this way and are less expensive. The shears I used worked well, but I did have to periodically dress the cutting edge with a diamond stone. If you’re only going to cut a small amount, just take an old pair of scissors and run one cutting edge across a medium grinder wheel. Leave the coarse edge as it is, and it will cut the Kevlar.
If you sand into Kevlar or cut an edge roughly, the yarn’s extremely fine fibers will fuzz out and be very difficult to tame. One trick is to put masking tape over the line to be cut and leave the tape on the raw edge as long as is practical.
When you unroll the blend material over the boat, handle it carefully. The weave is so loose that you can accidentally distort or spread out the threads in one spot. It doesn’t look pretty and it’s hard to straighten it out.
I started with a sample of a plain weave carbon-Kevlar fabric from Composite Envisions. It goes on like a medium-weight fiberglass and is easy to fill and finish. I used the small piece inside the cockpit to reinforce the hull there and get used to working with the fabric. For the exterior, I switched to the twill weave of the same fiber mix and color, which readily wrapped around the bow. The stern had too much of an angle for the material to pull over, so I trimmed it flush and wrapped a 3″ strip of the fabric over the end of the kayak. The twill weave does not lie as flat as the plain weave. It has a slight corduroy texture and takes several fill coats to achieve a smooth surface. Once these fabrics have some cured epoxy in them, they can be trimmed with a utility knife.
The strip I’d put on the stern had the awkward look of a patch, but after fairing it and adding the accent striping, it became invisible.
Pigments for Fiberglass
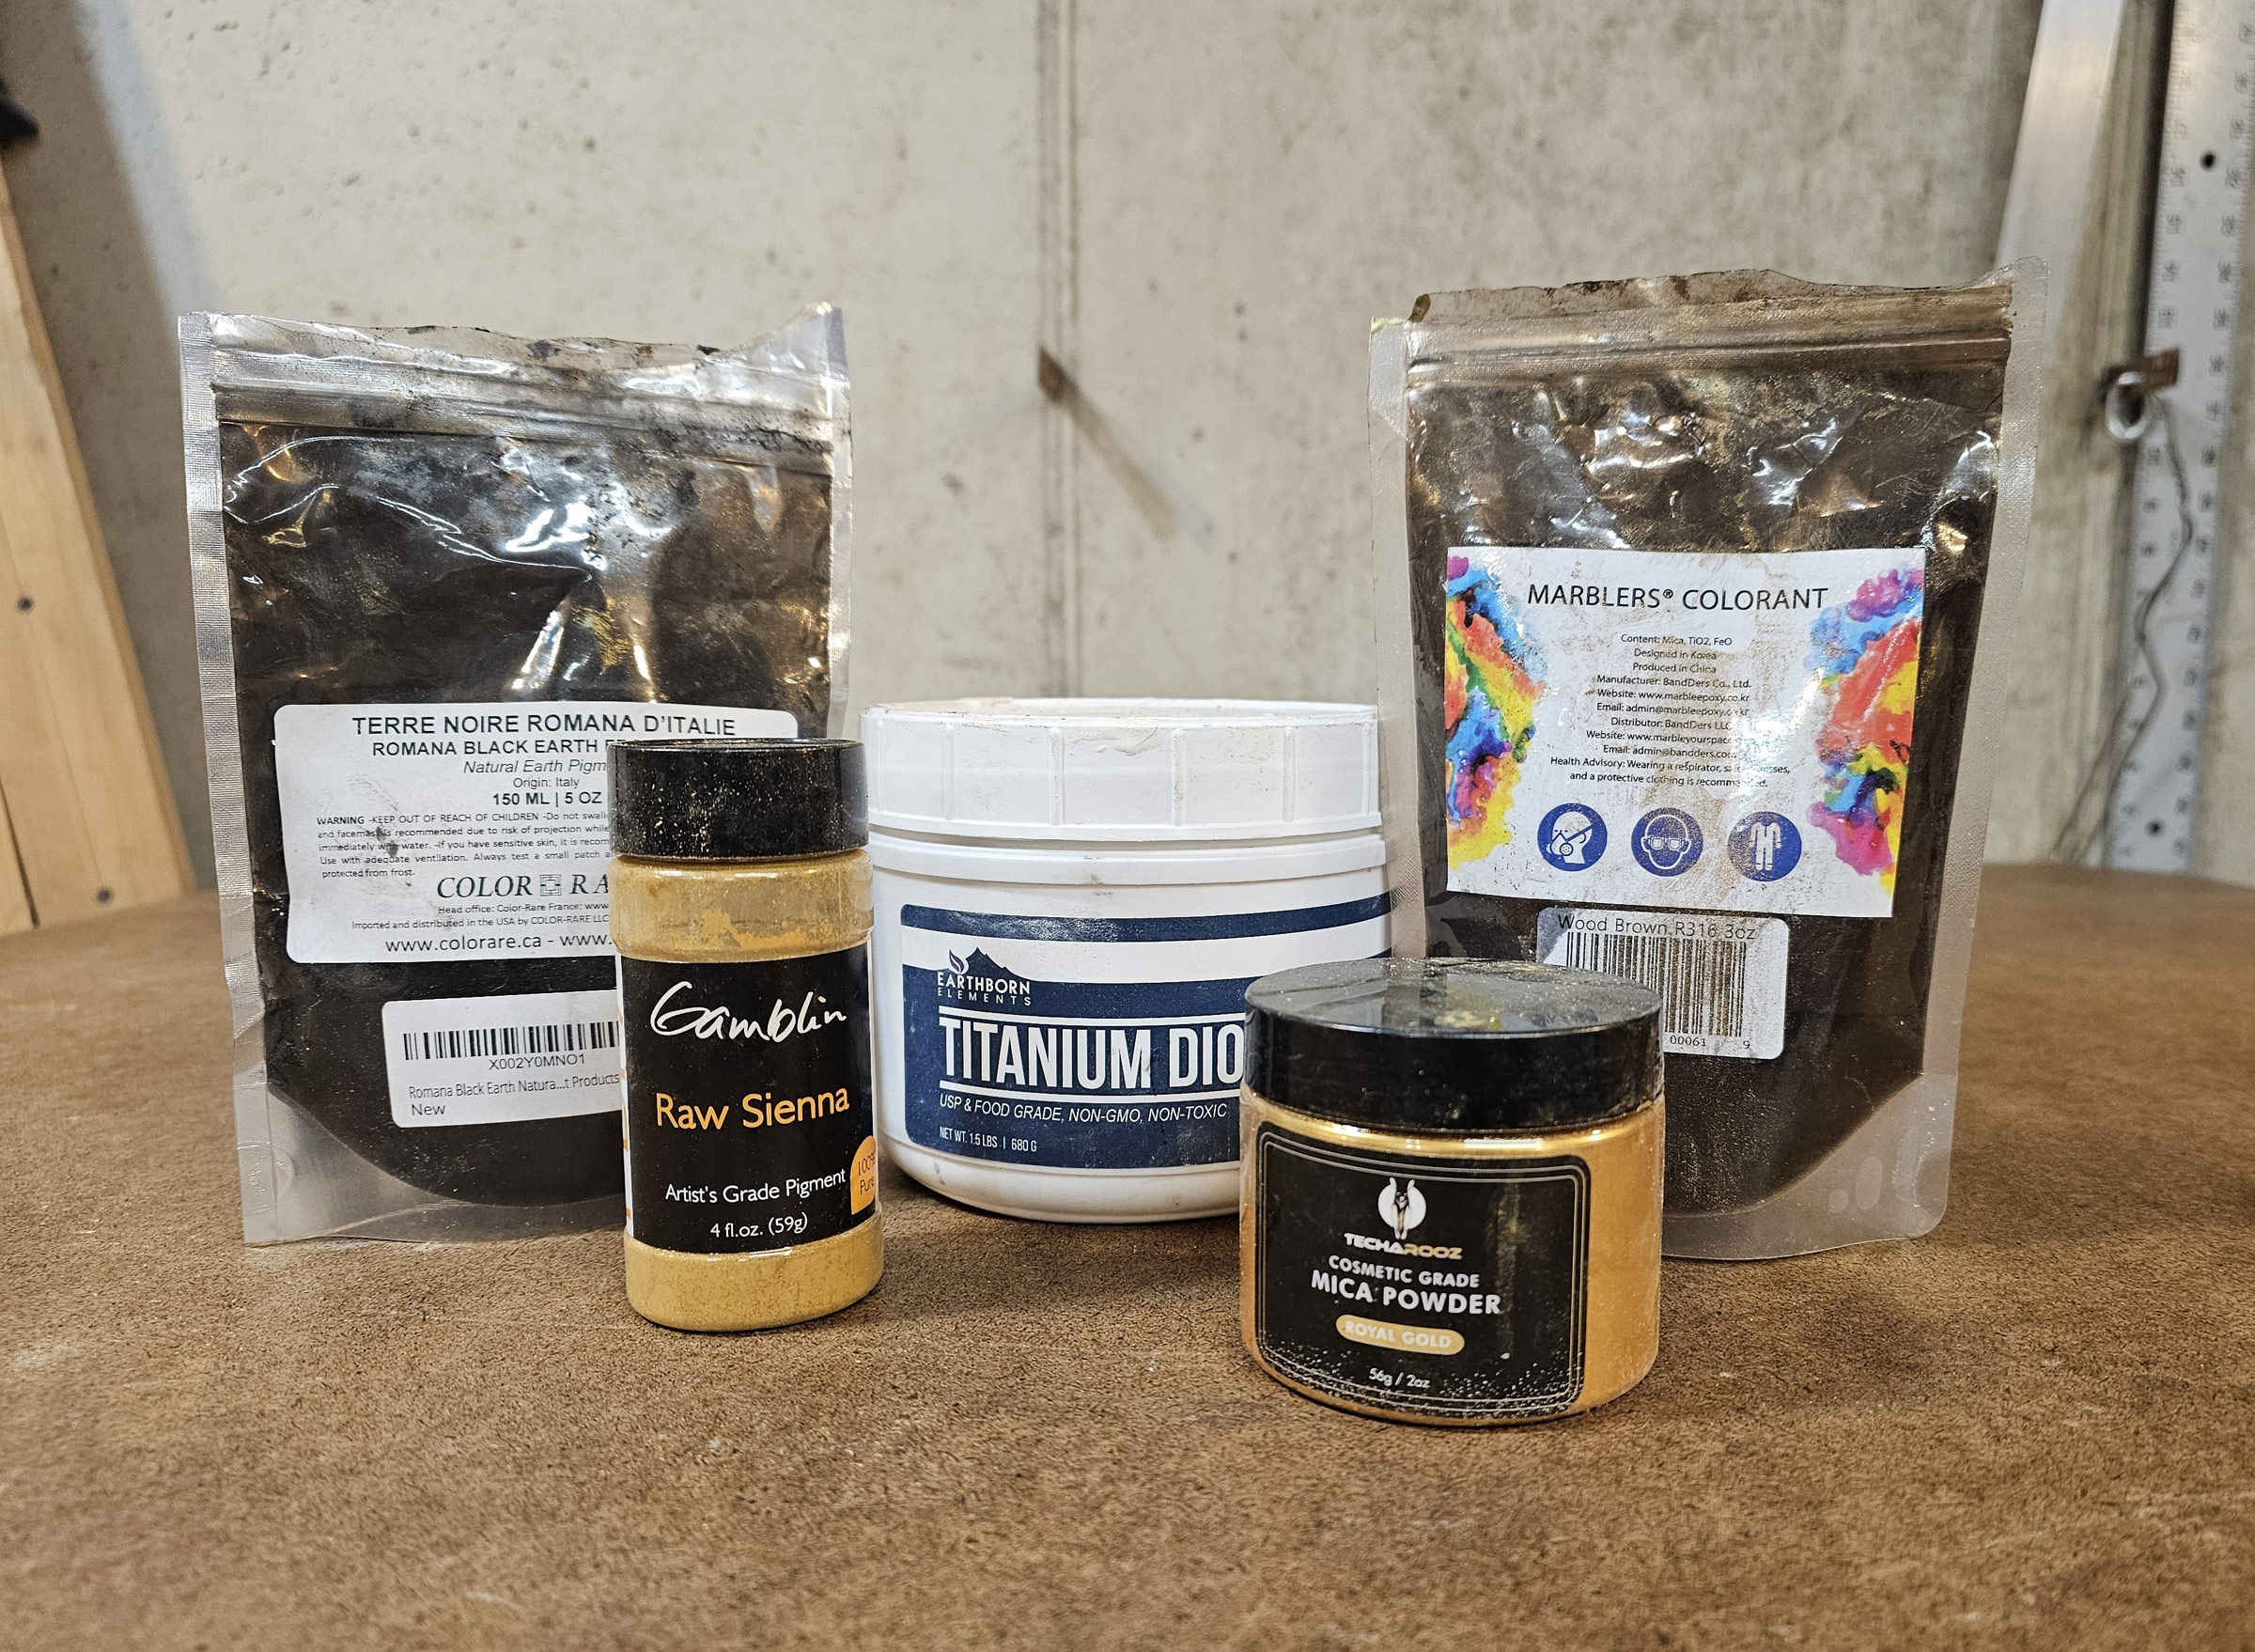
A variety of pigments from different suppliers can be used to color the epoxy.
To complete the Art Deco style of the Shearwater, I added some brass- and bronze-colored highlights. Pigments sold to craft hobbyists (search “craft pigments” at Amazon) come in a startling array of colors. Many are quite showy, and they mix easily into epoxy. Some of these pigments have reflective glitter that provides a metallic look that isn’t possible with paint. Another option is to do an incomplete mix and let the resulting swirls and whorls show in the finish. You can make your boat sparkle. After much experimentation, I settled on a single pigment for the bronze-toned cockpit coaming and hatch, and a blend of three pigments to get the brassy color I was looking for on the accent stripes on the sides.
Mixing these powdered pigments into the epoxy is just like mixing in various thickeners. And they do act as thickeners while imparting lots of color. In most cases, only a small amount is needed. Conventional epoxy thickeners can be added if you want an accent to stand proud of the hull. The brassy stripes I made are textured to give the appearance of hand-forged metal.
The possibilities for finishing techniques do not stop here, and the ideas I have presented can be combined in different ways. You can create almost anything you can dream up.![]()
David Dawson lives in Pennsylvania but stretches his passion for boating up and down the East Coast, paddling and sailing the waters from Maine to Florida. Since retiring in 2012, he has built six kayaks and a sailboat.
You can share your tips and tricks of the trade with other Small Boats readers by sending us an email.


They look great. What plans were used to build them
The white boat is a Shrike R from CNCKayaks. The stripper is a Great Auk from Guillemot kayaks. Caroline’s boat is a Petrel Play from Guillemot. And the fourth one is a Shearwater 14 by Eric Schade, plans from Chesapeake Light Craft.
This is super creative and the boats look great. Thanks for writing these techniques up and noting the suppliers.
I am building a cedar-strip sea kayak. After reading your interesting article, I am wondering what your thoughts would be on staining with red wine. I tried a few strips and testing it seems to be giving a fairly nice pinkish color. This will only be be for a few decorative strips as the majority of my strips are the same light color. The question really boils around fiberglass, and resin after the wood is dry. Will this lead to delamination? I can certainly try Mohawk Ultra Penetrating Stain, but it is not cost-effective for only a few strips.
Thank you for the ideas. I have an ancient Chesapeake 17 from CLC that needs a new deck. When I bought it, somebody had already patched the ply, but another rot spot was making its appearance. While I glassed over the rot to keep it at bay, I knew it was a bandaid till I could properly replace the deck.
As I hate plywood seams, I have been plying with strip-building a new deck, but the idea of using fabric is an intriguing one.