My first sailboat was a Summer Breeze, an 11′ 8″ flatiron skiff designed by David Beede, and winner of the 2001 Duckworks design contest. For decades I was content to paddle canoes, then, one blustery day on Ross Lake, my wife and I were hammering the water like we were killing snakes while trying to round a point when it popped into my head that it would be really nice to have a boat that could harness the wind instead of fighting it. About that time, I found Gavin Atkin’s book Ultrasimple Boatbuilding and it convinced me to build my own boat, one that could comfortably sail two people for short camping trips. The book includes only one tiny photo of the Summer Breeze but somehow it was enough to capture my imagination.
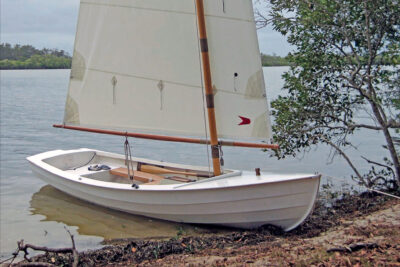
Then I found David Beede’s website and was impressed by his description of the boat: “Summer Breeze was designed to be the most boat from the least materials. It is a robust all-purpose skiff targeted primarily at pleasurable rowing and sailing in protected waters, but also suitable for a small motor. It’s light enough to car top, narrow enough for most truck beds, and yet has capacity for two adults and a child. When fully loaded (up to 500 lbs) with two adults and gear her transom and stem barely touch the water.”
That sounded ideal. I decided to trust David and, heck, the plans were free. Back in 2017 I spent $235 on three sheets of exterior grade 1⁄4″ plywood, some good 2×4s, and some brass screws. For the adhesive, the instructions recommended PL Premium construction adhesive, epoxy, and Titebond II, which is what I chose to use.
 Bob Van Putten
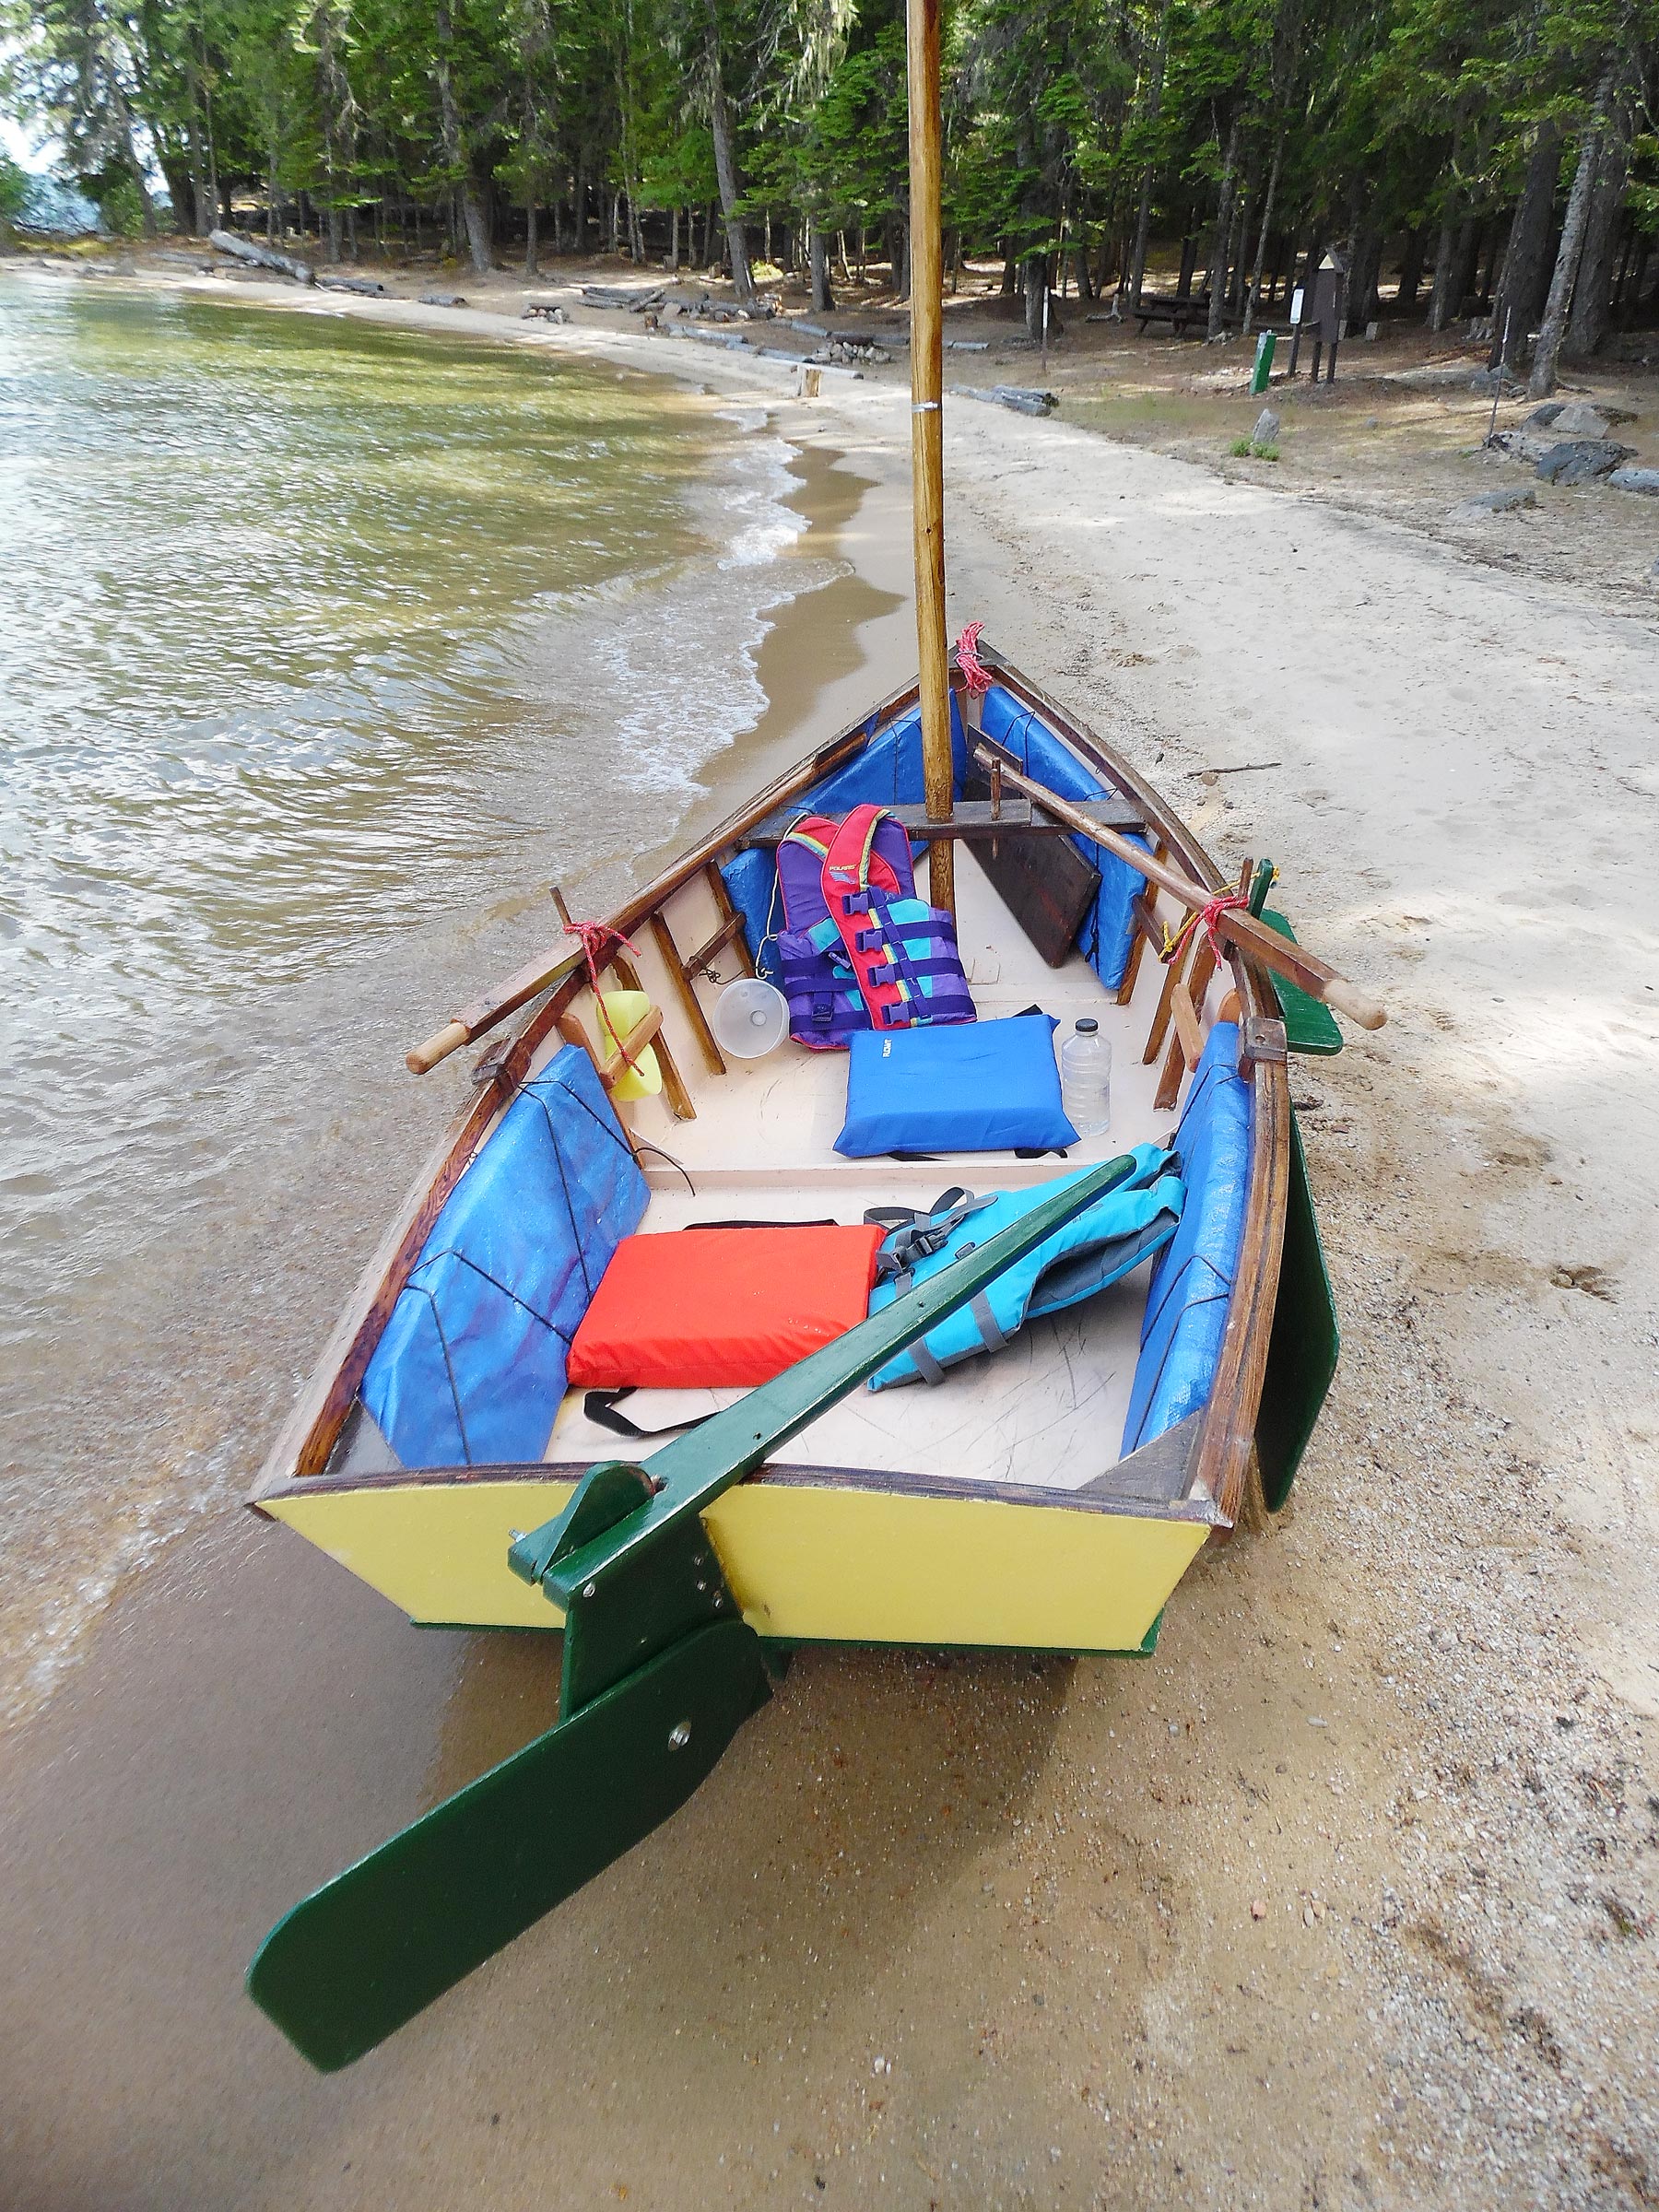
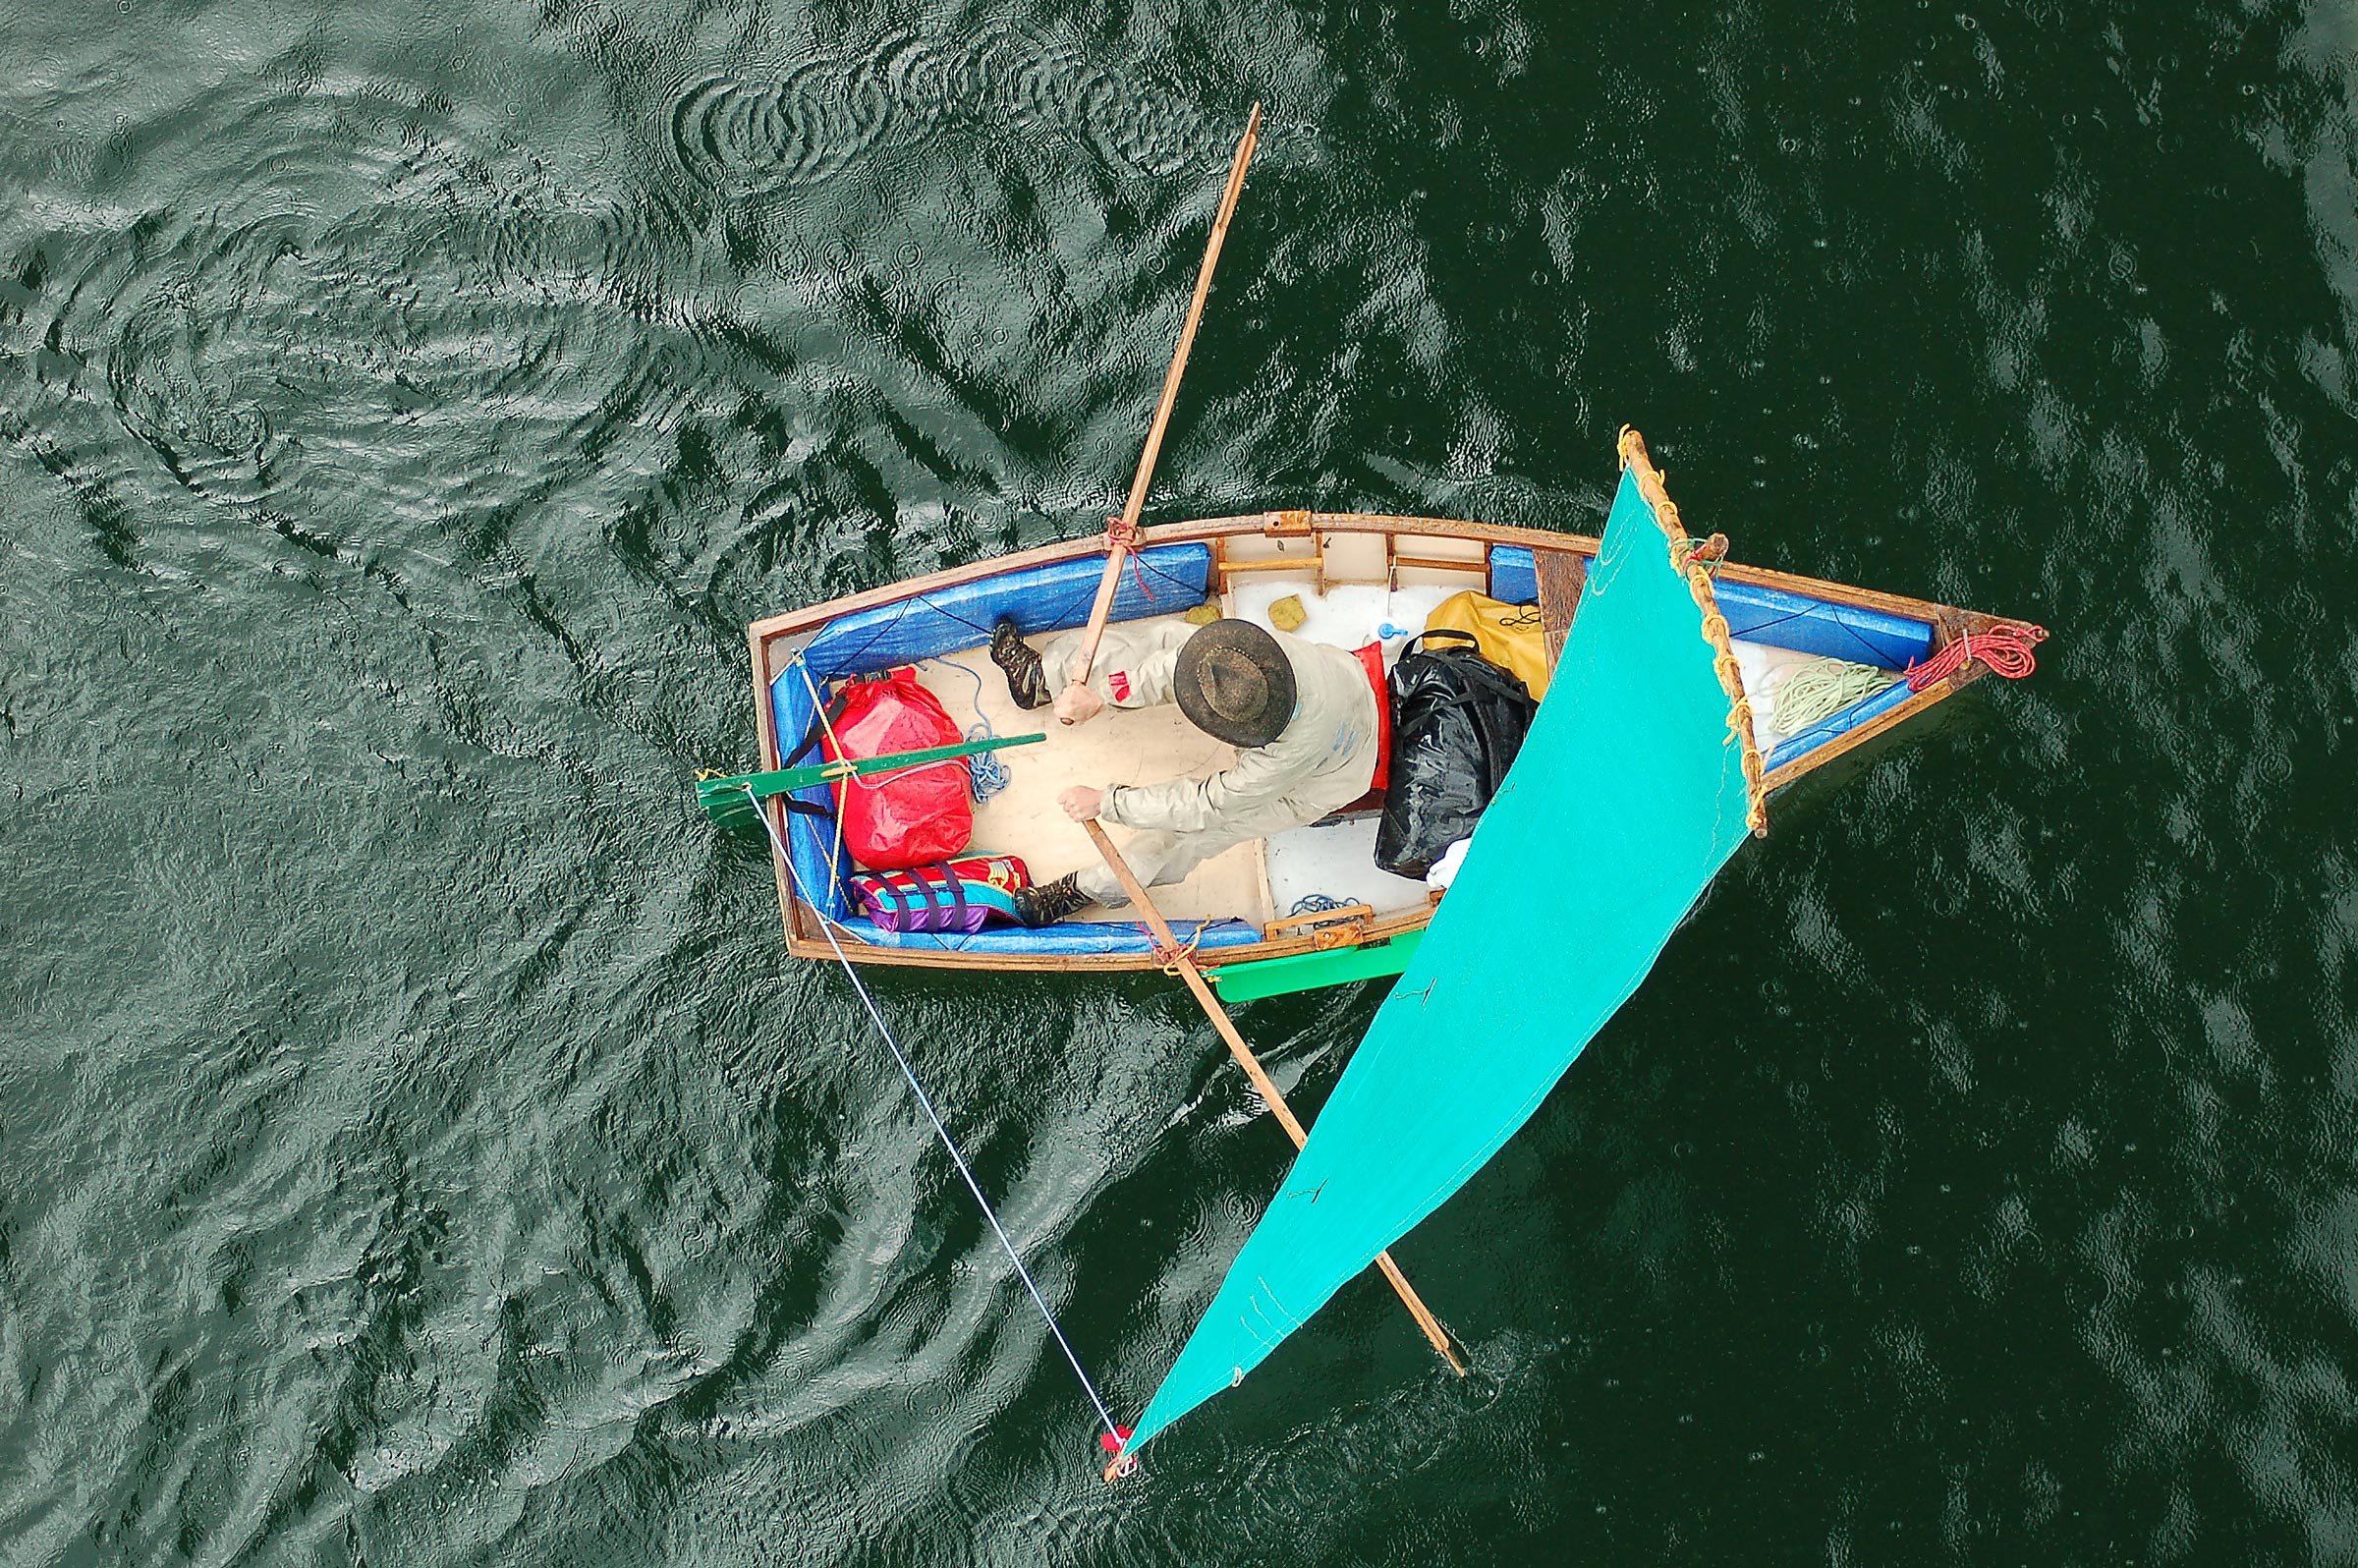
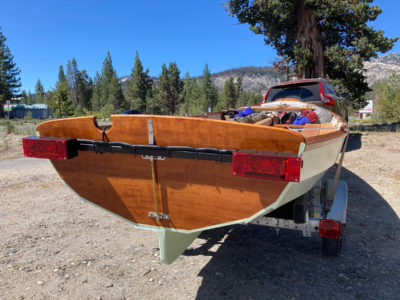
Blocks of 2″ rigid-foam insulation, wrapped in offcuts from the sail tarp and lashed firmly in place with paracord beneath the inwale should provide good flotation in the event of a capsize or swamping. It has the added benefit of providing a comfortable surface on which to lean when sailing.
The free building instructions on David’s website may seem a little disorganized at first—because they are duplicated in two places—but they include a lot of useful information based on several builds. There are also printable drawings for the plywood layout, center frame, transom, and sail.
The sides of the boat are lofted to measured drawings showing their positions on sheets of plywood. Butt blocks, screwed and glued, join the two pieces that make up each side. The plans don’t call for it but I later ’glassed the outside of the butt joints with polyester resin and 2″ fiberglass tape.
The single frame has plywood gussets at the chine corners. The drawings indicate a cross spall, but the frame didn’t seem to need one—bending the sides in around the frame didn’t impose too much force and didn’t distort it.
The shaping of the hull begins with bending pre-shaped sides around a center frame and connecting them to the beveled stem and transom. External chine logs are attached with glue and bronze ring-shank nails, then planed flat. The two pieces for the bottom, cut slightly oversize, are dry fitted then joined with a butt block near the bow. The full panel for the bottom is then glued and nailed in place before being trimmed flush with the chine logs. It’s about as simple as a boat can be.
 Bob Van Putten
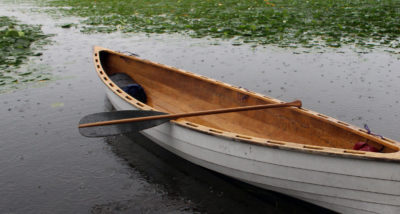
Bob originally built frames for two removable thwarts but ultimately decided the seats introduced too much clutter and replaced both with a single moveable box. The sail’s halyard and snotter are made fast to simple belaying pins in the mast thwart.
David didn’t include a seat in his prototype: “I like that space open for sailing,” he wrote. “With no centerboard trunk, the whole boat becomes a cockpit with much sprawling space. I prefer to sit on a moveable seat when I row, usually a stack of cushions.” He did include a drawing for short risers attached to the center frame and a pair of 1×2 supports set forward of the frame and parallel to it. A thwart would be cut to fit on the risers. I originally made two removable rowing thwarts using similar side frames and risers. One thwart sits amidships for solo use and the other can be set forward for when there is a passenger in the stern and you need to trim the boat. I made the thwarts from heavy 1′ × 8′ rough-cut boards but I eventually tired of the weight and clutter in the boat. I replaced them with a portable storage box/rowing seat, as per David’s suggestion and it suits the purpose nicely.
I made the rudder and its pivoting blade rudder to David’s specifications, but I used a pair of old door hinges for gudgeons, knocked out the original hinge pins, and connected them with one long 3⁄16″ rod. The plans call for seatbelt webbing as the rudder “hardware,” between the rudder stock and a tapered wooden wedge that slips between a pair of mating wedges on the transom.
The instructions suggest running the mainsheet “through a hole in the tiller that has been routed into a kind of smooth fairlead.” The sheet is clamped by light downward pressure of the tiller against the rudderhead. It works surprisingly well and allows for one-handed sailing. I added a bungee cord stretched across the stern which catches a cleat on the tiller to hold it and the sheet in place, at least in light winds, allowing a solo sailor to let go of the helm long enough to unwrap lunch.
 Heidi Kay Van Putten
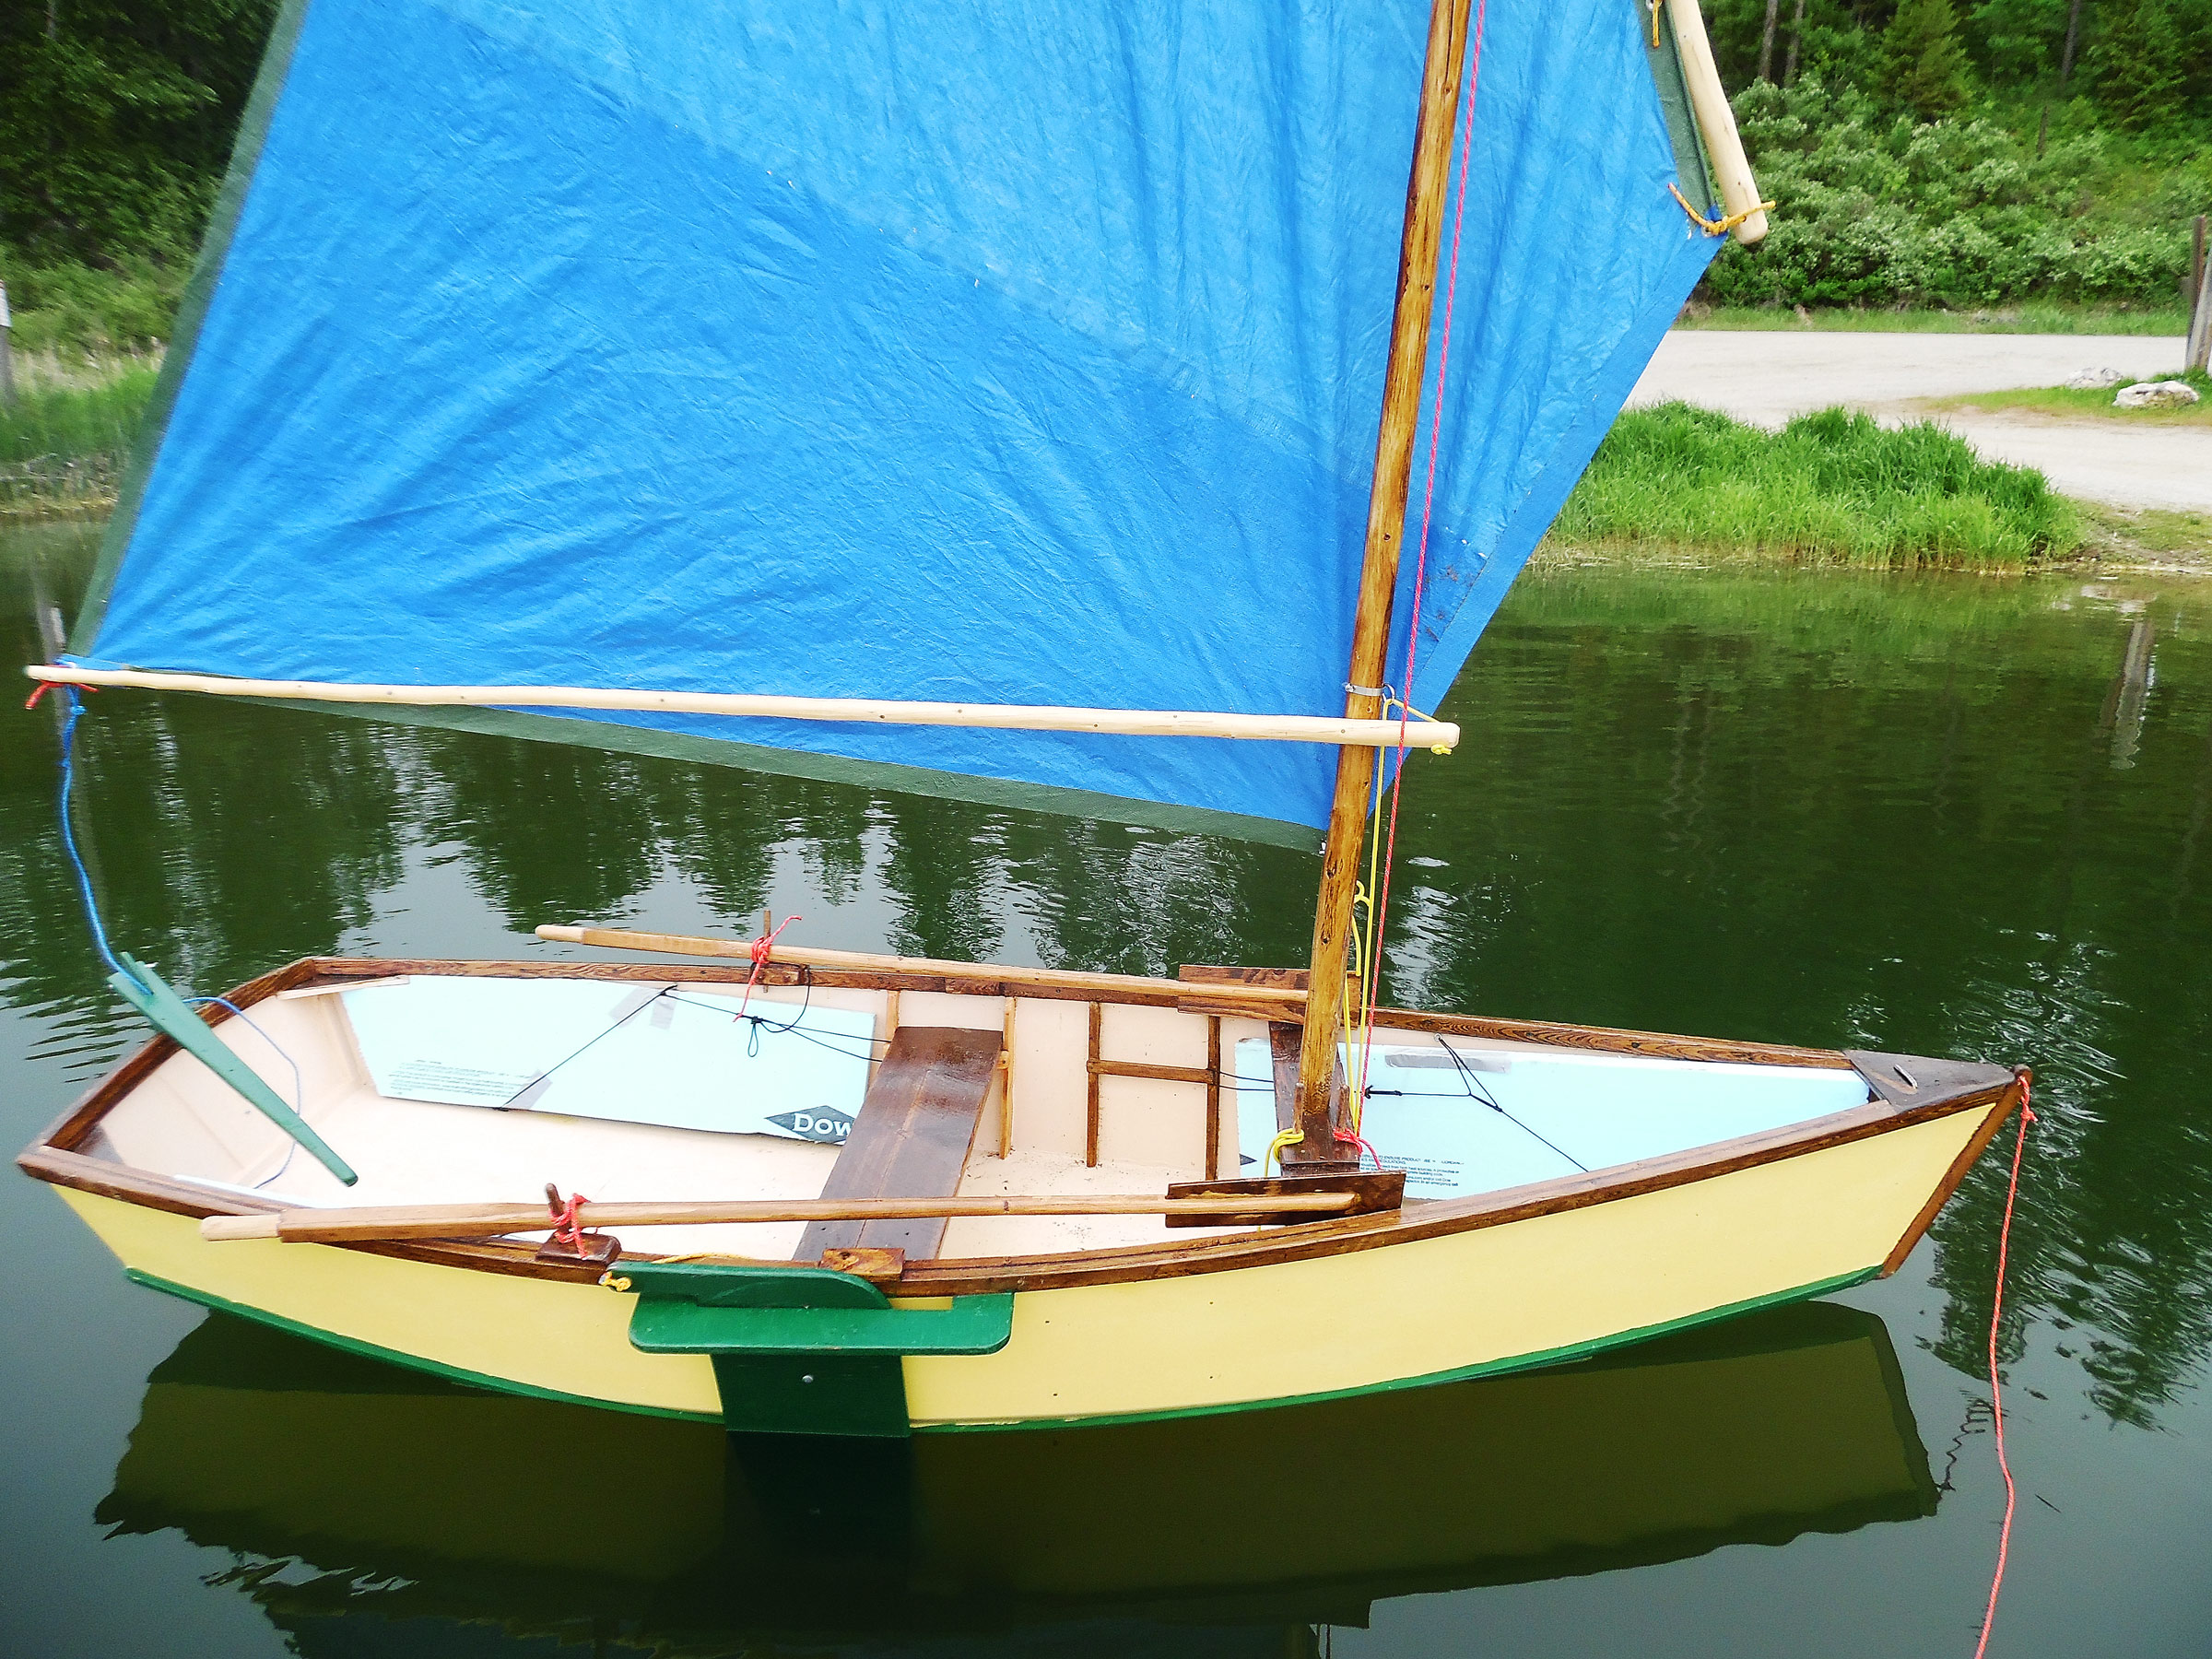
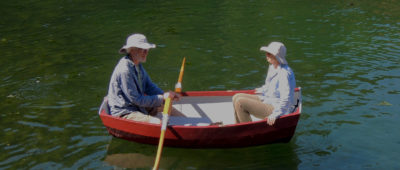
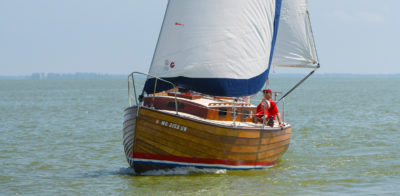
With no centerboard to occupy space in the cockpit, there is plenty of room to stretch out. Directional stability is provided by the single leeboard. The sail is sewn from tarpaulins, reinforced at the corners and along all four edges.
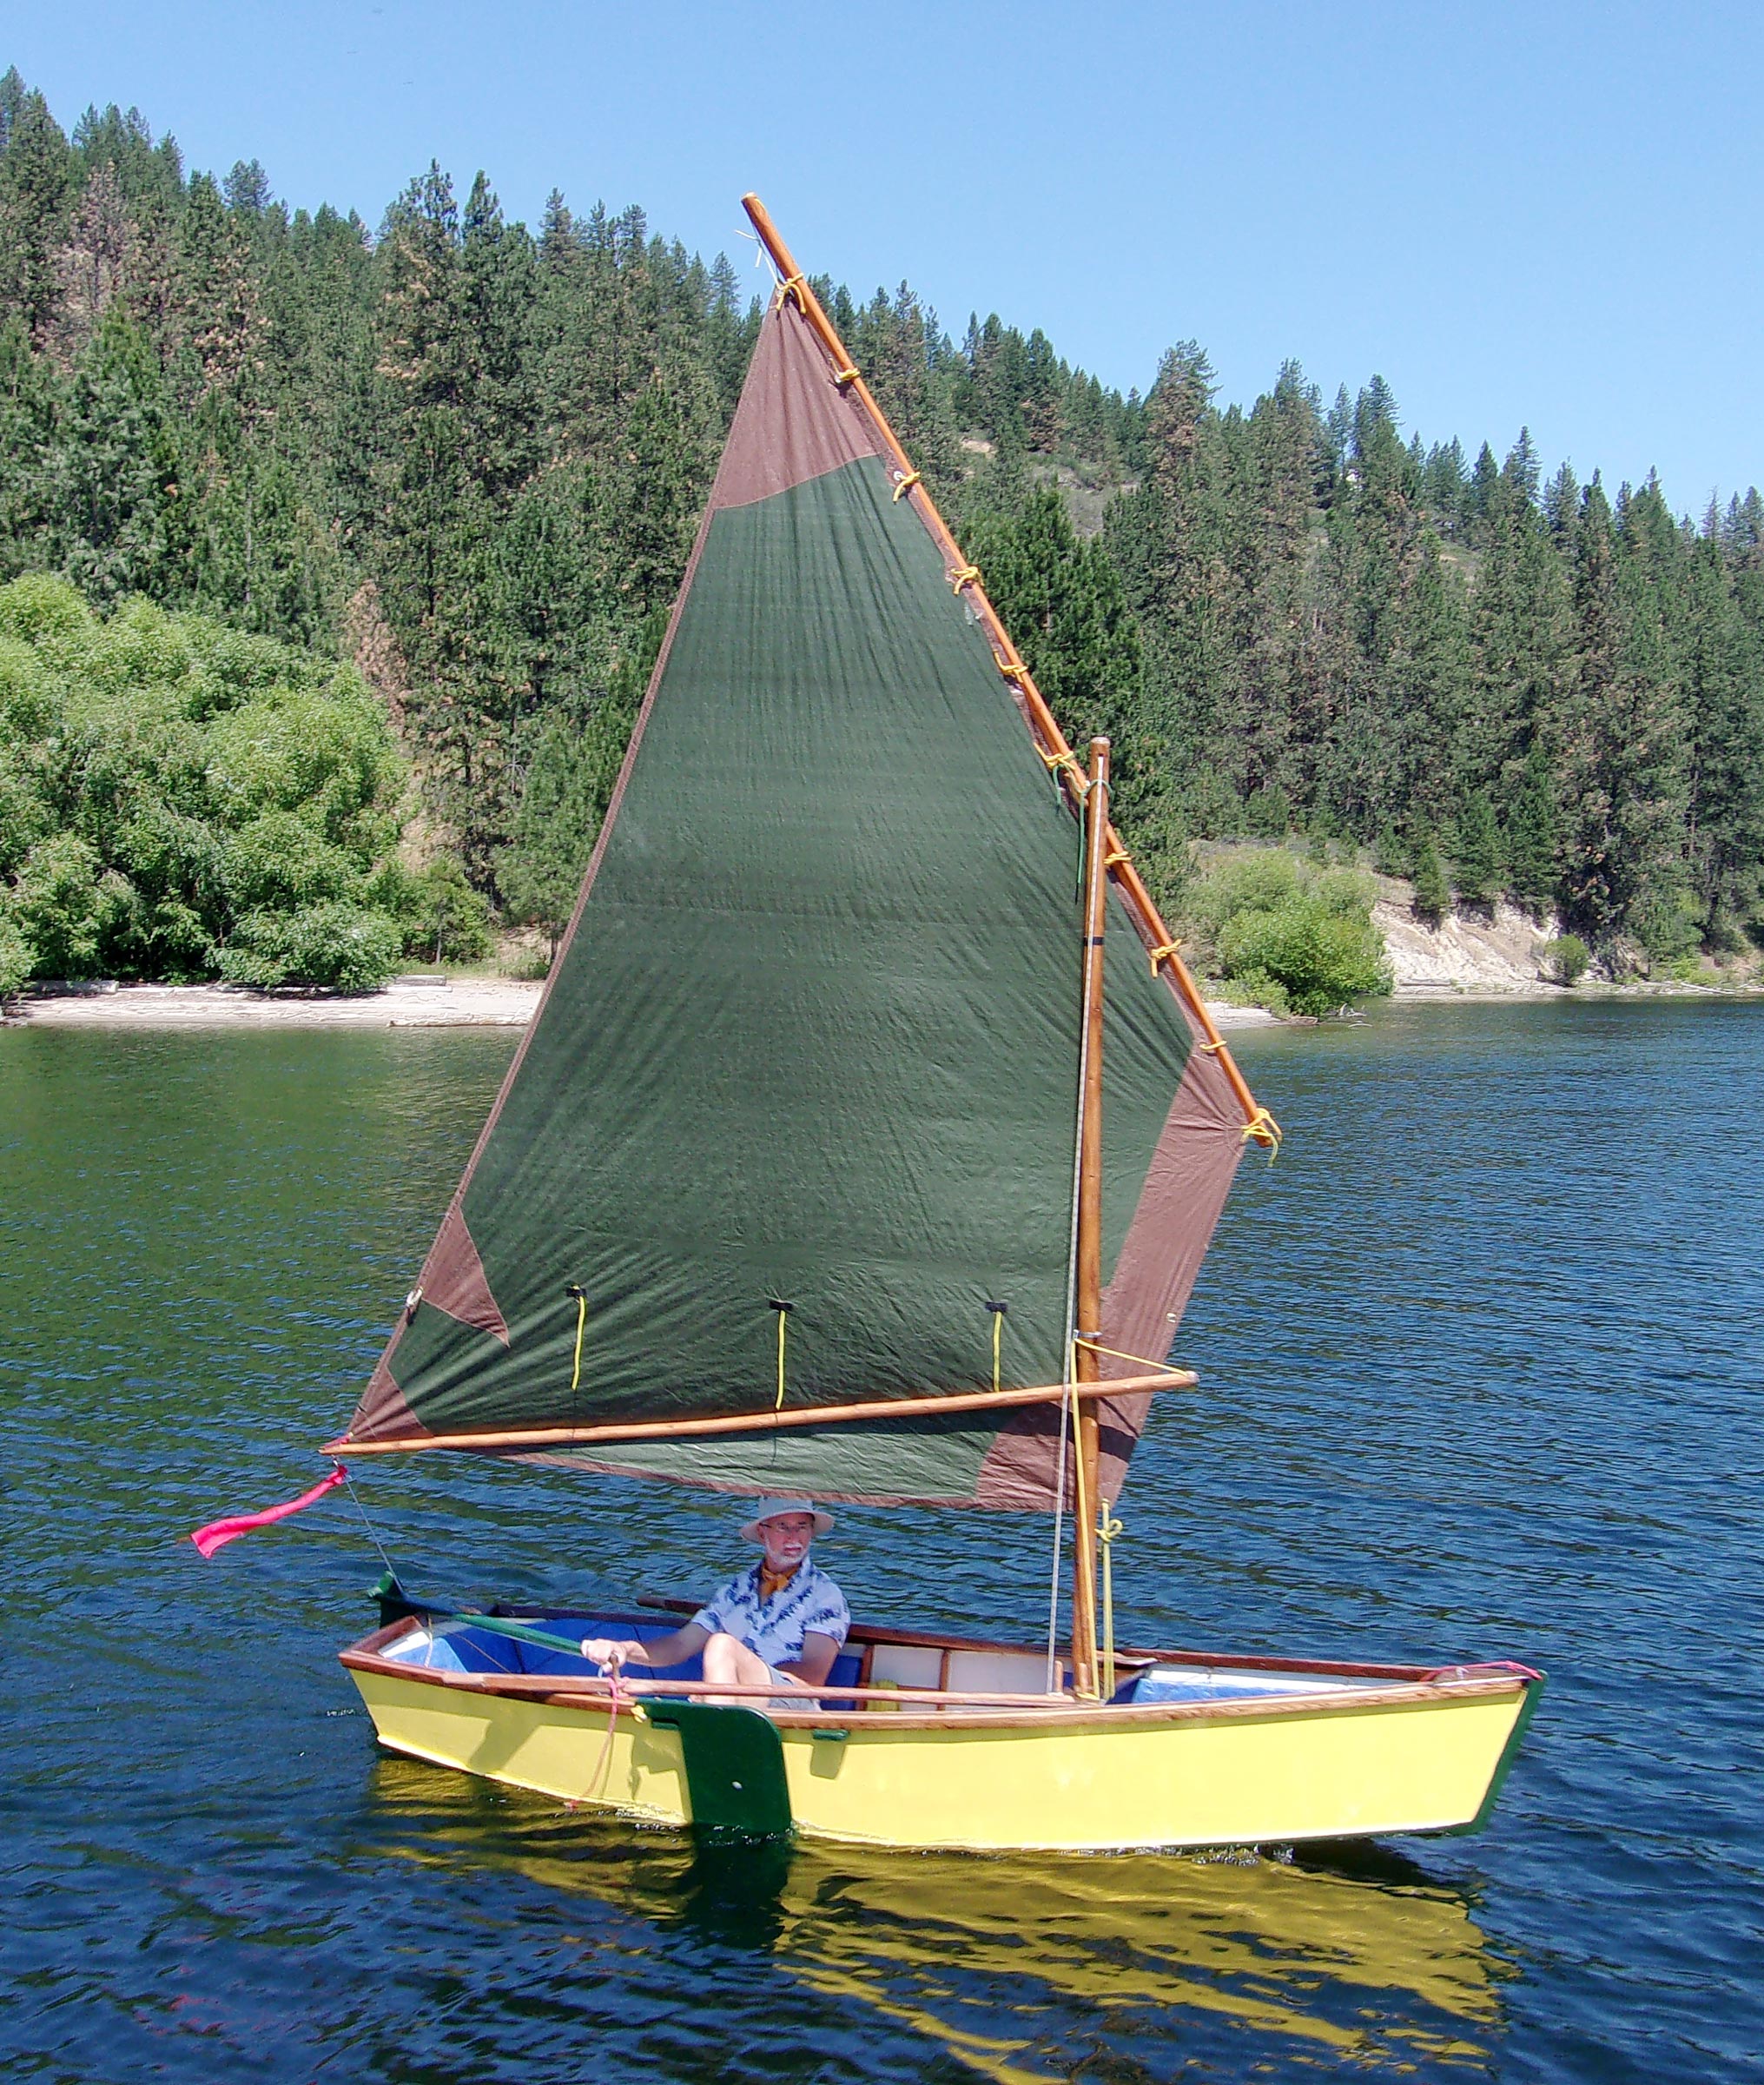
The Summer Breeze has a standing lug with a sprit boom spreading a sail of 63 sq ft. My mast, yard, and boom were made from cedar saplings. For the mast, the instructions call for a 10′ 2×4 tapered along the upper 7′. It is stepped with the wider face athwartship. David cautions, “If you end up in conditions you think are going to break your 2×4, get out your oars and get home!” David also documents making a mast of two pieces cut from a 2×6 on a taper, glued together, eight-sided, and rounded. David used bamboo for the yard and sprit boom and suggested 10′ closet rod or 2×2 as alternatives.
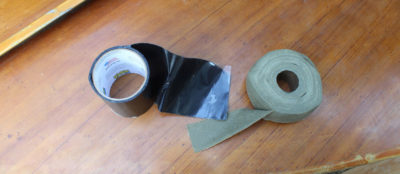
A link on the Summer Breeze webpage provides instructions for making a lugsail from poly tarp. I’d found a big tarp, laid it out on my rather uneven lawn and, using wooden battens, cut it out as best I could to the dimensions David provides. It was hemmed and reinforced with double-sided fiberglass carpet tape. Amazingly, this sail was very effective and surprisingly close-winded. But, by the end of the second outing it was little more than a rag. The tarp material was wearing out, the carpet tape no longer holding. I bought a new tarp and made another sail to the same pattern, carefully sewing it together with many reinforcements. Sadly, it never worked as well as the original—the leech fluttered and the sail was never very close-winded. I used it for several years and it held up perfectly, but I eventually tired of its lackluster performance and carefully sewed a third sail, still to the same pattern. This one works better. It seems that making a truly good sail is something of an art.
I took a hint from one of Dynamite Payson’s books and sealed the plywood with Bondo polyester resin thinned with acetone. This sank right into the plywood and seems to have prevented it from checking. I found free paint at a local recycling center.
It took me about two months to complete my Summer Breeze, much of the time being spent waiting for the glue and paint to dry. The boat weighs more than it should, a hair over 100 lbs. I knew nothing of boatbuilding so many of the components are oversized and I used heavy larch for much of it. Call it “workboat specs.”
The day I cartopped the boat to a local lake for its maiden voyage was the first time in my life I’d rowed a boat, and it took a little getting used to. I soon discovered that it rows surprisingly well when light and have rowed it more than 10 miles a day many times. I’ve become fond of rowing: it’s good exercise and I can row faster than I can solo paddle a canoe and keep at it longer.
 Heidi Kay Van Putten
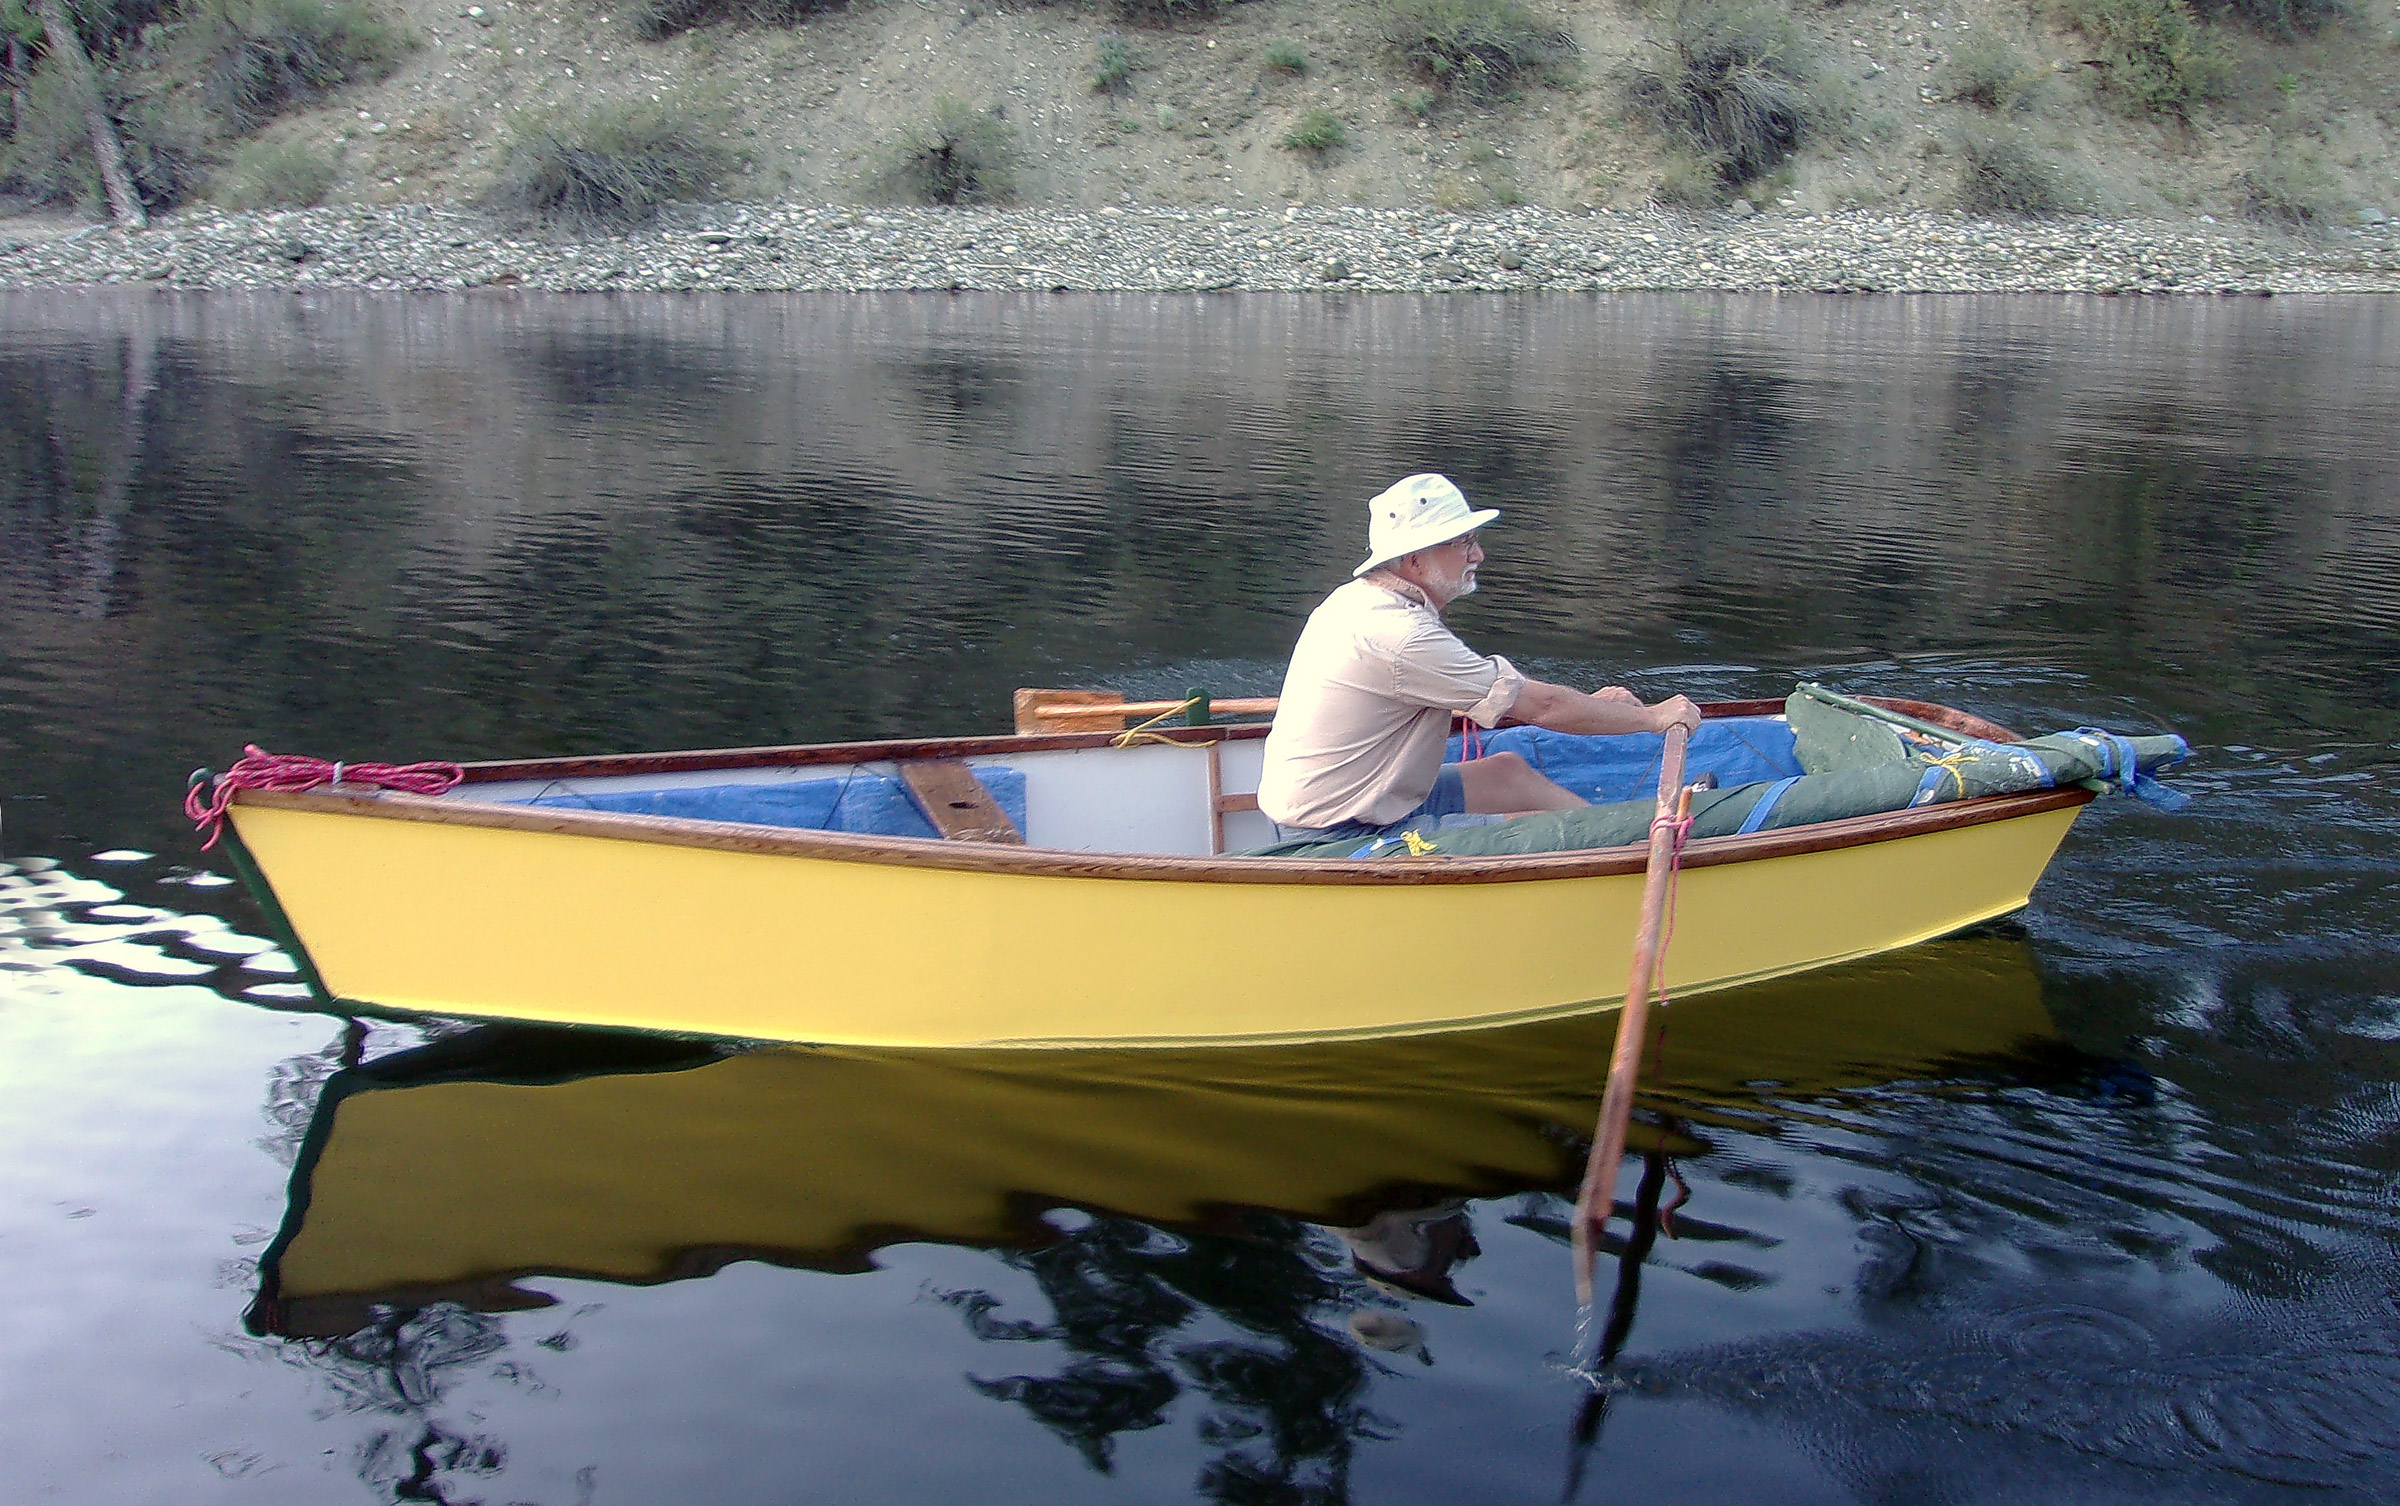
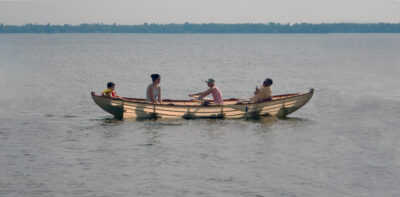
When rowing, the rig and rudder can be carried in the boat and do not impede the stroke. With the leeboard left down, the boat tracks well. Raised or lowered it does not obstruct the sweep of the oars.
On that first outing, the breeze picked up, and I decided to raise the sail. The halyard passes through a hole at the top of the mast and is made fast to a pin on the mast partner. The downhaul is looped around the mast under the partner, fed through the loop of the bowline and pulled tight; it is finished off with a quick-release knot. The snotter is pulled tight to tension the boom and is also made fast to a pin on the mast partner. We were soon sailing faster than I could row. Before long the breeze intensified, and the Summer Breeze was really zooming along. The boat is quite stable and unlikely to go over if kept out of the whitecaps. I think I was hitting 6 knots that day, quite a clip for such a short boat. Since that exciting first day, I’ve seldom been able to match that speed, but David reports hitting a measured 7.5 knots “quite a few times.”
The Summer Breeze has a single leeboard on the starboard side, which is used on both tacks. Mine was inspired by the designs of Jim Michalak and is a little more sophisticated than the one shown on David’s website. It pivots on a bolt through the hull and an extension of the board forms a handle for raising and lowering it. A lanyard, which passes through the leeboard and is retained by a stopper knot, can be cleated off to hold the board up or down. In practice, friction and gravity hold the board well.
The boat tacks just fine. I have no trouble switching sides in the cockpit, but sailing the boat would probably be a bit easier for a smaller, more agile sailor.
David notes “being all wood, this skiff won’t sink, however it won’t float high enough when swamped to make self-rescue very feasible,” and he provides general instructions for installing blocks of construction foam as flotation. I fitted blocks of 2″ rigid foam insulation along the interior of the boat under the inwale, wrapped the blocks in leftover tarp material and lashed them firmly in place using paracord and small eye screws. This should be enough flotation to make bailing after a capsize relatively easy. While I haven’t yet tested it, it’s a nice surface to lean back against when sailing.
My wife and I took the boat on a three-day island-hopping trip on Priest Lake, Idaho. Our food pack was stashed under the tiller, our tent and a dry bag with clothes and bedding went in front of the mast, leaving the whole center of the boat open for lounging. The trip was a great success, but other boaters couldn’t understand how we fit in something so small. At the end of the first day, we encountered winds so strong along the east coast of Kalispell Island that we could only just manage to work the boat to windward. It felt like a solid 25 mph, gusting higher. Without all the ballast on board I would have had to drop the sail and row, or more likely beach the boat and walk it along shore. I’ve since added a row of reef points to reduce the sail to about 45 sq ft.
In 2019 I took the boat on the first Salish 100, a 100-mile cruise running nearly the full length of Washington’s Puget Sound. I ’glassed the whole bottom (which fixed a leak that had developed) and made a rowing seat/stowage box to replace the removable thwarts. I left the seat risers in to lash things to. The only shorter boats in the race were two Mirror dinghies, but my boat was the cheapest, for what that’s worth.
 Aleta Mueller
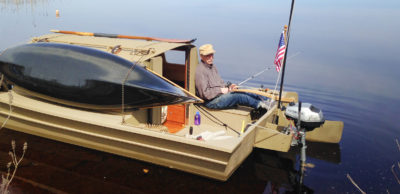
With the sail pulling and the tiller secured just windward of amidships, the rower is helped on his way. The thwart has been replaced by a moveable box that doubles as a watertight storage compartment.
There was some fine sailing, a long exhausting day of rowing, and a day when I set out reefed and opted for a tow when it began blowing over 20 knots. In rough water the boat rolled rail to rail several times but did not take on any water except for spray. It was a challenging week, but the Summer Breeze got me safely over the finish line.
I’ve had many more adventures, especially on Lake Roosevelt, a reservoir in Eastern Washington, where I often go for day sails and occasional overnight trips. I dream of taking the boat from the Canadian border down the Columbia River and Lake Roosevelt to the Grand Coulee Dam some summer.
I have since built bigger, more sophisticated boats but LA MADALENA, my simple little Summer Breeze, is always the first out of storage and the last to be put away for the winter.![]()
Bob Van Putten and his wife live off-grid deep in the mountains of Washington State in a straw-bale cottage they constructed for themselves more than 20 years ago. He is a self-employed systems integration technician specializing in smaller municipal water and wastewater systems.
Summer Breeze Particulars
Length: 11′ 8″
Beam: 4′ 2″
Depth amidships: 15″
Sail area, standing lug: 60 sq ft
Auxiliary power: Outboard, no more than 3 hp
Plans for Summer Breeze are available at David Beede’s website simplicityboats.com, and the Summer Breeze build notes include a full set of instructions. His site also offers a diary of building the prototype and sailmaking instructions.
Is there a boat you’d like to know more about? Have you built one that you think other Small Boats readers would enjoy? Please email us!

I really enjoyed your article, Bob. I am currently working on my first boat, a Salt Bay Skiff, and I see many similarities with your Summer Breeze. Thank you for sharing your story and many useful tips. I am inspired by your build and how much you use and enjoy LA MADALENA.
Like you, my first boat was a 12′ flat-bottom skiff. I used David Beede’s website for information on how to finish it, but I started out from “The $5 Skiff” plans from the Cheap Pages website (the plans are from a 19th Century edition of Scientific American). I too had never rowed or sailed but I figured it out with this boat. I got bit by the bug and I’ve built several boats since then, but I am still impressed by how much adventuring can be done in such a simple, cheap boat.