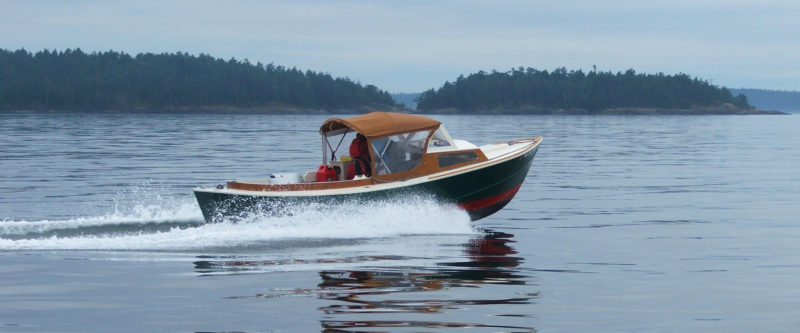
When I sail WINKLE, my William Garden–designed Eel, people almost always take out their cameras. The 18′6″ canoe yawl was designed as a slightly shorter and much lighter version of the original Eel designed by George Holmes in 1895. Holmes was one of the pioneers of the canoe yawls that became popular in England at the end of the 1800s. Recreational boating was then in its early stages, and canoe yawls, derived from canoes and other small boats meant for work and pleasure, appealed to sailors drawn to longer cruises in more open waters. They were perhaps the first “pocket cruisers,” a category of small boats that have recently become popular once again.
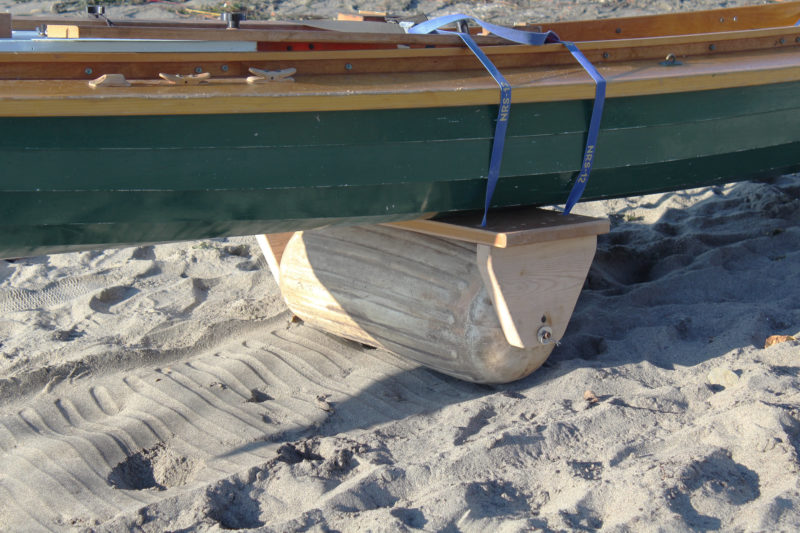
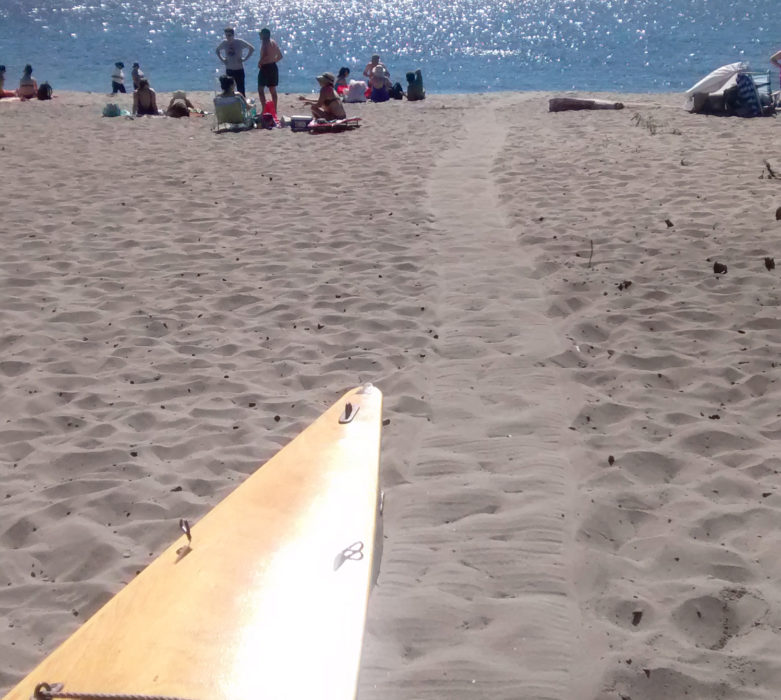
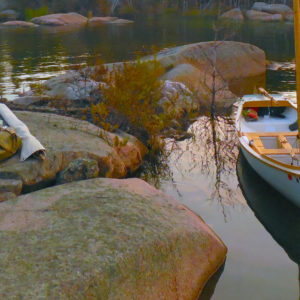
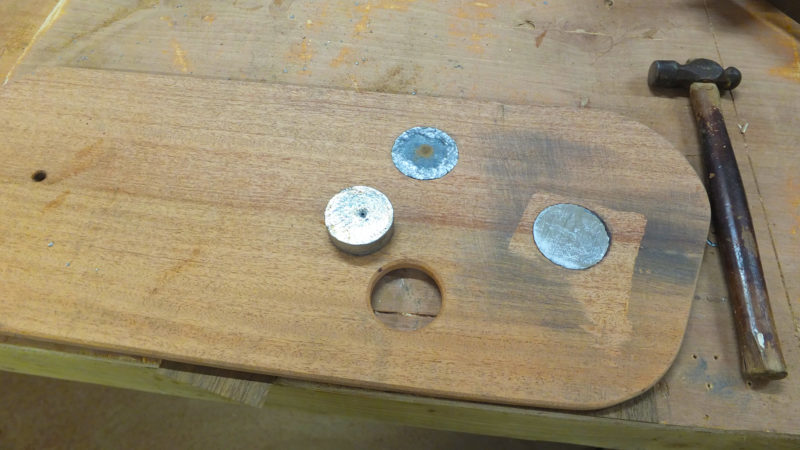
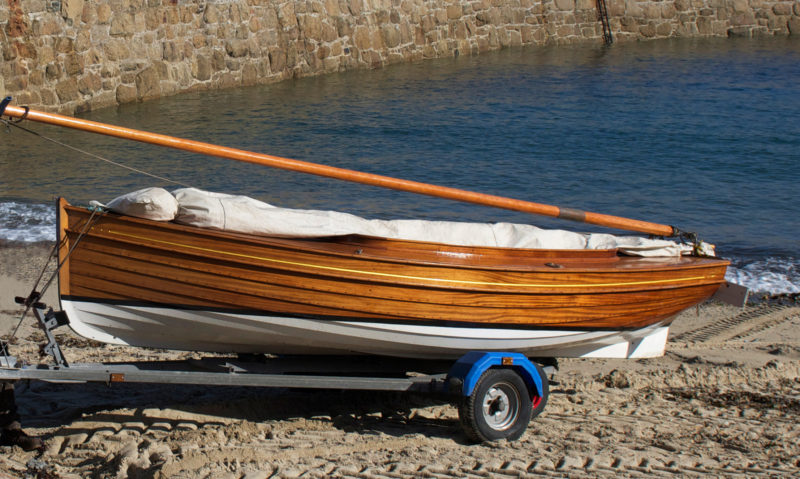
Those 19th-century canoe yawls were often sailed on the rivers and estuaries of England and so were typically of shallow draft. The Garden-designed Eel draws only about 11″ with the board up. It can be nosed up to a beach, but its 330-lb external lead keel, about 4″ square and about 4′ long, makes it impossible to drag the boat up on a beach. You can omit the lead keel and use bags of lead shot as internal ballast instead if your sailing regularly brings you ashore.
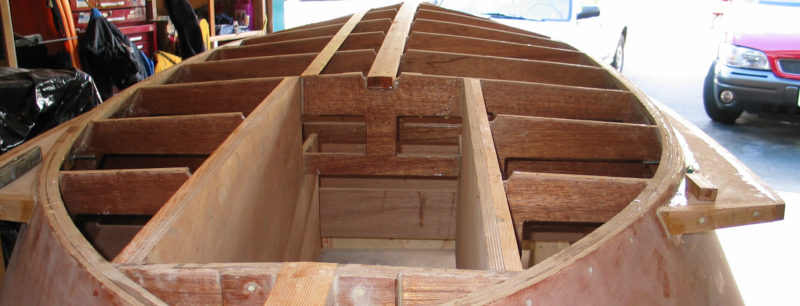
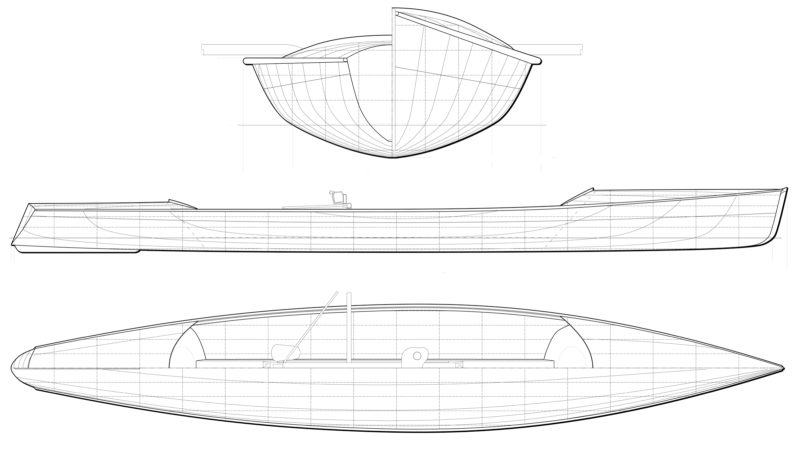
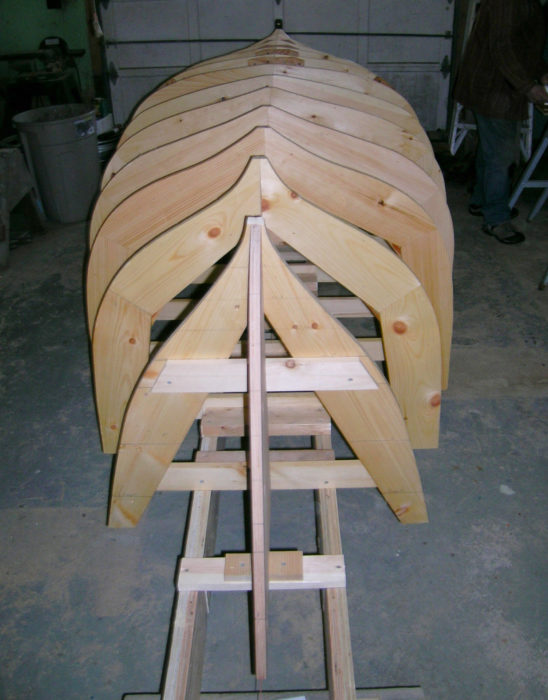
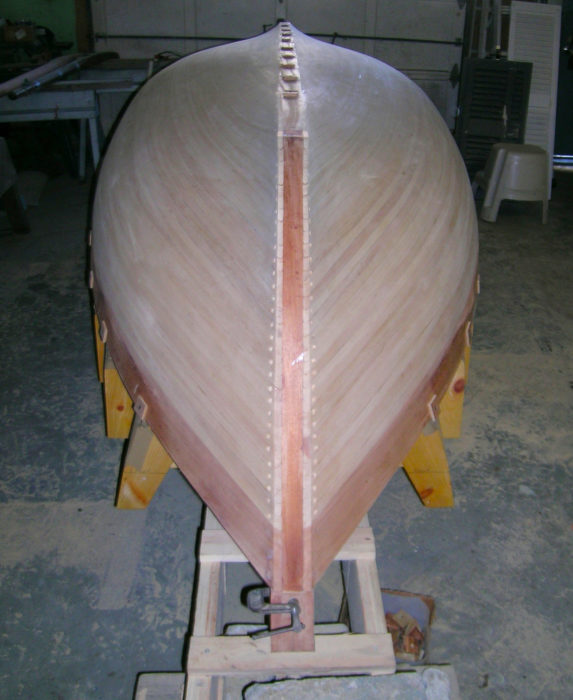
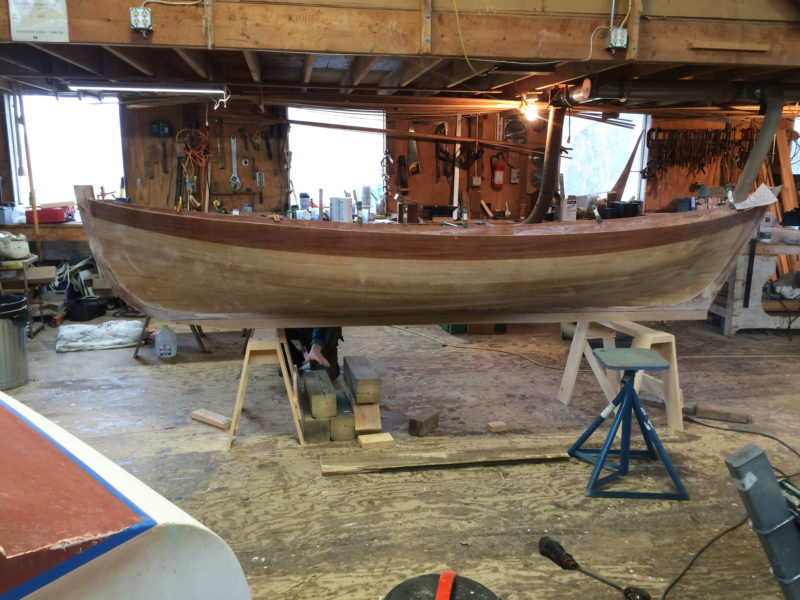
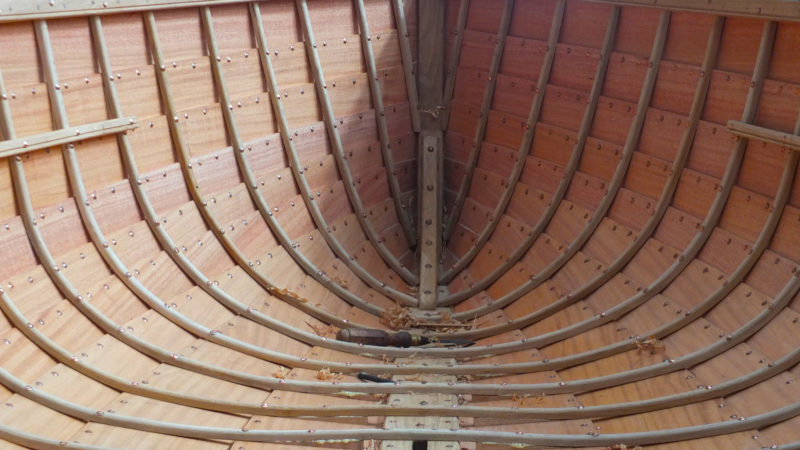
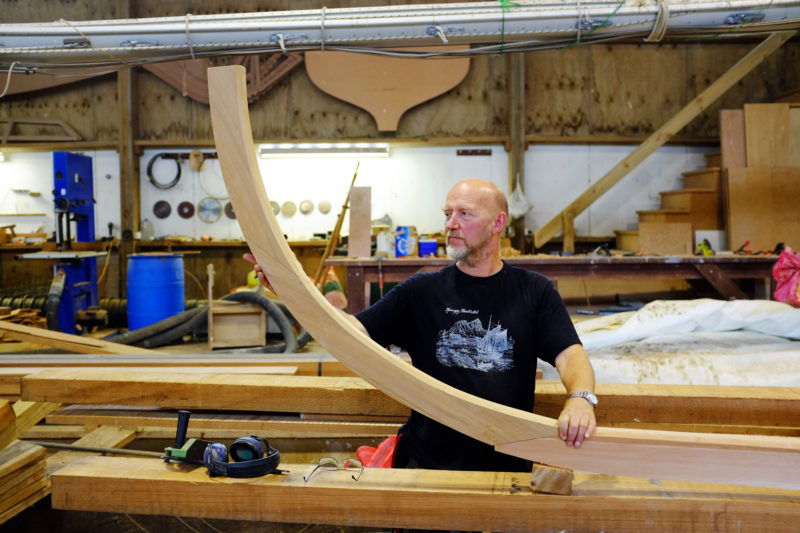
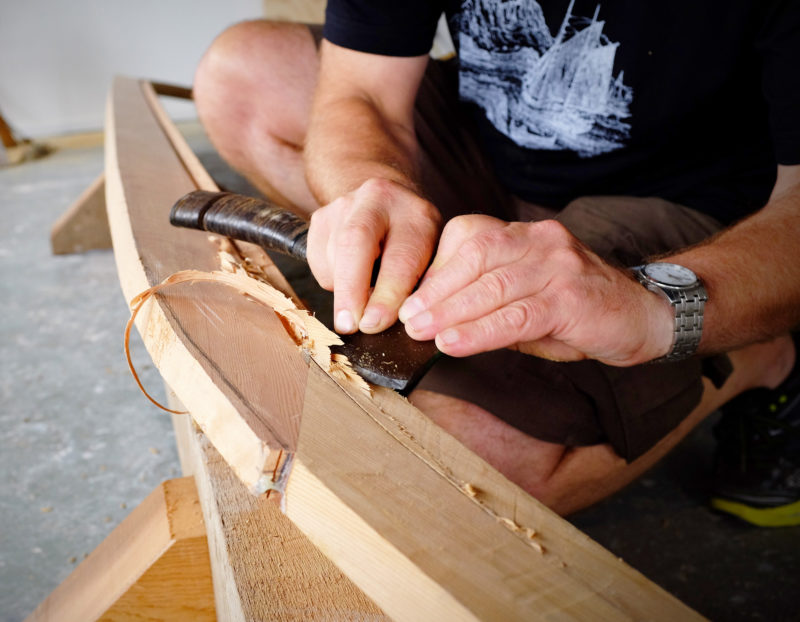
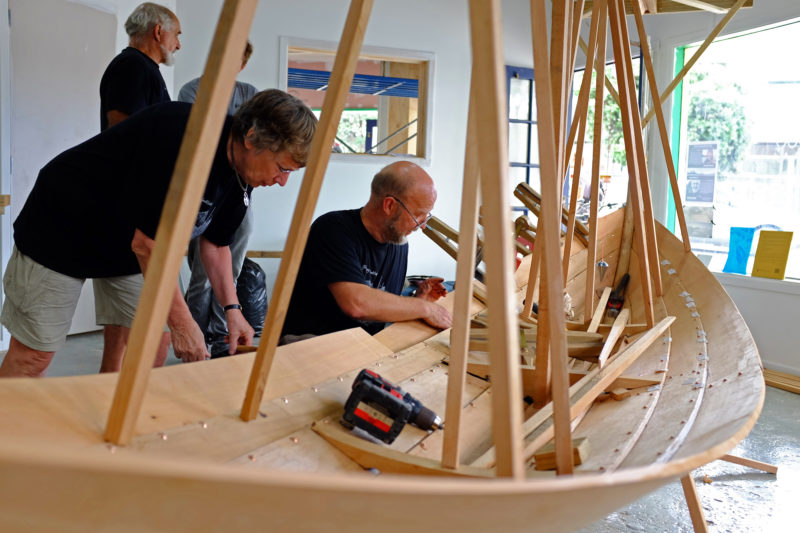
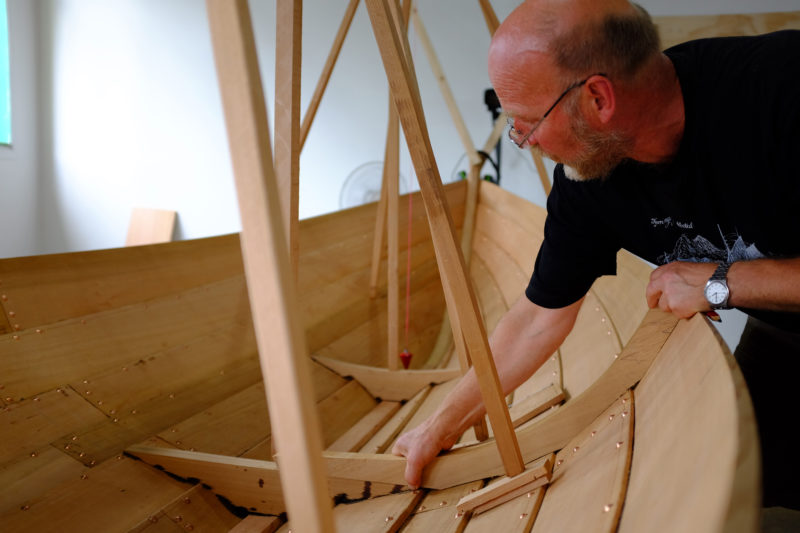
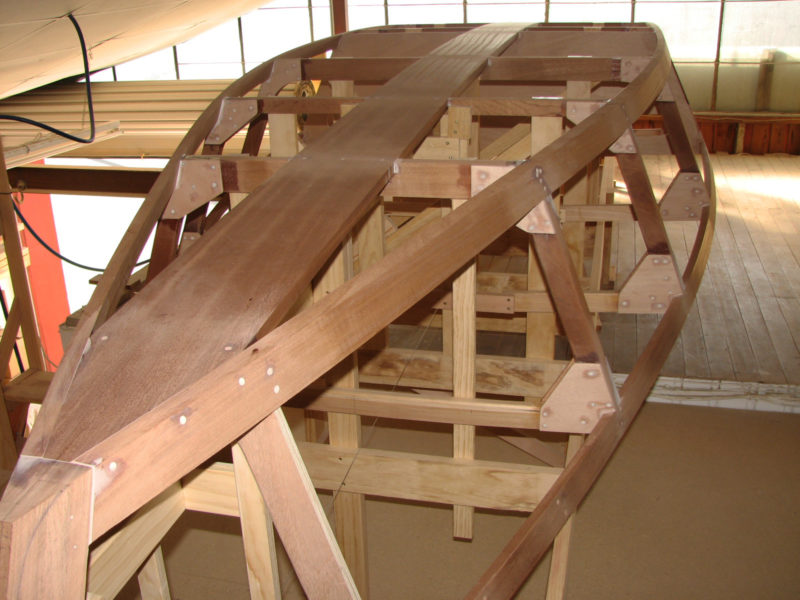
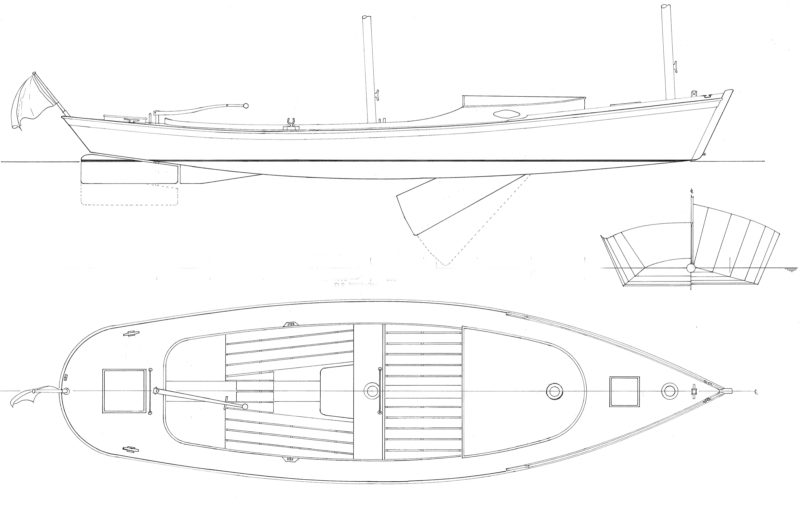
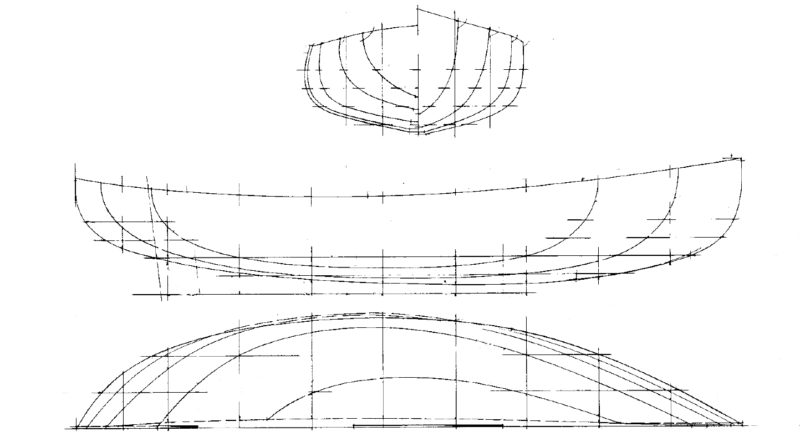
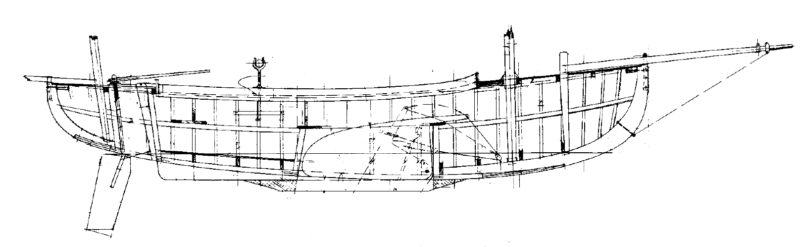
Plans for the Eel consist of five sheets of drawings and a table of offsets that detail how to build the boat using carvel, strip, and cold-molded construction methods. I chose strip-building, as I had previously built a Wee Lassie cedar-strip canoe. My hope that the Eel would just be a bigger version of that project was not off the mark. Its hull is like that of a canoe, the lack of reverse curves simplifies the planking, and it’s built upside down, with the strips glued together over lofted station molds.
The strips were 3/4″ thick and 1-1/4″ wide—harder to bend than the strips I used for the Wee Lassie—and it was necessary to kerf some of them to take the tight curve around the canoe stern. I made a thin, 2′ cut down the middle from the end of the strip so I could more easily bend what had become, in essence, a pair of flexible 3/8″ strips instead of a stiff, single 3/4″ one. And yet, while strip-building is probably the simplest way to build the hull, the Eel is not a beginner’s building project. Doing the lofting, making the lead keel, building a cabin, and making spars call for some advanced skills and patience.
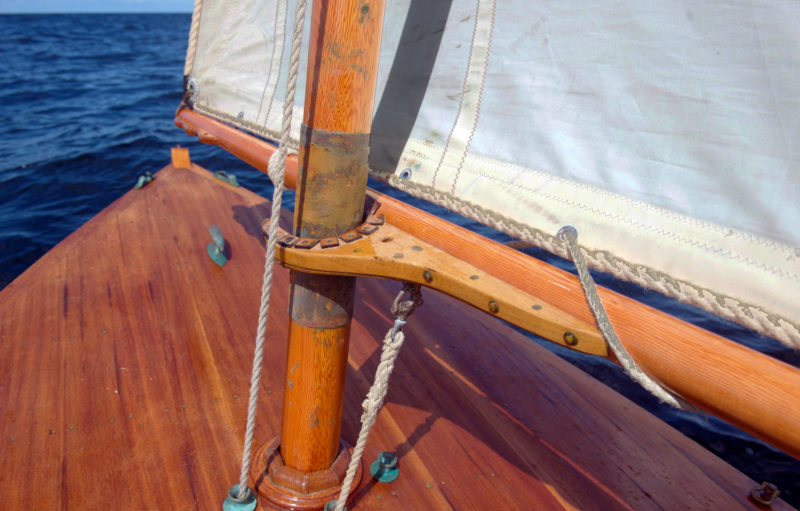
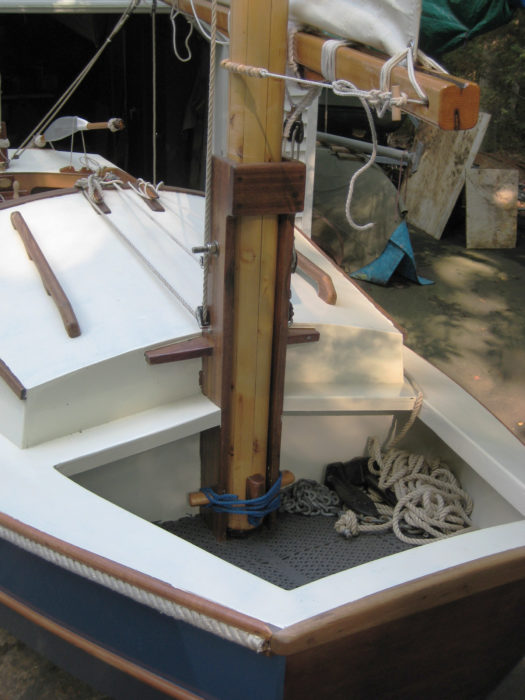
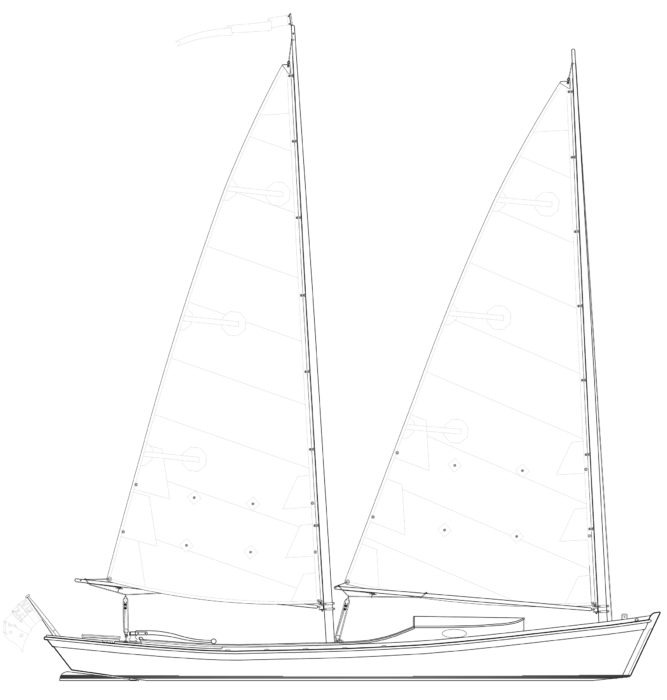
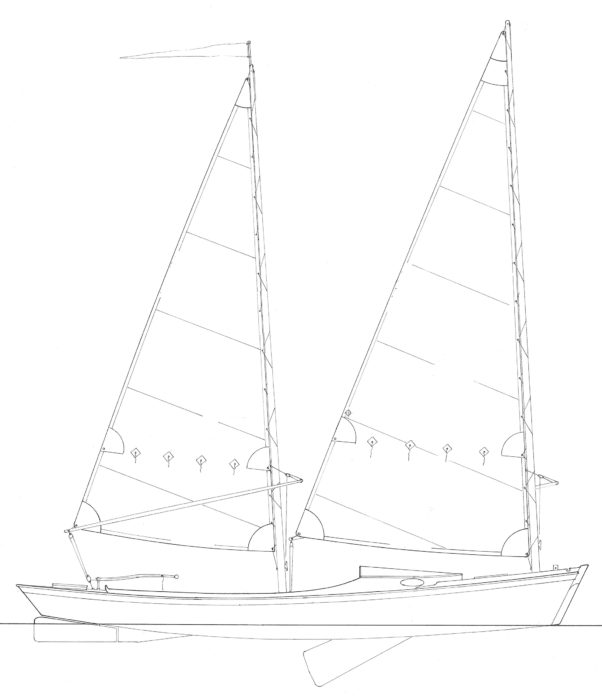
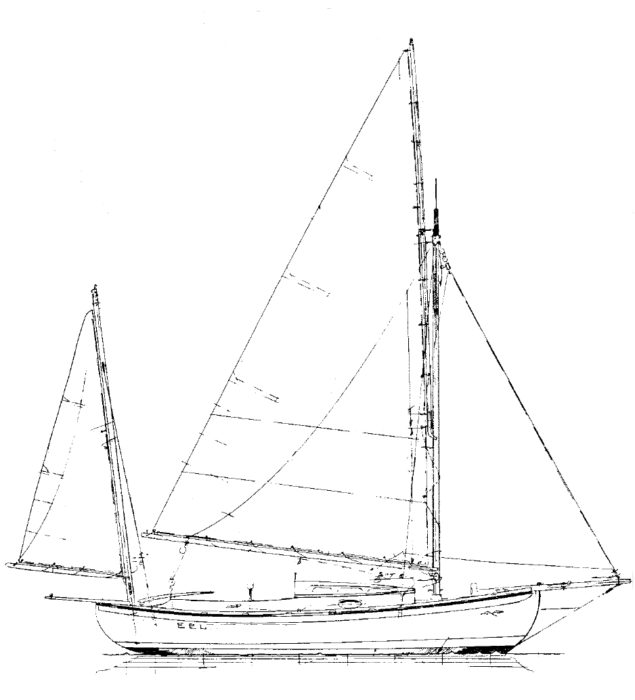
The Eel has a gunter rig with a vertical gaff that is an extension of the mast. I have come to really appreciate the rig; the shorter spar lengths are much easier to manage. I have built a tabernacle for the mainmast, and now I can quickly raise and lower it by myself. Another advantage of the gunter rig is that when you reef, you are lowering the gaff along with the sail, decreasing the weight aloft.
Apparently, some owners have complained that the gaff needs to be lowered all the way to the cockpit to change the attachment of its halyard for reefing. I added a second halyard that goes from a block higher up on the mast to a point higher up on the gunter. To reef, I slack the primary halyard and pull this one in. It works very well and makes for rapid reefing, shaking, and resetting. It does complicate the rig a little more with the addition of another line; however, this boat is light, and it is important to have the correct amount of sail up, so I think that it’s worth it.
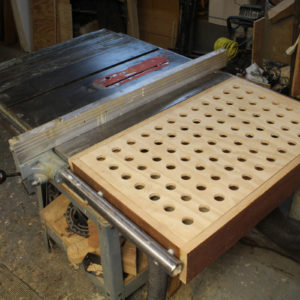
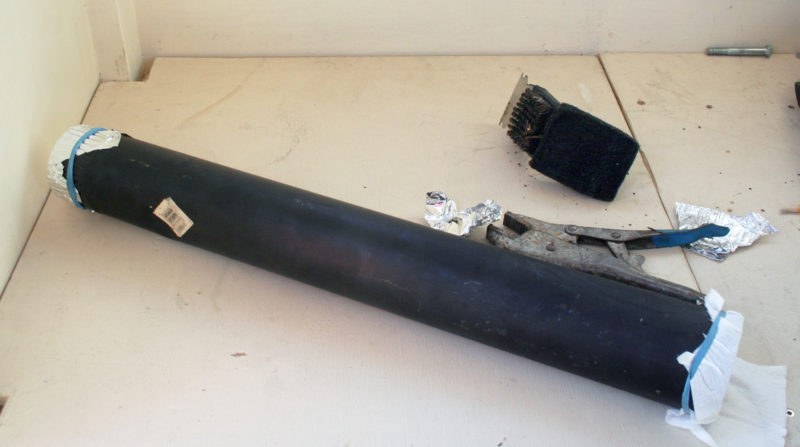
I built the main mast and gaff hollow using the bird’s-mouth method, and the weight savings is significant. It does take some intricate work to mill the eight strips, tapered on one side and notched on the other. It is really fun and exciting when you put them together, and they create a long, faceted cylinder. The mizzen mast and booms are solid.
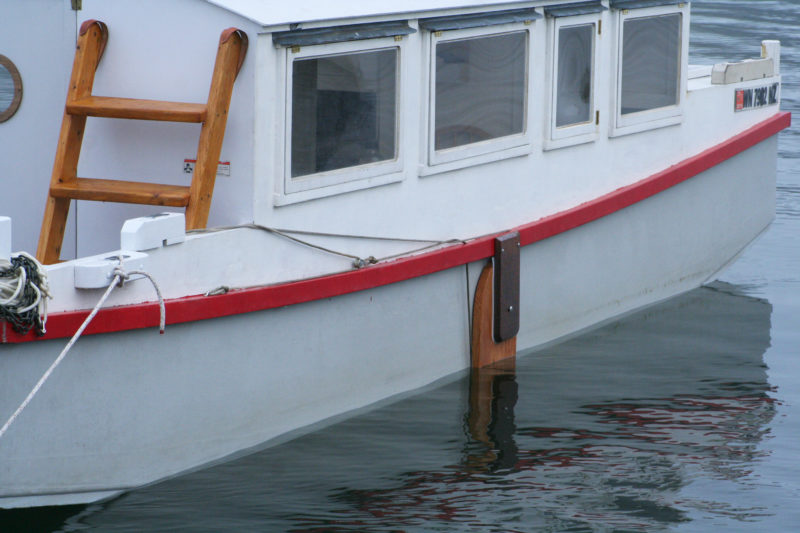
The only other major modification I made to my Eel, beyond the tabernacle, was to the shape of the rudder. Garden’s plans call for a deep, removable spade rudder that can be pulled out through a trunk when encountering shallow water; then a paddle or an oar serves as a rudder. There are many bars and shallows where I sail, and I worried about snagging the rudder, or even bending the rudder shaft and then not being able to pull the blade up into the trunk. I had seen a picture of an Eel in WoodenBoat (Launchings, Sept/Oct 2001) mentioning a “winged” rudder. I was able to chase down the owner and creator, Roger Dahlberg in Tasmania, Australia, who graciously shared his plans with me. His rudder doesn’t extend below the keel and has a horizontal plate along the bottom to improve performance. It has worked well for me.
 Randy Colker
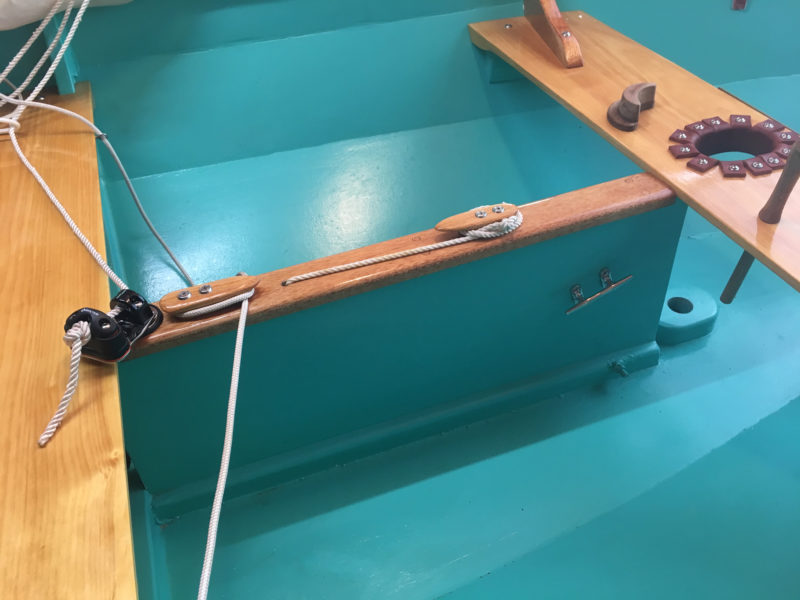
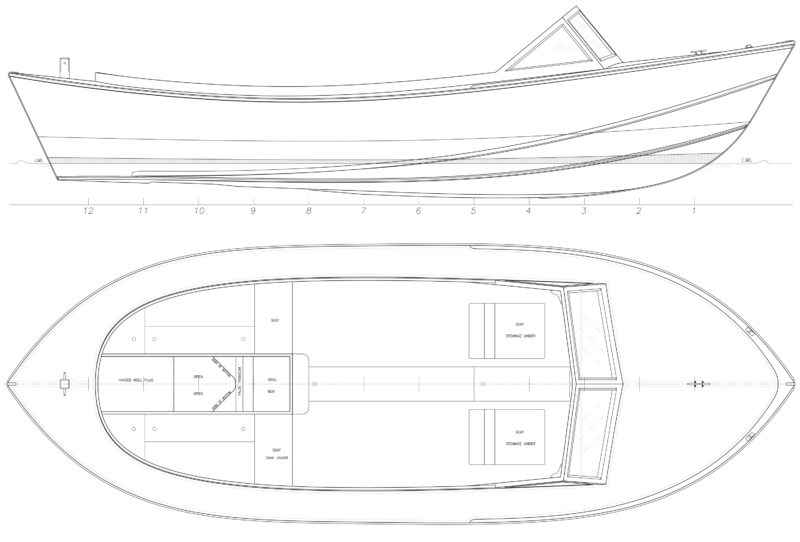
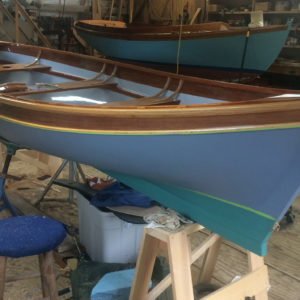
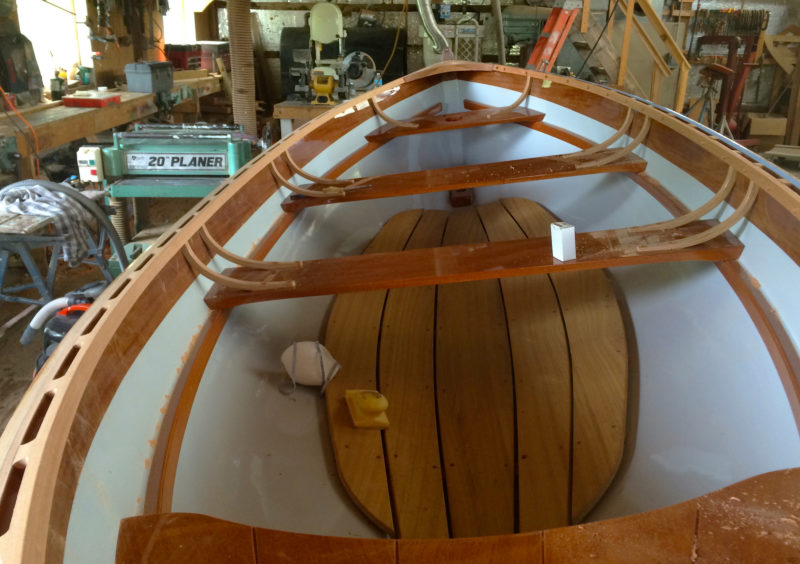
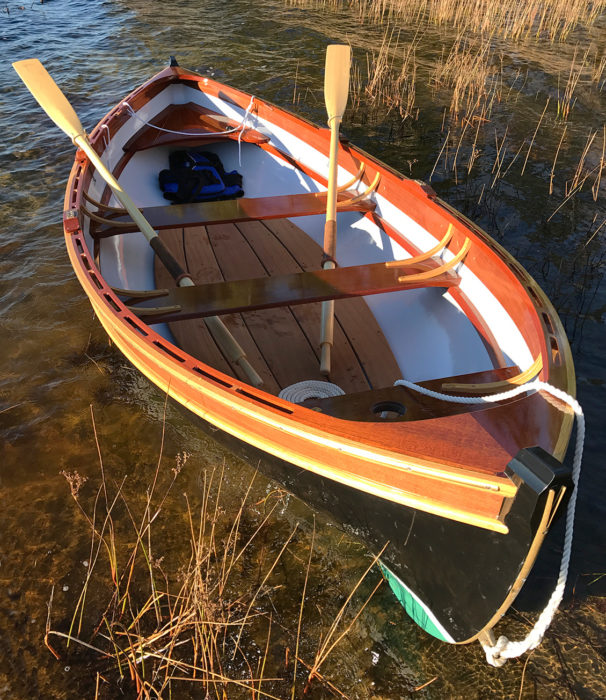
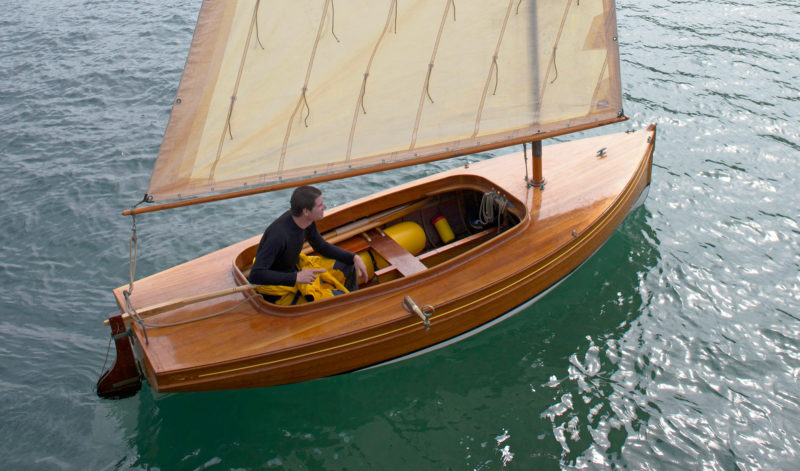
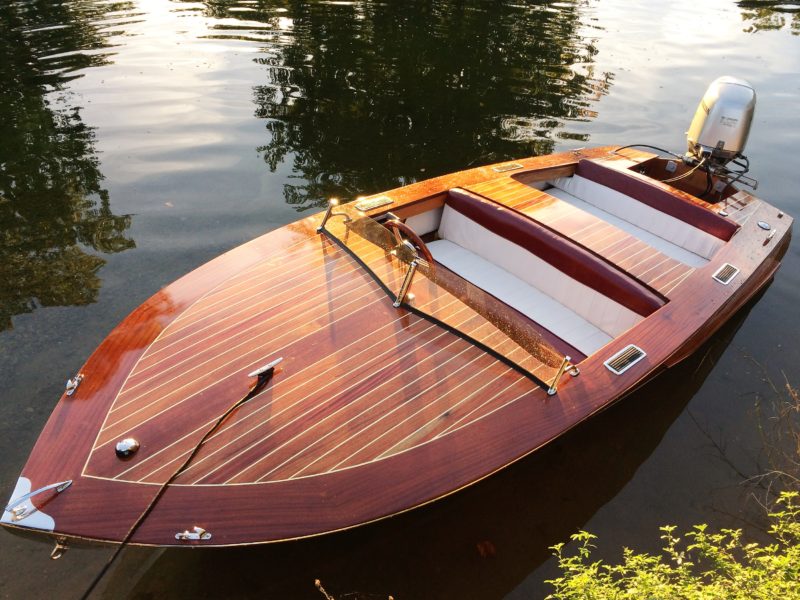
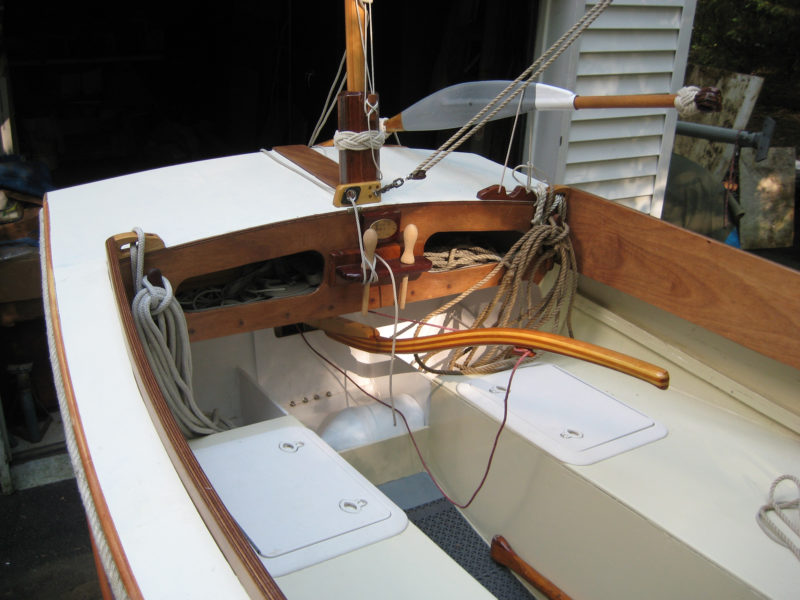
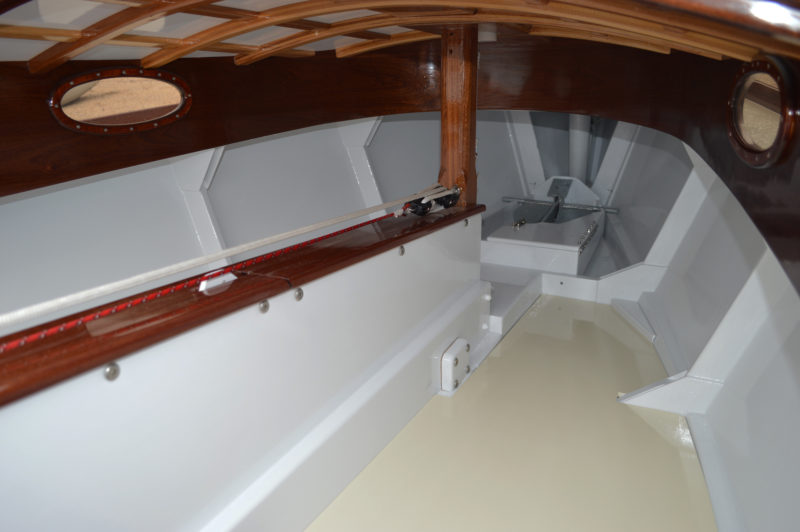
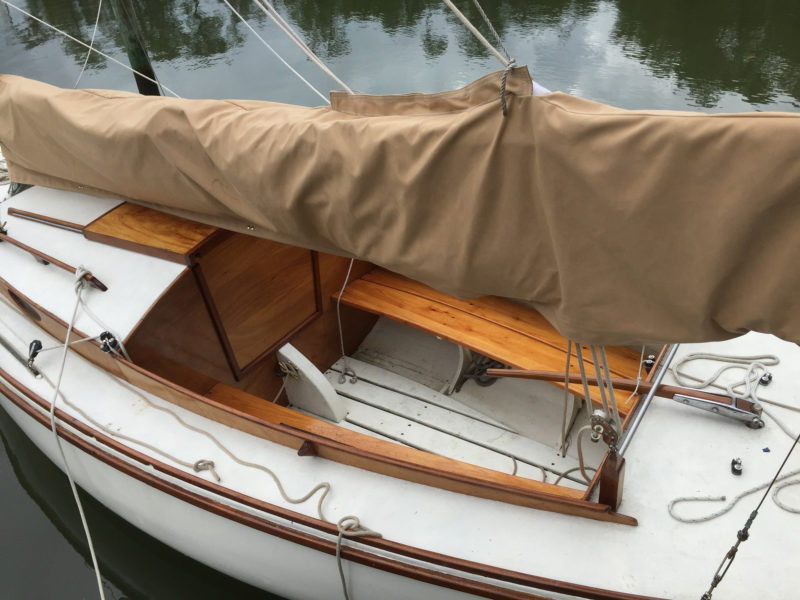
The centerboard trunk divides the cabin’s sleeping quarters, but barely intrudes into the cockpit.
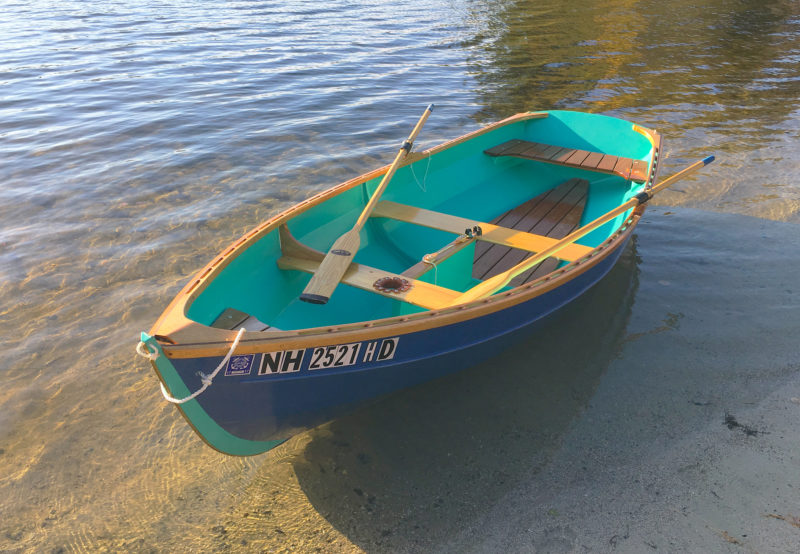
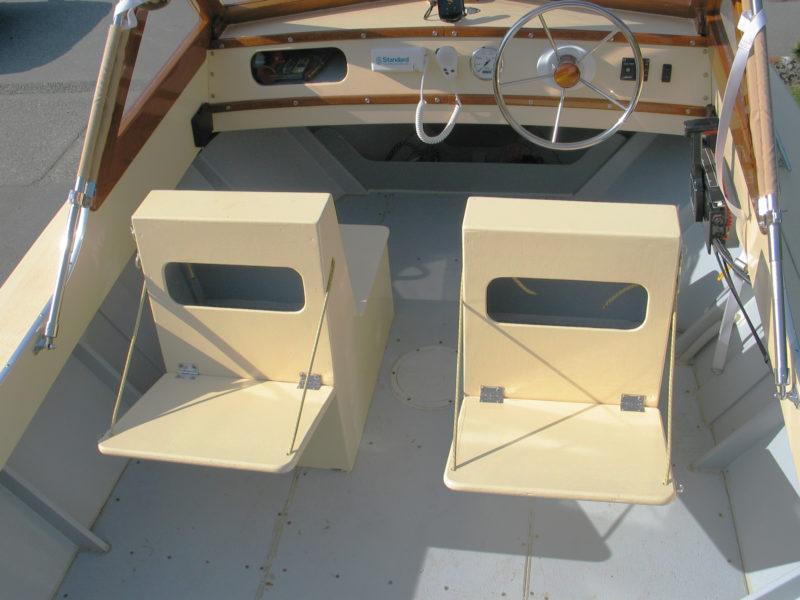
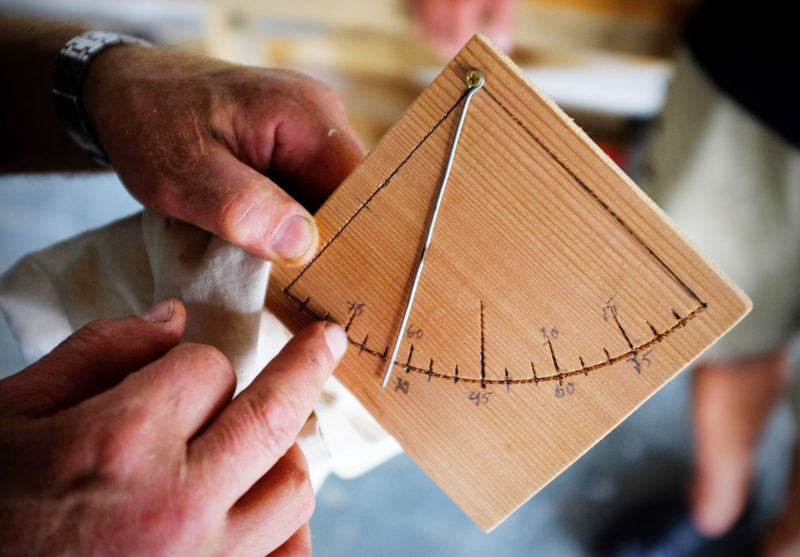
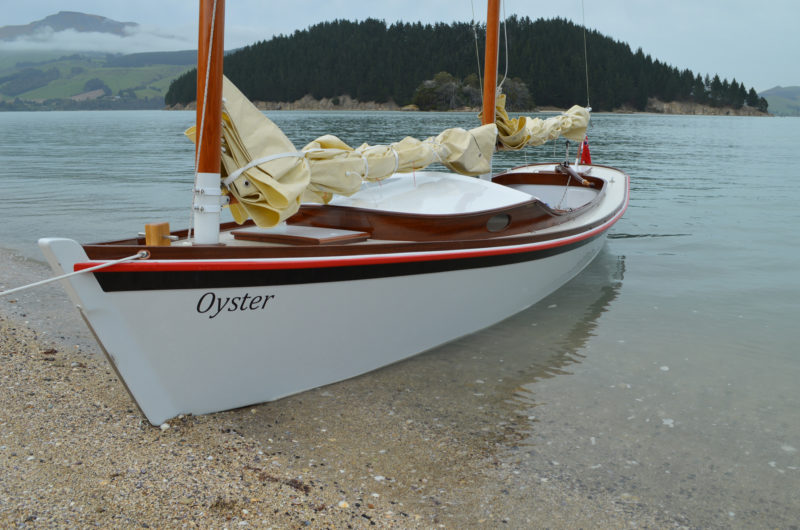
The cockpit of the Eel is very comfortable. After consulting a furniture-making manual, I made some alterations to improve the seating. I slanted the coamings outward about 10 degrees and the seat bottoms at about a 6-degree angle. This was extra work, but really added to the comfort. While the coamings offer good back support, but angled or not, they rise high enough above the deck to make hiking out impractical and uncomfortable.
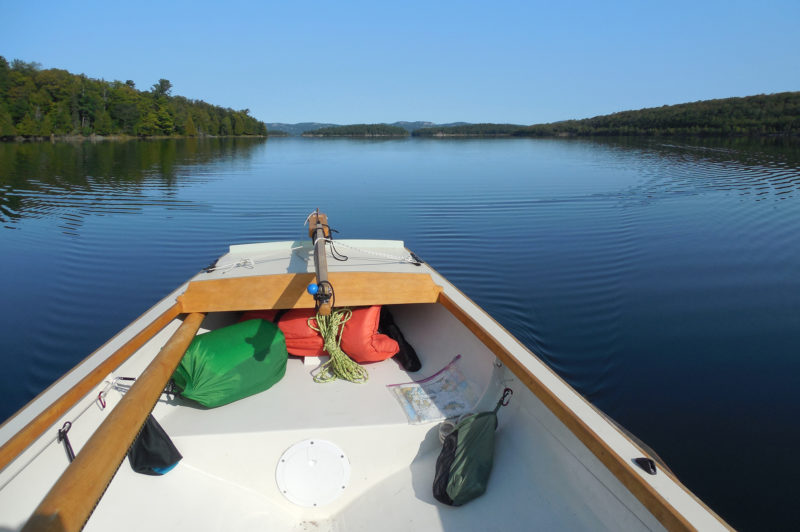
The Eel is a very dry boat, and handles chop well. The cockpit is not self-bailing, which is not unusual for a boat this size; I don’t have a cover for the boat and I have to bail water after a rainfall.
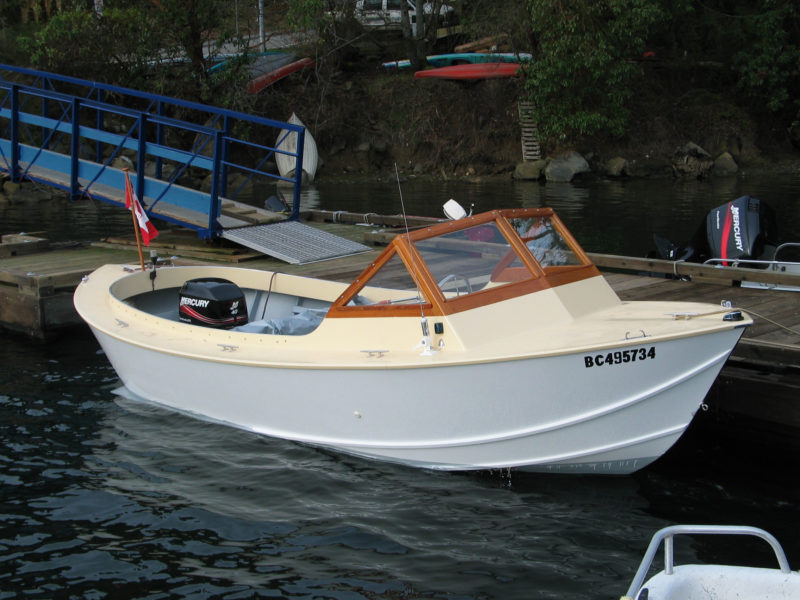
I did not build cruising accommodations in the cabin, as I expected I would only use the boat only for daysailing. Other Eels have been equipped with two comfortable 6′-plus berths in the cabin and a good bit of storage, making them better suited for cruising. In 1983, Bruce Baker sailed his newly purchased Eel from Schooner Bay Boat Works (where about a dozen Eels were built in the 1970s and ’80s) in Anacortes, Washington, to his home near Juneau, Alaska, a trip up the inland passage of about 900 miles.
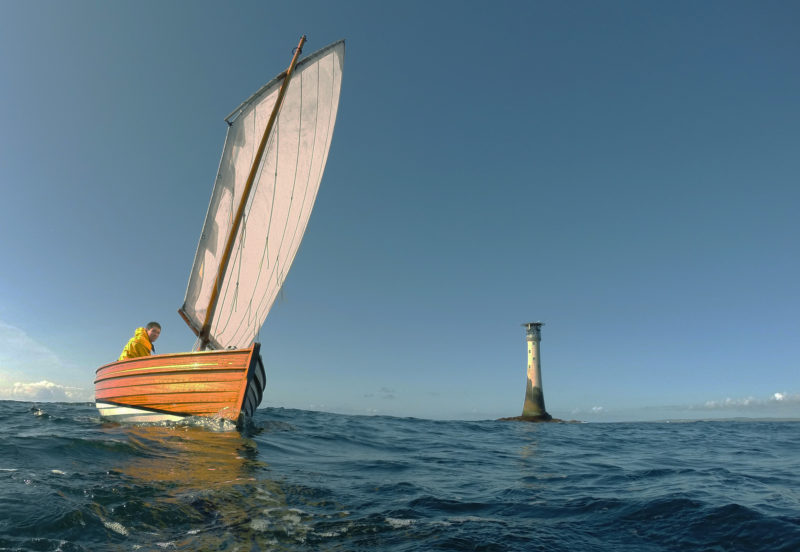
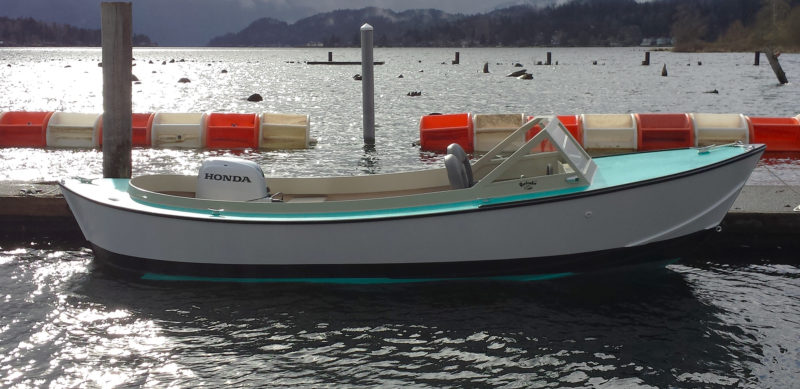
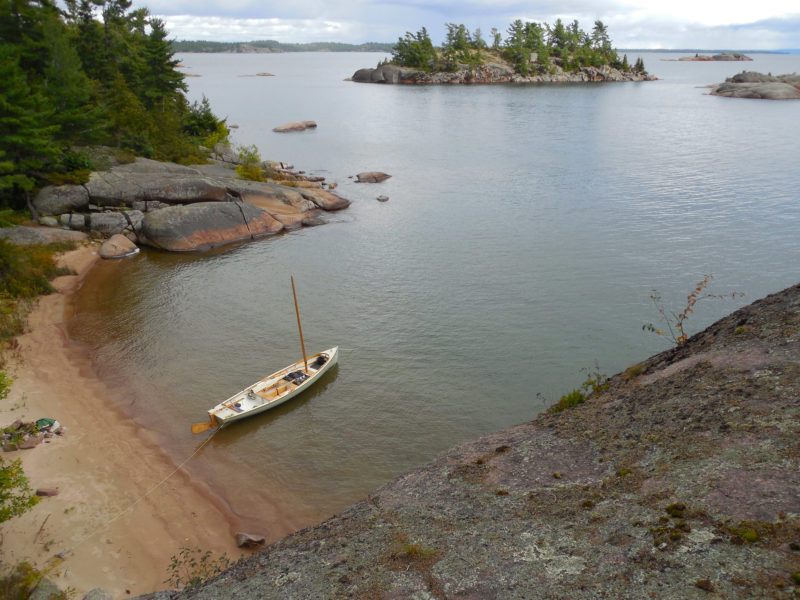
 Tom Wessels
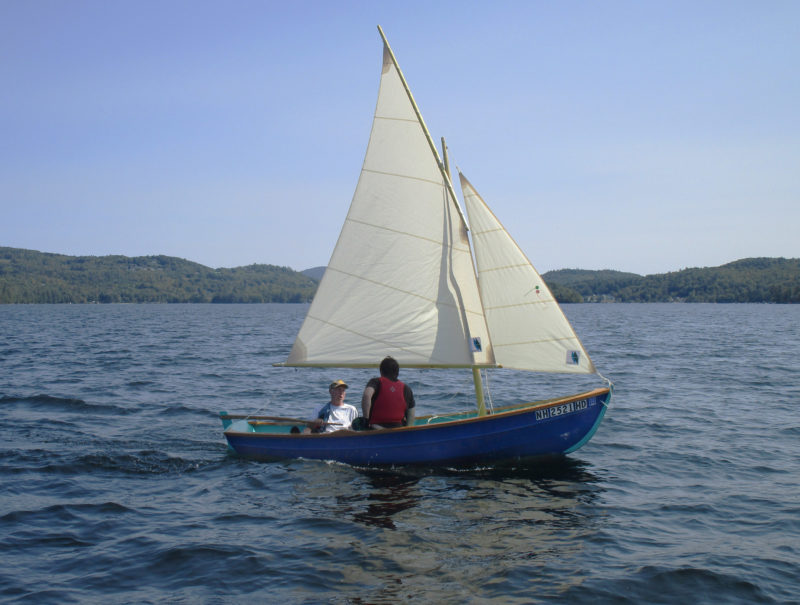
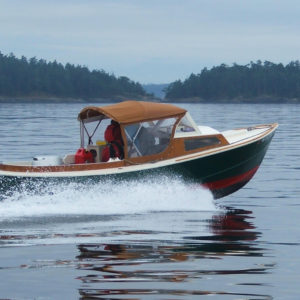
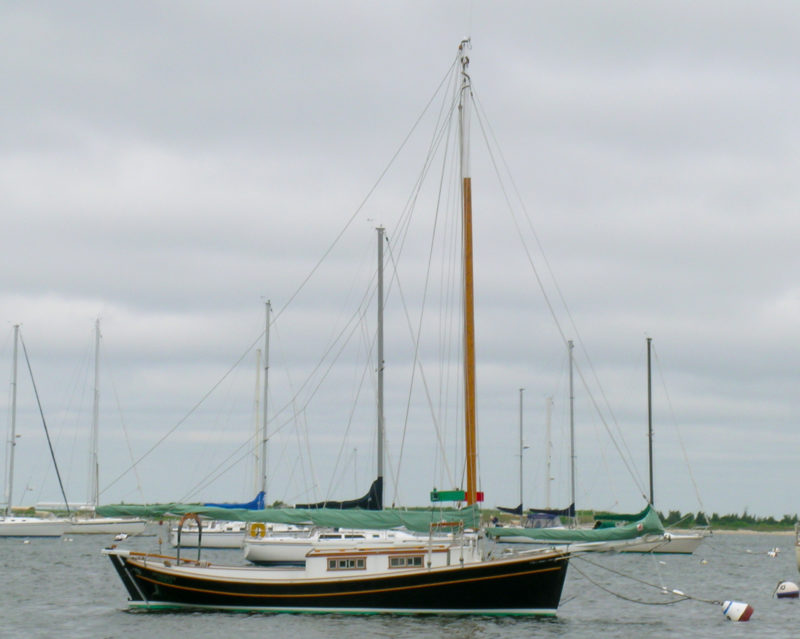
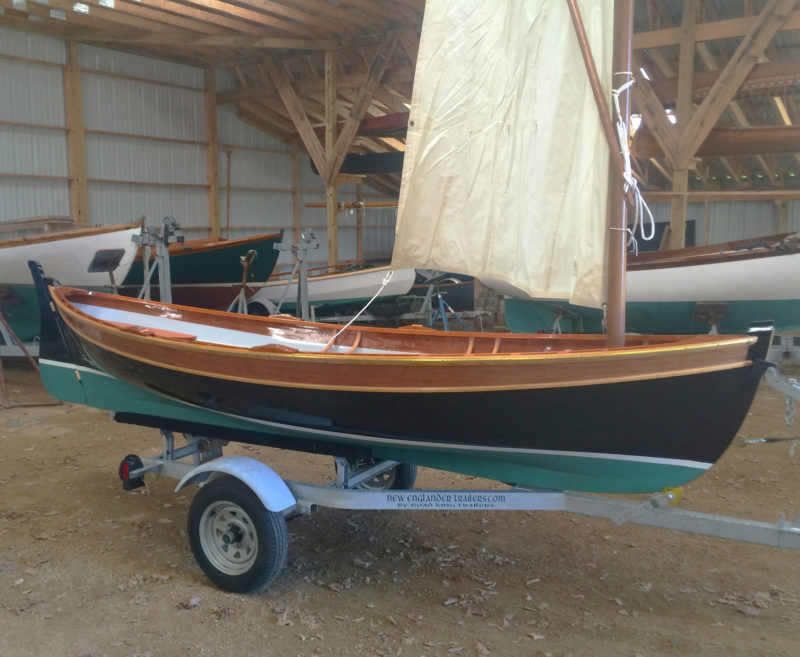
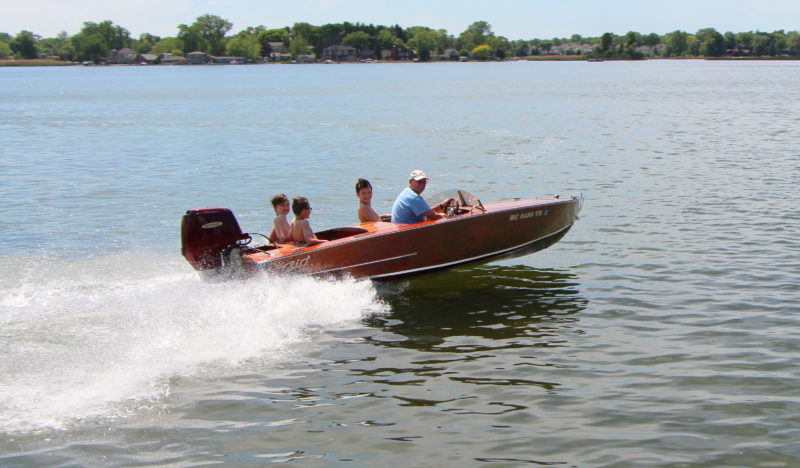
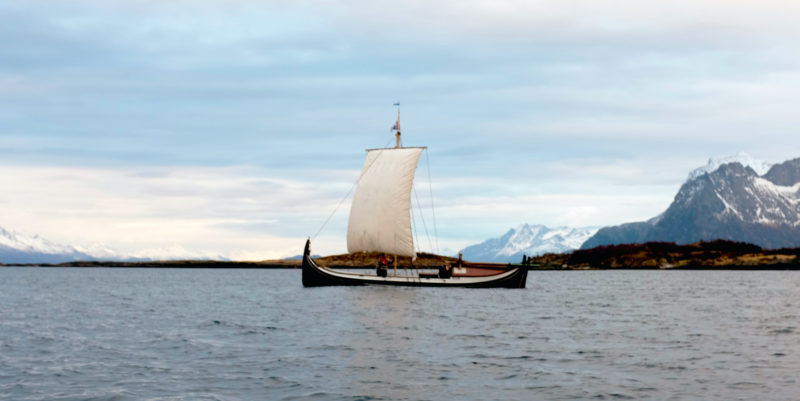
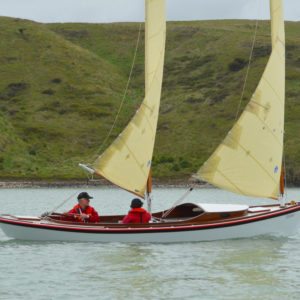
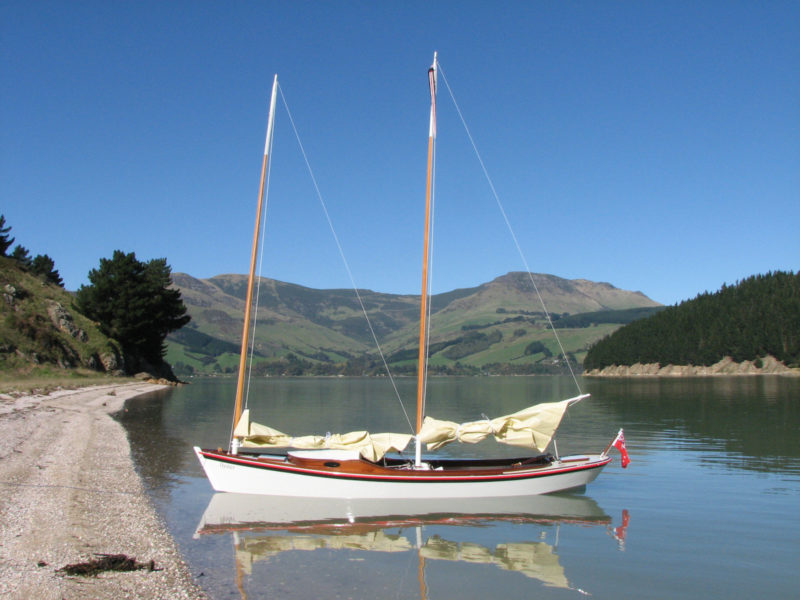
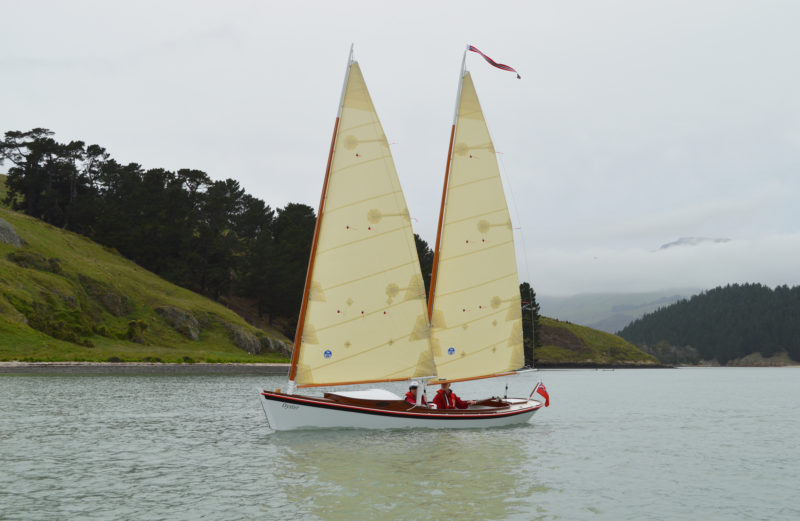
With 201 sq ft of sail, the Eel makes good speed. The design calls for 300 lbs of lead in the keel and a steel-plate centerboard to stiffen the hull for windward work.
Space in the cabin is tight and it takes a bit of flexibility to move around in it. There is about 38″ of headroom under the forward part of the cabin top, and 43″ aft. If you are sitting on the sole, without anything built in, you can sit upright. The plans call for hinging the cabintop at the front so that it could be raised for more headroom in the back. I did do this in case I ever decided to use the boat for cruising, but haven’t yet added the canvas panels to cover the openings at the sides.
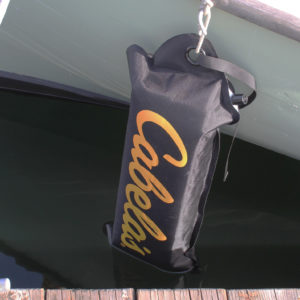
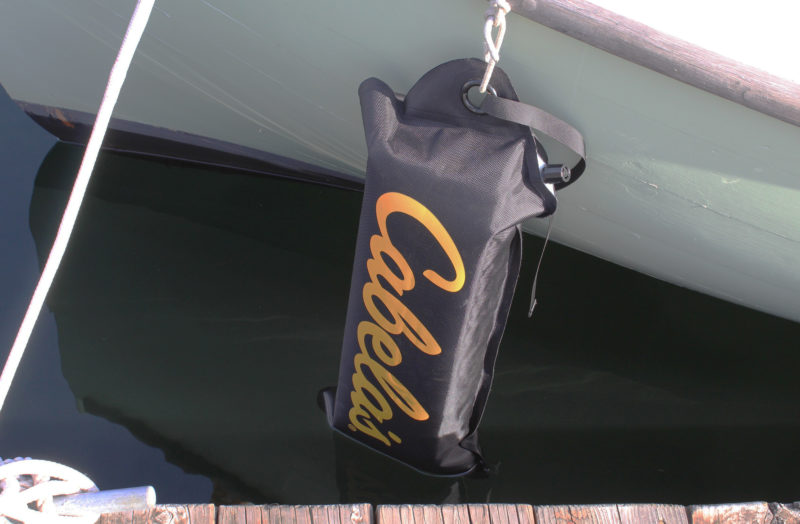
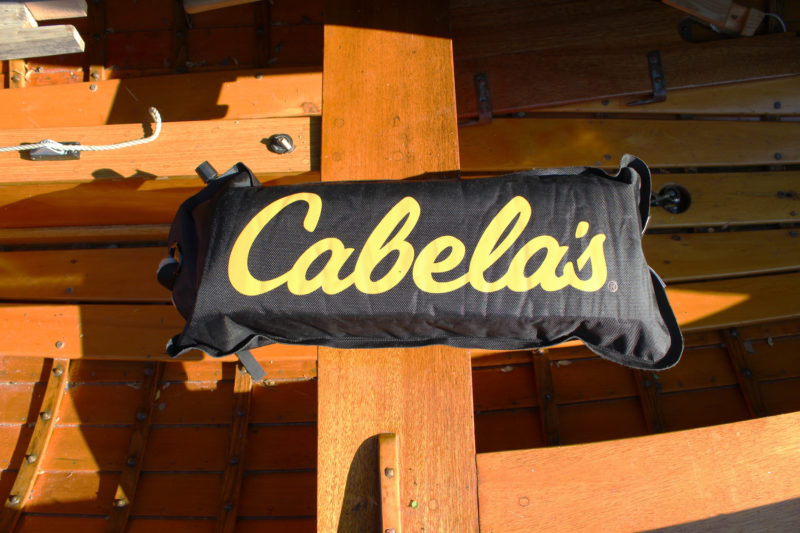
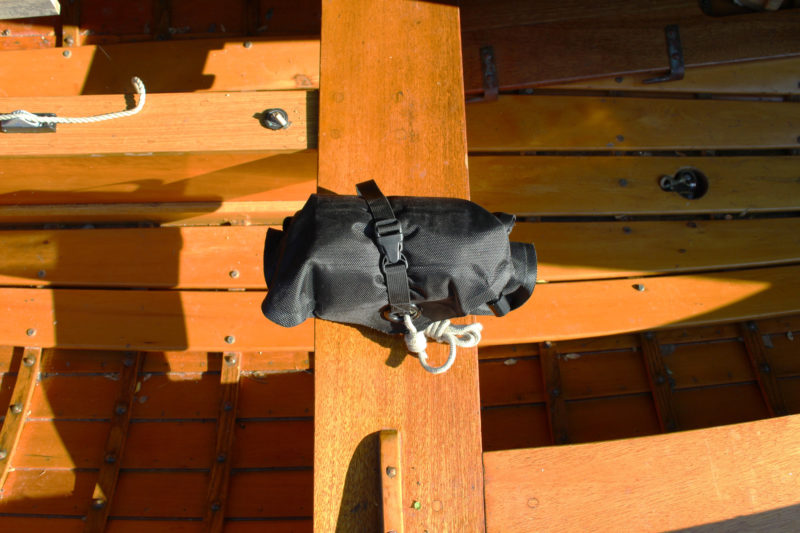
While I was building my Eel, I read about the perils of sailing a boat without built-in flotation and so, despite the extra shop time it added, I put a watertight compartment in the bow and foam flotation under the deck, seats, and floorboards. I wanted to buy a flotation bladder to go under the aft deck, but couldn’t find one in the shape I needed, and the bladders I did see were prohibitively expensive. I settled on two heavy plastic bags filled with empty 2-liter soda bottles and gallon milk jugs.
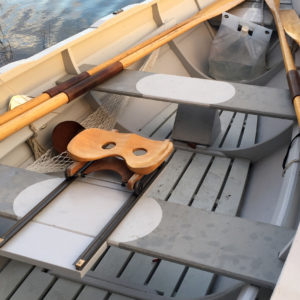
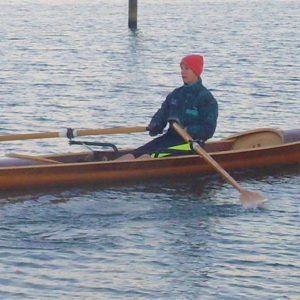
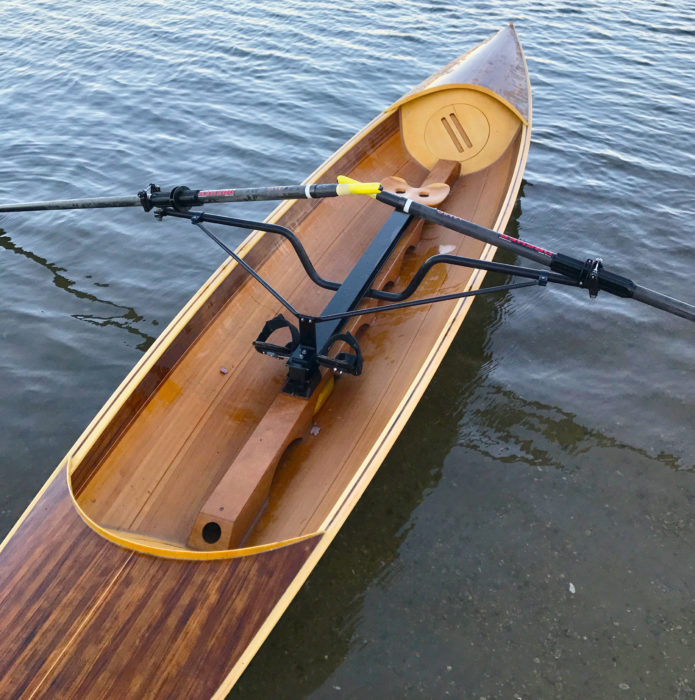
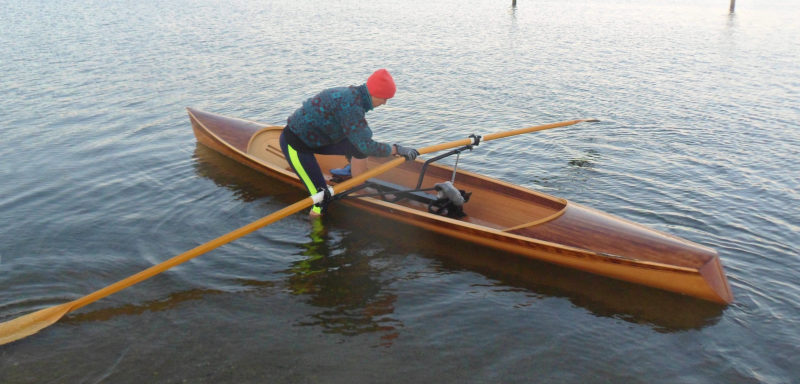
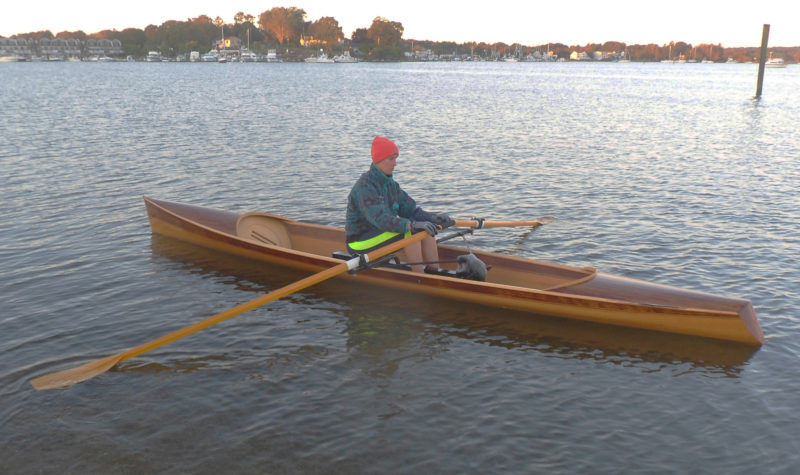
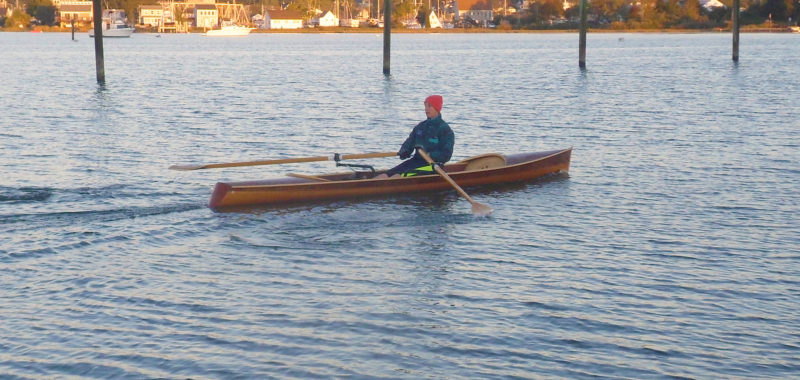
Originally, I had intended to use a Seagull outboard for auxiliary power. The classic motors are light and in keeping with the character of the boat. Unfortunately, the Seagull I had was not cooperative when it came to starting and idling. I then tried a Torqeedo 1003 electric outboard. It comes apart in three pieces, which makes it easier to put the engine on and take it off. The Eel has a canoe stern, so the outboard needs to be mounted on a bracket hung over the side, and my preference would be to take it off while sailing for appearance’s sake as much as to keep it from dragging while heeling. Taking the three pieces apart and putting them back together wasn’t as easy as I’d hoped, so I settled for tilting the engine up, and swinging it over on the deck on its side when it is not in use. This has proved satisfactory, though the motor goes through one charge of the battery fairly quickly. Rowing is another option for auxiliary power. The Eel can be outfitted with elevated locks for stand-up, forward-facing rowing, but I have not yet invested in the locks and oars.
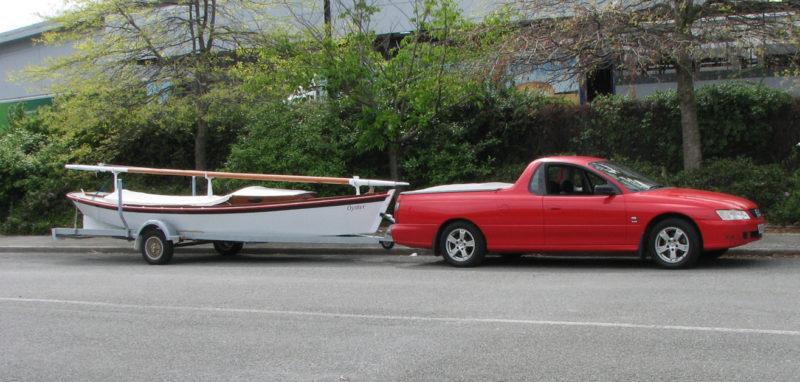
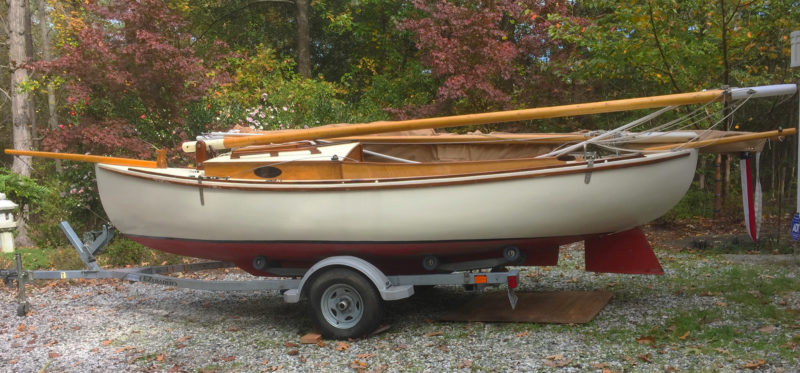
The Eel is very easy to trailer and launch. I have done it comfortably with my mid-size, six-cylinder Toyota sedan. With three sails, five spars (seven including the bowsprit and boomkin), roller-furling jib, and my reefing system, there is a lot to be assembled. It takes an hour to an hour and a half to set up at the launch ramp.
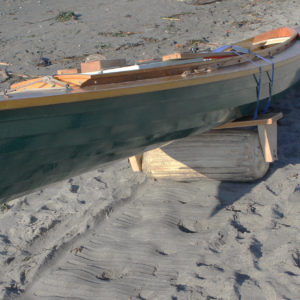
 Randy Colker
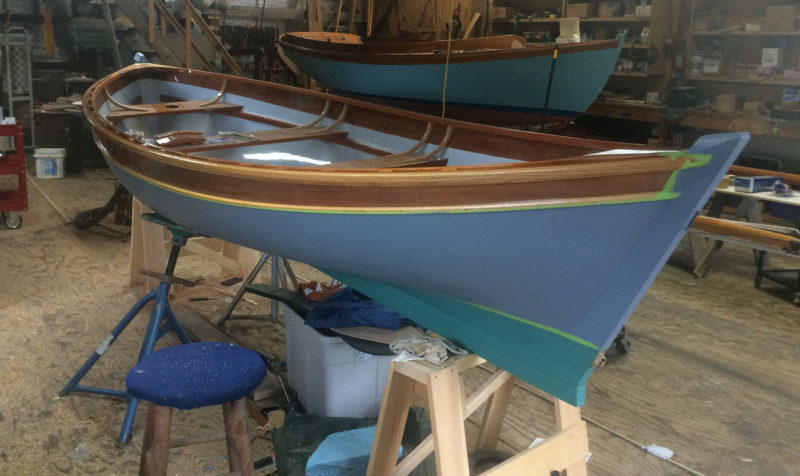
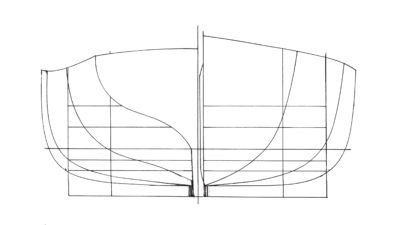
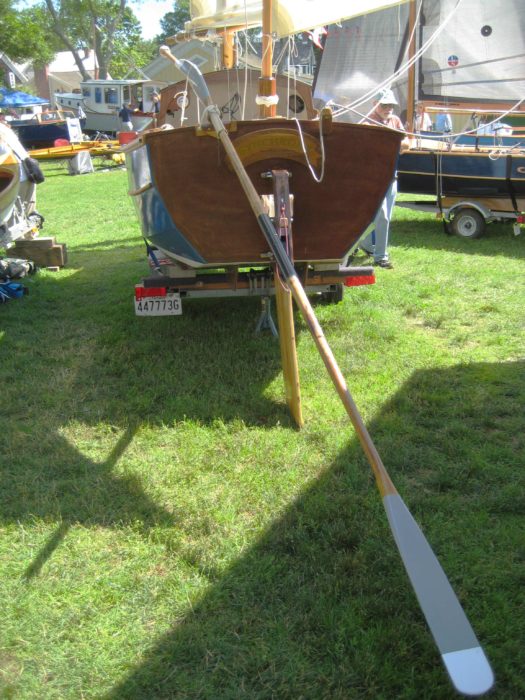
Instead of incorporating the rudder specified in the original design—a vertical blade that retracts into a trunk—the author’s Eel has a rudder that is even with the keel and extends aft rather than down, allowing it to be used to sail in shallow water.
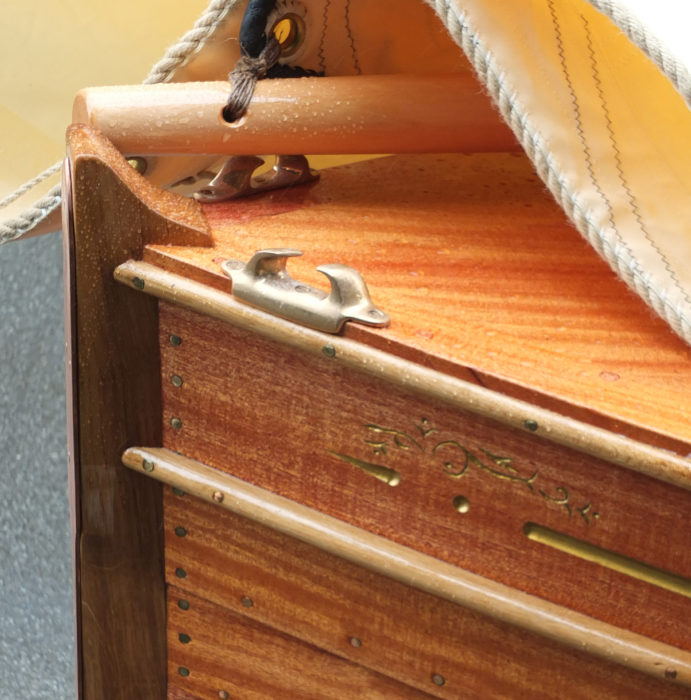
My mainsail cover fits around the gaff, sail, and boom. This creates a nice package that can be taken off the mast in one piece and tied down for transport. The bowsprit and boomkin can stay in place while the boat sits on the trailer, though I wouldn’t want to tow it any distance with the boomkin on, as it would be too vulnerable sticking out the back. The mast can stay folded down in the tabernacle for both storage and transport, which is very convenient.
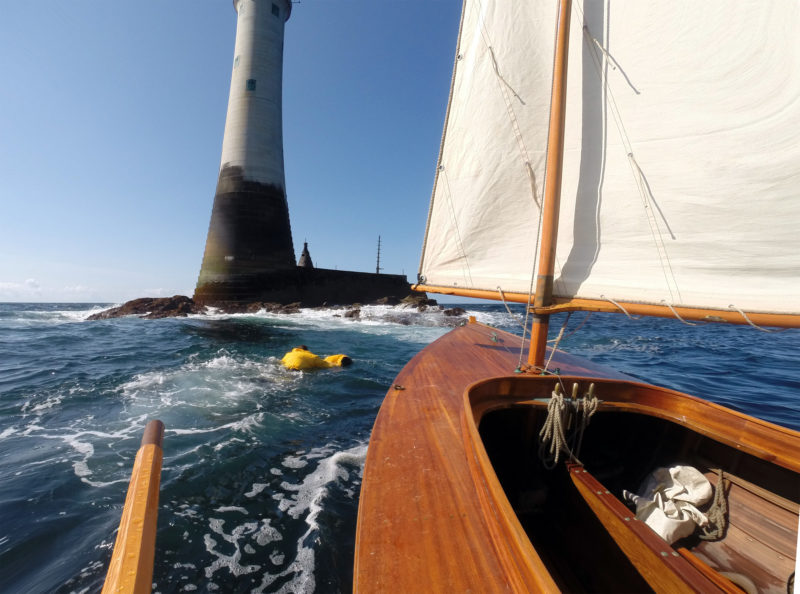
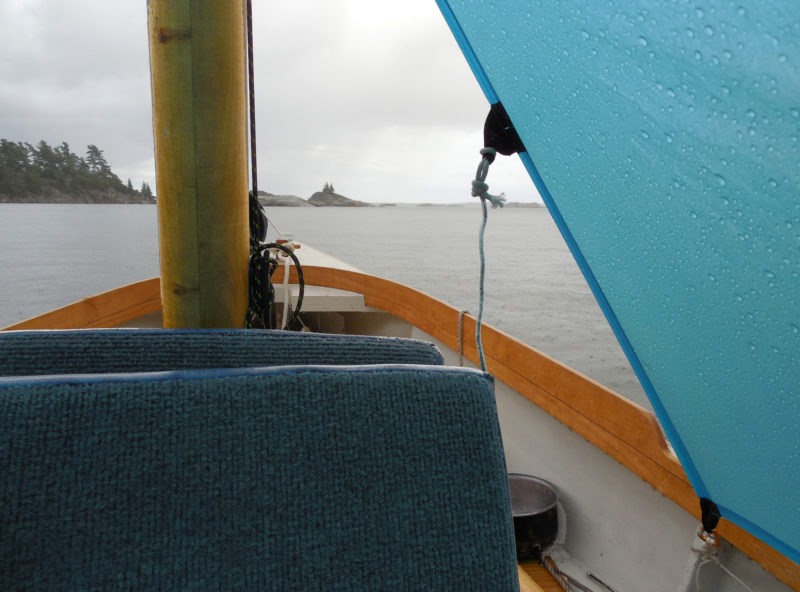
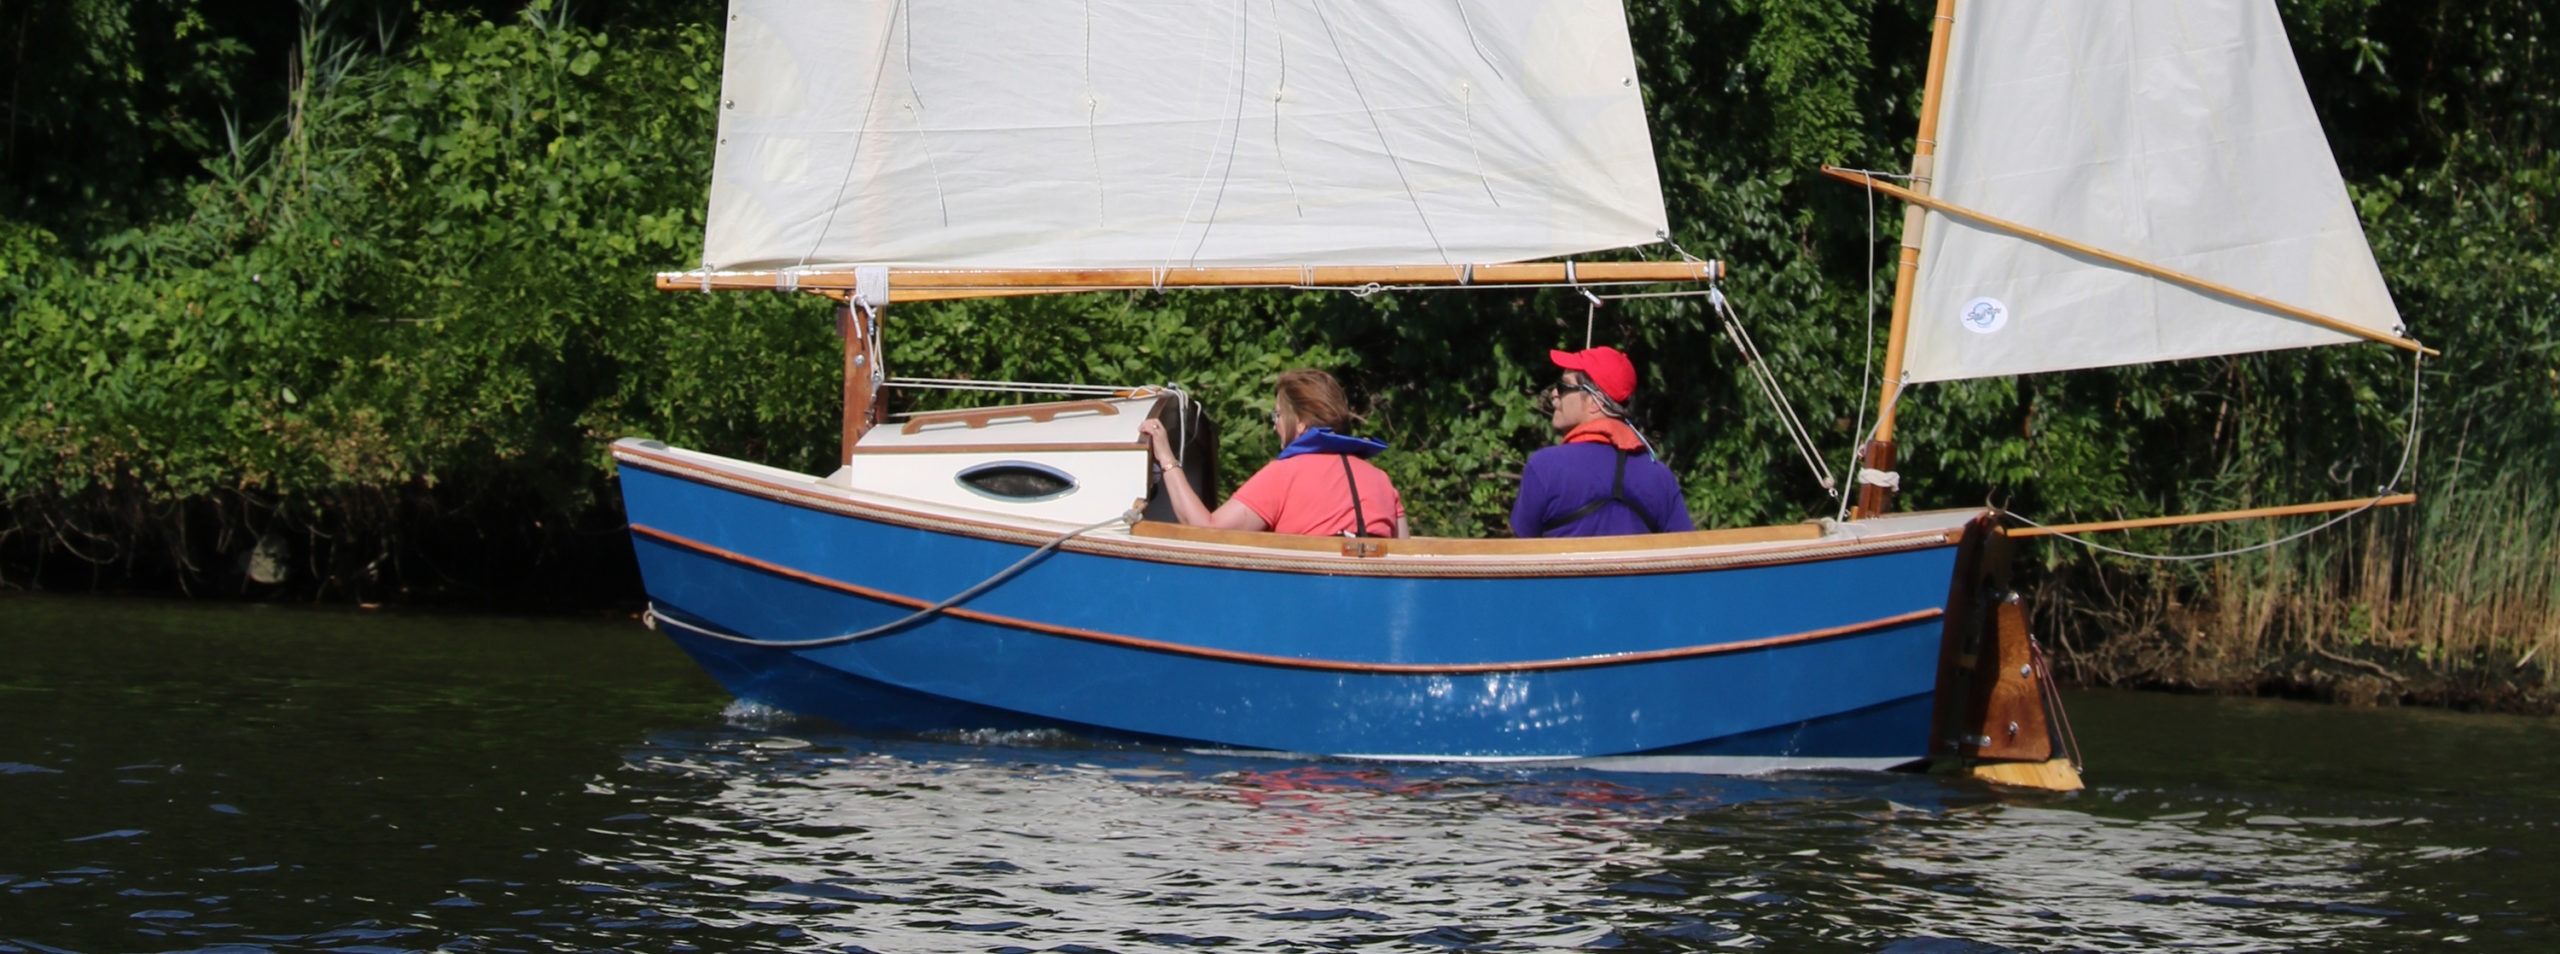
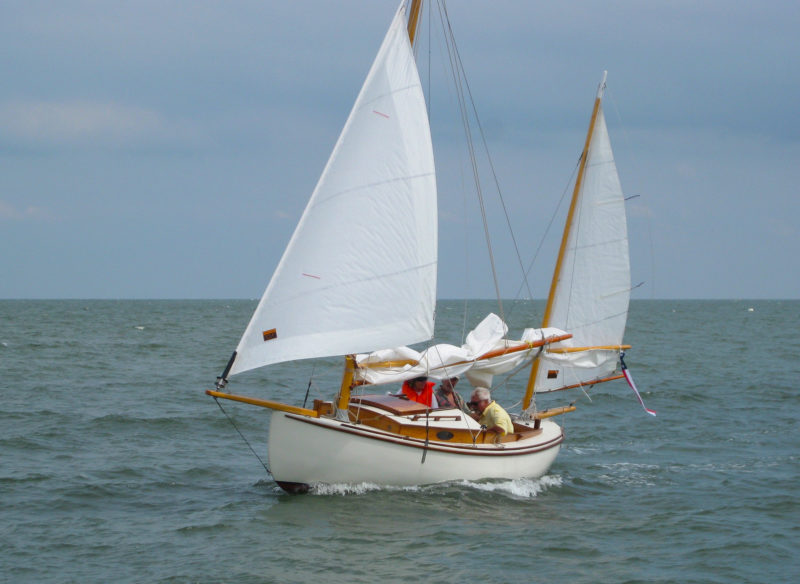 Leigh Fenigsohn
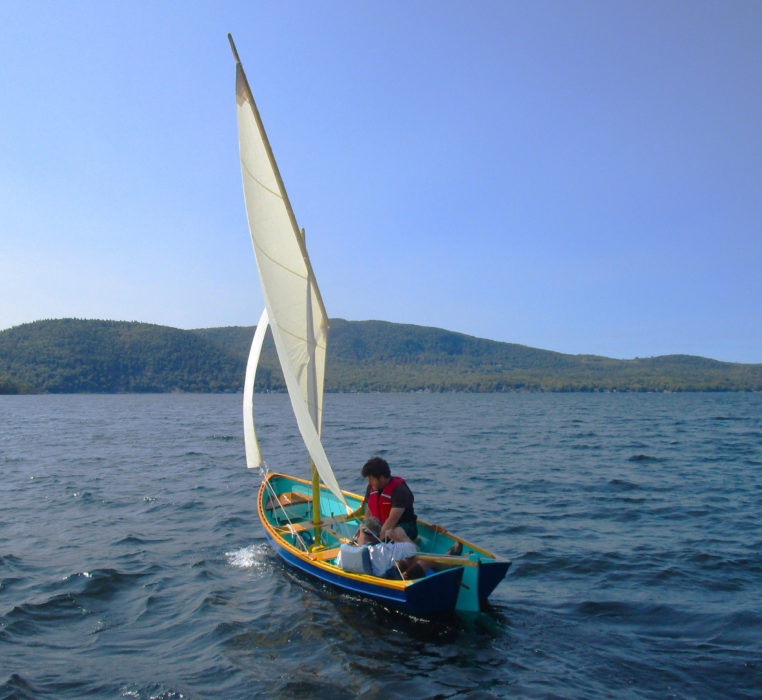
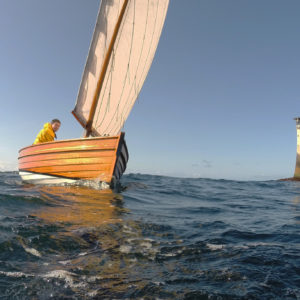
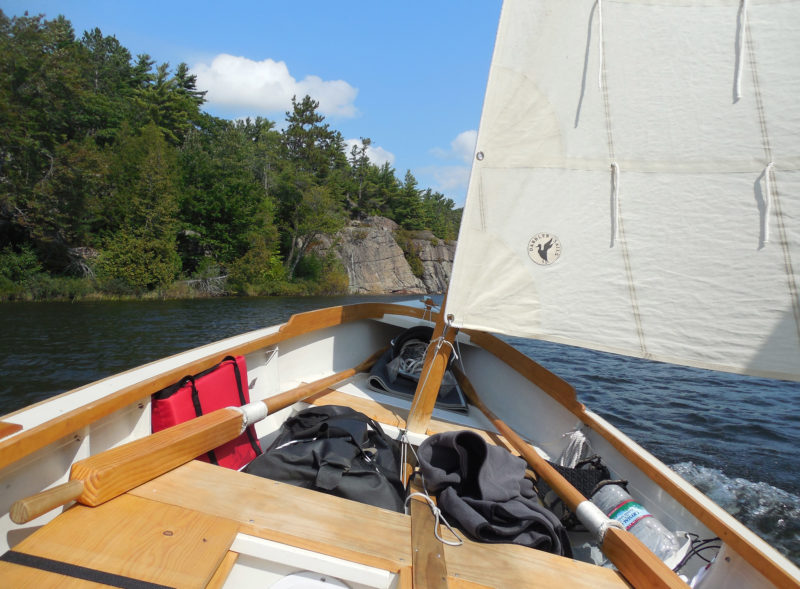
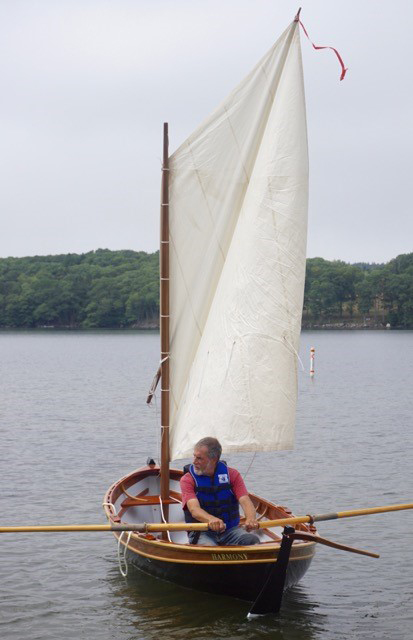
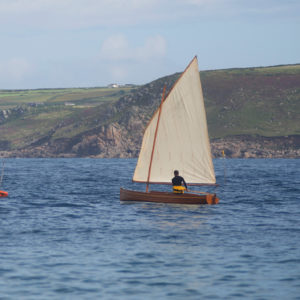
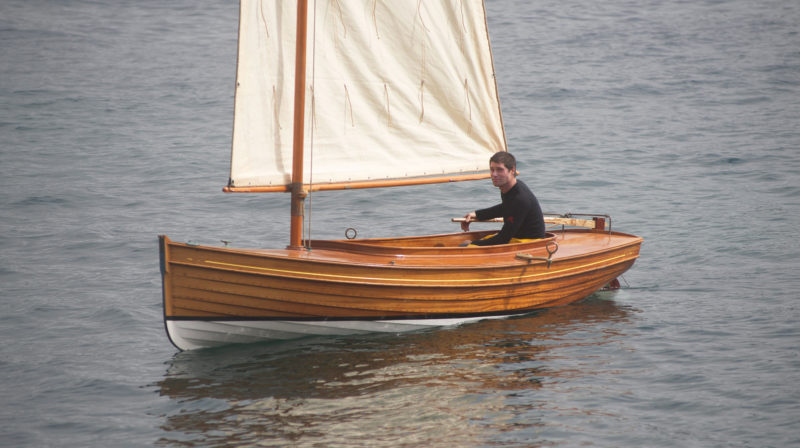
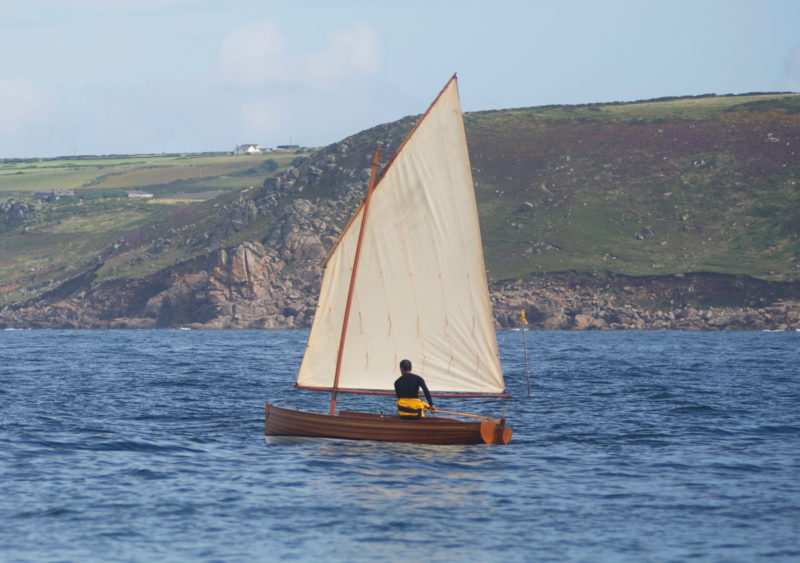
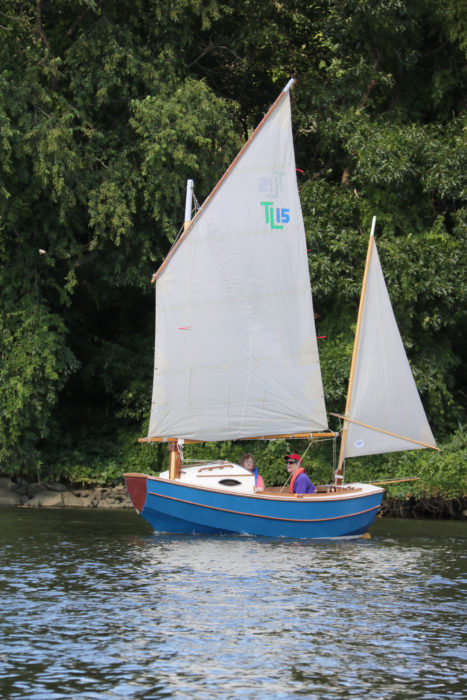
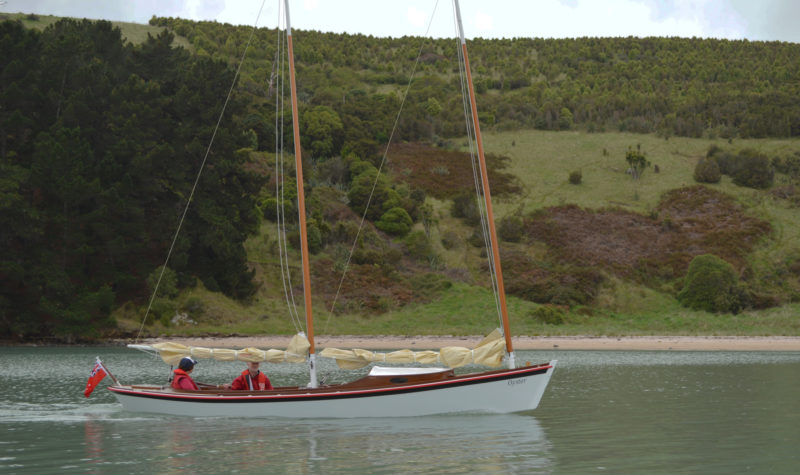
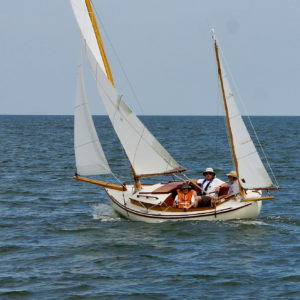
Dropping the main and leaving the jib and mizzen flying reduces the sail area while keeping the helm well balanced.
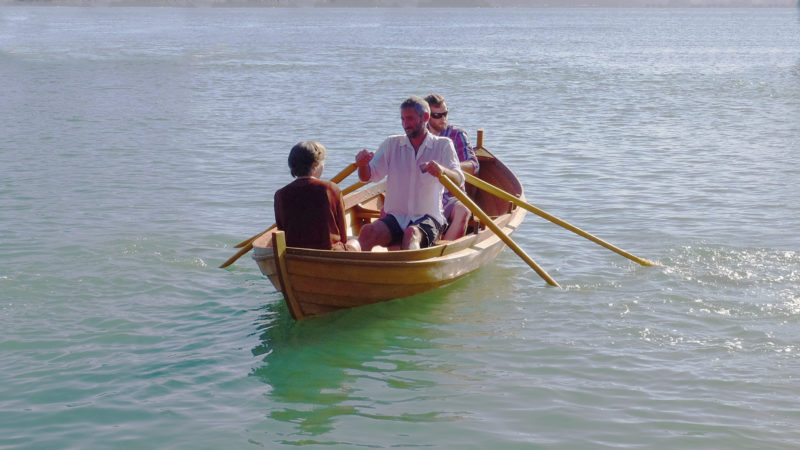
Once the Eel is in the water, getting under way is rapid and easy. The jib’s roller-furling is a joy to have. The Eel is great fun to sail. It is fast, very responsive, and with 201 sq ft in the jib, main, and mizzen, it sails surprisingly well in very light winds. With a mizzen staysail rigged, I have sailed at 2 to 3 knots in 5-knot winds. I don’t think you could use the staysail in winds any higher than this without being overpowered. The fastest speed I have measured was 6.1 knots in about 10 knots of wind without really trying. I was happy with this as the theoretical hull speed for a boat this length is 5.7 knots. Maximum speed for just the jib and mizzen in higher winds has been 5.2 knots. It points very well with the full suit of sails, though not quite as well closehauled with just the jib and mizzen. Having the three sails makes for a very balanced boat with little weather helm. It also provides many sail combinations for different wind conditions, which is important for a light boat with this much sail area.
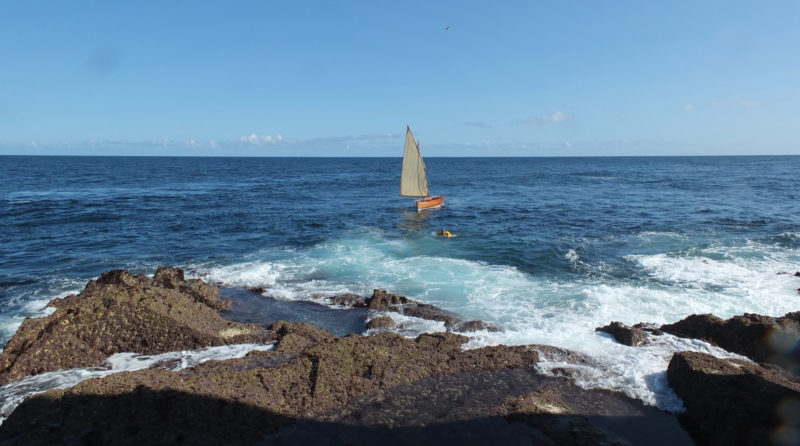
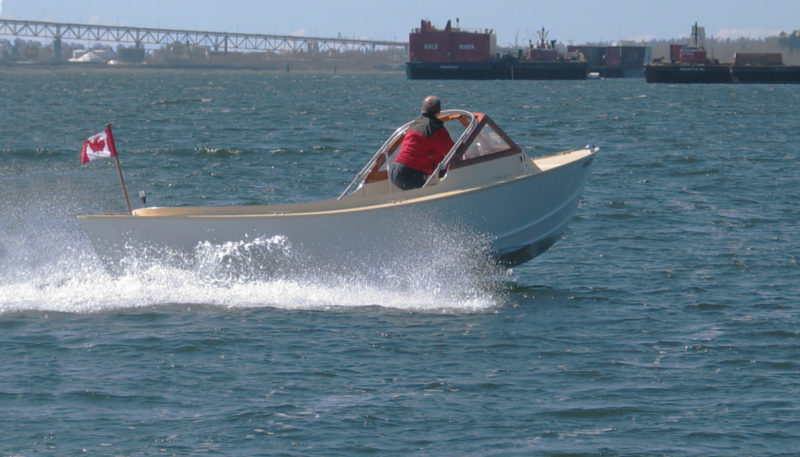
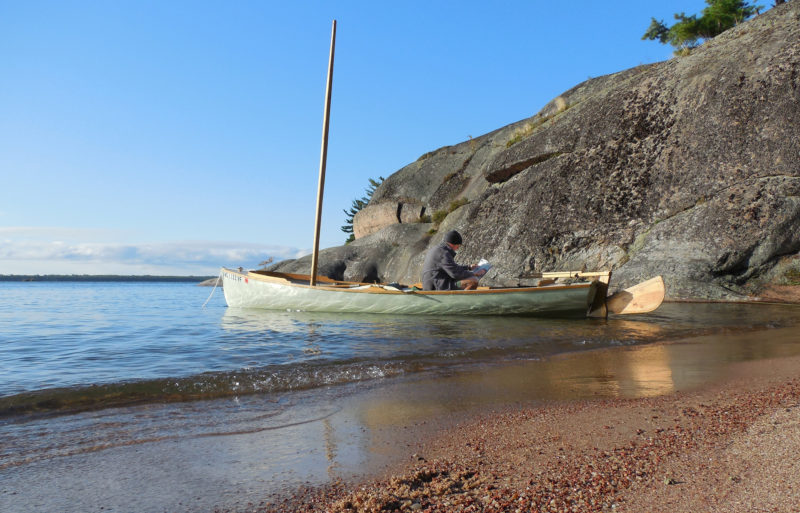
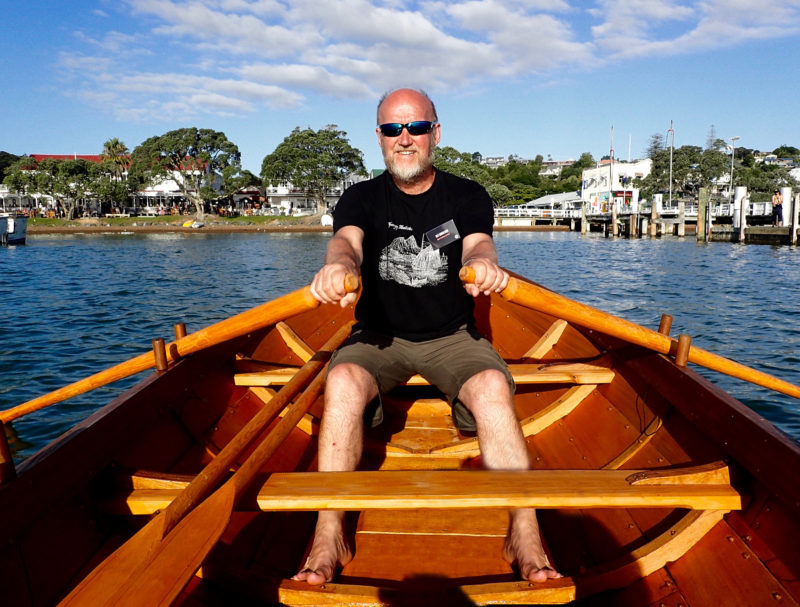
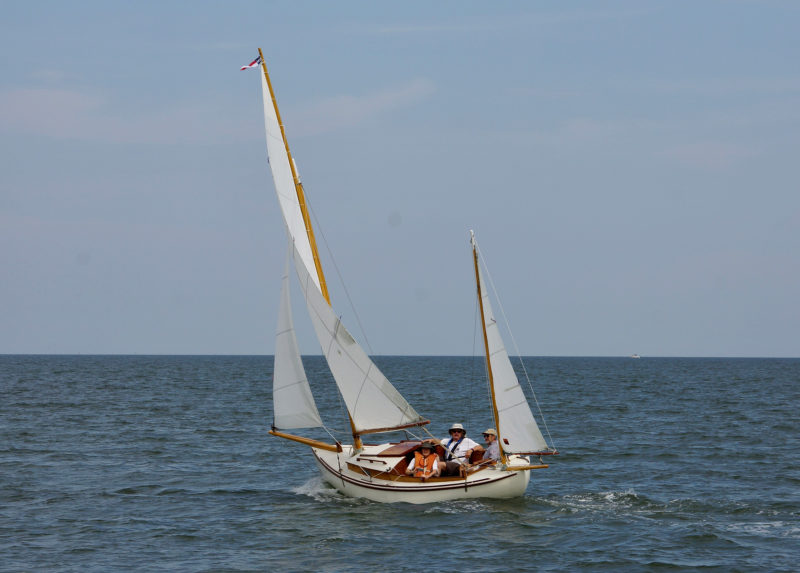 Tom Wessels
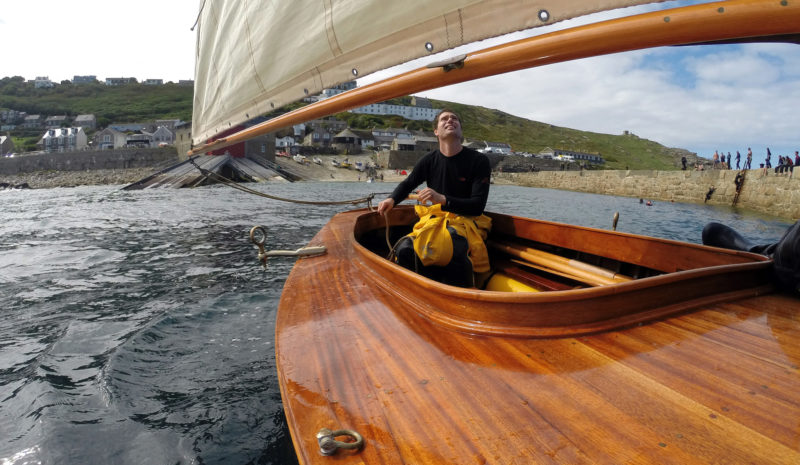
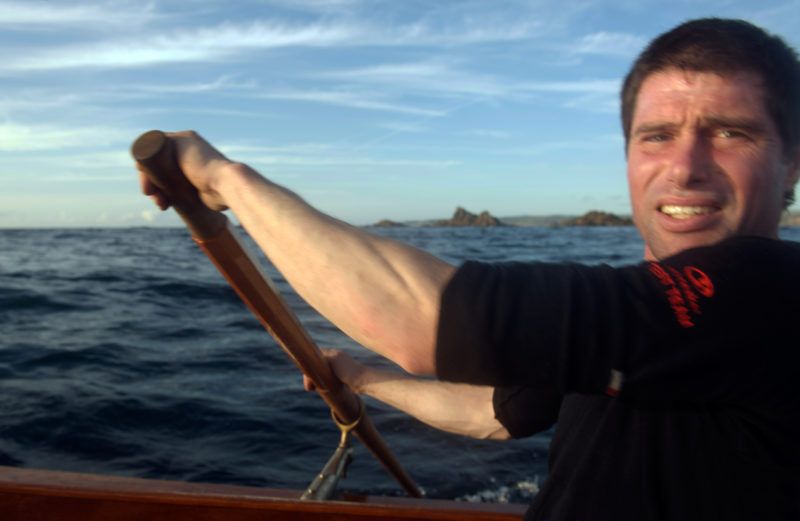
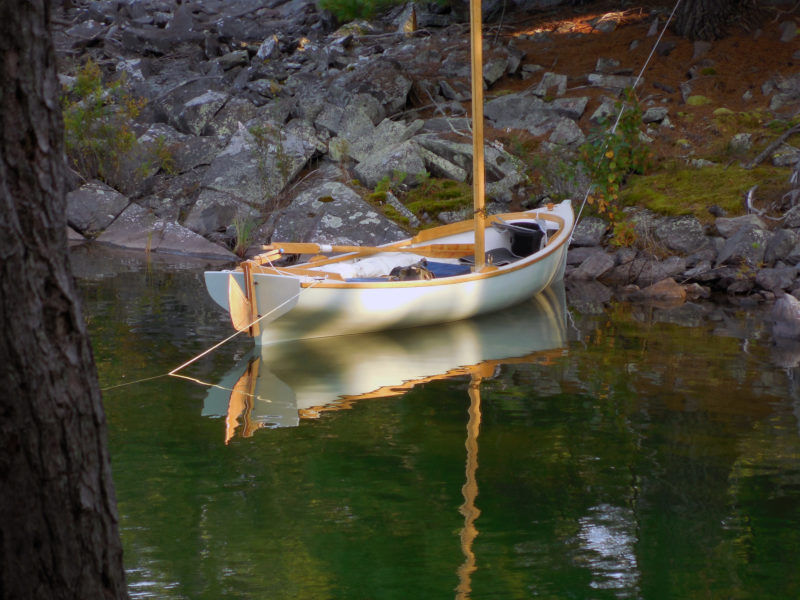
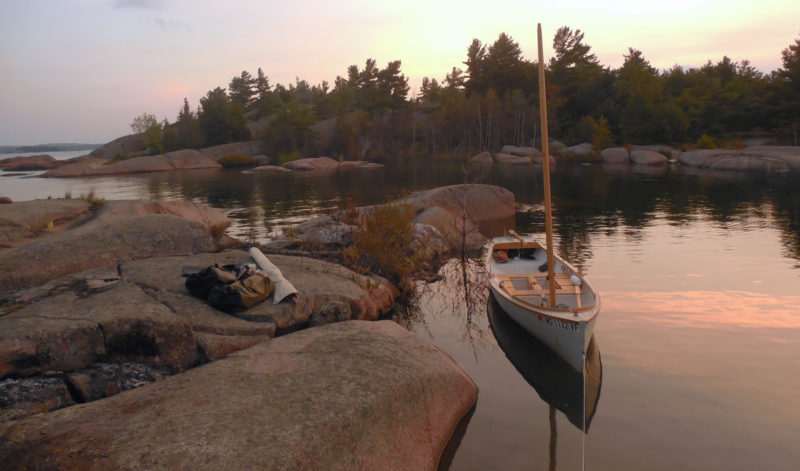
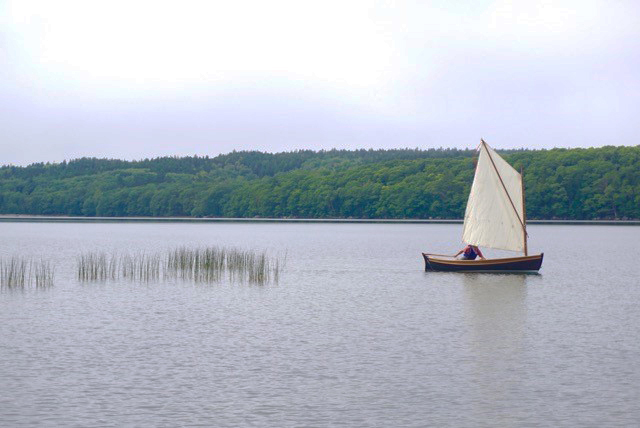
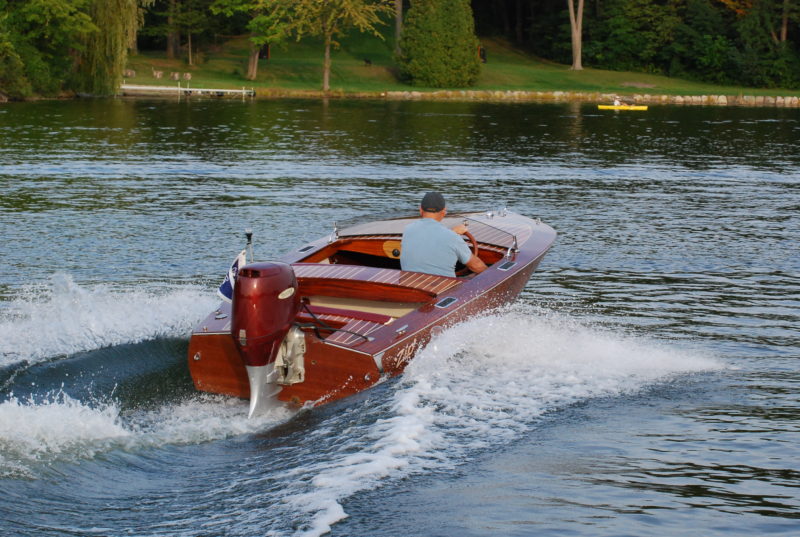
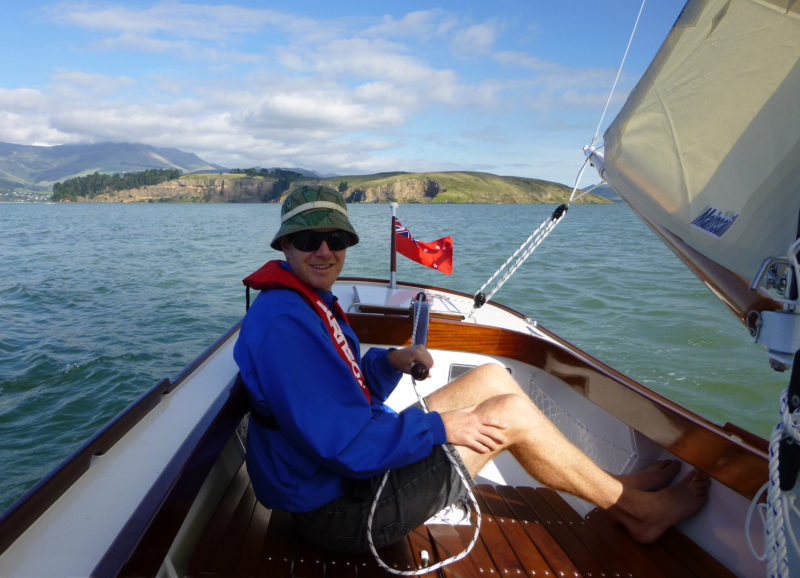
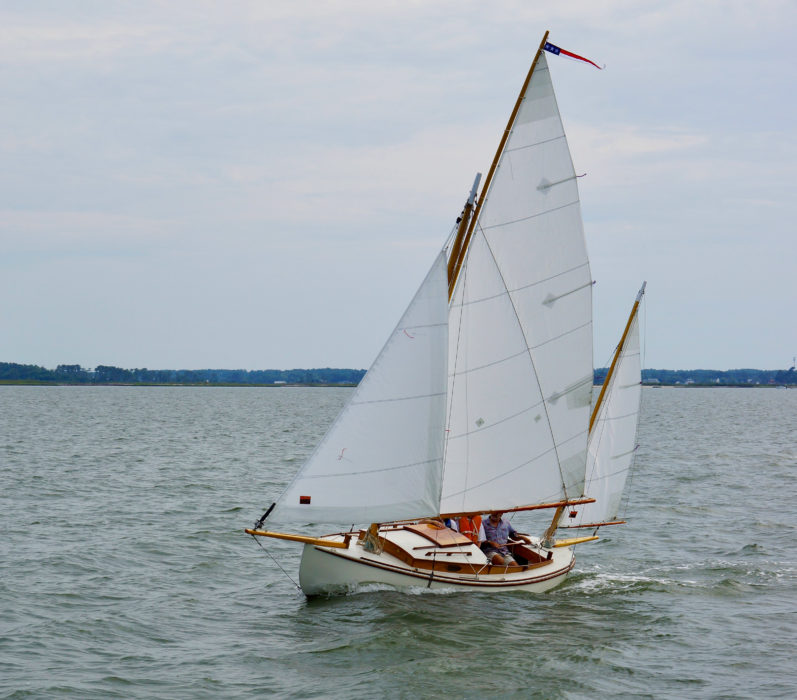
The author reports that his Eel, WINKLE, is “a joy to sail, fast and responsive. Immensely satisfying.”
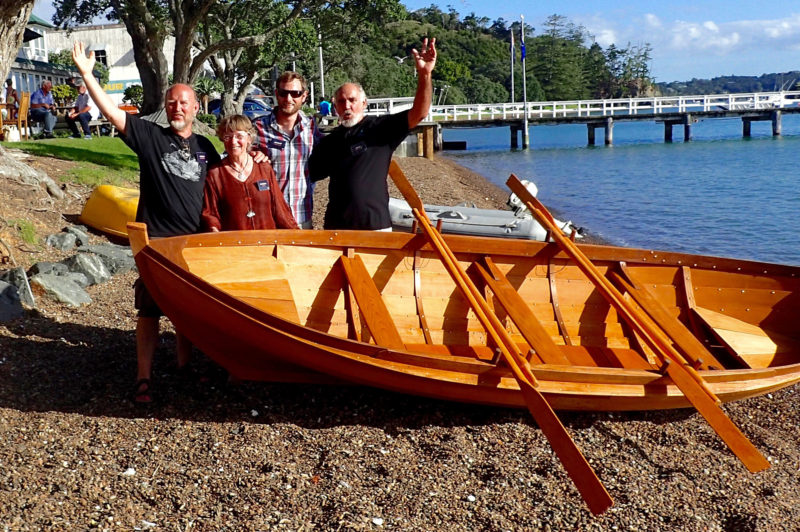
My Eel took over five years—and an enormous amount of patience from my wife for a project that took over half of our garage—for me to build, but it was well worth the effort. It has been a pleasure to own and sail, and generates many compliments. WINKLE sails the Poquoson River which feeds into the Chesapeake Bay just below the York River. My wife often joins me, and many of the folks who helped build the boat volunteer to serve as crew. Whoever comes aboard is soon smiling. ![]()
Randy Colker is a retired psychologist living in Yorktown, Virginia. He started building boats after attending a class at The WoodenBoat School in Brooklin, Maine, and built several working his way up to the Eel. He loves beautiful wood and working with it.
Eel Particulars
Length: 18′ 6″
Waterline: 14′ 10″
Beam: 6′
Draft, board up: 5″
Draft, board down: 1′ 3″
Displacement: 1,350 lbs
Sail Area: 201 sq ft
Plans for the Eel are available from the WoodenBoat Store for $100.
Is there a boat you’d like to know more about? Have you built one that you think other Small Boats Monthly readers would enjoy? Please email us!