Seaford skiffs first appeared in the shallow marshes around the New York town of Seaford, Long Island, in the early 1870s. They are an evolutionary product of skiffs commonly used by local baymen for hunting waterfowl, digging clams, and fishing. Boatbuilder Samuel Gritman is credited as the primary originator of the Seaford type, but other builders such as Paul Ketcham of Amityville, and Charles and Sidney Verity of Seaford, built many and contributed their own modifications to the design from its inception through the 1950s.
The Seaford type very closely resembles the melonseed skiff, which was native to the marshes and estuaries of New Jersey. Both types were designed to work thin waters and sit upright on their bottoms when beached, but also be seaworthy enough to be safe in open water or in unforgiving winter conditions. The region around Seaford was a popular destination for recreational waterfowl hunters from New York City, and the cockpit of the Seaford skiff was designed to carry two people, most often a paying sport hunter and his local bayman guide. According to Barry Thomas’s article in the Log of Mystic Seaport from the summer of 1974, the skiffs were also very popular with the “market” hunters who were kept busy through the late 1800s “supplying hat manufacturers with birds’ breasts and wings to adorn ladies’ hats,” which, sadly, led to the extinction of several native species.
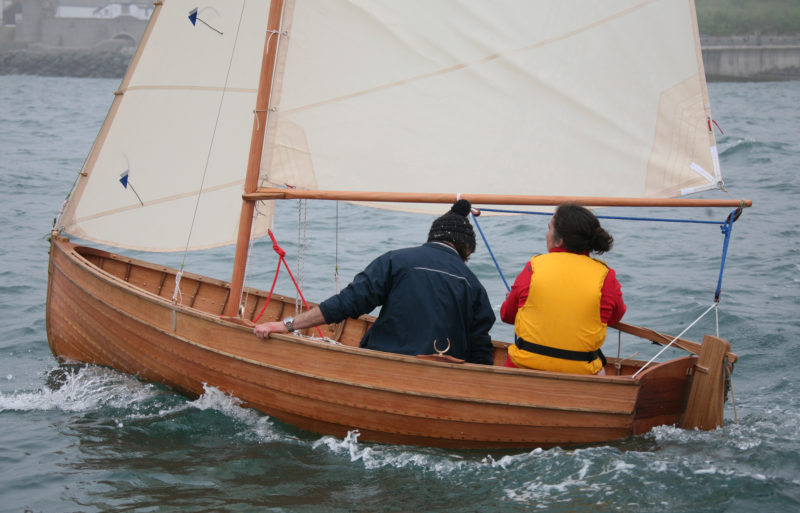
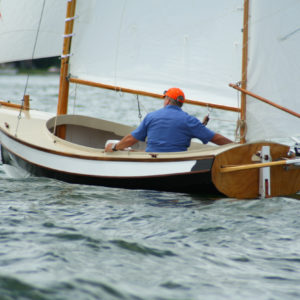
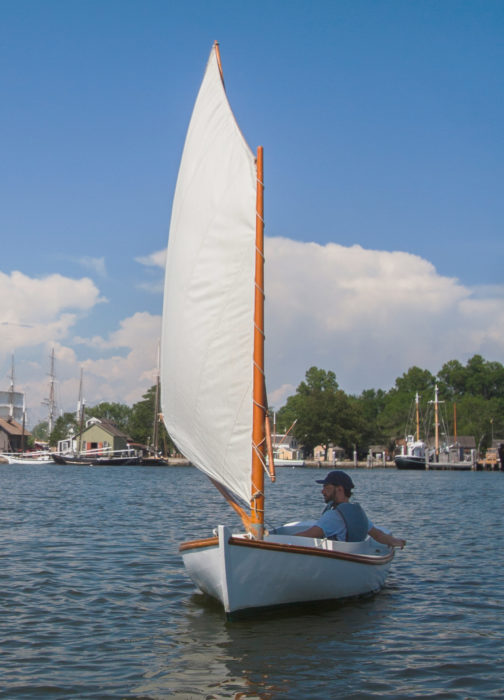
 Evelyn Ansel
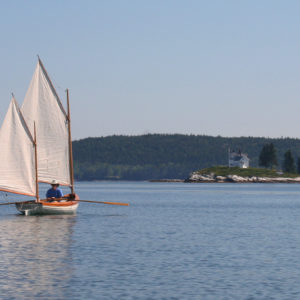
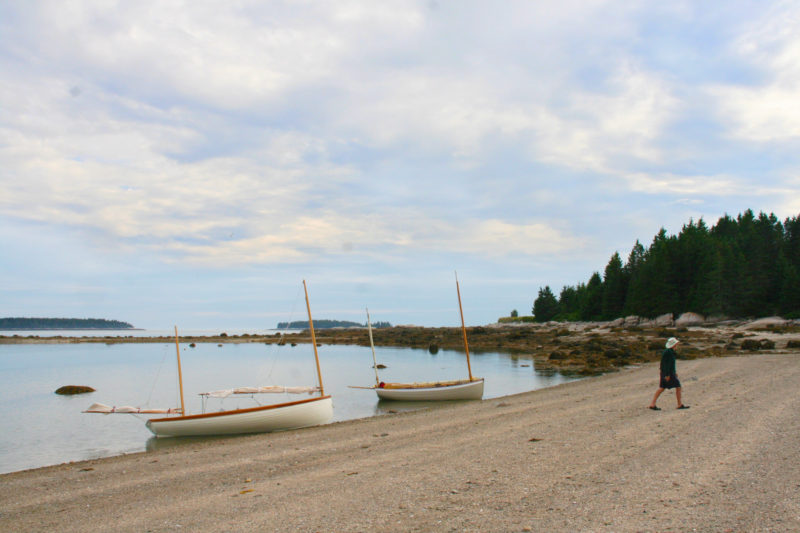
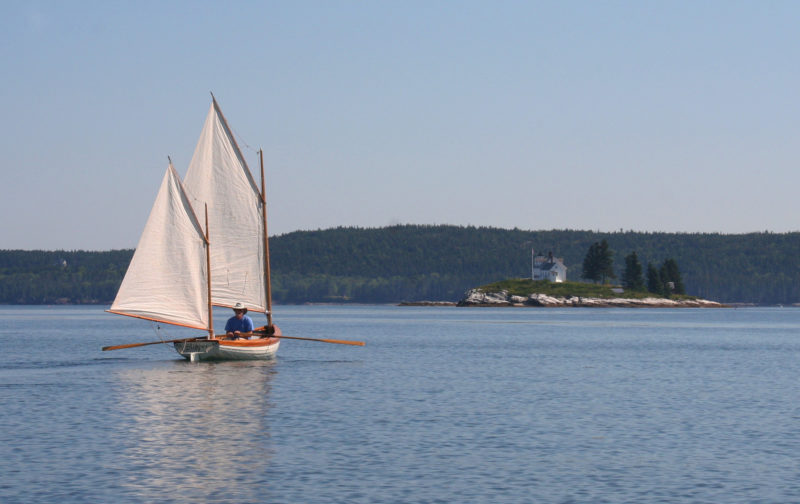
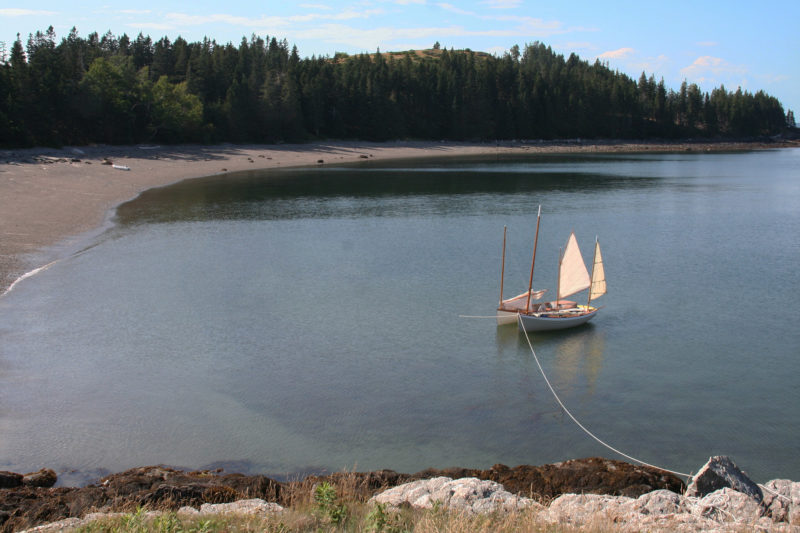
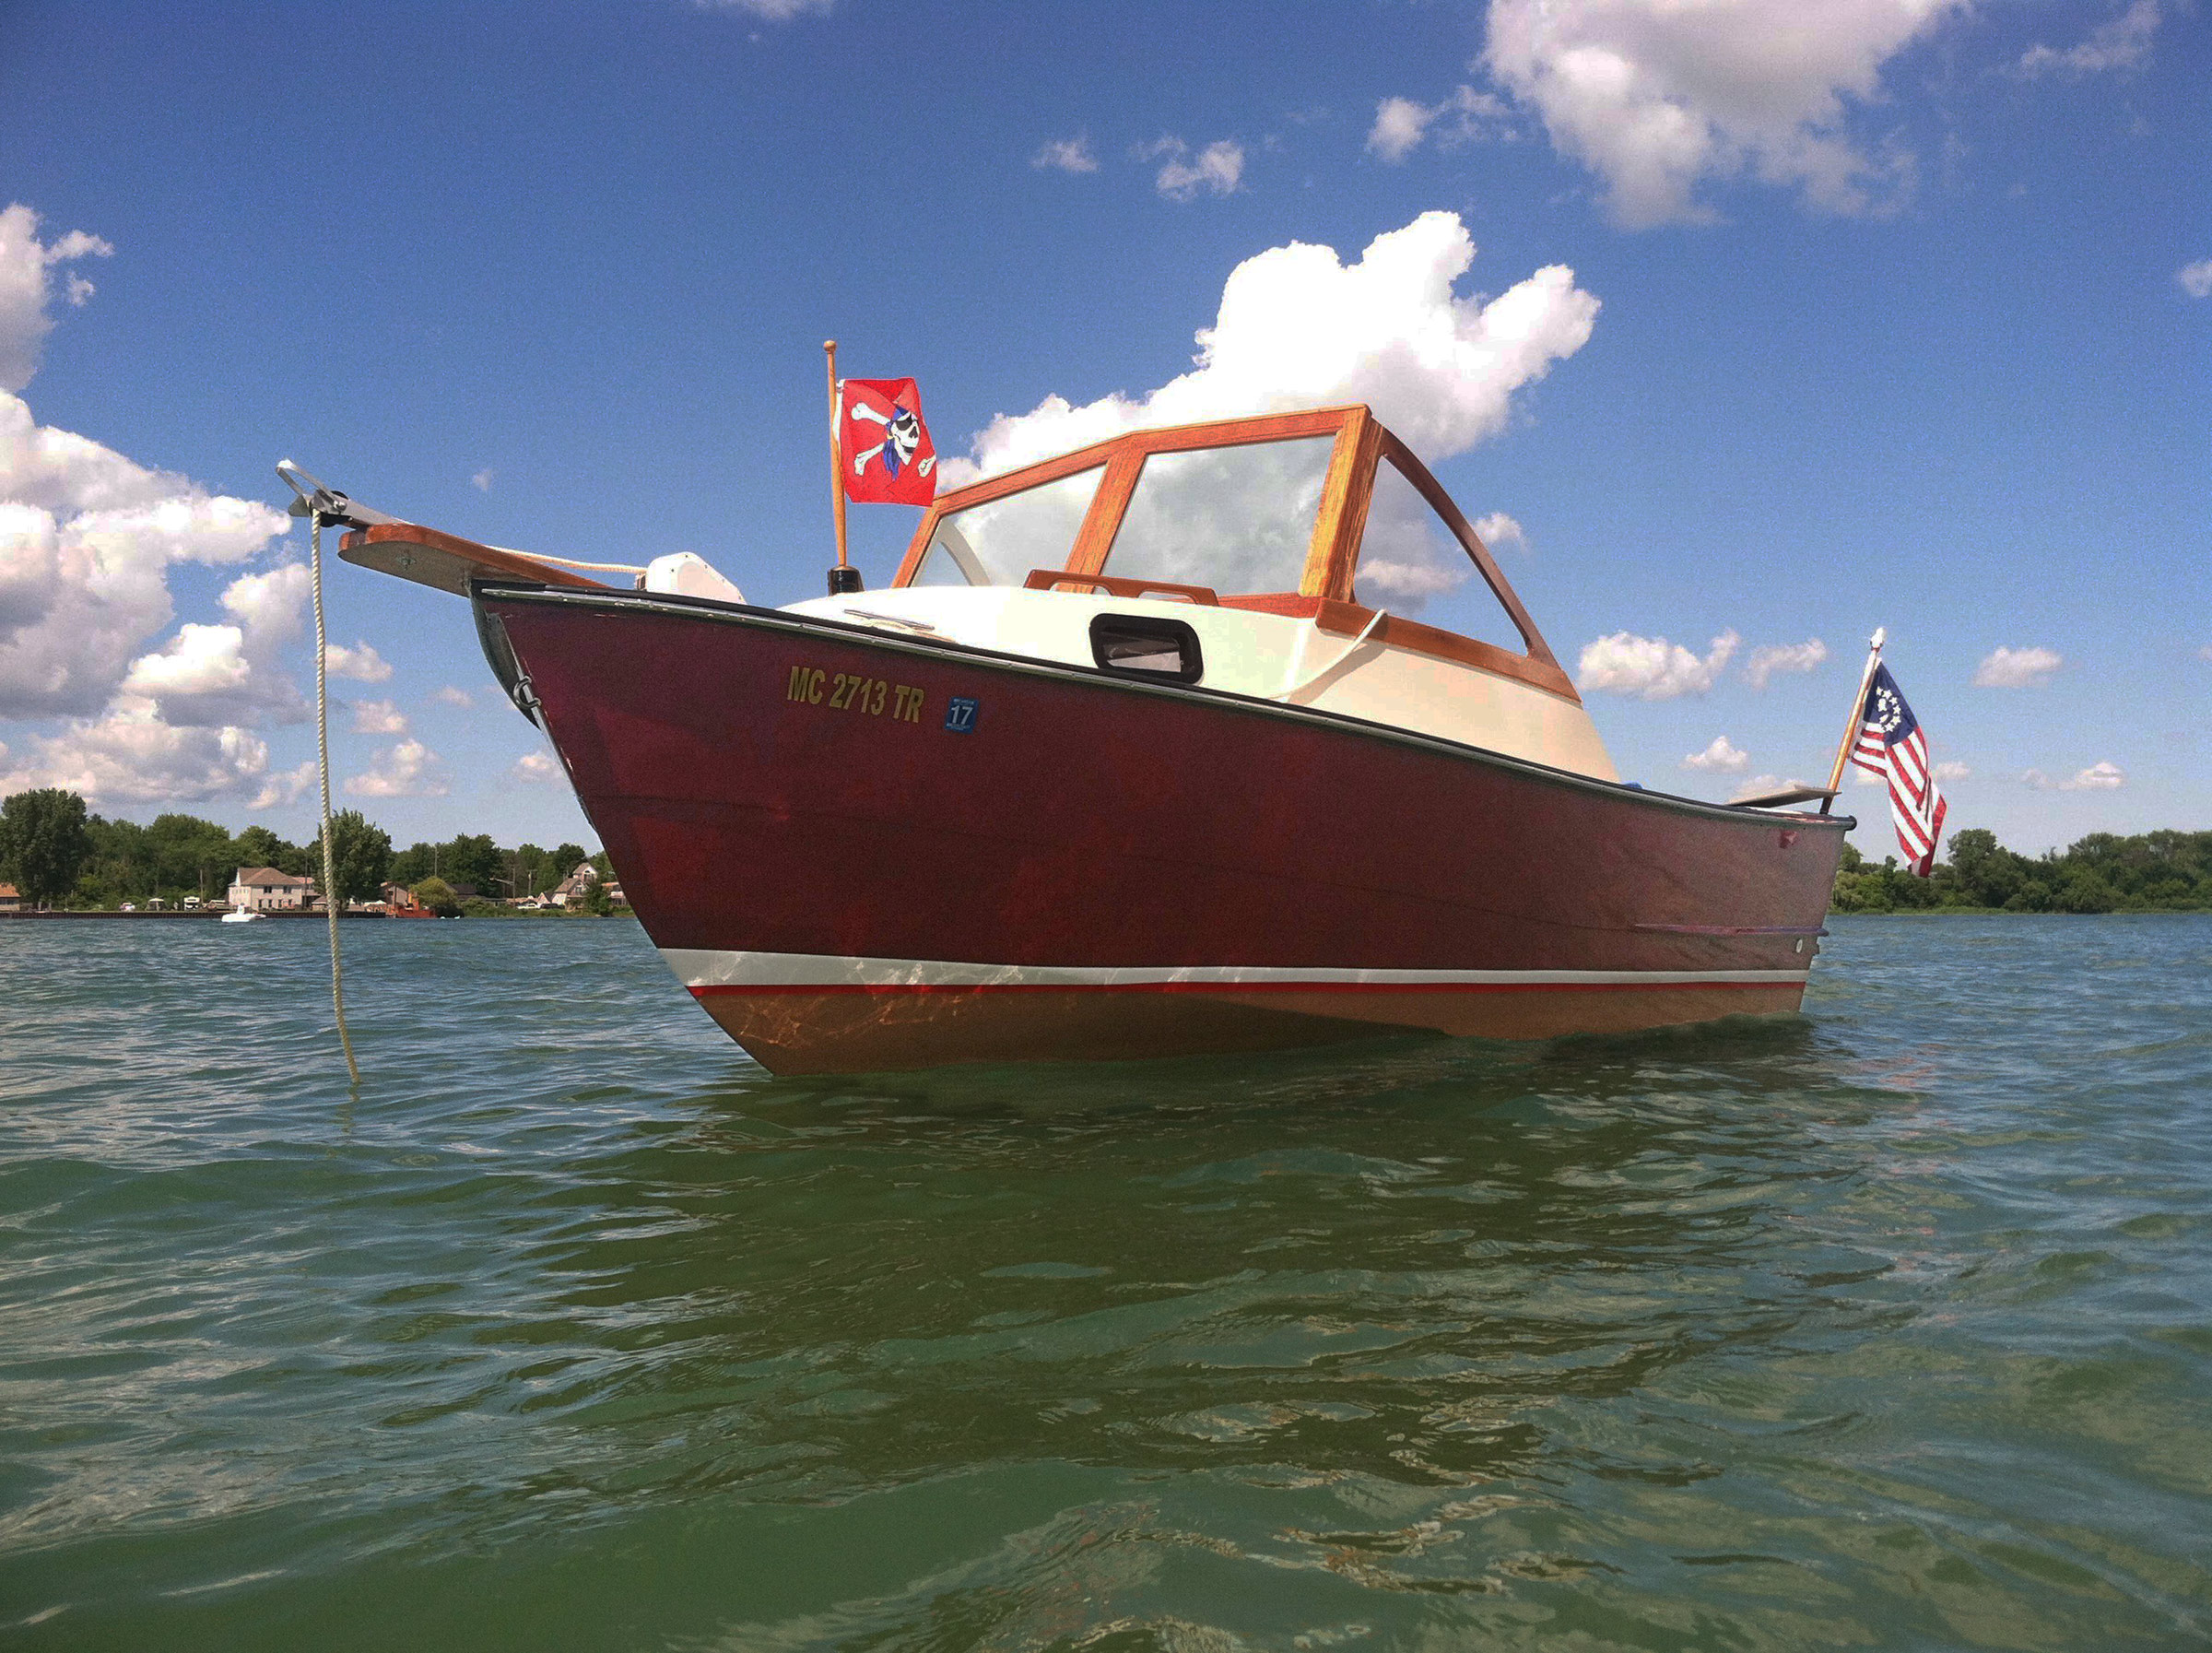
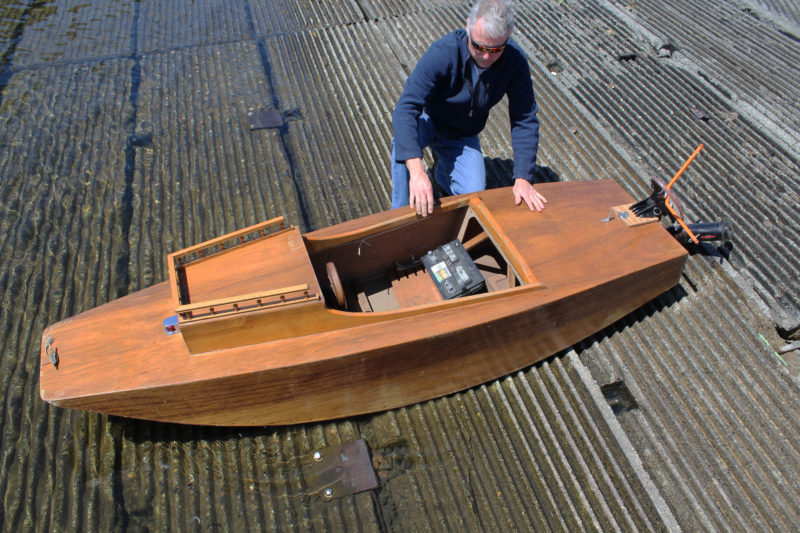
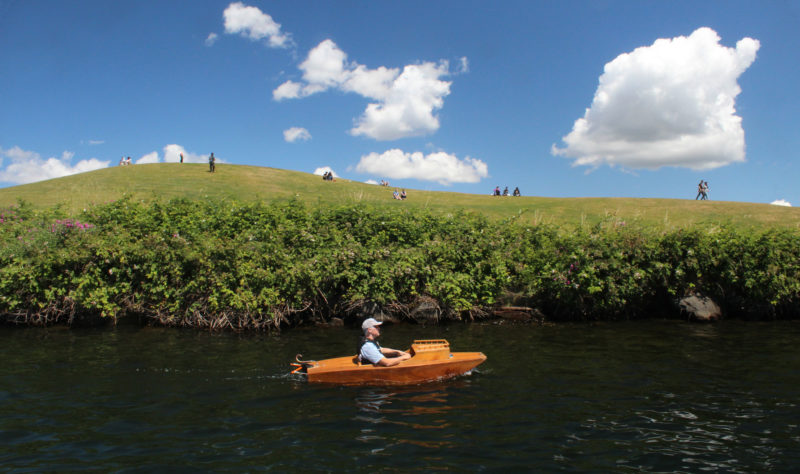
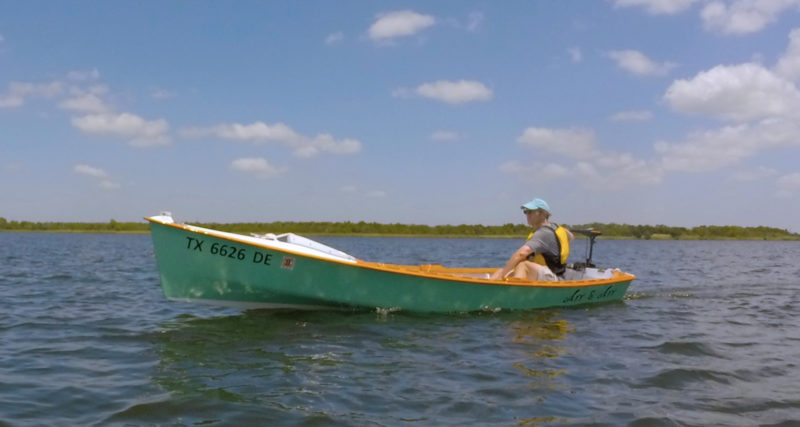
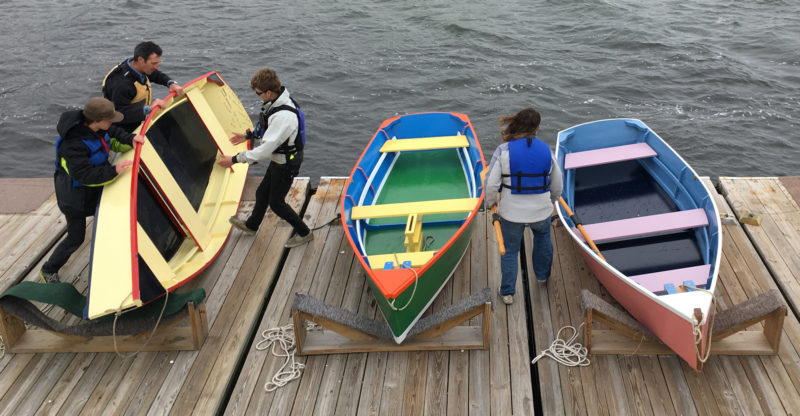
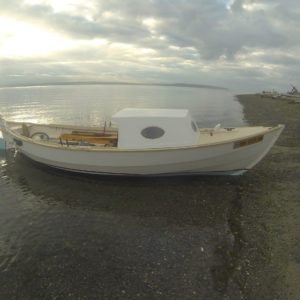
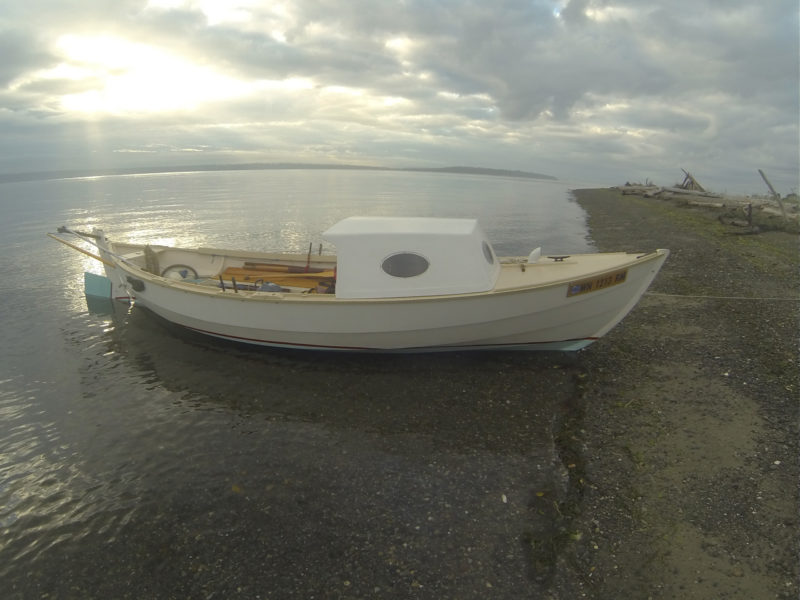
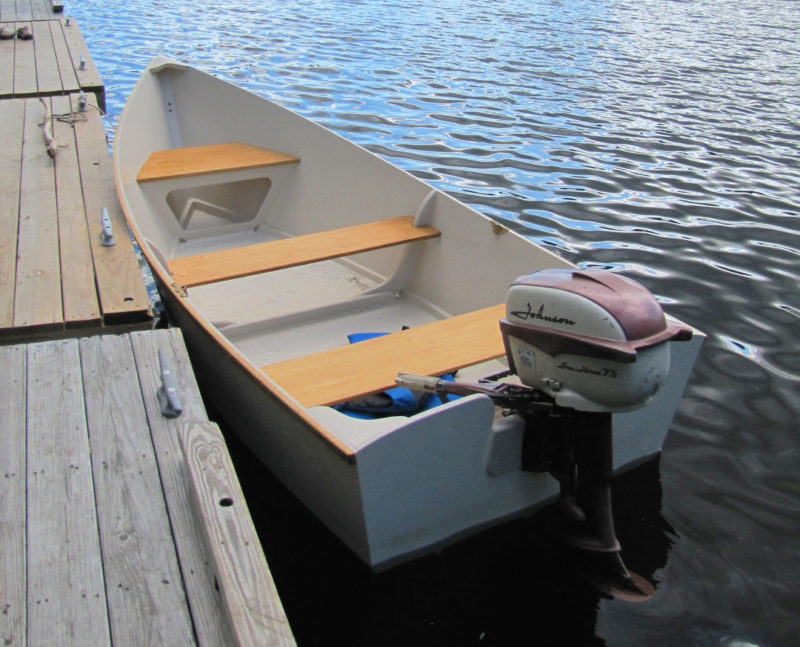
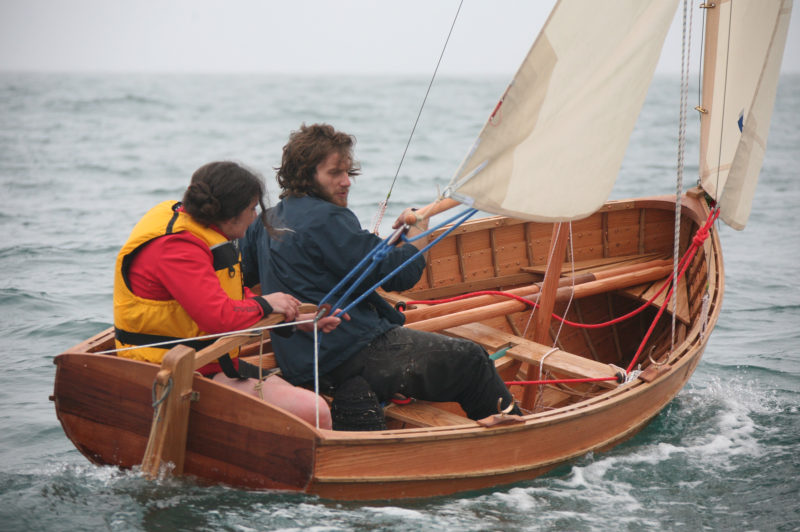
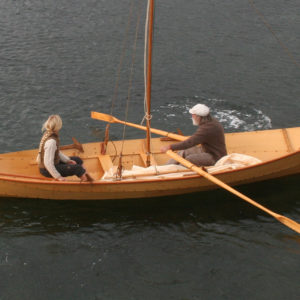
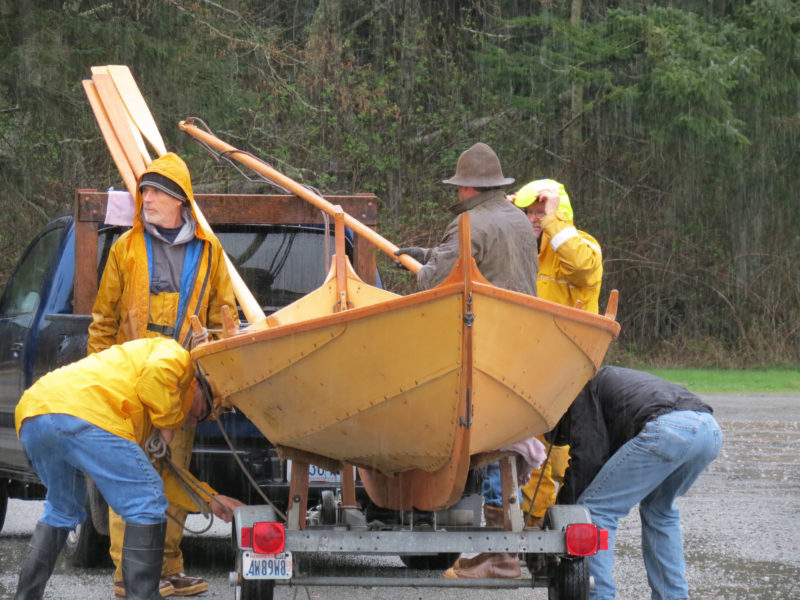
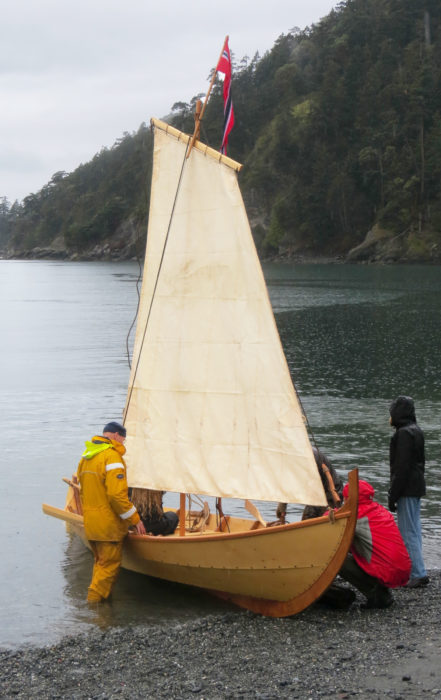
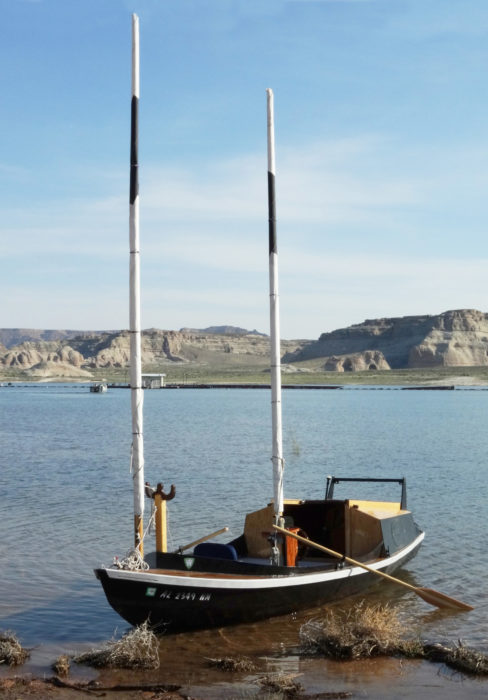
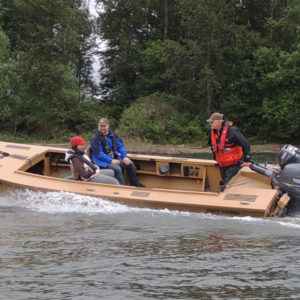
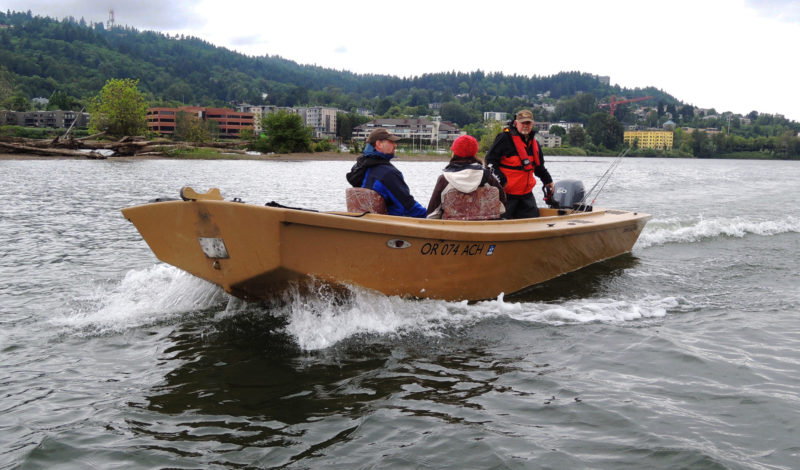
Seaford skiffs are handsome, classic little boats that will surely turn heads wherever they go. The rig and tiller are all easily stowed aboard and the light, shallow hulls are easily trailered. Launching or hauling on the beach requires little more than a pair of rollers and maybe an extra set of hands.
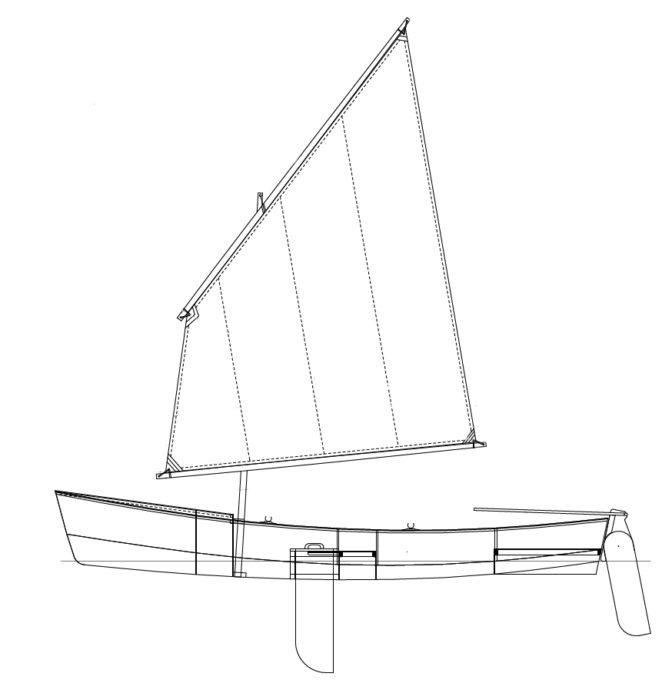
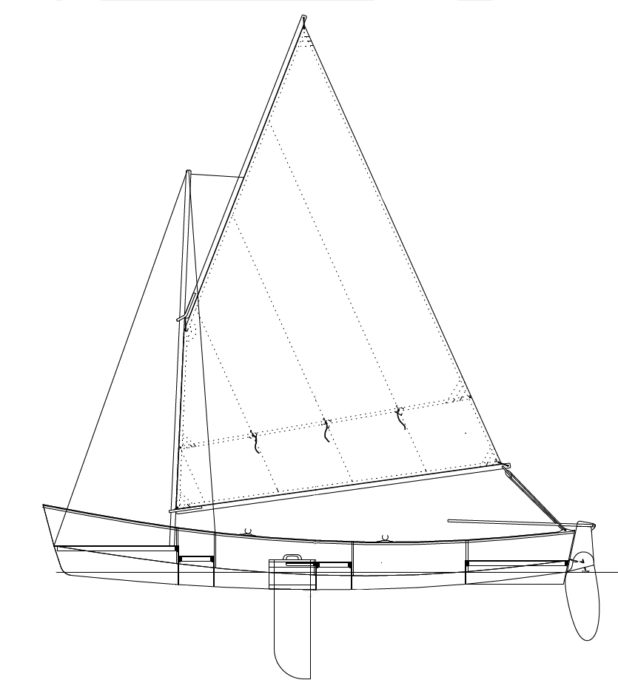
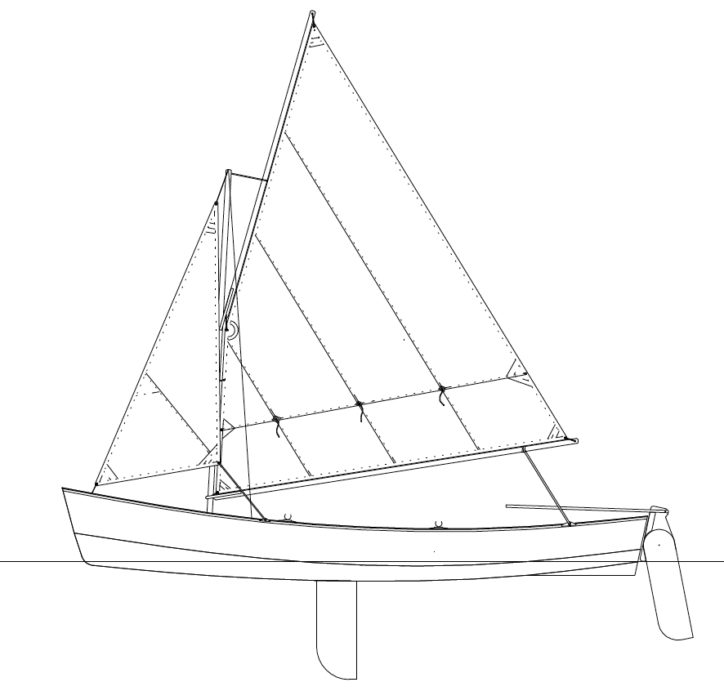
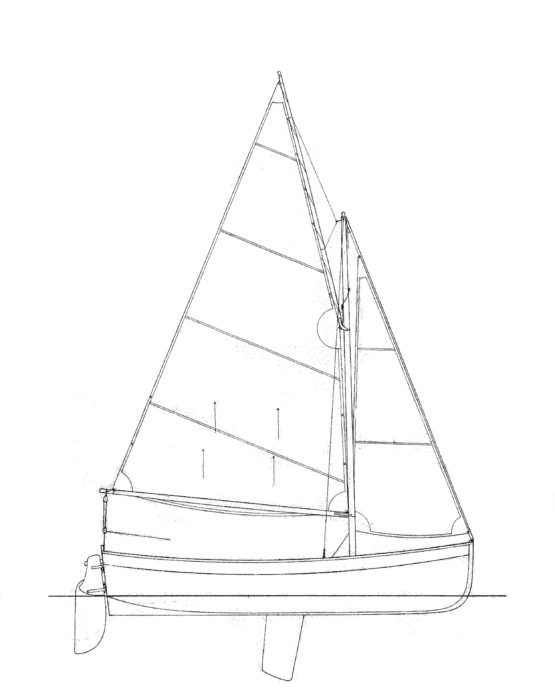
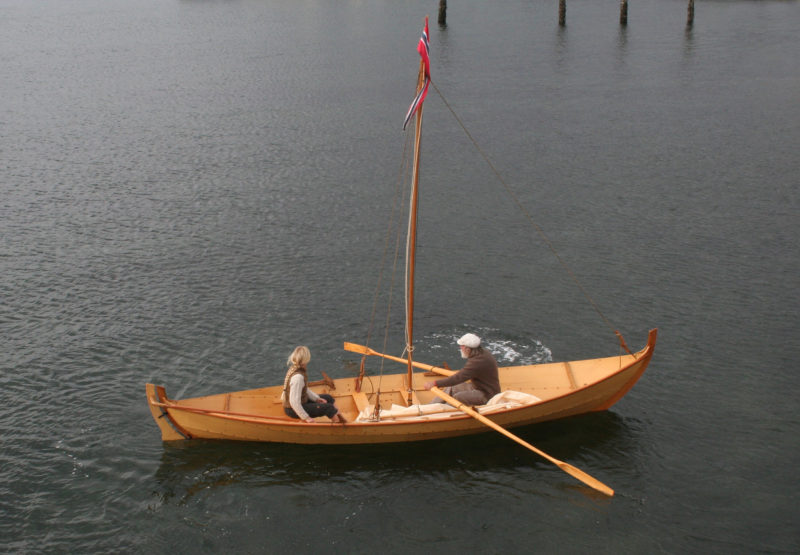
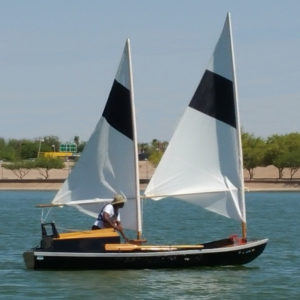
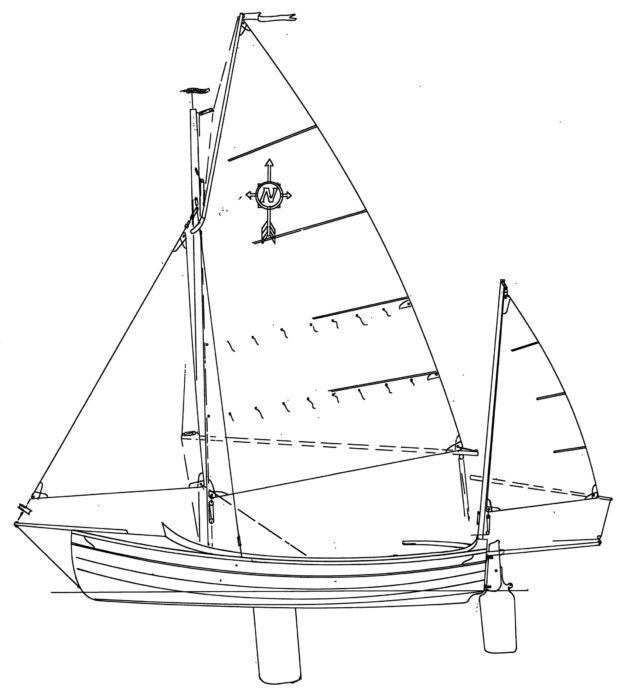
Seaford skiffs range in length from 12′ to about 15′6″ and carry a simple unstayed rig with a sprit and boom with roughly 66 sq ft of canvas. They traditionally carried a more conservative rig in winter, and a larger summer rig to catch the breeze on hot, still days. Today’s recreational sailors typically prefer the larger summer rig. Seaford skiffs are fine for their length with a beam seldom greater than 4′ 6″. This makes them easy to row or pole, and they track very well, almost to a fault. The hulls are very shallow and draw only about 8″ with the centerboard up.
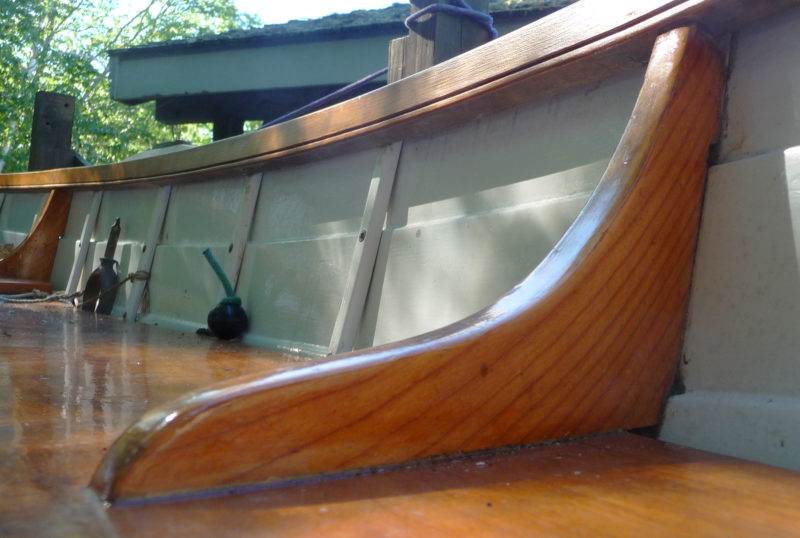
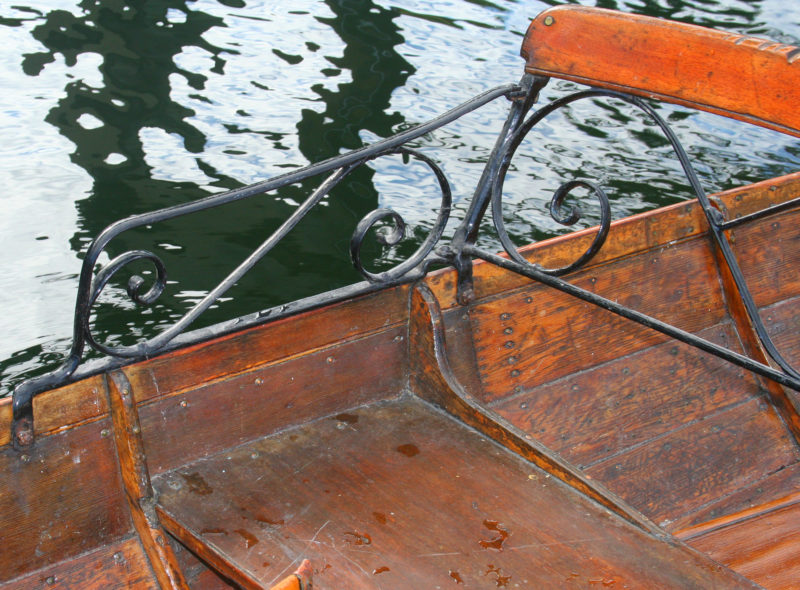
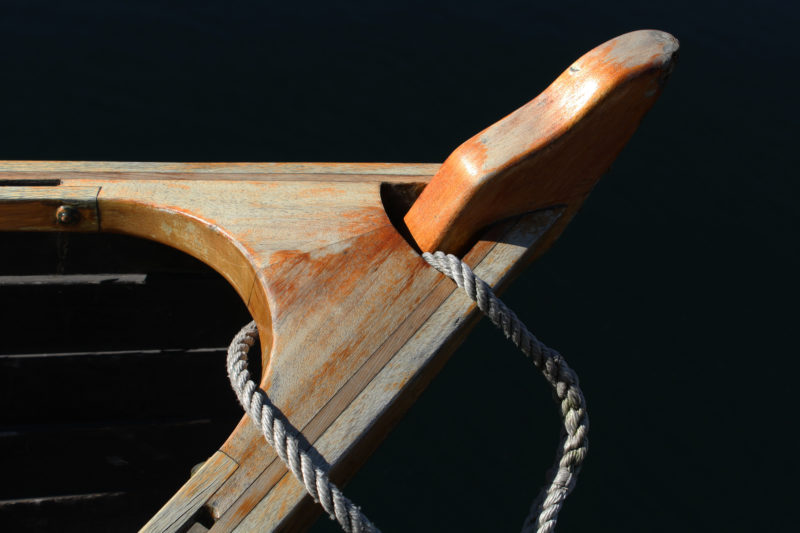
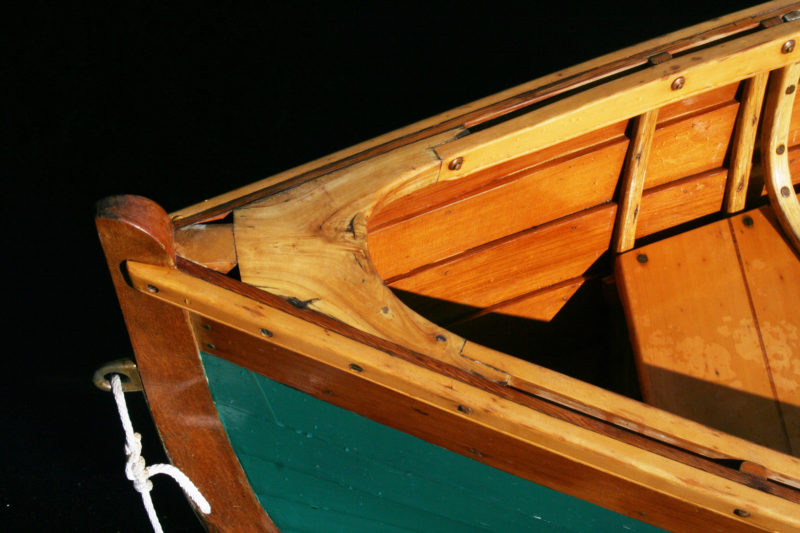
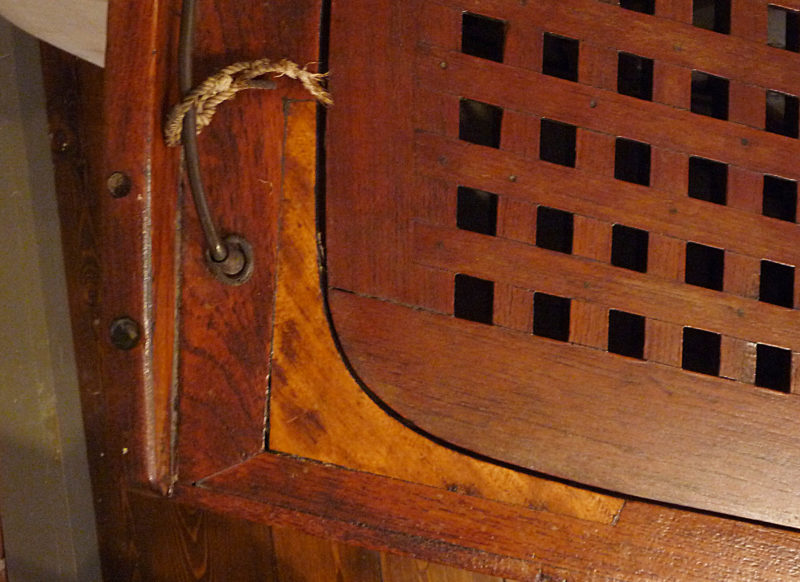
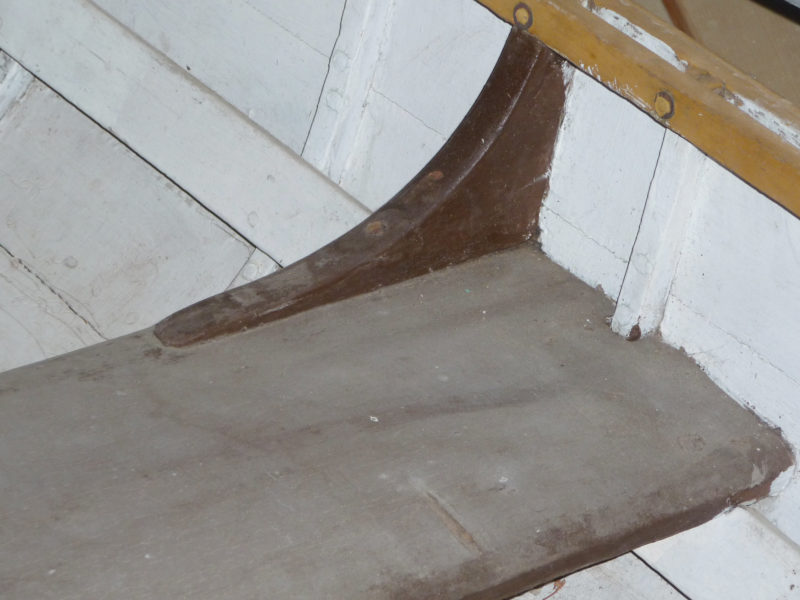
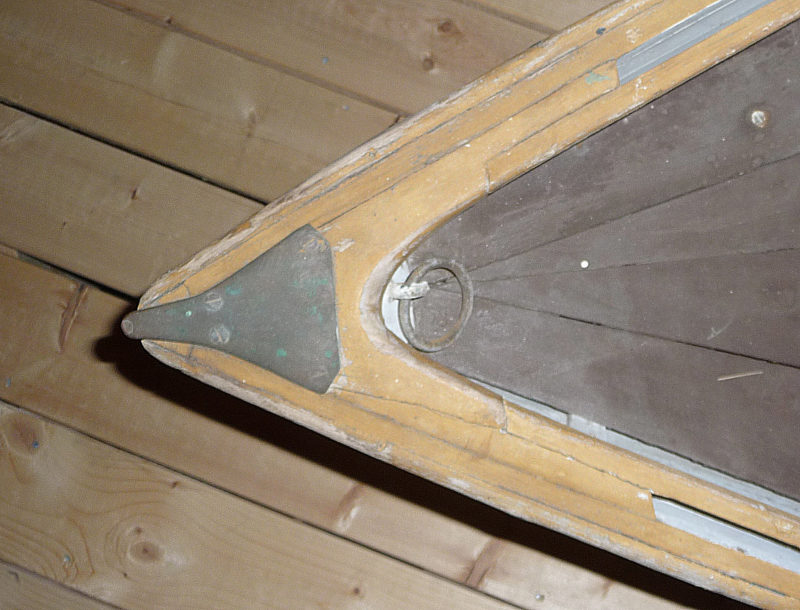
They have a very low profile, purportedly for low visibility when hunting. A cambered, canvased deck provides a versatile platform that, in addition to keeping the cockpit occupants happily dry, could be used to secure the rig, oars, decoys, ducks, or marsh-grass camouflage. The cockpit is protected by a high coaming and is only partially divided by the centerboard trunk, leaving just enough room for two to sit shoulder-to-shoulder while sailing. A raked transom helps lift the stern in a following sea, making for a more comfortable ride downwind.
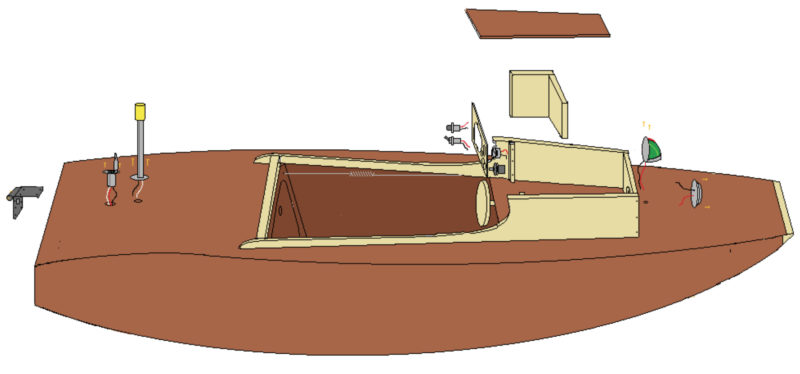
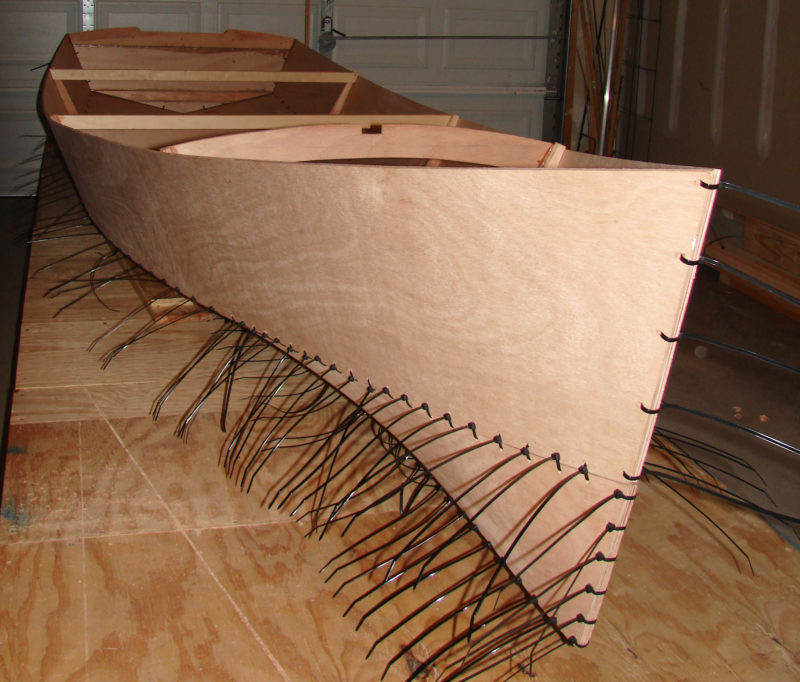
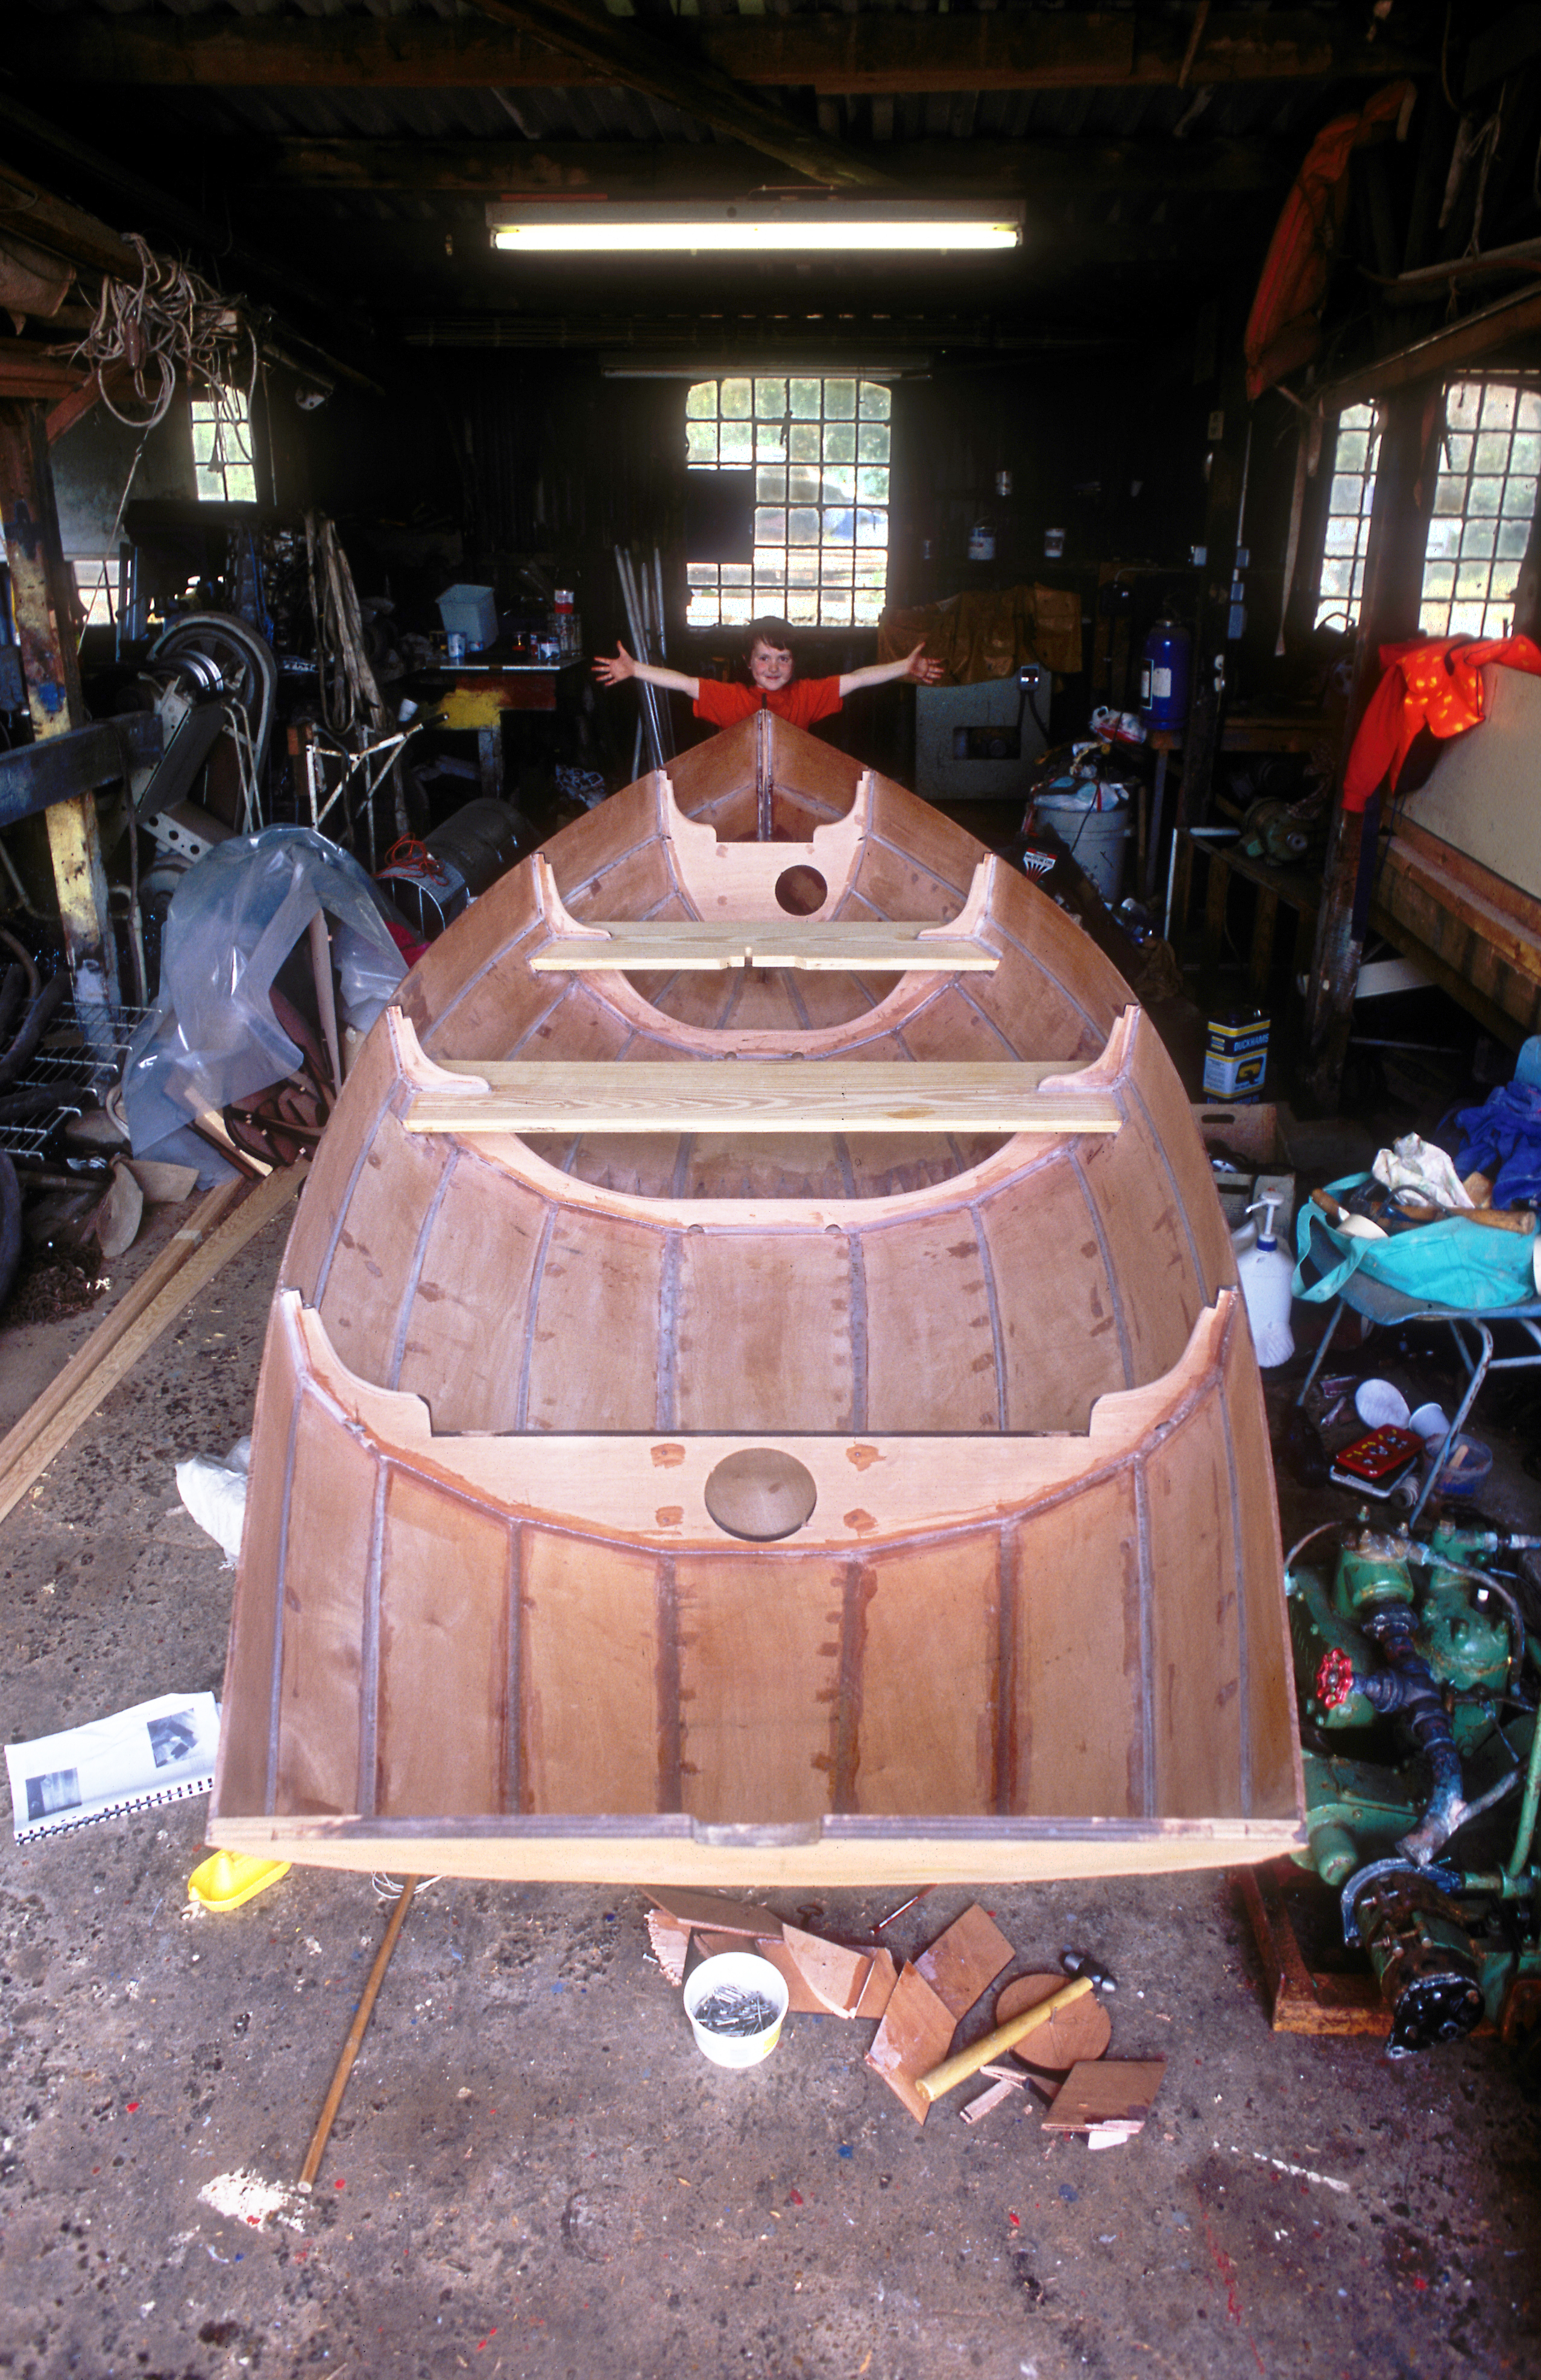
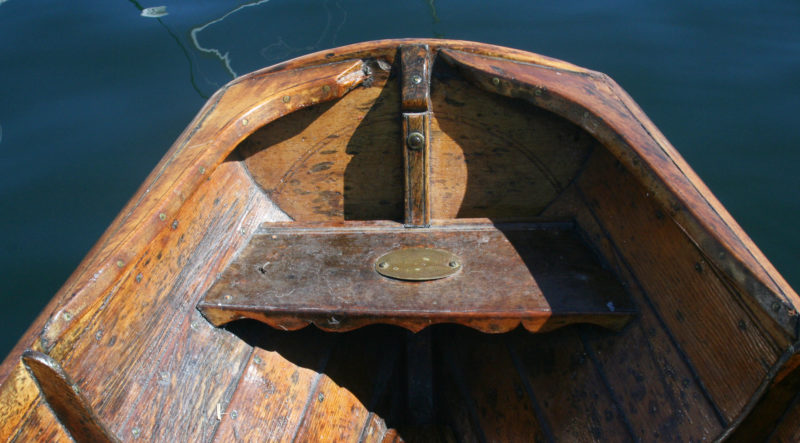
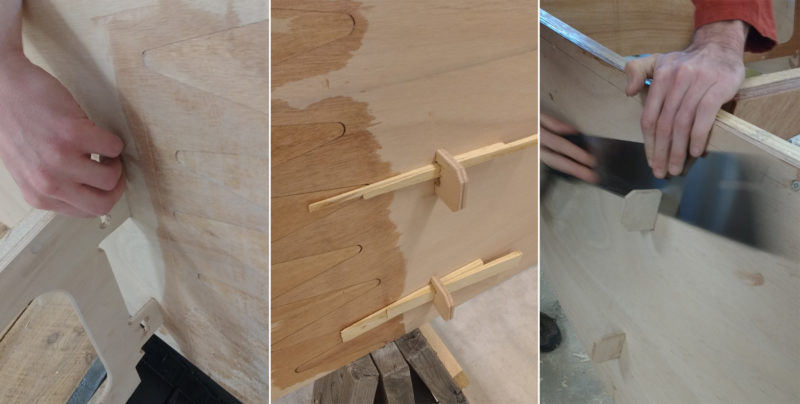
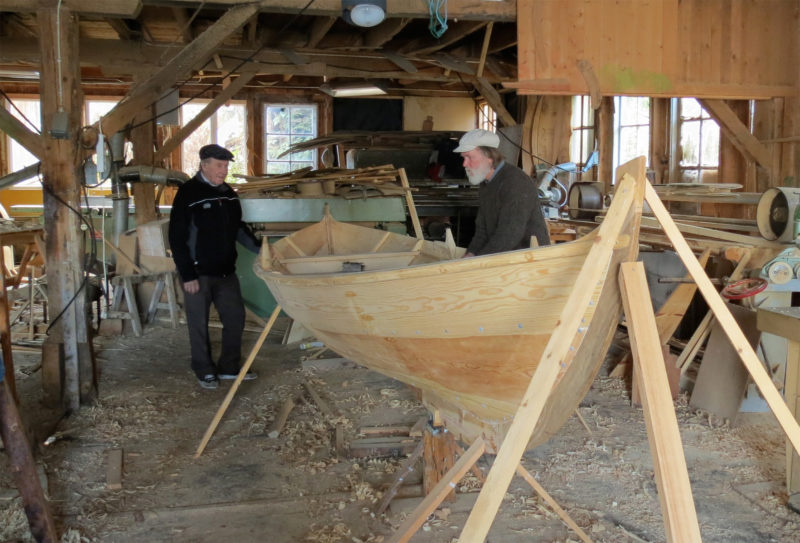
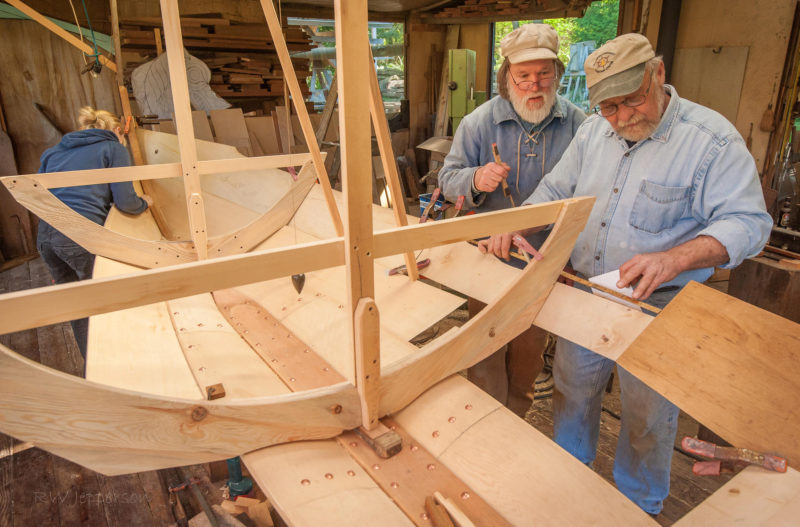
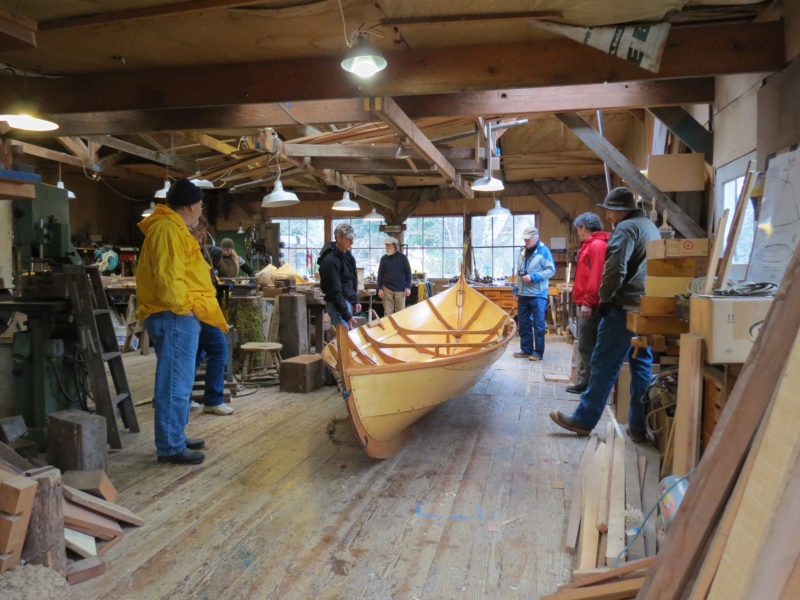
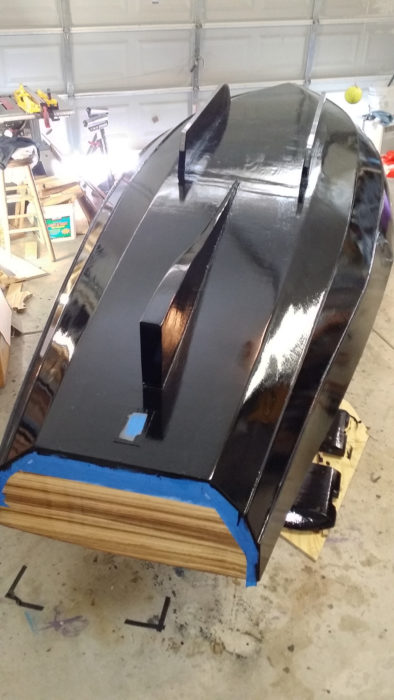
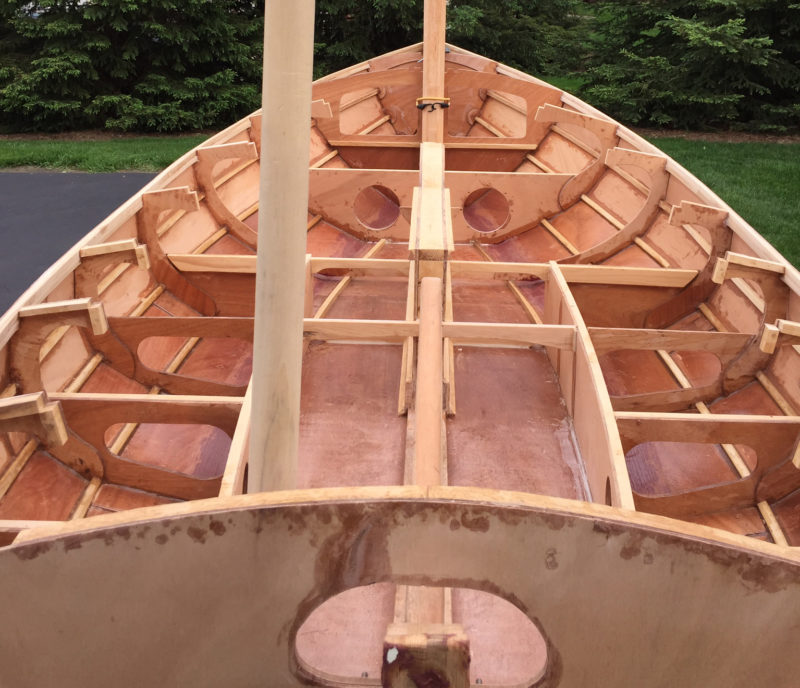
Both Seaford skiffs and melonseeds are far shapelier gunning boats than their cousin, the sneakbox. Like the sneakbox, Seaford skiffs are traditionally carvel planked to provide a smooth hull for stealth—guides believe that the sound of waves hitting the laps of a clinker-built hull might spook the intended prey. They are built from the plank-keel up, but can be built upside down if that’s preferred.
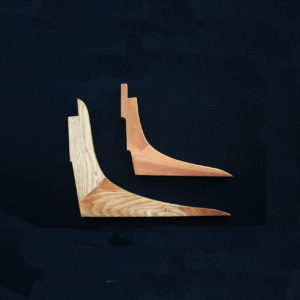
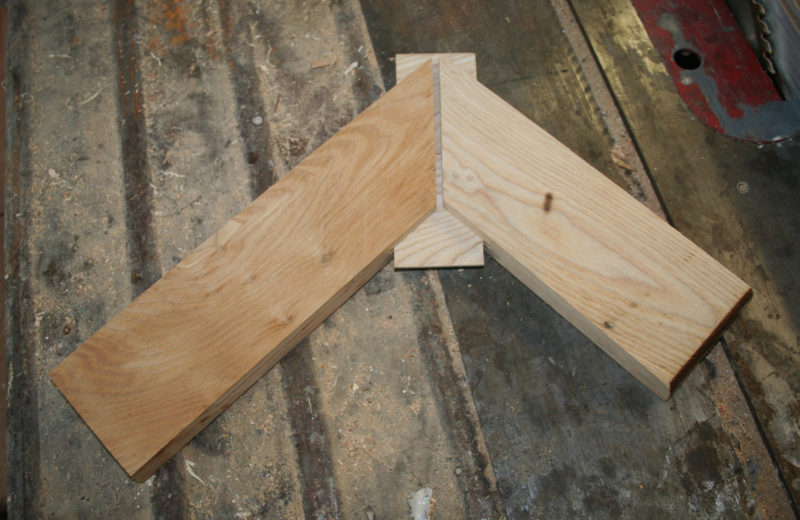
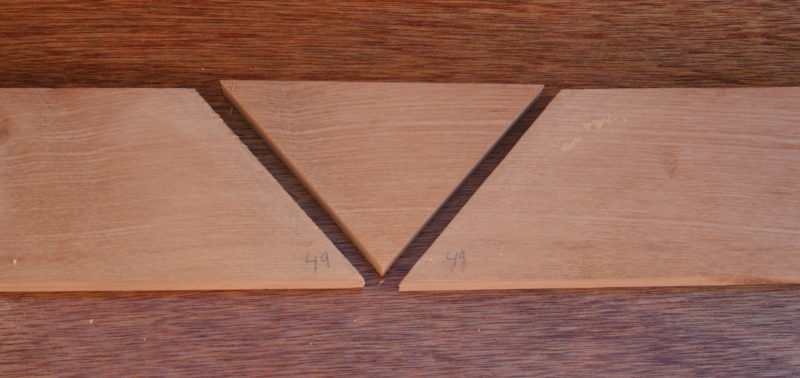
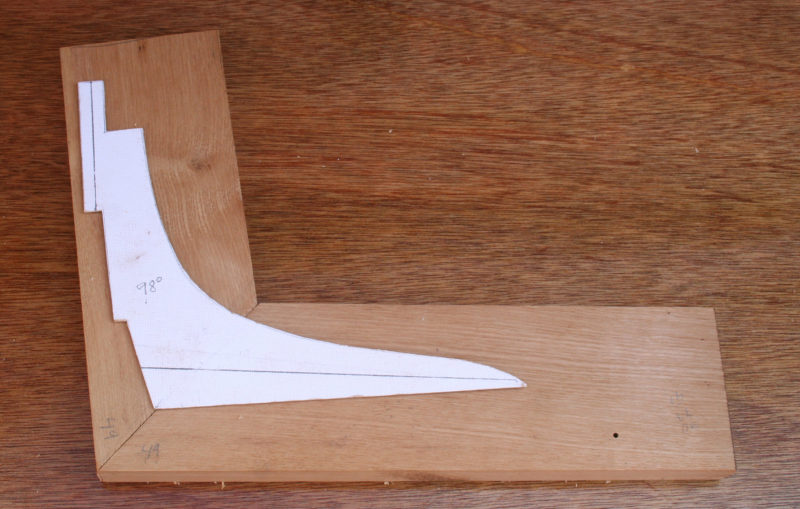
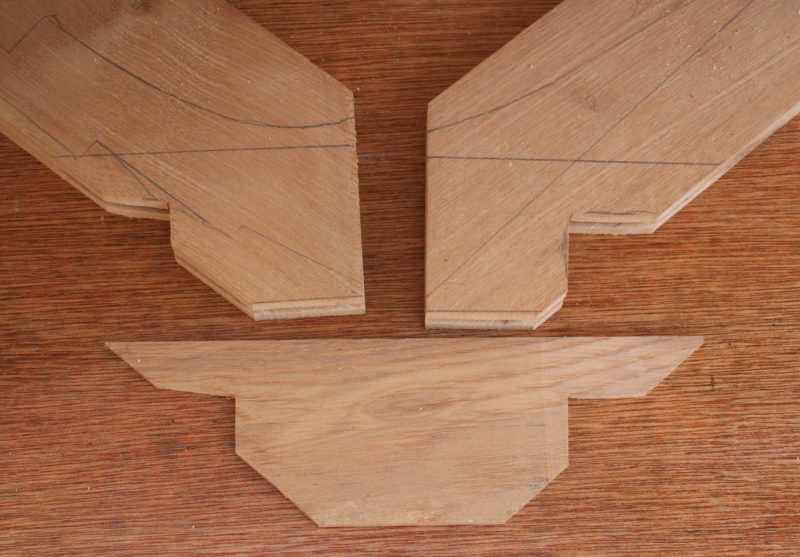
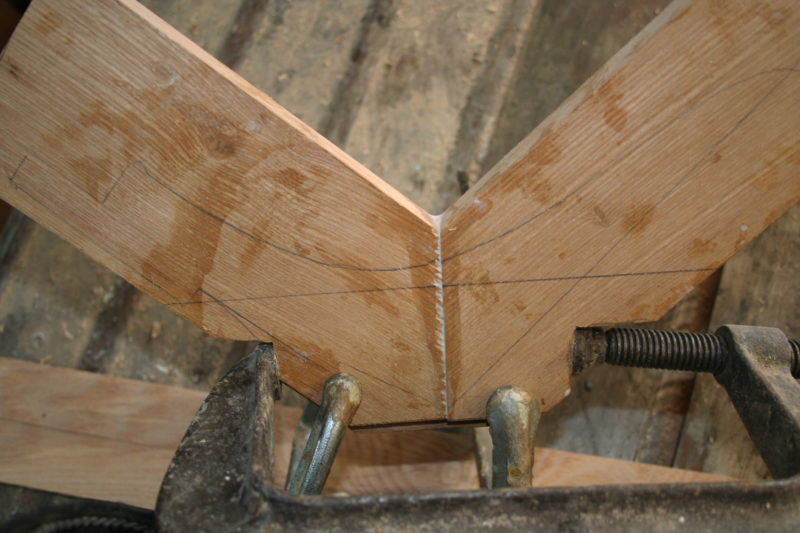
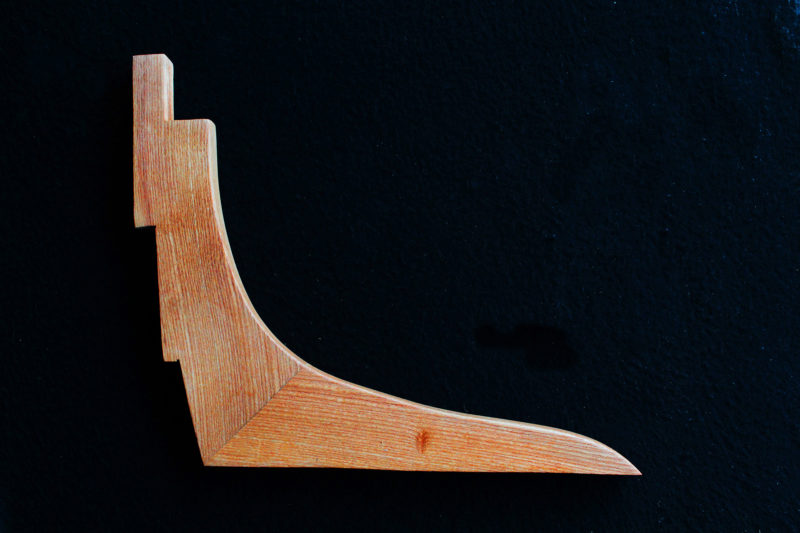
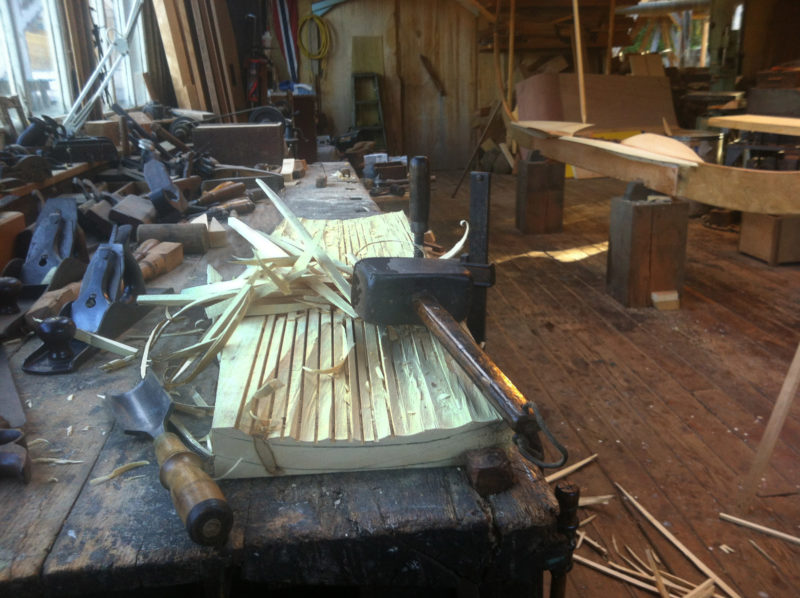
The plank keel, cut from a single board and as wide as 12″ to 14″ amidships, may be the most difficult piece of stock to source for traditional construction. It can be built up, in the fashion of a dory bottom, with two or three pieces of lumber. Laminating stock for the stem and substituting steambent oak frames for the traditional sawn frames, would also make acquisition of materials easier for the modern builder.
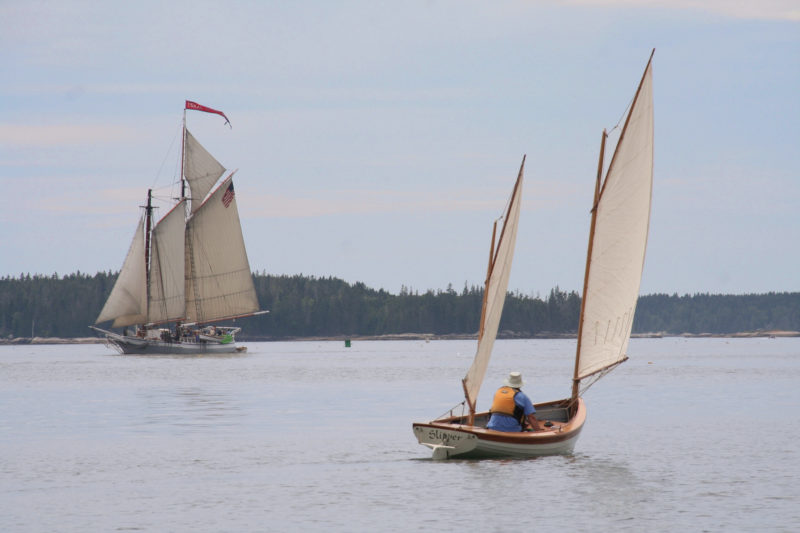
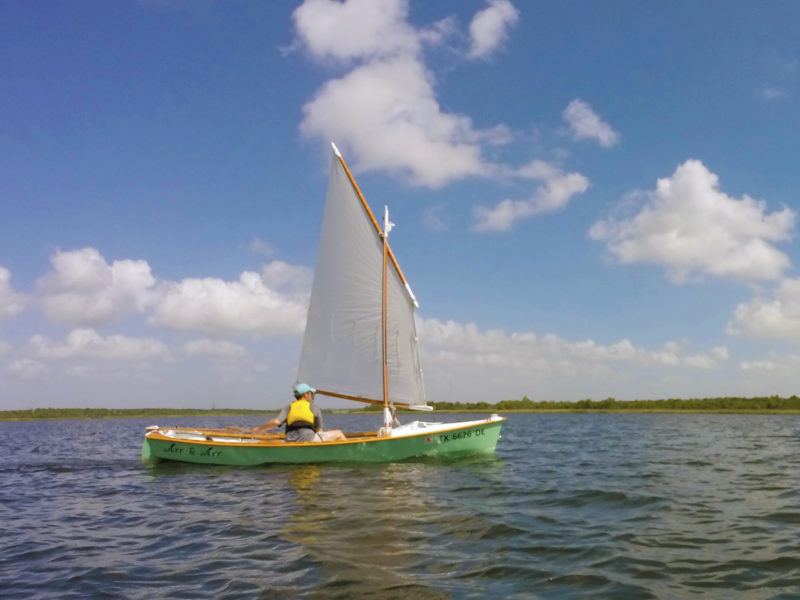
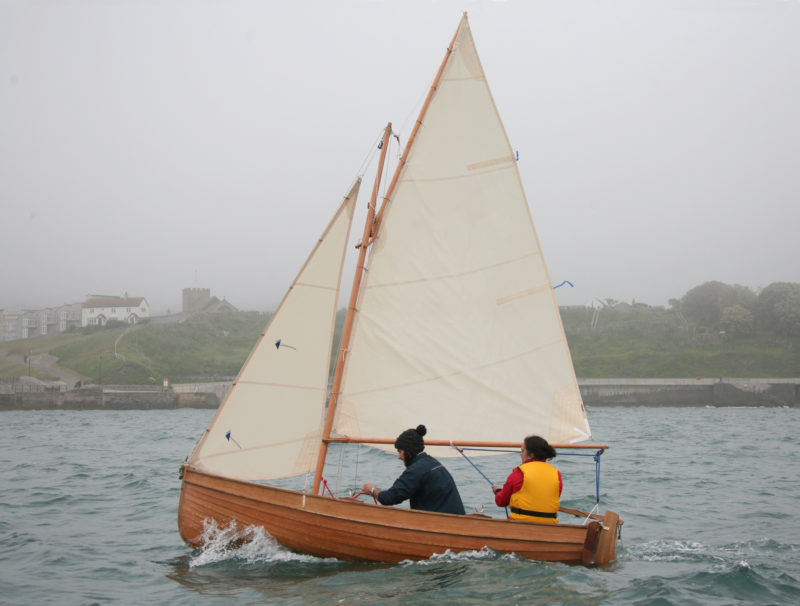
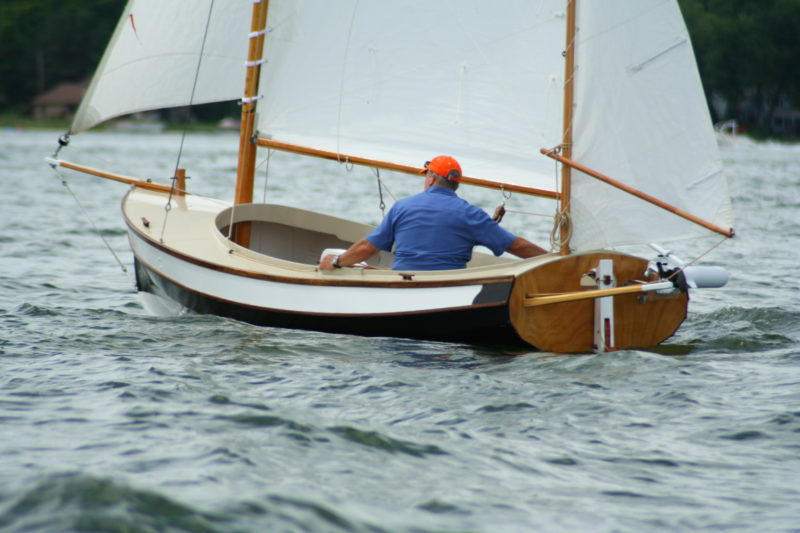
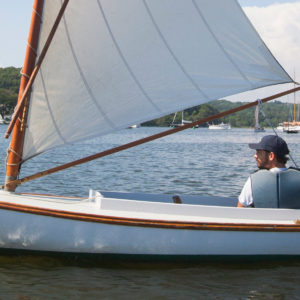
 Evelyn Ansel
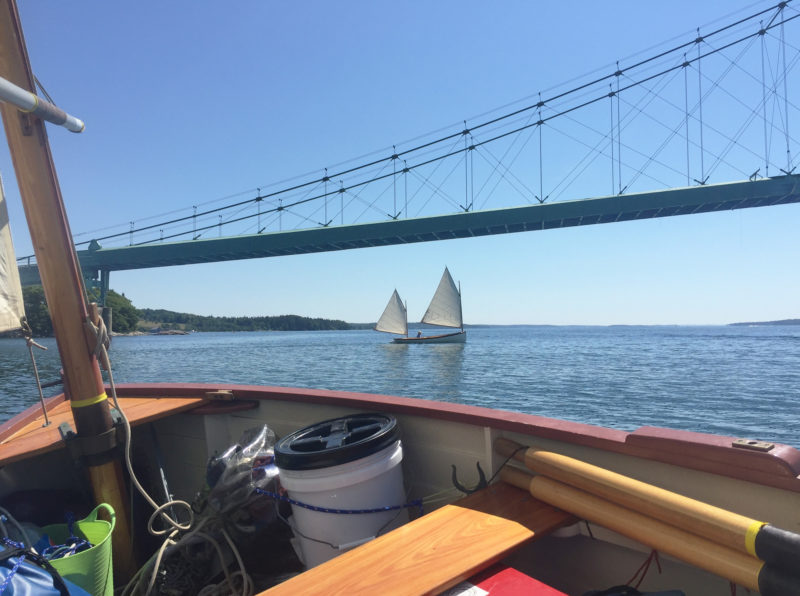
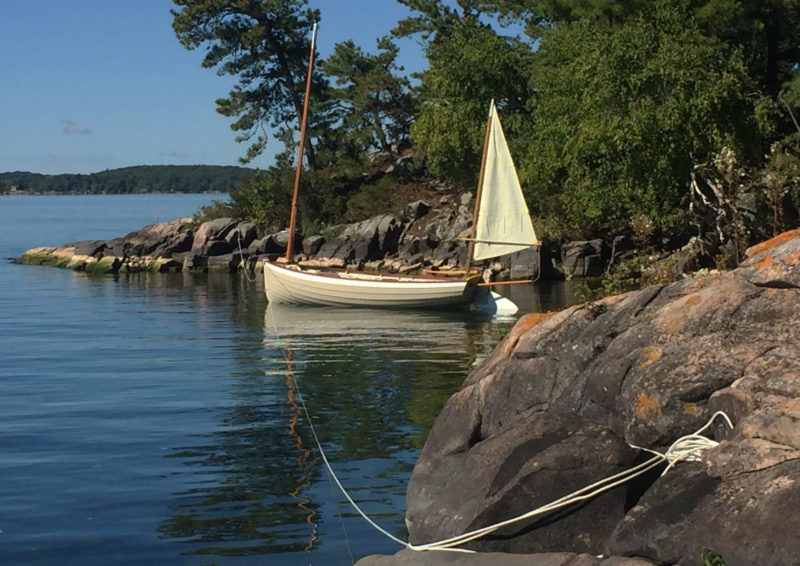
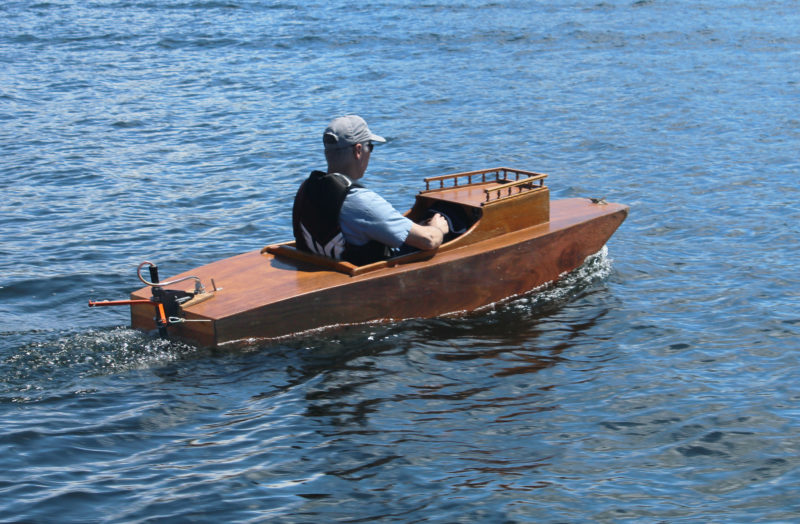
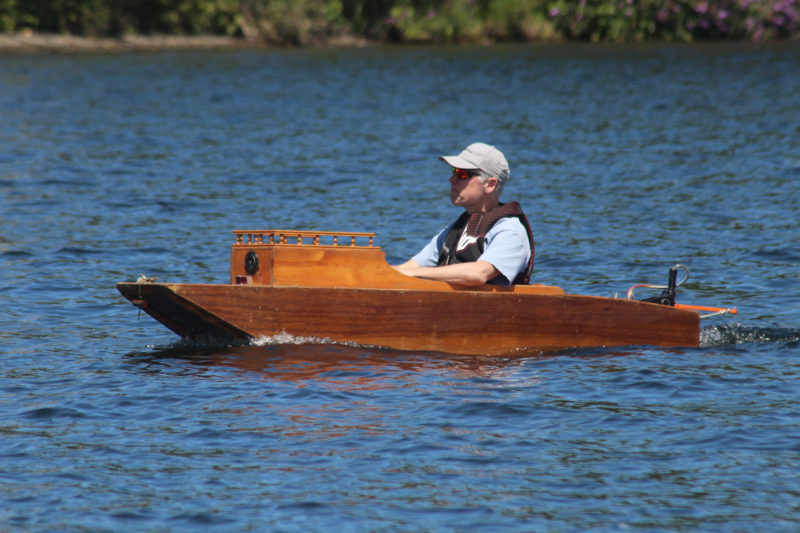
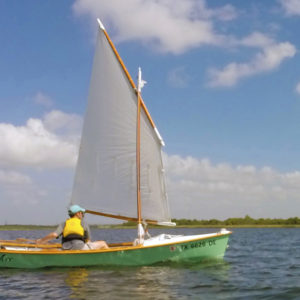
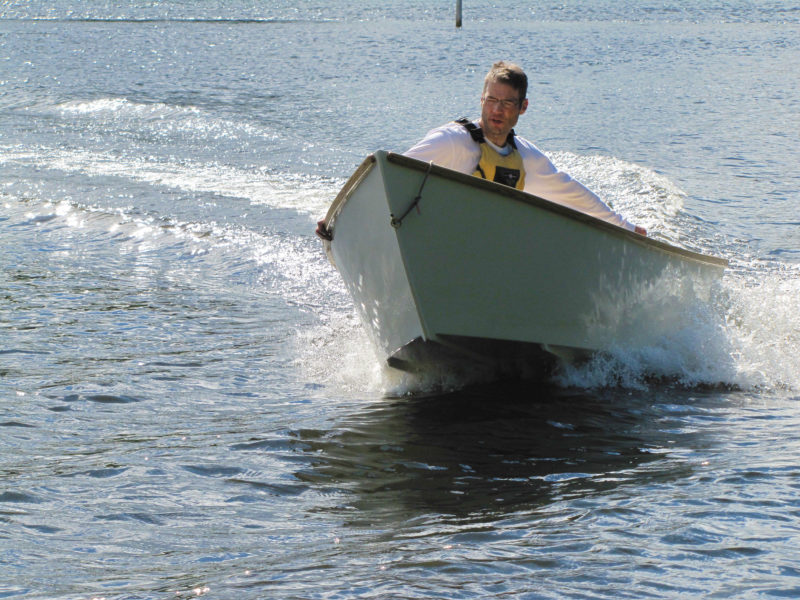
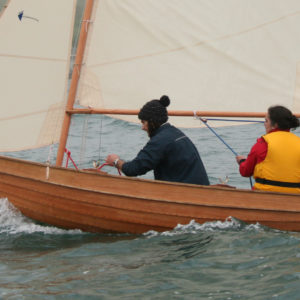
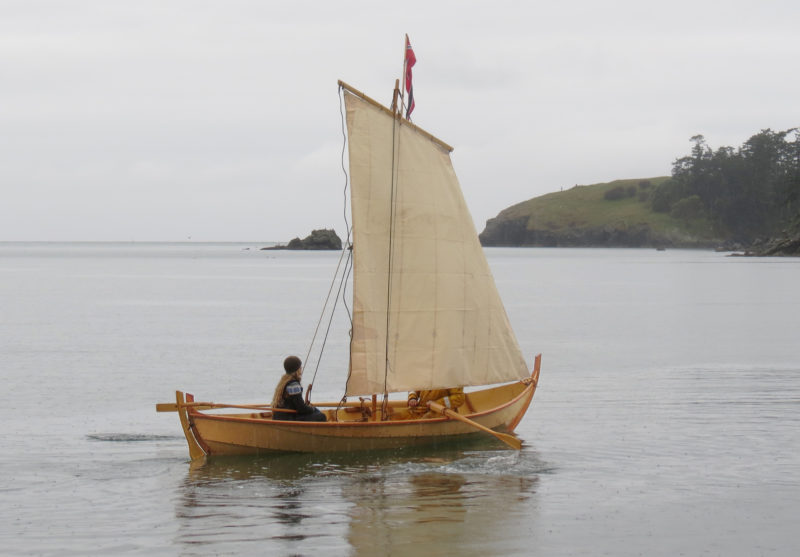
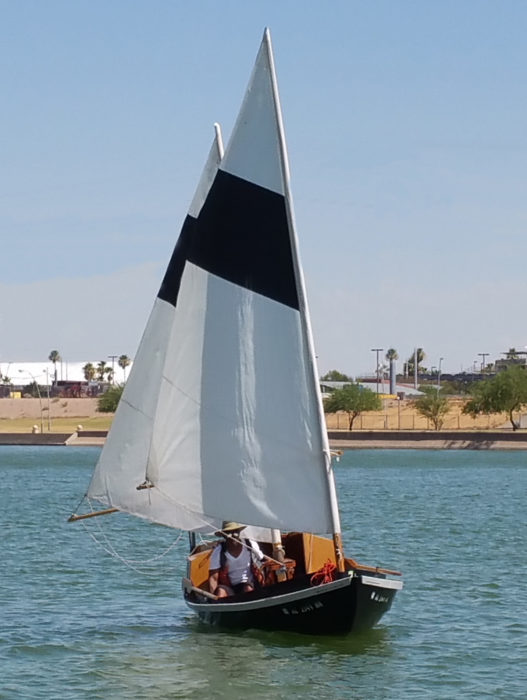
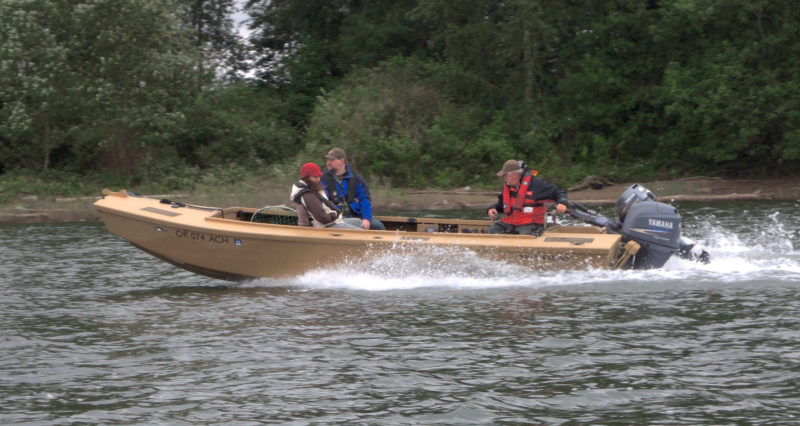
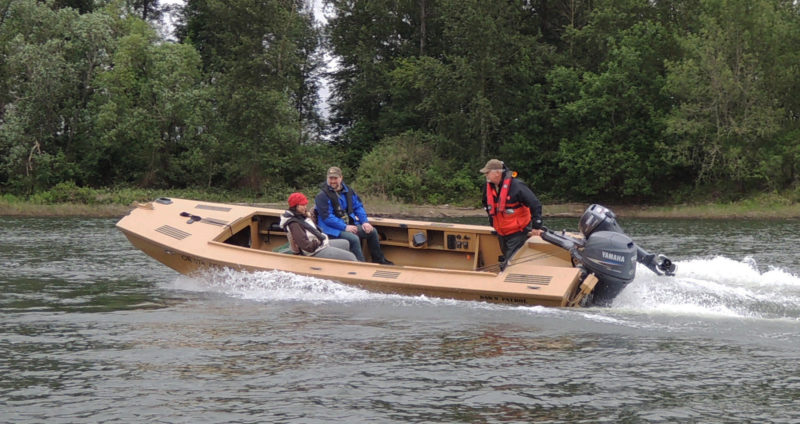
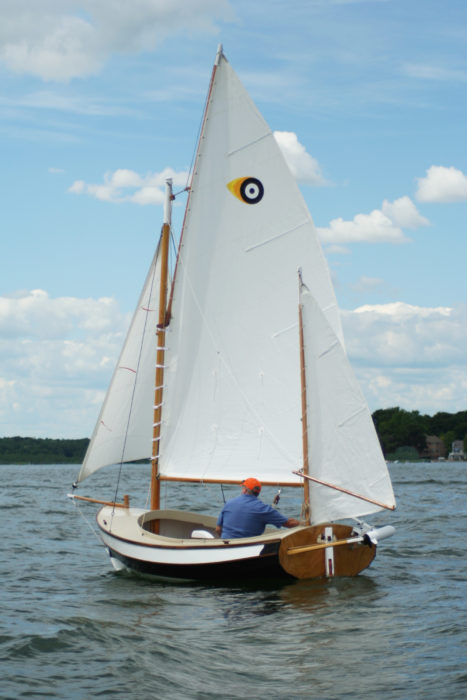
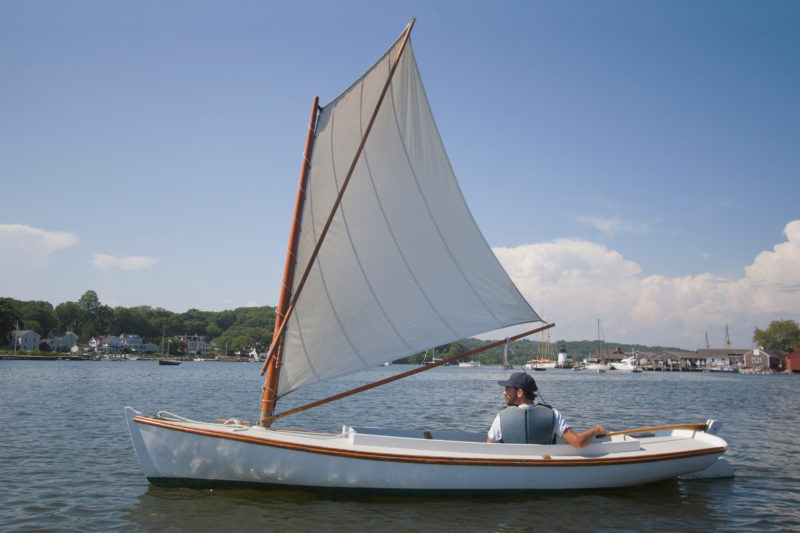
In light air, the Seaford skiff requires deft handling and precise timing when tacking to keep it moving briskly.
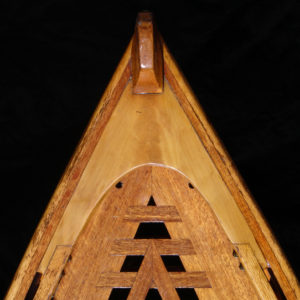
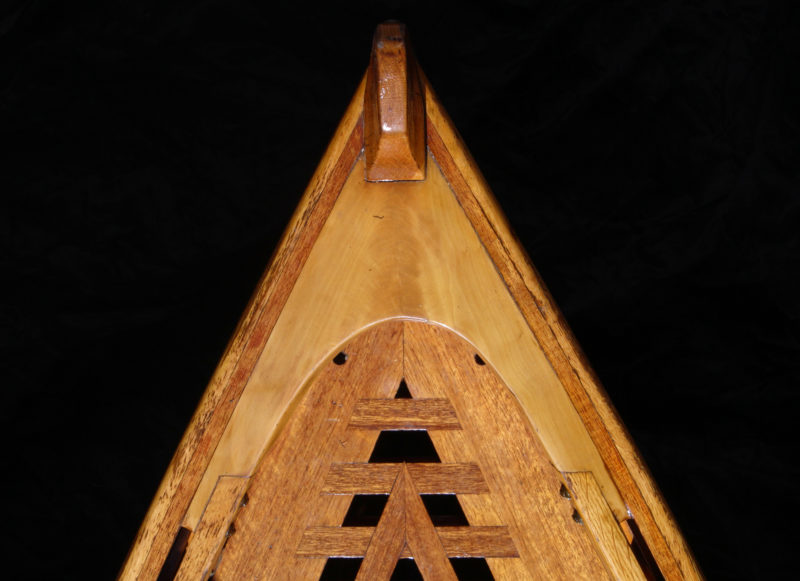
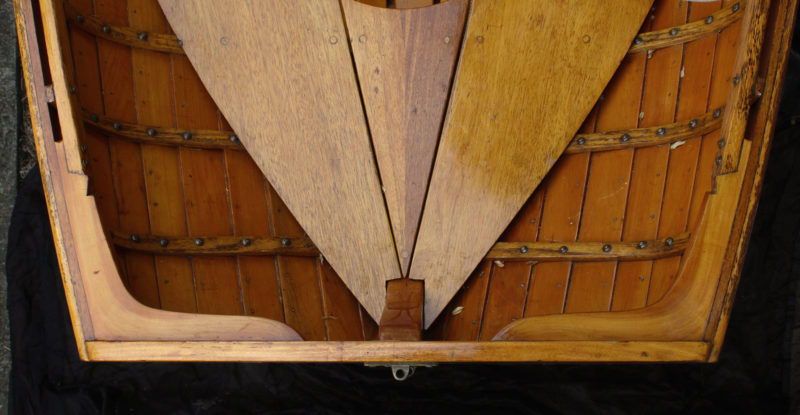
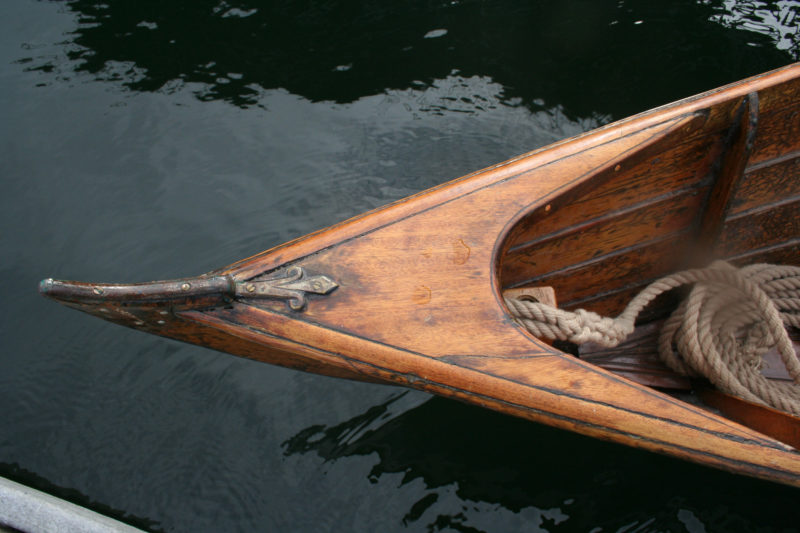
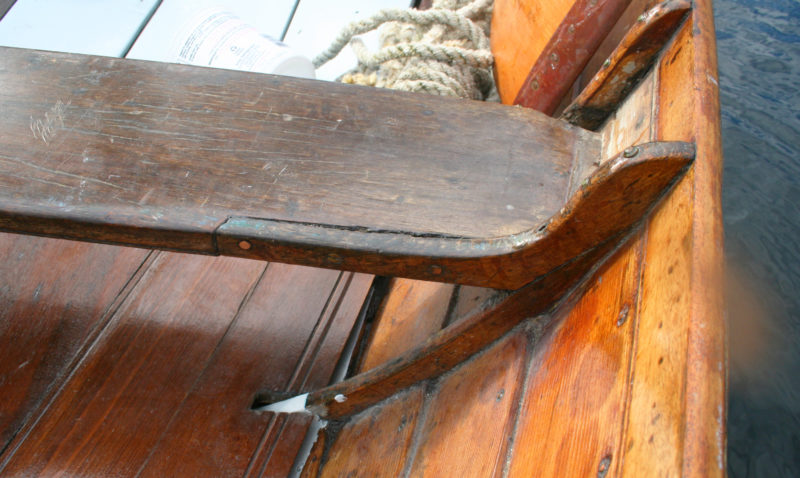
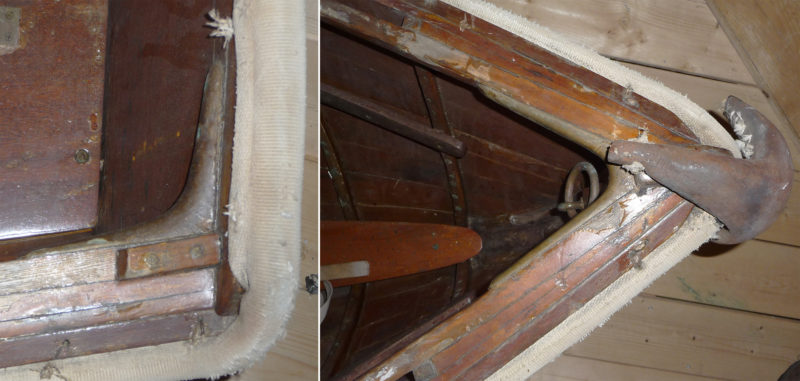
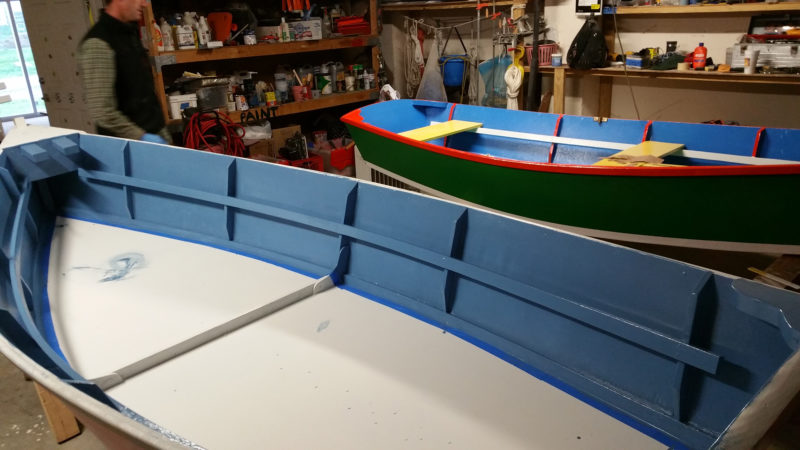
The hollow forward and the tuck running up to the transom both require skill to execute the carvel planking. The garboard’s run up to the transom is complicated by the extreme angles between it and the plank keel on one edge and the first broadstrake on the other. The garboards create a hollow space aft of the cockpit along the centerline known as a box keel. The carvel planking and the complex shape may be a little advanced for a first-time builder, but adapting the plans for lapstrake, glued-lap plywood, or even strip-plank construction would simplify the project.
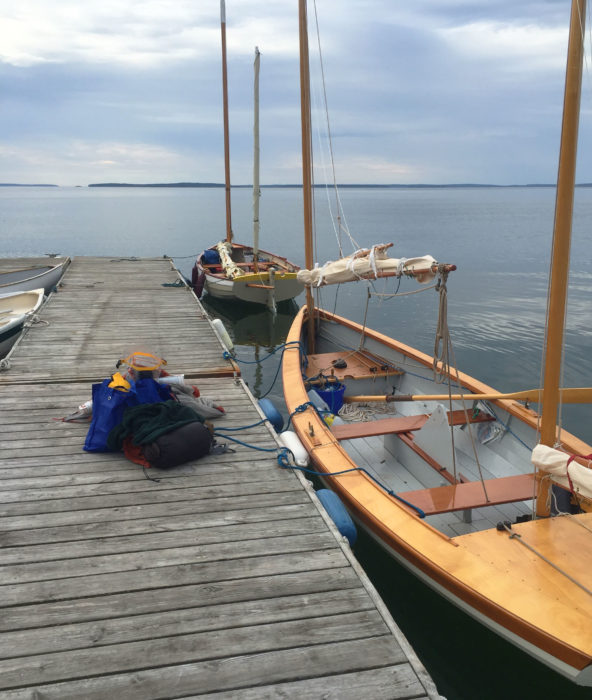
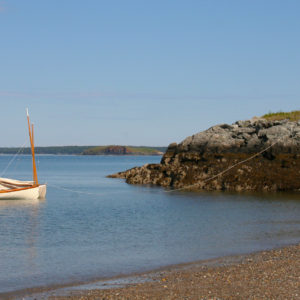
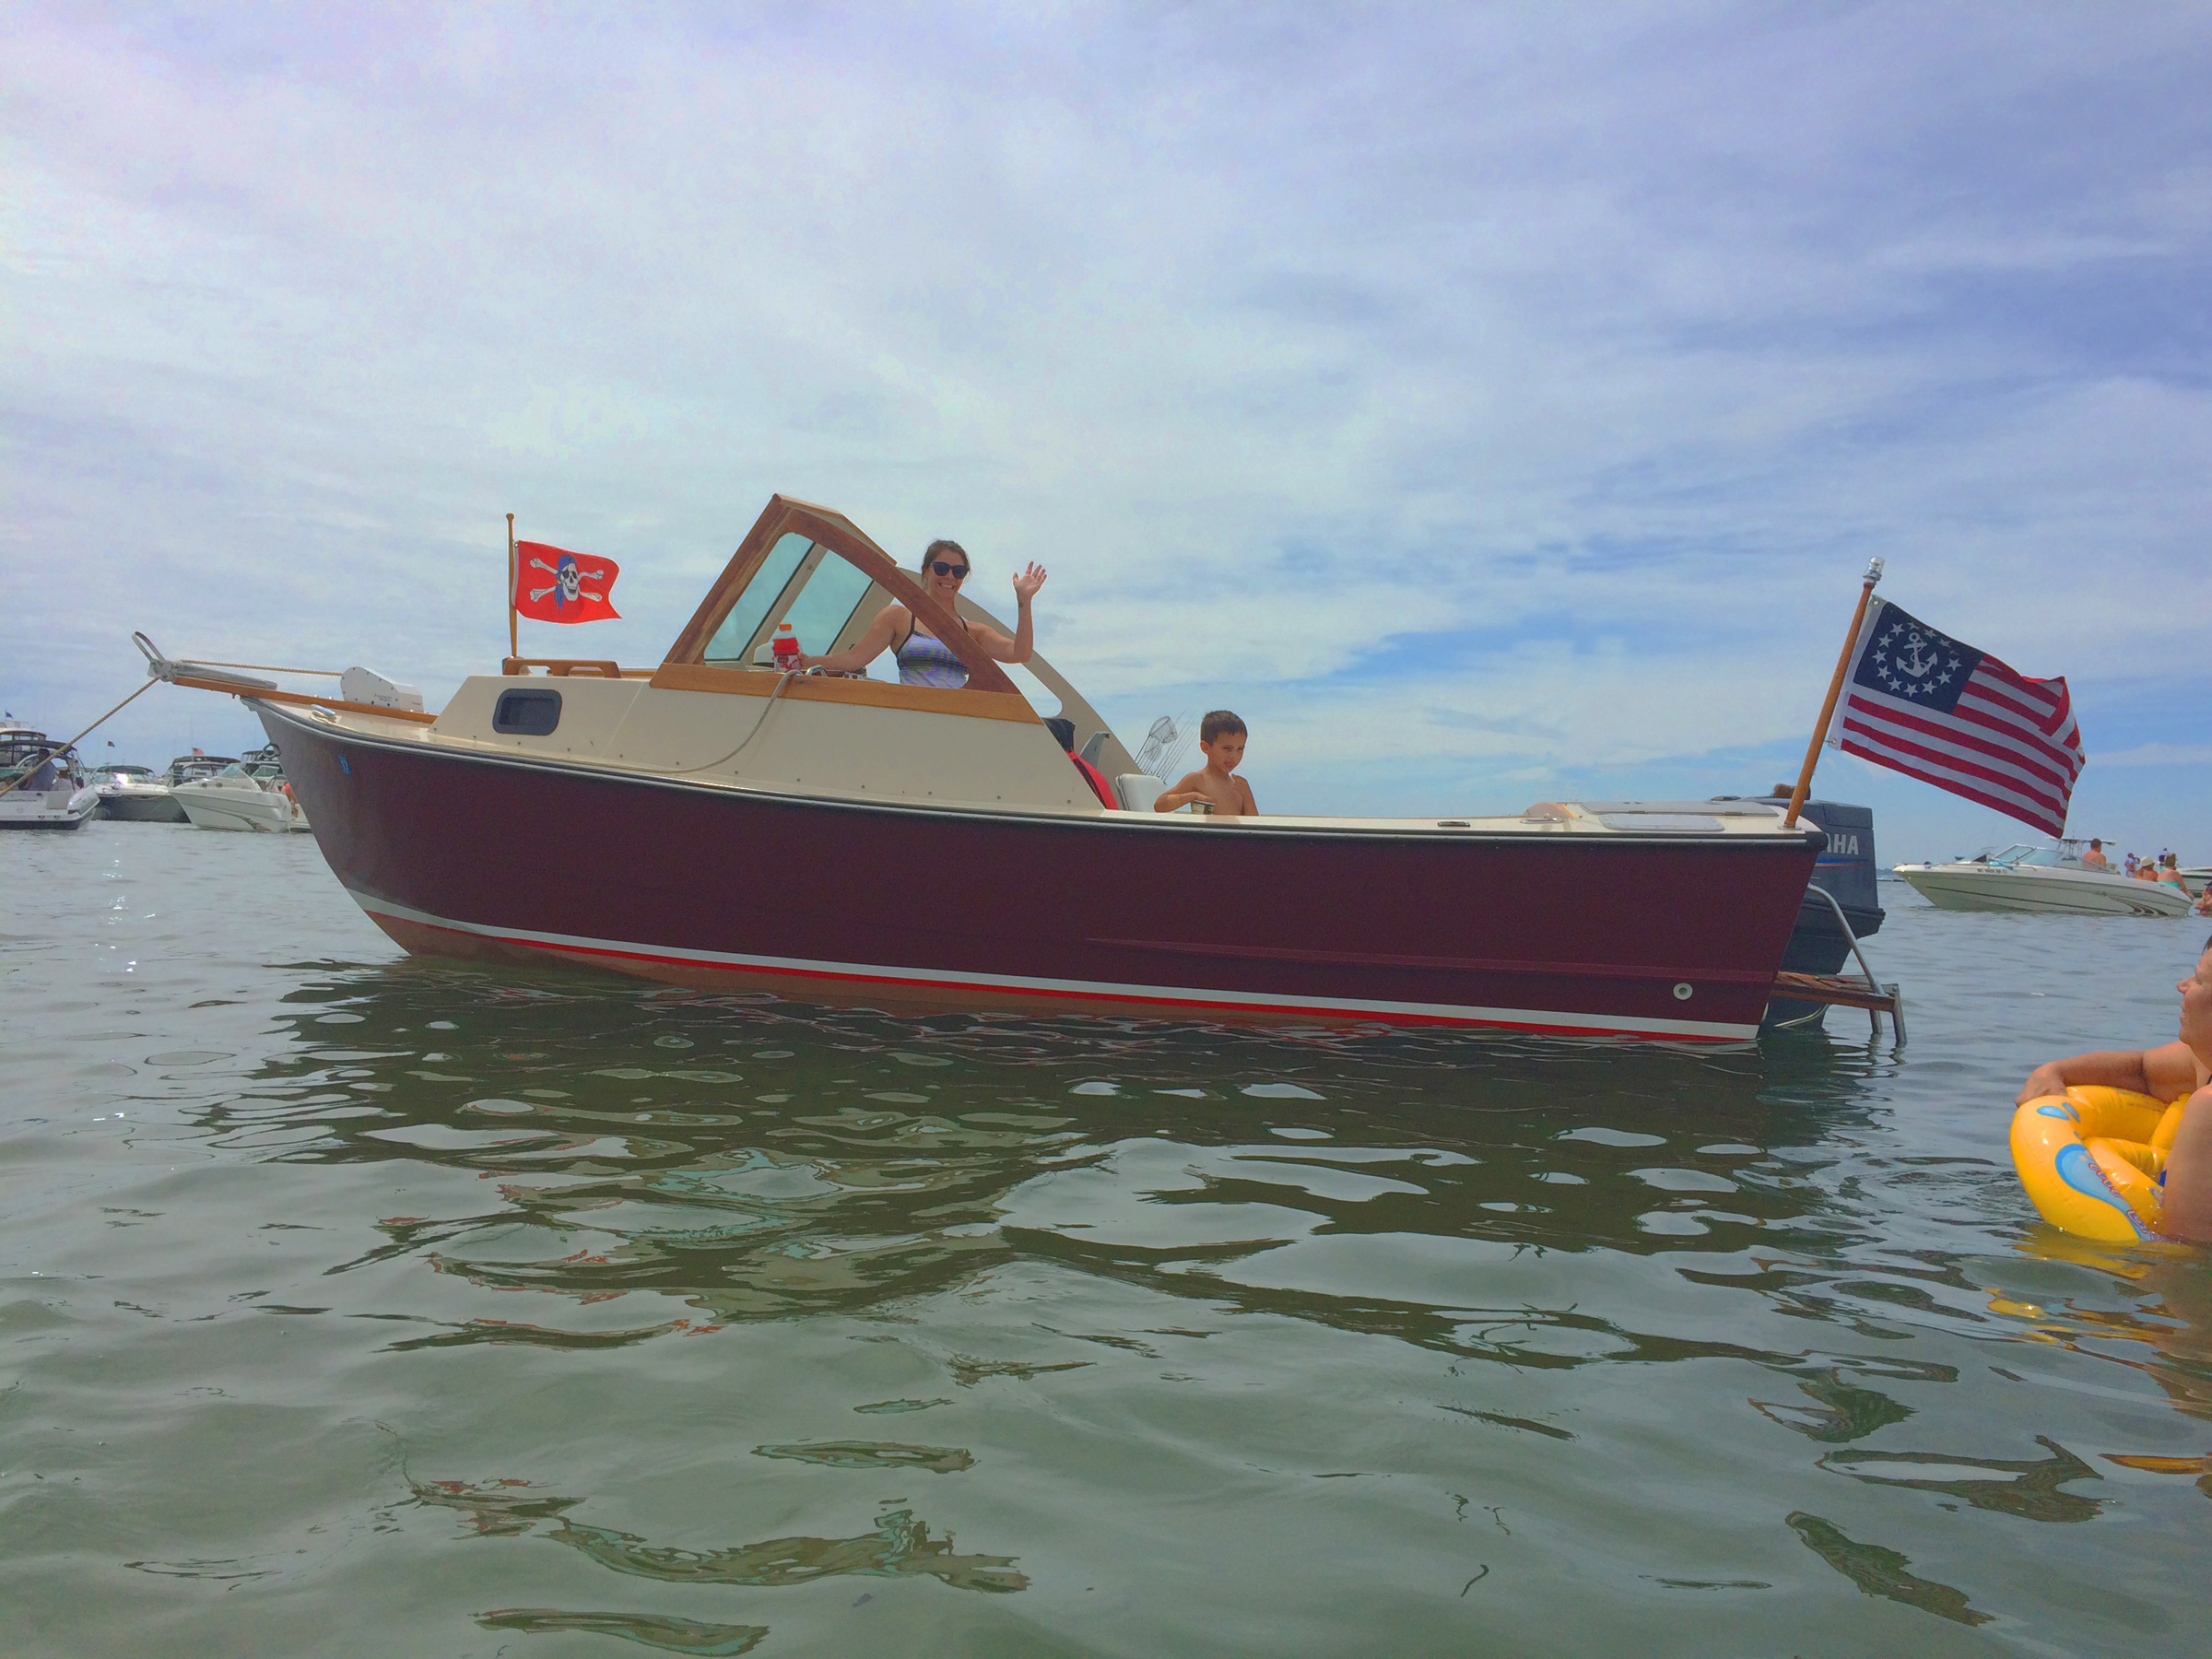
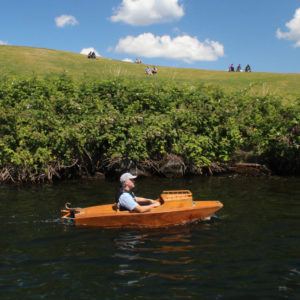
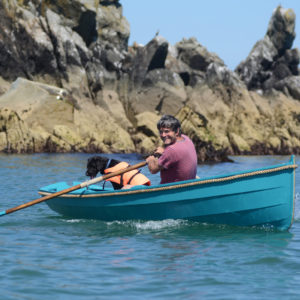
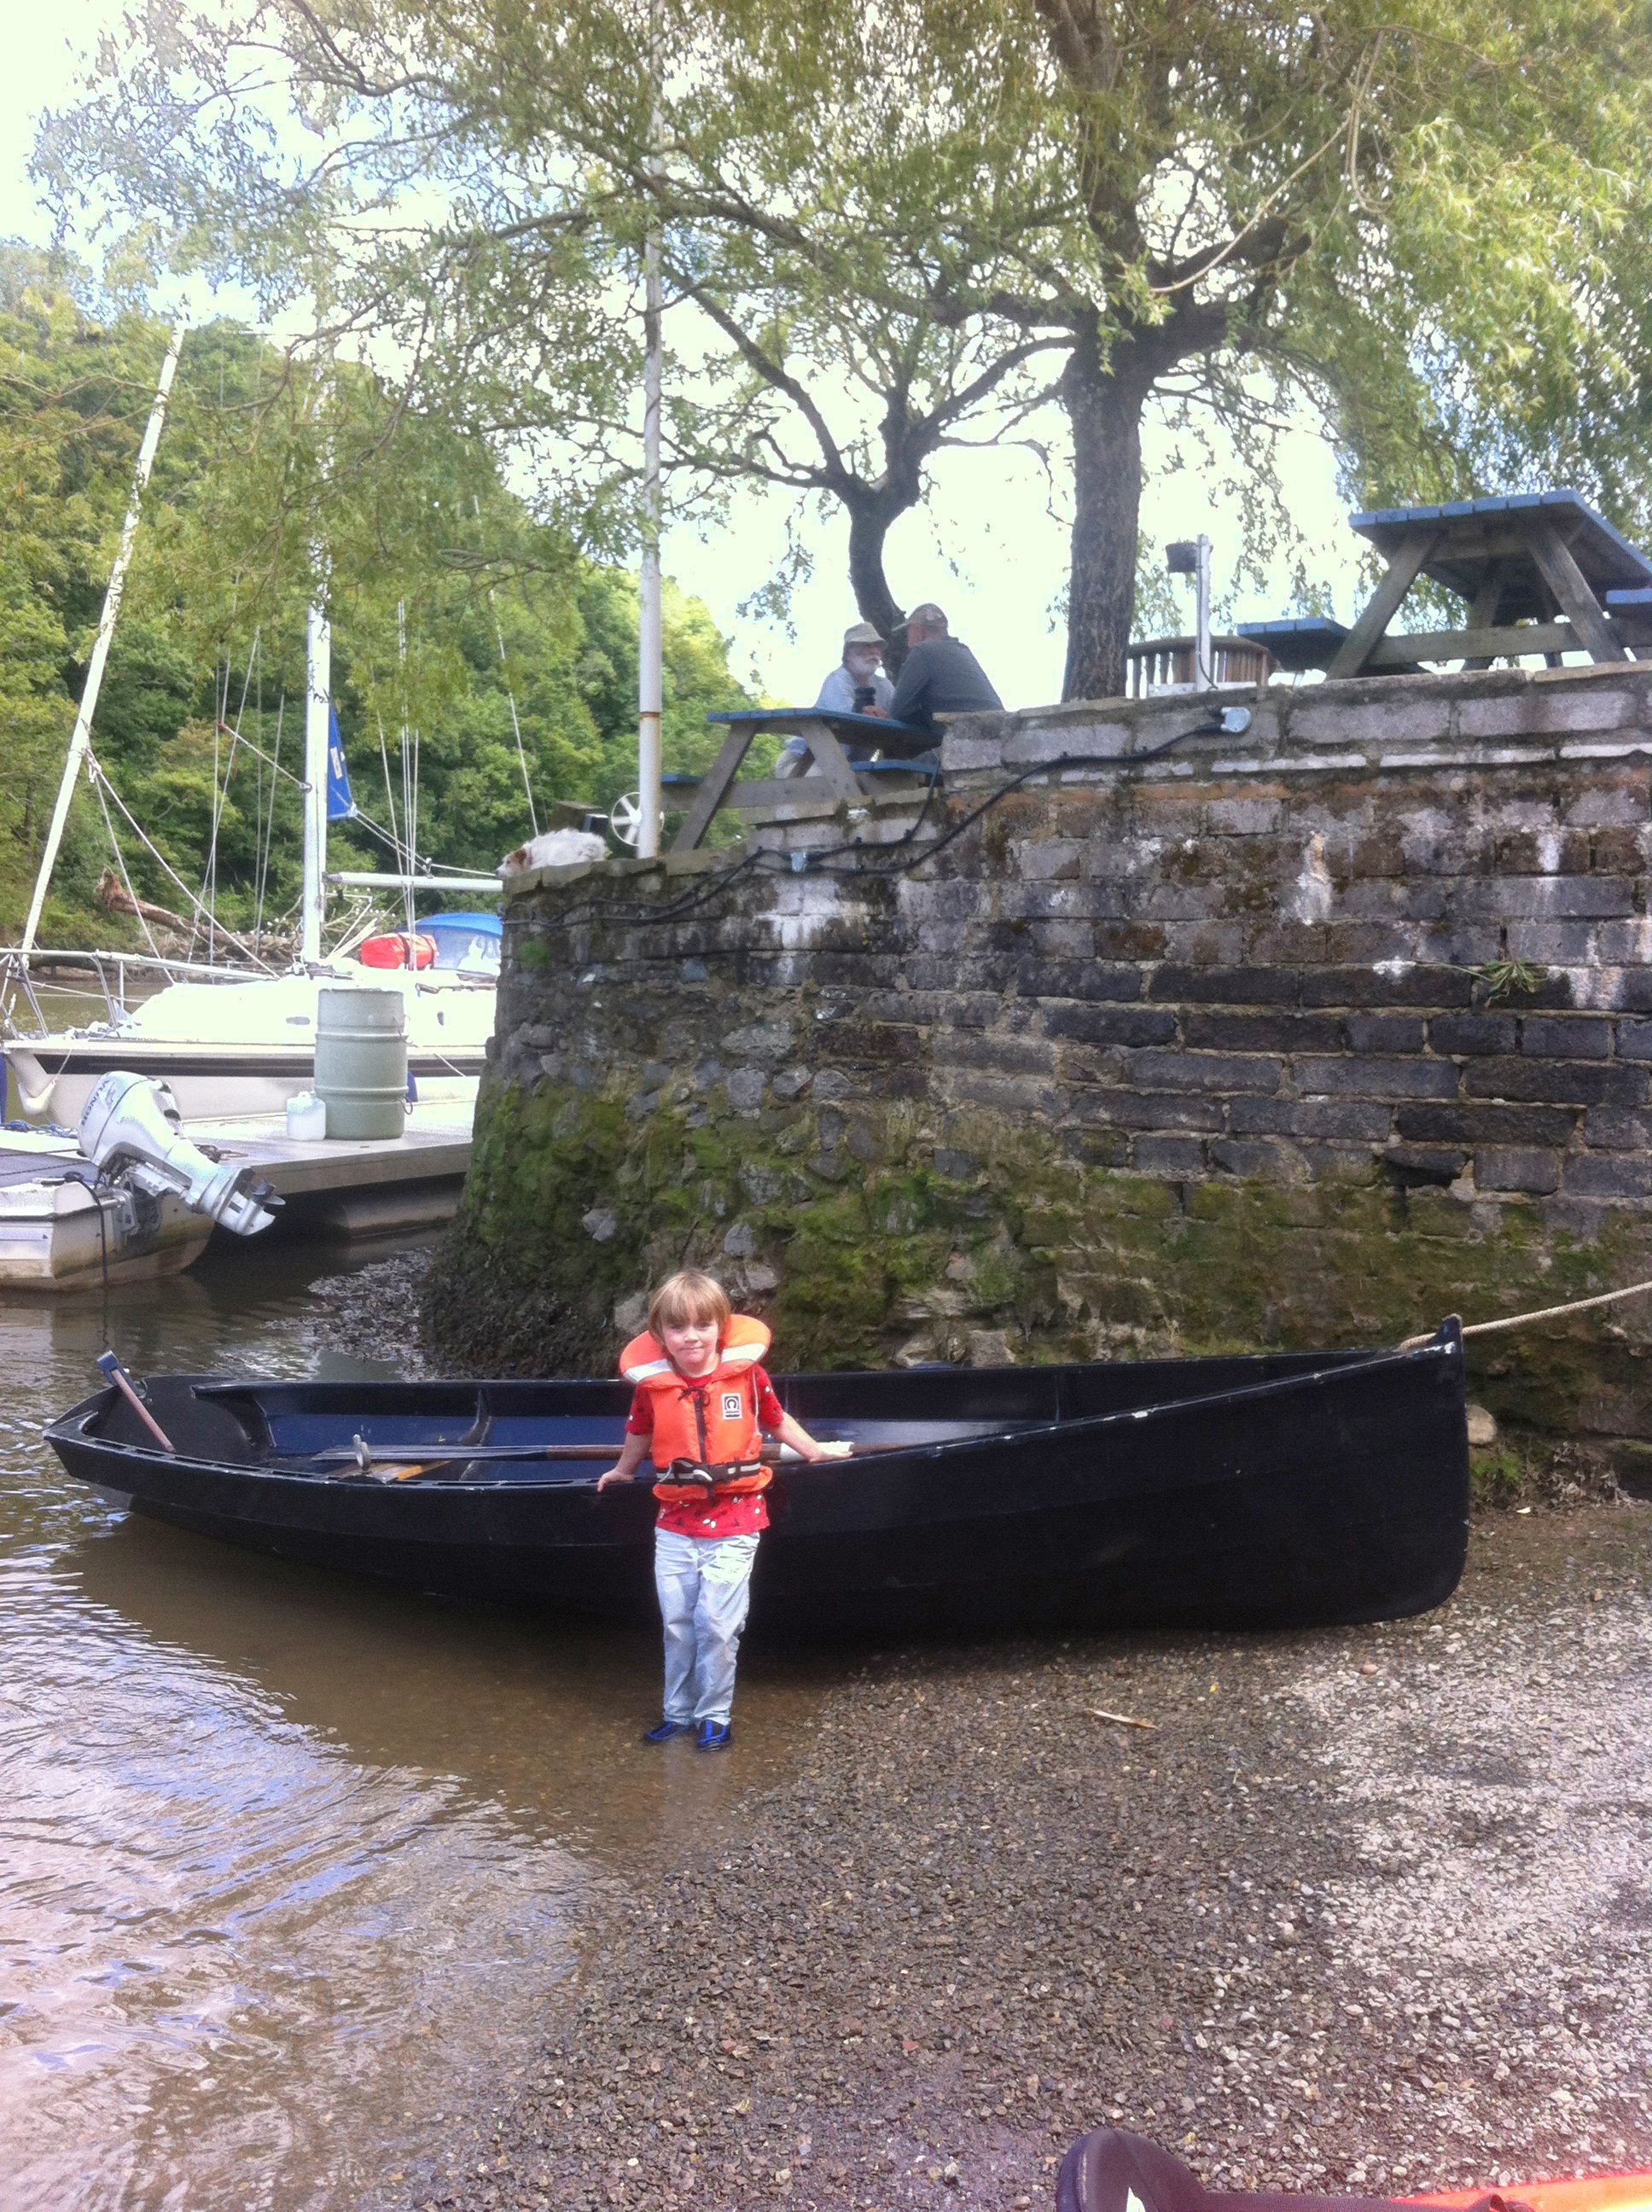
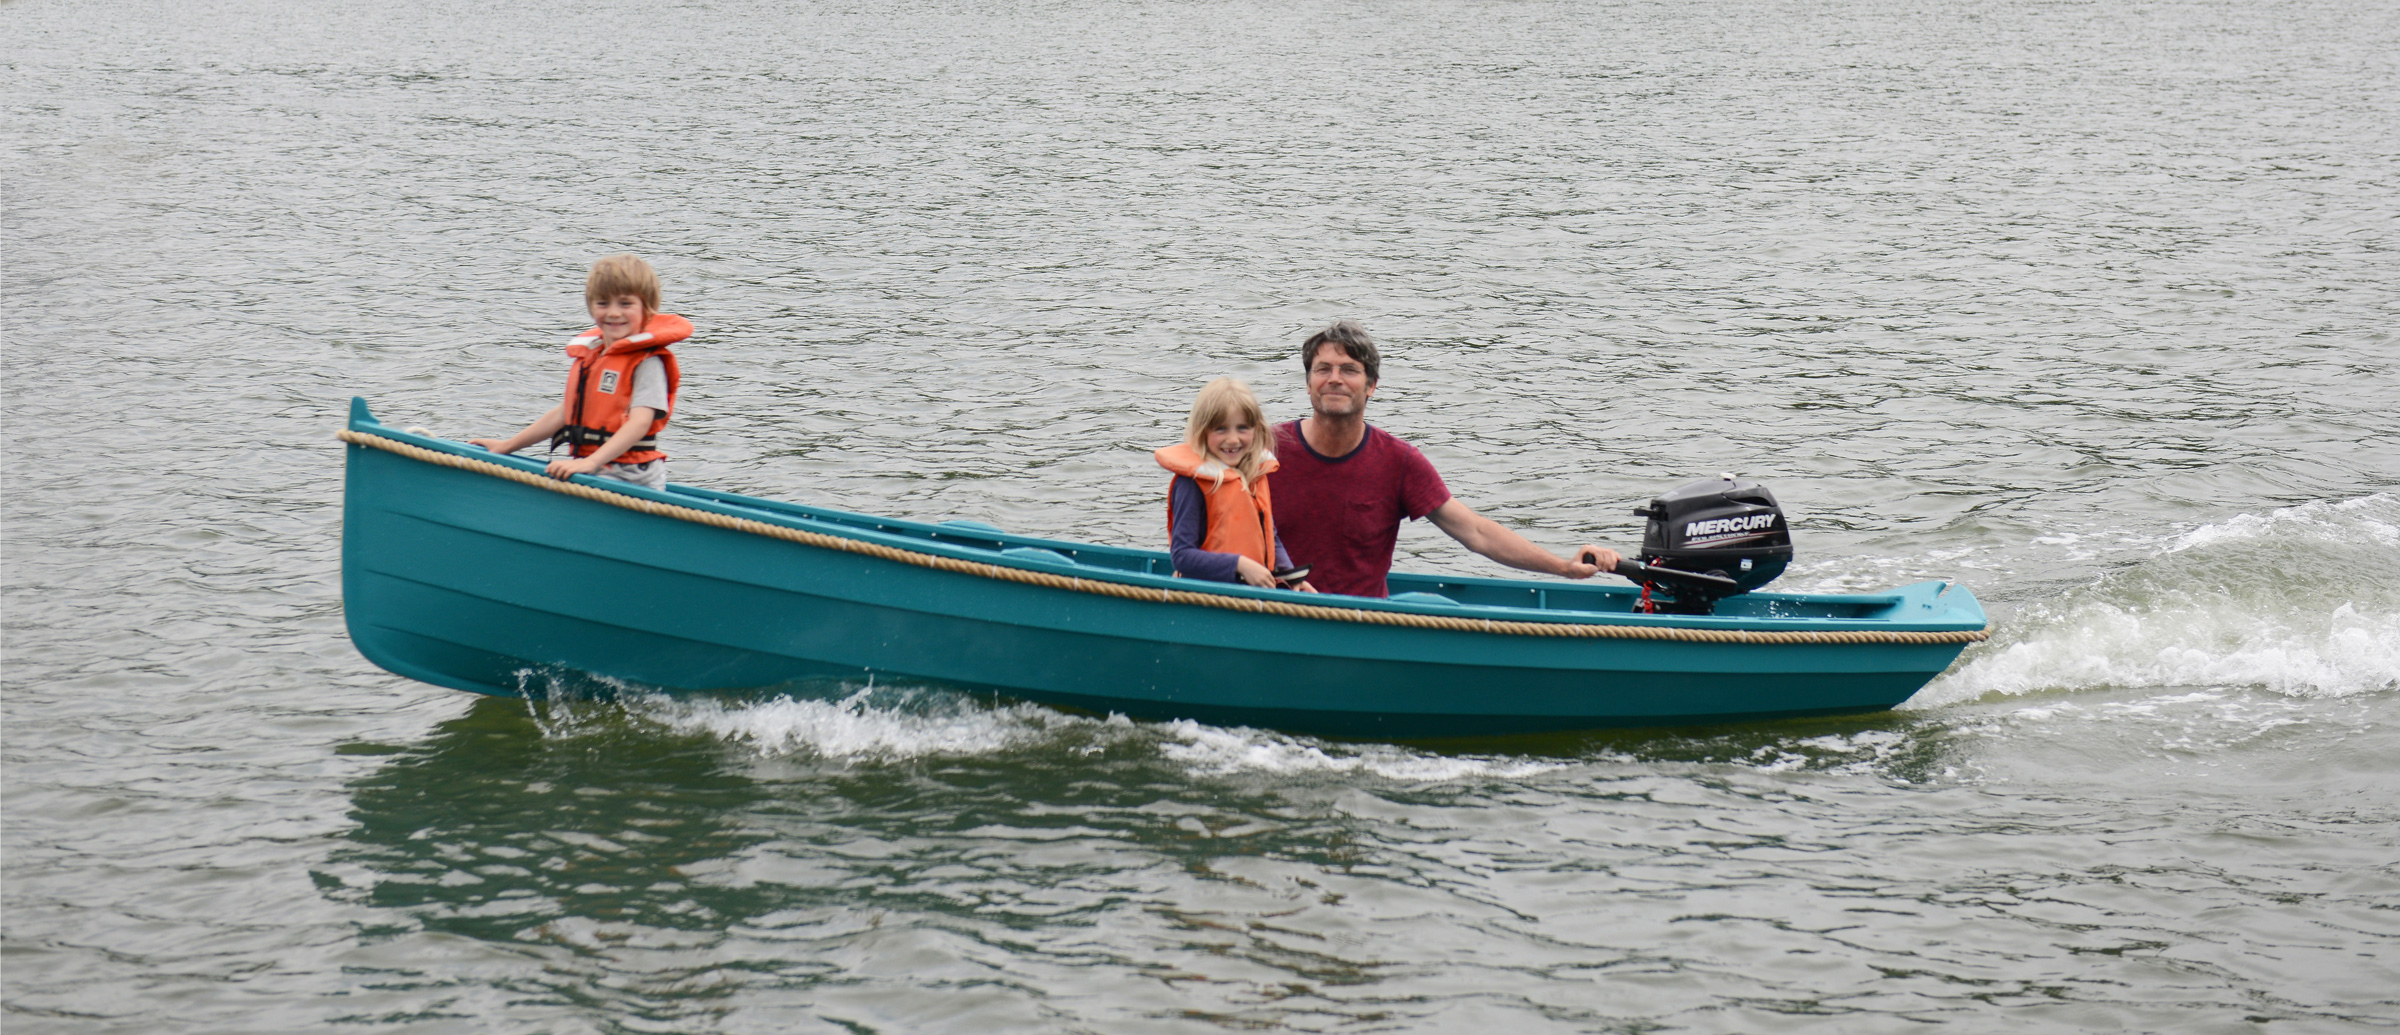
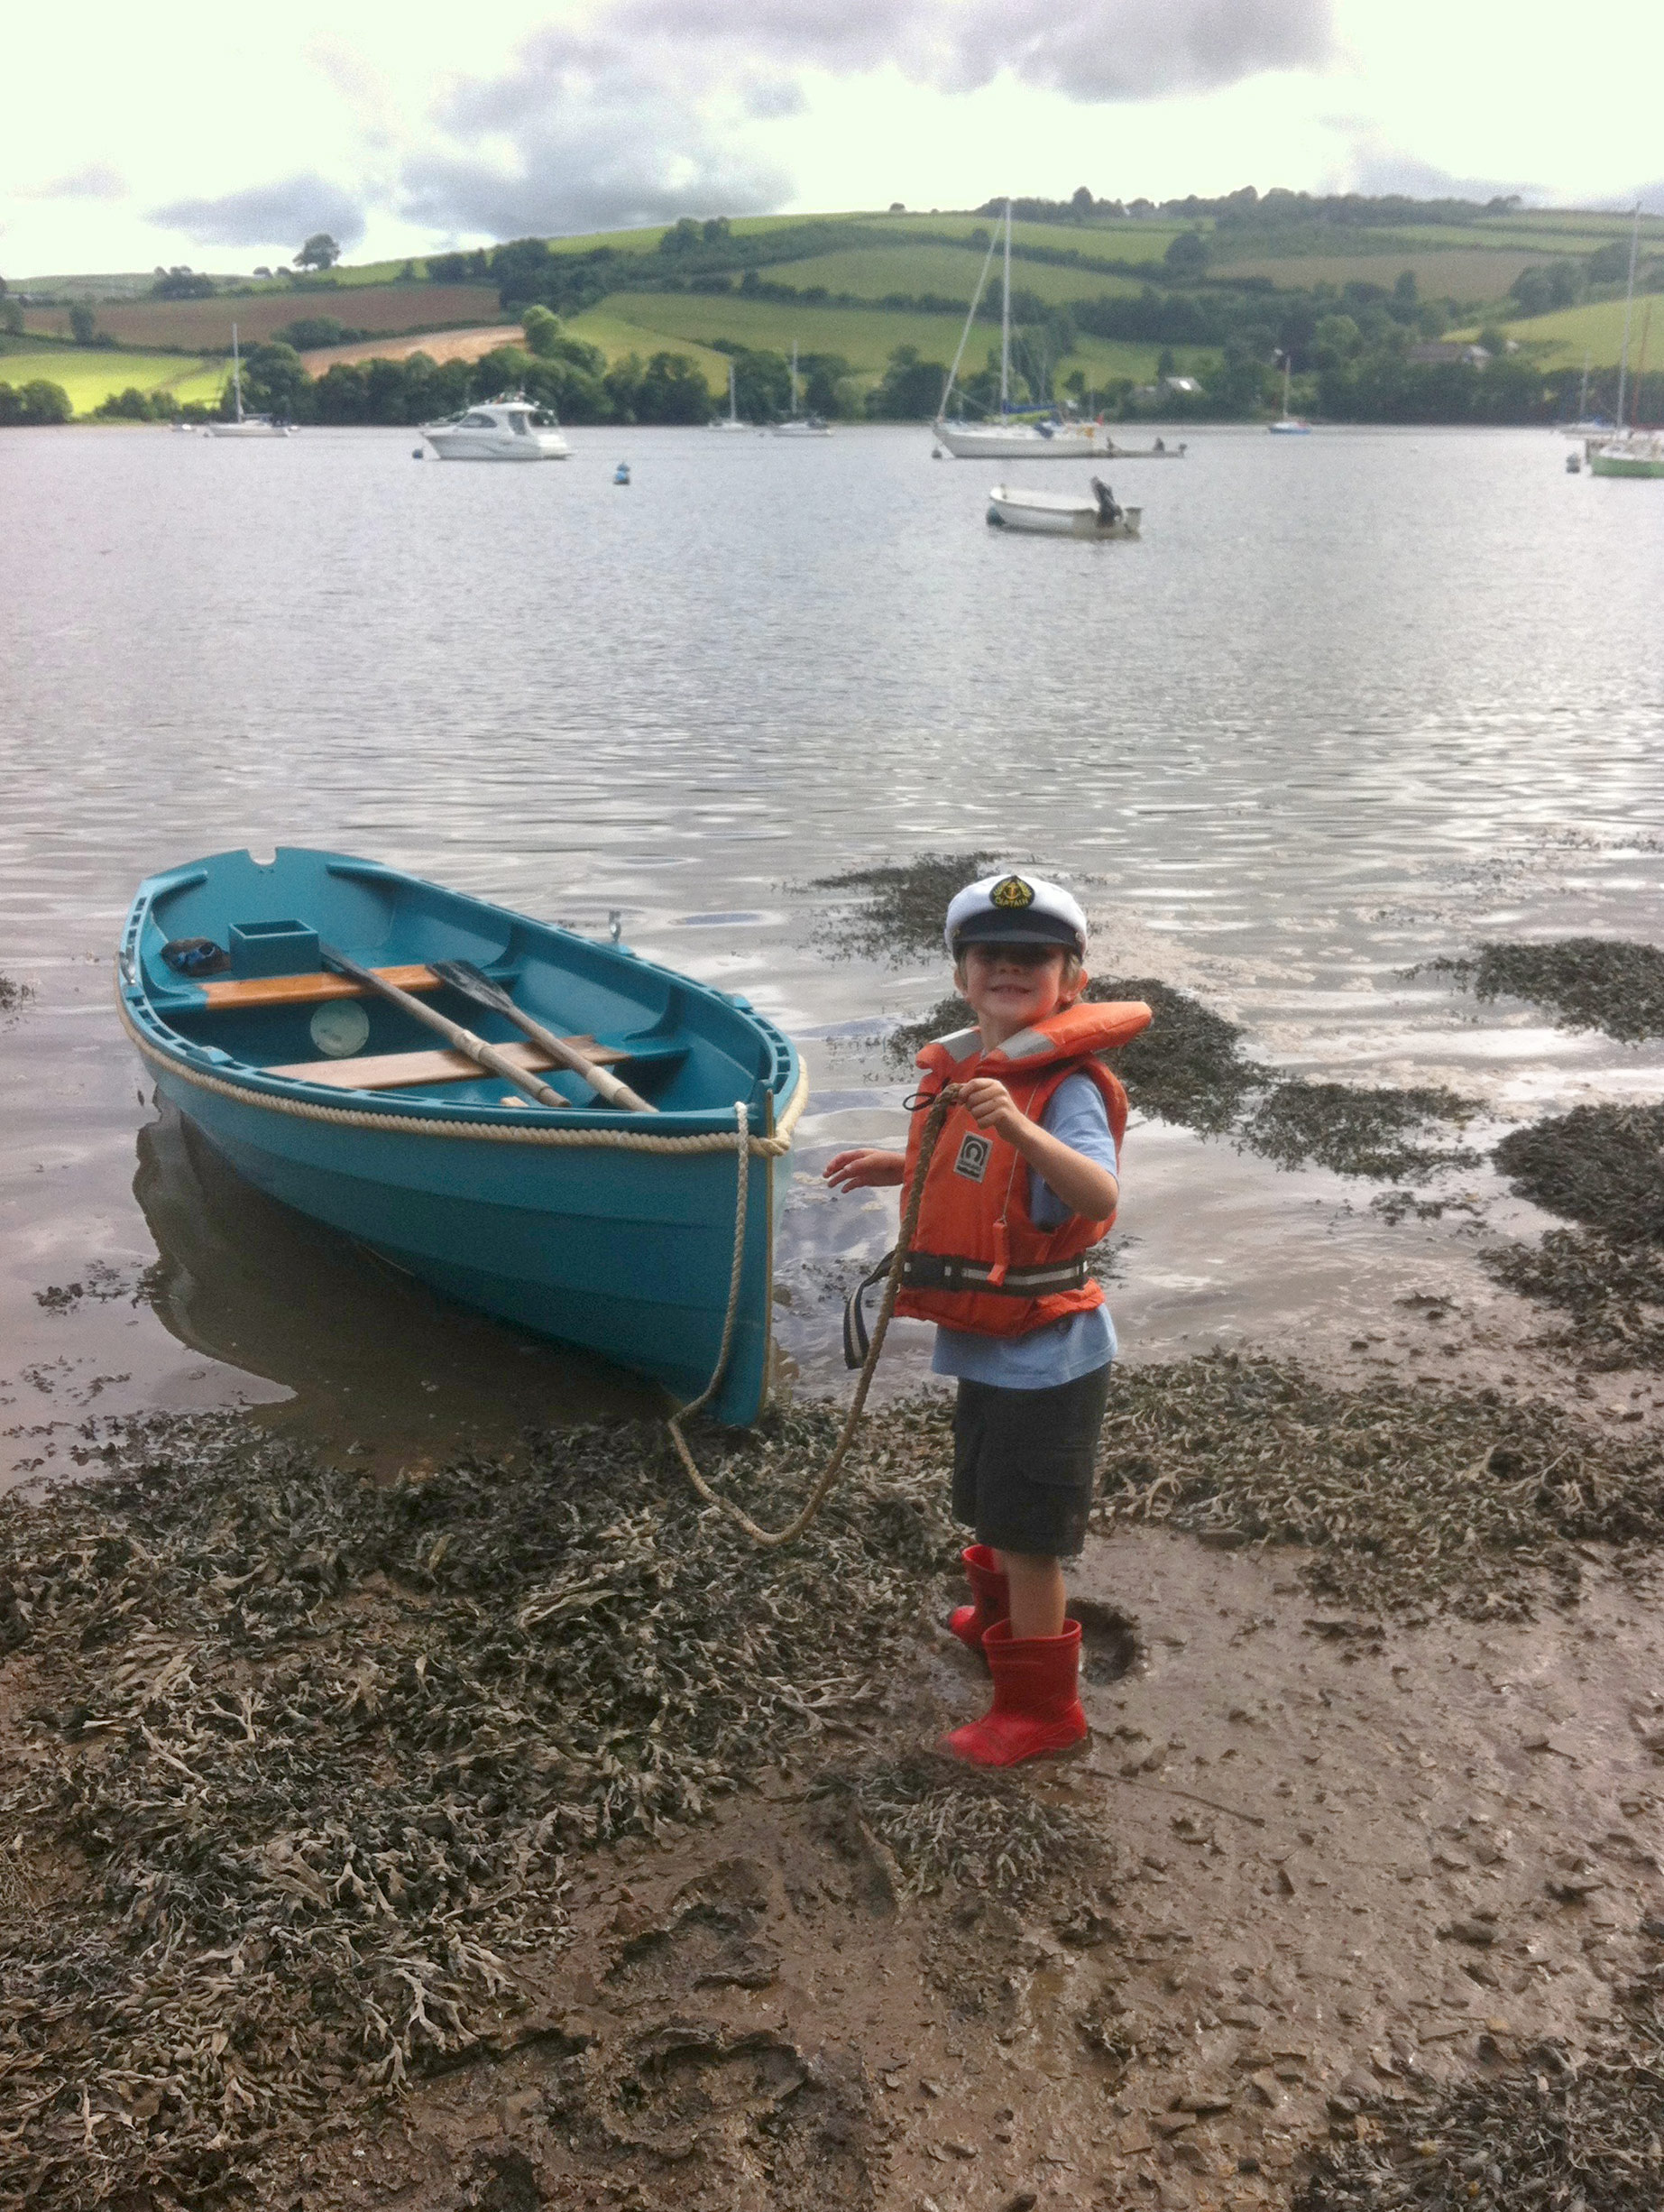
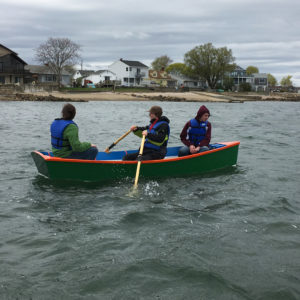
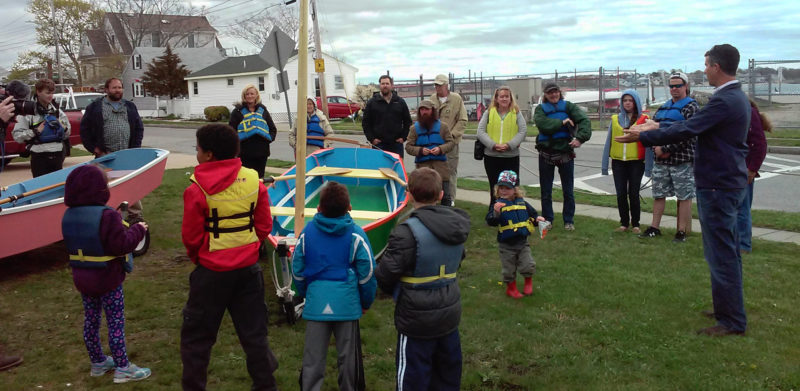
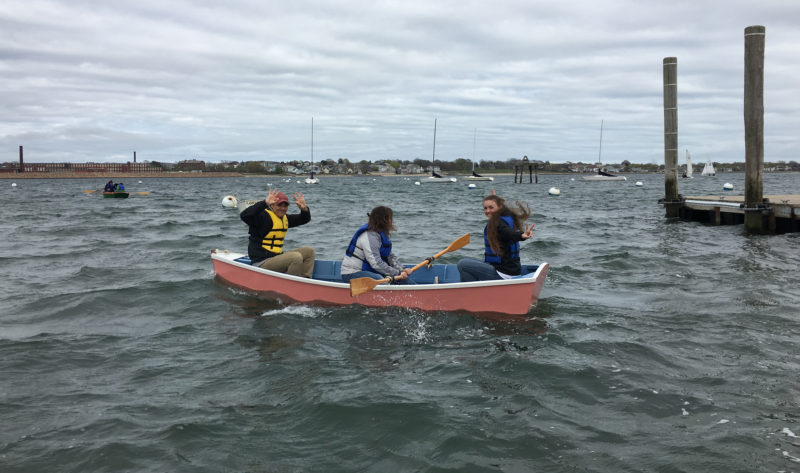
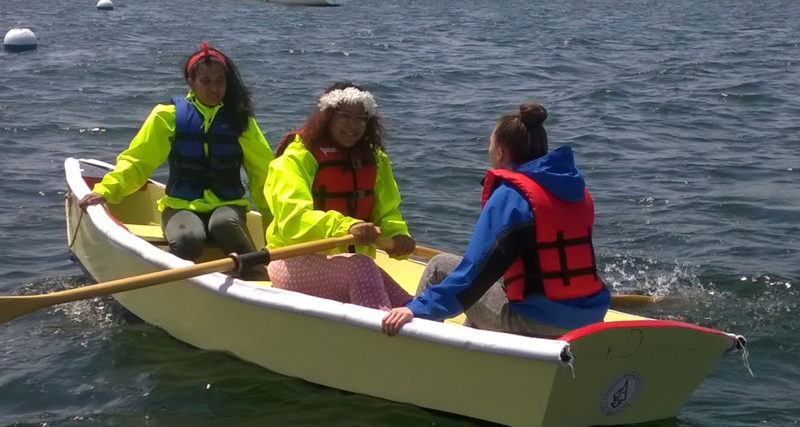
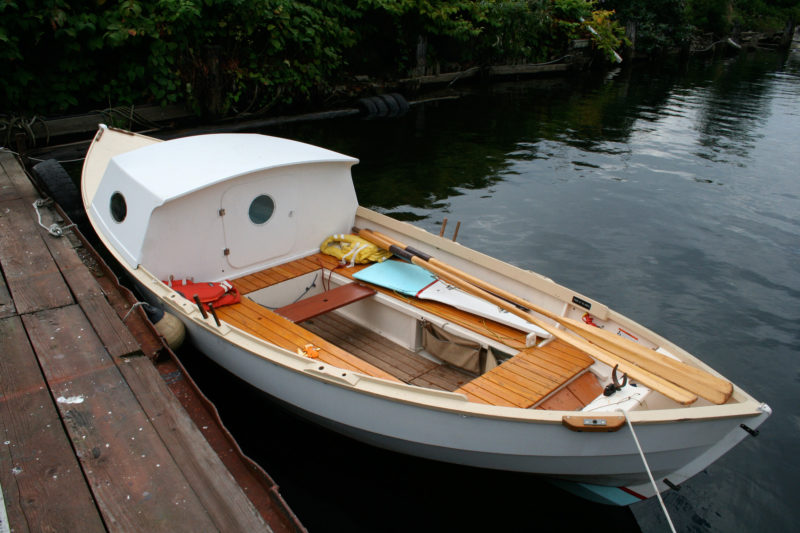
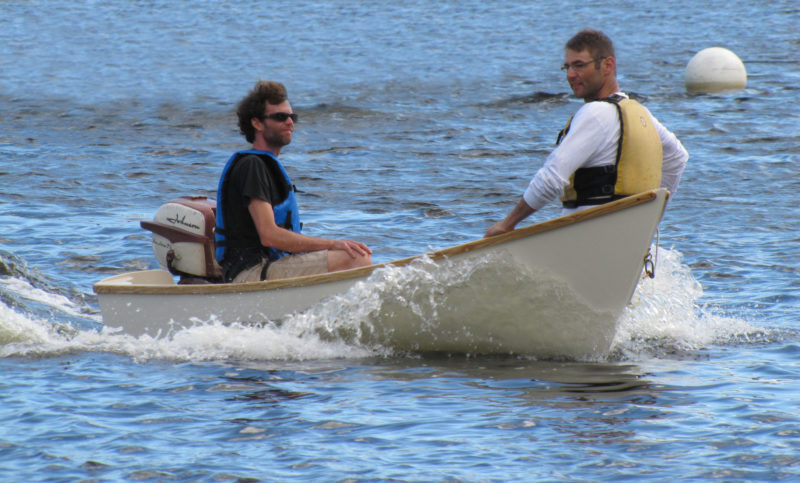
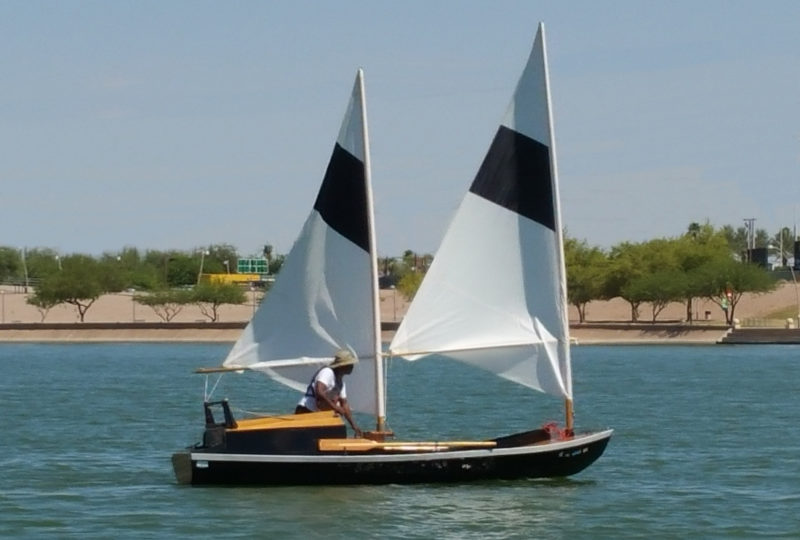
Seaford skiffs are a delight to sail. They are light and easily trailerable, and can be brought up the beach upright on rollers. Their stability and simple rig make them extremely accessible to novices, and they are great boats for introducing kids to the water. They are perfect for exploring shallow coastlines and all those little islands and inlets inaccessible on foot.
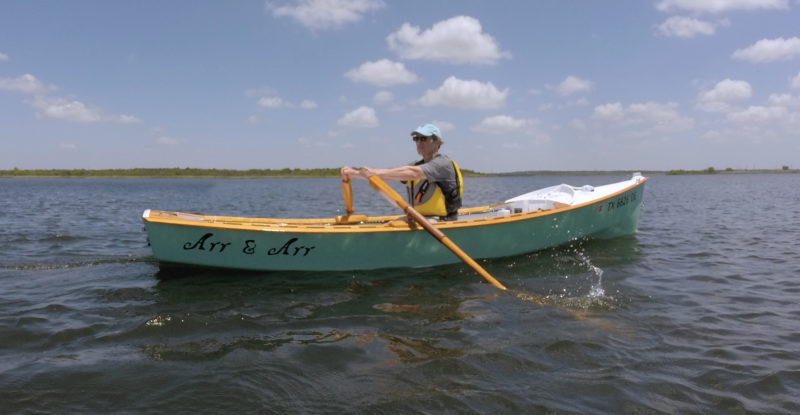
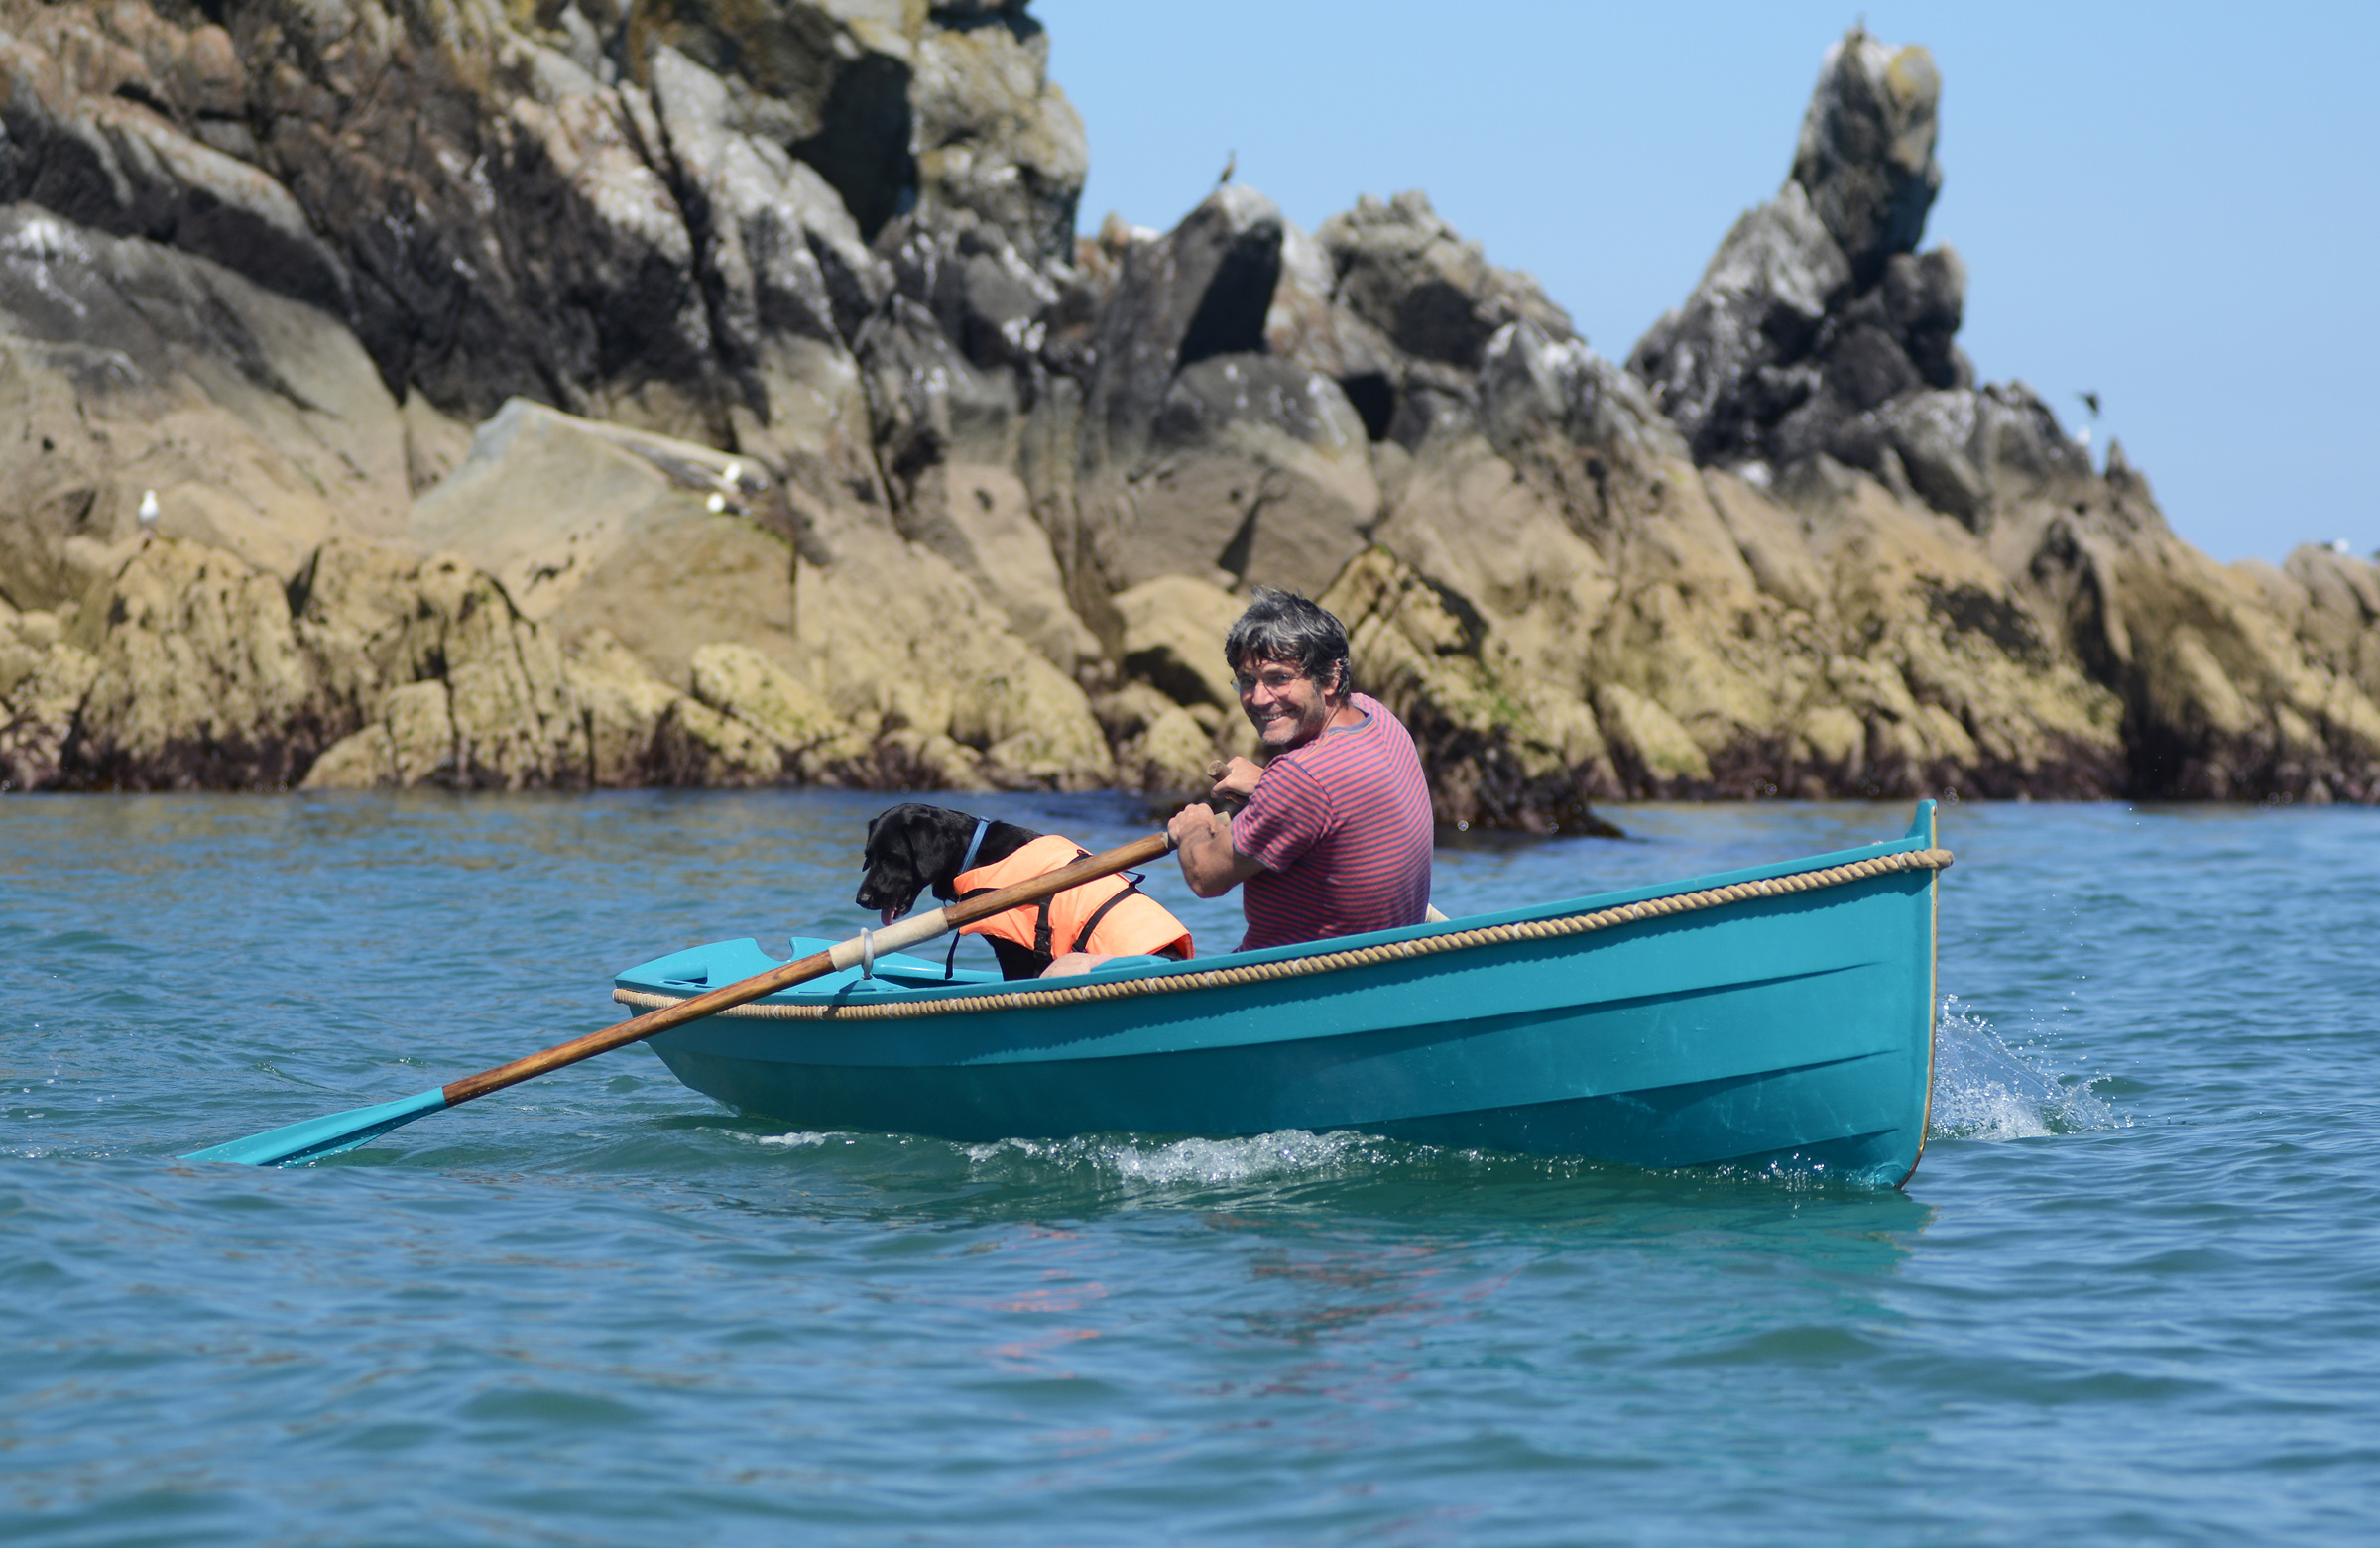
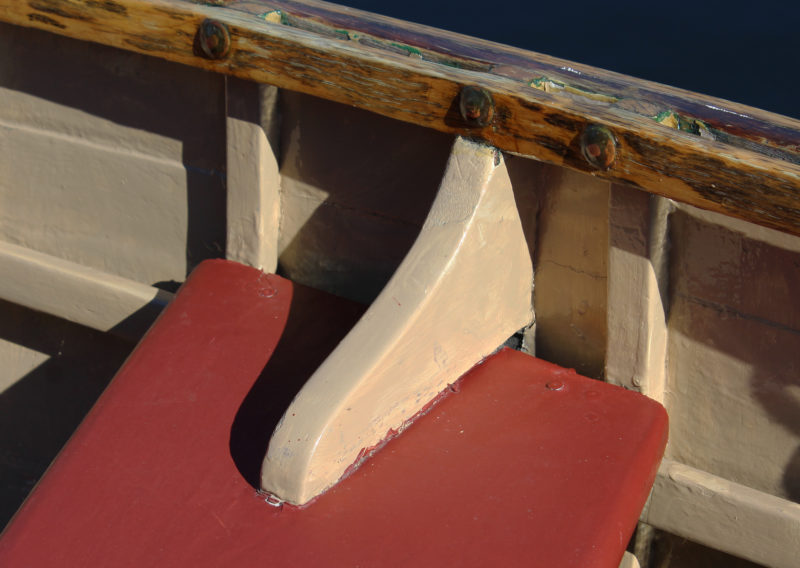
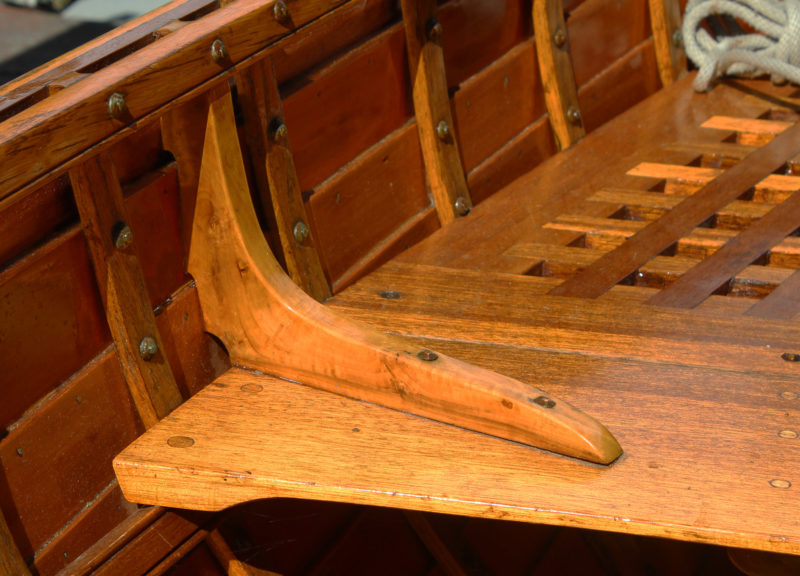
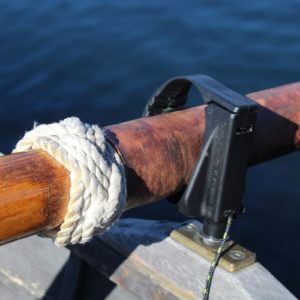
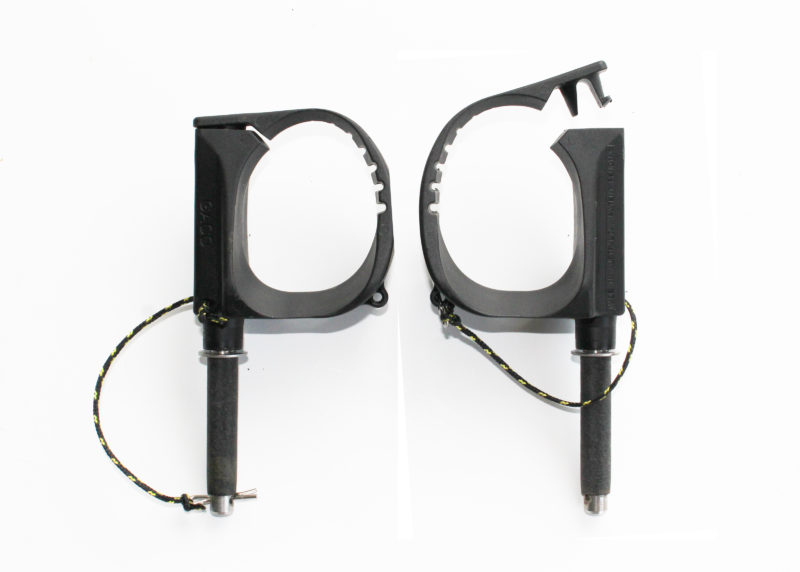
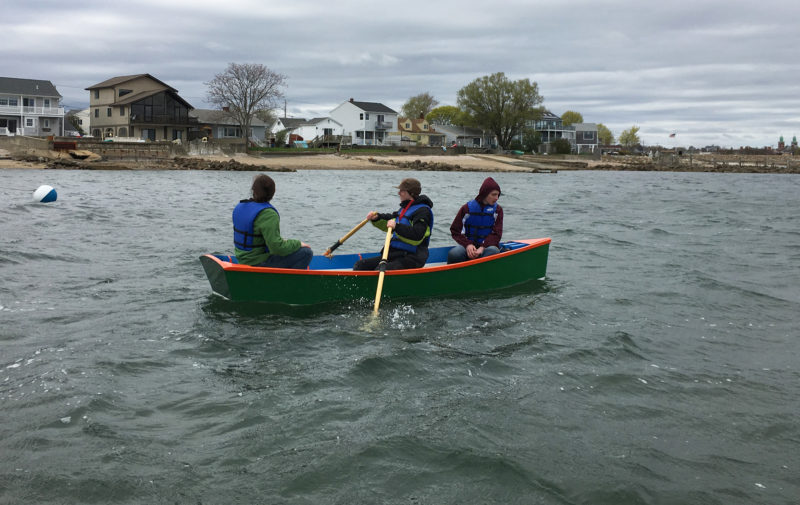
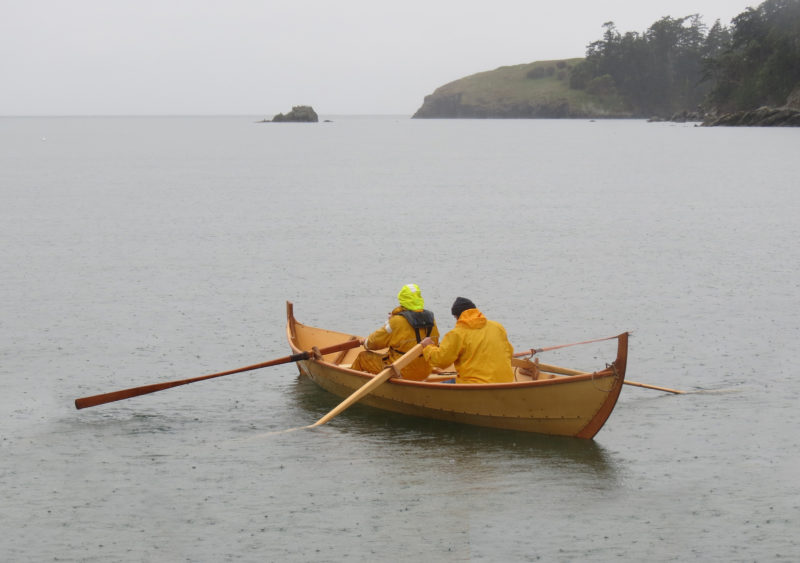
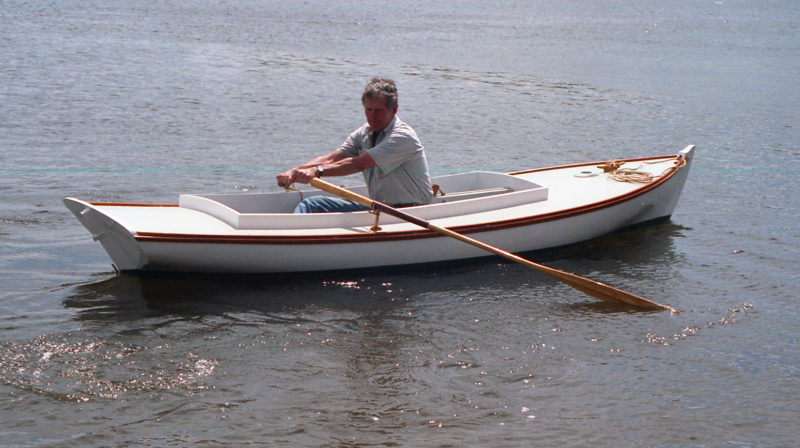
The skiffs were always outfitted for rowing. The low deck, as well as the coaming, required tall oarlocks that are not so common now as they were when the skiffs in the collection at Mystic were built. One could build up pads for the sockets to get the necessary height for standard oarlocks. Outfitted with a seat that can be removed to clear the cockpit for sailing, the skiffs make smart little rowboats that track very well. The skiffs were also sculled and poled.
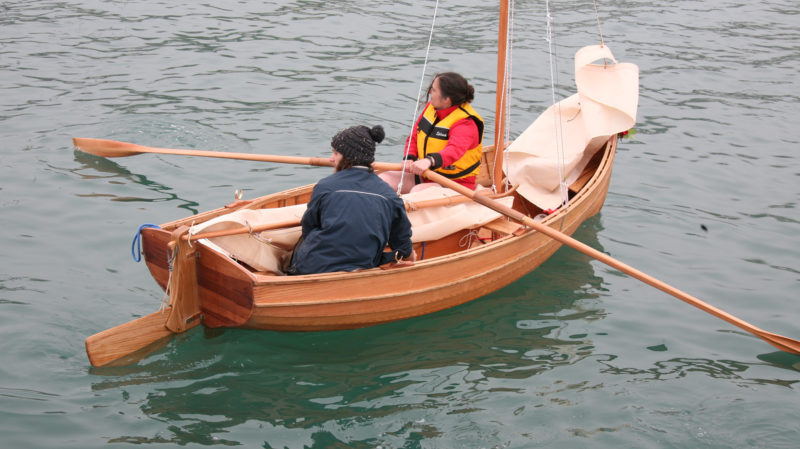
 Sharon Brown
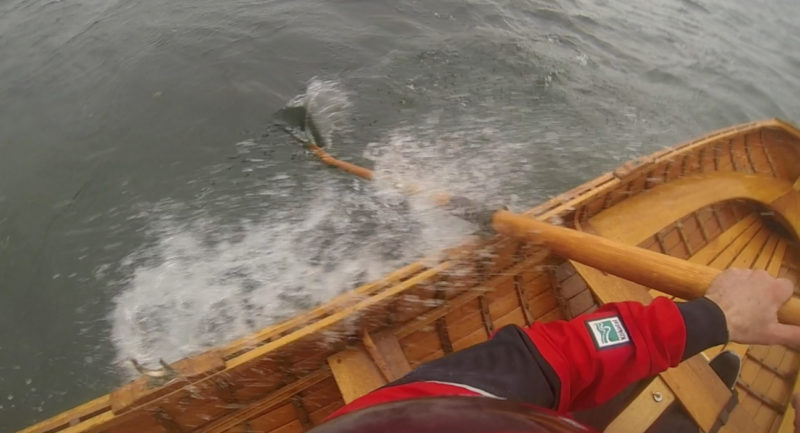
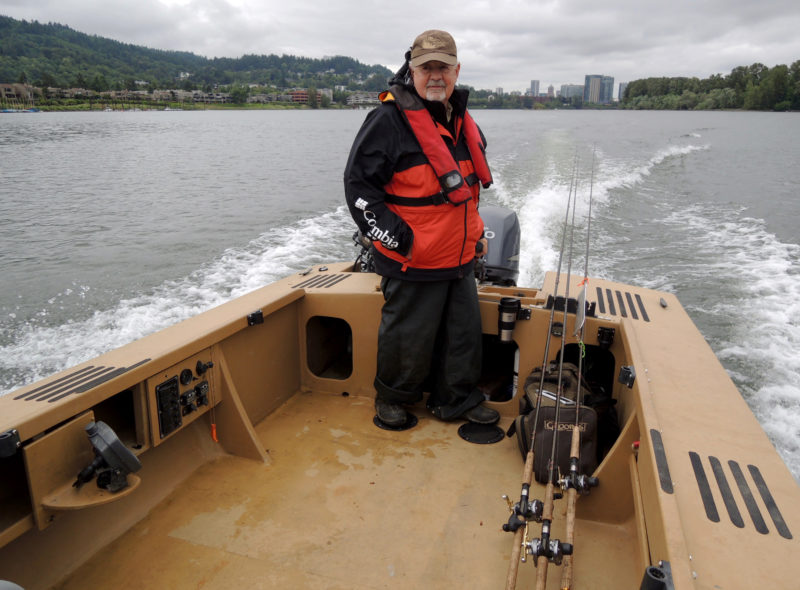
Barry Thomas, a Mystic Seaport boatbuilder who took part in building the Helen Packer, takes to the oars using a pair of tall oarlocks that keep the oars clear of the coaming. Boats similar to Seaford skiffs—sneakboxes and melonseed skiffs—were equipped with removable boxes that served as seats for rowing as well as for storage of small items. While none of the Seaford skiffs in the Mystic Seaport collection had such boxes present when the boats were acquired, the boxes were likely what were used for rowing.
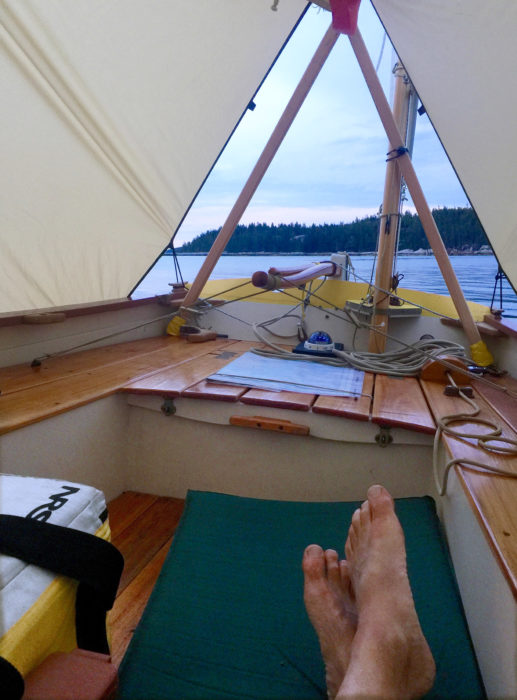
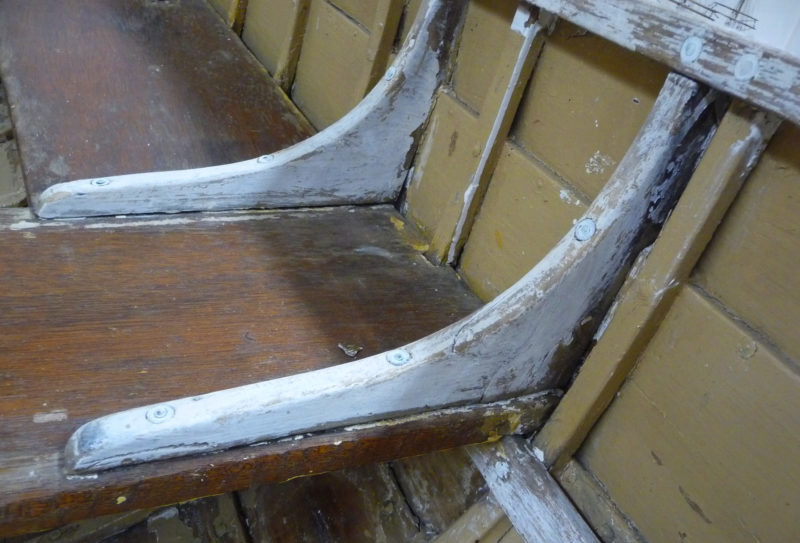
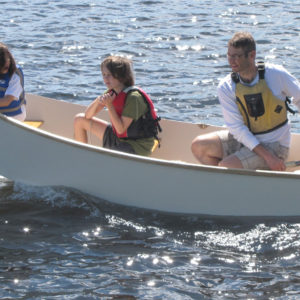
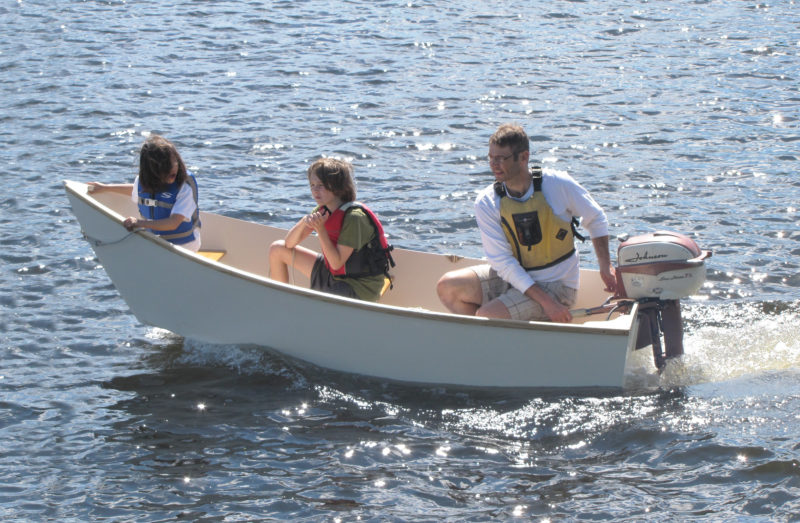
The small cockpit is ideal for an adult and one child, or even two children if they’re small enough to tuck up next to the centerboard. Two adults will fit comfortably in cooler weather when being huddled together for warmth is welcome, but rubbing elbows can be miserably sticky in really muggy weather. On hot days a Seaford skiff is best enjoyed solo when the breeze can wrap around you, and you have your legs athwartships and your back against the coaming. Because the best place to sit when winds are light is the bottom of the boat, the floorboards are an important feature for keeping you out of the bilge.
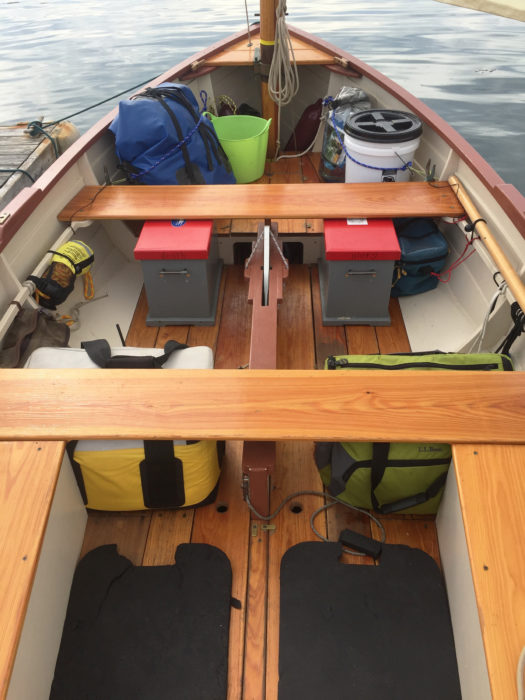
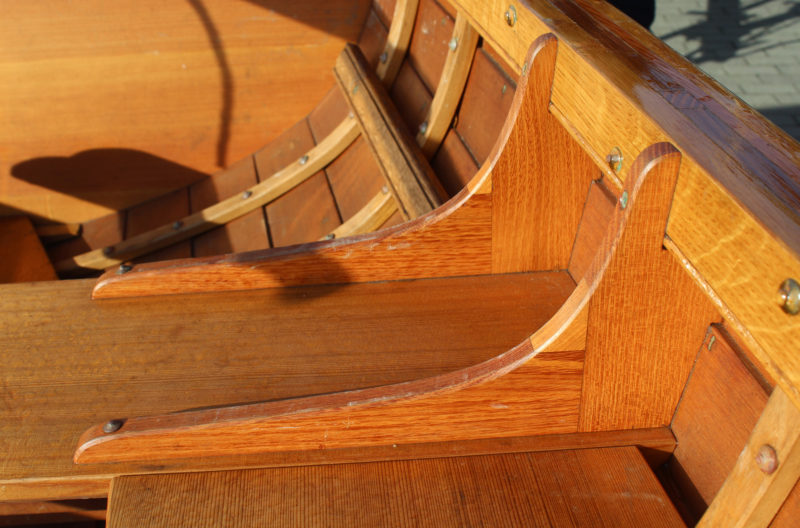
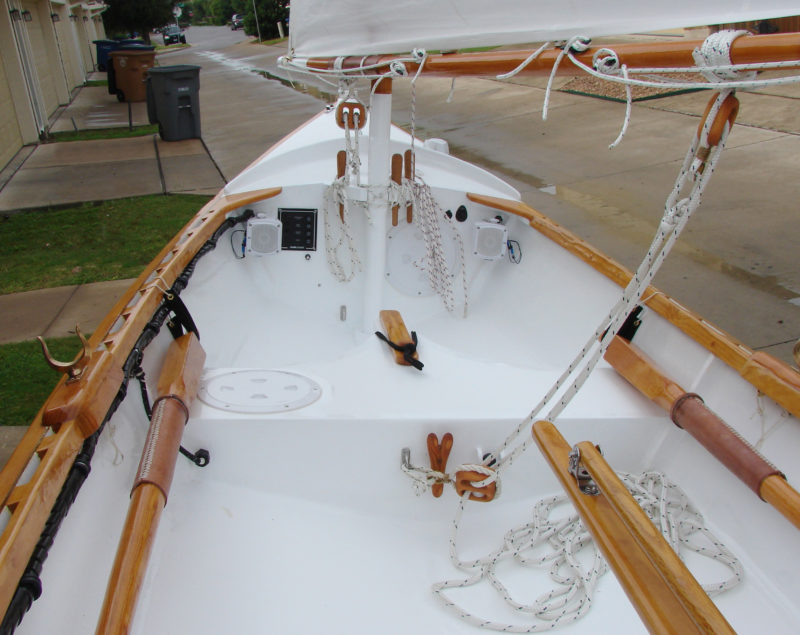
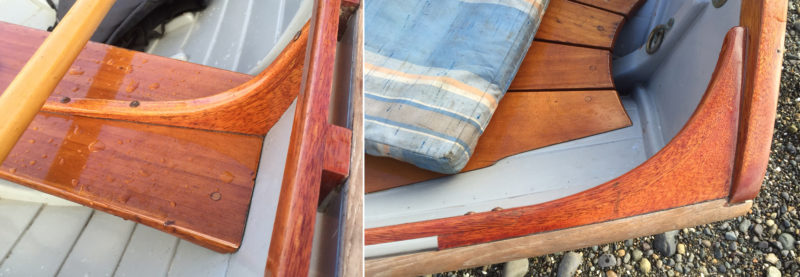
 Evelyn Ansel
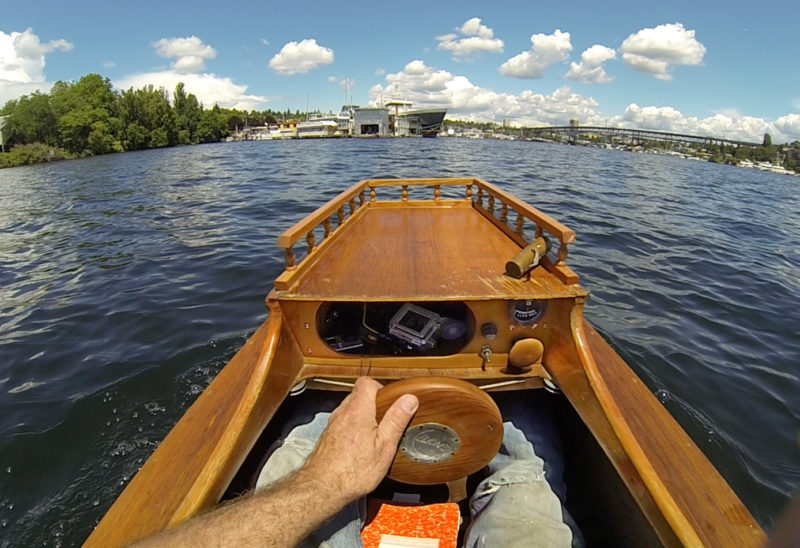
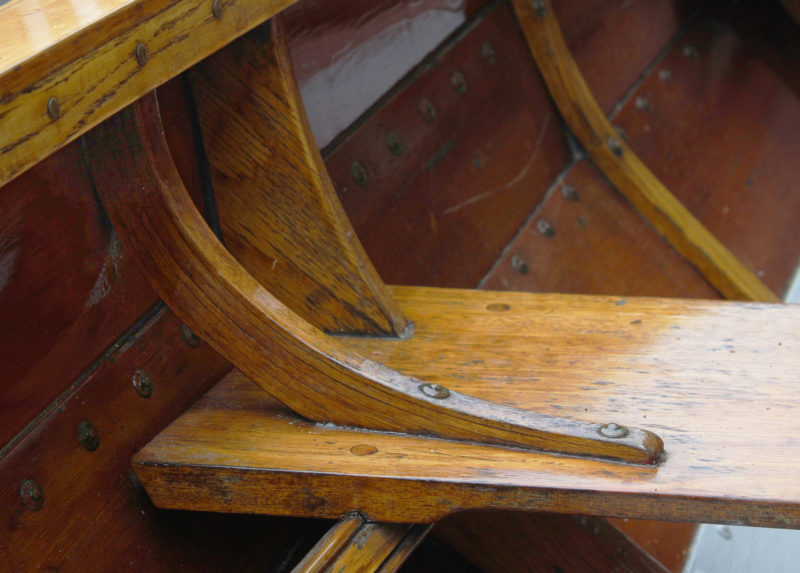
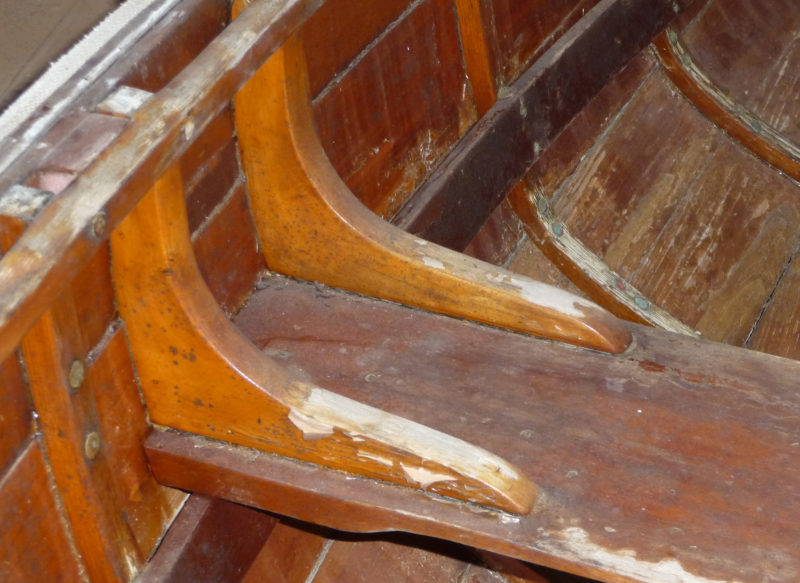
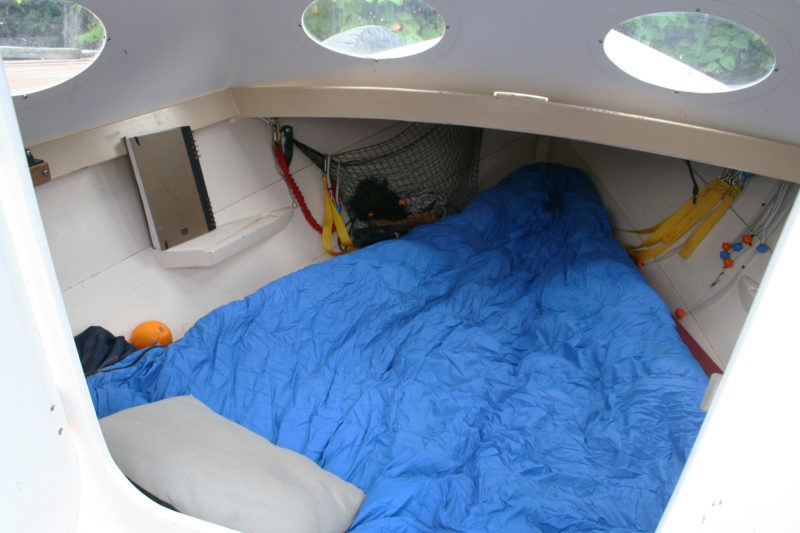
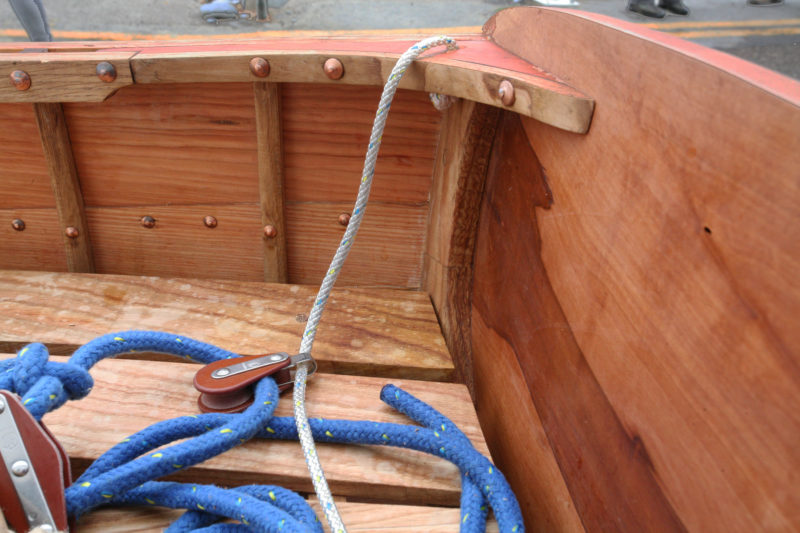
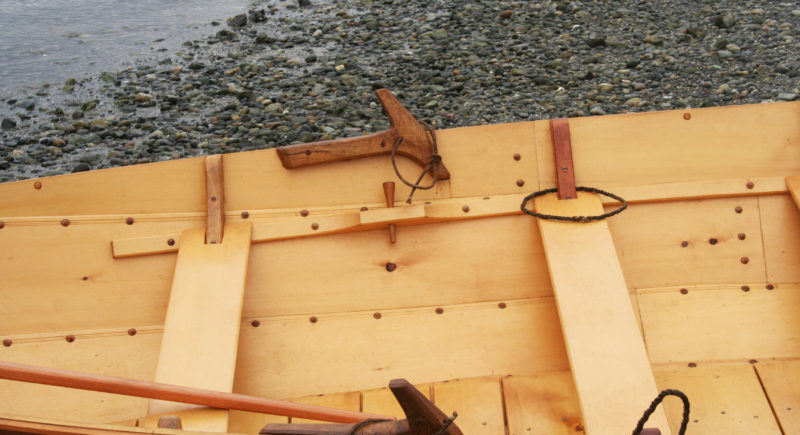
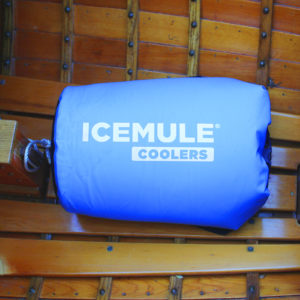
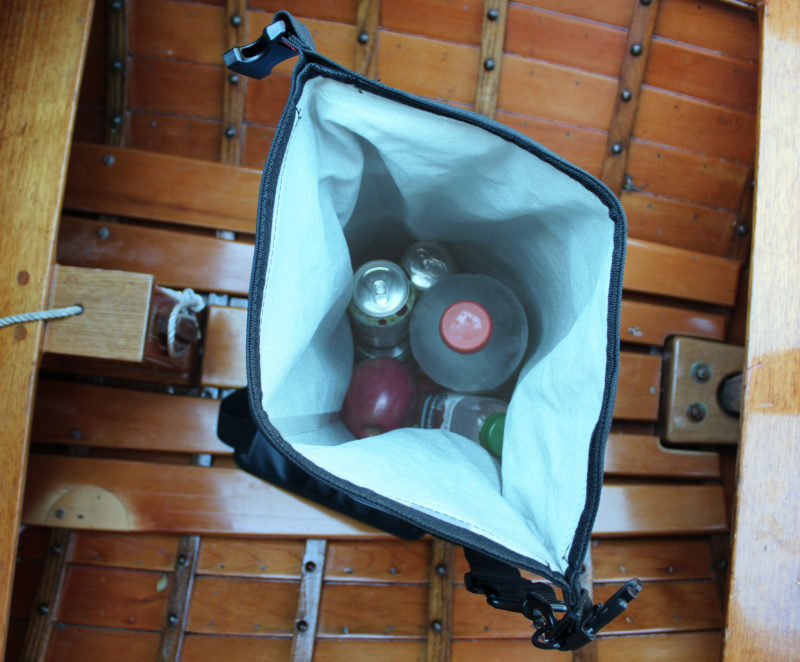
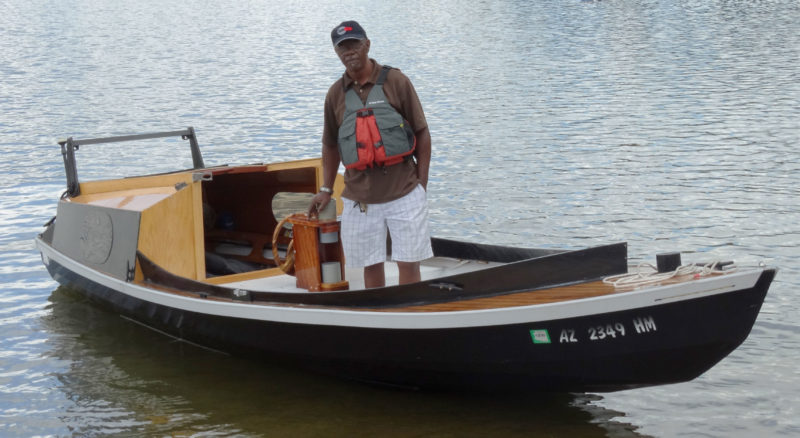
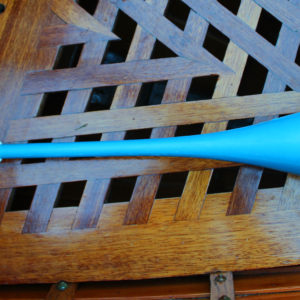
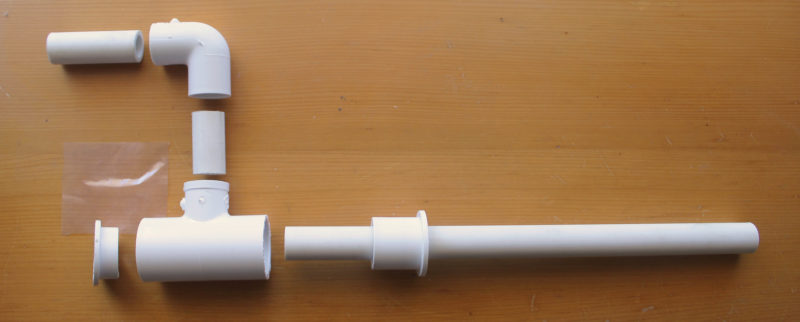
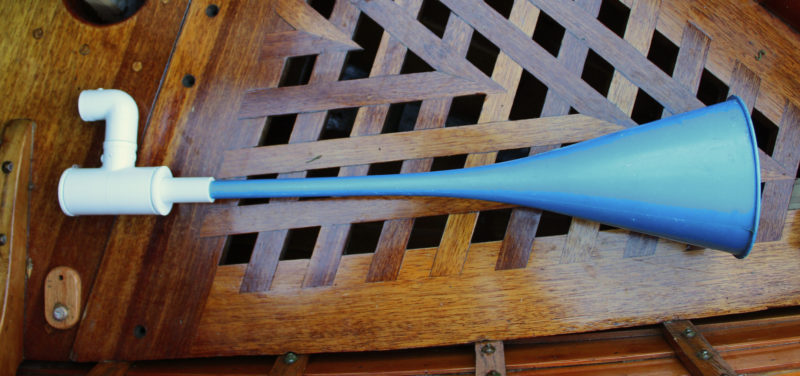
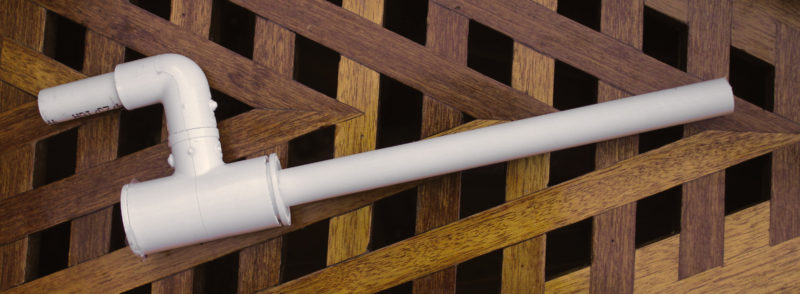
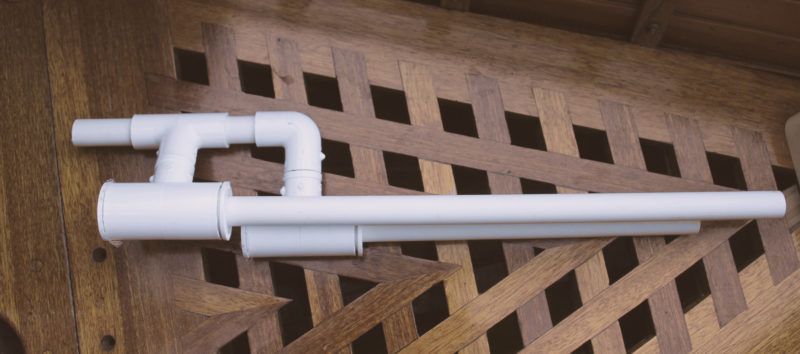
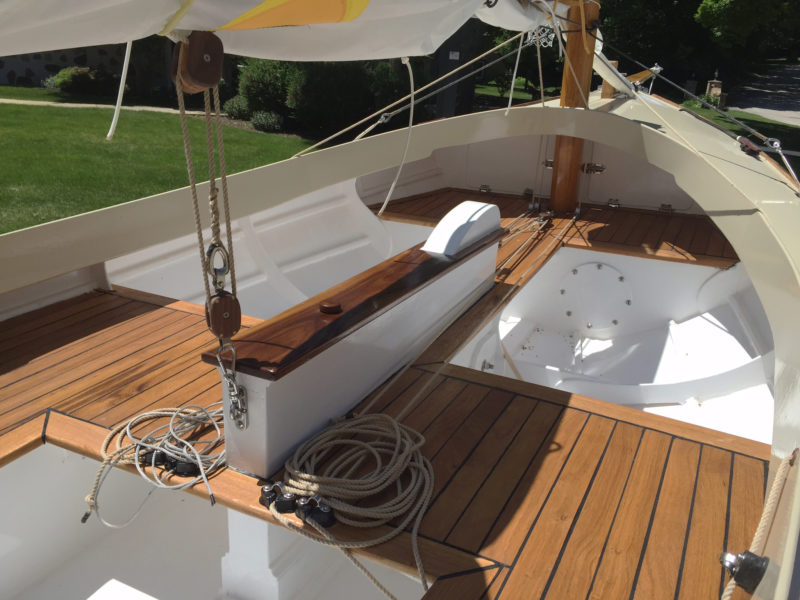
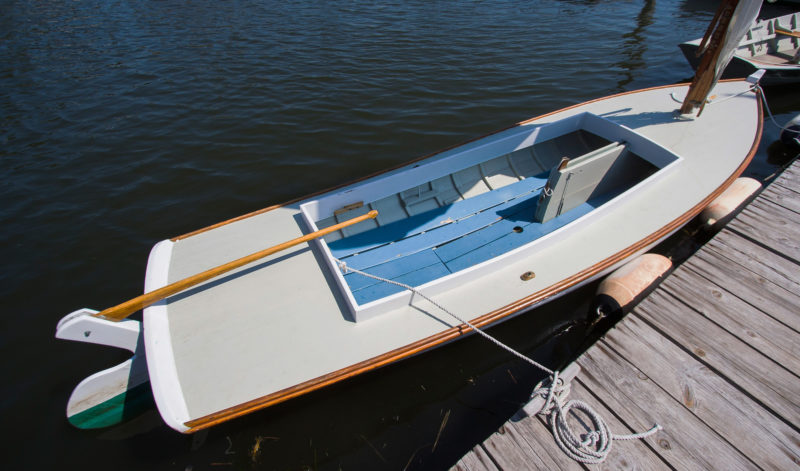
For sailing, the floorboards provide seating; a removable seat was used for rowing. This skiff’s oarlock sockets are made from pipe and extend down to a cleat spanning a pair of frames. The arrangement accommodates the strain imposed by the tall oarlocks. The decked-over forward area makes for a great place to stow a cooler, a beach towel, a pair of binoculars, and a paddle.
The skiffs like a good breeze, and require precise timing and weight shifts to tack smartly in light air. Imprecision here will reveal a tendency to wallow, though this is often operator error on the part of those more accustomed to sailing modern dinghies. As Sharon Brown, longtime head of Mystic Seaport’s boat livery and former assistant to John Gardner, neatly stated, traditional wooden boats sail best when given the “opportunity to breathe. Don’t head up too high and don’t sheet in too tight. Keep a way on.”
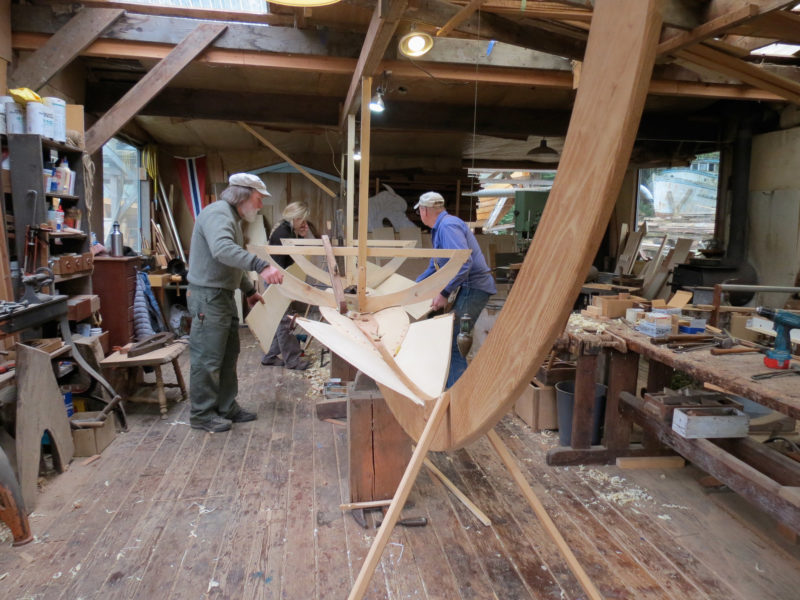
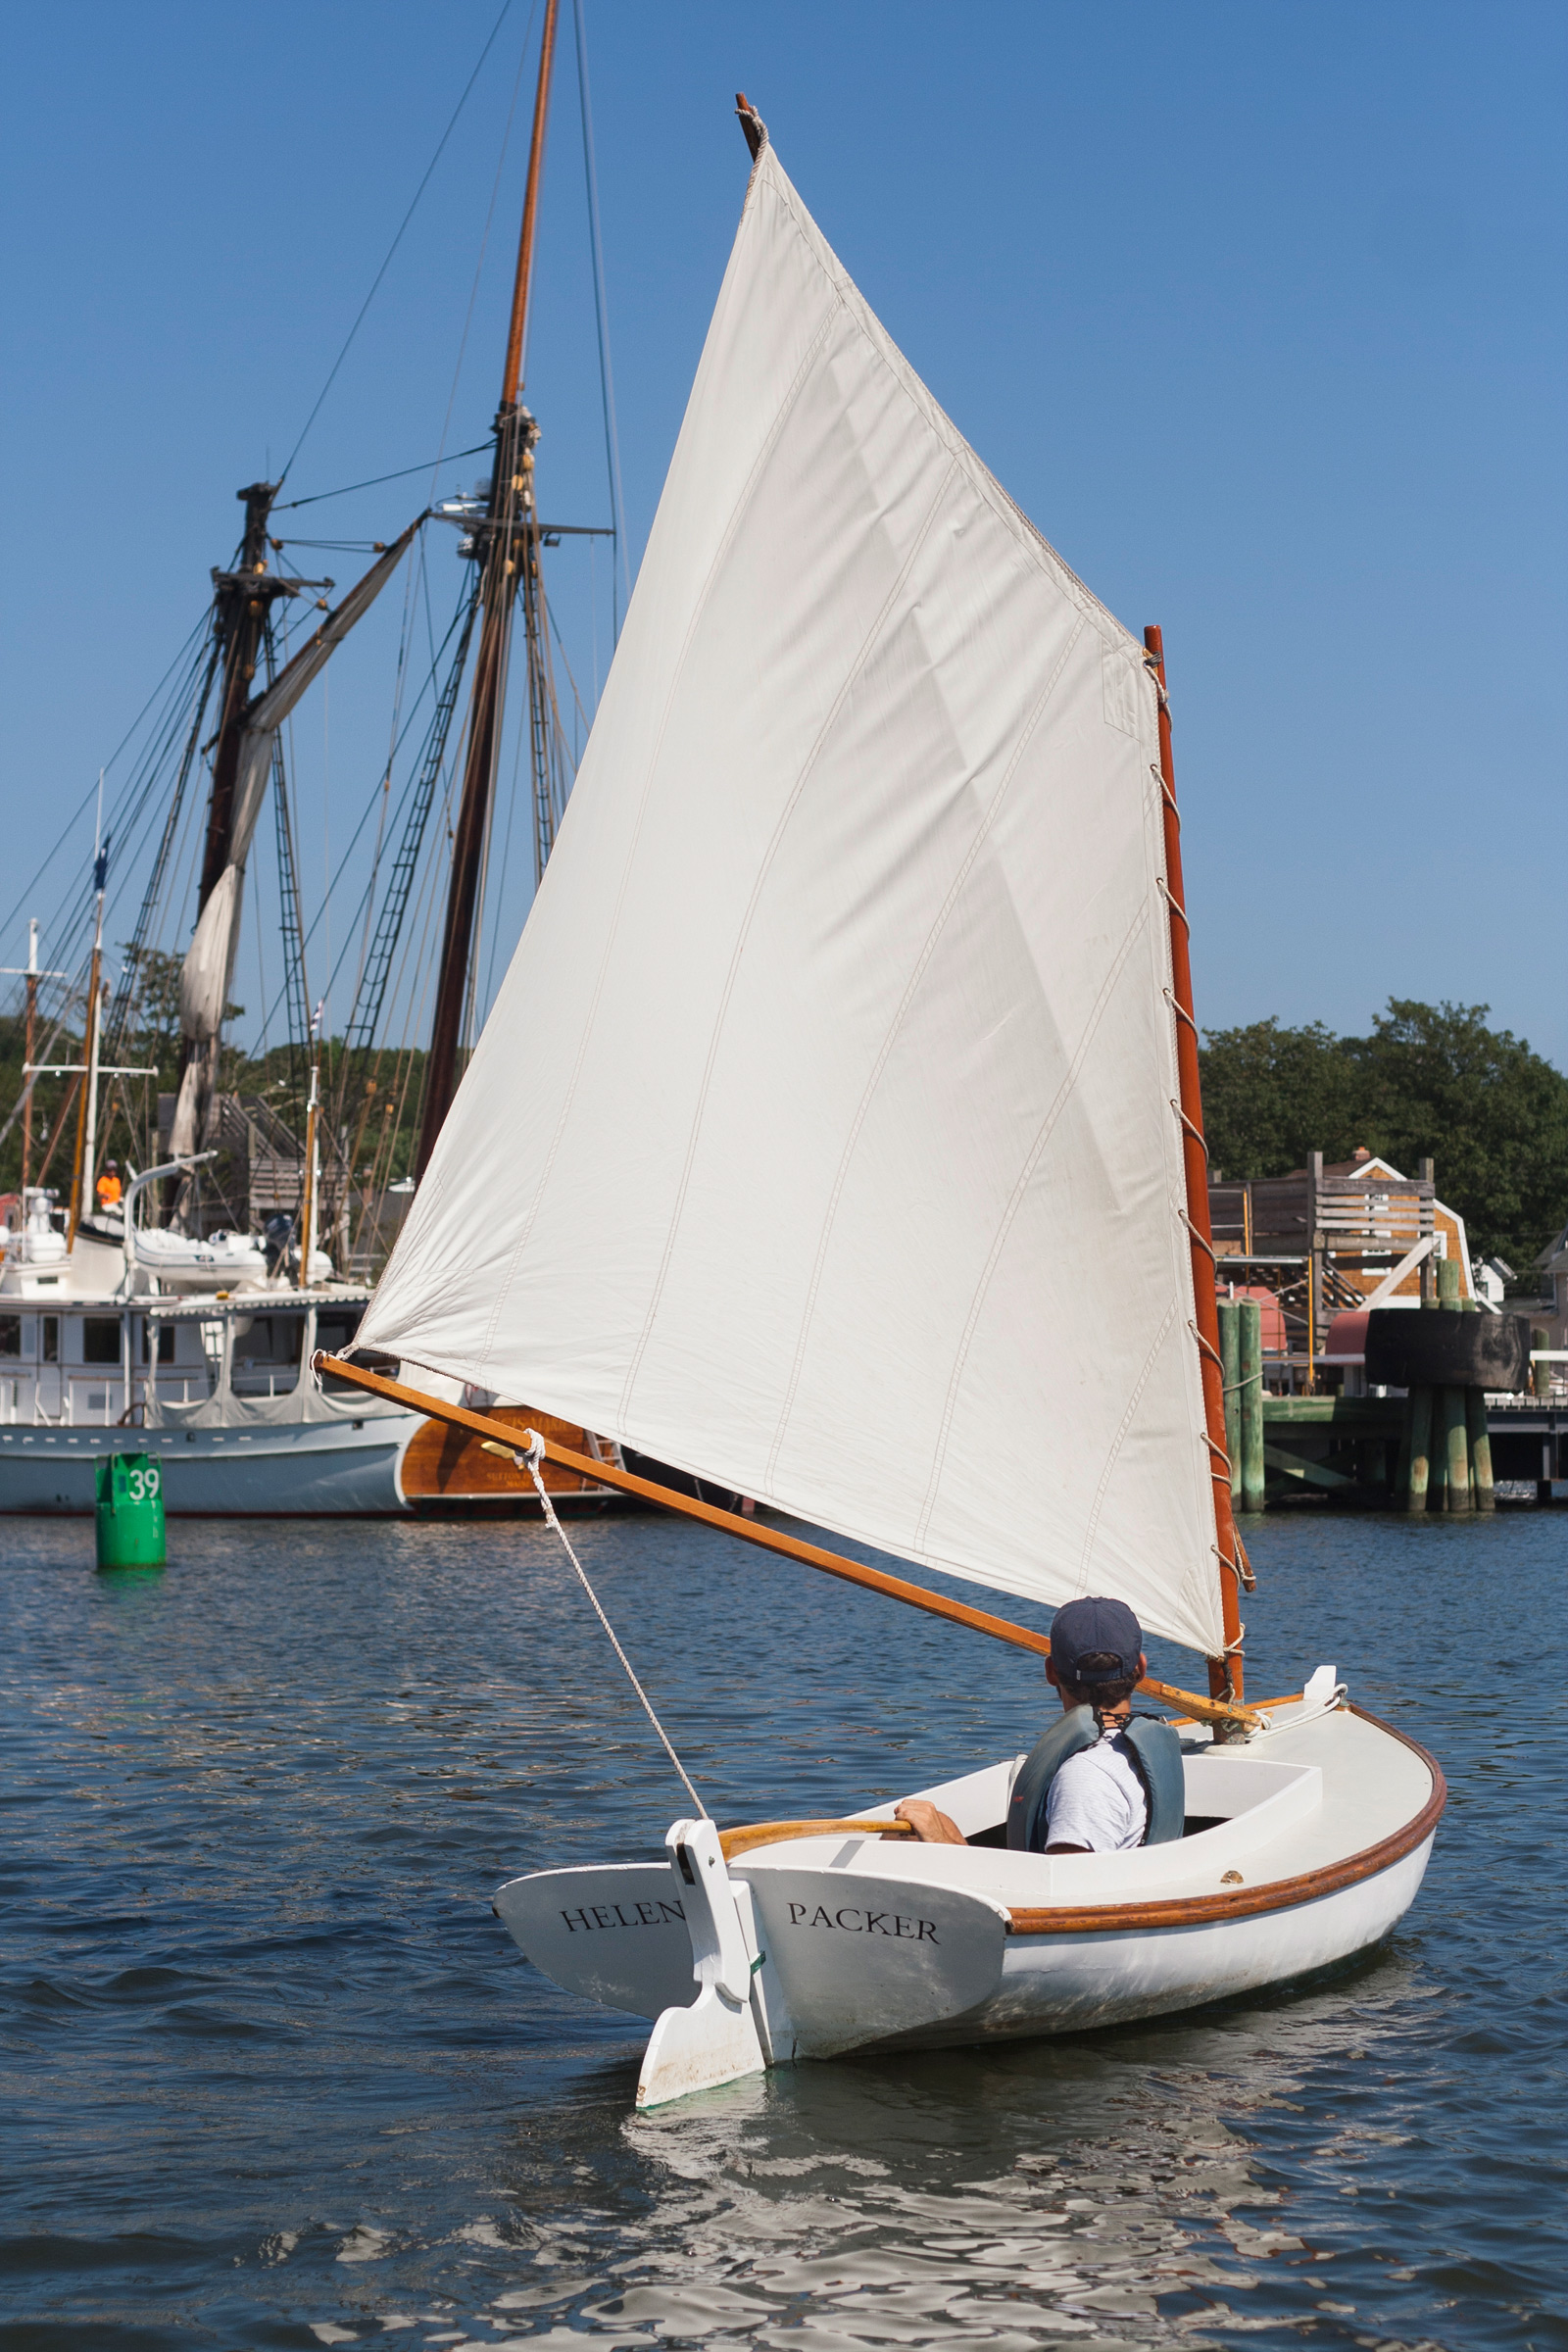
HELEN PACKER, the Seaford skiff in Mystic Seaport Museum’s livery, is one of the most popular boats in the fleet. She was built by Barry Thomas and volunteers at the John Gardner Small Boatshop at the Mystic museum in the mid-1990s. Thomas studied the Ketcham-built skiff in the museum’s collection as well as several extant Verity-built models. Thomas also consulted with builder Paul Ketcham Jr. and his wife Carol, who provided measurements and a pattern for the keel.
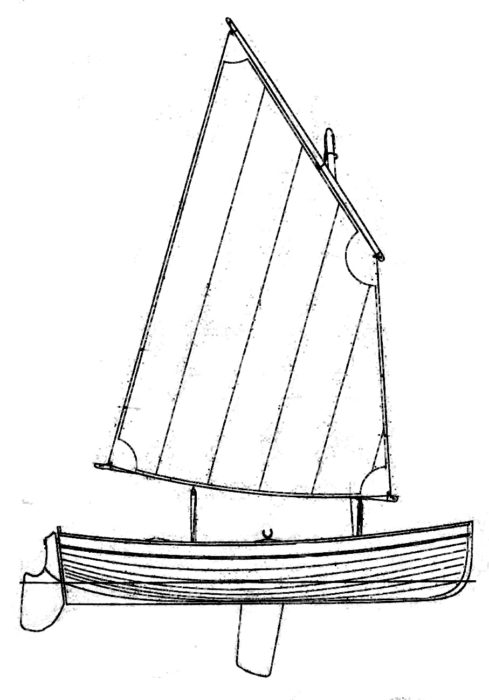
Launched in 1998, and sailing every season since, HELEN PACKER has afforded thousands of visitors the chance to explore Mystic, Connecticut, from the water. She was the first boat that I ever singlehanded as a late-blooming and cautious sailor at 14 years old. I couldn’t ask for a sweeter start. With the sail already bent on the mast, rigging the boat was a simple matter, and the only line to adjust was the snotter that tensioned the sprit. The mainsheet was daisy-chained around the furled sail, and the whole rig could be carried easily by any of the Seaport volunteers, who ranged in age from 13 to 83. All that was required to sail off the dock was to install the rudder and put the centerboard down. The entire rigging process takes under five minutes.
 Evelyn Ansel
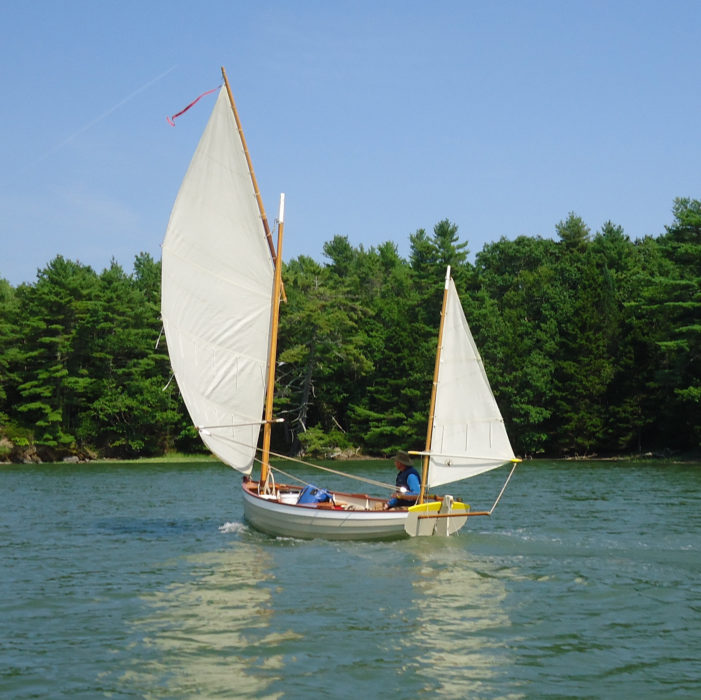
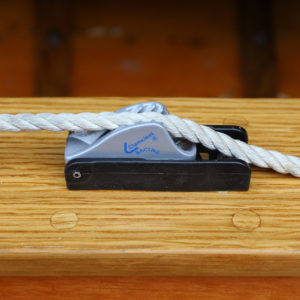
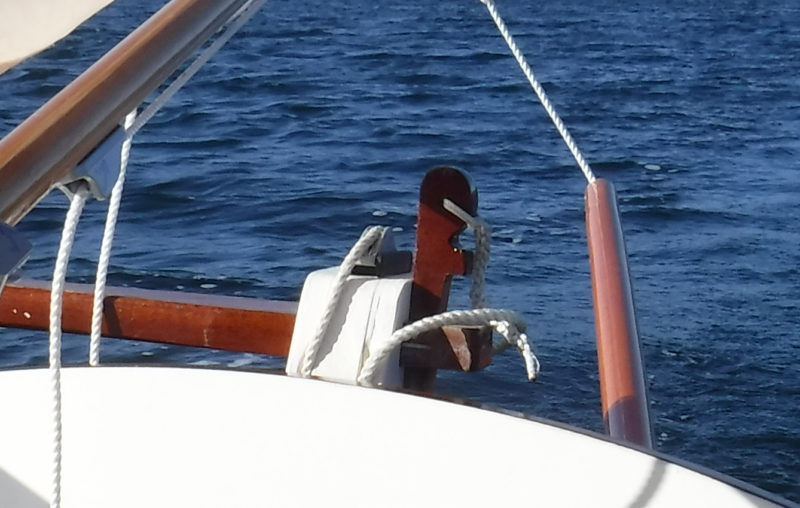
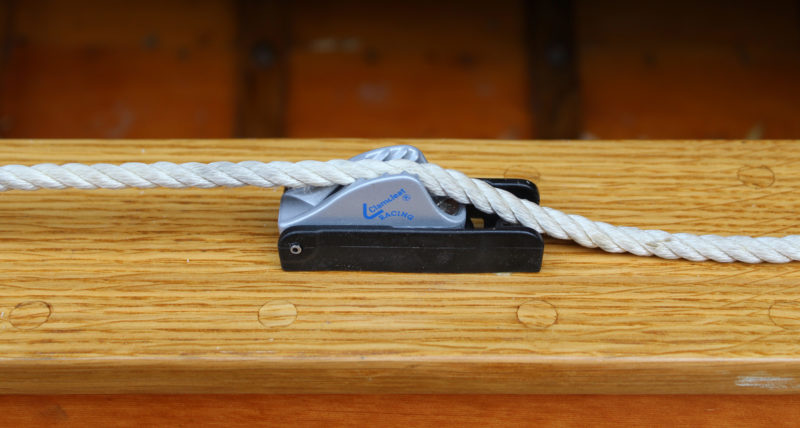
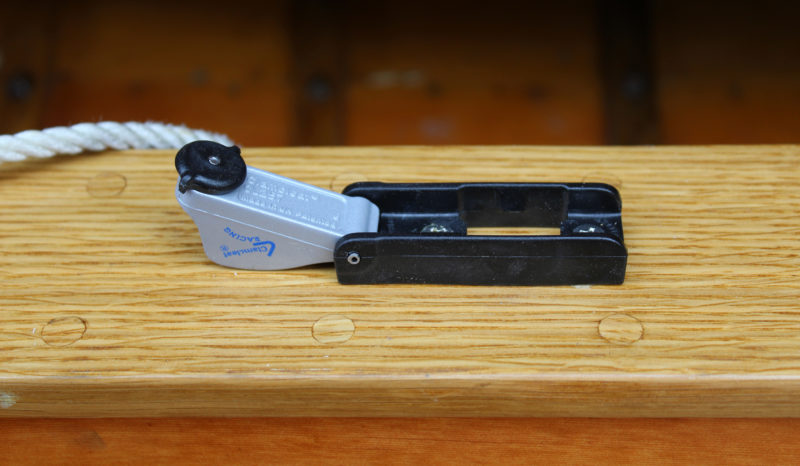
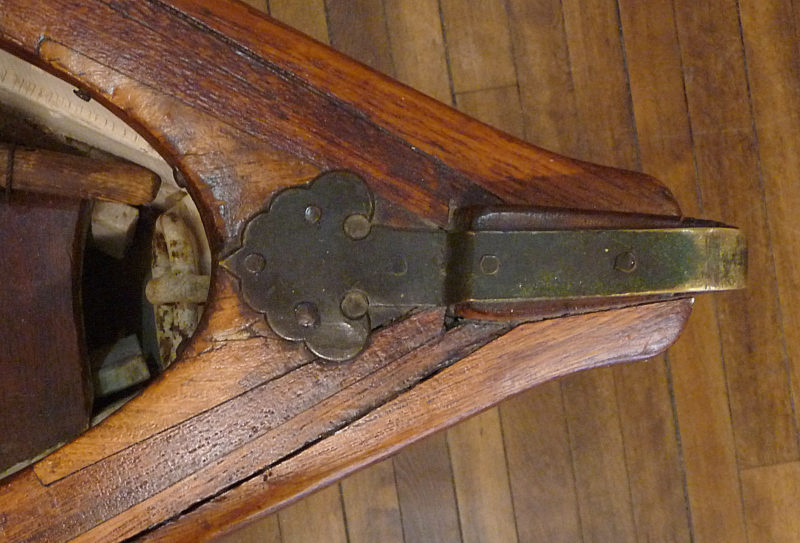
The rig is quite simple. The sheet is hitched and whipped to the boom and the notched ladder on the mast allows you to adjust the angle of the sprit.
With their long and narrow hulls, Seaford skiffs trim and handle best with the sailor’s weight forward as possible, so we were all taught to sit with our backs against the coaming to weather, one knee just brushing the after end of the centerboard trunk, and with feet propping us up on the downwind side. Because there are no thwarts, sailors must have a good range of motion in their knees, and be comfortable sitting on the floorboards. The boats are extremely stable, and in my five summers working at Mystic’s boat livery, I only rarely encountered a breeze fresh enough that I felt I needed to hike out to weather. I never saw HELEN PACKER capsize either, although visitors, volunteers, and staff eagerly took her out in all conditions. Despite her stability, she’s still lively and exciting to sail, and easy to handle even for a young teen in a gust with the sheet just tucked behind a purposefully placed cleat on the coaming.
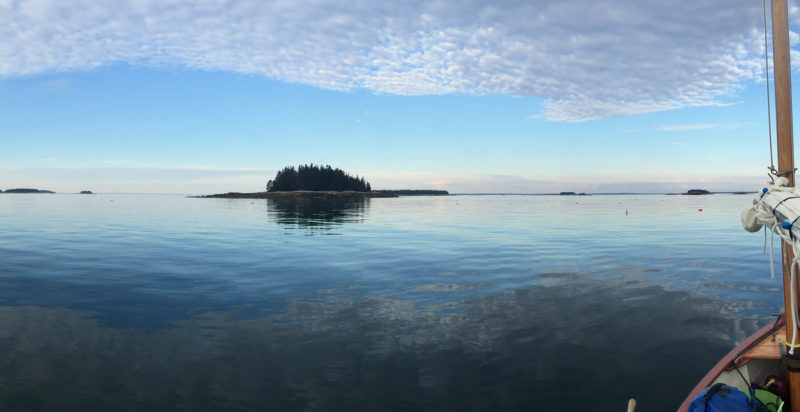
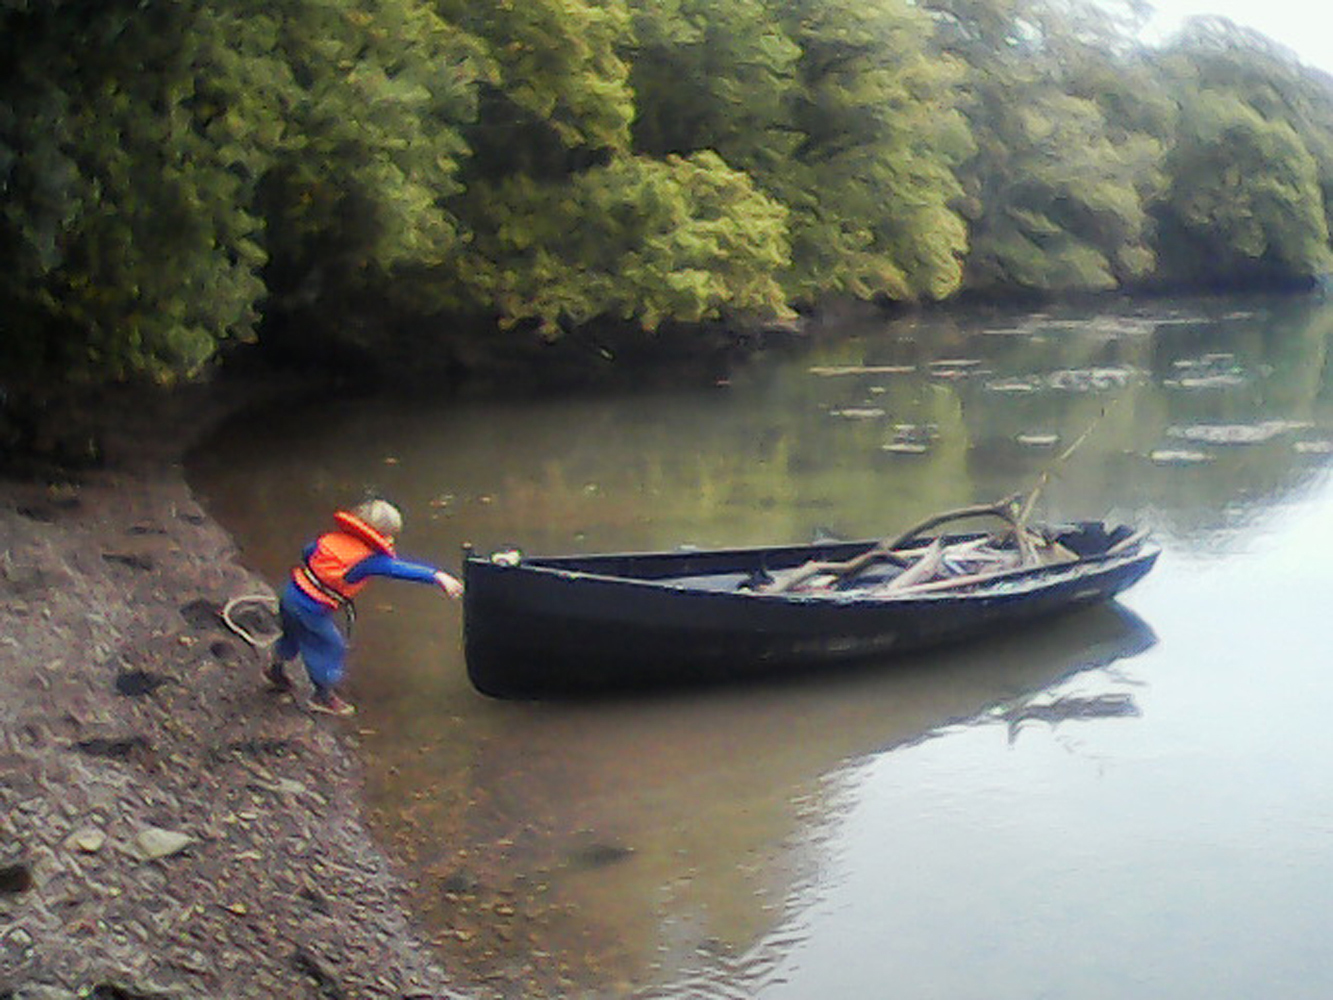
The design is ideally suited for inquisitive sailors young and old to explore those tempting spots that always seem just out of reach from land; this is a perfect cruiser for those among us who will always prefer to look closer rather than go far, from the miniature worlds of rocky tidepools to the rich ecosystems of marshes and intertidal zones. ![]()
Evelyn Ansel is an archivist and documentation specialist based in Providence, Rhode Island. She grew up in a family of boatbuilders and librarians, and makes a living working at a little of both. She currently splits her time between the Hart Nautical Collection at the MIT Museum in Cambridge, Massachusetts, and the Herreshoff Museum of Bristol, RI. Her work in maritime heritage preservation has taken her across the world from the Gulf of Mexico to the Baltic. She serves on the board of the Apprenticeshop of Rockland, Maine, and is a frequent freelance contributor to WoodenBoat magazine.
She wishes to thank Sharon Brown, the champion of small craft at the Mystic Seaport Museum’s boat livery. During her decades-long tenure, tens of thousands of visitors, volunteers, and staff were introduced to the joys of traditional small craft on the Mystic River. Sharon deserves much credit for instilling a sense of pride and inspiring delight in our small-craft heritage in countless folks of all ages.
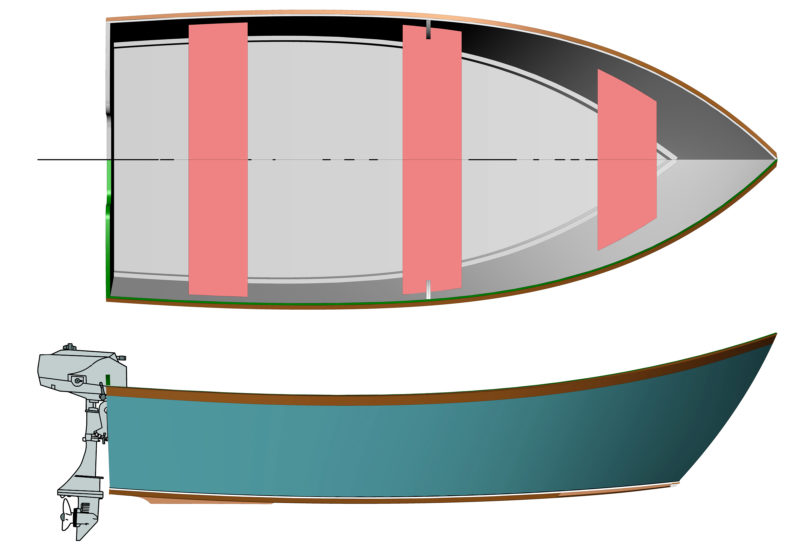
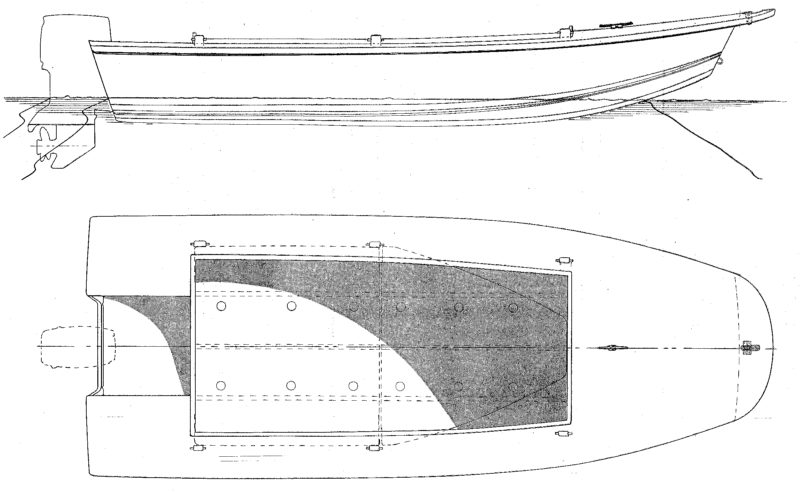
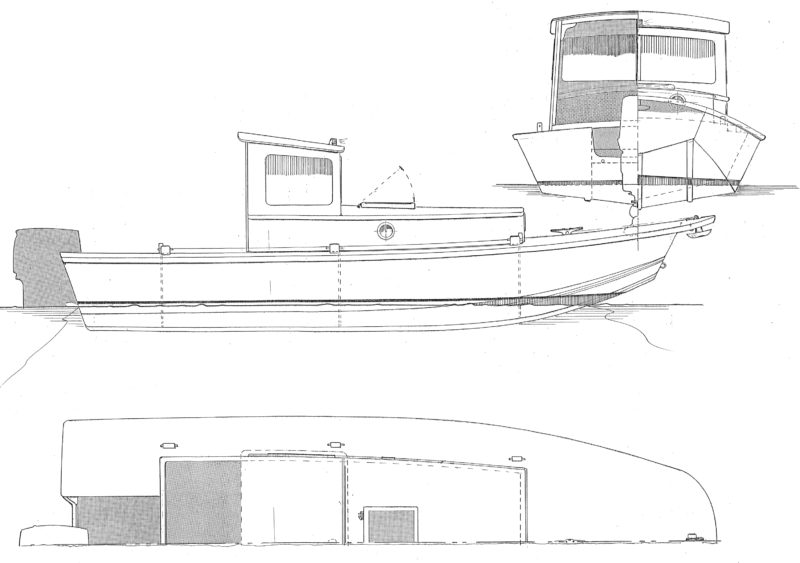
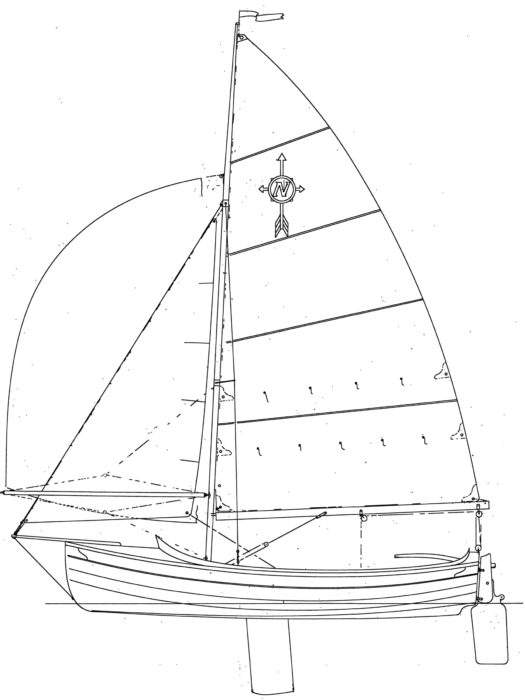
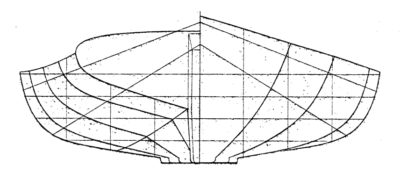
Verity-built Seaford Skiff Particulars
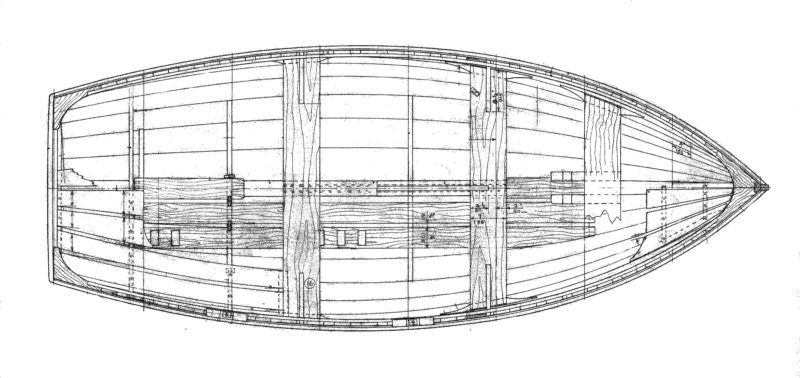
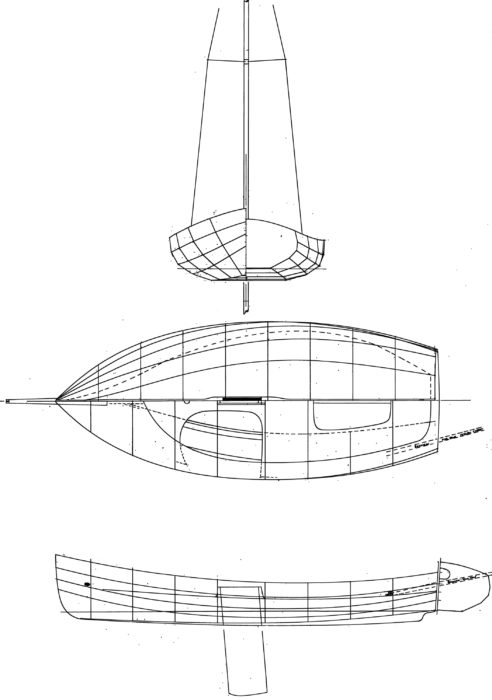
Length: 14′ 2 1⁄4″
Beam: 4′ 3⁄4″
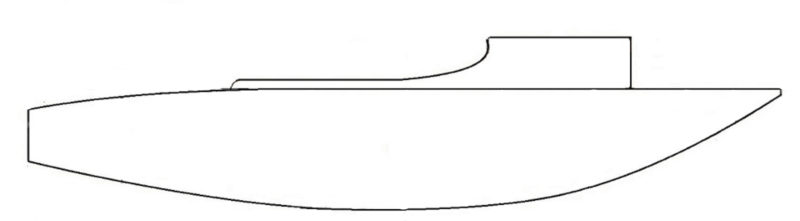
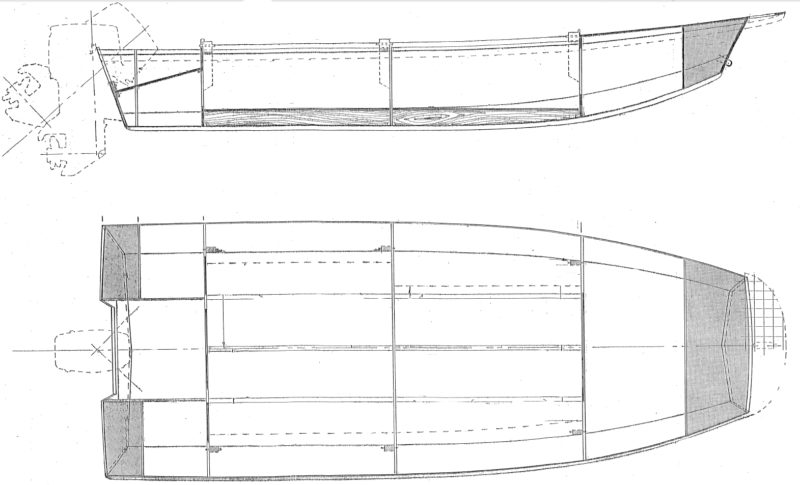
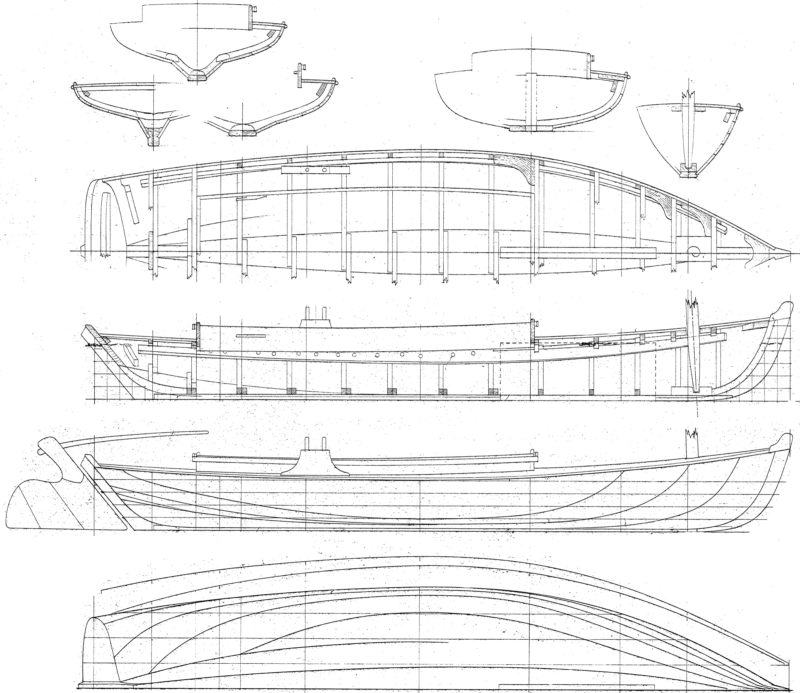 © Mystic Seaport, Daniel S. Gregory Ships Plans Library, #misc44-1
Lines taken from a skiff built by Charles Verity in 1910.
Plans for the Charles Verity-built Seaford skiff replicated in HELEN PACKER are available from Mystic Seaport for $25.
Is there a boat you’d like to know more about? Have you built one that you think other Small Boats Monthly readers would enjoy? Please email us!