 Photographs by the author
All of the wood on the deck of the author’s boat is African mahogany. The kingplank and covering boards were cut from stock that was the lightest in color, and dye made them the darkest pieces.
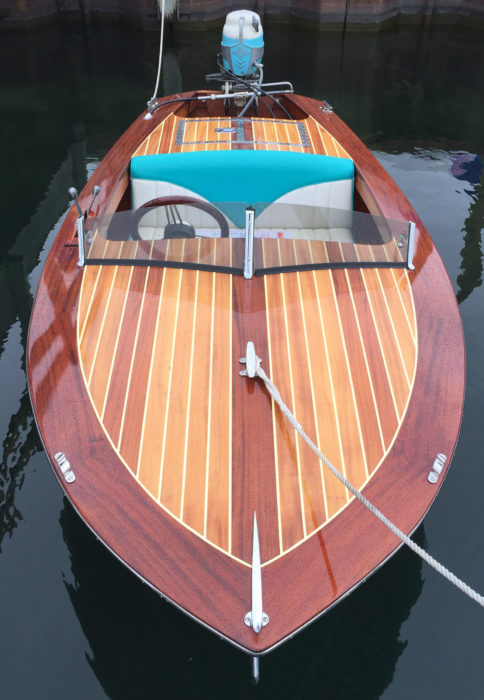
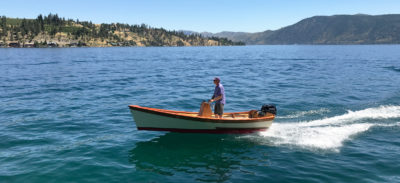
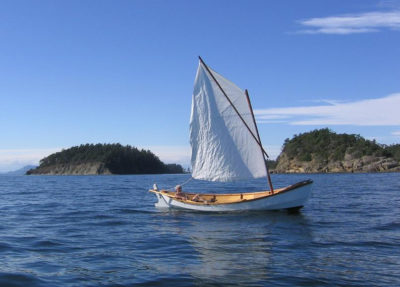
My outboard runabout, WORK OF ART, often stops people in their tracks when they see the deck with its beautiful, natural-looking wood color with sparkling grain highlights. No one has guessed that much of the wood under the varnish has been dyed.
The deck planking is African mahogany, and I was hoping to find some dark pieces for the perimeter covering boards and kingplank, and lighter boards for the rest. While I did find a couple of boards wide enough and long enough to do the perimeter covering boards, they were especially light in color, the opposite of what I wanted.
I was reluctant to use stain, as it tends to muddy variations in color and mute the wood grain. After doing a bit of research, I decided to get the darker color using dye; it would provide the contrast I wanted for the perimeter and kingplank while creating a clearer grain appearance. Water-based dyes, once dry, are compatible with epoxy and varnish.
With the dye plan in mind, I resawed the mahogany to book-match the planks, and after cutting them to shape, I epoxied them to the deck’s plywood substrate, taking care with the epoxy so as not to contaminate areas to be dyed.
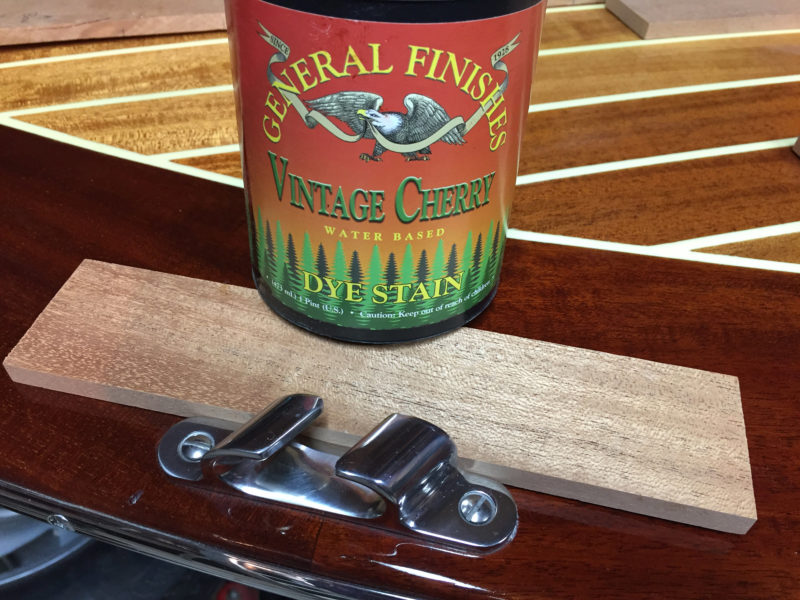
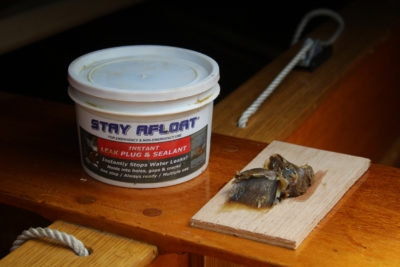
The Vintage Cherry dye transformed the very light mahogany—a cut-off is shown here— into a rich, dark color that enhances the grain.
I used some cutoffs to test a few water-based dyes. There are several brands available; I chose to use dyes from General Finishes. Their Medium Brown was too dark and subdued, but the dye in Vintage Cherry was just dark enough to provide the contrast I was looking for and had a pleasing ruby-red hue. I epoxied the sample to get some gloss to approach the final appearance, and I really liked it.
After a penultimate sanding of the deck, I wiped it down with a wet rag to raise the grain and then sanded the bare wood for the last time with 220-grit. I masked the areas that were to be left undyed with plastic sheeting and blue painter’s tape. Wearing latex gloves, I applied the dye with a cloth rag to the perimeter boards and the kingplank, 3′ to 4′ at a time. The instructions are to apply a “liberal amount of stain” to saturate the wood surface on manageable sections, then wipe off the excess before moving to the next area. The dye is very watery, so as with any shop chemical, use appropriate protective equipment for yourself or surrounding areas that might get splashed.
After the dye dried, I had one area that was a bit blotchy, likely caused by epoxy squeezed through a long crack in the board near its end. With some sanding and reapplication of dye, I was able to get consistent color in the area. The instructions recommend letting the dye dry 3 to 4 hours or up to 10 in cool, humid conditions. I let it dry overnight, and the following day I applied the first coat of epoxy to seal the wood, smooth the surface, and bring up the shine.
The next step for the deck involved masking the plank edges, then filling the faux caulking seams between planks with thickened, white-pigmented epoxy. Then I applied about five coats of clear epoxy over the entire deck to build the surface and smooth it over. Five coats of varnish completed the deck finishing process.
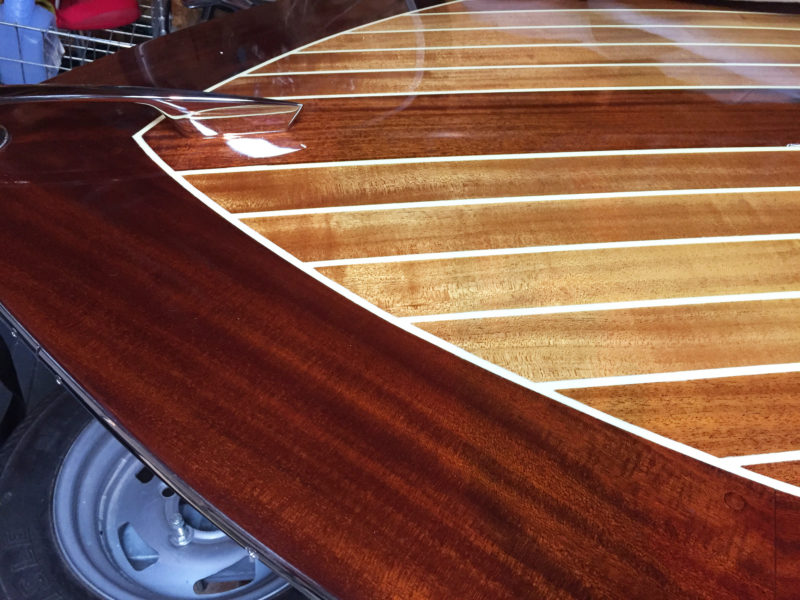
The contrast between the decking, covering boards, and kingplank brings out the color of both undyed and dyed wood.
A water-based dye makes for a remarkable finish while enhancing the clarity of the grain. The outcome was beautiful beyond my expectations, and in hindsight, I believe the effect of using dye significantly contributed to creating a boat that is a standout in the boat shows that I have entered.![]()
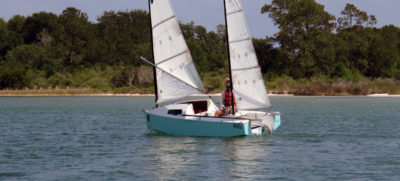
Art Atkinson retired from Ford Motor Company after 31 years as an engineering supervisor at Body Engineering. He is currently the manager for Bloomfield Village Association in Michigan. Woodworking has been his hobby since high school and prior to building boats he made musical instruments, furniture, and kitchen cabinets. His review of the Glen-L Squirt pictured here appeared in our June 2016 issue.
Thanks to Small Boats Monthly reader Bosco Plana for suggesting this article.
General Finishes wood dyes are readily available from numerous outlets. The current (2026) retail price for 1 pint of Vintage Cherry is $25.79.
You can share your tricks of the trade with other Small Boats Monthly readers by sending us an email.


I am building a bamboo cycle and was interested in your article of the boat deck, finished in General Finishes products. Could you tell me about the products you used? I require the stain, where I’ve filled the epoxy resin on the hemp, where the bamboo joins. You mentioned finishing with clear epoxy and varnish, can you tell me which of the products used?
Many thanks
I’ve always heard that dye stain is not colorfast and will fade with uv exposure. Boat decks get a lot of sun. Have you noticed a change in the color?
Still wondering about colorfast quality.
I could not find out what the chemical name of the dye is. General Finishes says it is for interior use only. Since it is the finish that is put over the stain that determines outdoor suitability I conclude that it is not colorfast outdoors. On mahogany you need to fill the grain and you can stain and fill the grain at the same time with a marine product and you will get a classic finish.
Art Atkinson has replied, via email: The product has been colorfast so far. While my boat has been covered most of the time when on my hoist during the boating season here in Michigan, I have not done any refinishing whatsoever. I have attached a more recent picture.