During 1940 and 1941, the first two years of the German occupation of Norway during World War II, 21 small wooden boats set out across the North Sea to Great Britain. Those who attempted the dangerous voyage, known as Englandsfarere—England Sailors—had one goal in mind: to join the Allies in the fight against Nazi Germany. Over the course of this effort to liberate Norway, nearly 100 people in those 21 boats left from the Agder region in southern Norway. Eighteen of the boats arrived safely. Two boats, each with two men on board, disappeared, and one boat was captured by the Germans—all five who were on board were executed or died in captivity. These escapes were undertaken by heroic young men who put their lives on the line, but in the postwar years they received very little recognition.
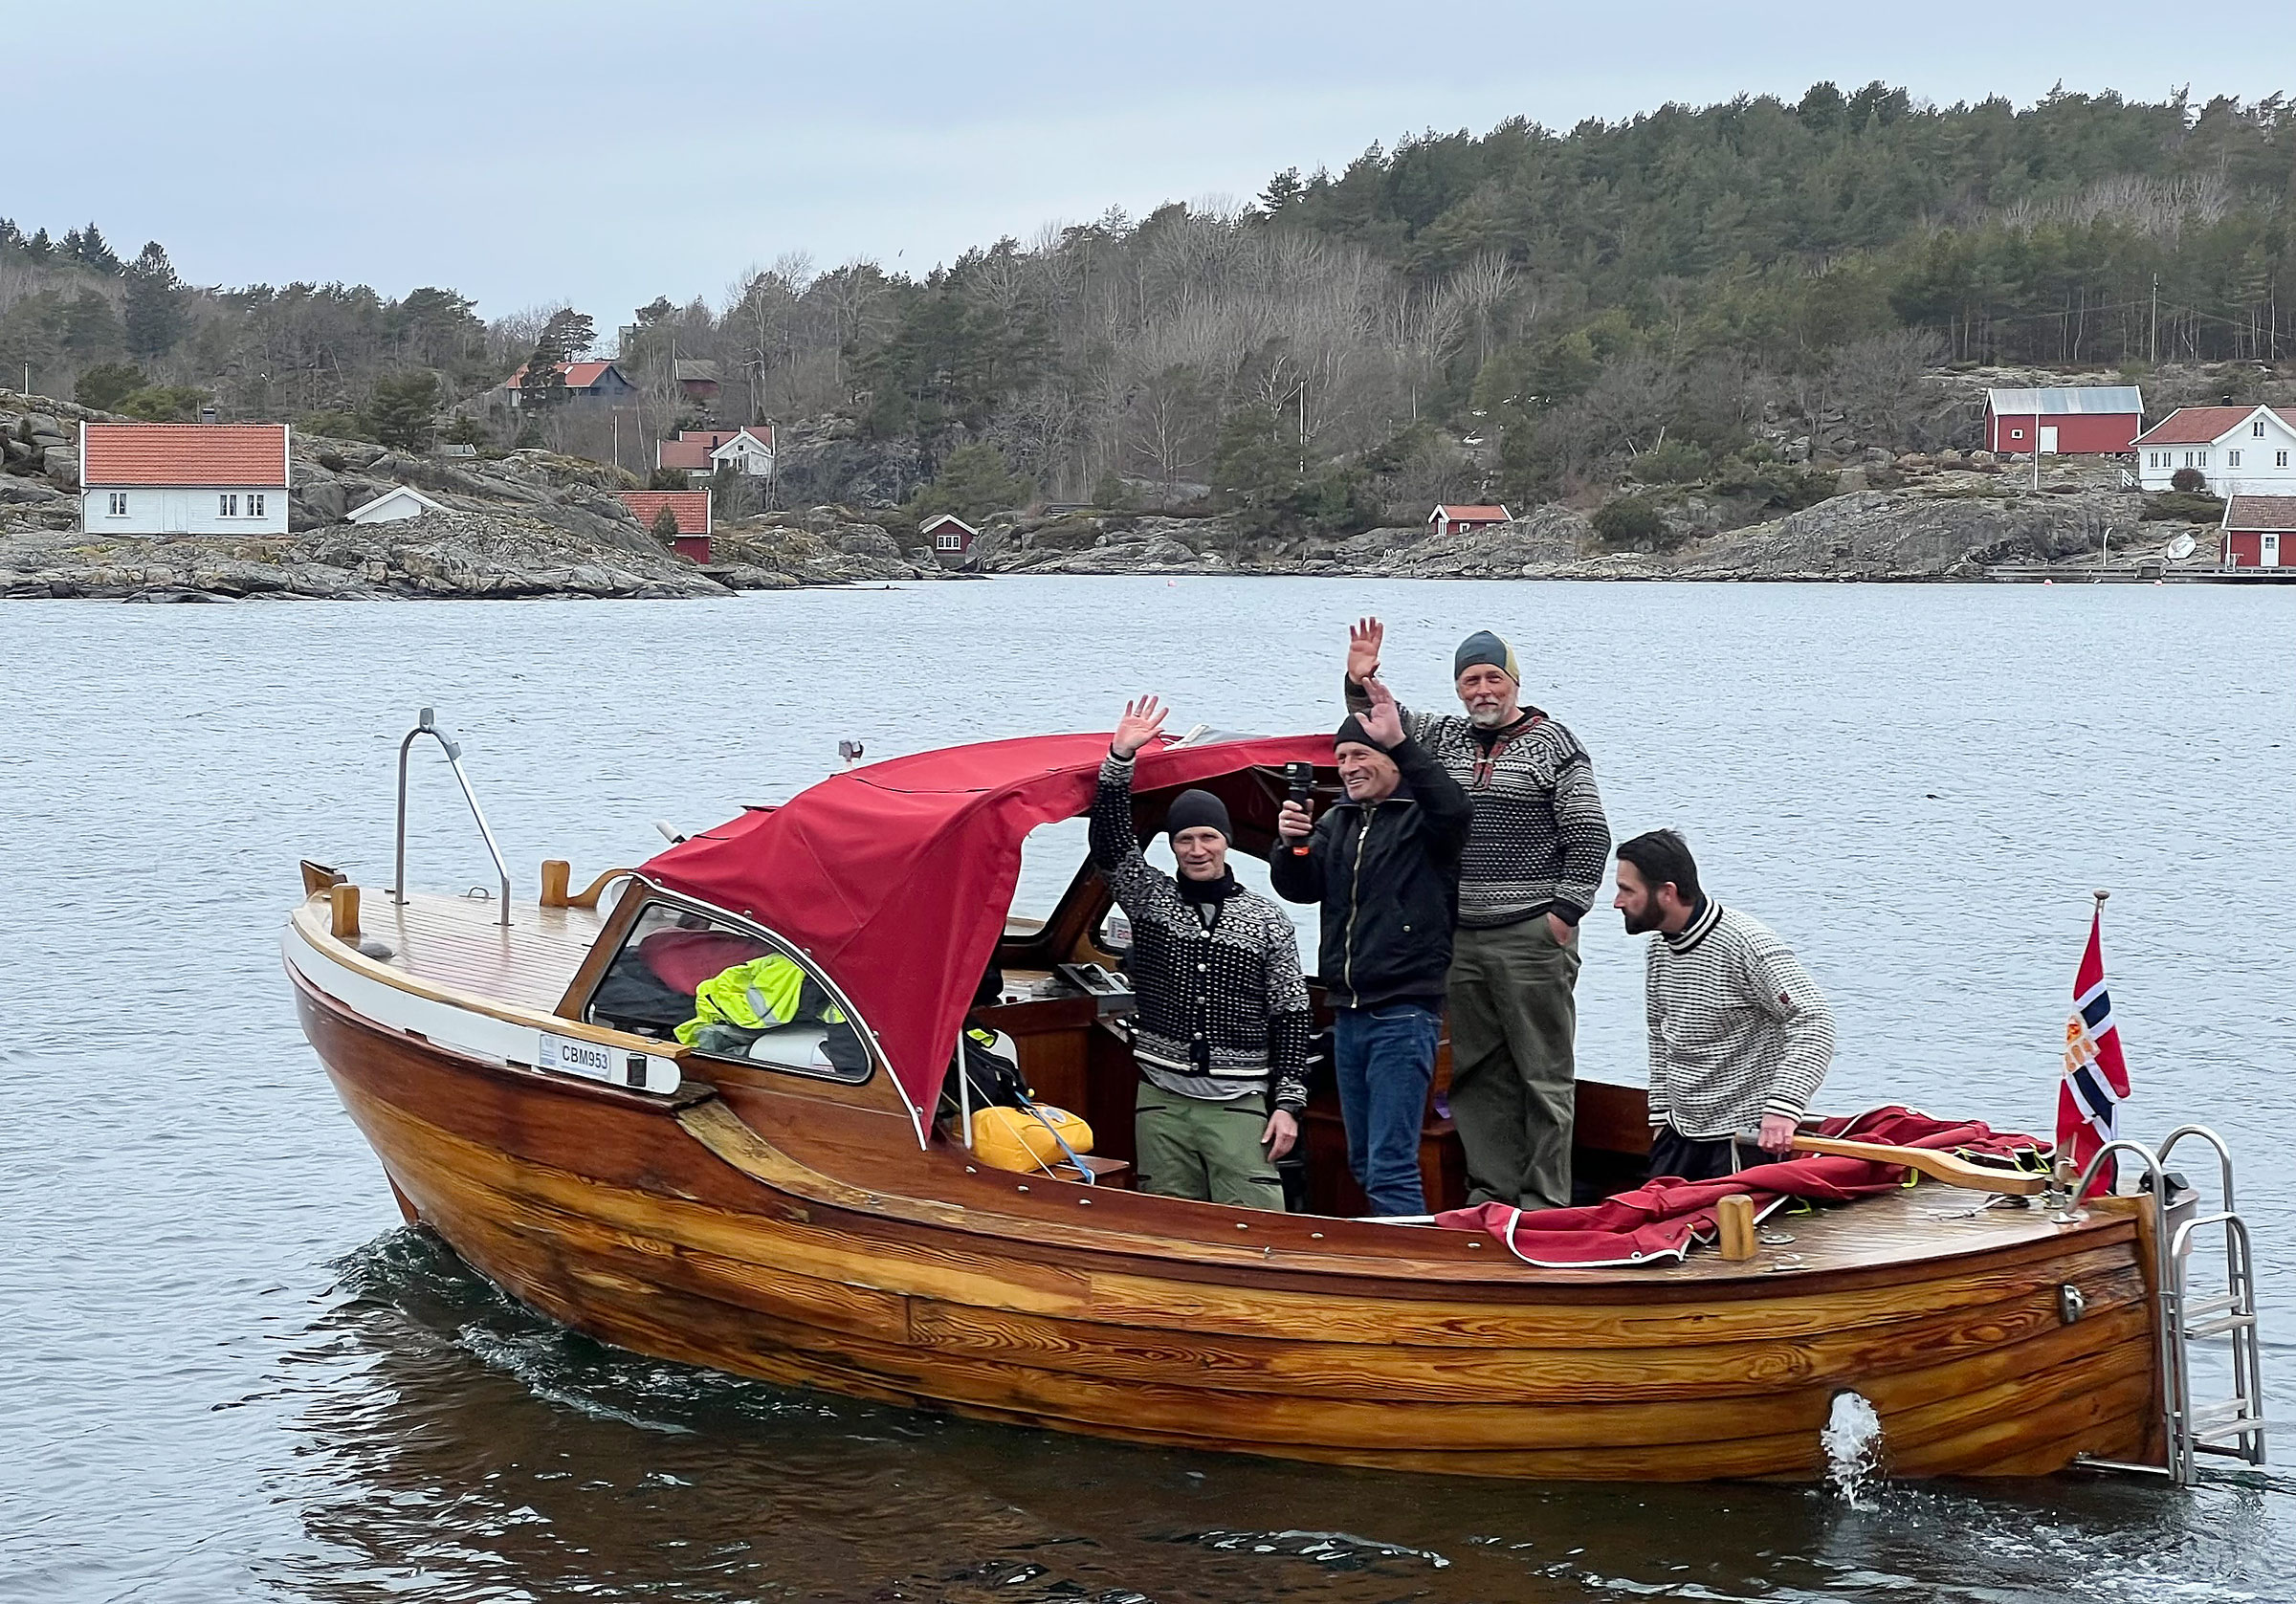
More than eight decades later, Jarle Føreland wanted to re-create the North Sea crossing to acknowledge the Englandsfarere who risked all to join the Allied side in the struggle for peace and freedom in the Second World War. I joined him in this vision and became the project leader. Frode Stokkeland and Willy Pedersen were soon on board as crew members.
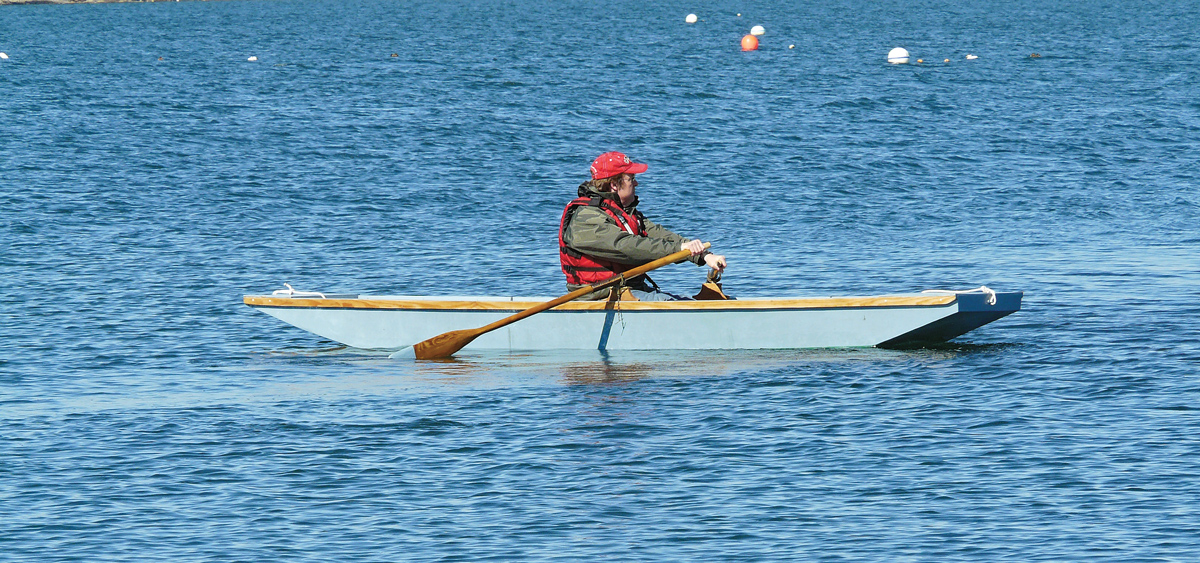
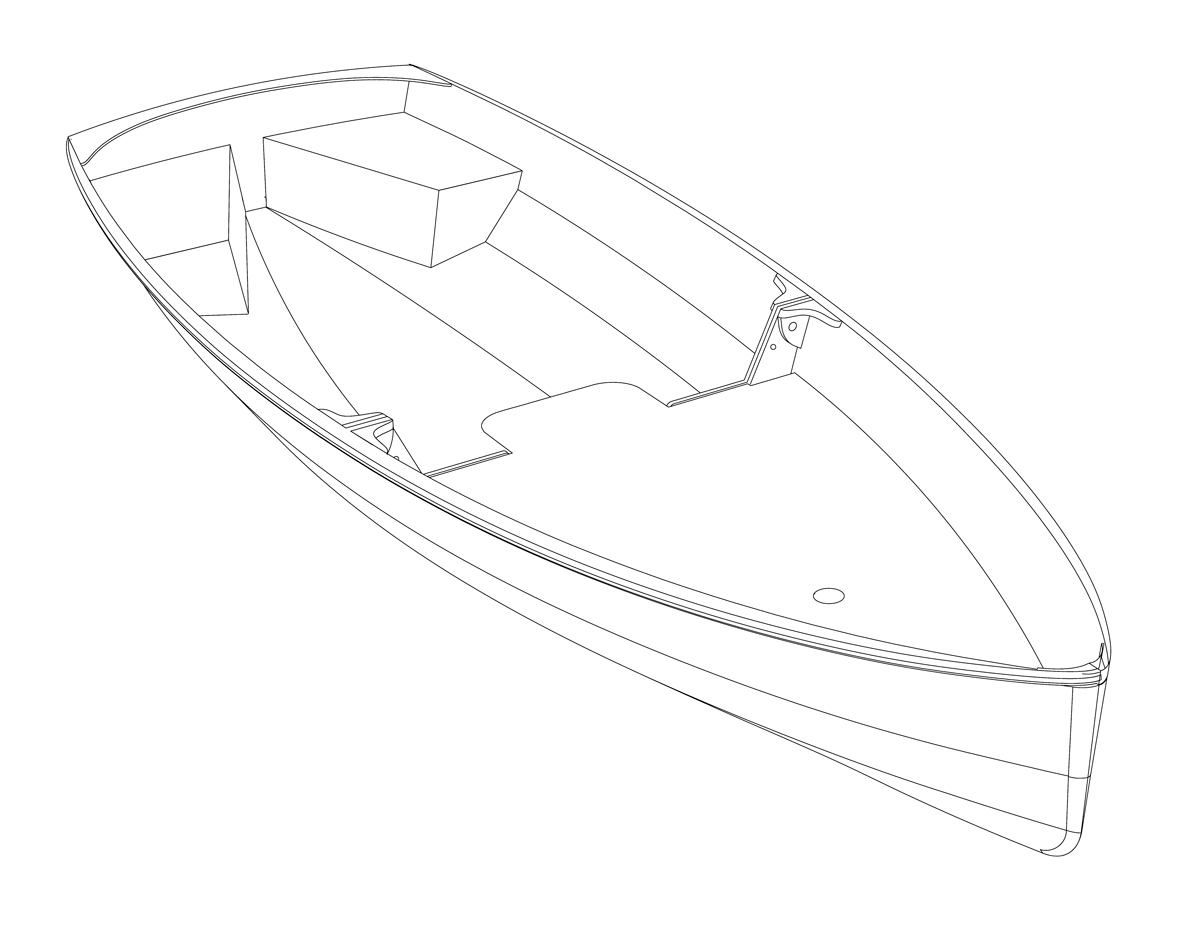
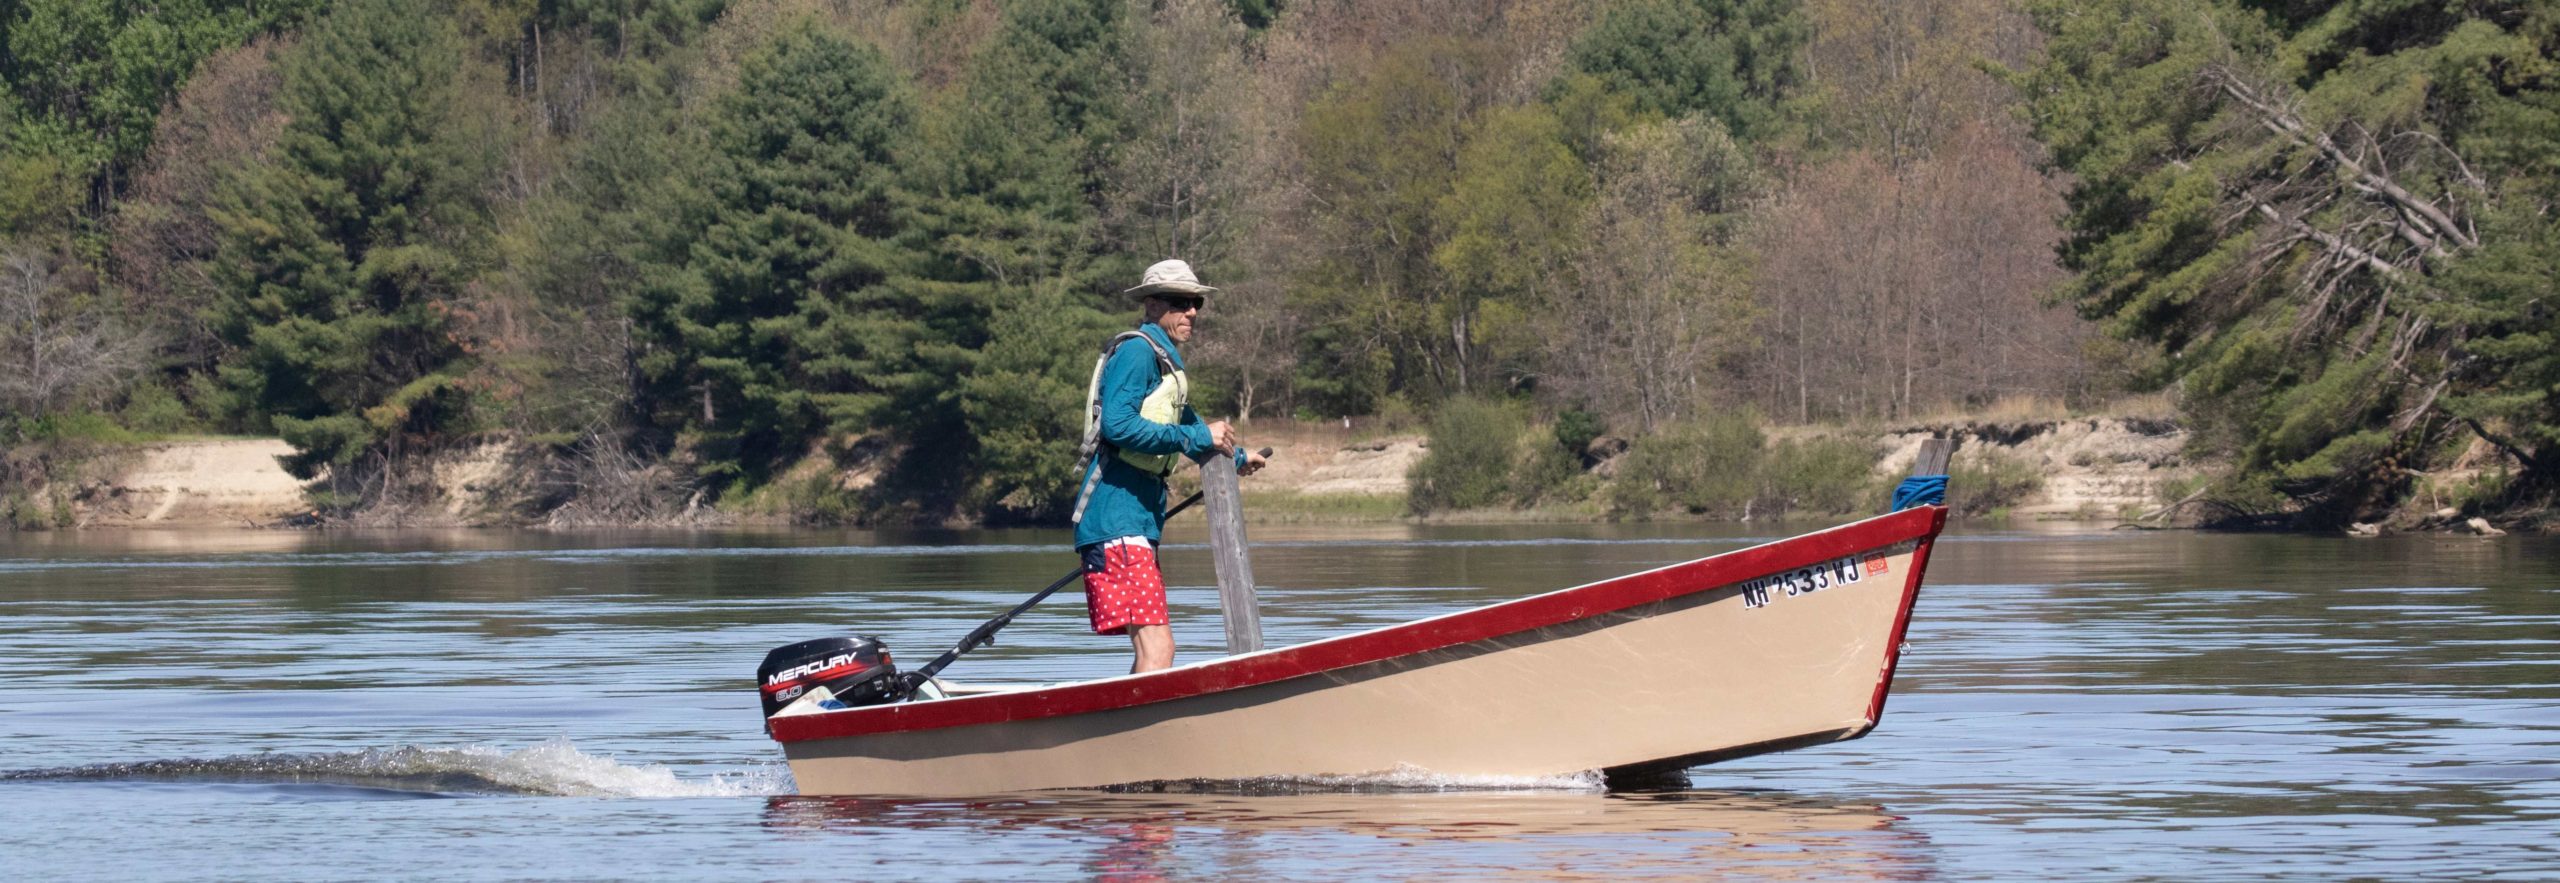
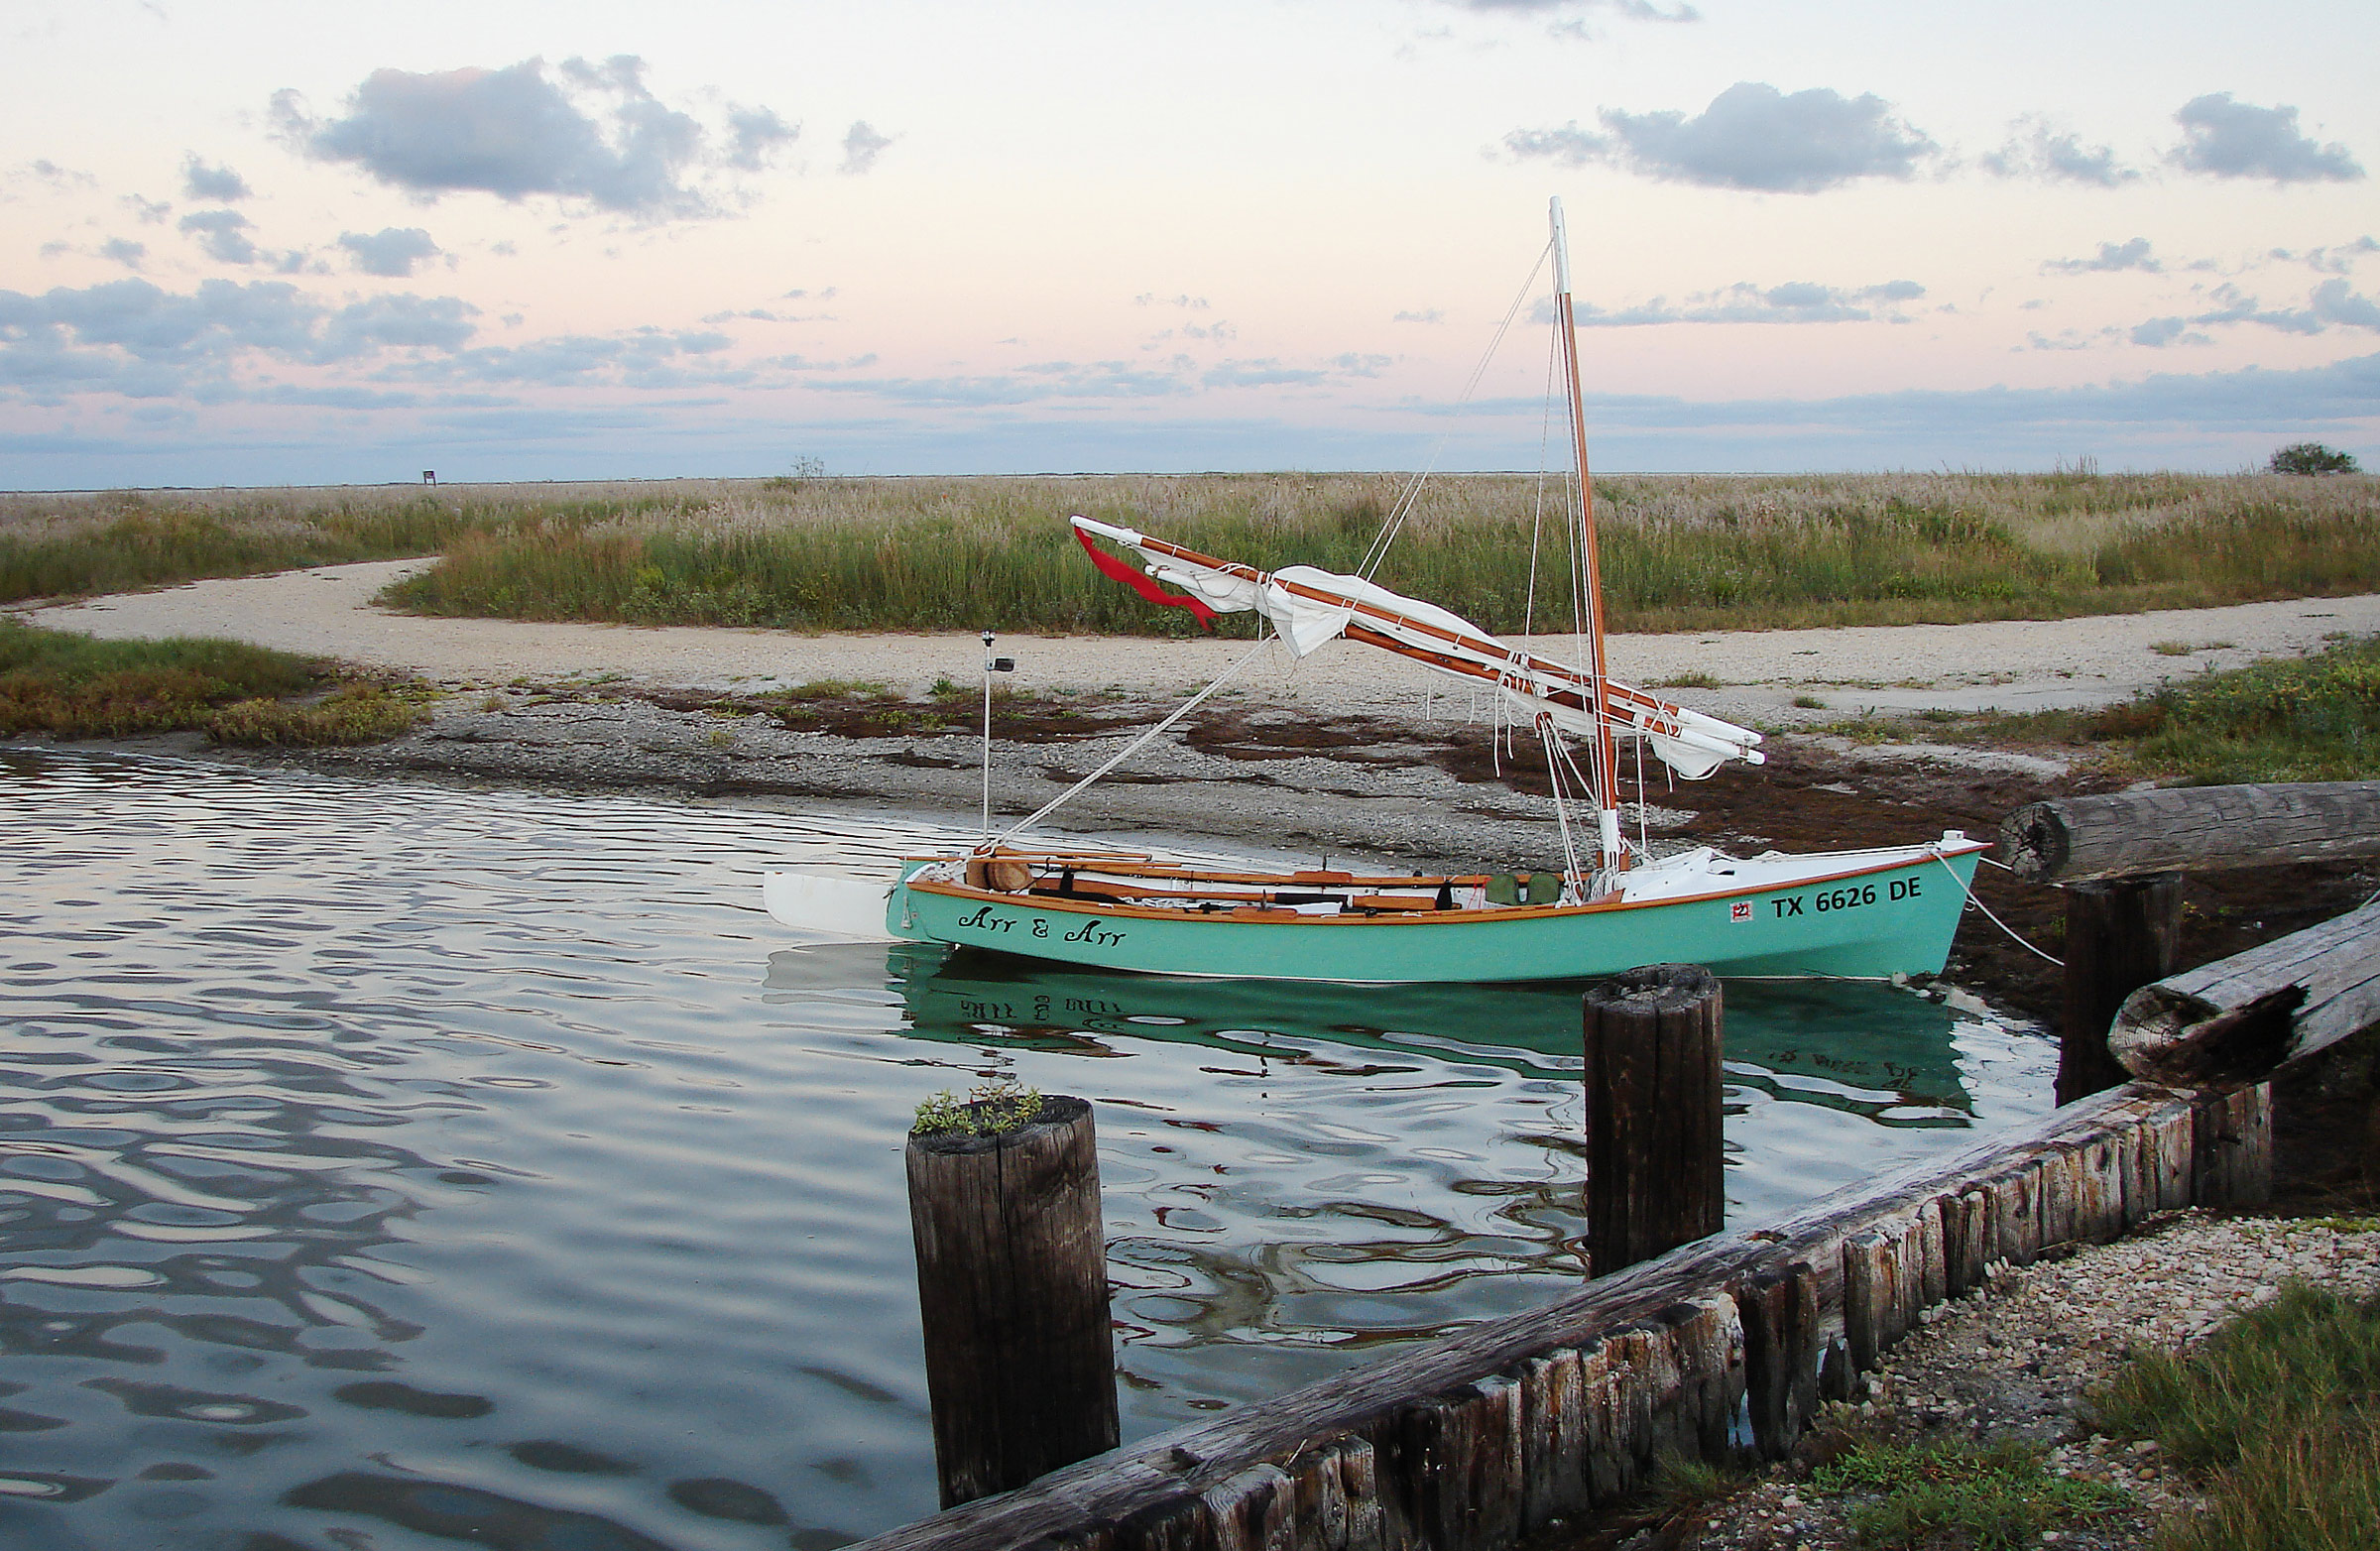
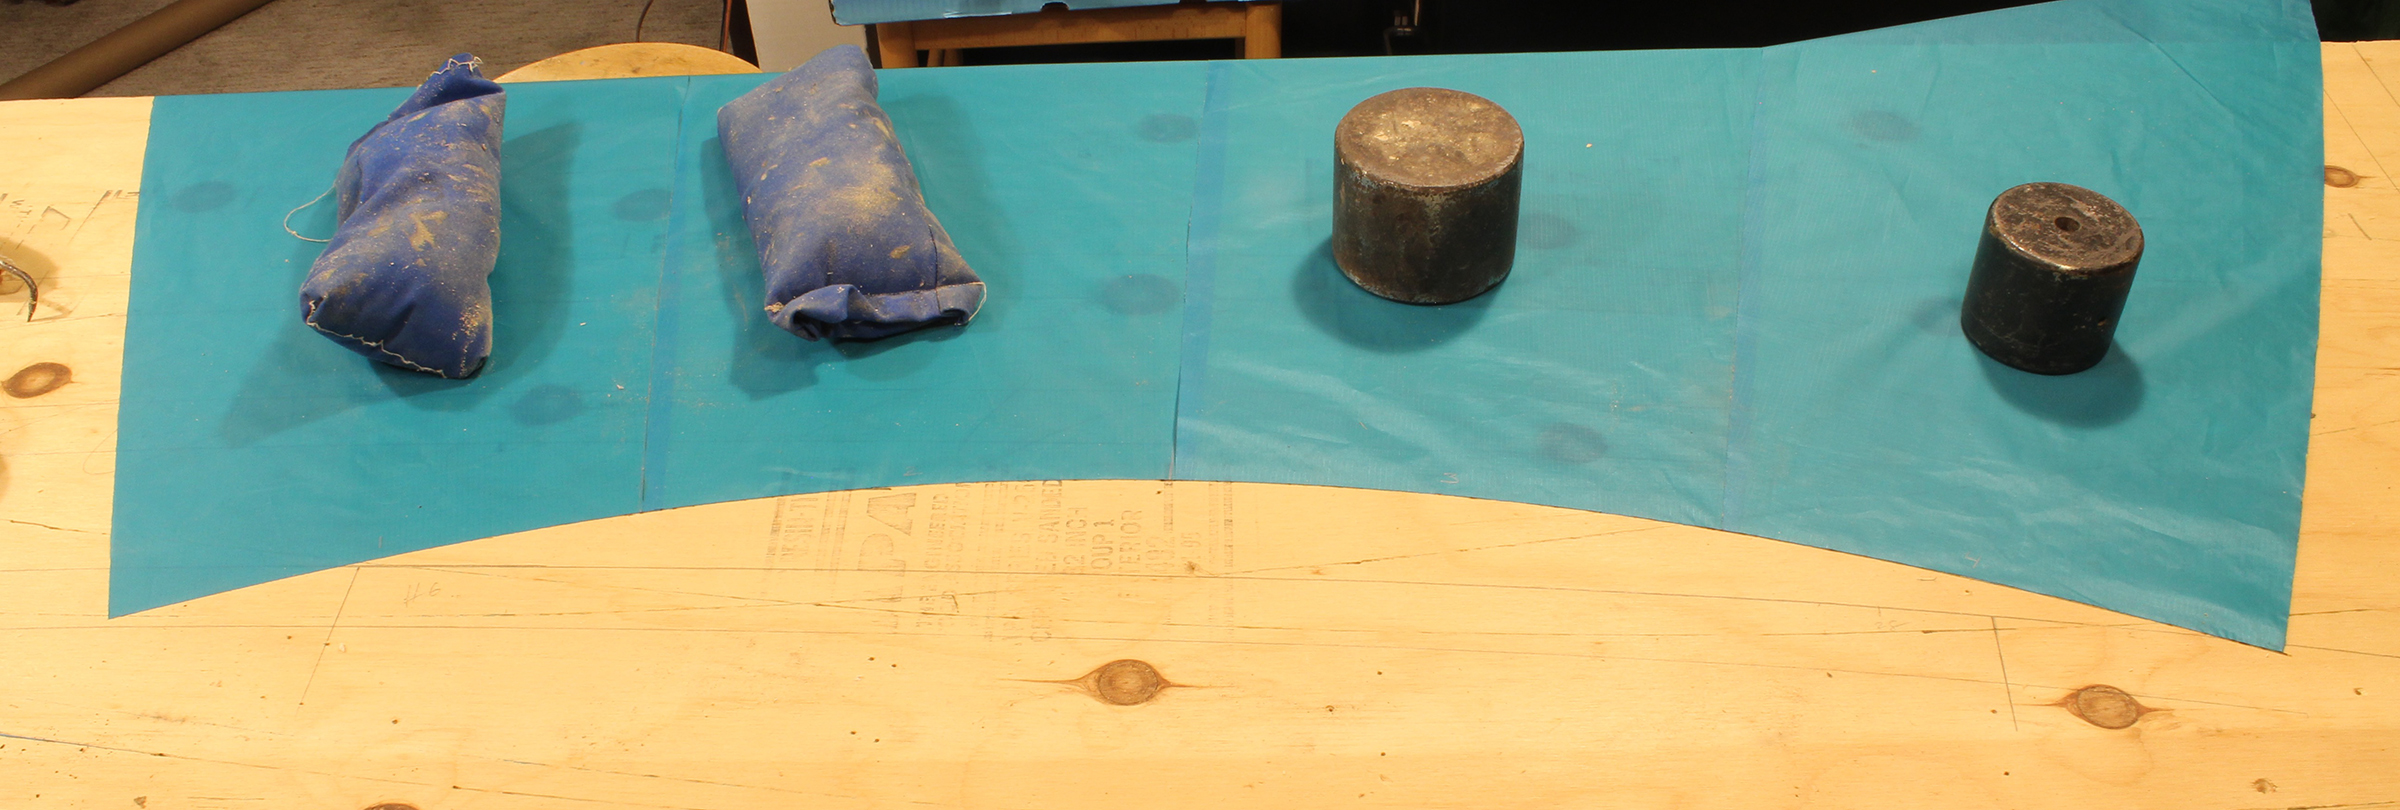
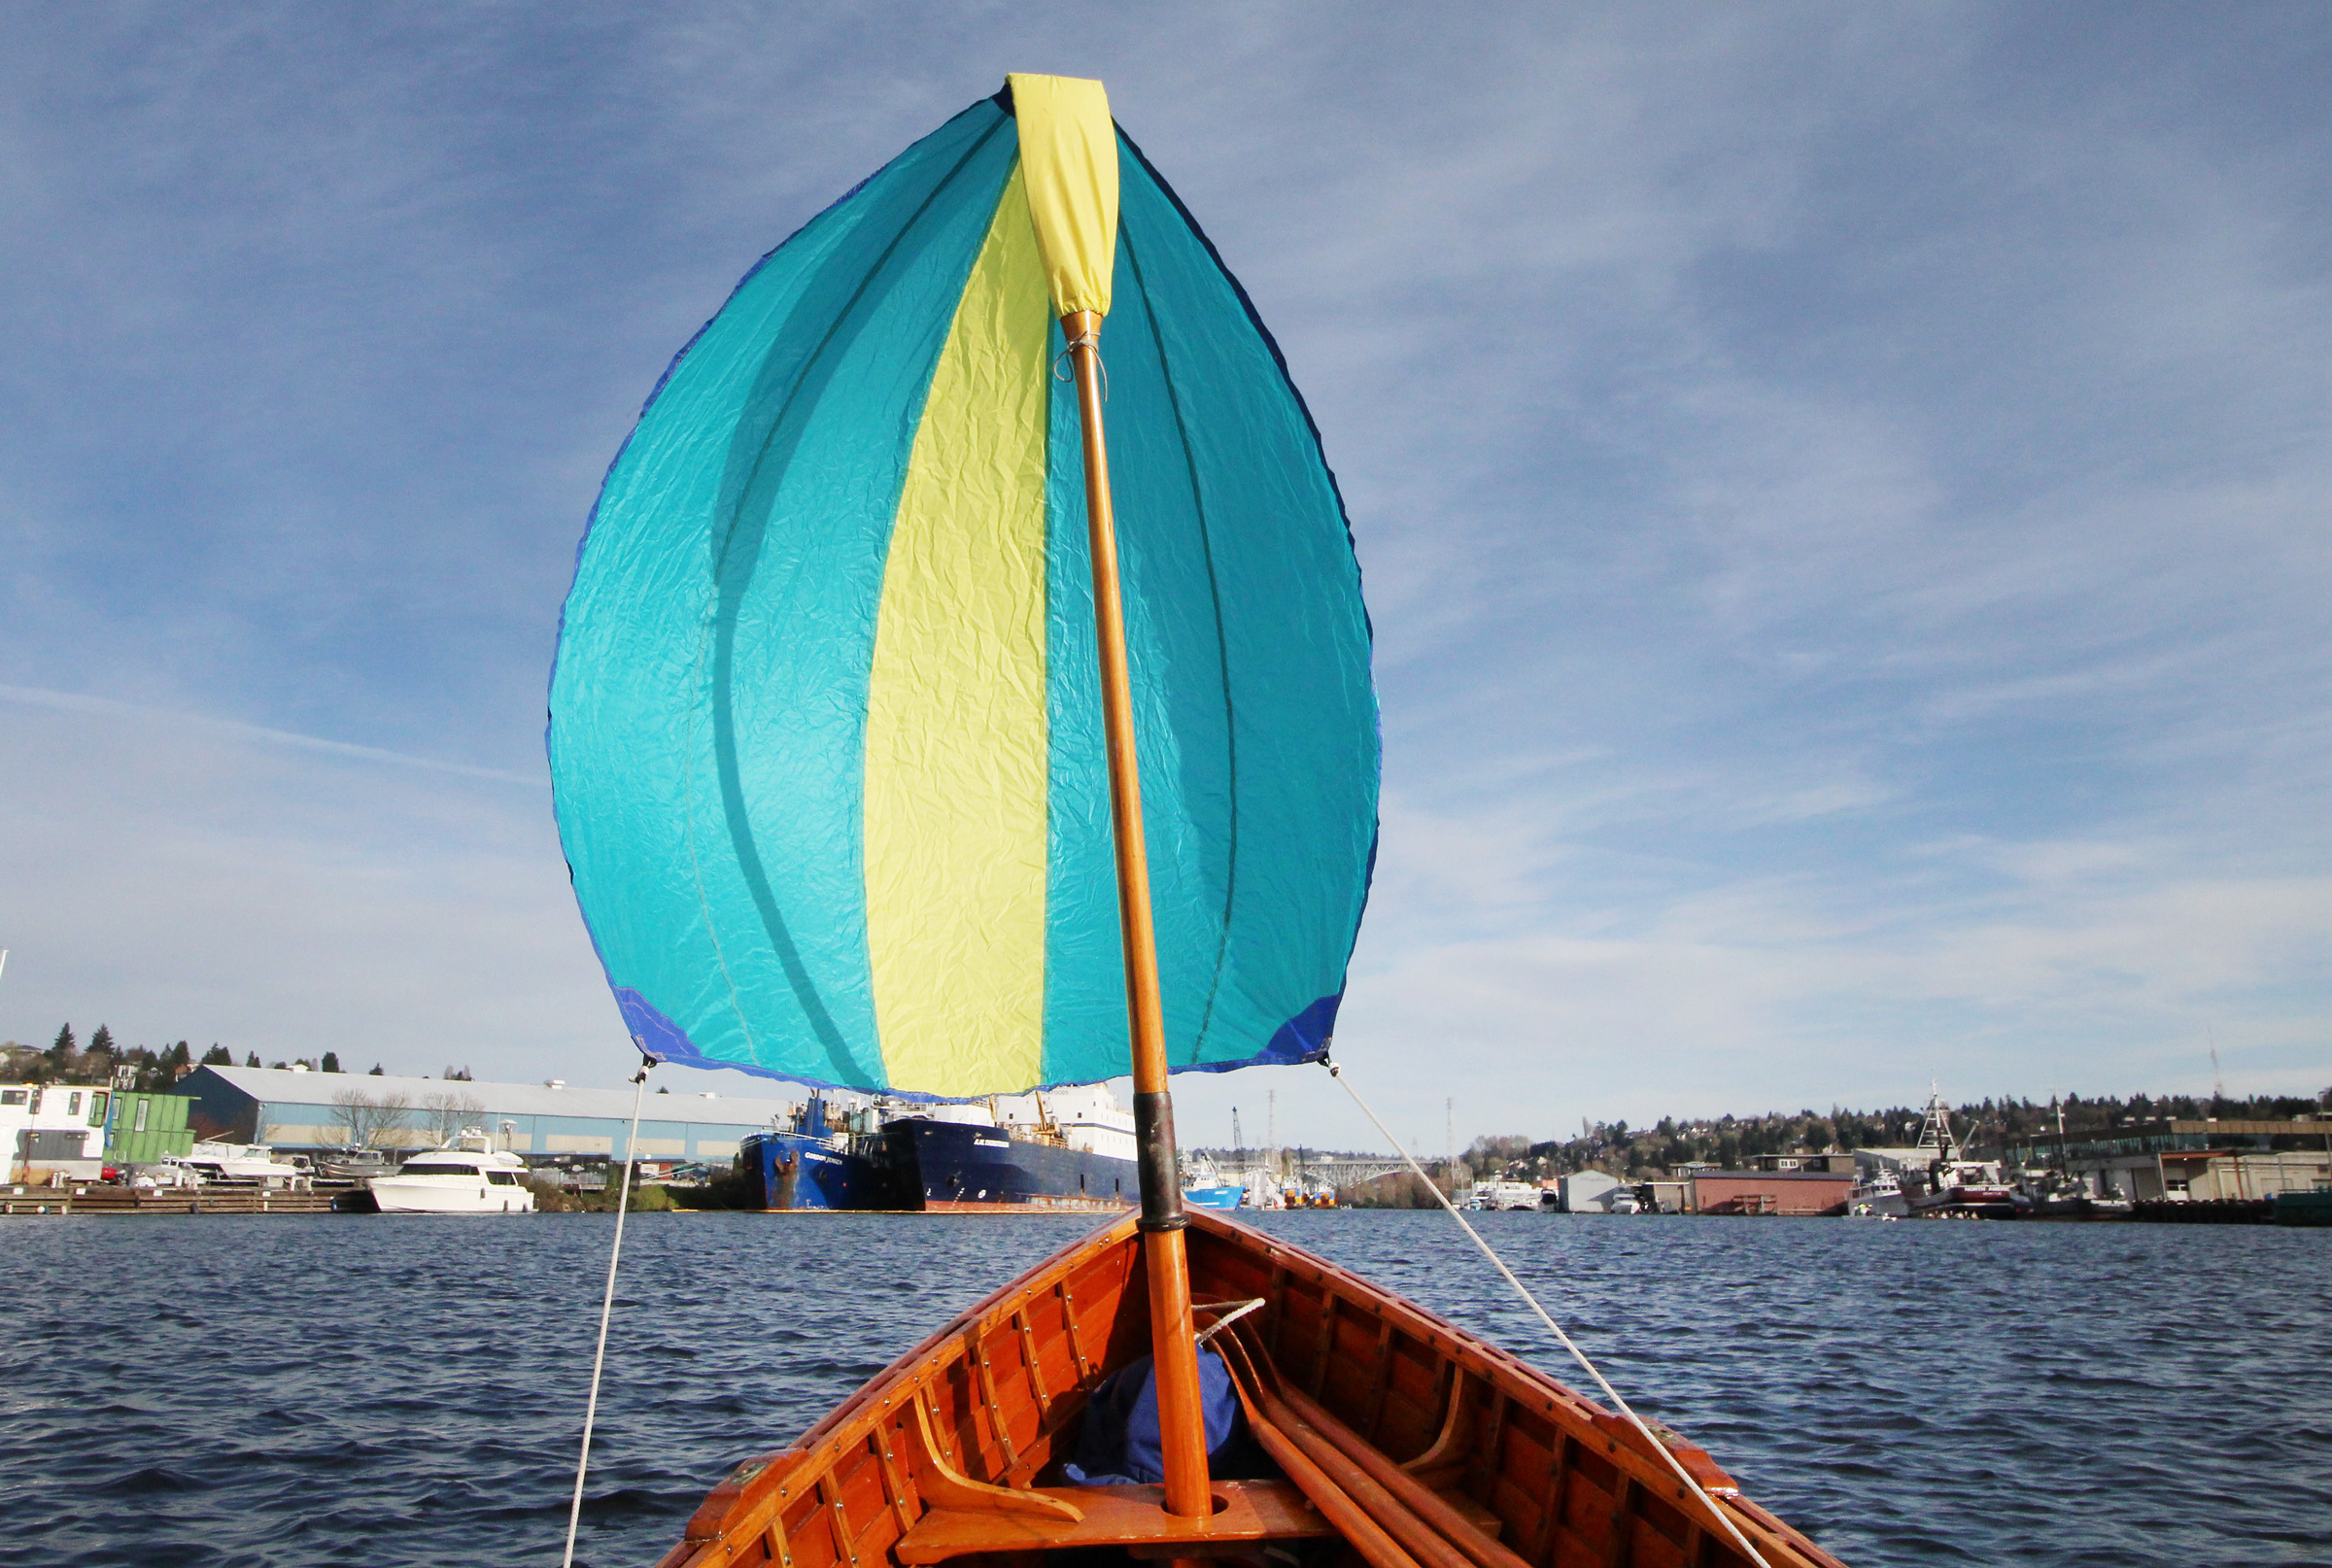
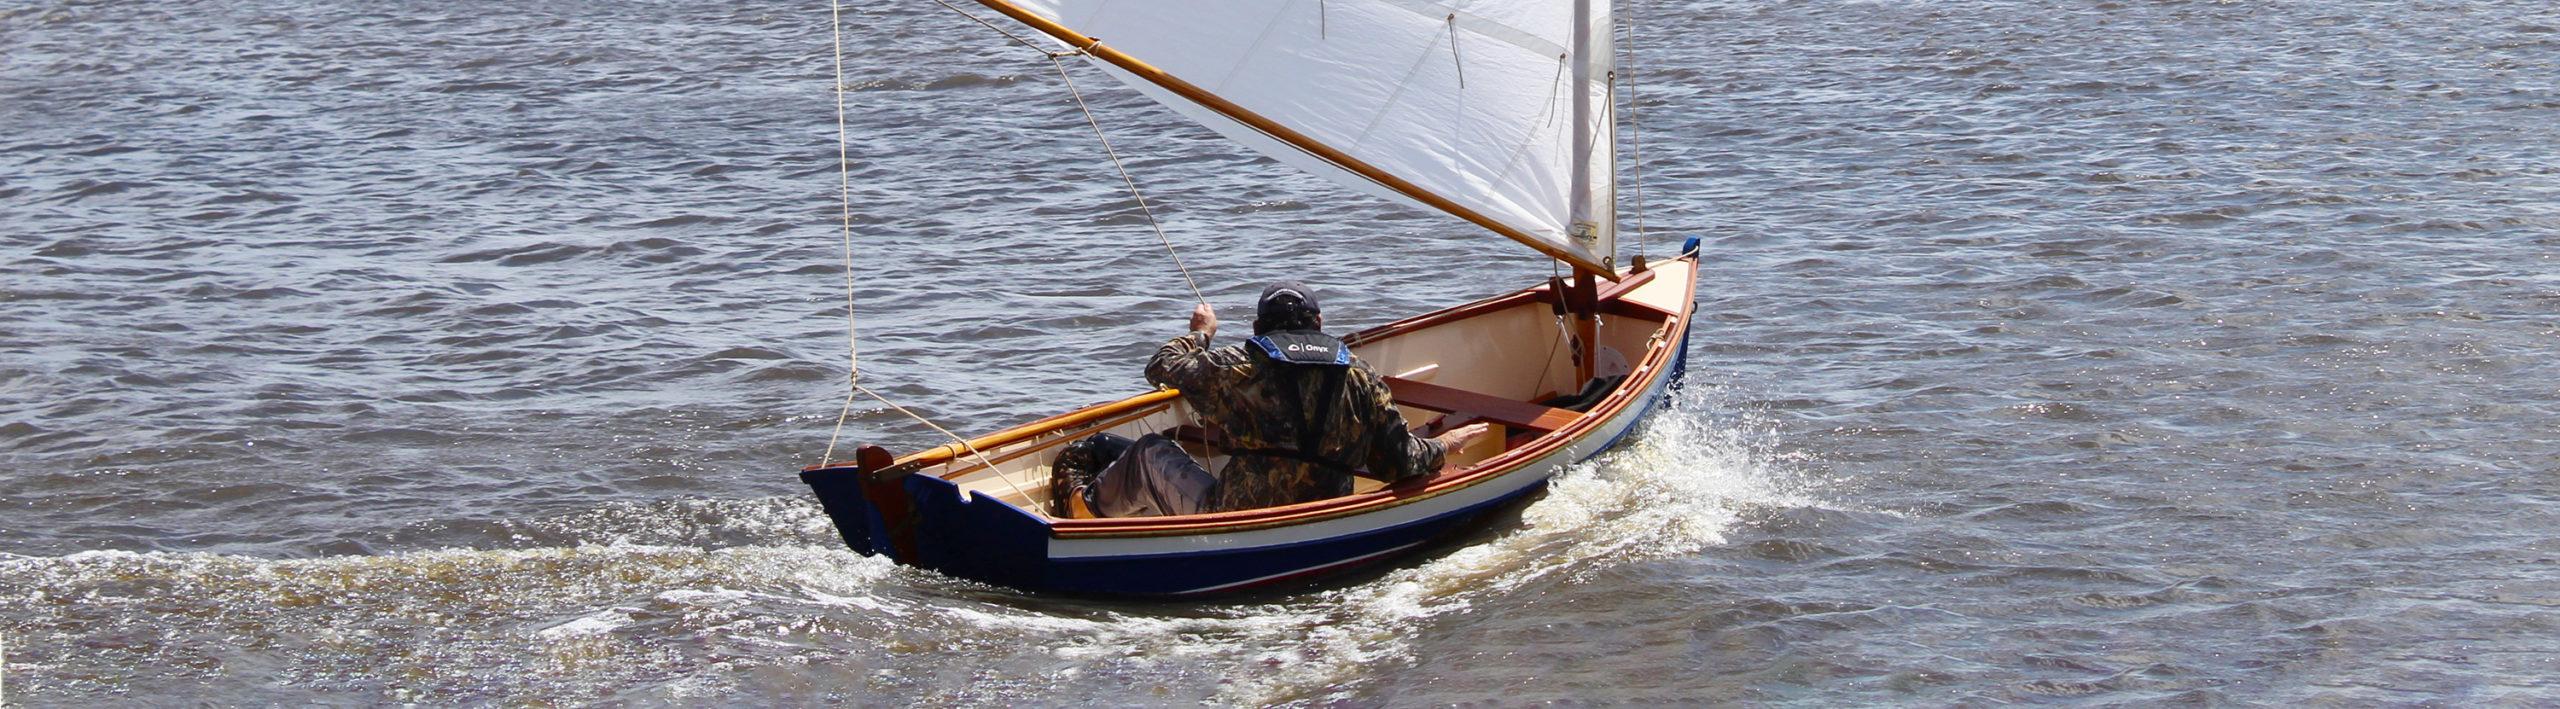
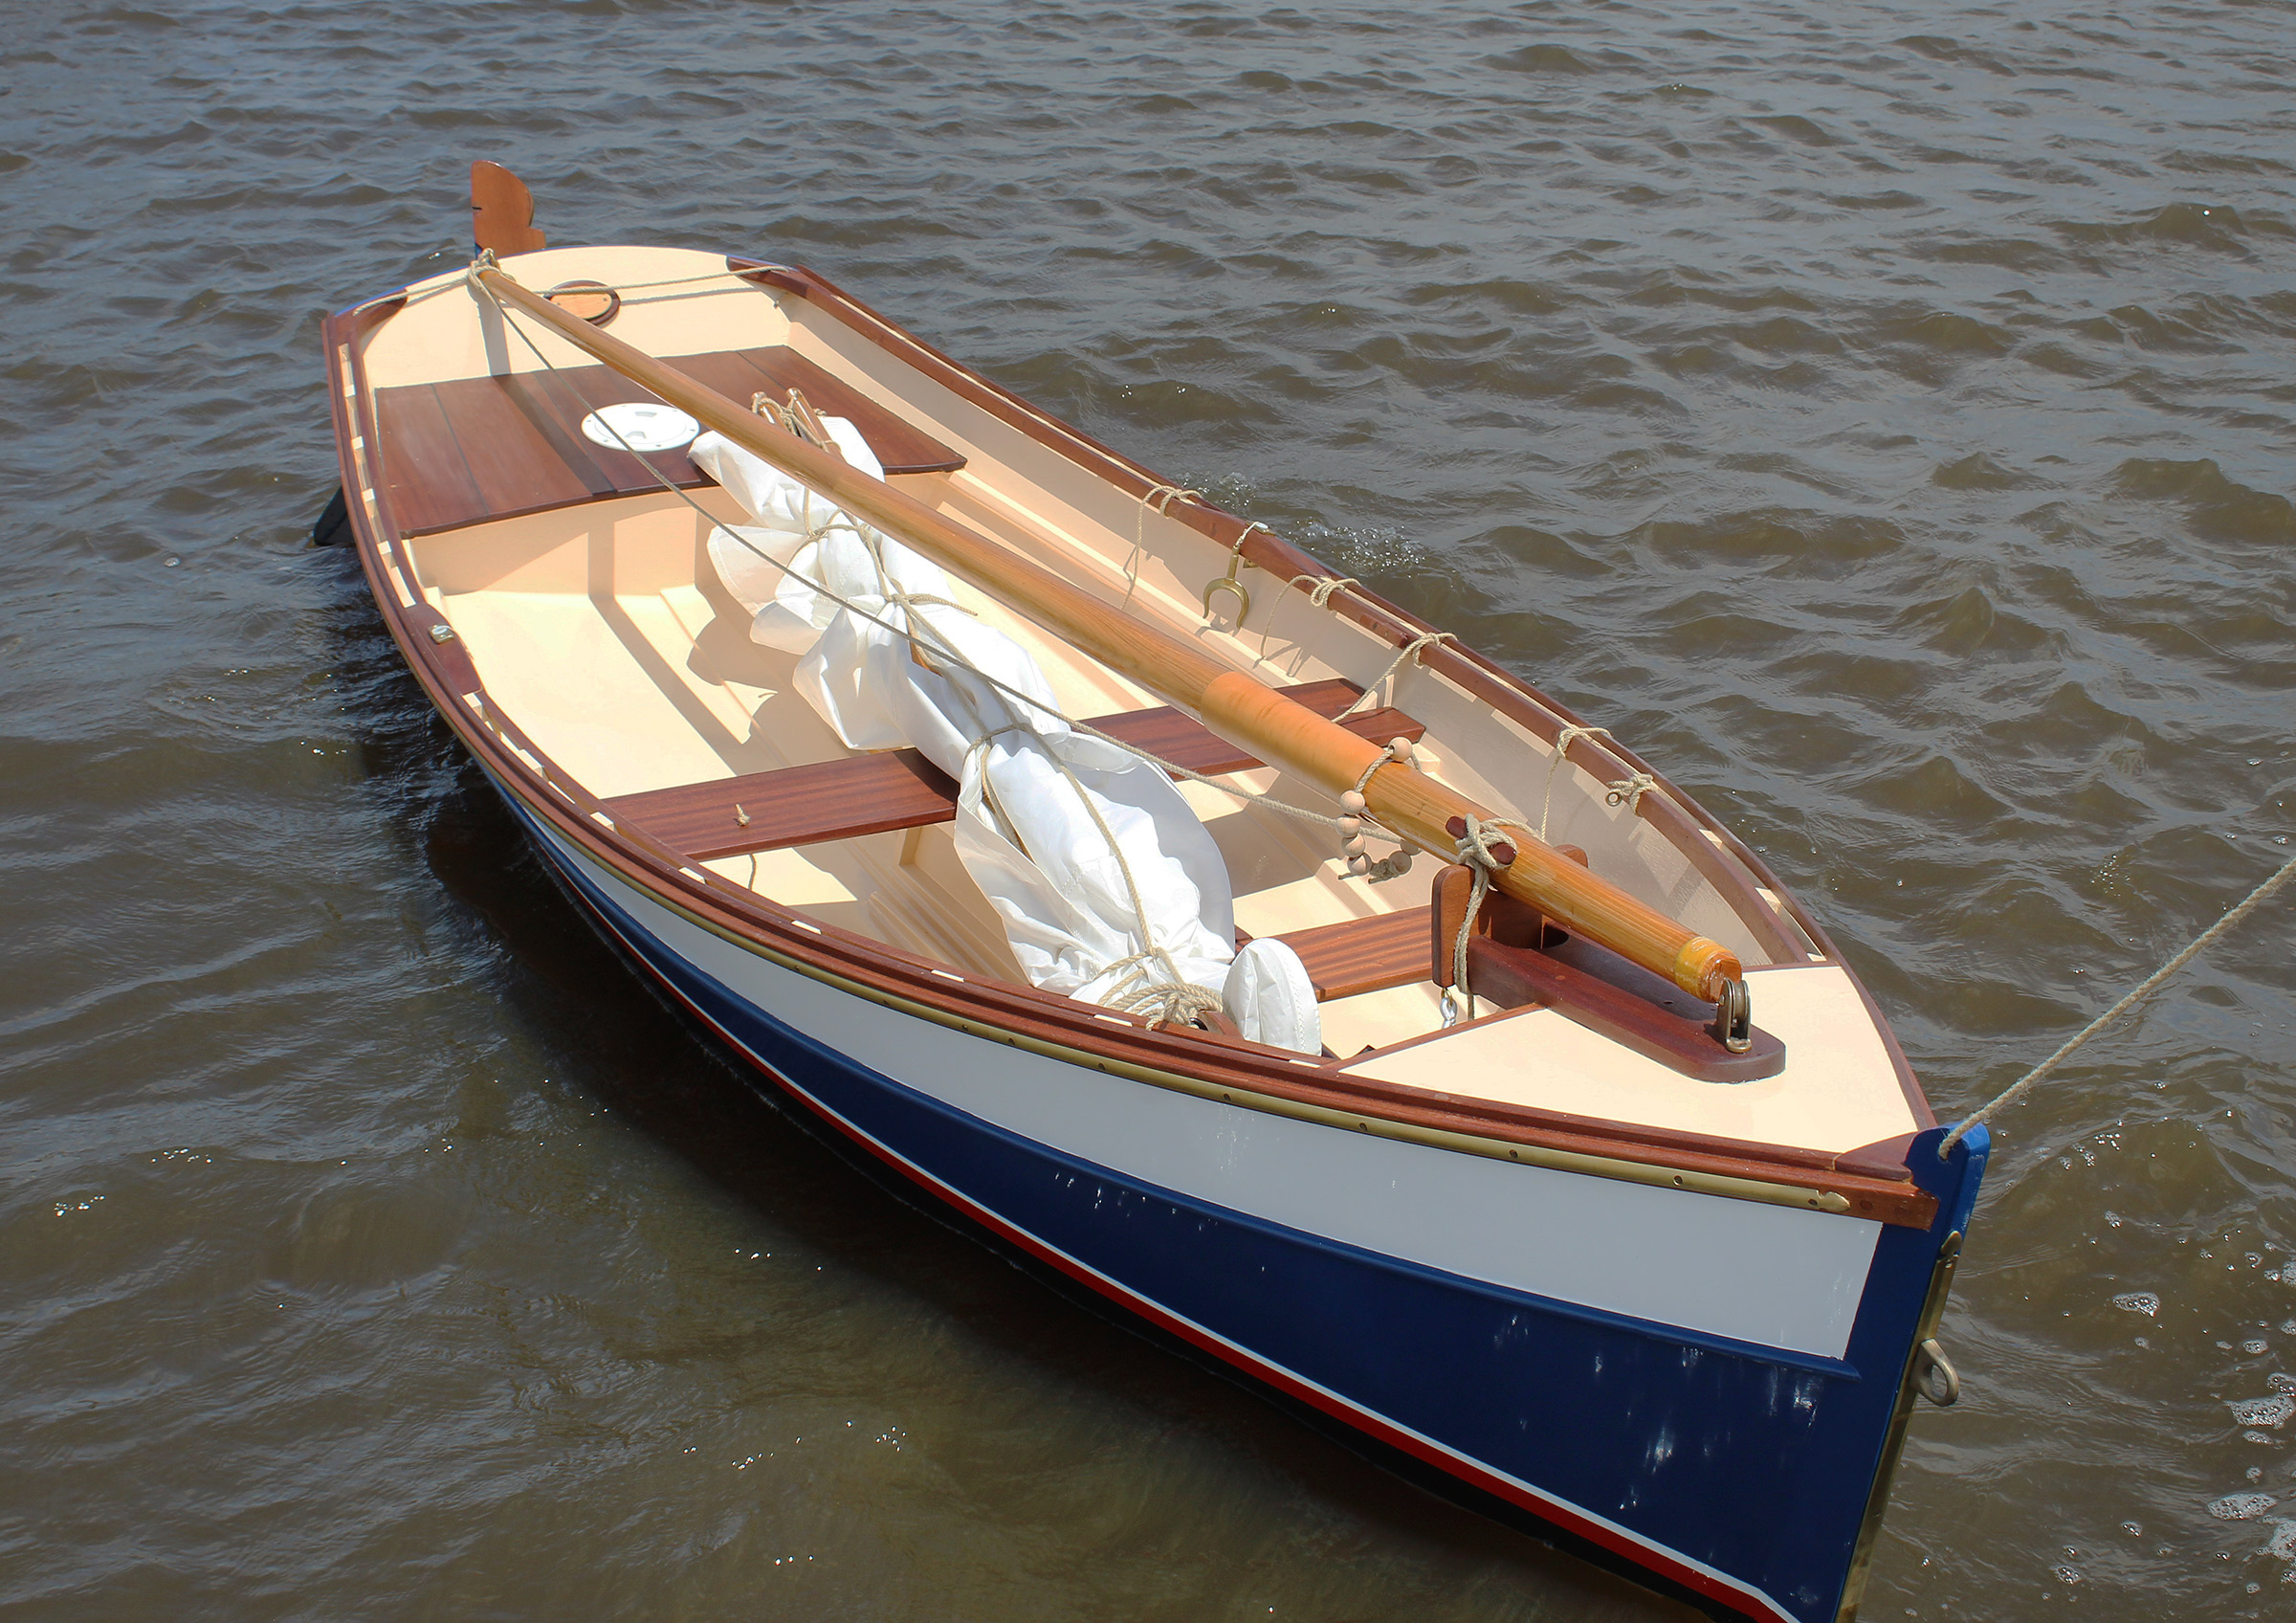
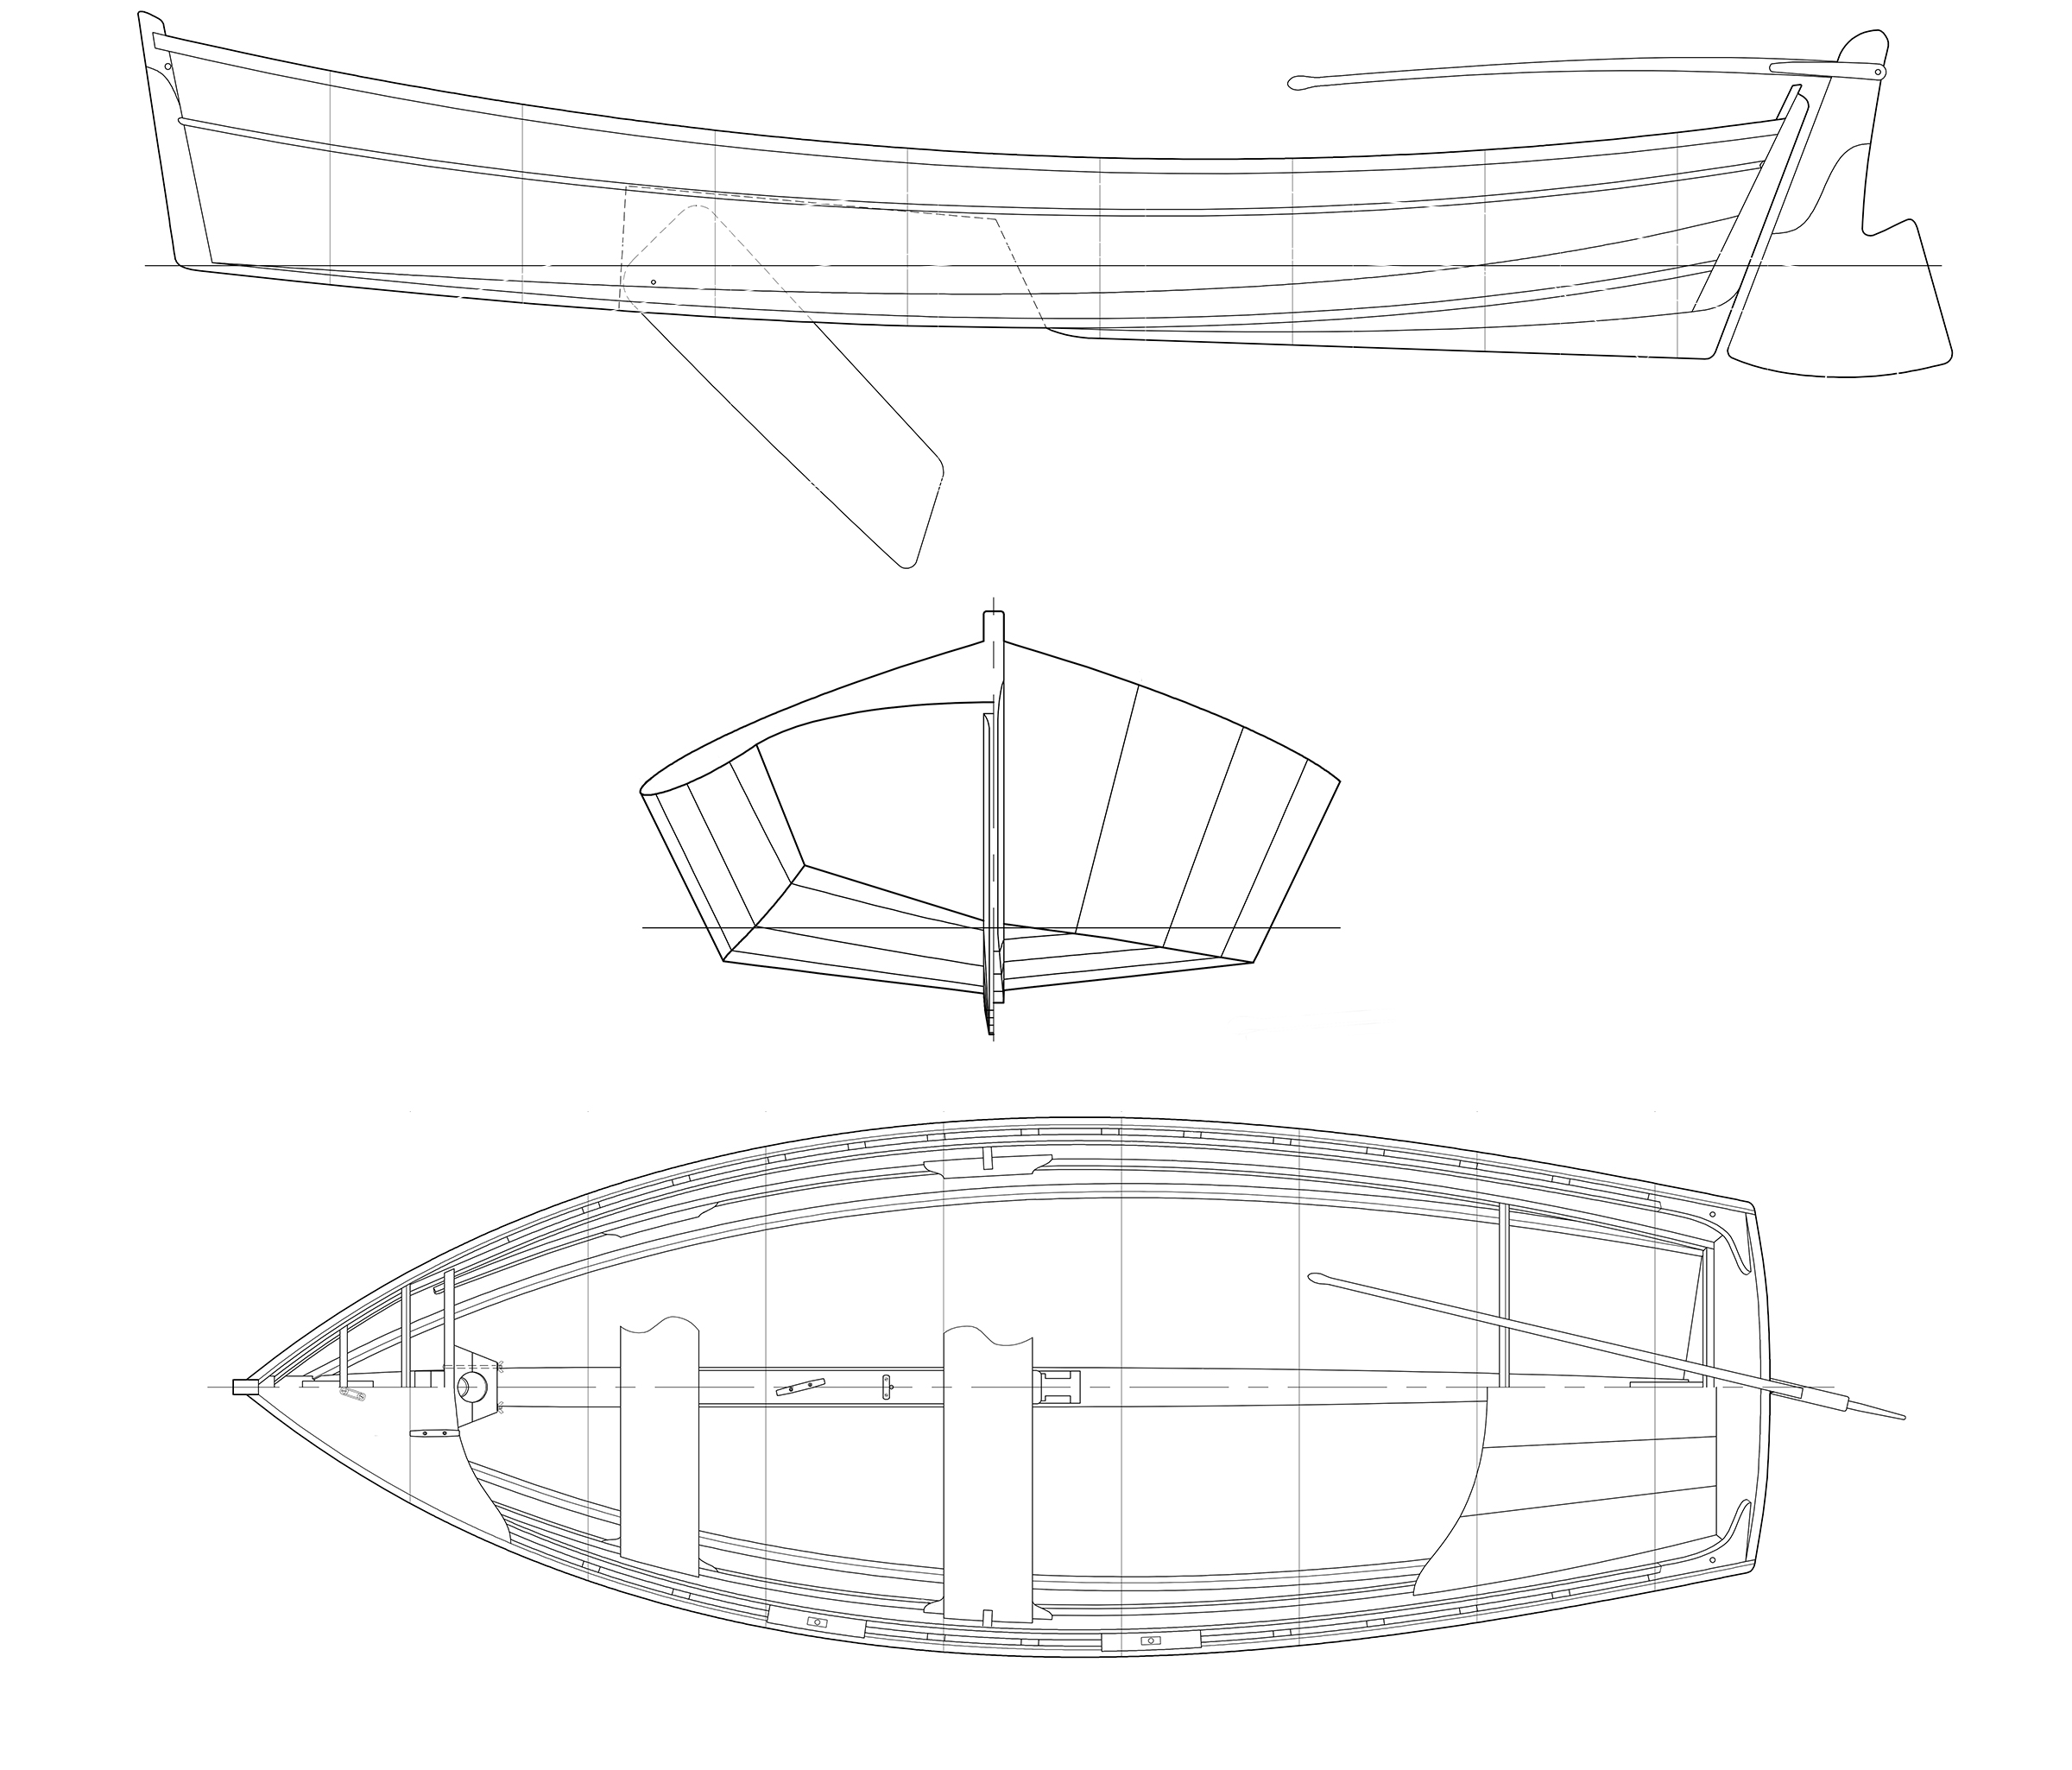
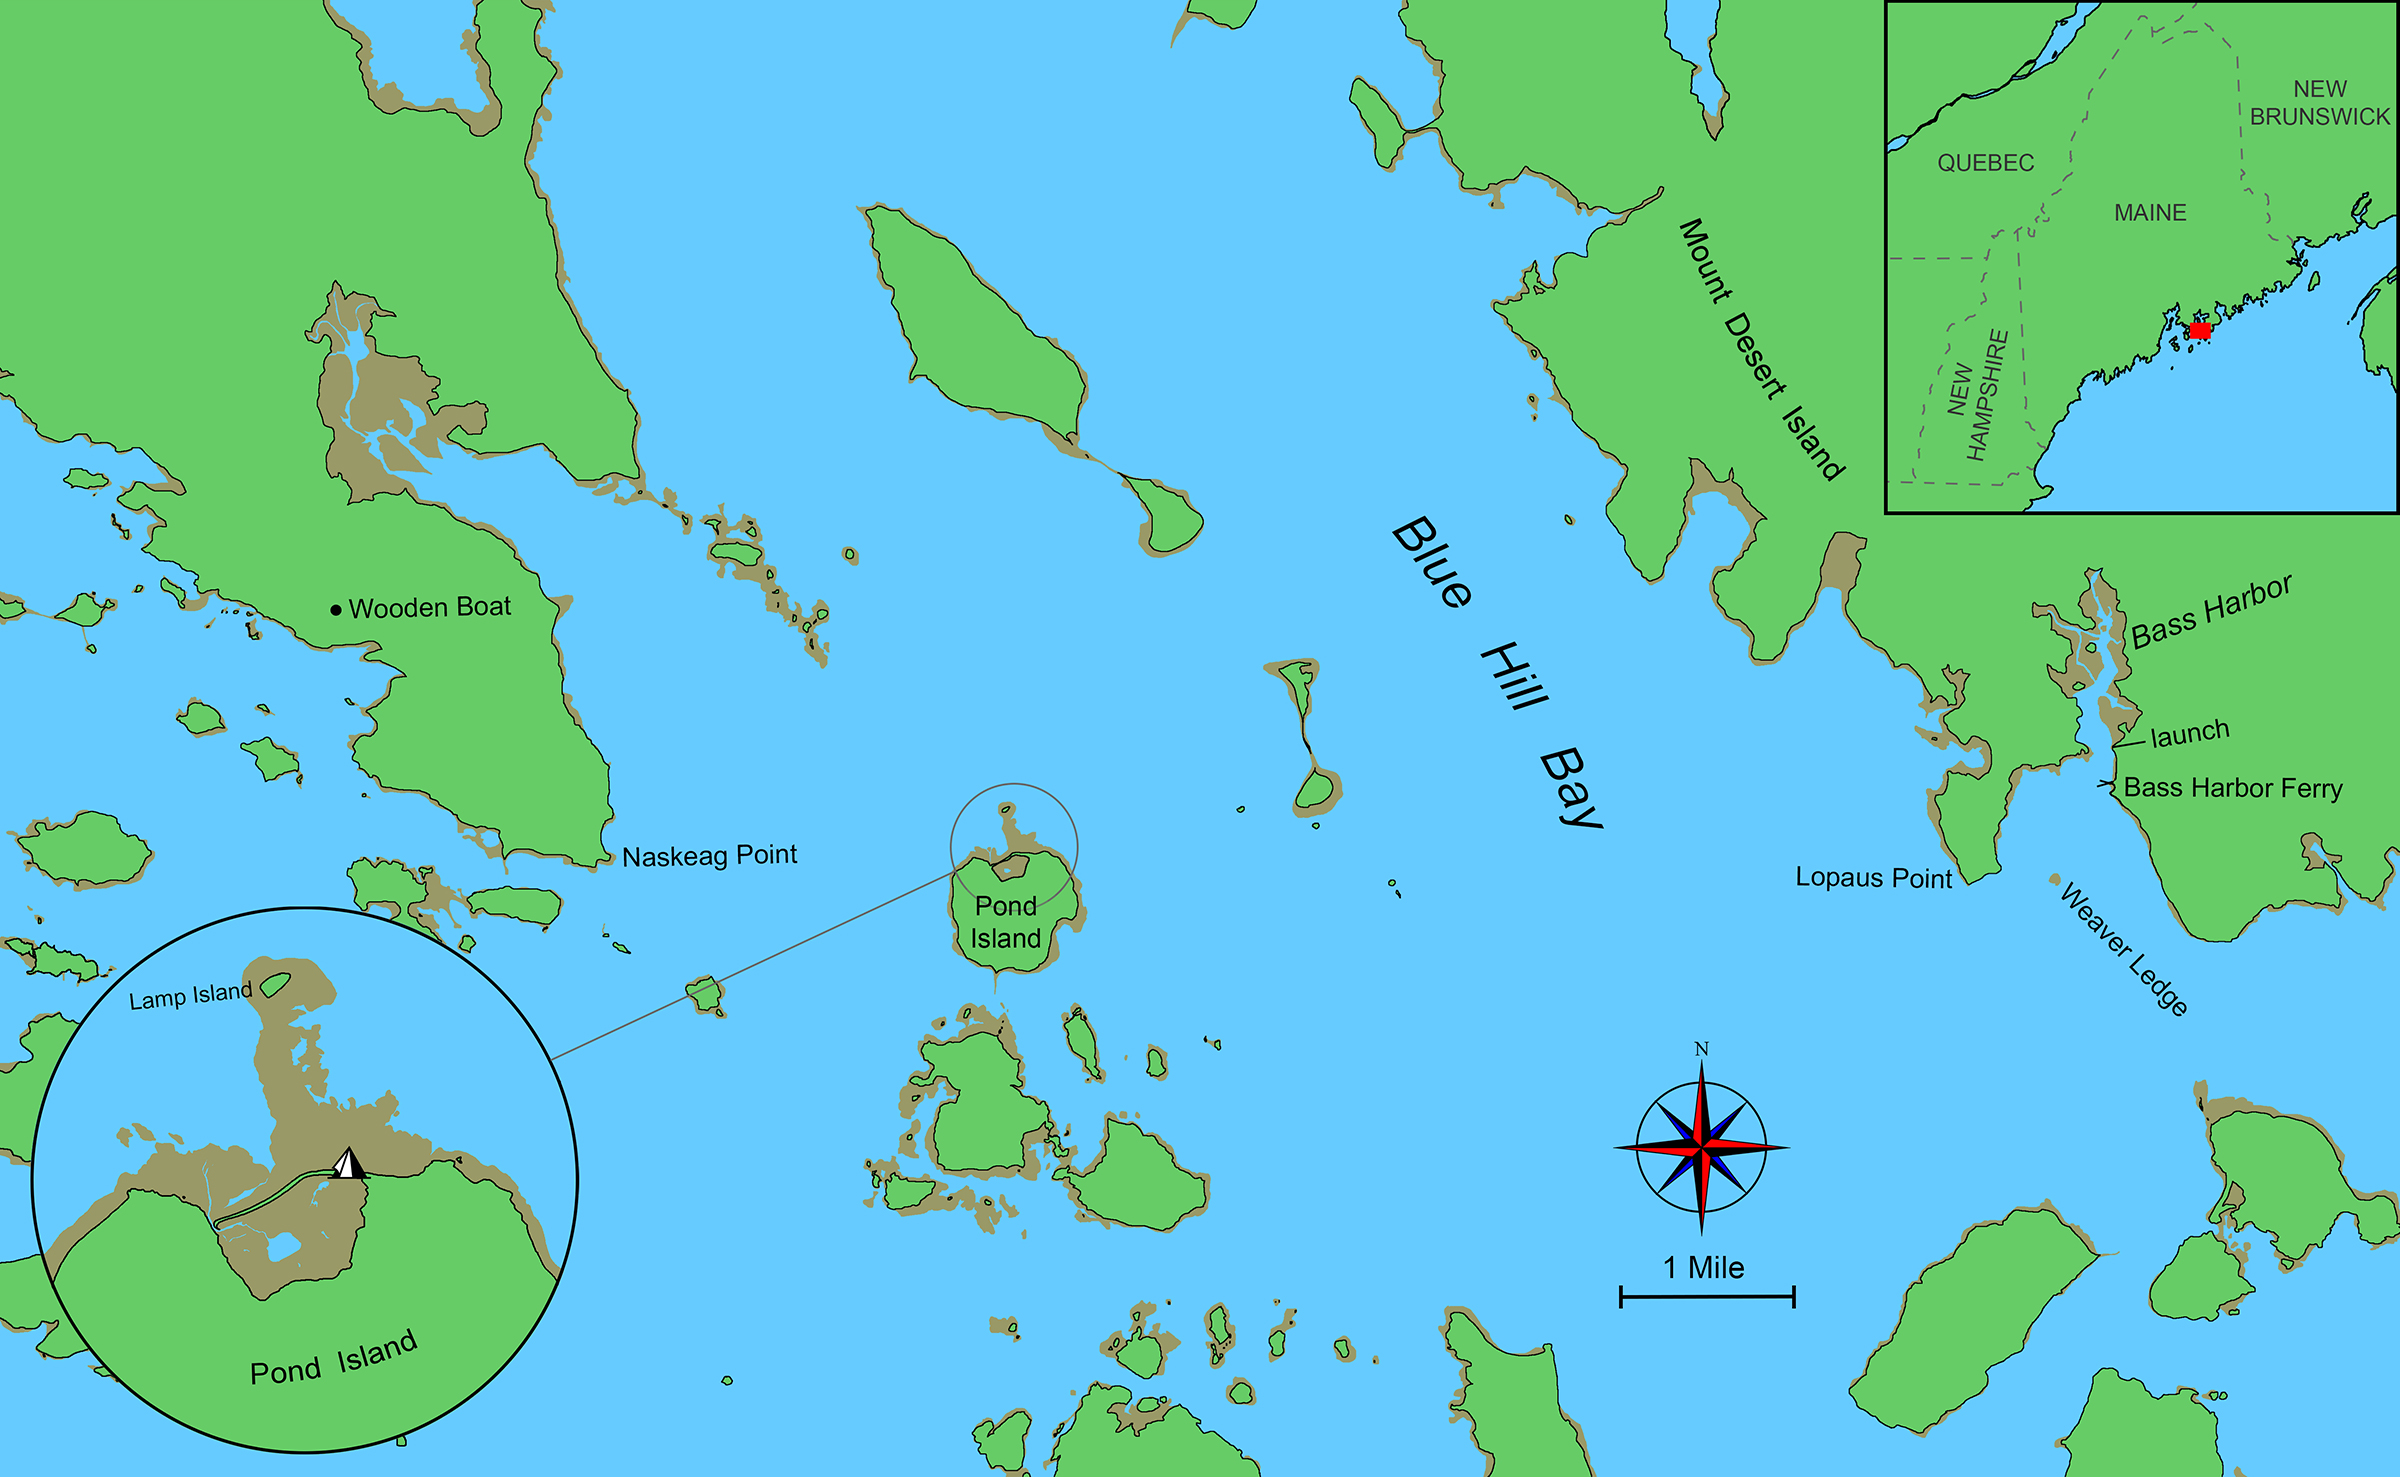
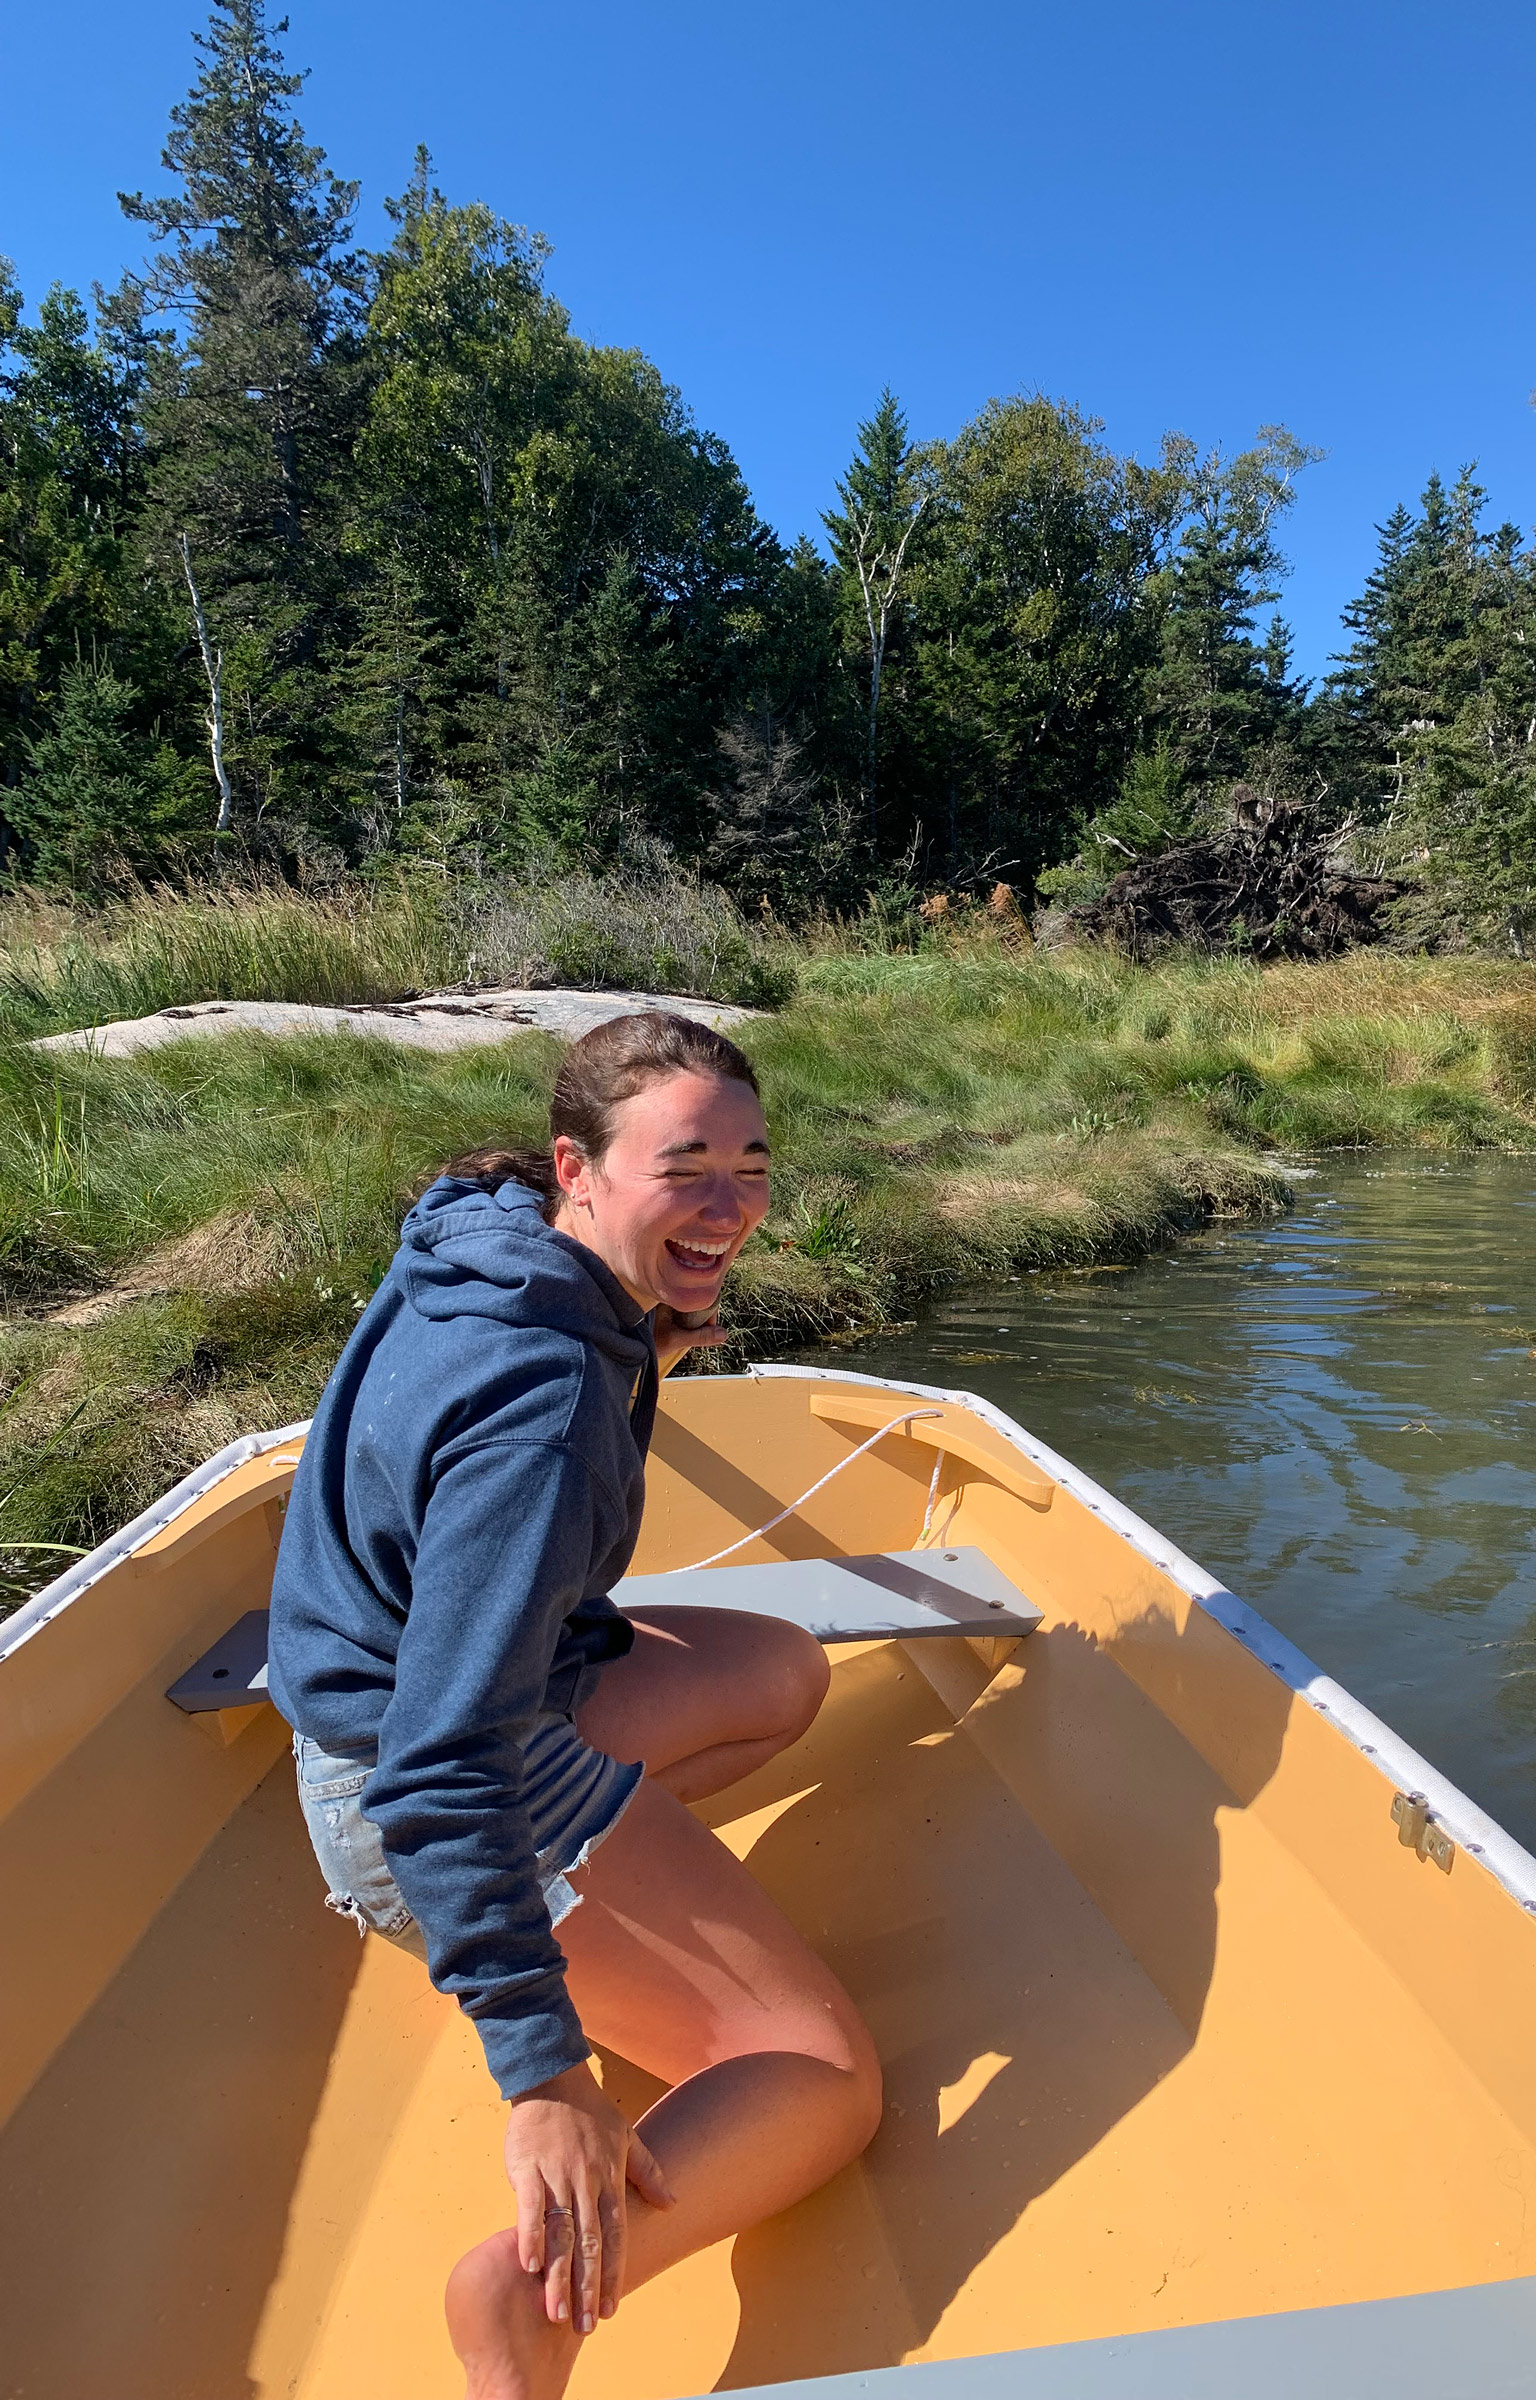
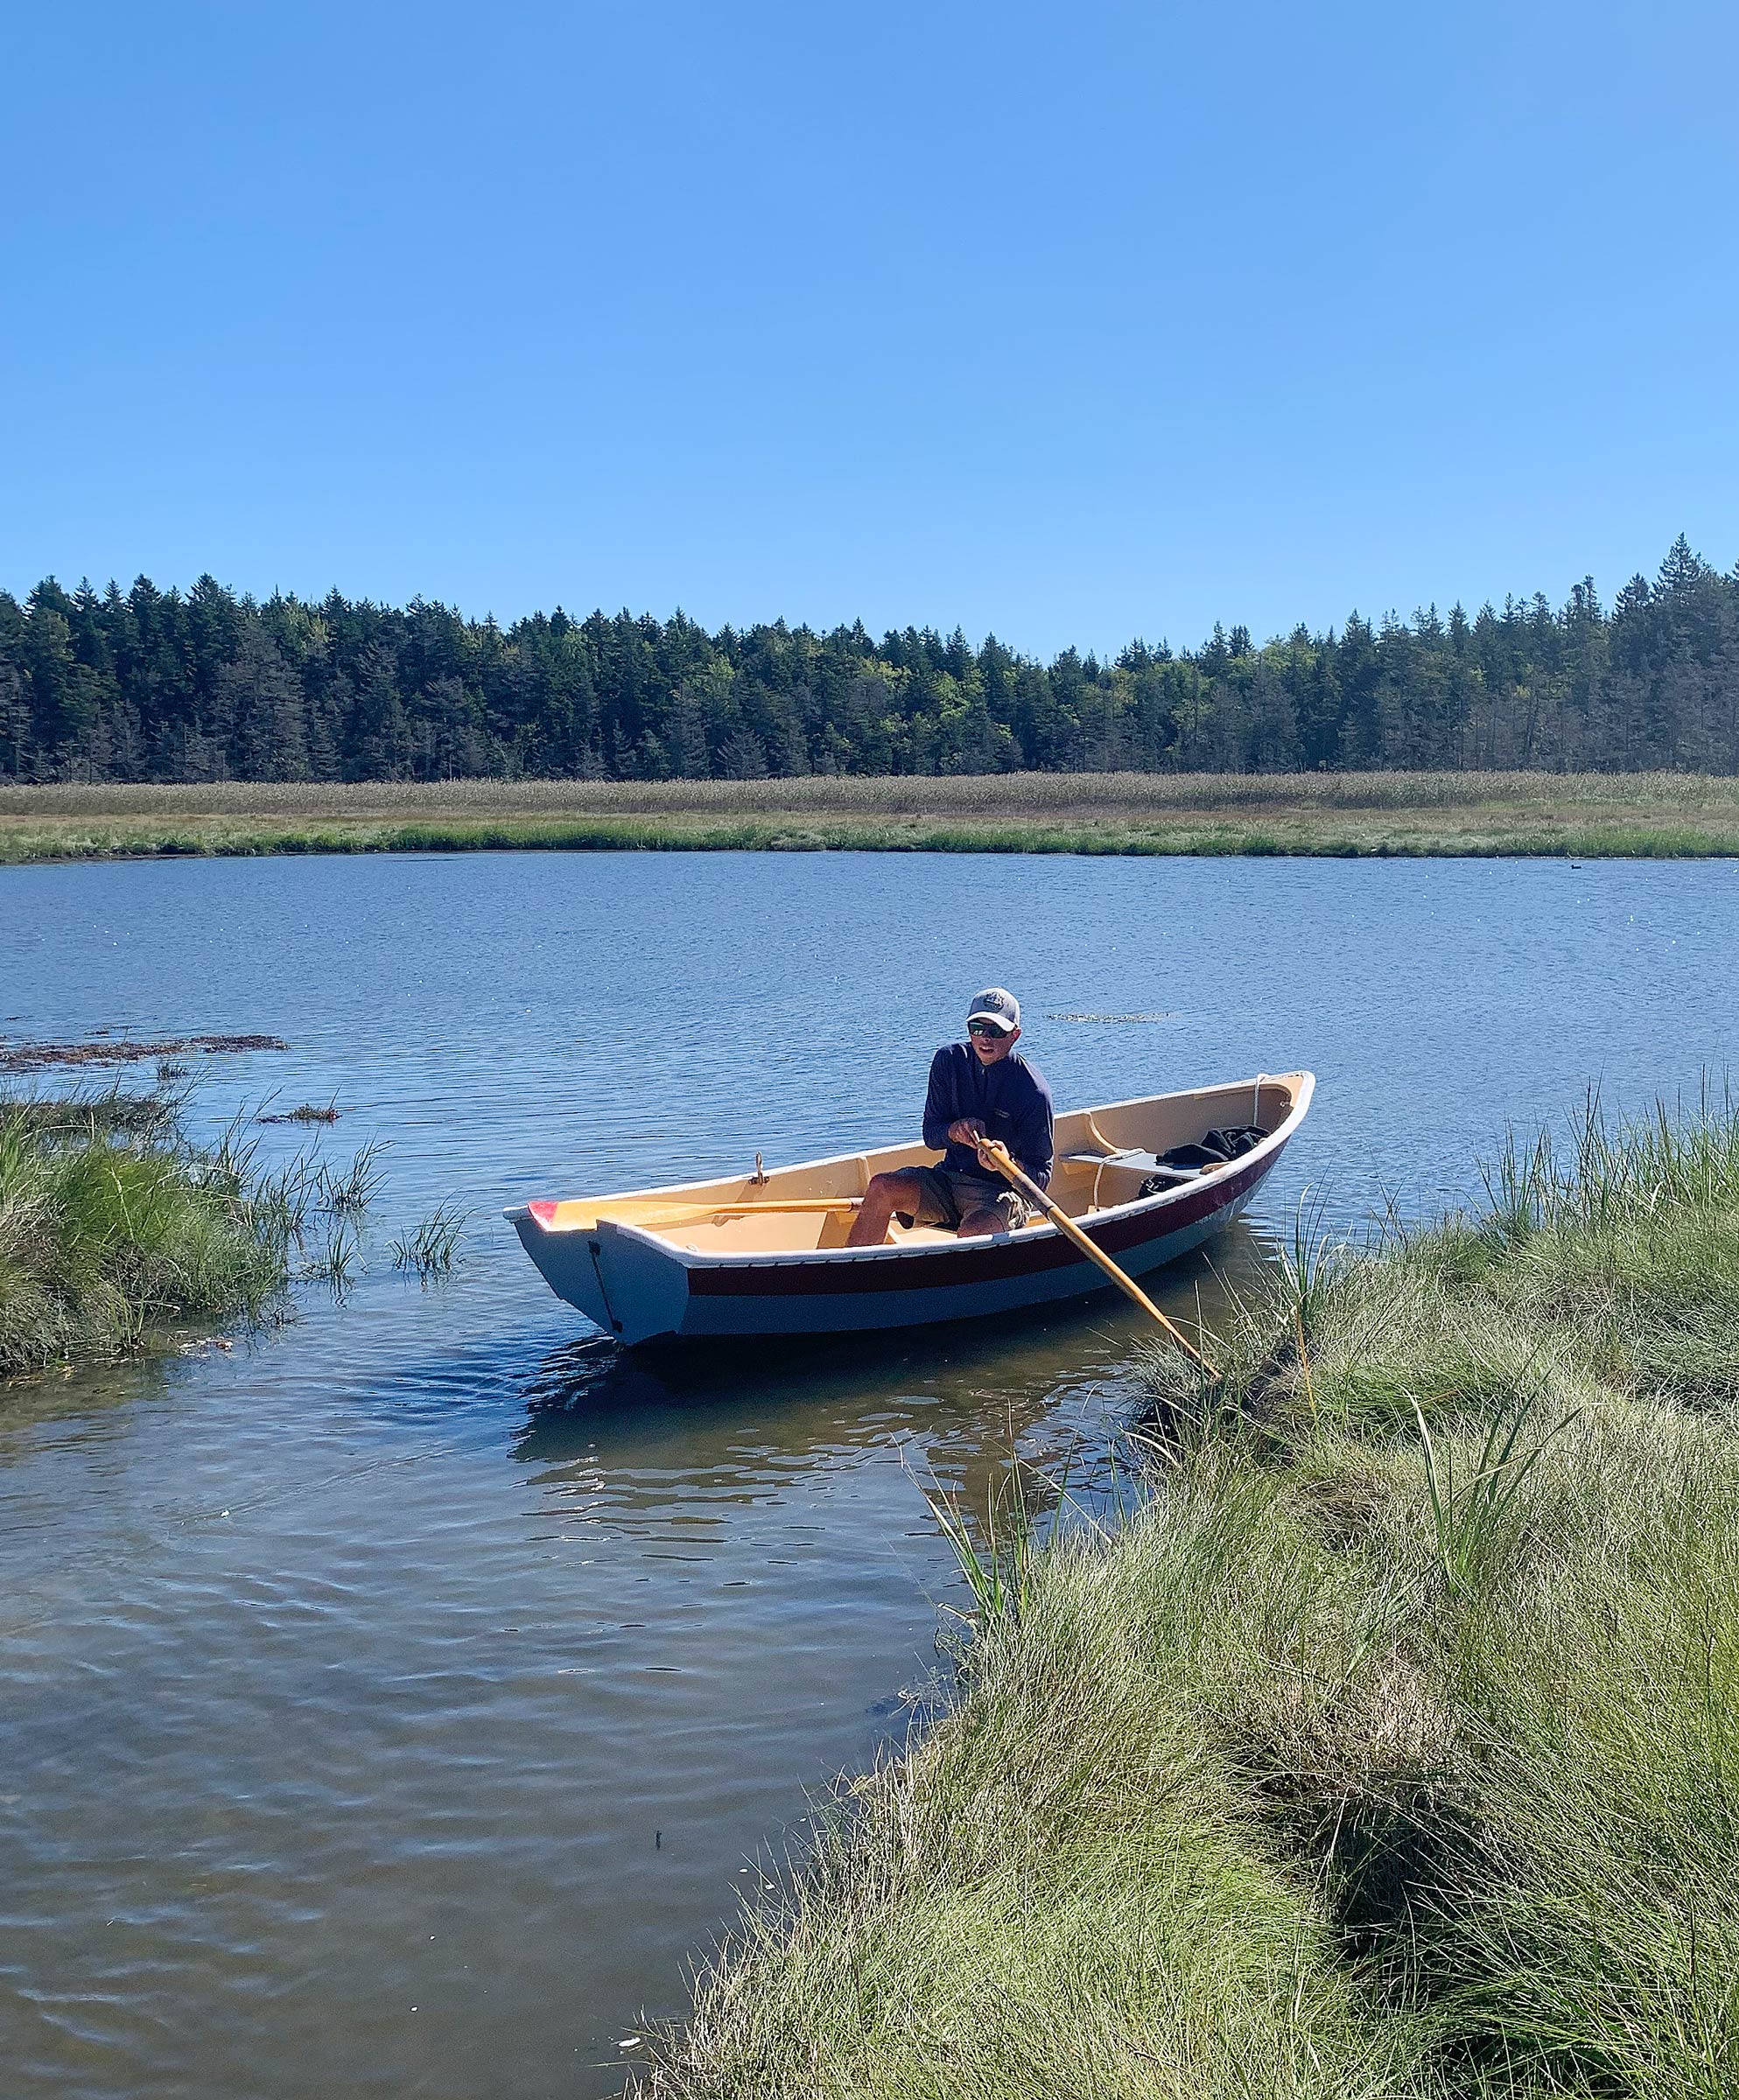
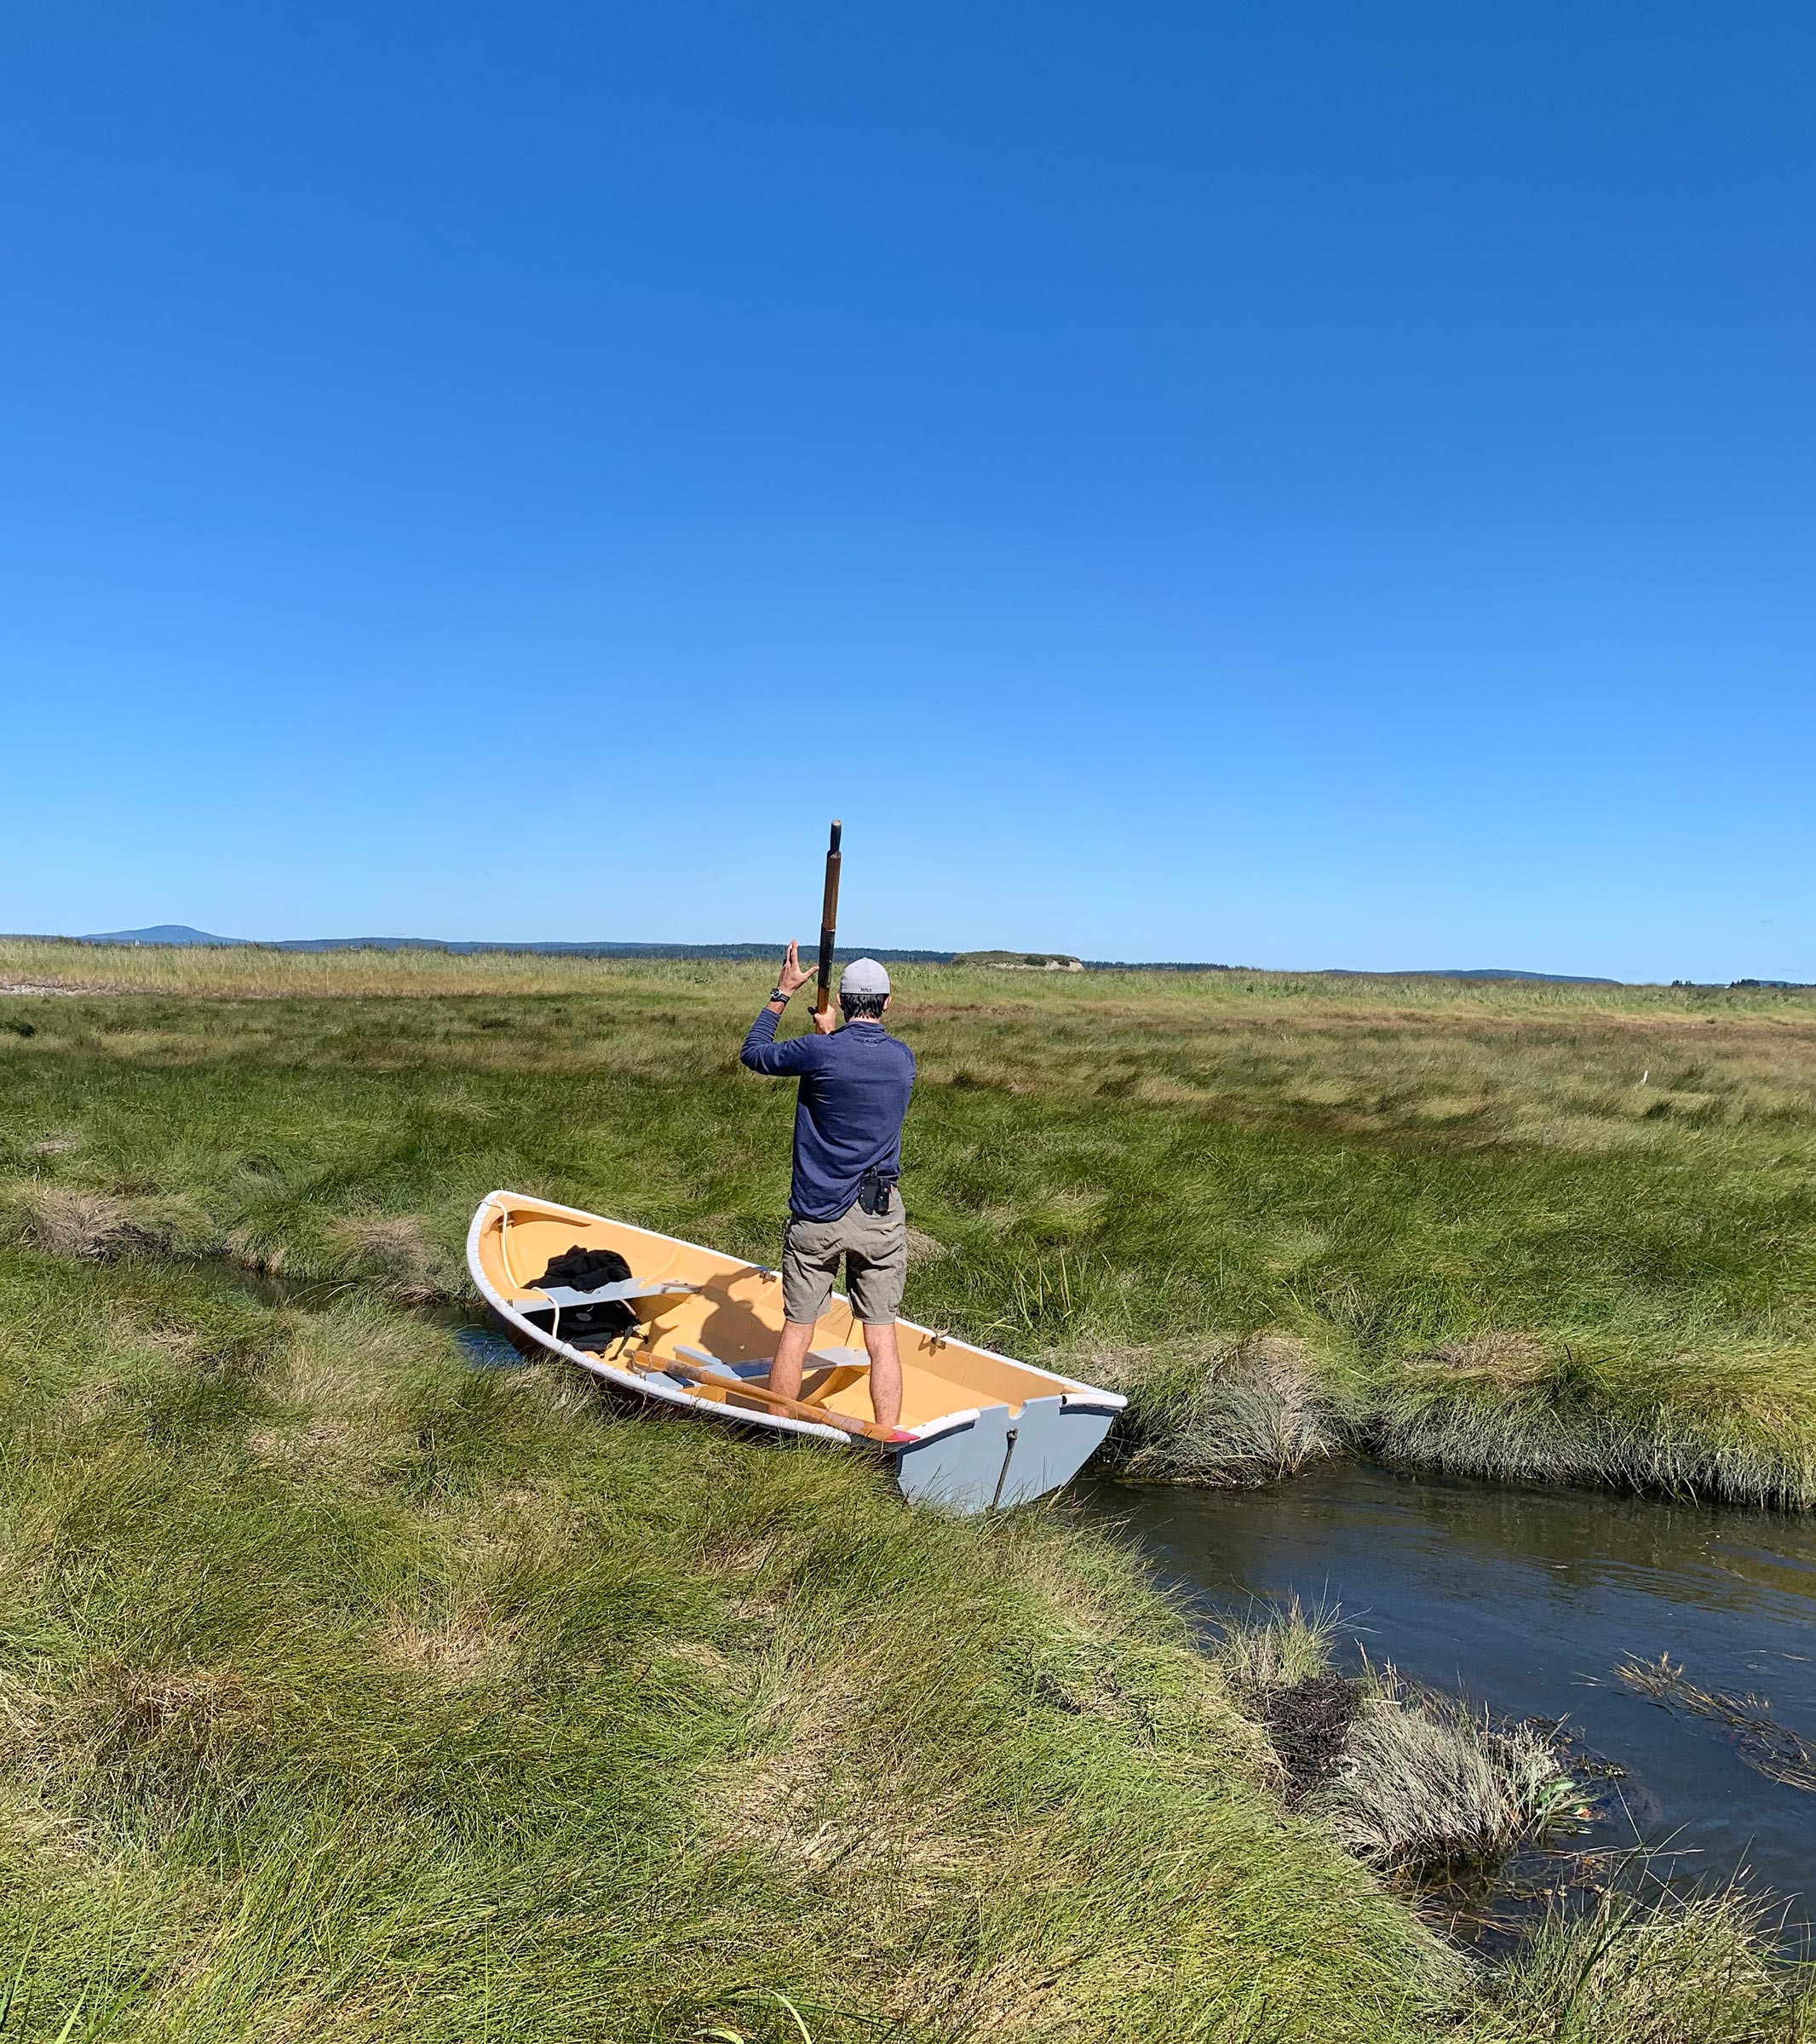
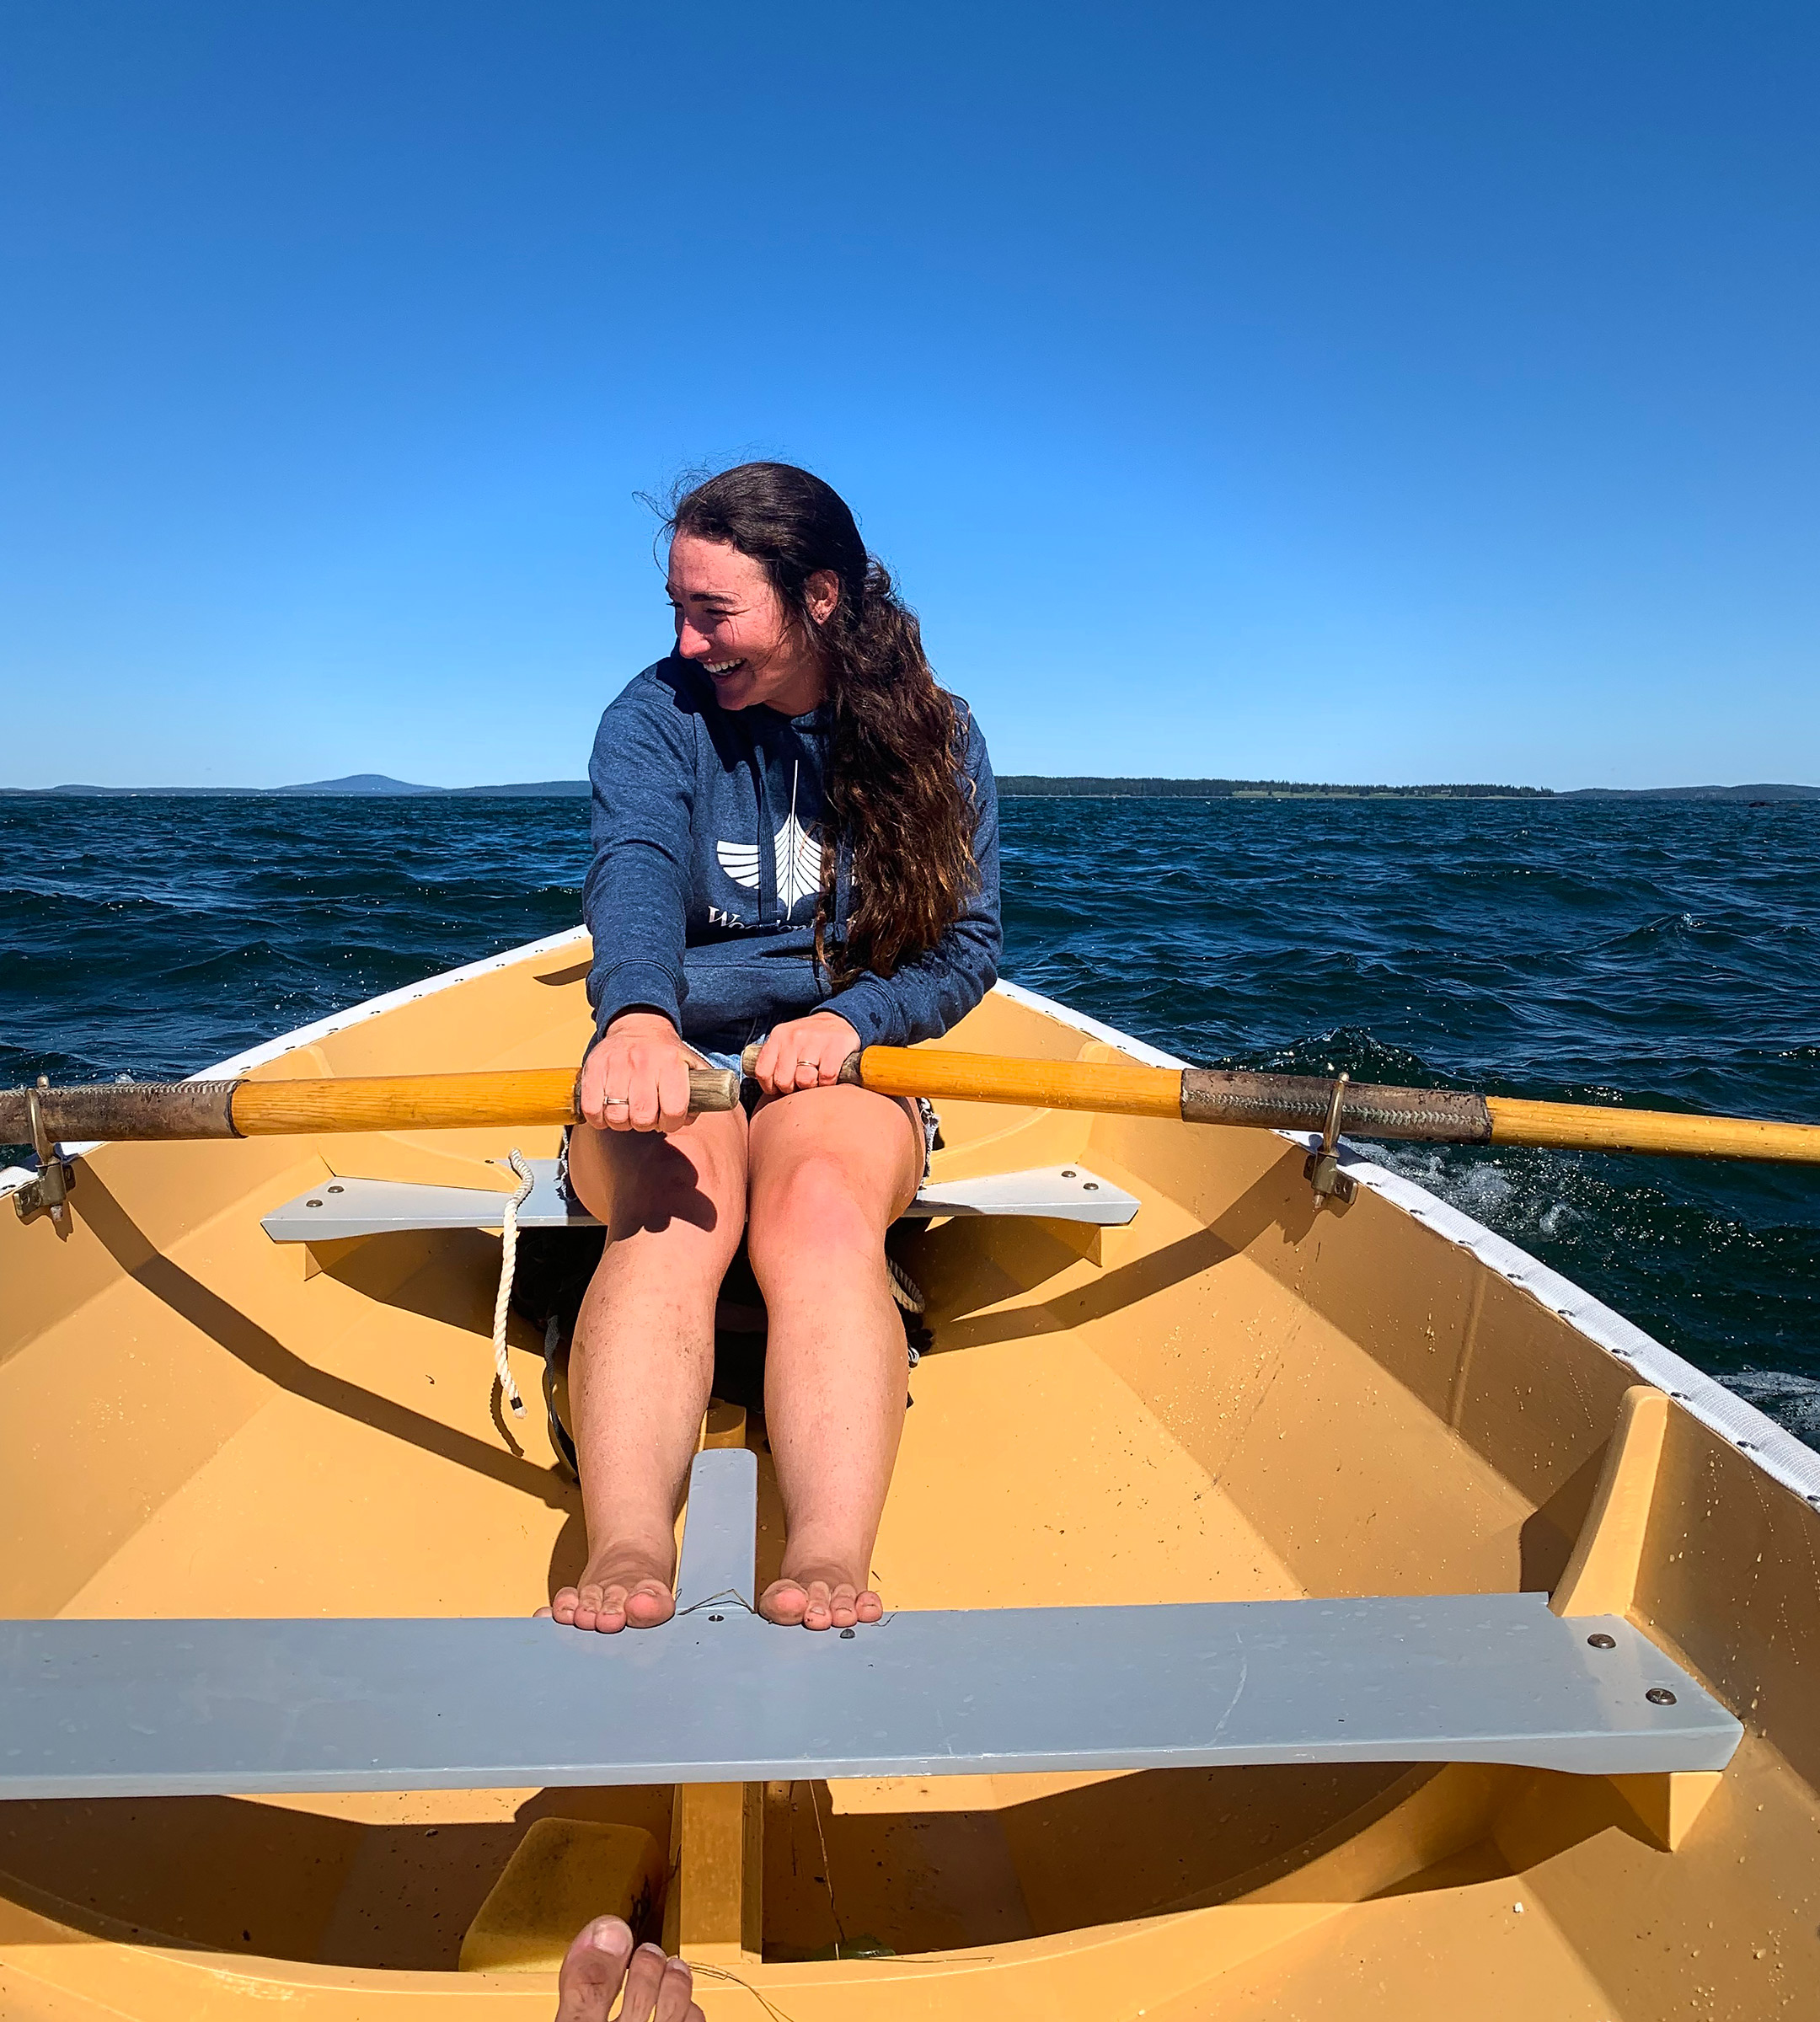
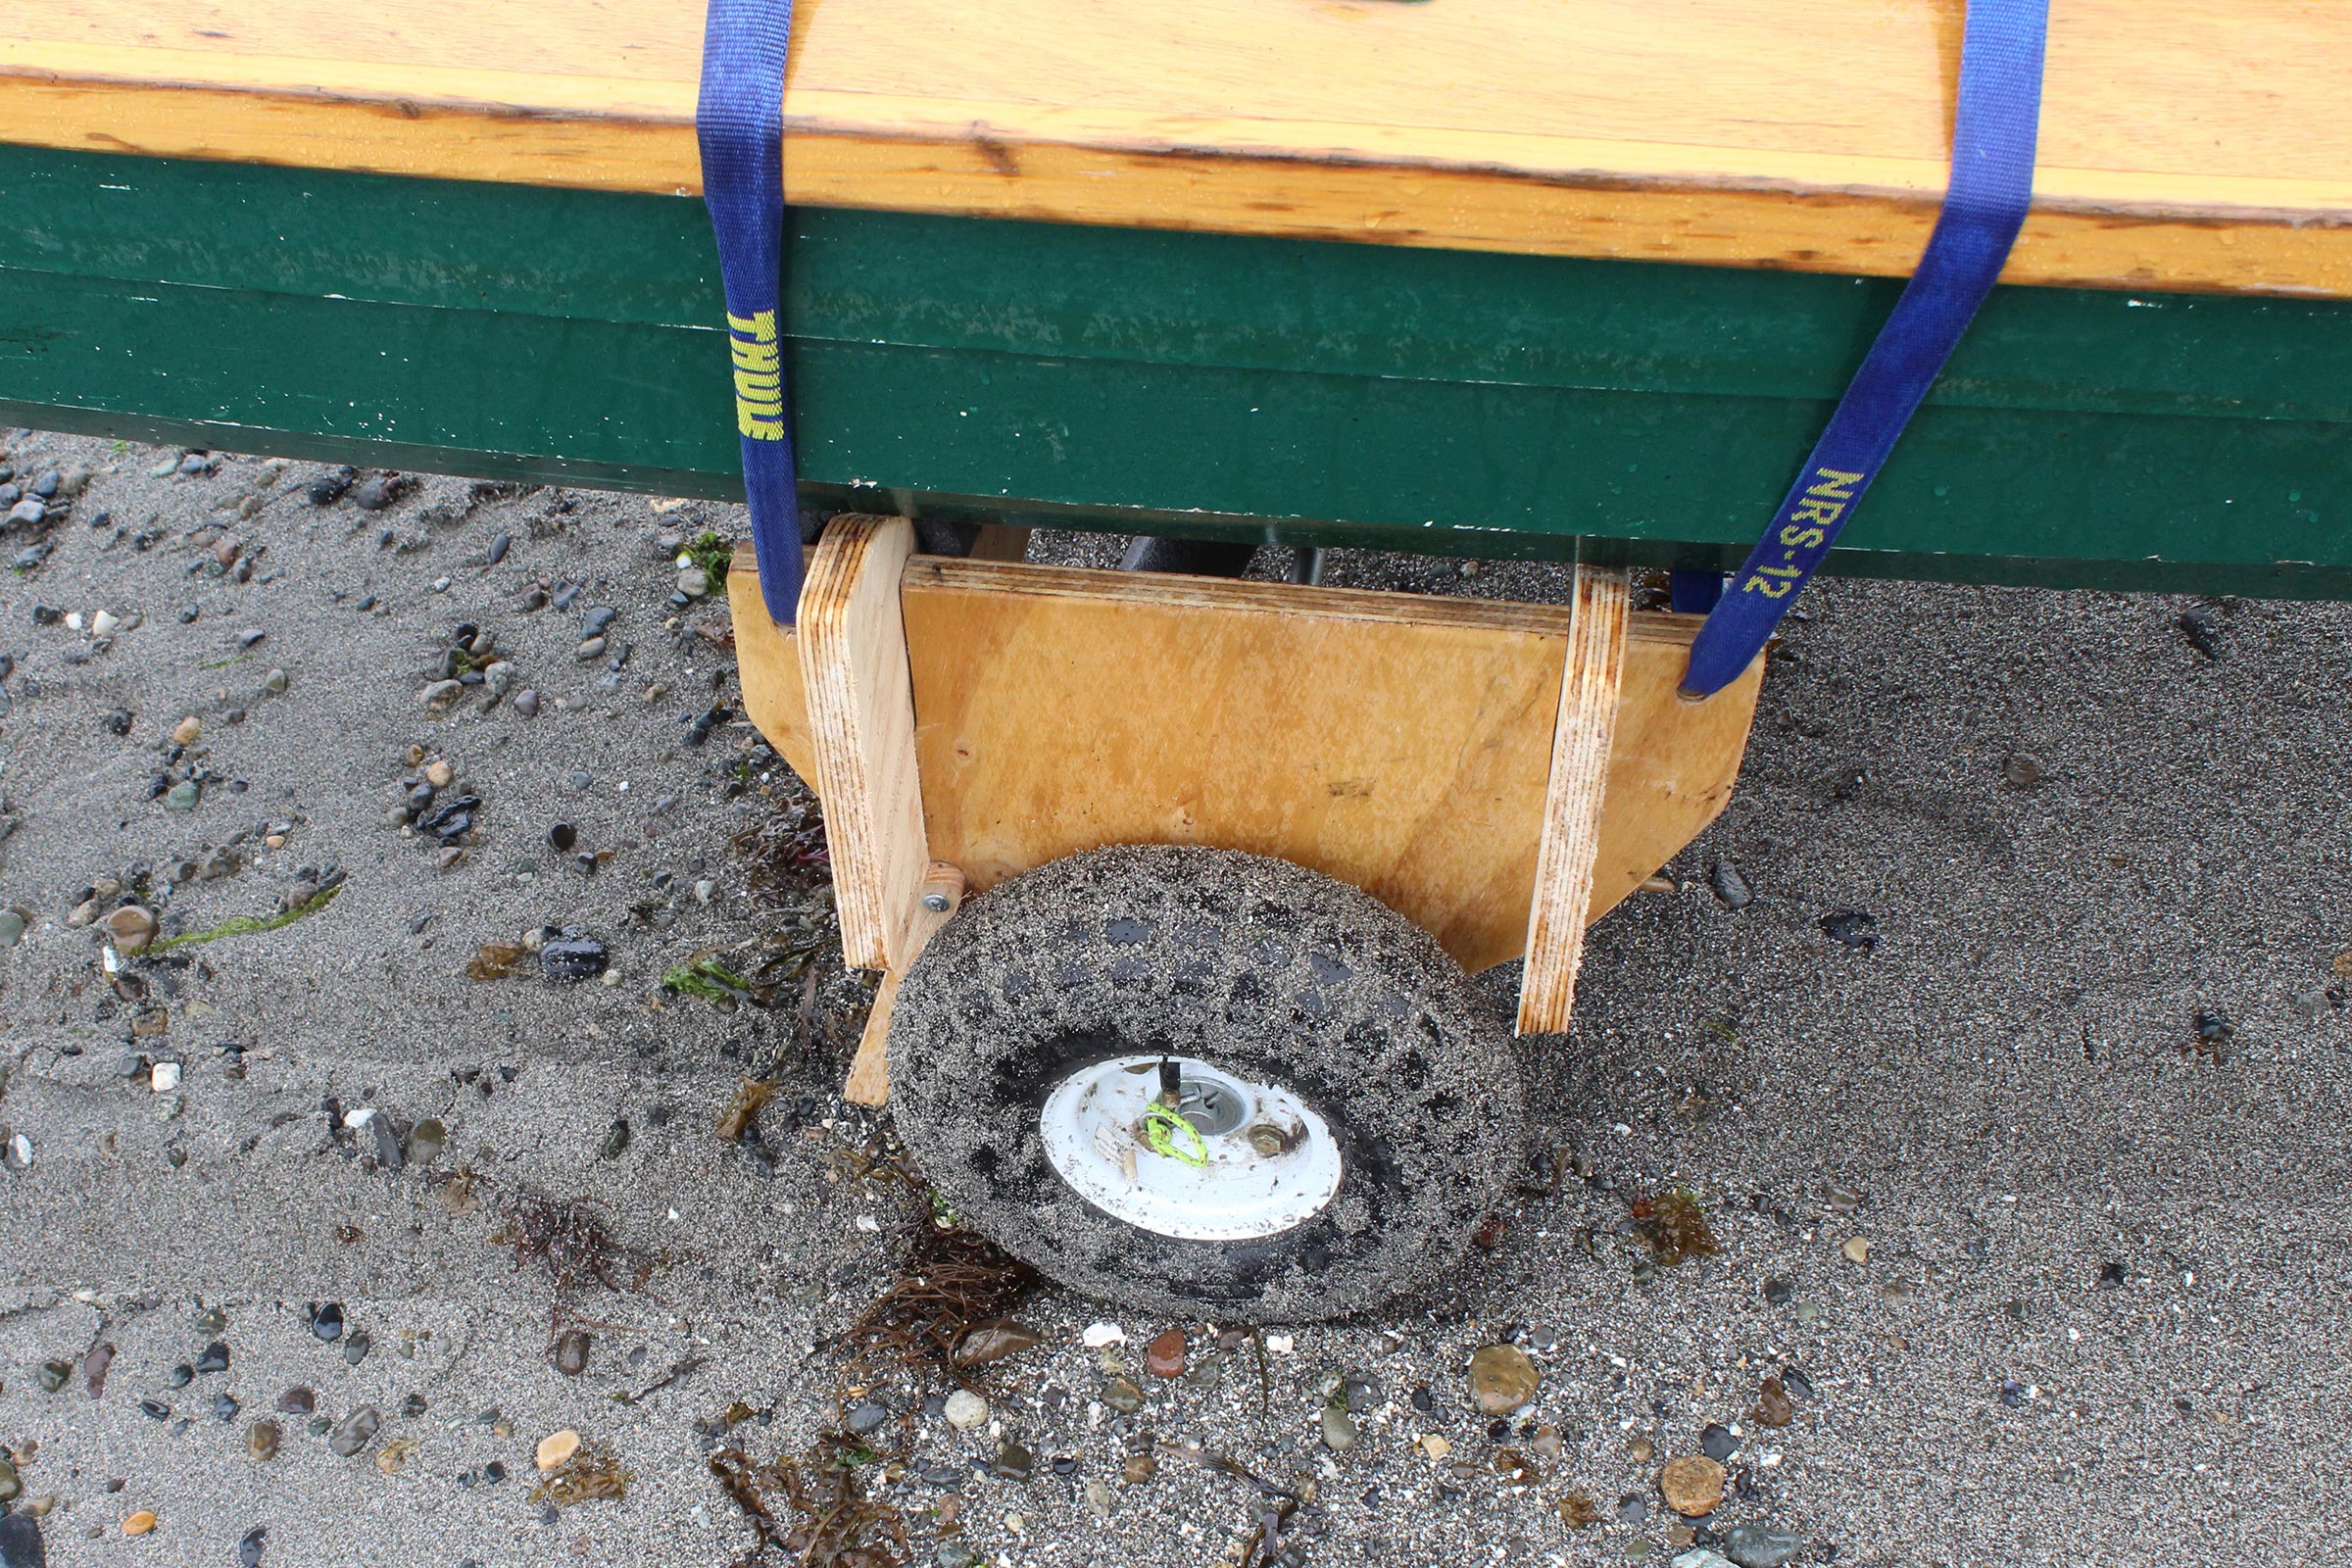
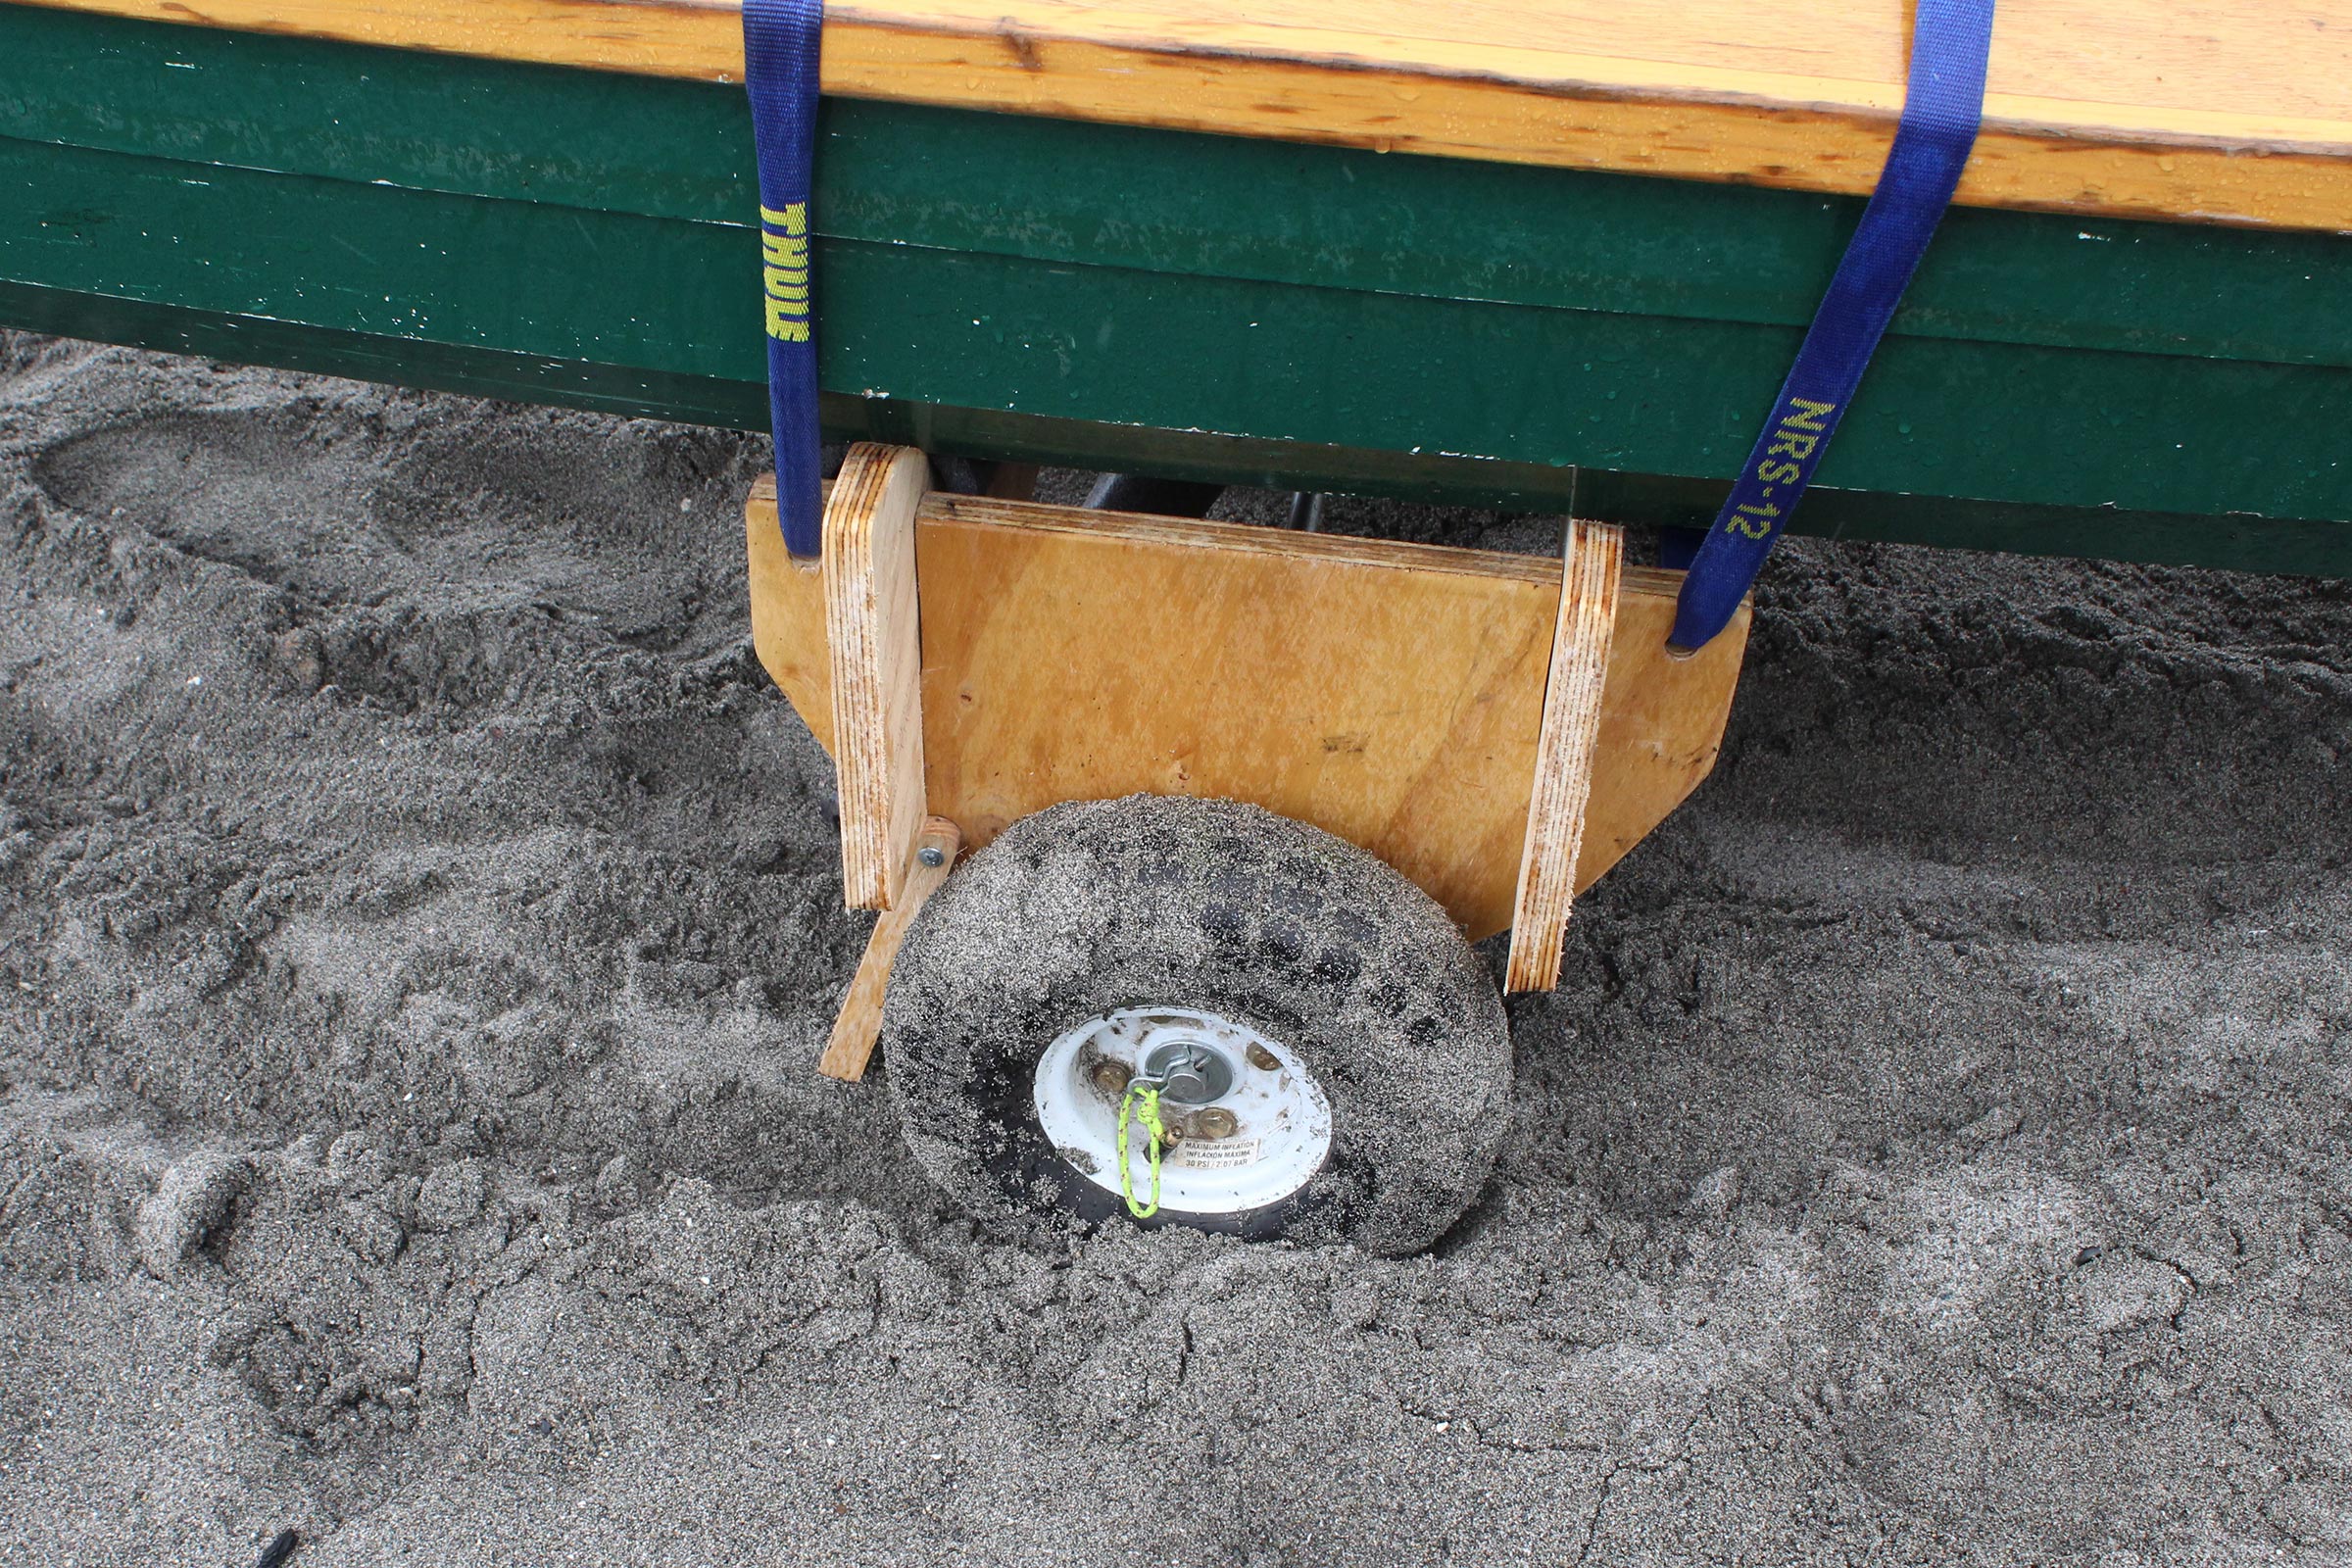
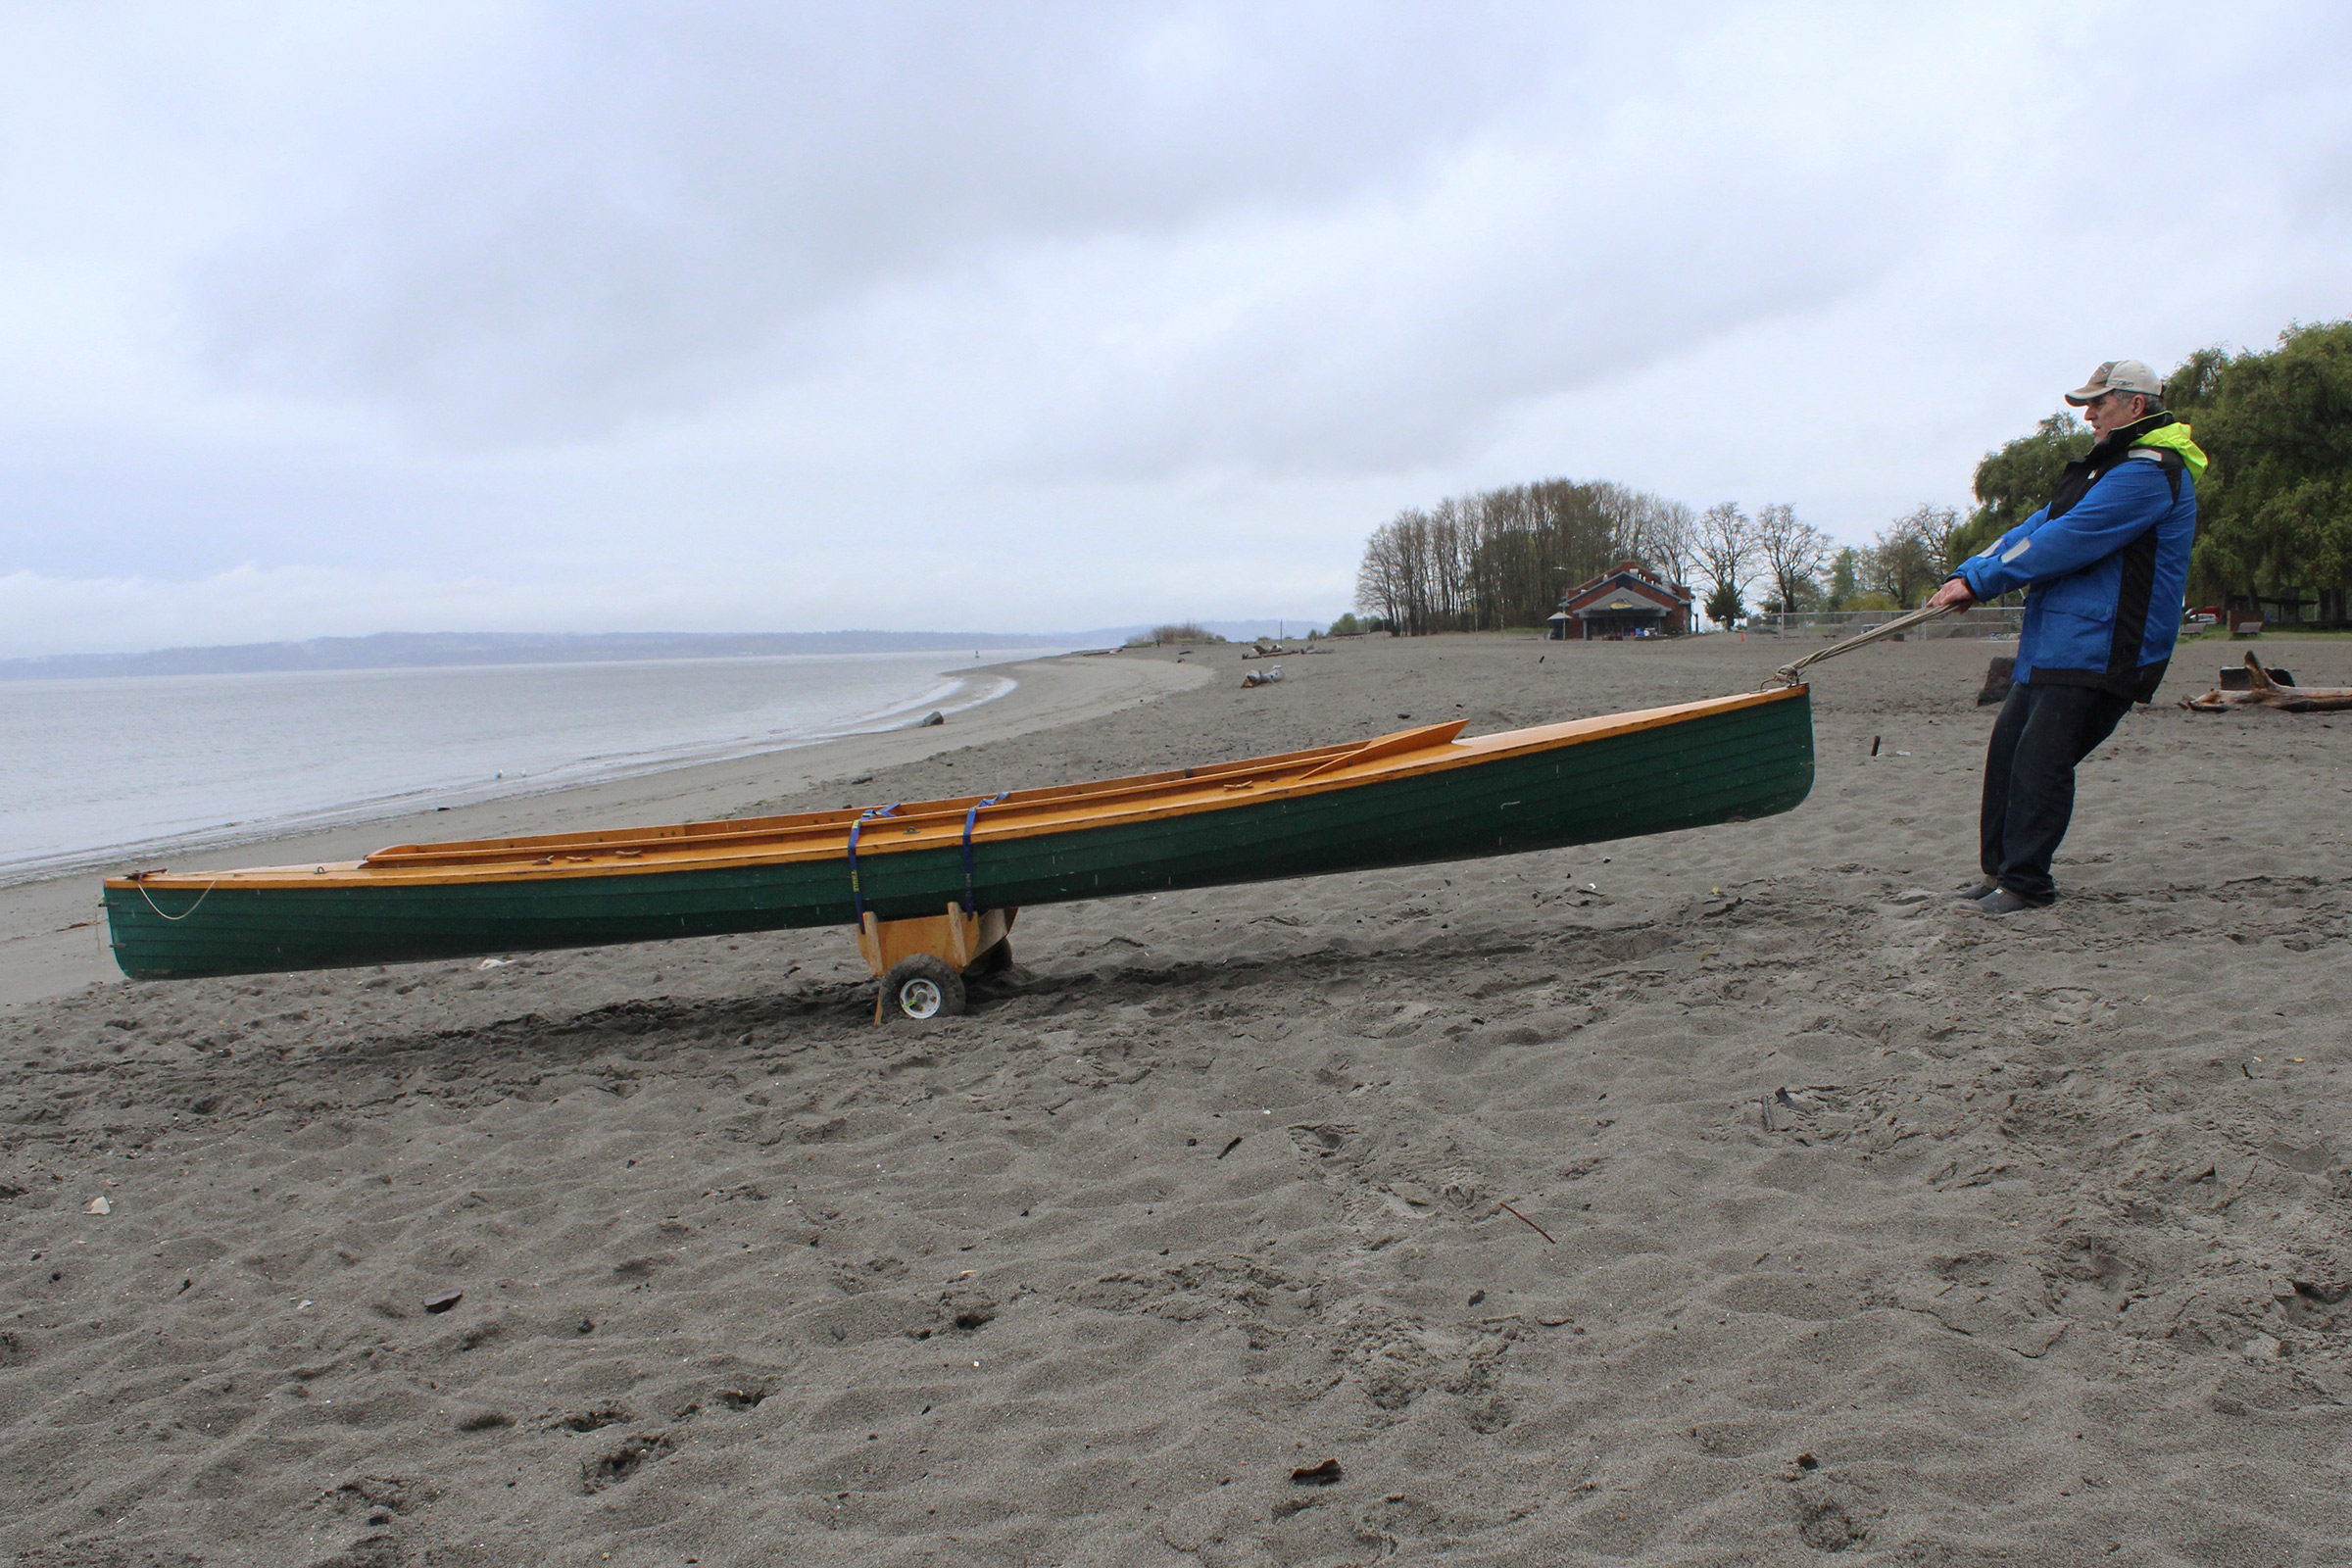
We would travel in FRI IV, a 22-year-old wooden motor launch, the third boat we had tested. The two previous boats, a 1934 model and a 1954 model, had both proved unreliable during sea trials. FRI IV is a Visterflo sjekte, built in the Østfold region of southeast Norway and powered with a Volvo Penta three-cylinder 18-hp marine diesel engine. It would be an appropriate boat, similar in age to the boats used during WWII. We carried out many sea trials, training to work as a crew in a small boat, getting to know the strengths and weaknesses of our equipment, and strengthening our confidence that we would succeed. Our plan was to follow the route and the story of Finn Narvesen, who fled with Finn Frodesen, Thorleiv Moe, and Hans Syvertsen in SWAN, a 22′ sjekte, from Kristiansand in Agder on September 21, 1940. We would carry Norway’s official postal flag as a sign that we had a letter from the Norwegian government on board.
 Courtesy of the author
We left from Randesund, near where Finn Narvesen embarked in WWII. It was nice weather, and we were all excited to leave after four years of preparation. From left: Tony Teigland, Willy Pedersen, Jarle Føreland, and Frode Stokkeland
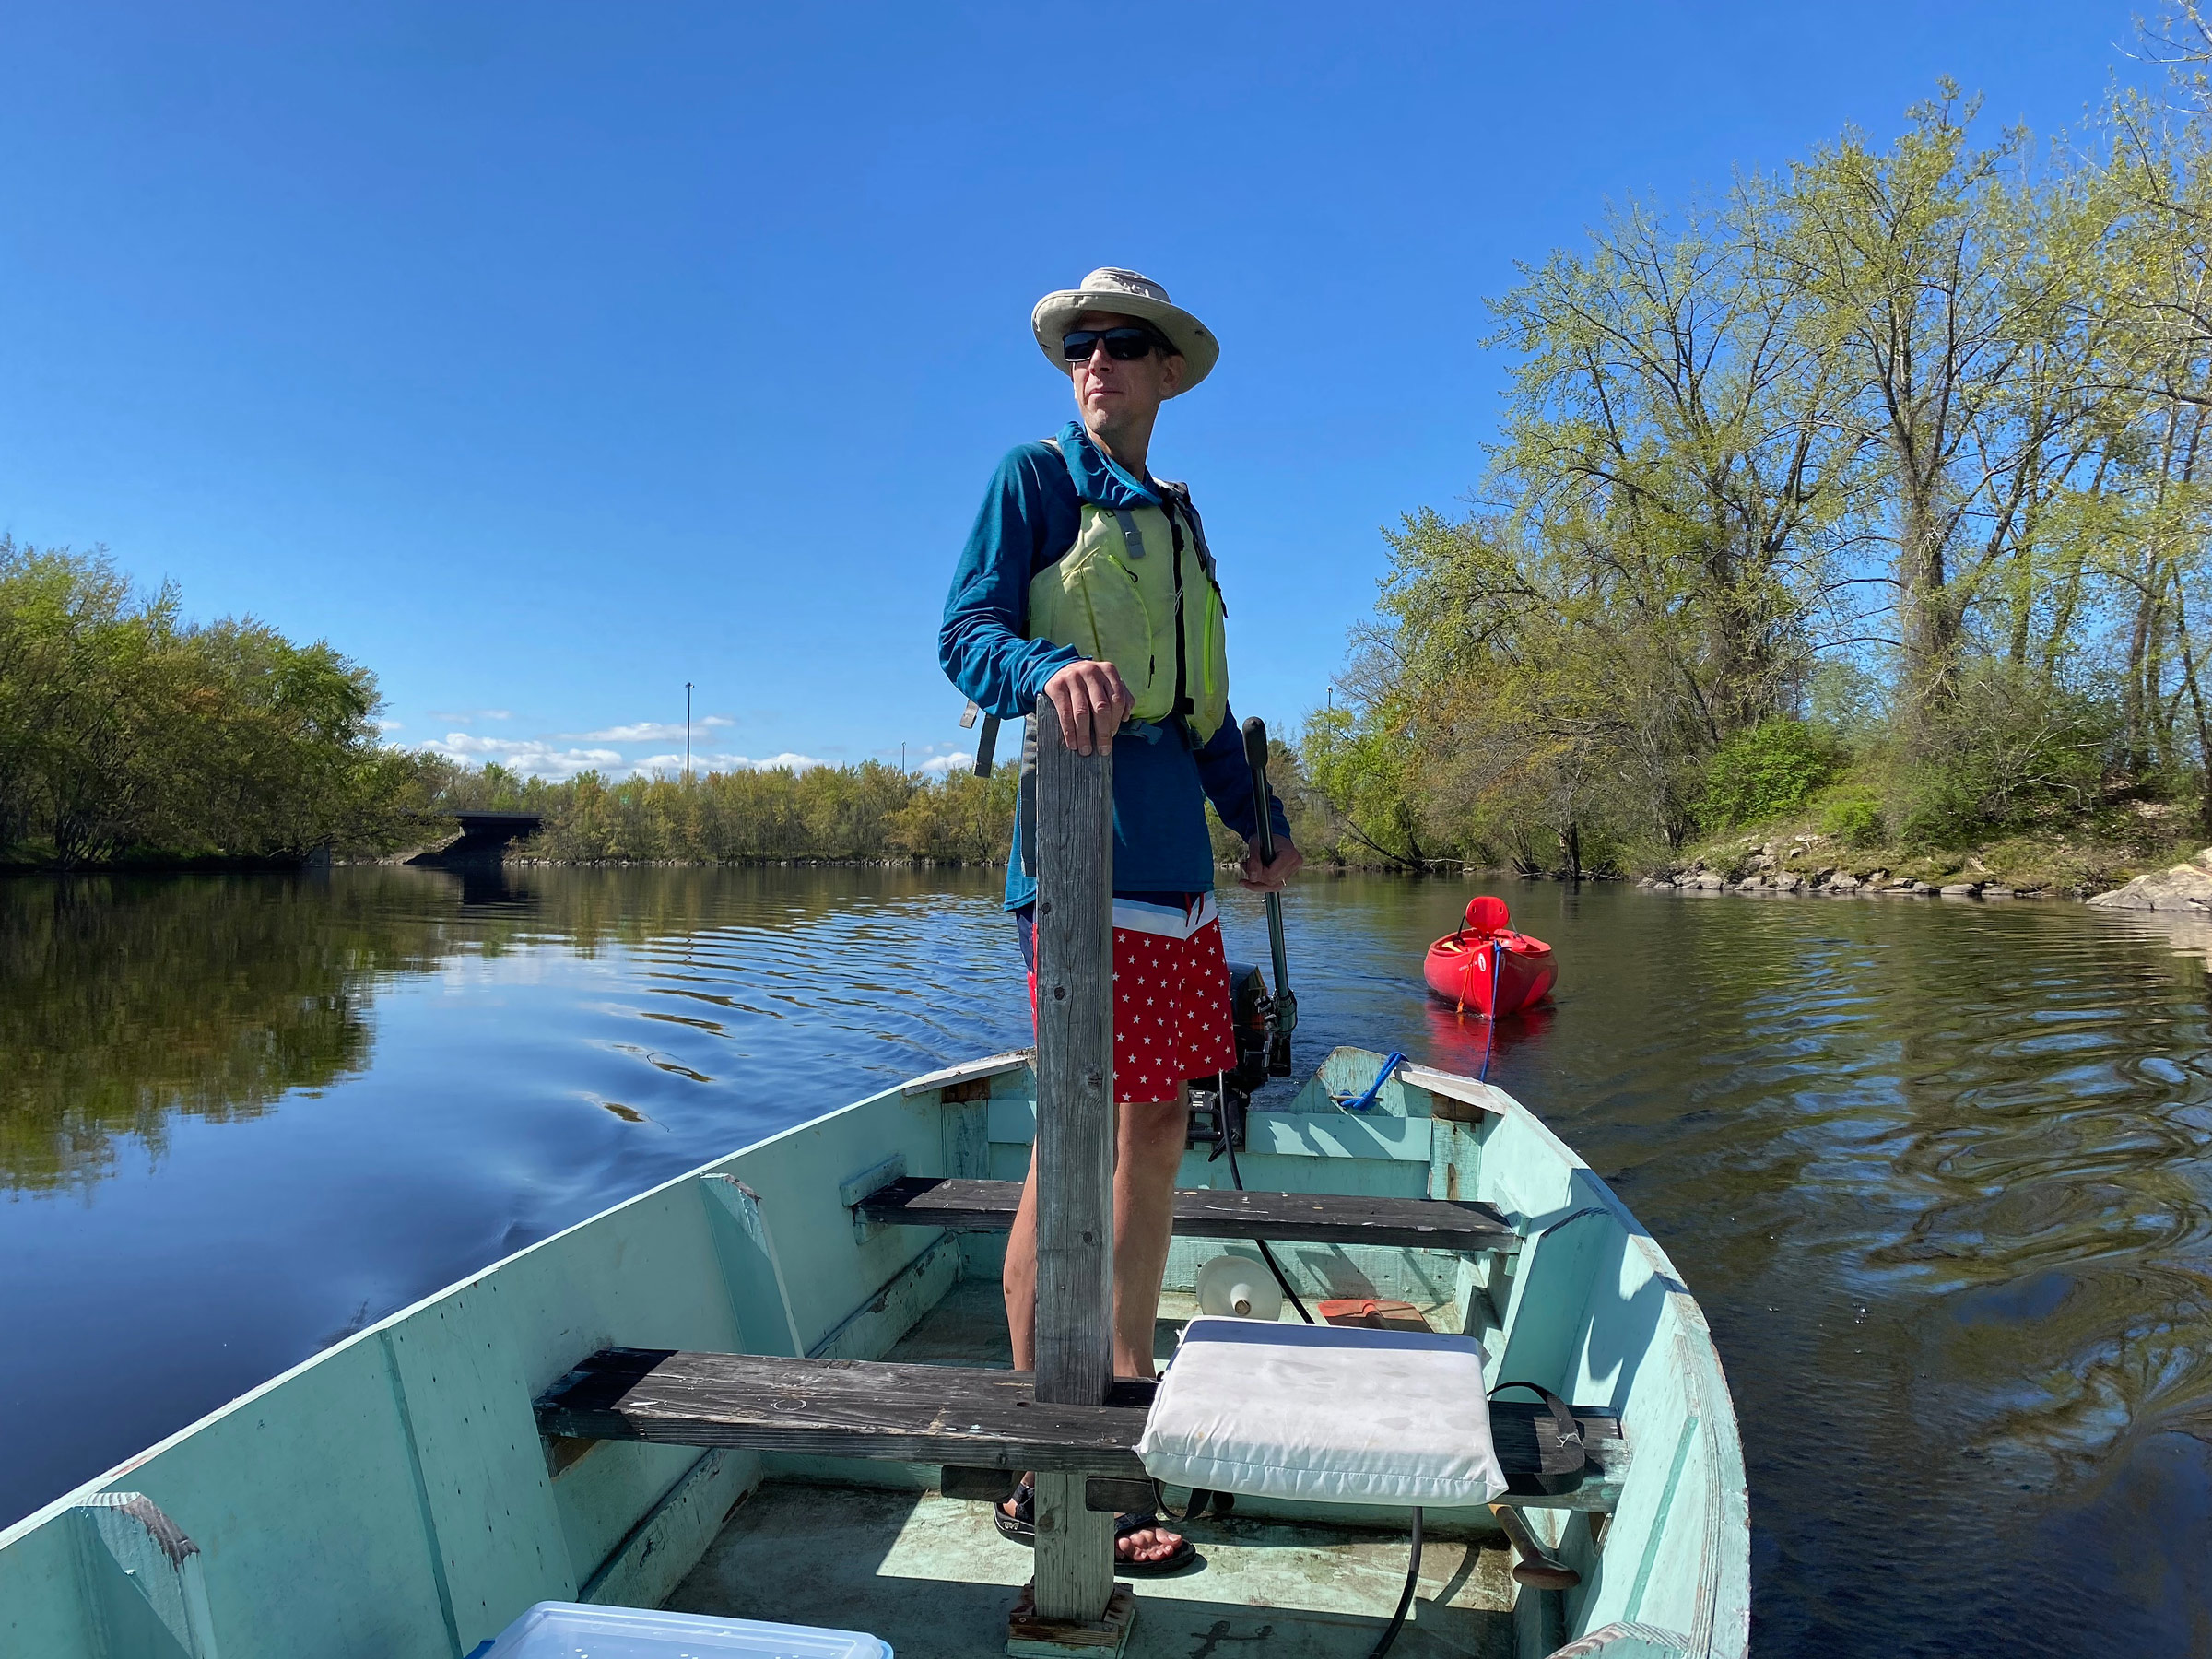
On Tuesday, April 12, 2022, at 9 p.m., the message we had been waiting for from Frode, our captain, came: “THE WEATHER WINDOW IS ACCEPTABLE. We leave at 2 p.m. tomorrow. Arrive at the agreed place with your luggage.” A few days earlier, we had prepared and readied FRI IV to depart from the same place near Kristiansand that Finn Narvesen had, which was described in the report he later wrote about his escape. A compass was the only navigation equipment he had; we had not only a compass but also AIS vessel tracking, VHF, GPS, an autopilot, and a satellite phone. For safety gear we had survival suits, a life raft, and an emergency beacon transmitter.
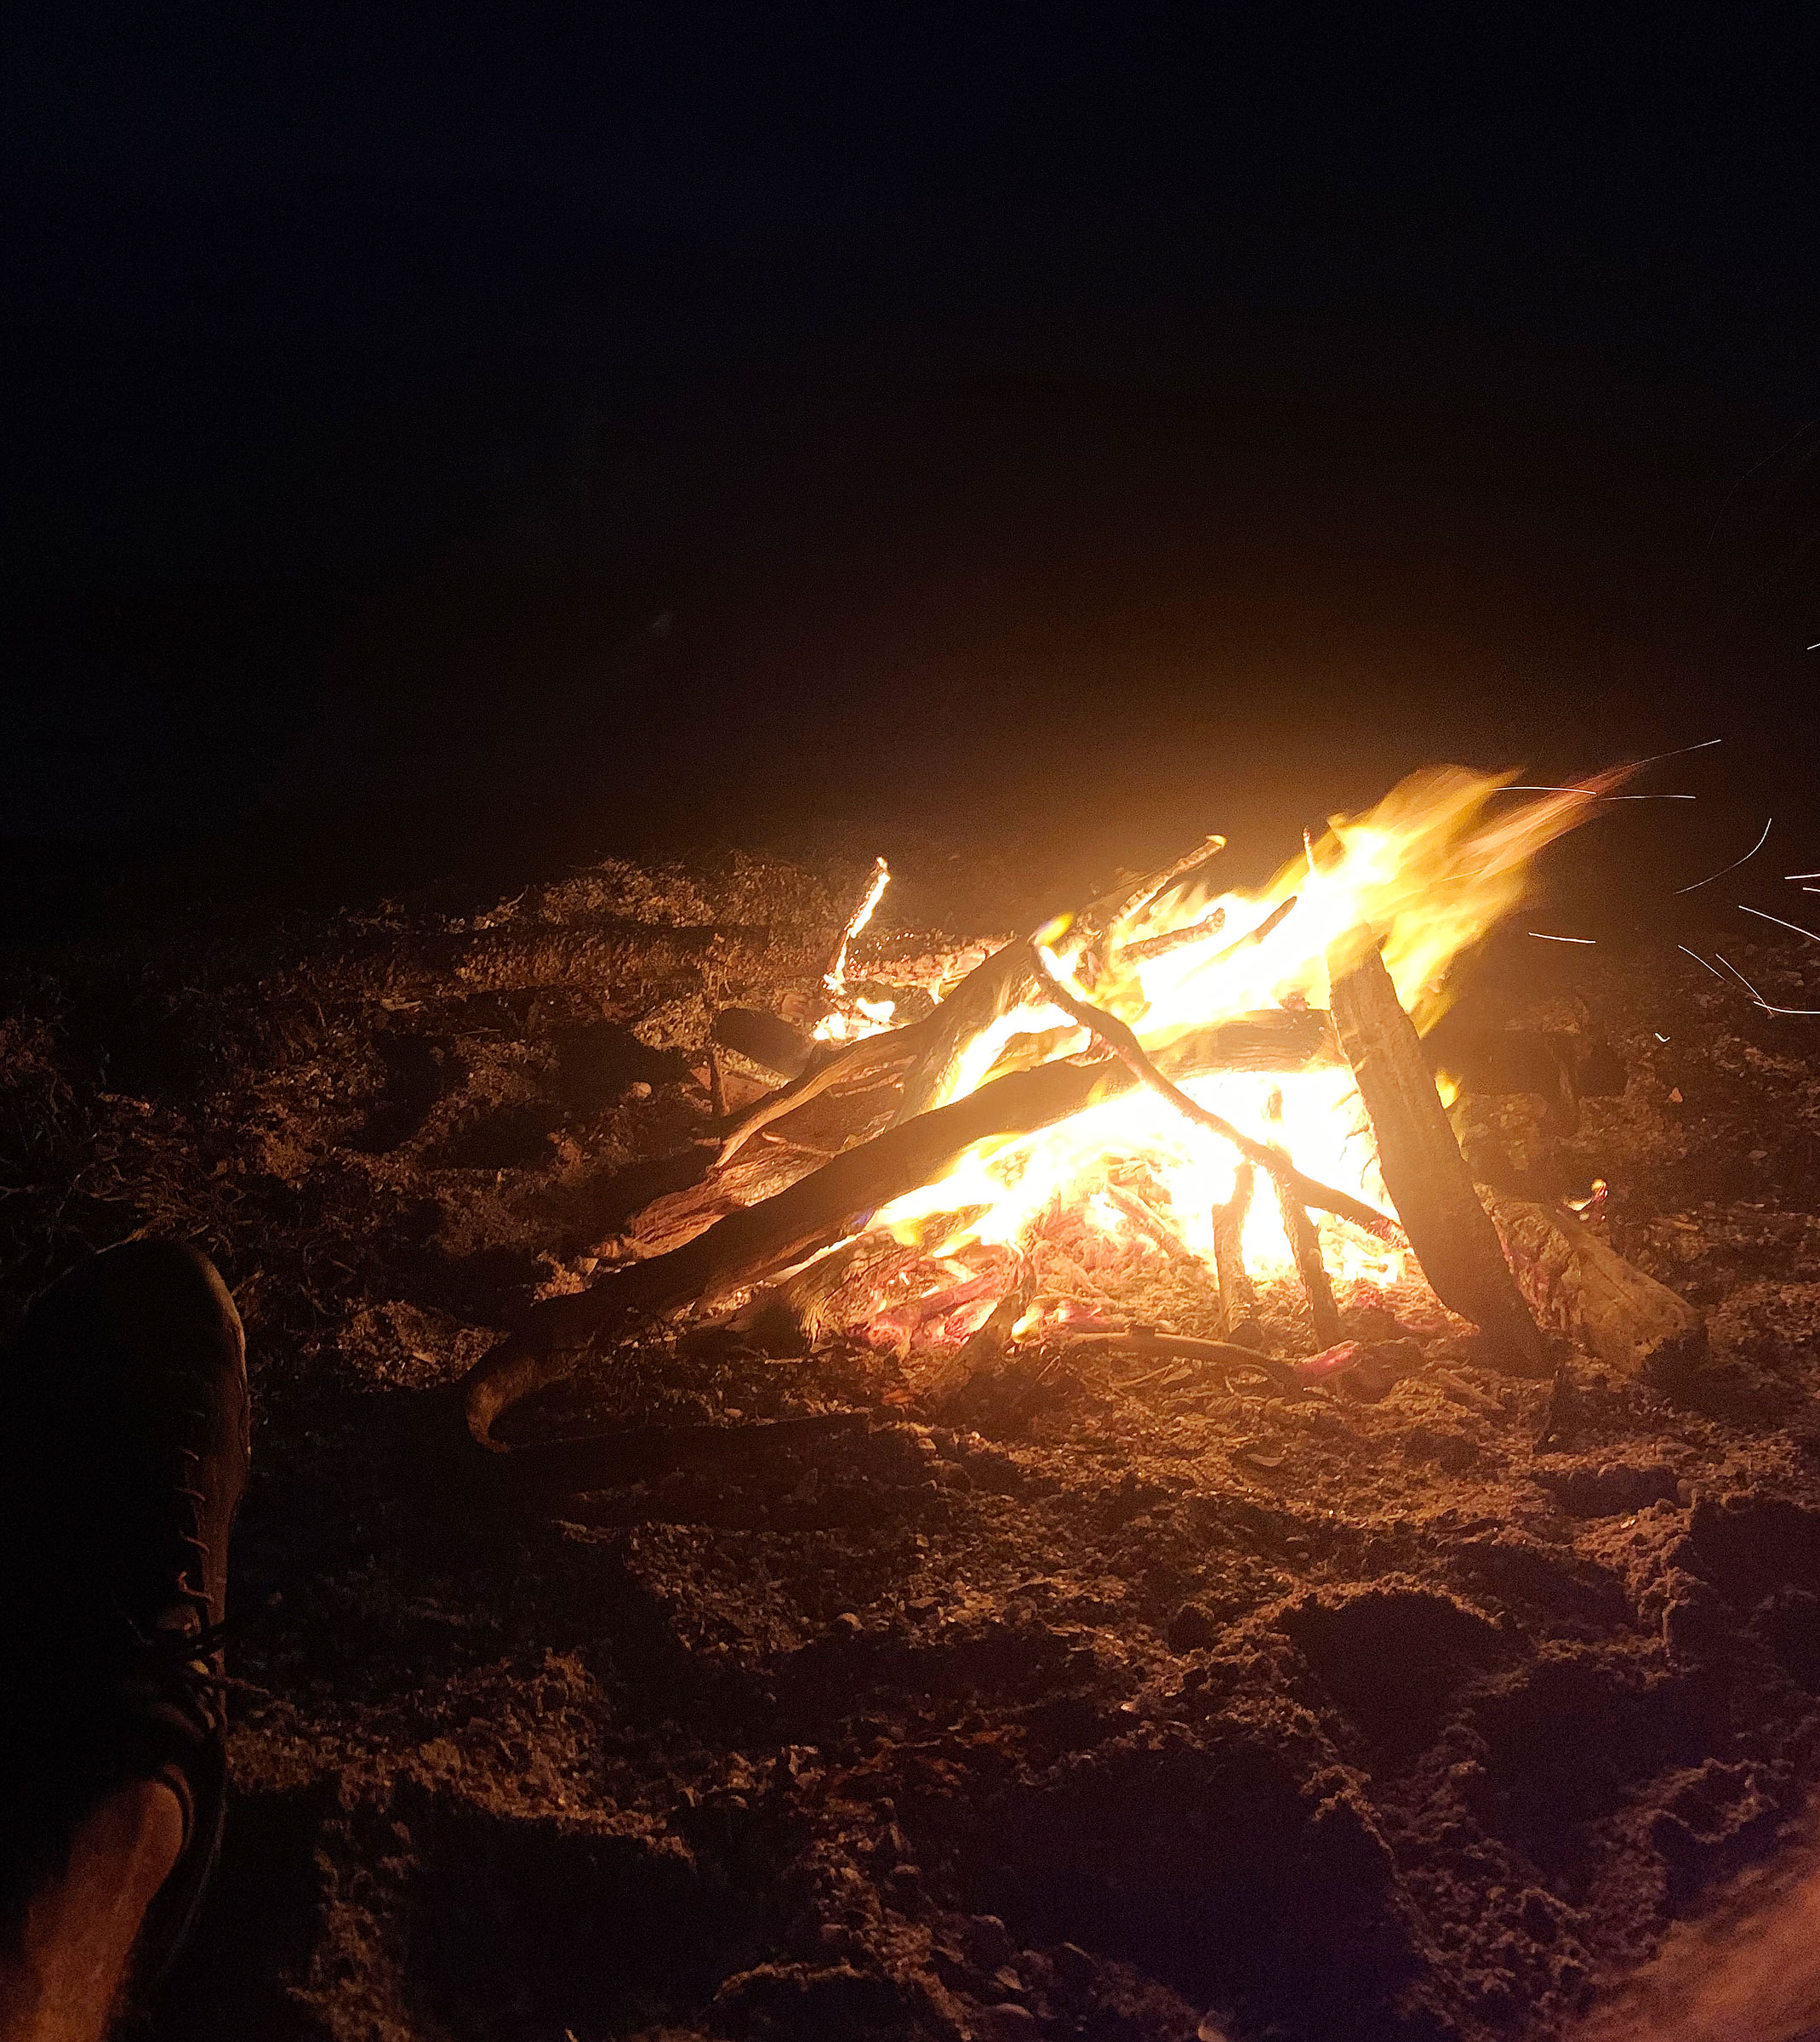
Before I left my house, I checked our document folder for the fourth time to make sure I had the letter from the Norwegian Minister of Defense to be delivered to Britain. Narvesen had smuggled maps of Norwegian airports, stolen from the Germans and very useful to Allied military forces. I filled my car with my luggage and food for the crossing. On my way to the boat, I stopped by the flower shop and collected the wreath we had ordered. It was beautiful, with roses and ribbons with the Norwegian colors. We would lay it midway in the North Sea, to commemorate those who made the crossing to fight with the Allies in World War II.
When I arrived at the rendezvous, Jarle was already there—he is always early. Willy and Frode arrived shortly afterward. We were quiet but excited. After four years of planning, organizing and training, it was happening.
We had a short chat to set the mood close to what Finn Narvesen and his crew felt in 1940 when they put their lives on the line. They had no weather forecast, no life jackets, and no communication. If they were seen by a German plane outside the legal zone along the southern coast of Norway, they would be reported and inevitably captured.
We concentrated on our tasks and exactly at 2 p.m., we got underway and set our course southwest along the coast. We traveled a nearshore route from Kristiansand headed for Lindesnes, Norway’s southernmost lighthouse.
 Roger Siebert
.
Narvesen wrote in his report:
Norway is occupied, there are German patrol ships along the coast. Those we meet must assume that we are out fishing, we relax, acting that we have nothing to hide. When we see them, we must keep our course, we must not arouse suspicion. We pass German boats a few meters away, wave to the Nazis—our hearts racing—and the bag with the maps is ready to be sunk in the sea. It would reveal everything if we were stopped.
After about 2 hours, we stopped by the home of Ingrid Juell Moe in the village of Ny Hellesund on the island of Monsøya. She met us with her husband, daughter, and son-in-law, as well as two grandchildren. In November 1941, her uncle, Sven Moe, was the last known Englandsfarere to escape. She told us about his achievement, and of the silence in the postwar years about his fate during the war. After reaching Scotland, he trained as a radio telegraph operator, and in April 1945 the plane he was working aboard crashed on a mountaintop in Sweden. Ingrid, honoring us with Norwegian flags and wishing us good luck with tears in her eyes, was clearly moved by our adventure and the memories it rekindled.
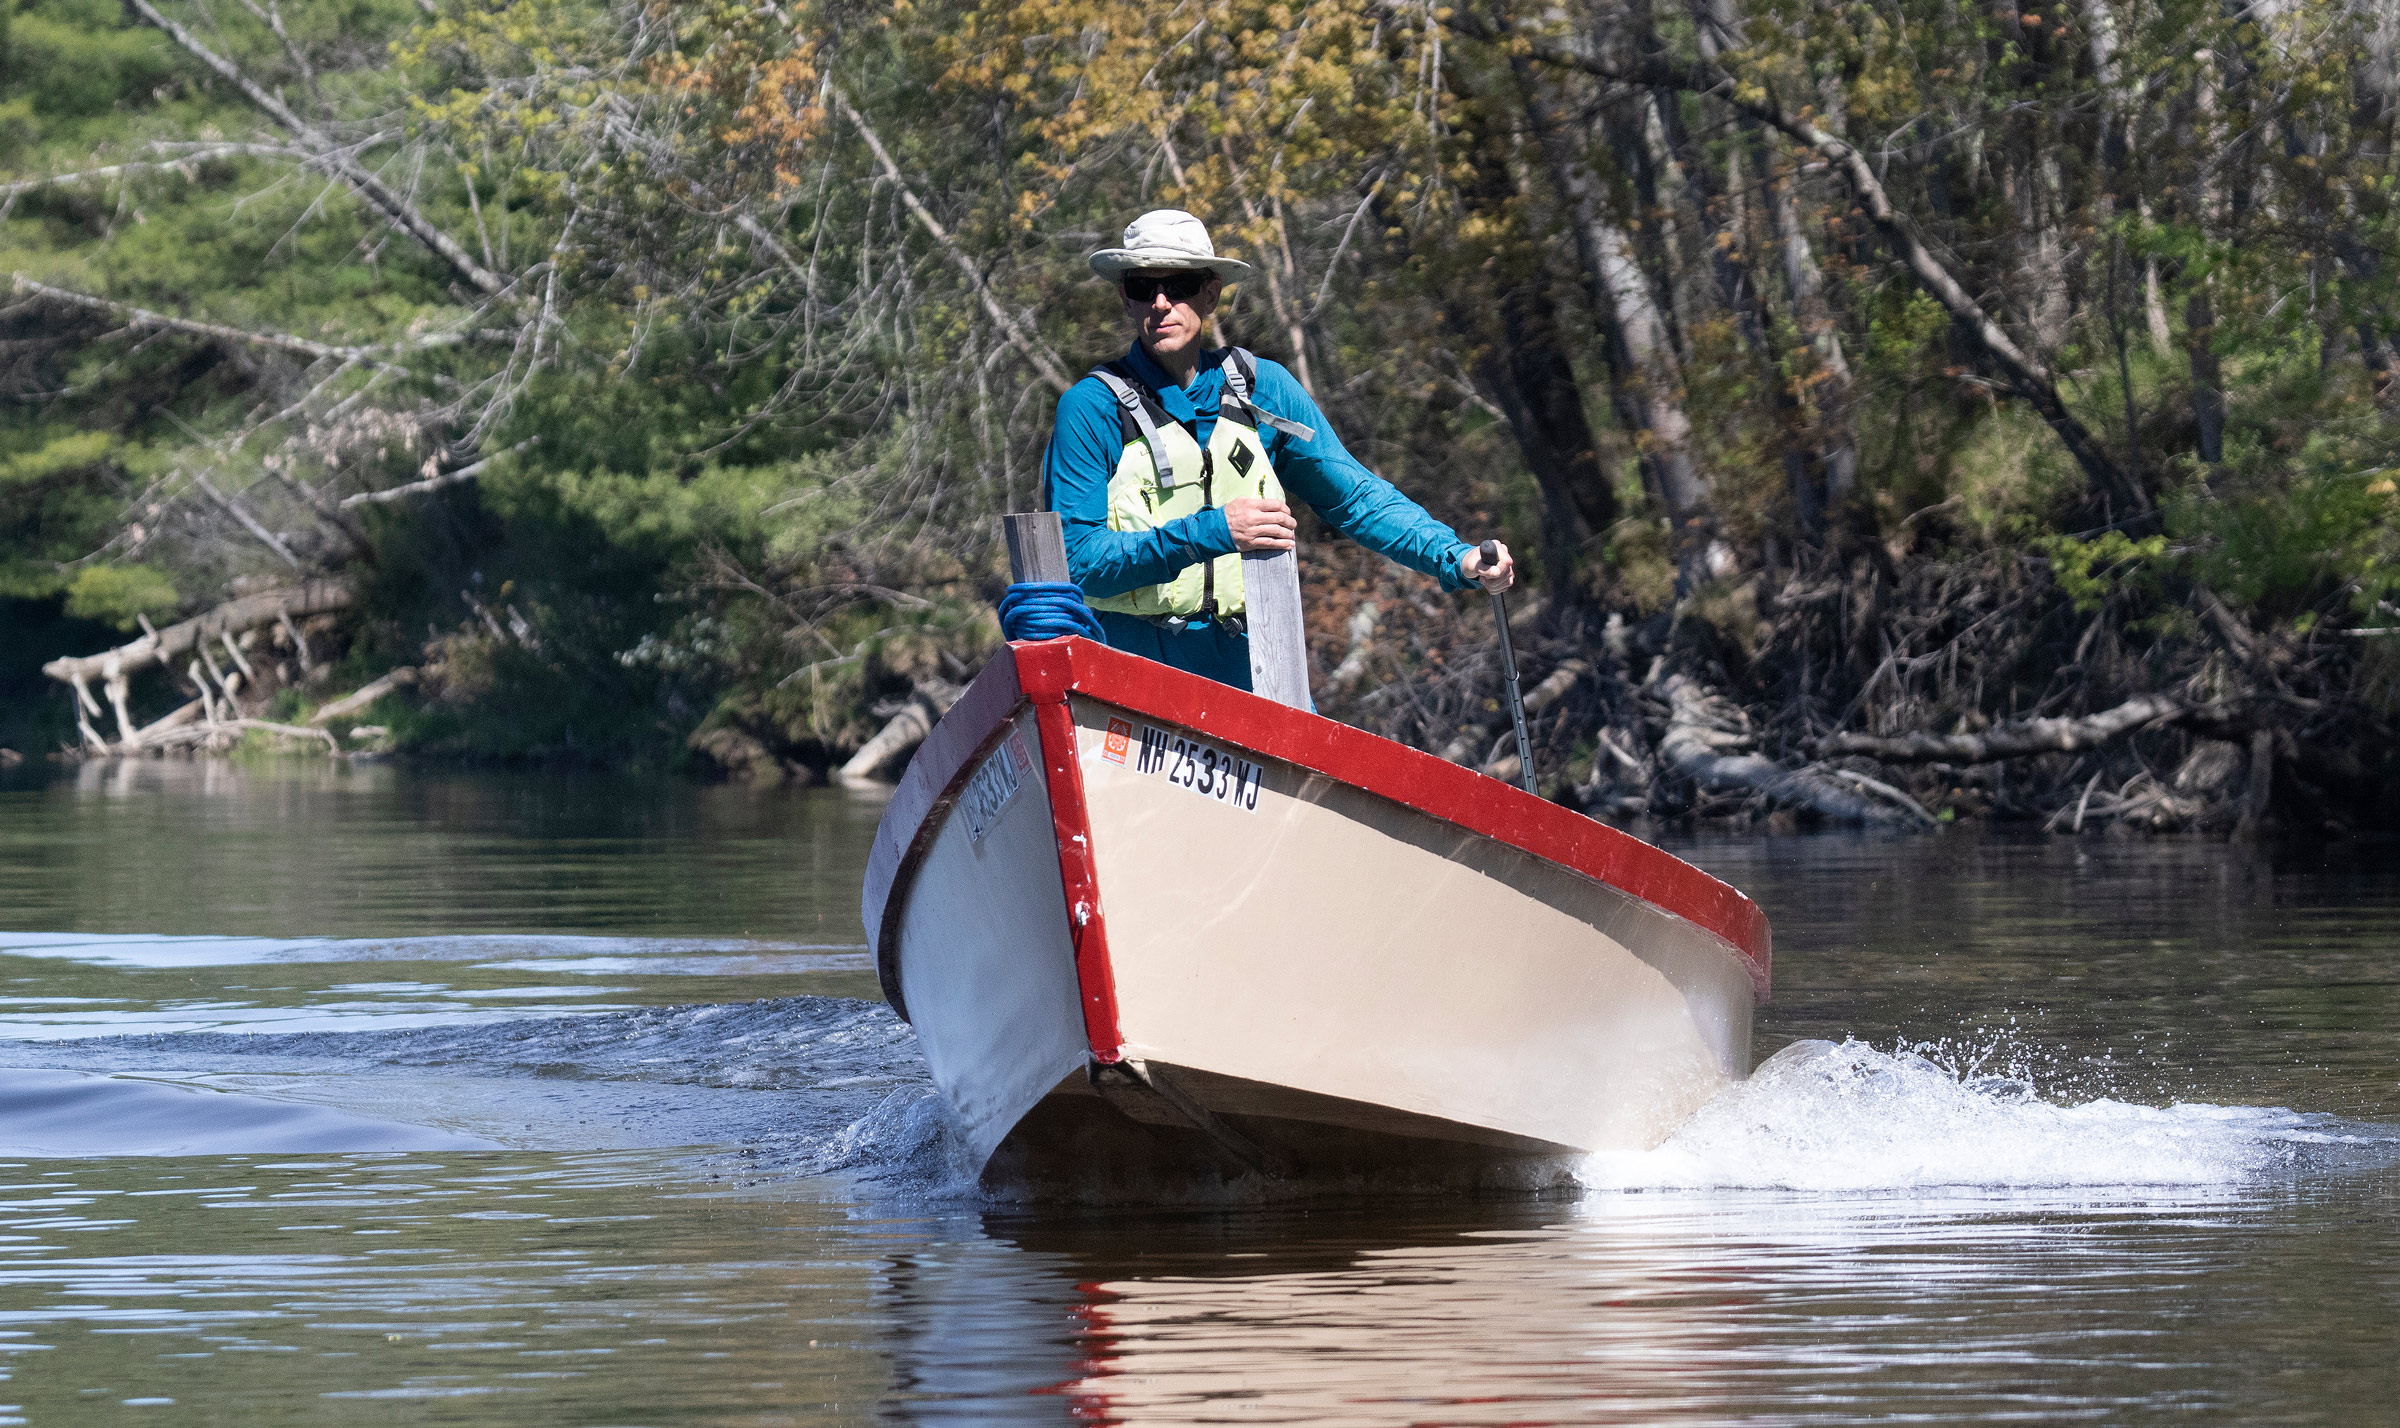
At 6 o’clock in the evening it started to get dark. After 7 hours of motoring from Kristiansand we reached Lindesnes, and the wind was increasing to 15 to 20 knots. We turned on a course of 270 degrees west, navigated through the Norwegian Trench and out into the North Sea to settle on a direct course for Buckie in Scotland, some 260 sea miles away. The waves grew to 6′ to 9′. It was dark. We raced along at 6 knots. On the high seas, had we been trying to elude the Germans, this speed would have felt incredibly slow, like a snail on an open meadow with hungry seagulls circling.
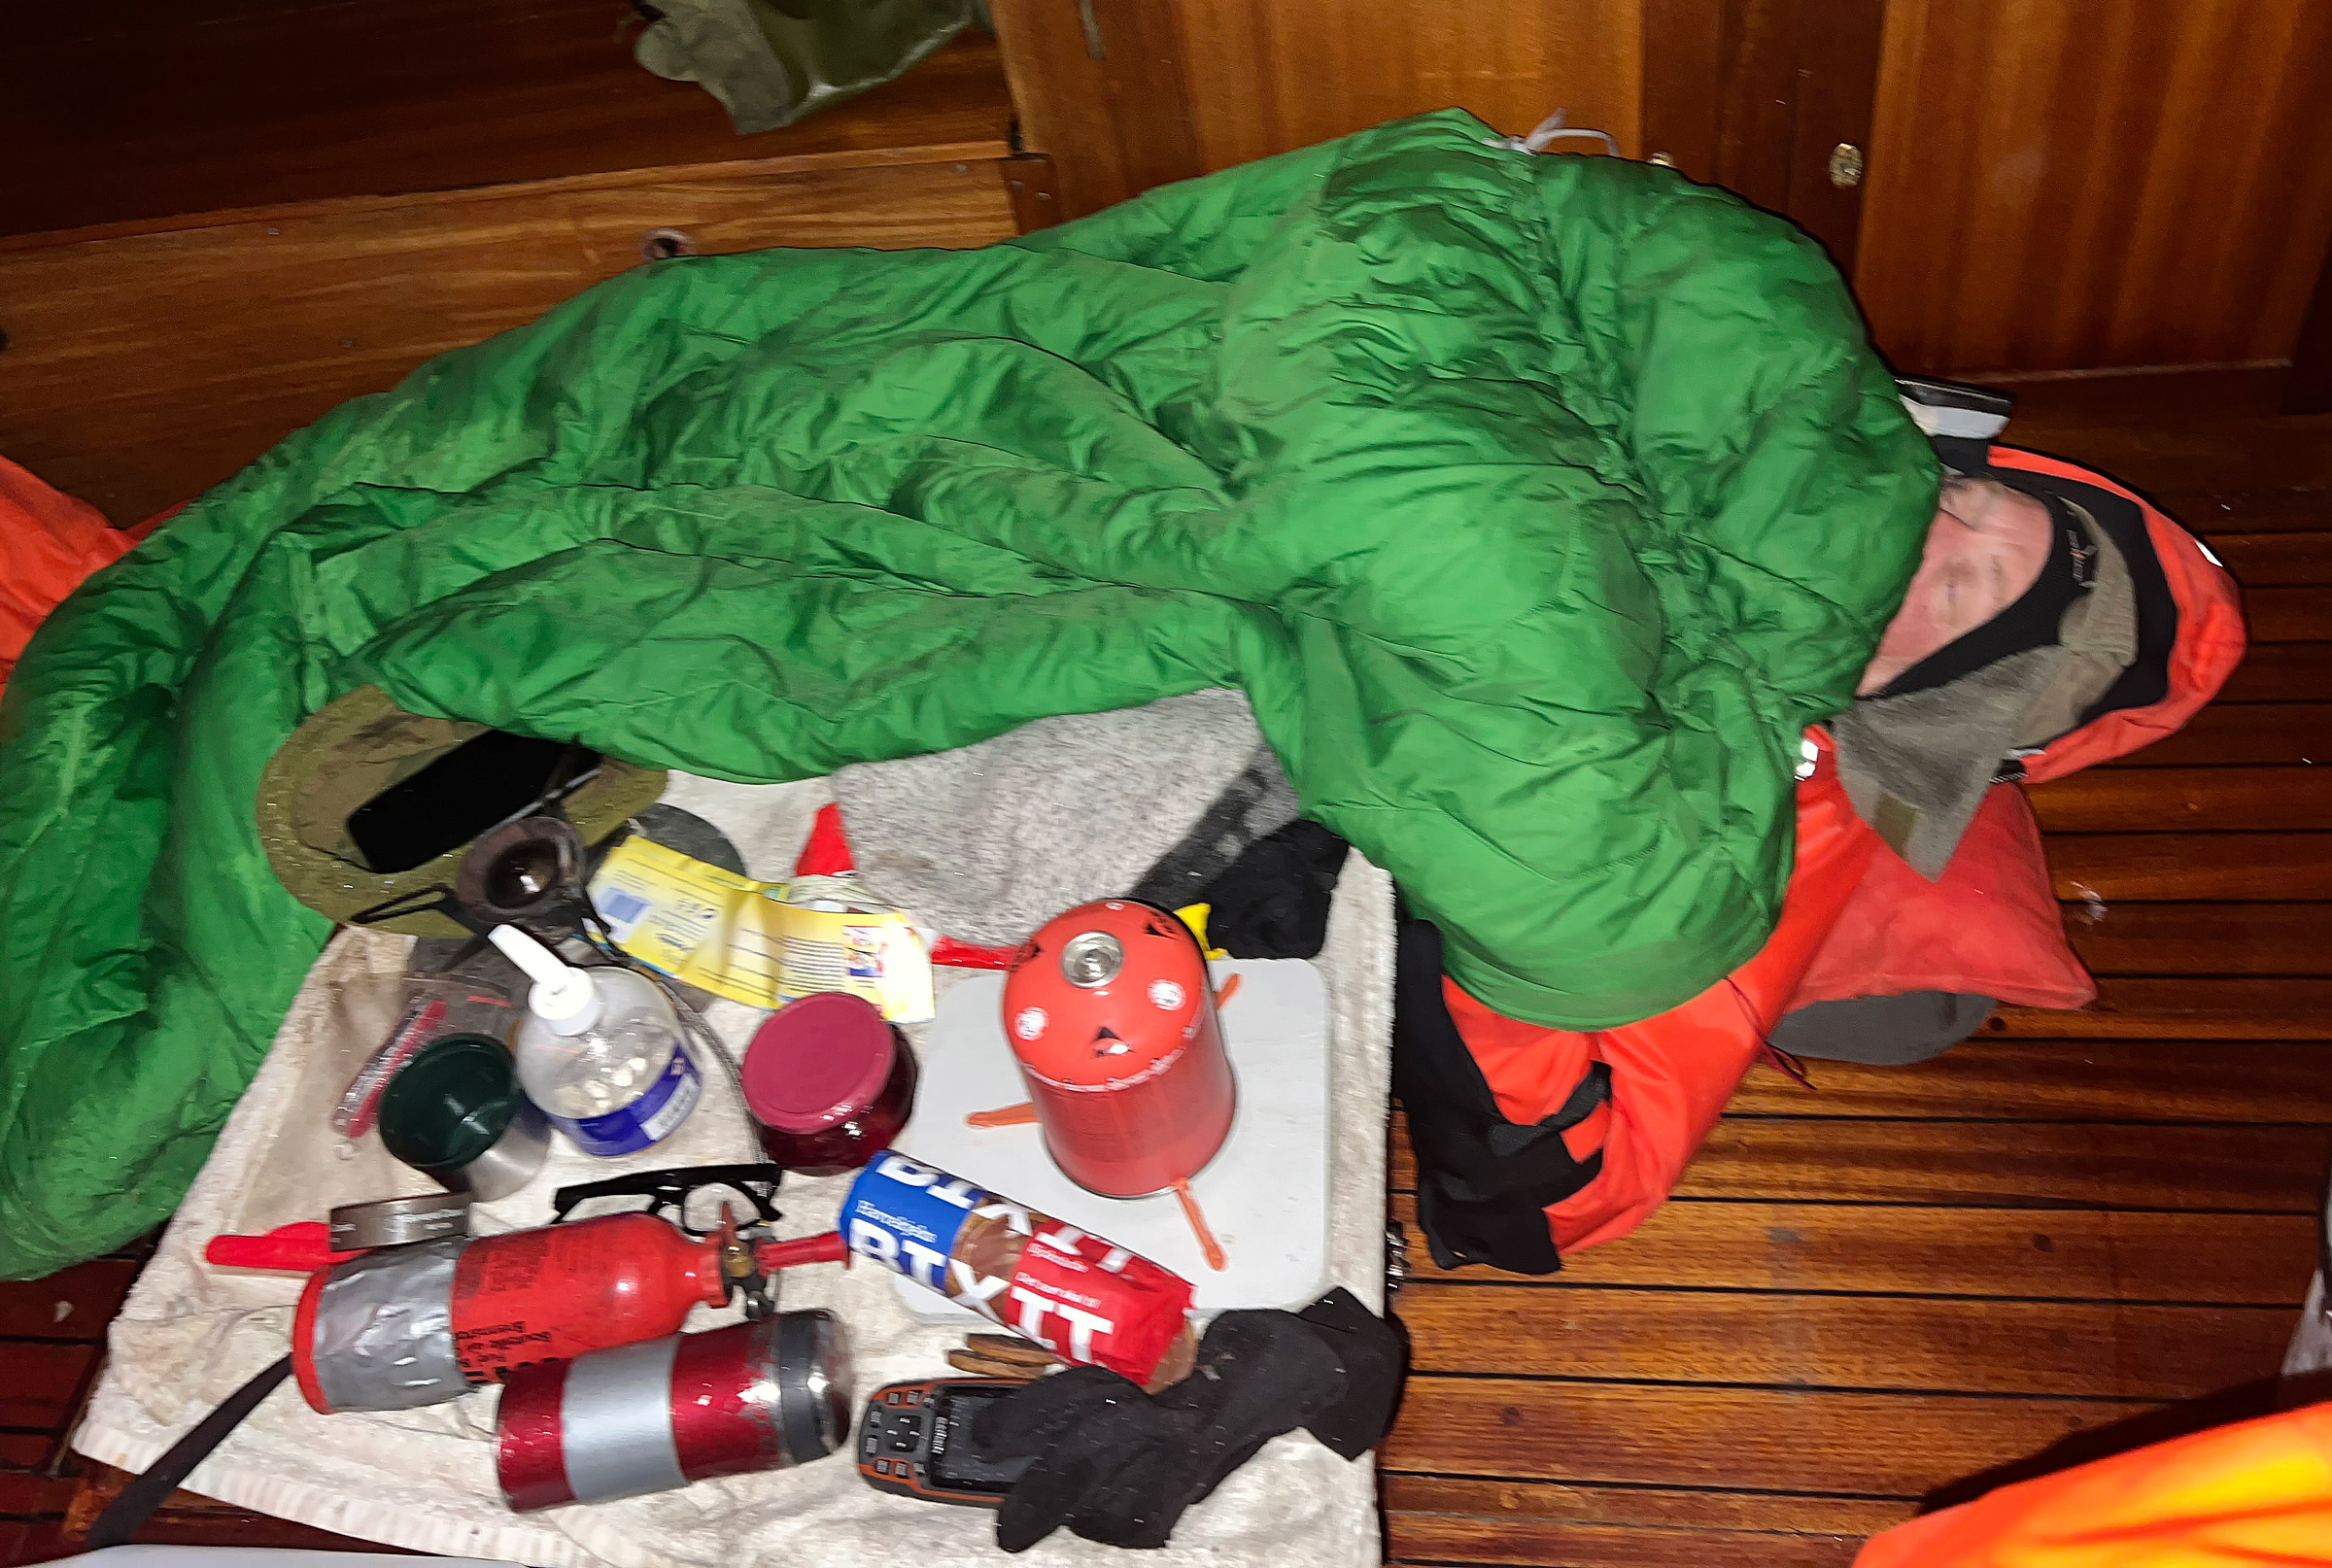
We put on survival suits. We brought them in case something drastic should happen, and they were good and warm. We turned on the autopilot, which would make the trip more passive than I would have liked, but the crew democracy had spoken. The time was now 10:30 p.m. and we started the watch, four hours on, four hours off, changing on the hour. Jarle and Willy were one watch, Frode and I were the other. As Jarle and Willy started their first shift, Frode lay down between the engine box and the galley and I crawled into the forepeak.
There was more sea and wind now than what I had experienced in the many training trips we had done, and there were some sounds I had not heard before along with some abnormal vibration in the hull. Would the repair we did on the drive shaft and bearing hold? Was the propeller secure? The sounds came and went and sometimes it sounded as if the engine had stopped completely before it shook again. I was tired and restless but eventually fell asleep.
I was nudged at midnight for the change of watch. It felt like I’d been kicked in the face. My gums ached; I must have been gnashing my teeth as I slept, tense about everything that could go wrong. When I got out of the cabin, I heard the engine roaring like a lion and realized that everything was beautifully in order.
We were still in rough seas and the autopilot had stopped working so we steered manually by compass. As the boat’s electrical manager, I checked out the equipment failure and found that a fuse had blown. I replaced it with a new one, but there was still no response. On the autopilot’s cover I saw a patch of melted plastic. The actuator had burned and it was beyond repair. I felt relieved; finally, we can navigate more like the Englandsfarere crews did. There would be more work for us to keep on course, but we could get to know better how it was in 1940. Ingrid had said that her Uncle Sven stole jet fuel from the Germans and used it for his boat’s engine. While crossing the North Sea, he and his crew had to stop every hour to clean the carburetor. Our having to steer by hand and compass was a trifling inconvenience.
 Tony Teigland
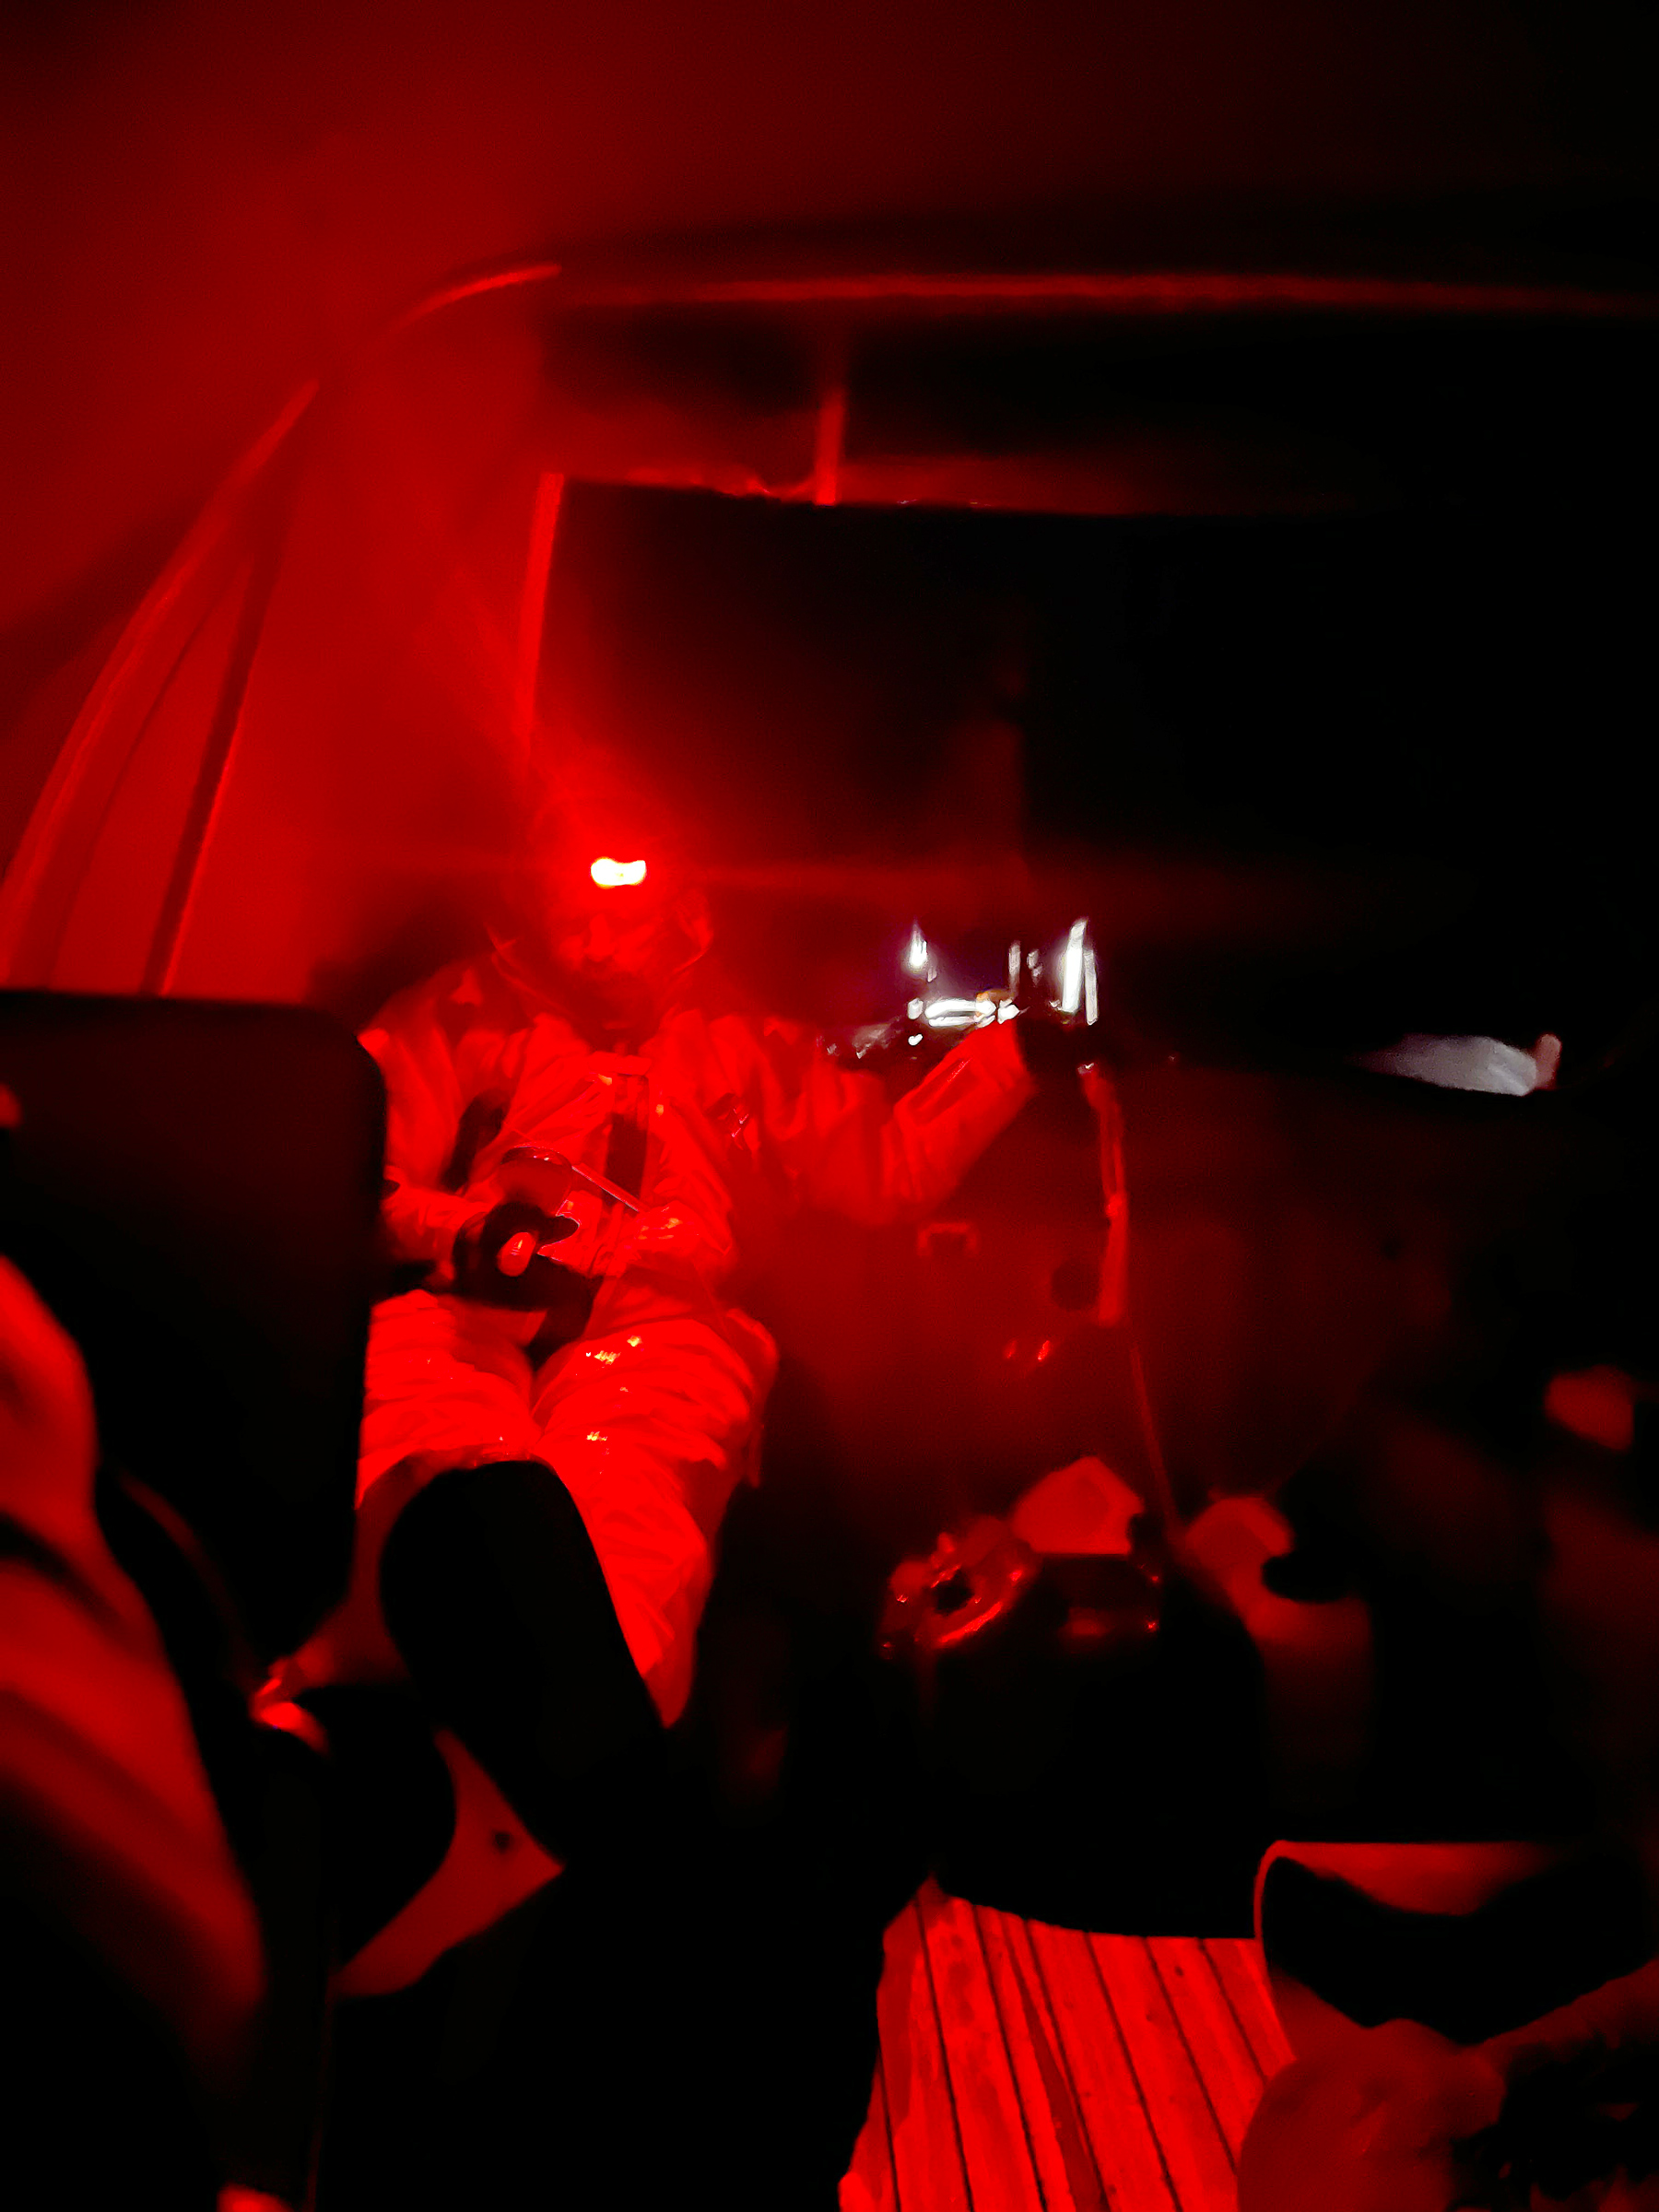
I was happy that the autopilot had destroyed itself so we had to steer manually as our predecessors had. During the night watch we used a red light to see the compass and maintain our night vision.
Frode and I steered through the darkness. There were still 3′ to 6′ waves from the southwest and the boat rolled from side to side, requiring constant work at the tiller to keep our course. We saw some vessels in the dark, set a new course, and managed to get clear of them with a good margin. The biggest threat to us was a collision with workboats or shipping containers that had fallen overboard from freighters and were floating at sea level. While these potential hazards kept us alert and on the lookout, it wasn’t like evading Germans warships in 1940 and ’41. Frode and I had an uneventful watch and at 4 o’clock it was time for us to rest again.
 Tony Teigland
In a small boat you need to sleep where you can. Jarle and Frode had their spots between the engine and the galley where we prepared all the food and coffee.
I was nudged awake at 8 a.m. for hot coffee. I peed dark yellow; I hadn’t been drinking enough water. I was also nauseated, and my salivary glands were gushing; it helped to stare at the horizon.
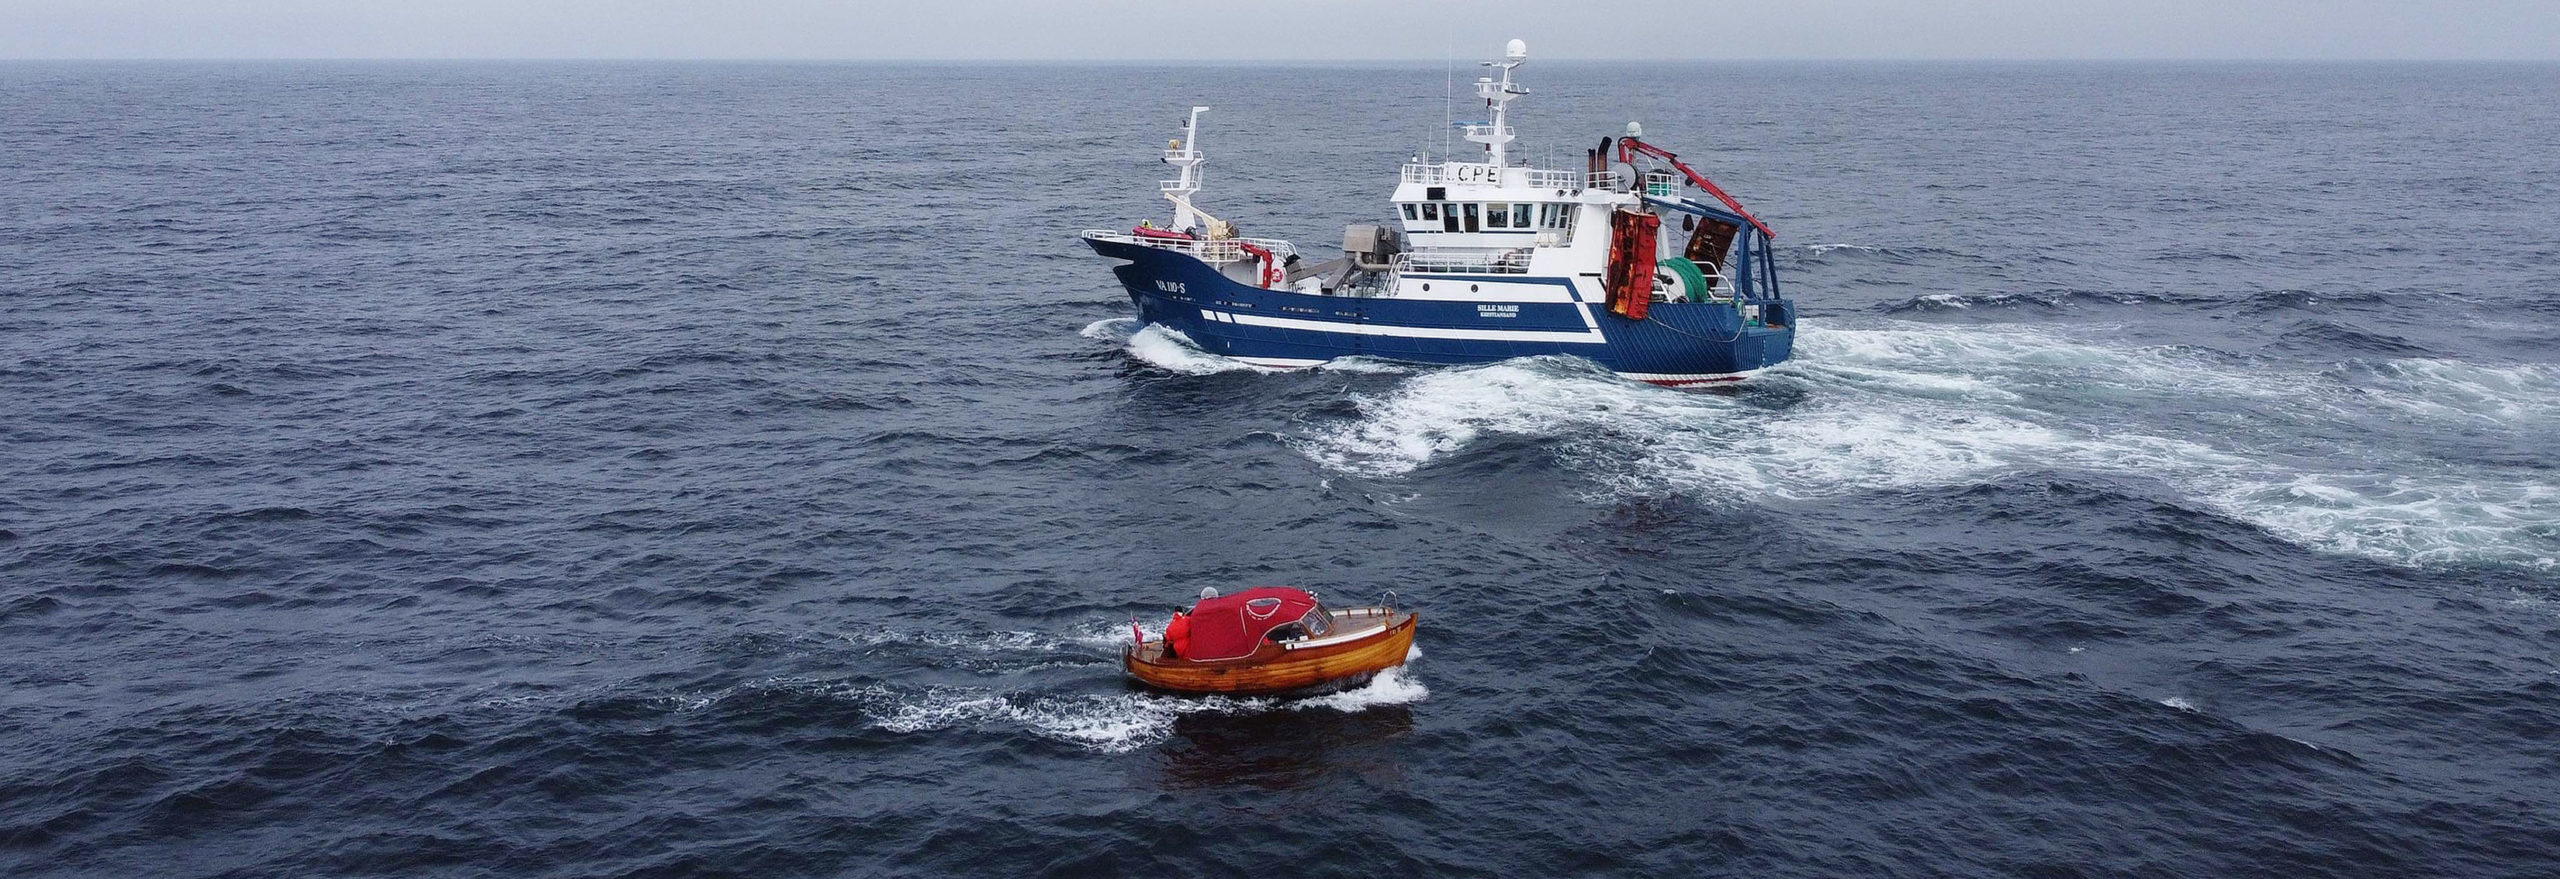
It was Thursday, April 14. There were still some waves, but the wind had gone down a bit, to about 12 to 15 knots. A workboat appeared in the distance on a collision course. We made a dramatic change of course to indicate to the boat’s crew that we had seen them. The vessel, which we now recognized as a trawler, changed course, and we were on an intersecting course again. We changed course a second time and the same thing happened. I wondered how I would have felt if this had been a German ship that had discovered us. Our VHF came to life and a voice on the radio identified the approaching boat as SILLE MARIE, a trawler from Flekkerøya in Kristiansand. The crew had heard about our voyage on the news and wanted to get a close look at us and to wish us good luck on our journey.
 Tony Teigland
Willy was a good chef and cooked us pancakes with bacon mixed in. This was our breakfast for two days, but after that the batter started to ferment.
We woke Jarle and Willy at noon, and Willy cooked pancakes and bacon. The sun was shining, the wind was blowing. I thought of those at home: my wife at work, my son competing in a bicycle race in Denmark, and my daughters visiting my mother in Spain. For the Englandsfarere, there could only be worry and fear for those they’d left behind. If their escape was discovered, families at home could be arrested and brutally interrogated by the Nazis as accessories to the crime committed by those who had left Norway without permission. Finn Narvesen’s brother Emil and his father Rolf had both been arrested in Norway, likely for that reason.
 Marcus Karlsen
On the second day on the North Sea we were visited by SILLE MARIE from Kristiansand. Her crew had heard about us on the news and wanted to wish us a successful trip. One of the crewmen, Marcus Karlsen, had a drone and took this photo of our two boats. Another crewman told us that they often feel small at sea in their 120′ trawler
At 4 p.m., I crawled feet first from the forepeak and stuck my head out: the sun was still shining, the wind was calm, and the water in the middle of the North Sea was as smooth as oil. There wasn’t a gust of wind. It was the perfect time to honor our WWII heroes.
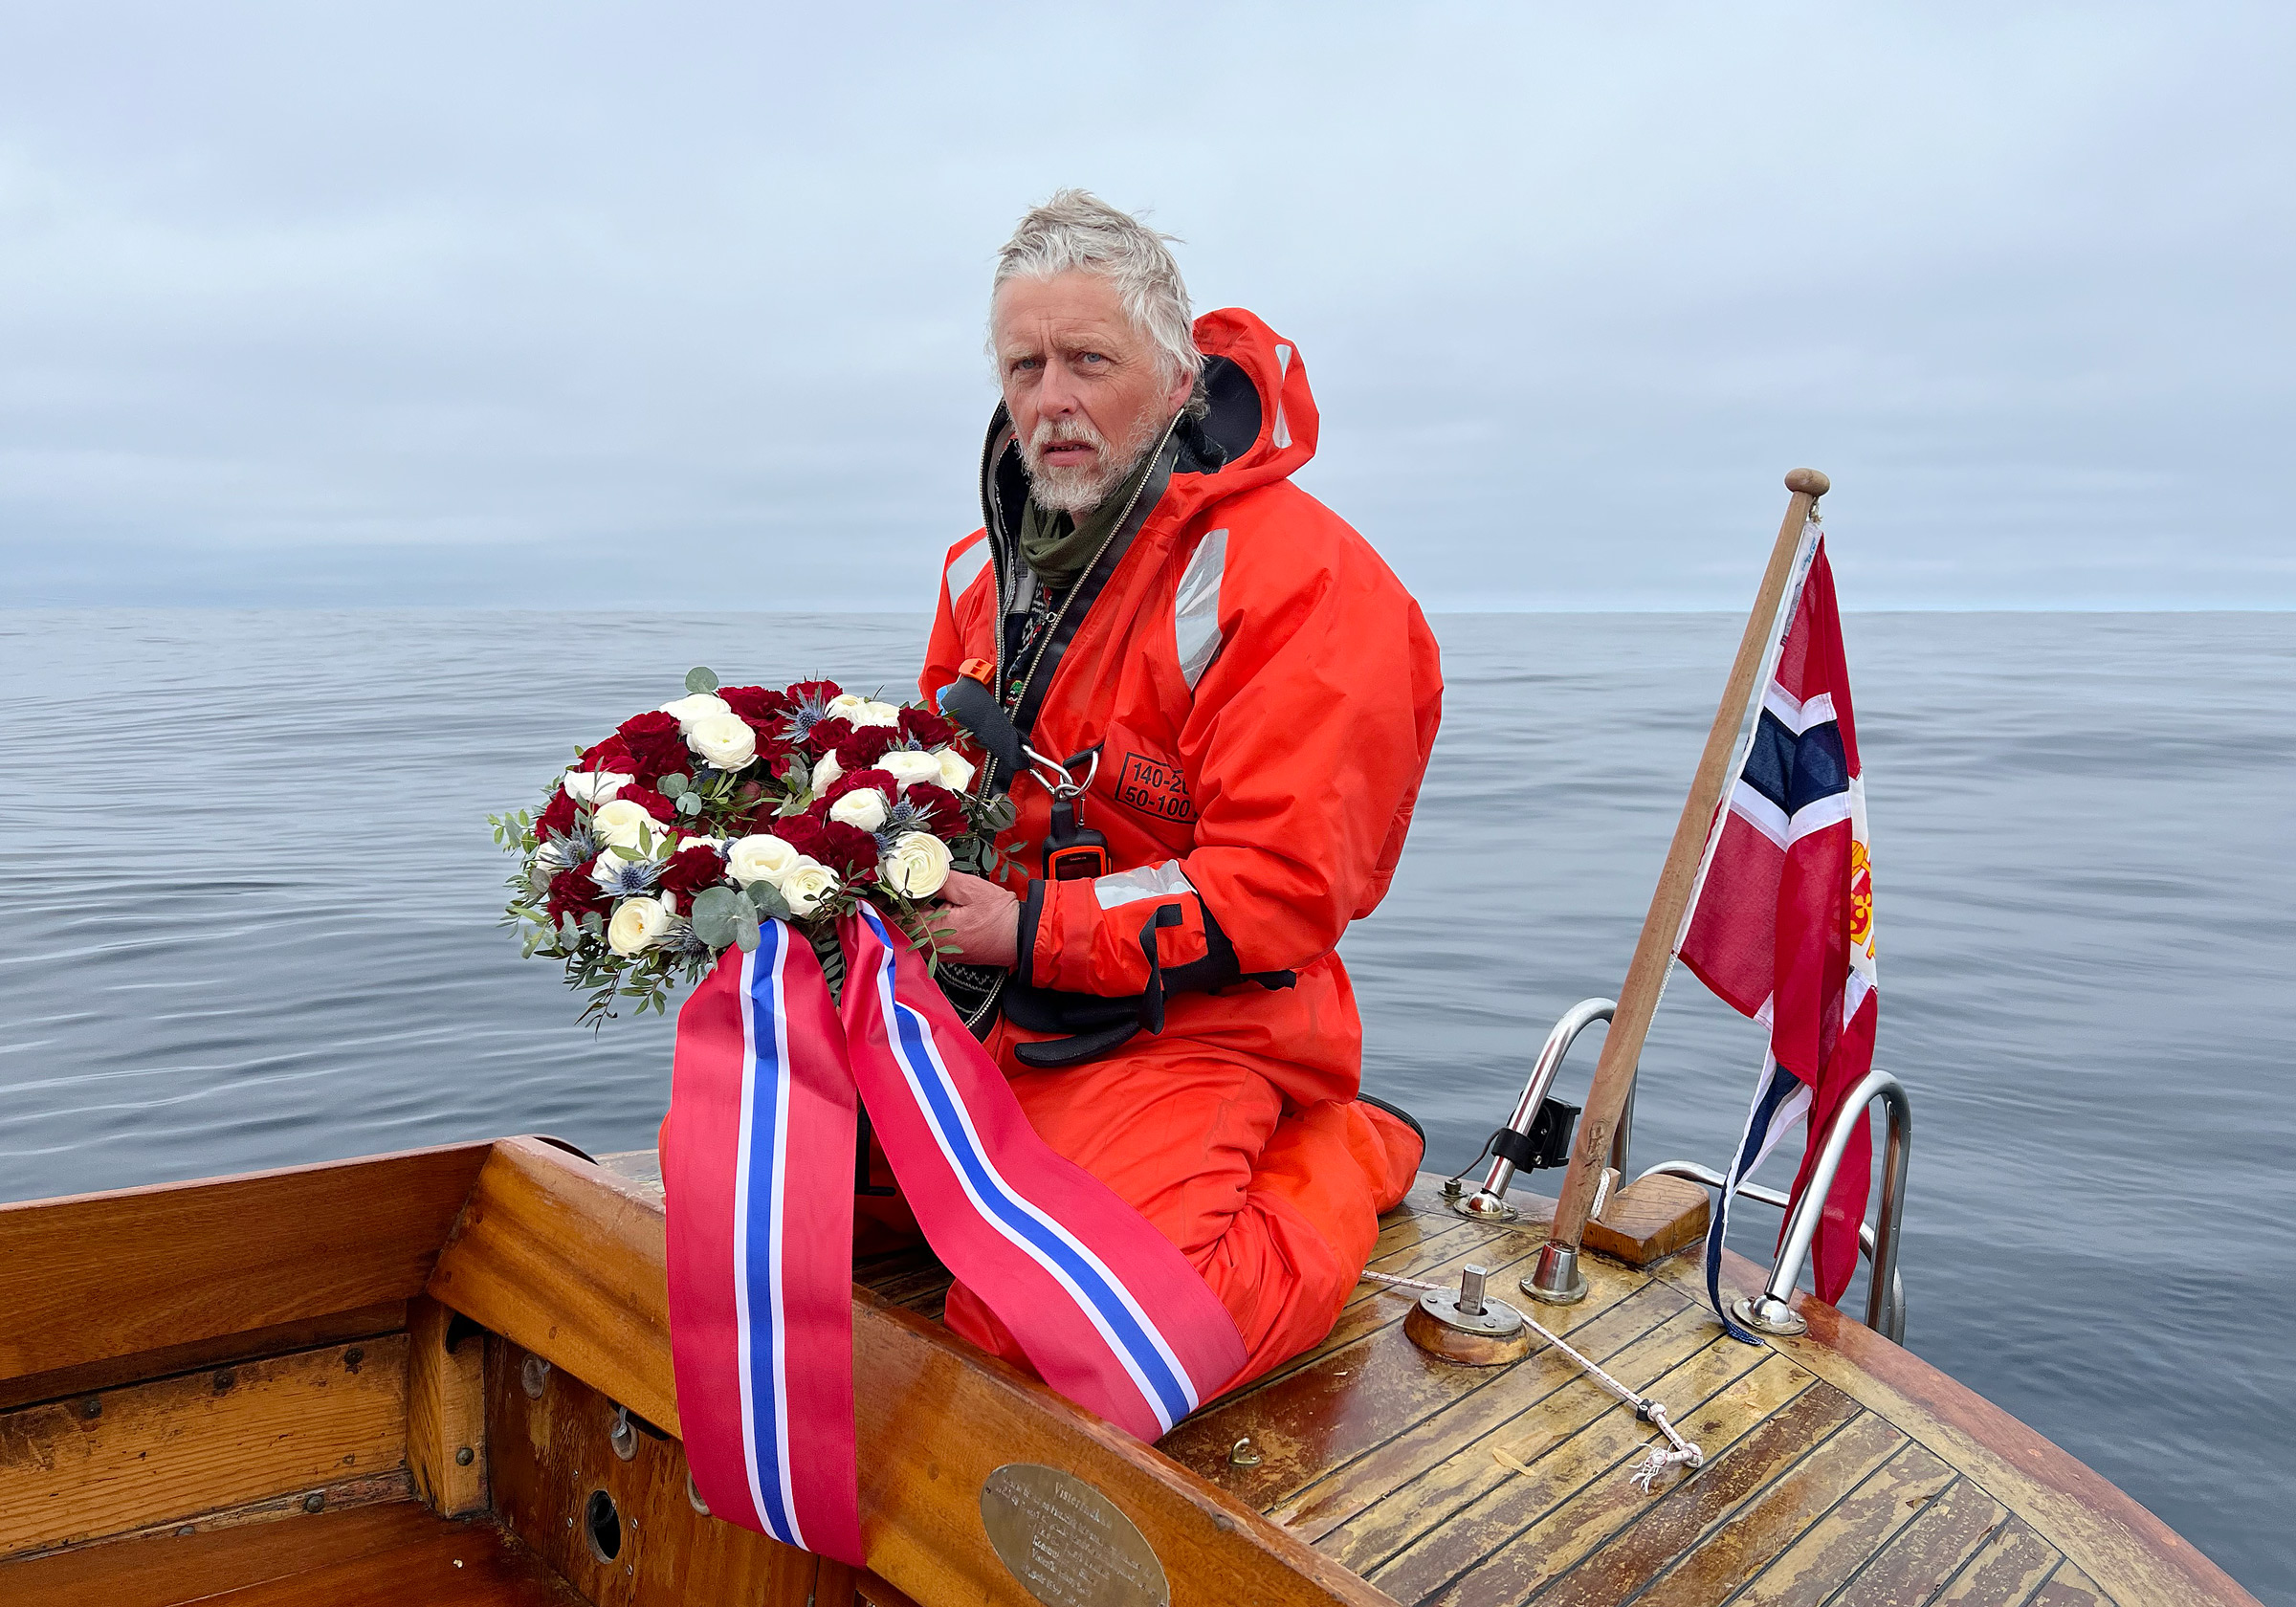
When we stopped the engine, our whole world fell completely quiet. The smell of salt water tingled in my nostrils. Jarle picked up the flower wreath, kneeled on the after deck, and said solemnly: “We will remember and honor the 321 people who did not succeed in the effort to escape from Norway, cross the North Sea, and reach Great Britain. They all had a desire to fight the Nazis. For courage, peace, and freedom. Never forget.” After he carefully cast the wreath into the North Sea, we were quiet for several minutes. The wreath stayed by the boat at rest on the sea. We quietly began to sing Norway’s national anthem “Ja vi elsker dette landet” (Yes, we love this land). Our singing went well for the first few lines, but then Jarle and I were suddenly quaking with laughter. Neither he nor I have a habit of not being serious when we should be, but we were tired and perhaps overwhelmed by the emotional weight of the ceremony or releasing the anxiety of the crossing and all the preparation that went into it.
 Tony Teigland
The North Sea grew still for one of the highlights of the journey. Jarle held the wreath as we paid our respects to the young men who tried to escape to fight alongside the Allied forces. Not all survived the crossing, and for them we laid flowers on the sea.
We had stopped the engine after 28 hours of continuous operation and didn’t know if it would start again. We checked the oil and cooling water, and it looked good. The oil level was down by about half a pint, which was about right for the run we’d made. Jarle topped off the oil. Willy turned the ignition key to “glow” then to “start.” The engine turned over and ran well. We continued our crossing on smooth water, steering 270 degrees west.
Several of the Englandsfarere kept logbooks about their crossing of the North Sea, and in one of them was described a traditional canned meal that we had decided to repeat: erter, kjøtt, og flesk (peas, pork, and beef).
We heated two cans over the galley stove, and it tasted great—hot, salty, and filling. After dinner the dishwashing was easy at 6 knots: Jarle just held the saucepan in the water for a few seconds and it was clean! The sloshing created by the rolling and pitching boat provided effective wash and rinse cycles.
 Frode Stokkeland
We had worn our survival suits since we went offshore. They were warm and if an emergency should arise, the zipper was the only thing to fix before entering the water. I’m at the helm, enjoying the view across the water.
It was Thursday night, and I was on watch. The sea was still calm, with only small ripples disturbing the water. Frode was seasick and had thrown up until there was nothing left. He sat on the port side bench with his eyes closed. It was quiet and dark. While I was at the tiller, looking out over the starboard side, a dim shape slipped up from the water, almost within arm’s reach. Only the starlight and moonlight illuminated the black water. What I then recognized as a dorsal fin broke the sea surface and disappeared again. Then another. Two dolphins were following us. I called Frode. He looked across the water with me for a moment, then retched over the side.
Soon after, scattered lights marked the line of the horizon in the darkness beyond the bow. We were about halfway across the North Sea. At first, I thought the lights were workboats that we’d have to watch closely, but as we drew closer, the lights appeared to be stationary—oil-drilling platforms. Their lights worked as well as any landmark and made it easier to stay on our course without staring constantly at the compass. It took a couple of hours to get close enough to see the lights were flares of burning natural gas.
 Tony Teigland
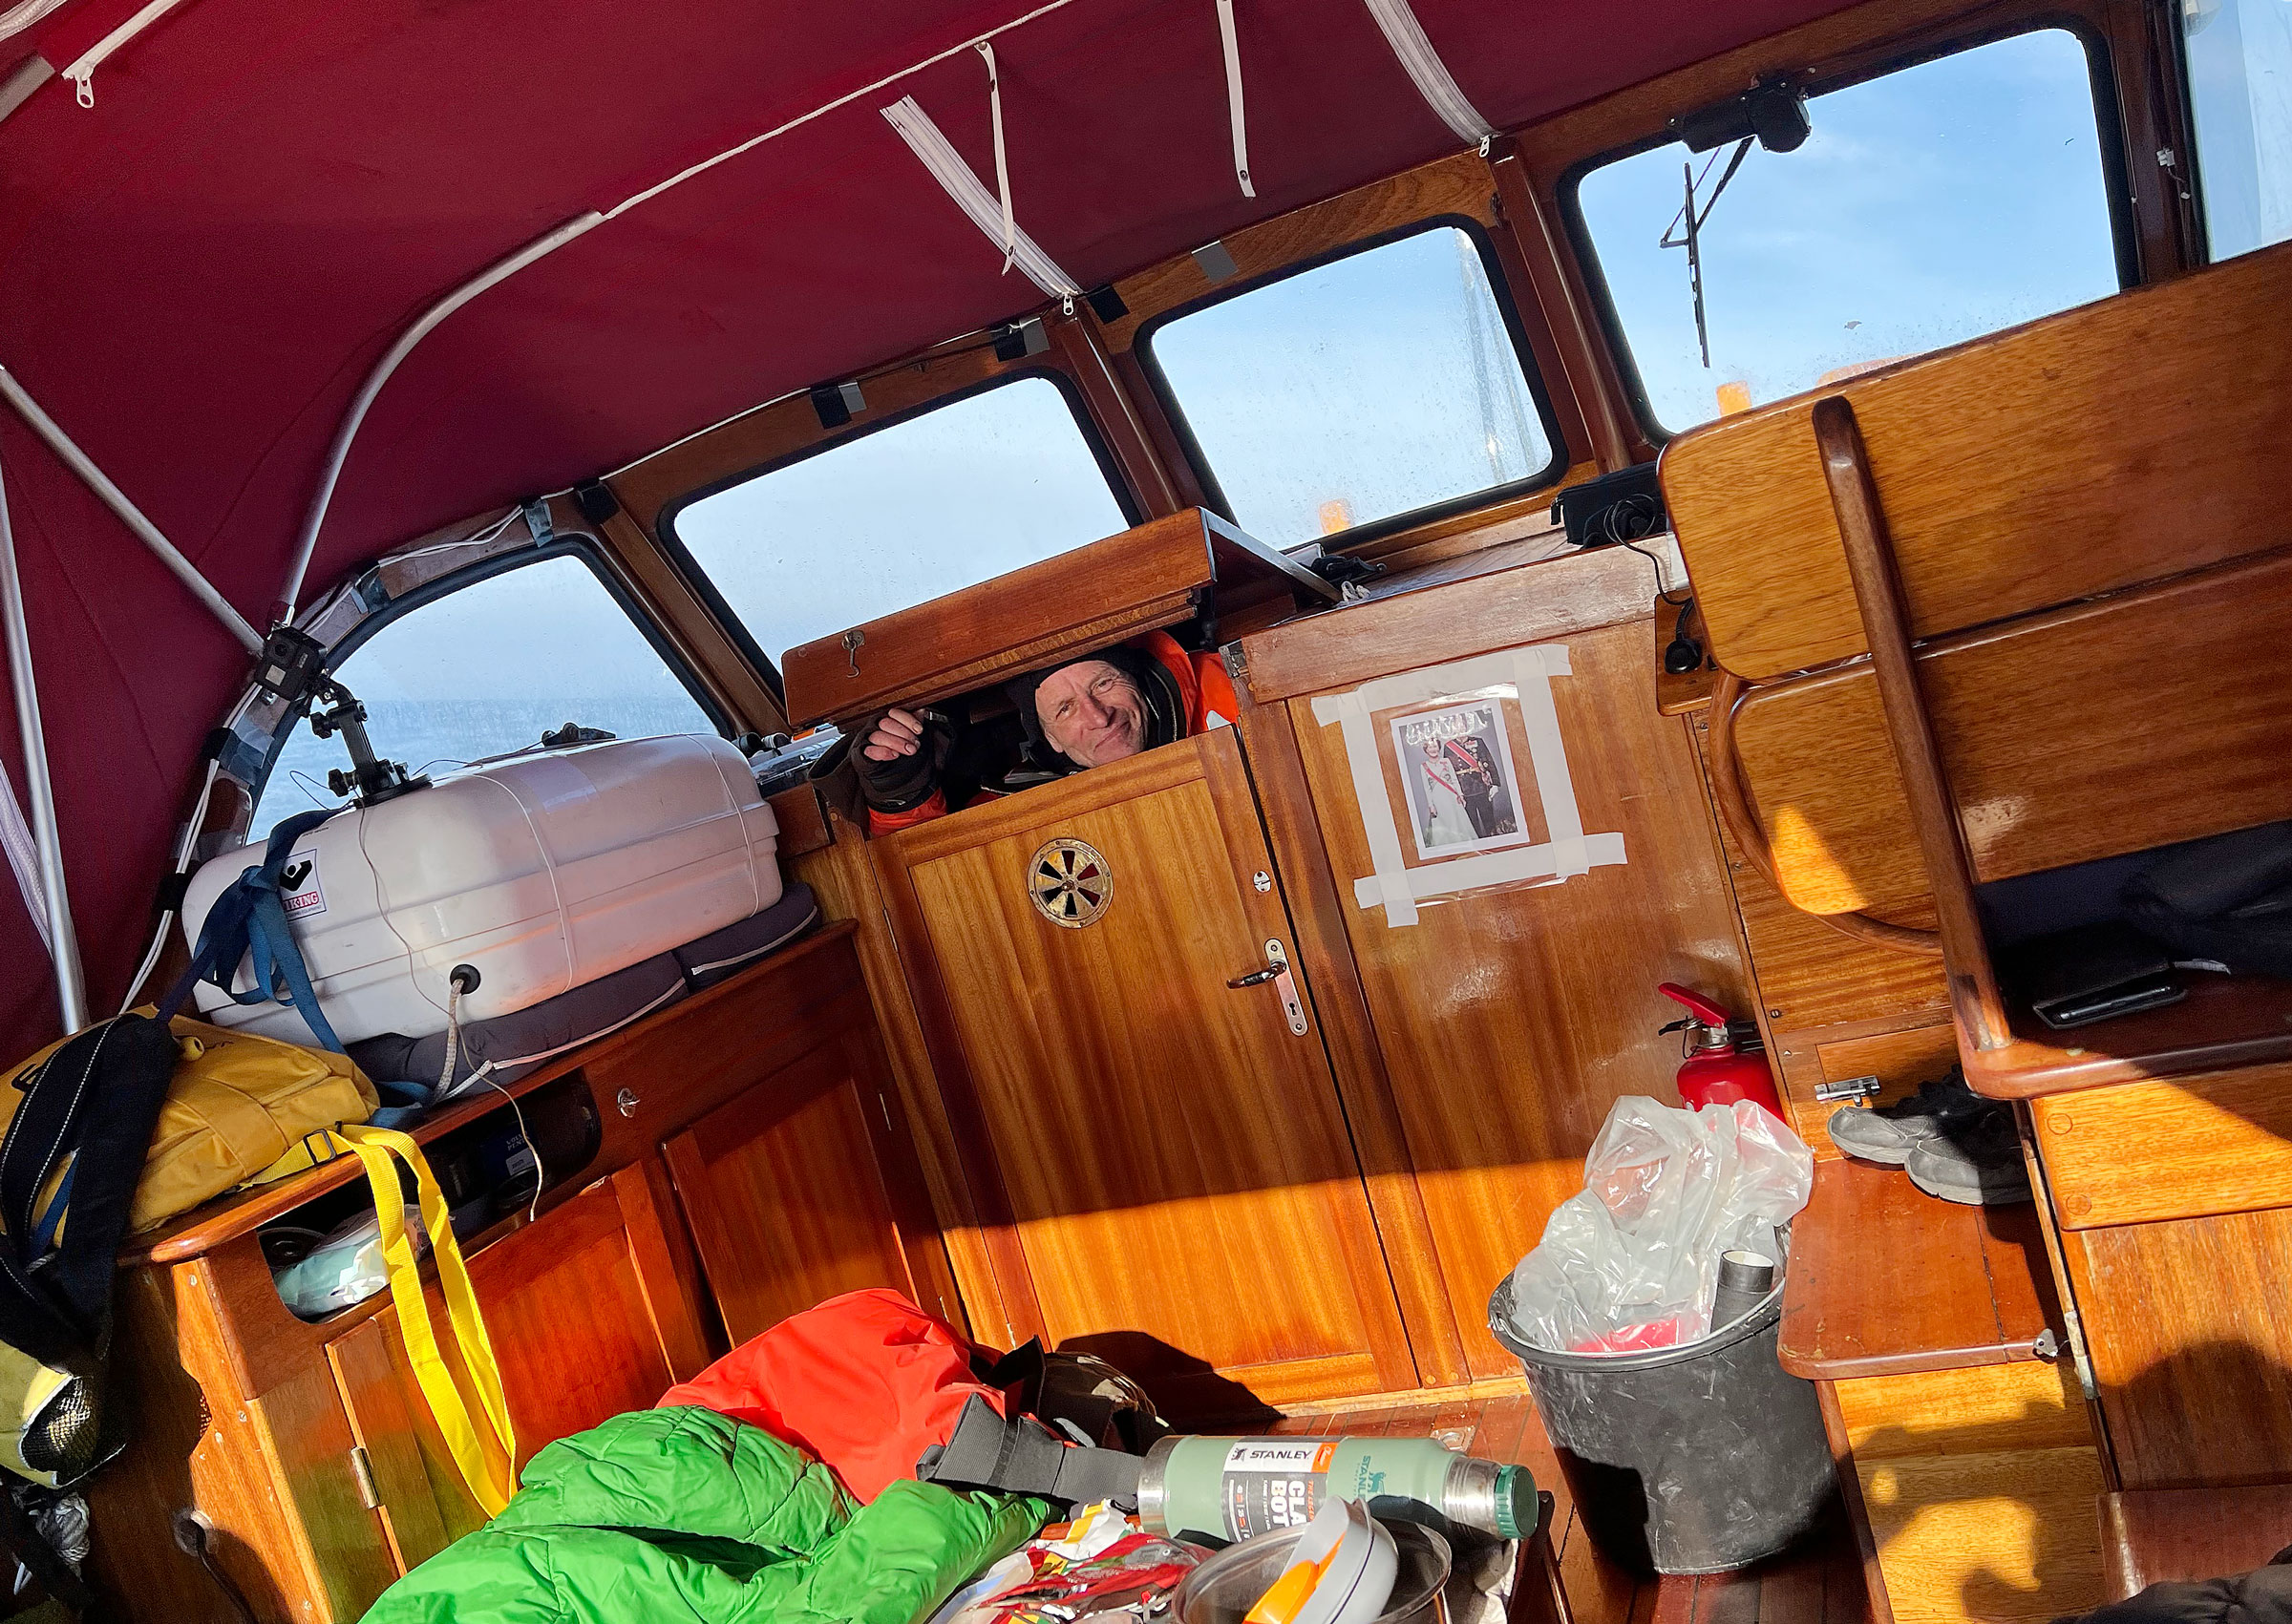
Willy peeked out from the forepeak where he and I had our resting place. Taped to the bulkhead to the right of the companionway is a photograph of the Norwegian royals, King Harald and Queen Sonja.
Jarle woke up at 4 a.m. to a cool and humid nascent Friday morning, and I could tell that we were all getting tired and a bit irritable. Jarle insisted it was time to refuel FRI IV and we had to do it now. He was worried that without enough fuel in the tank, the high seas would cause the fuel line to take in air and the resulting airlock would cause the diesel to shut down and refuse to restart. I was getting a little annoyed but kept my peace and let it go. Jarle is a man I would trust with my life, so I thought it best to follow his instructions.
Friday went slowly. More huge buildings on more oil platforms appeared in the middle of the sea and many hours passed before we got close to them. We passed more platforms on the North Sea’s British shelf and kept our course toward Buckie.
 Tony Teigland
Frode steered FRI IV around the oil platforms. In the distance they didn’t look so big, but when we got near them they were as huge as skyscrapers. Visible from miles away, the platforms provided welcome relief from holding the course by staring at the compass.
I called Connie, our weather assistant in Norway, on the satellite phone to get the weather forecast for the last leg to Scotland. She reported that an increase in wind up to 23 knots and waves 3′ to 6′. Wind south-southeast and rain. We calculated an arrival in Buckie around 11 a.m. Saturday. It was 10 am and we had about 25 hours left to go.
It must have been in this area that Finn Narvesen observed the first contact mines floating in the water. The British had laid them out around the coast as a defense against German warships. It would have been the end of the trip for any of the Englandsfarere if they had hit one of them. Most of the crews stopped in this area and waited for daylight to be extra-sharp while navigating the last hours to the mainland.
At 5 p.m. on Friday, the wind increased. None of us had ever been at sea for so long without seeing land. As the waves grew bigger our senses sharpened and the work at the helm to keep a steady course intensified.
At the 8 p.m. watch change we got a call on VHF from an operator on an oil platform who told us to change course. He wanted us to stay a good distance from the platform. After we veered away, we paused to refill the fuel tank and, with the boat rocking, we spilled a good deal of diesel into the boat. It was as slippery as soap on the cockpit sole. When the boat heeled sharply with a wave on the beam, Jarle slipped and landed on his side on the bench. He gave a long groan and sat on the sole for a while to check for injuries. He ached but had no broken ribs. After three-quarters of an hour, the platform operator called again to say we could resume our course. I lay down and listened to the waves crashing against the sides. It sounded like the sea wanted to break through the hull just 1″ from my head, but the boat was solid and built for this. And we were not the first to have sailed a small boat here. I could relax and fall asleep.
Frode and I went on duty again at midnight. The platforms were behind us, and it was completely dark. The sea was still rough and Frode continued to vomit. I was starting to get tired and to feel out of sorts. Sitting at the helm and steering by the compass my thoughts drifted aimlessly, and I found myself getting annoyed that some of the equipment we had agreed to bring wasn’t on board when we started the journey. We didn’t need them now and we had picked up the missing supplies on the way out of Kristiansand, but I was feeling irritated anyway. Frode was in a better state of mind and took over the steering.
I looked ahead over the bow and saw a light. It had to be the lighthouse at Peterhead. A feeling of relief swept over me upon seeing that first glimmer of Scotland. I couldn’t imagine what the Englandsfarere had felt as they finished their crossing of the North Sea and saw that Great Britain was within reach. The four of us had reached our goal, but those who had fled in the 1940s had only completed the first step in their fight against the occupation of Norway to secure peace and freedom.
 Tony Teigland
It was an unforgettable feeling to see the lights of villages near Peterhead, the easternmost point of the Scottish mainland.
At 4 a.m. we awoke Jarle and Willy, and we were all in a good mood despite the rough seas and strong winds. We saw light from towns on land. I took a 1-hour rest and woke up suddenly when the bow slammed into a wave. The seas had become stronger and were coming from straight ahead now that we were northwest of the mainland. In the forepeak I was flying up and down like a piston. A helmet and a mouthguard would have been good to have. Trying to sleep was pointless, so I got up in the gray light and joined the others.
The boat hit hard against the waves, so we slowed down to 4 knots and set the course closer to land. The clouds burst open, the sun broke through, and we were embraced by warm spring air smelling of land. It was only 7:15 a.m. and we would be in Buckie by 11 a.m.
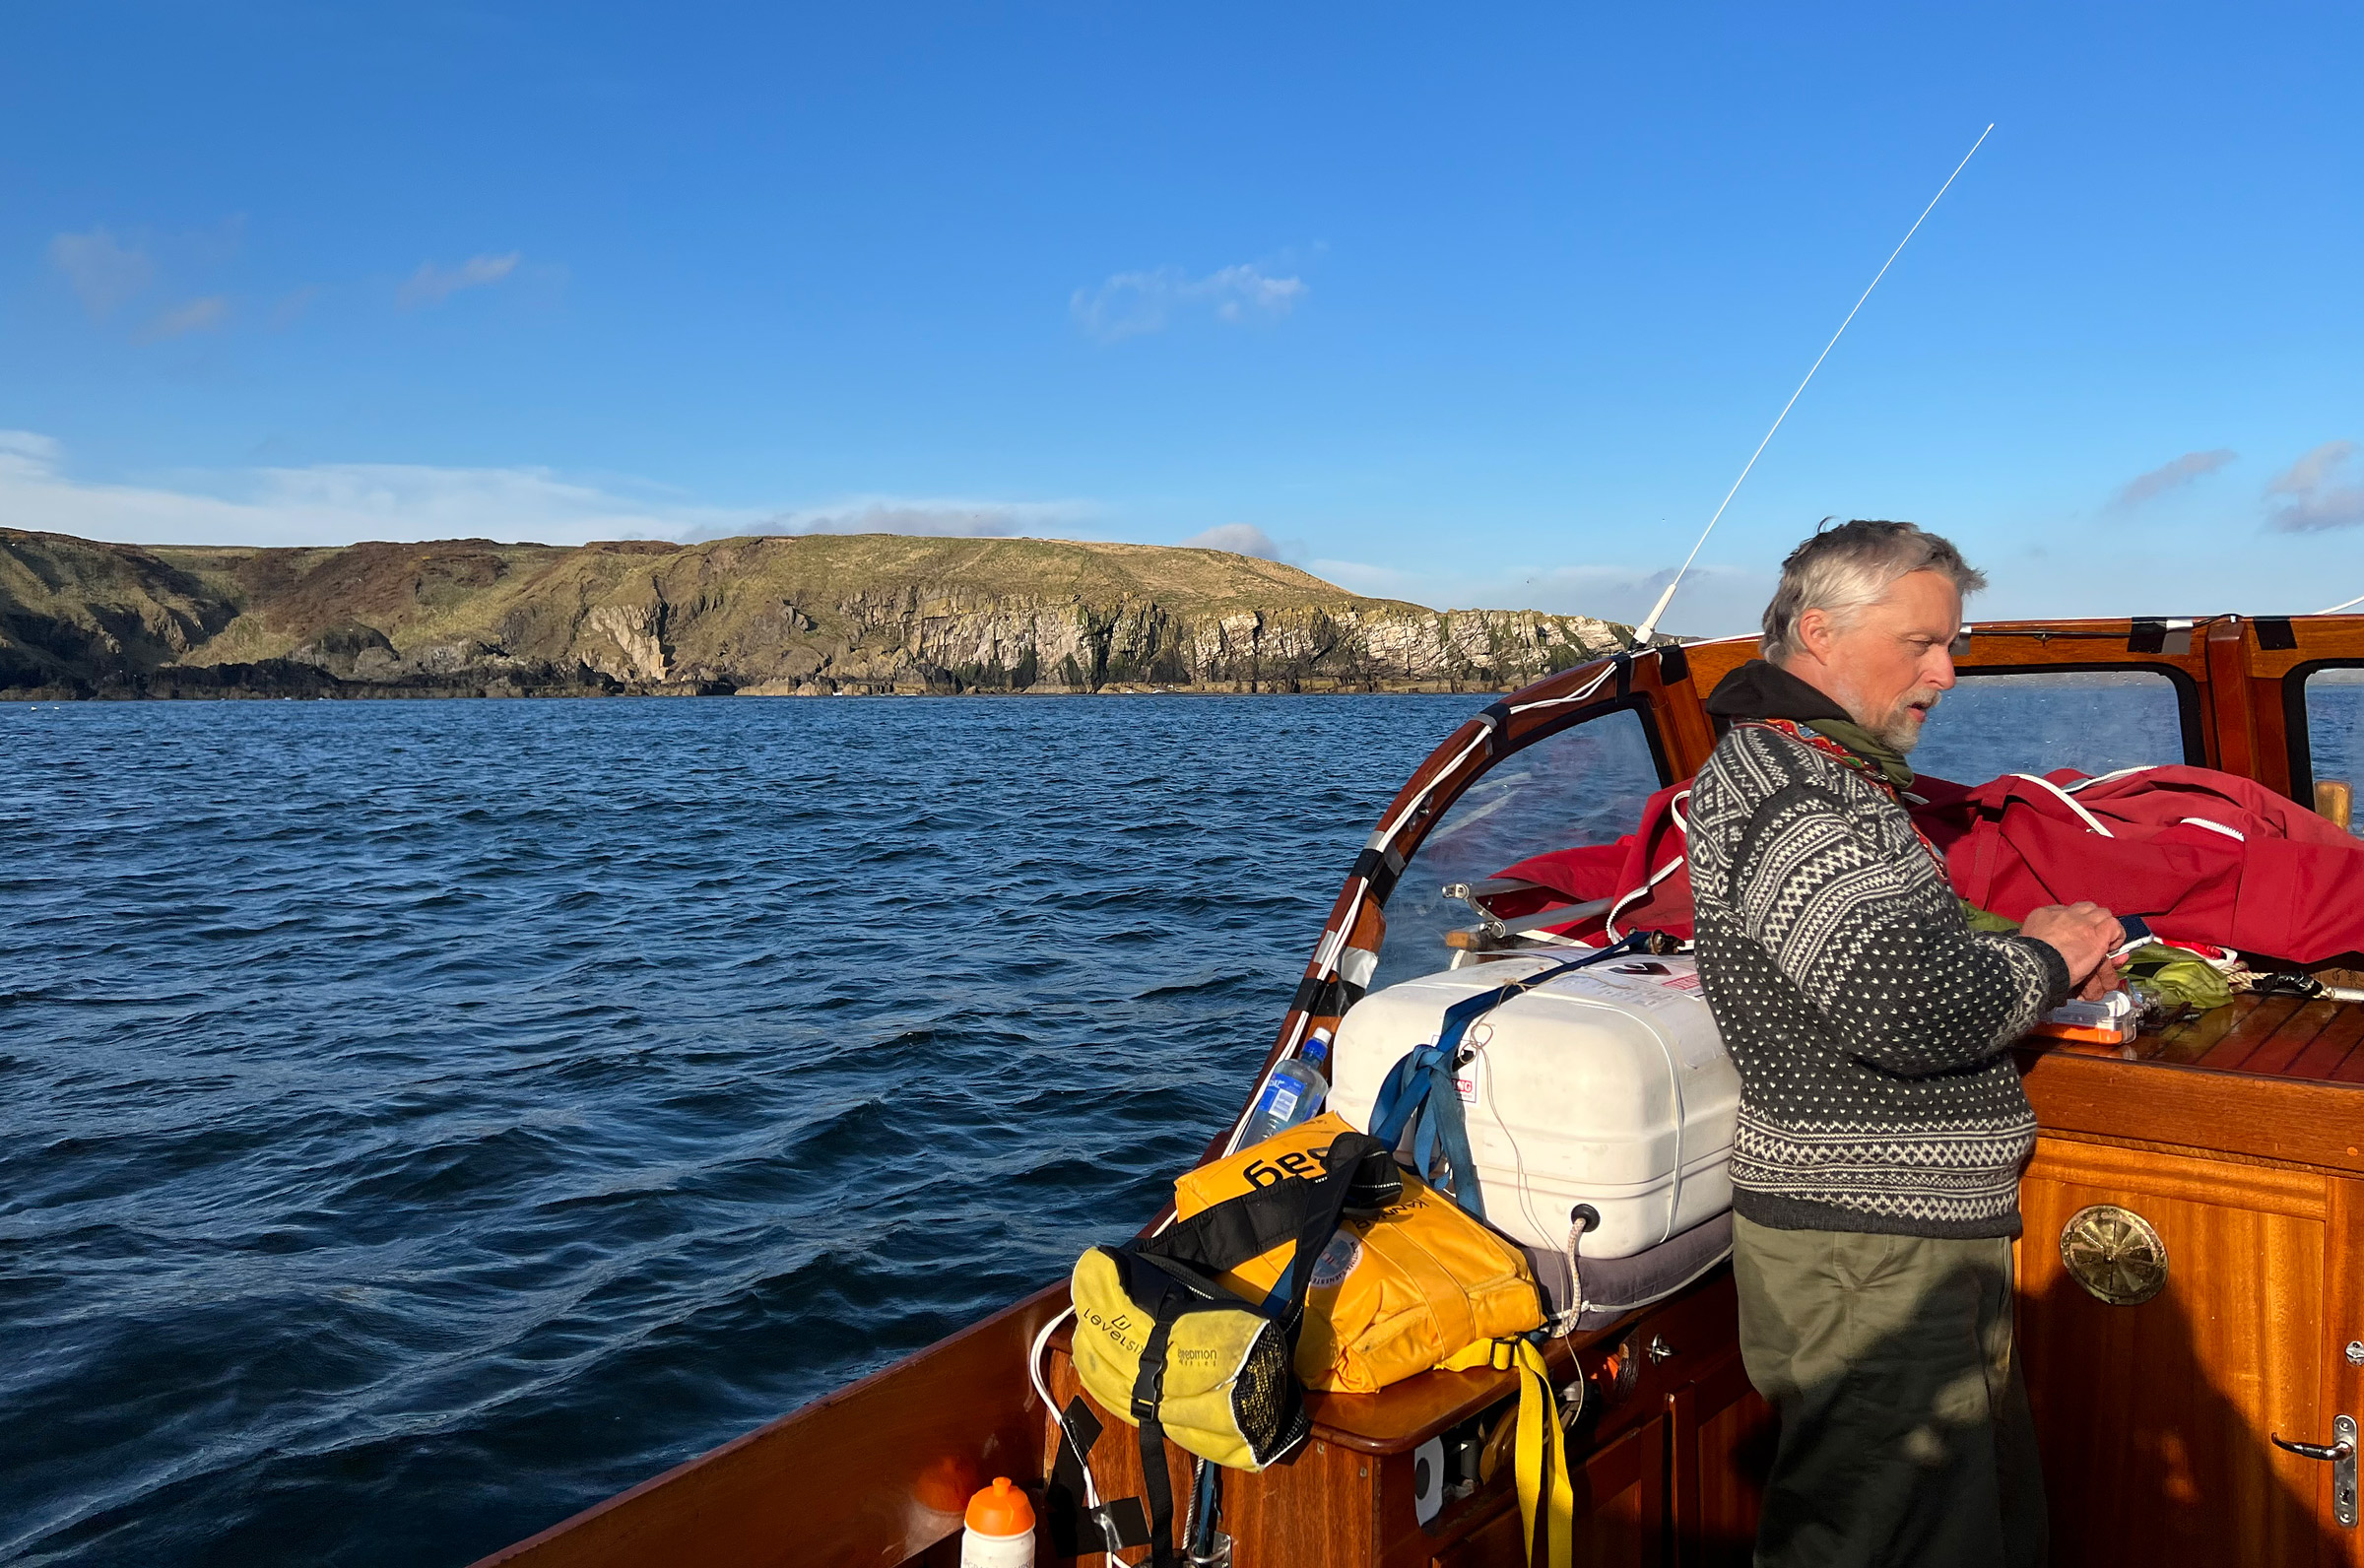 Tony Teigland
The sun broke through and gave us perfect conditions for our final approach to Buckie. Behind Jarle, already changed into his wool sweater, rise the cliffs along the Moray Firth shore.
The sea in the Moray Firth was quiet, and the sun warming. With a mile left before reaching Buckie we landed on a sandy beach in a small cove and Jarle and I were the first to jump ashore, greatly relieved to be on land again.
We took the canopy off the boat and changed into wool sweaters, the kind many Norwegians wore in the 1940s and still do. We were excited about reaching Buckie and knew we would be formally received there, but not how. At 10:45 a.m., RNLI 17-37, the 56′ Royal National Lifeboat Institution search-and-rescue vessel stationed in Buckie showed up and escorted us the last nautical mile to the harbor. On the way in we heard bagpipes, a dream come true. There were two pipers in their beautiful kilts on the pier, and lots of people—at least 100—had come to welcome us, bearing Norwegian and Scottish flags. Many were wearing wool sweaters like the ones we had on. Numerous residents of Buckie are descendants of Englandsfarere who established themselves in Buckie during the war. They kept their Norwegian traditions, and the town became known as Little Norway.
 Courtesy of the author
At Buckie, RNLI 17-37, our escort to the harbor, stood by as we faced a quay crowded with people gathered to welcome us. From left: Frode Stokkeland, Jarle Føreland, Tony Teigland, and Willy Pedersen.
Some even came with photos and newspaper clippings saved by their fathers and families during the war and in the postwar years. We were overwhelmed by this warm reception. I was led to meet Frances McKay, Deputy Lord Lieutenant, a representative of Her Majesty The Queen. Frances gave me a letter on behalf of The Queen, and I read aloud the letter we brought from the Minister of Defence in Norway, Odd Roger Enoksen. I handed it to Frances together with the Norwegian Post Flag and a can of erter, kjøtt og flesk. Still on my sea legs I swayed as if drunk. The bagpipes played again, and we marched to a food truck for food and drink.
After the reception we moored the boat and were driven to the Kintrae B & B. The building served as the Norwegian consulate during the war and was visited by King Haakon VII during the war. Here, too, we were warmly received and were accommodated in a four-bed room.
On Sunday morning, we went down to check on our boat and found her afloat a dozen feet below the quay. We were told that the tide ranges through 14′ here and that the harbormaster had made sure that her docklines were eased during the night, saving FRI IV from major damage.
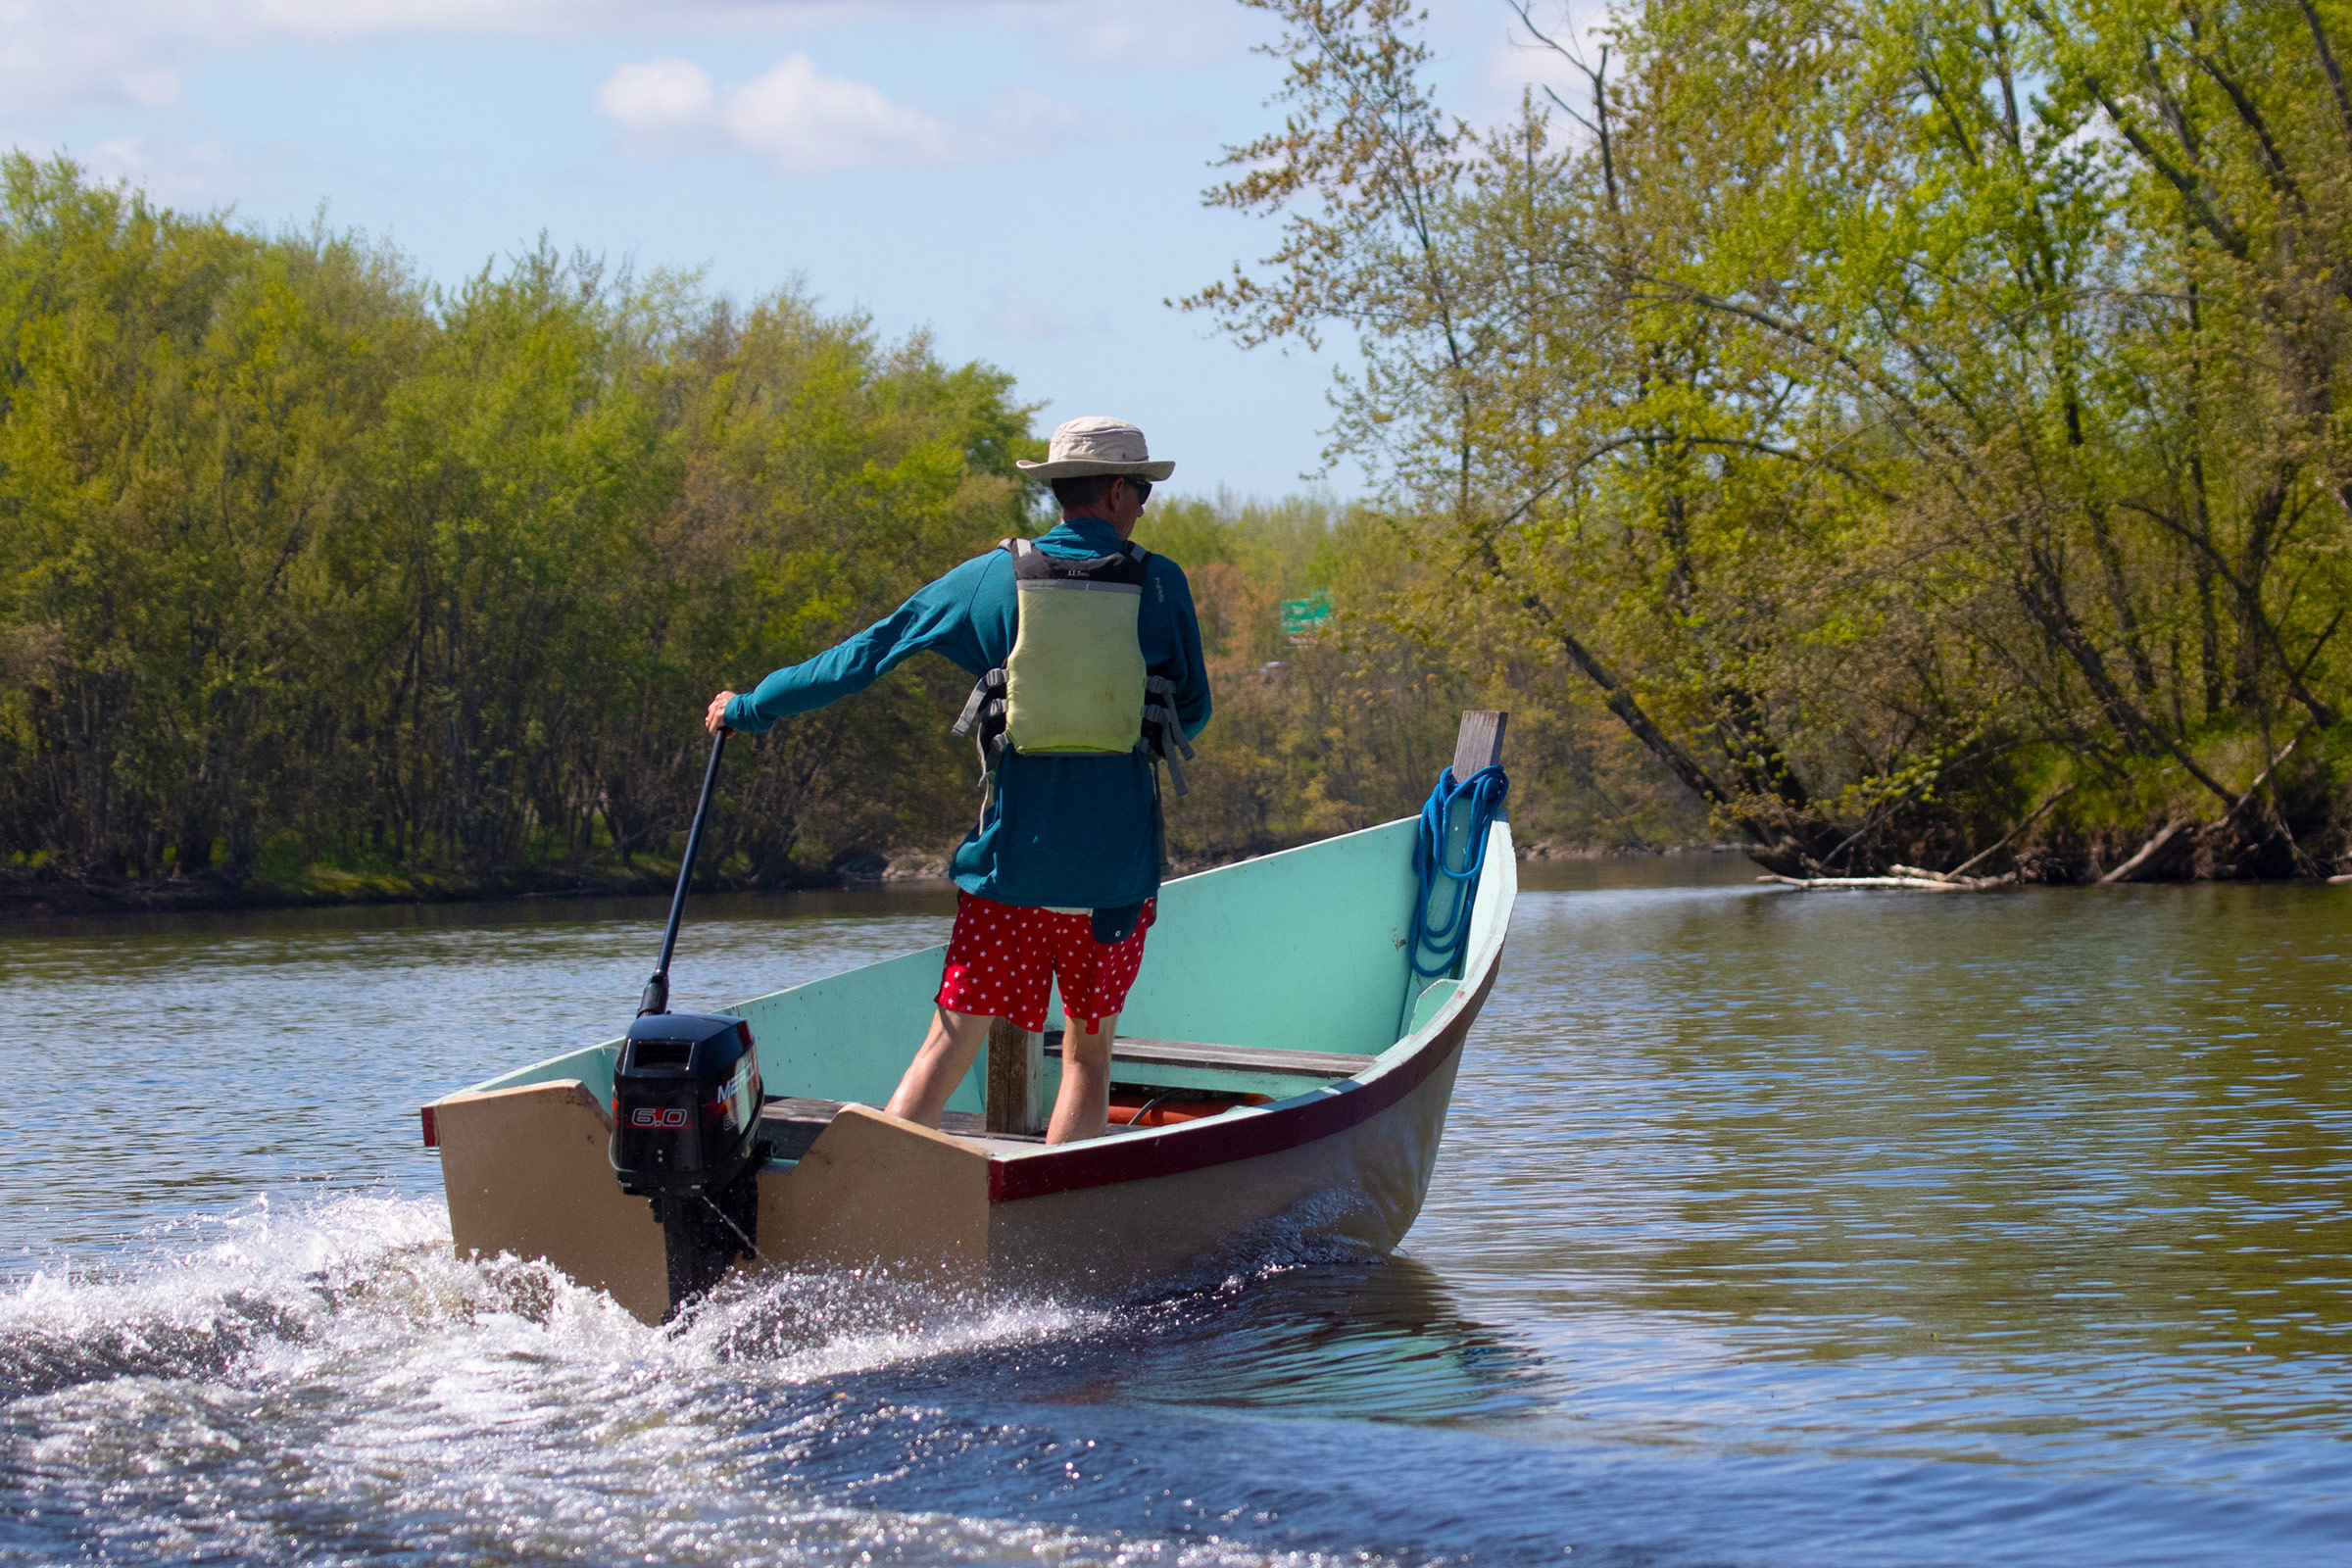
Finn Narvesen did not end up in Buckie and we intended to continue following in his wake to Aberdeen—another 15 hours of motoring. At 9.30 a.m. we set our course east, back along the Moray Firth coast, past bird cliffs and green cliffs that rise straight up from the sea. At the coastal town of Banff, we dropped Frode off to return to Norway before us. Jarle was appointed to replace him as our new captain.
As we turned south and approached Peterhead, we passed a 9-mile-long sand beach running the length of a cusped coastline. The sea and the wind picked up and we felt the tidal current working against us as FRI IV went from 6 knots to 2.5 knots under the same engine power. The conditions were demanding to manage, but we had gained good experience with the boat. South of the headland, a sandy shore stretched out along an 11-mile-long arc, which led us to Aberdeen.
We arrived in the dark at 12:15 a.m. Large- and medium-sized ships were on their way in and out of the harbor, while others were swaying on their moorings and waiting. There were red, green, and white lights everywhere. We called the port on VHF and were told to wait. We steered away from the traffic and found a quiet spot to idle. In 1940, Narvesen had a bit of a wait, too: his boat ran out of gas just outside Aberdeen Harbor and he was eventually brought in by the British Coastguard.
Our call to proceed came at 12:45 a.m., and we motored into the harbor and moored alongside the pier of Alber Quay. It was low tide, and we scaled a ladder 12′ up to the quay.
Willy disembarked with his gear and took a taxi to the airport while Jarle and I stayed in the boat that night. In the morning we prepared FRI IV to be shipped back to Norway.
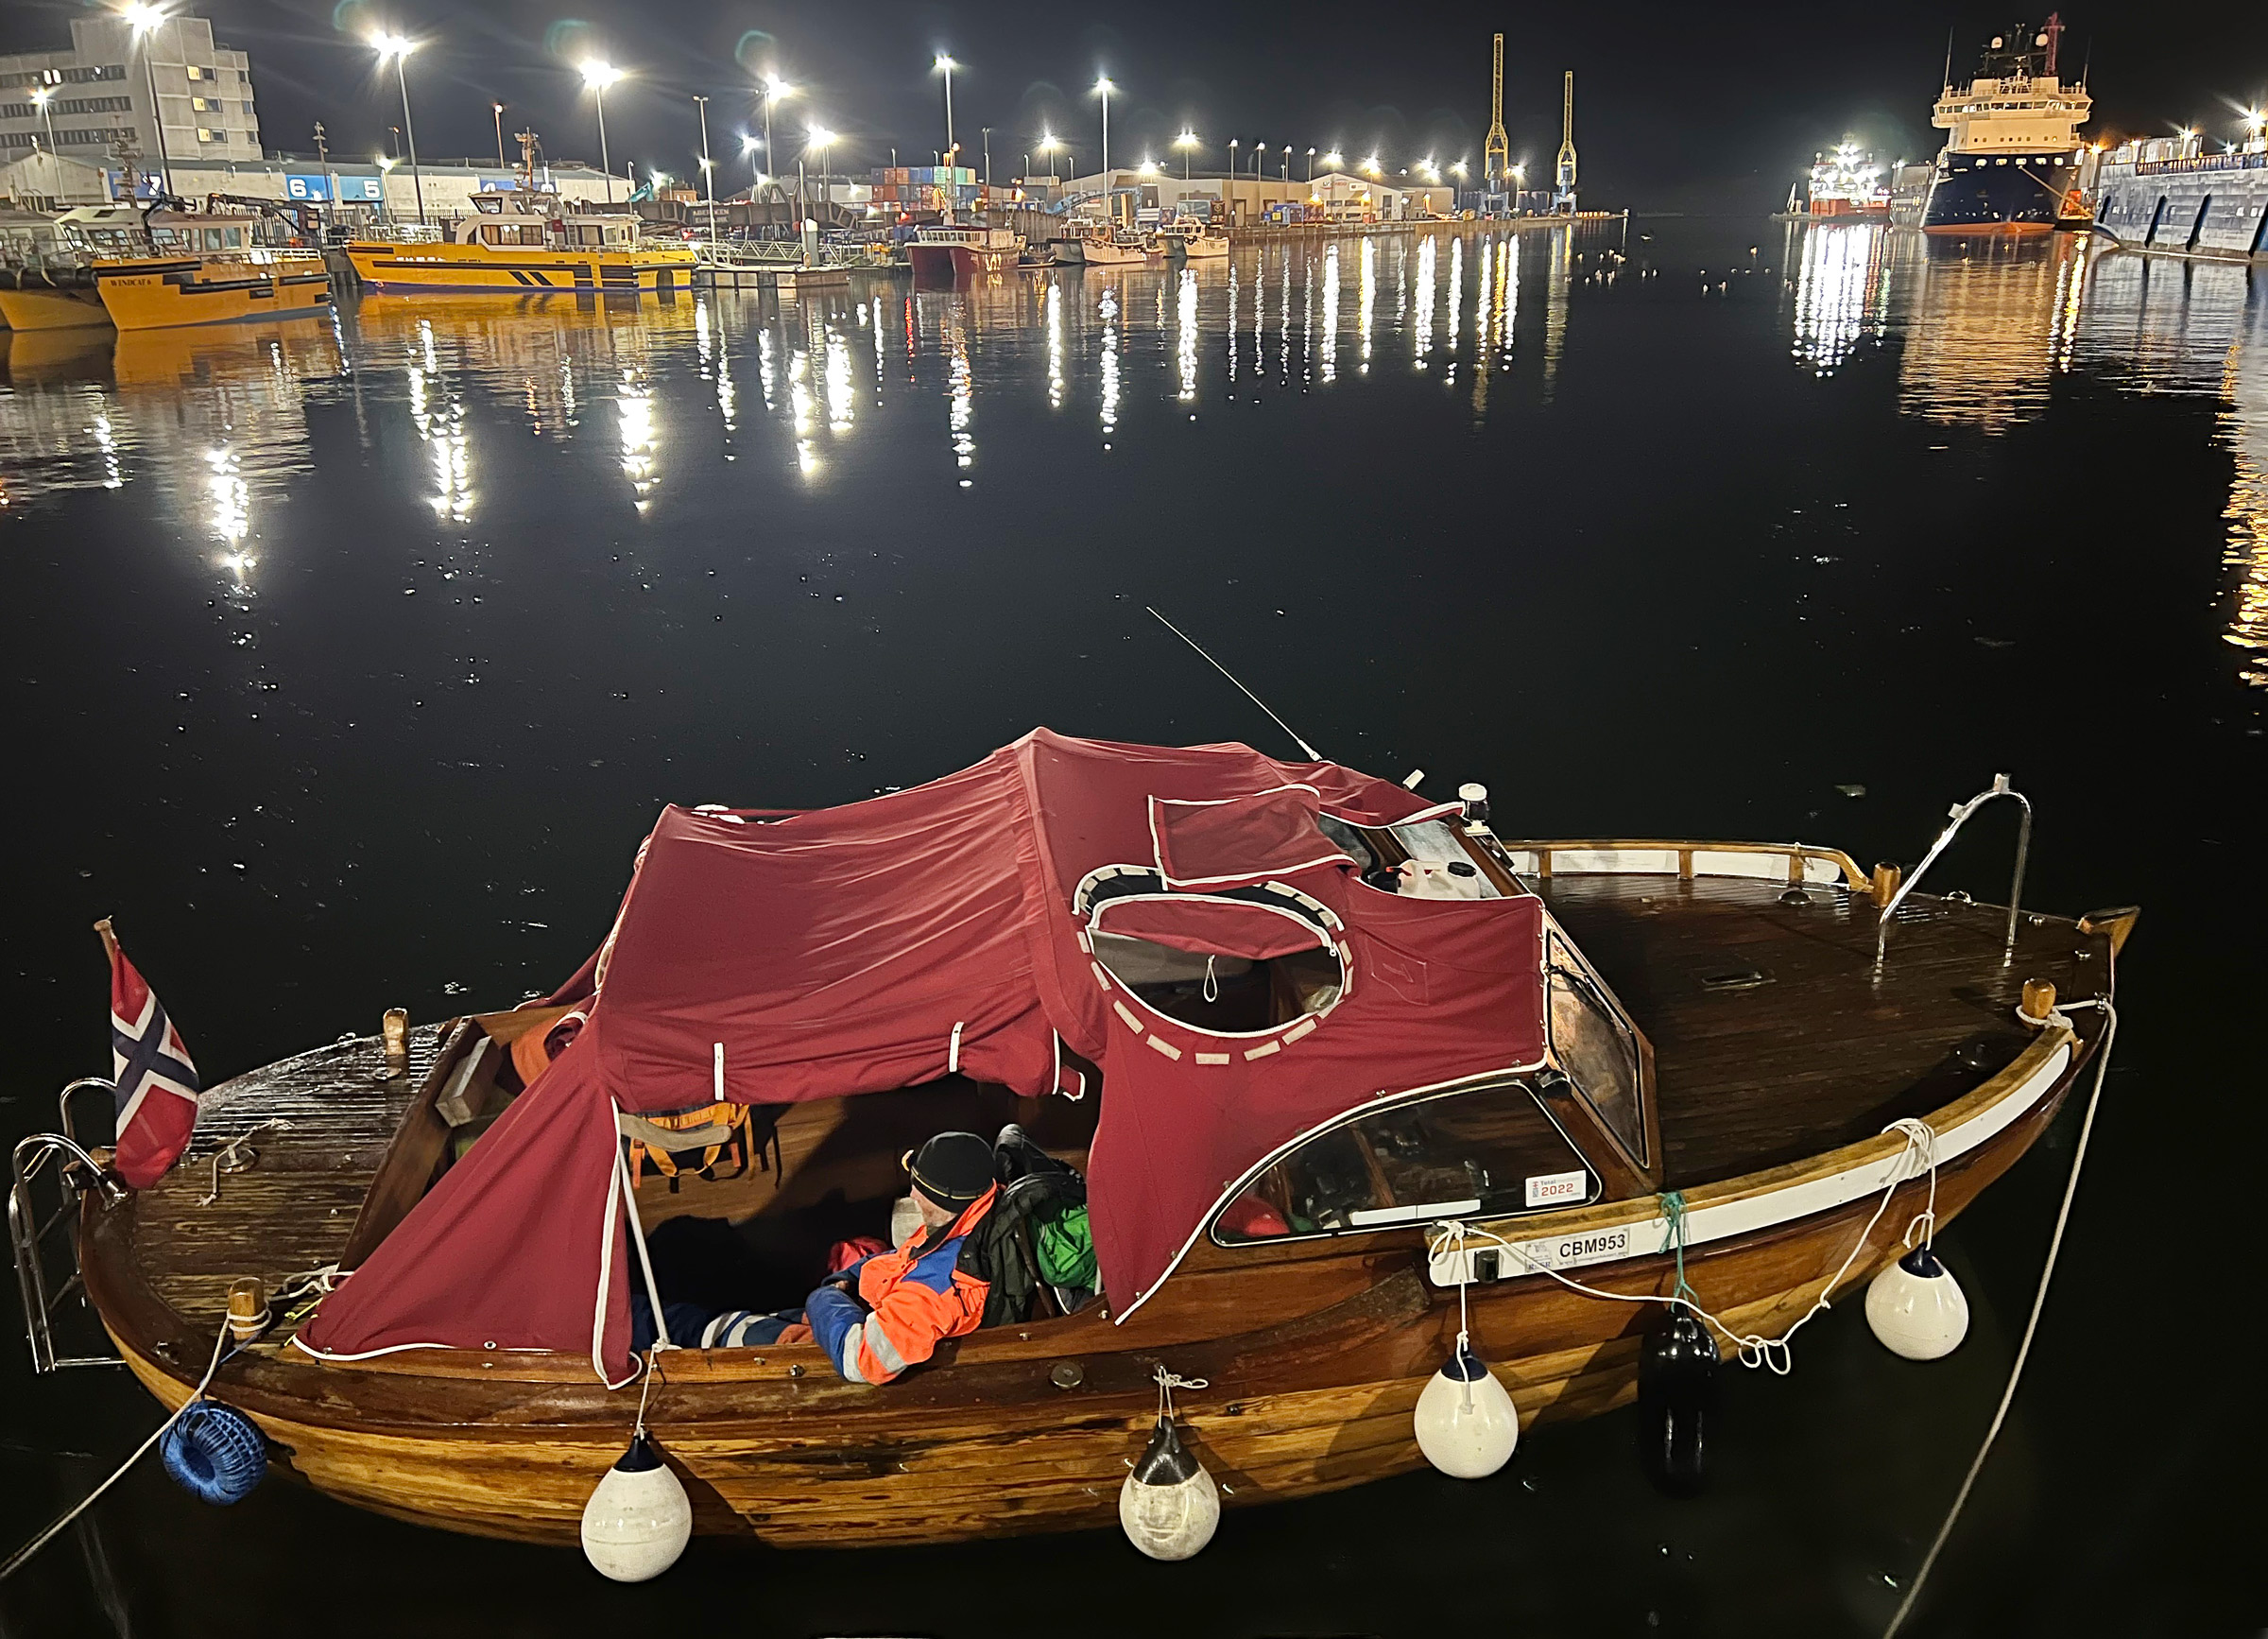 Tony Teigland
FRI IV had been well mannered for the entire crossing, and here in Aberdeen Harbor, she waits to be shipped back home to Norway.
After Finn Narvesen had arrived in Scotland, he enlisted as a seaman and participated in several high-risk convoys with supplies for the Allies throughout the rest of the war years. Frode, Jarle, Willy, and I all returned to Norway to enjoy the peace and freedom that Englandsfarere like Finn fought for.![]()
Tony Teigland, 55, lives in Kristiansand in southern Norway where he is a social worker working with people who struggle with drug addiction. He loves the sea and is an enthusiastic kayaker and open-water swimmer. He also enjoys waterskiing and scuba diving. In 2017, the North Sea project introduced him to wooden boats.
If you have an interesting story to tell about your adventures with a small boat, please email us a brief outline and a few photos.