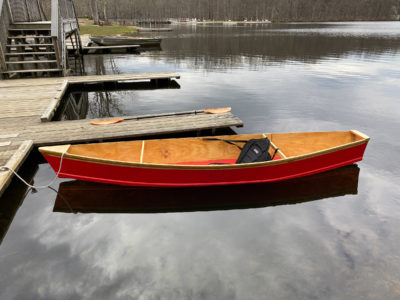
I love rowing, but I’m not so enamored with it that I don’t think of raising a sail when I feel a breeze coming over the transom. While my Whitehall has a spritsail and a rudder, I don’t carry all that gear when I’m out rowing.
Two years ago, I spent an afternoon with the Whitehall, and on the way home a following breeze piped up. I couldn’t ignore it and tried sailing with my cagoule as a sail, one oar as a mast, and the other oar as a rudder. The hood of the cagoule fit over the blade of the oar and, with its draw cord cinched up, it stayed put. A couple of lines tied to the hem served as sheets. The boat briefly surged forward whenever the cagoule caught a puff of wind, but as a sail it wasn’t stable in the wind, and I struggled to keep it open and pulling. I needed a proper sail. I’ve had great success with a squaresail with my other larger boats, but it requires two spars. I decided I needed a spinnaker. It would work with an oar as a mast, and the head of the sail would just need a bag to secure it to an oar blade.
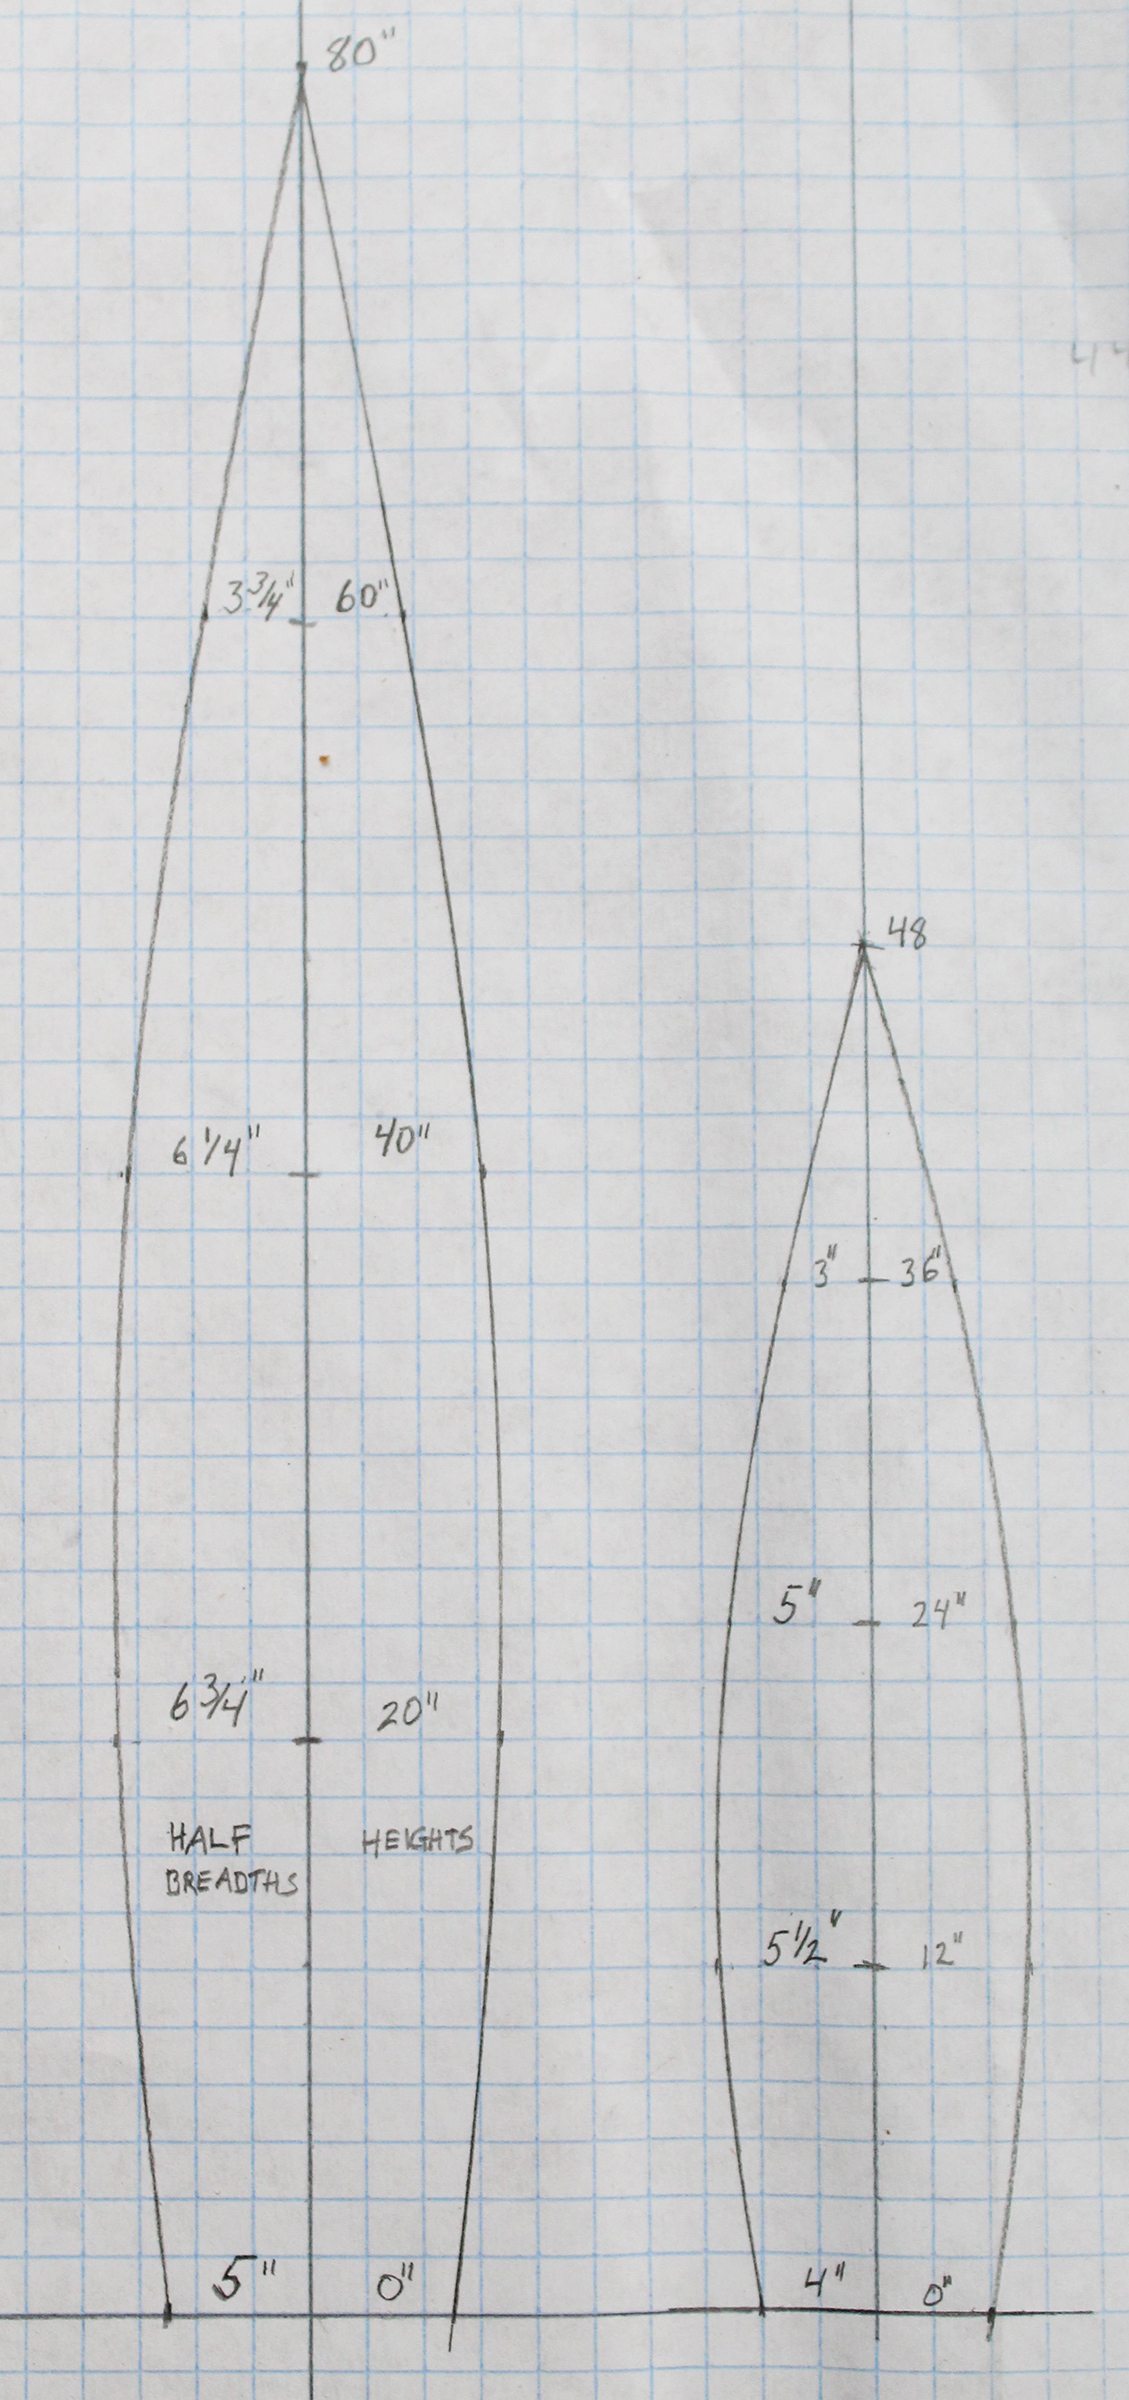
I found a pattern for a simple “M-Class Balloon or Parachute spinnaker” in an article first published in Model Yachting Monthly in June 1945. The pattern just needed to be scaled up for the Whitehall, so I lengthened the pattern from 48″ to 80″ and made it slightly more slender. The instructions in the 1945 article noted: “Make in 3 segments or in 4 if desired.” I planned for four and settled on five segments.
 Photographs by the author
The pattern for the model sailboat was for panels 48″ tall and a little over 11″ wide for three or four panels across. For my 14′ Whitehall, I scaled the length up by a factor of 1-2/3 to 80″ and the width by 1-1/4 to 13-1/2″, a proportionally narrower panel for a spinnaker four or five panels across.
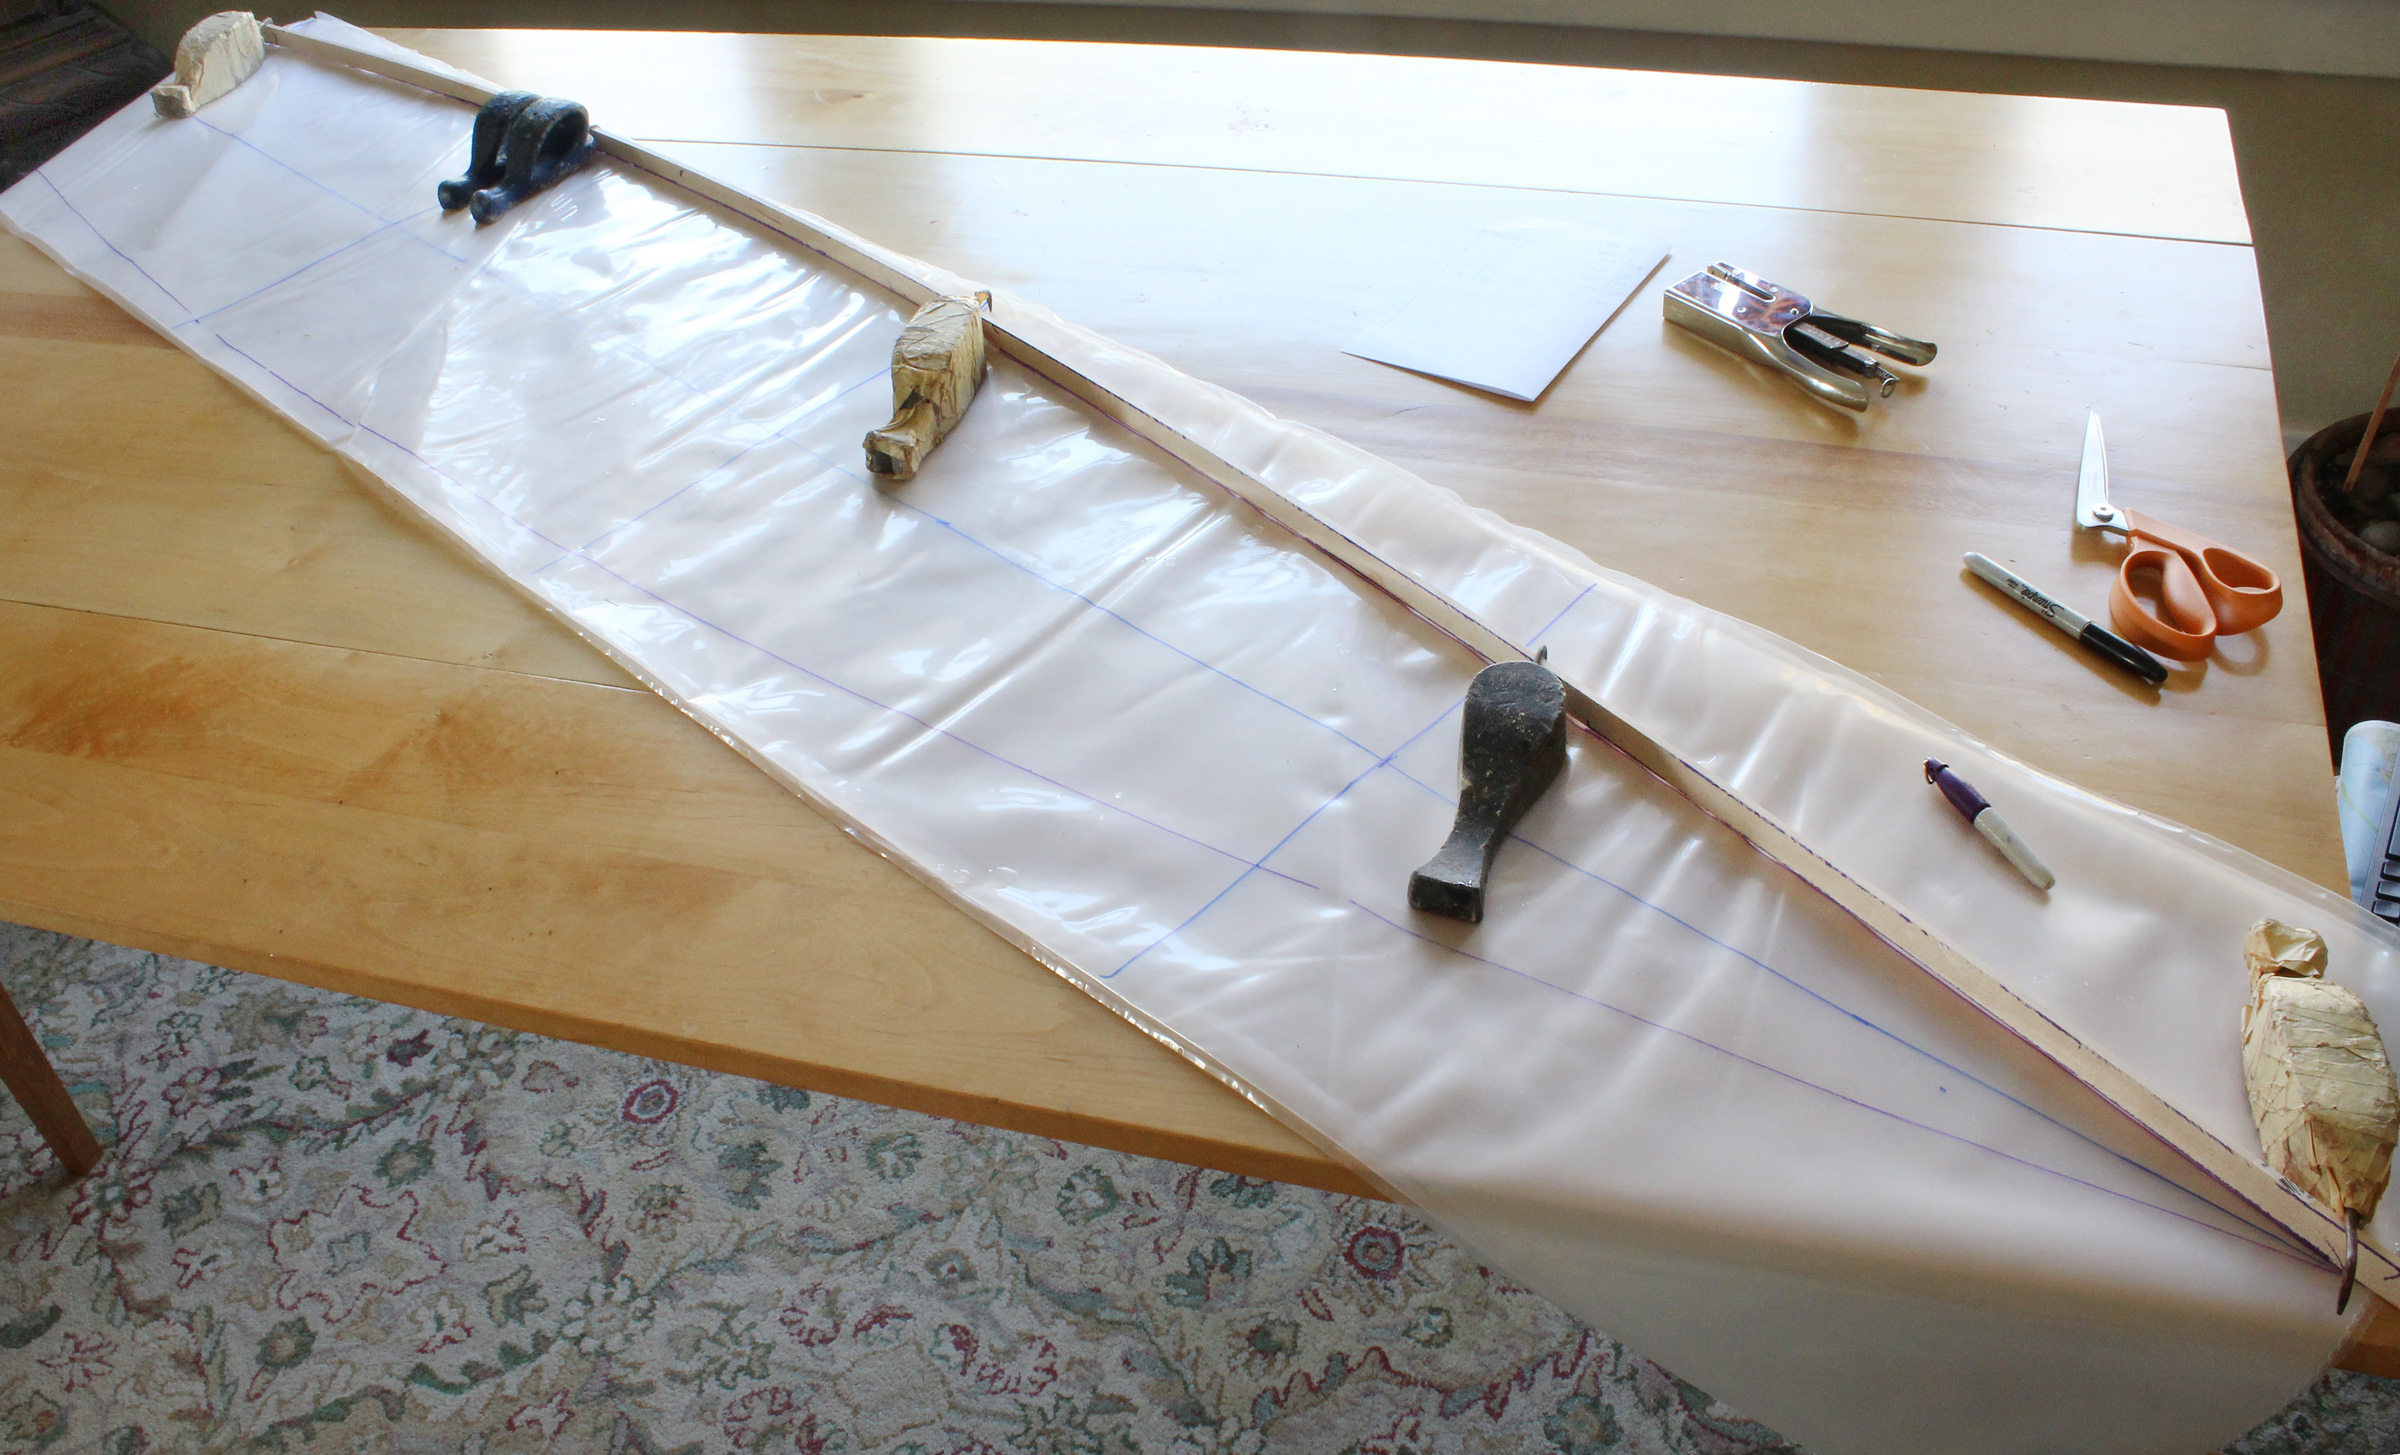
I used 4-mil plastic sheeting to make a prototype and drew the pattern on top of sheeting later twice folded over on itself to make four layers.
I assembled the four panels with Gorilla tape to see how the spinnaker would look. I later decided that I could add a fifth panel for more sail area and still have the sail set well.
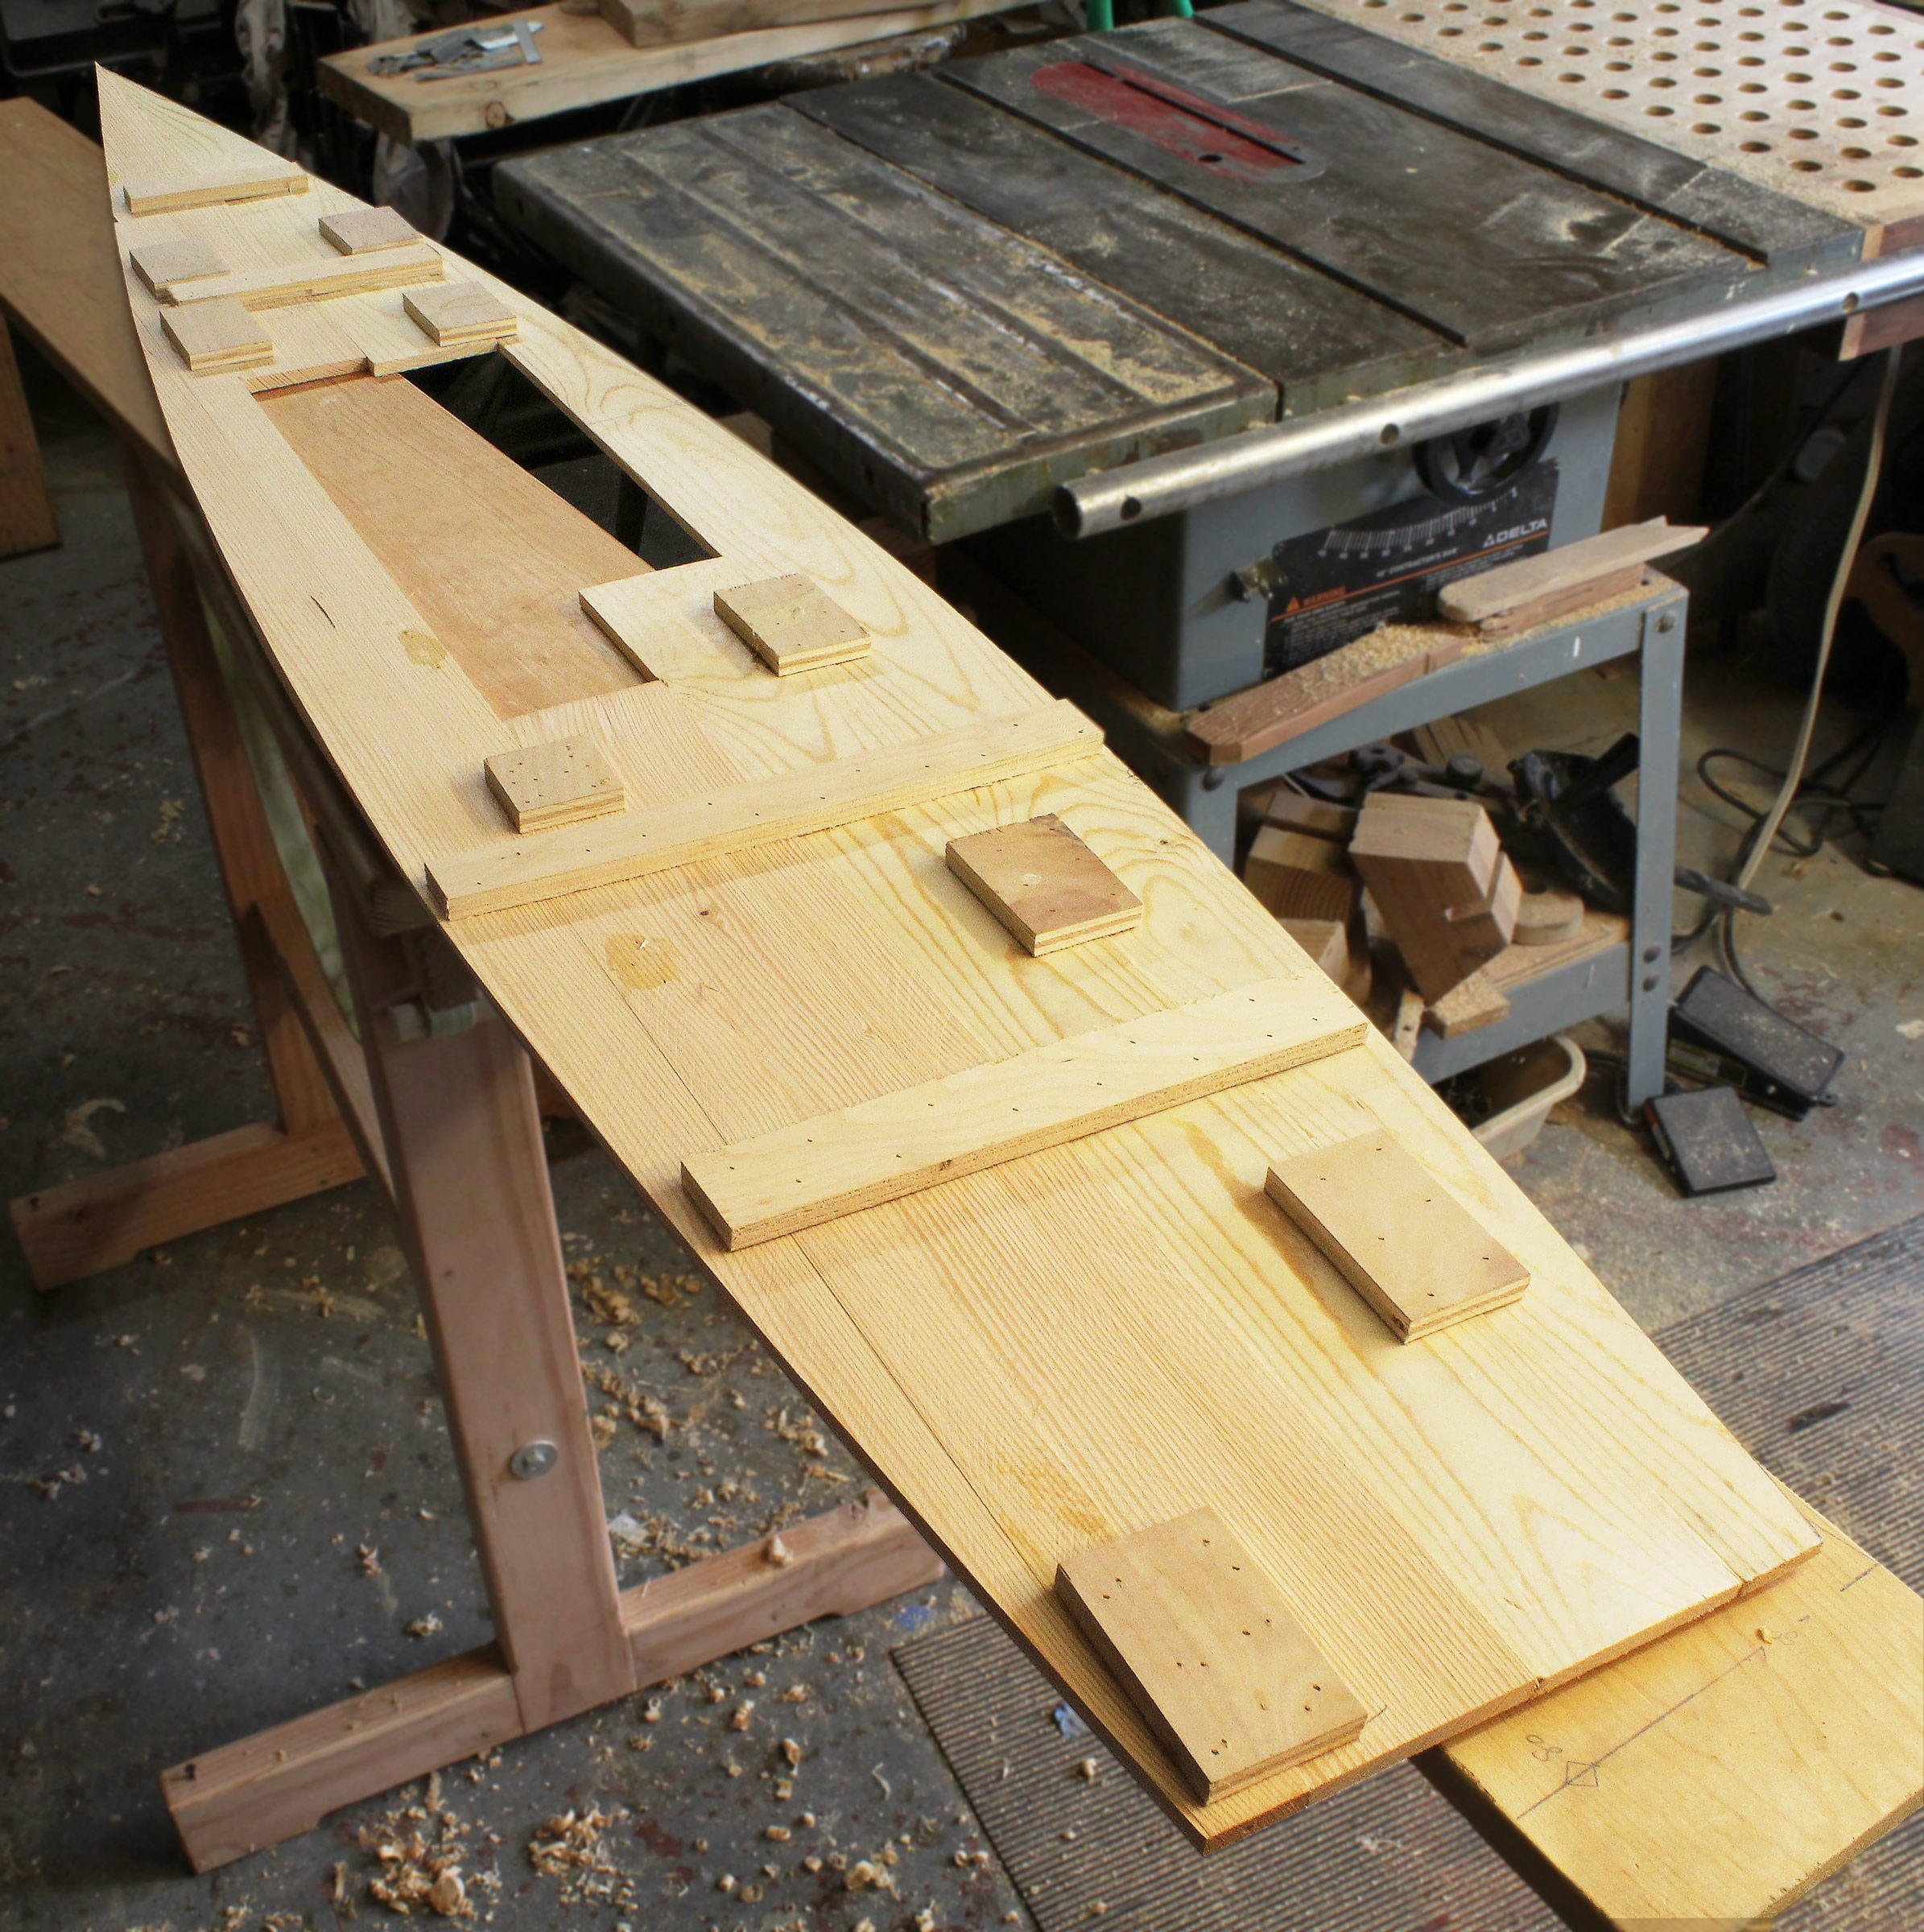
The cloth, whether the spinnaker cloth I used or ripstop nylon, needs to be heat-cut to keep the edges from fraying. A wooden template will serve as a guide for the hot knife. I didn’t have any plywood to use for it, so I cobbled together some 3/8″ boards.
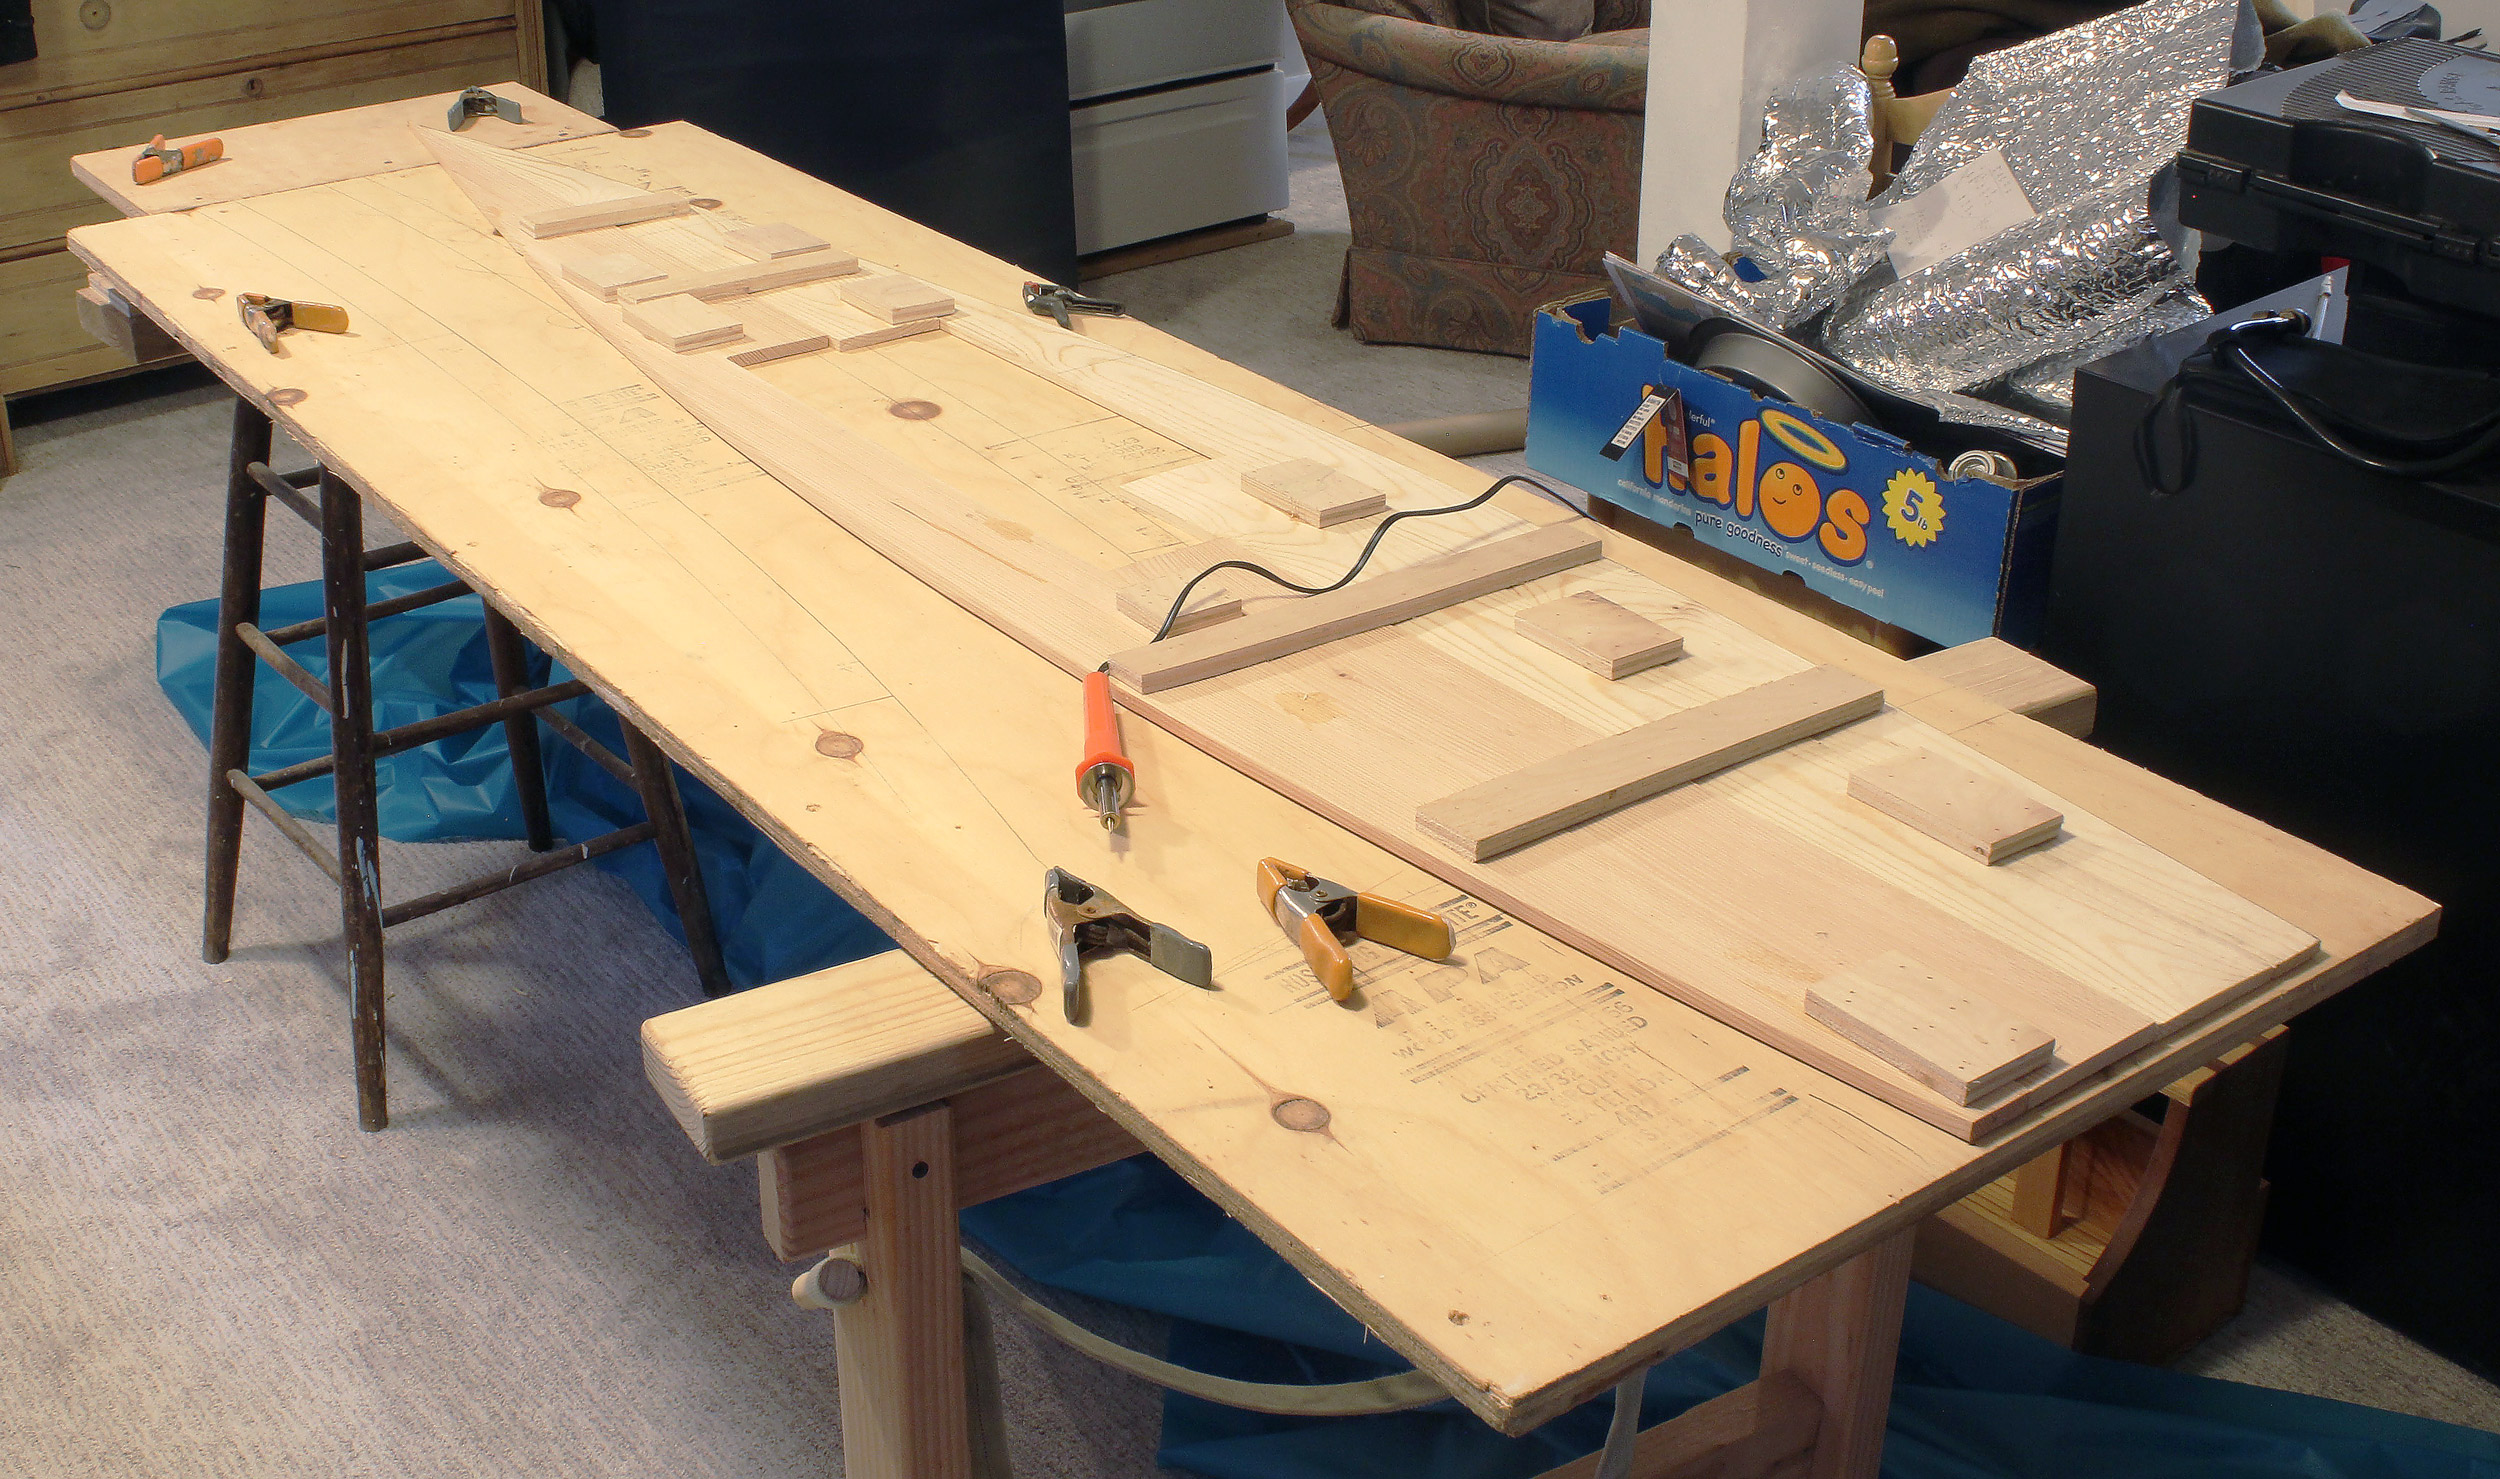
A piece of 3/4″ plywood served as a work surface for cutting the fabric. A pencil soldering iron with a small ball point works well as a hot knife. Mine is a Weller 25-watt iron, sold in a woodburning kit (WSB25WB) with 10 different tips. It has enough heat to cut the lightweight fabric and seal the edges without excessive melting.
With the cloth clamped tight on a plywood work surface, the template is set on top for hot-knife cutting.
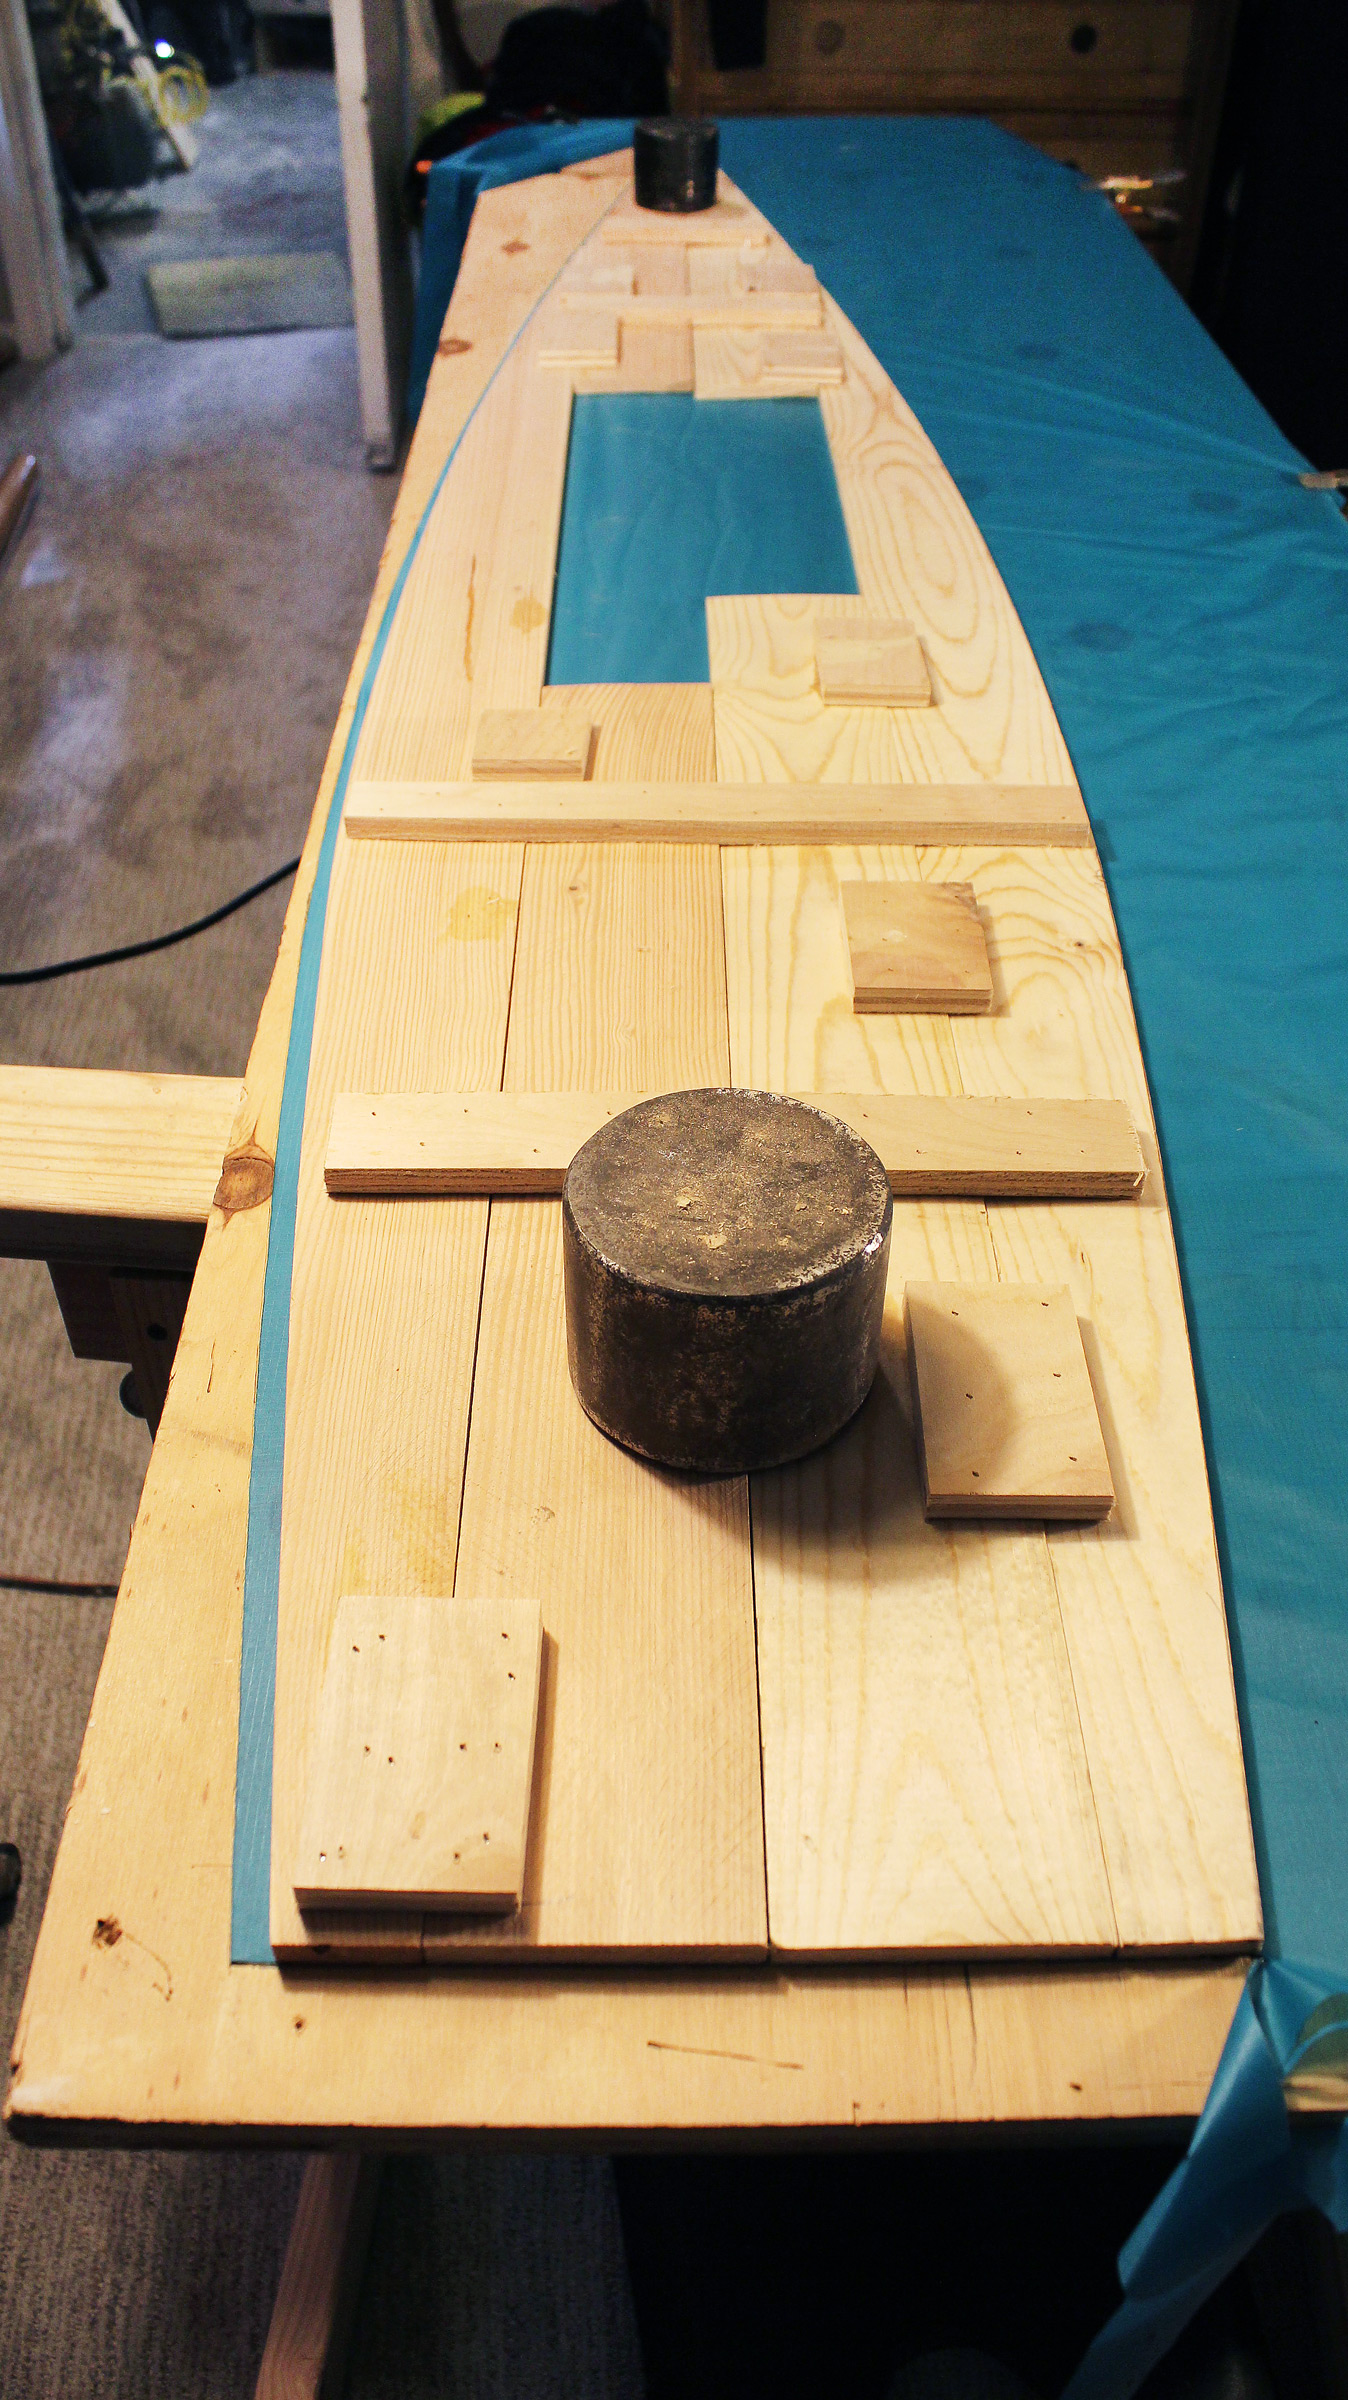
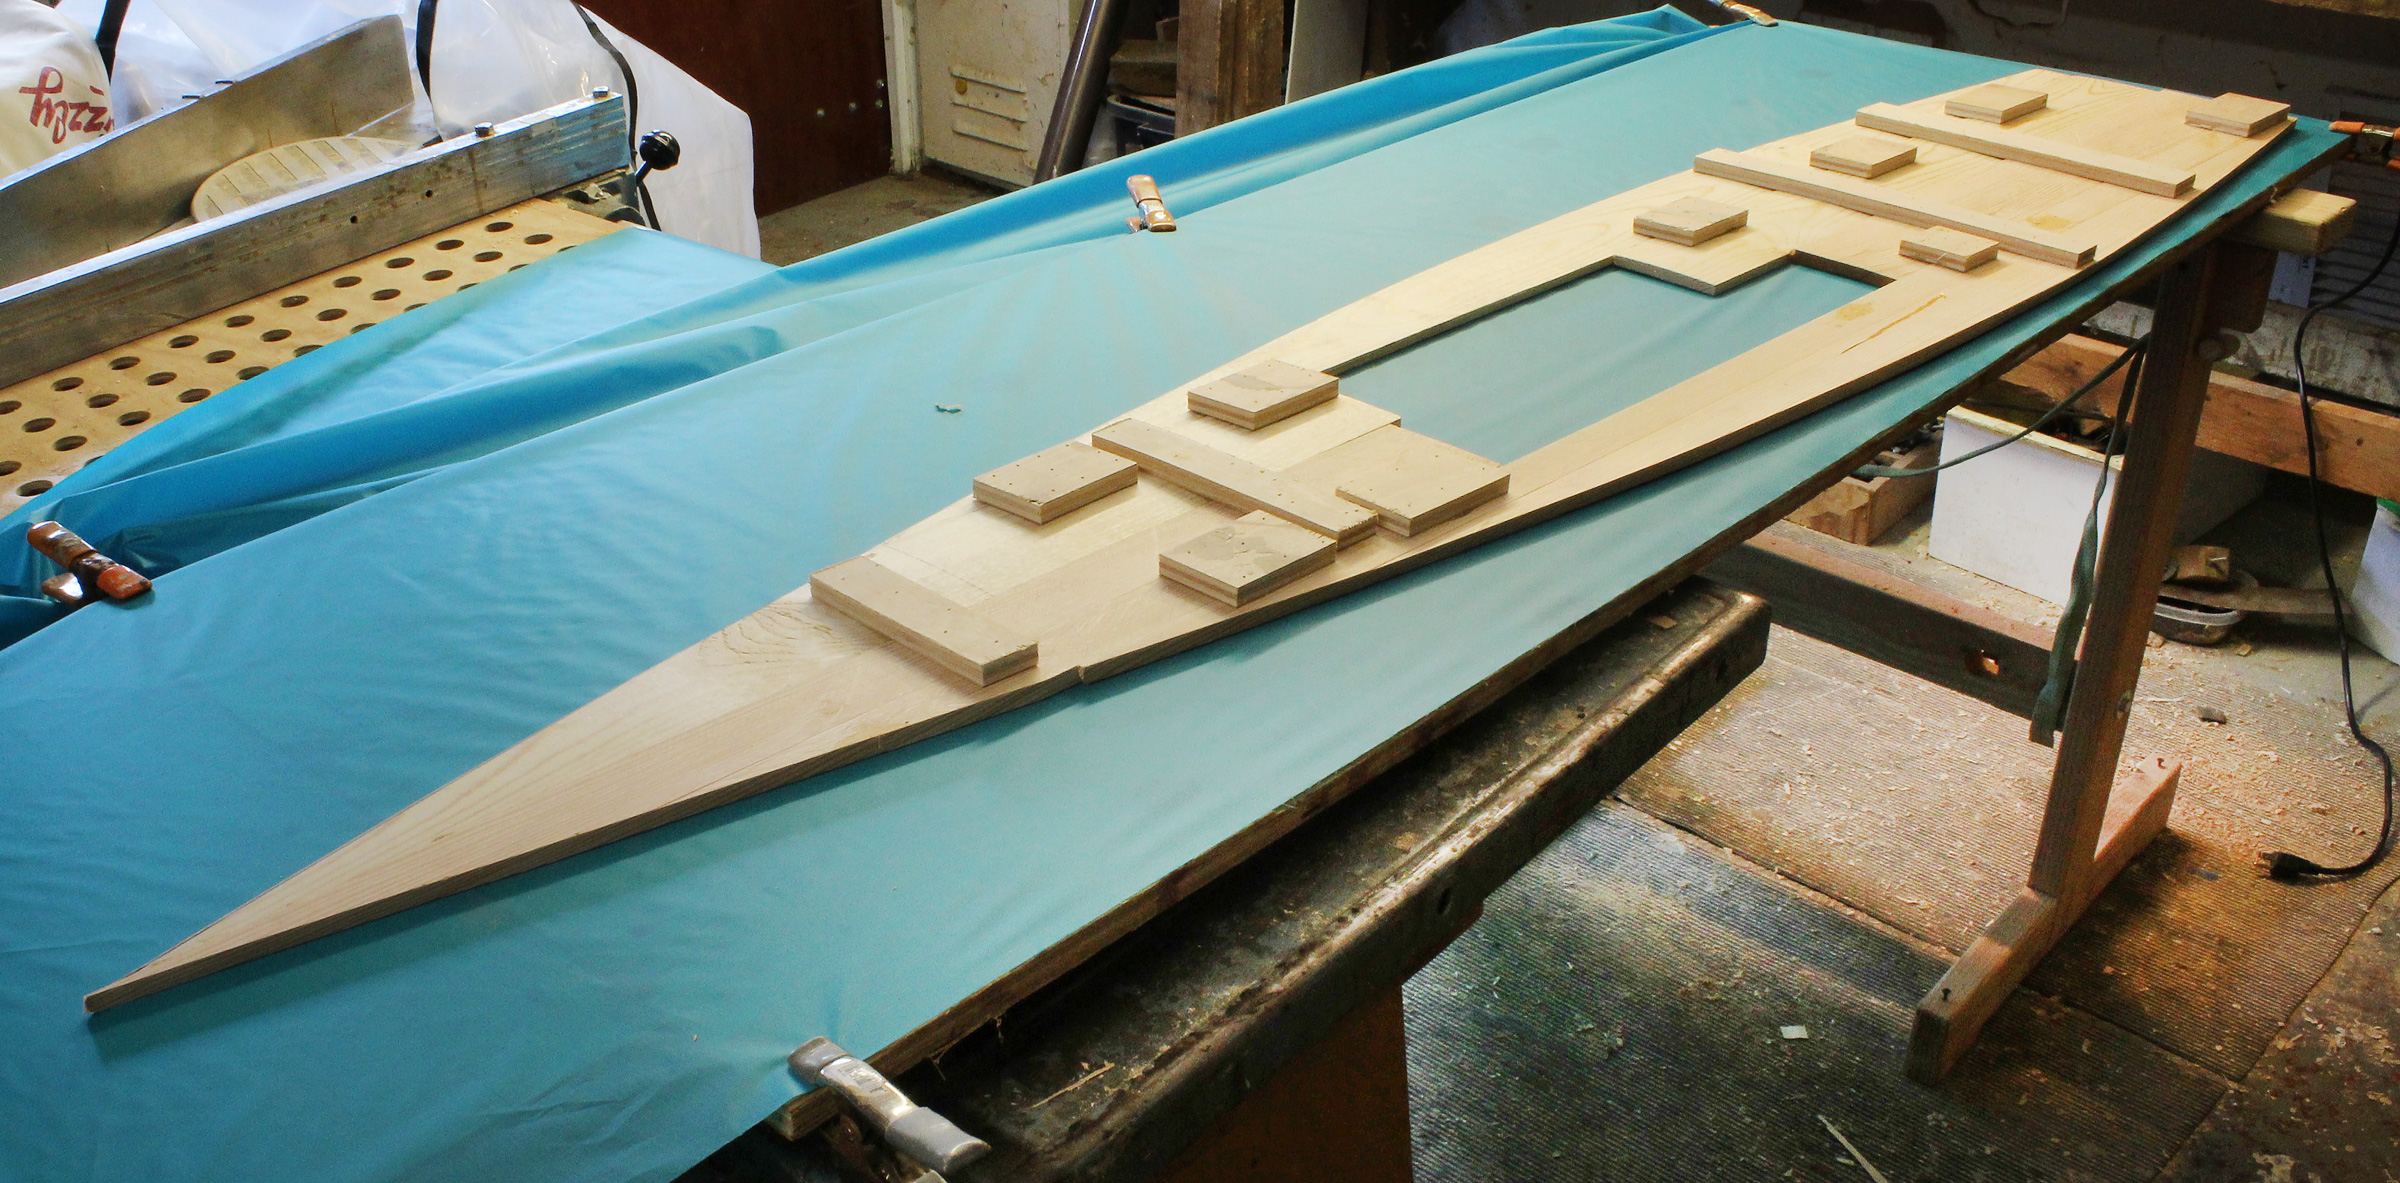
After making the first cut, I moved the template over 1/2″ to provide a seam allowance (I traced along the template with a chalk pencil to mark the allowance). A couple of weights helped to keep the template from shifting while the heat cutting was being done.
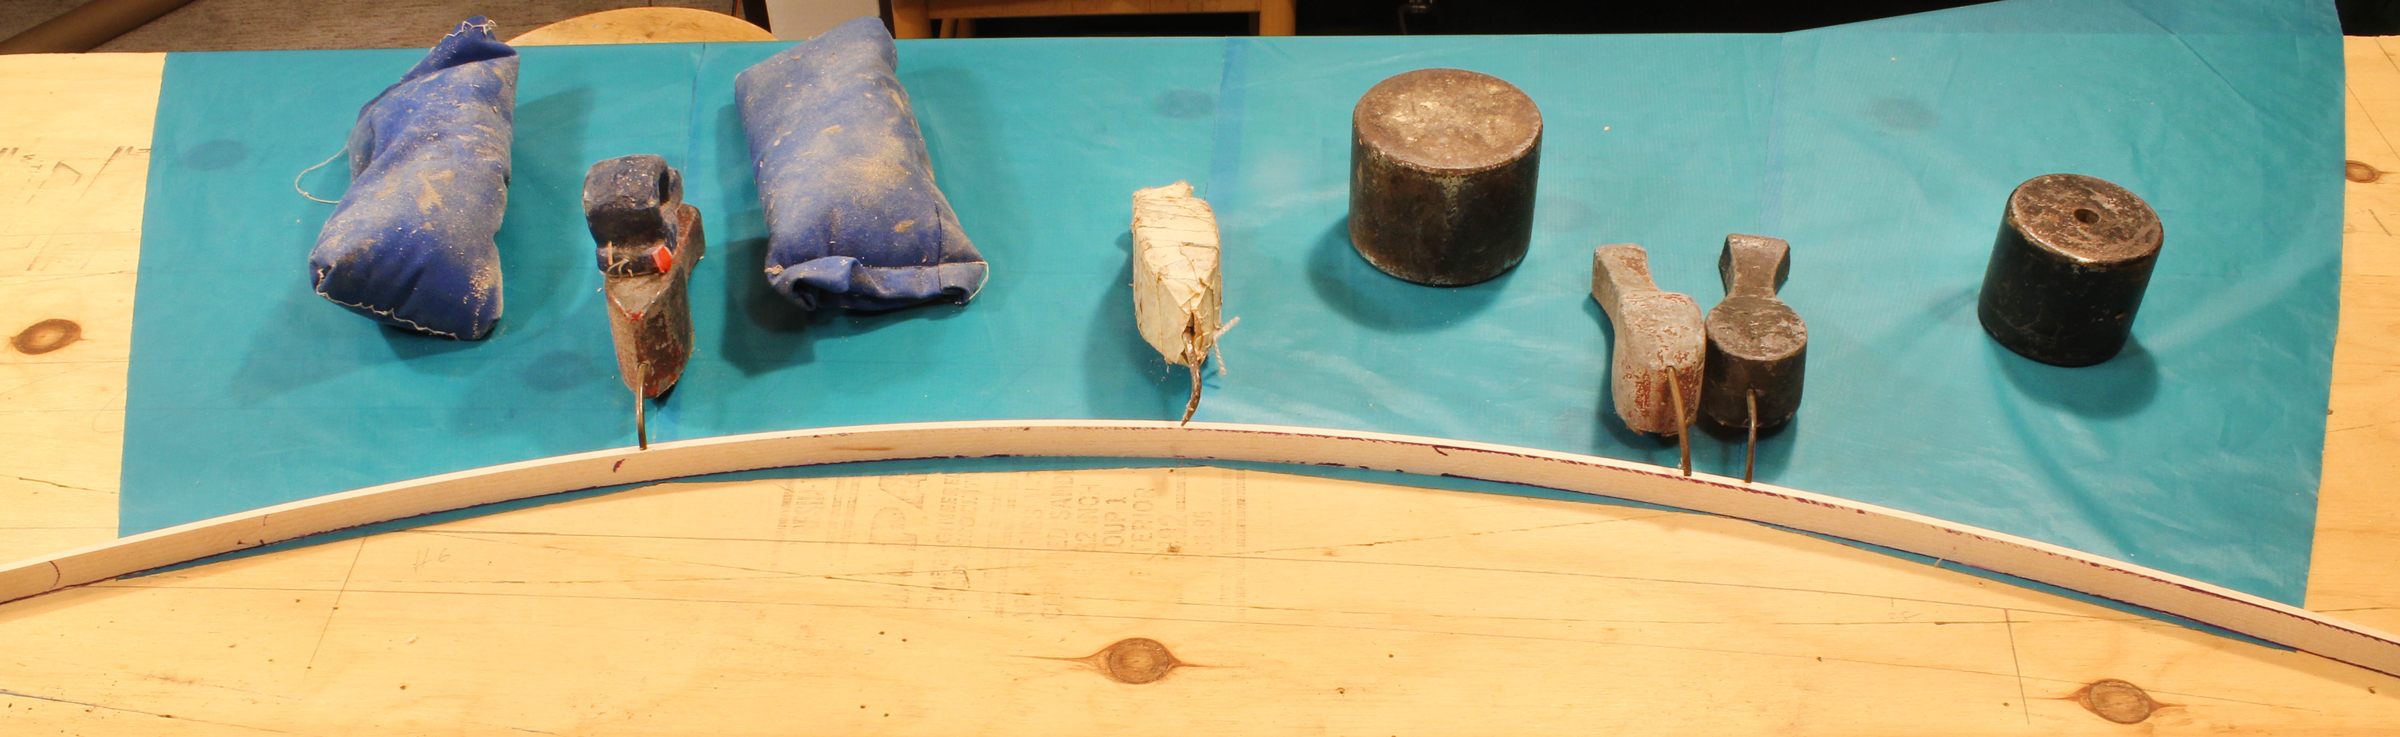
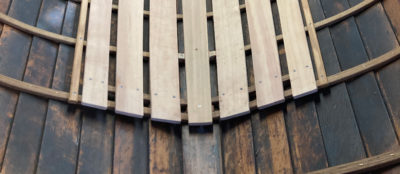
After the panels are taped together, a batten sprung along the foot of the sail provided a guide for cutting a smooth arc.
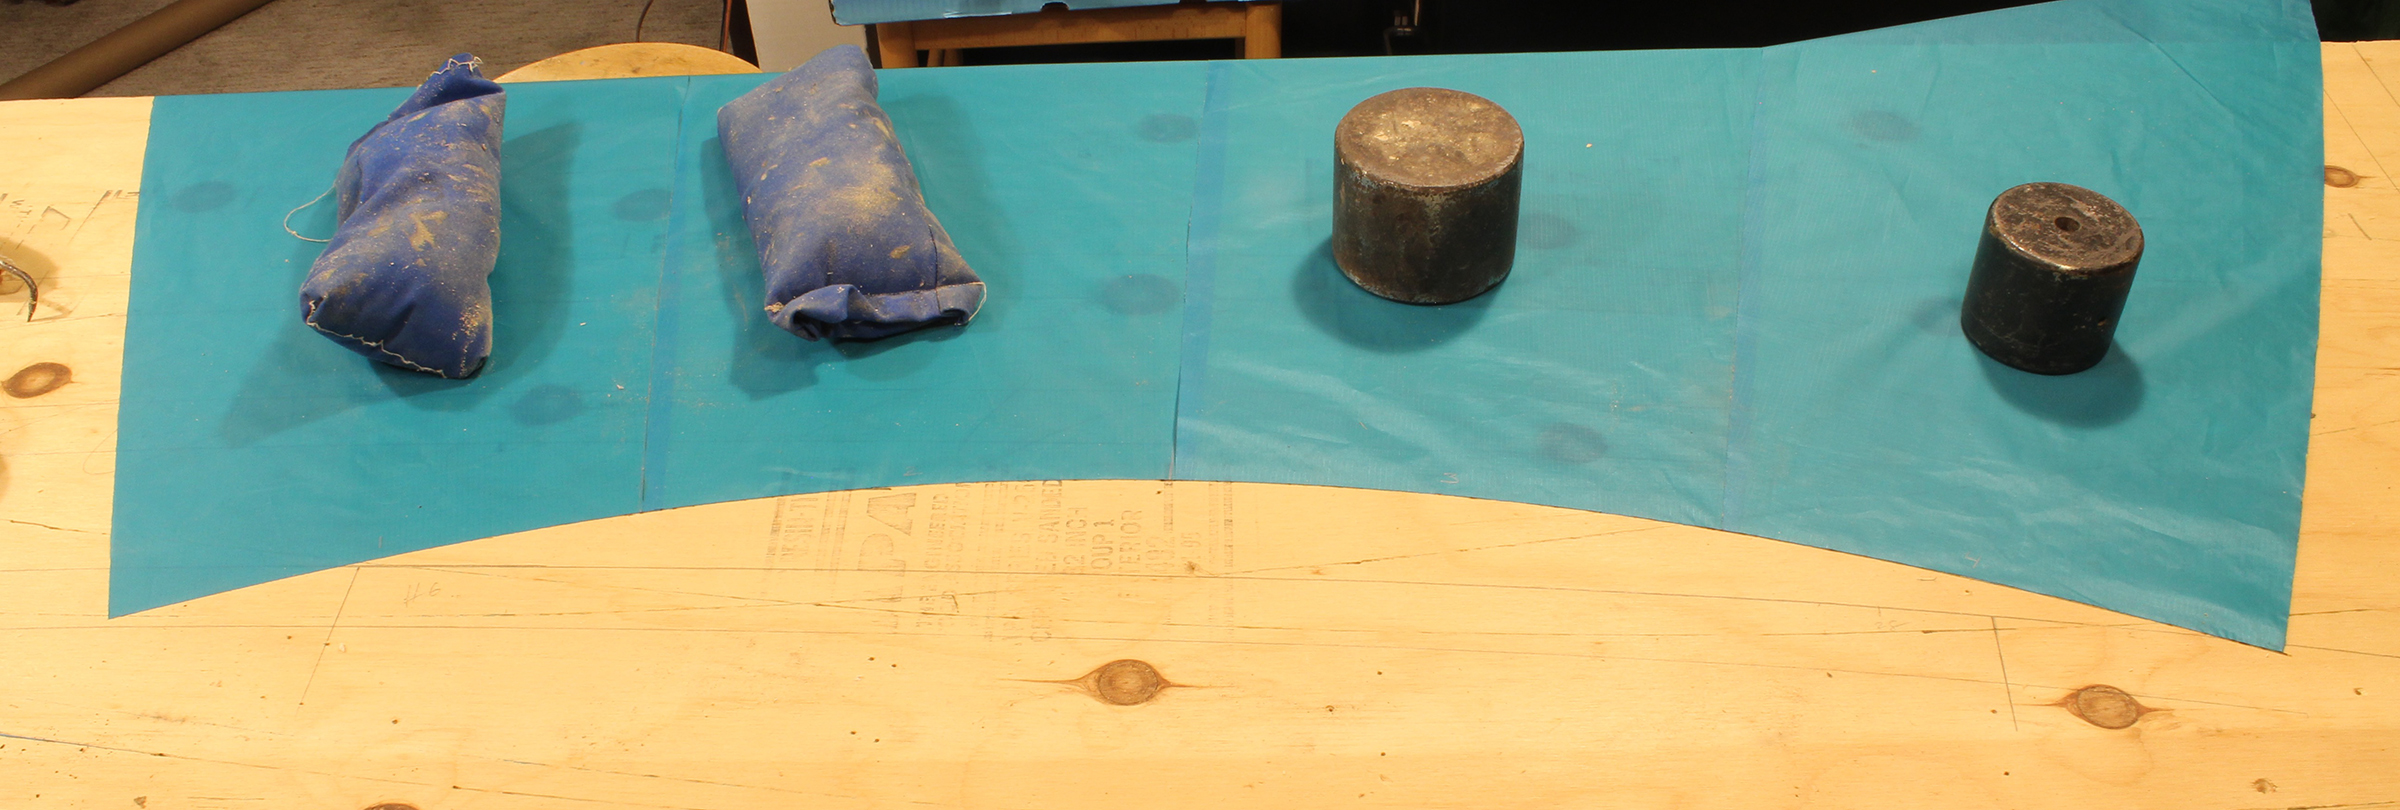
After I had taken this photograph, I decided on a fifth panel, inserted it in the middle, and faired its bottom end in with the curve of the foot. With the foot cut, the spinnaker is ready for sewing.

The panels are sewn together with double-stick tape and two rows of zigzag stitching. The edges are covered with folded 1-1/2″ fabric tape. If rolls of the spinnaker cloth or rip-stop nylon like the one here aren’t readily available, you can heat-cut strips from the fabric leftover after cutting the spinnaker panels
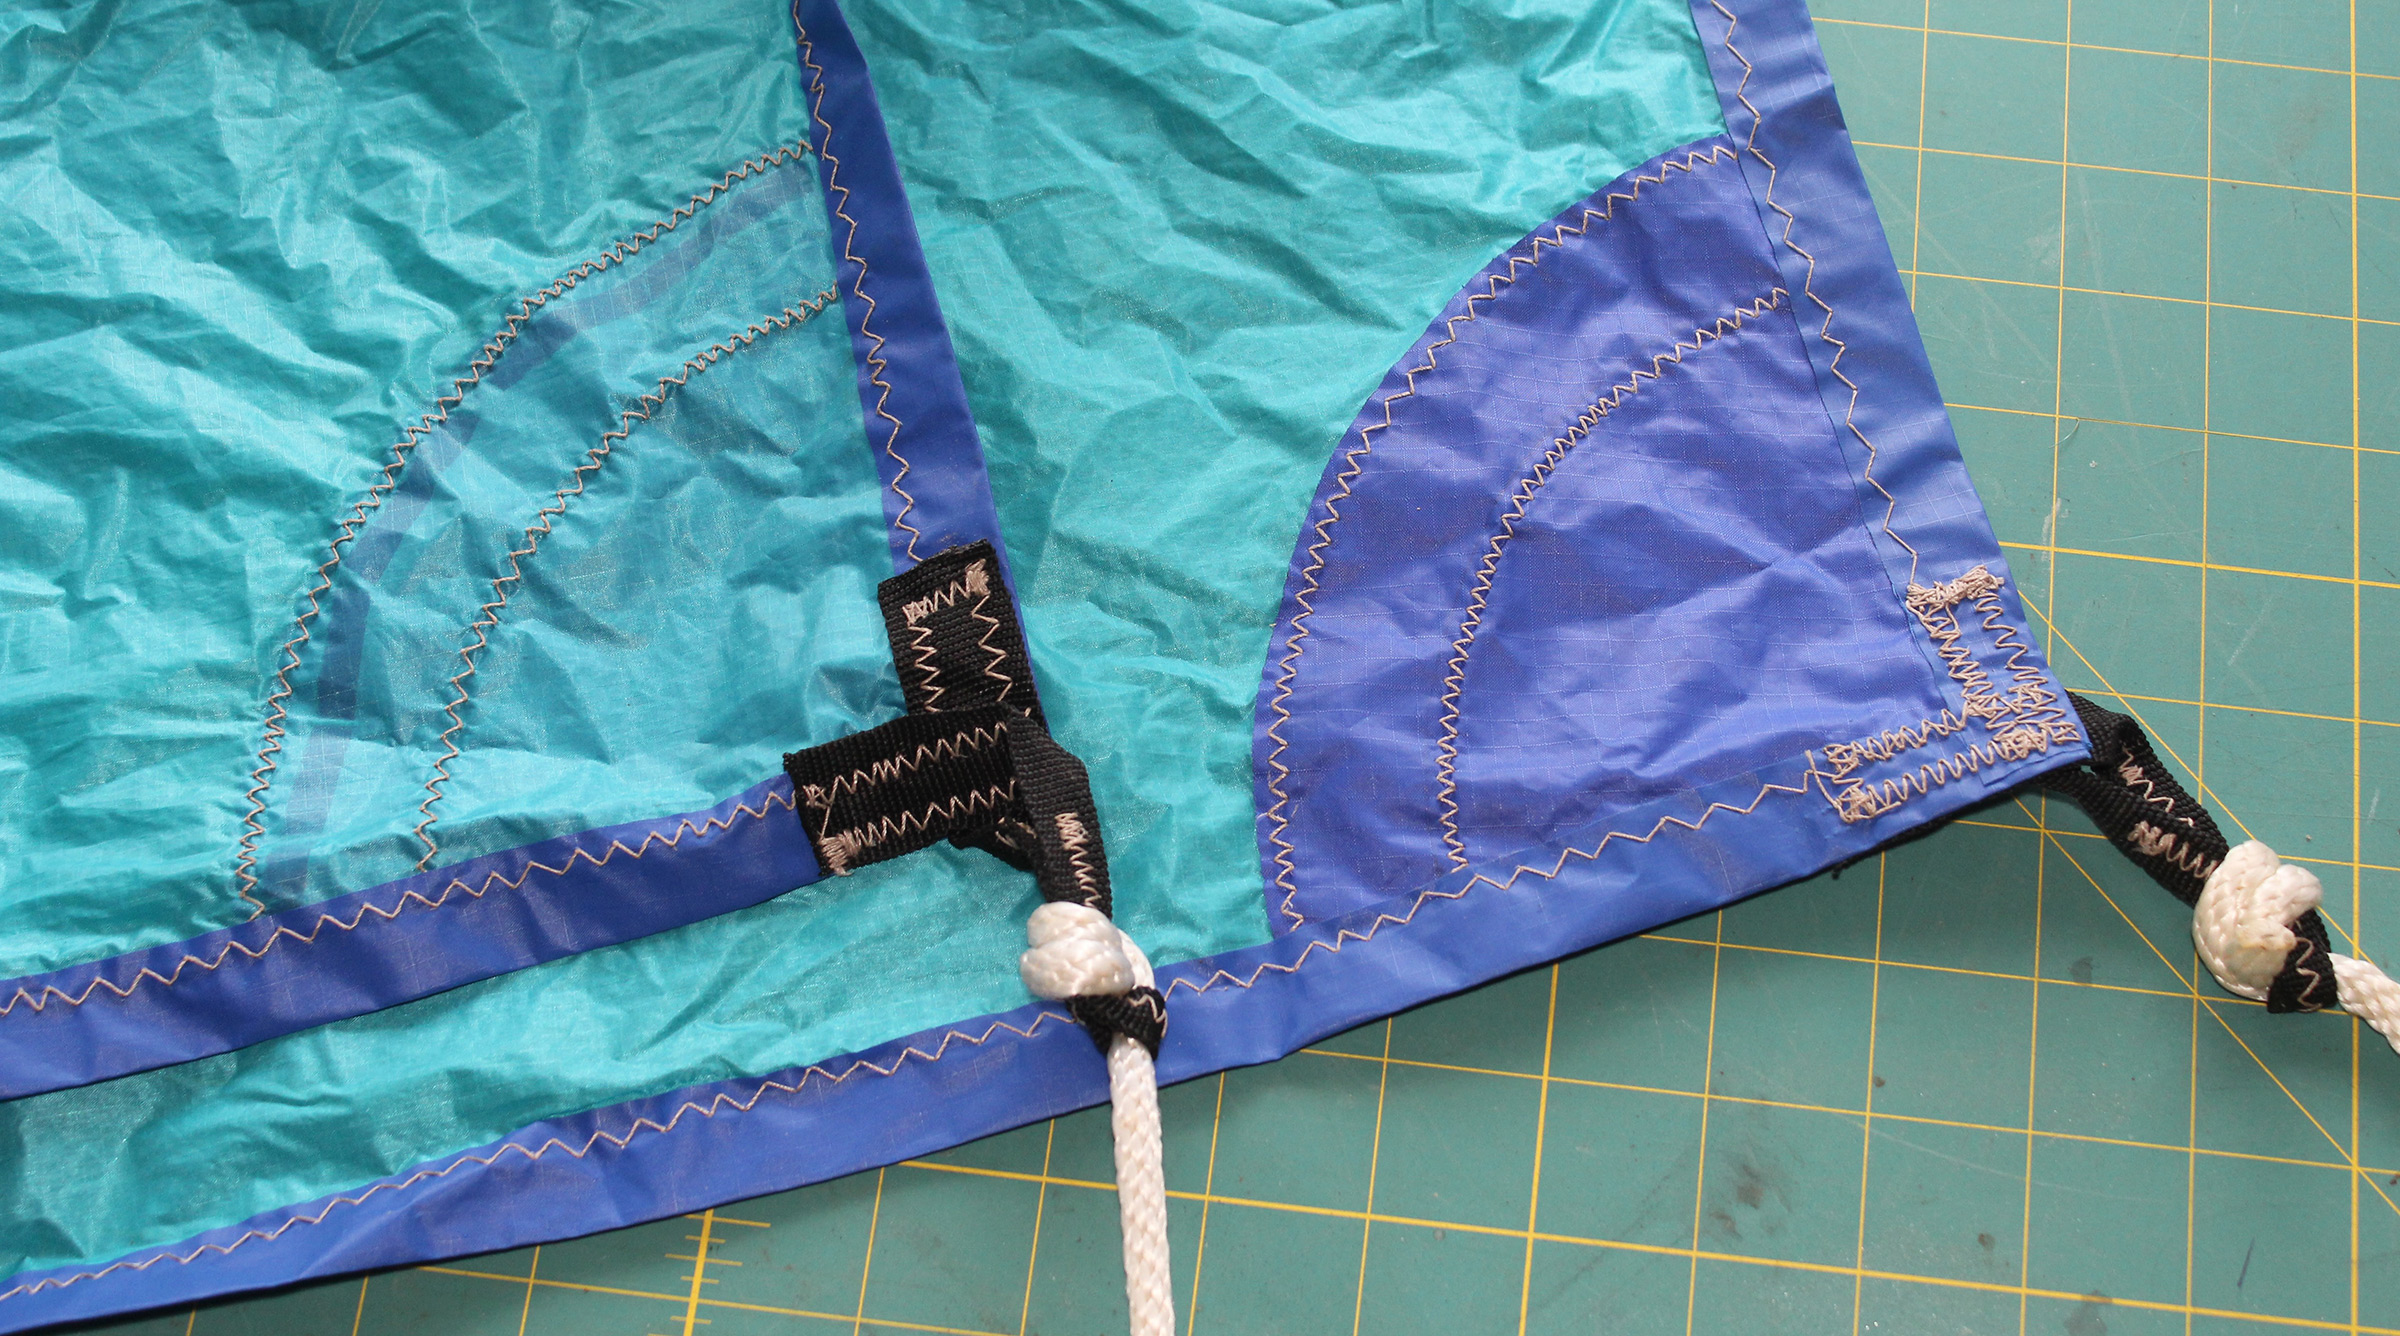
Each of the three corners of the sail get sewn-on patches before the edge tape is applied. Webbing creates loops for attachment points.

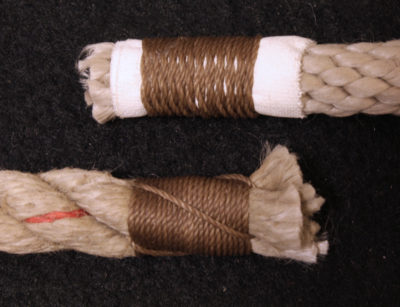
To prevent the bag from being pulled off by the spinnaker, it is cinched tight around the base of the blade and its draw cord gets tied tightly at the oar’s throat.
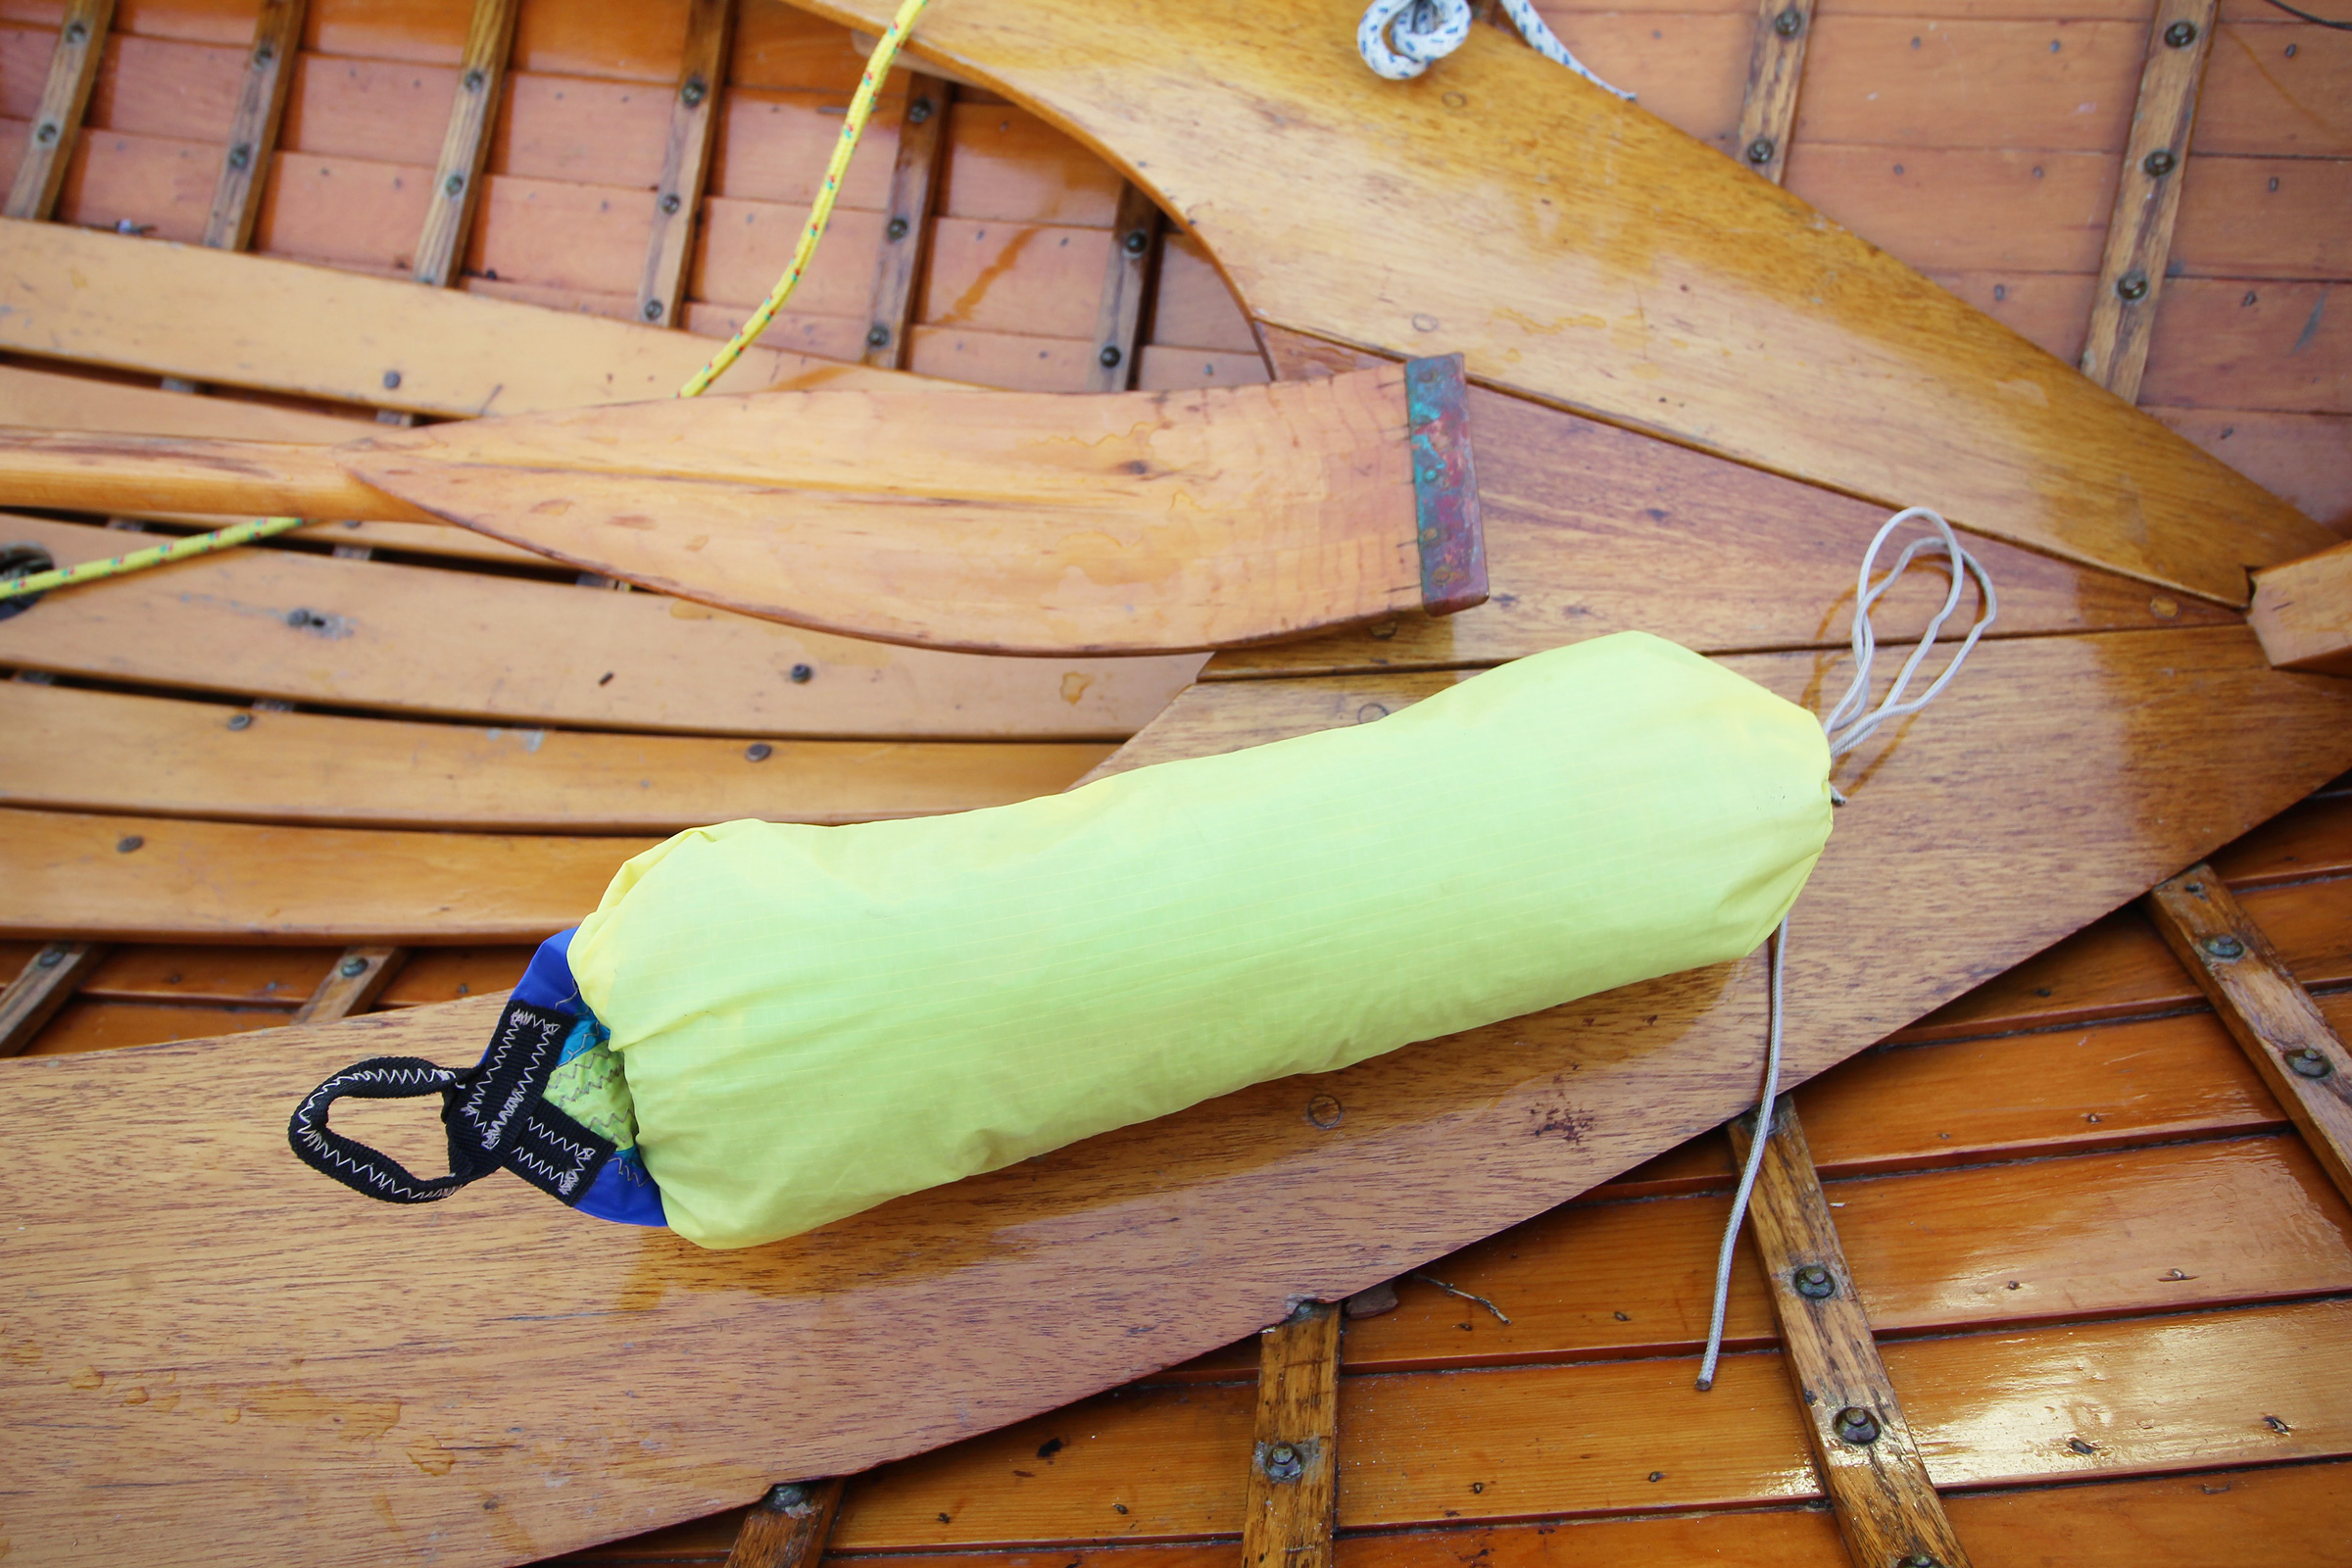
The bag that fits the oar blade also serves for stowing the spinnaker: the head of the sail is sewn into the bottom of the bag. A loop of webbing provides an attachment point for the spinnaker when used with other masts.

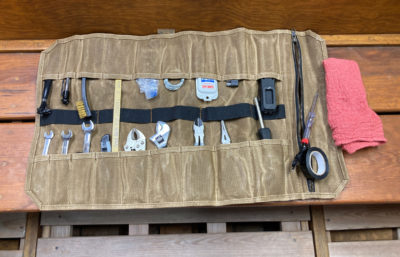
I also sewed a bag for the straight-bladed oars I made for my dory. A webbing loop at the top is fitted with a spring hook that clips into the loop at the head of the spinnaker. The long loops of webbing at the bottom were initially for shrouds (a failed experiment). Smaller loops would be fine for attachment points for a line tied around the throat of the oar to keep the bag in place.
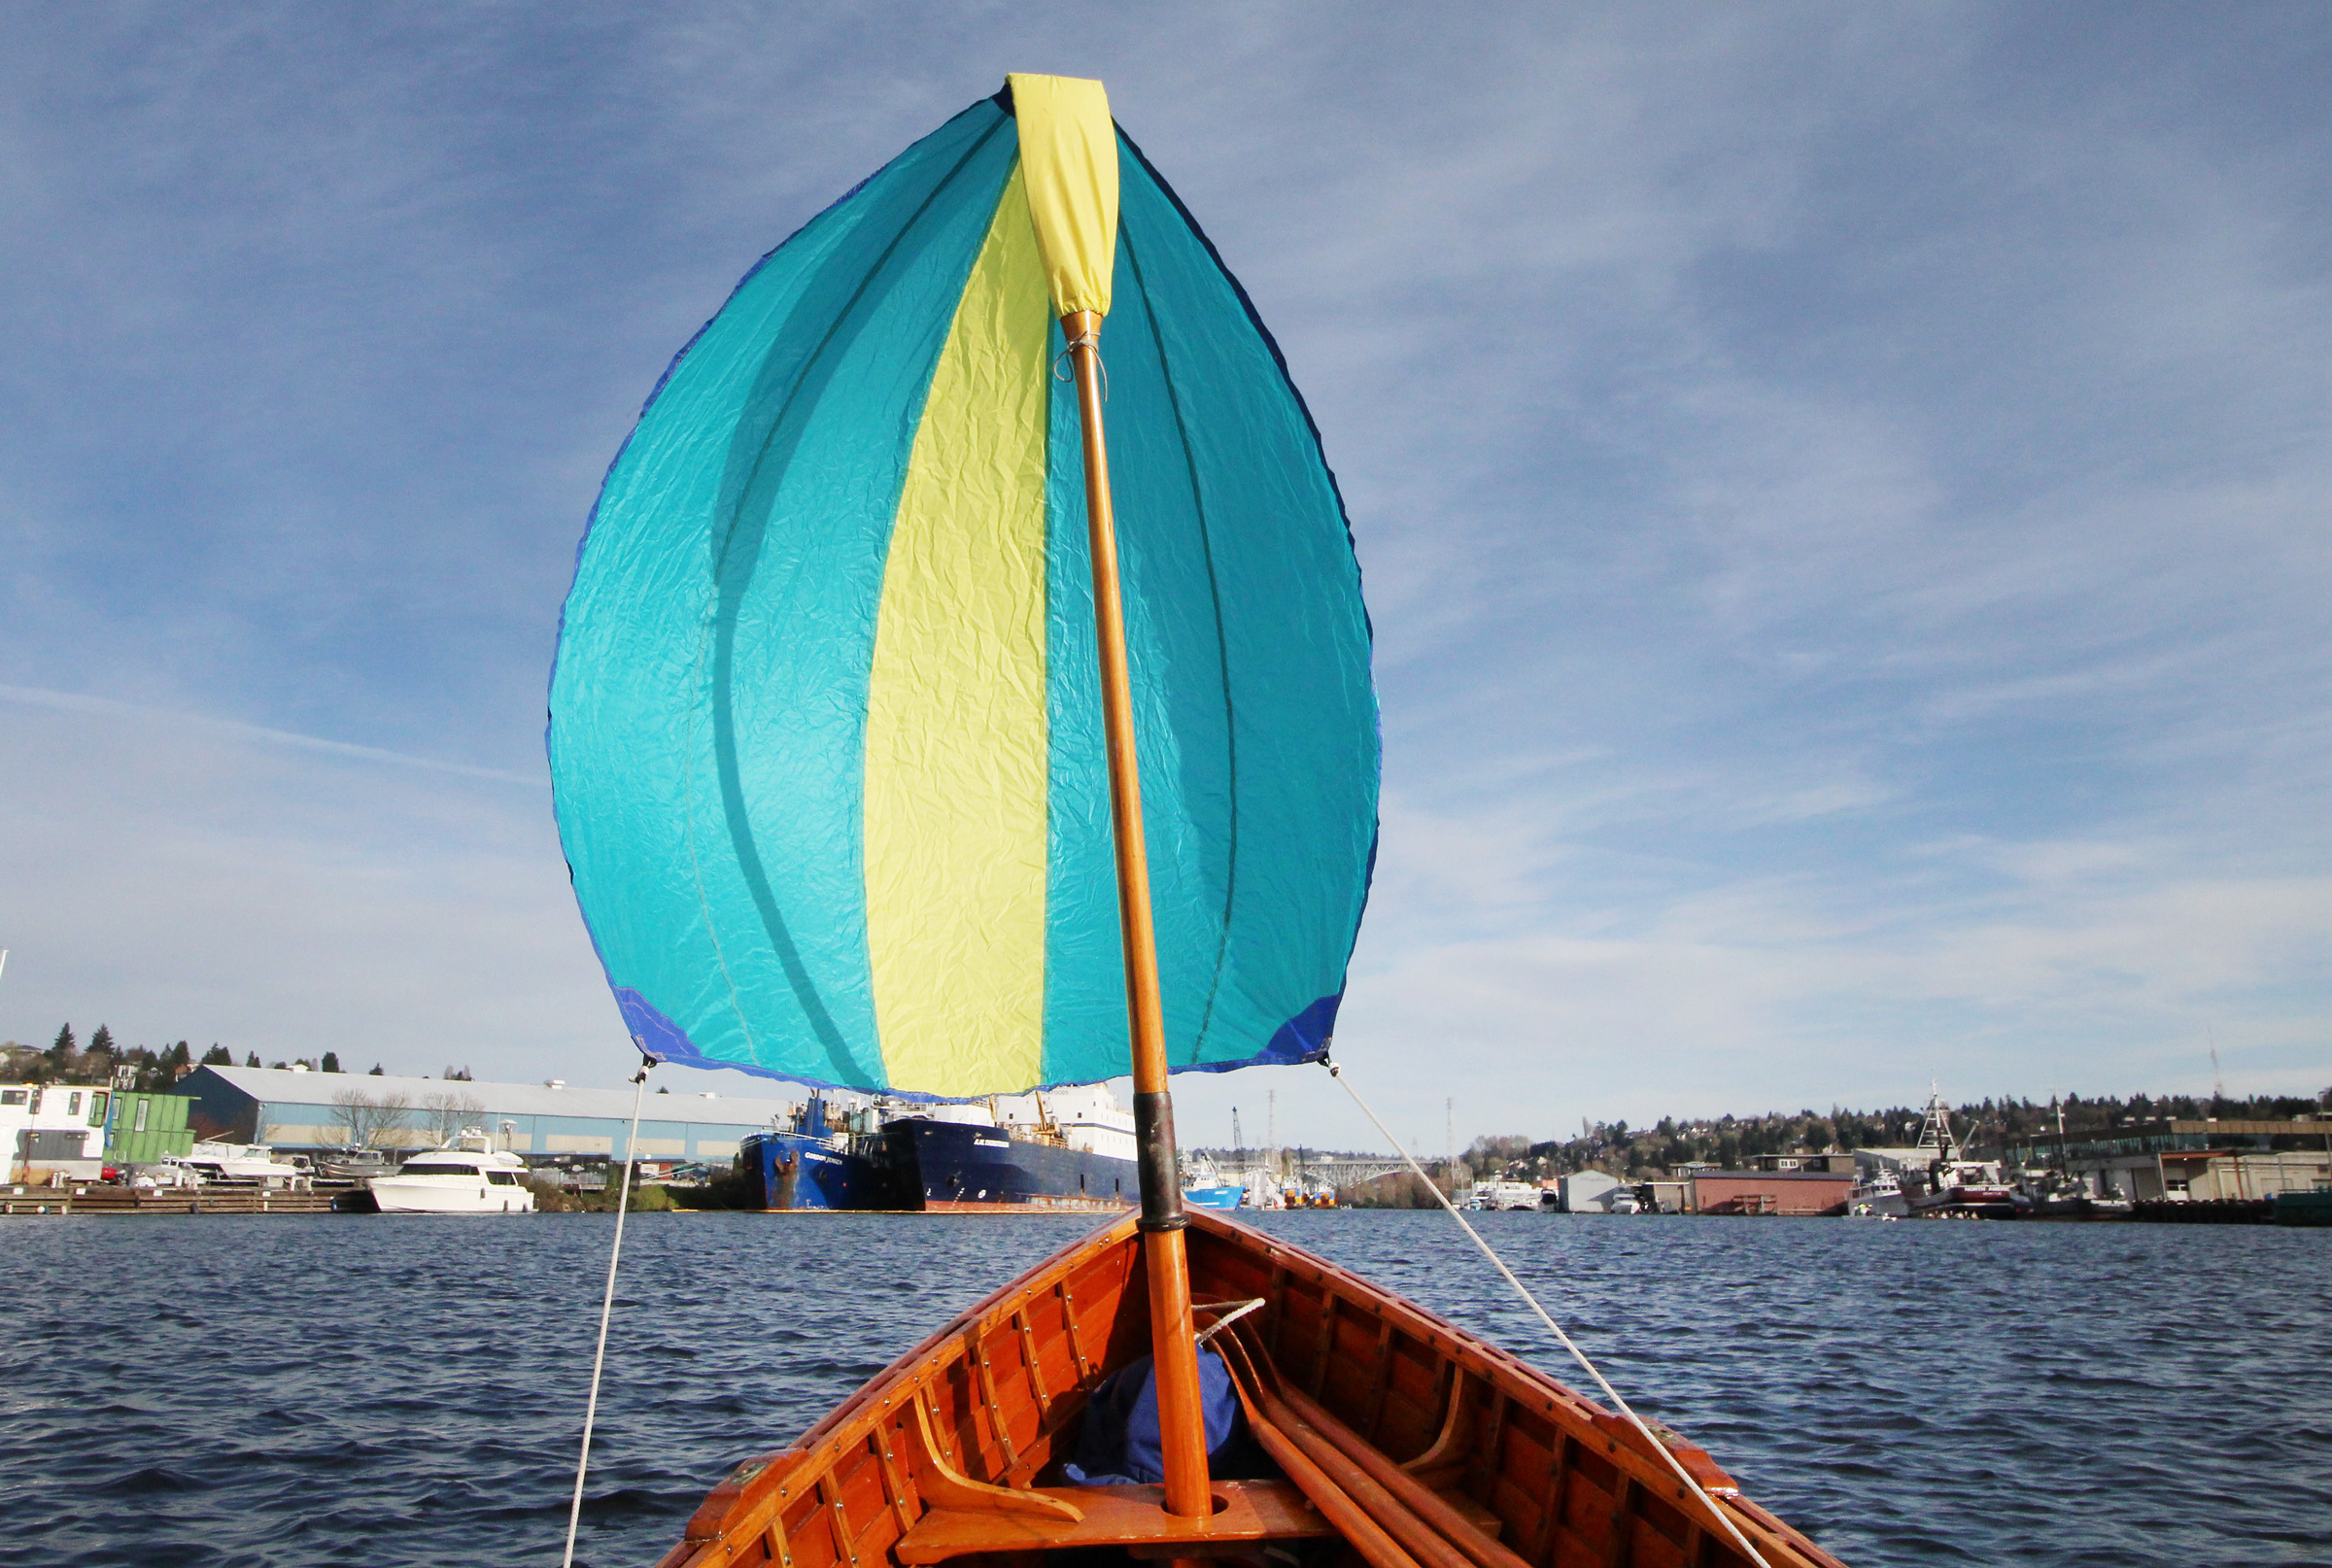
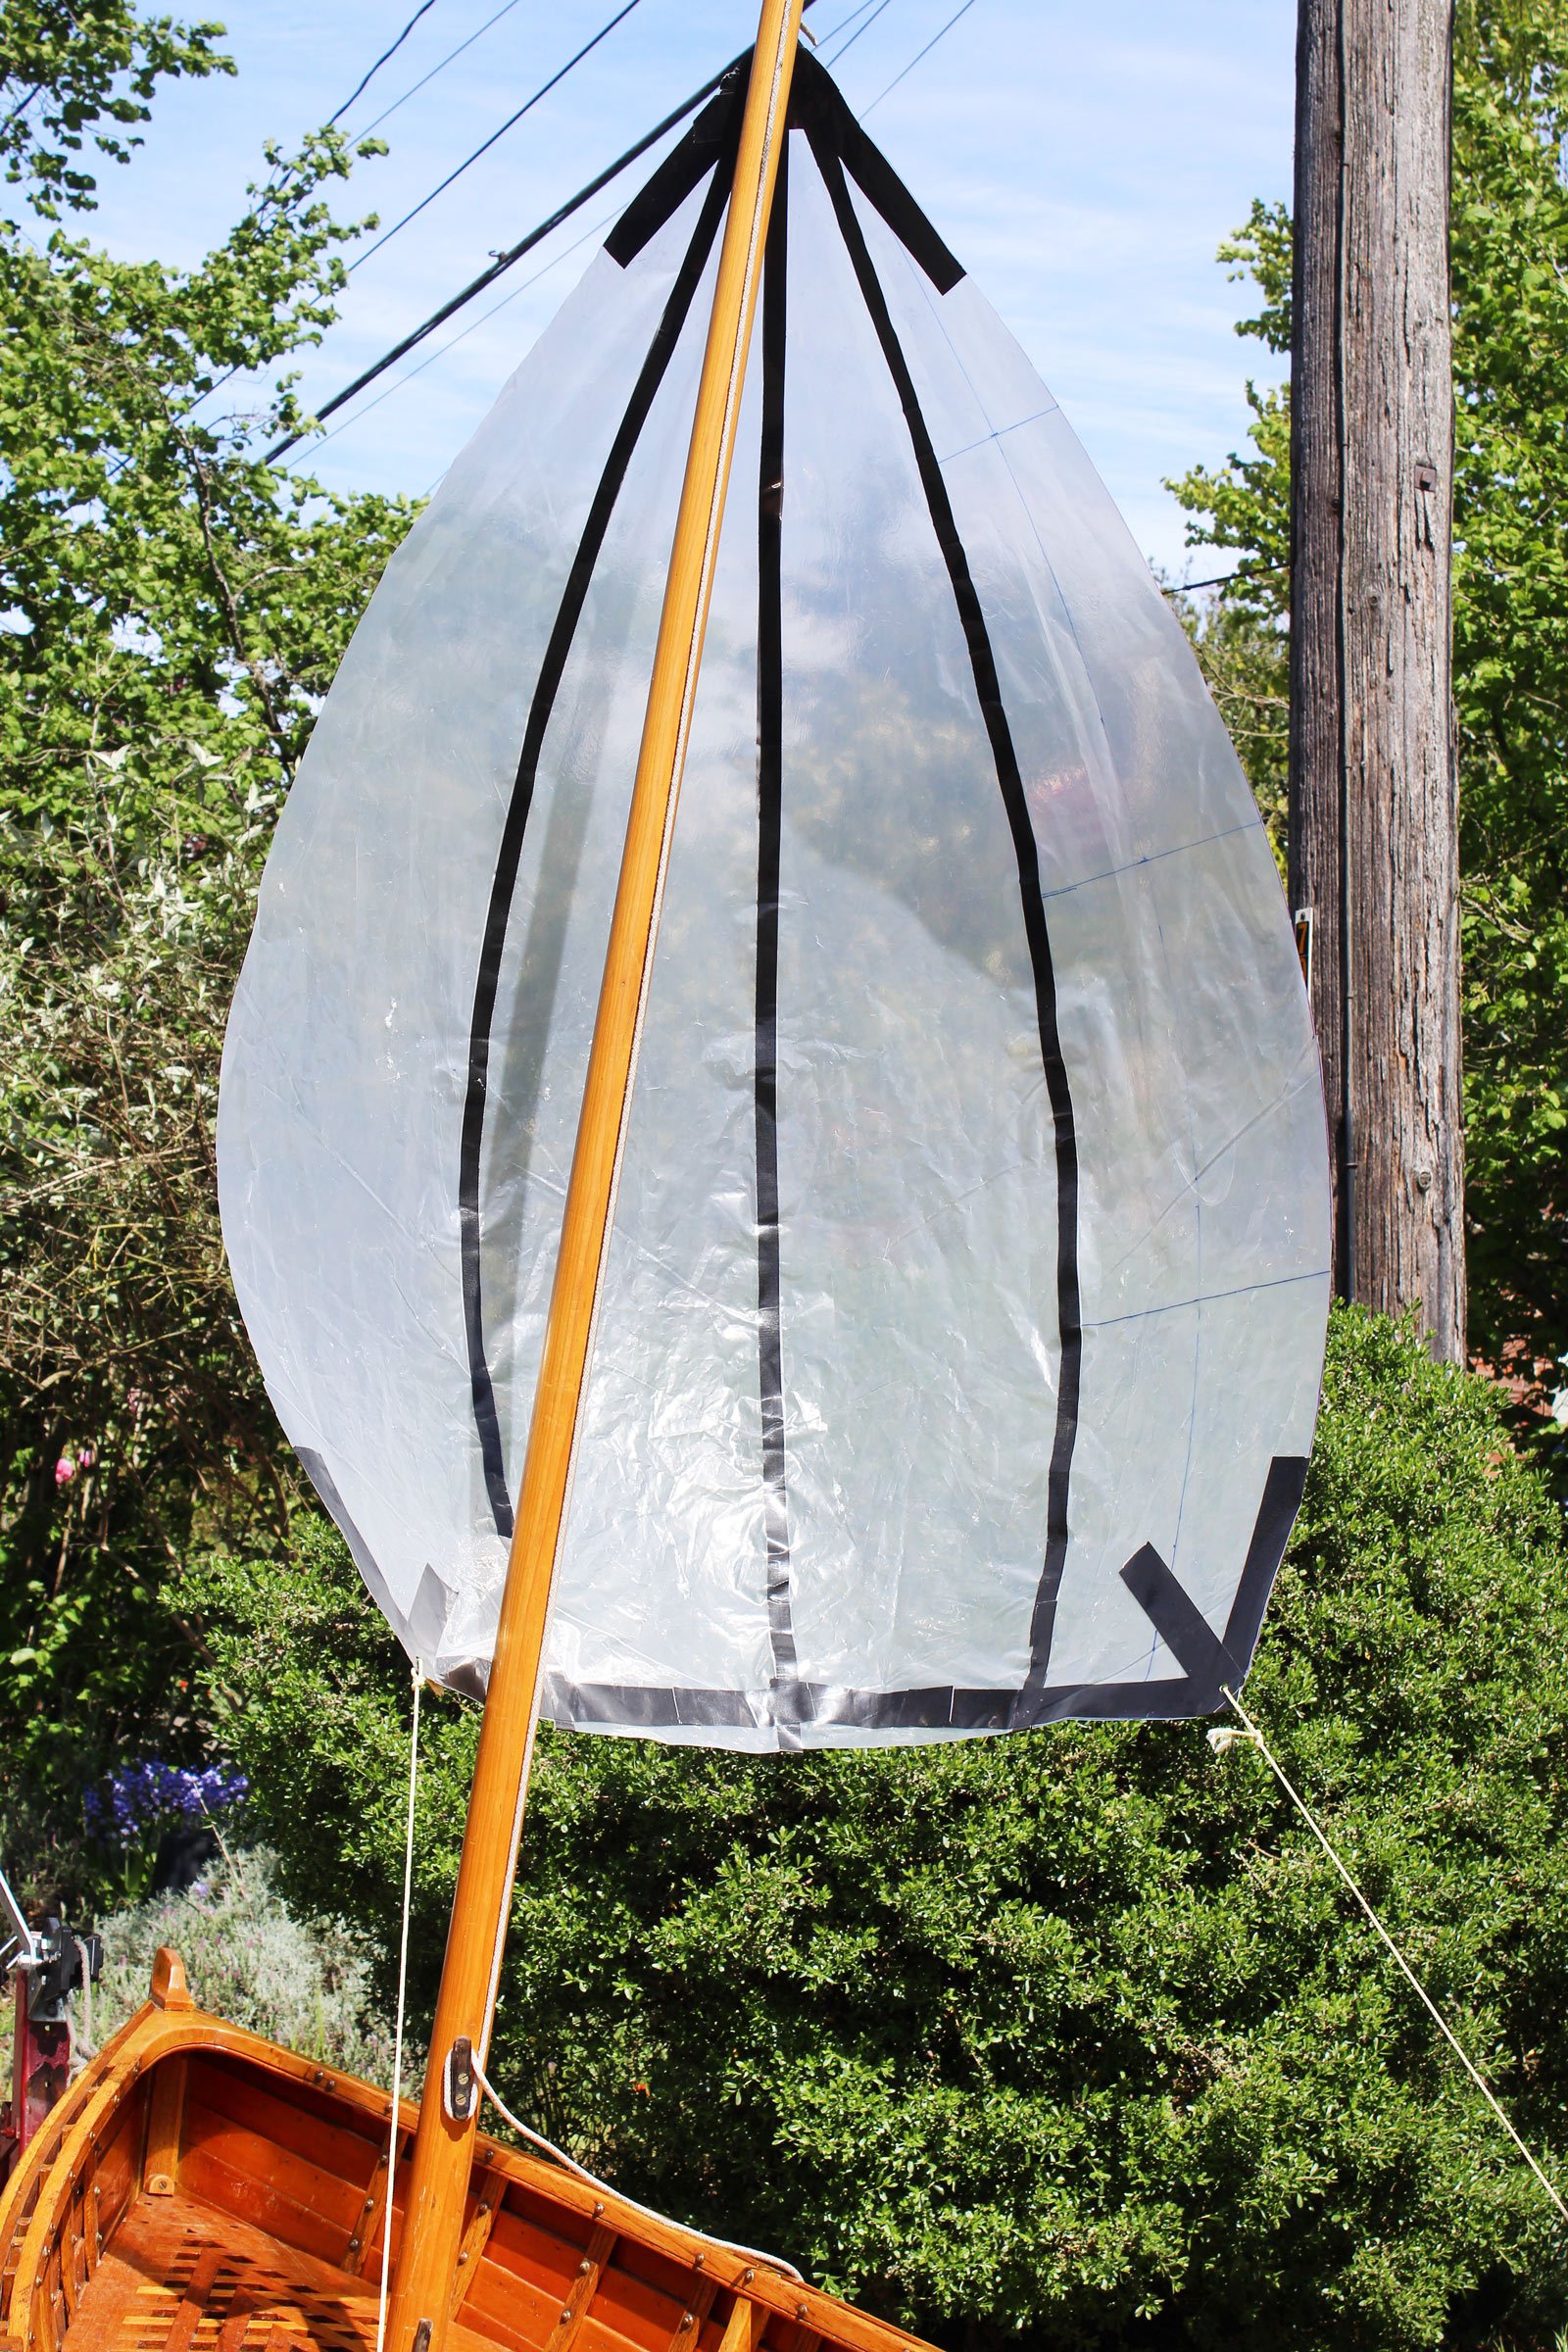
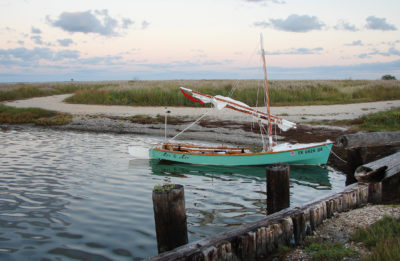
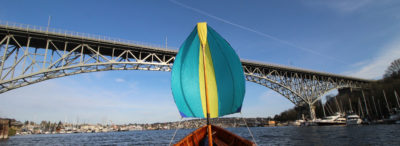
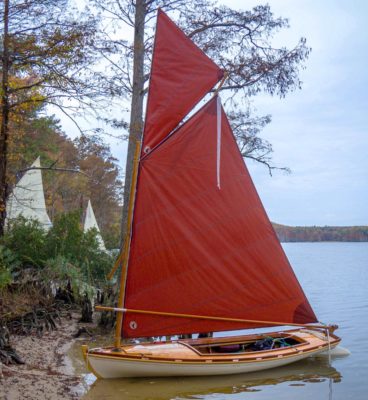
With an oar in the mast partners, the spinnaker sets nicely and provides enjoyable downwind runs.
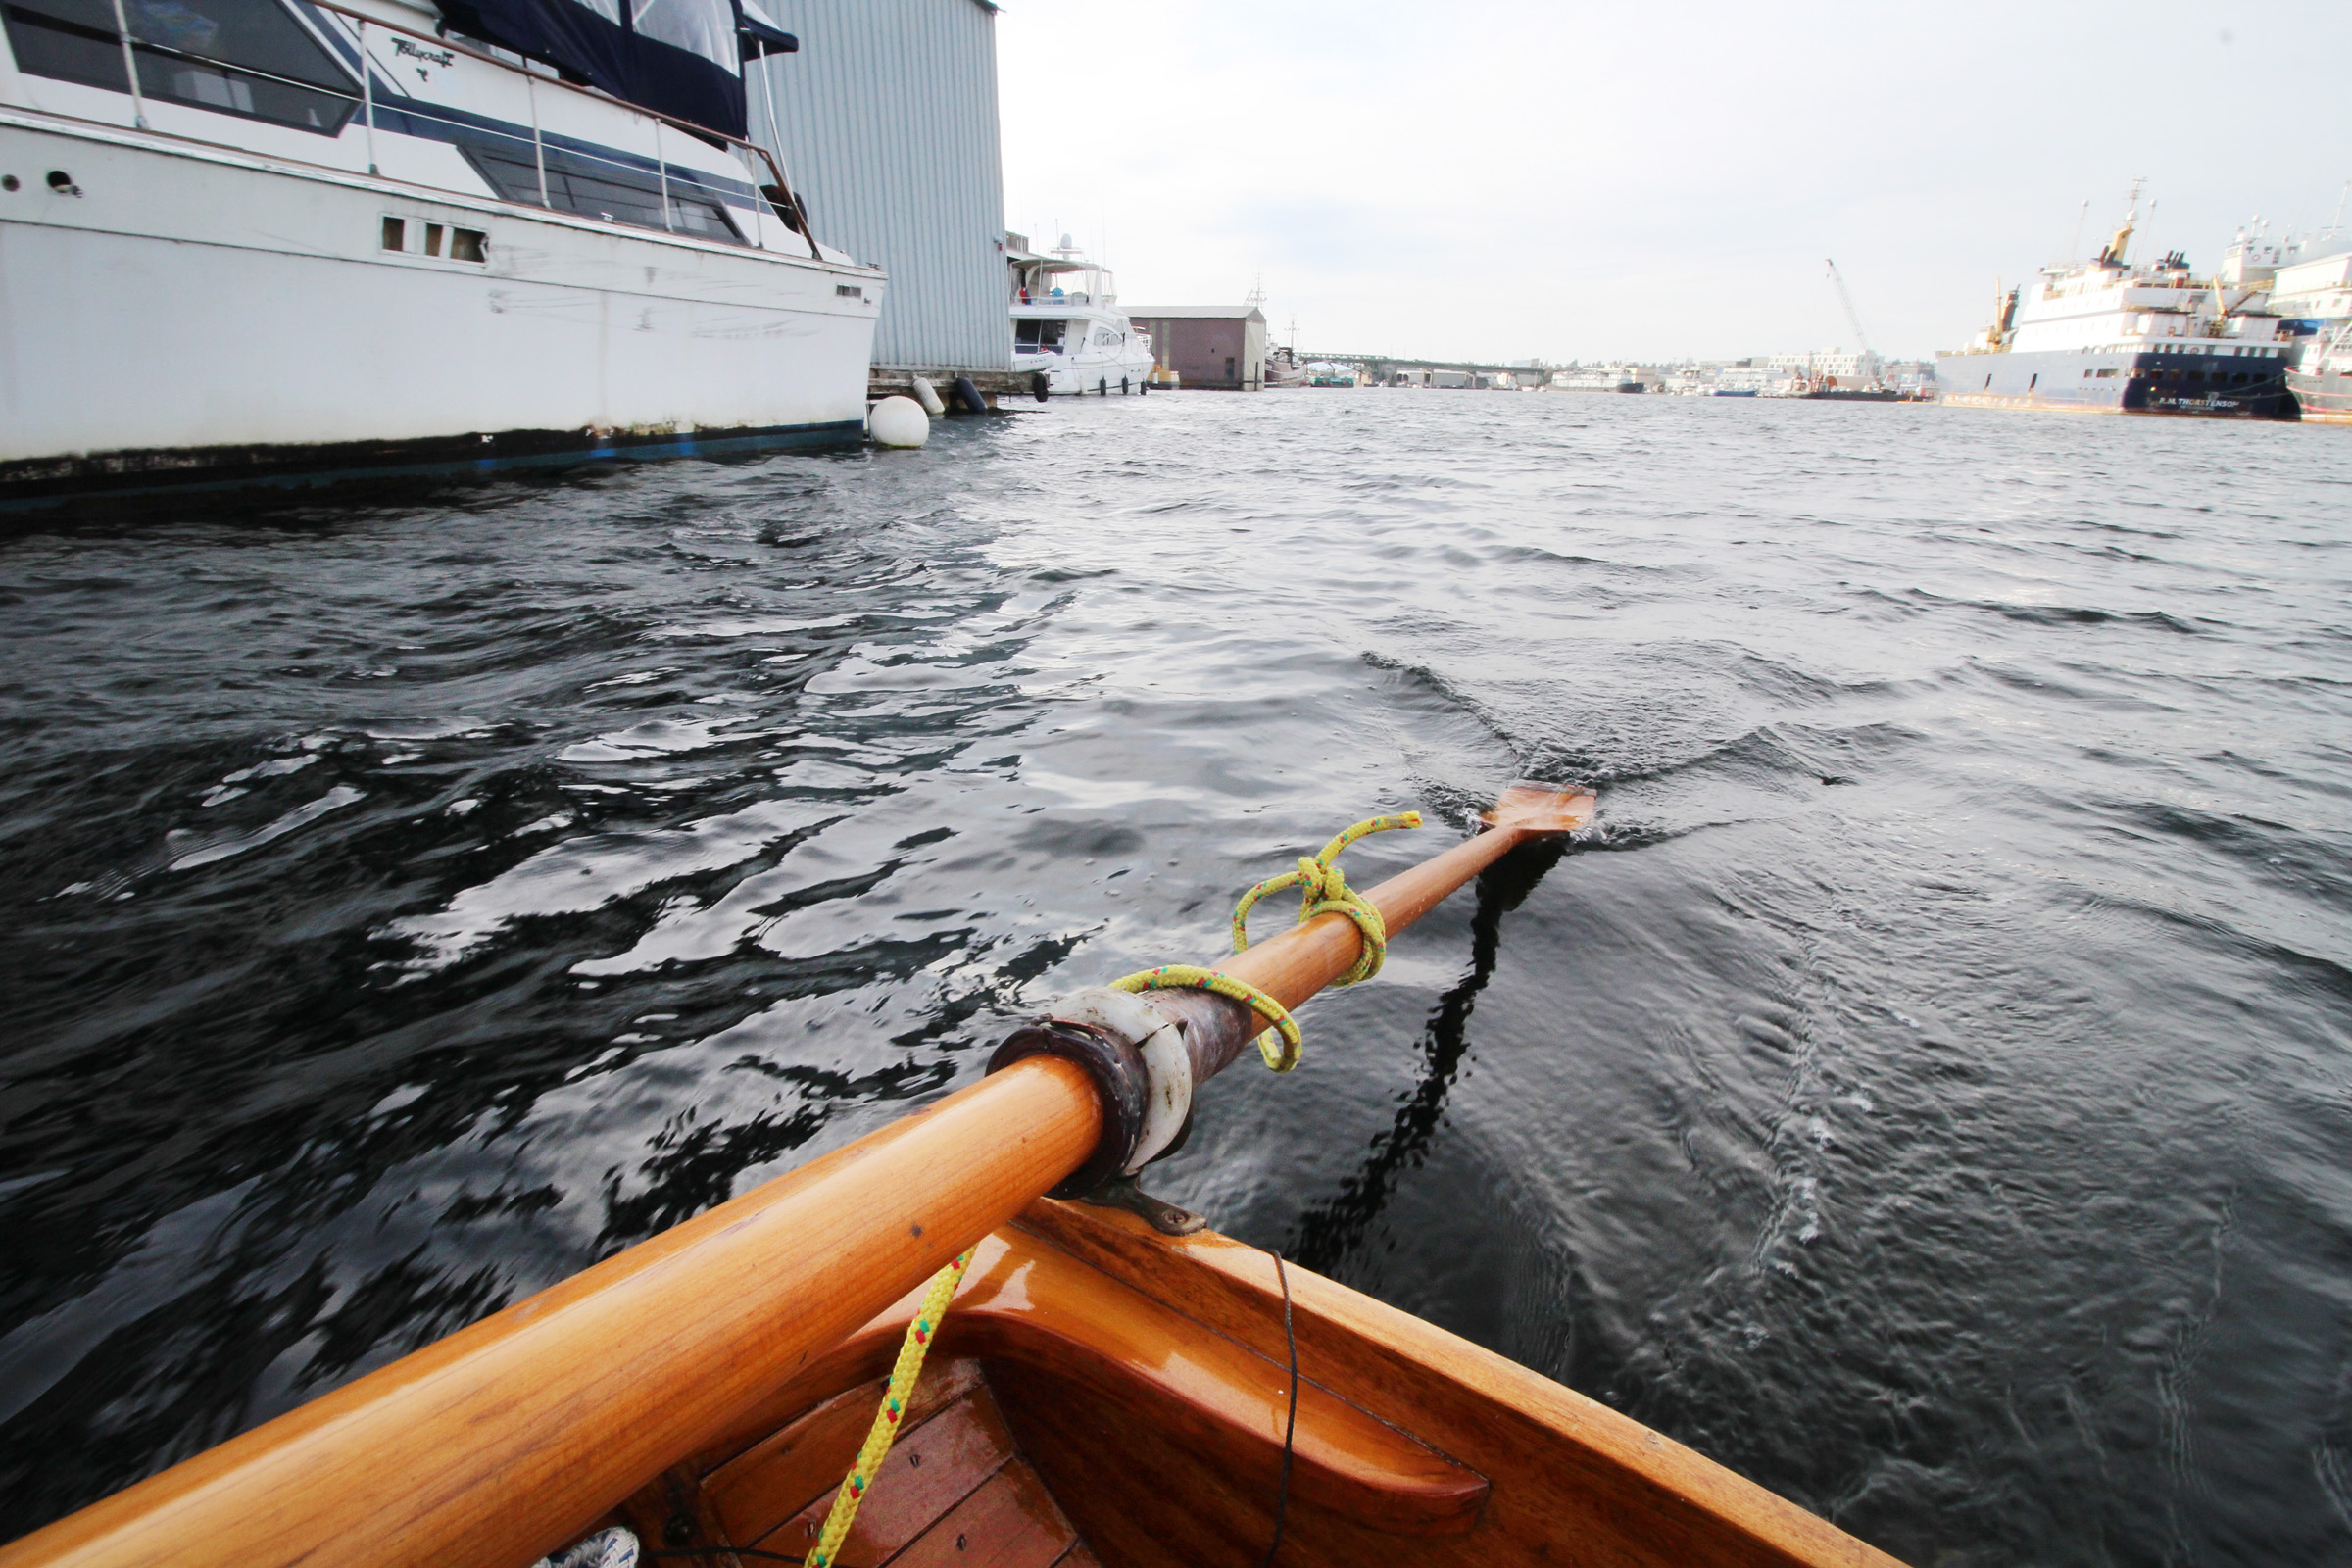
A second oar serves as a rudder. I added an oarlock, set to starboard on the transom, for the purpose. A line tethers the oar to the boat to keep it from going astray if it slips from the lock. With my weight in the stern and the spinnaker pulling at the bow, the boat tracks well without needing any steering, so the oar can trail with the back of the blade skimming on the water. I rotated the blade to face the side I wanted to steer to when I needed to change course.
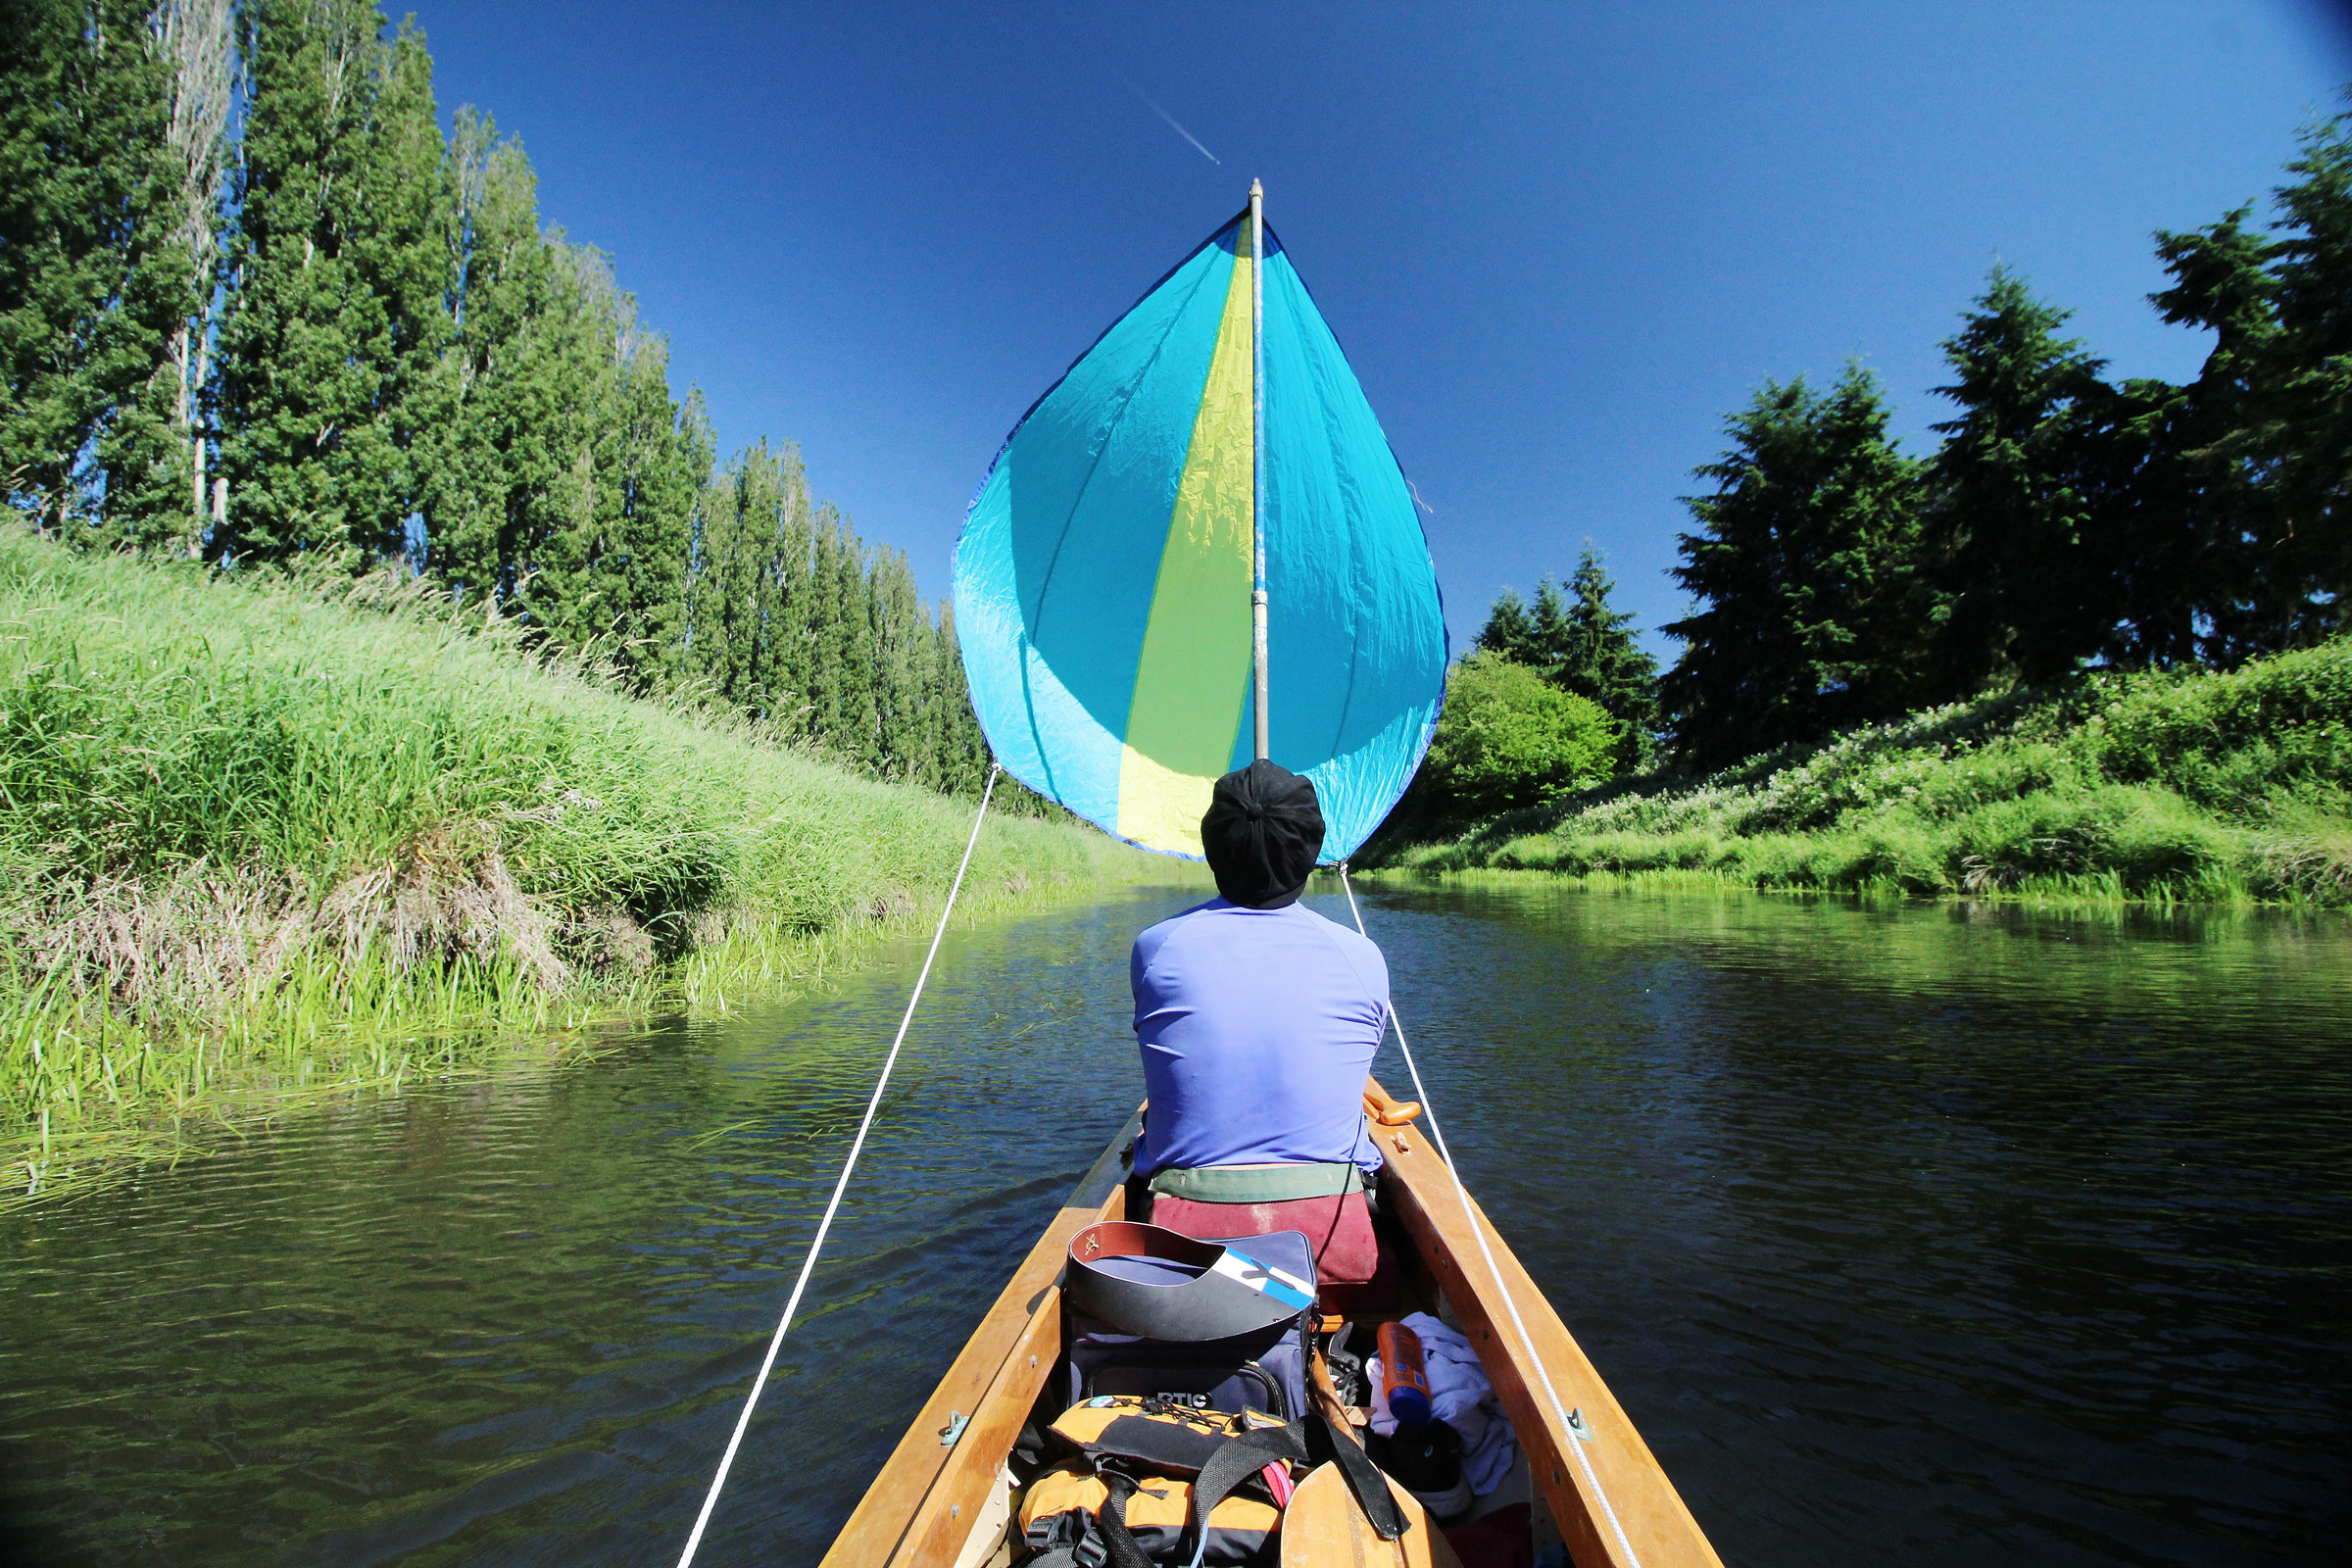
The spinnaker has also been a pleasure to use on the tandem canoe with the bow paddler holding a painter’s telescoping extension pole as a mast and the stern paddler in charge of the sheets.
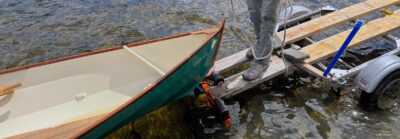
If the boat you row isn’t rigged to sail, a forward thwart just needs a hole to serve as mast partners and floorboards can have a hole or a step screwed in place to secure the oar handle. Alternatively, the forward thwart can have a hole as a step for the oar handle and a partner can bridge the gunwales. If you assign a crew member to mast duty, a backstay will take the pull of the spinnaker.
The next time you’re out rowing and a friendly following breeze pipes up, think of how pleasant it would be to put the oars to use as a mast and a rudder, take a comfortable seat in the stern, and leave the labor to the wind. ![]()
Christopher Cunningham is the editor of Small Boats Monthly.
You can share your tips and tricks of the trade with other Small Boats Magazine readers by sending us an email.

I once sailed my canoe downwind using a tent’s rain fly as the sail, held aloft with a canoe paddle. Of course it didn’t work all that well… tough to hold the wind and difficult to rig. But it was fun and we moved along OK while eating lunch. Chris’ idea of building an actual spinnaker takes the idea a lot farther than I ever did. A great project!
Very sweet. I can think of at least a bazillion occasions when a rig like that would’ve been useful. Thanks for the article, Chris!
Any idea how many square feet are in the one you made, Chris? I missed that and could calculate it, but thought I would ask first…..
Hi Clint,
I did a rough calculation of areas on the graph-paper drawing and came up with 5.1 sq ft per panel, so the 5-panel spinnaker would be 25.5 sq ft. It seems like a pretty good size for the 14′ Whitehall and the the 19′ decked tandem canoe.
Chris
Good work on the spinnaker. I had thought about that sort of arrangement, so it is good to see it in action. Thanks
I’ve had pretty good luck using a small single-line inflating power kite.