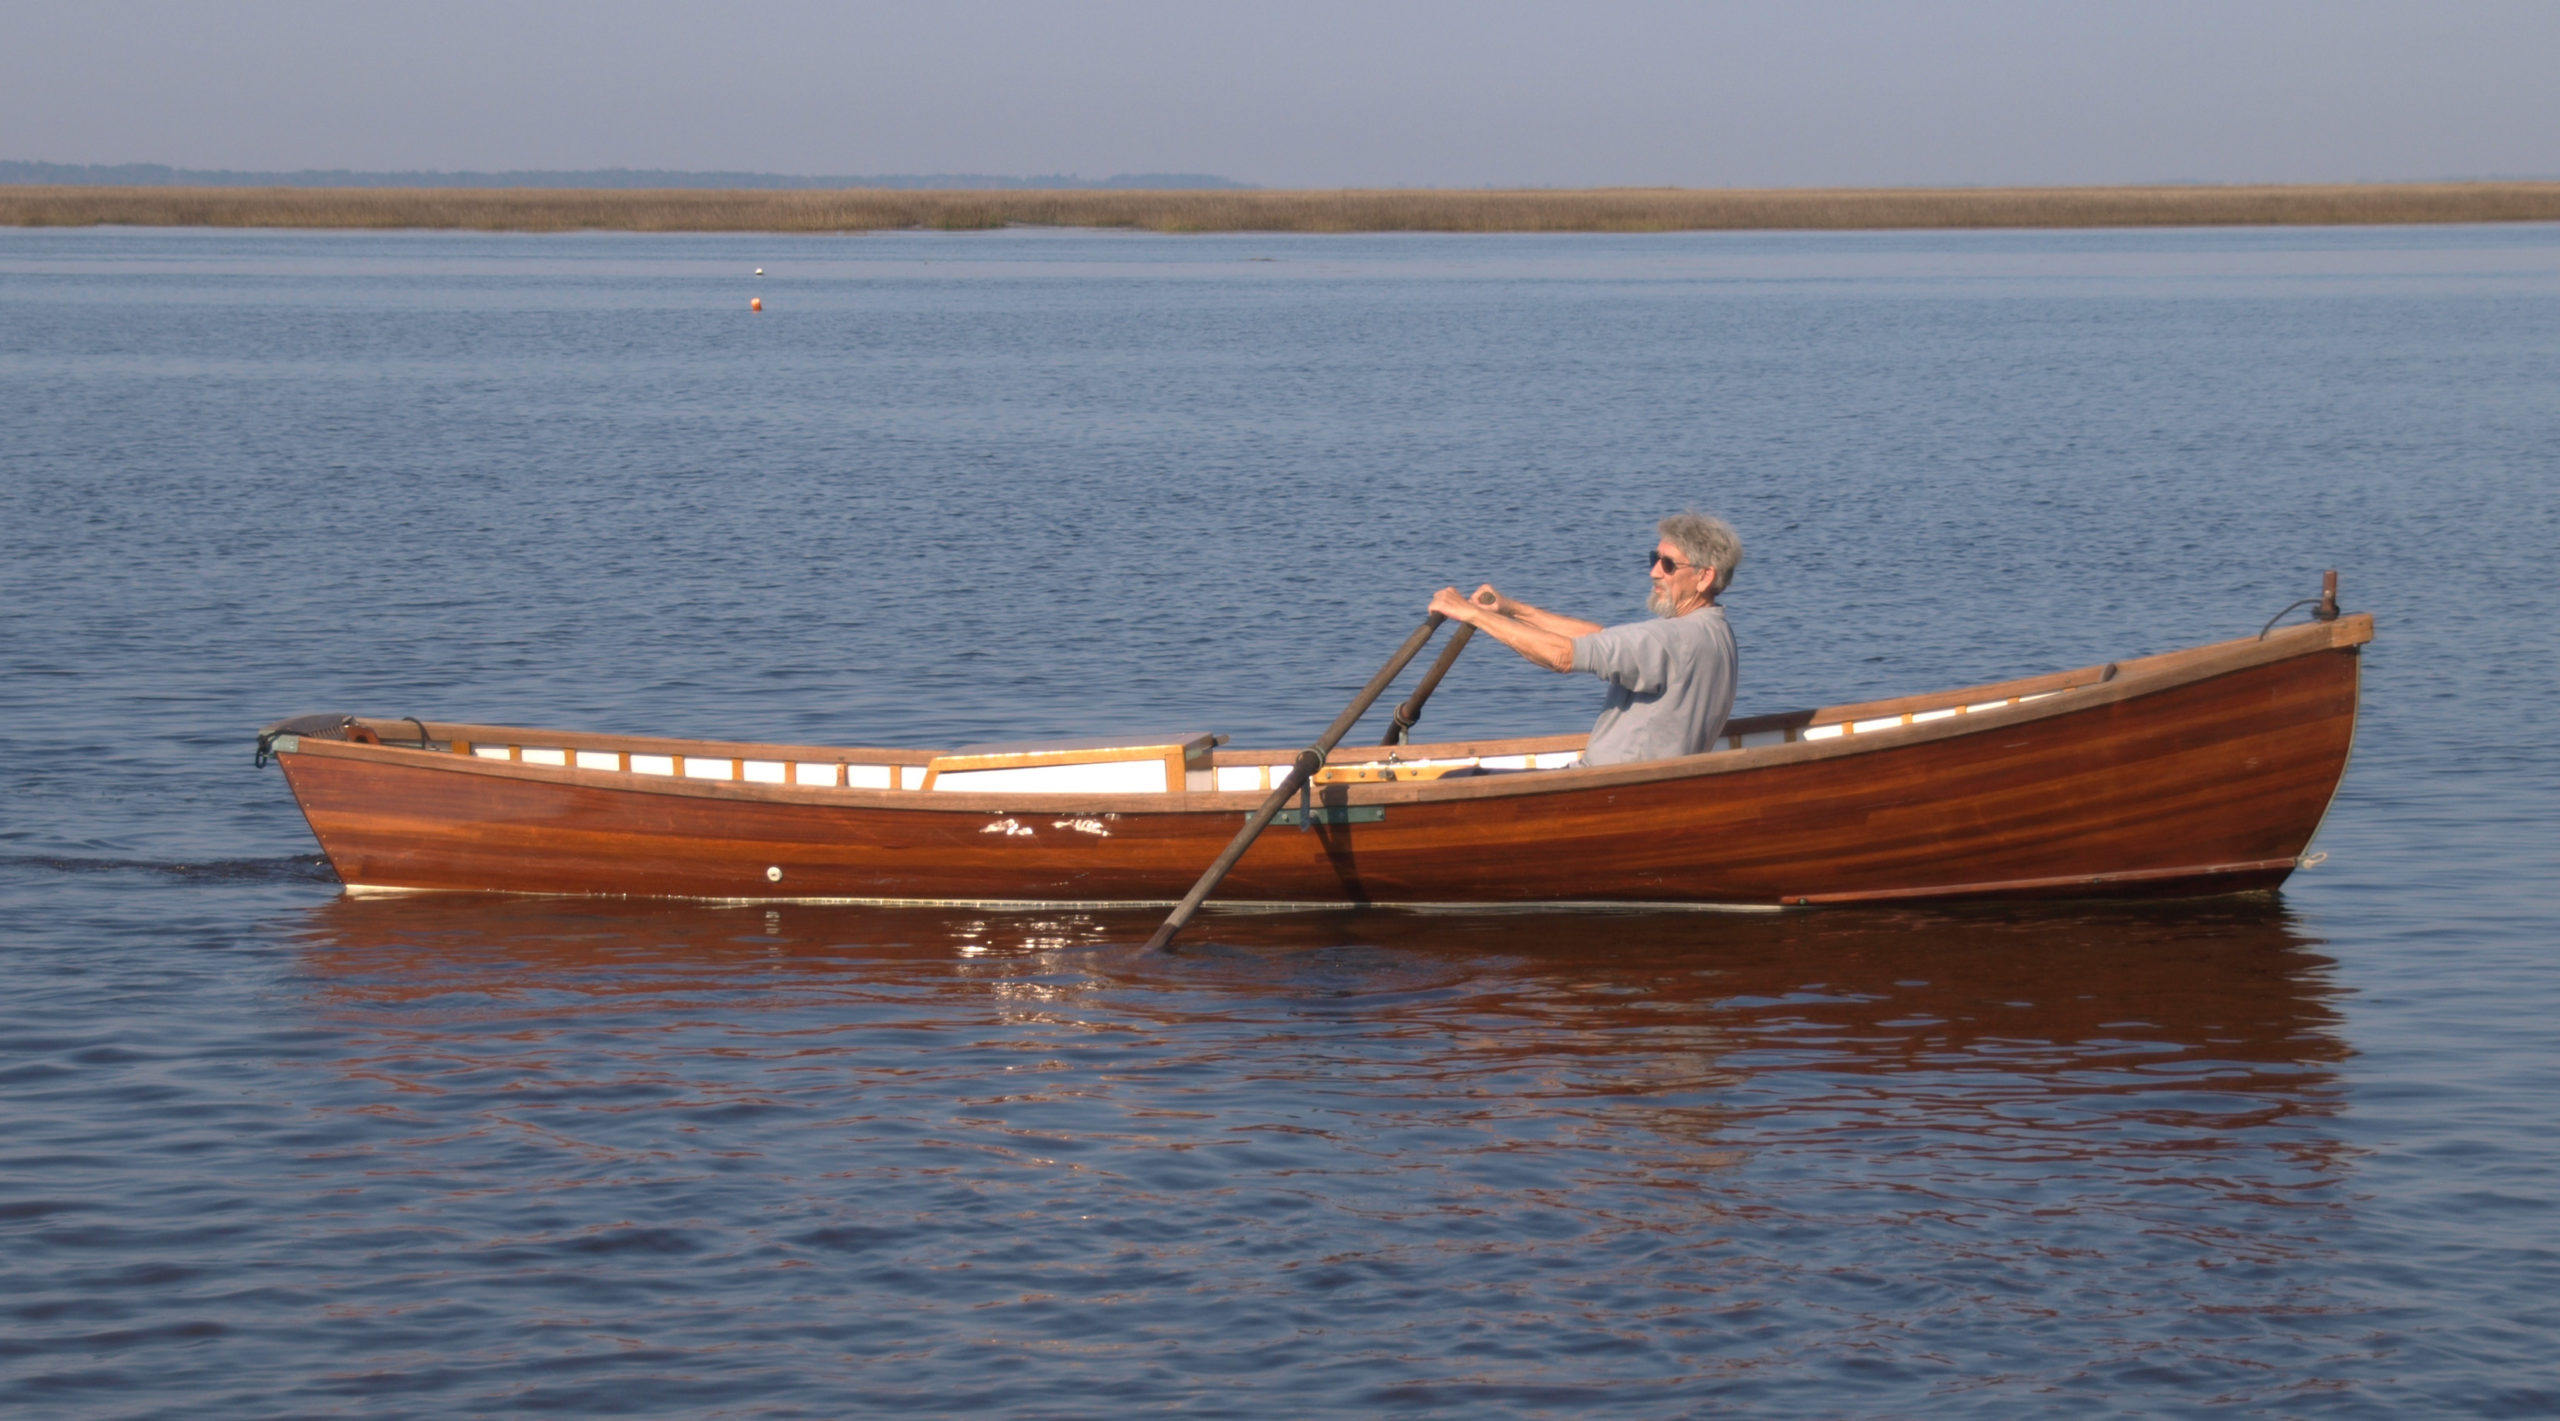
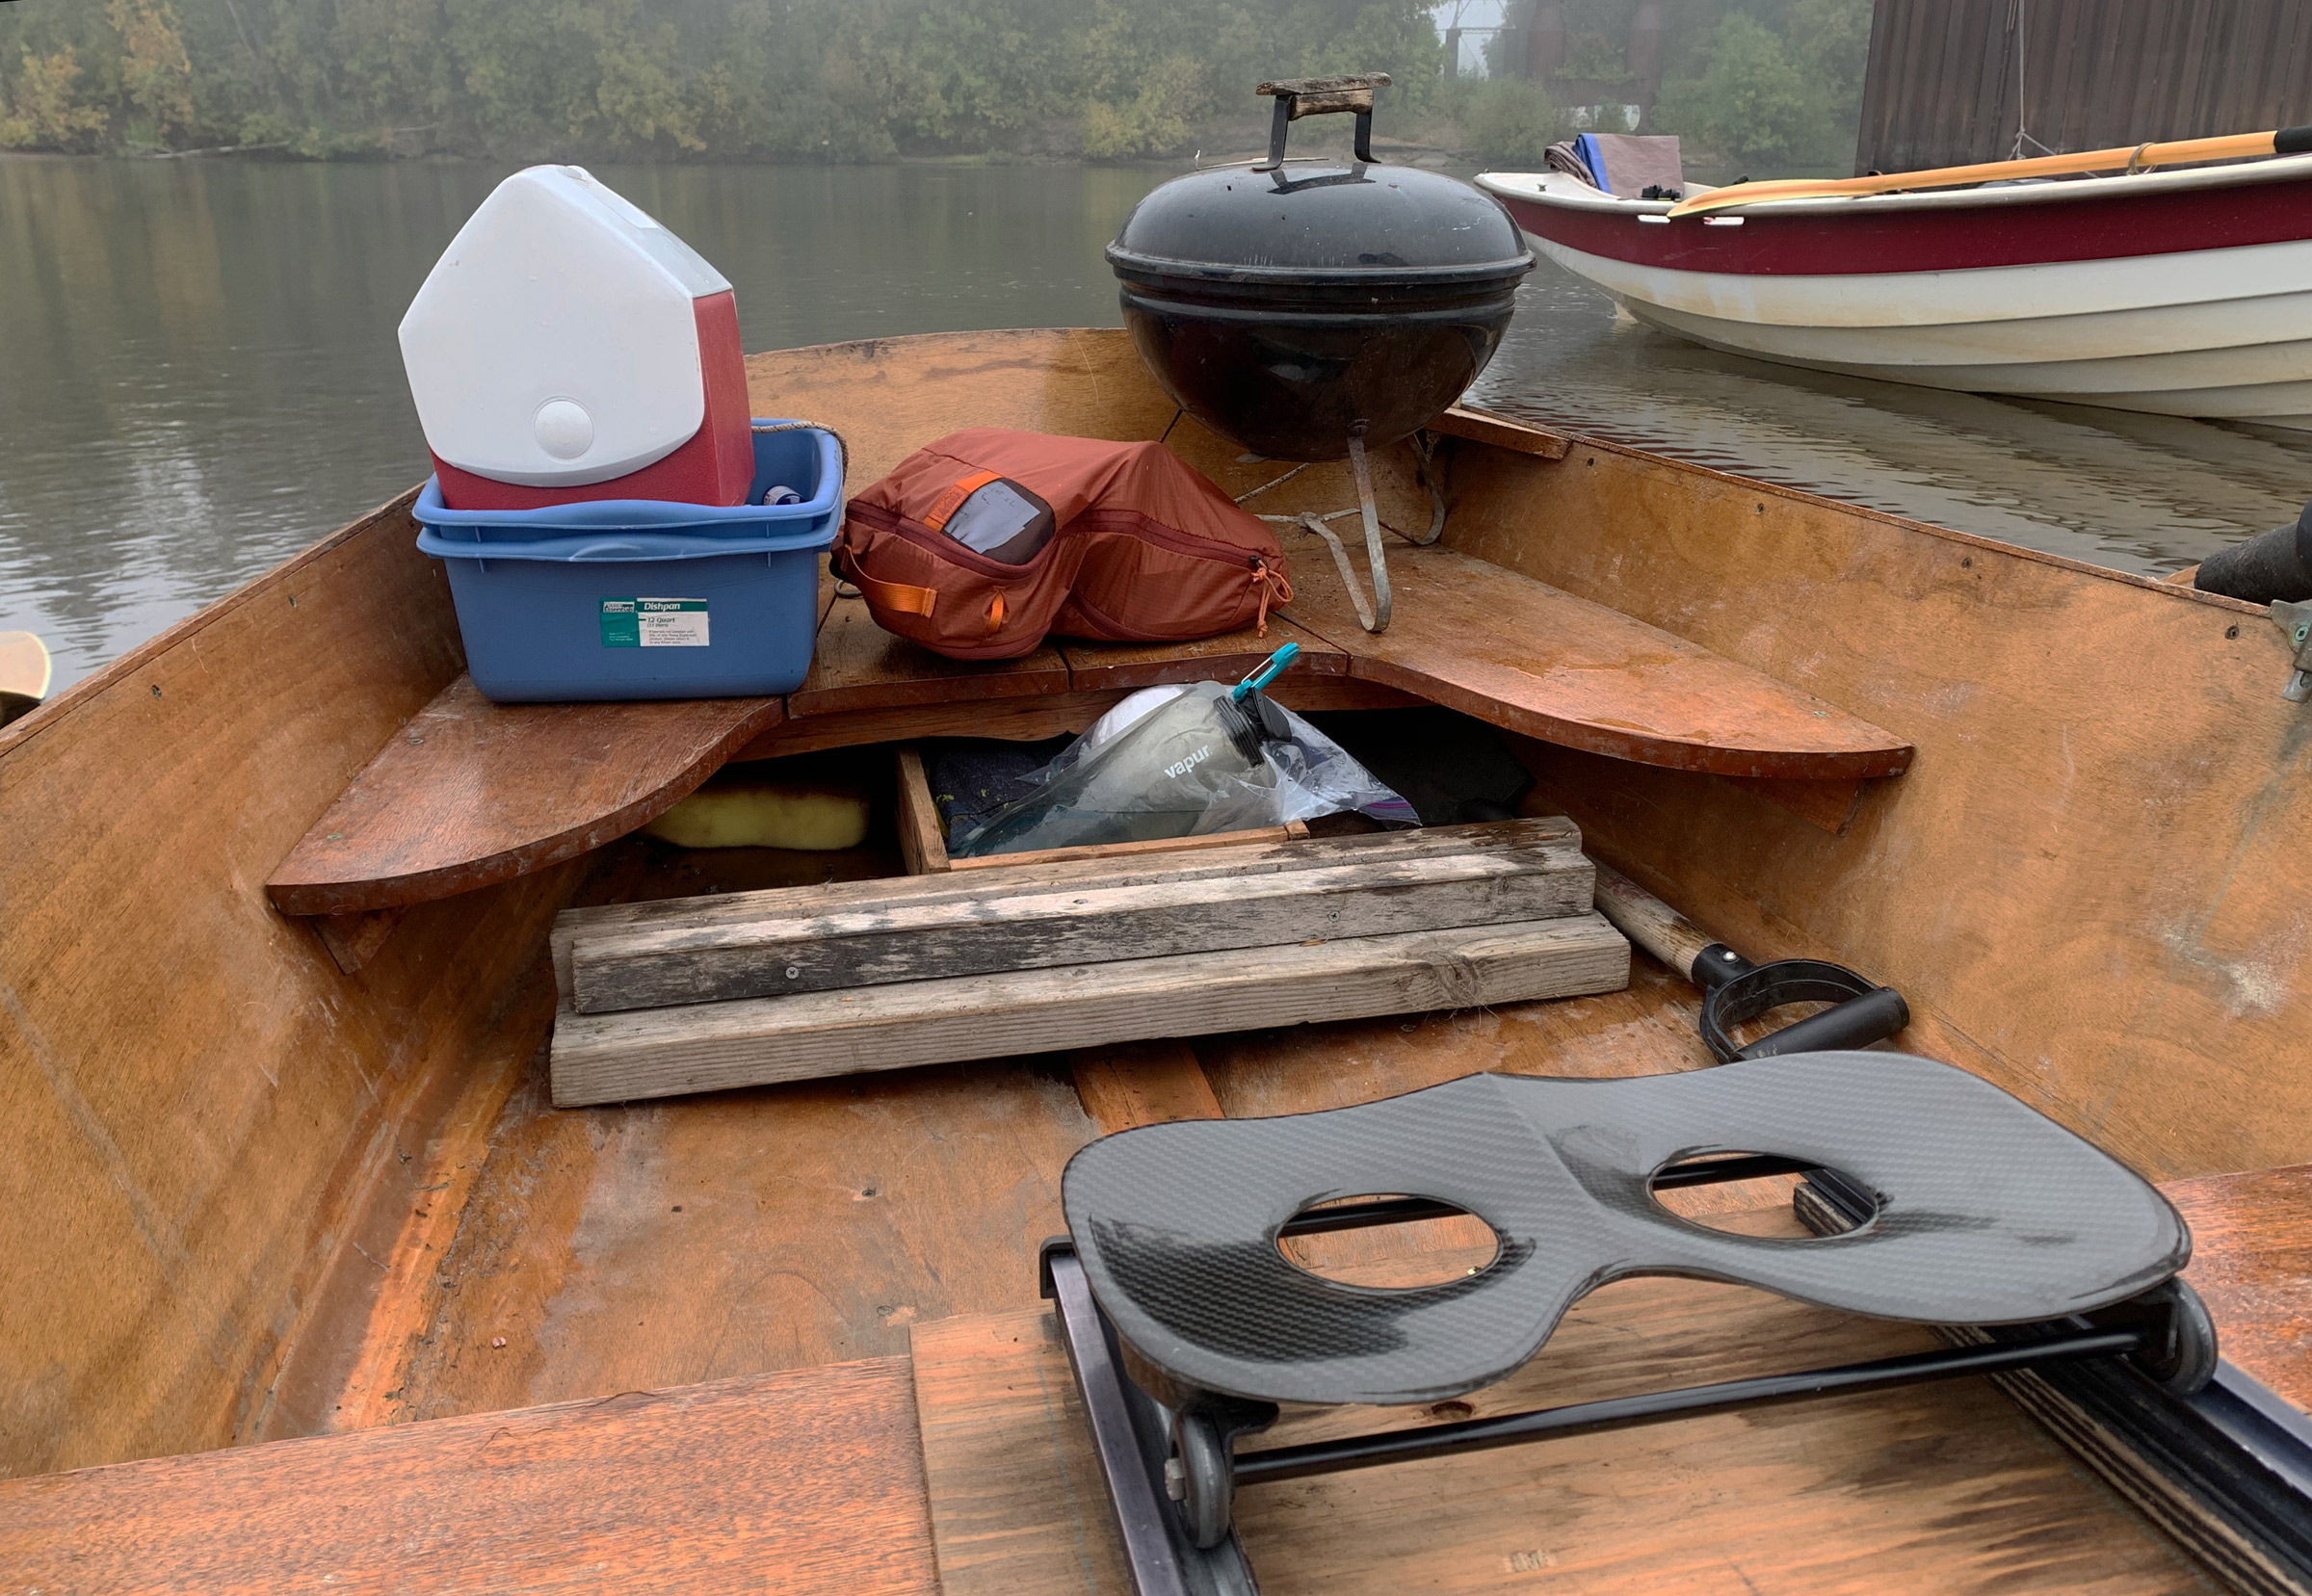
The afternoon sun dipped behind a tight row of cottonwoods on the landing a mile up the Willamette River from downtown Corvallis, Oregon. It was the first weekend of October, and a few beams of light slipped through the leaves to reach the floating dock where I was packing CLARABELLE, my 17′ fiberglass Jersey Skiff. Despite the shade, my shirt was damp with sweat and stuck to my skin. I stowed two ice chests, a large sack of briquettes, a stove, a stovetop espresso maker, a few bottles of wine, oars, a sleeping bag, and a bivy sack. Jon and I would be well-stocked for our two-night, 37-mile row downriver to the town of Independence.
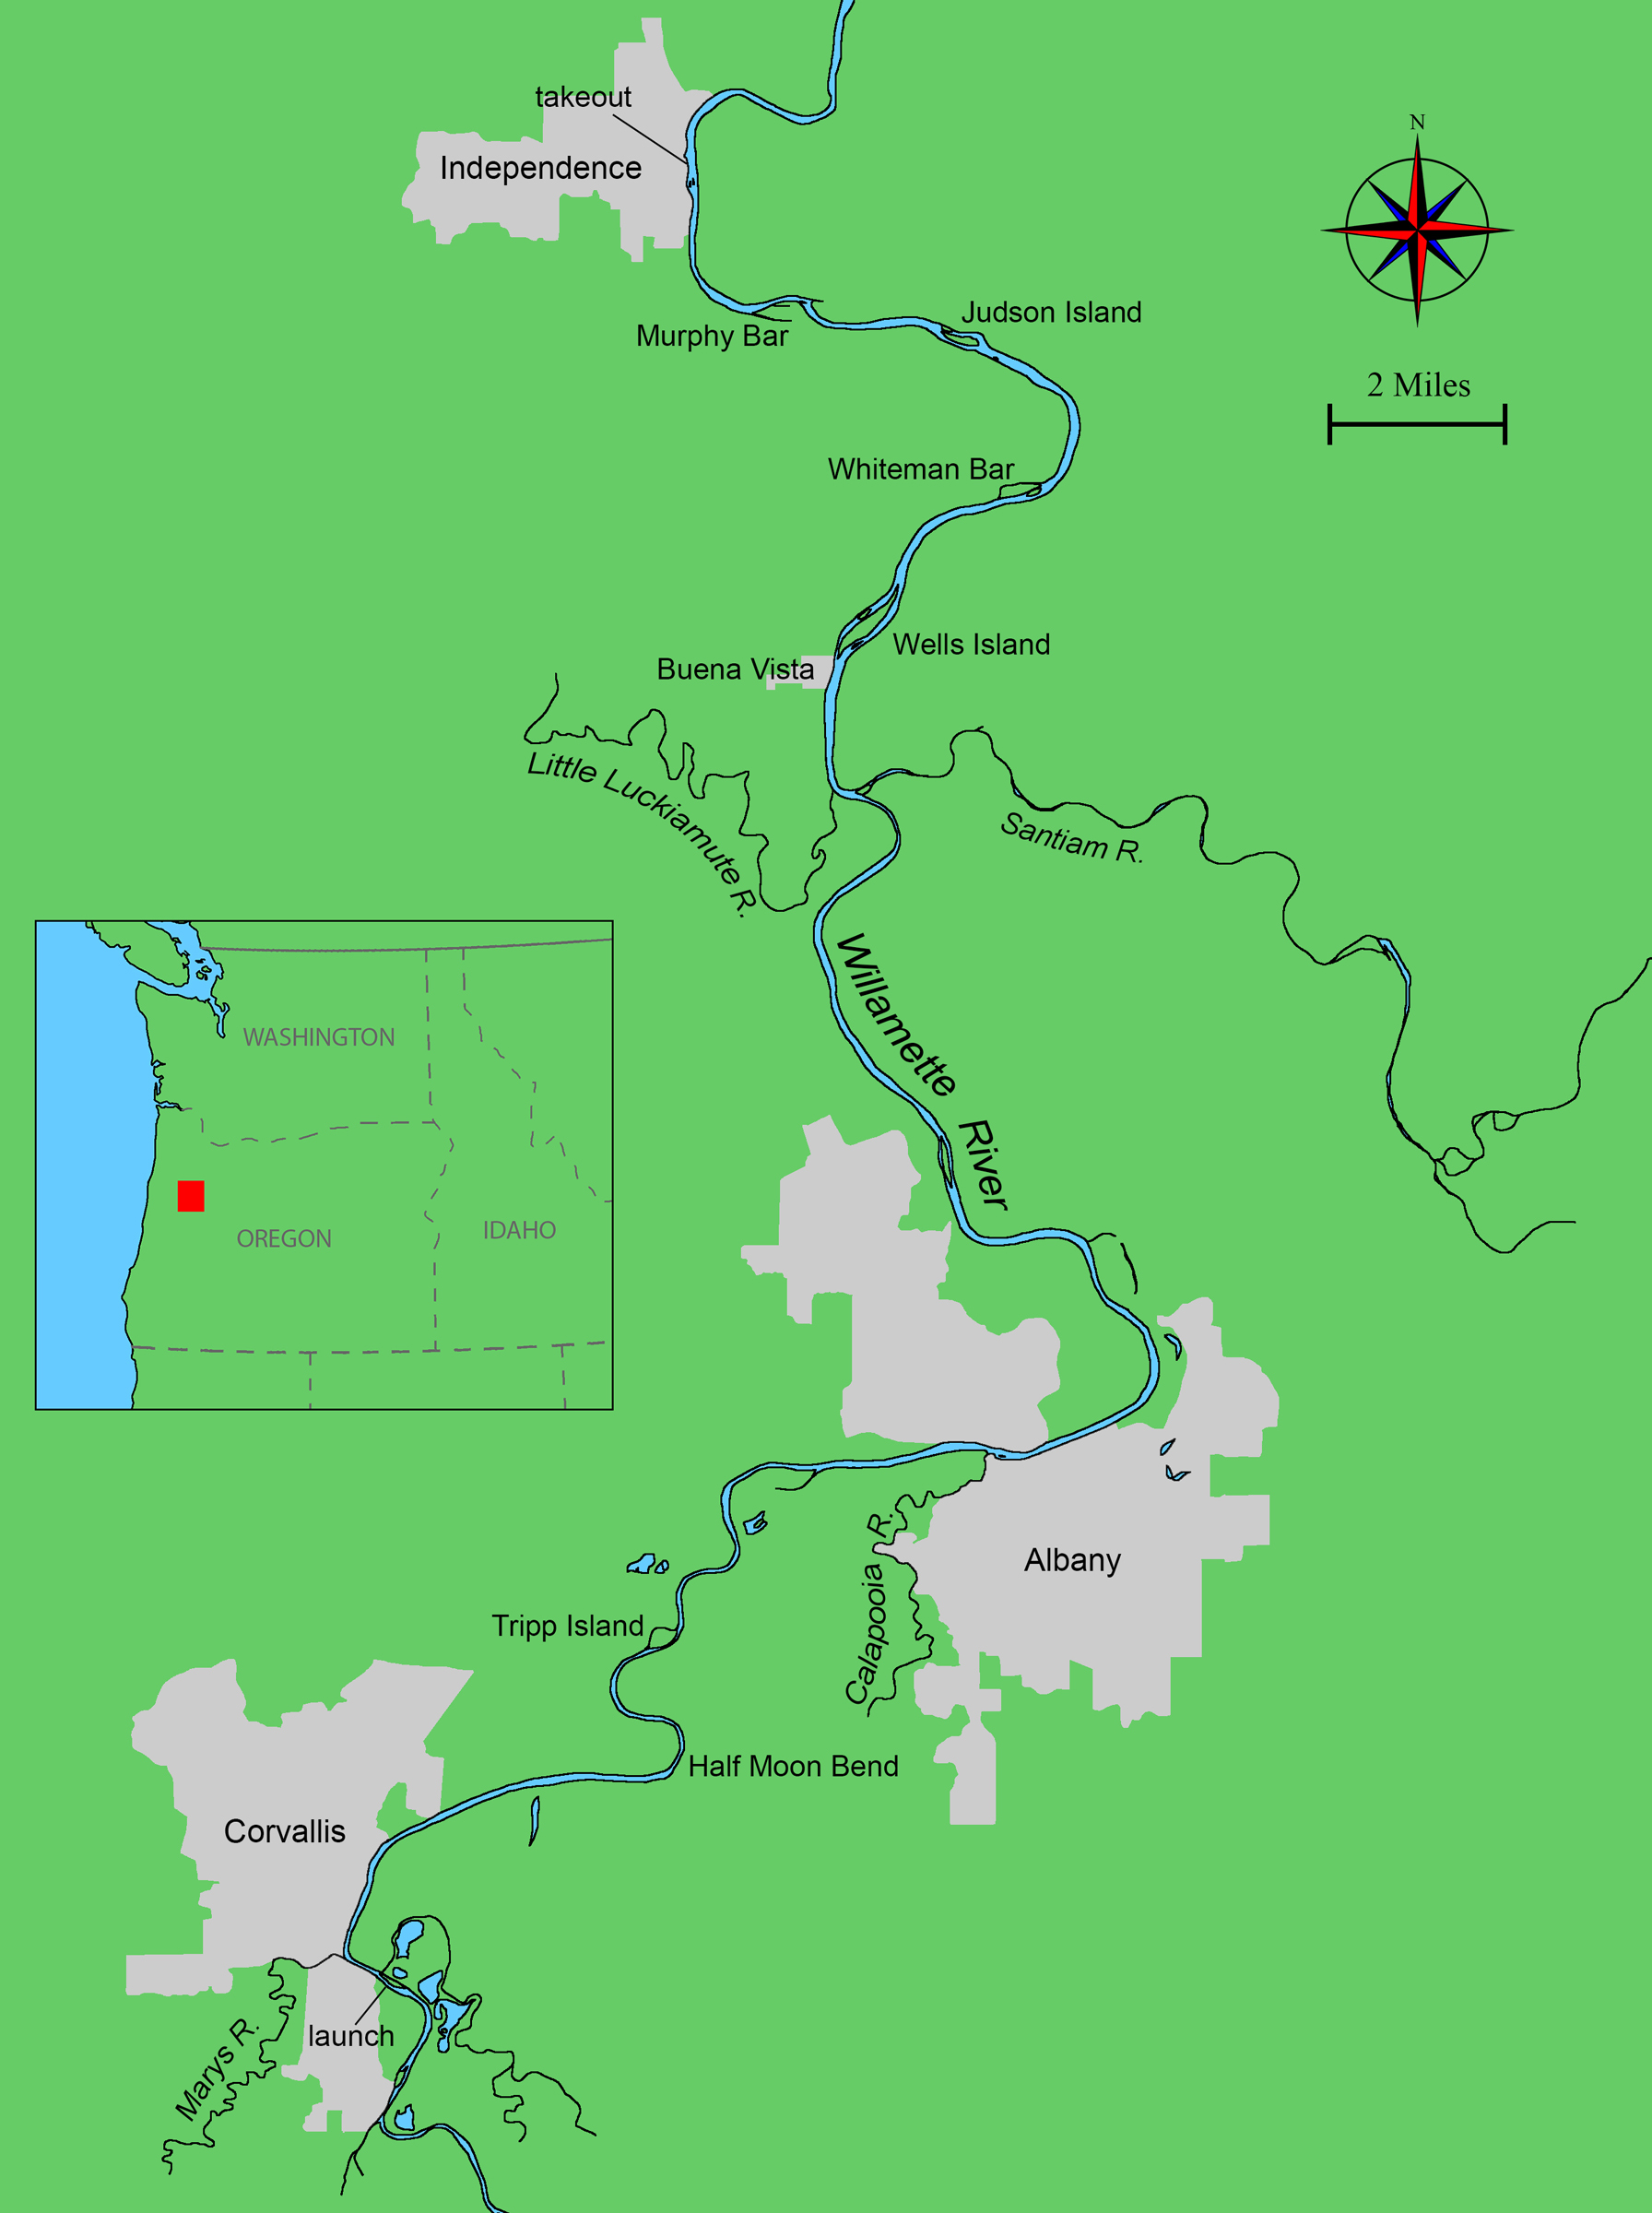 Roger Siebert
.
At the end of the dock, a lanky teen in a baseball cap and knee-length shorts cast his fishing line next to a tree that had fallen into the water, reaching a few leafy limbs and branches out over the river. Across the ramp from the dock, a rocky wing dam angled into the river to separate its swirling current from the still water at the foot of the boat ramp. A bare-chested man with graying brown hair waded in waist-deep water along dam, his arm draped over a blue and black water tube to steady himself over the uneven rocks. His companion, a woman in blue shorts and a white shirt, was sprawled over her tube, gazing into the water, her face inches from it, while spinning in the eddy at the edge of the river’s swift current.
Jon had left CLARABELLE’s trailer in the parking lot above the boat ramp, and again backed his jet-black panel van down the ramp. His boat, a 10′ plywood Union Bay Skiff he and his wife had built, was small enough to fit entirely inside the van. He had named it H2ONUS after the baseball Hall of Famer, Honus Wagner.
The stumpy skiff emerged already packed with oars, dry bags, axe, and a charcoal grill. We slid the boat into the water, Jon tossed me the painter, and I tied H2ONUS in front of CLARABELLE while he parked the van.
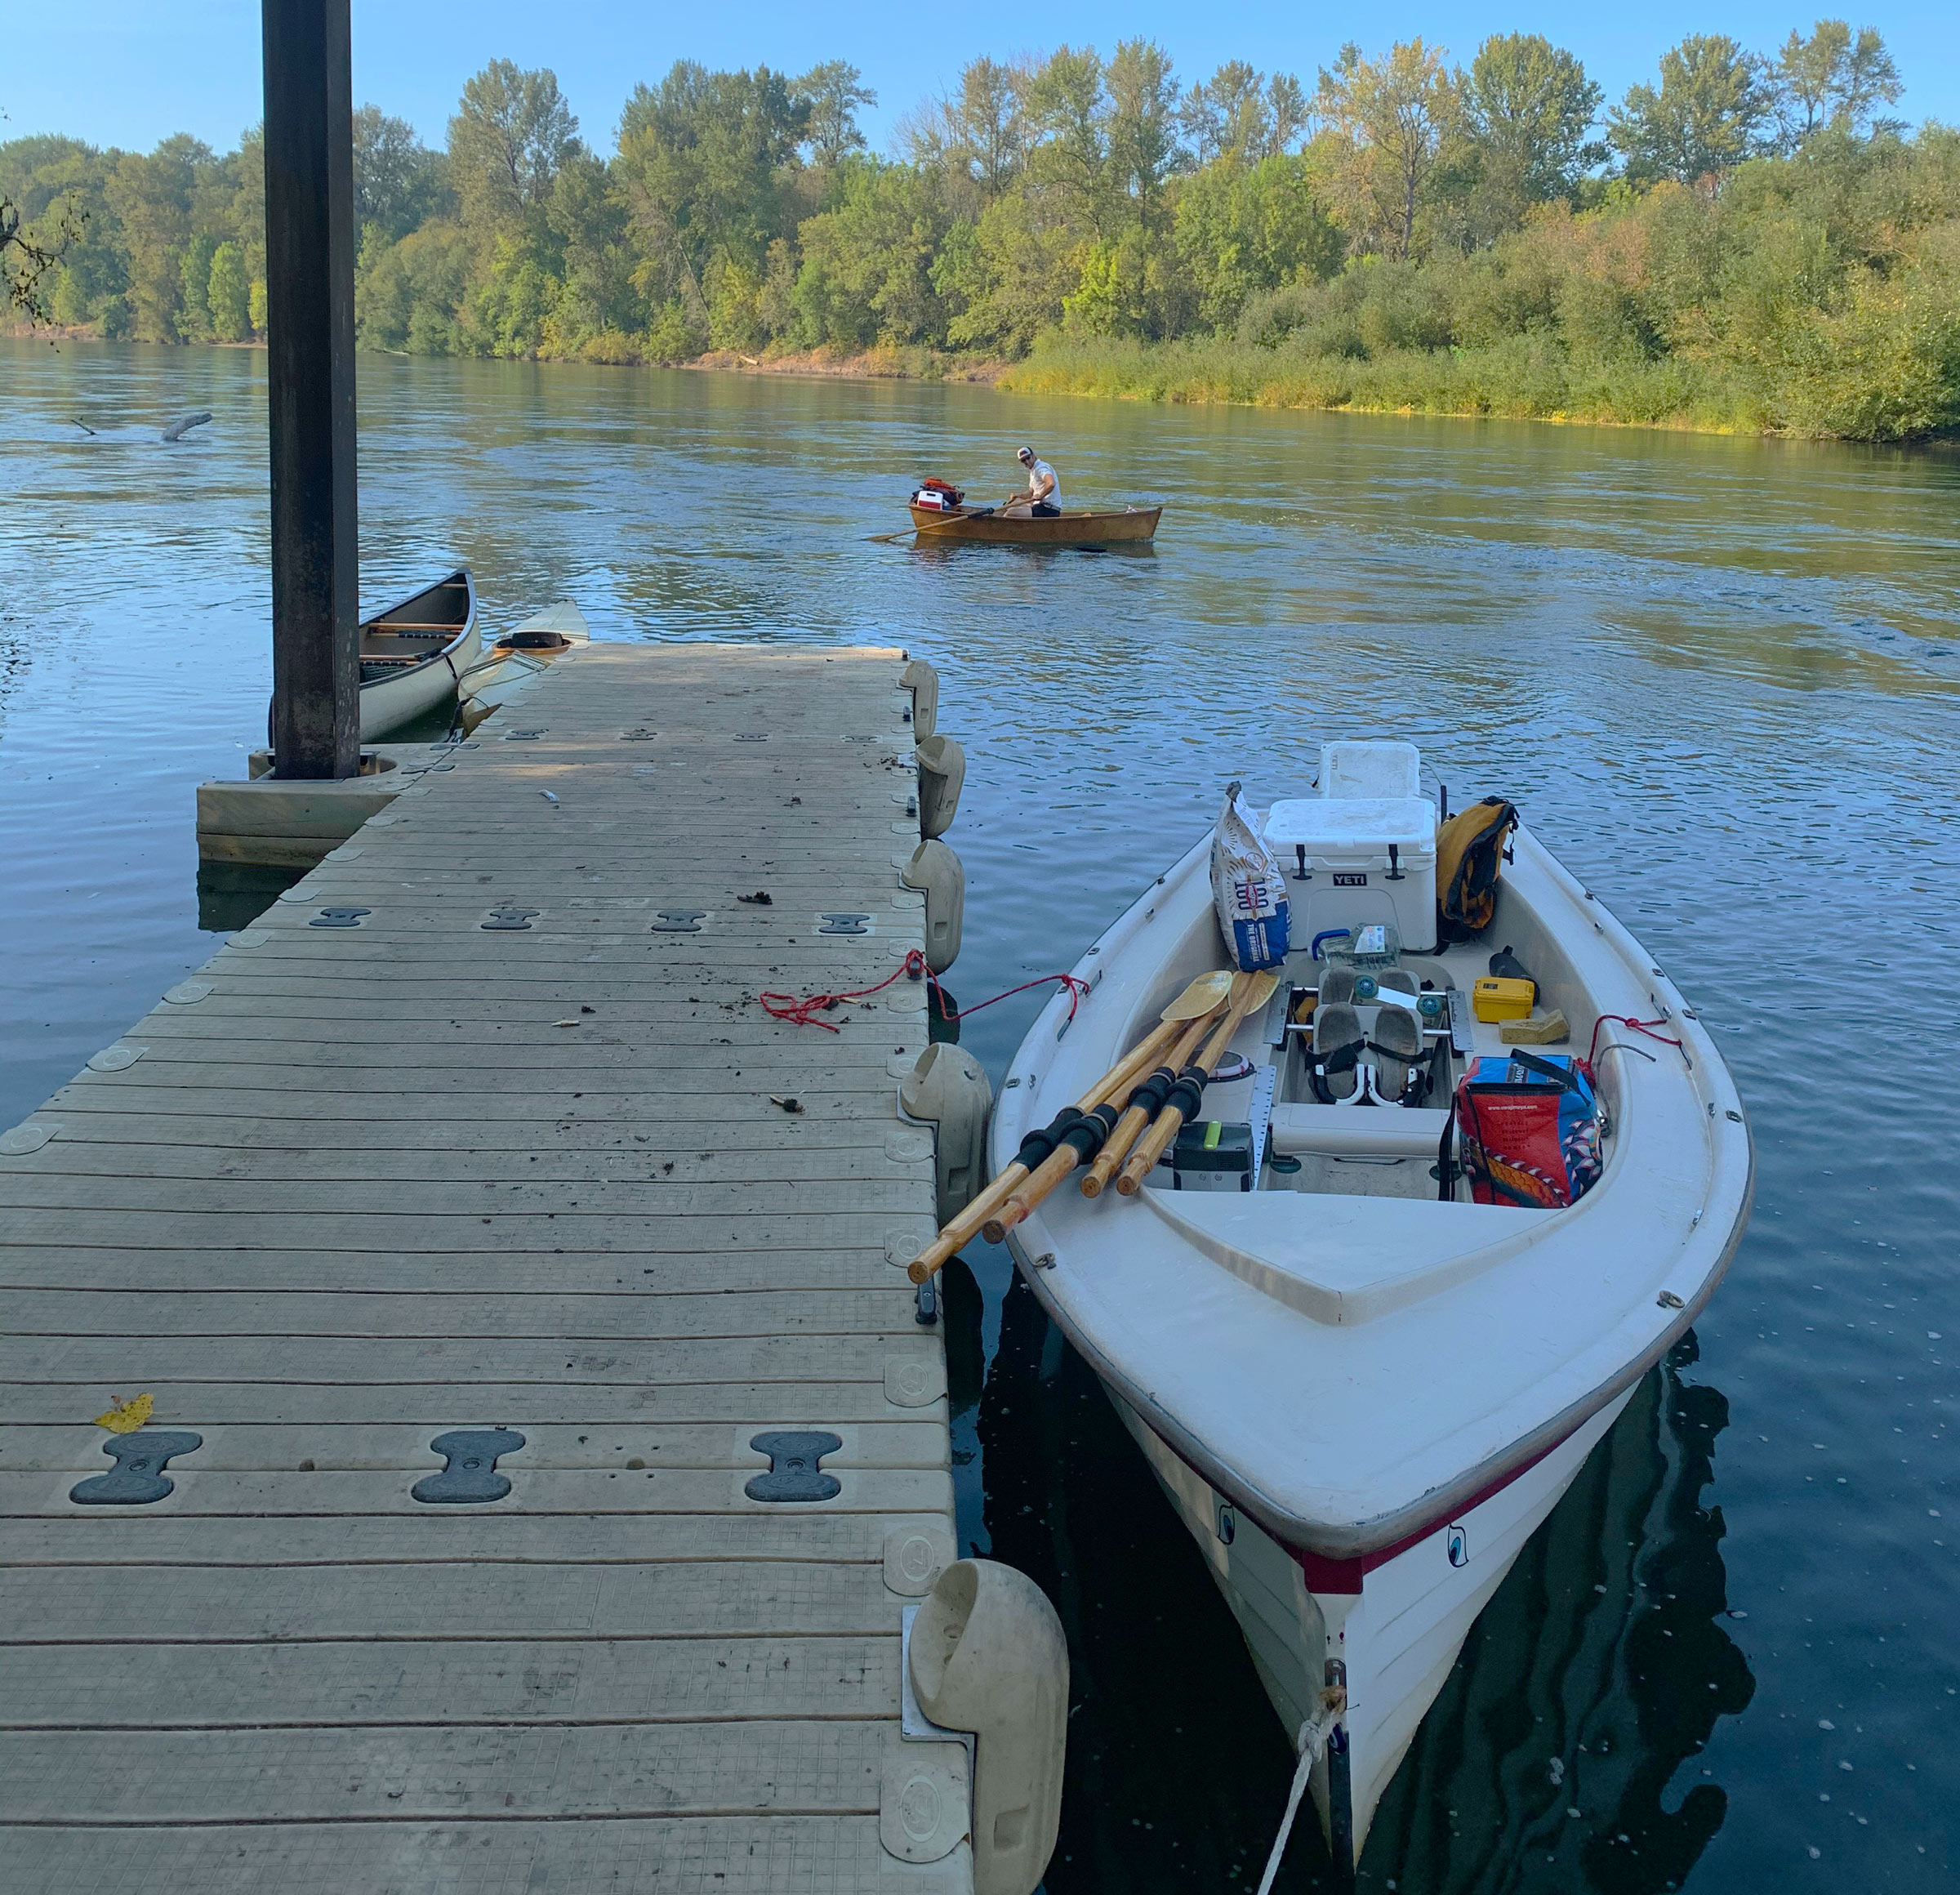 Photographs by the author
Jon, aboard H2ONUS, drifted away from the dock where CLARABELLE waits to follow. I’d row CLARABELLE solo until our rendezvous with our friend Hart in Albany.
Jon trotted down the gangway and climbed aboard H2ONUS. He pushed away, scraping his starboard oar across the dock. The skiff drifted toward the wing dam, and Jon took a few gentle strokes to spin the bow downriver. Once past the rip-rap, he reached aft to take a full stroke, and as he lifted his hands at the catch, his knuckles caught the lid of the charcoal grill. It flipped over the gunwale, landed in the water upside down, and floated in the eddy. With a laugh, he backed up and retrieved it, then with the long strokes from his sliding seat launched himself into the mid-river current.
The carbon-fiber sliding seat aboard H2ONUS would seem out of place in a 10′ skiff with some loose weathered lumber serving as a stretcher, but all three of us rowed for the University of Puget Sound crew and were devotees of sliding-seat rowing.
CLARABELLE’s gear was still a mess; I’d sort it out when the river began to carry me downstream. I clambered on the foredeck, kicked off the dock, and drove her stern-first through the eddy. I soon caught up with Jon, who had stopped rowing to secure the grill lid with a bit of cord.
Away from the riverbank’s shade, the slanting afternoon sunlight stung my bare arms. I unrolled my shirt sleeves down to my wrists and took a long drink from a six-liter water bag. Black cottonwood, white alder, and willow leaned out from the banks; their leaves ruffled in the light wind and muffled the sound of traffic on a highway leading to downtown Corvallis. Jon and I traded leads, but stayed close enough to carry on a conversation. The Willamette curved through a bend from northwest to northeast, at its apex taking us past the Marys River, a tributary flowing into the Willamette from the left bank, and then under the steel girder highway bridge set on four concrete pillars. Water roared as it rushed past the logs caught on their upriver edges. Cars sped by above us. Annoyed by the noise, I bent my oars to put the racket behind me.
Beyond the bridge, I caught glimpses of buildings in Corvallis through gaps in the trees and brush on the left bank. A mile beyond the last bridge, the river followed a sweeping turn east for several miles, and the hiss and rumble of the traffic faded astern. On river right floated the long dock and white twin-hulled coaching launches of the Oregon State University crew, and for the next 1-1/2 miles, between the trunks of the trees lining the bank, I watched golfers traipsing over rolling hills of close-cropped grass.
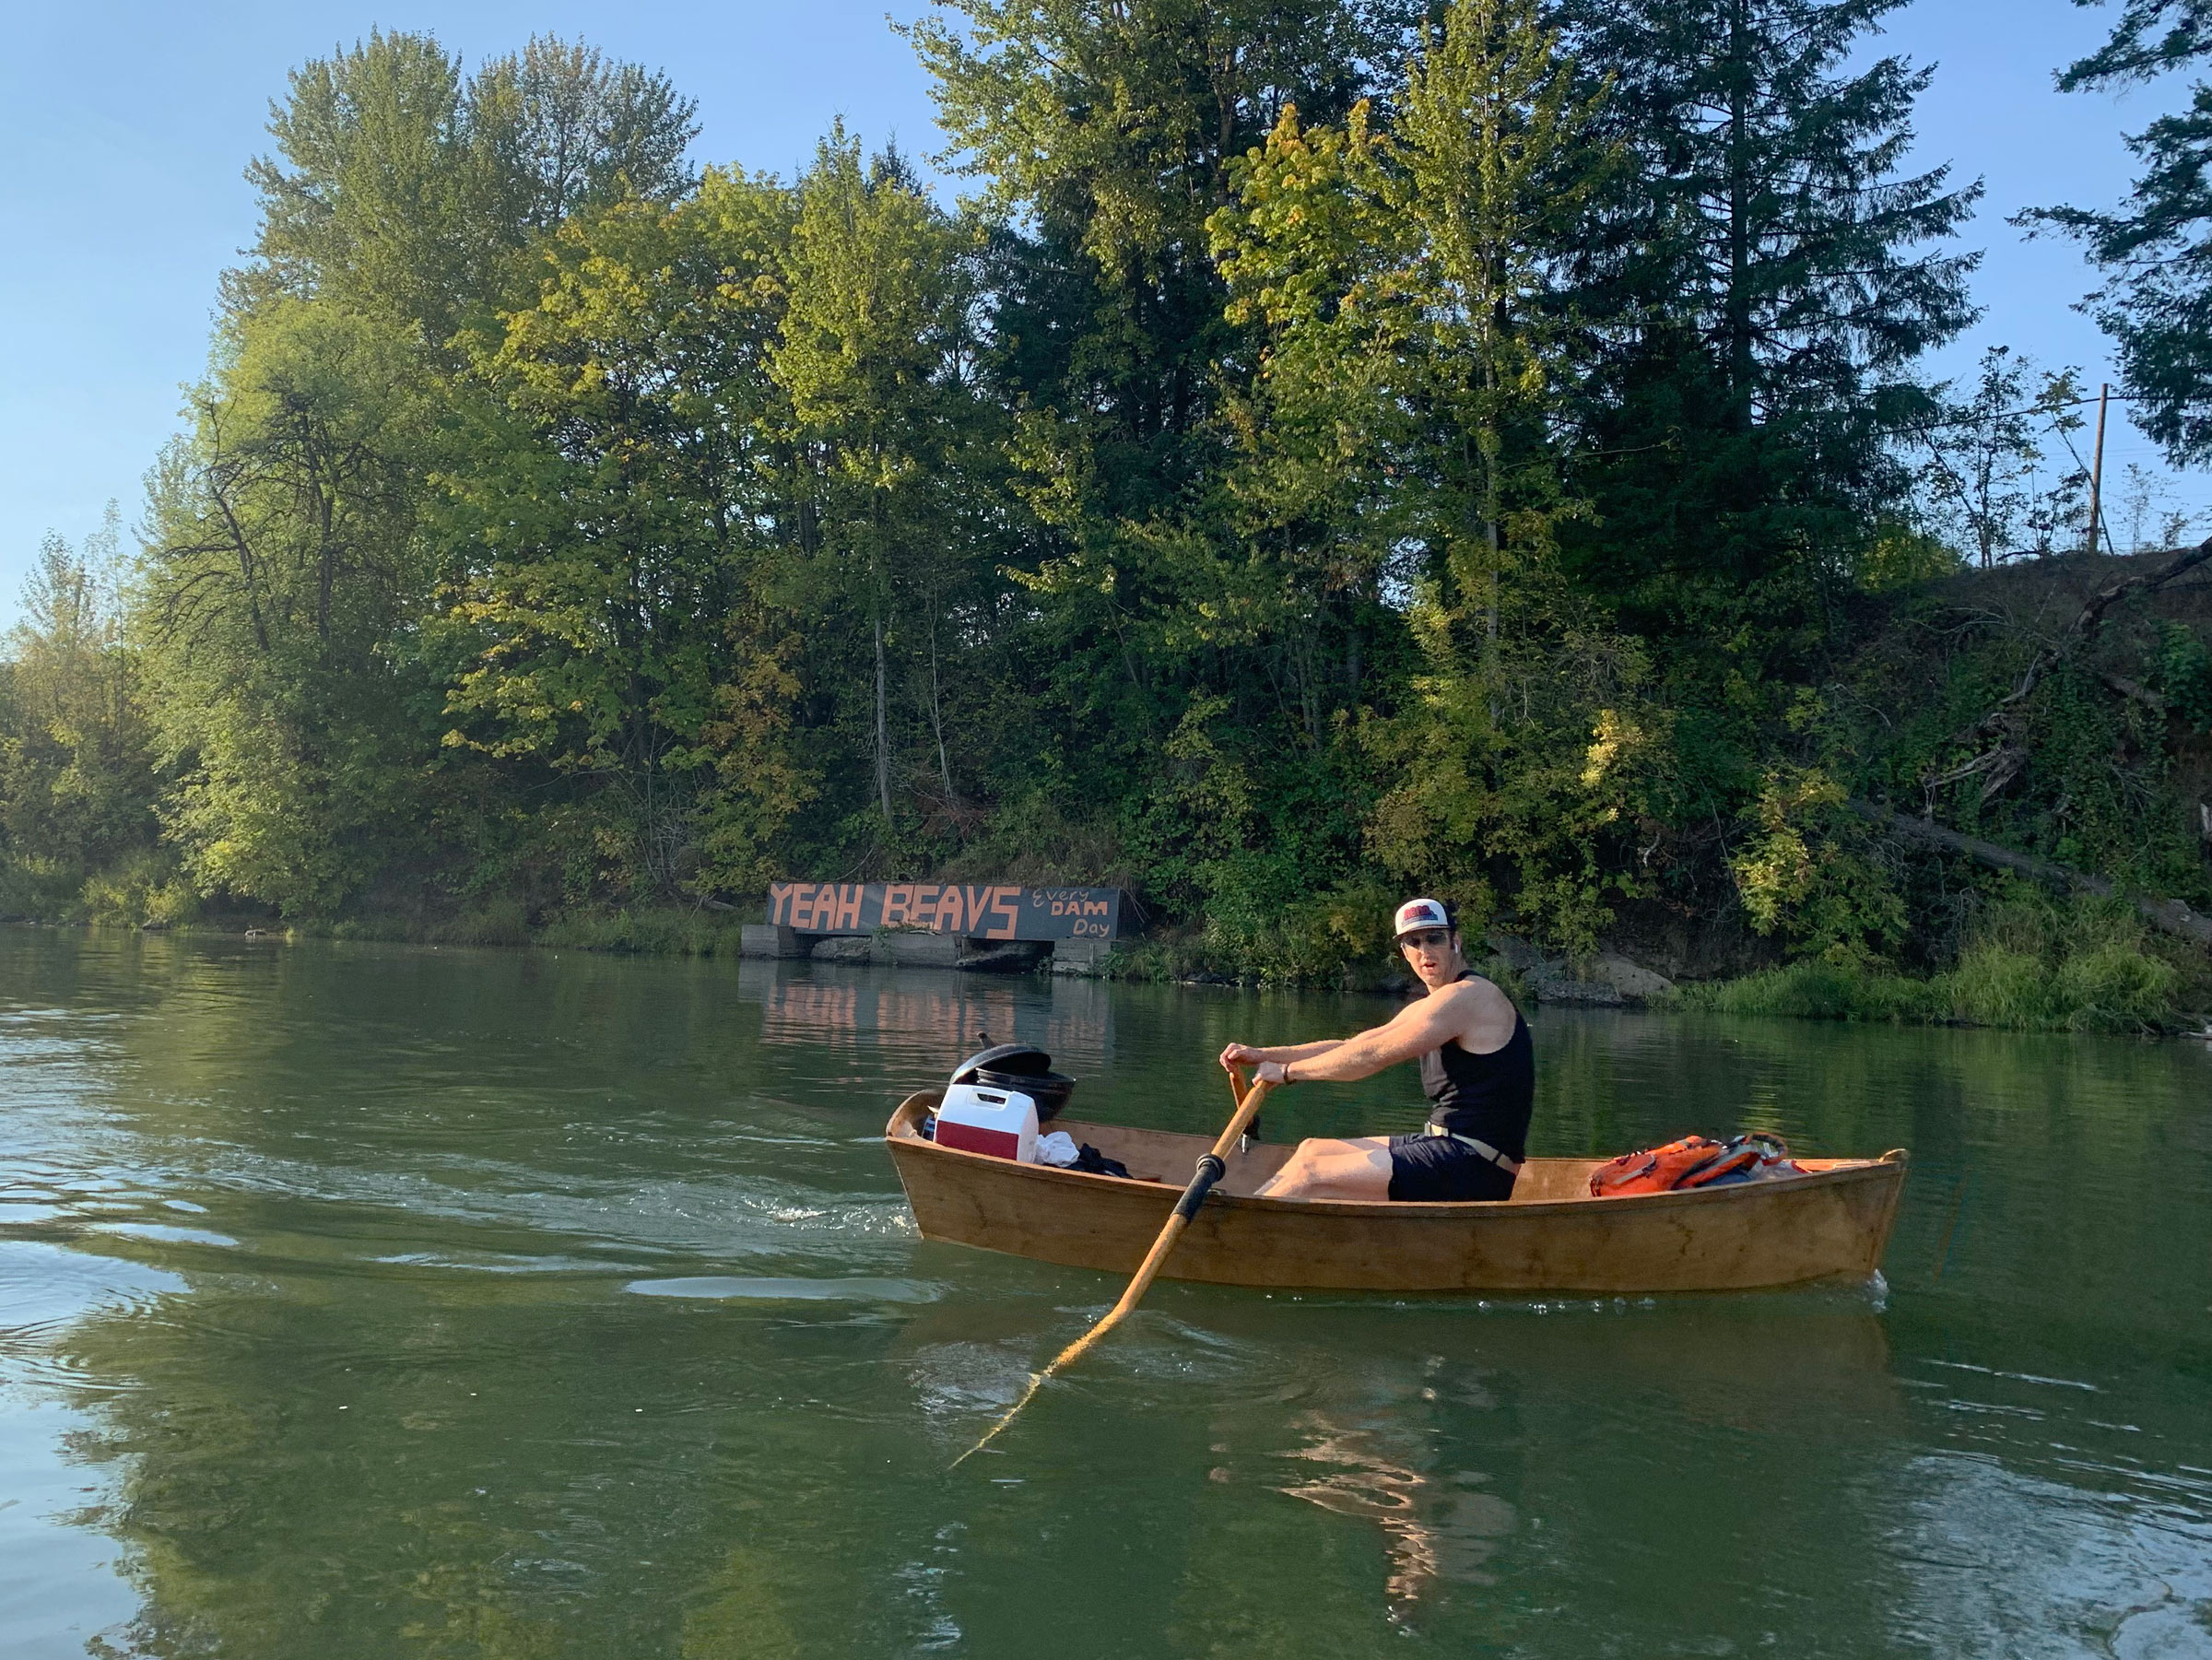
Just downstream from the Oregon State University boathouse, Jon rowed past a bit of graffiti to encourage the OSU Beavers crew. The lid to the grill is contemplating another leap overboard.
A single scull approached us and when Jon and I drew even with it, the sculler turned from his gaze over his slender shell’s stern. We waved. He acknowledged us with a nod, keeping his hands fixed on the oar handles. “Wanna race?” asked Jon, deadpan. “I’m just learning,” replied the young man, sounding apologetic, and missing Jon’s joke. Jon and I rowed across to the left bank to a shallow bar. Below us pebbles sparkled like gold as the light played through ripples in the water.
Well downriver, more white-hulled racing shells flocked around a motor launch where the coach barked something I guessed was a starting command. In a few minutes, a dozen sculls raced past us, the launch close behind.
Four miles of more or less straight river ended in a mile-long U-turn called Half Moon Bend. Dark green water carved the outside bank, baring the roots of the bushes that grew on top of it.
Even if Jon and I were to stop rowing and drift, the 3-mph current would still have us in Albany by sundown, well before our rendezvous to pick up our friend Hart the following day. I checked the satellite view on my phone’s Google Maps. A second mile-long U-turn, sending us eastward again, would take us to Tripp Island, and by the time we’d finished studying the map, the island was in view. We shipped our oars, rafted the boats together, sipped wine out of enamel cups, and let the river do the last of the day’s work.
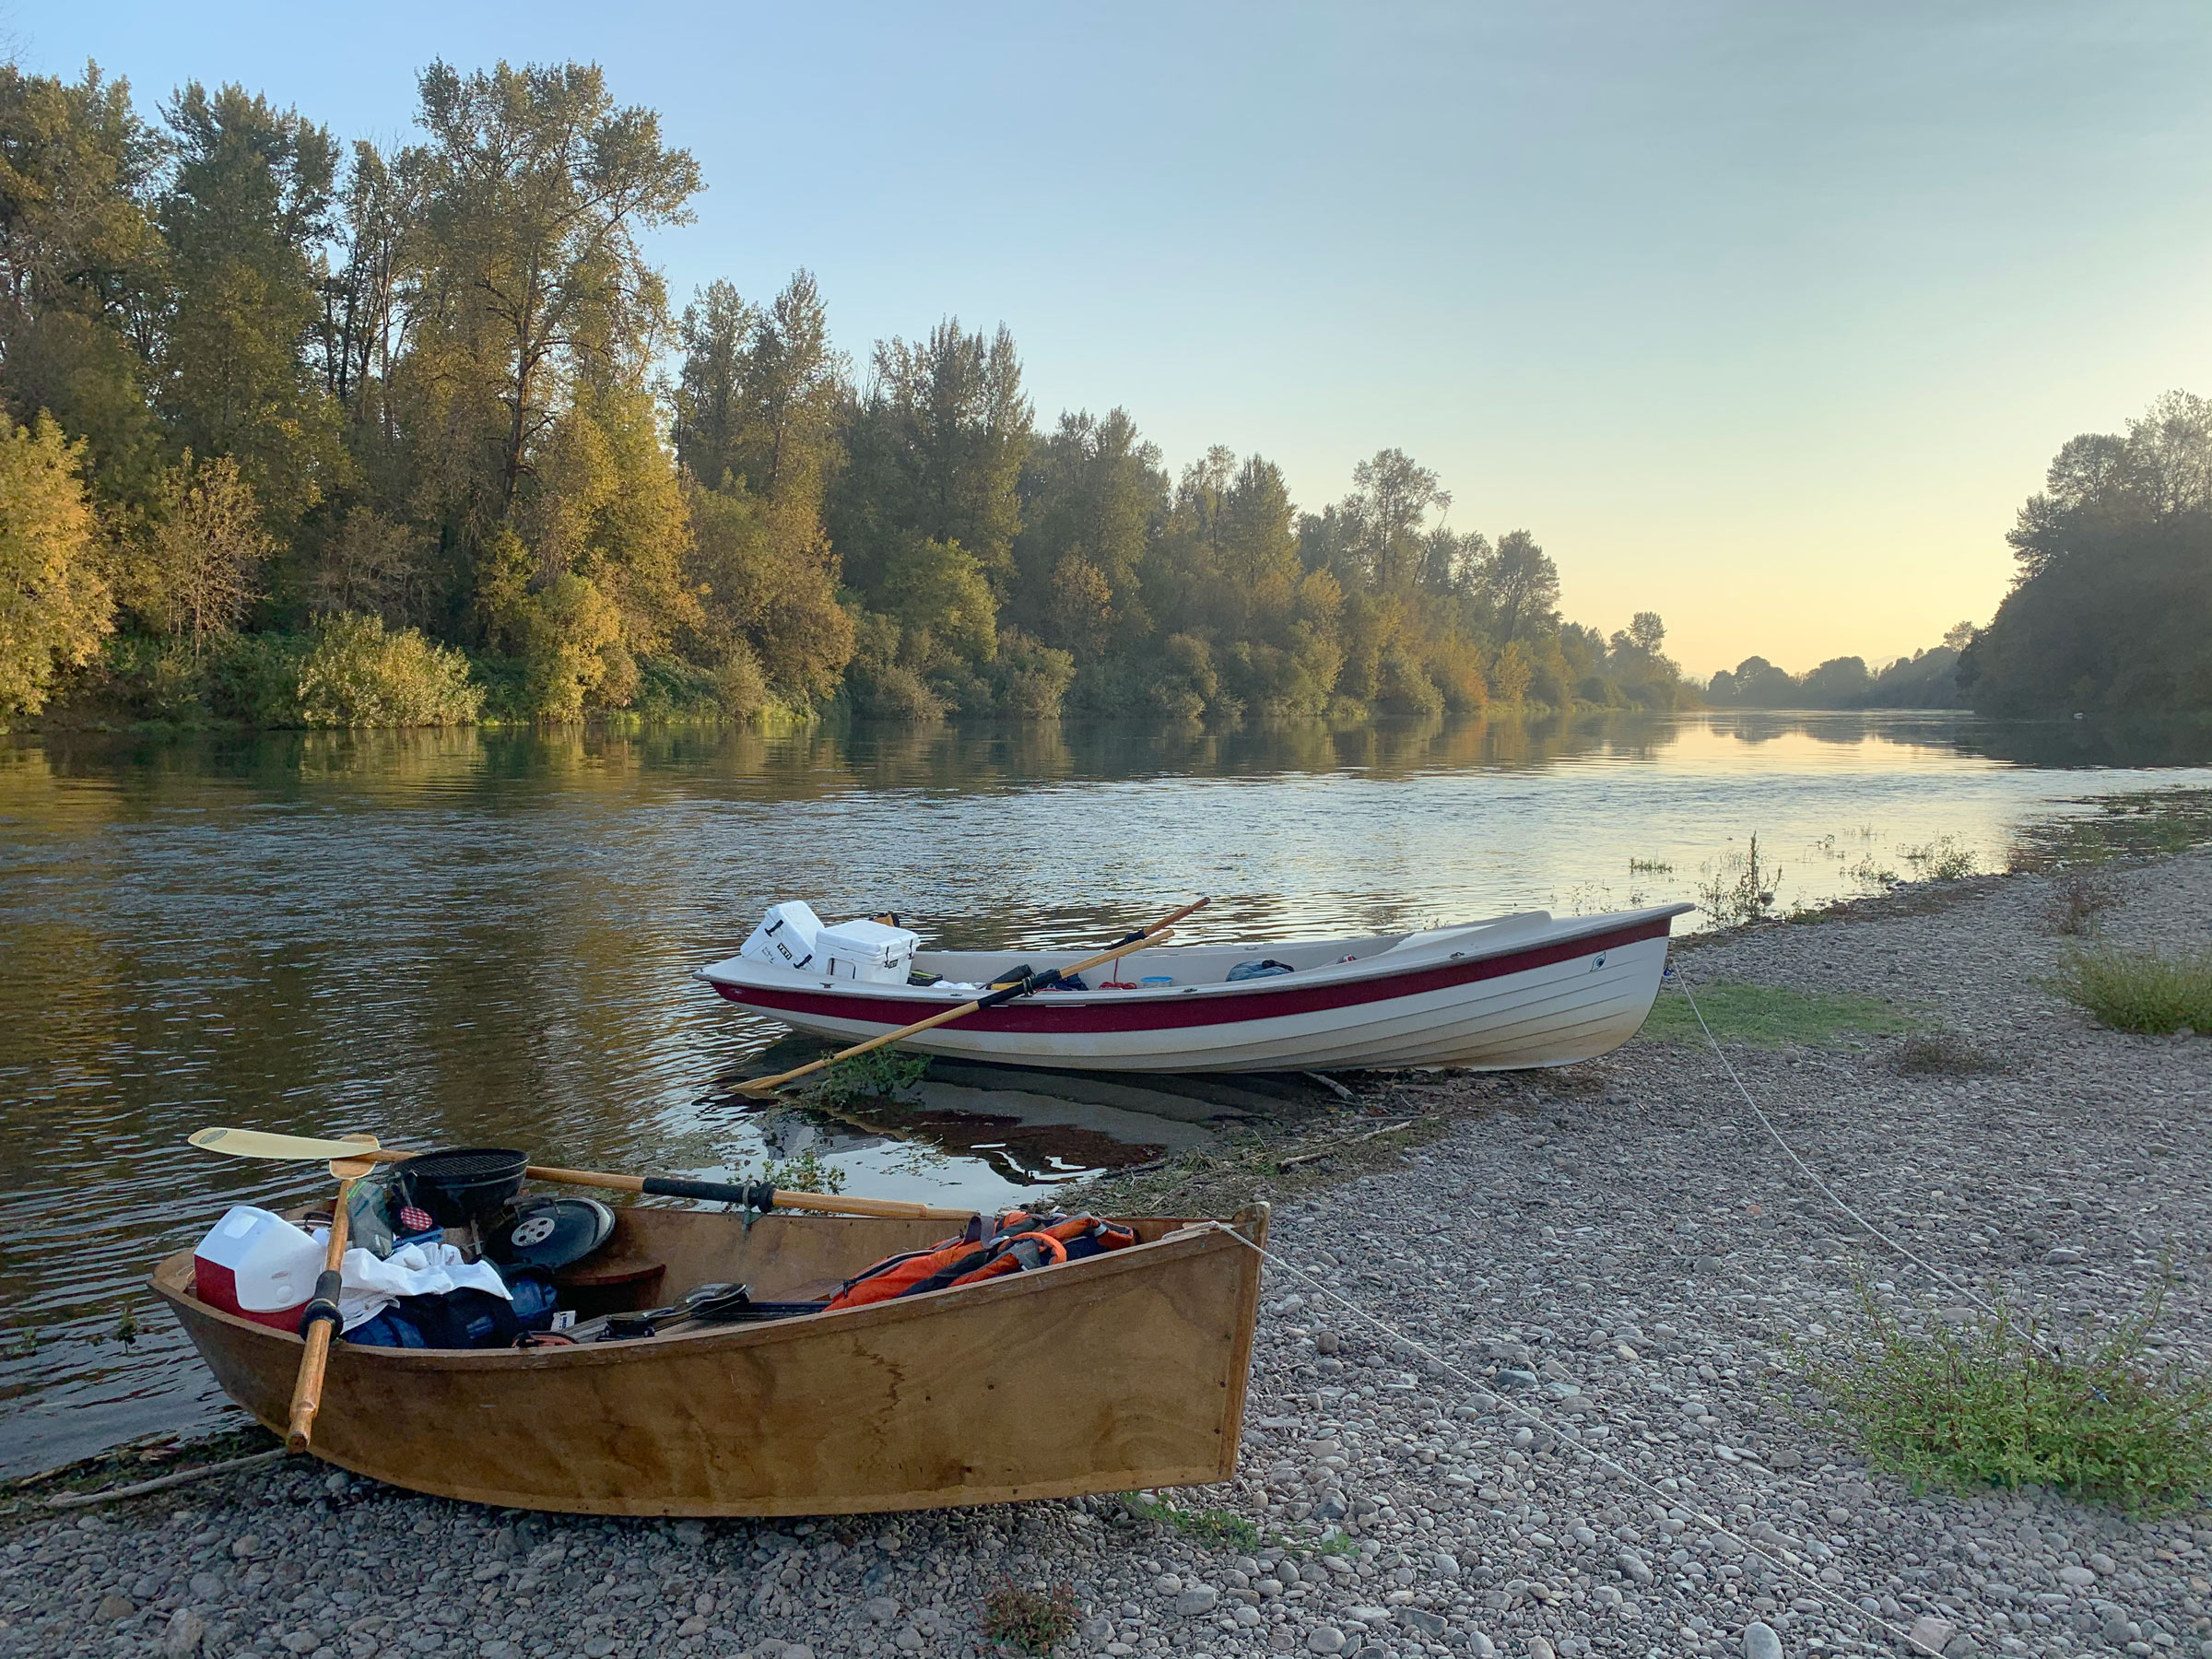
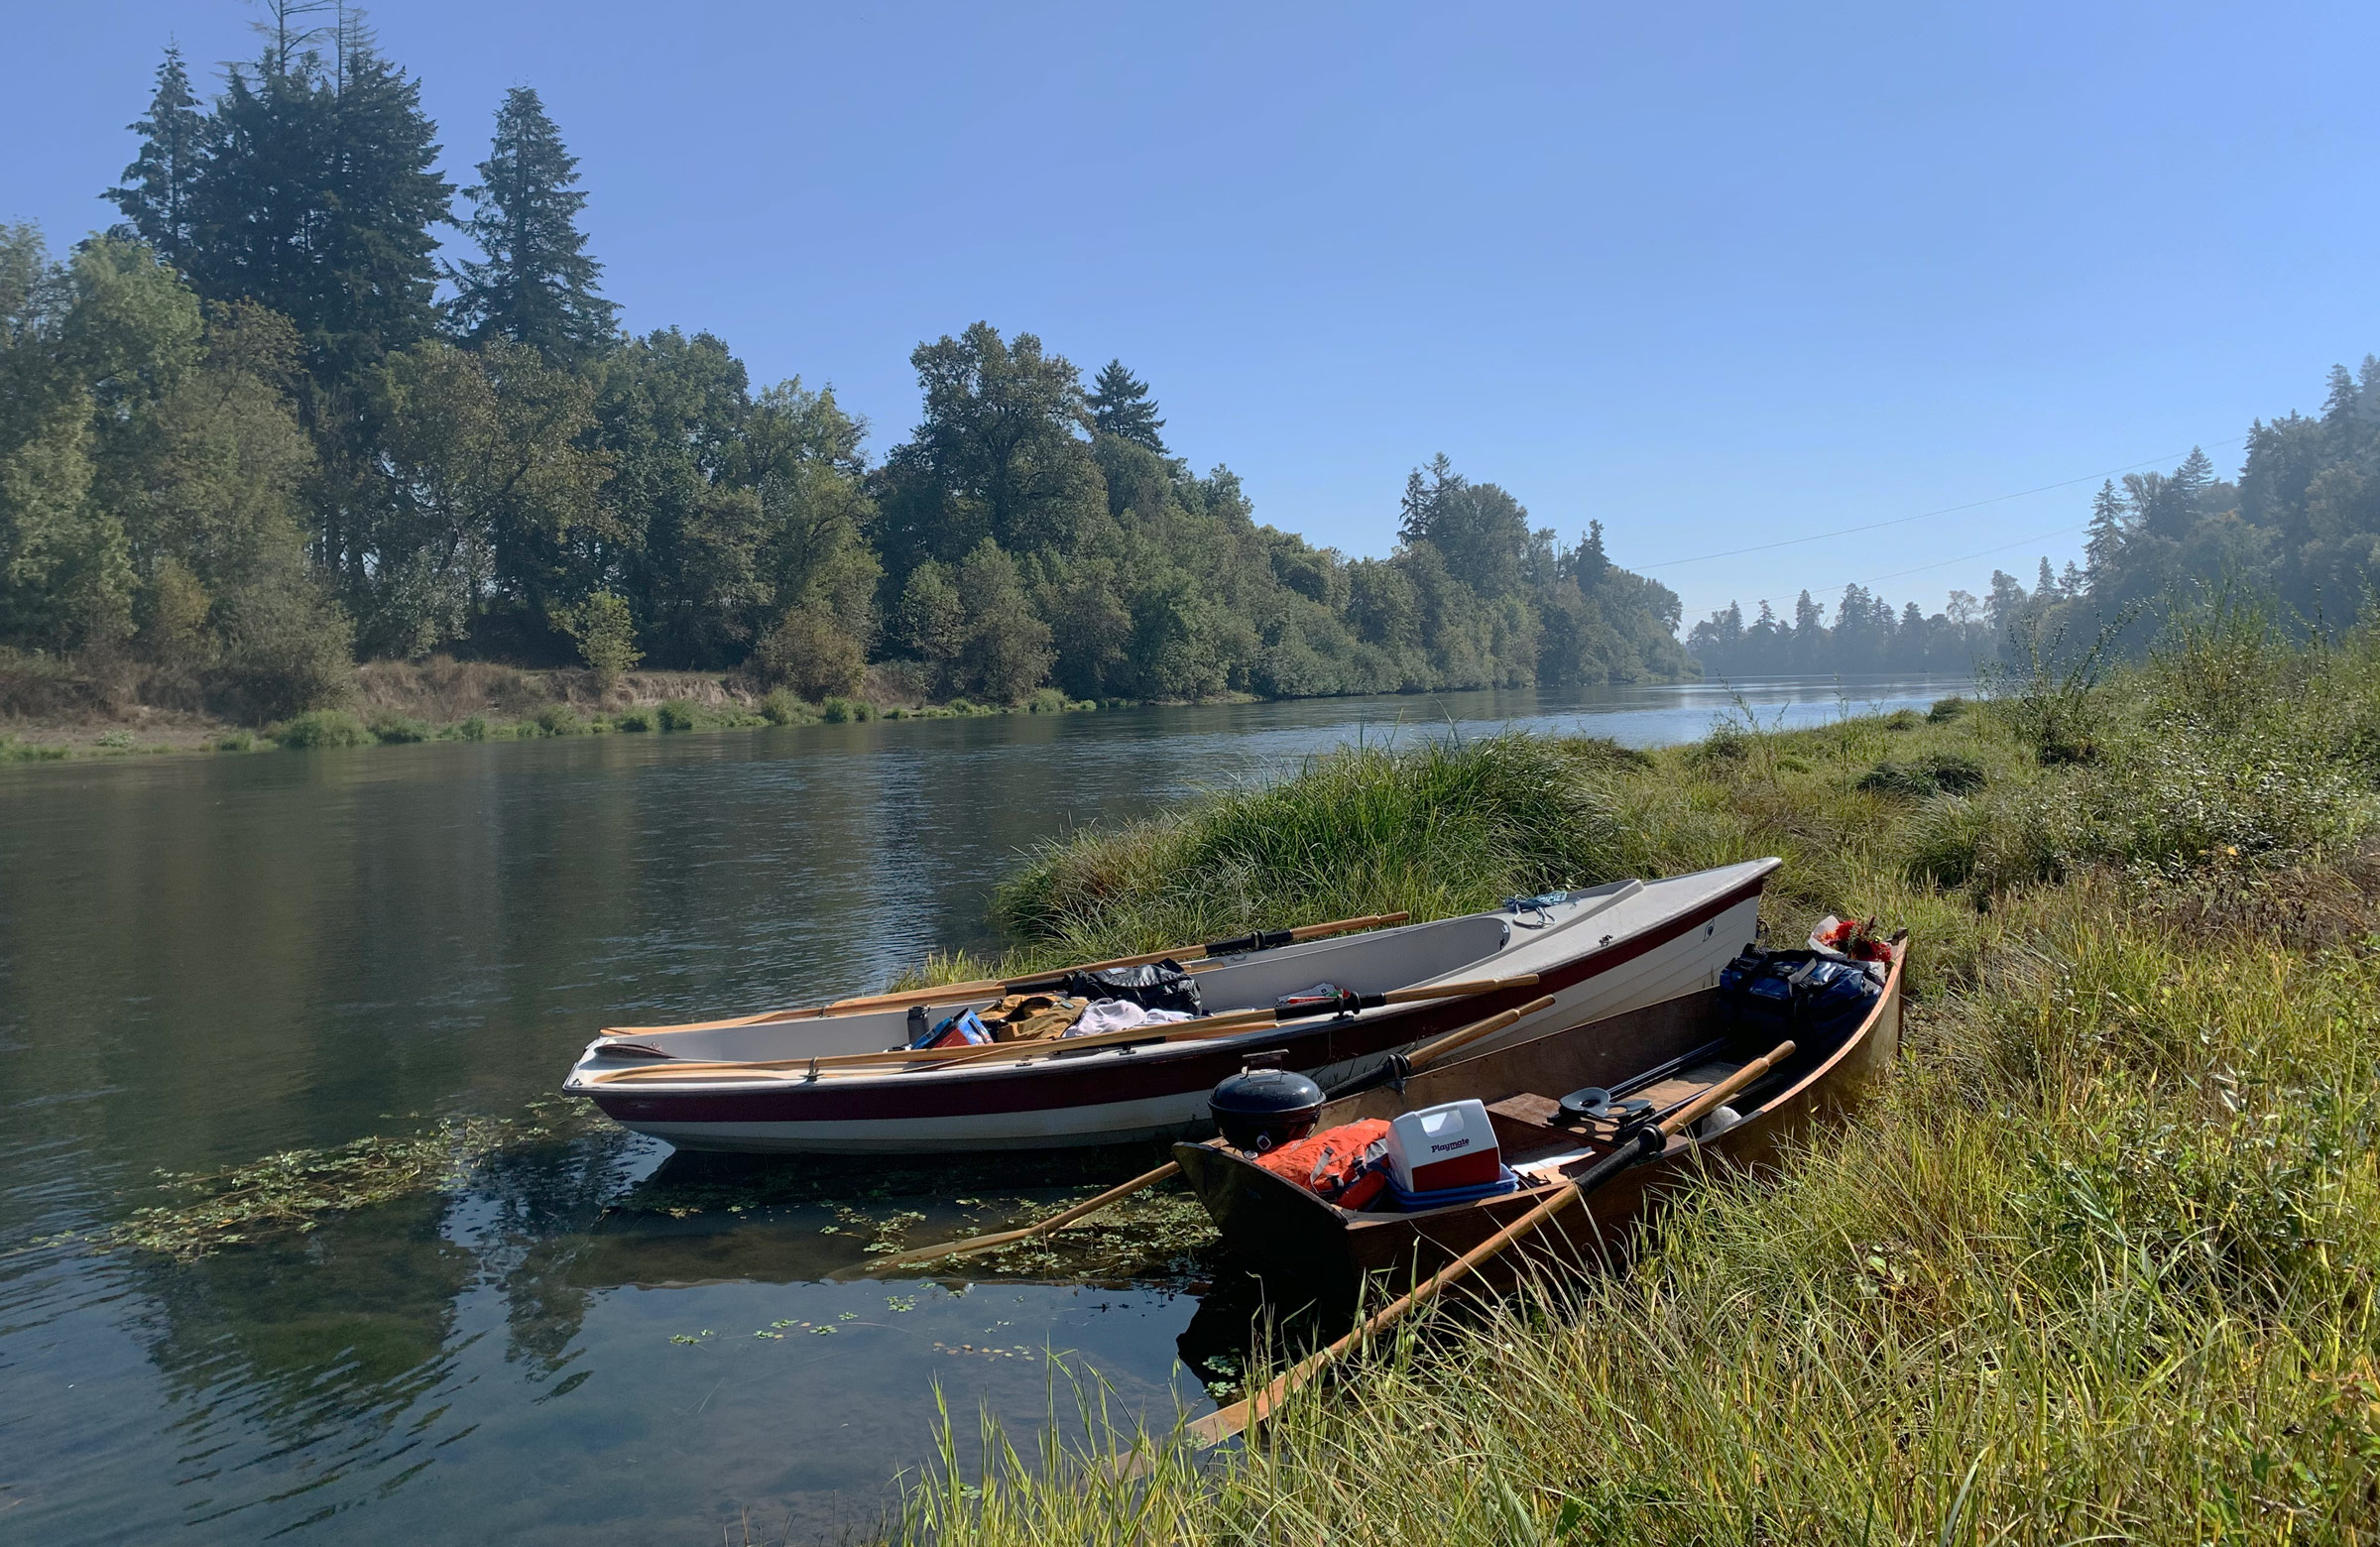
We had pulled H2ONUS and CLARABELLE ashore to make camp on the upstream side of Tripp Island, and it would have been a perfect spot but for the sound of a gas engine pumping the river water into a farmer’s field.
We landed at the head of Tripp Island, a 1/3-mile-long, lens-shaped island that split the river. Set back from the shore uprooted trees were piled in a jumble a head higher than my 6′ 6″ frame. Long strips of bark hung from exposed trunks bleached white by the sun. Shrubs crowded the slender north channel, reducing it to an inlet. It would have been a fine spot to camp except for the roar of a gas-engine pump lifting river water to a field beyond the trees.
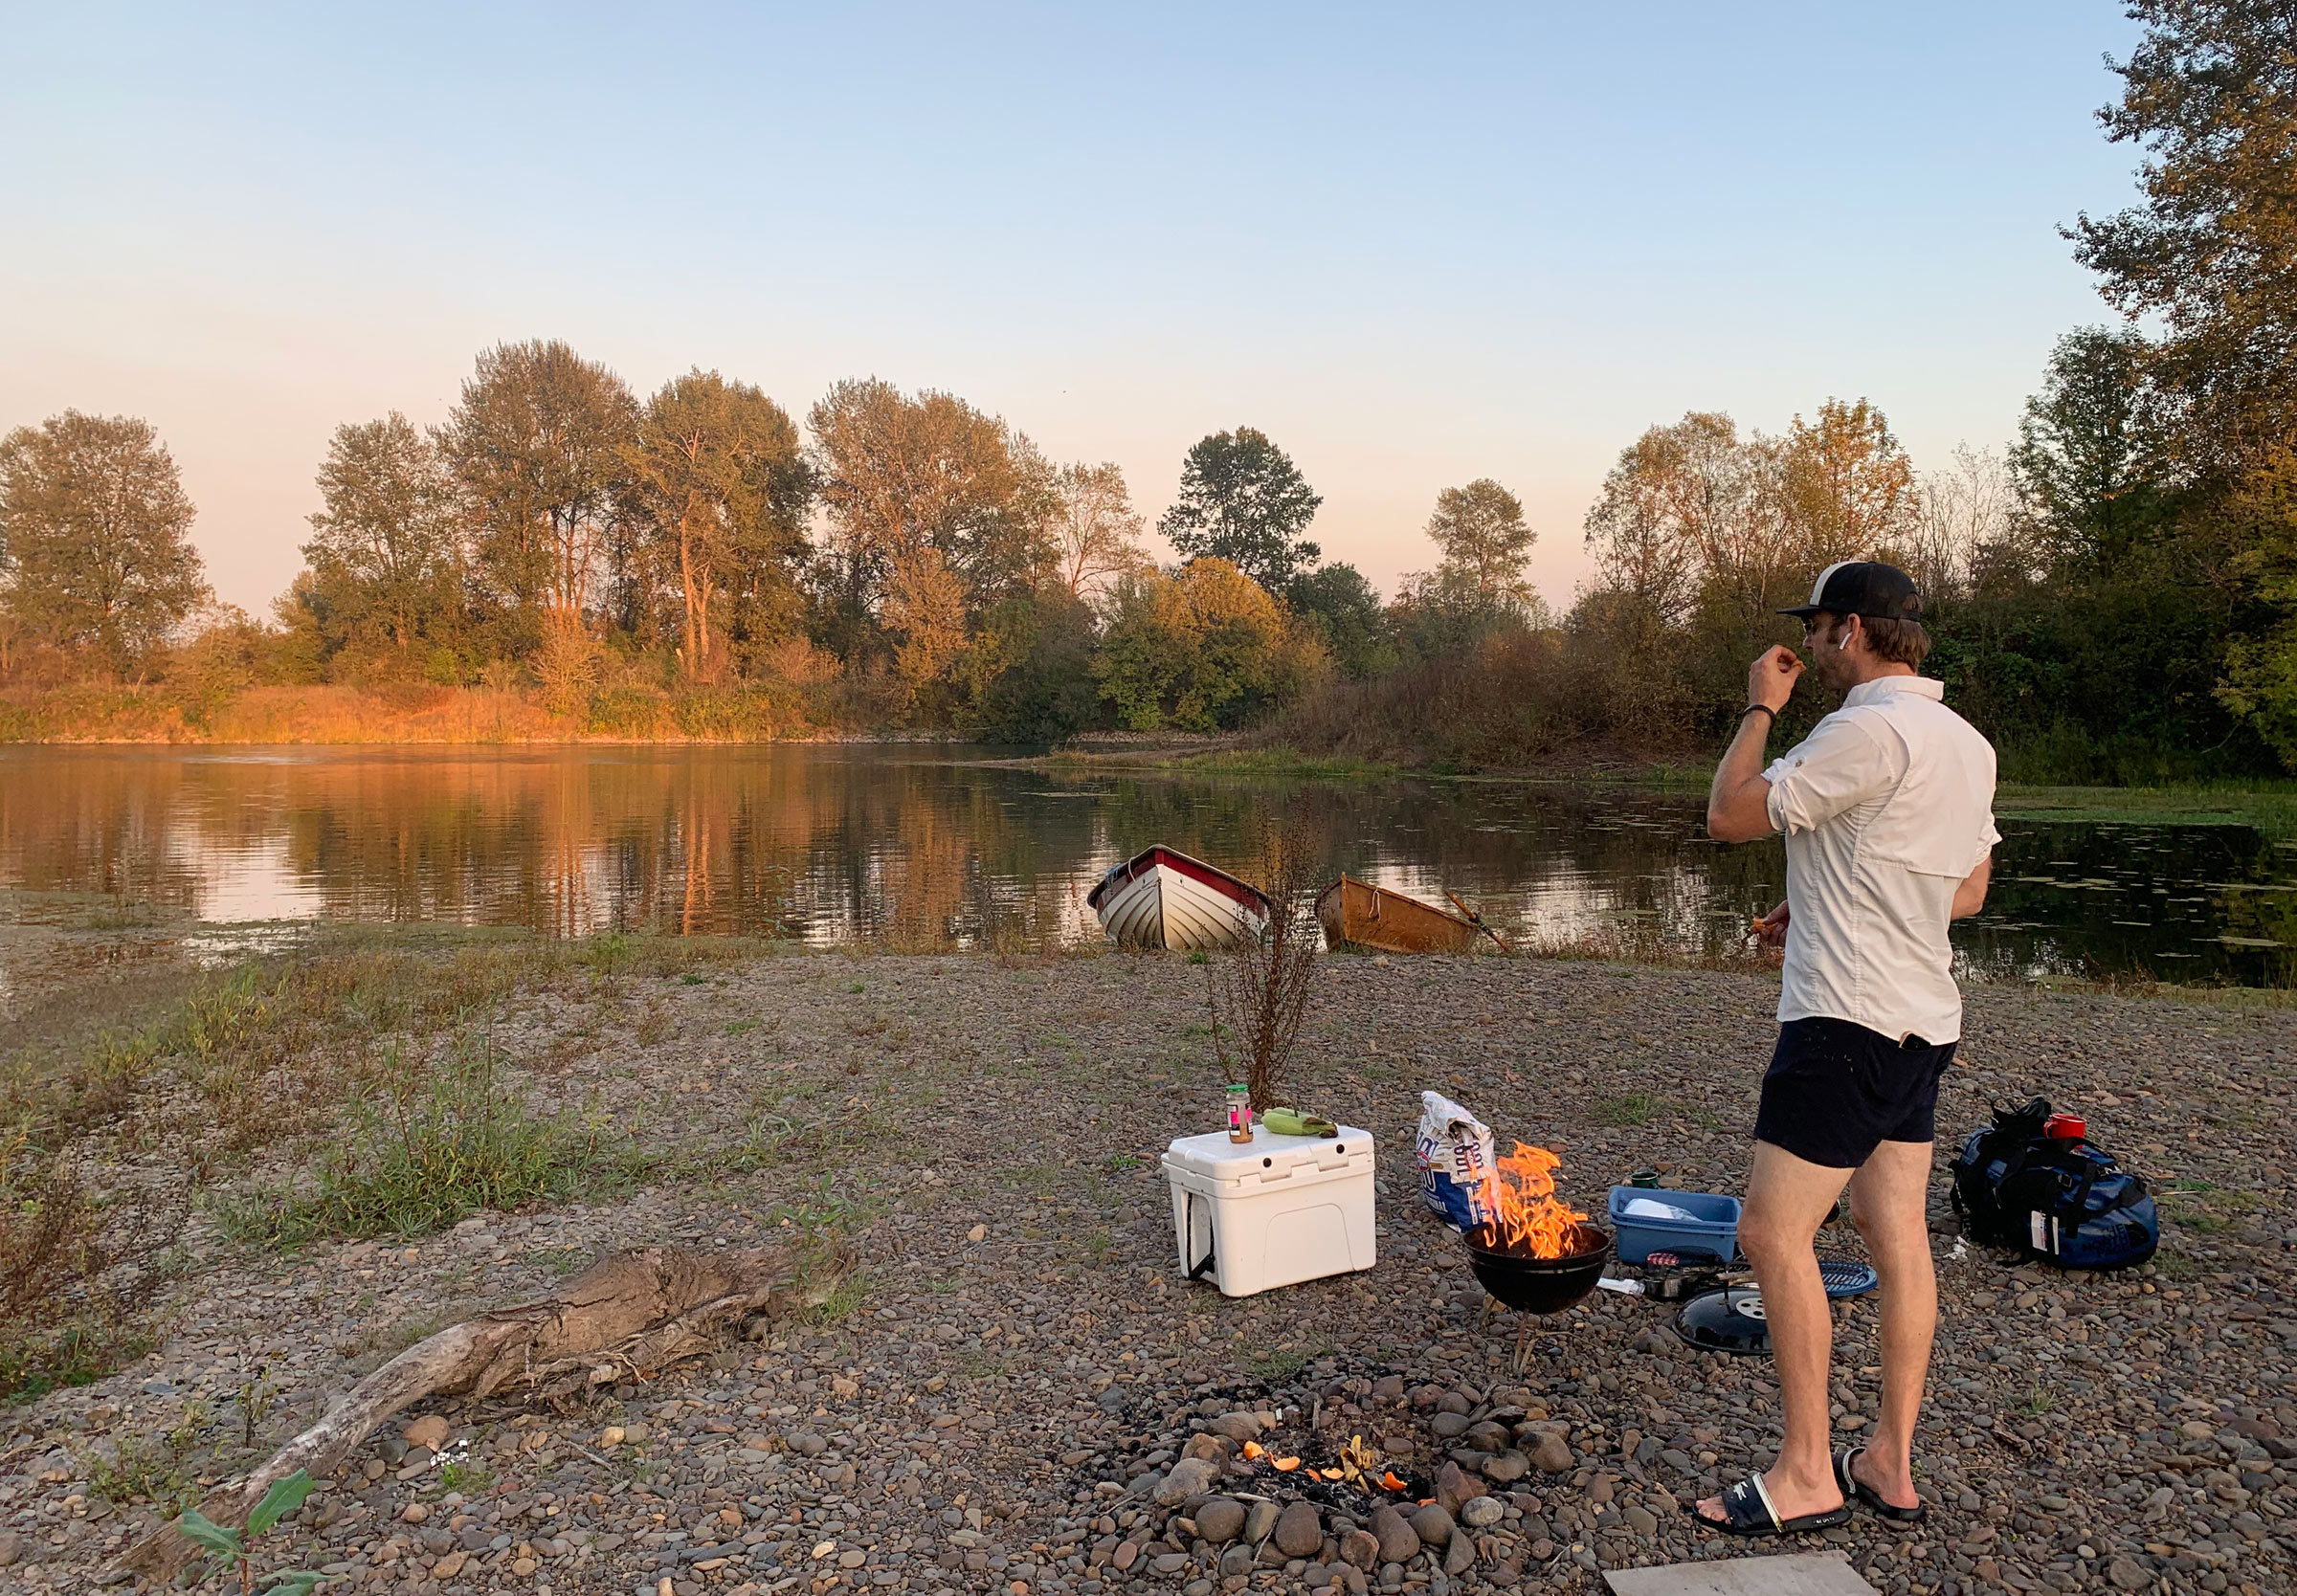
Our camp on the downstream side of Tripp Island was spare but quiet. Jon kept watch on the grill and took in the last few minutes of the evening light.
We drifted in the 90-yard-wide main channel to the downriver end of Tripp Island, where the only sounds were of rippling water. The downstream end of the filled-in north channel created a protected cove; our bows cut through its still water and then several feet into a mat of floating algae before grating on the gravel shore.
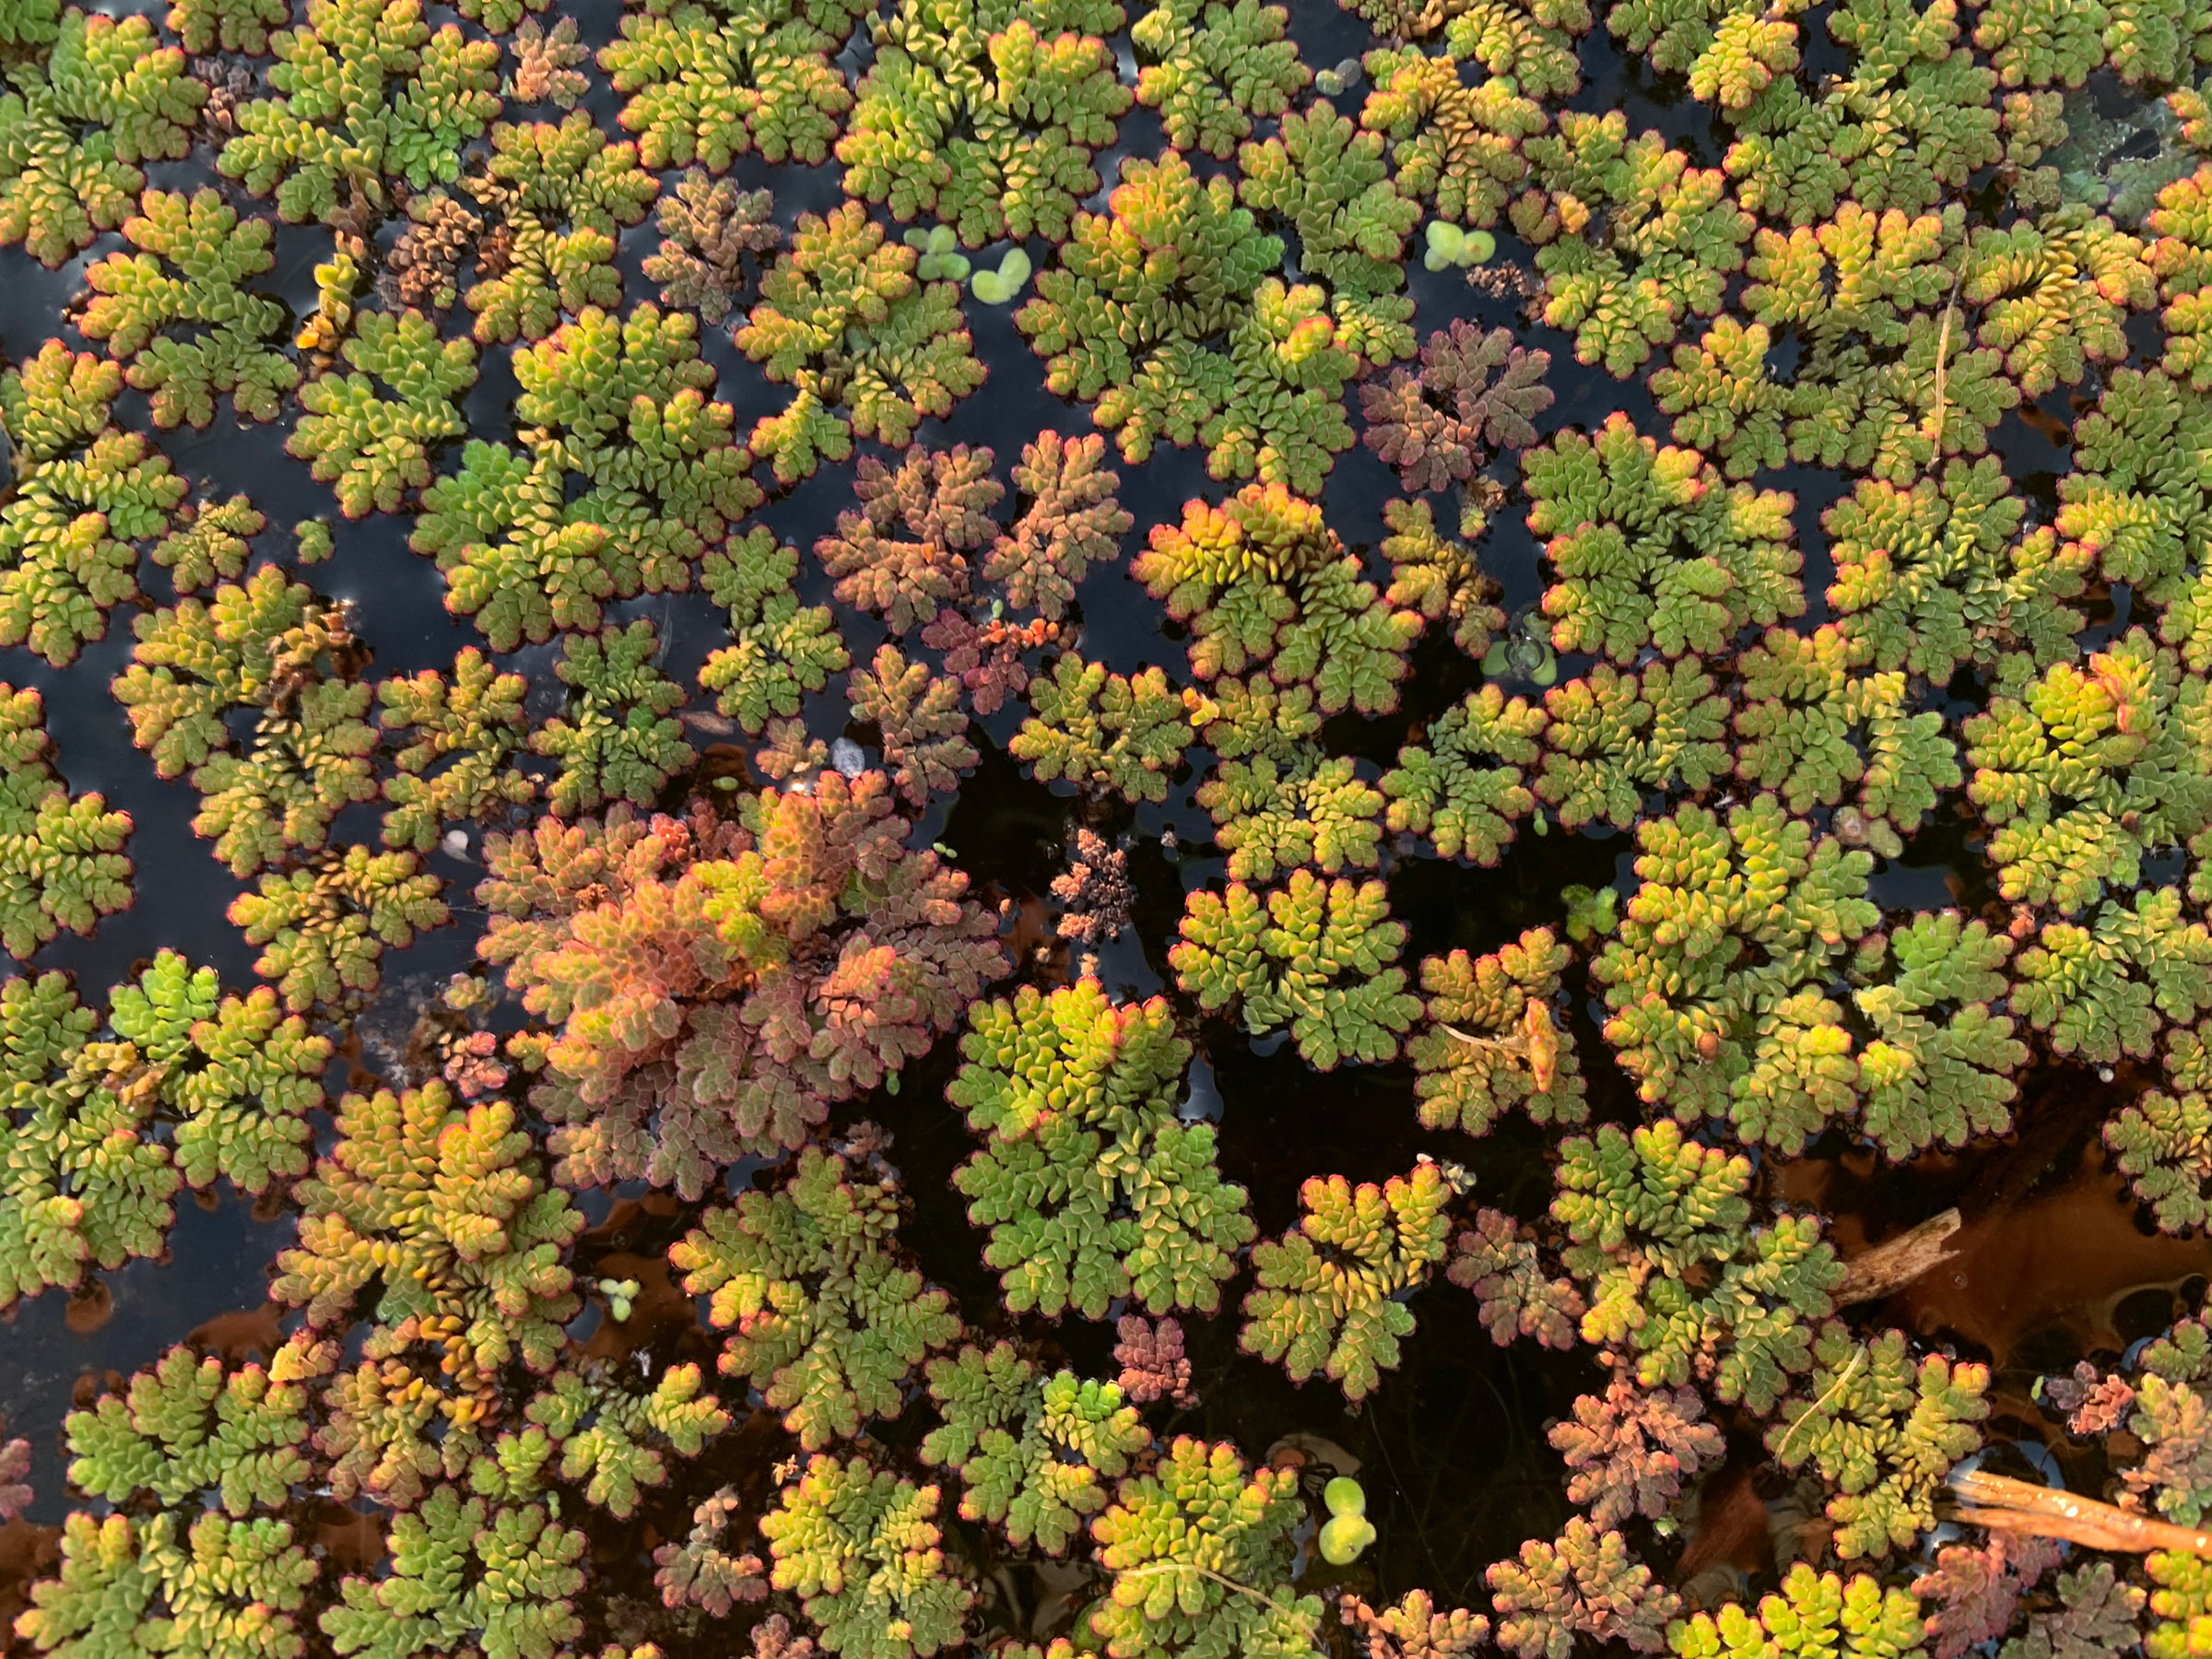
From a distance, these plants looked like a mat of algae. When I got close enough to examine them, I realized it was Azolla, also known as duckweed fern and mosquito fern.
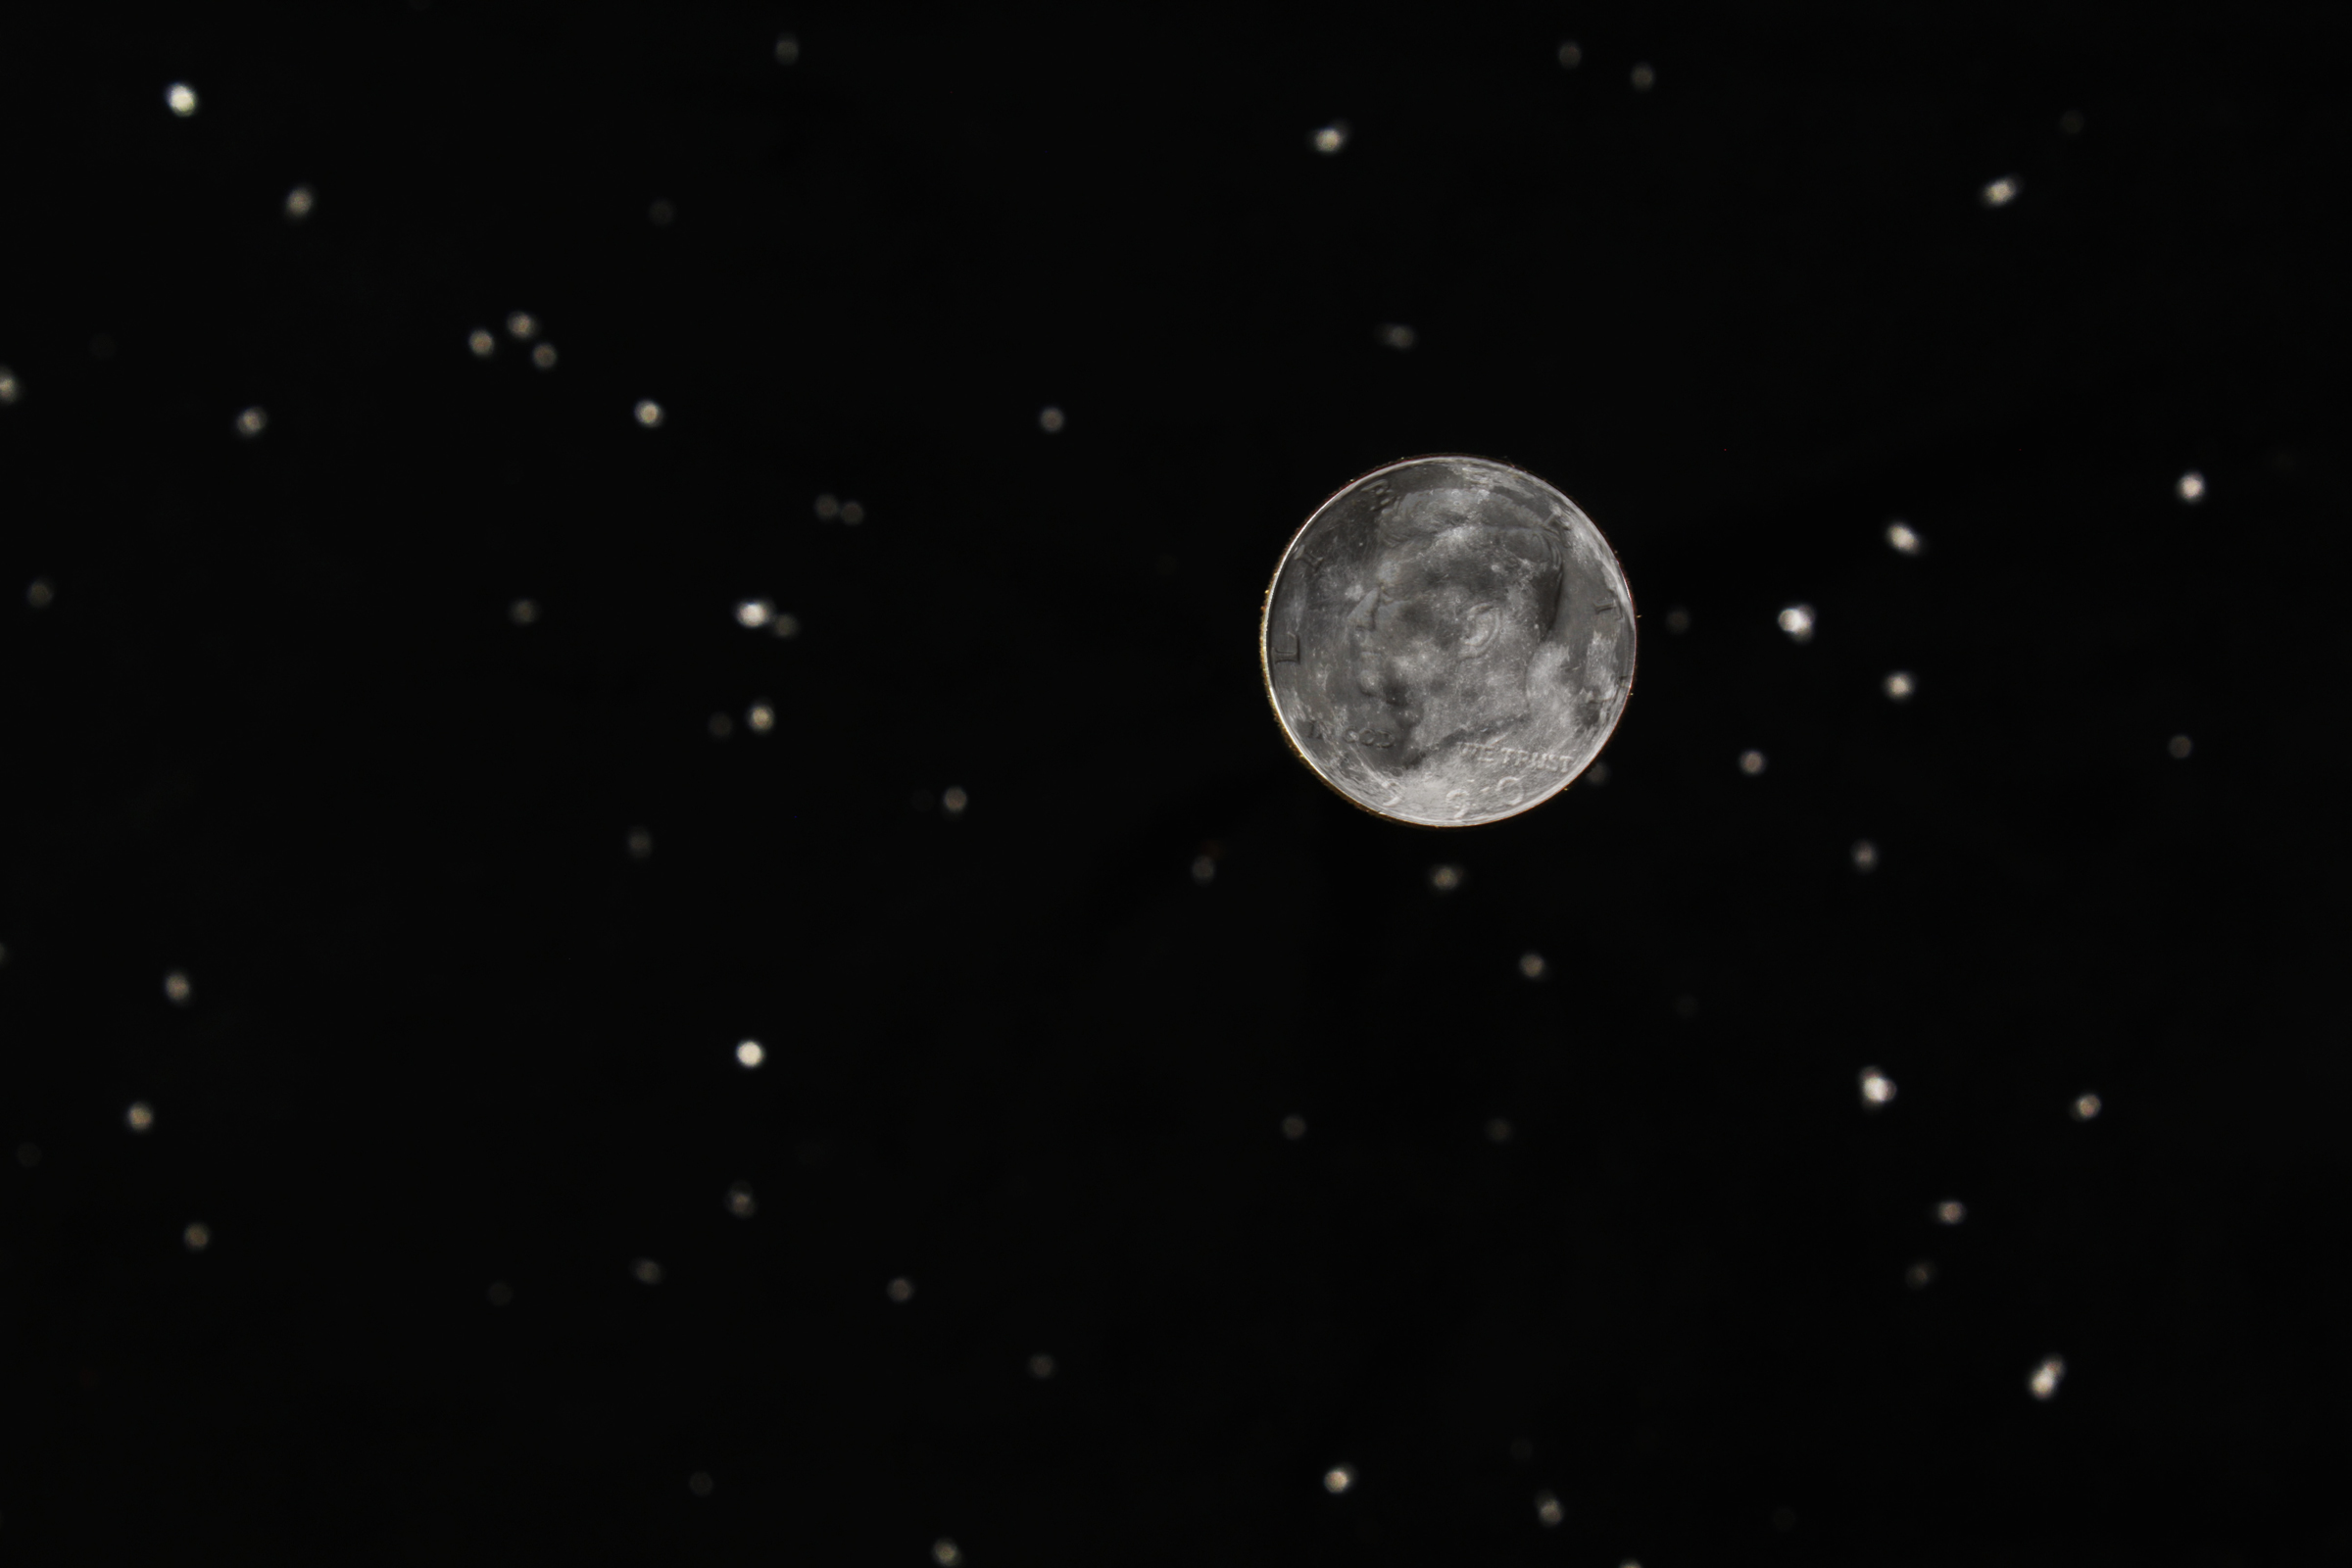
I waded into the calf-deep water blanketed with thousands of greenish-yellow fernlike plants so small a half dozen could fit on a quarter. Their pale tips glowed pink in the setting sun.
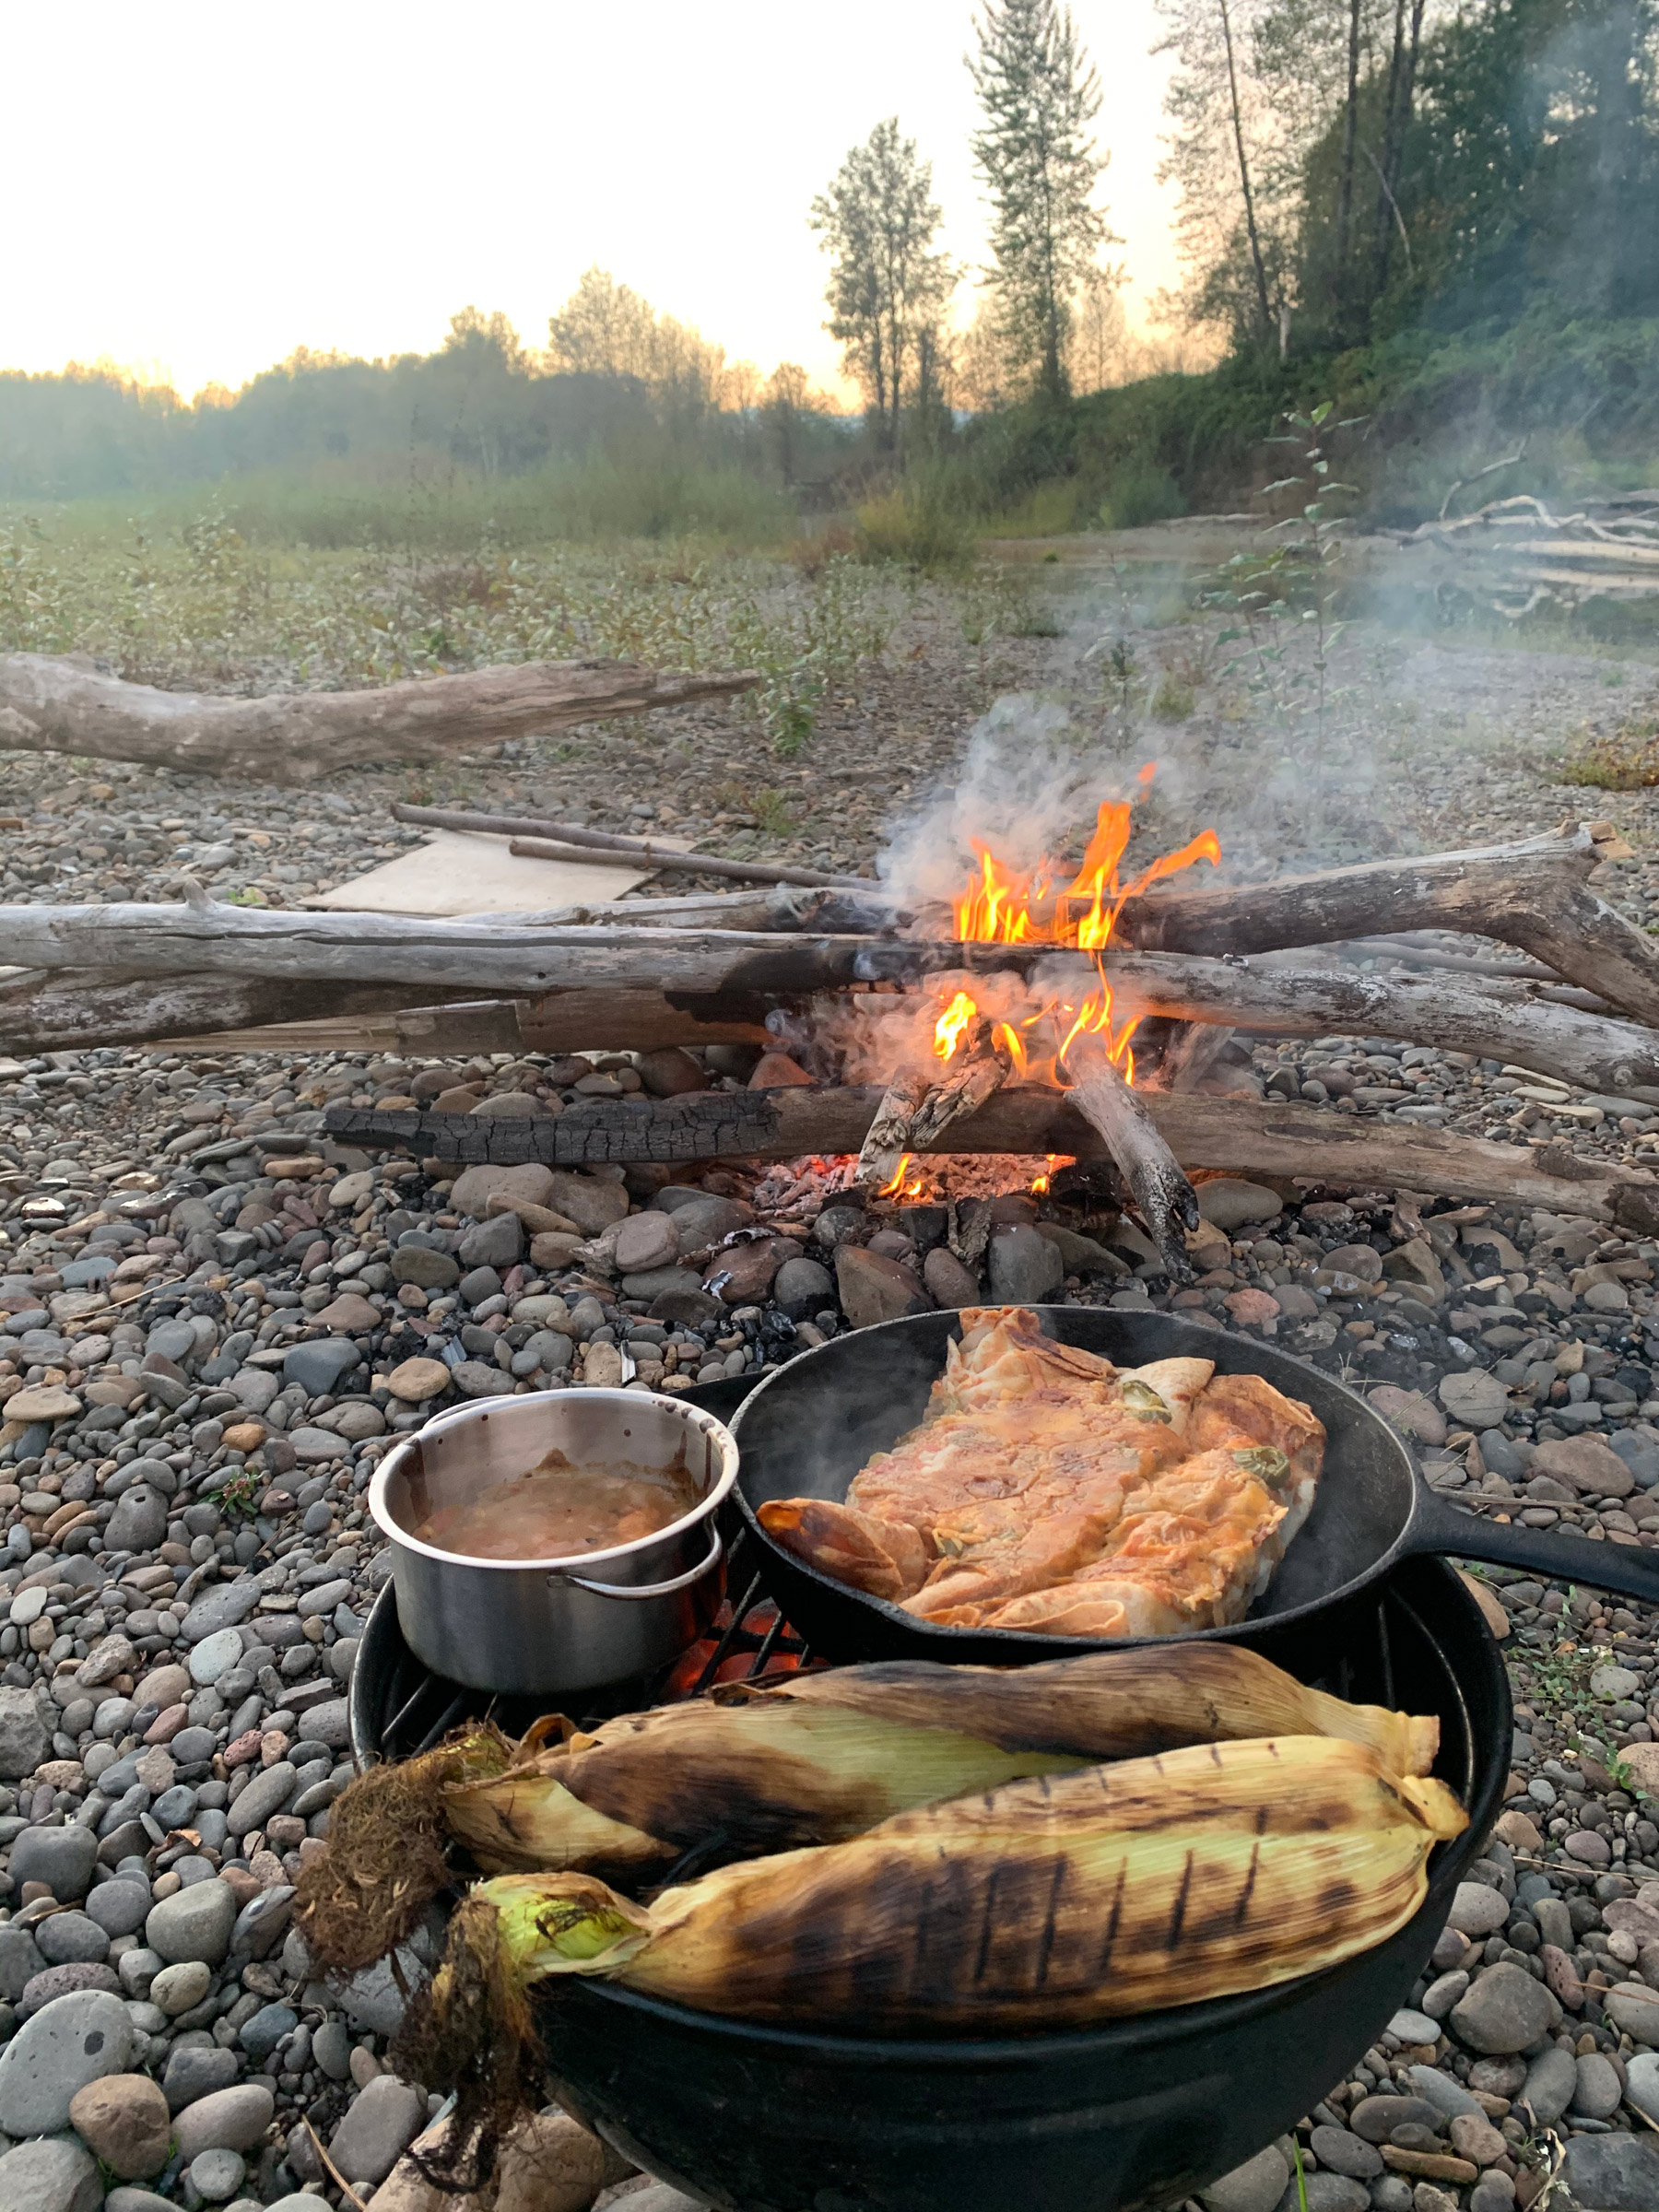
For dinner, Jon cooked corn on the cob and enchiladas—the meal his mother taught him how to cook the summer before he went to college.
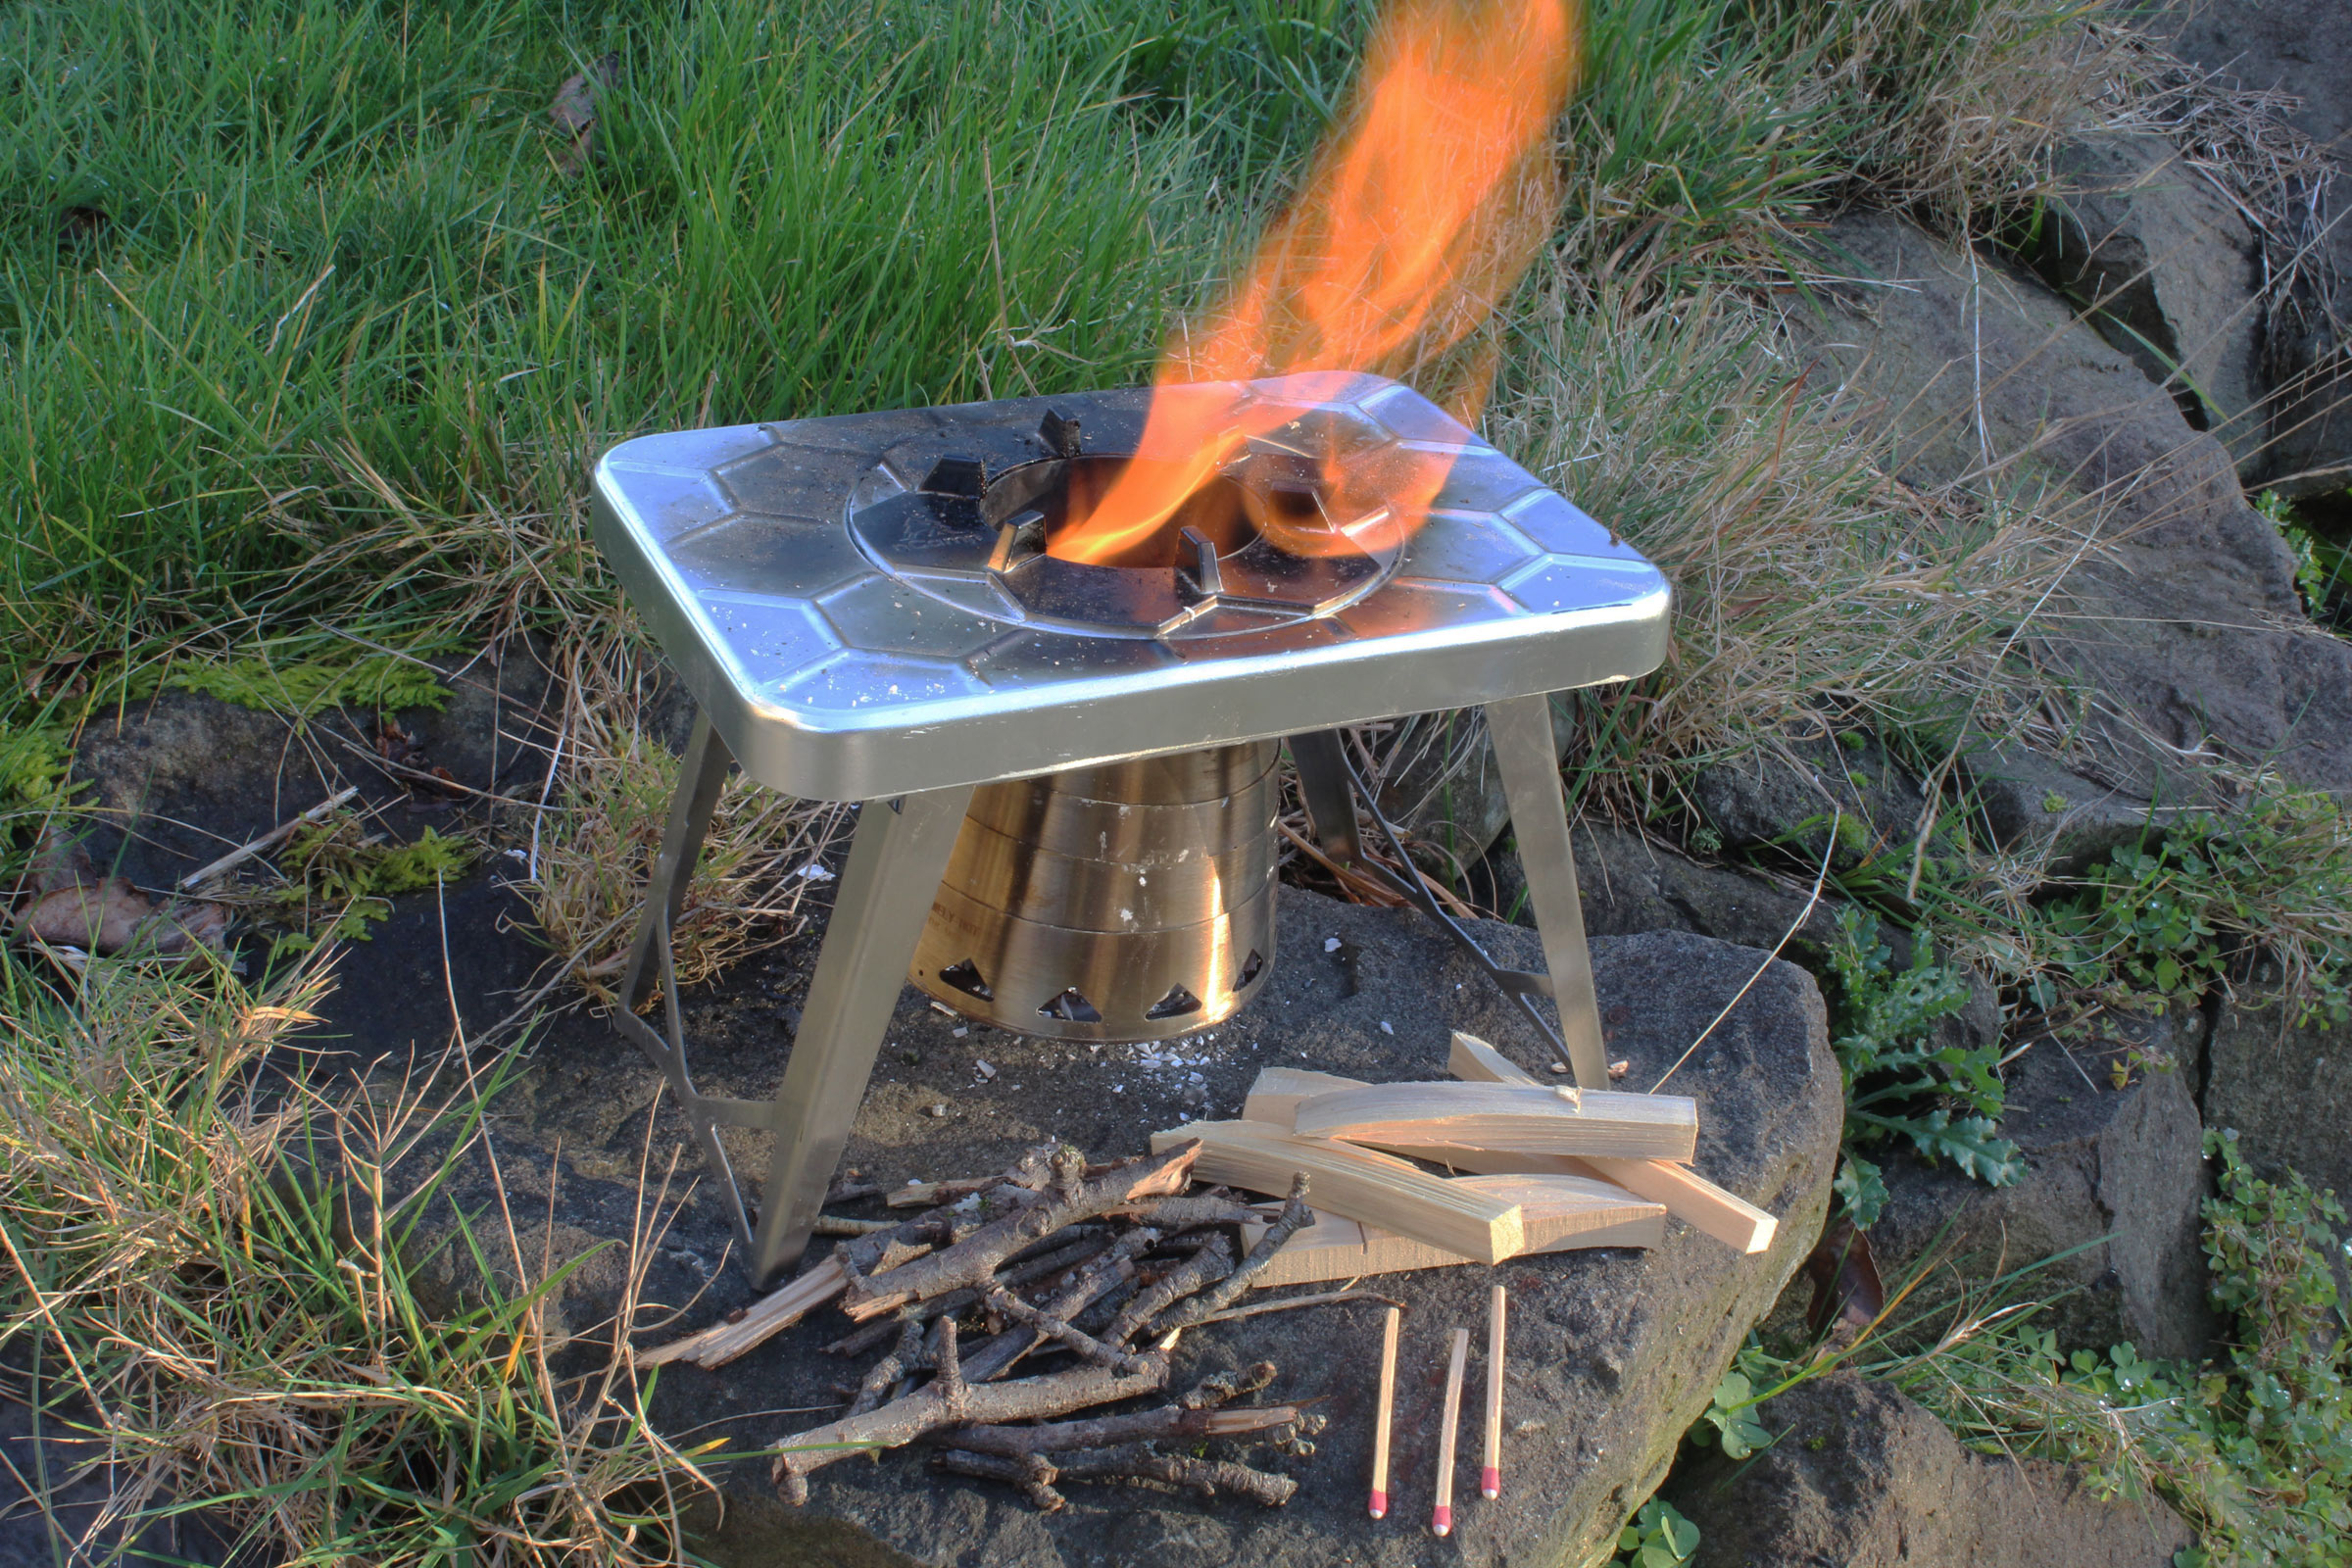
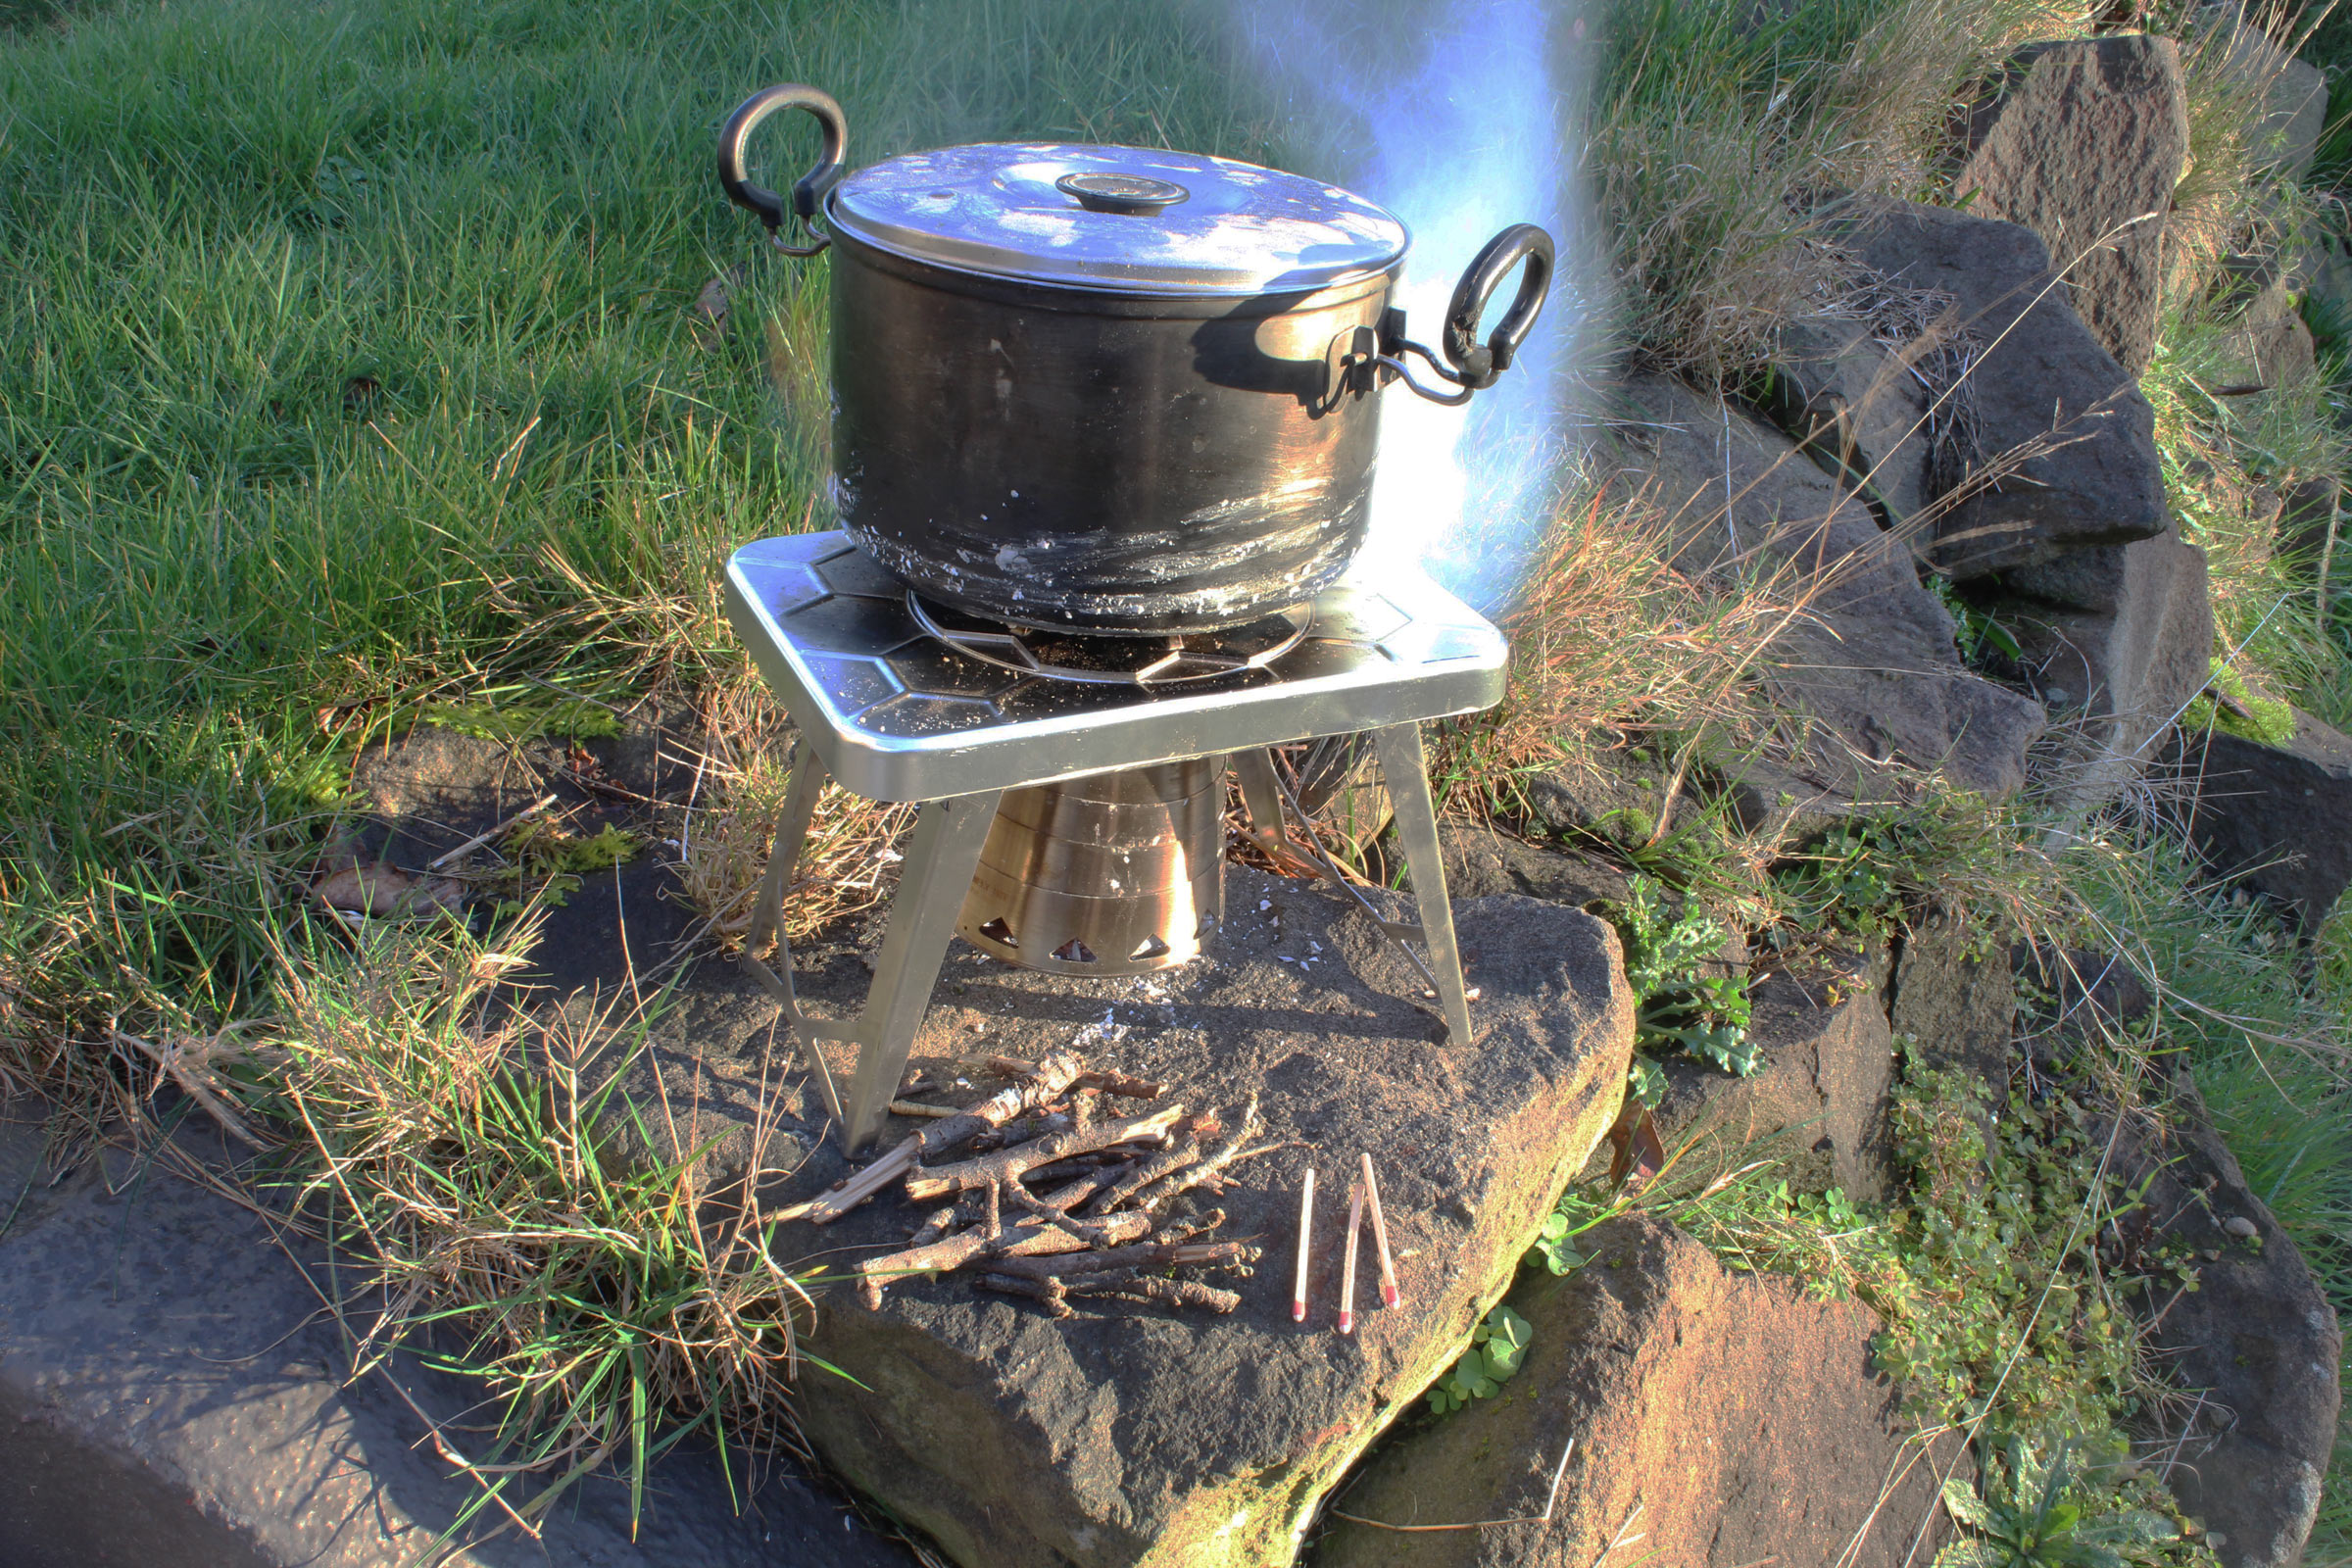
We had brought bivy sacks instead of tents, so making camp was easy. I scoured the bar for firewood while Jon poured briquettes into the grill and squirted a stream of lighter fluid over them. He pulled homemade enchiladas, green chile sauce, and golden-tasseled ears of corn from the cooler. All of it went on the grill. The enchiladas sizzled in a cast-iron pan, chile sauce bubbled in a stainless-steel pot, and the corn husks smoked over the glowing briquettes. After sundown, I mentioned that the only thing missing was something sweet. Jon opened the cooler and produced a half-gallon freezer bag stretched full of his wife’s homemade chocolate-chip cookies.
The afternoon we started our outing felt like summer, but we woke up to a river transitioning to fall. The yellow and orange bivy bags had been our quarters for the night.
I woke up long before morning. Pinholes of starlight pierced the sky, and the moon, not quite full, glowed through the clear cloudless night to shimmer on the water. At dawn, as I emerged from my sleeping bag, dew slid down the creases in my bivy bag. A blanket of fog blended the trees across the river into a single gray silhouette. I checked my phone for a message from our friend Hart. He had been on the road since 4 a.m. and was still a few hours away from meeting us in Albany. I made several rounds of coffee while Jon cooked eggs and bacon to put in between English muffins with cheese.
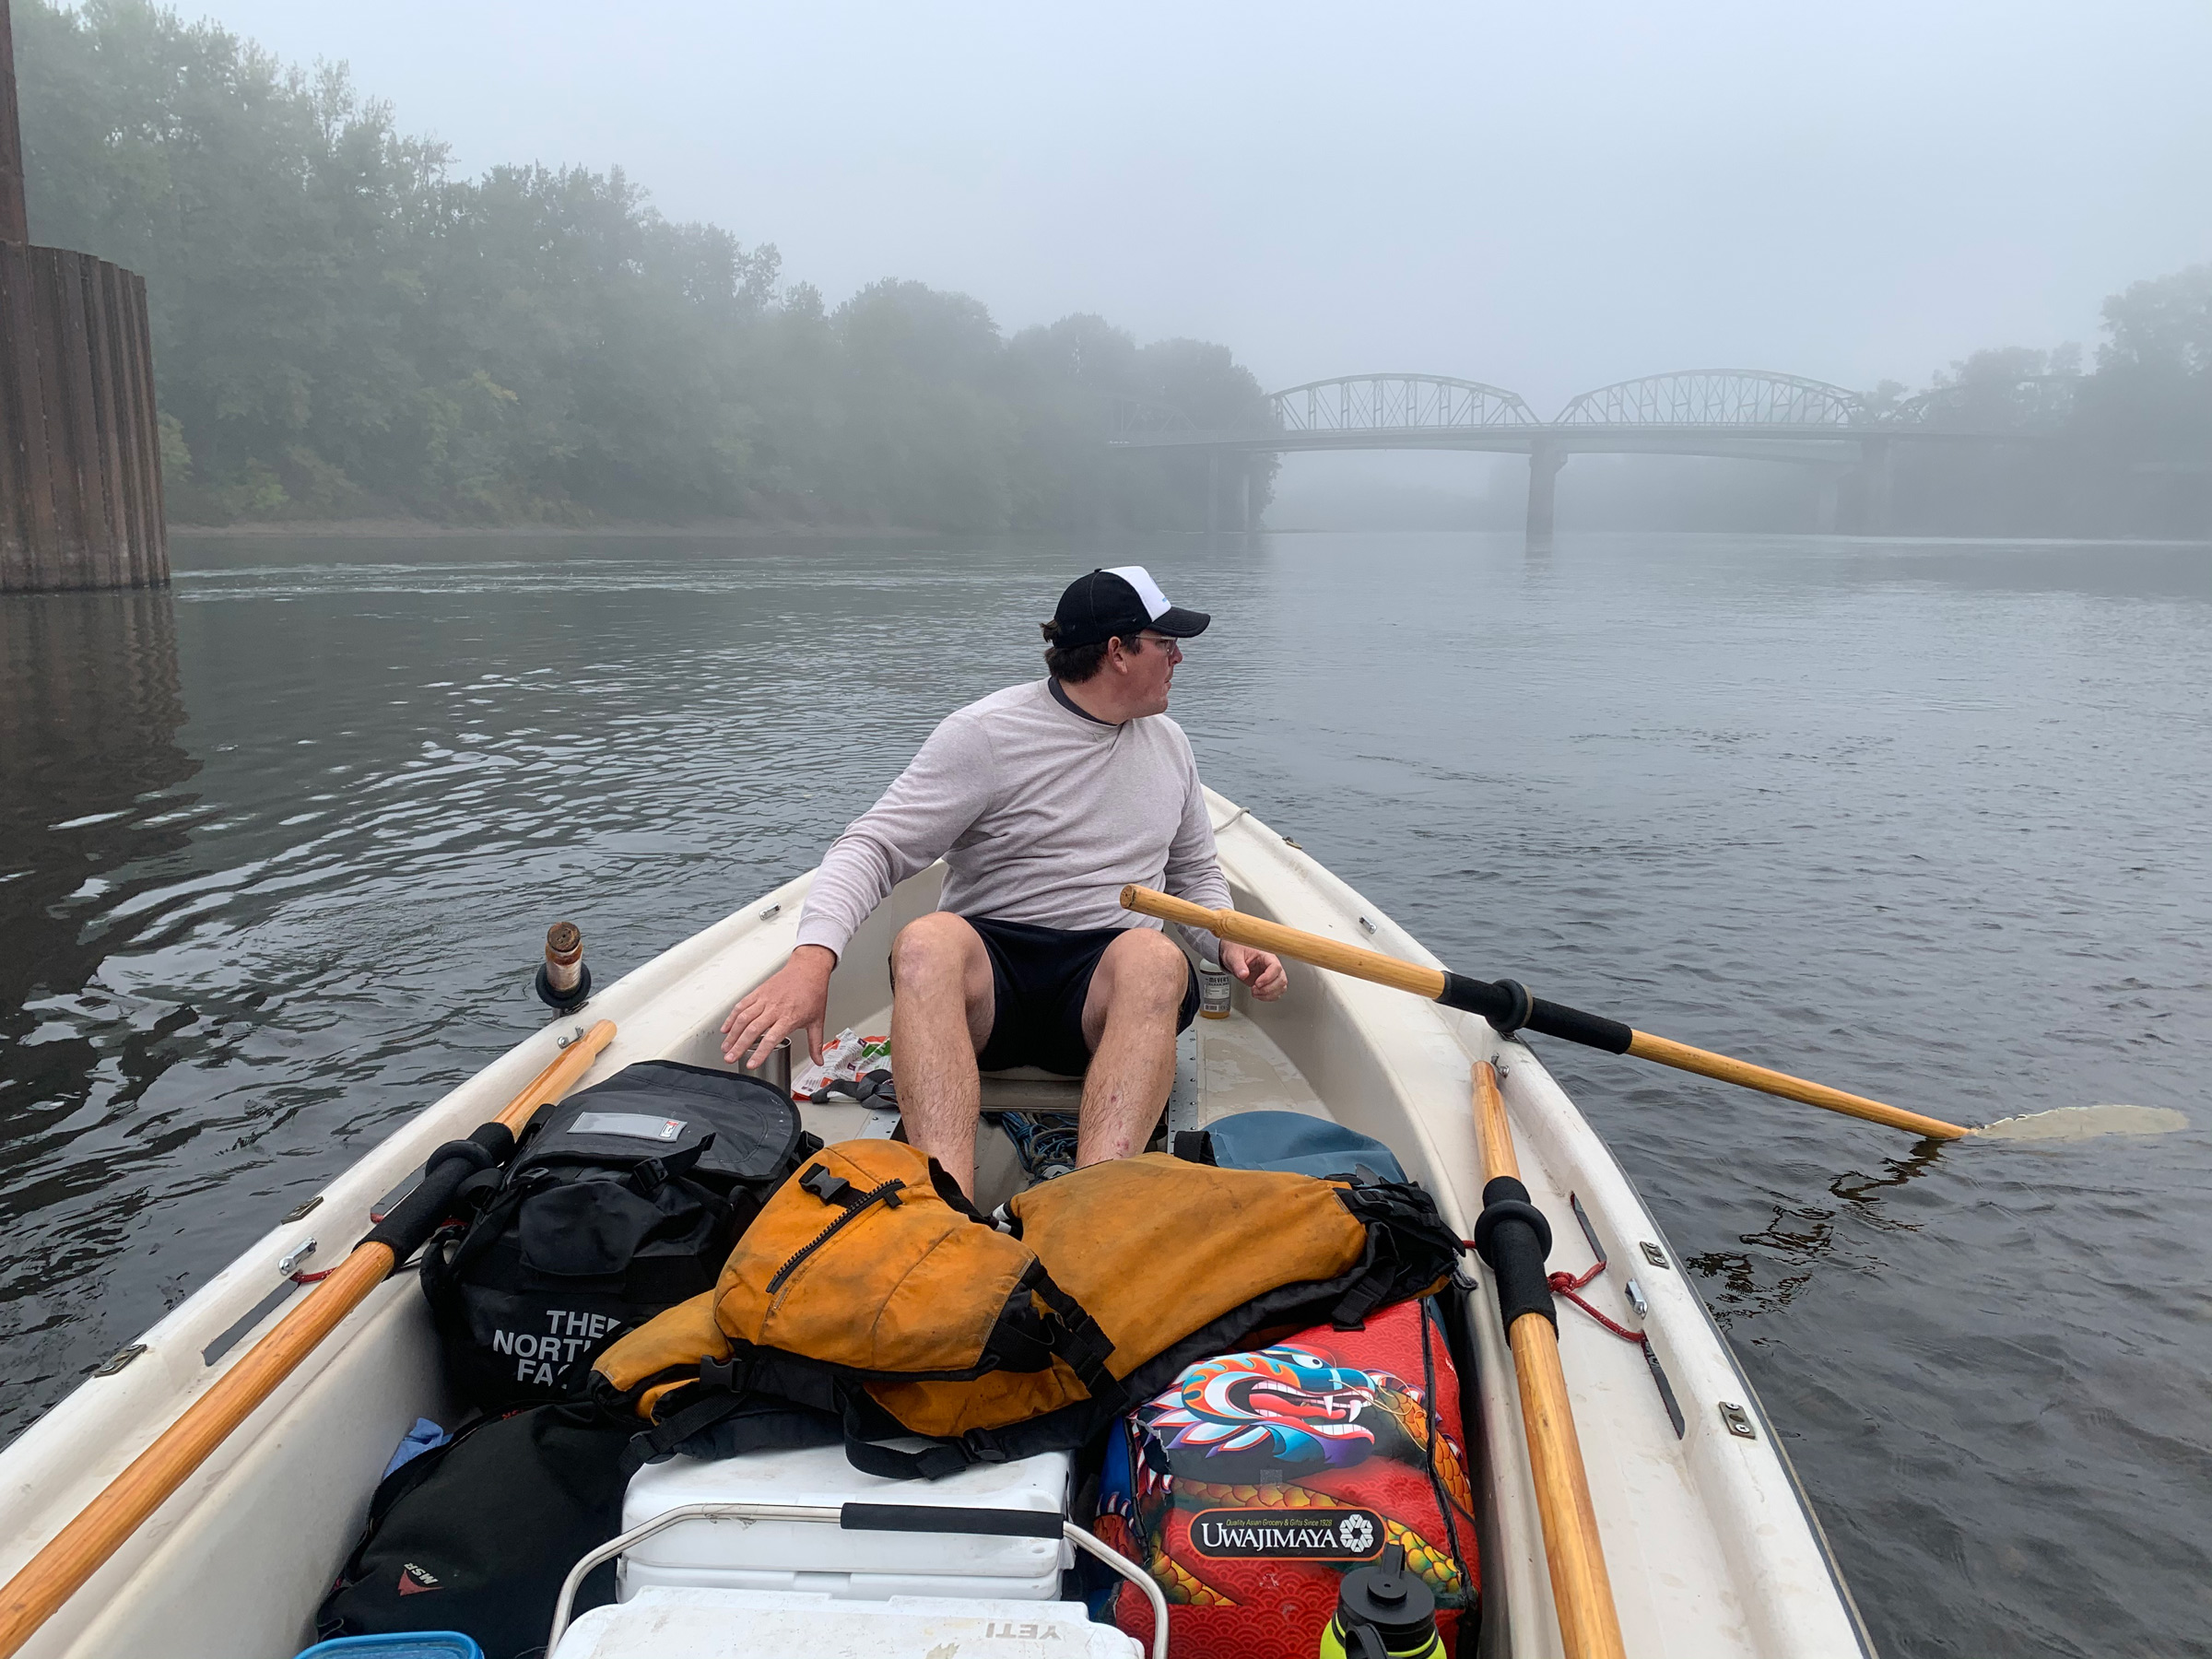
After breakfast, we slid CLARABELLE and H2ONUS into the fog. We passed a stretch of black basalt rip-rap along the river’s edge. A blue heron, disturbed by our approach, leaped downriver and did so several more times as Jon and I made our way downstream. Two kingfishers darted over us with a trill. As the fog ascended we pulled just hard enough to warm up without building up a sweat. Lost in the rhythm of the strokes, I put several hundred yards on Jon, then stopped to let him catch up. A silvery fish, larger than an oar blade, leaped from the river, twisted in the air, and slapped down with a splash.

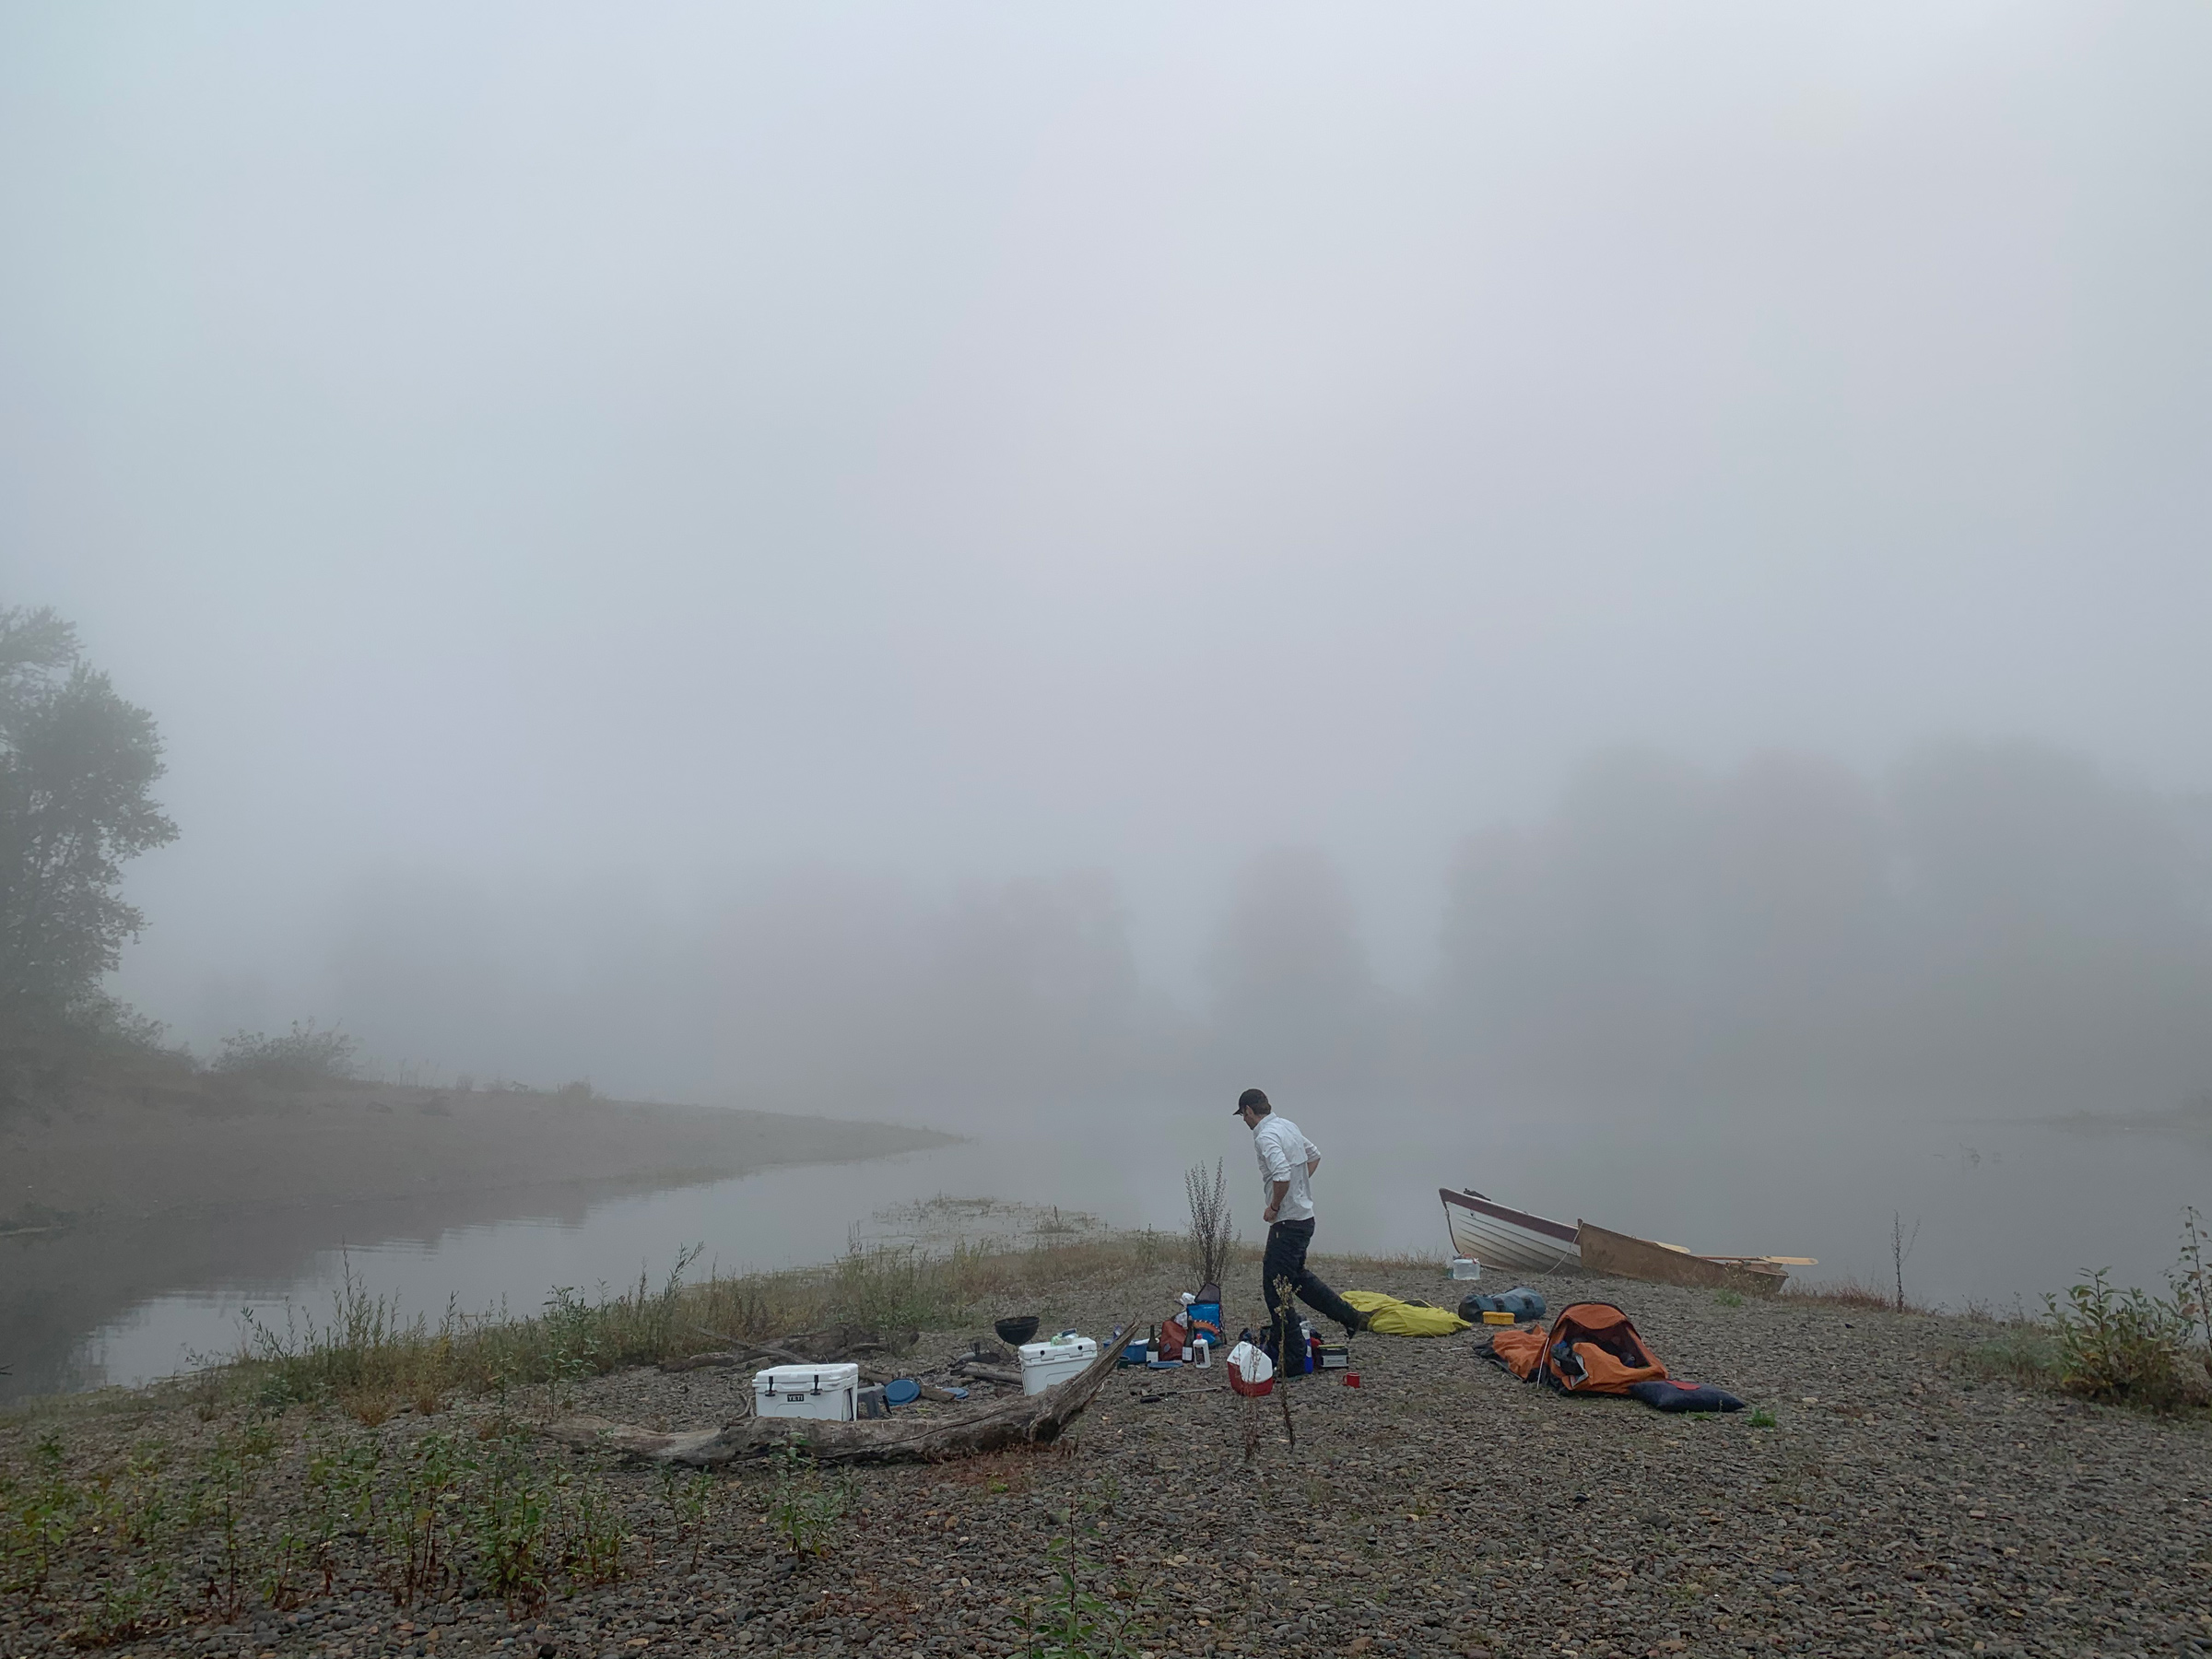
Hart got up before 4 a.m. to drive through the fog to meet us near Albany on this sandy bar just south of the confluence of the Calapooia and Willamette rivers. He got there earlier than we did and had enough time to visit the local farmer’s market and pick up steak, strudel, and flowers for Jon’s birthday.
We approached the confluence with the Callapooia River where powerlines crossing the Willamette spanned slender lattice pylons built on top of massive, rusting, twin-column piers that once supported a bridge. Hart was standing on the sandbar and had with him a dry bag, sleeping bag, and paper grocery sack. Jon and I landed the boats and waded ashore. Hart showed us what he’d brought in the sack: steak, fresh German strudel, and a bouquet of gold, coral, yellow, and maroon dahlias from the farmer’s market in Albany. He handed the flowers to Jon and wished him a happy 40th birthday.
After five hours in the car, Hart was eager to take to the oars and row us out of the fog and into sunshine.
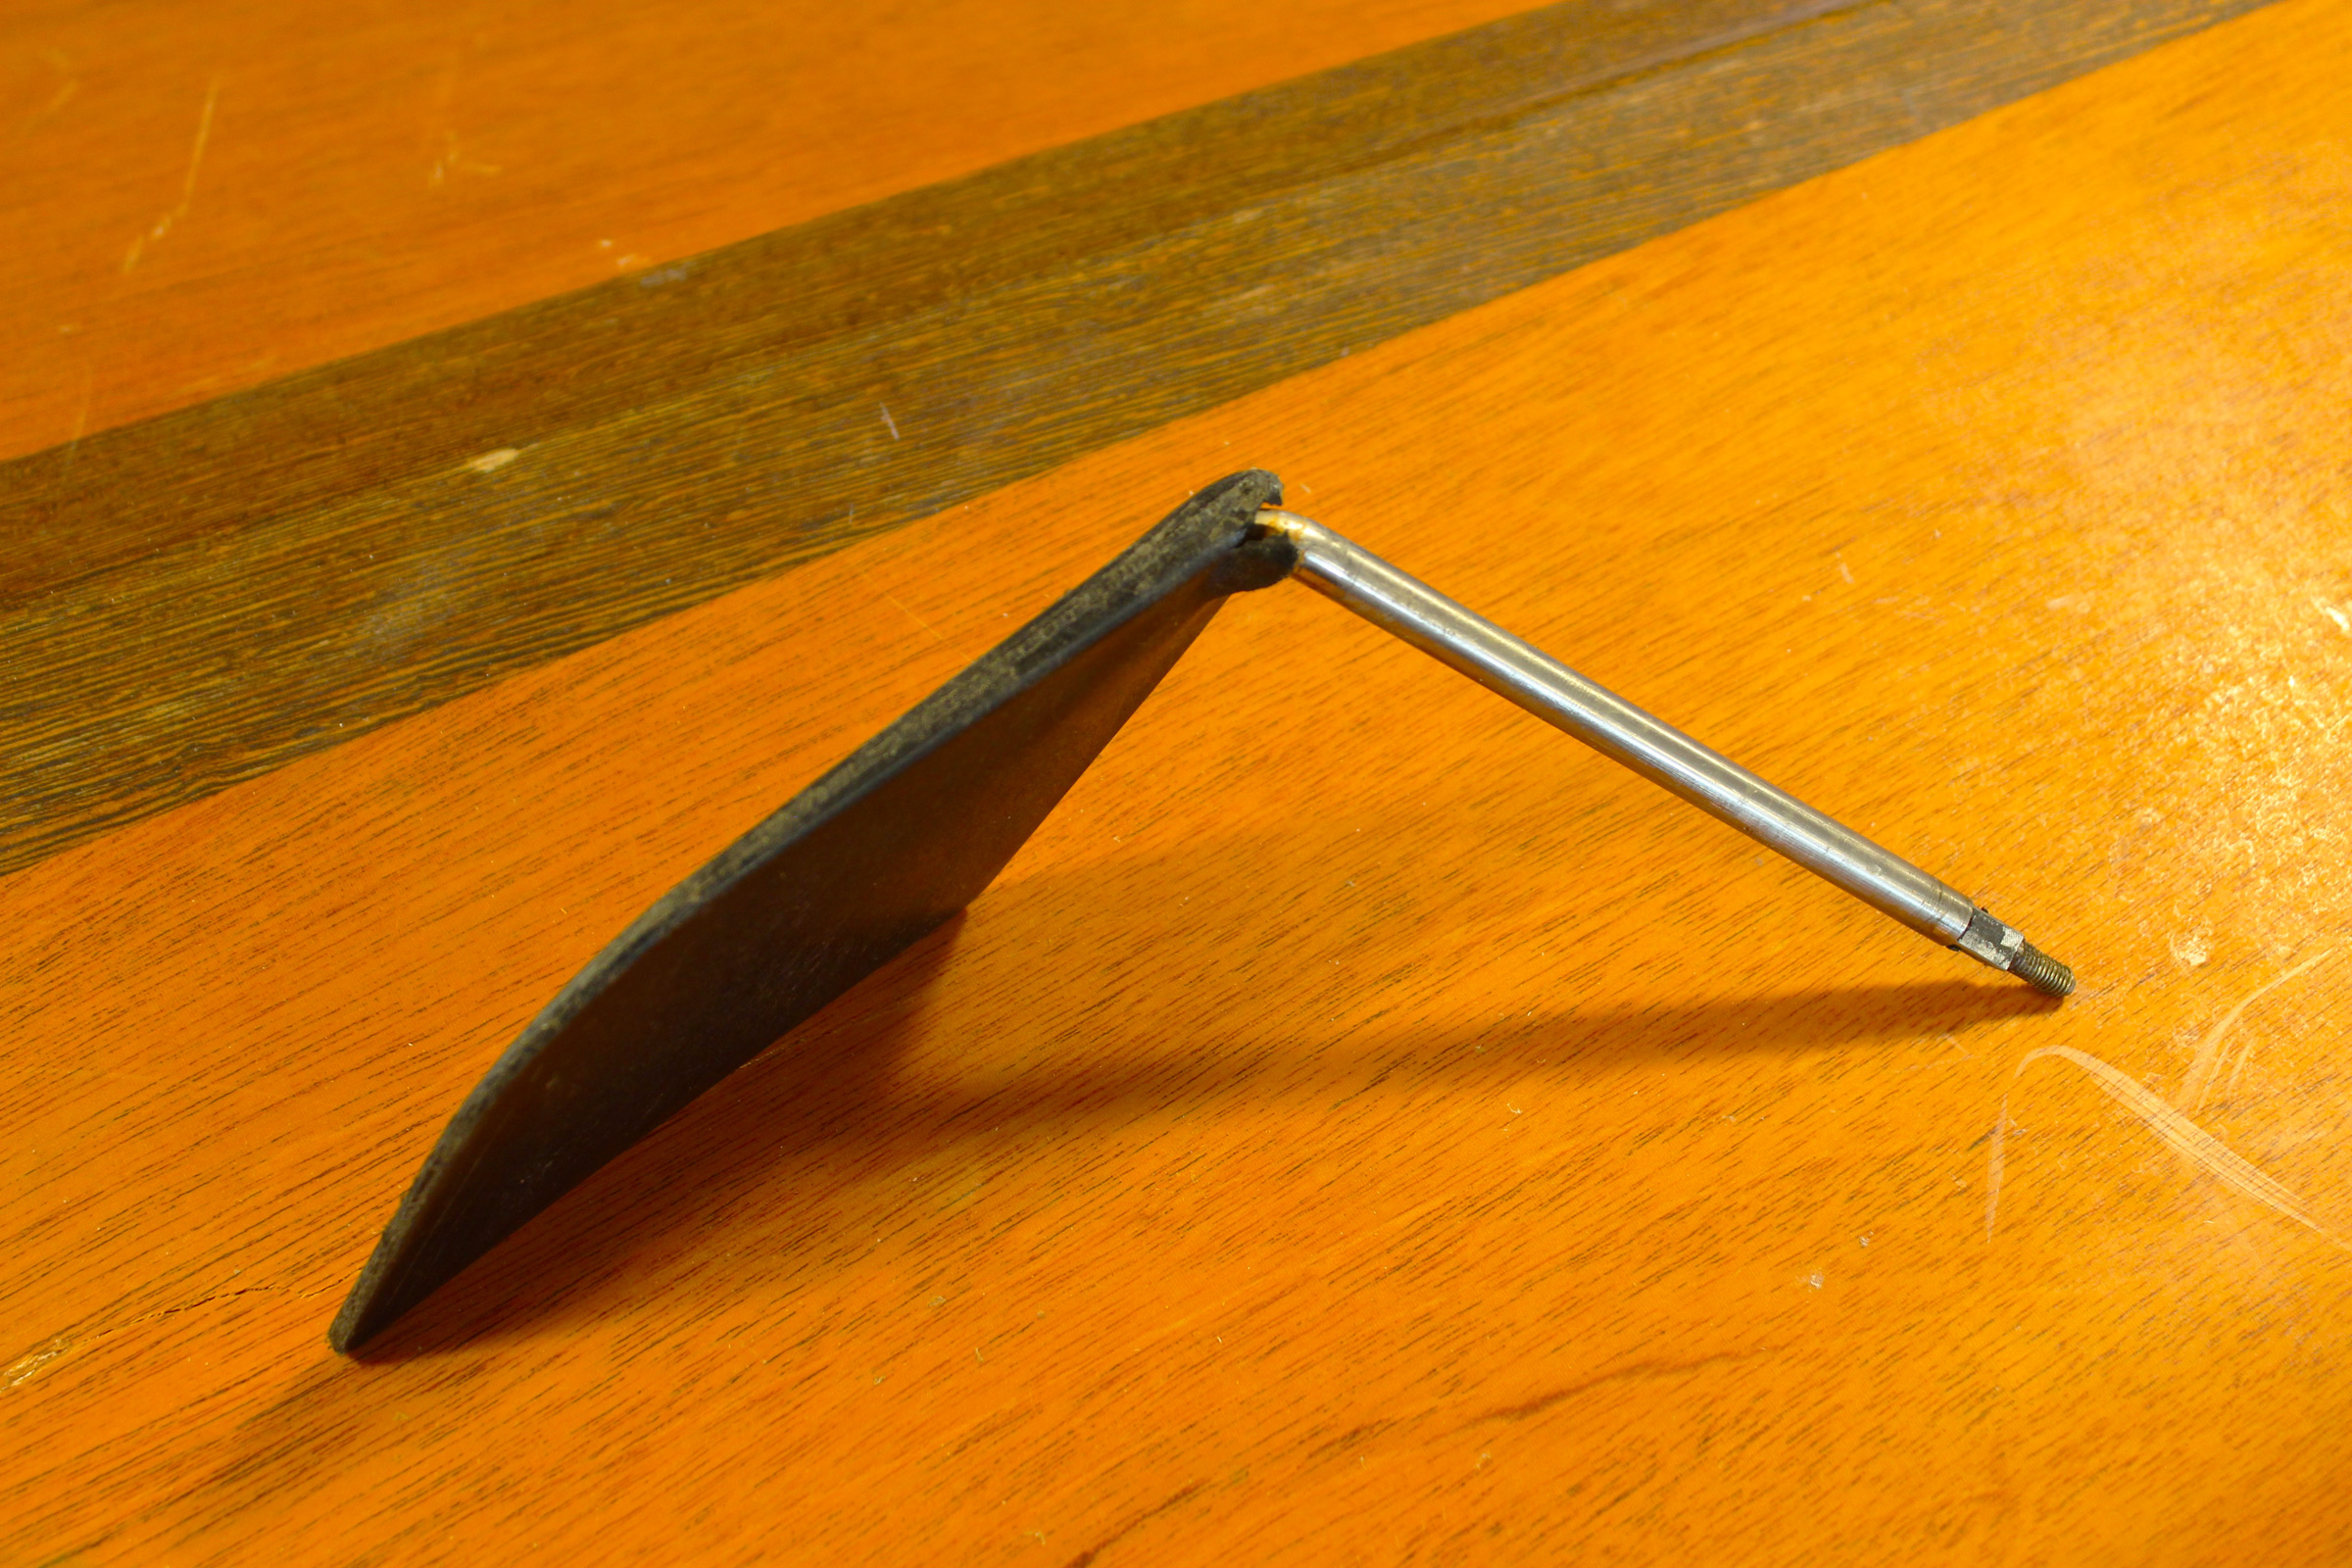
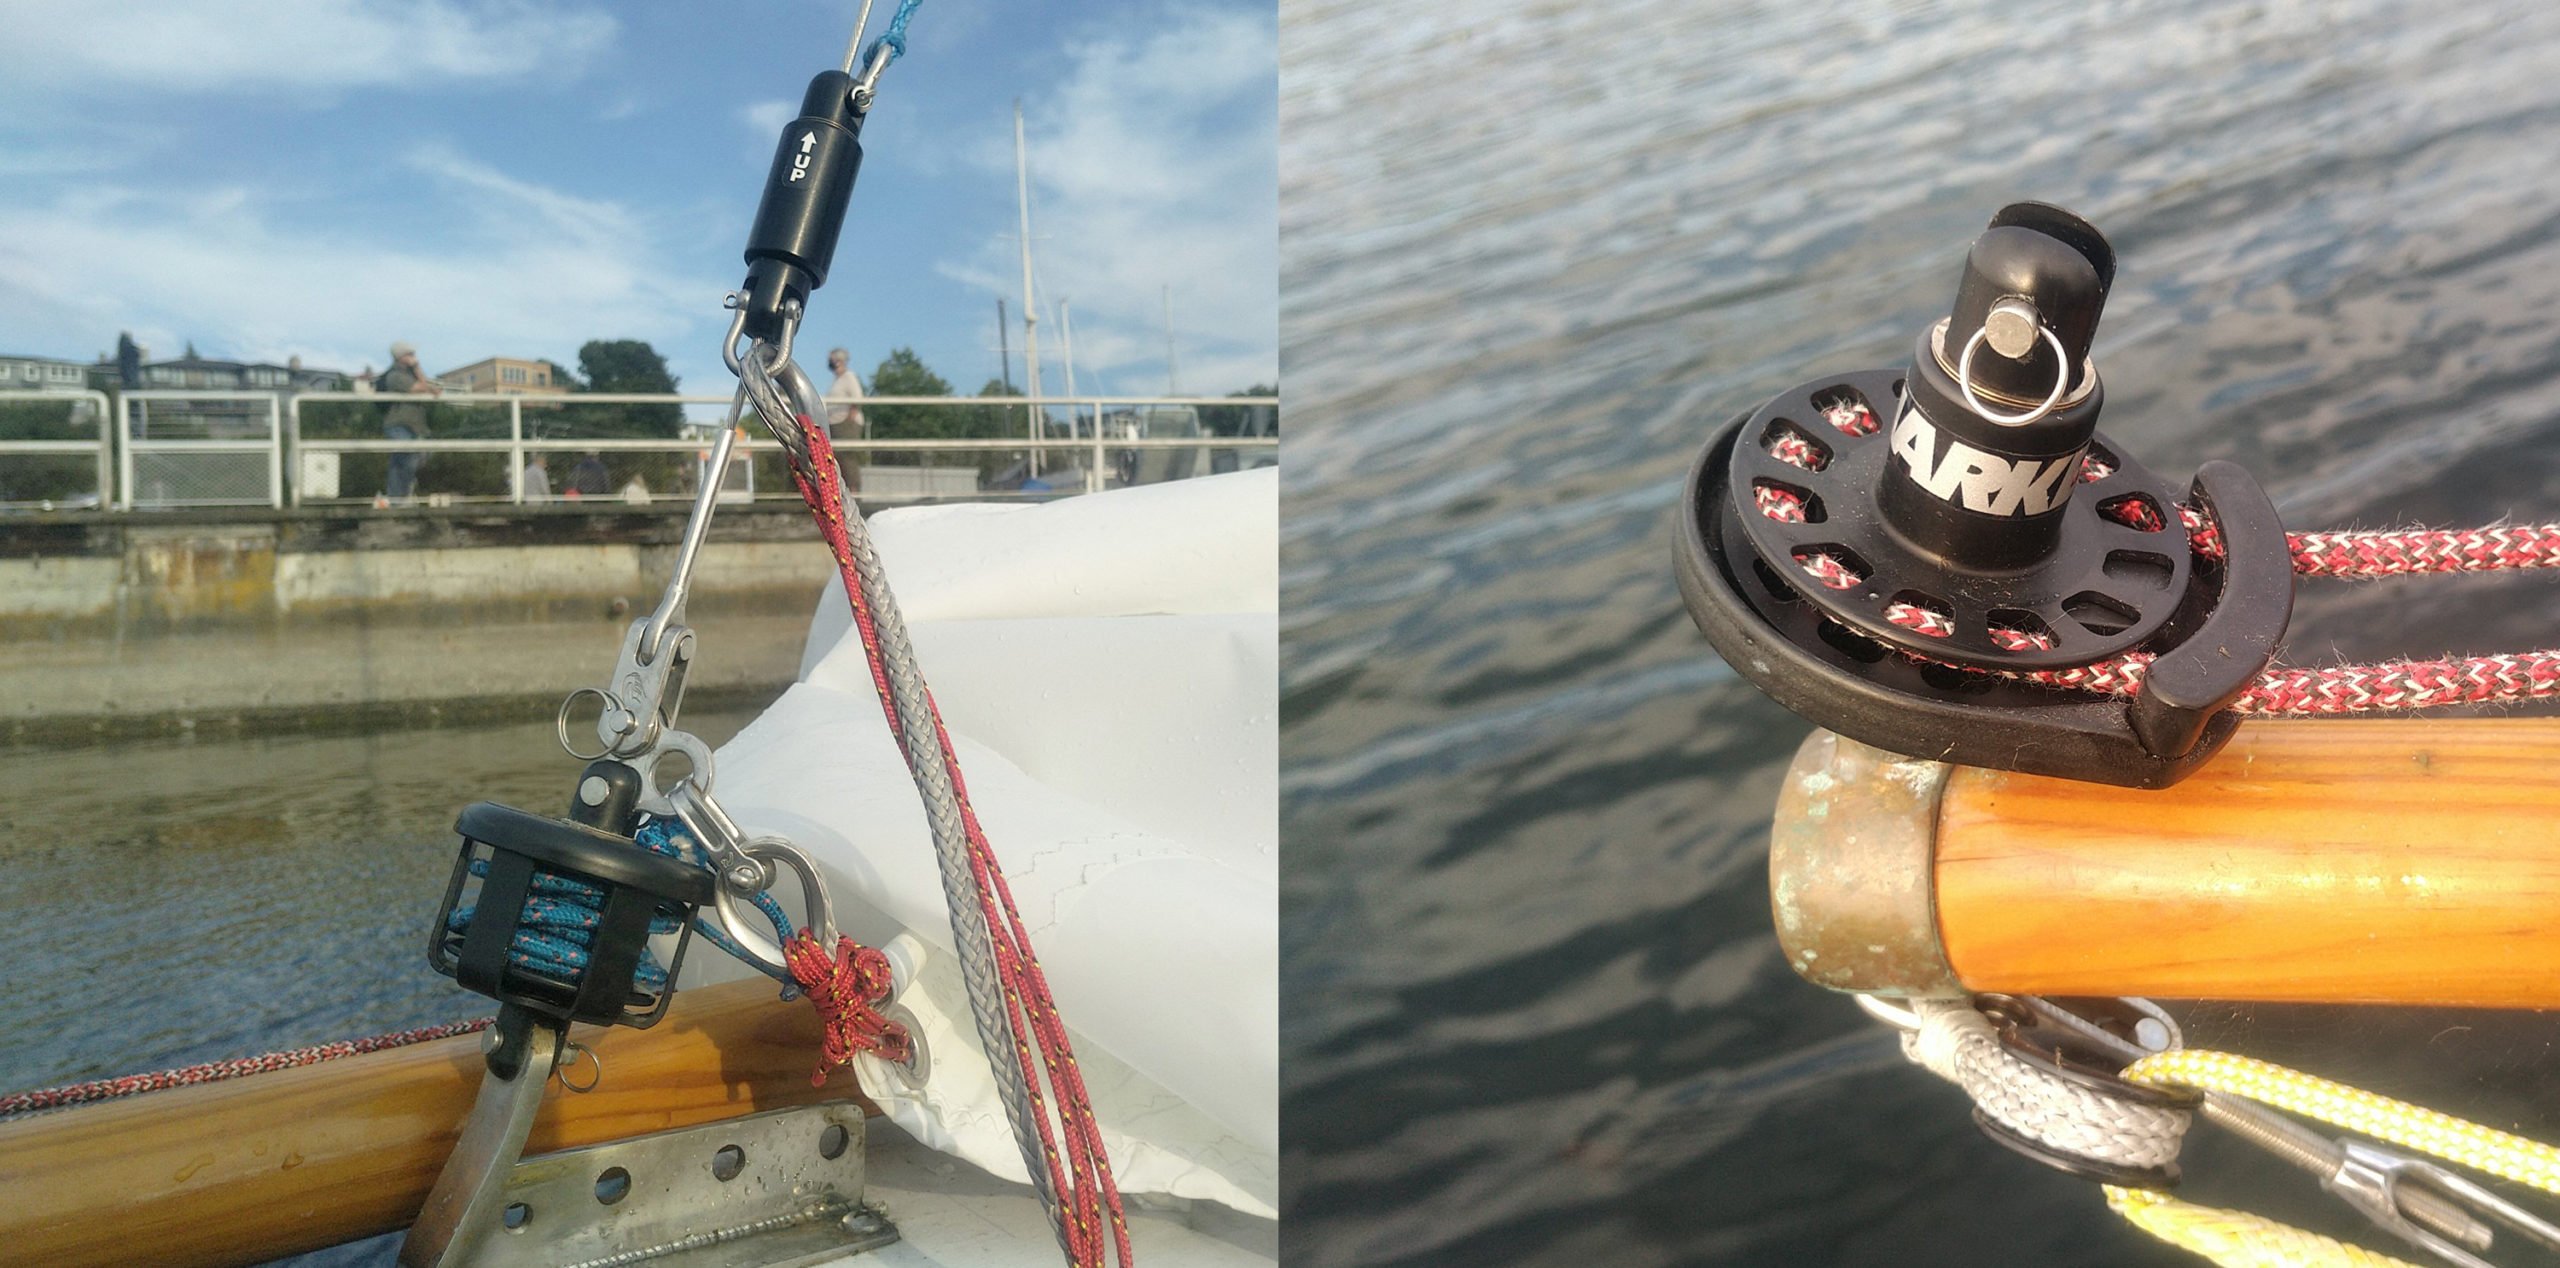
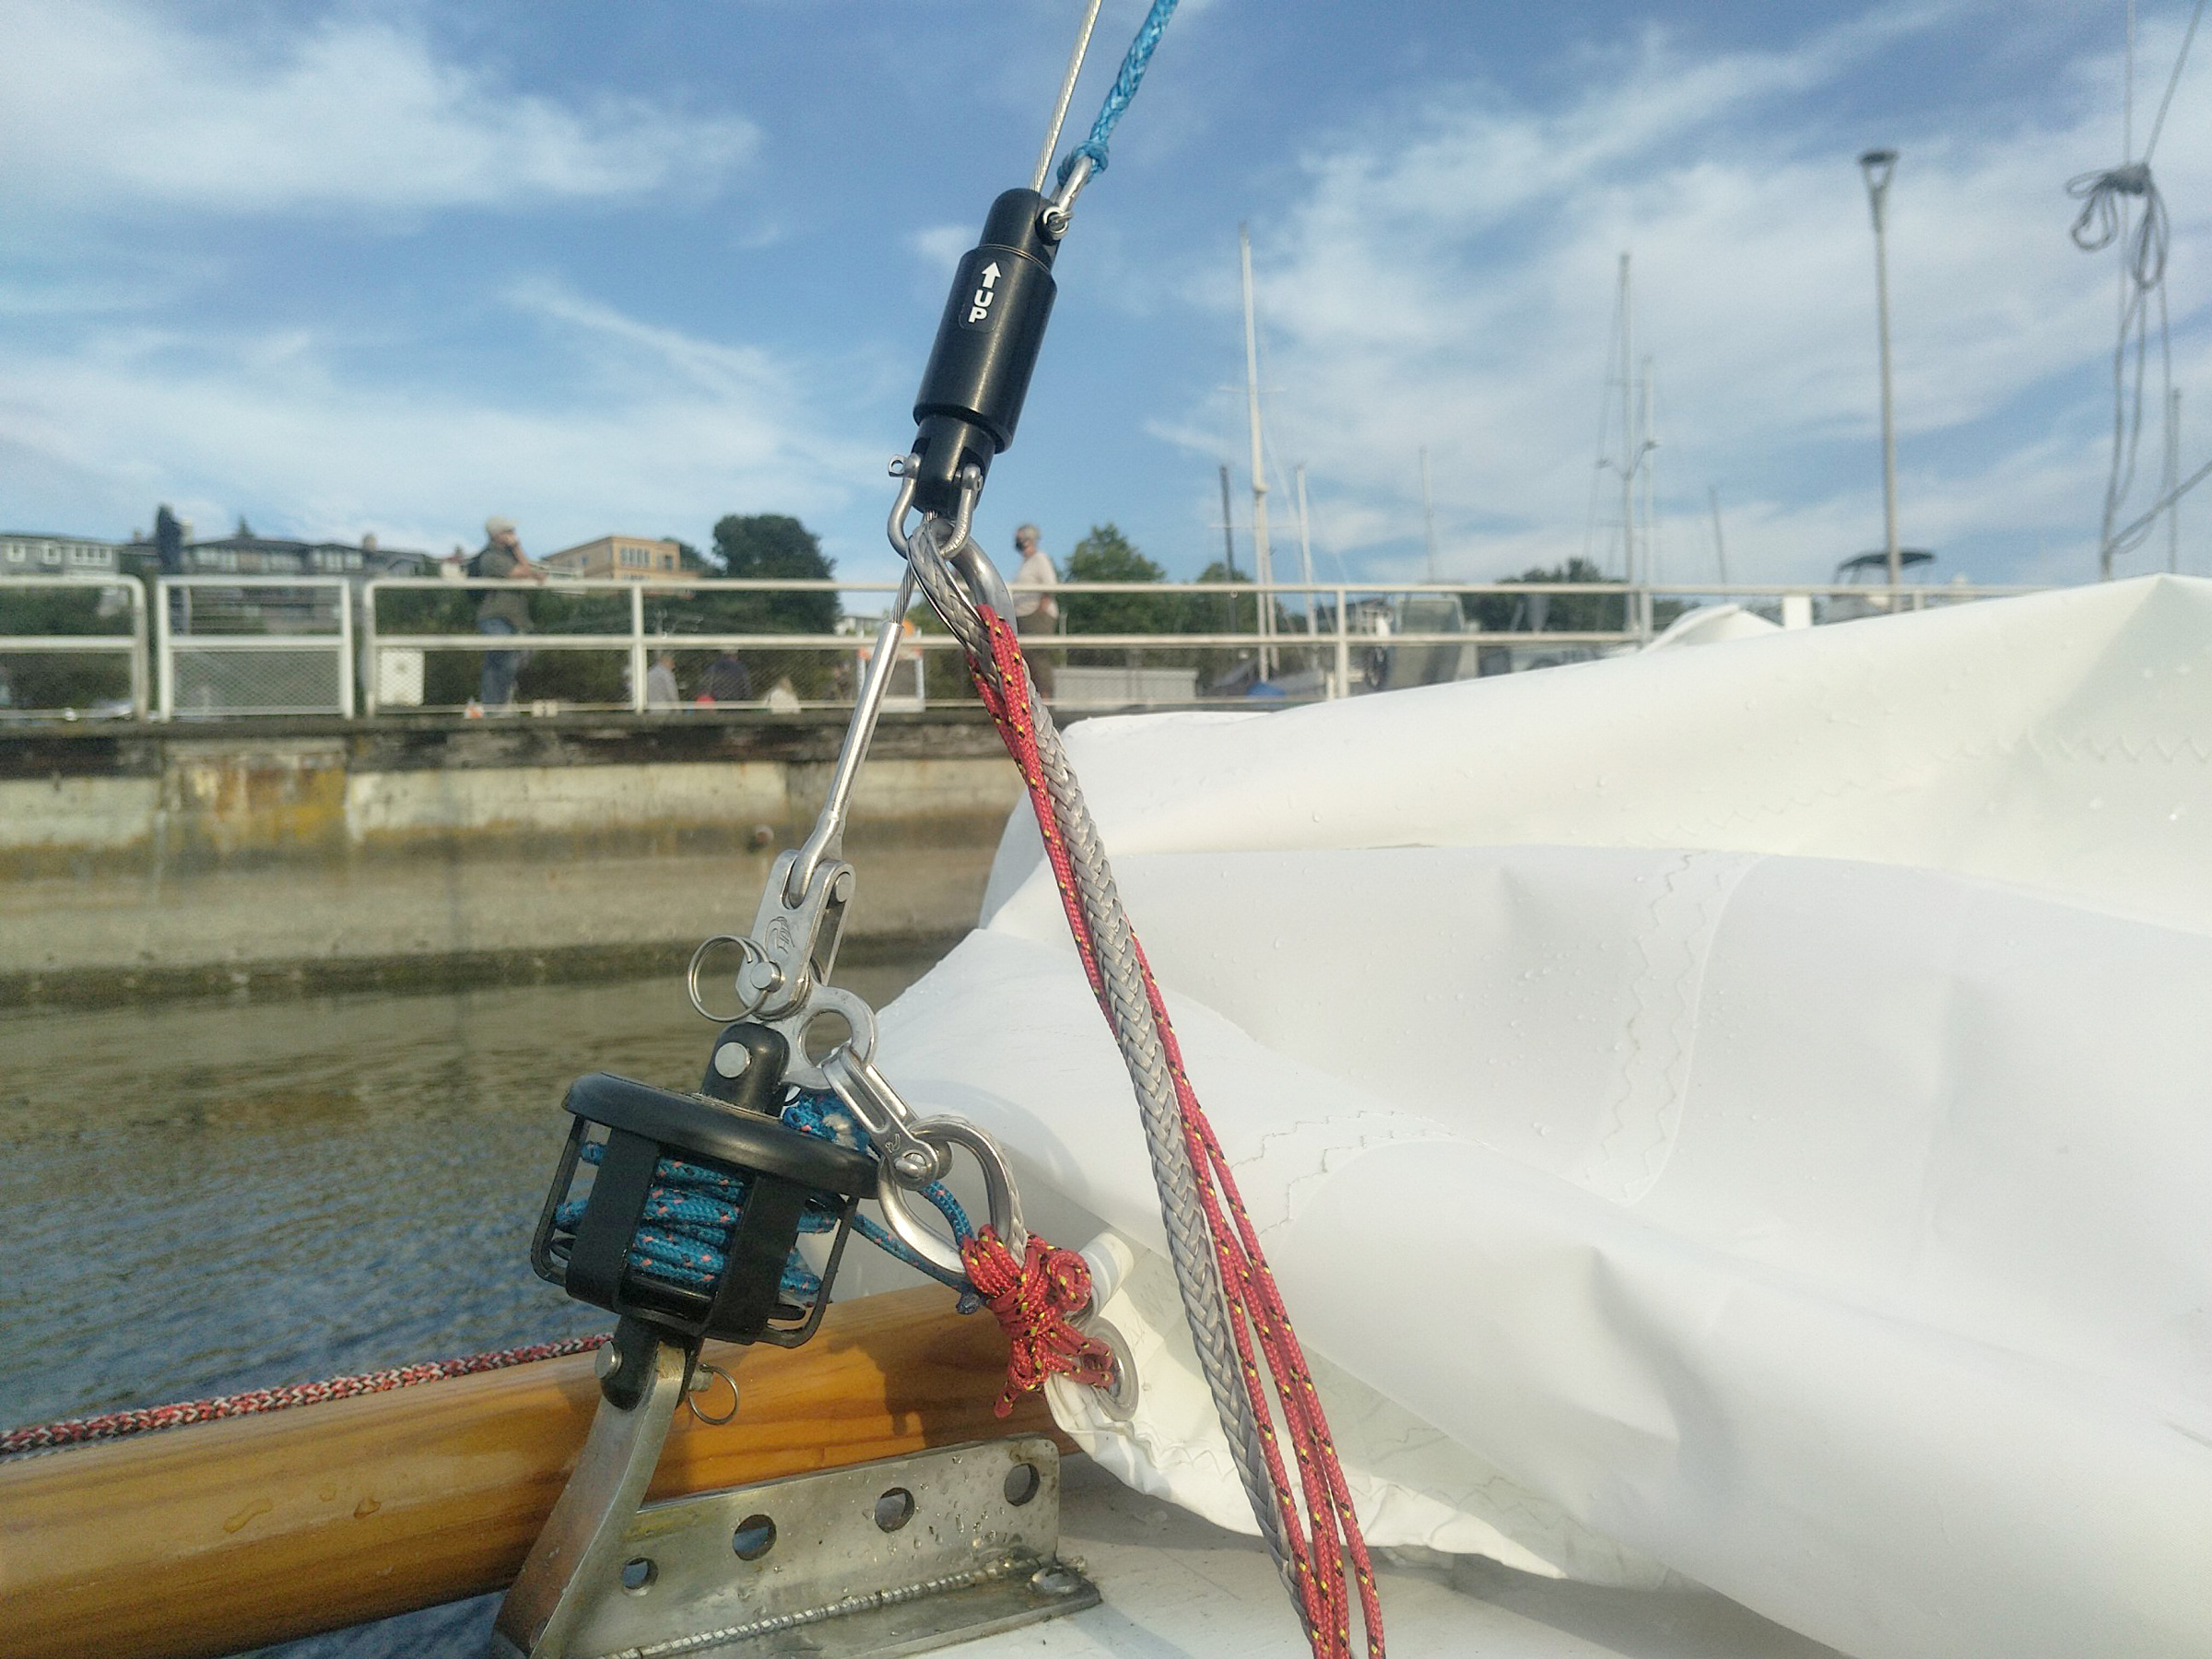
Since Hart would join me in CLARABELLE, I repacked the equipment and adjusted the sliding seats and stretchers so both of us could row. I had brought two seats, each equipped with eight roller-blade wheels. The seat I’d been using had been squeaking for the past few miles; a quick submersion always quiets it, so I dunked it in the water, but as I pulled it from the river one wheel was missing. It was underwater lying on the brown rocks in the middle of a sprinkle of white Teflon-rod bearings. I collected the pieces and looked at the seat. A worn-out nylon washer had let the wheel slip off the axle bolt. CLARABELLE would carry on with just one of us rowing.
There was plenty of time to cover the modest number of miles we had ahead, so we let the river carry the boats while we took it easy.
I plopped into the stern with my legs over the sheer and let my toes drag in the water. Hart took to the oars and rowed us under a pair of steel bridges that connect the tree-lined fields on the west side of the river with the wooded bluffs of Albany. The tops of old brick buildings poked up just above the treetops.
About an hour after we picked up Hart, the low clouds cleared and the bright sunlight falling on the dense green vegetation gave the river a subtropical look.
Downriver from town, the bank sank down into low farmland. At the cutbank of the first bend a tree had fallen into the river. Stripped of leaves, the branches waved up and down in the current, a ghostly greeting. We tied the boats together and let the Willamette weave us through the bottomlands at its own pace. The fog continued its ascent, and by the time we reached the first island, 6 miles downriver from Albany, the sun was high in a cloudless sky.
We rowed into sunshine just a few bends downriver from Albany. We landed for a quick exploration of this long, skinny island. Unlike a lot of the other islands, this one’s rocky bars were overgrown with grass and brush, turning them into small meadows.
Thick brush and prickly blackberry brambles covered the island, and we wandered around with a machete, looking for a path to the wooded center simply for exploration’s sake. We rowed to the south end, a skinny half-flooded meadow jutting into the river. The gentle current draped green wispy string algae over freshwater mussel shells as long as my finger. Their incandescent mother-of-pearl sparkled in the sun.
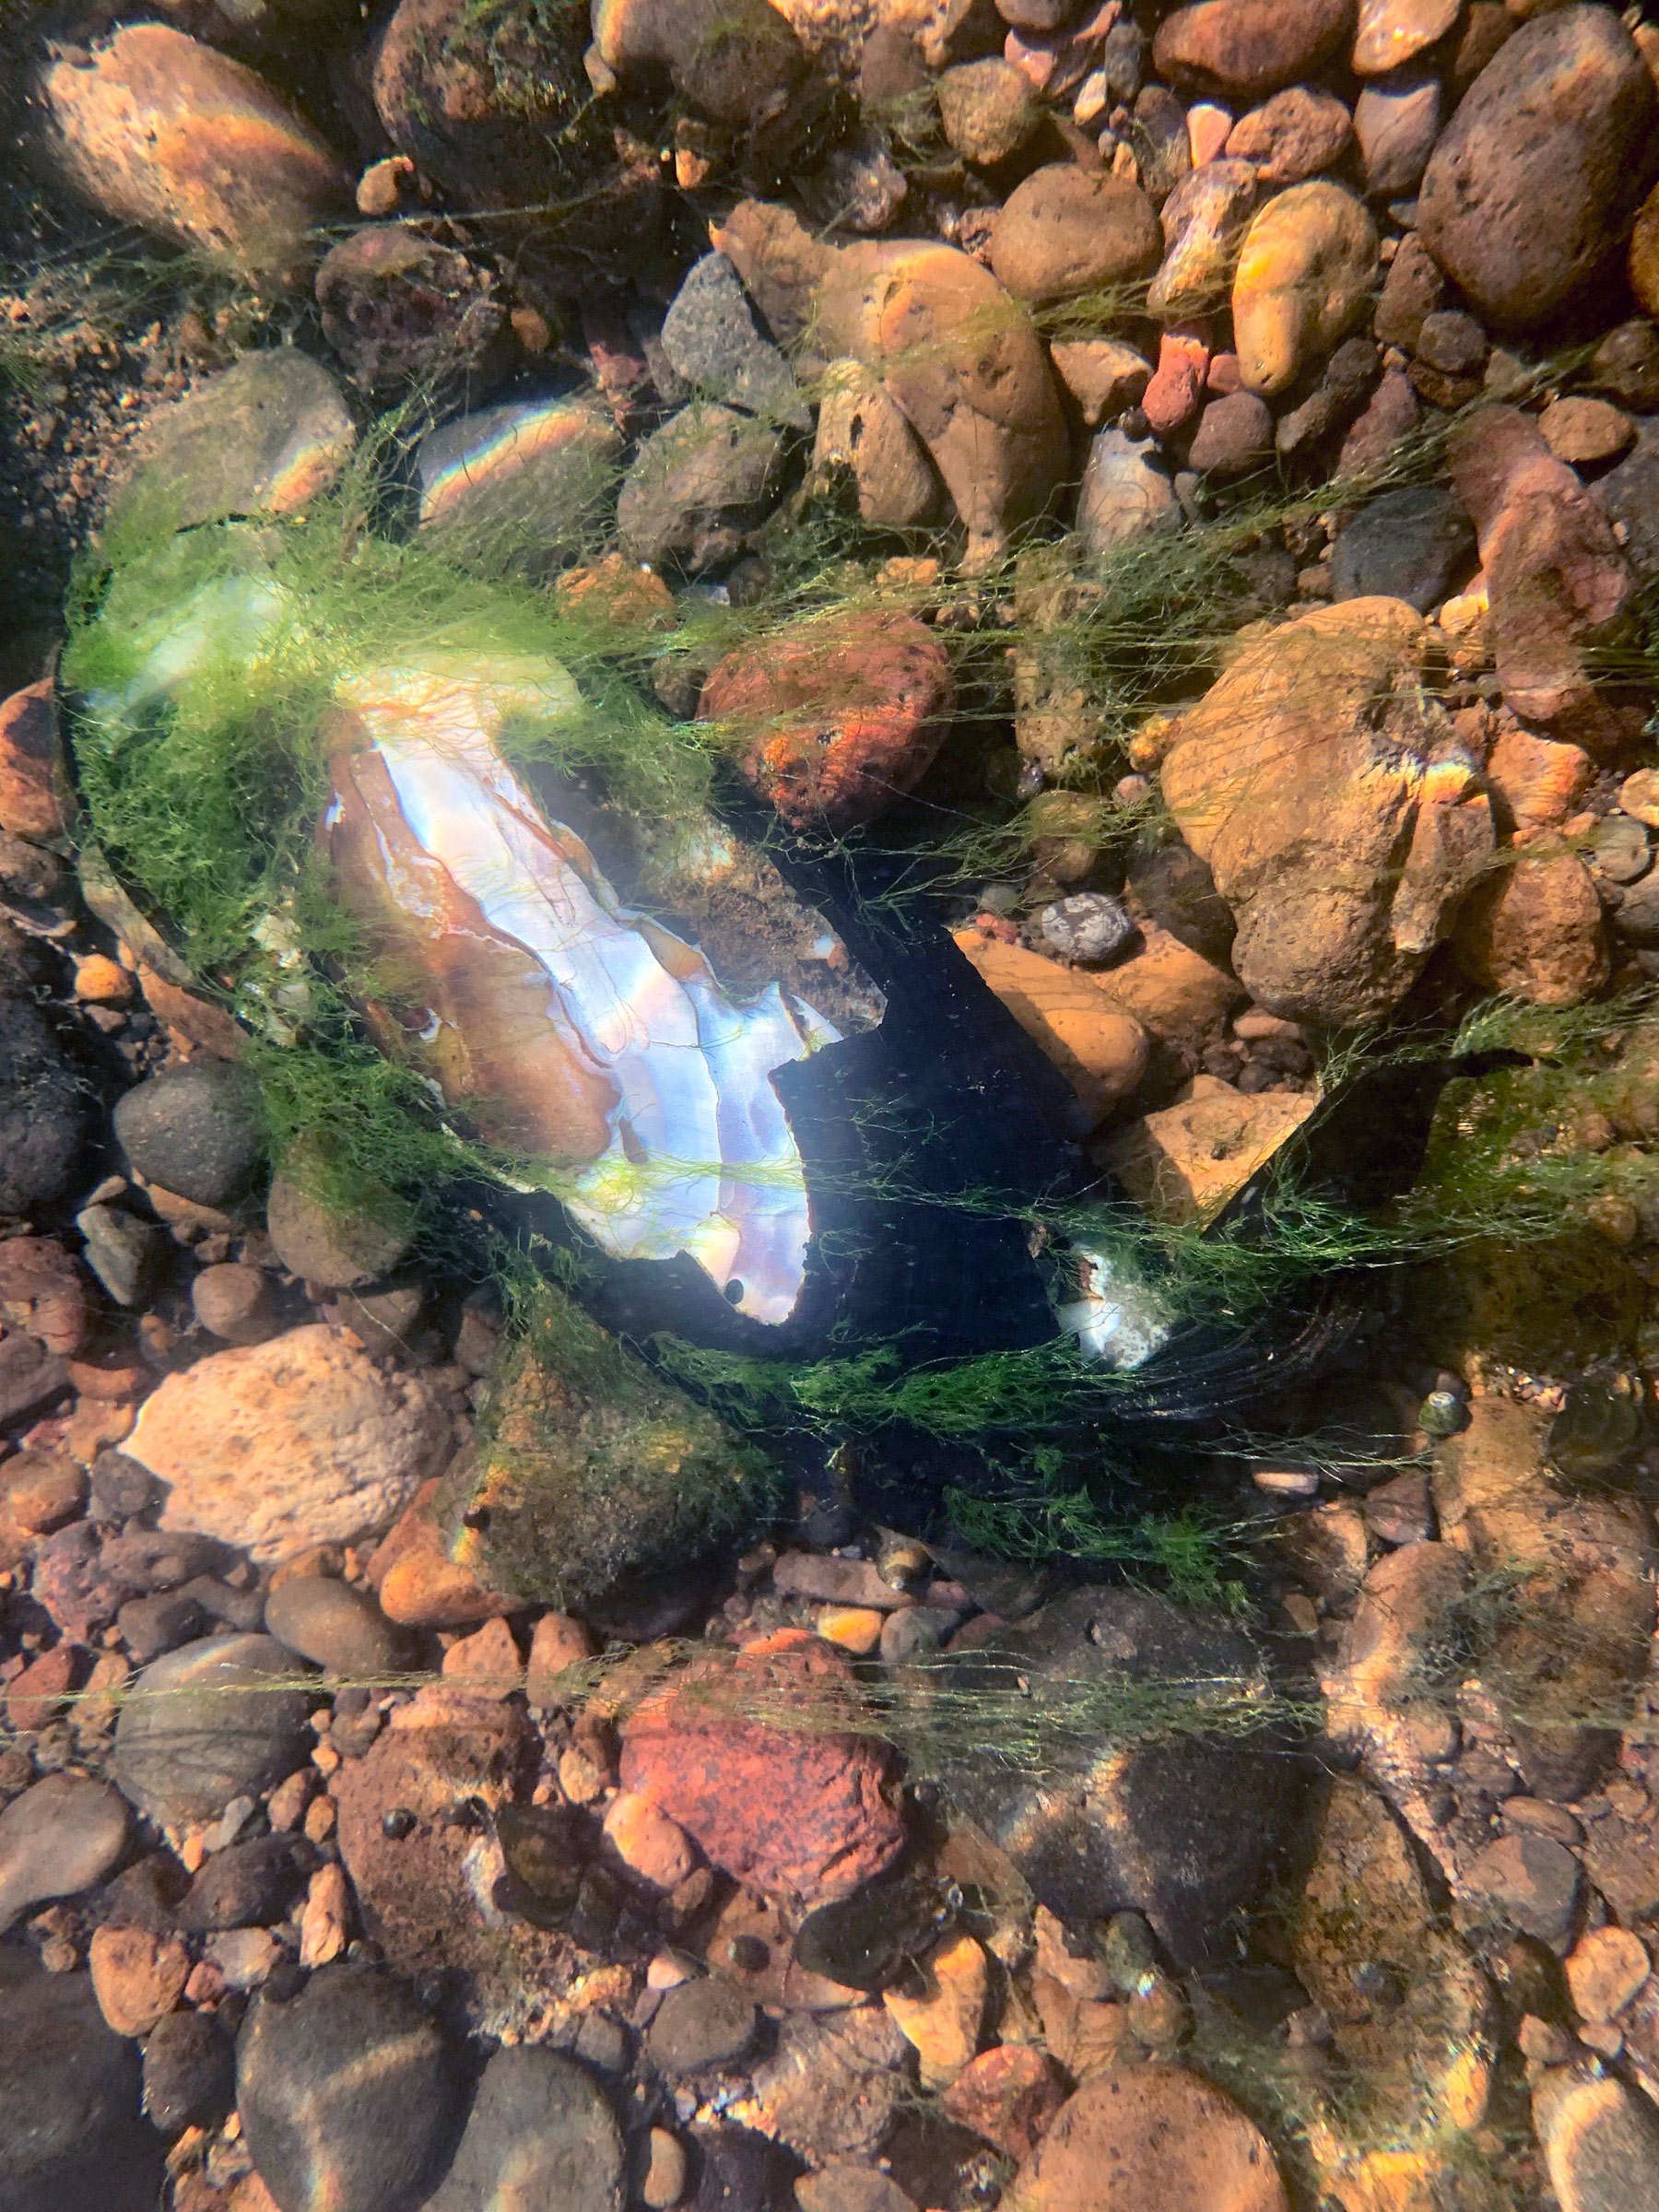
I didn’t know mussels also grew in fresh water until I was an adult. I see them now in many places and haven’t lost my fascination with them.
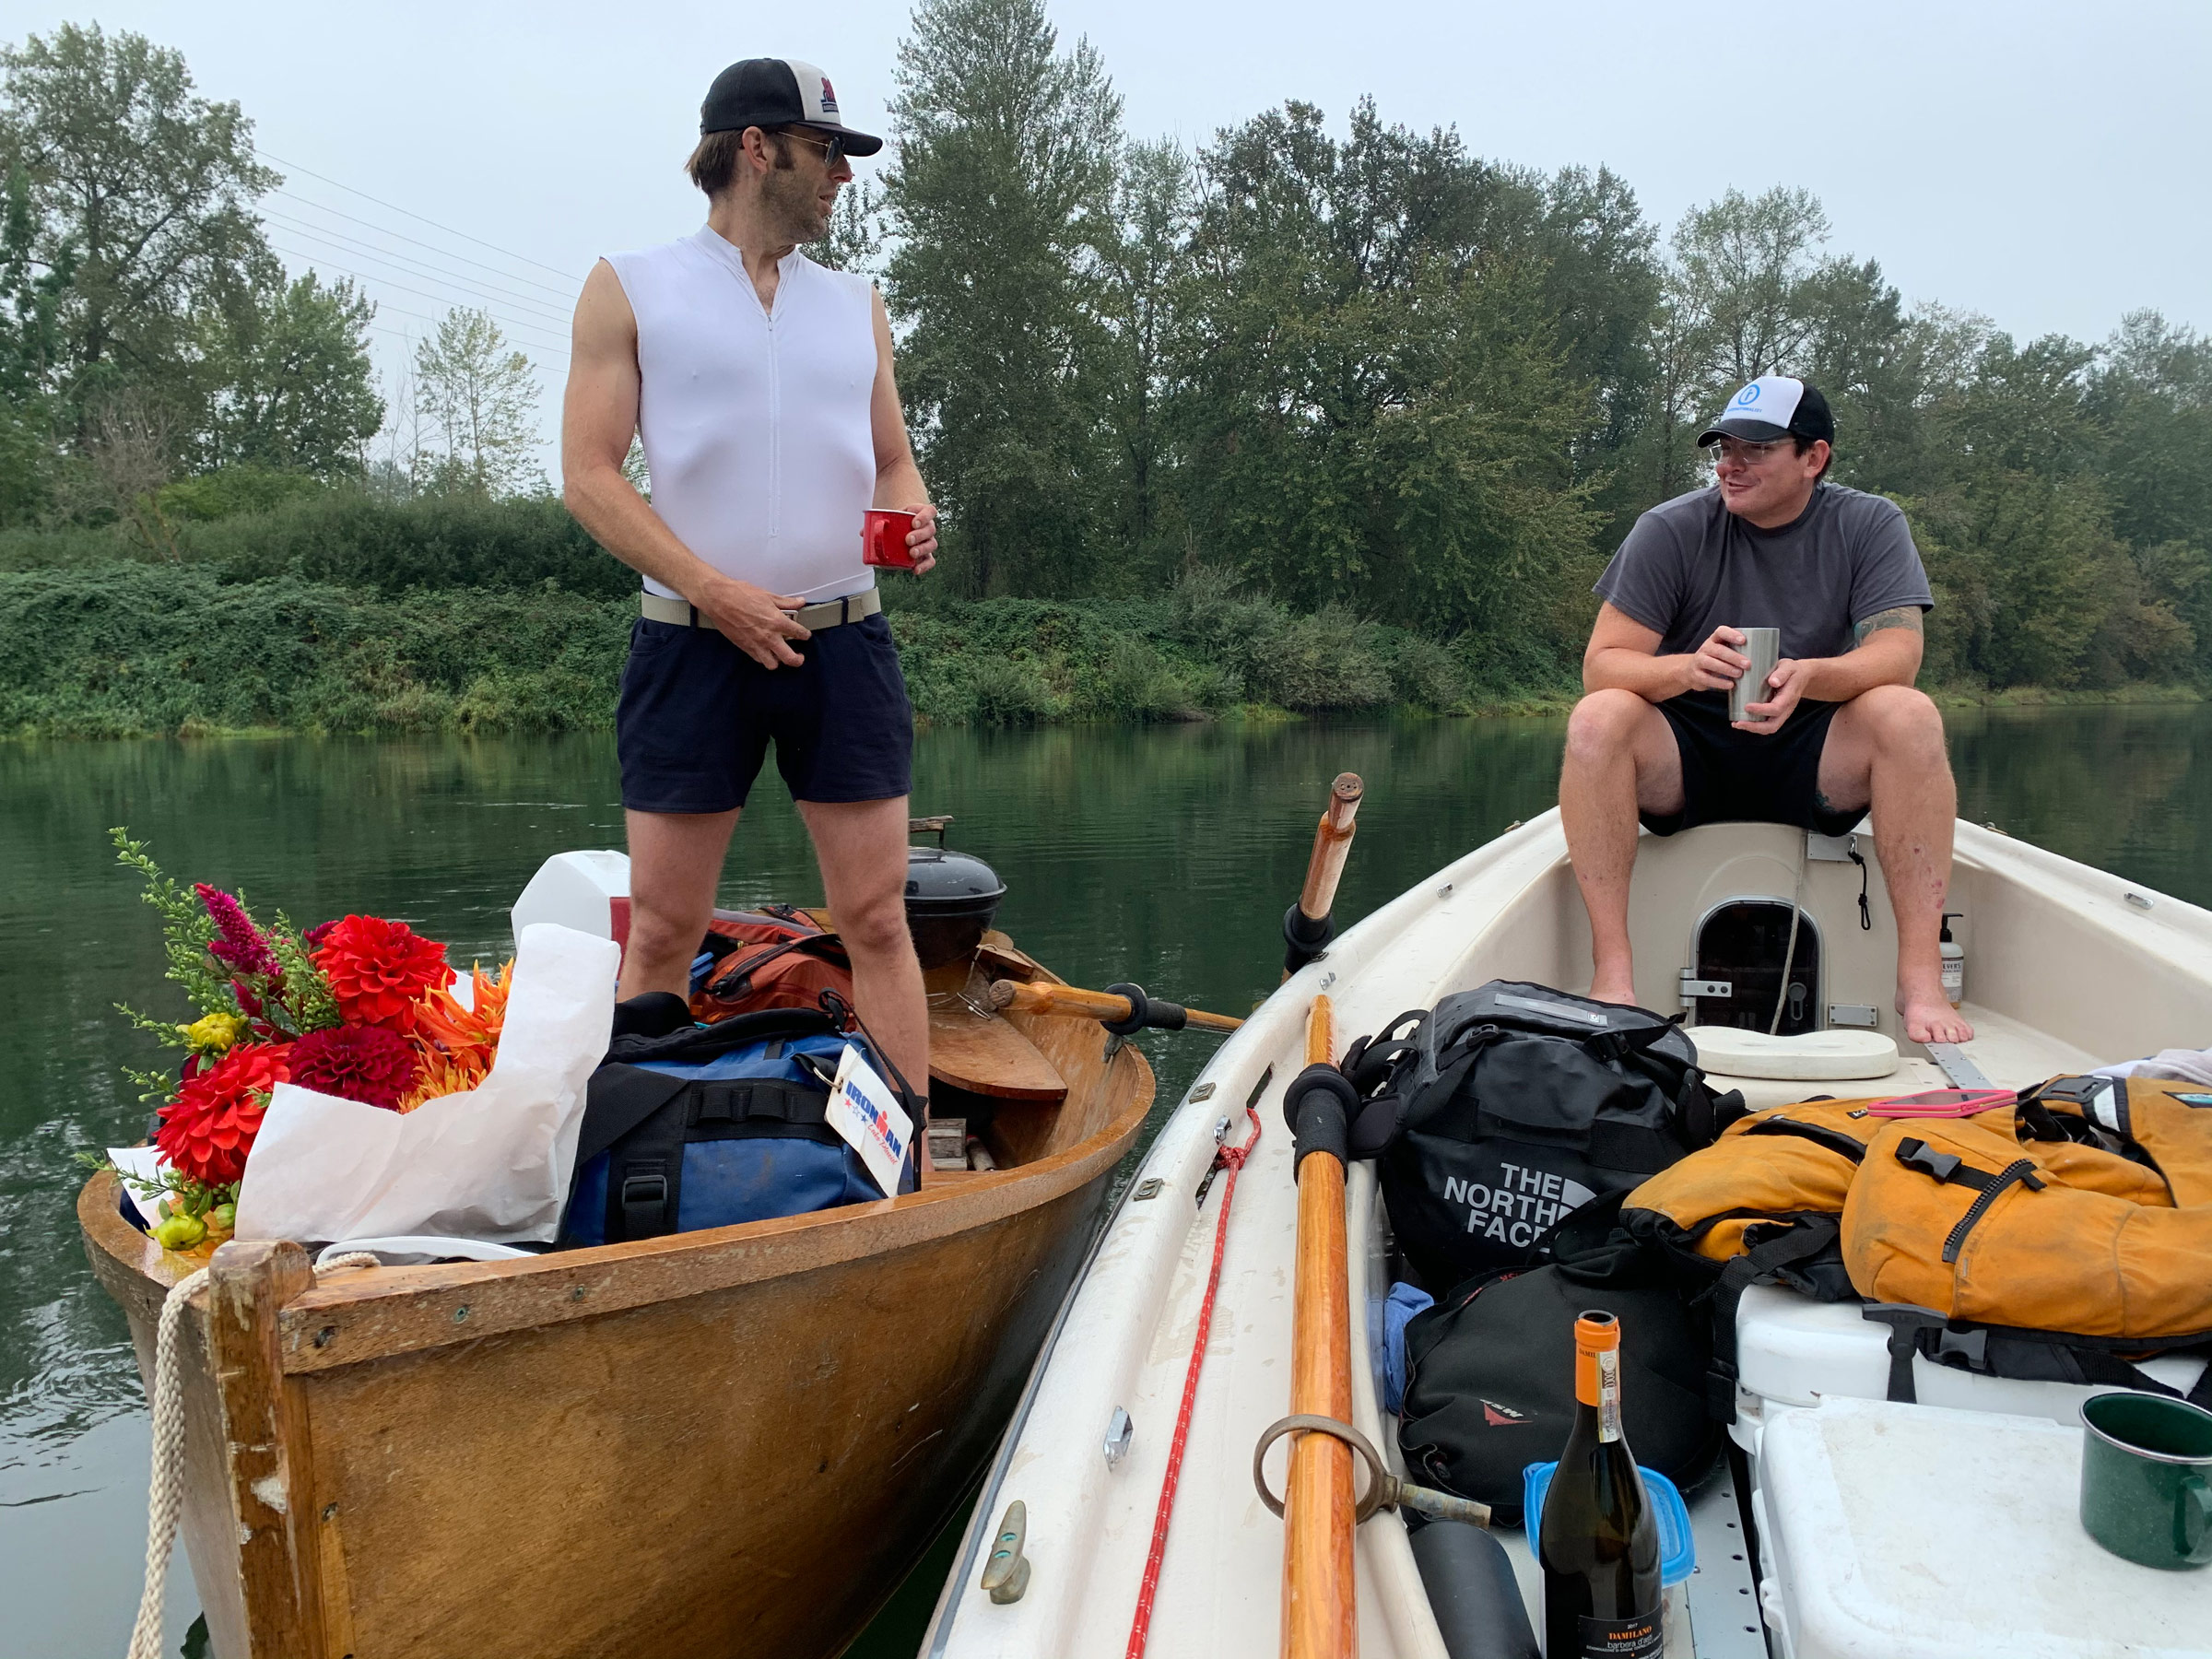
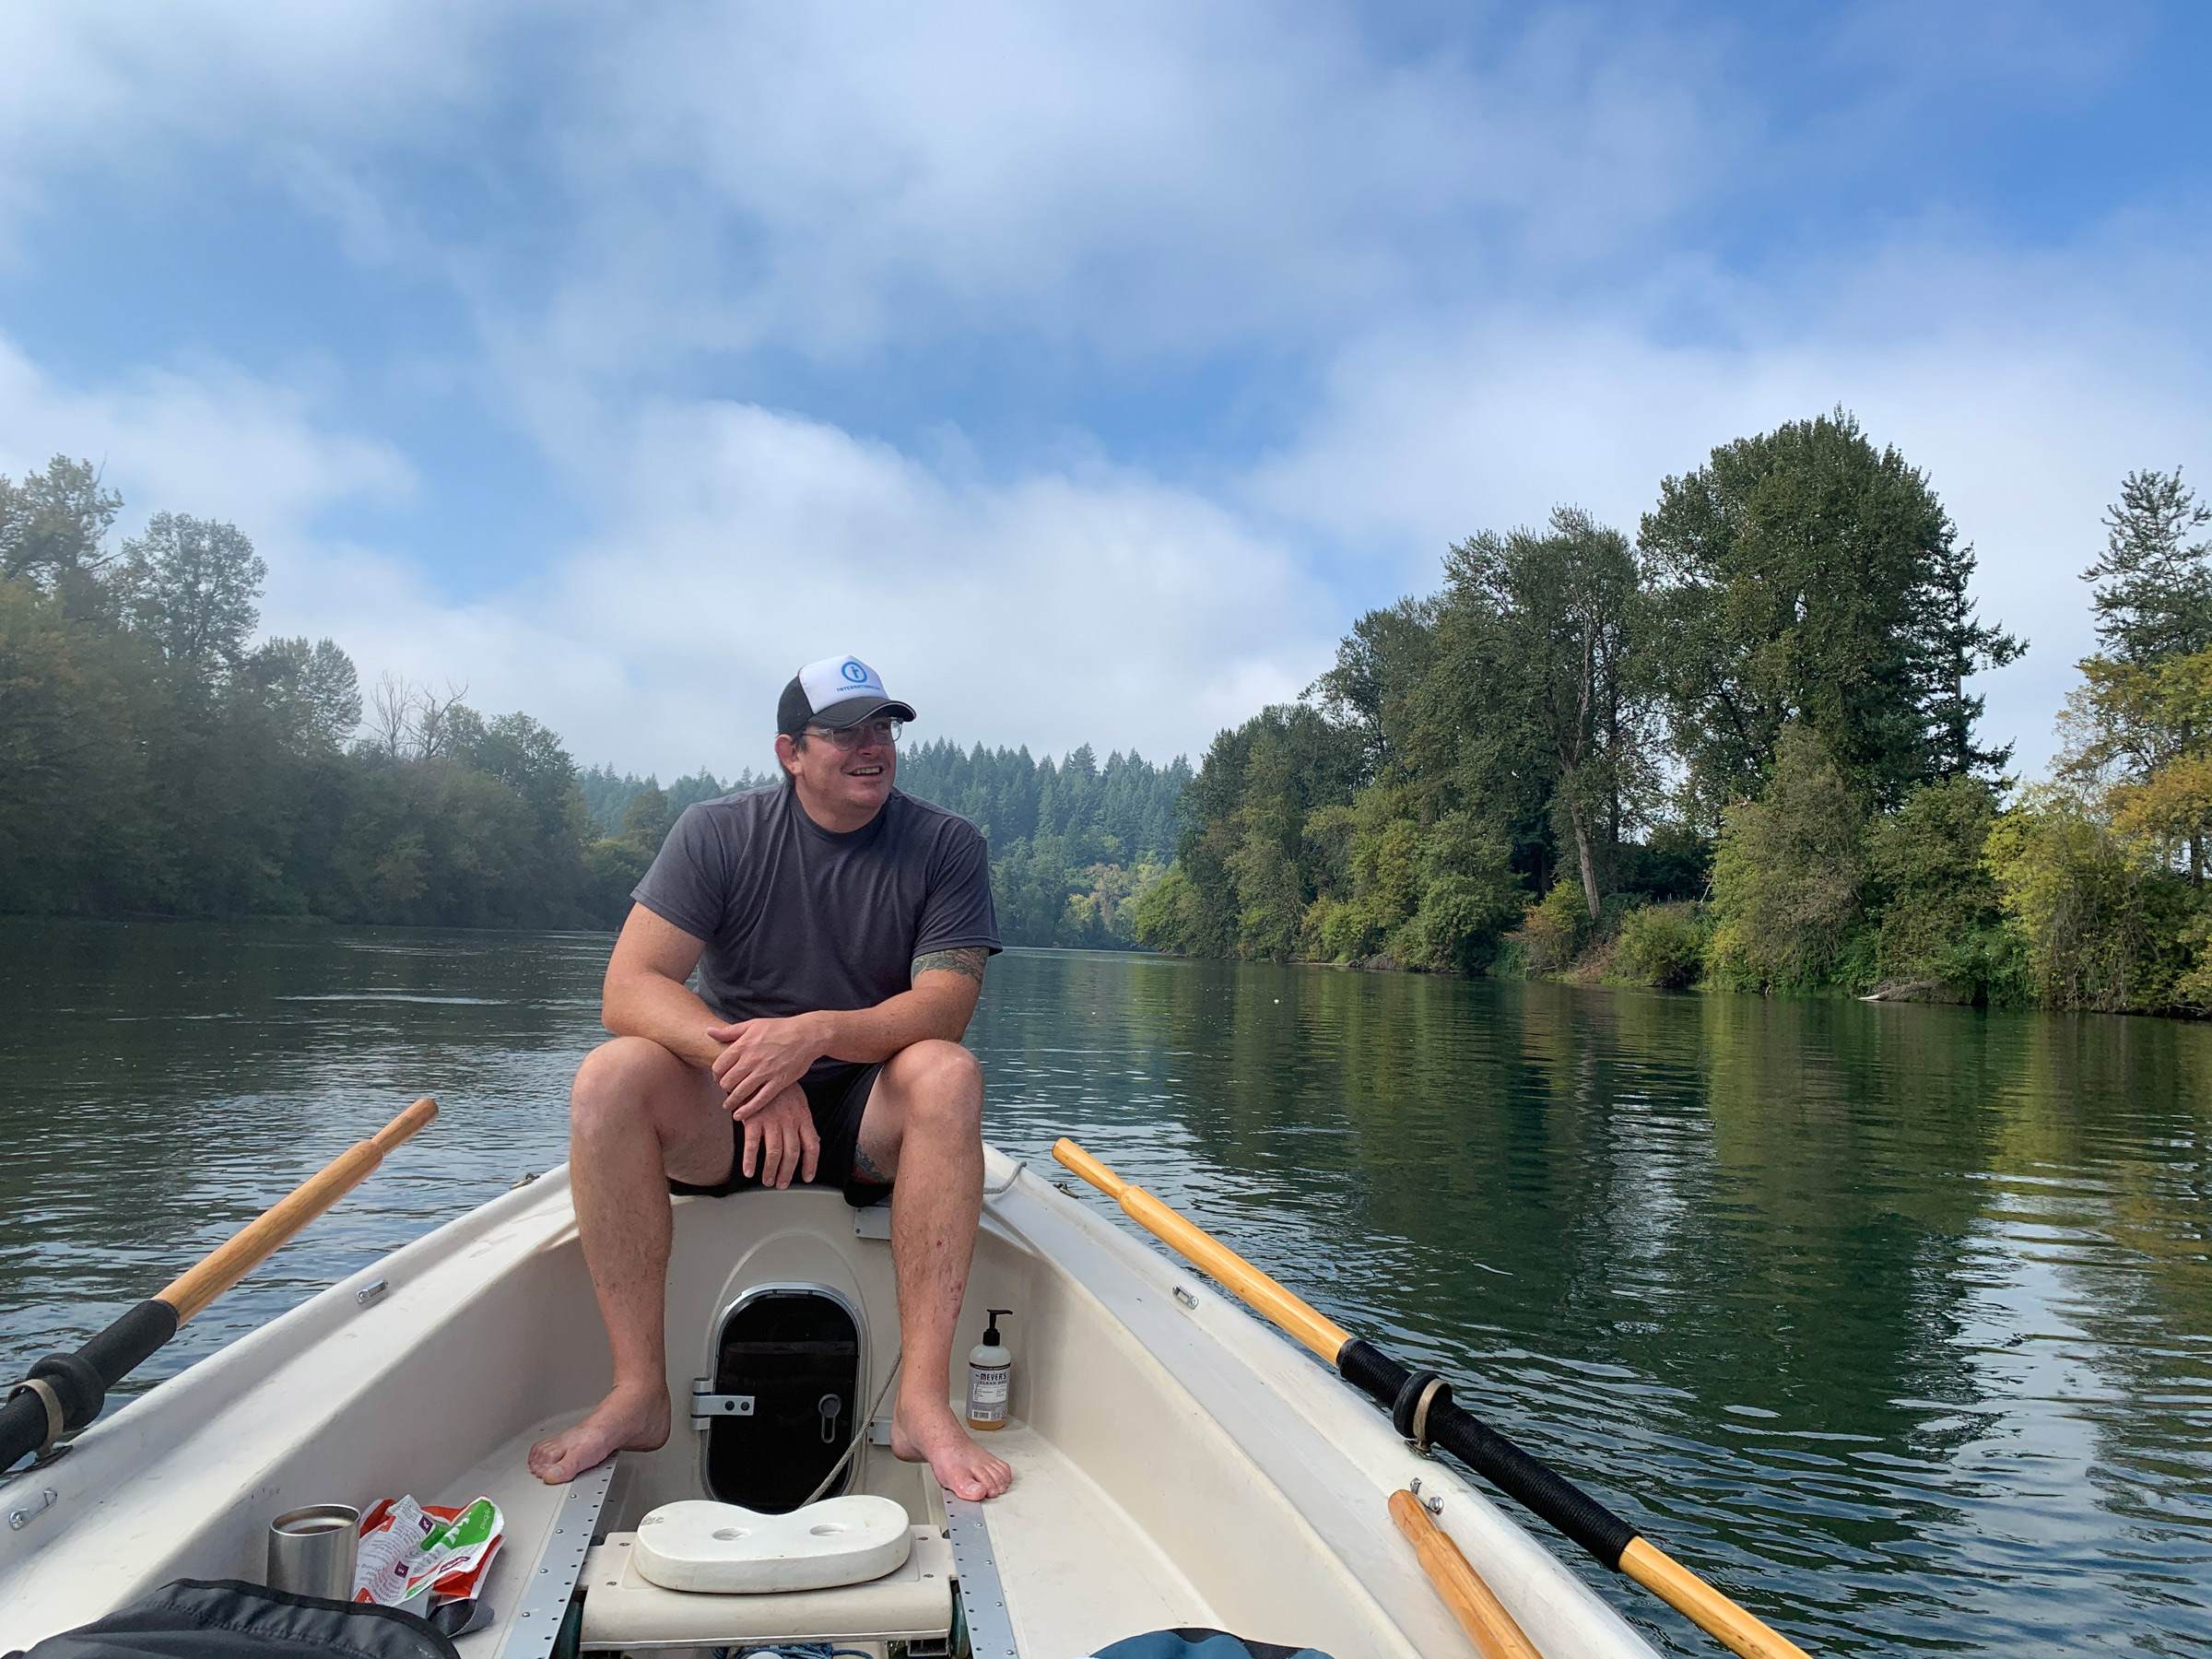
Jon was eager for me to try H2ONUS to see what I thought about his sliding-seat rowing rig. He hopped in CLARABELLE, and Hart moved to the stern. I planted myself on the carbon-fiber seat in H2ONUS and set my feet against the two pieces of lumber Jon used as a stretcher. It rested on a backpack in the stern and was otherwise unattached to the skiff. On the port side sat the charcoal grill. I took a few short strokes with the 9’ hand-me-down oars. The finish brought the handles in below my belly button and the blades just cleared the water on the recovery. I lengthened the strokes and at one catch, just as Jon had, I caught my knuckles on the edge of the grill lid and tipped it into the river. I retrieved it, rowed with short strokes to CLARABELLE, and tied the boats together. I asked Jon if he would let me shorten his oars and he agreed.
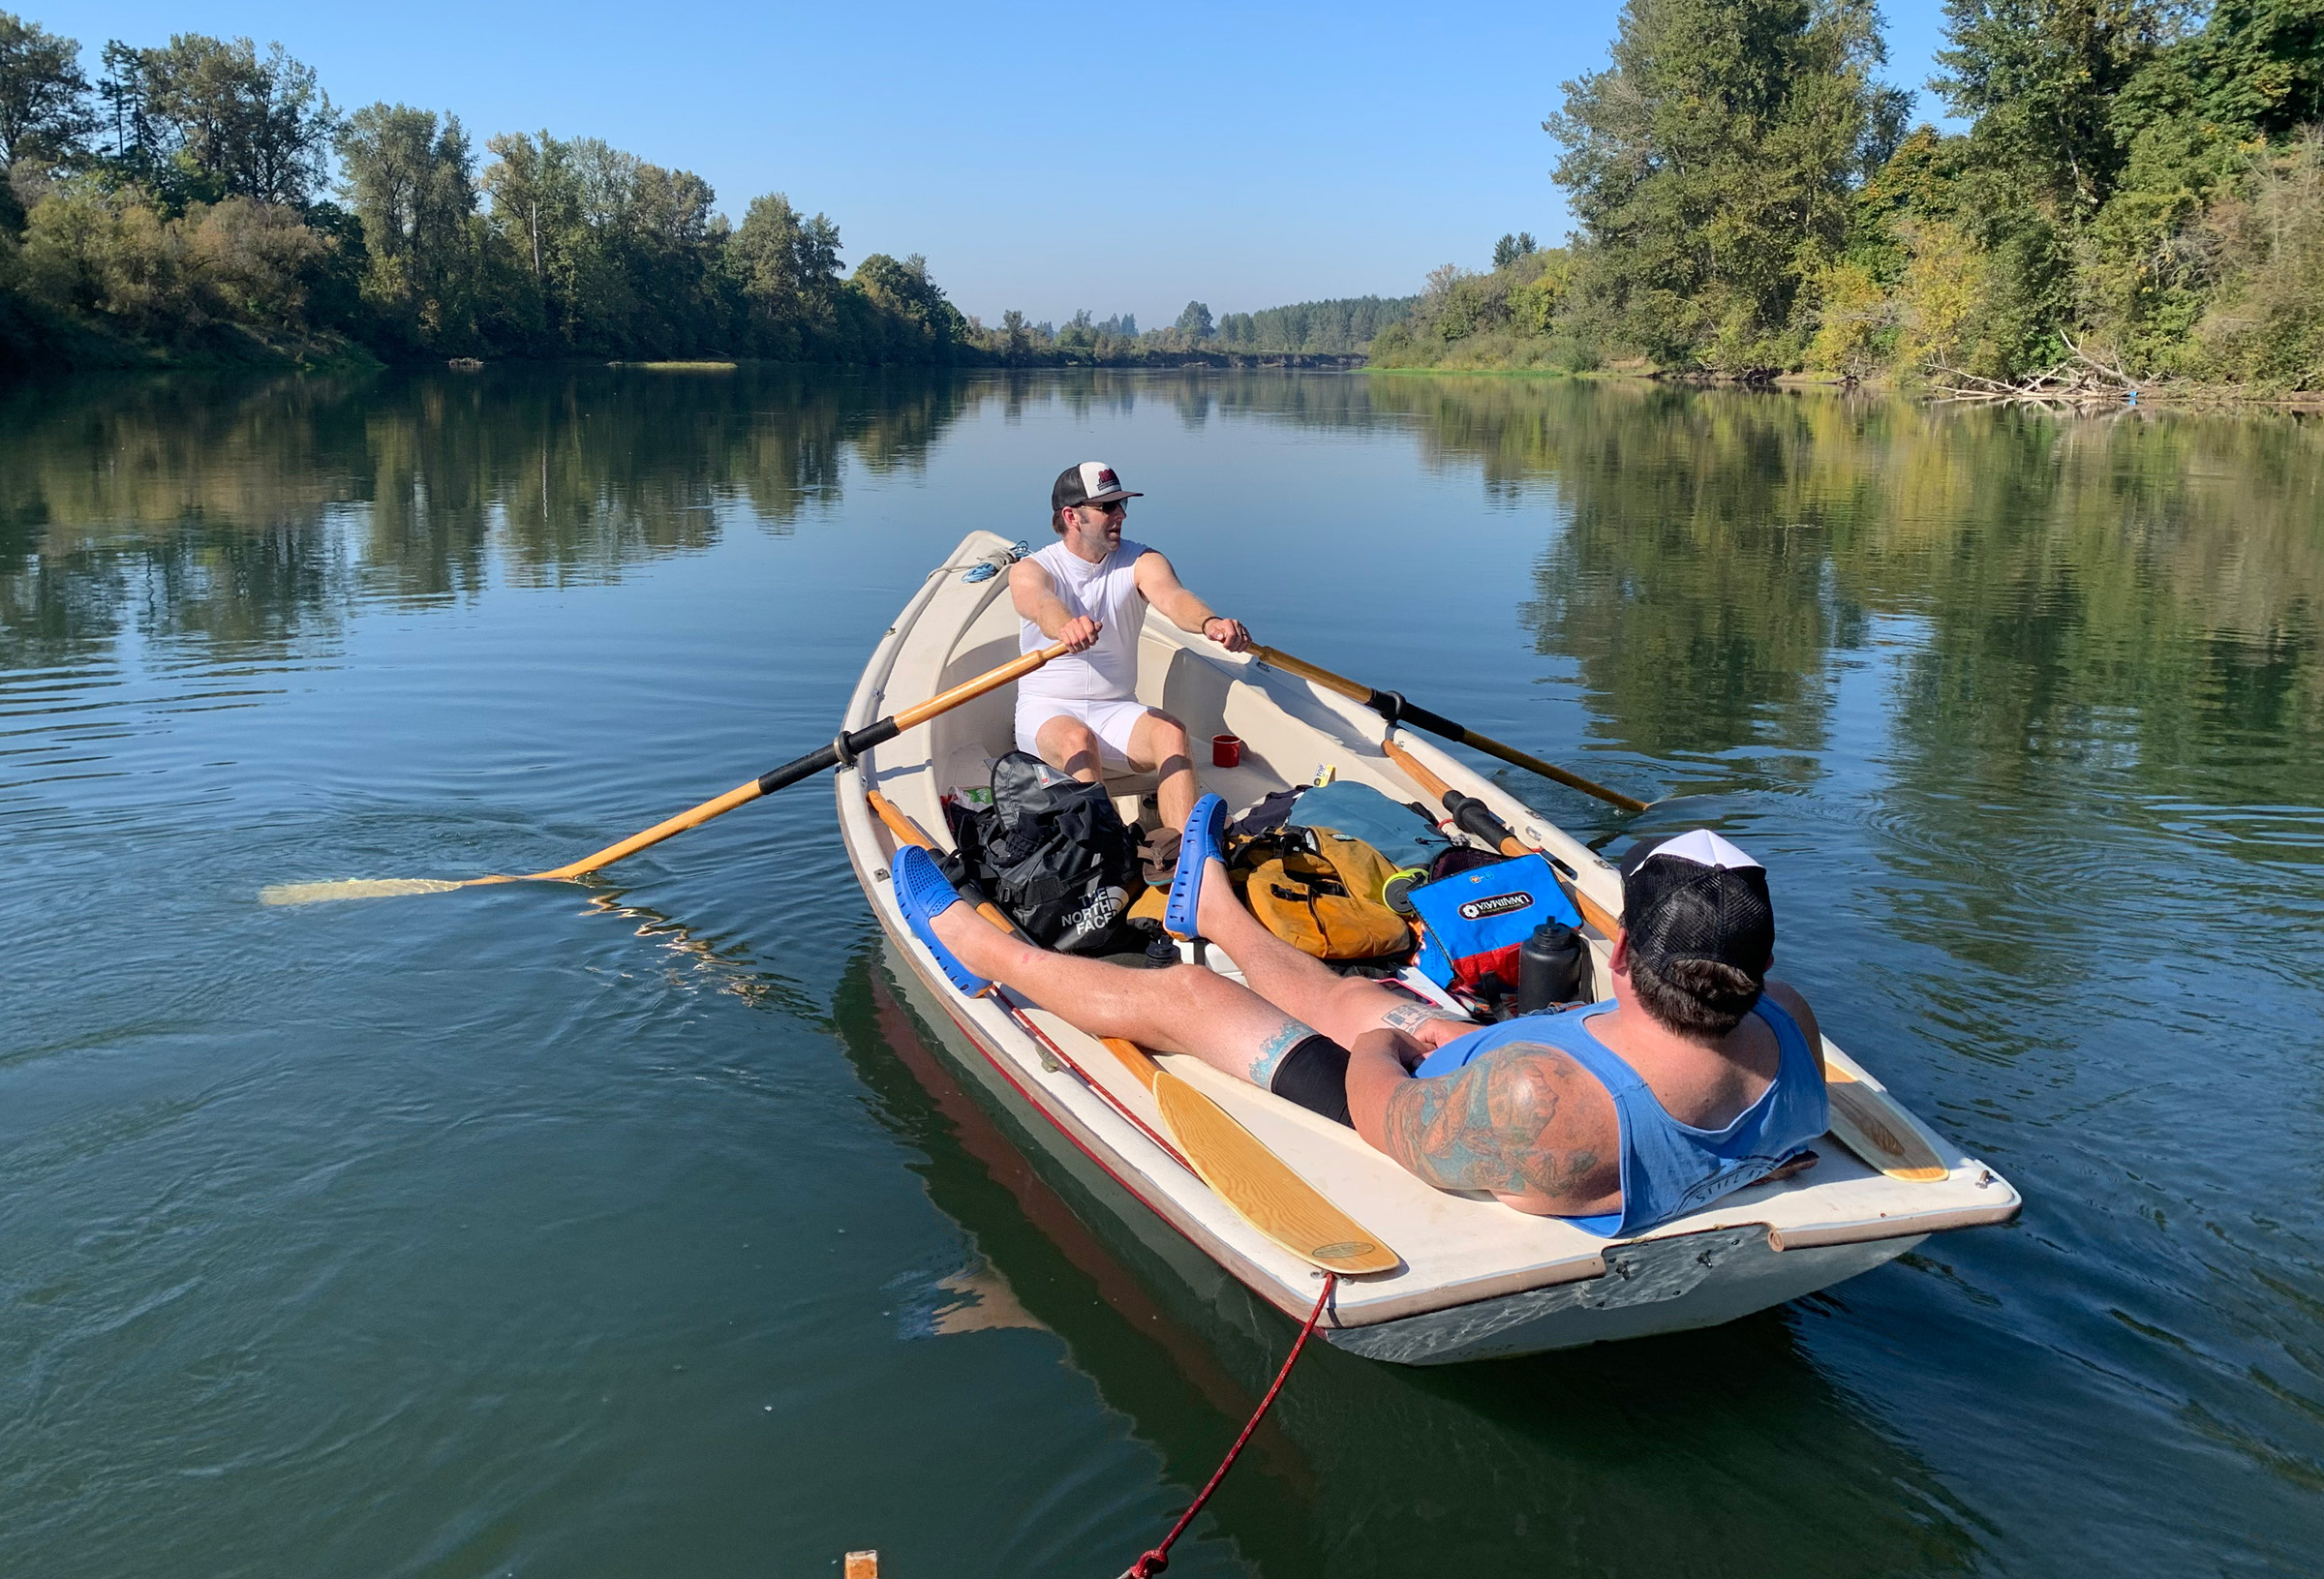
Even when we were rowing, we were in no hurry. Jon was alone at the oars while Hart relaxed in the stern and I took a tow in H2ONUS.
Jon rowed CLARABELLE with me in H2ONUS in tow until we reached the Willamette’s confluence with Santiam River. The satellite view on my phone app showed two sandbars that looked like they’d make a suitable campsite, but thicket covered half the island and ran right to the edge of the bar. Across the river from the bar was a rocky beach. We landed there and found the rocks covered with a layer of dusty gray silt. Across the river was a dark overgrown chute of the smaller Little Luckiamute River. We stayed only long enough for Hart to change positions with me. Jon continued to row.

The prettiest bluffs we saw were just upriver of Buena Vista. A lot of the other high points along the riverside were hidden by brush and trees but these were bare and all the layers of sediment were visible. Jon was in no rush to pass them by.
On river left, the bottomland rose to bluffs. Clumps of bushes sprouted where the bluff met the river, and layers of yellow and brown hard-packed soil rose 30′ or 40′ to a sagging cap of green ivy and blackberry with a crown of evergreens towering above us and shading most of the river. One of the trees leaned on the verge of falling into the river. We had floated in the shade for a half mile before the Buena Vista ferry came into view. It was squat boat with a low pilothouse painted white, yellow, and blue. Wires spanning the river supplied the power for the ferry’s electric motors, and a block rolling along a cable had a leash attached to the ferry to hold it against the current. Its only passenger was a black truck heading east. Once the ferry was clear of mid-river, Jon pulled hard to get us past the ferry while it unloaded. To the west we caught a brief glimpse of Buena Vista—a small scattering of buildings up a hill from the west ferry landing, backlit by the setting sun.
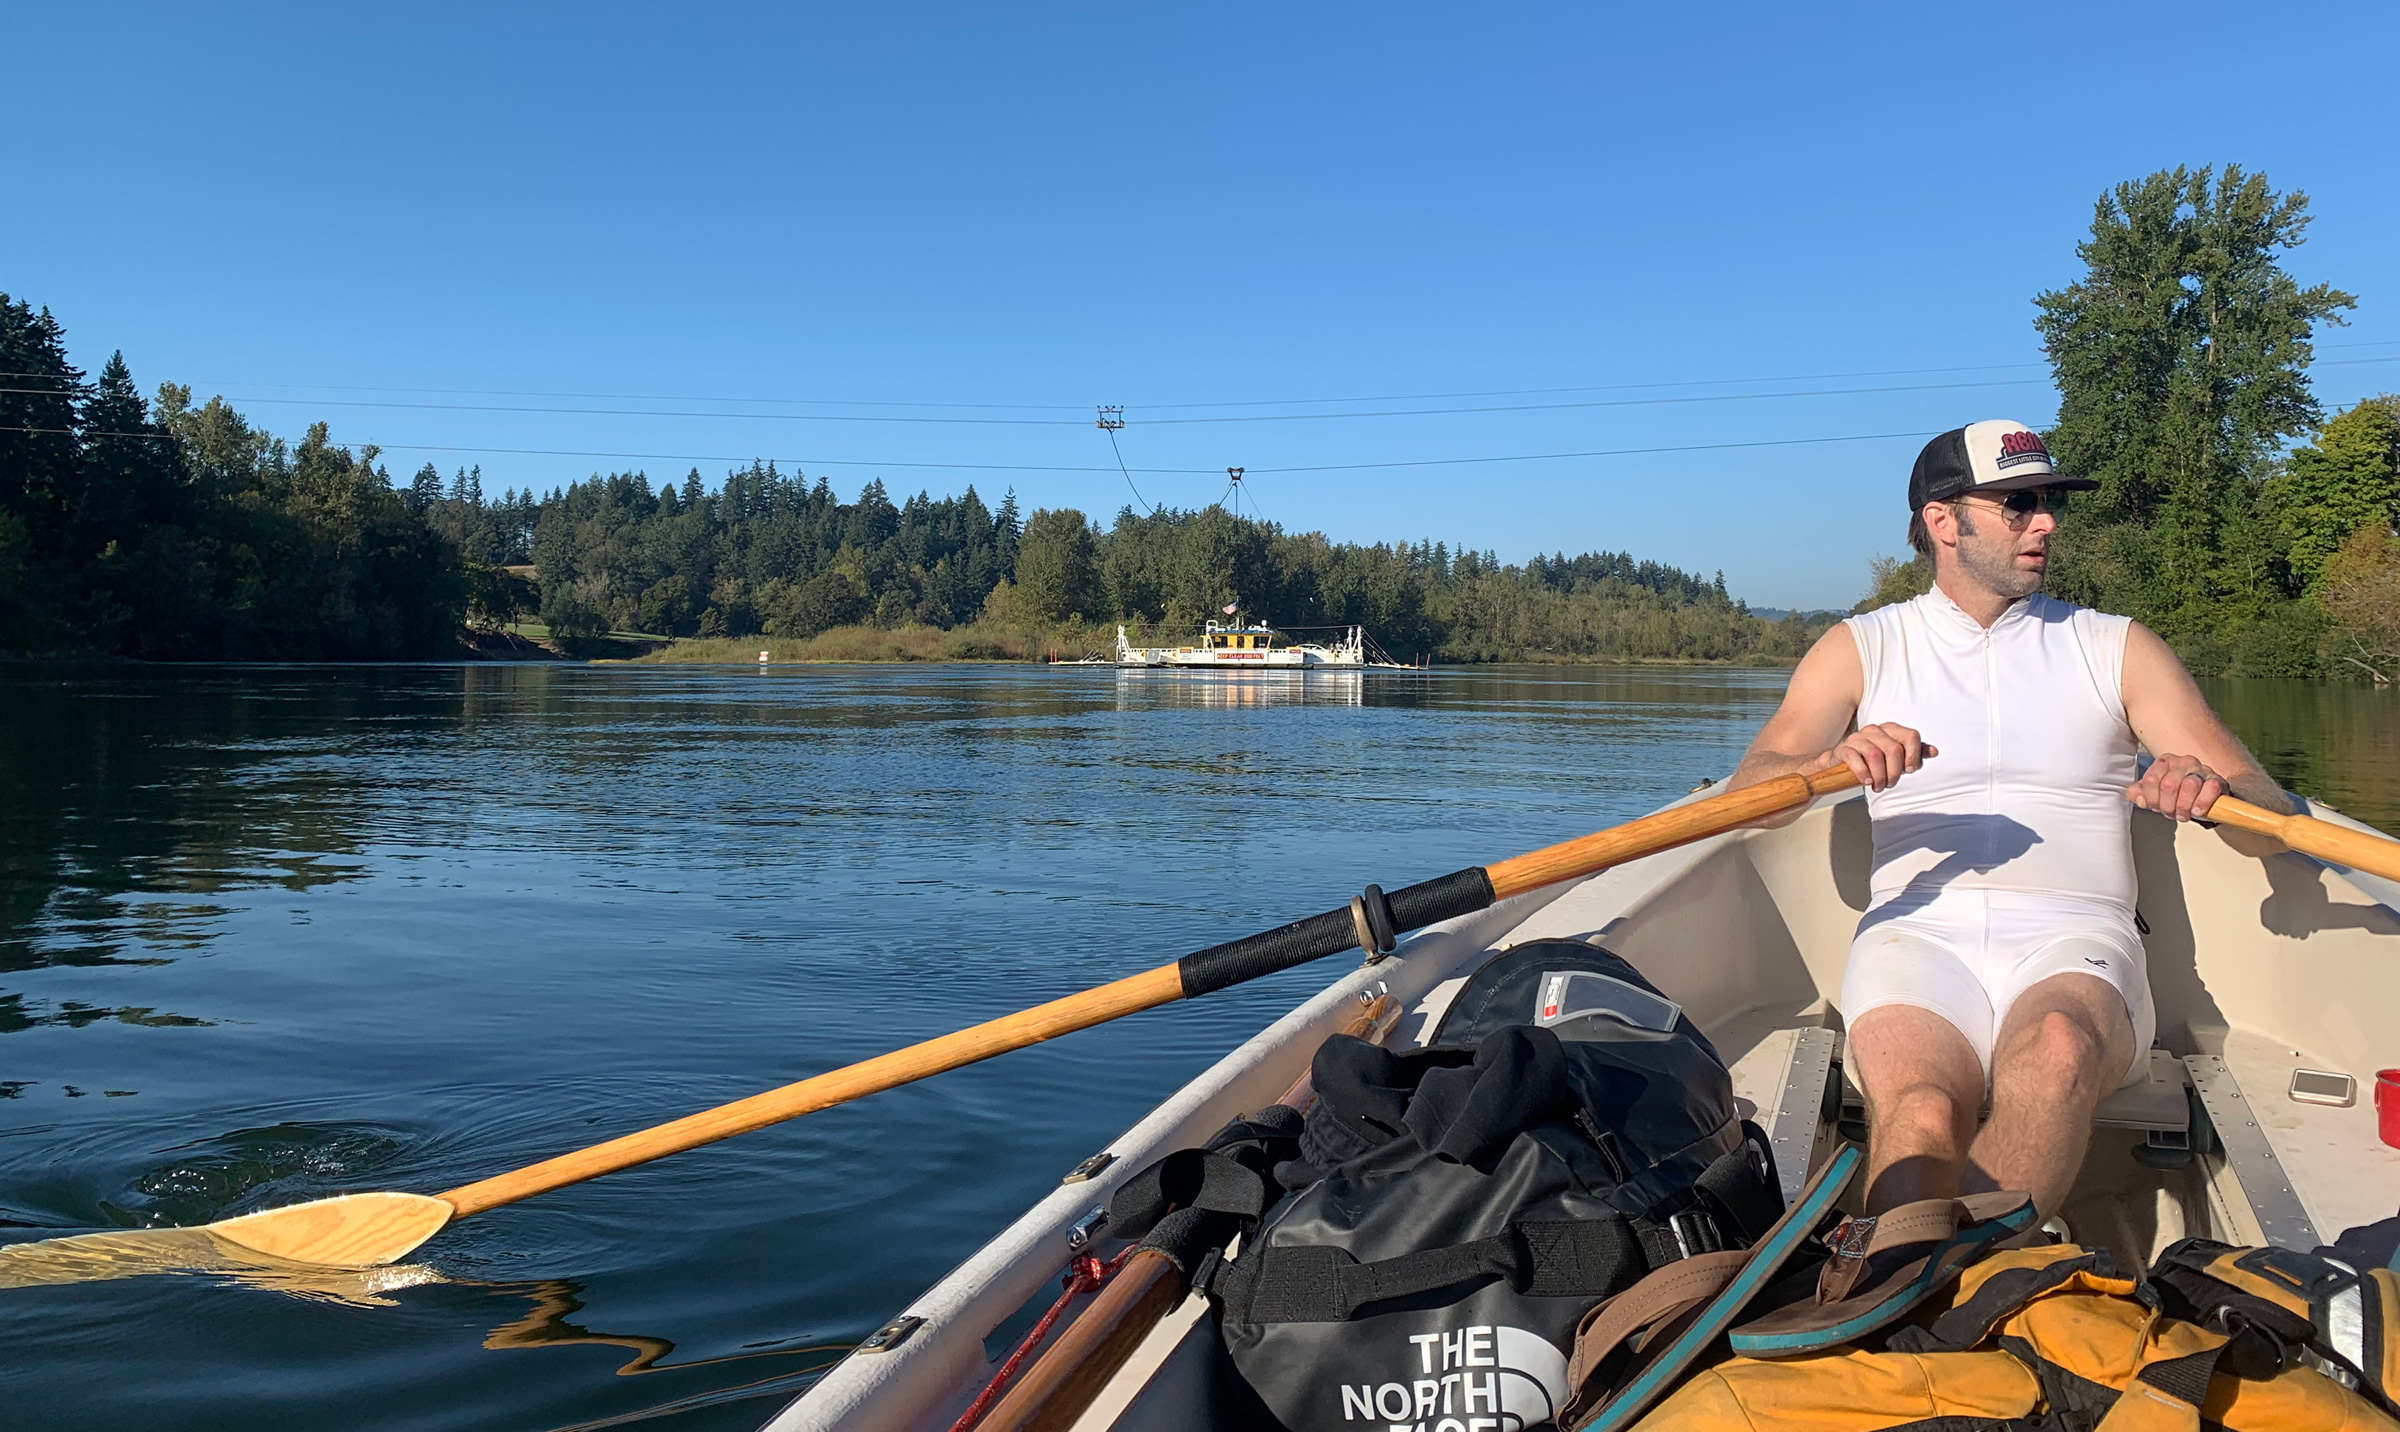
There has been a ferry crossing at Buena Vista since 1852. The current vessel is 10 years old and gets the power for its electric motors from one set of overhead cables that span the river, and is held against the current by another.
Just 100 yards downriver from the ferry, Wells Island stretched on for the better part of a mile. It had no visible campsites. A mile and a half farther we reached Whiteman Bar, a wooded island on the left bank with a choked-out channel between it and the mainland. Next to it was a mid-river rocky bar. There were two open channels either side: a short channel between it and the island and a longer one between the bar and a sweeping bluff, river right. The current pulled us to the short channel where several dead trees rested with roots reaching from the water like claws. Water rippling against rocks and branches broke the tranquility of the quiet river. I untied H2ONUS from CLARABELLE, and we shot single file through the gap between the fallen trees.
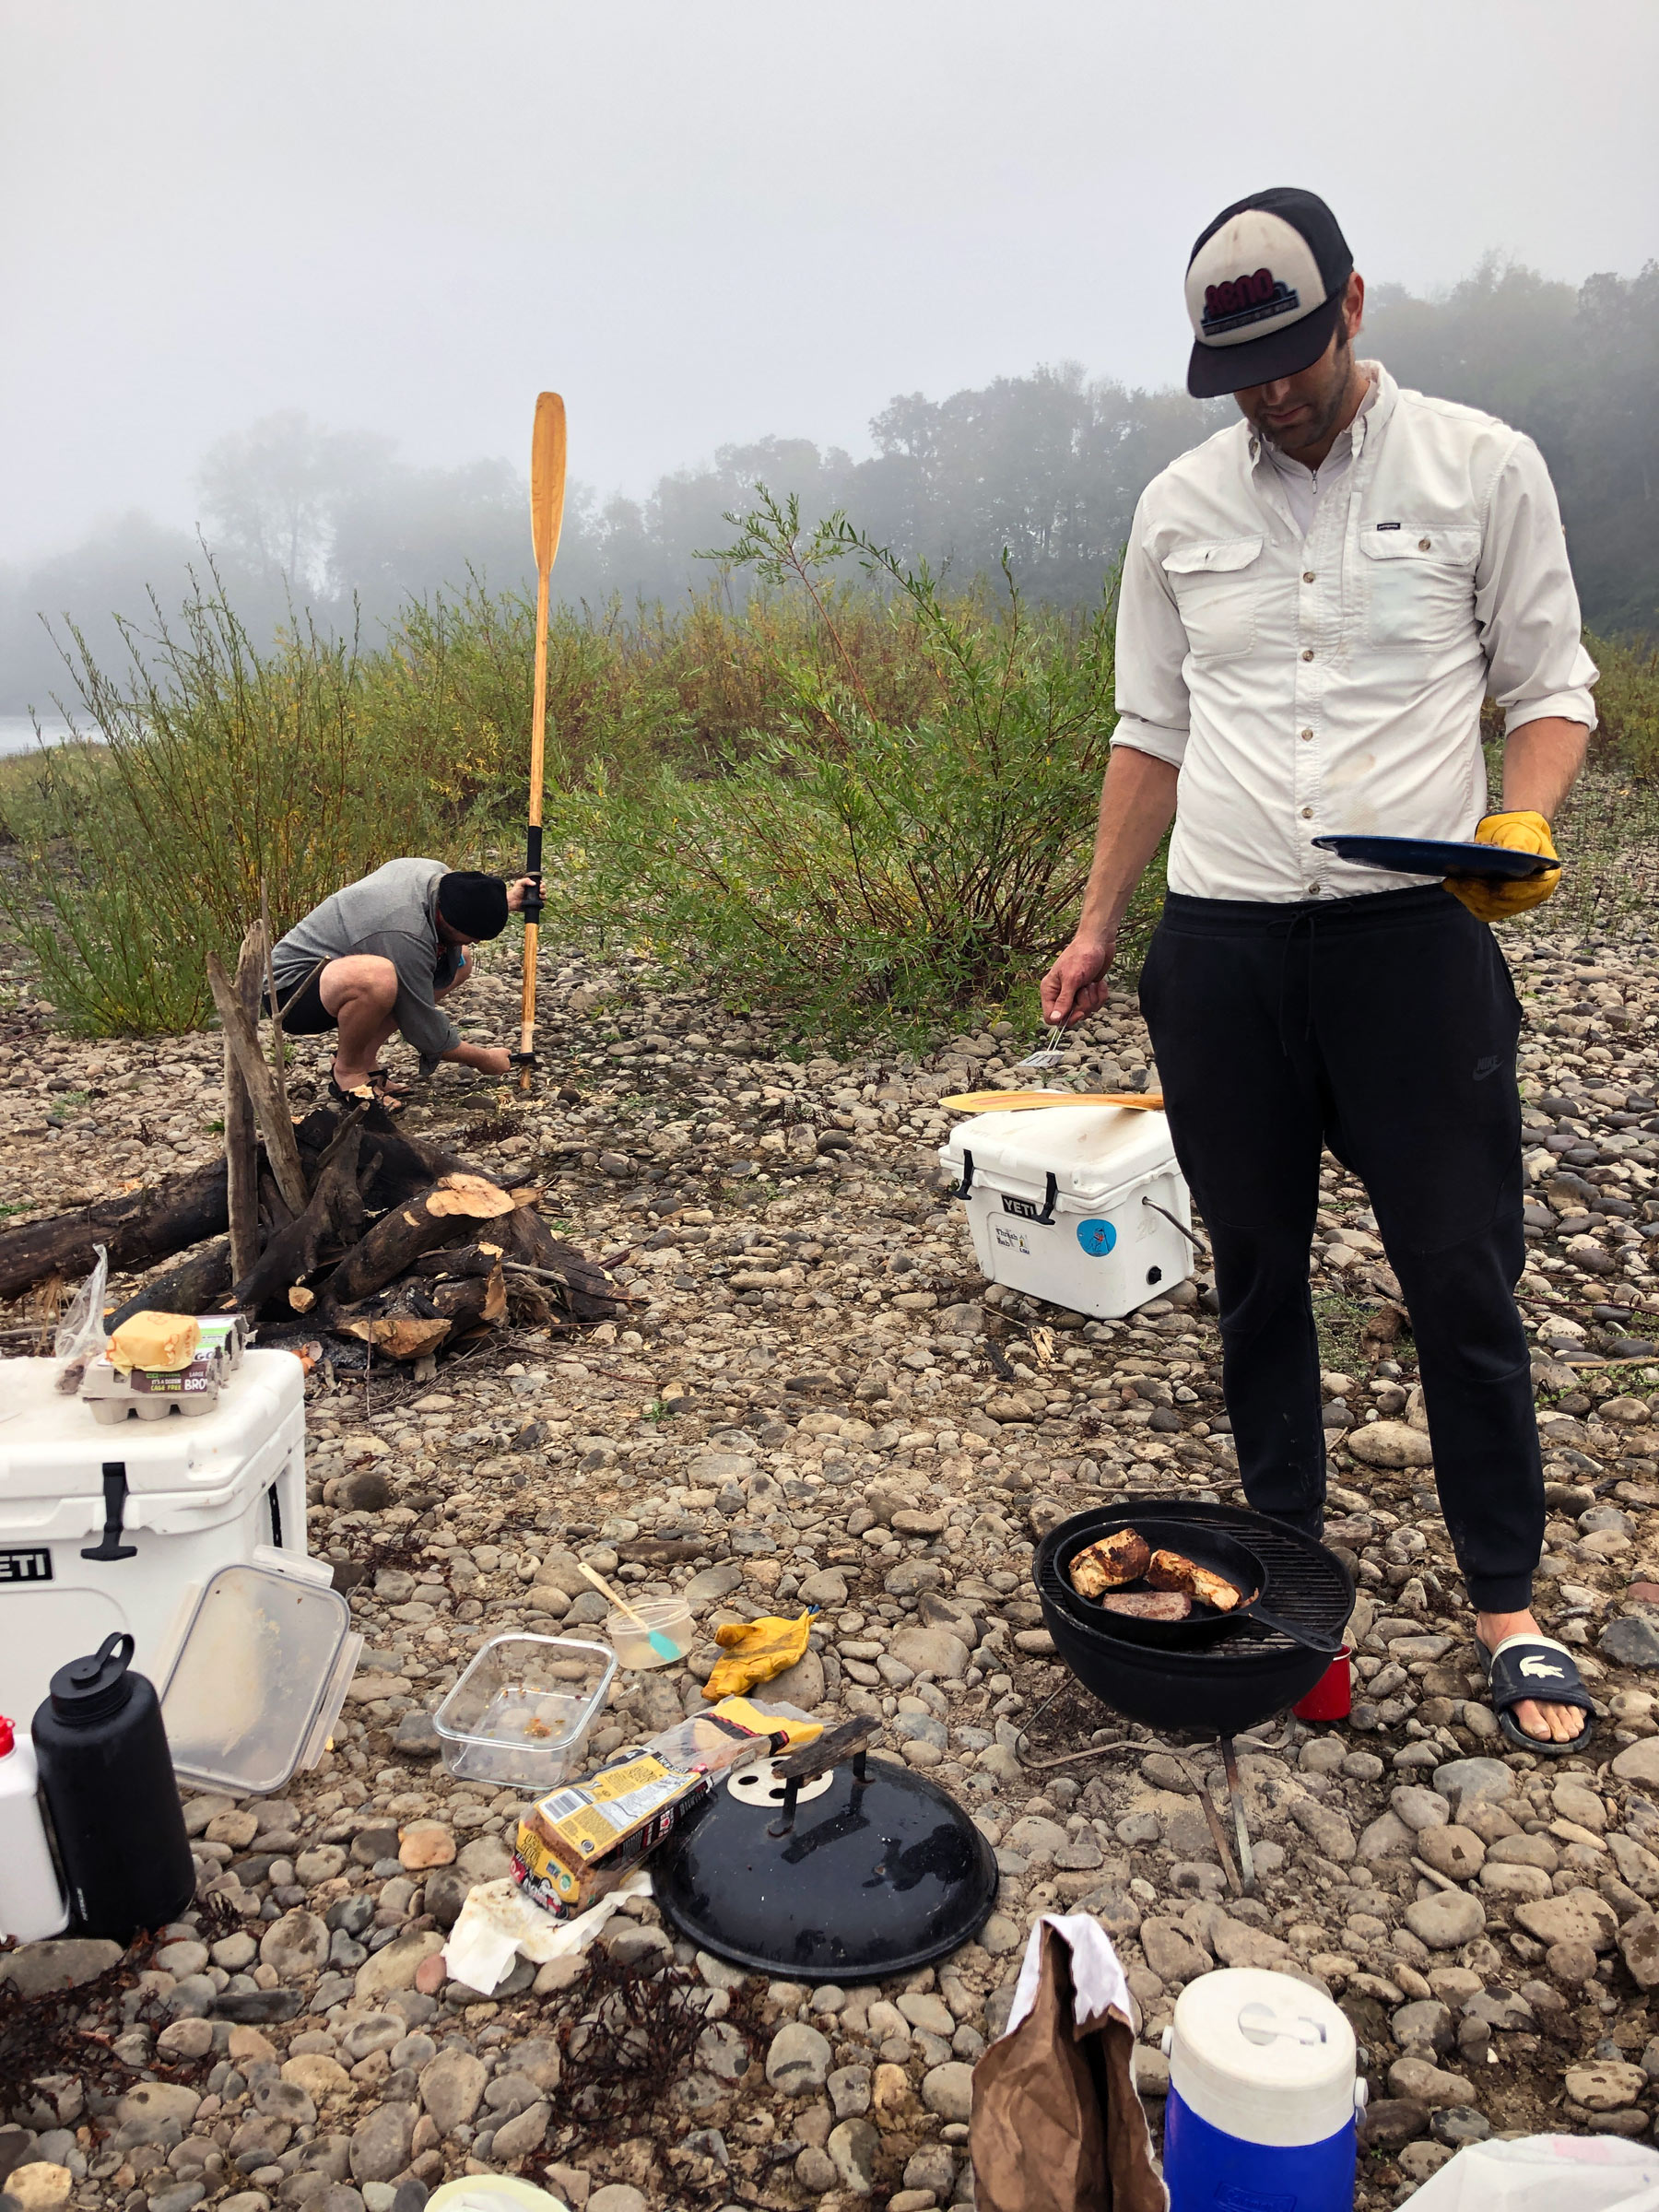
In the slower-moving water downstream from the channel, we pulled ashore to make camp on the bar. Baseball-sized rocks lining its shore made walking a challenge; the high ground was covered with sparsely leafed scrub. I scoured the 300-yard-long islet for driftwood for a campfire while Jon and Hart fired up the grill and cooked the steak Hart had bought. We ate it on a mound of rice and vegetables, finishing dinner at sunset. Long after we went to bed, a train woke me. Although the tracks were 1/2 mile away beyond the right bank, it sounded like it would roll right over us. After it passed, only the cries of an eagle reached across the river.
 Hart Williams
On the second morning, Jon cooked breakfast while I took a hatchet to his oars to shorten them to a length appropriate for his little boat, H2ONUS.
On Sunday morning, I woke in my bivy bag to fog, again. Before I was fully awake, a canoe with two men waved a good morning as they paddled past in the silvery mist. Jon fired up the grill, and coffee and breakfast sandwiches soon followed. I double-checked that Jon would let me shorten his oars. He gave the okay, so I lopped off 6″ with an axe, then carved new handles.
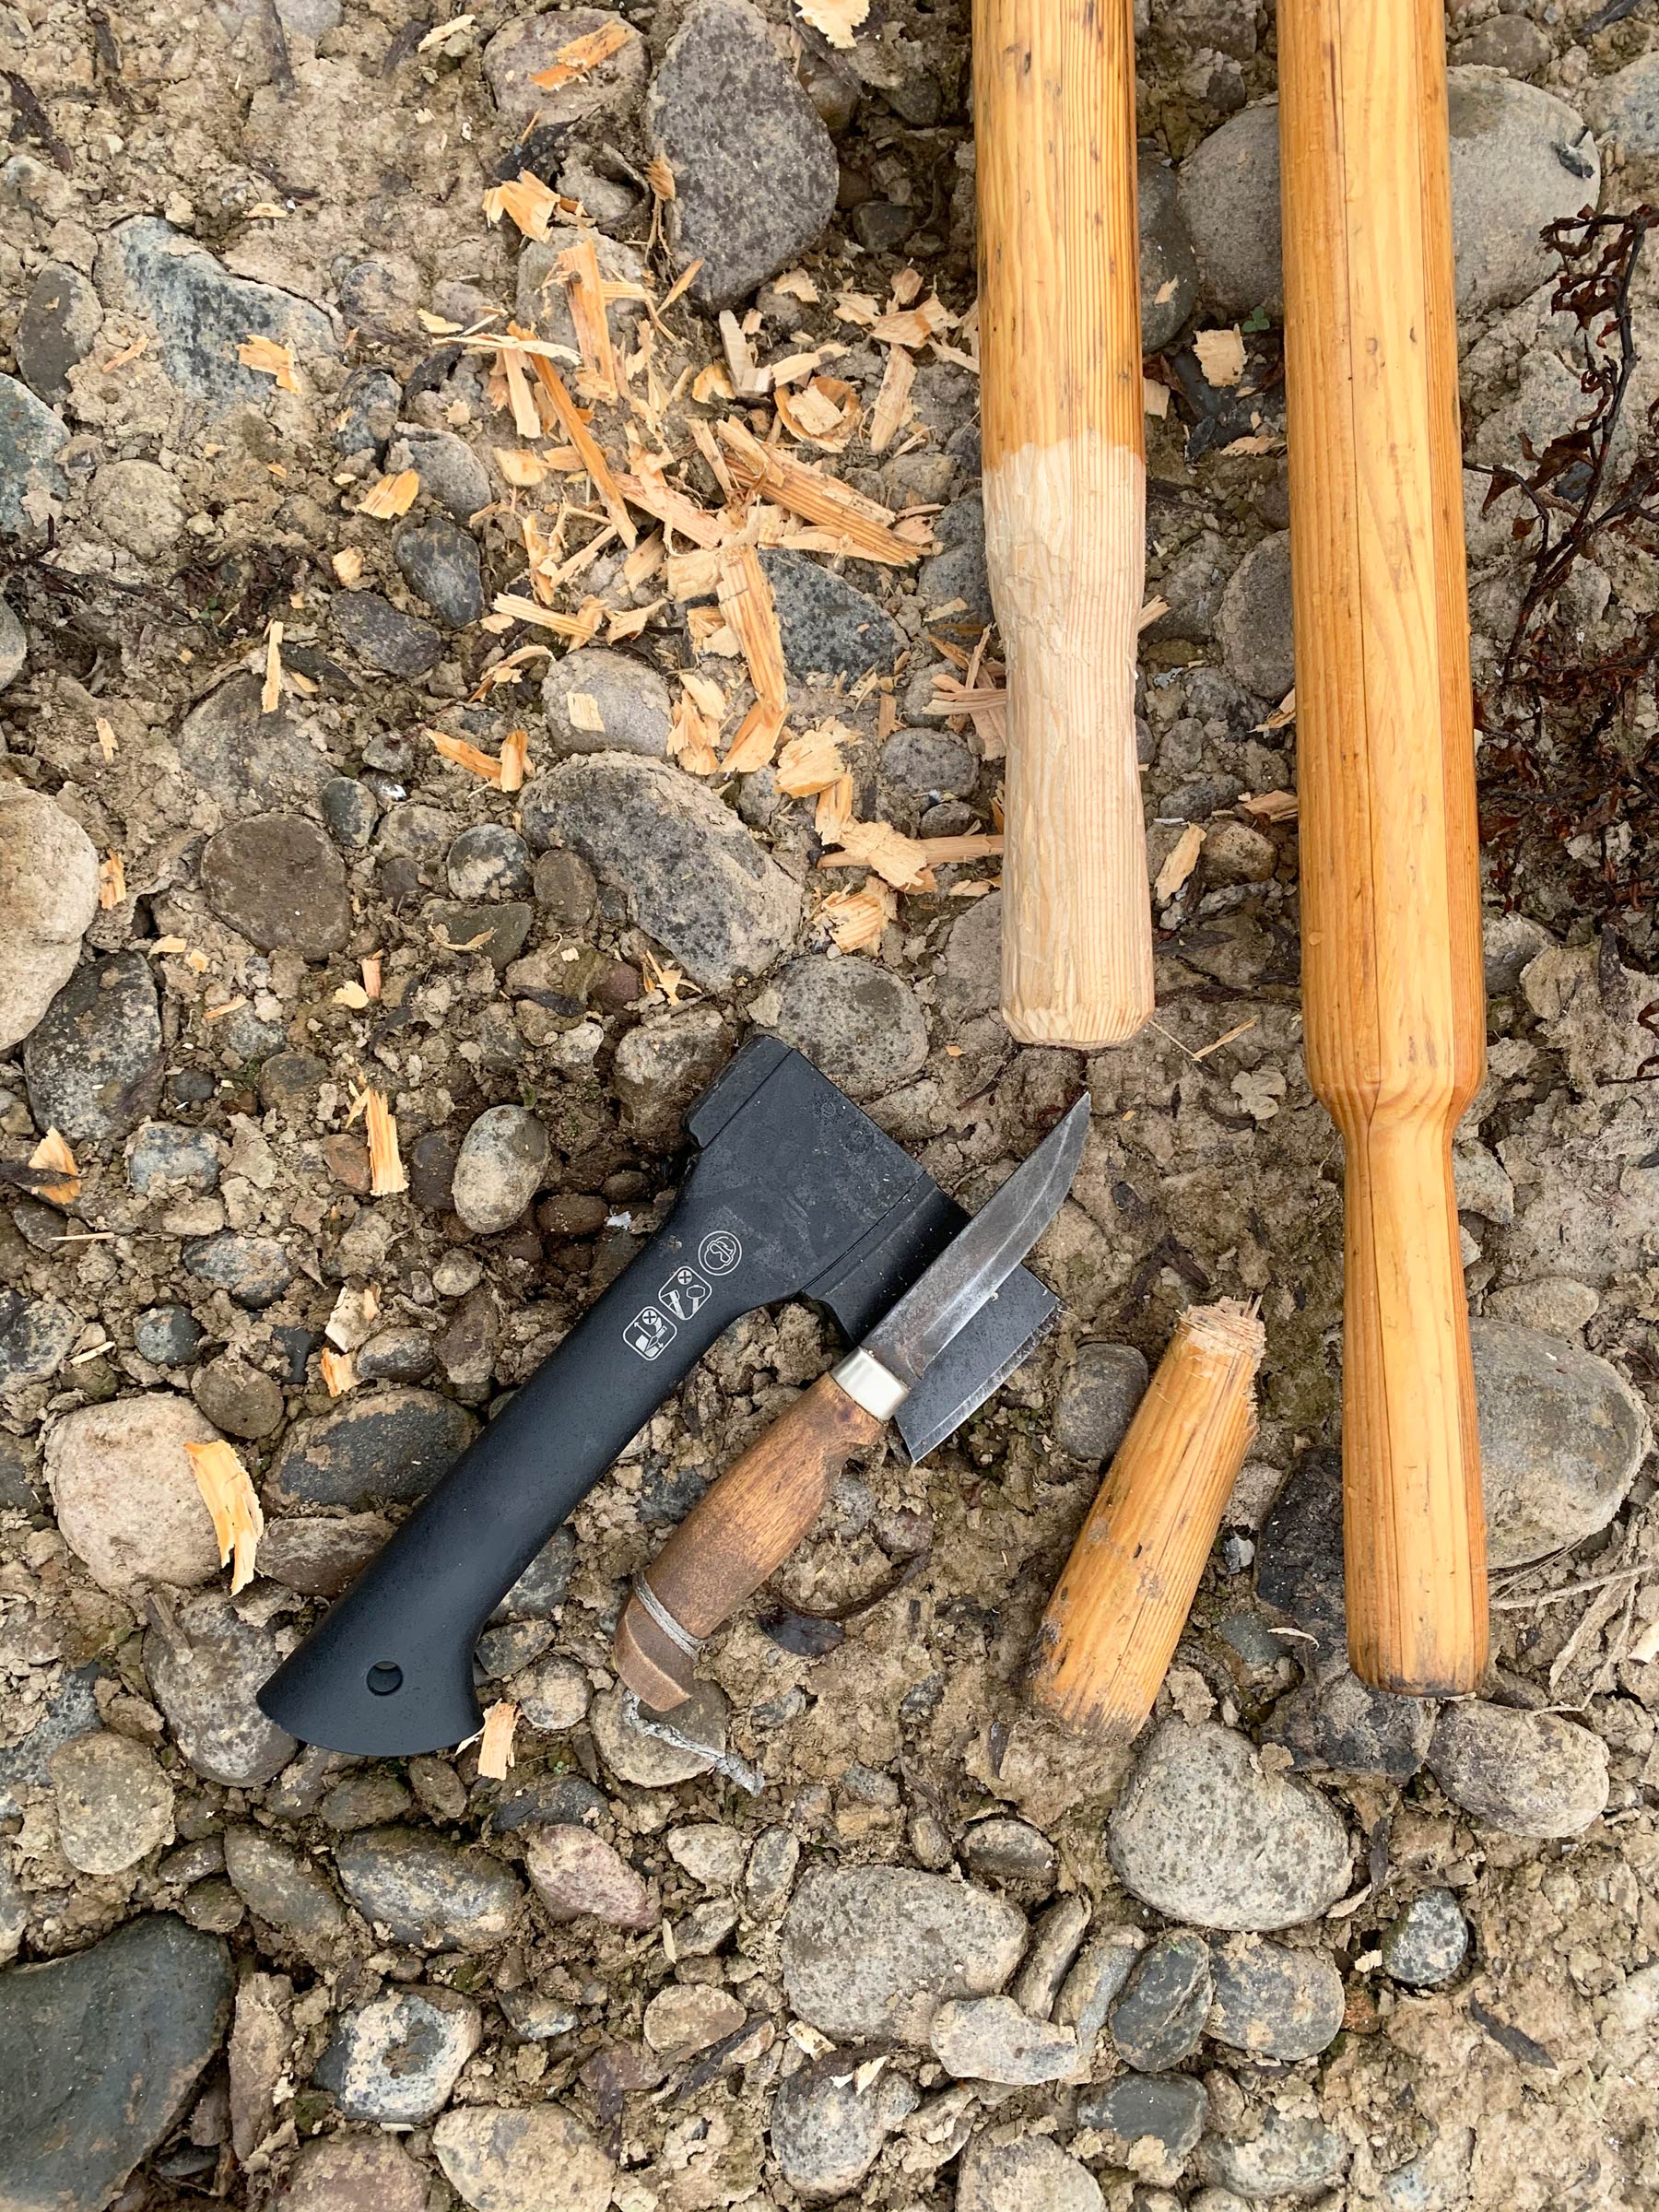
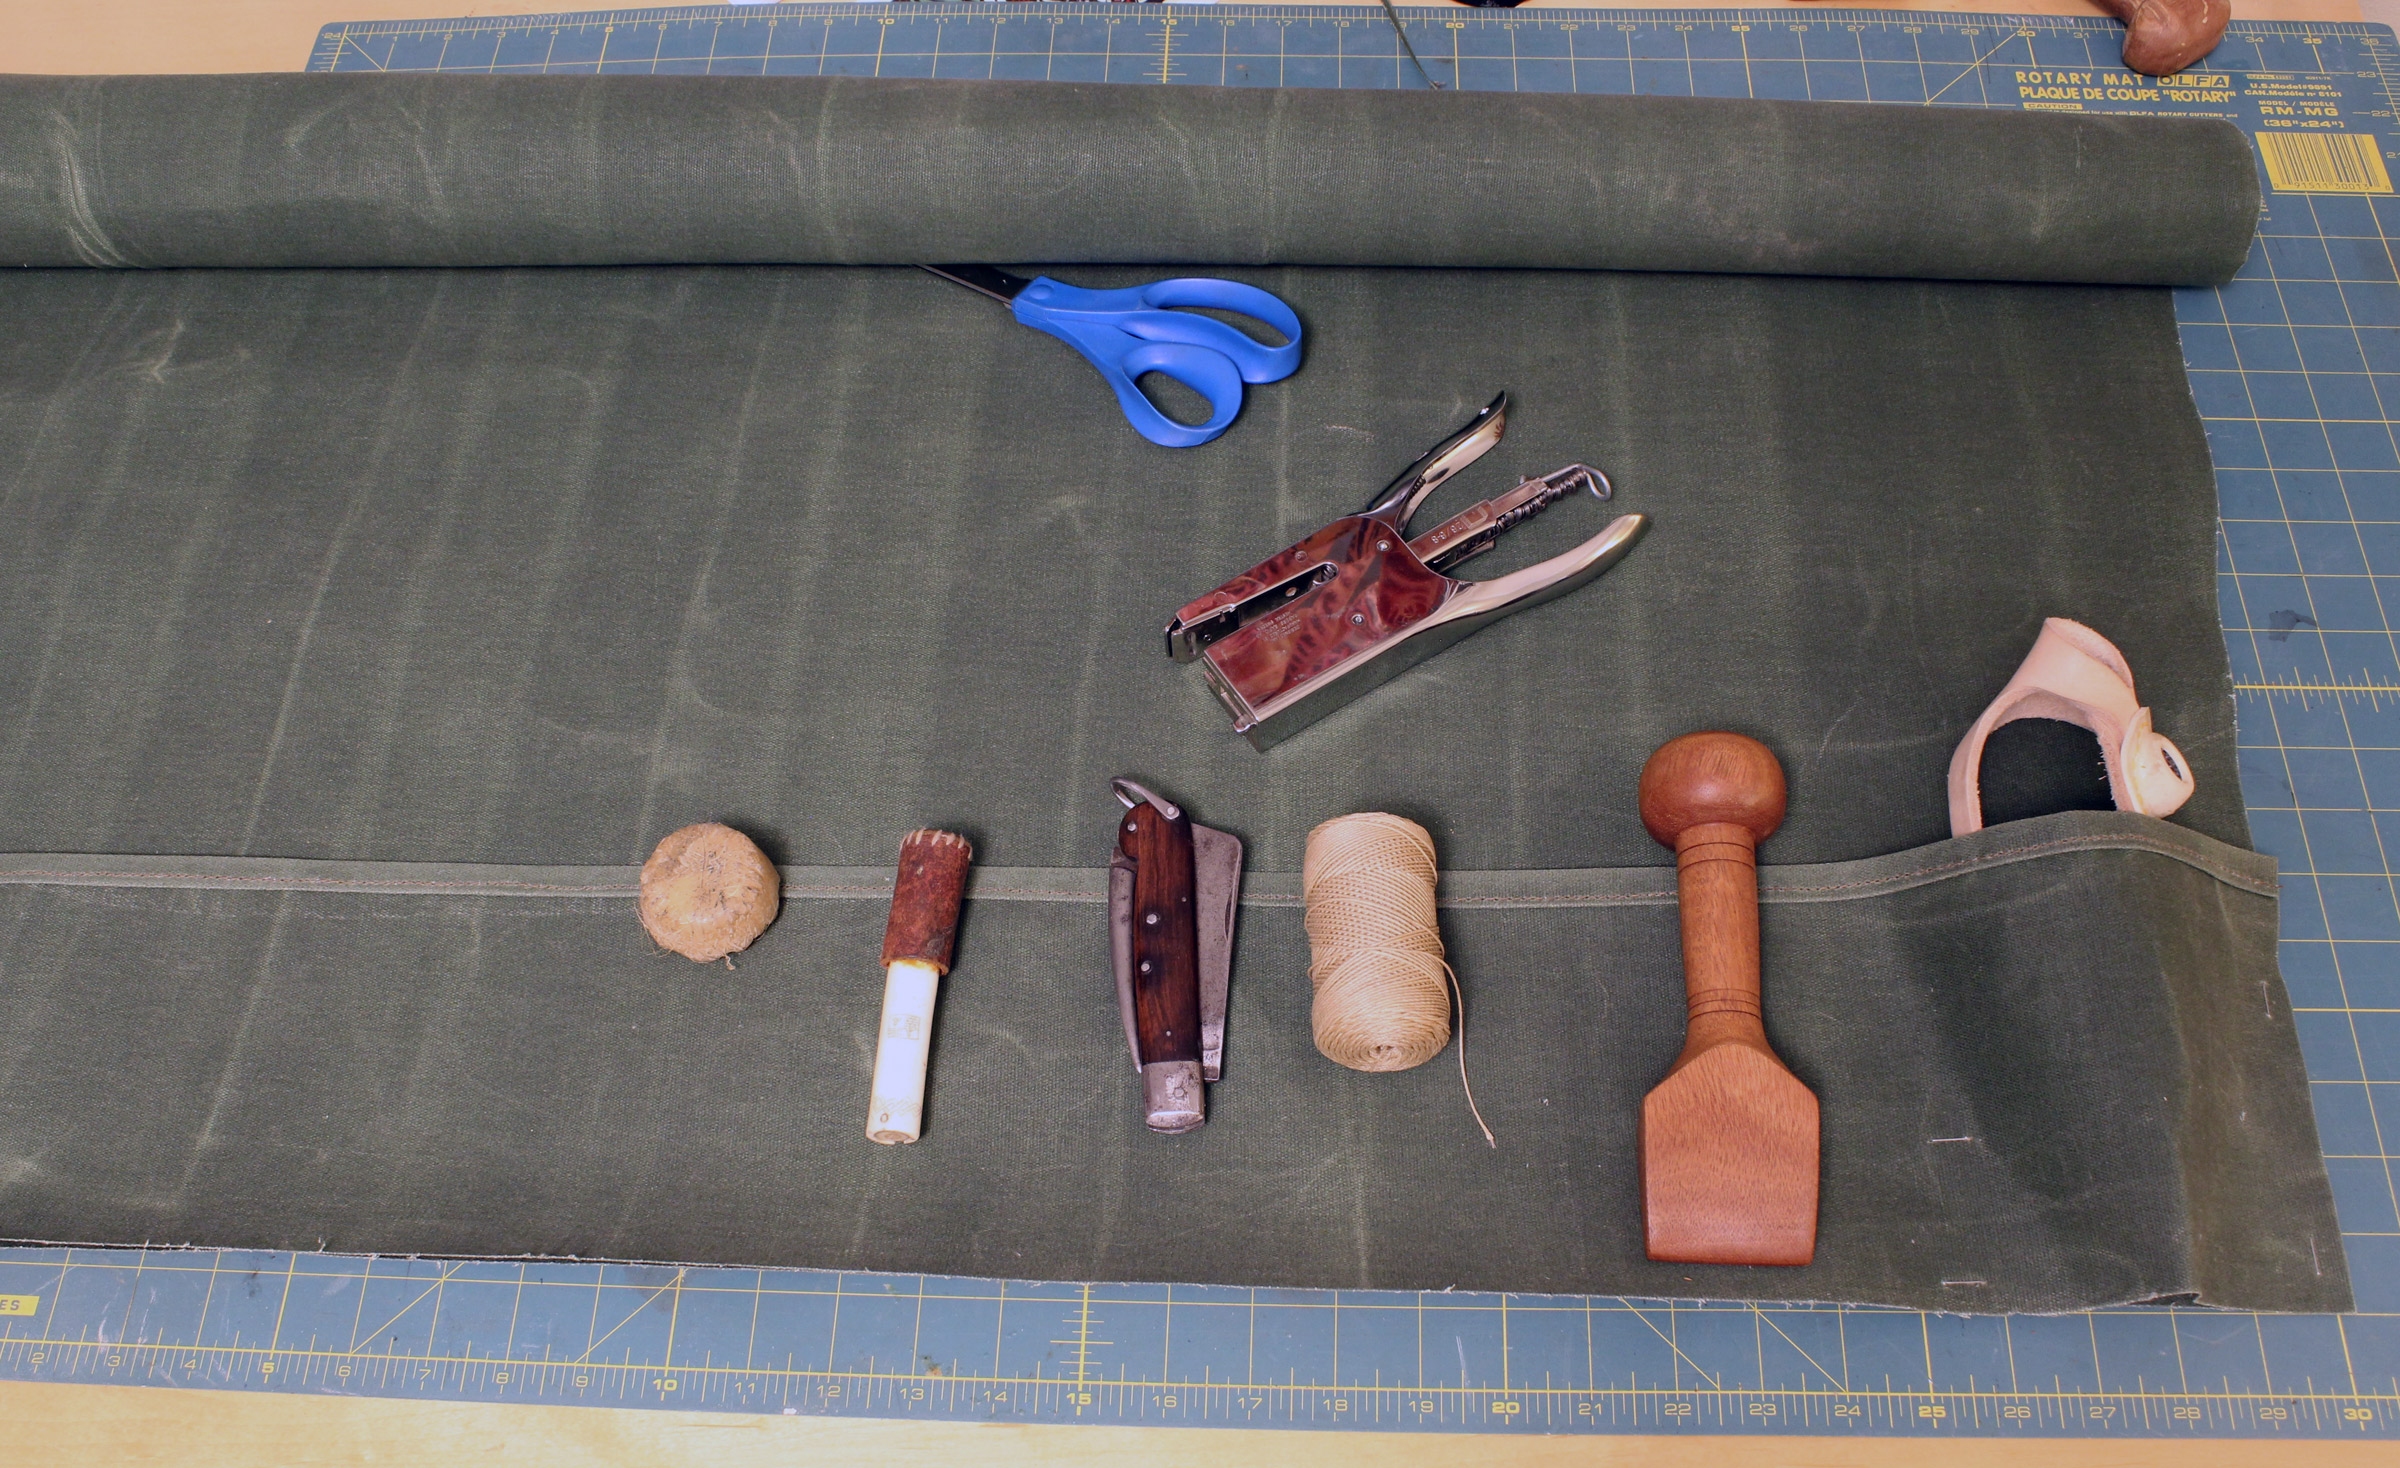
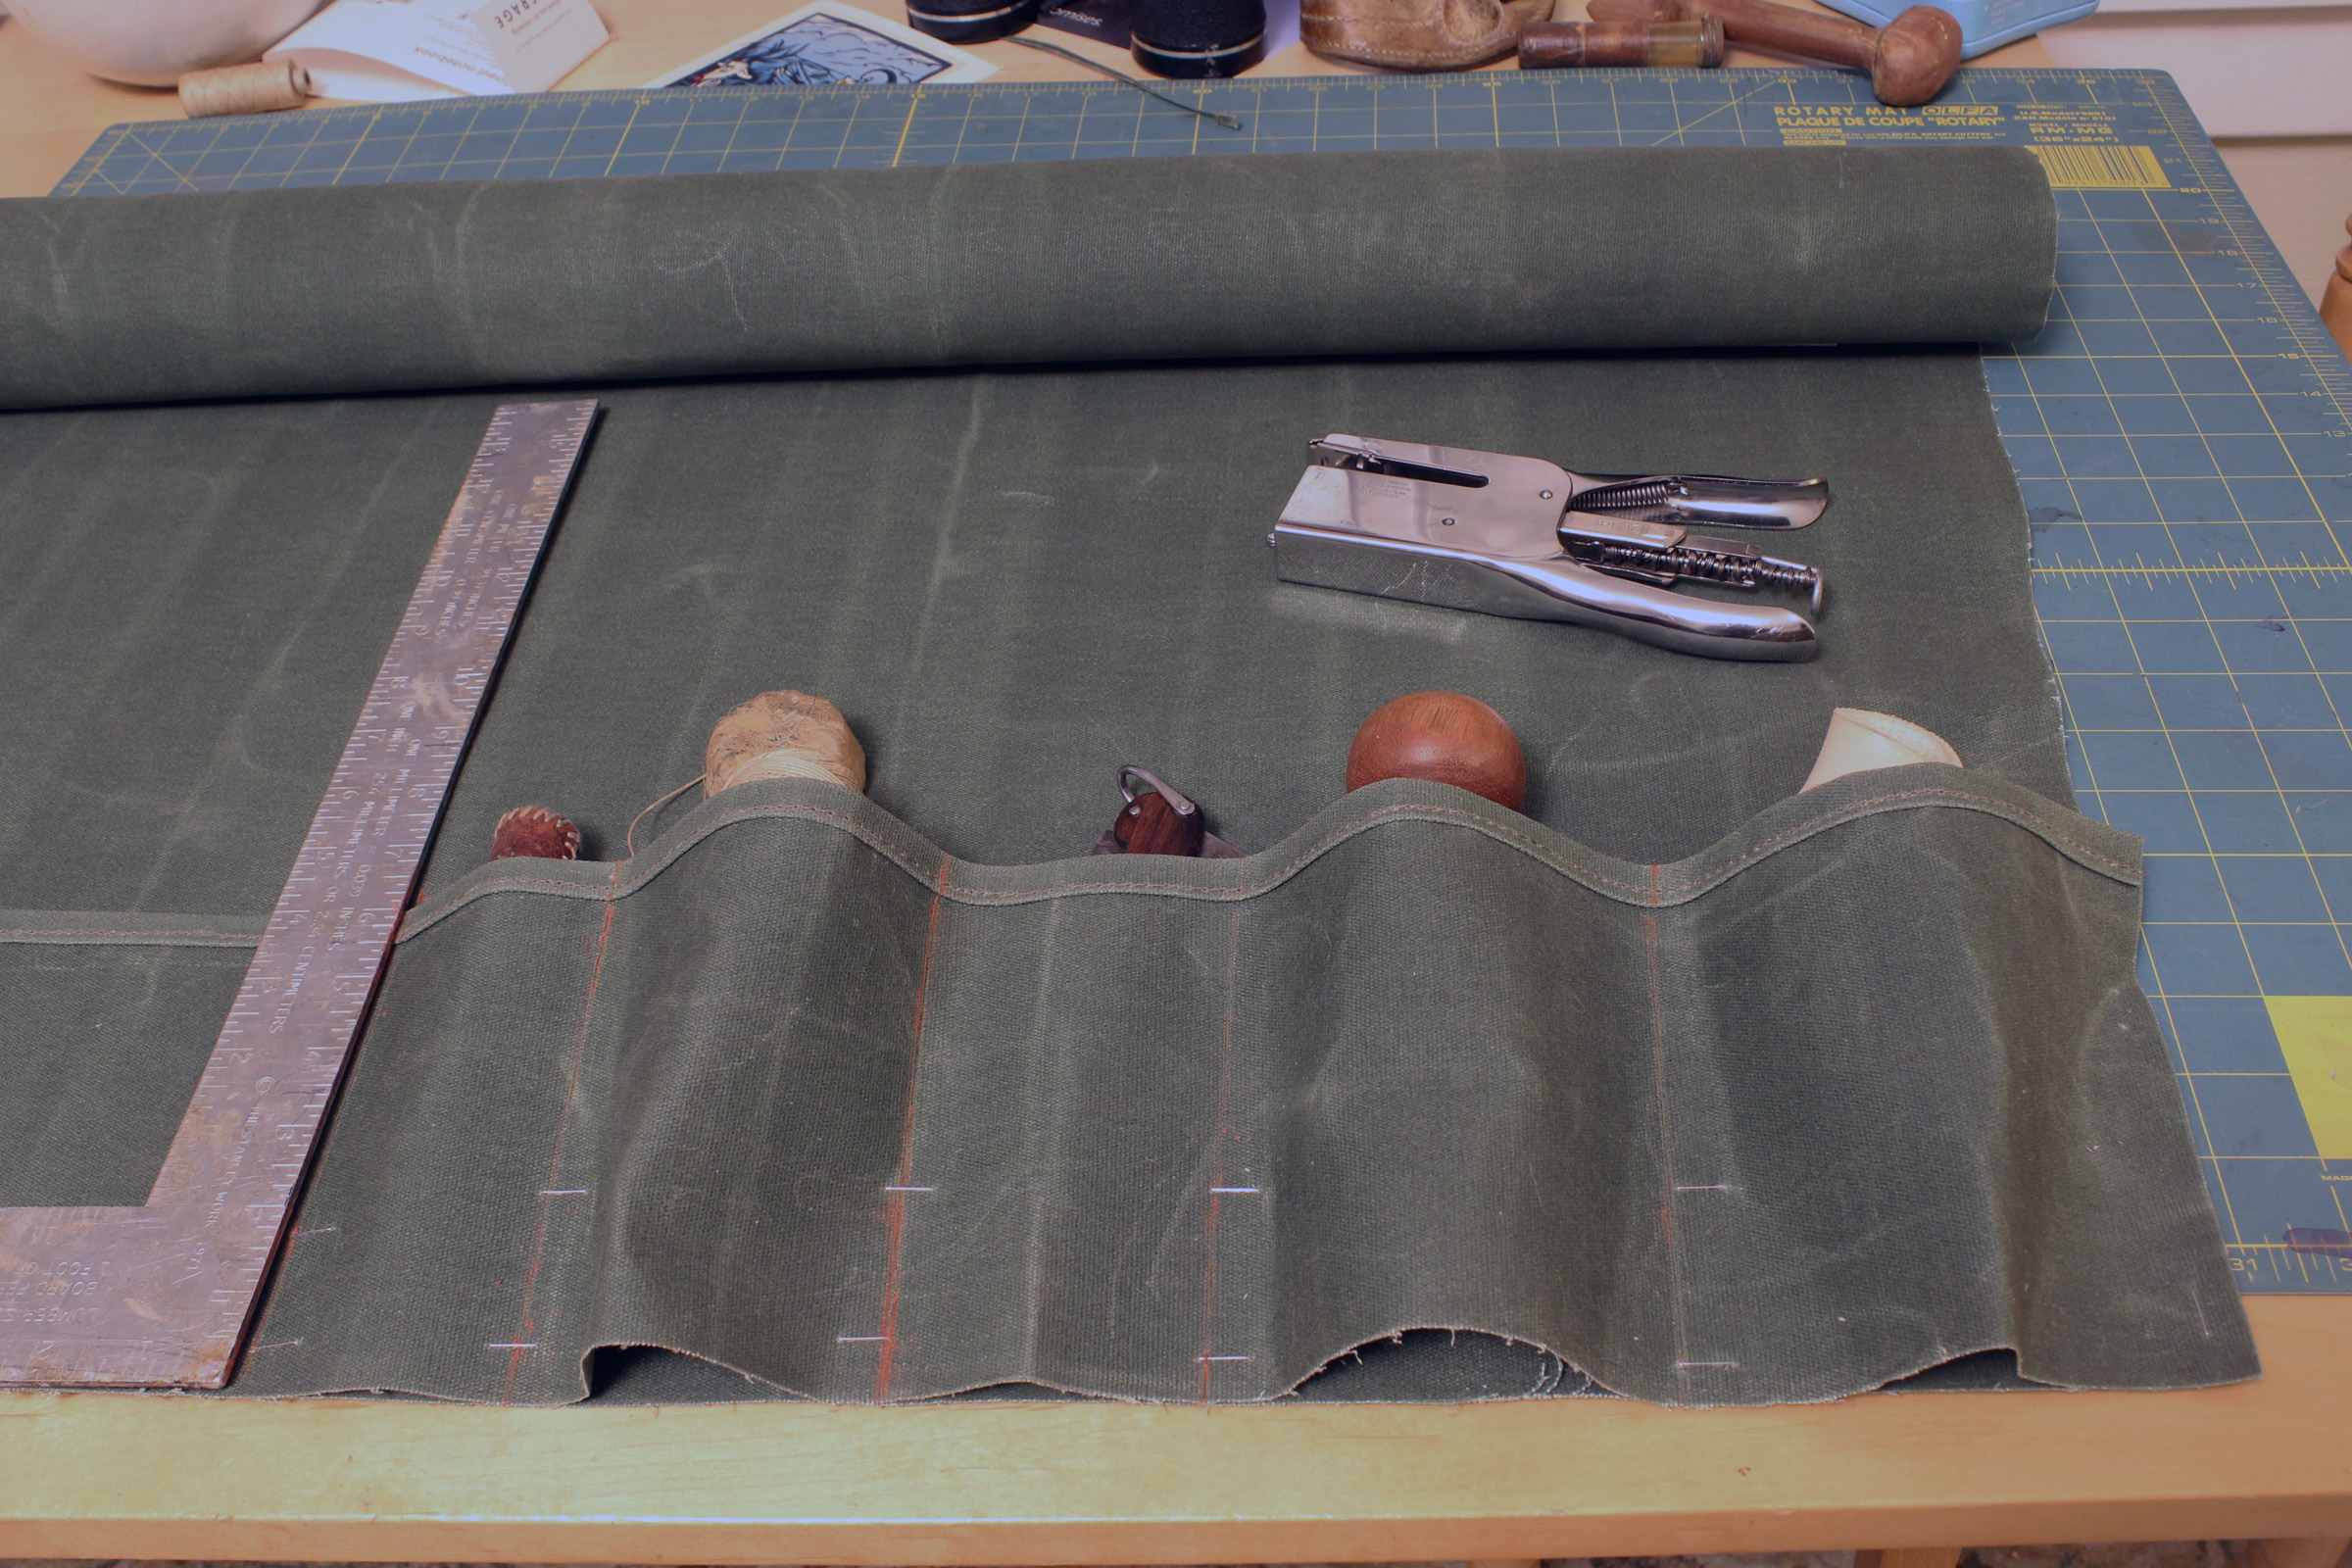
It didn’t take too many tools to shorten Jon’s 9’ oars. A saw would have helped. After I tried the oars I thought I could have taken off at least 3″ more.
Independence was 6-1/2 miles away. Hart rowed CLARABELLE while I sat in the stern. A few beavers passed us with tiny wakes fanning out from their heads. A few miles in I asked Jon how he liked the oars. He wasn’t sure, but I was confident he’d grow to like their shortened length. A doe peered out from the brush on Judson Island, an eagle watched us from atop a telephone pole. The fog lifted to a low overcast.
 Hart Williams
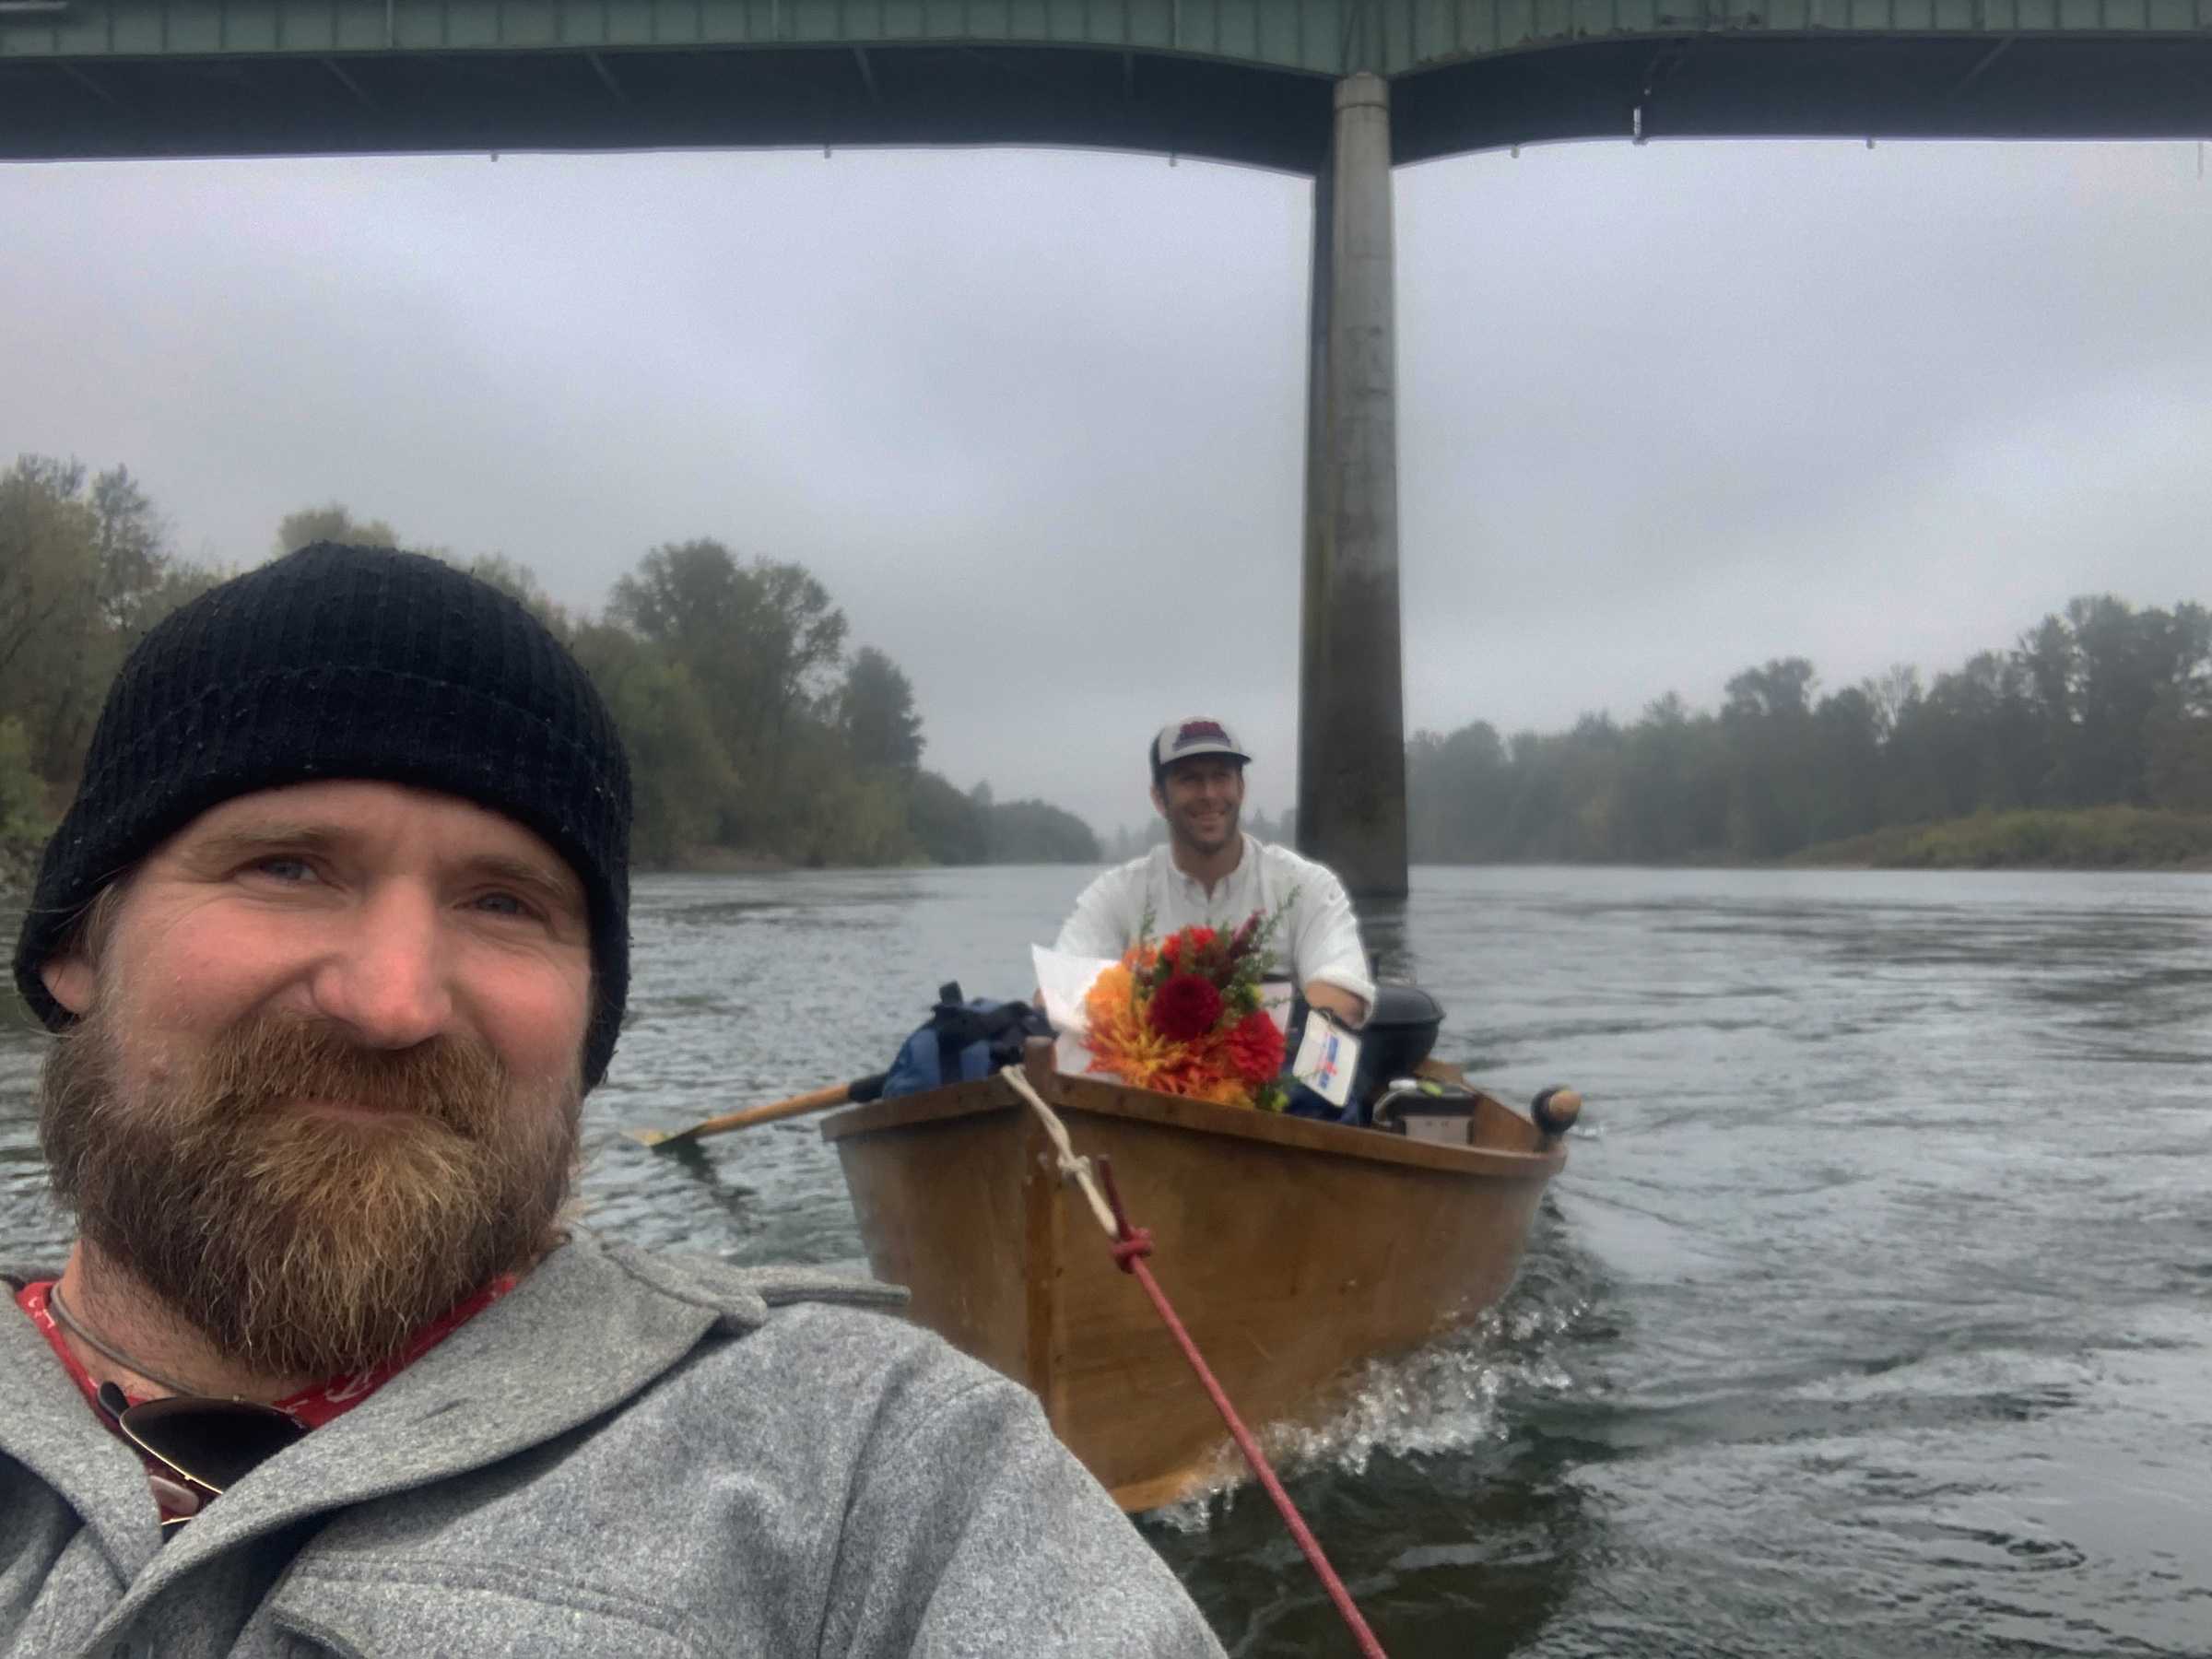
Our trip began in summer, and two mornings later ended with autumn. We pulled up to Independence in a light rain and bit of a chill.
After skirting the mile-long curve around Murphy Bar, the river swept to the right to run north to the town of Independence. A lone bridge with pale-green girders set on concrete piers made open with pointed Gothic arches spanned the river and a wide bar extended from the left bank. A few minutes after rowing under the bridge we passed a riverside park and pulled ashore at our haulout, a wide sandbar extending from the trees lining the riverbank. A light rain began to fall, leaving dark speckles on the sand. We had caught the last warm sigh of summer; the Willamette would flow without us into autumn.![]()
Jordan Hanssen is the author of Rowing into the Son, his story about setting a Guinness World Record while winning a rowing race across the North Atlantic. Adventures by boat have taken him up and down the West Coast, down the Mississippi and Rio Grande, and to Alaska, Hawaii, and Panama. On one adventure he was briefly lost at sea. With his rowboat, CLARABELLE, he leads history and birdwatching tours on Seattle’s Lake Union. His pursuits are noted on his website.
If you have an interesting story to tell about your adventures with a small boat, please email us a brief outline and a few photos.