Creating a model of a boat before building it is a common procedure, and one I find very useful. For a 23′ boat, I chose to build a 1:4 scale model; this worked great since the 7′ 8″ model was big enough to use as a tender. For a nesting kayak that I designed, I started by building a full-sized model (also known as a mock-up) out of cardboard, to test for accuracy before cutting expensive plywood. The cardboard parts would be used for patterns.
 Photographs by the author
The plywood panels for the V-berth could be built into the mock-up, fitting only straight edges and right angles. The curves of the perimeter can then be traced precisely with a batten bent fair around the frames.
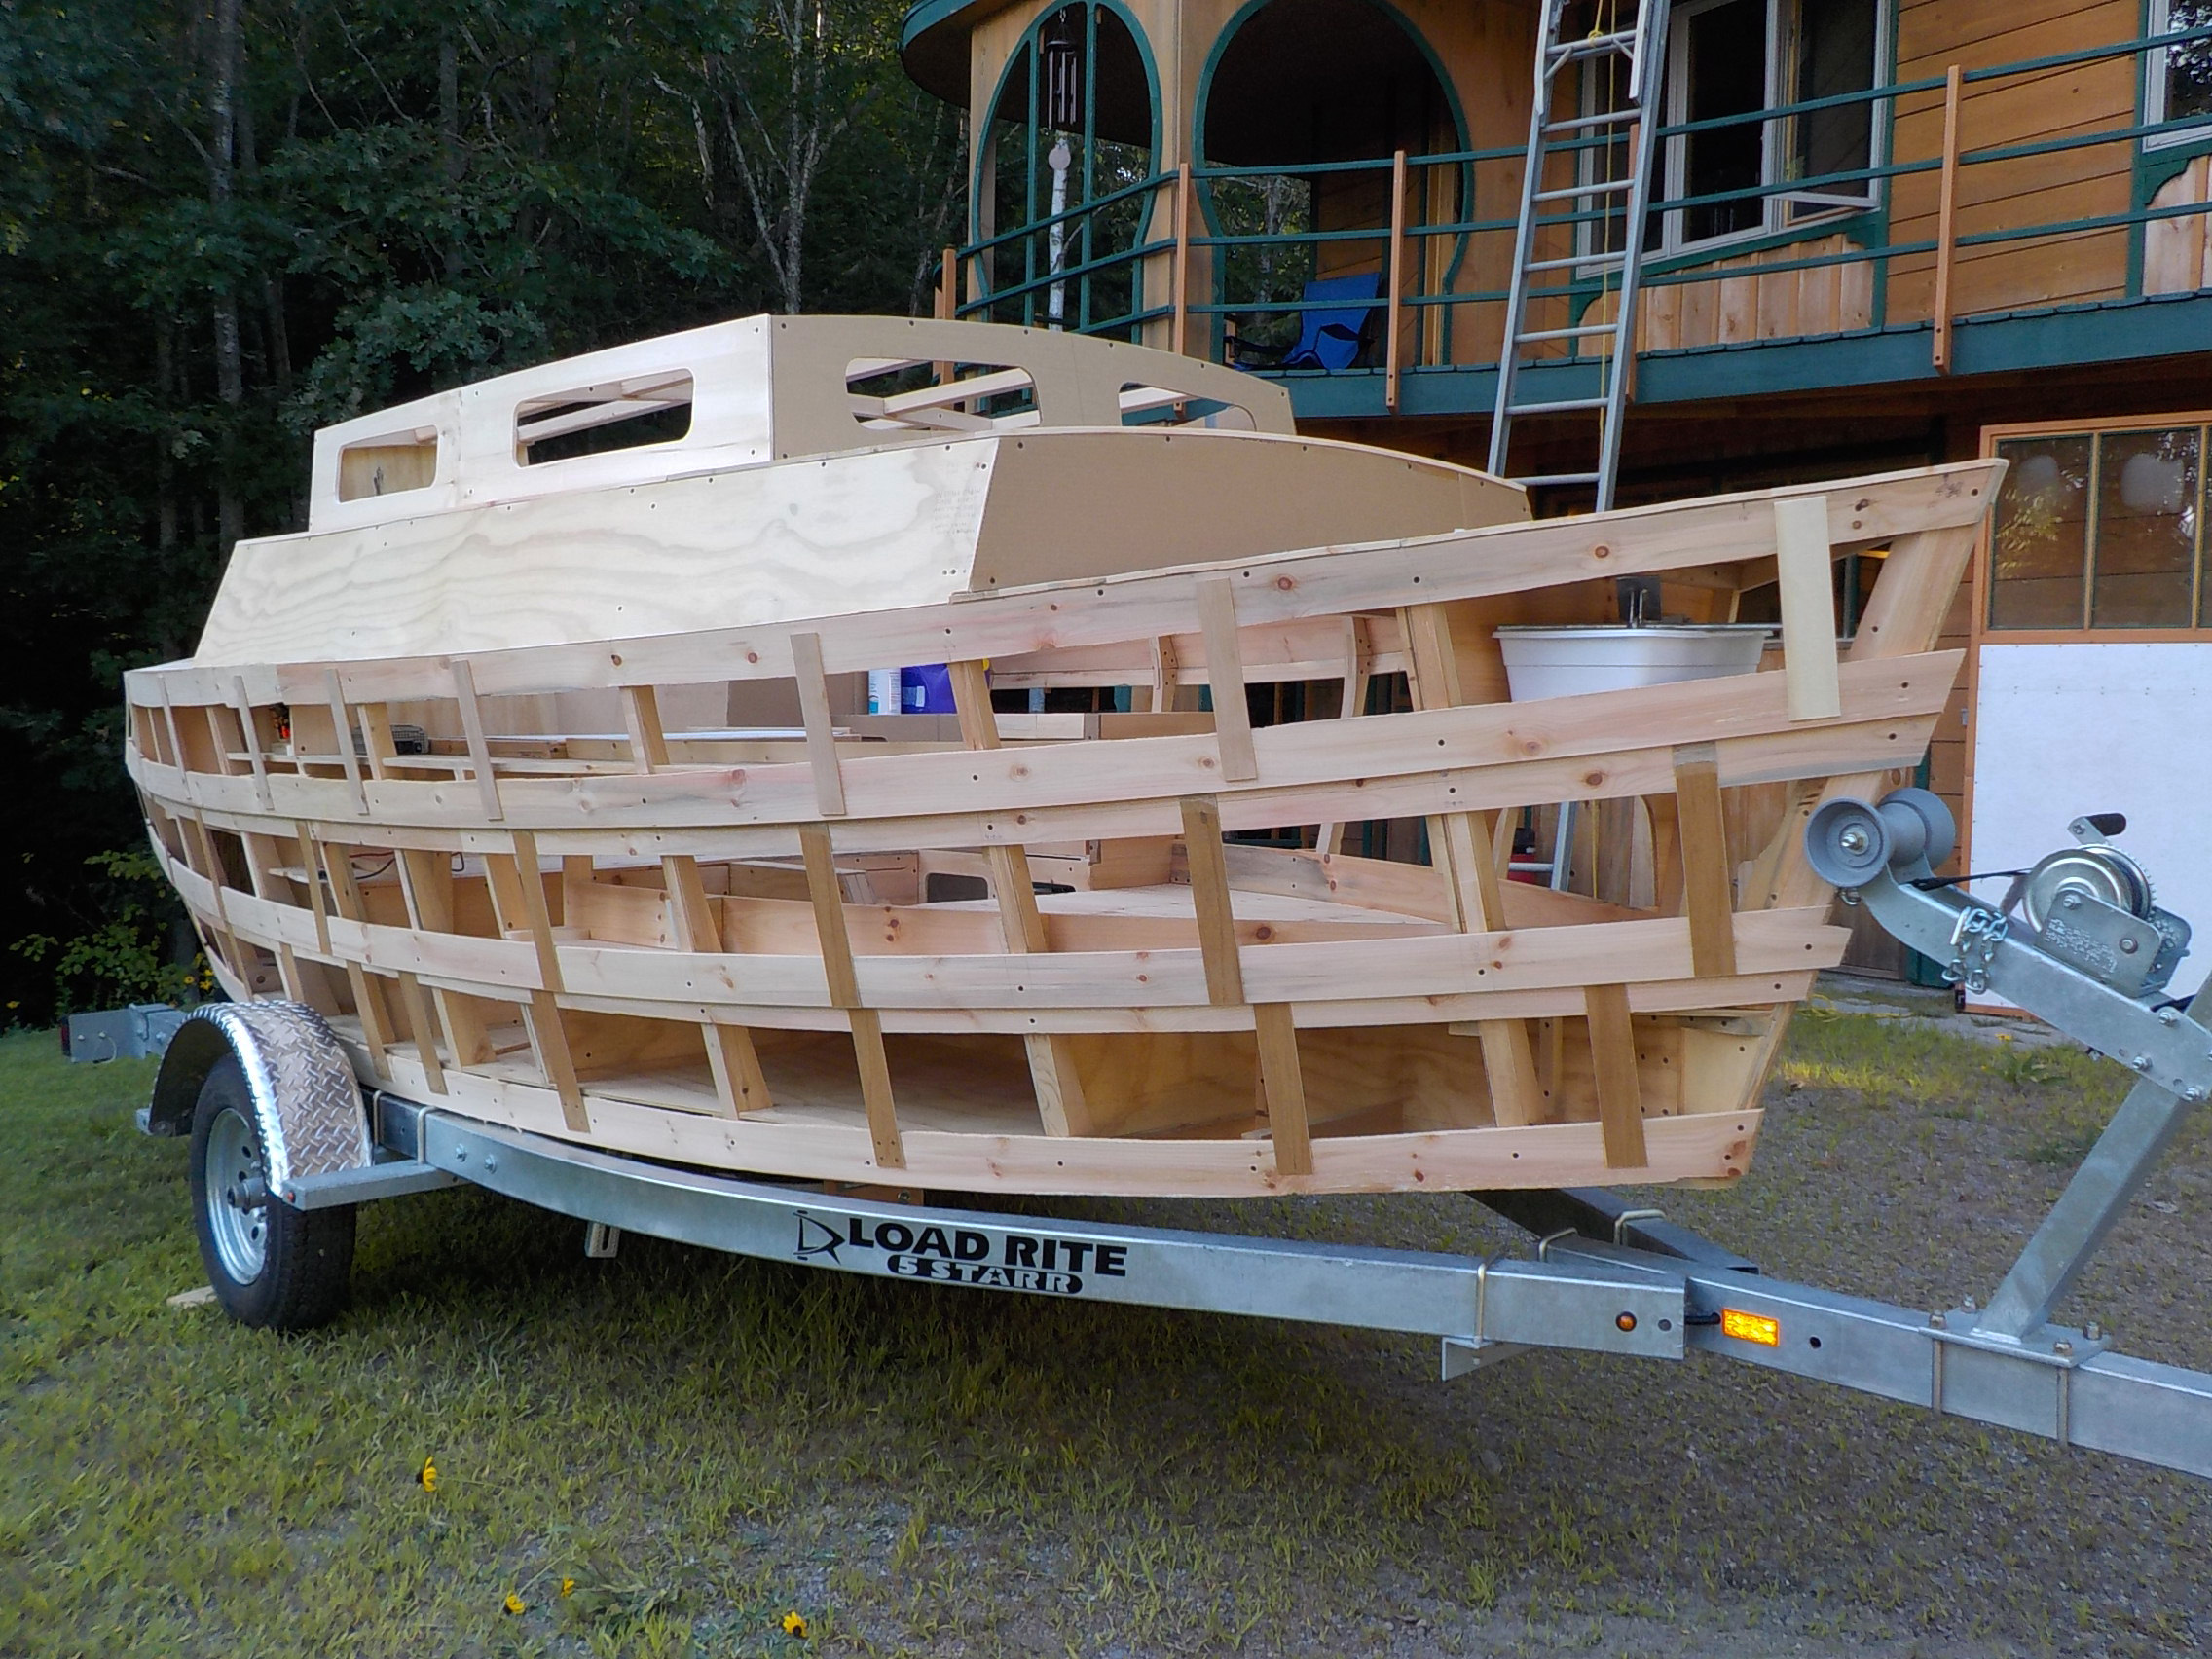
My latest project is a 17′ pocket cruiser. The design challenge was to create accommodations for two with an acceptable level of comfort. Working with drawings and scale models was not going to definitively prove the success of the design or the many small construction details that would need to be considered when building the finished boat. My solution was to build a mock-up strong enough to climb aboard.
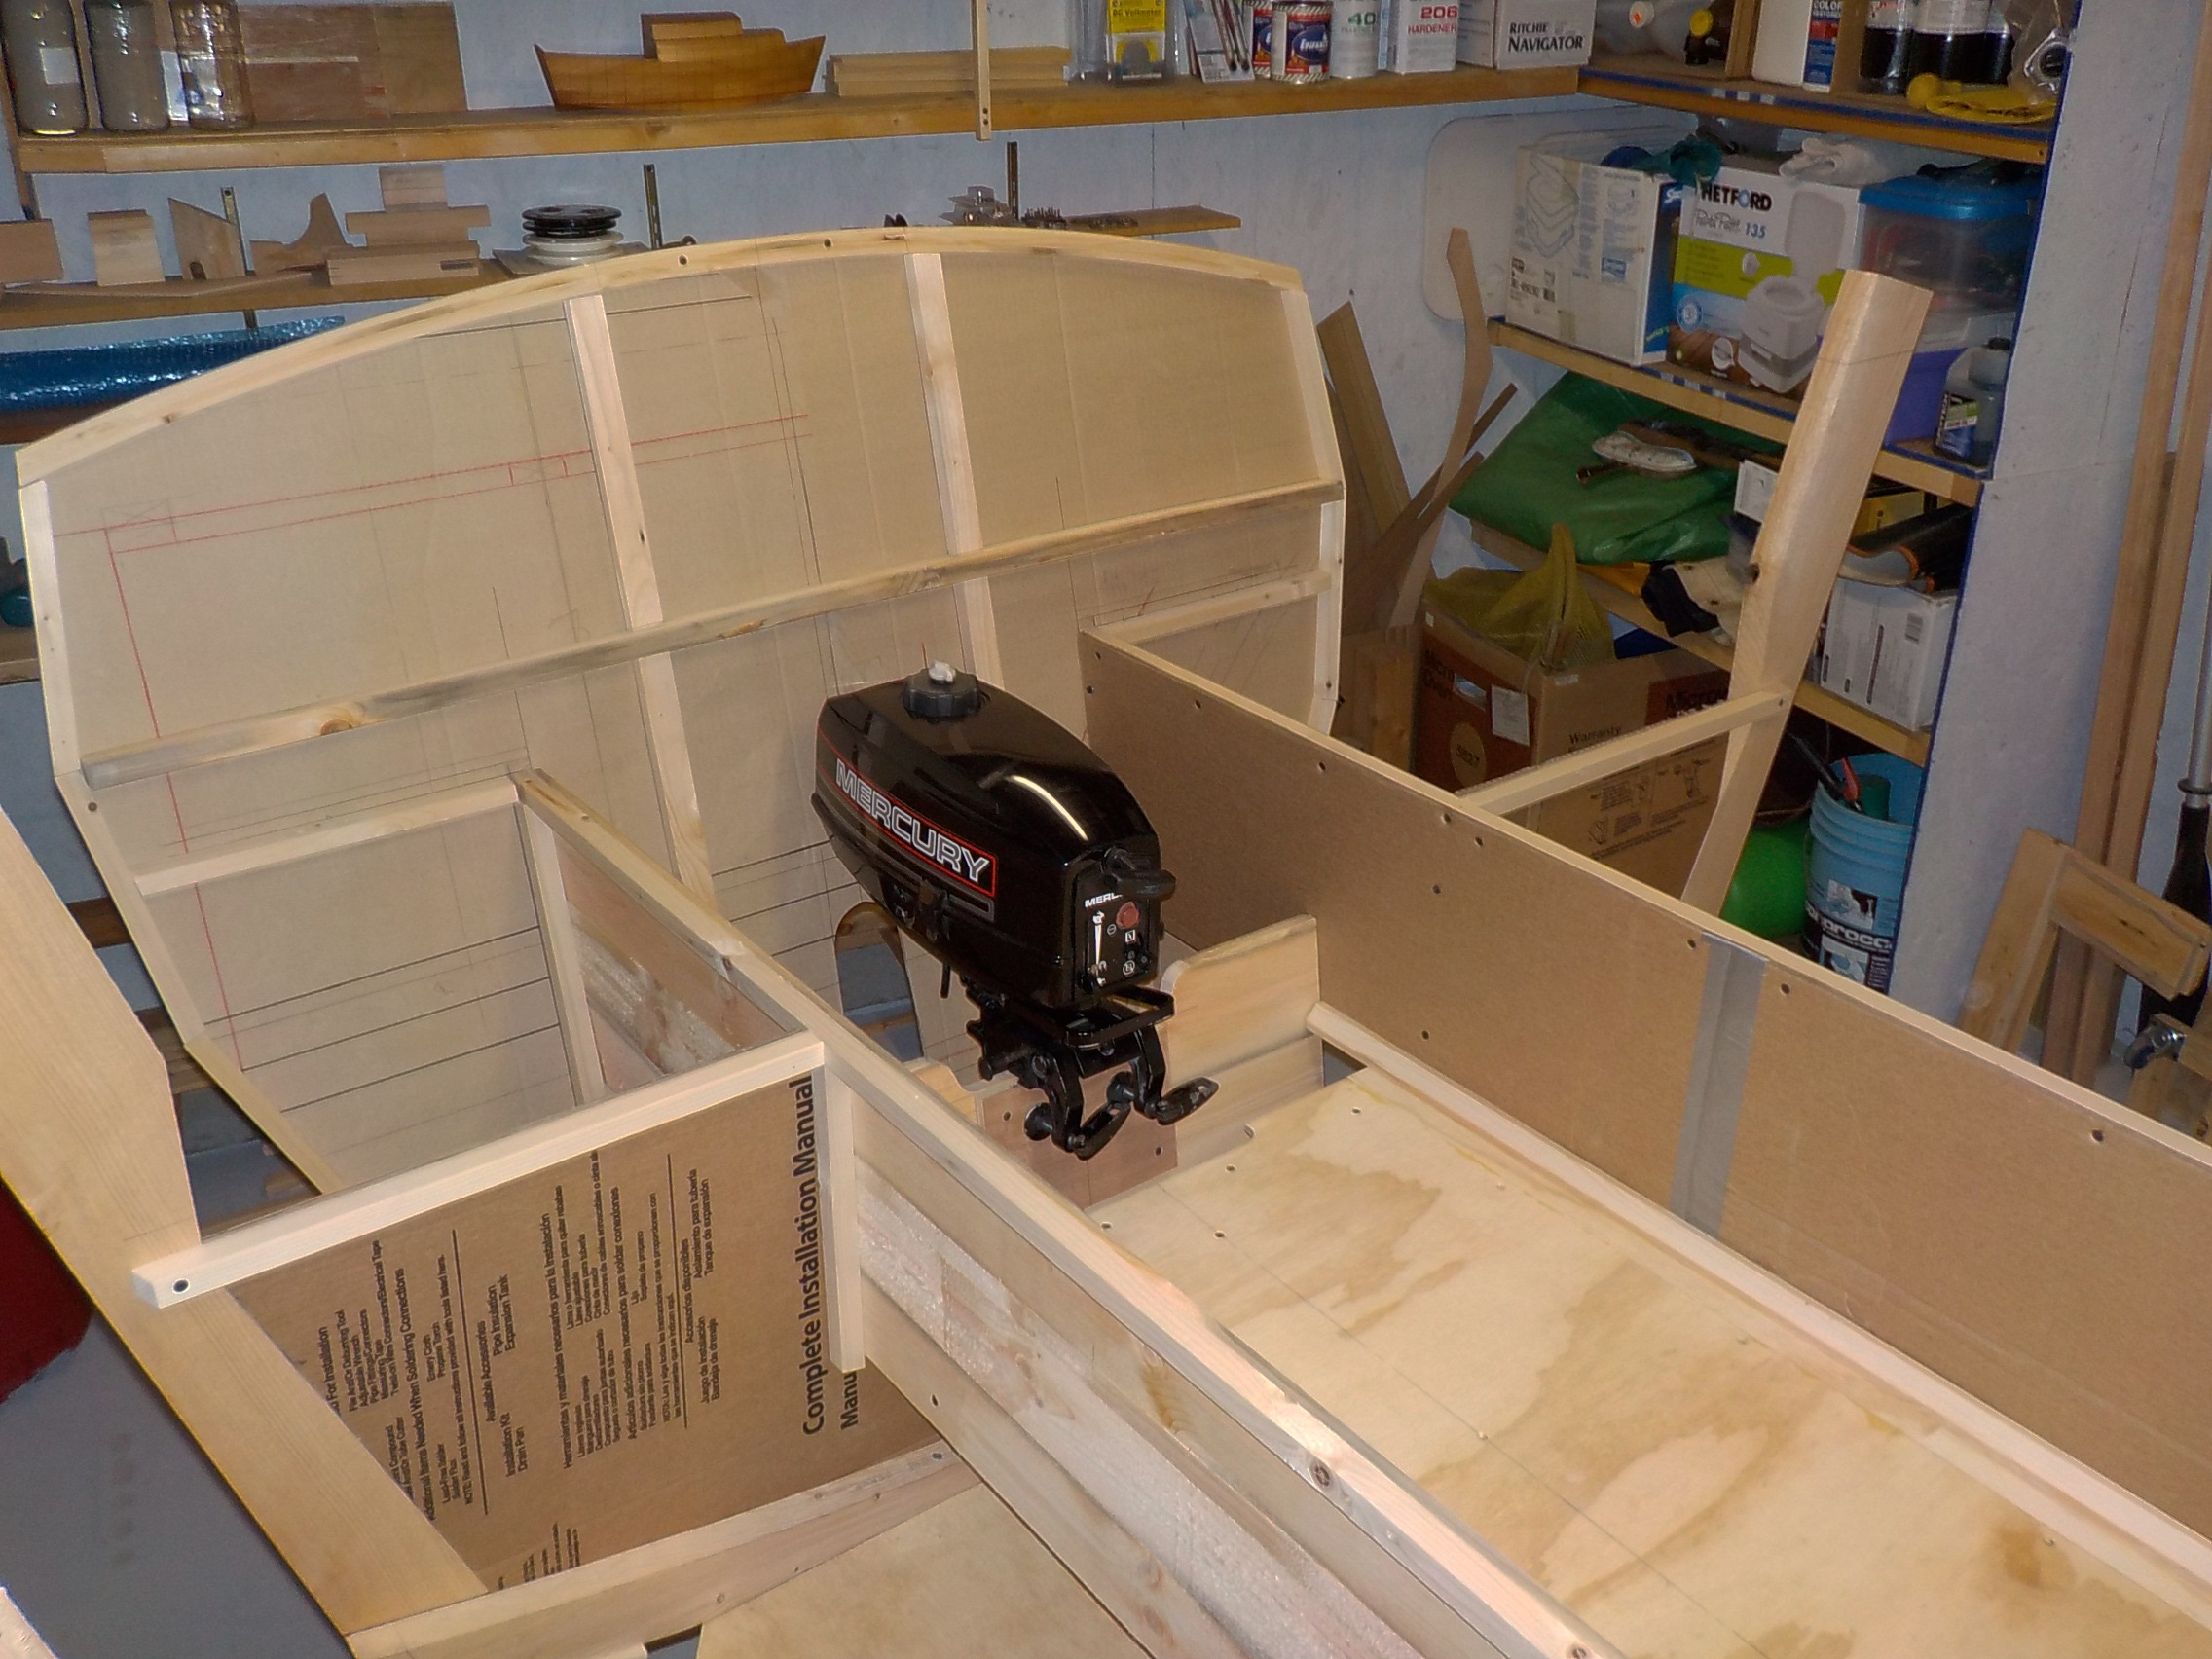
The transom was framed in wood yet has a cardboard face. The cutaways for the outboard could be easily made in the cardboard.
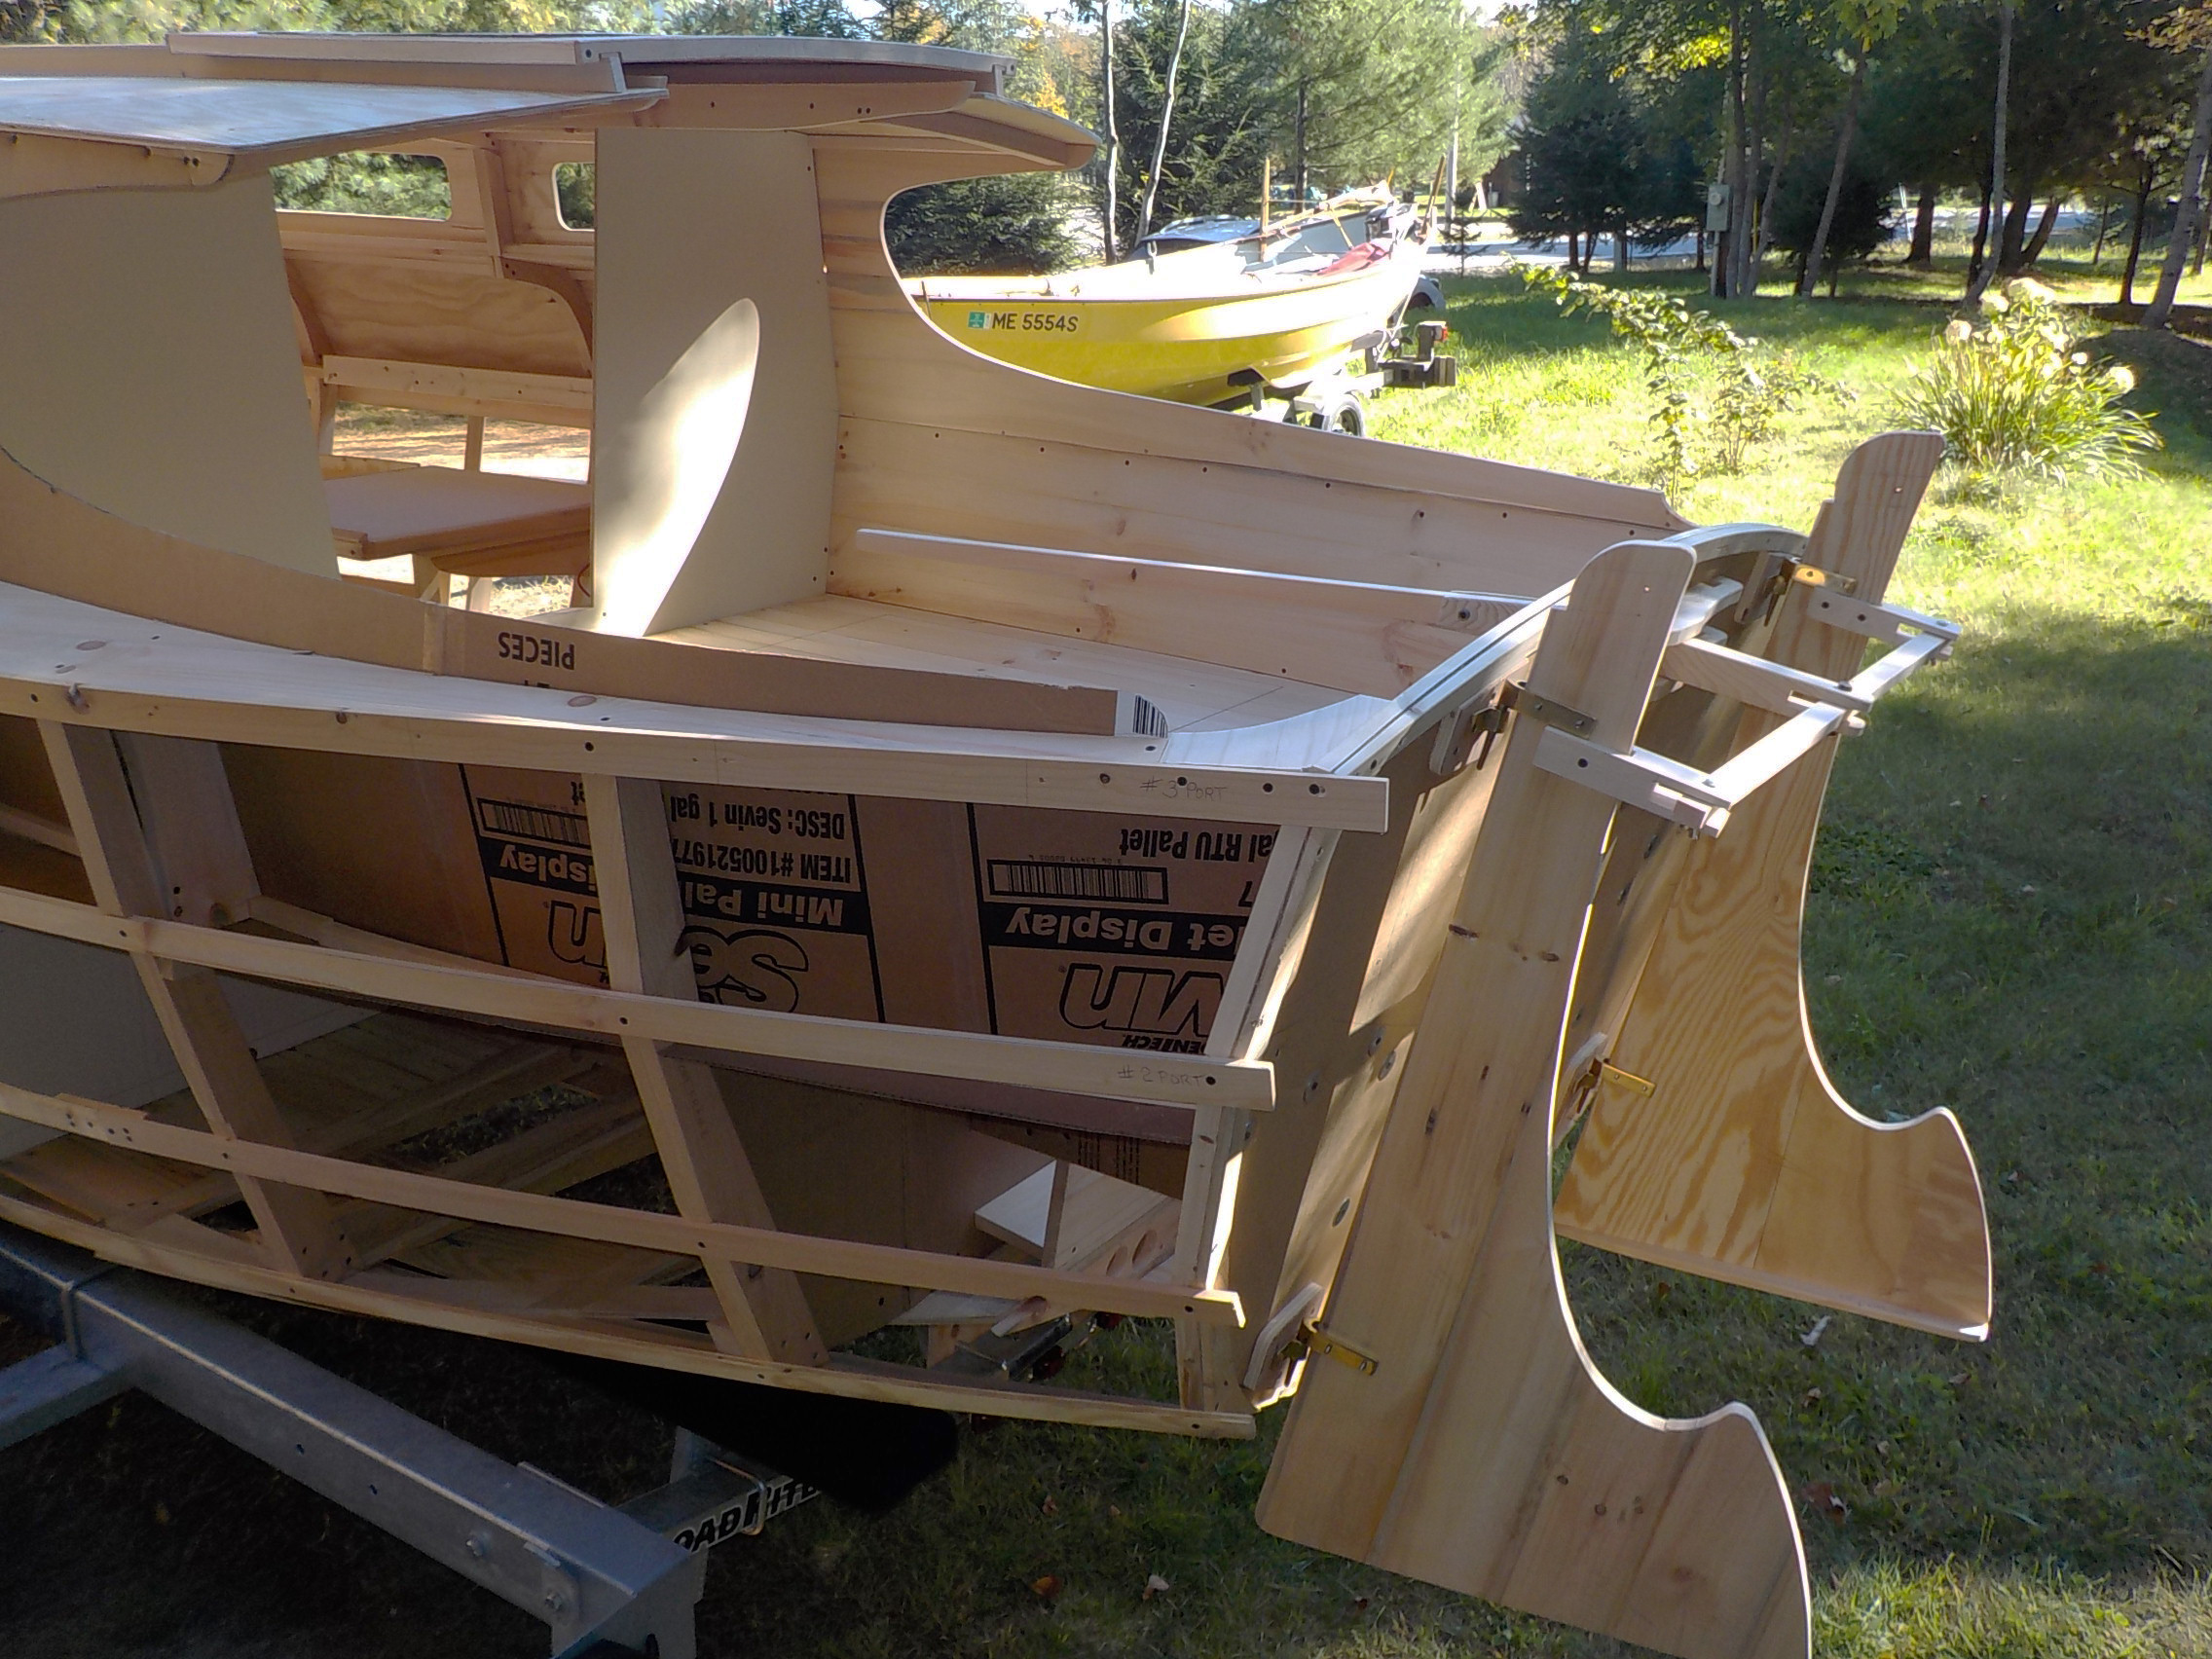
The twin rudders, hung from the pintles and gudgeons that will serve the finished boat, have an interesting mechanism that can get its first trials on the mock-up. Note the printed cardboard used for panels that just need to define space. The aft end of the port cockpit coaming has a convex shape while there is a concave treatment to starboard; changing features comes with a minimal investment in time and materials.
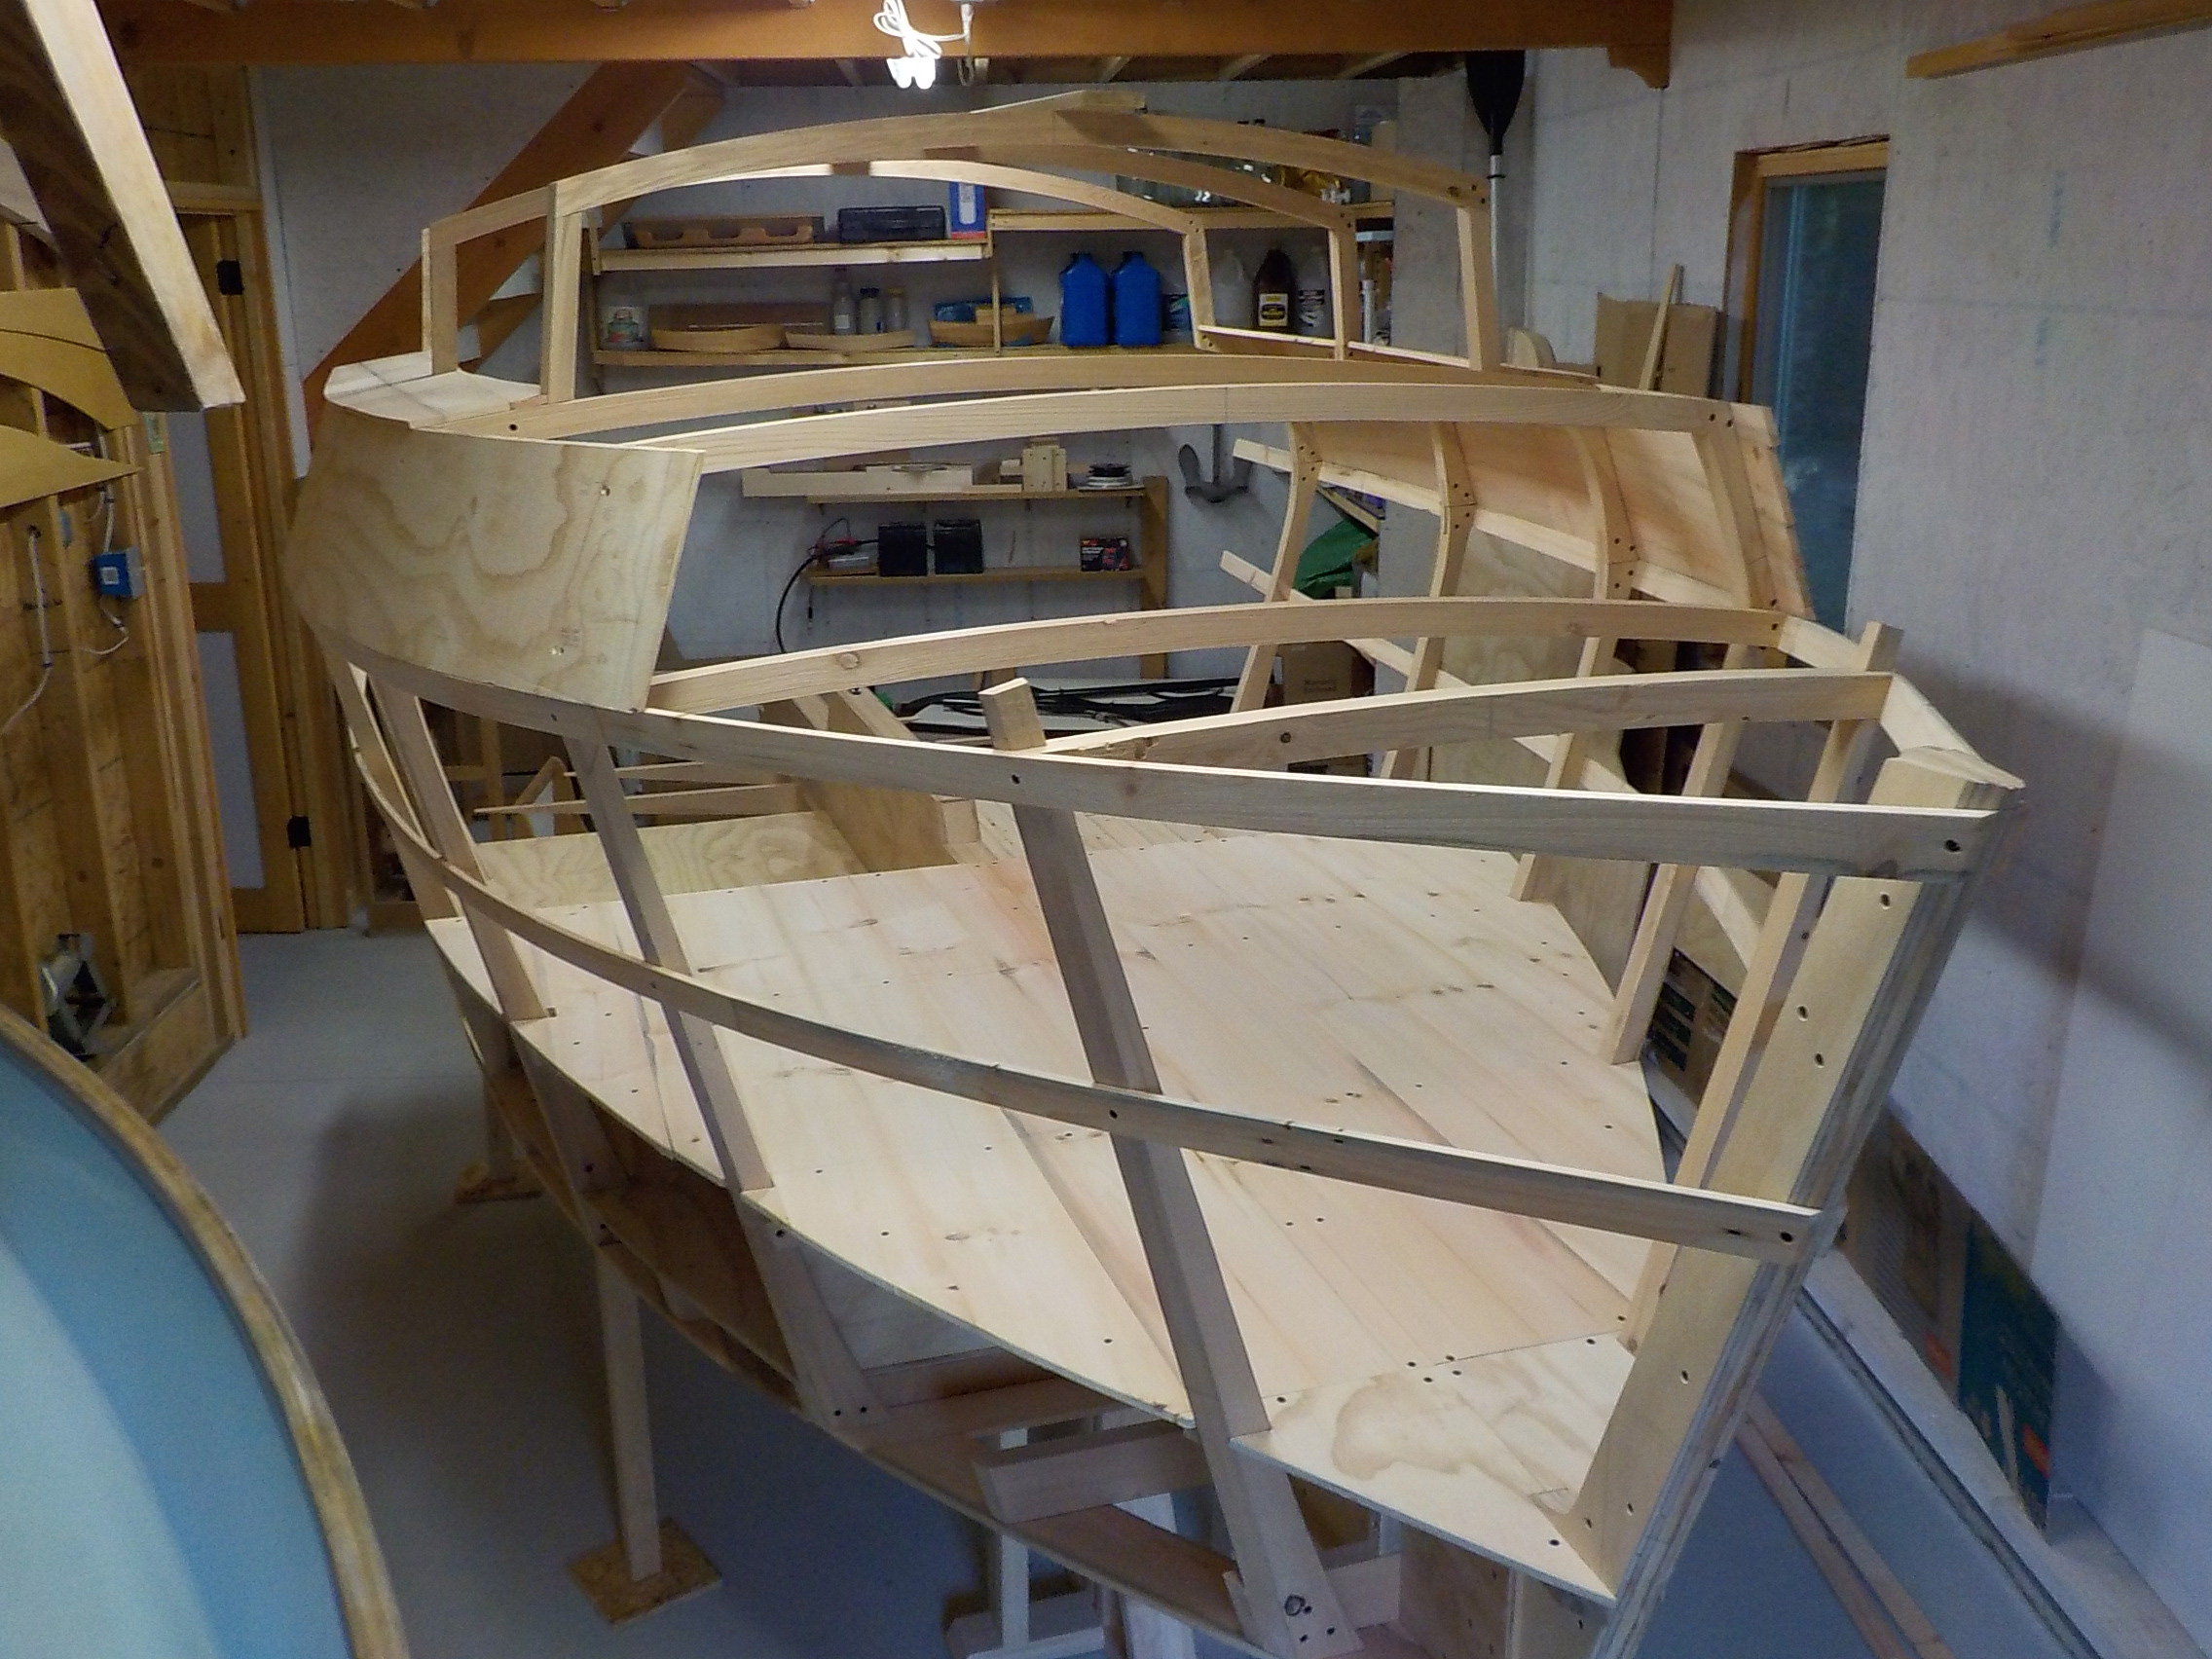
I made drawings and a half-hull model and then drew the frames full-scale. To begin the construction of the model, I gathered a supply of cardboard and scrap wood. As when building most boats, the keel and stem of my model were constructed first and then the frames set up on the keel. At this point, the mock-up departed from the traditional boatbuilding sequence. Instead of planking the hull, I constructed all of the interior components. The advantage was that none of the interior components had to be measured or scribed to fit the inside shape of the hull; they could be left to extend outside the hull between the frames and then marked for trimming using battens sprung around the frames.
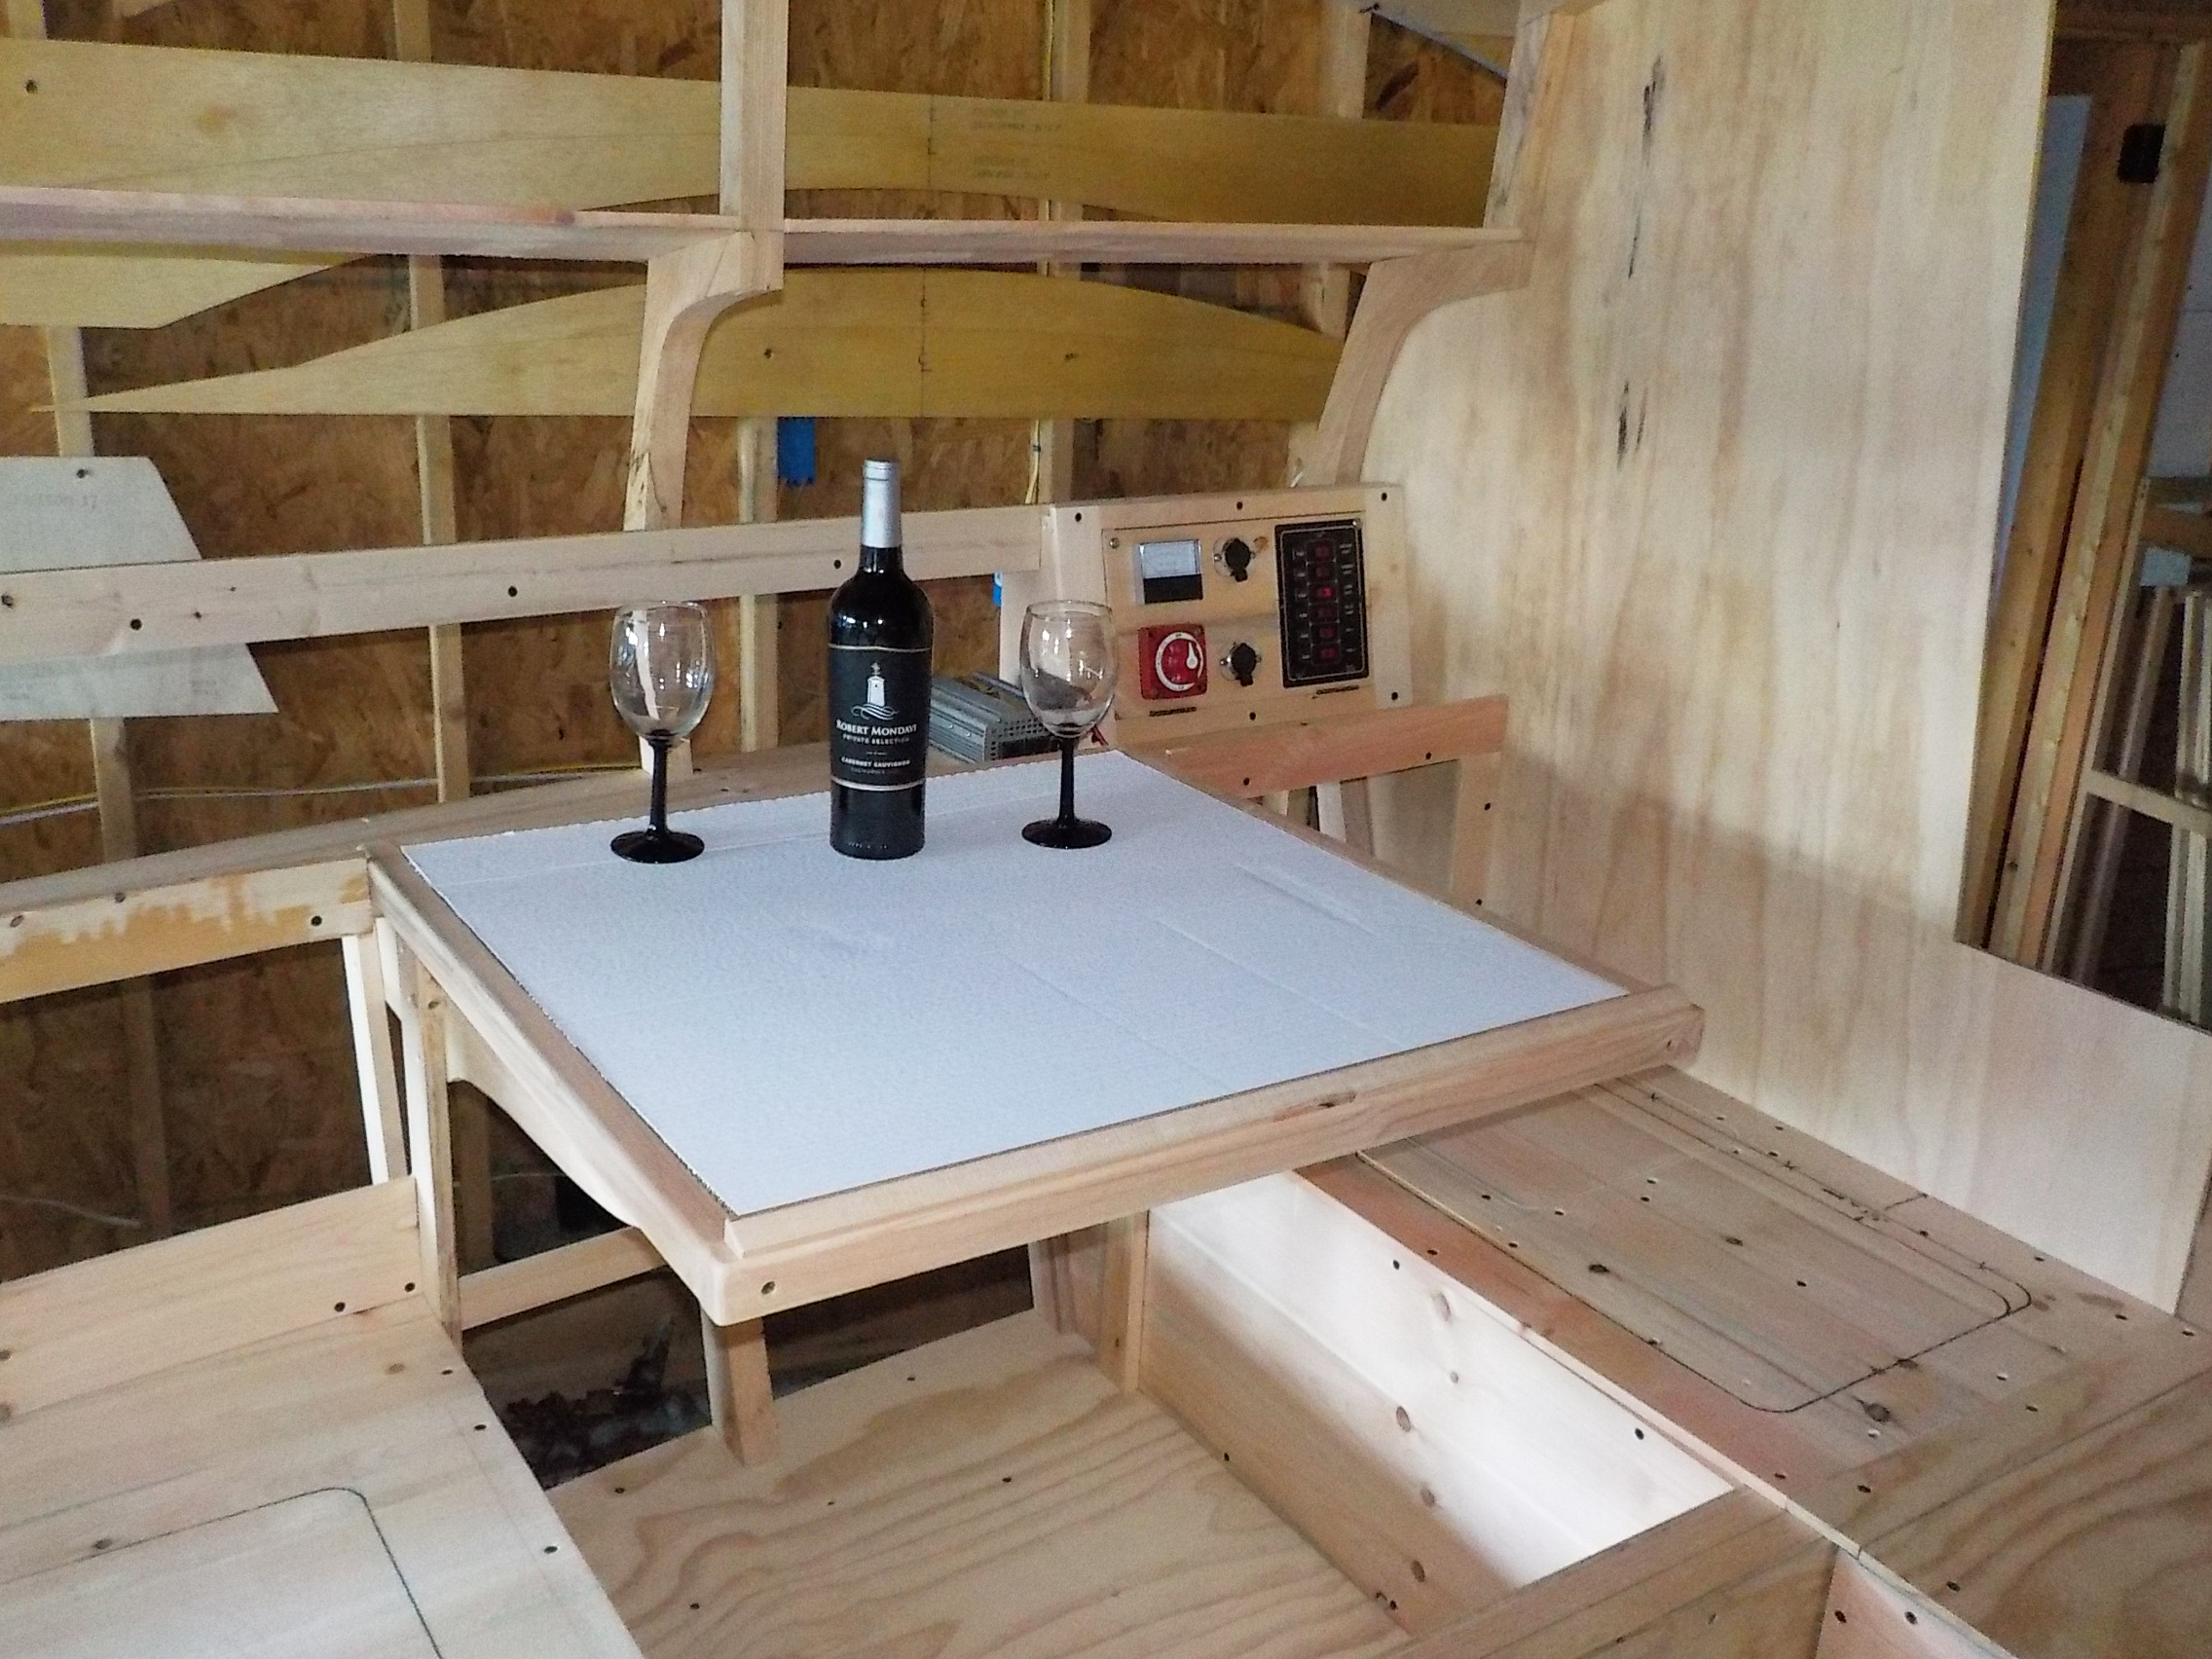
All of the weight-bearing surfaces in the mockup were made of plywood so Tom and crew could not only check the accommodations for fit and comfort but also enjoy spending time in the mockup.
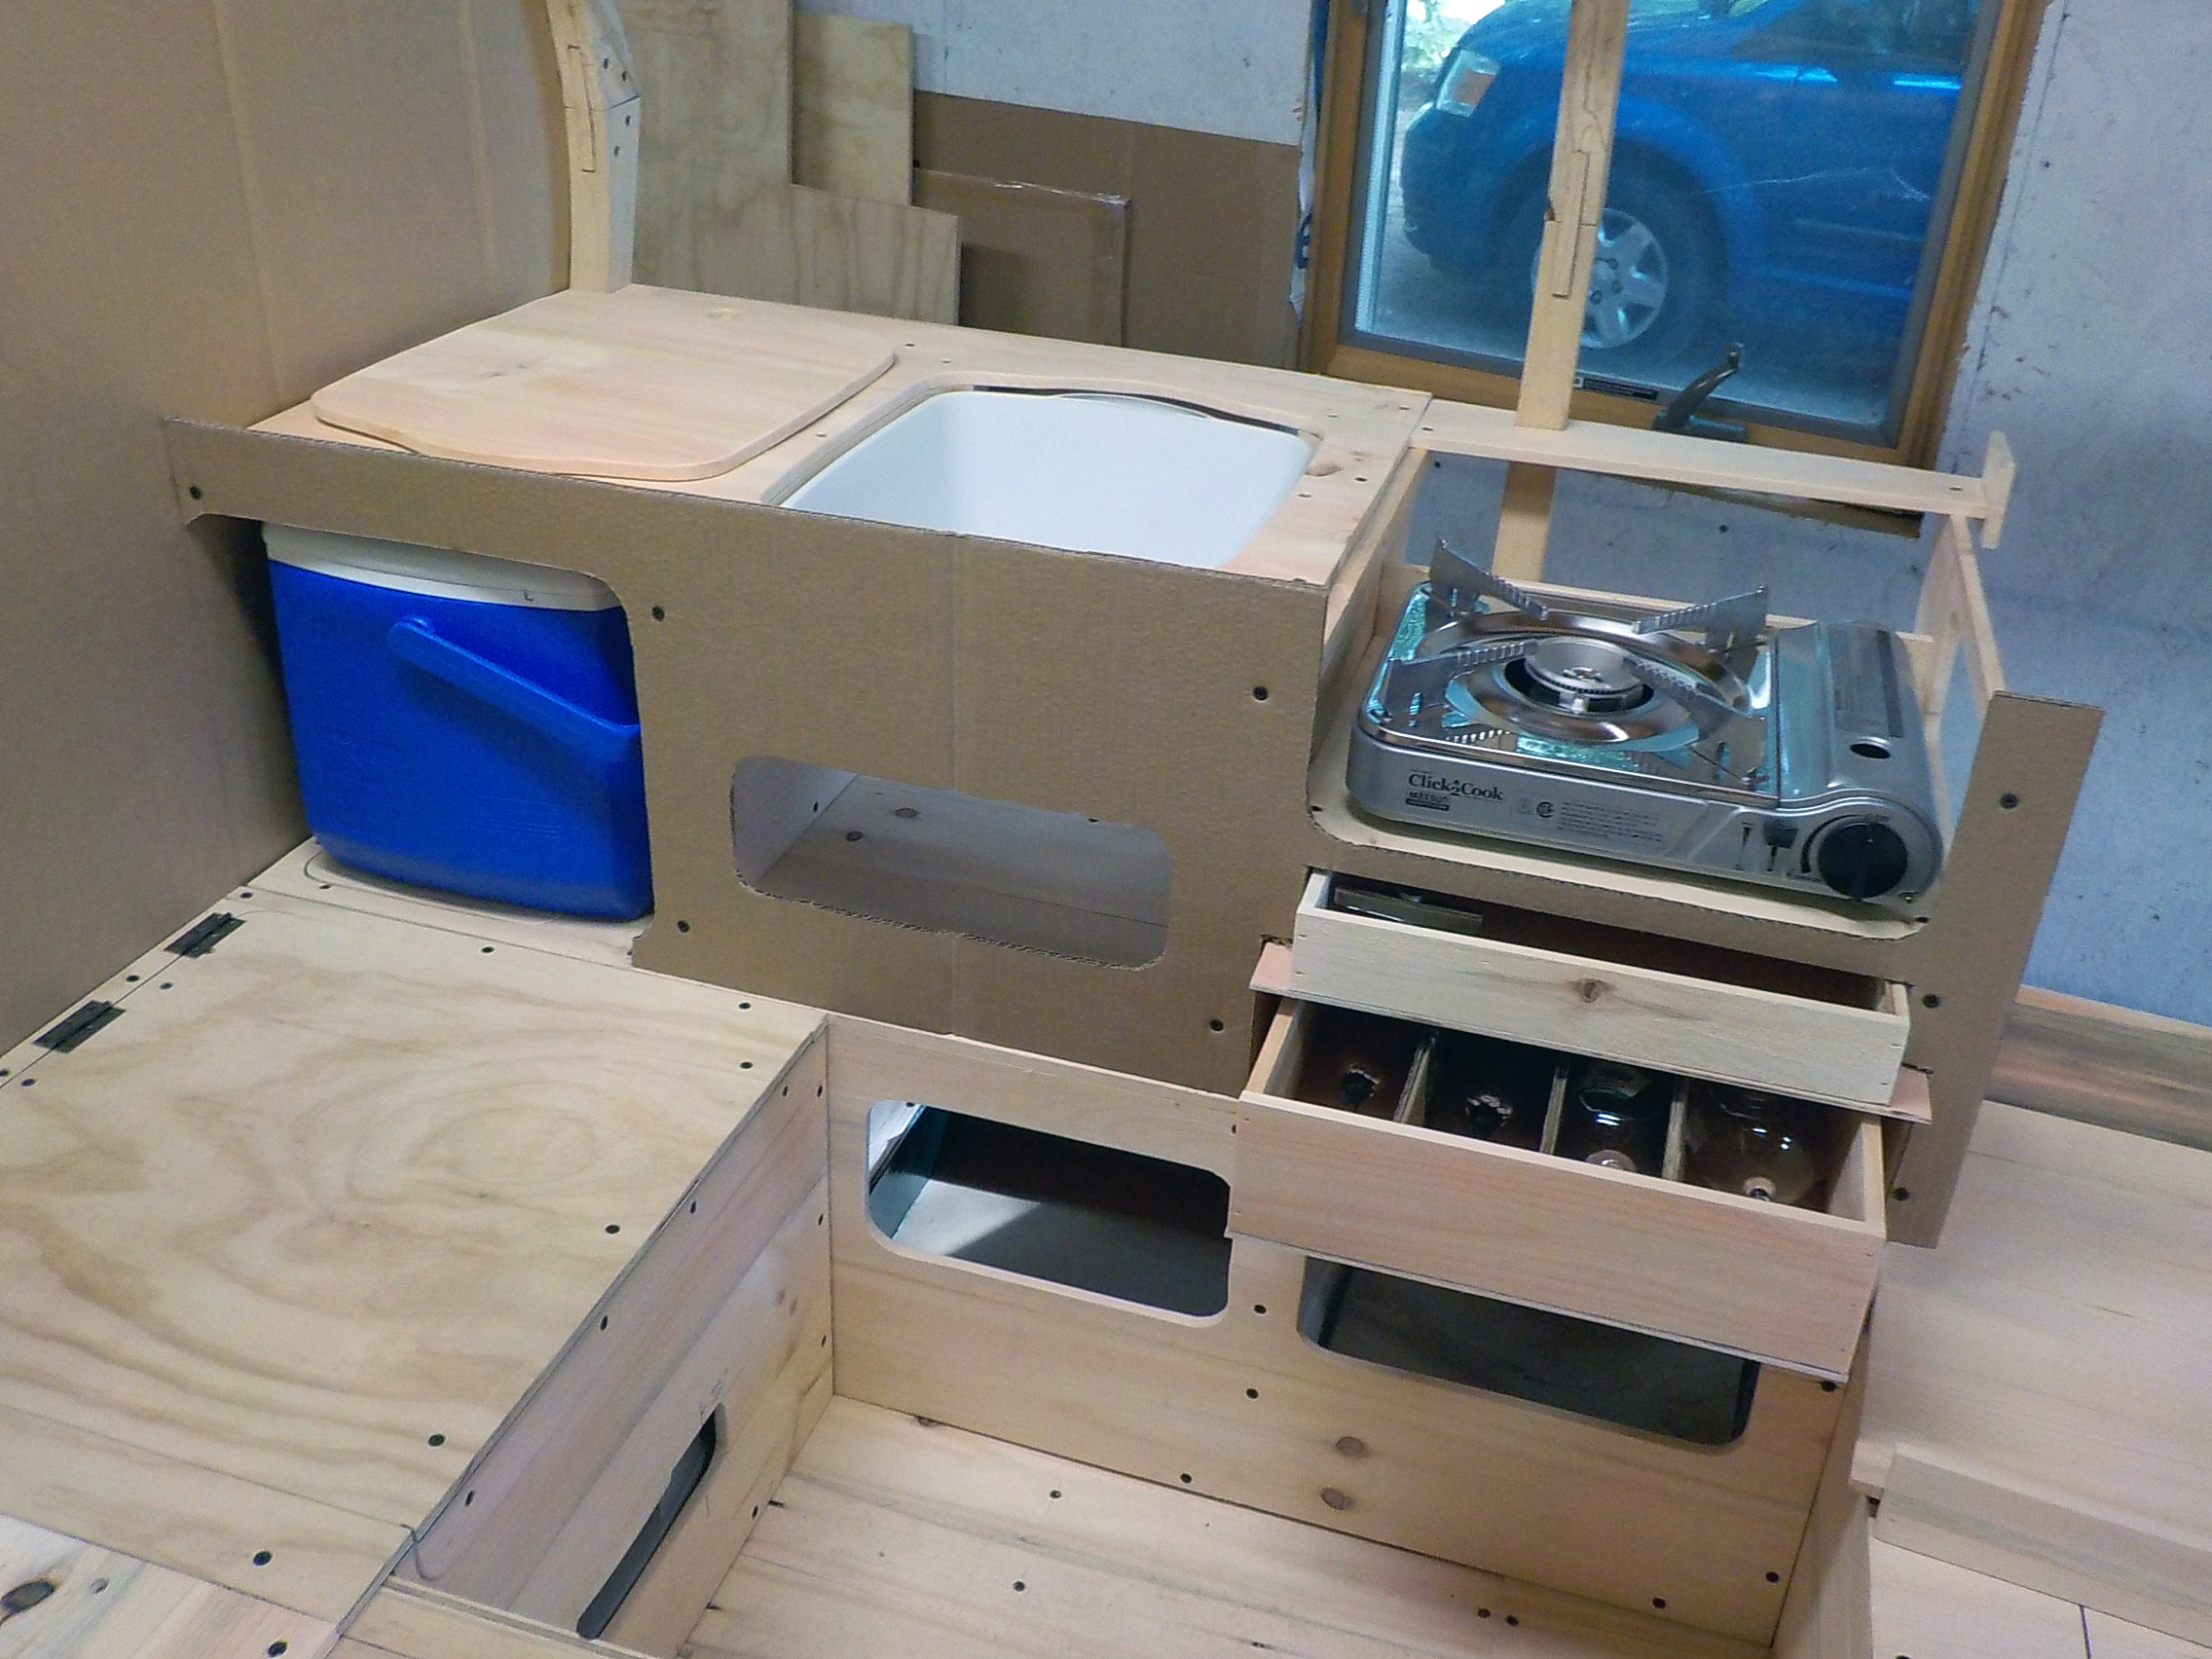
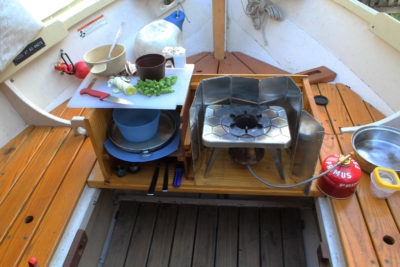
Rather than look for galley equipment to fit the cabinetry, Tom built the galley around the the things he already intended to use aboard the boat.
The mock-up made it possible to sit in the cockpit and cabin as well as work out the building sequence and many small construction details. The many changes and improvements I devised in the process made the mock-up well worth the effort. The original design had a flat bottom intended for navigating very shallow water. The final design was changed to a V bottom to provide better performance in choppy seas and move the ballast closer to the centerline.
Patterns for the planks were made only on the starboard side. They’d serve for the port side as well.
I purchased a trailer to fit the model, ensuring that there would be no surprises when the finished boat was loaded. Placing the model on the trailer revealed that there would not be enough clearance under the garage door to rig a hinged mast. The cabin roof was lowered as a result without much sacrifice in cabin headroom.
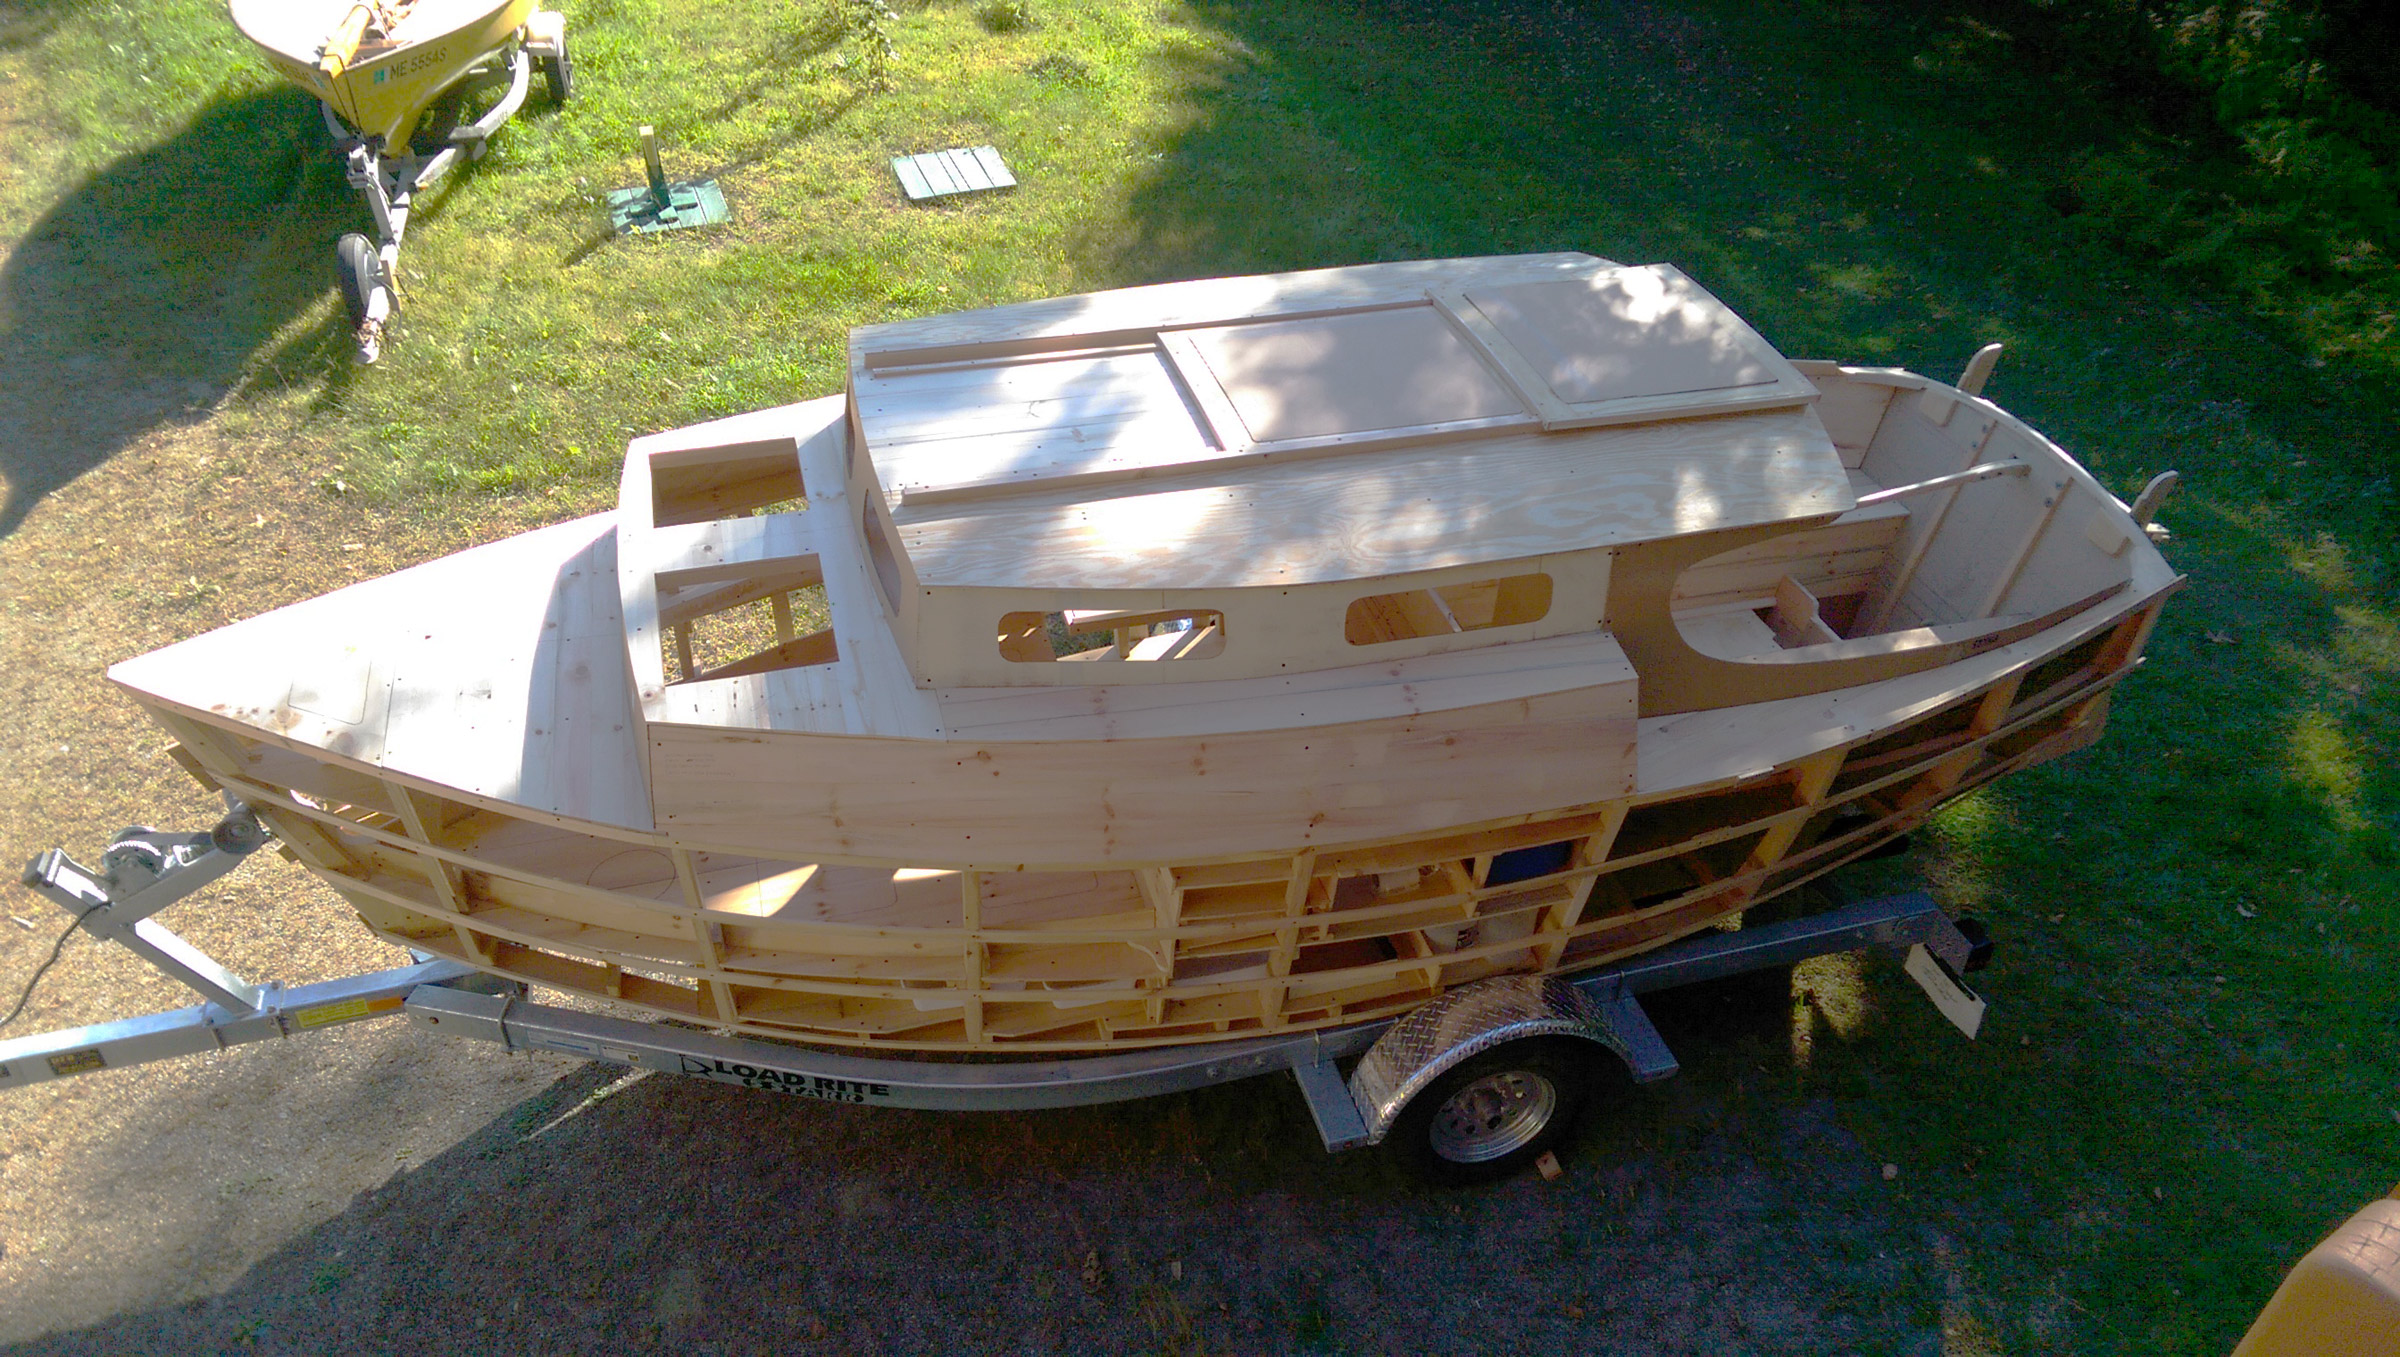
With the mockup, the trailer could be set up to a precise fit for the boat when it is ready to launch.
As the building progressed, the stem went through more changes than any other part of the mock-up. Seeing it full size, attached to the boat, and in three dimensions was a distinct advantage over drawings. I added a bowsprit to create more sail area forward and provide the more traditional look of a gaff-rigged sloop.
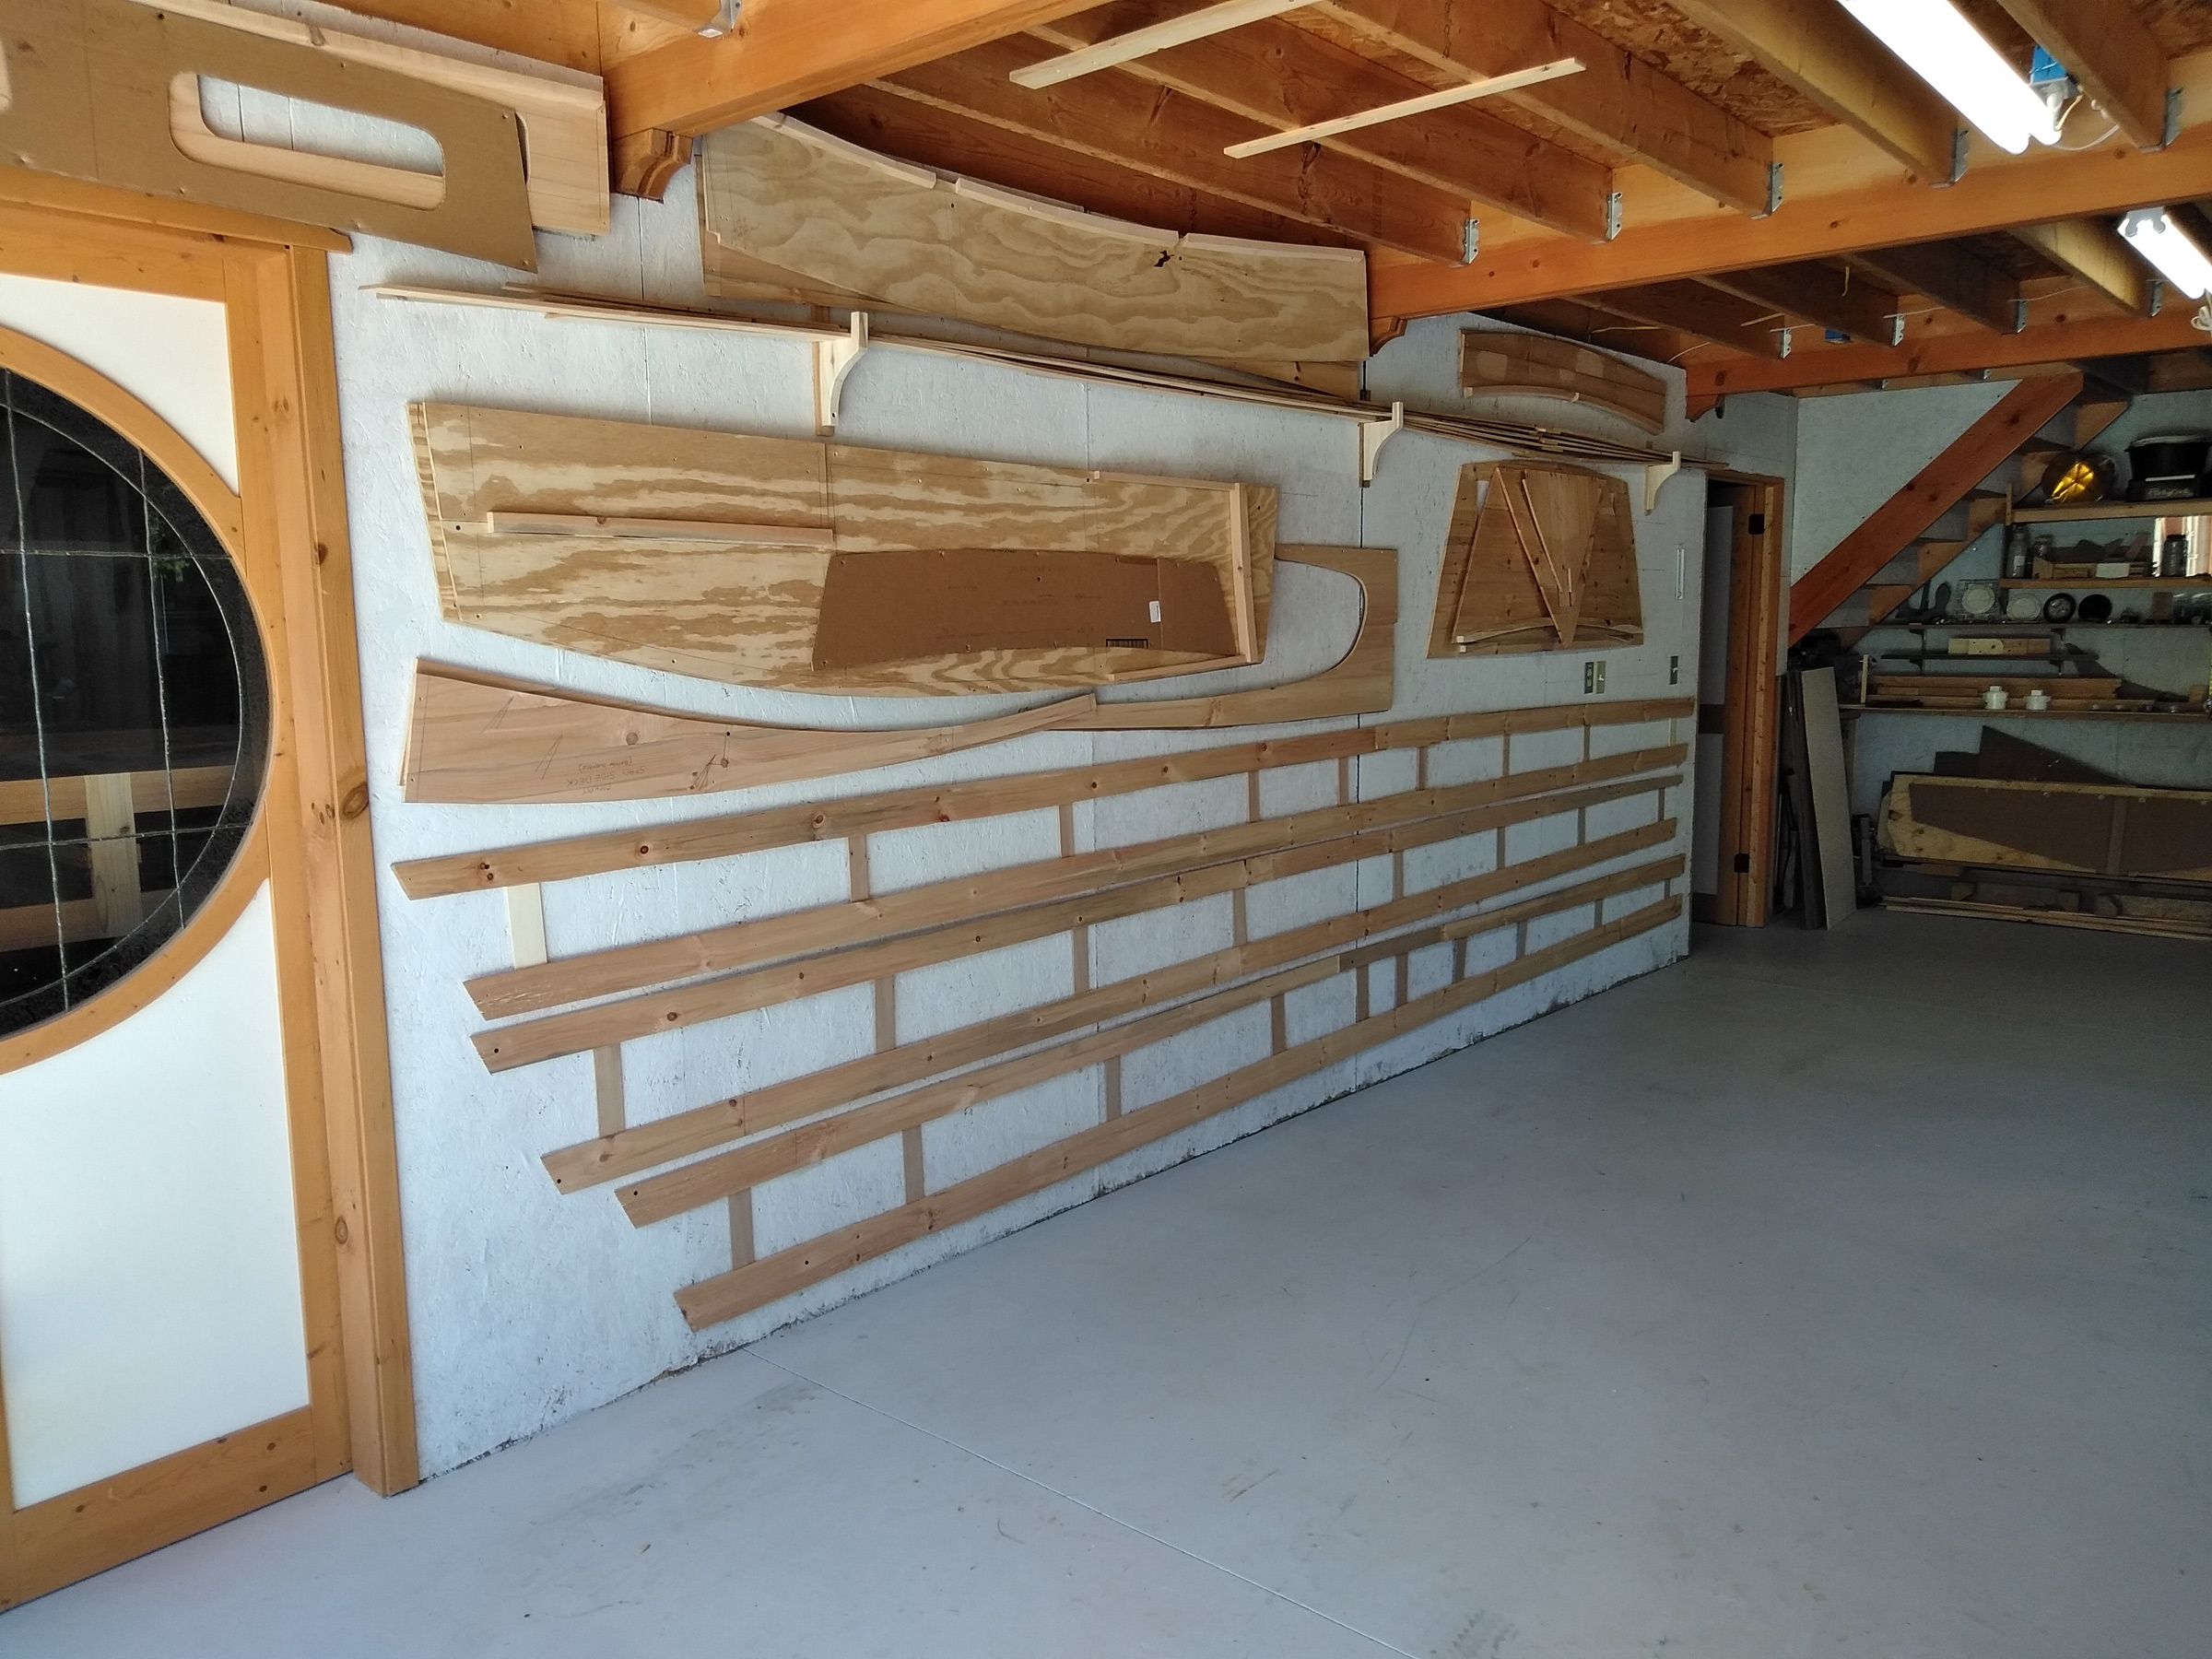
The three patterns for the planking, here at the bottom of a garage wall, were made on the starboard side only. They will serve as the patterns for the port side, too, when the boat is built.
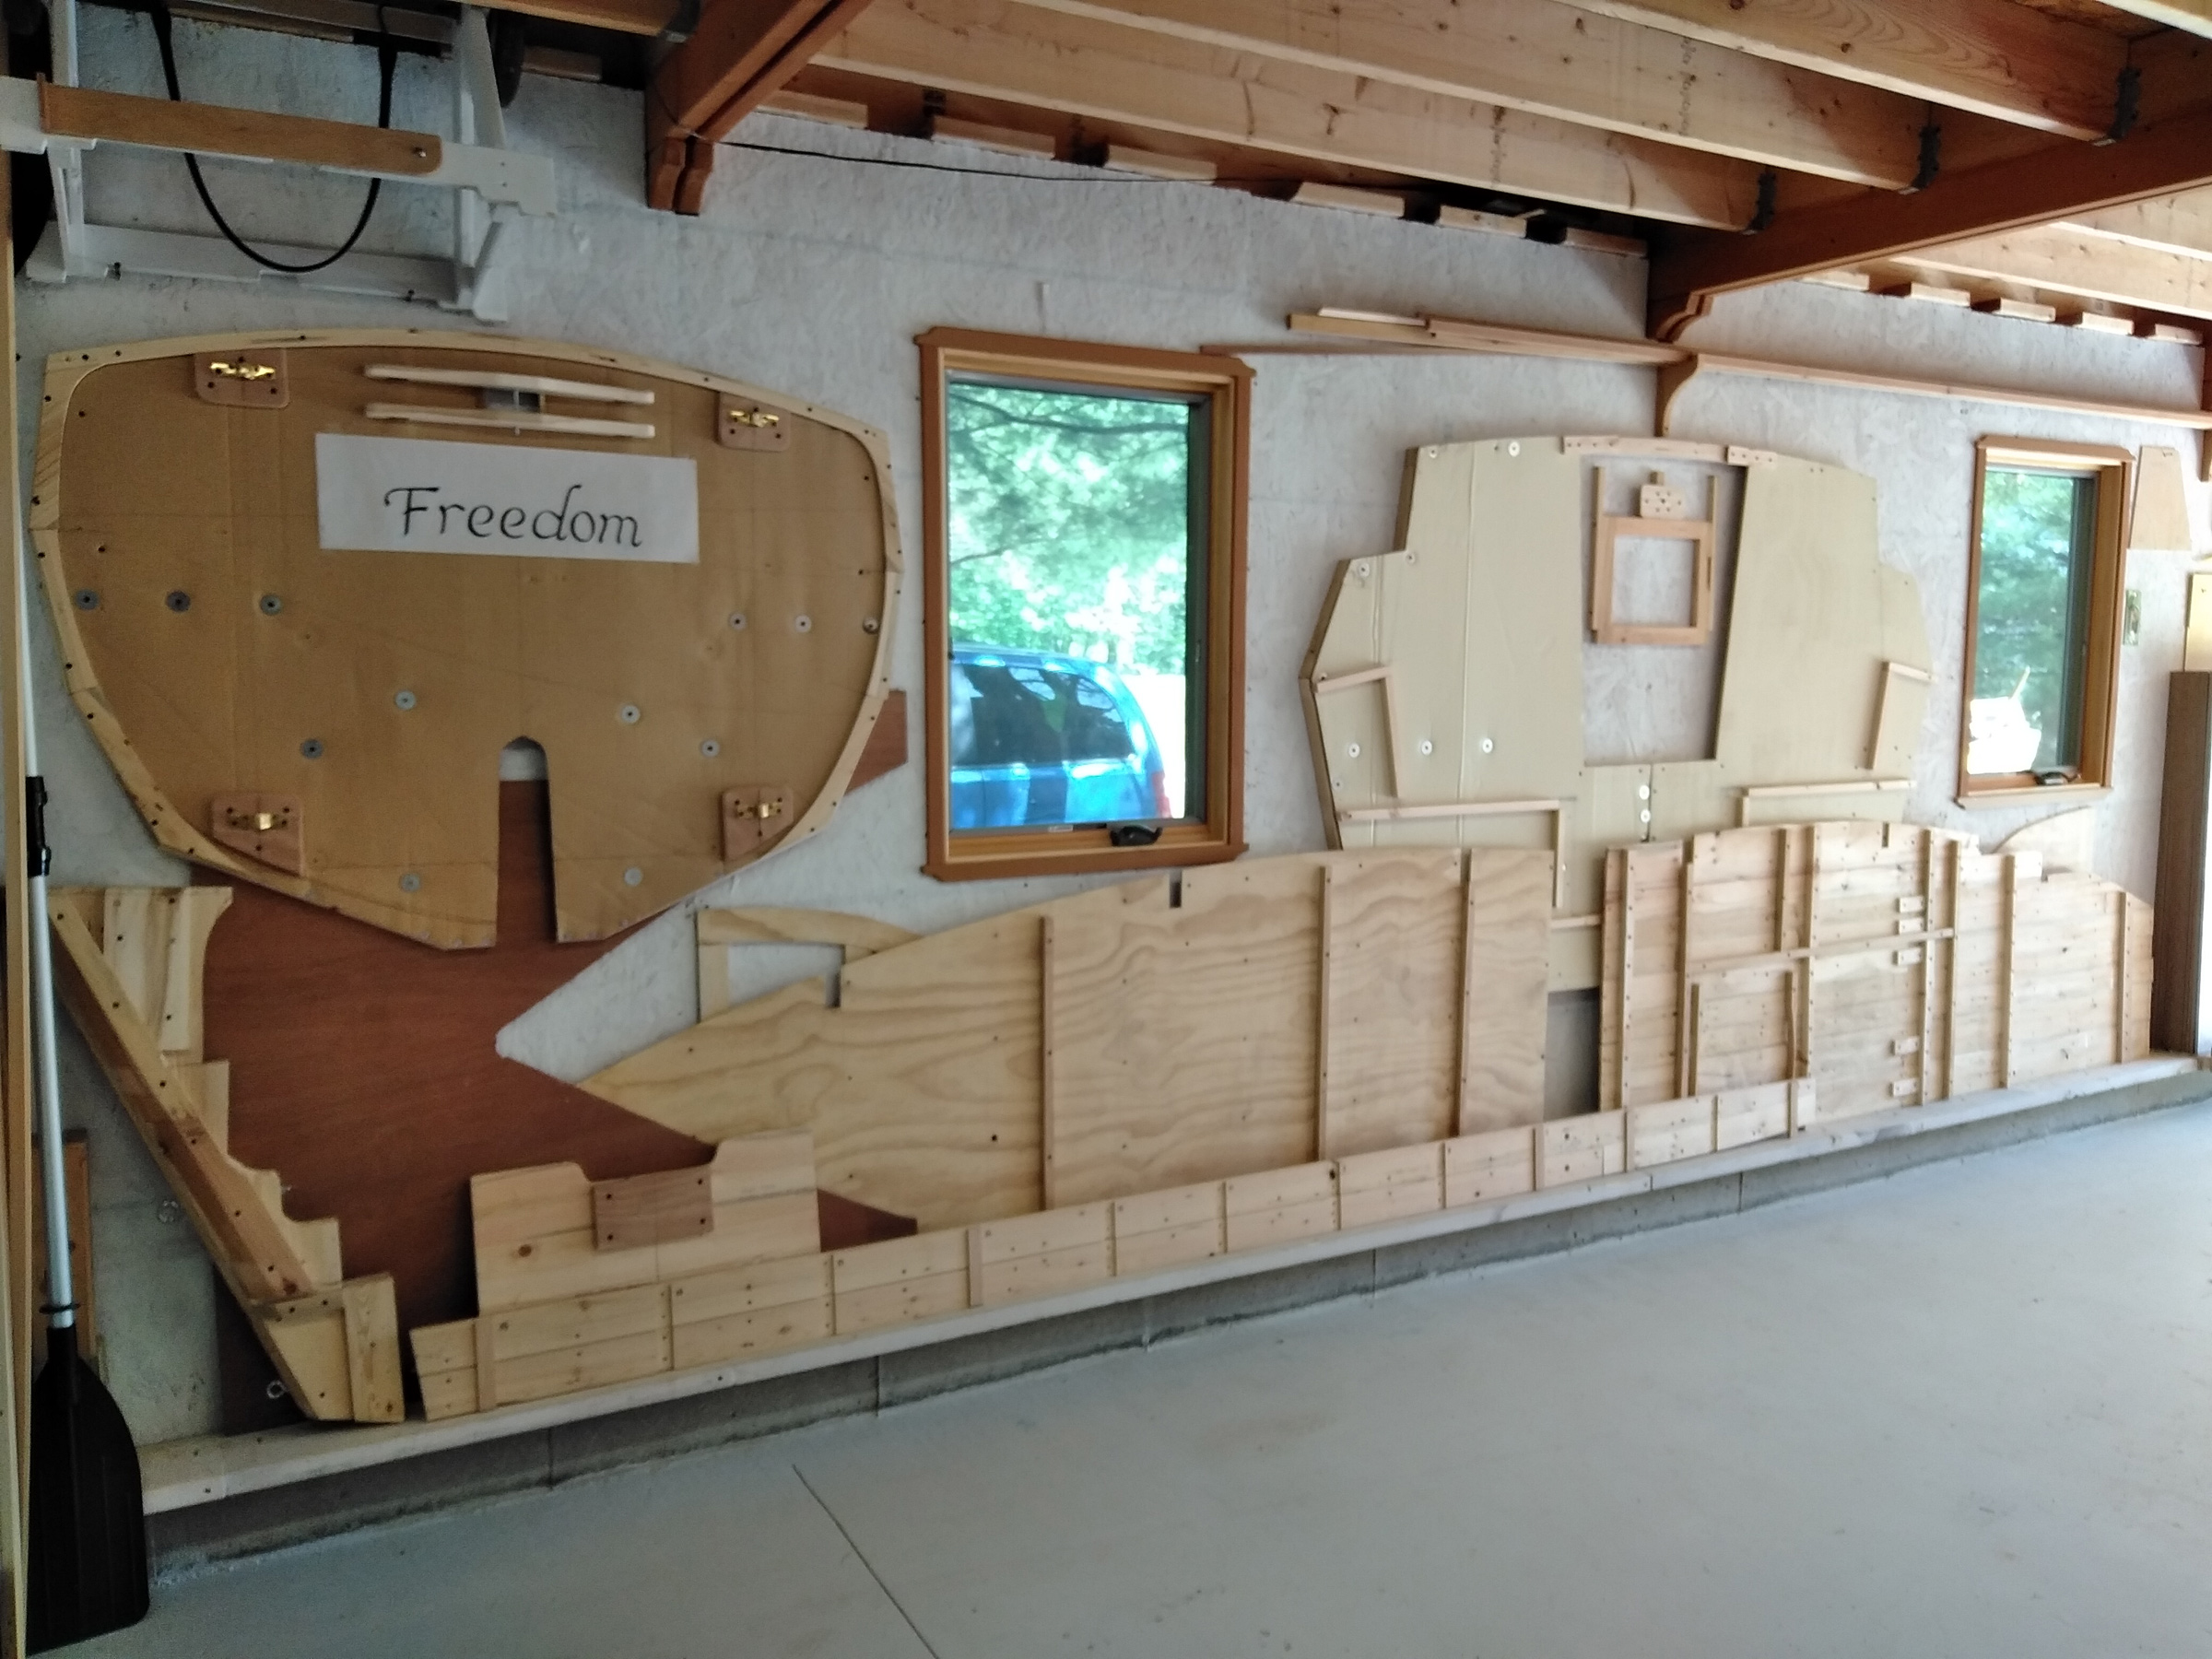
The transom and other mock-up pieces cover the garage’s opposite wall, ready to speed the construction of the cruiser.
With most design and construction details worked out, I disassembled the mockup and set the parts aside to be used as patterns, which included truss-like patterns for the planks. The building of the actual boat is under way. The benefits of building a mock-up have provided invaluable experience. I’ve been able to proceed with confidence this second time around knowing that FREEDOM, as the boat will be christened, will meet all expectations. Only her sailing performance remains to be discovered.![]()
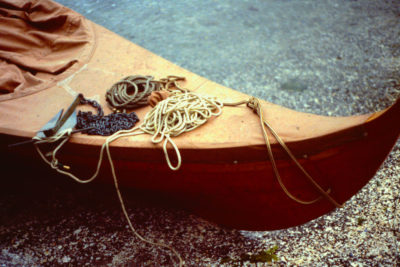
Tom Hepp has spent most of his life around boats and water. He is a veteran of the U.S. Navy and Merchant Marine and has worked professionally as a boatbuilder for over 10 years. He spends summers on the coast of Maine and winters near the St Johns River in North East Florida. He designed, made cardboard mockups of, and built two take-apart pirogue-style boats (see “Nesting Boats”) to take in his van during summer vacations.
You can share your tips and tricks of the trade with other Small Boats Magazine readers by sending us an email.


This look awesome, would love to see it finished. When might that be done?
Good luck and I hope she sails as good as you hope
After spending the winter in Florida, I will return to Maine to resume work on FREEDOM and expect to launch in early summer 2022.
Looks like an interesting design! Can’t wait to see it finished! What is the target trip length? Weekends with the occasional longer trip?
I expect to be able to cruise for up to a week aboard FREEDOM.
Great idea!!
Looking forward to the finished product.
How long did the mock-up take to build? (and for comparison, what is your estimate of the time needed to build the proper boat?)
Thanks
I spent the better part of two summers building the full-scale model. Winters are spent in NE Florida, kayaking and escaping winter. The actual boat was started last summer and work will resume when I return in May. I expect to make good progress this summer and be ready for launch early summer of 2022.
This is the first time I’ve ever seen this. If I was younger and had the area to build this, I would in a instant. Thank you for taking the time to write this article. I don’t know about others, but I found it very informative.
This is a really cool looking boat! I too hope to see pictures of finished version! Even if just a few loaded onto this comment thread.
That is a great galley design! Looks really usable, while simple and rugged.
For sure, building livable accommodations for two in such a dinky size would be well nigh impossible to do, first try full size. A model/mockup seems crucial.
I hope for a 25ft (for a single) and 32ft (for a couple) liveaboards. I plan 1/12 scale models since the math is easy and size manageable. I got some 6in dolls to move around in a model, so I can visualize cat-swinging and personal space. Etsy has dollmakers, but some of them are kinda weird black magic-y? Prairie Crocus Studio in Canada sells some plain bodies in skin toned knit fabric that wind up being vaguely Japanese negative-space, while still having fun character.
I am currently evaluating a small boat when compared to the 30’ boat we sailed to the South Pacific so long ago. 17’ is my target LOD. I can keep it in my garage at home instead of in a slip a 3 hr drive away. I would love to see your finished little ship. Thank you for your persistence and creativity.