For a fabric with its heyday in the distant past, waxed canvas is enjoying a remarkable resurgence. Your nearest hip boutique probably stocks a few bags and jackets made from the stuff. But how does it stand up to use on the boat and in the workshop? I purchased a few yards of DuraWax Heavy Waxed 12-oz duck from Sailrite and found it useful, attractive, and easy to work.
DuraWax comes in two grades: light, which is treated with paraffin wax, and heavy, treated with beeswax. Both have the same underlying 12-oz cotton-duck fabric and, in both, the added wax is an integral part of the product, not a superficial coating. According to Sailrite, the light grade is 50 percent paraffin by weight—there’s just as much as cotton. The heavy grade is 54 percent beeswax. Wax contributes water resistance, windproofing, stiffness, and shape memory to the fabric. Both grades are available in ten traditional-looking colors.
 Photographs by the author
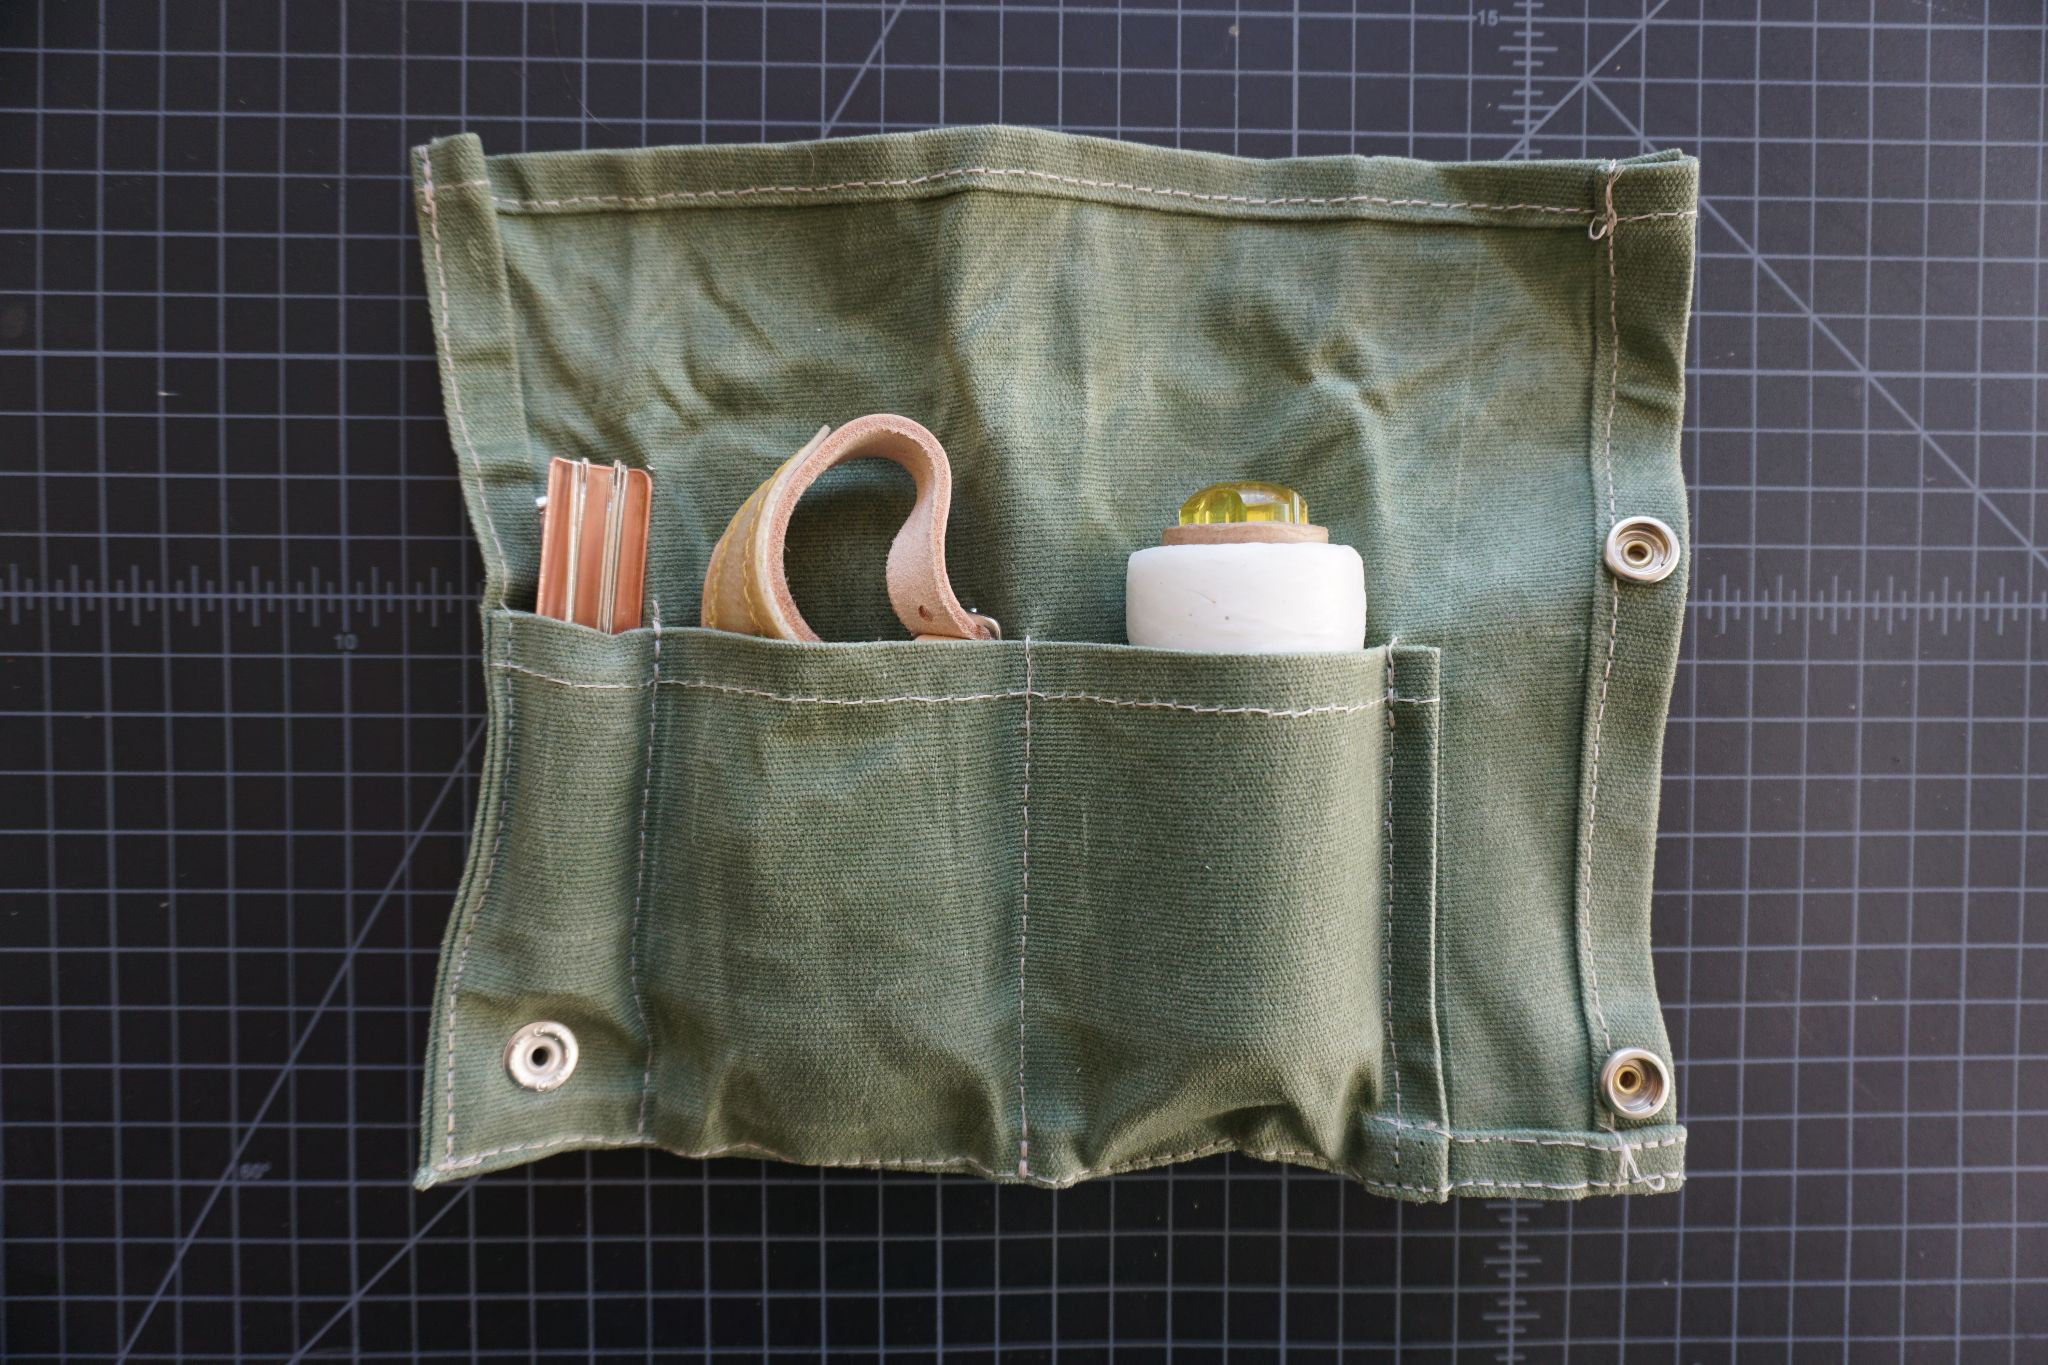
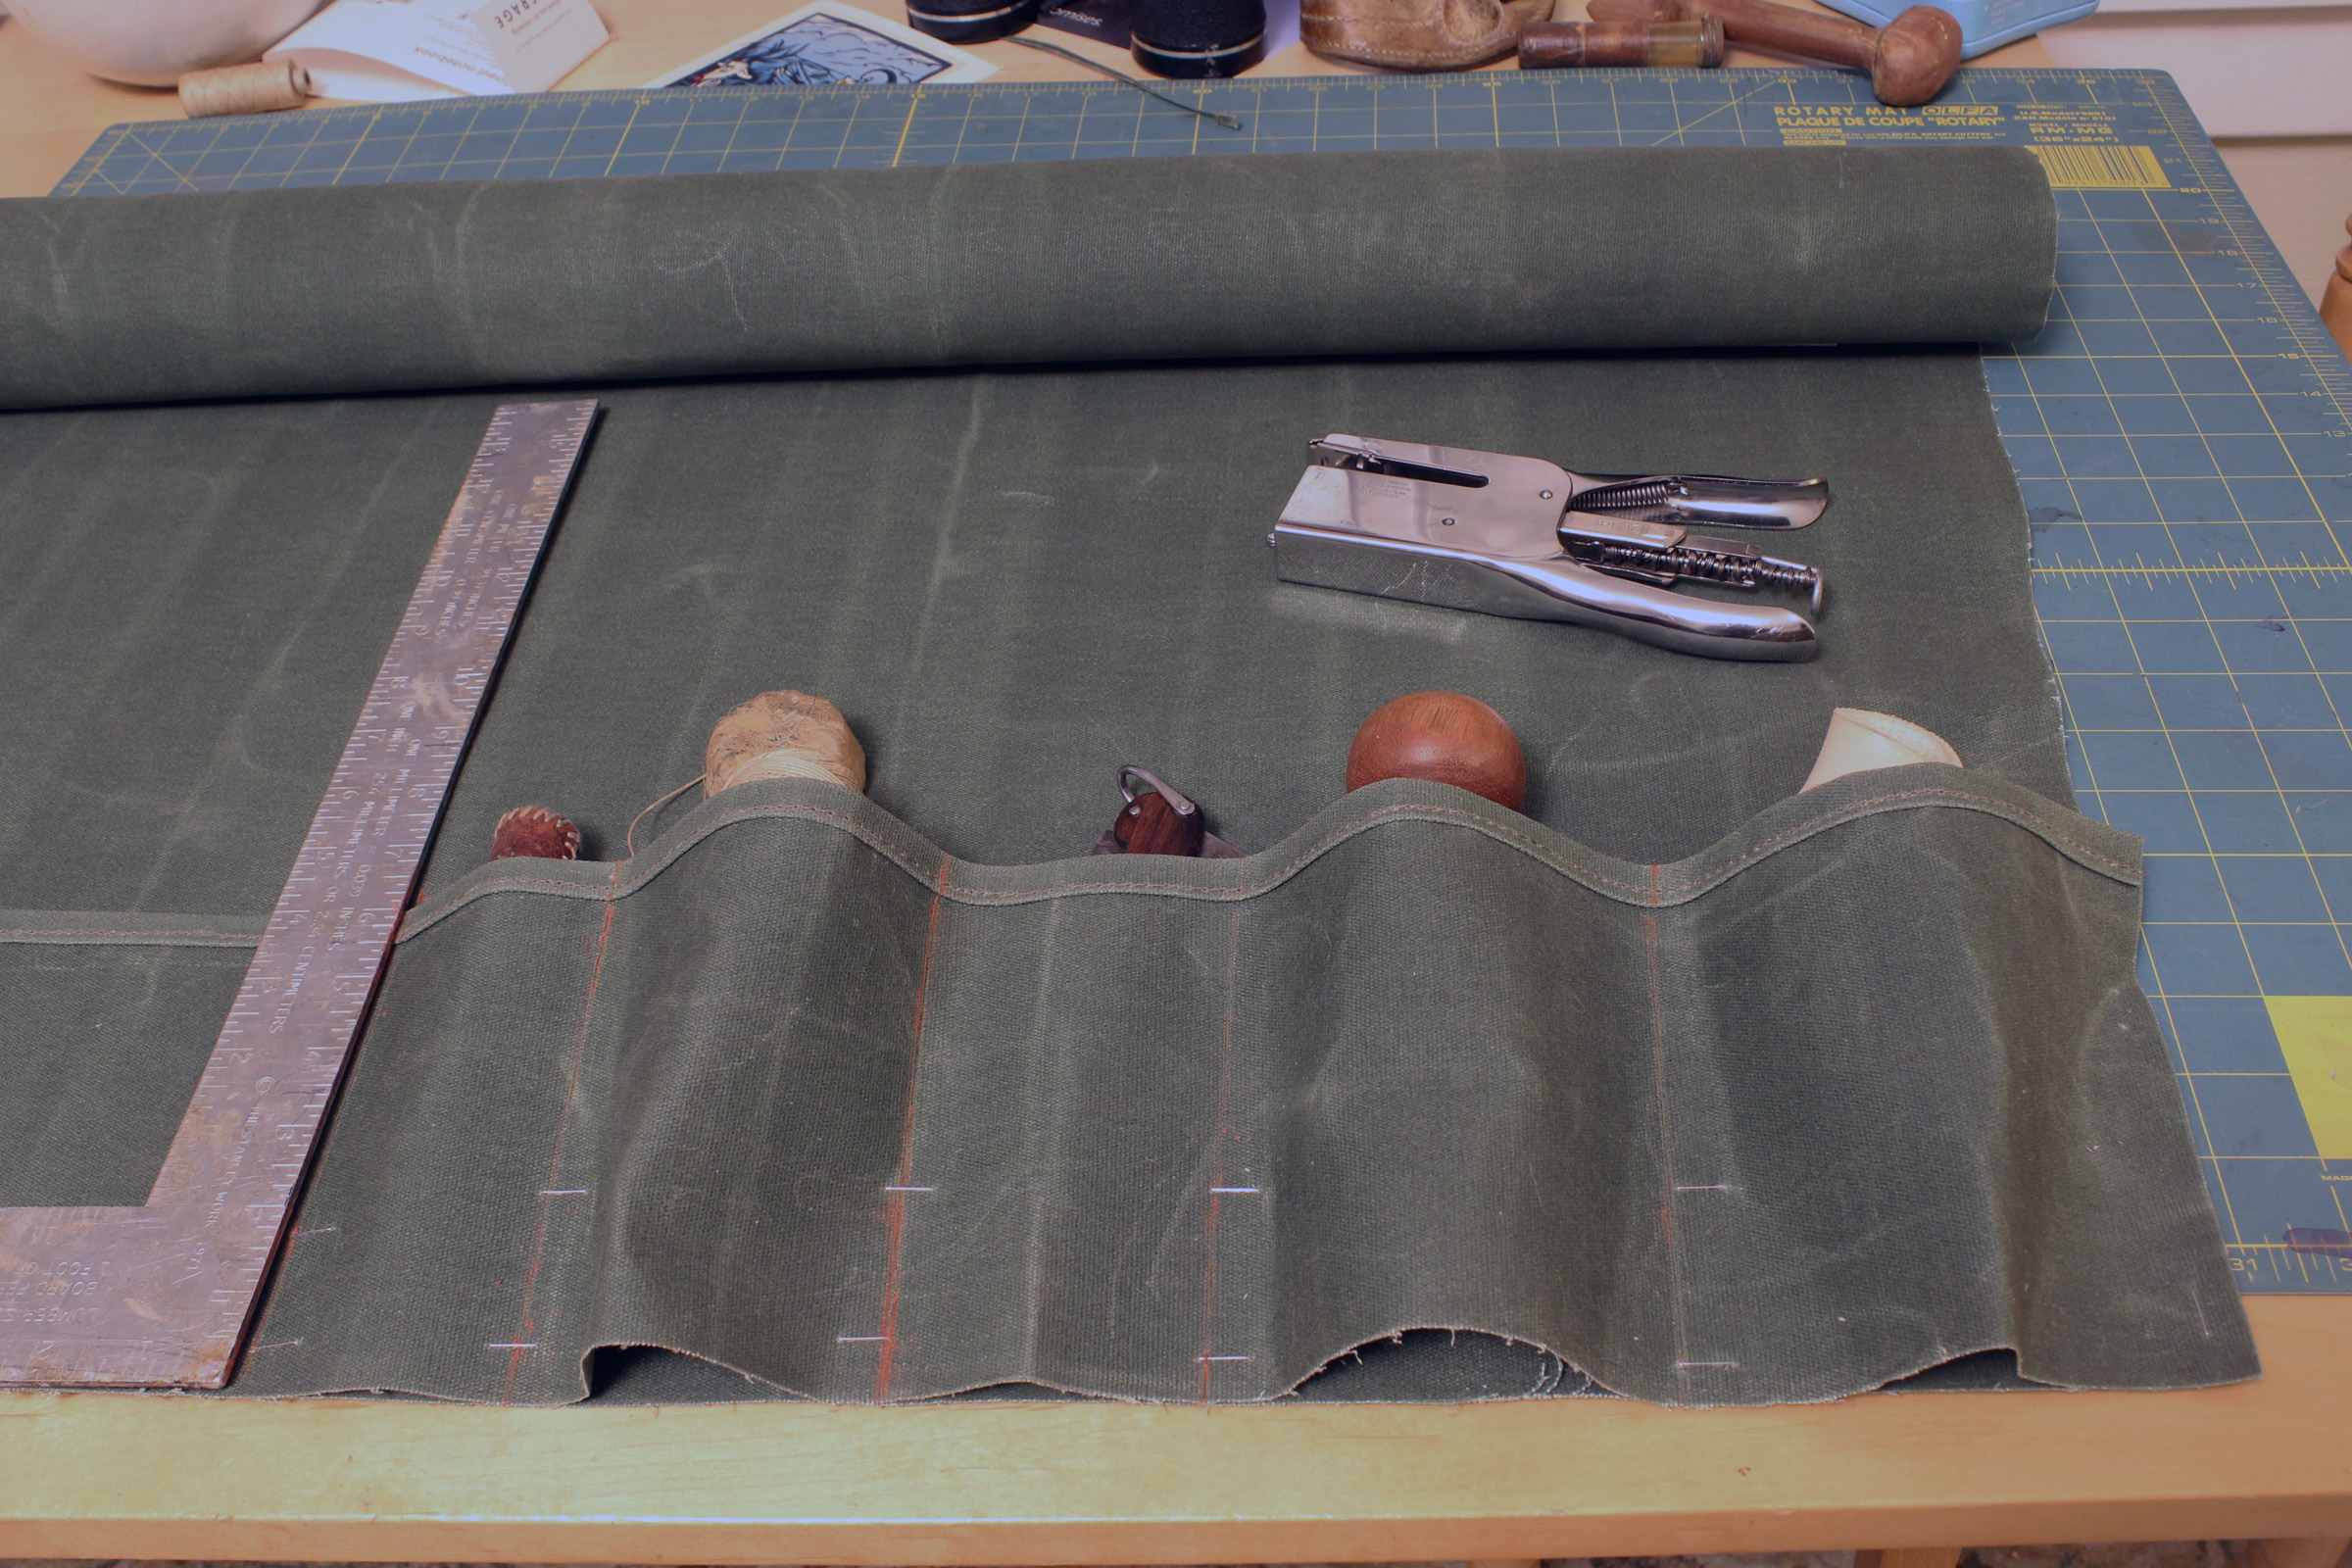
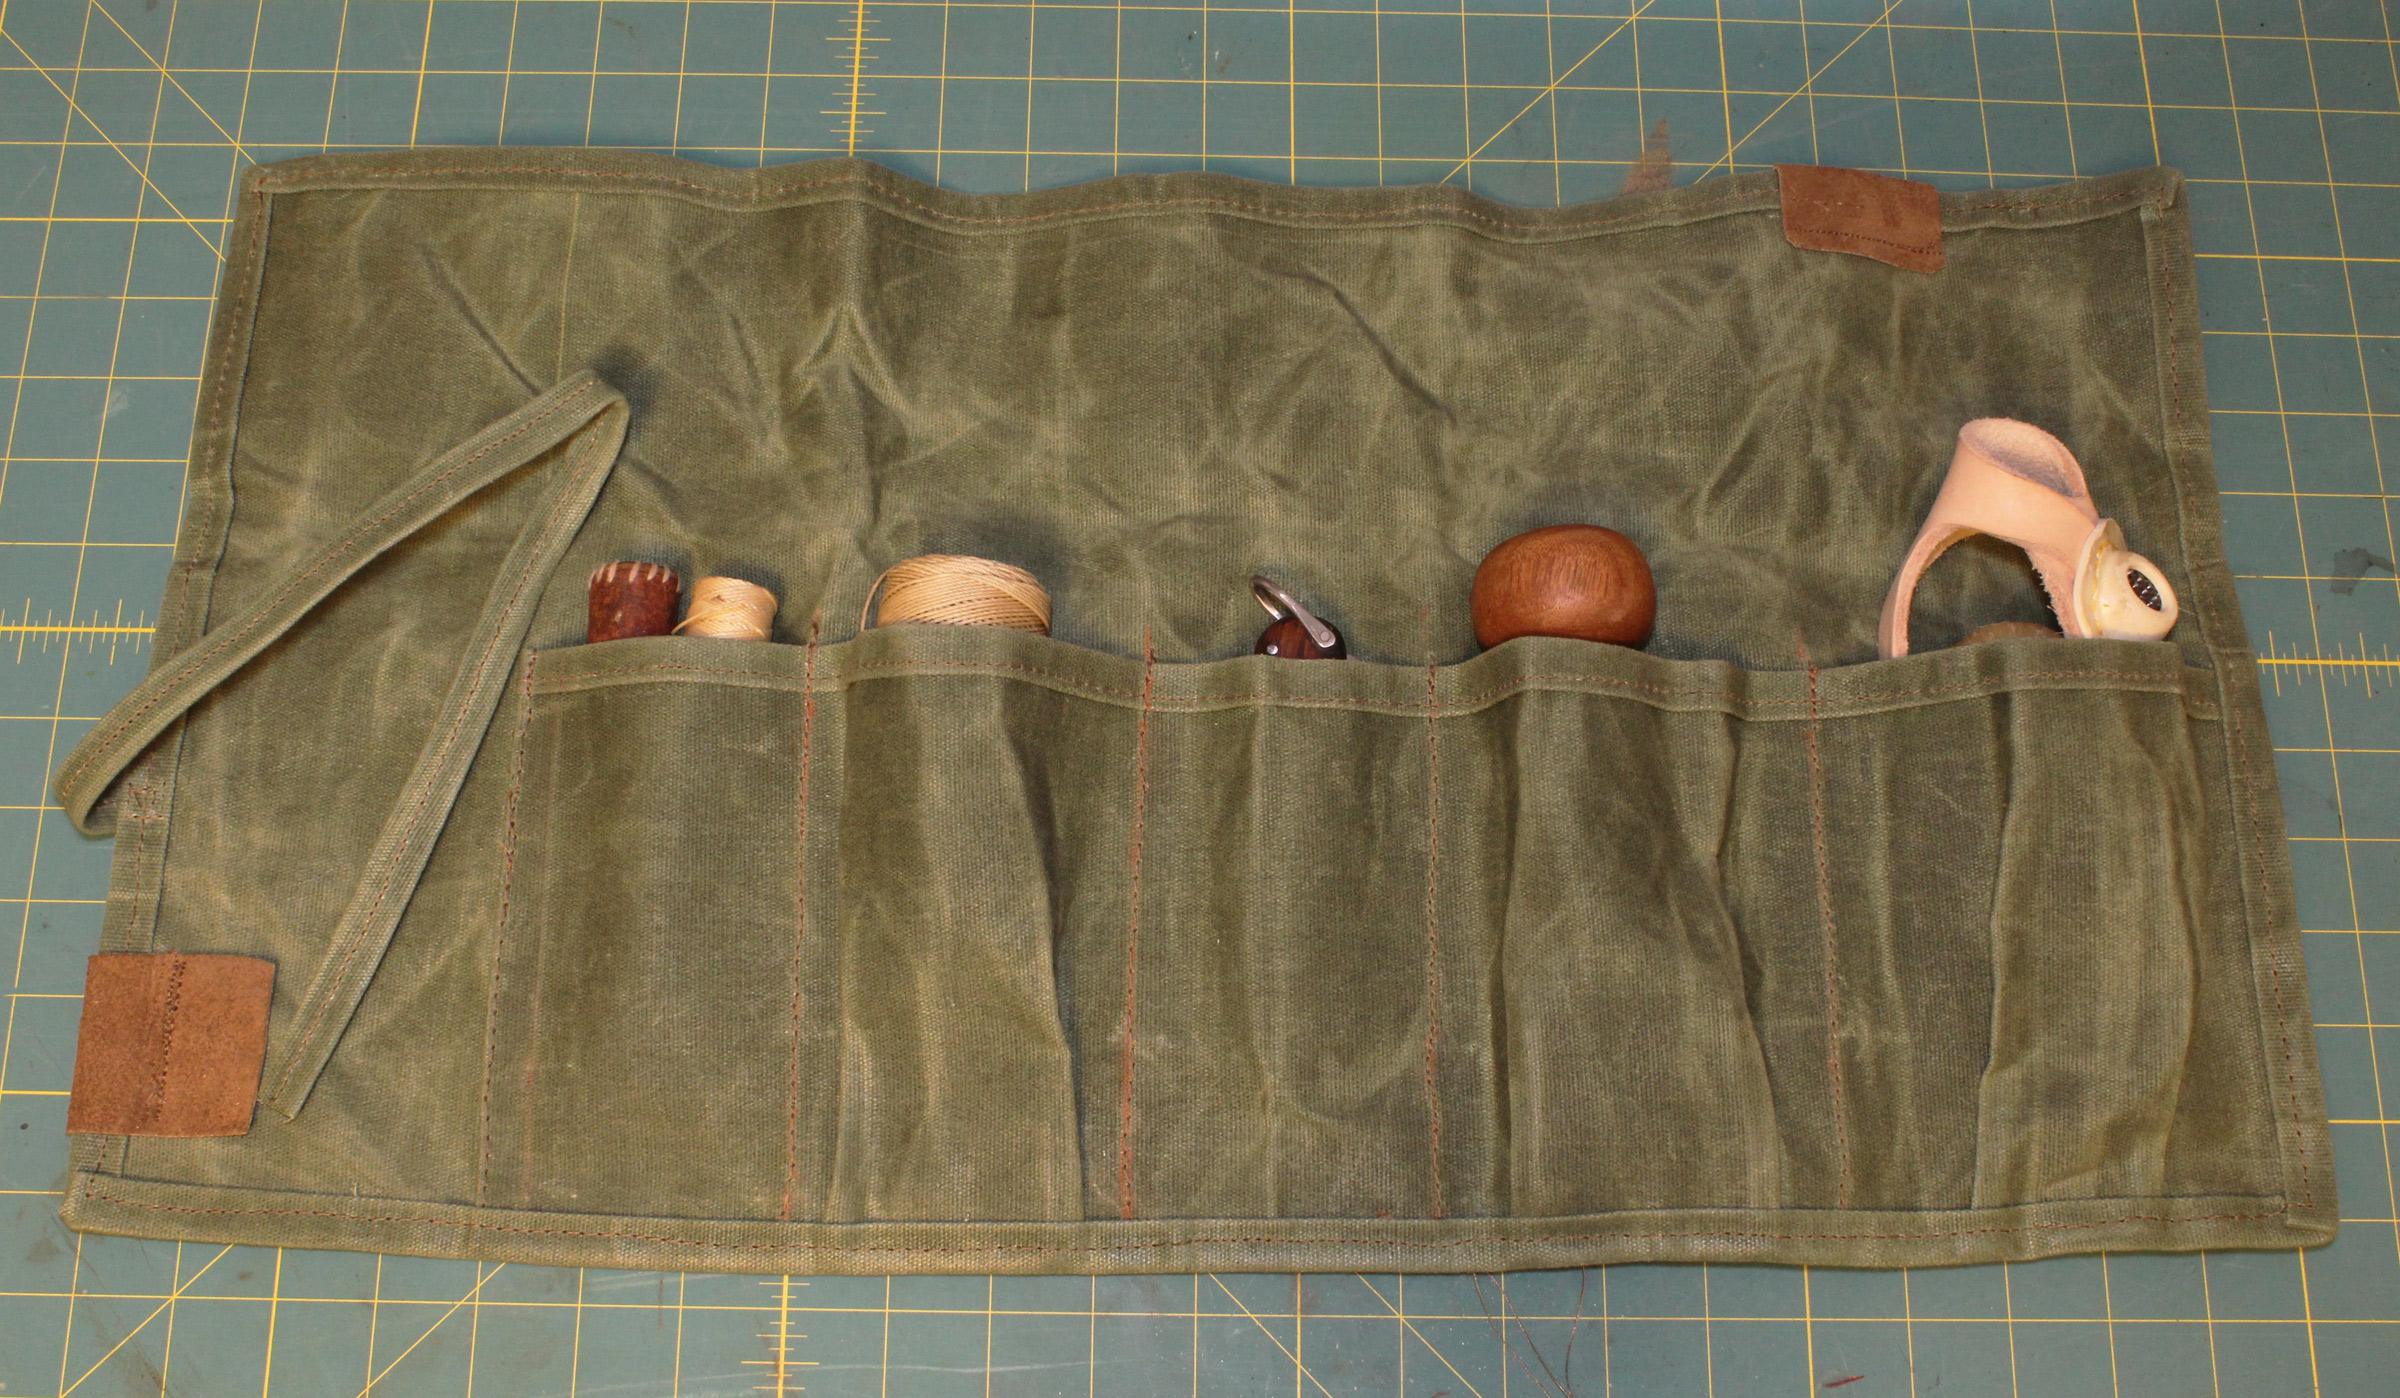
The sewing kit roll keeps a needle holder, a sewing palm, and a roll of whipping twine with an awl tucked inside. When the top flap is folded down, prior to rolling the kit, its top right corner needs to be angled inward to keep from covering the upper snap.
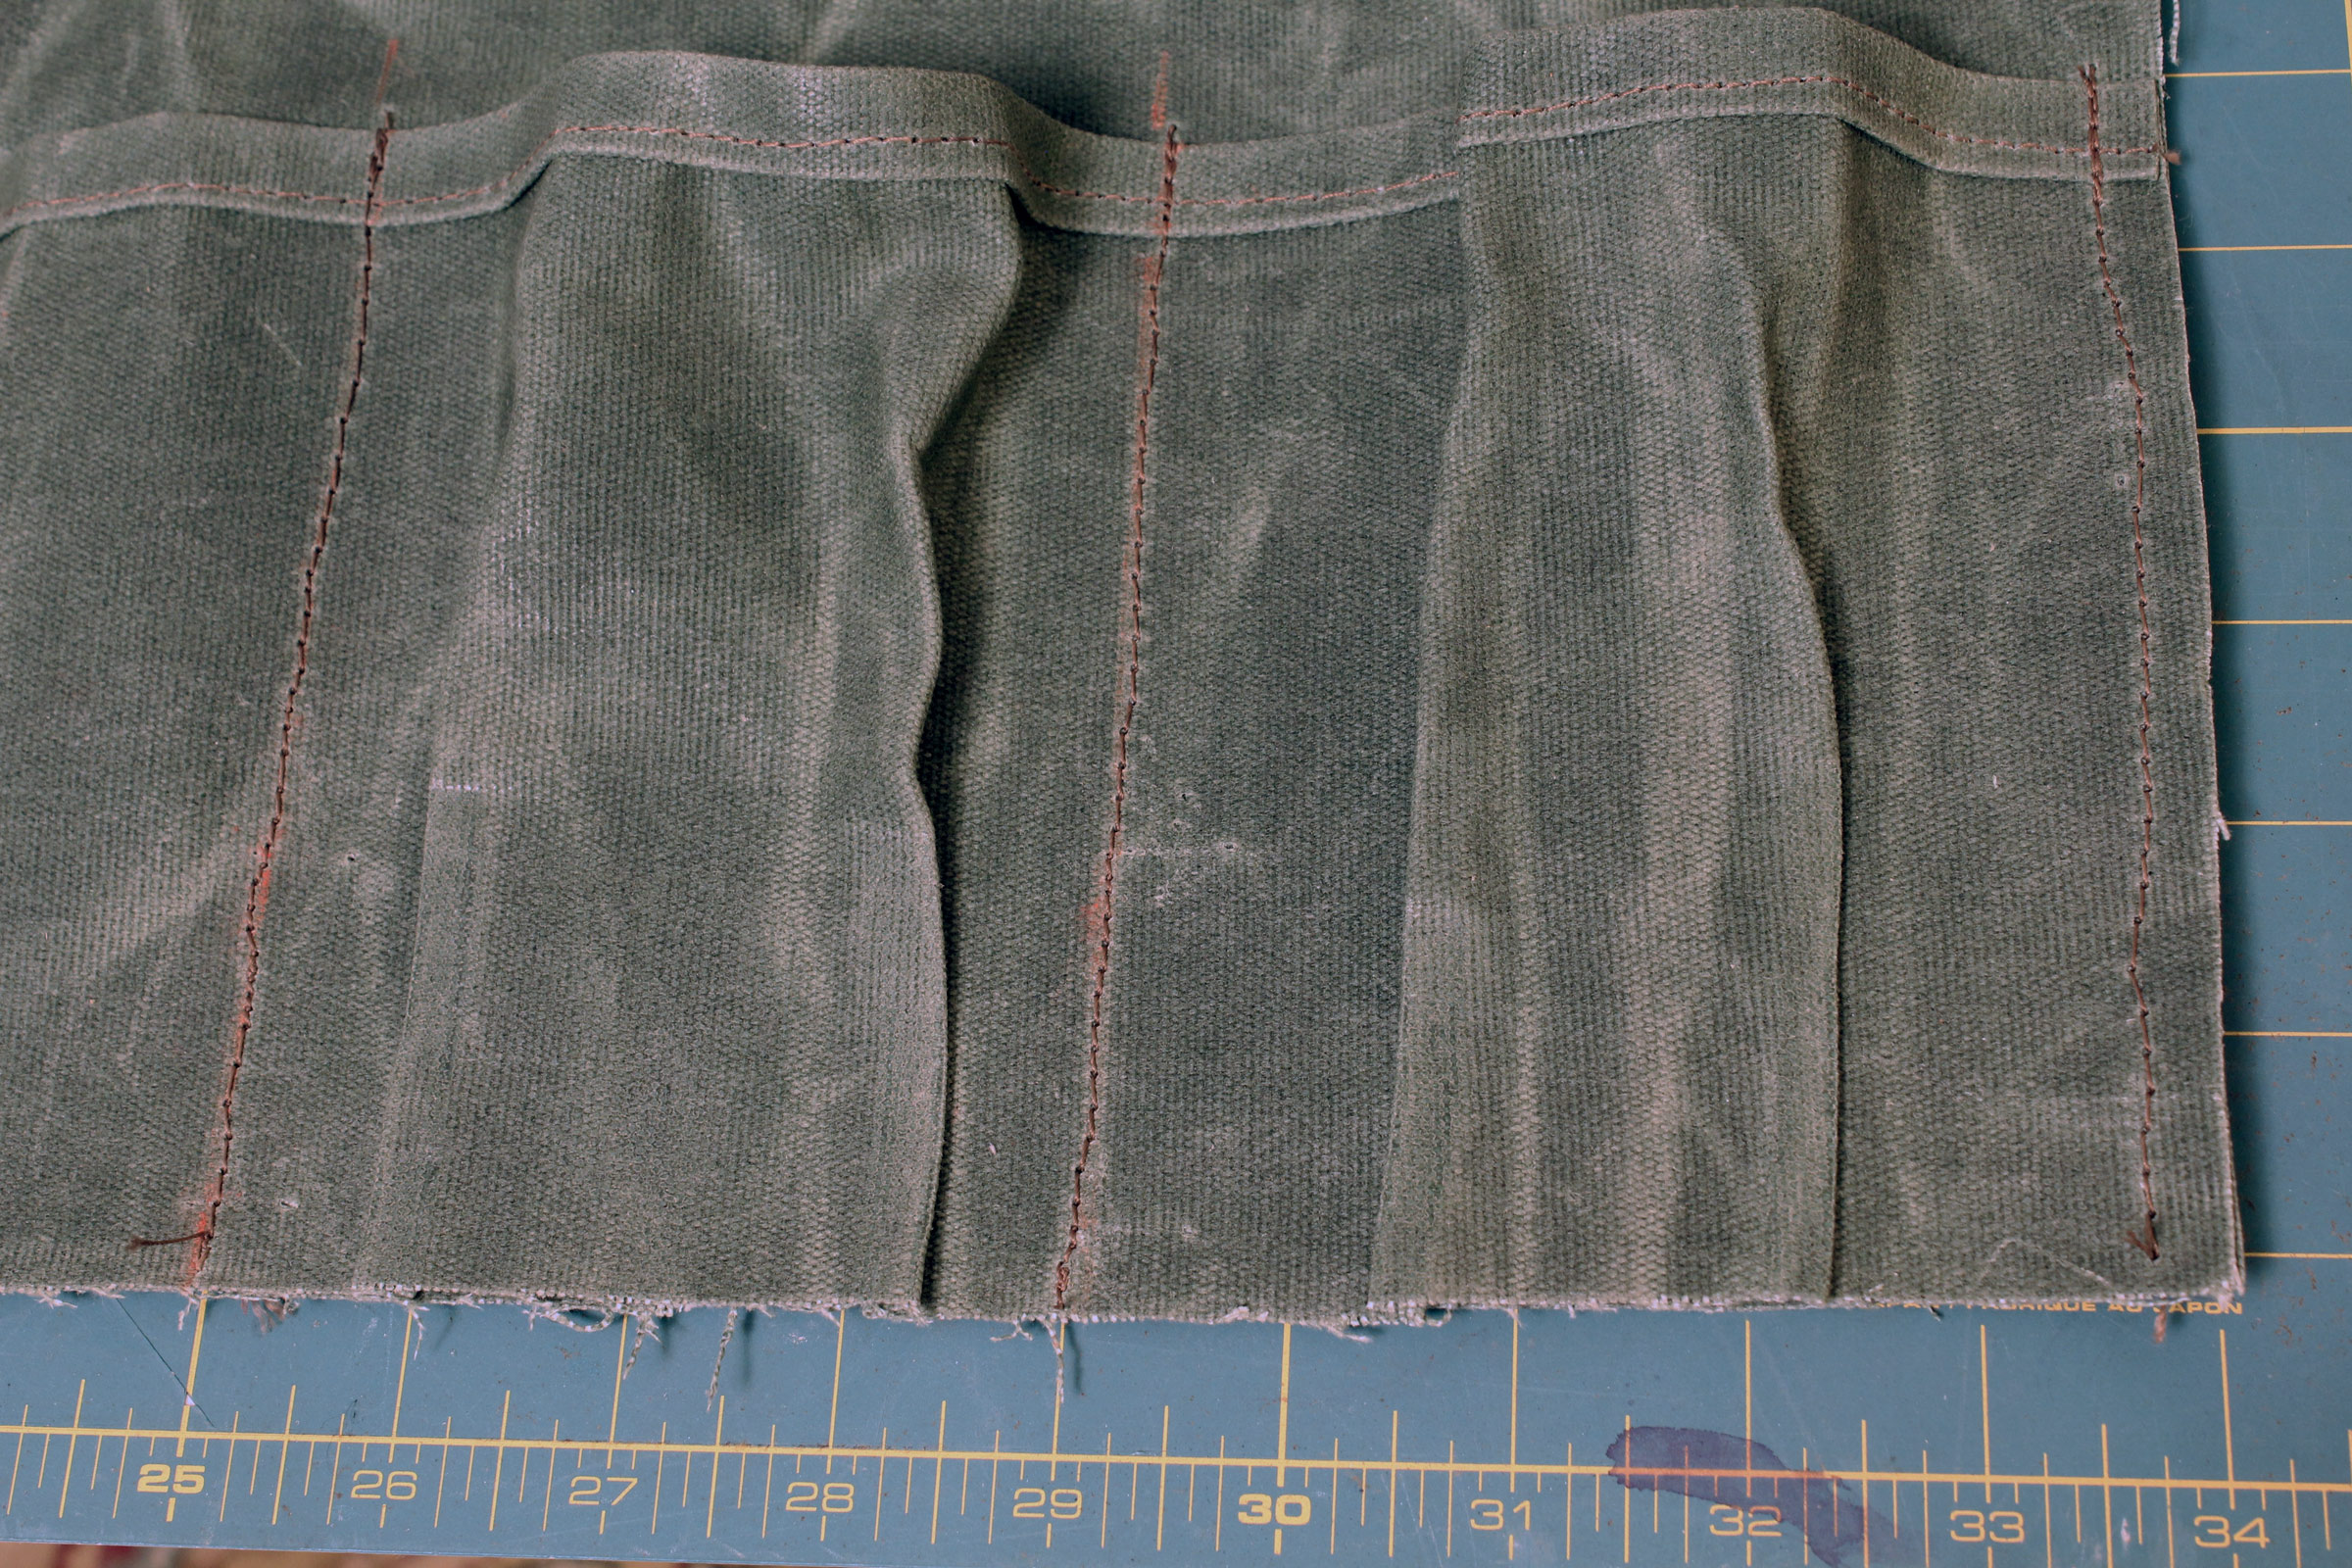
The Heavy Waxed duck arrives as a 57″-wide roll of remarkably stiff fabric with uniform color and texture. It’s a pleasure to work. Cut it with scissors or a rotary cutter; make marks with a scratch awl, which will leave a fine pale line in the waxy surface. The fabric will fold cleanly along these scored lines and will stay folded while you sew it down. My home-duty sewing machine stitches it beautifully with a size-18 denim needle and V-69 polyester thread. The machine punches comfortably through up to six layers of the fabric; anything thicker requires occasional hand cranking. Sewing a lot of waxed canvas will leave an accumulation of wax in the machine’s lower unit, requiring periodic cleaning. One source reported a minor clean-out was needed after making four backpacks. After a few medium-sized projects I haven’t noticed any wax in my machine.

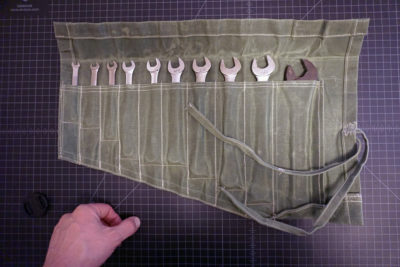
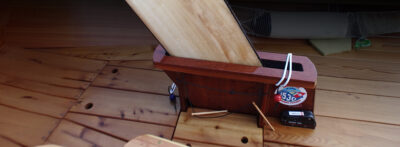
The pockets for this set of nine combination wrenches and an adjustable wrench has its pockets sewn to keep them from slipping too deep into the pockets.
Waxed canvas is thick, tough, and feels durable. In use, it develops a patina—a faint spiderweb of whitened regions where it has been folded or crumpled; these marks are part of its appeal. When new, the waxed canvas has good water resistance, and rain and spray will bead up and run off. As use and time wear on the wax, the fabric becomes less waterproof but re-waxing is straightforward: simply rub wax on the fabric and apply gentle heat with a hair dryer. Sailrite sells bars of wax, as do other sources for the fabric, formulated for re-waxing canvas.
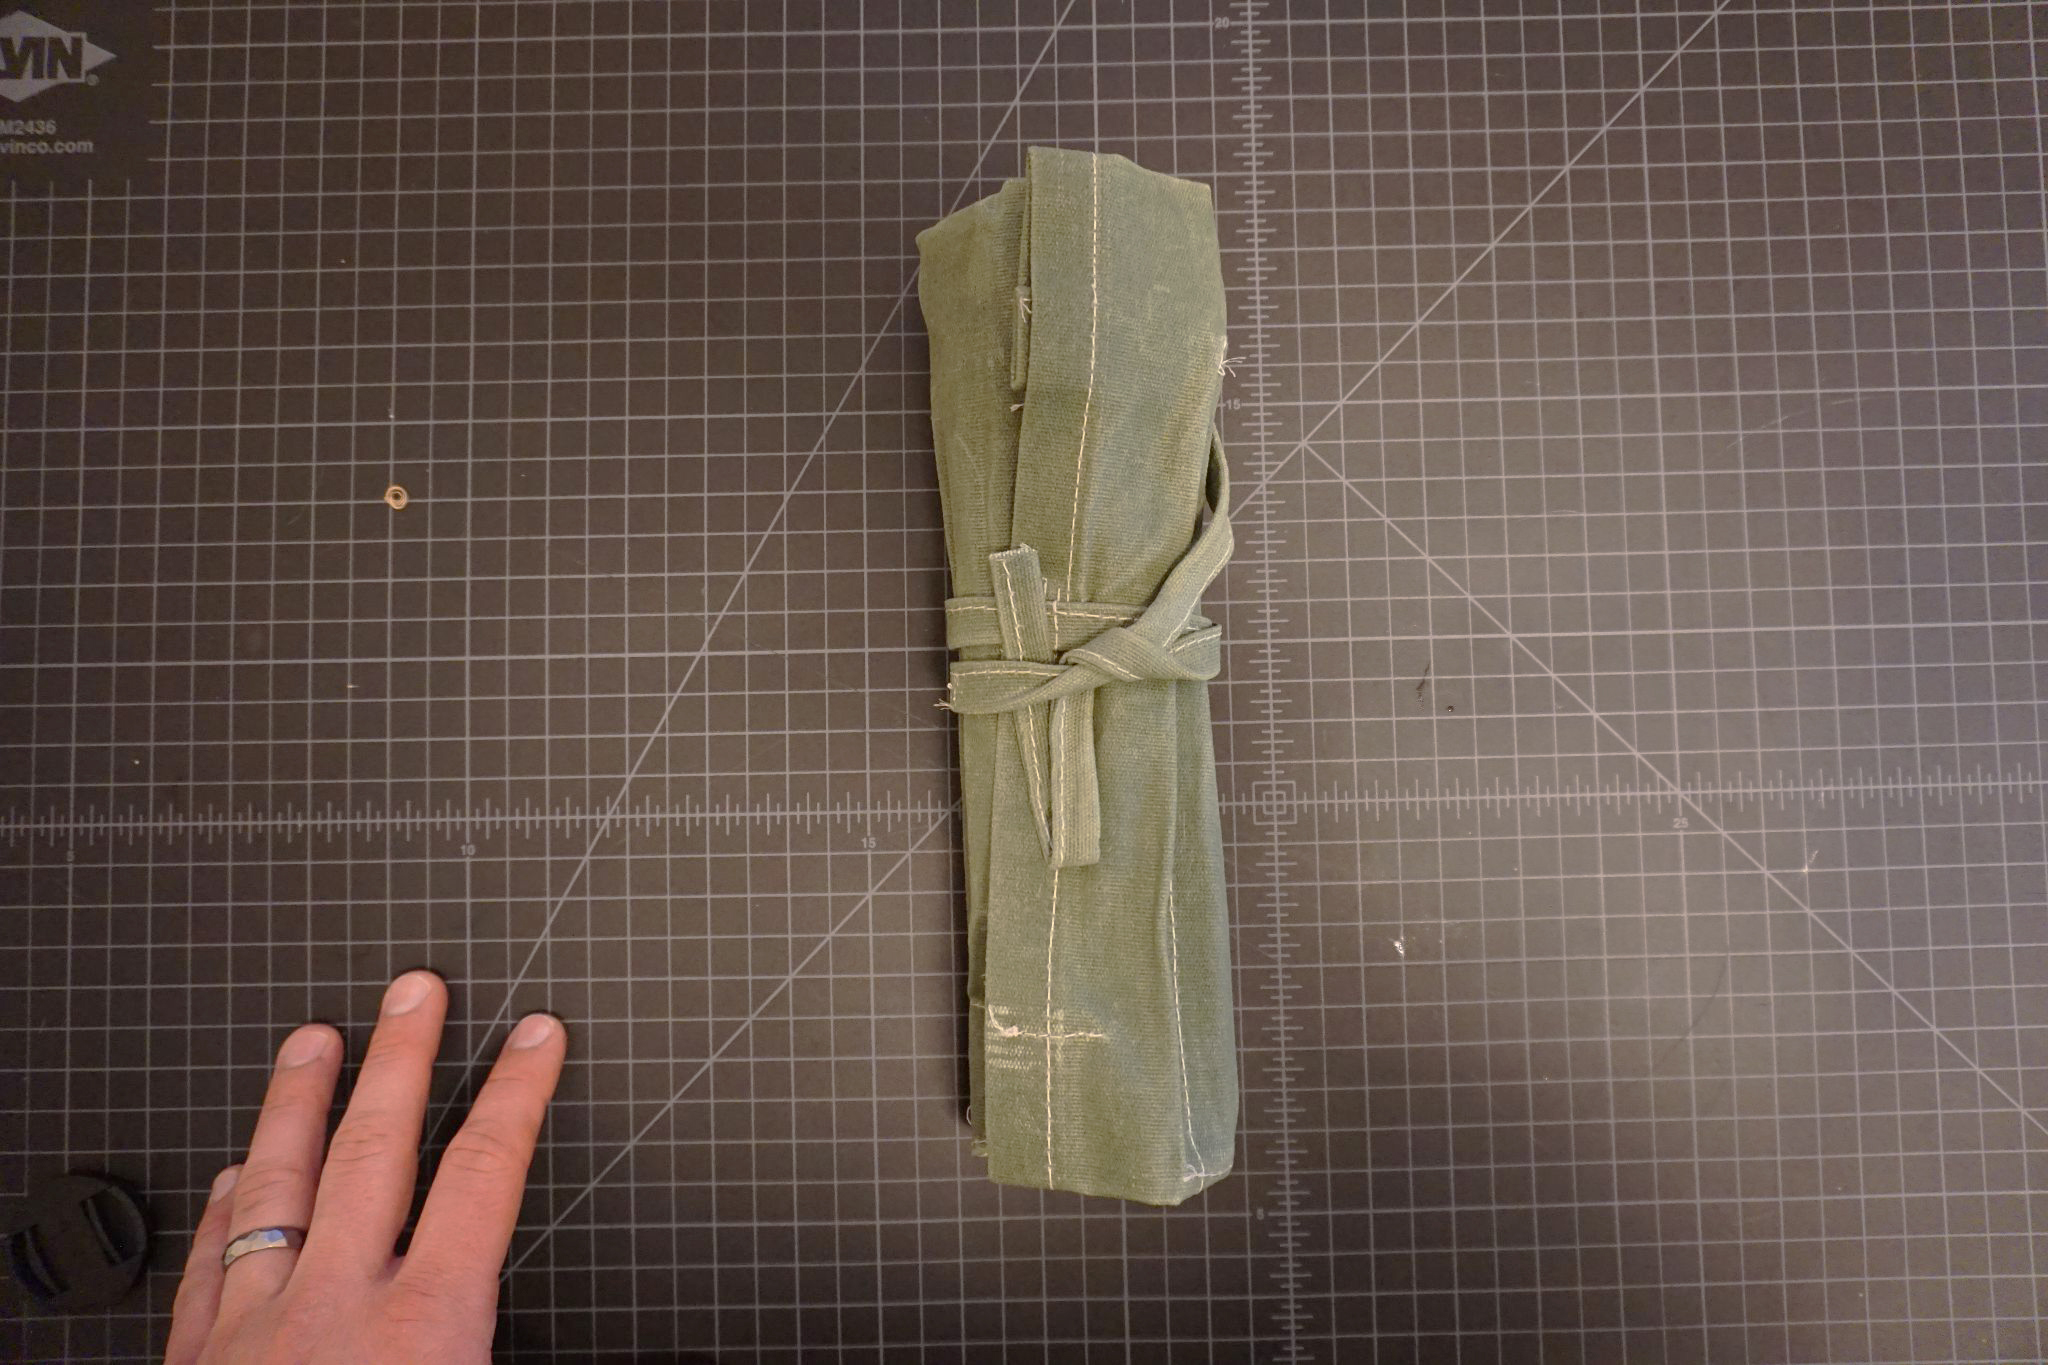
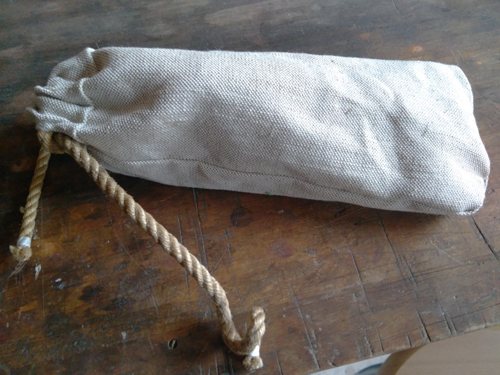
A strip of fabric, folded like binding tape and sewn, serves as a tie to keep the wrench roll closed.
I can’t imagine a better material for tool rolls than waxed canvas. Easily made in an evening, rolls like those pictured here offer a lifetime of organization and satisfaction. The thick fabric provides some protection for contents, and the memory of the material makes unfolding, unrolling, and then returning to the desired shape almost automatic. I learned to make these rolls from a Sailrite video. Once you’ve got the basic idea, they’re easily adapted to your needs. I’ve also enjoyed using waxed canvas to make covers, like the one I made to store my rowing machine outdoors. The canvas makes it stiff enough to stand up just fine even without the machine underneath it, leaving ample room for ventilation.
Try your hand at making something from it. Durable and easily worked, waxed canvas makes the maker and the user look good.![]()
James Kealey lives and teaches in Richmond, California. When he’s not chasing his two young sons, he can usually be found banging away on some project in his garage workshop. In high school, he rowed in racing shells. He still gets away most summers for sail-camping trips on mountain lakes.
Editor’s Notes
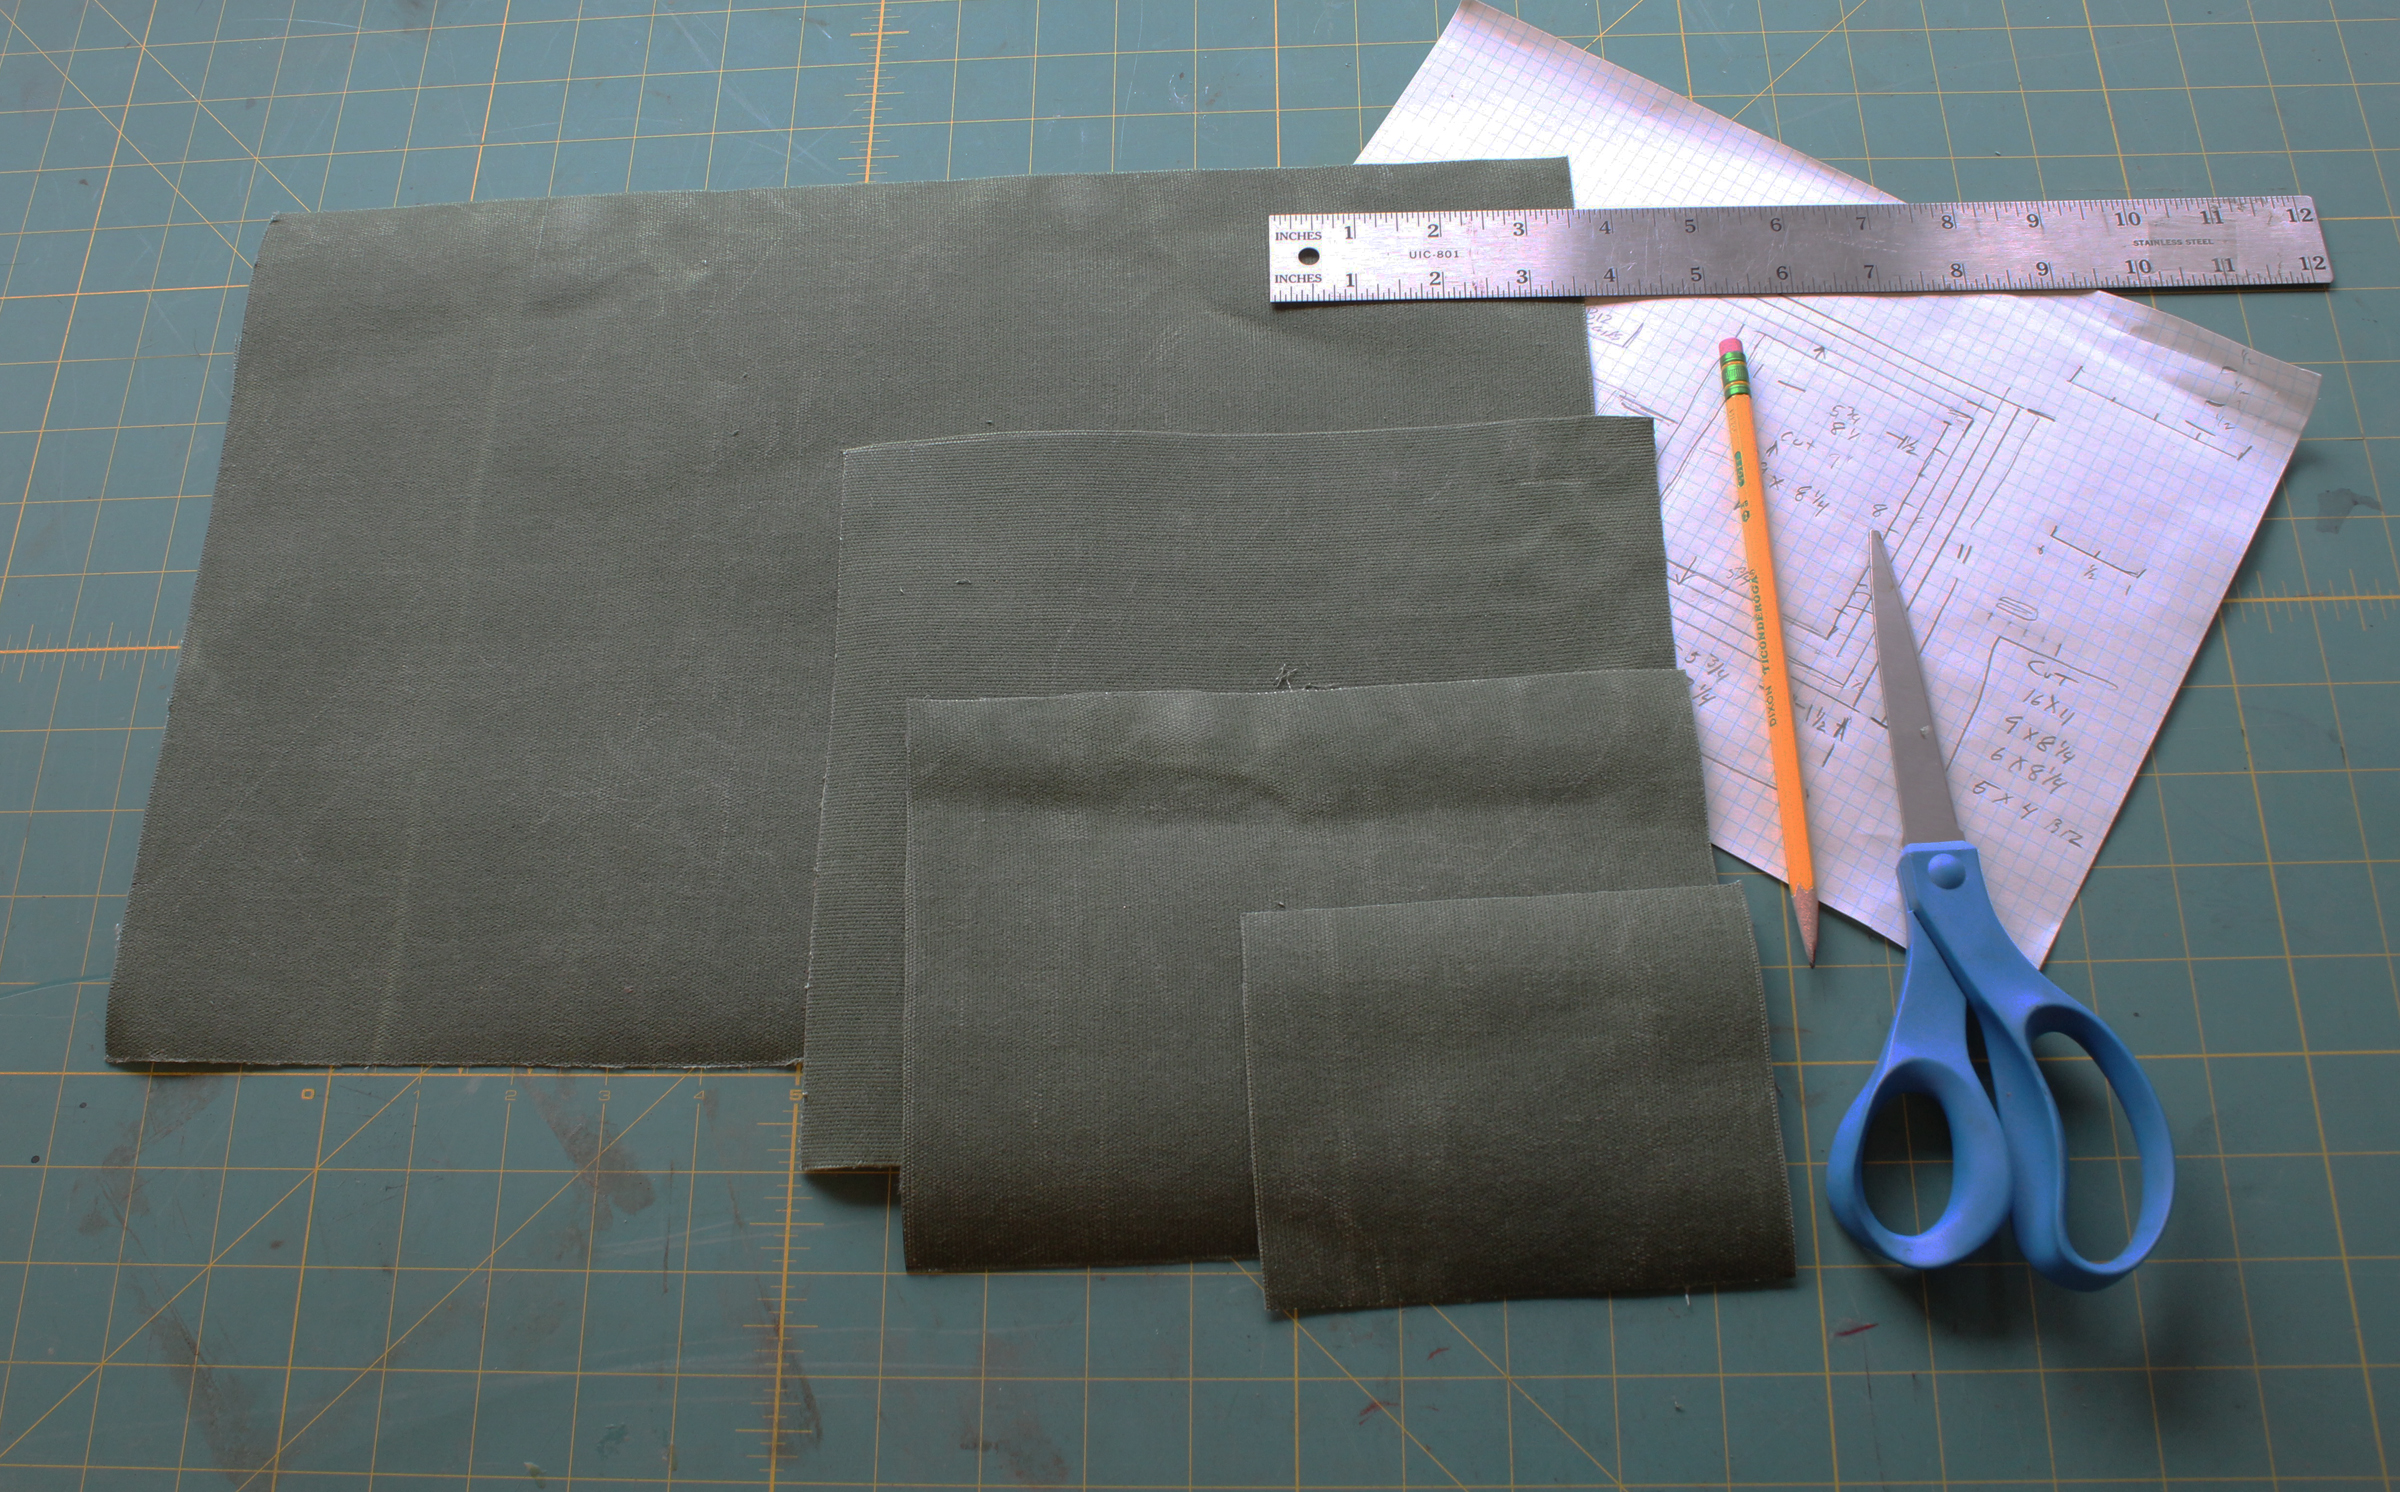
Inspired by James’ article, I bought a yard of the same heavy Durawax canvas from Sailrite. For the journal cover I wanted to make, I drew a pattern on graph paper. The hems of the outside cover would enclose the cut edges of two of the pieces that would be sewn inside, one to hold the back cover of the journal, the other to have pockets for pens and pencils. The smallest piece, for business cards, would have a folded hem at the top and the cut edges tucked under on the sides and bottom.
I’ve made all of the double-fold hems 1/2″ wide. They start with “drawing” two lines 1/2″ apart using a ruler and an awl with the point rounded over and polished so it doesn’t cut the fabric. The tip turns the wax in the fabric white. The edge gets folded twice, then sewn.
[Update: For corners that have fewer layers of fabric and are easier to sew, see the mitered corners in “A Canvas Lounger.”]
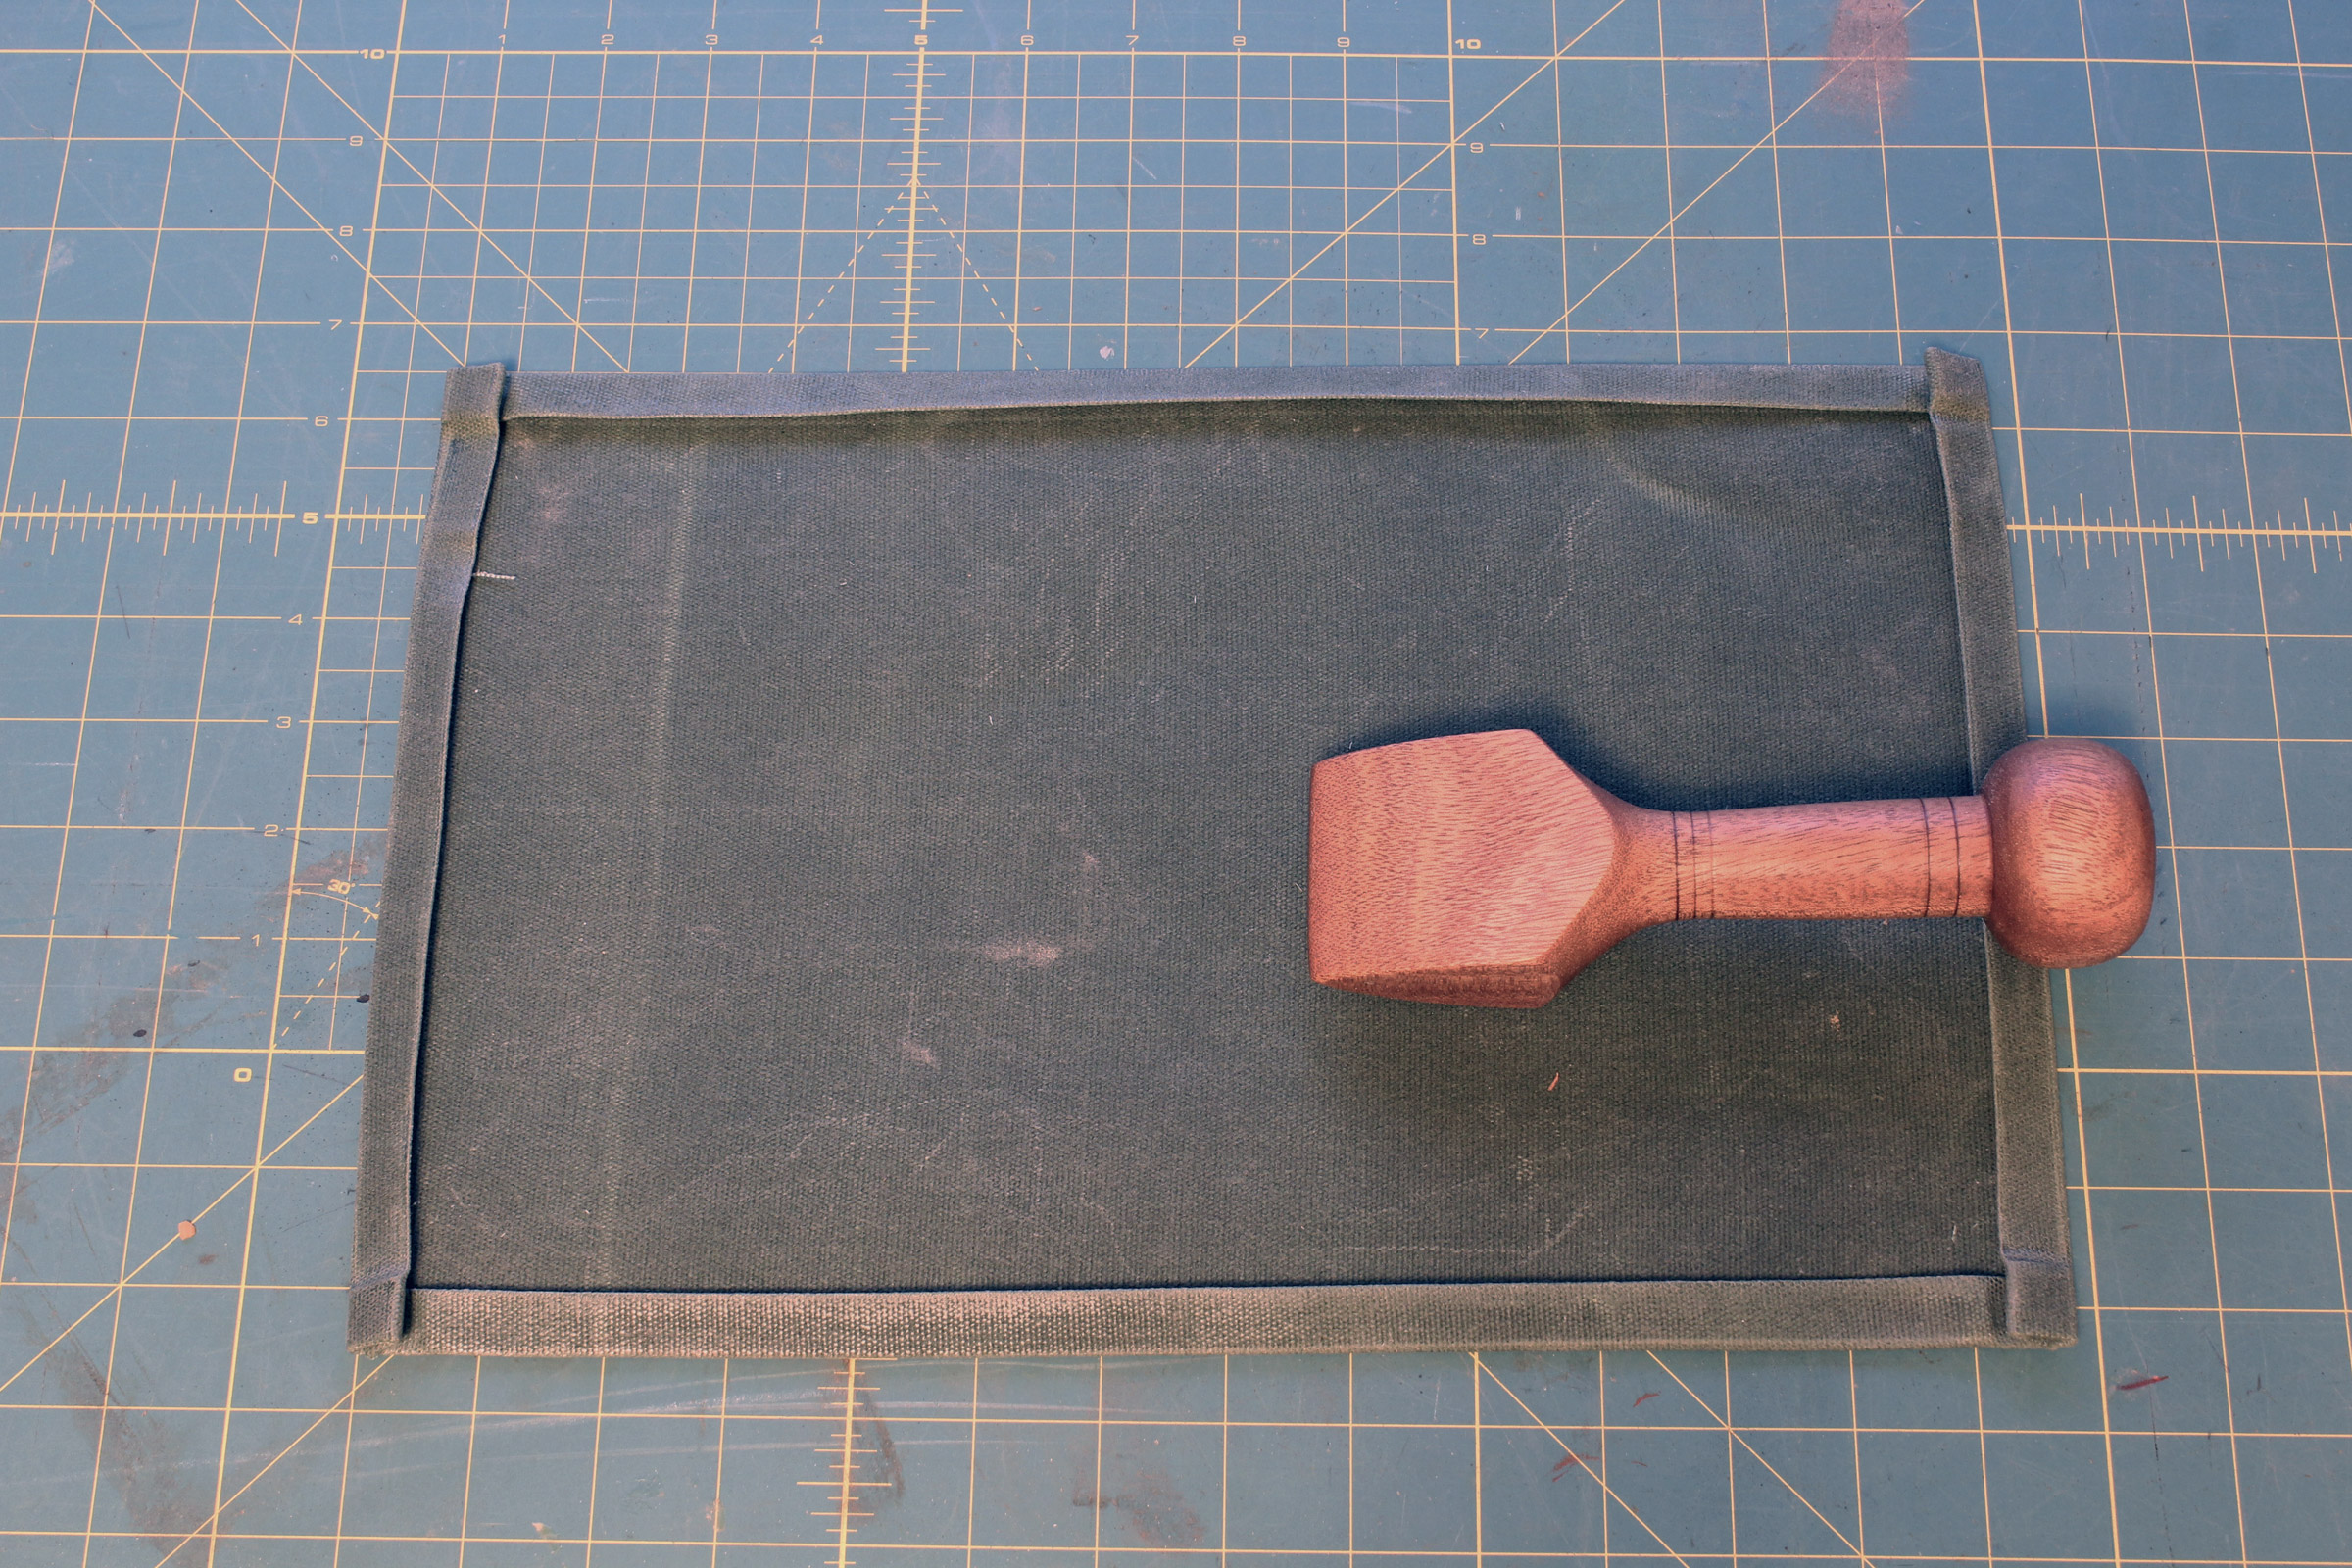
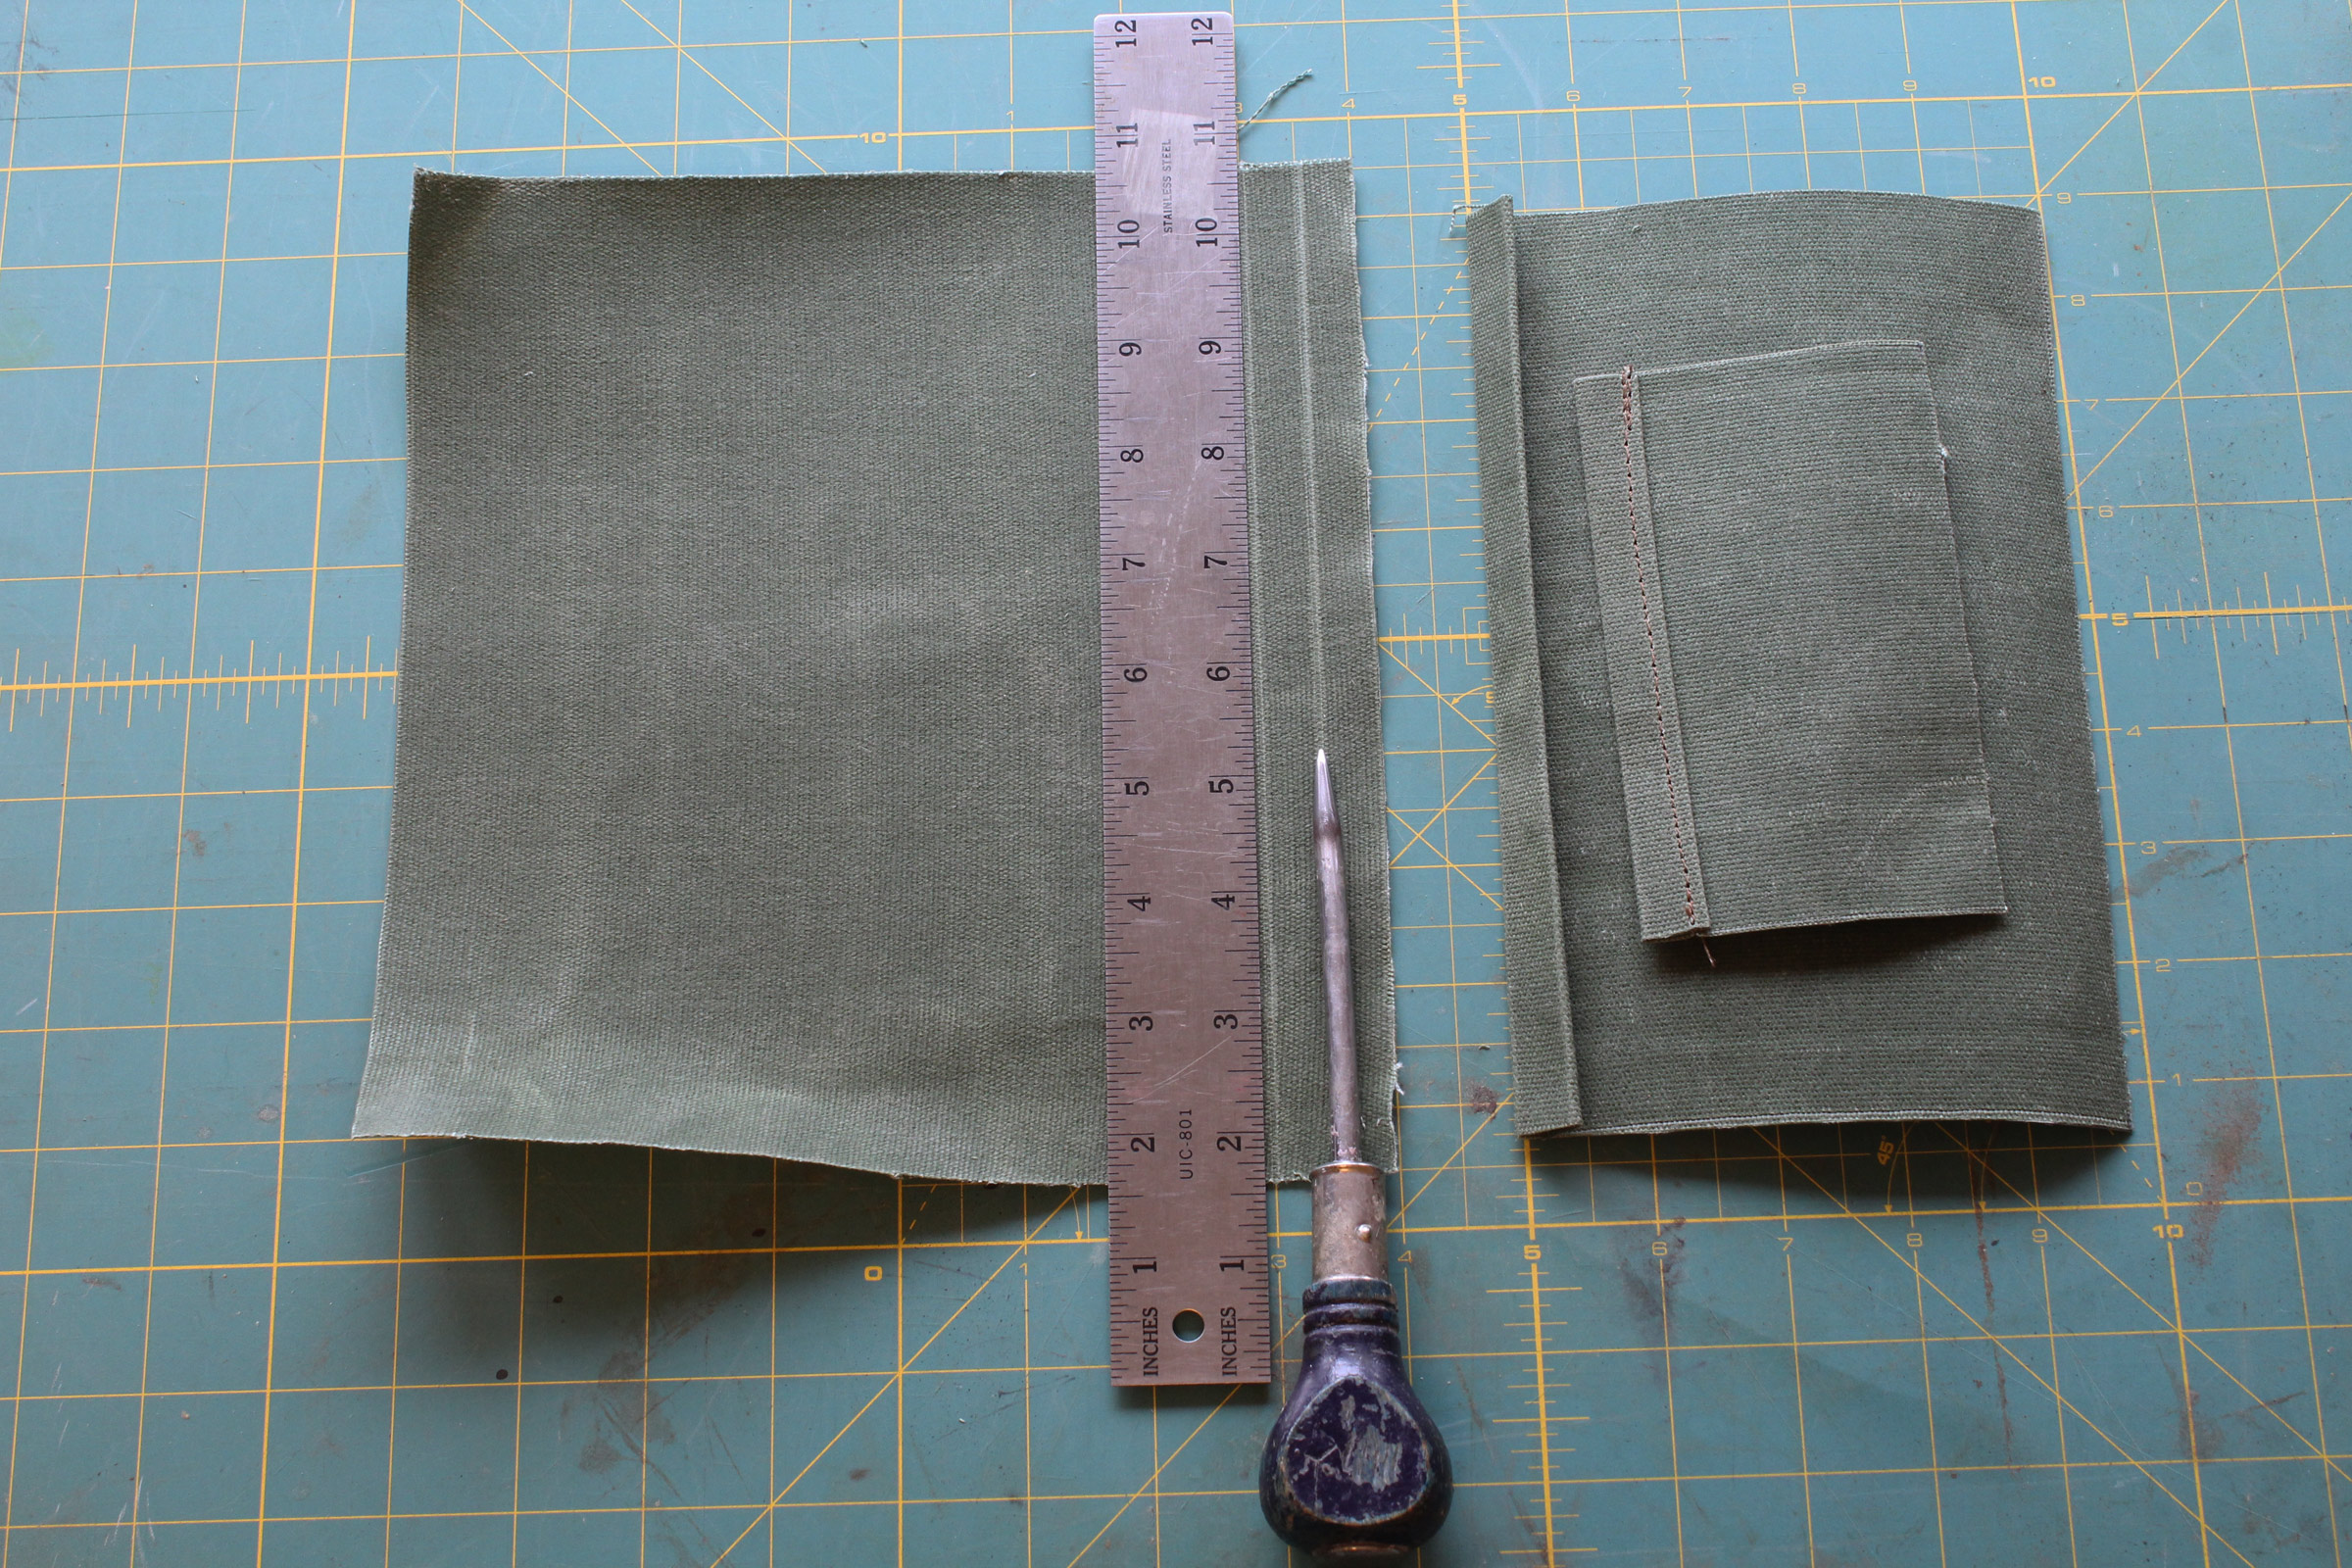
A seam rubber is a useful tool for tightening the folds of the double-fold hems. I turned this seam rubber on the lathe from a scrap of hard, dense mahogany. A piece of hardwood with a slightly softened edge and polished wedge faces will work just as well. I pressed the corners especially tight so they’d stay in place for sewing.
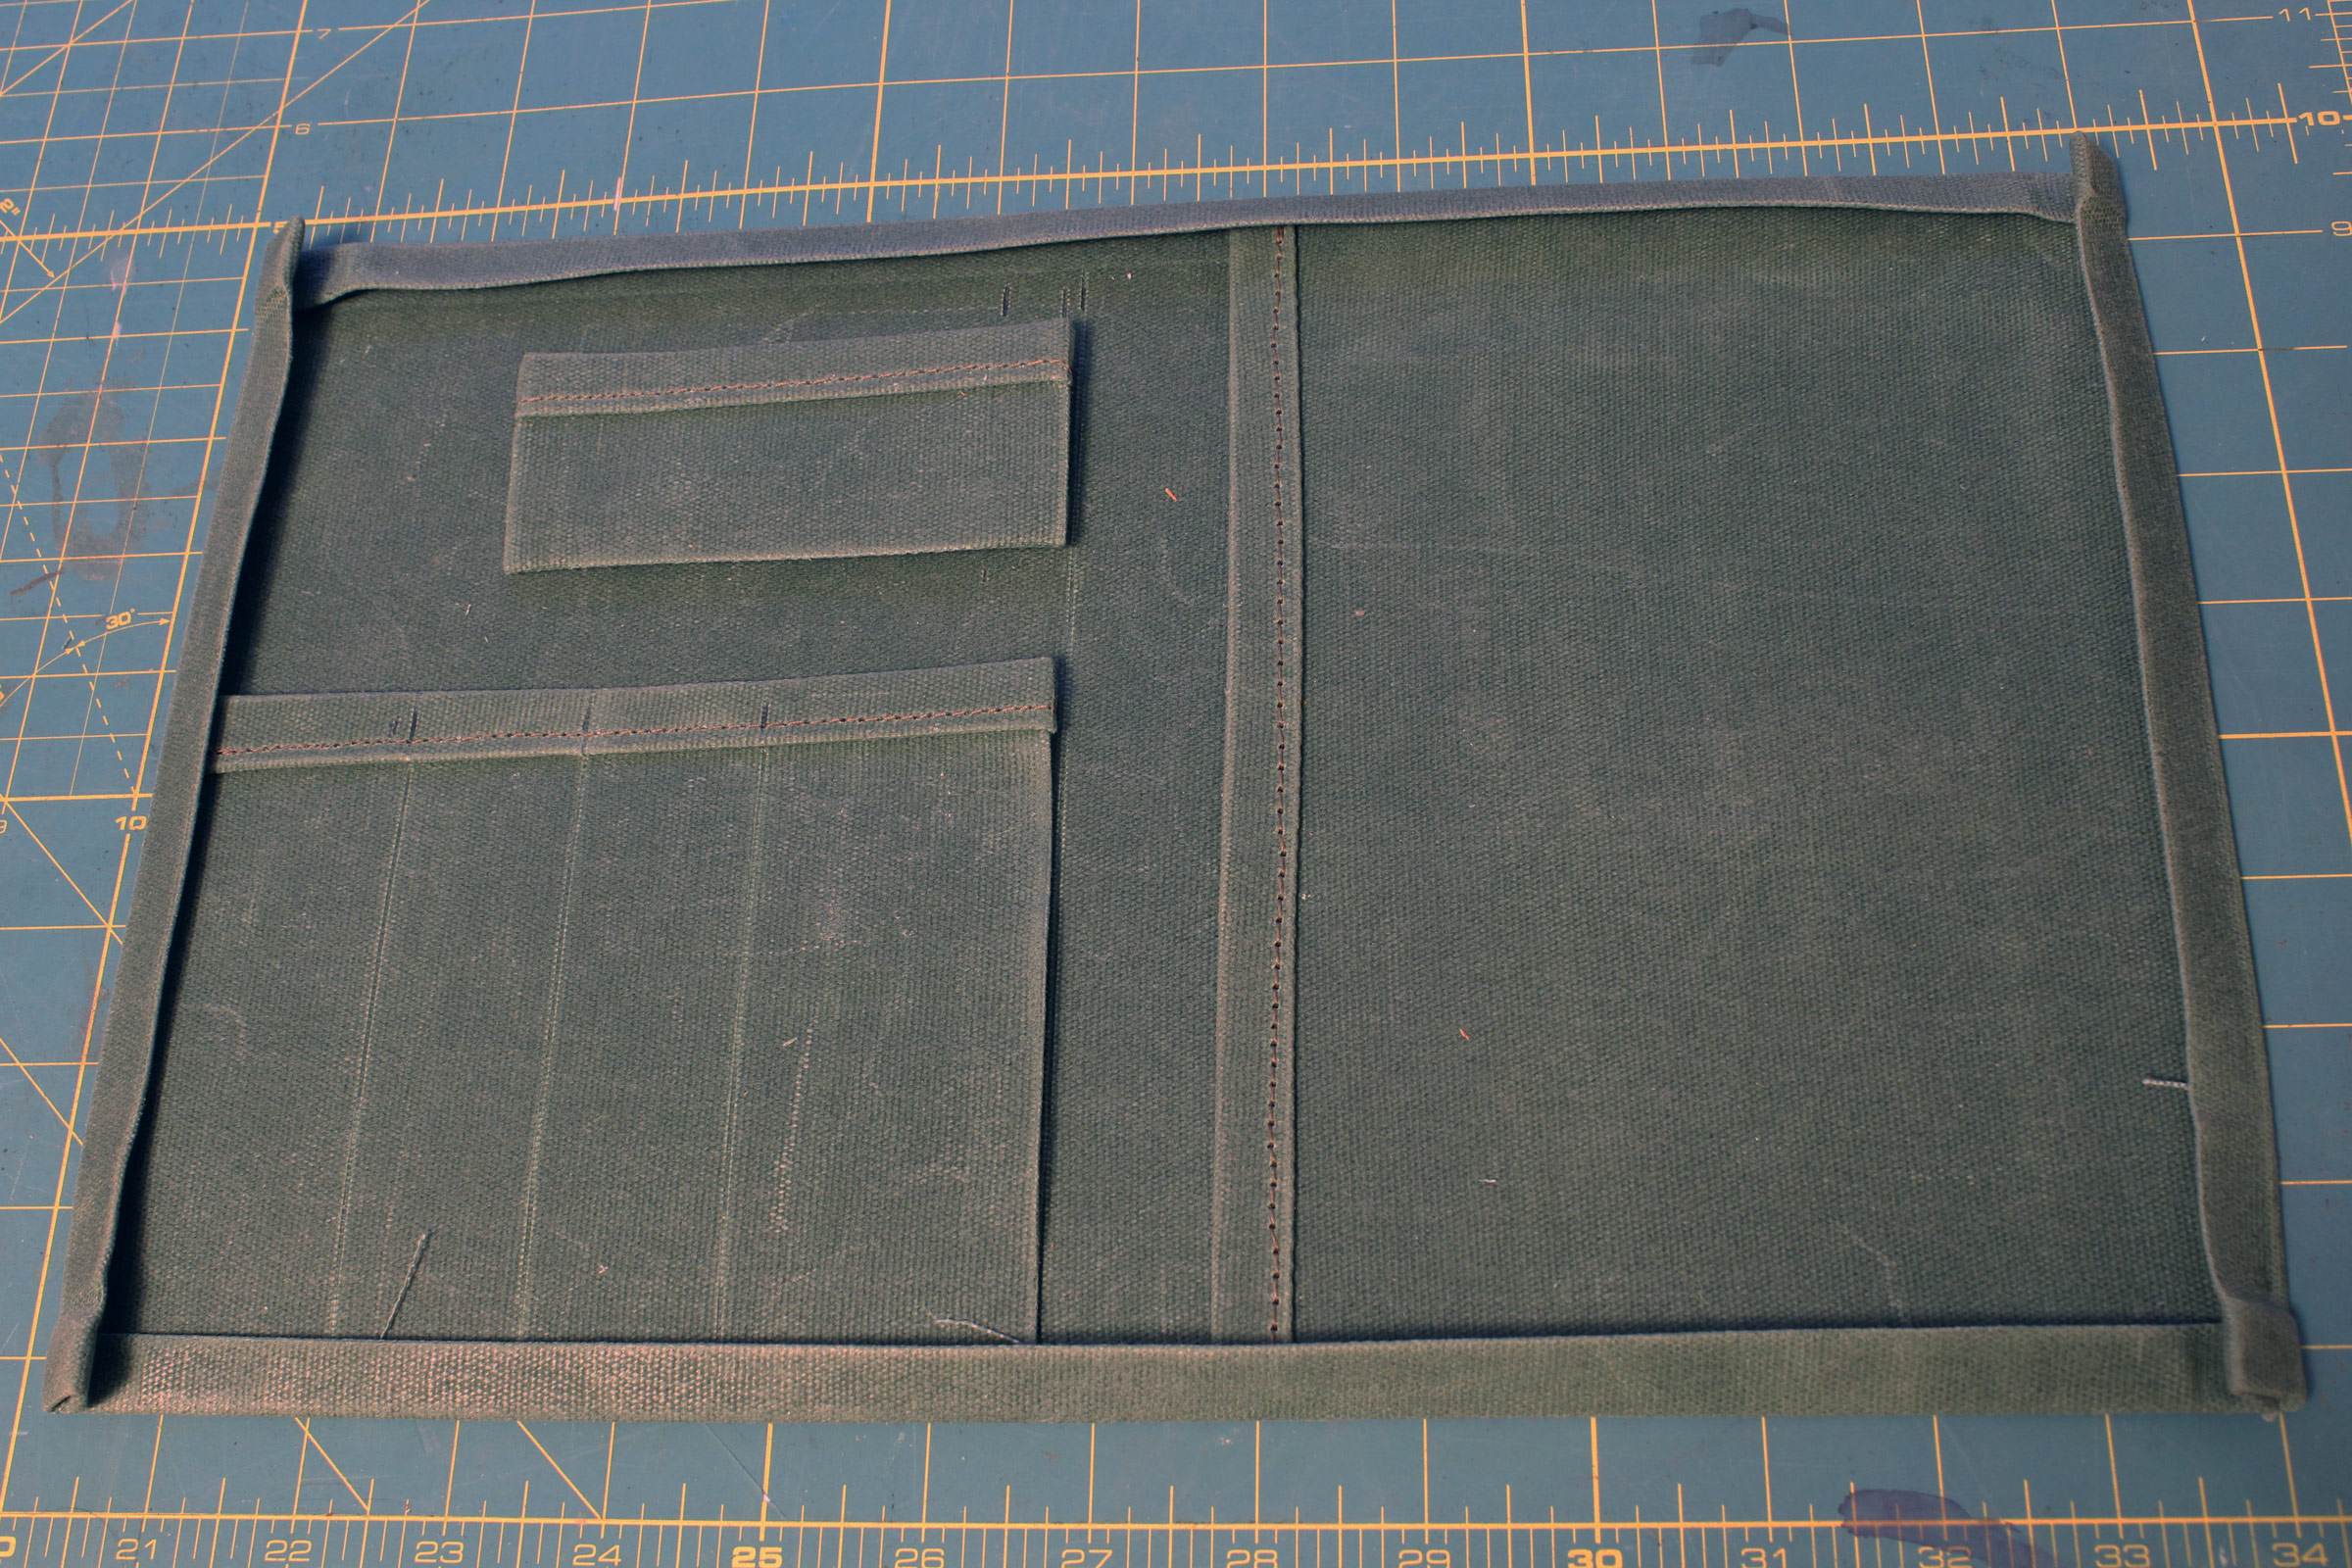
The four pieces are arranged prior to sewing. The pen and pencil pocket has a double-fold at the top and a single-fold hem on the back of the right side. The business card holder has three single-fold hems.

The double-fold hems create a minimum of three layers of fabric where there are no pockets and eight layers in the corners with pockets. I sewed squares of stitches in the corners by hand cranking.
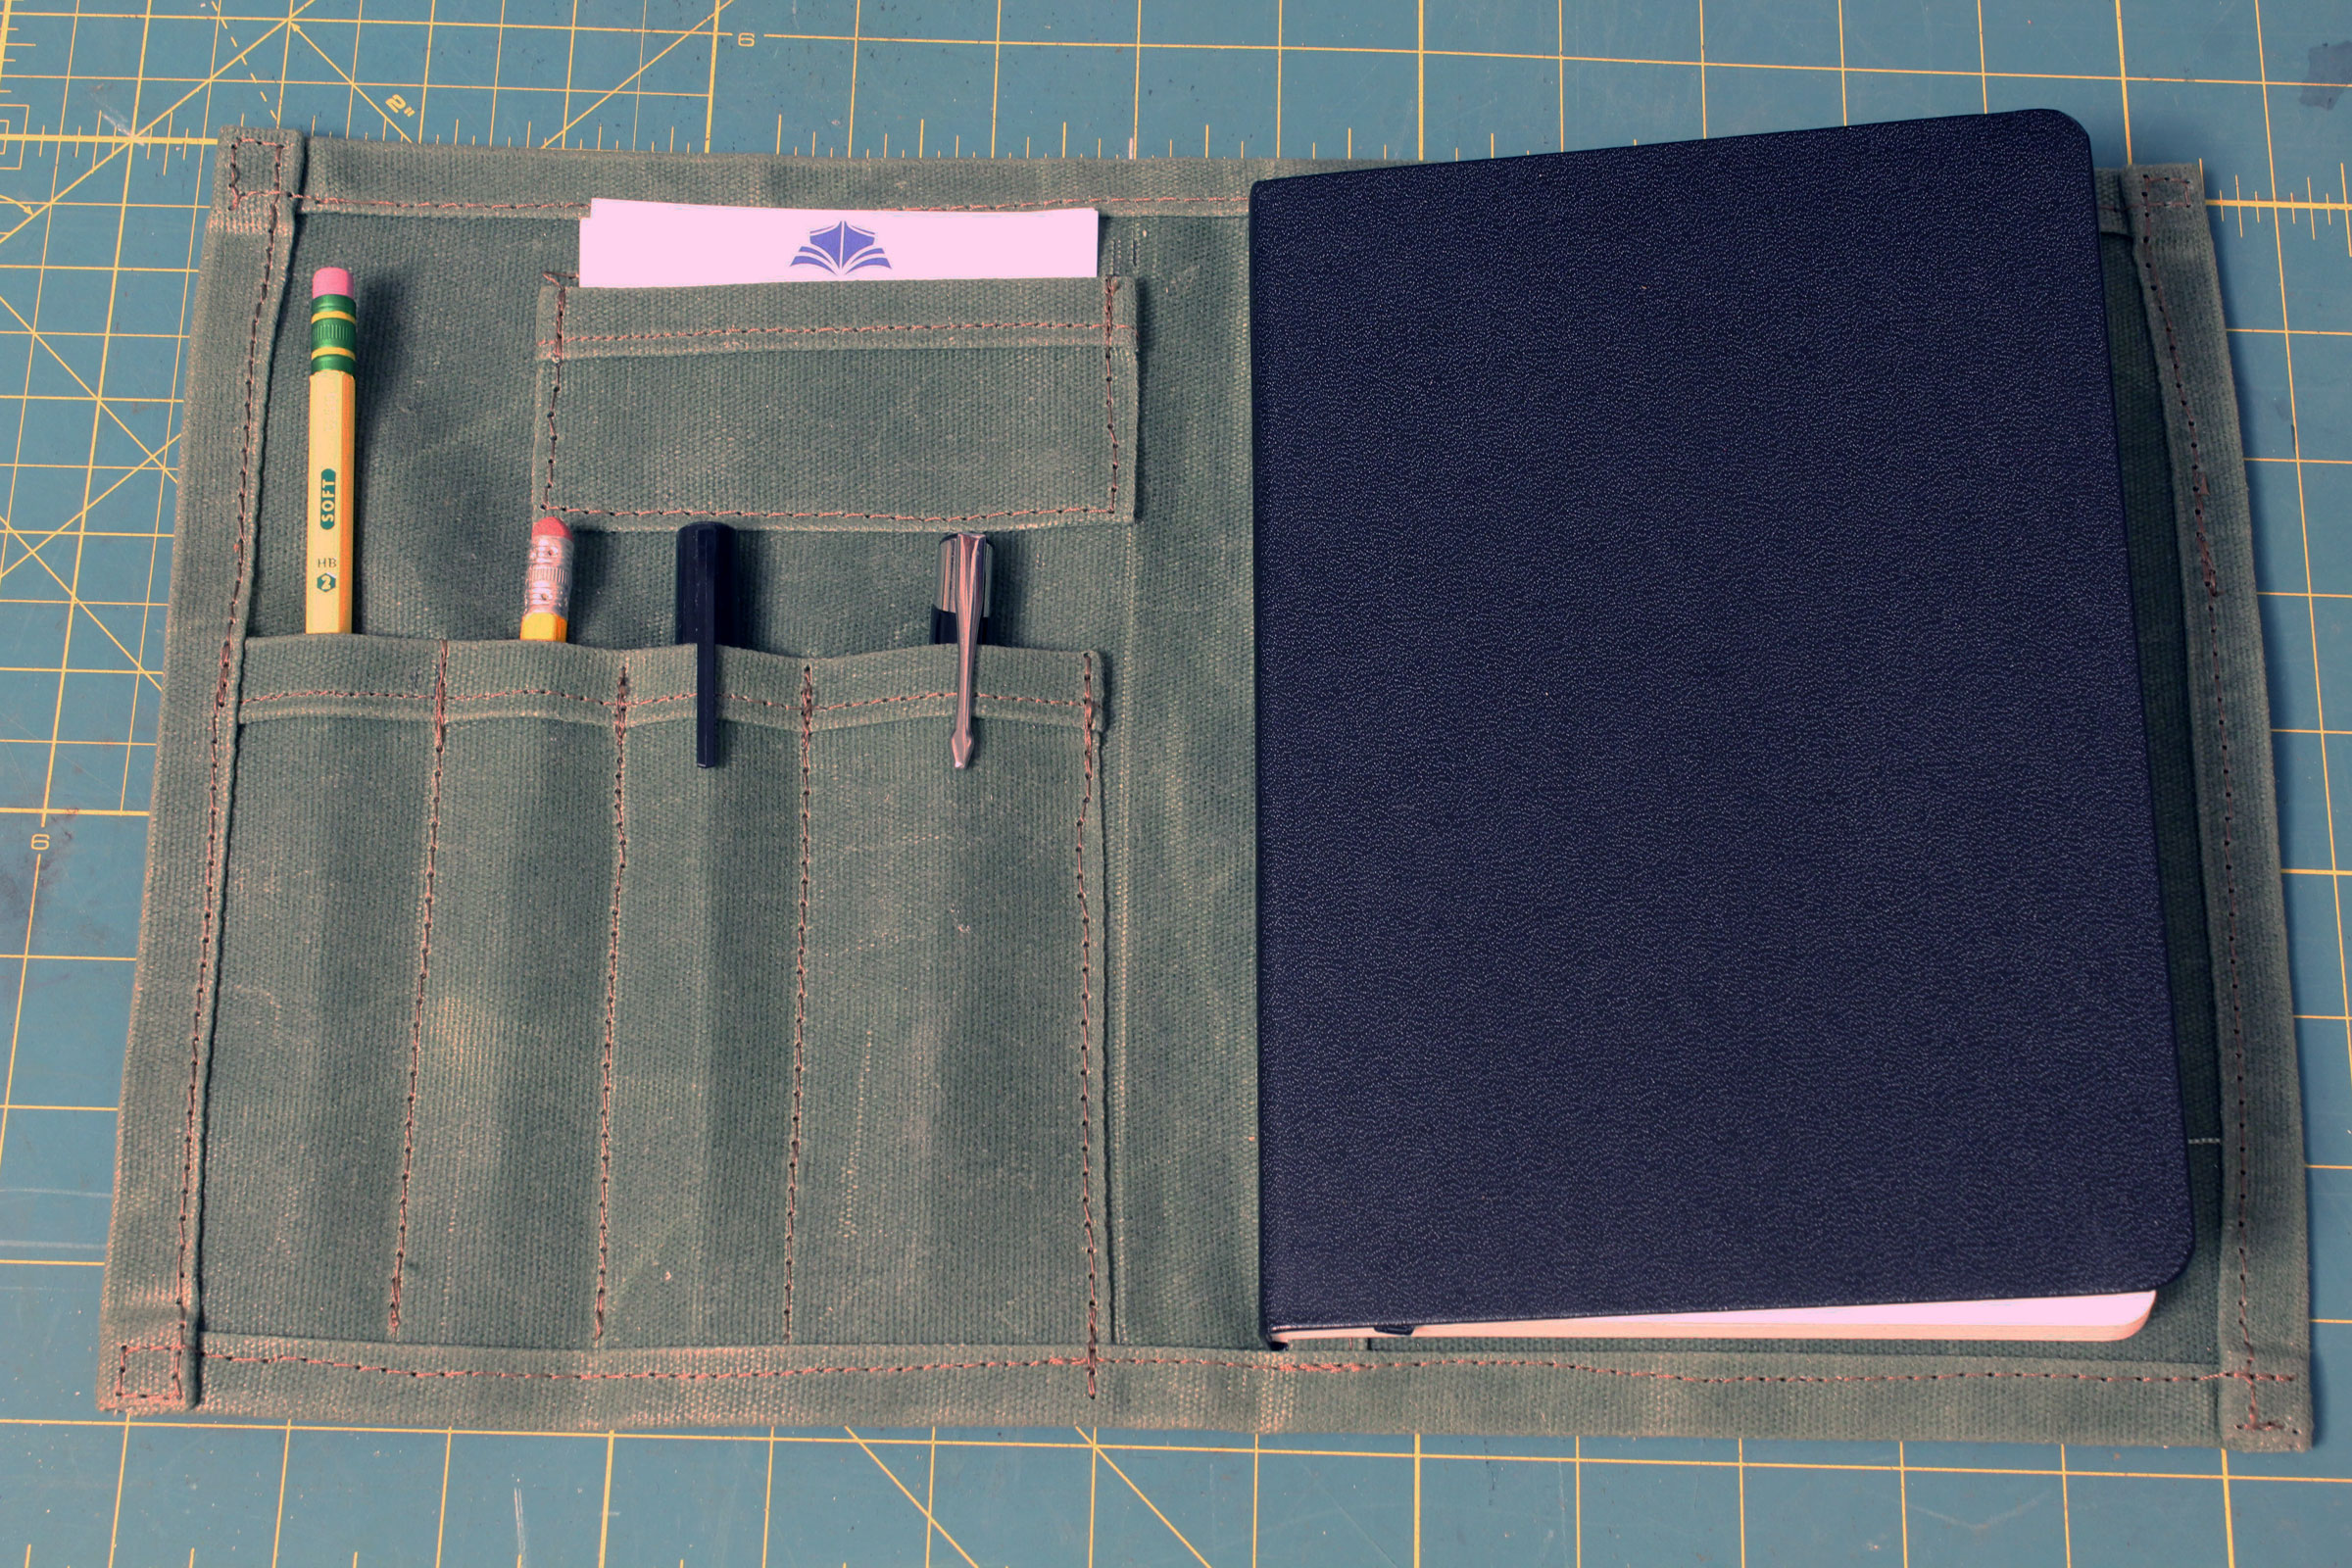
The finished cover keeps my writing tools in one place. The pen at the right has a built-in light for midnight note-taking.

I sewed a length of cord to the spine for a tie to keep the cover closed. Note how the pens and pencils create ridges on the outside of the cover. Pleated pockets would leave the outside smoother.
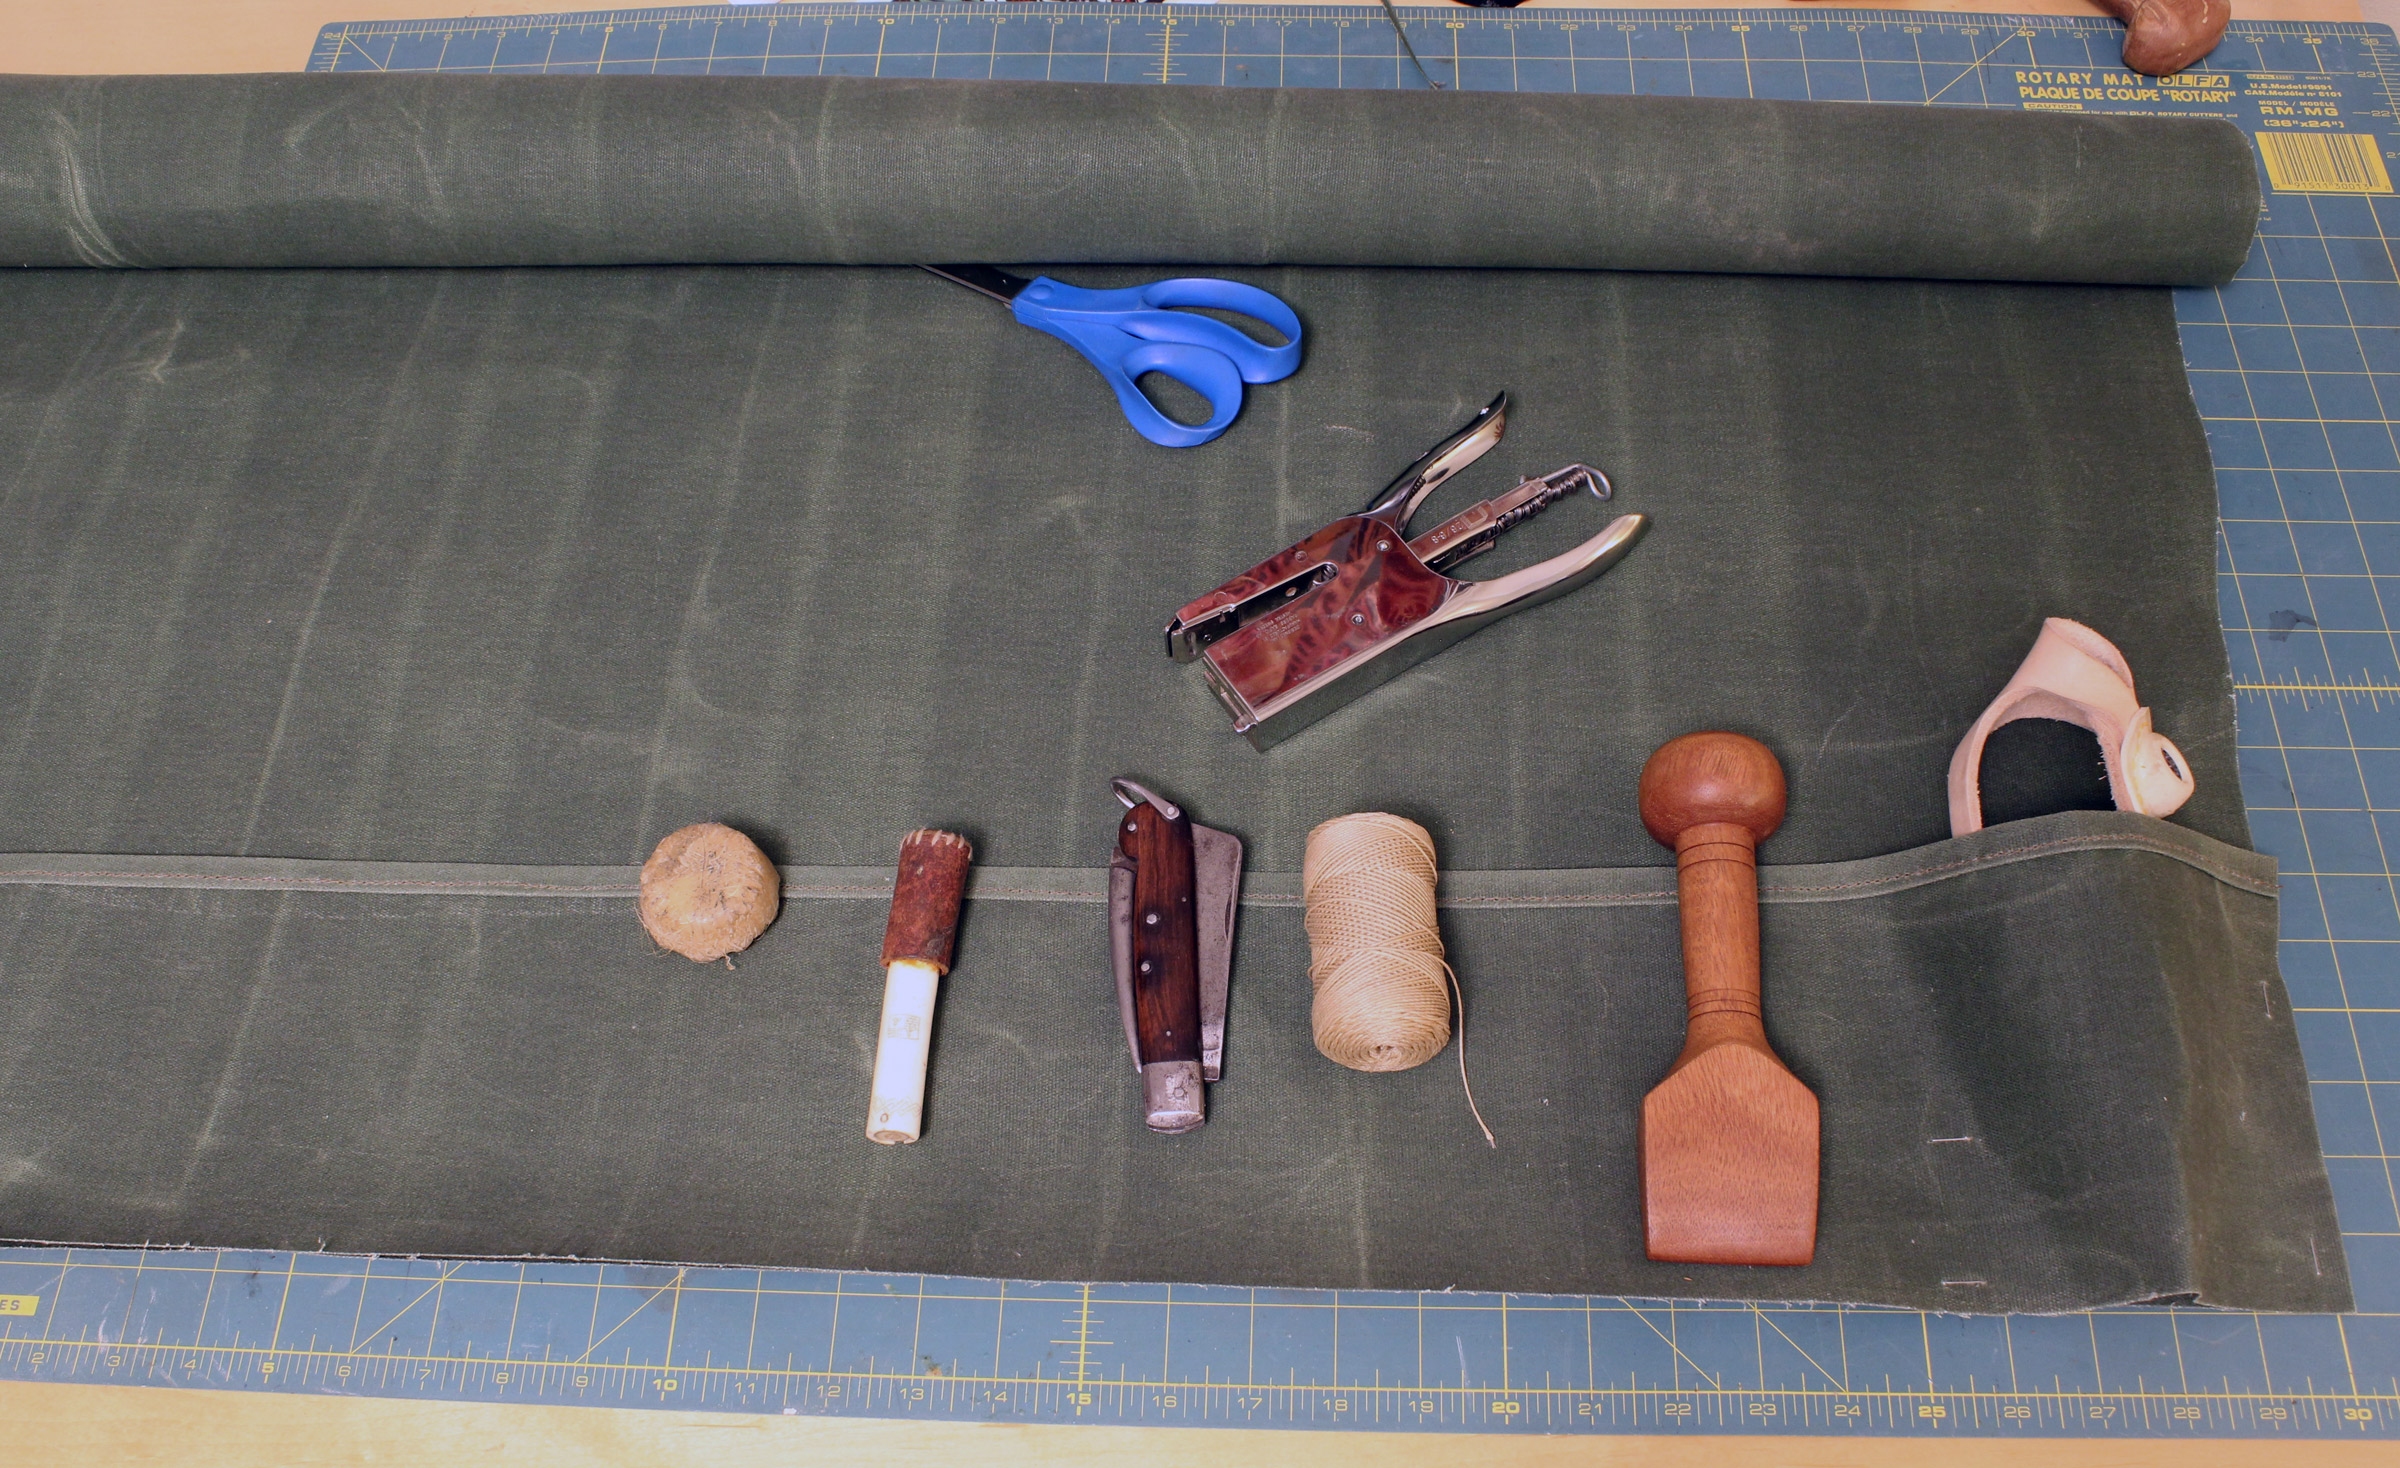
I also used the waxed canvas to replace my grandfather’s tattered 55-year-old sewing kit. I first laid out the pockets to be sewn. I lined up beeswax, a needle case, my marlinspike knife, whipping twine, a seam rubber, and a sewing palm. I later decided the beeswax could fit in with the sewing palm.
To make the pockets, I put the items I wanted them to hold in place, and curved the hemmed strip over them. Staples held things in place while I sewed along the lines I drew for the stitching.
The extra fabric gets folded into mirrored pleats and pressed flat with the seam rubber prior to sewing. The edge can be sewn before the binding tape goes on to keep things from shifting.

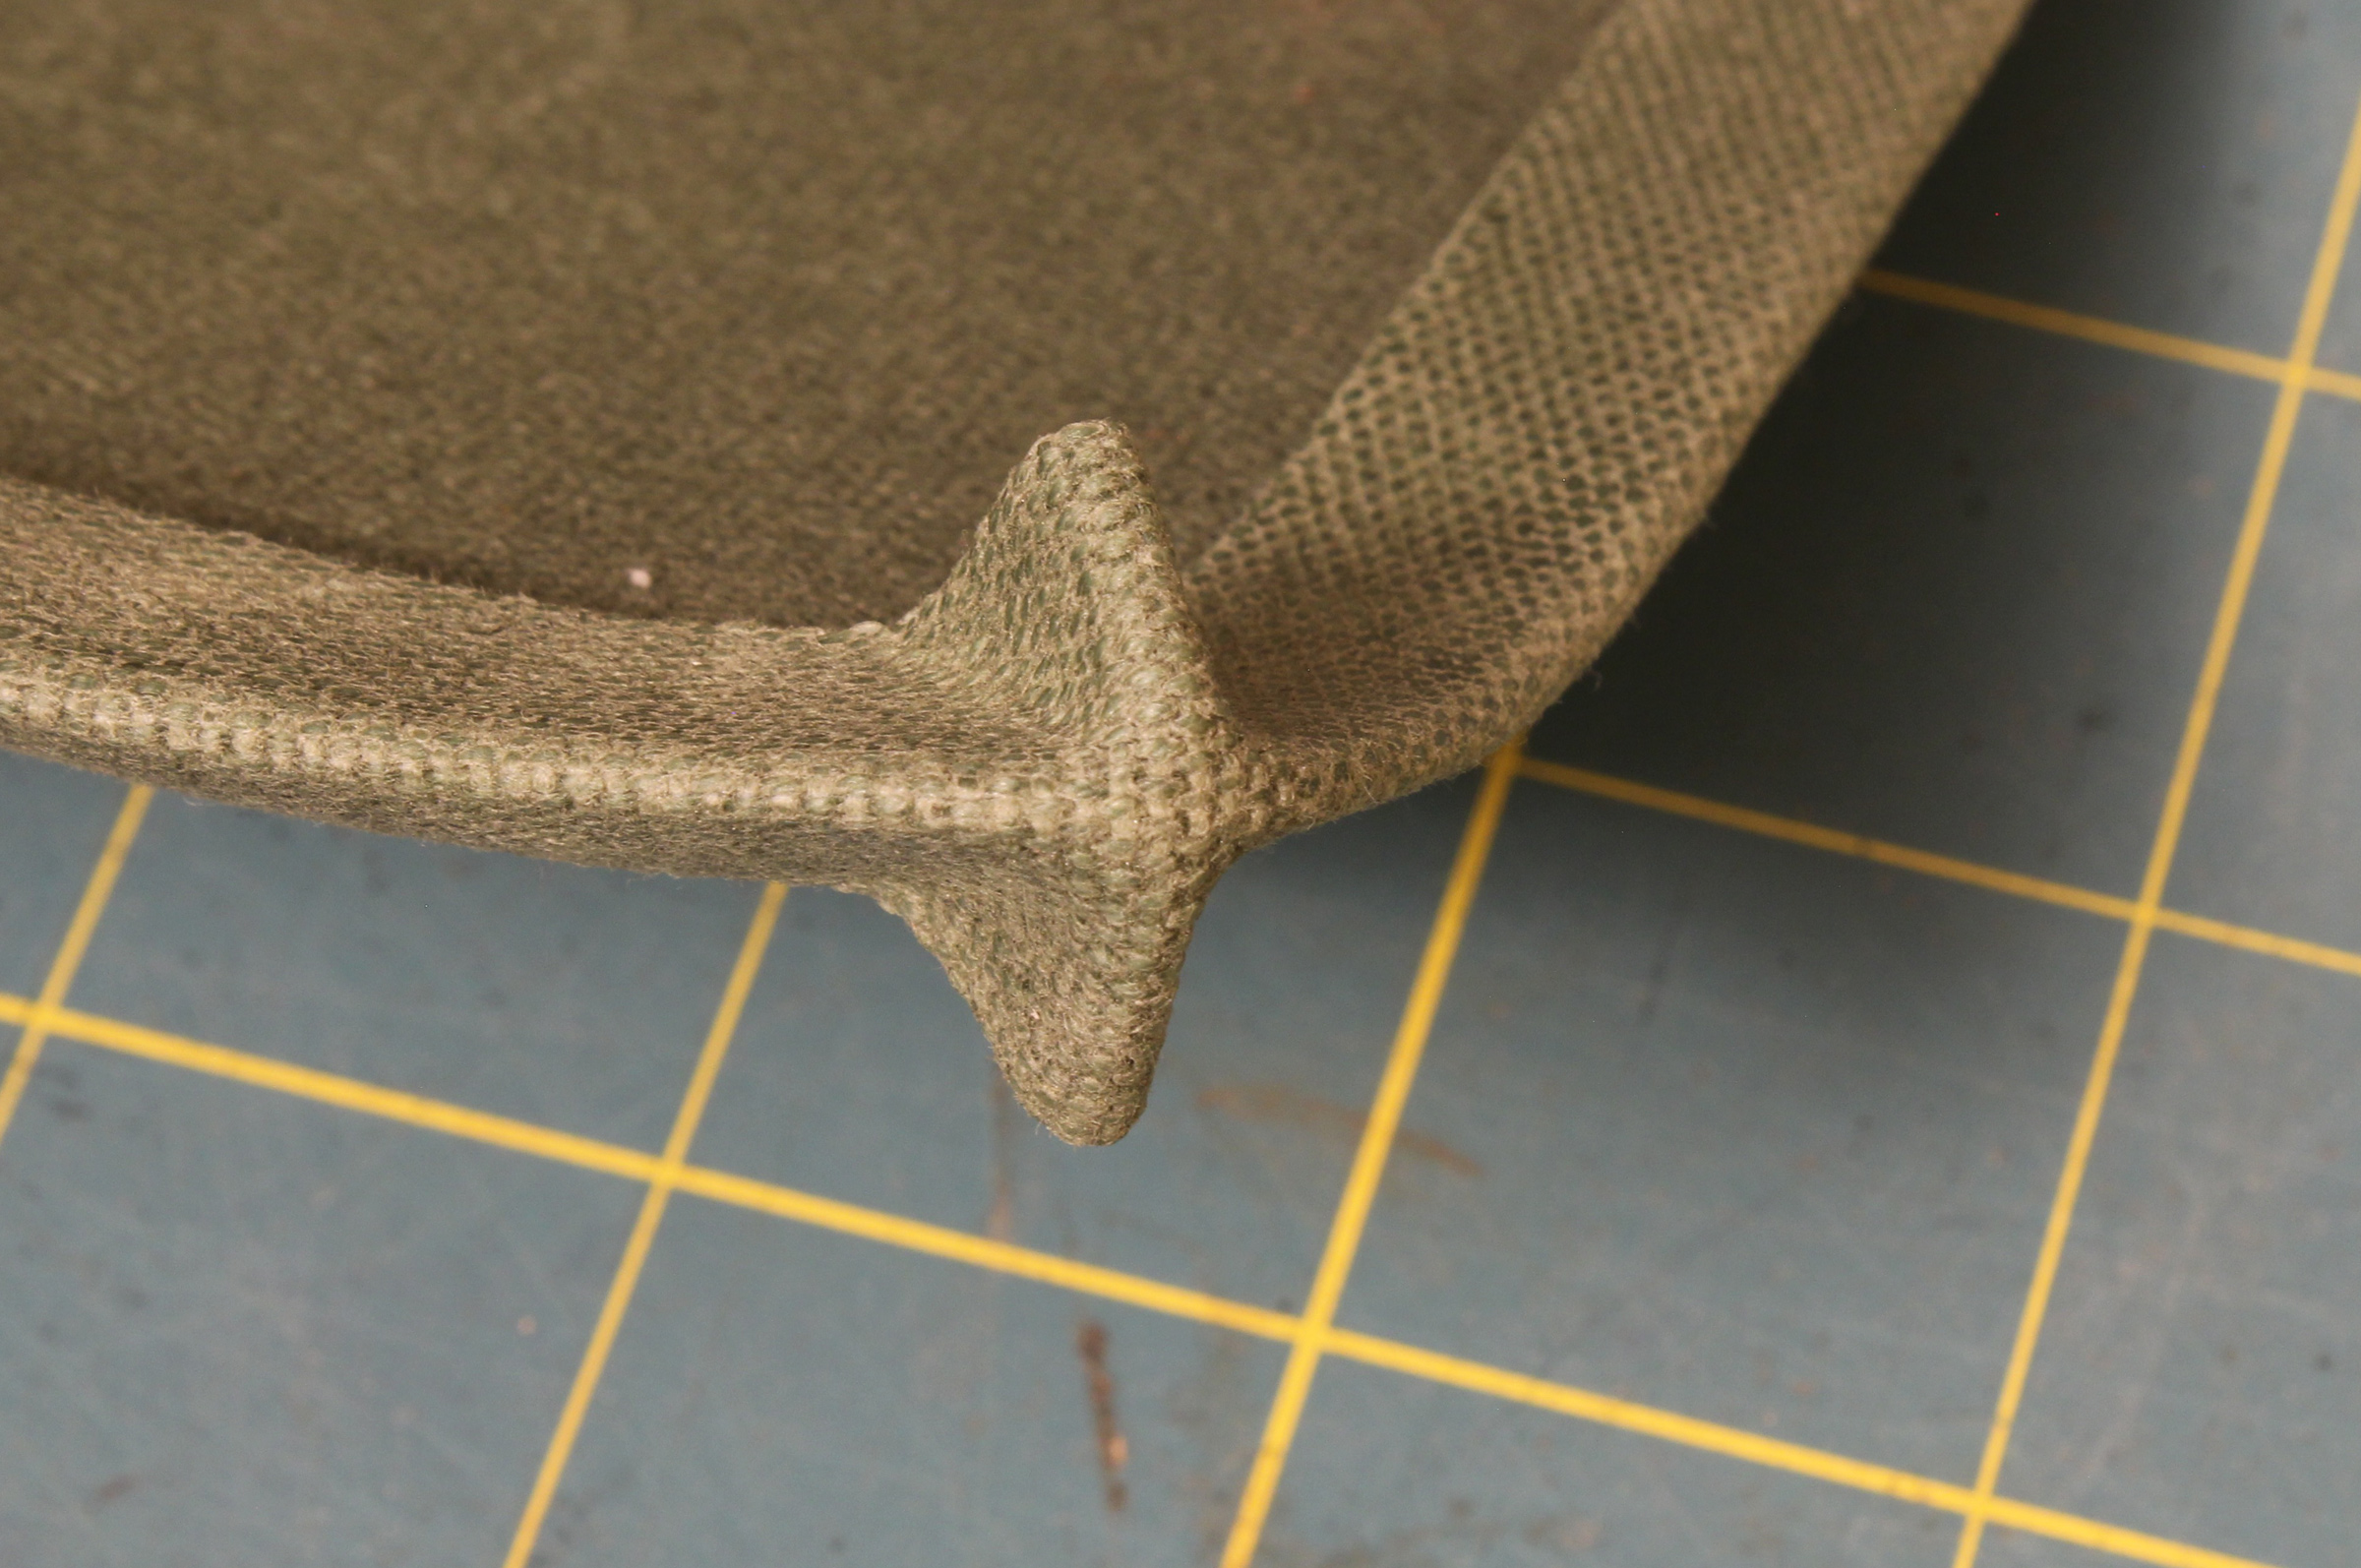
After the pockets are sewn in place the outer perimeter is ready to be finished with binding tape. The tape starts as a 2″-wide strip cut from the same waxed canvas and gets its edged folded in along lines scored 1/2″ apart, creating four layers of fabric. The roll will add one layer (left and top), two layers (right side of pockets), and four at the pocket pleats and hem. I got through the extra layers by hand cranking the sewing machine.
To get the binding tape neatly around the corner, I pinched the tape into two crests…
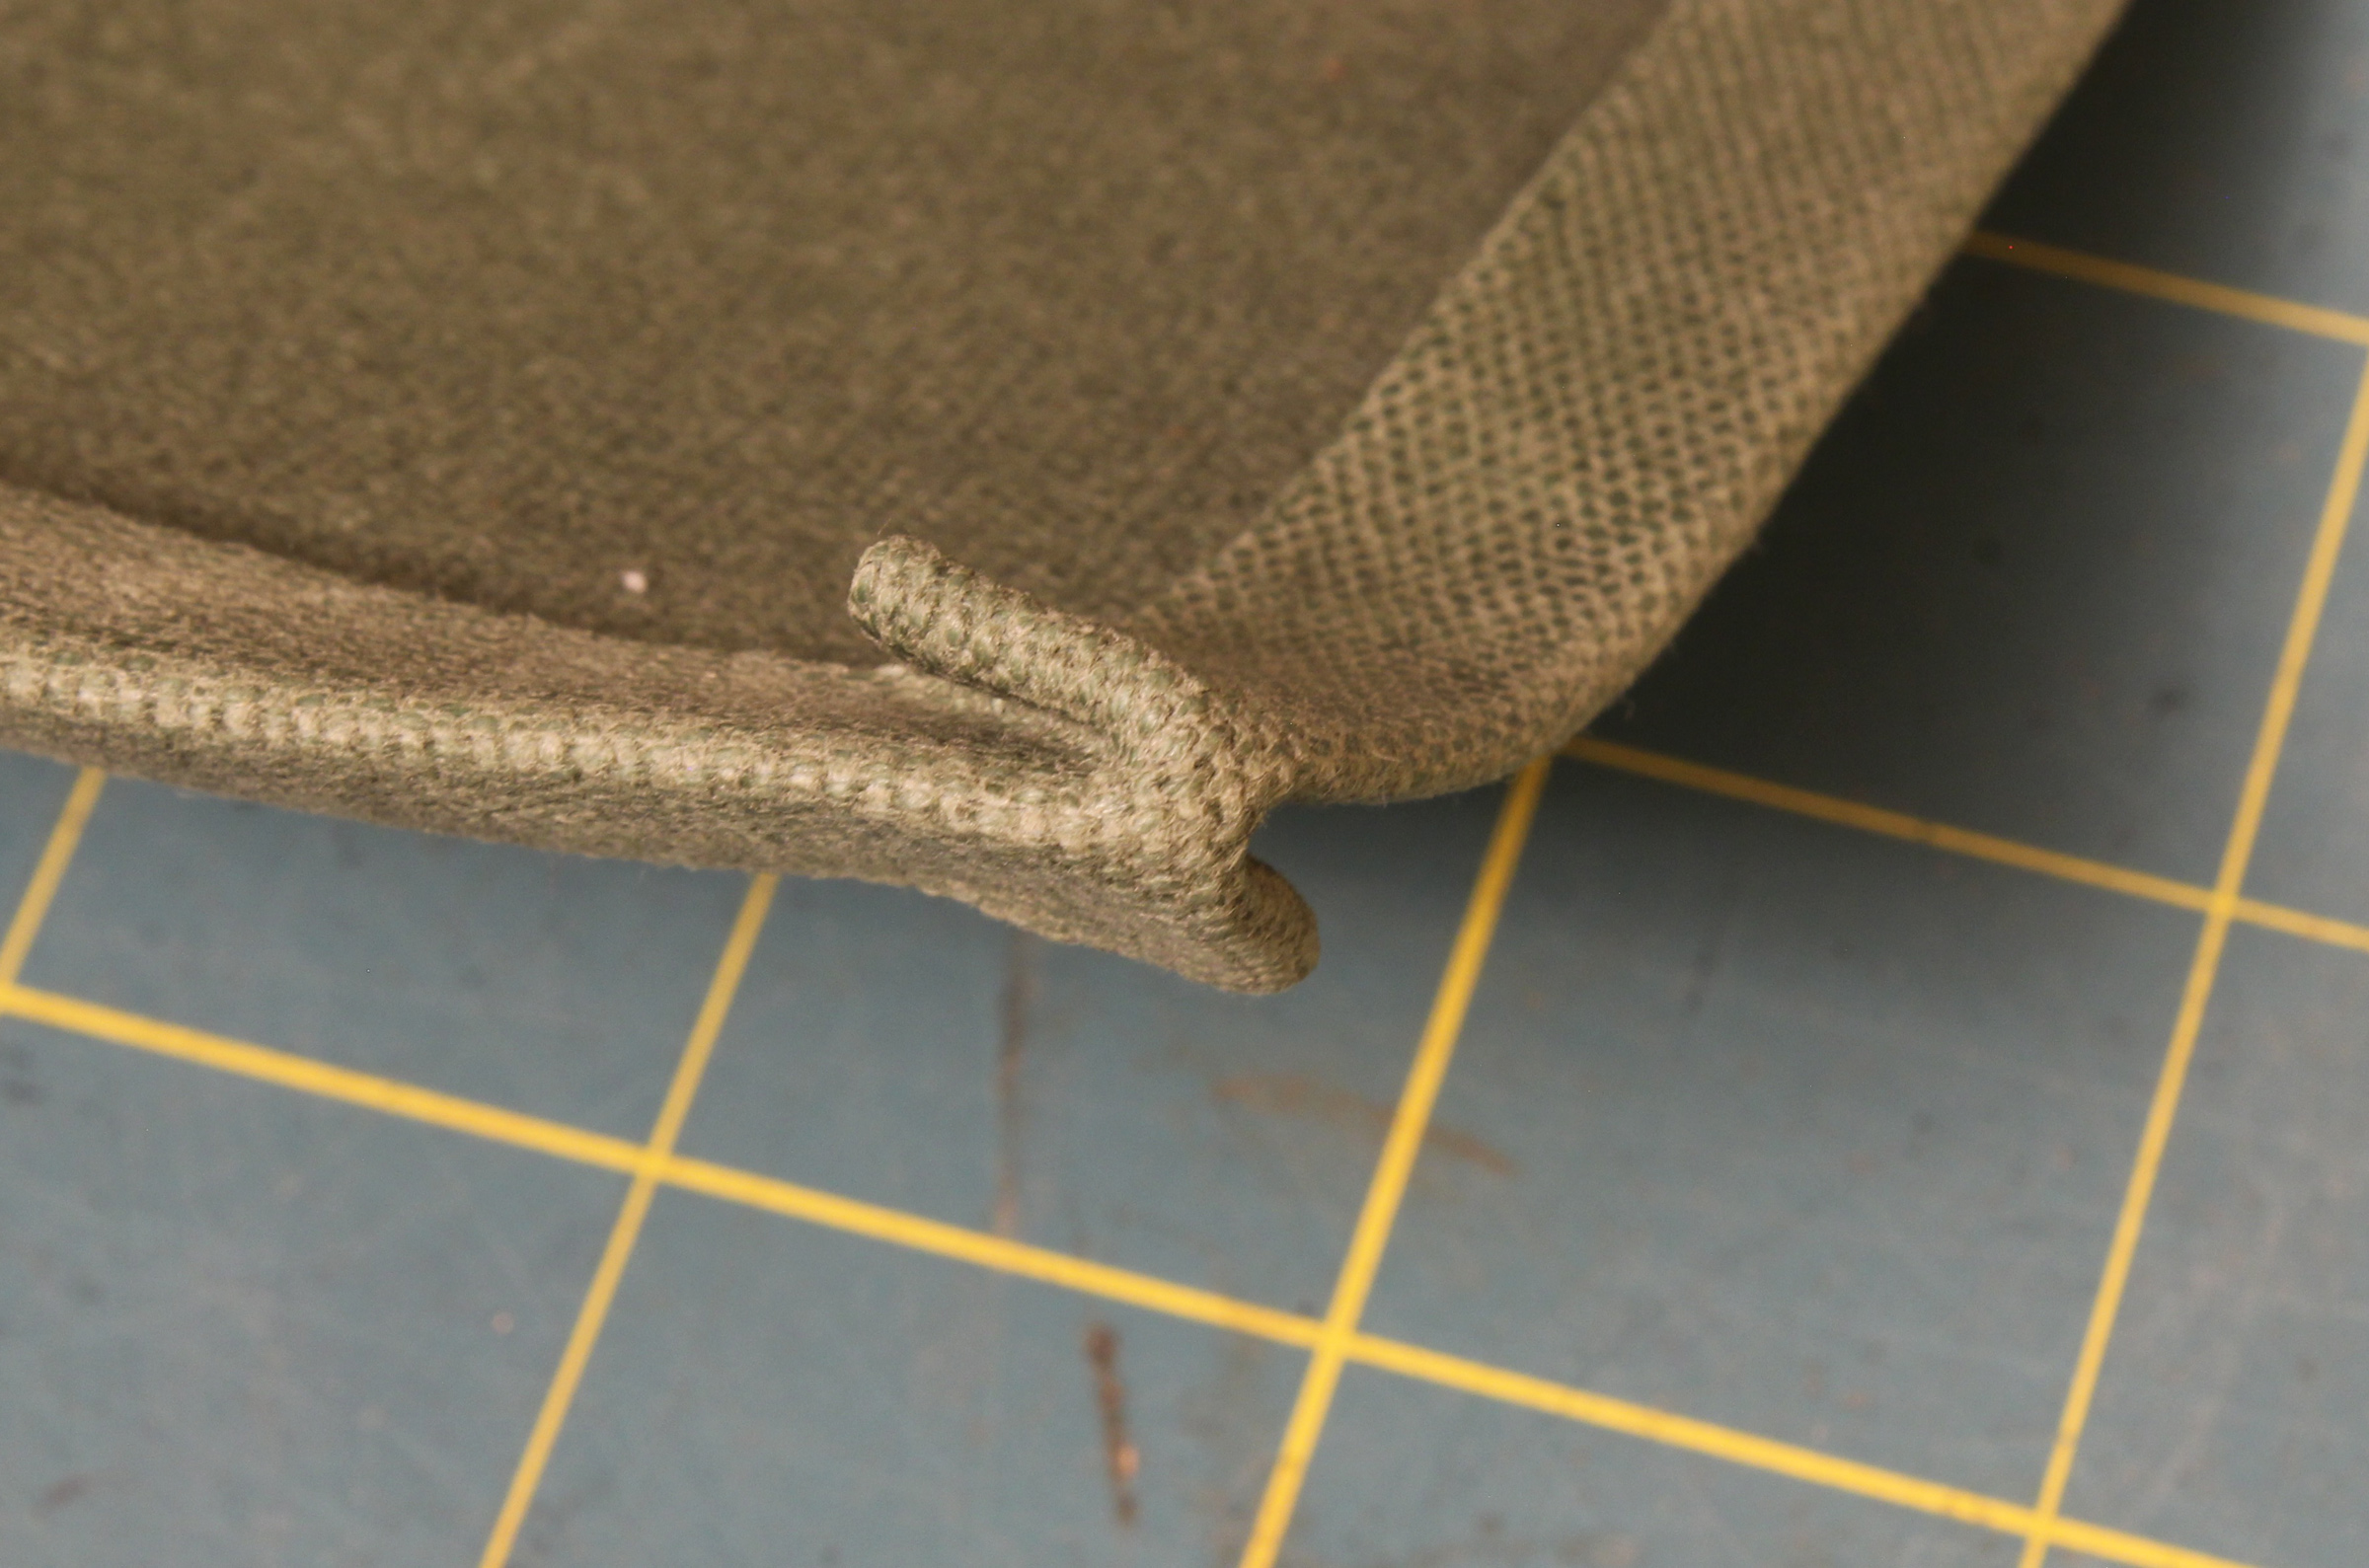
…and folded them flat in opposite directions.
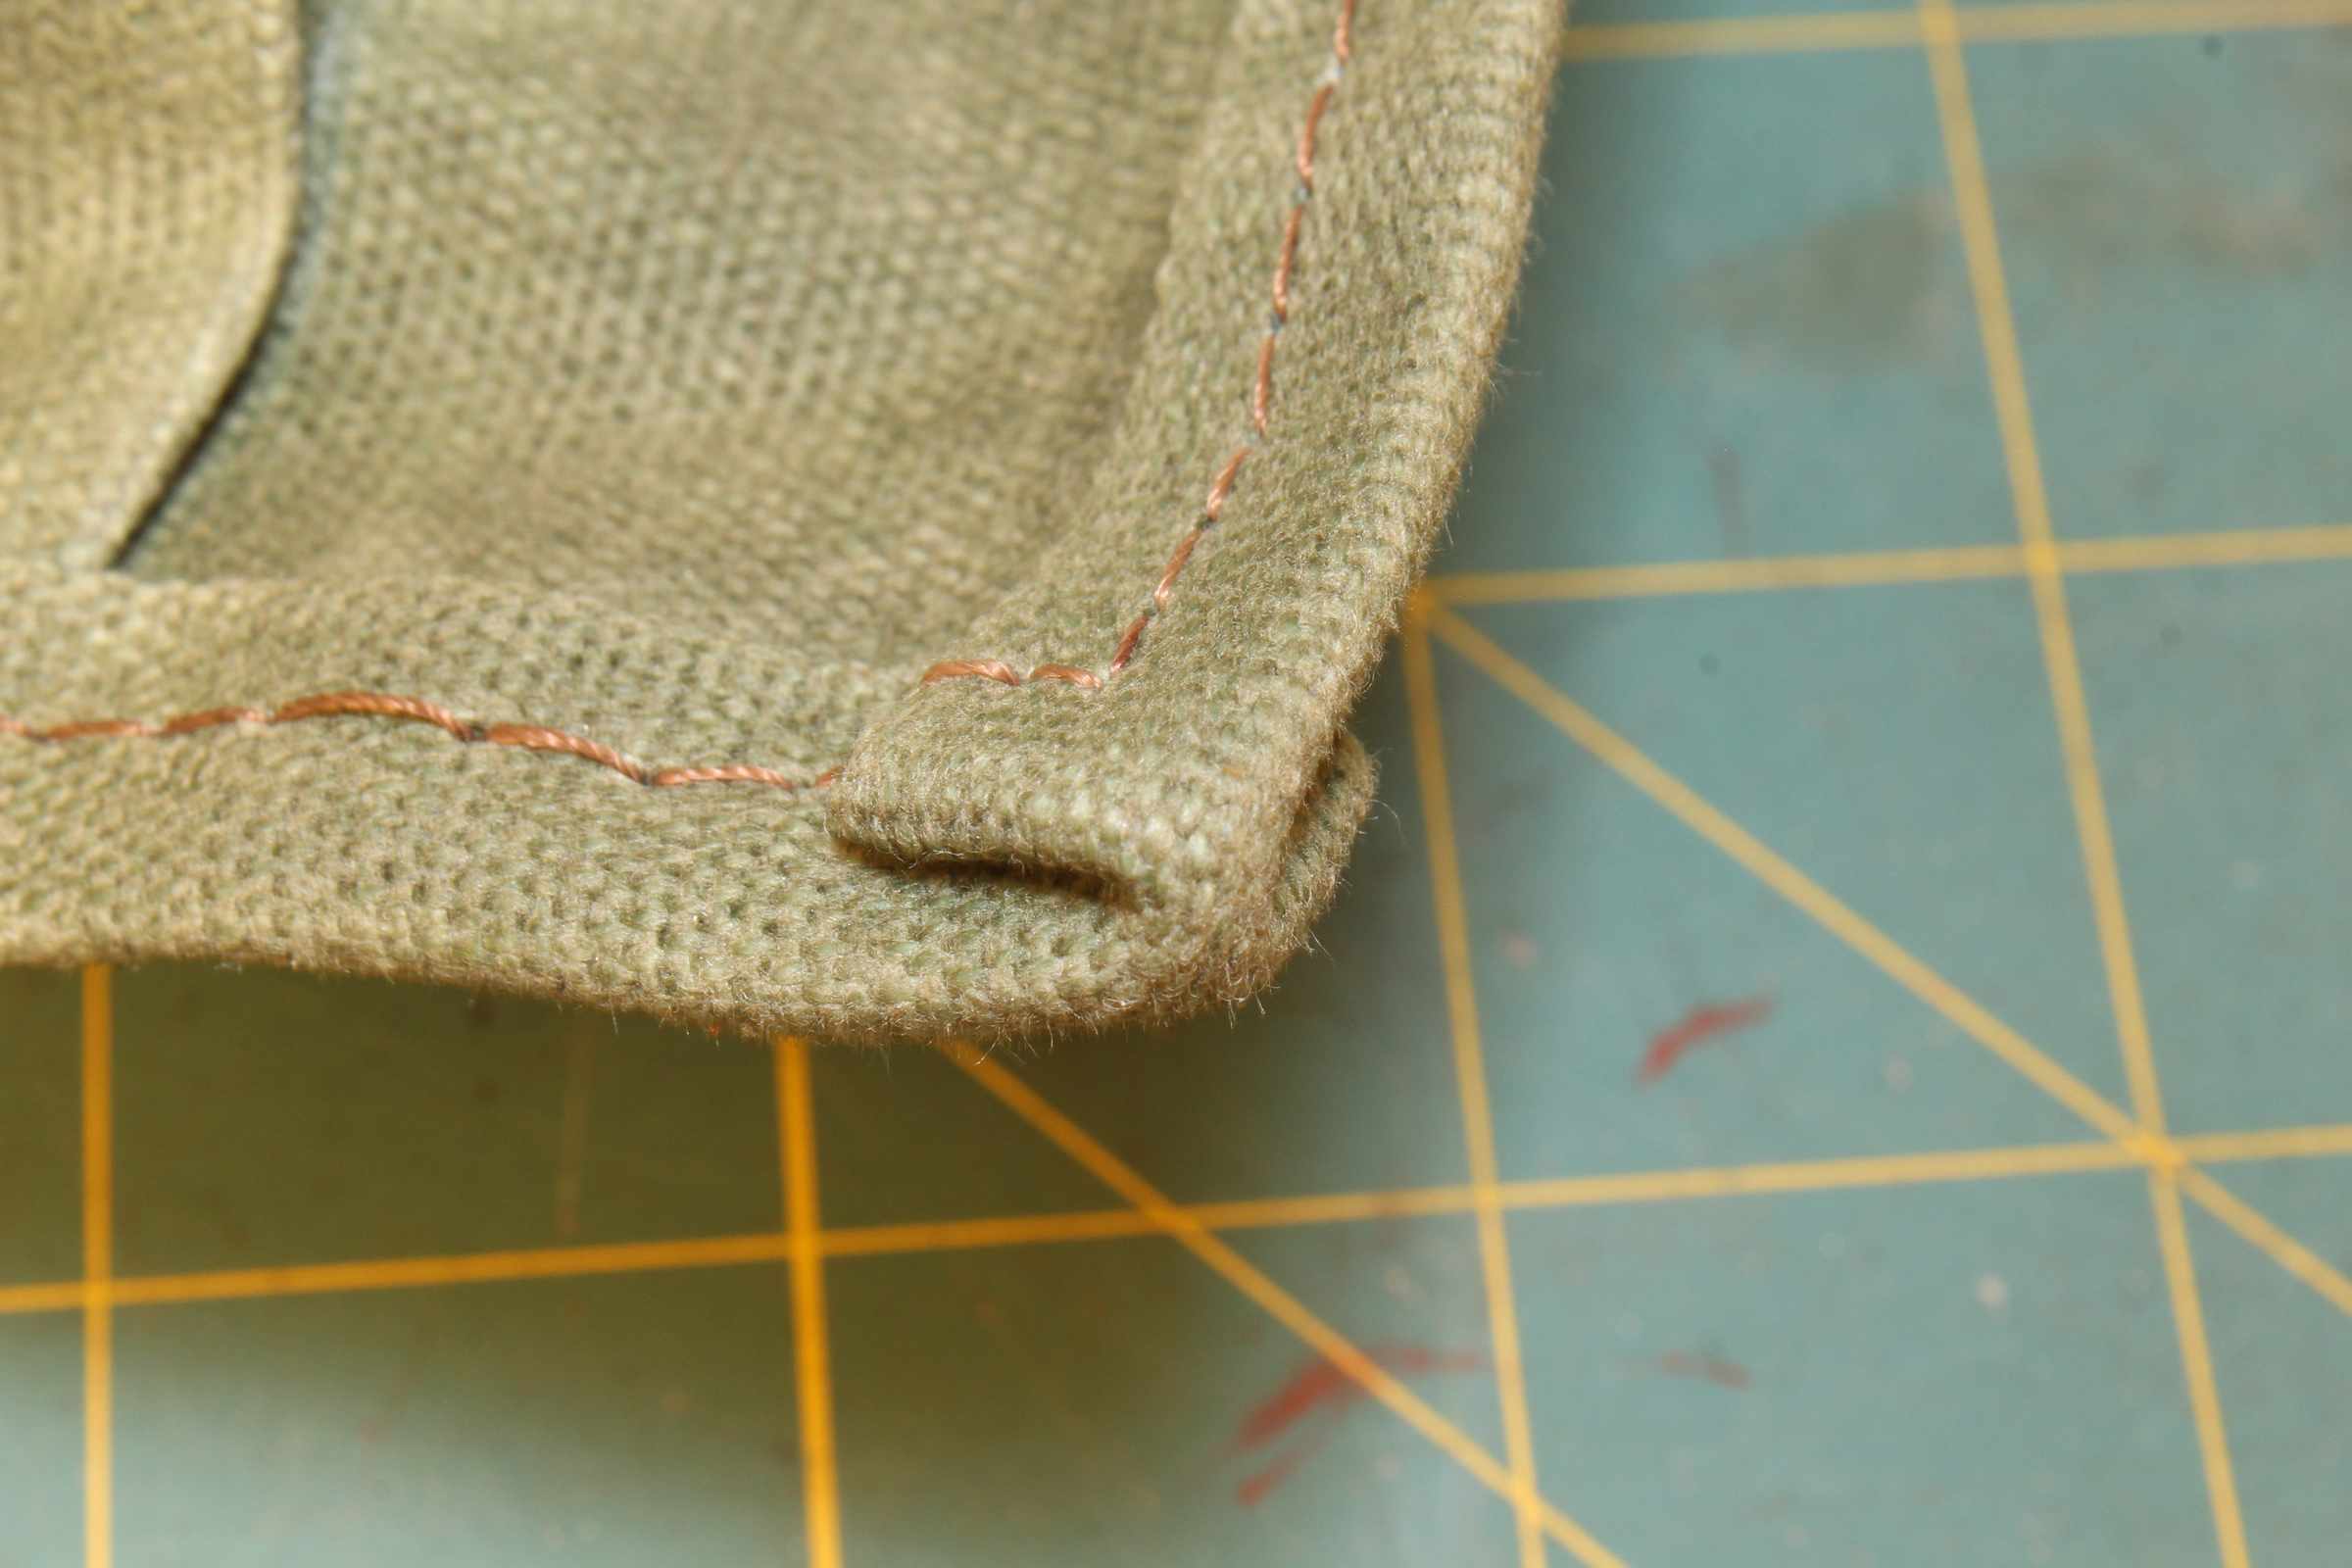
Then I sewed around the corner by hand cranking the sewing machine to push the needle through 10 layers of fabric.
Where the two pieces of binding tape met, overlapping them with one folded back on itself created more layers of fabric than my machine could manage, so I butted them together and covered the seams with thin leather.

A length of binding tape sewn shut made the tie for my sewing kit. The binding tape is quite stiff so a loose square knot is all that’s needed.
You can share your tips and tricks of the trade with other Small Boats Magazine readers by sending us an email.


Nice!
Have you (or anybody on here) tried sewing it by hand? I don’t have a machine. I have basic sail repair and ropework tools, and somewhere I have a Speedy Stitcher.
Thanks for the article. It contains many little details I appreciate. I do similar things from some quality painter’s canvas (leftovers from my wife’s painting workshop). But need to try the originally waxed one (definitely better for this purposes).
Example, block plane cower:

For waxing I’m used to use the Greenland wax, which I mix myself from paraffin and beeswax (something like 10:1). The paraffin is more elastic and beeswax durable. Paraffin can be bought in variety of types, so I have the one with highest melting point (62 C) I was able to get. It is also used here in Czechia for impregnating the boxes for bees.
But for larger projects, I would like to try to cook the hot oil wax. For example, I have old sailboat cover that already lost its waterproofing.
And, anyway, if anybody knows where to buy waxed canvas in EU (Germany or so) today I would like to know. Because shipping from US will be expensive.
For waxing, Filson sells oil finish wax for their tin cruiser garments.
Sounds like a great option for the Cagoule.
I have an Australian jacket made of waxed cotton, but it’s a much lighter fabric, so I think a waxed canvas cagoule would be rather heavy and stiff. But the fragrance of beeswax might be rather nice.