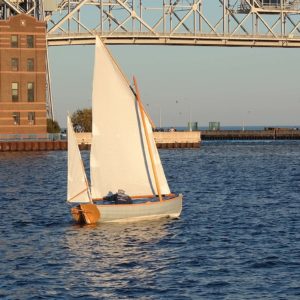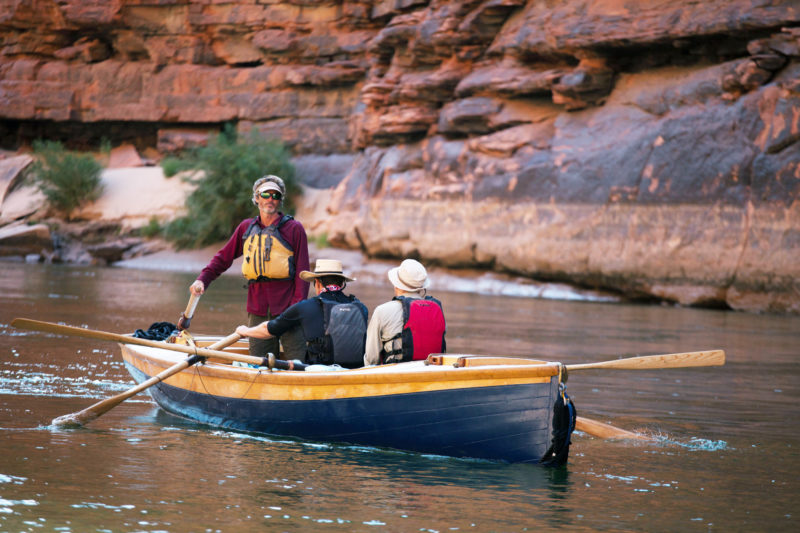
The Adirondack guideboat traces its lineage back to the 1840s and the water-rich, road-poor Adirondack region of upstate New York. The myriad lakes, streams, and rivers there required slim, shallow-draft boats that were fast, performed well in a wide range of wind and wave conditions, and were capable of carrying up to three people and their gear. They also had to be light enough for one man to portage. It was a tall order.
A number of builders created boats to meet the region’s needs, and a recognizable type developed. Double-ended with a strong sheer, it resembled a Native American canoe in profile. The guideboats were, on average, 16′ in length with a beam of 38″ and weighed 60 lbs. They were constructed with a plank keel—referred to as a bottom board—and closely spaced ribs sawn from spruce knees. Thin spruce or cedar planking was attached to the ribs with screws. The oars used with the boats were light with some flex, overlapping grips, and distinctive fixed-pin oarlocks.
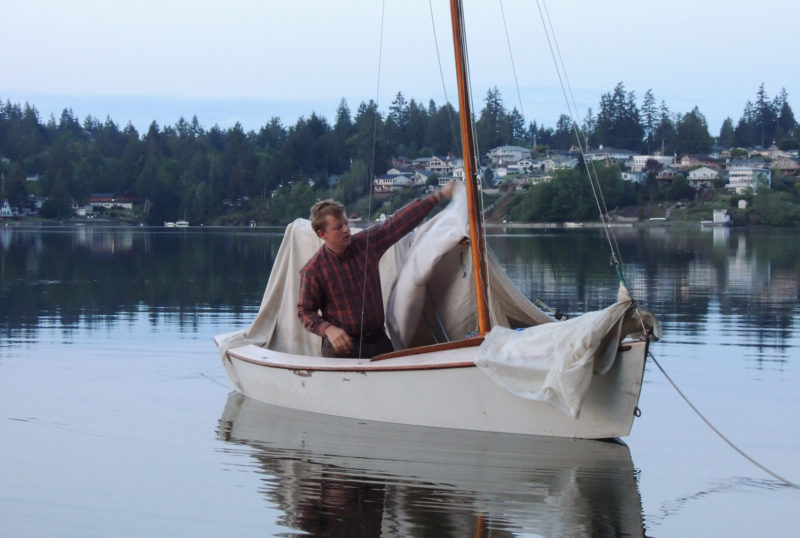
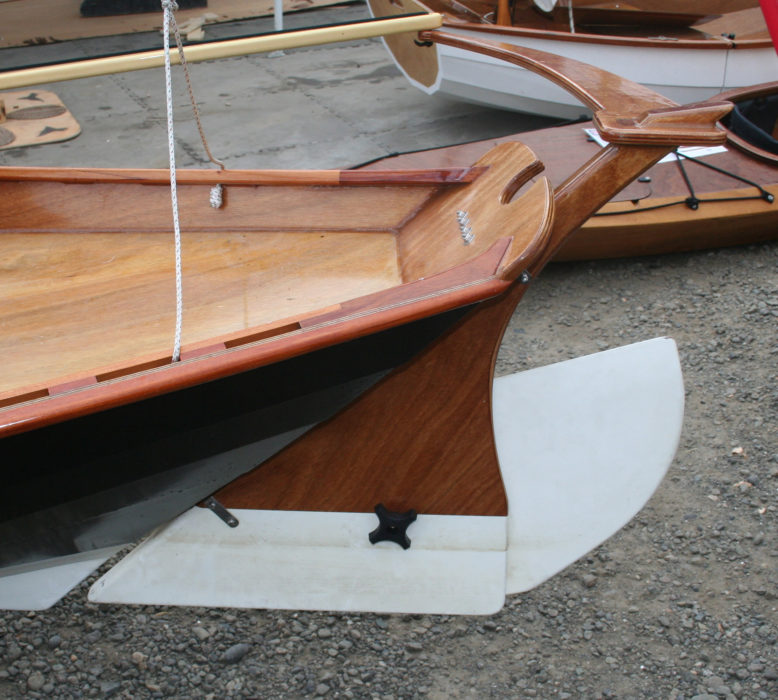
When Steve Kaulback, a self-styled “refugee” from New York City, built his first Adirondack guideboat in 1979, he wasn’t presuming to create a design that would eventually become one of the flagships of a guideboat revival; he just wanted to build a truly beautiful boat for himself. He had moved to Vermont in 1973, armed with little more than a Bachelor of Fine Arts degree from the Pratt Institute, and had no background in boating, much less boatbuilding. His older brother, Peter, had seen guideboats in Vermont and told Steve it was imperative to check them out if he ever got the chance. His chance came in the form of a vintage guideboat built by Warren Cole at Long Lake, New York, in the early 1900s. Not only did he get to see it, he got to row it. It was a life-changing experience. “It was the most incredibly beautiful thing I’d seen,” Steve said, “a perfect example of form following function. I knew I simply had to build a guideboat of my own.”
 Adirondack Guideboat
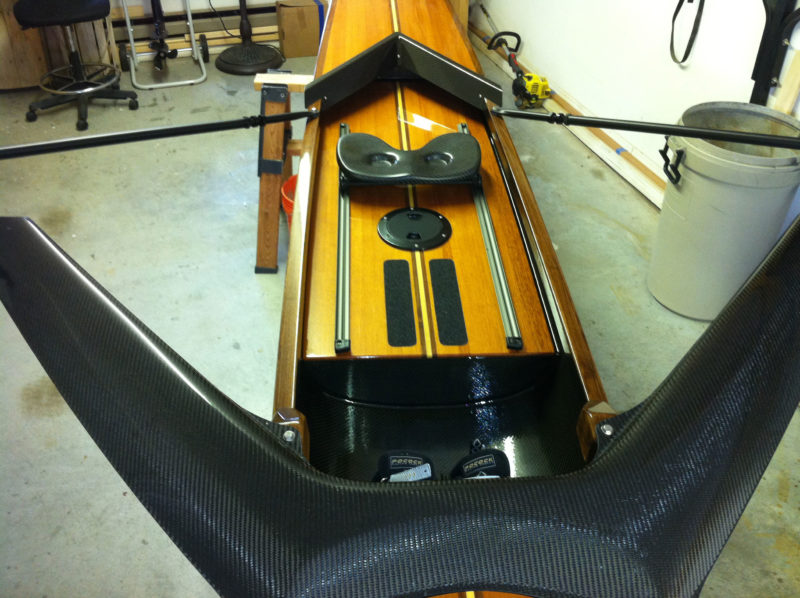
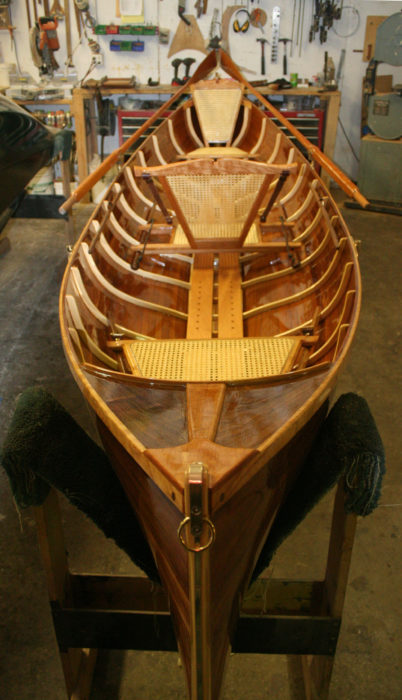
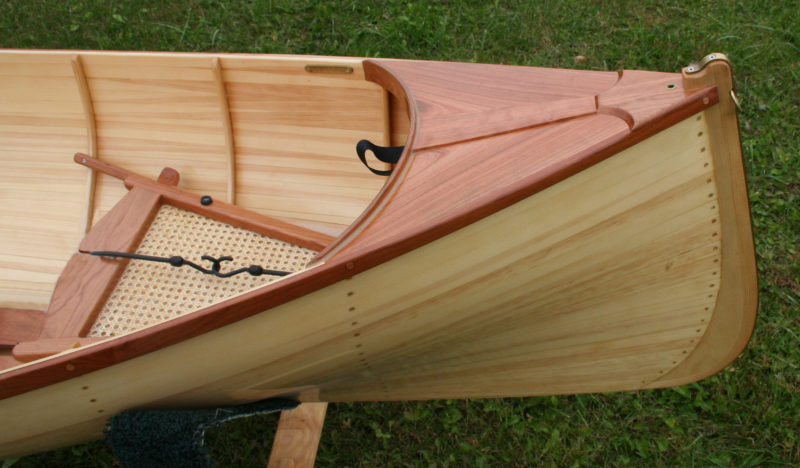
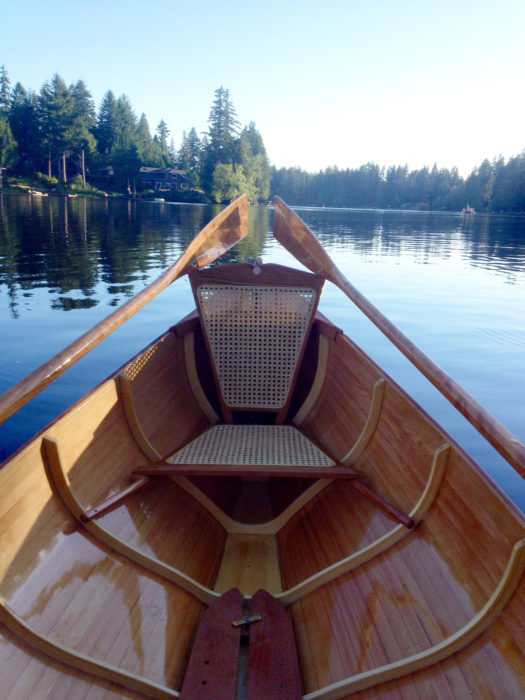
The backrest for the center seat is supported by leather straps with brass buckles. The holes in the floorboards anchor adjustable foot braces.
Plans were not available then as they are now. Atwood Manley’s Rushton and His Times in American Canoeing included the lines and offsets for Rushton’s Saranac Lake guideboat. Steve built a nicely crafted wood-strip version, and it was closely followed by a second. While generally pleased, he found the Saranac Laker had two drawbacks: Its narrow bottom-board rendered it too tender, and the straight keel made turning arduous. Examining John Gardner’s lines of Dwight Grant’s VIRGINIA, published in 1980 in Helen and Kenneth Durant’s The Adirondack Guide-Boat (and later in Building an Adirondack Guideboat by M. Olivette and J. Michne), he deduced that VIRGINIA’s wider bottom-board (slightly over 8” amidships) and hollowed deadrise in the garboards and broad strakes would offer better stability. Its rockered keel would have better maneuverability. Steve’s third guideboat incorporated these features and while its stability was indeed much better, turning was only marginally easier. In his fourth boat, Steve increased the rocker to about 1 1/2″, and that became the standard for his later guideboats.
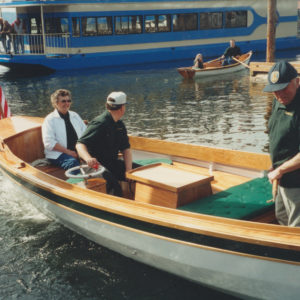
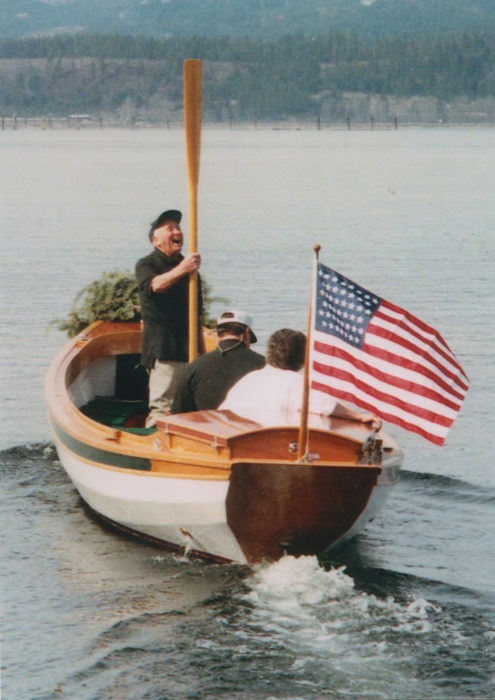
 Peggy Neil
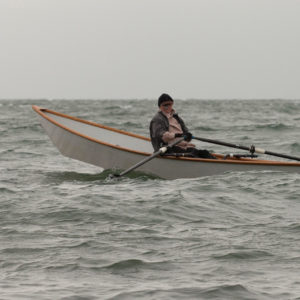
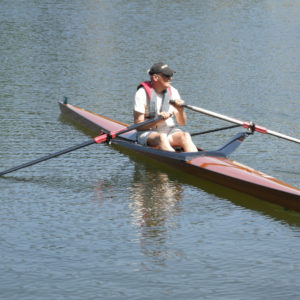
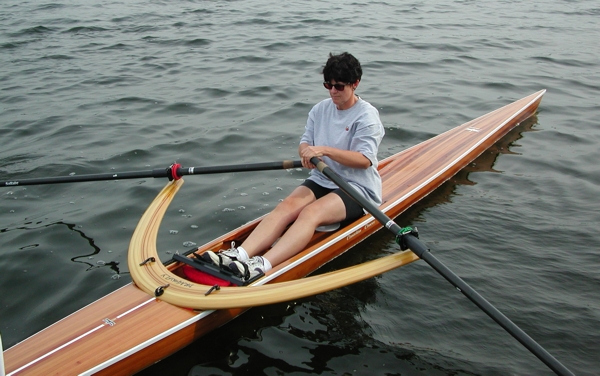
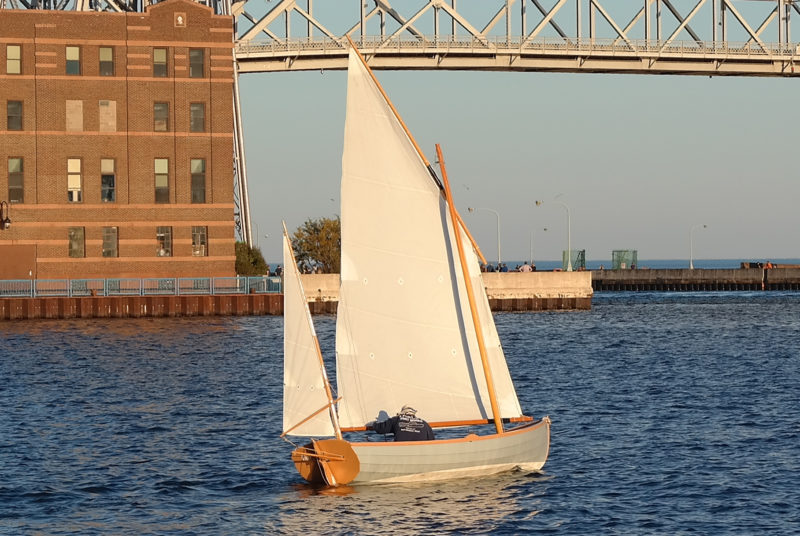
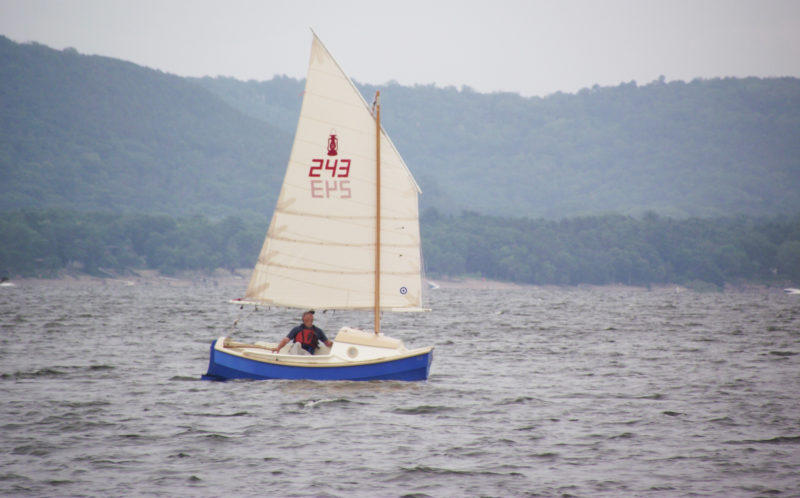
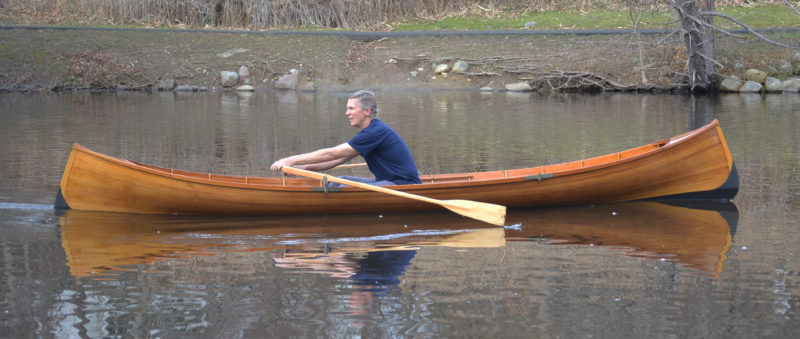
Paul Neil, in an AGC guideboat built by Steve Kaulback, shows the rowing form that has taken him to scores of wins in rowing races.
Steve proceeded to build guideboats to order, and, with only a few minor alterations, this is the wooden boat still built today by the business he founded, the Adirondack Guideboat Company (AGC). Brothers Justin and Ian Martin now own the company and build guideboats in the traditional style as well as in a Kevlar composite. If you’d like to build your own, AGC offers kits for boats with lengths from 13′ to 19′.
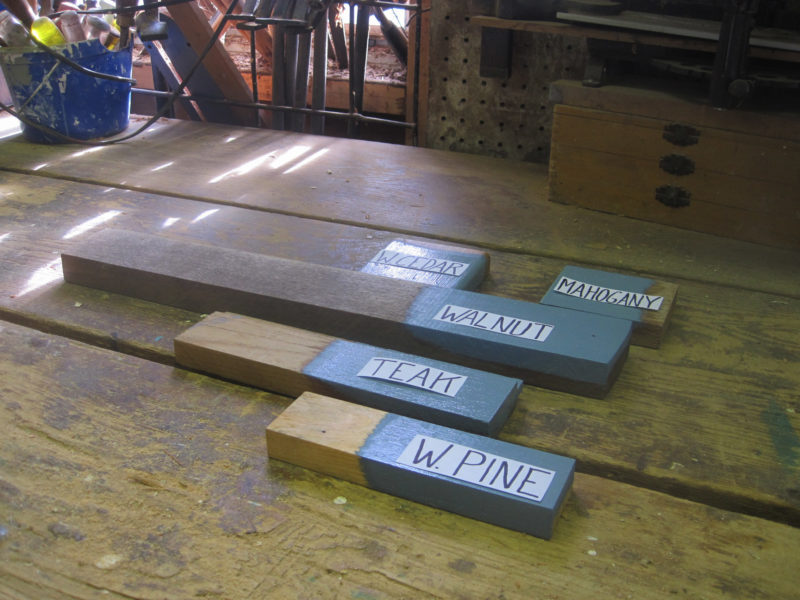
The construction of AGC’s boats closely mirrors how guideboats were built in the latter 19th and early 20th centuries; early builders Warren Cole and Dwight Grant would need little explanation for what they would see. The woods used are the same as for the originals—spruce for the stems and frames, pine for the bottom board, and cedar for the planking. The stems and frames are now laminated spruce, not natural crooks. The planking is still 5/16″ cedar, but cut into uniform 1″ strips, not shaped strakes ranging from 2 1/2″ to 4″ in width. The bottom board remains 3/4″ pine.
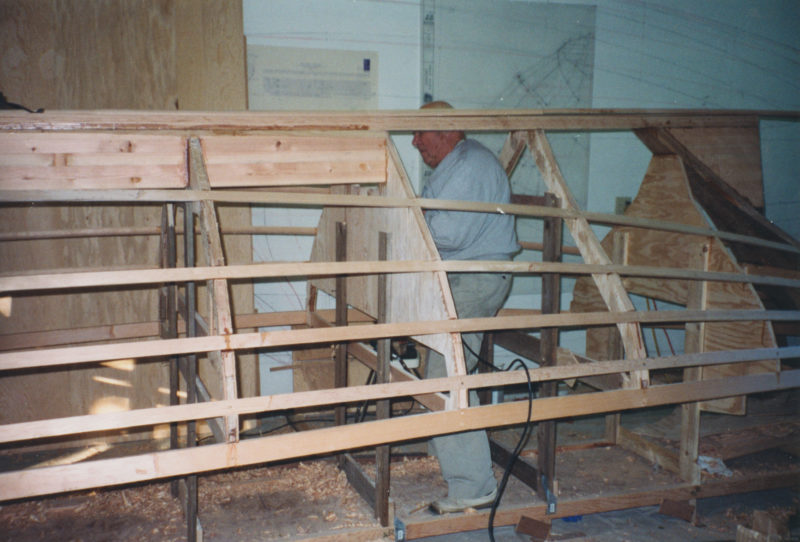
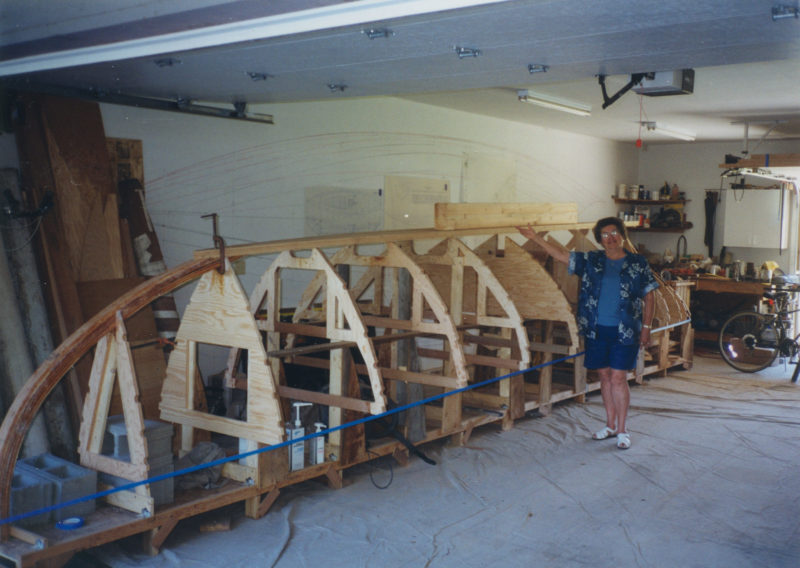
 Adirondack Guideboat
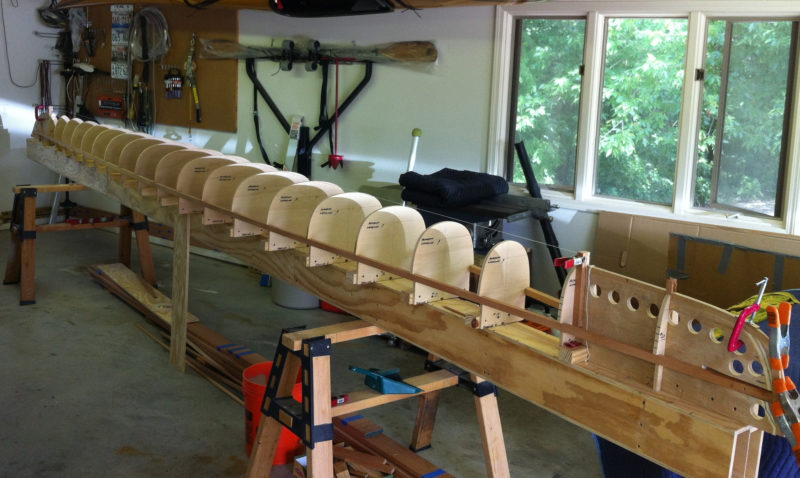
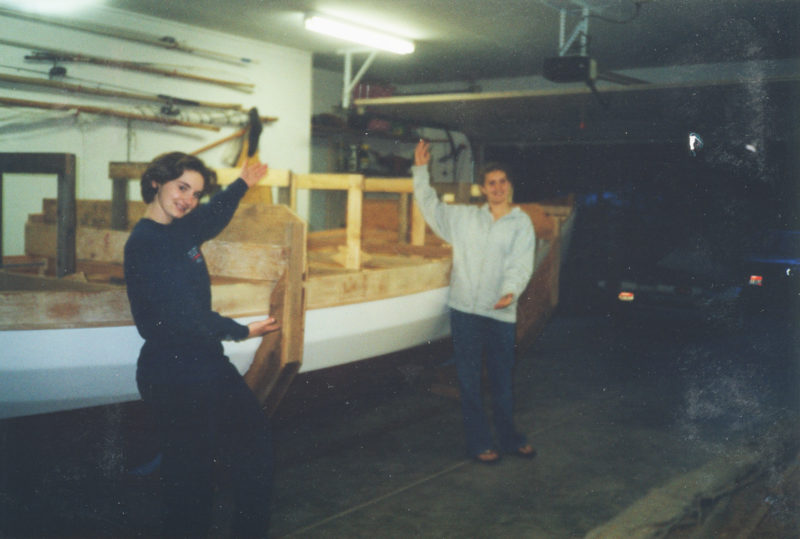
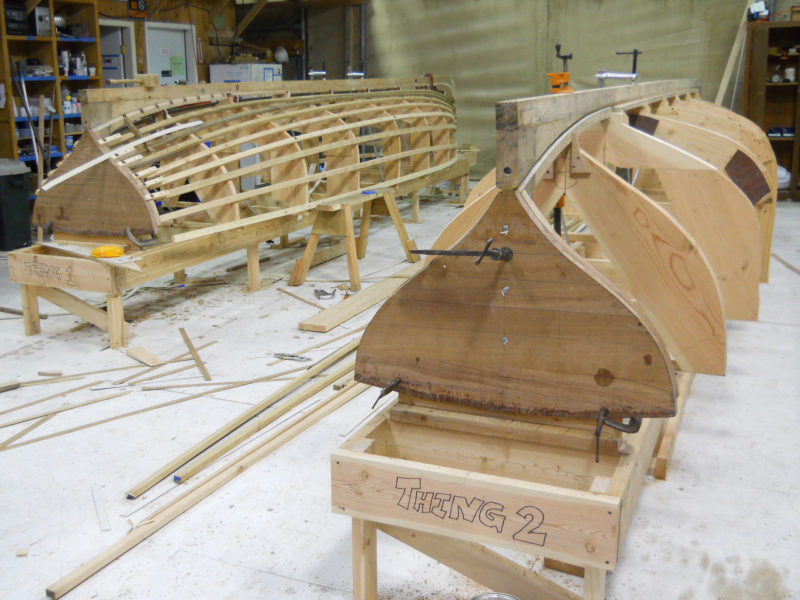
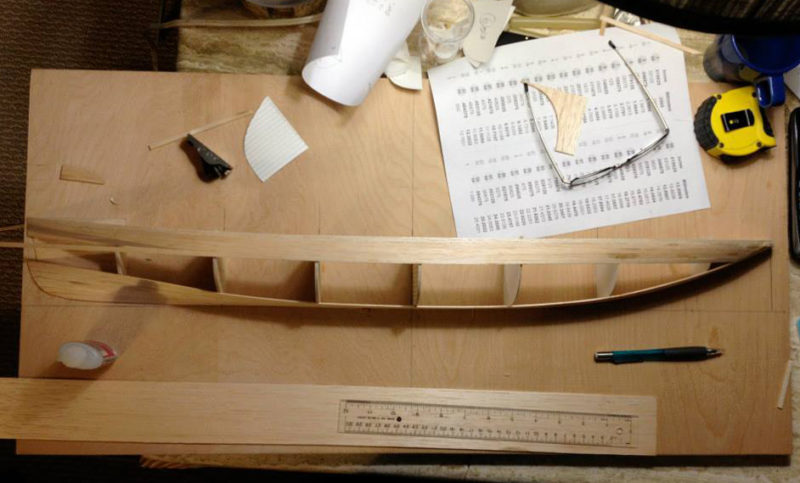
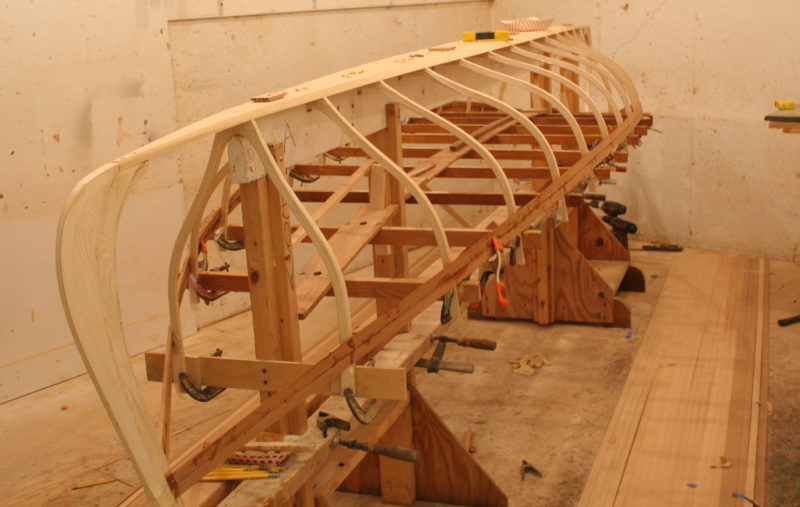
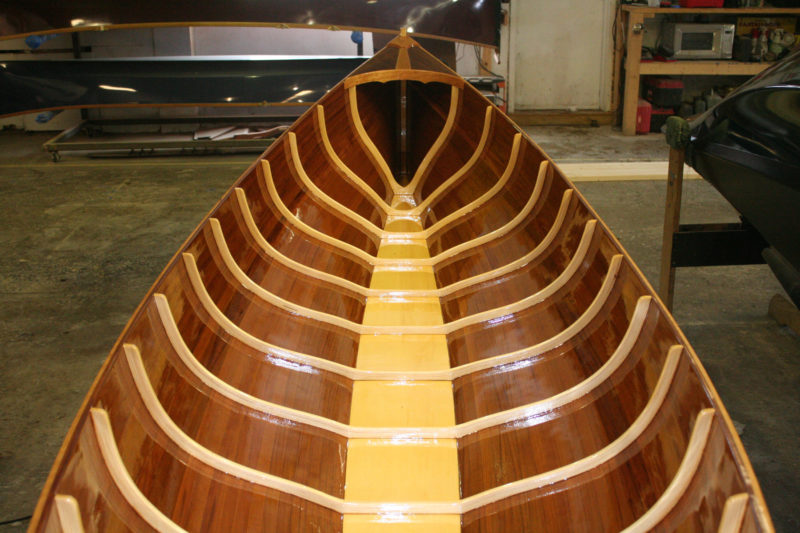
After the ribs are fastened to the bottom board they’re braced with cross spalls that establish the sheer line.
The shape of the guideboat, then and now, is established not by molds, but by attaching the stems and frames to the bottom board with brass screws. Most of the frames in the AGC boats are continuous from gunwale to gunwale; only the last frame at each end is in halves lapped across the bottom. The traditional frame spacing was 4″ to 6″—the maximum distance the strength of the natural crooks would allow. The laminated frames are much stiffer and stronger and are set 11 1/4″ apart. A 15-footer can be built with 13 laminated frames as opposed to 26 pairs of lapped sawn frames. This saves time, material, and weight.
 Adirondack Guideboat
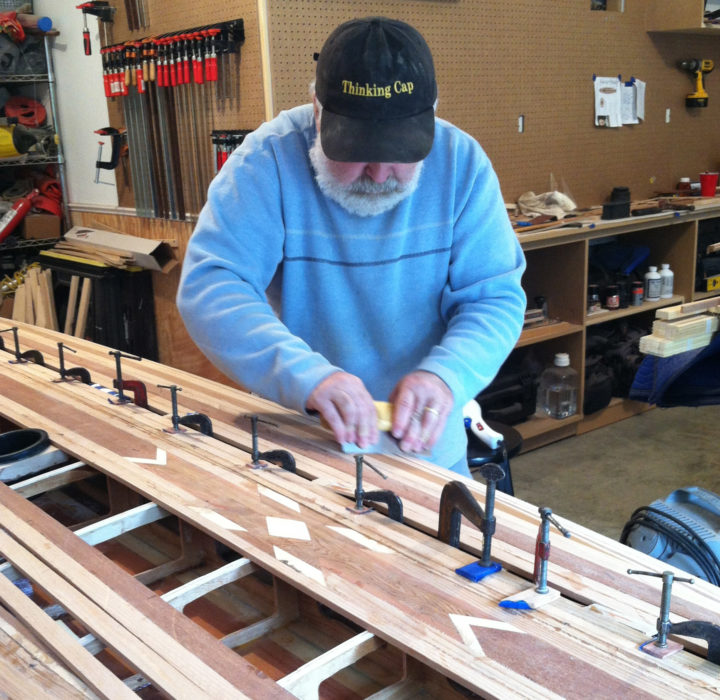
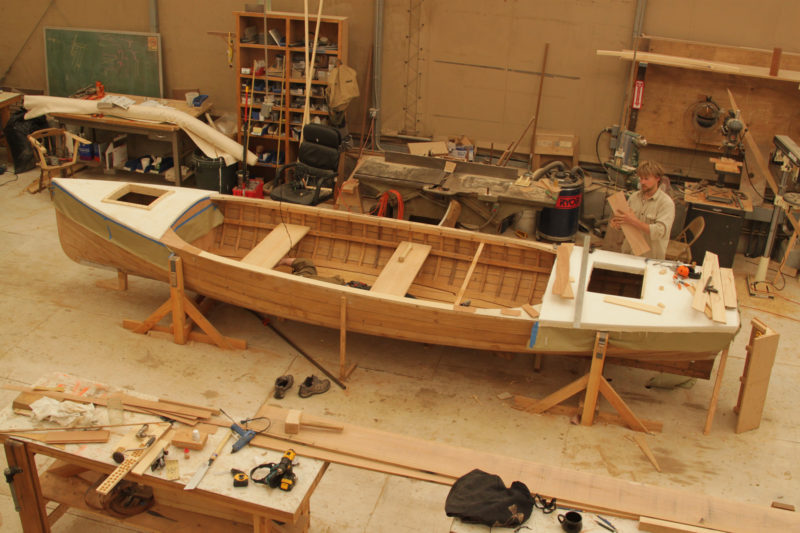
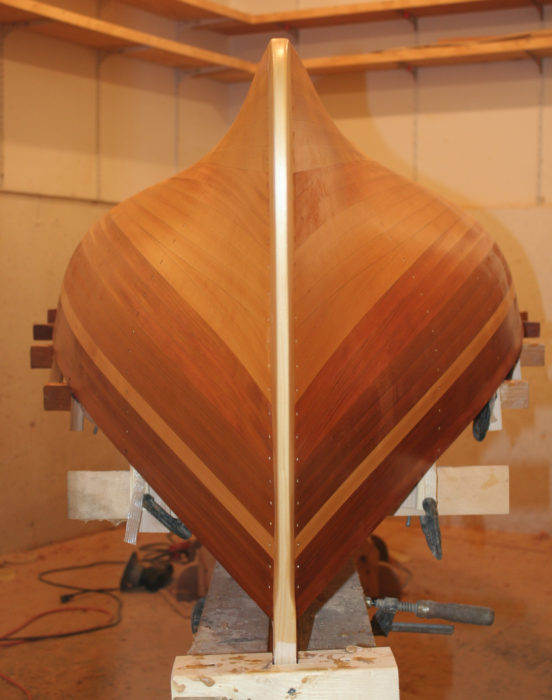
About a dozen strips run parallel to the sheer, and a half dozen parallel with the bottom board. Another half dozen split the difference in between. Wedge-shaped stealers fill the resulting wedge-shaped gaps at the stems.
The original boats were a variation on lapstrake planking. The overlapping strake edges were beveled to bring the planks flush with each other. The absence of external laps reduced the weight of the completed boat, and the smooth exterior slid through the water much more quietly. This stealthy quality was highly valued by sportsmen after the more elusive species of fish and game.
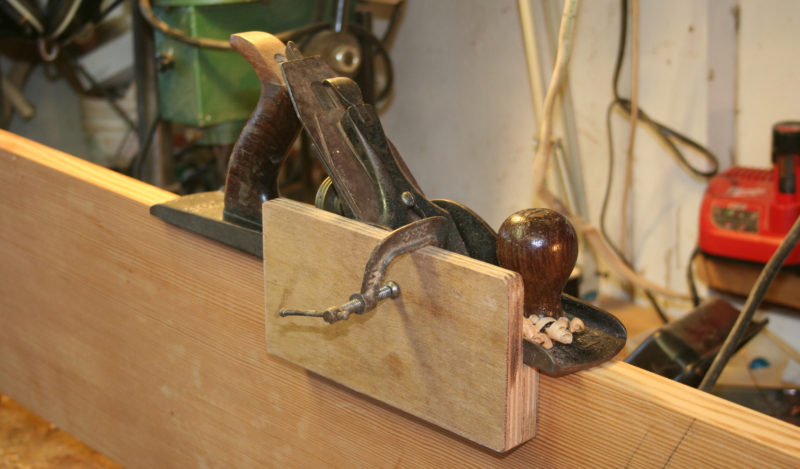
 Adirondack Guideboat
The caned seat backs have snap-apart brass hinges and can be folded down or easily removed.
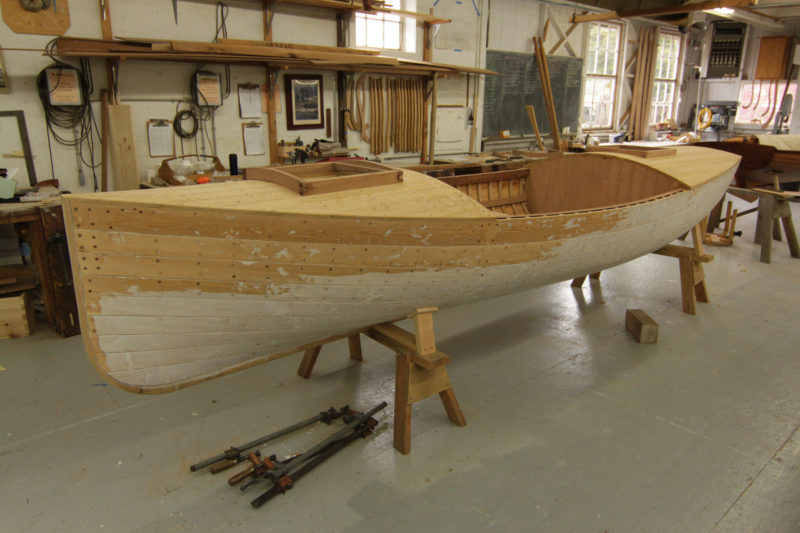
Strip-built boats produce smooth hulls whether the strips are sawn with square edges or milled with mating beads and coves. At AGC the strips are cut with parallel beveled edges. As each strip is applied to the frames, its gunwale-side edge tucks under and locks against the edge of the previously installed strip, providing a tight fit and a fair hull. The edges of the strips are given a coat of thickened epoxy just before installation; small, specially designed brass screws hold each strip to the frames and stems. True to traditional construction, AGC’s strips terminate in rabbets cut into the stems rather than running past an inner stem, to be trimmed and then capped with an outer stem.
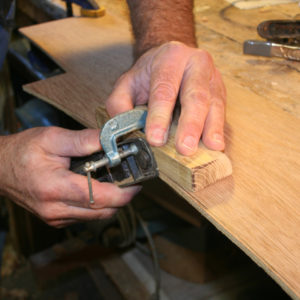
 Adirondack Guideboat
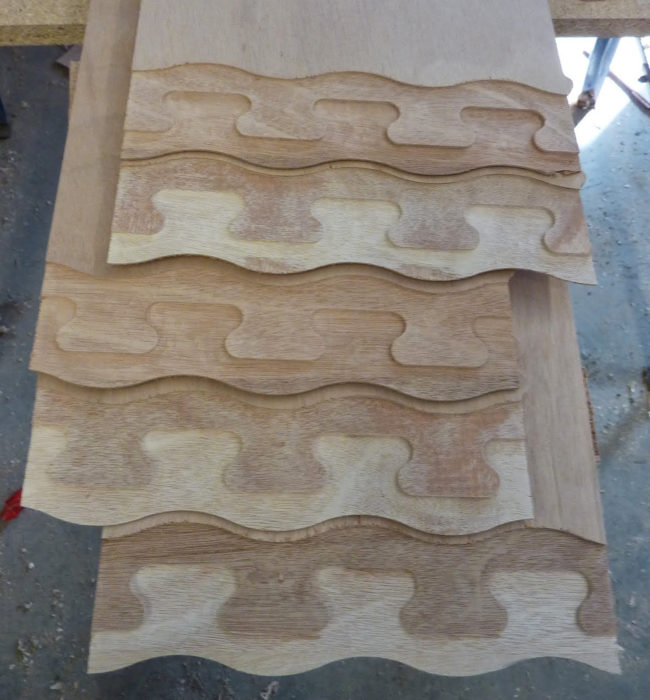
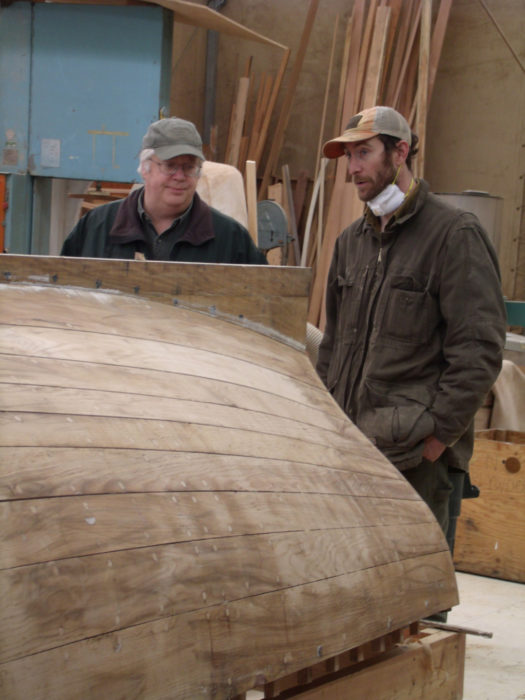
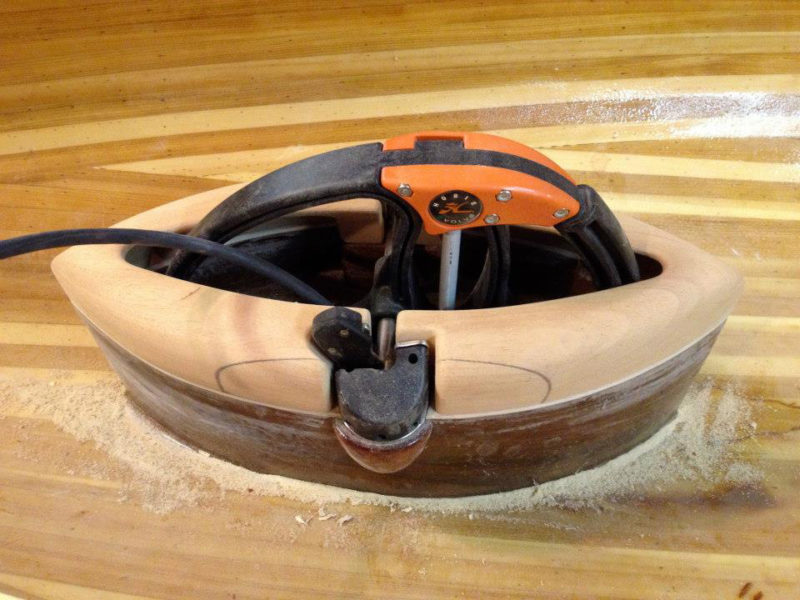
The ribs start as thin but wide strips of spruce. They’re steamed and clamped around a form; after they’ve dried, they’re removed for an application of epoxy, then clamped back on the form until the epoxy cures. Each completed lamination yields five ribs in the thickness shown here.
The hull is thoroughly sanded smooth inside and out. The interior is treated with four coats of epoxy followed by four coats of varnish. The exterior gets a layer of 4-oz fiberglass and epoxy. After the weave is filled with three more coats of epoxy, the hull is sanded smooth and finished with three coats of varnish or an application of high-quality marine paint.
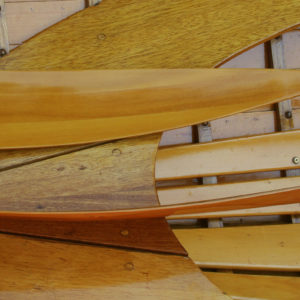
 Spencer Leonard, www.spencerleonard.com
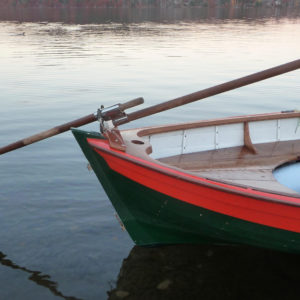
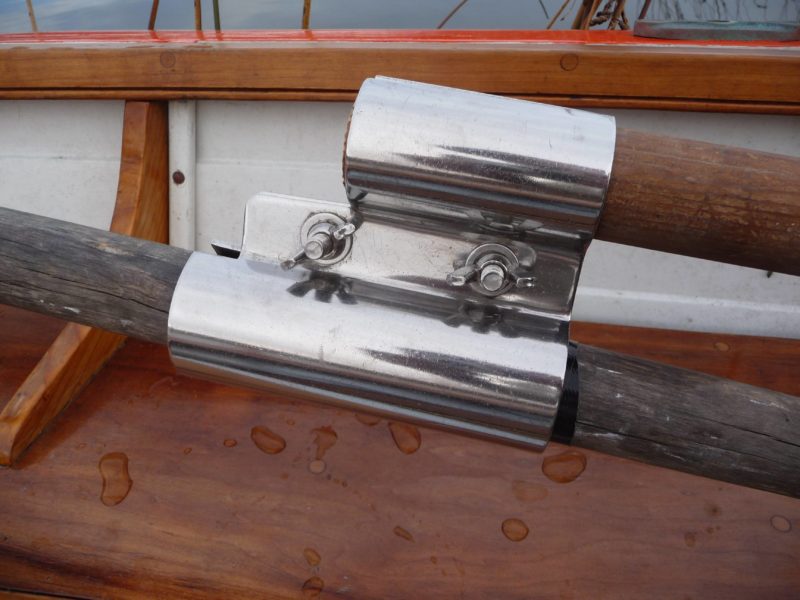
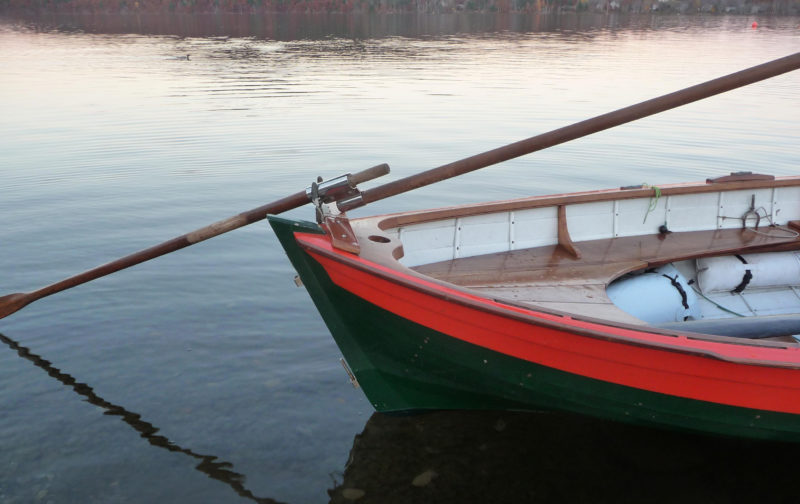
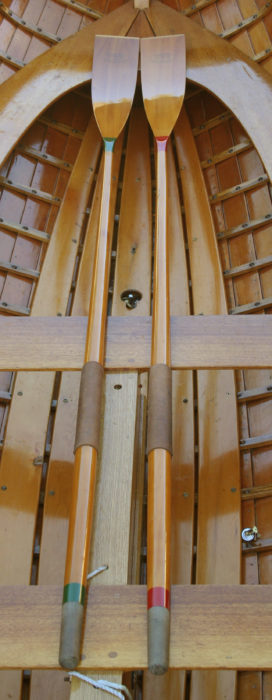
The oarlocks for the guideboat don’t allow feathering but will let the oars trail at the ready whenever the rower needs to tend to a fishing rod.
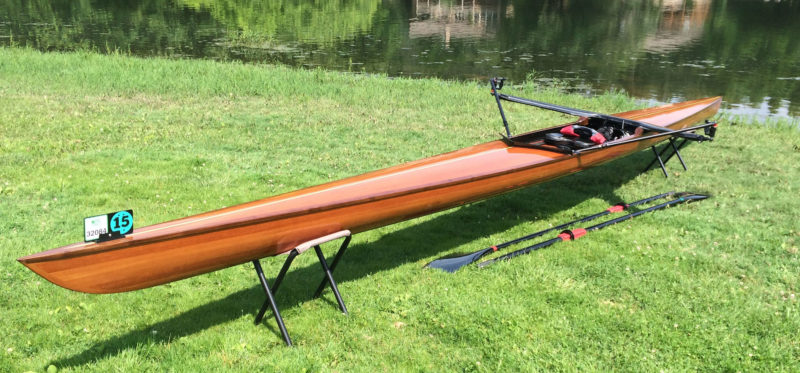
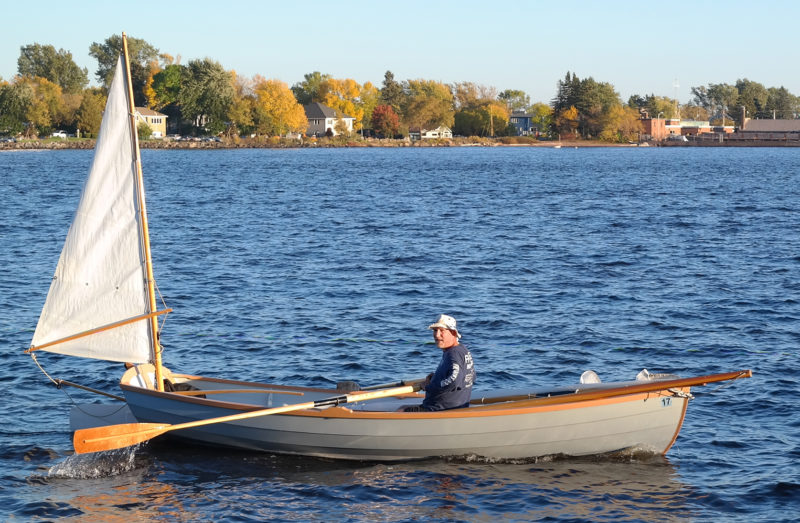
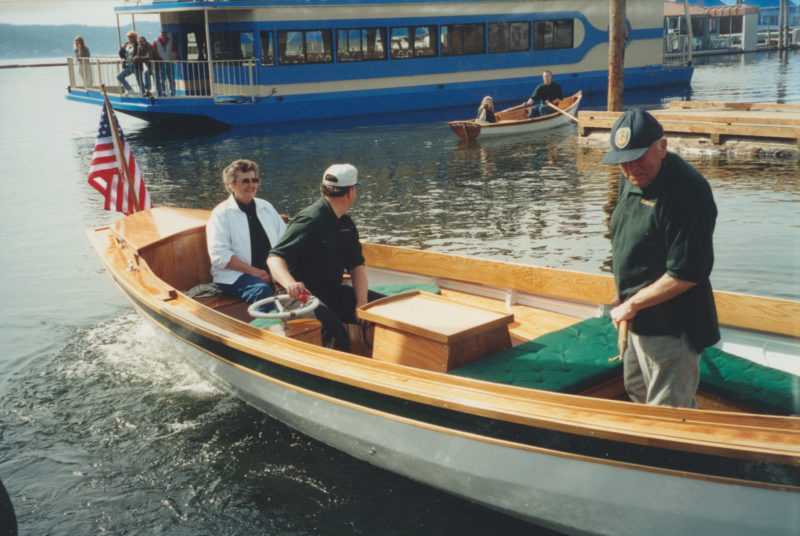
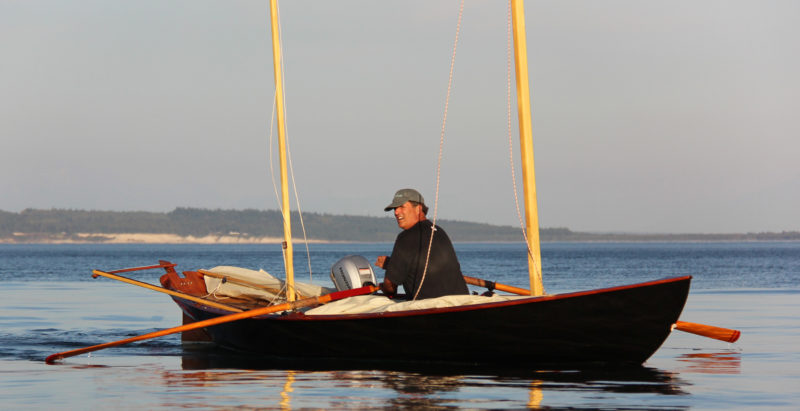
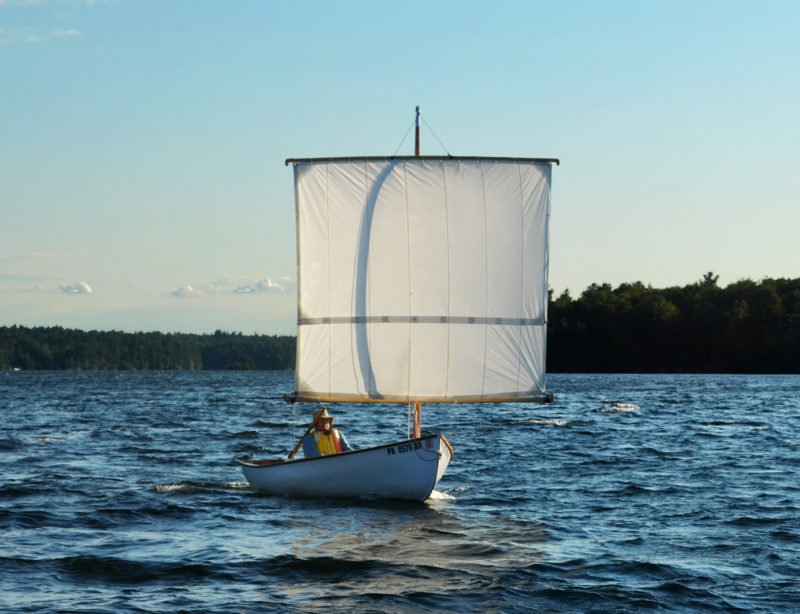
The AGC boats met and exceeded my expectations of a guideboat. They handle a variety of loads well and safely under a range of conditions—dead calm up to truly challenging. I’ve rowed several of AGC’s guideboats, both cedar and Kevlar, and am most familiar with the 15′ version.
Throughout the history of guideboats, people have described them as “cranky.” The boats feel tender and present some challenges in adapting to a style of rowing unfamiliar to most. I won’t contest this—that was my initial impression, too. Trusting that patience is a virtue often rewarded, I elected to stay the course and let the boat teach me rather than trying to master it based on my experiences with other, very different small rowing craft. I’m glad I did.
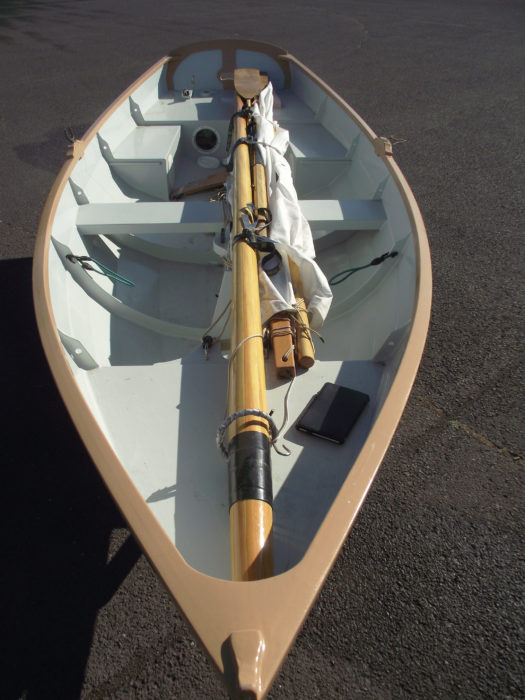
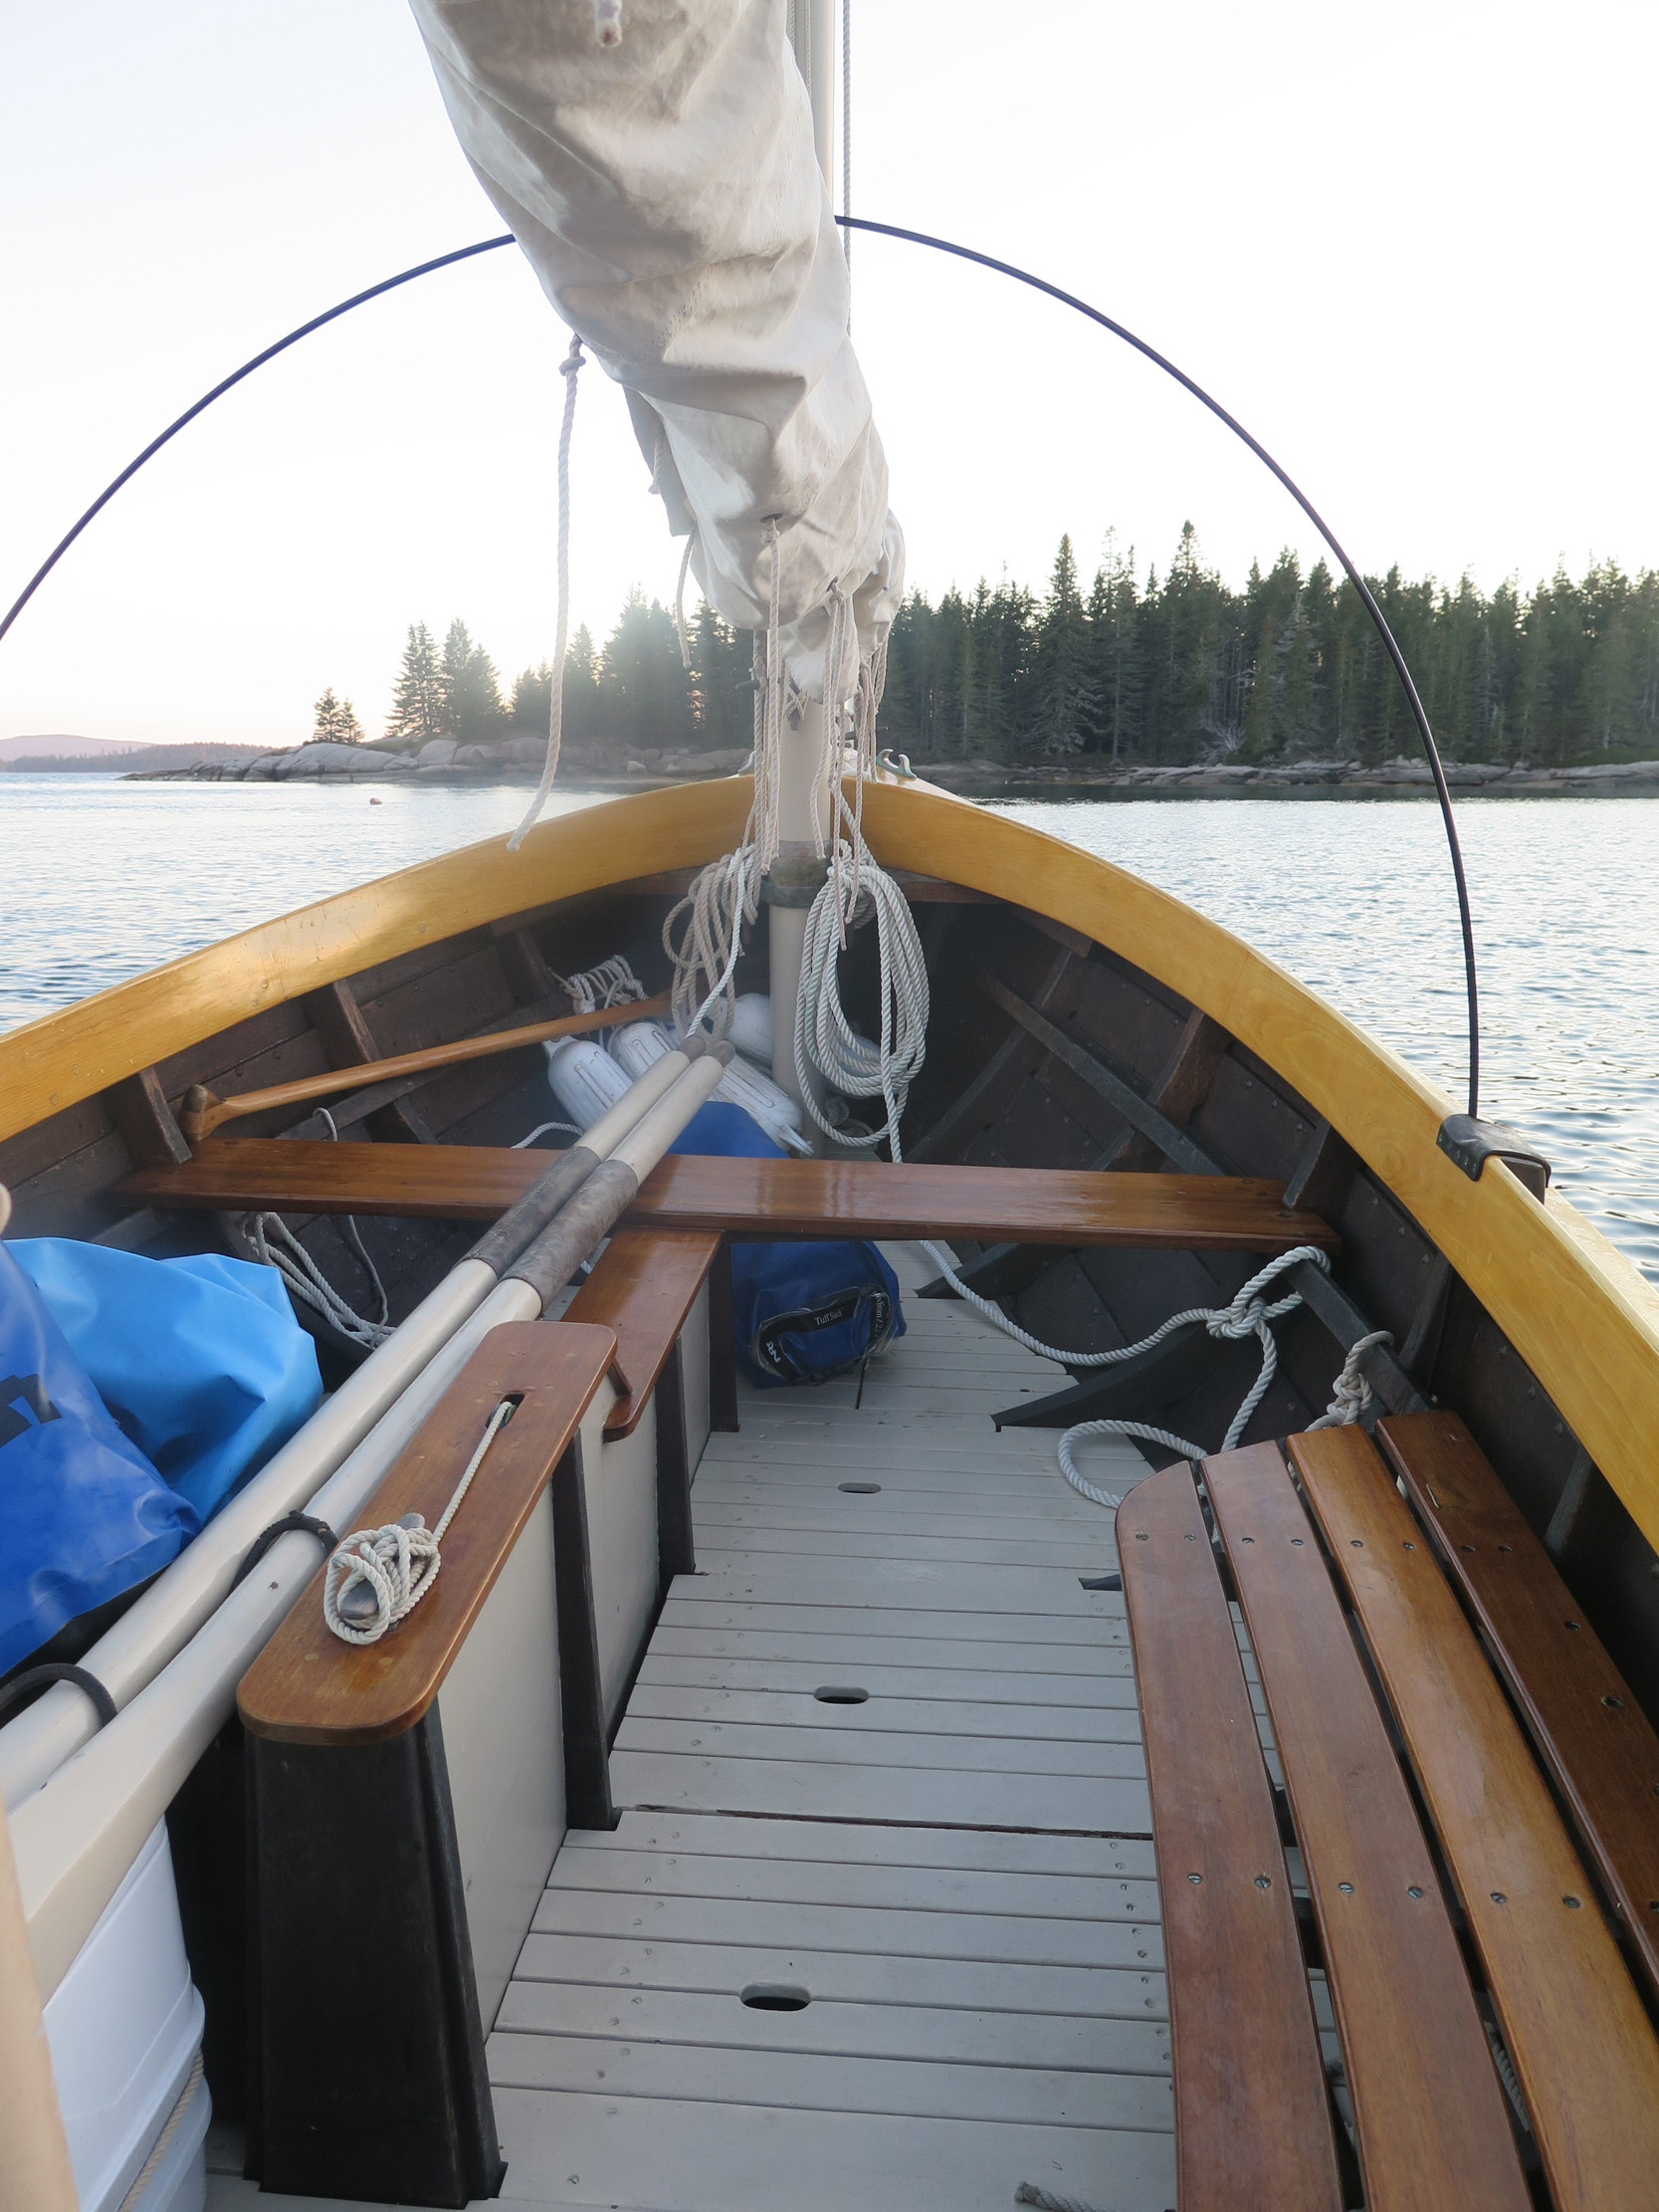
Guideboats have two rowing stations but are intended to be rowed by only one person. The amidships station is used for rowing solo or with two passengers and a goodly load of cargo. The passengers sit in the bow and stern seats, and duffel, evenly divided, is stowed in the bottom at their feet. The forward rowing station is for carrying a single passenger seated in the stern. If duffel is carried, it’s stowed between oarsman and passenger.
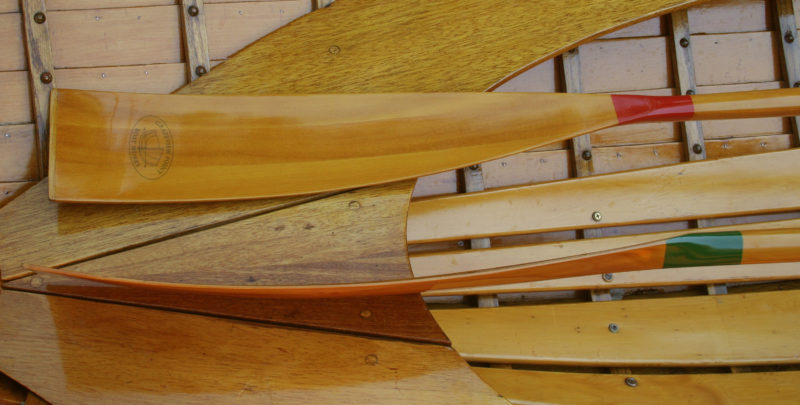
Traditional guideboat oars are used in locks with fixed pins through the loom. The oars are non-feathering, and the length of the loom inboard dictates that the grips overlap each other. This requires the oarsman to row with one hand held forward of the other and the after hand held a bit higher. This takes some getting used to but provides exceptional control of the boat once mastered. The oars I used were 8′long, flat-bladed, with about 8″ overlap.
 Adirondack Guideboat
The seat backs have projections at the top corners to catch the oar blades when they’re rested out of the water.
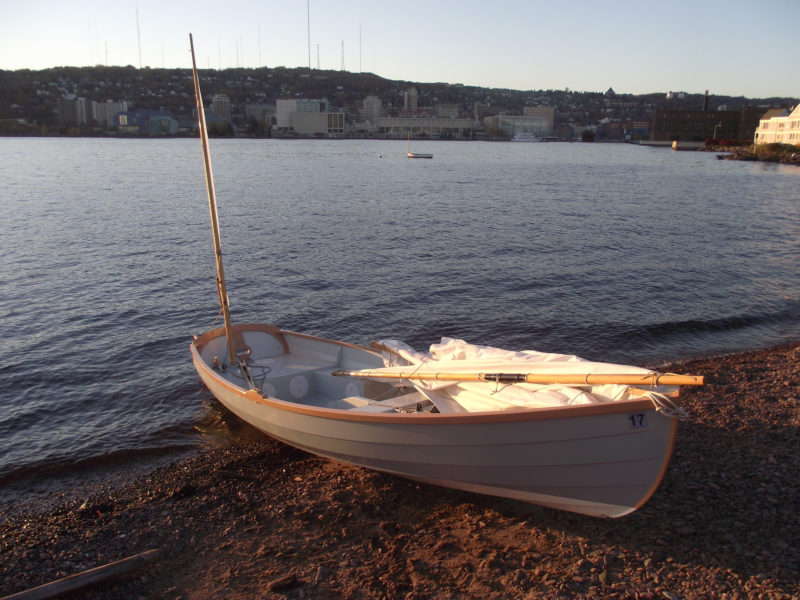
All of my experiences of getting aboard guideboats have been from docks. I rapidly learned to place my weight squarely in the center when getting in and gain my seat as smoothly and quickly as possible. Once centered in the boat and with oars in hand, I immediately sensed the boat settling in the water, and the tenderness I felt getting aboard diminished. Getting underway is best accomplished with short, smooth, even strokes. Once the boat was moving I never felt any lack of control.
 Spencer Leonard, www.spencerleonard.com
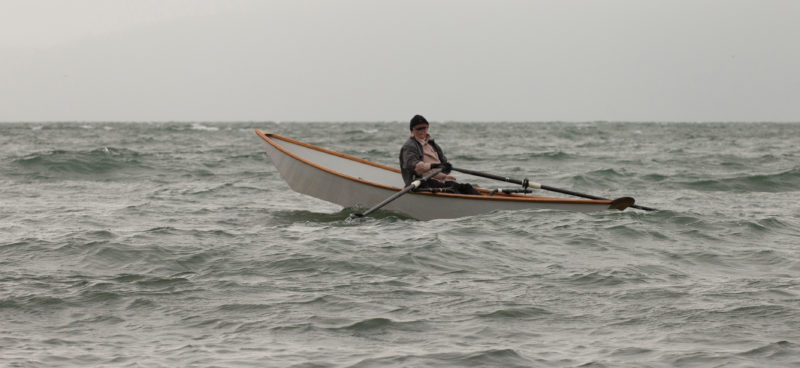
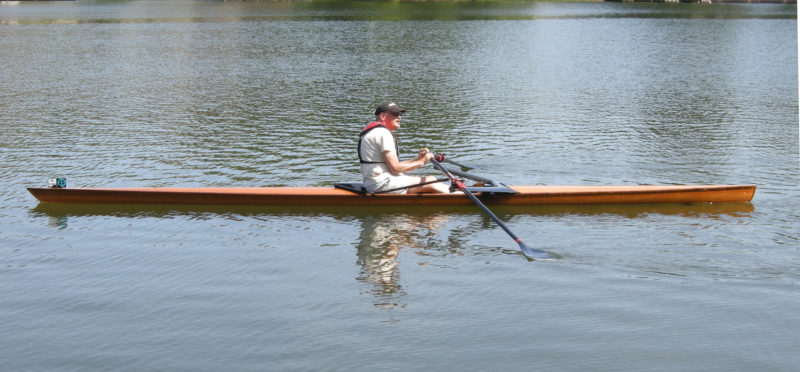
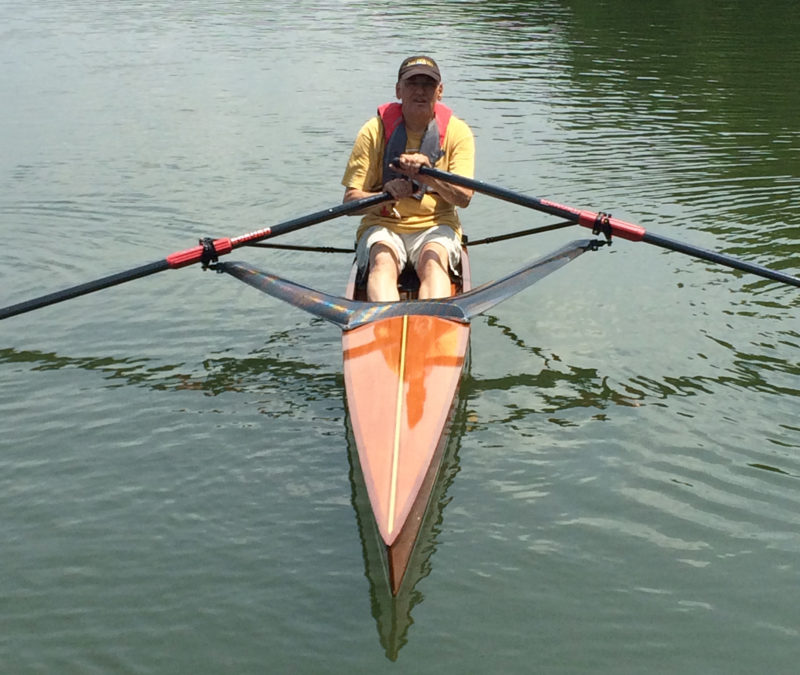
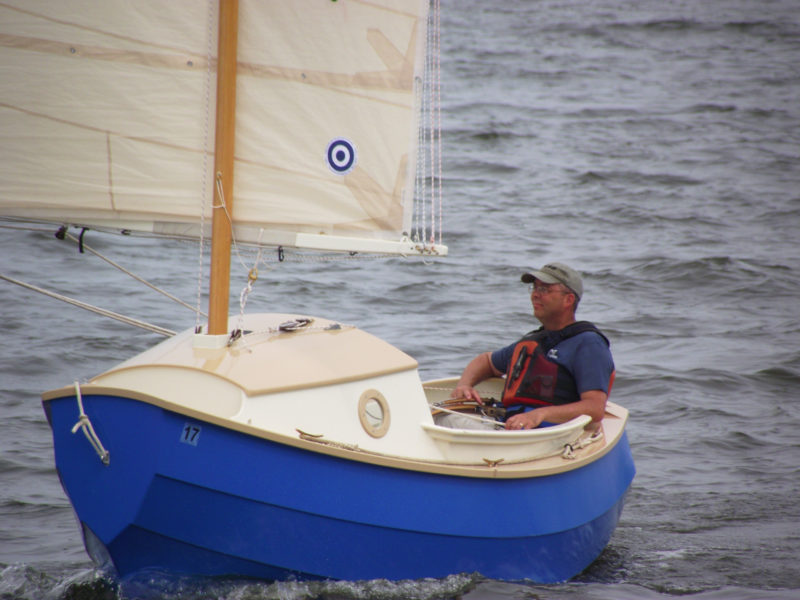
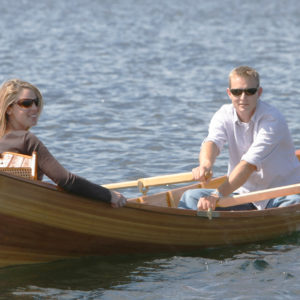
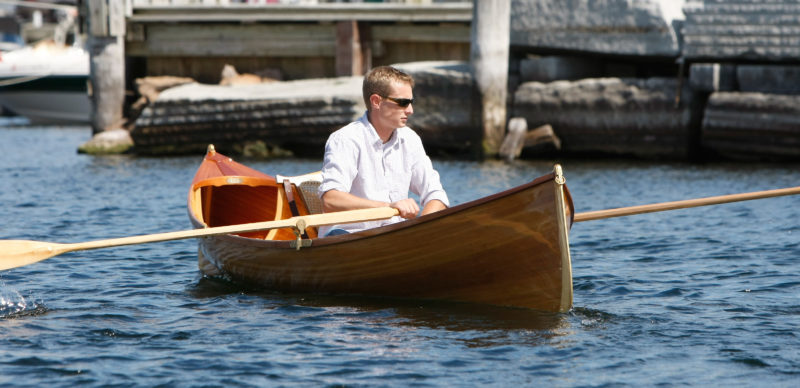
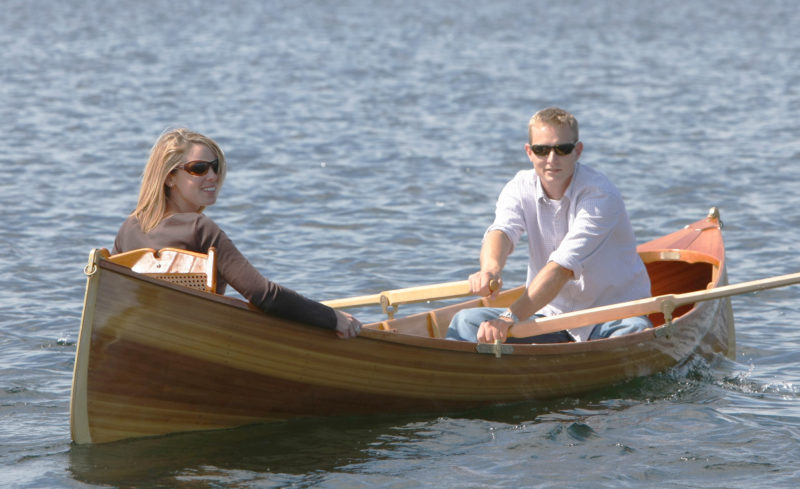
Guideboat builder Justin Martin takes Erin out or summer row on the occasion of their engagement. She has her backrest up for comfort; Justin has his down for rowing.
My rowing with a load aboard has been limited to a single passenger weighing about 150 lbs and just a few pounds of duffel. The main challenge was encouraging the passenger to get used to the motion of the boat and sit still; that would relieve me of having to adjust my own balance and stroke style every time a nervous passenger squirmed to a different position.
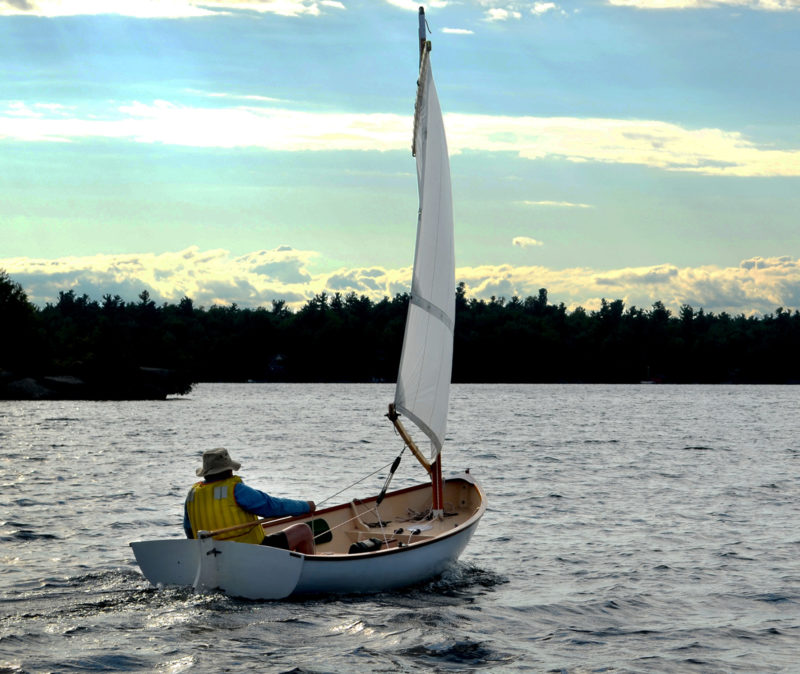
My excursions have been in conditions ranging from calm to swells and up to a sharp chop with wind and some confusion between tidal currents and powerboat wakes. The guideboat’s stability in uneven water was excellent, and its response to my strokes crisp. I easily maintained headway and heading.
My shortest excursions, both solo and with a passenger, were about an hour. One 2 1/2-hour outing included a passenger. My longest “voyage” was more than 4 hours long with one coffee break; I averaged just over 4 knots.
I can hardly claim to have “wrung the boat out to its max.” Far from it. But the AGC boats have given me a sound basis from which to appreciate this design’s potential and to find credible the many reports of stellar performance under extreme circumstances and a rather incredible number of wins AGC boats have racked up in many competitive venues. This design is a real winner, as enchanting to look at as it is to row.![]()
Rodger Swanson was introduced to traditional rowing 45 years ago and has never looked back. He owns the Swanson Boat Company in Windsor, Connecticut, a small business devoted to boatbuilding and rowing accessories. His company is the sole remaining marine tallow producer in North America.
Particulars
Length: 15′
Beam: 40 1⁄2″
Stem height: 24″
Depth at center: 12″
Capacity: up to 550 lbs
Weight: 70 lbs
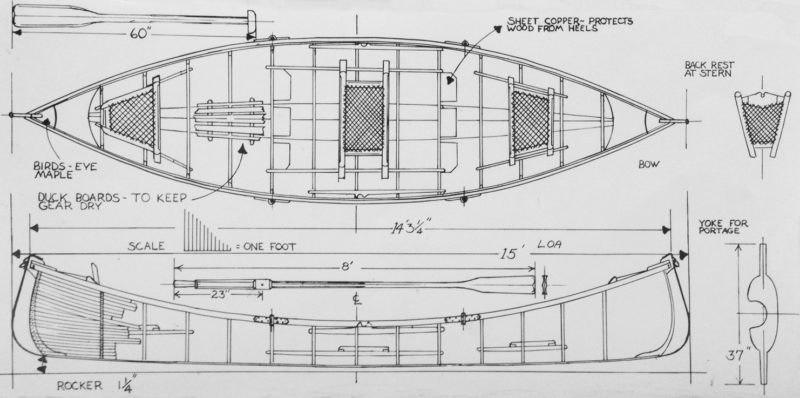
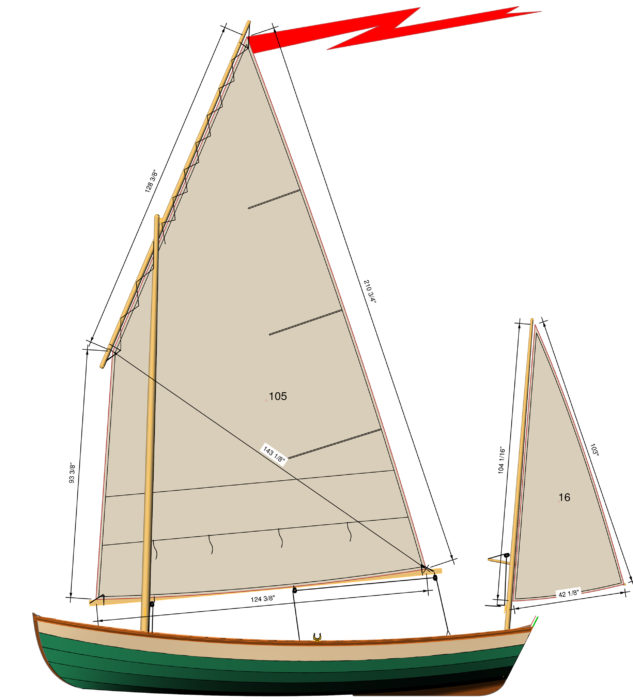
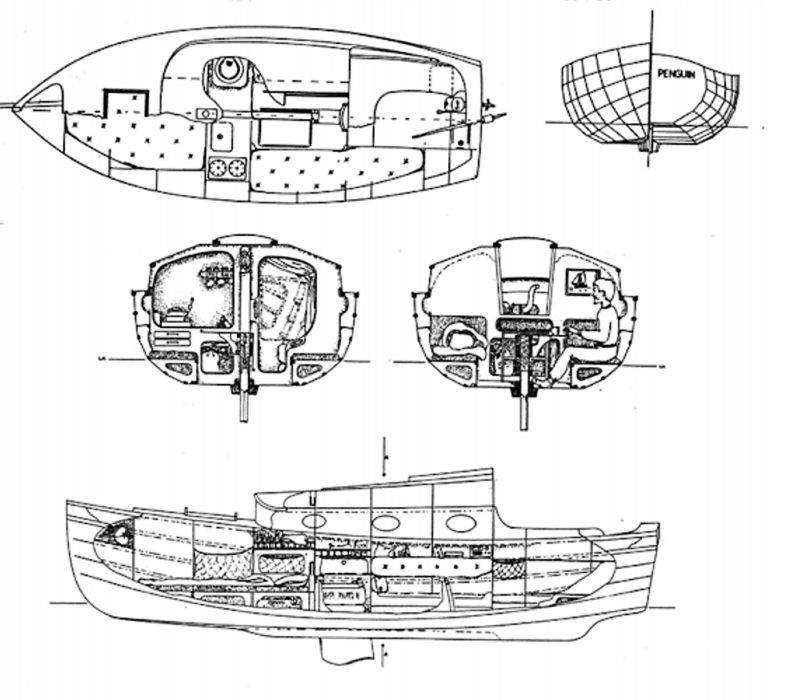
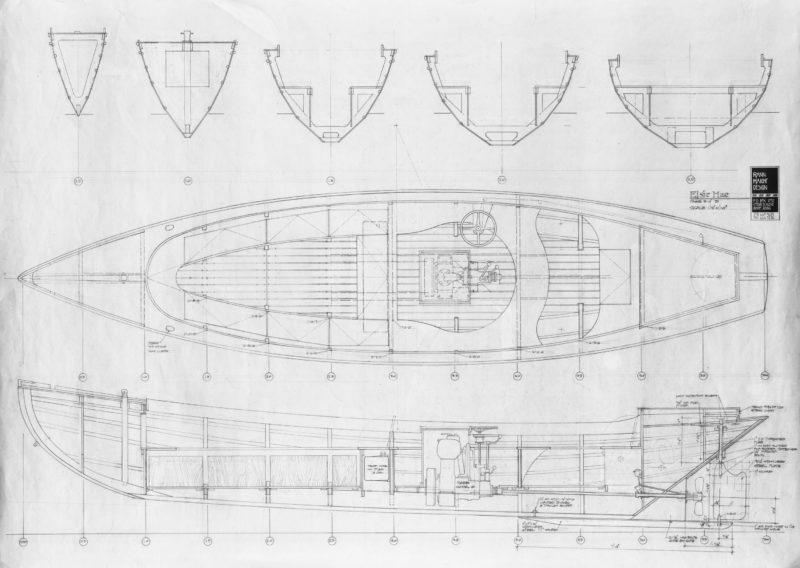
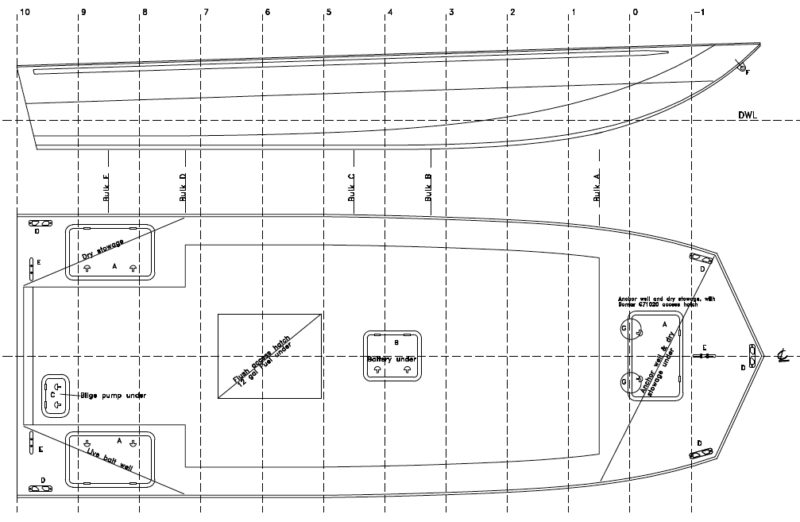
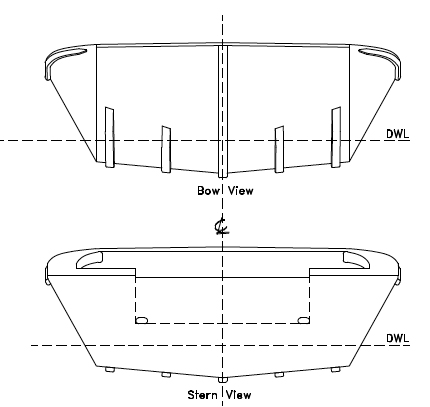
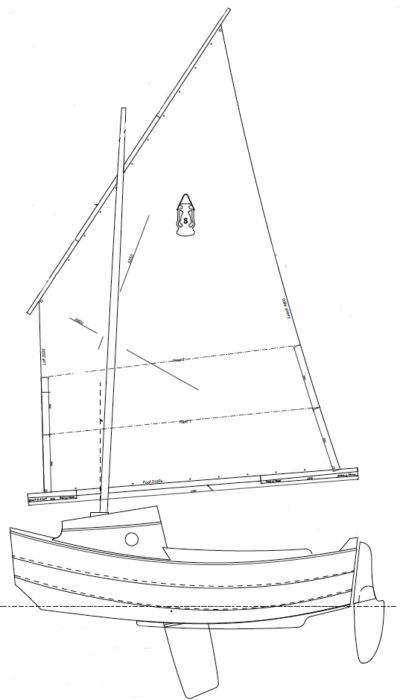
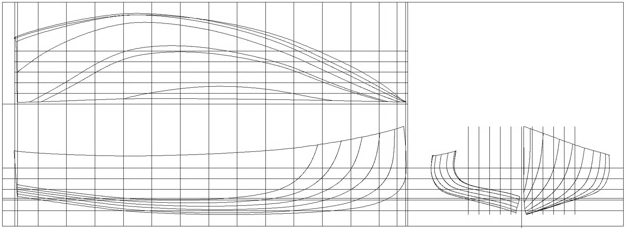
Lines for the 15′ guideboat as drawn by Steve Kaulback
The Adirondack Guideboat Company offers finished boats from 13′ (53 lbs) to 19′ (88 lbs) in 1′ increments for $14,960–$18,040. (Dimensions above vary depending upon boat length.)
The AGC cedar guideboat kit provides all of the wood and metal parts needed to build the boat: pine bottom board, cut and beveled cedar planking, spruce stems, laminated spruce ribs, cherry seats, gunwales, floorboards and decks, brass rowlocks, oarlocks, brass stem bands, and soft maple oar blanks. In lengths from 13′ to 19′, priced at $3,800–$5,100.
Is there a boat you’d like to know more about? Have you built one that you think other Small Boats Monthly readers would enjoy? Please email us!