 photographs by the author
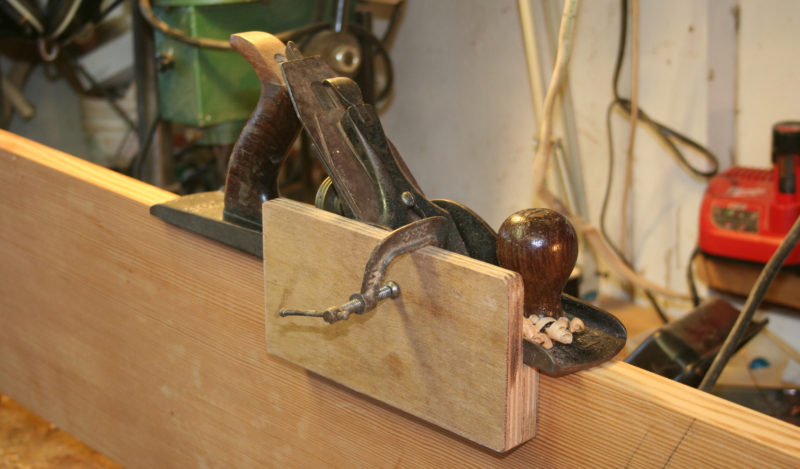
Two pieces of 9mm plywood glued together create a side fence for a jack plane.
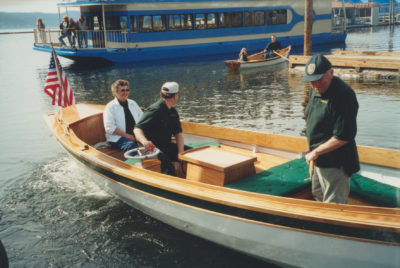
When you give a plane a sharp edge and set it to make a fine cut, it’s easy to come neatly up to the pencil line you’re cutting to. It’s not so easy to keep the plane square to the work, especially if its sole is teetering on a narrow edge. For some jobs, such as fairing the edge of a lapstrake plank, being off a few degrees isn’t cause for concern, but for other jobs, such as planing stitch-and-glue panels in pairs or joining boards for a transom, an unwavering square edge matters. I’ve resorted to a few simple shop-made fences clamped to a plane to make it easy to keep the tool square to the work.
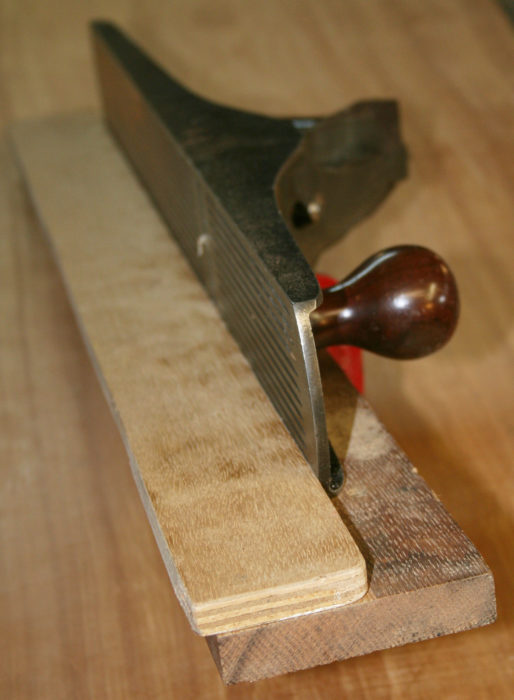
For larger planes balance on the work can be an issue. The small section of this fence could be made thicker to better balance the jointer plane over the work.
For working long, straight edges on lumber with a jointer plane or a jack plane, I’ll use a fence clamped to the side of the plane. It’s a bit like a shooting board that moves with the plane instead of staying with the workpiece. The fence is made of two pieces: The one that makes contact with the work is 2″ to 3″ wide; the other about twice that. Glued together, the two pieces of wood create a stagger that sets the work within the span of the plane’s blade. A small clamp holds the fence in place on the plane. The workpiece should be rigid enough to be held vertically, to support the weight of the plane, and to resist the lateral pressure the fence requires.
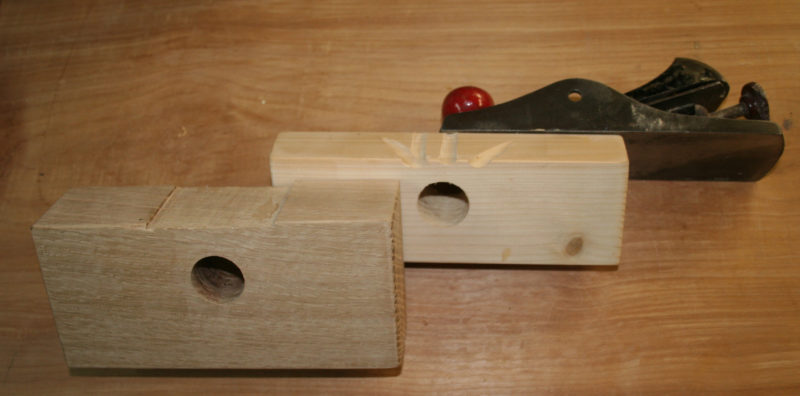
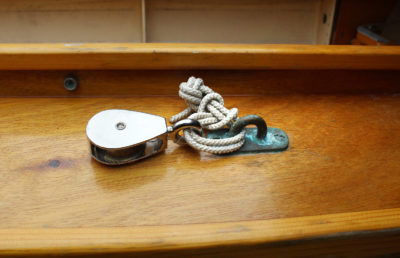
When I’m shaping long, curved plywood planks that are too flimsy to be worked if clamped vertically on the face of a workbench, I use a block plane with a fence clamped to its sole.
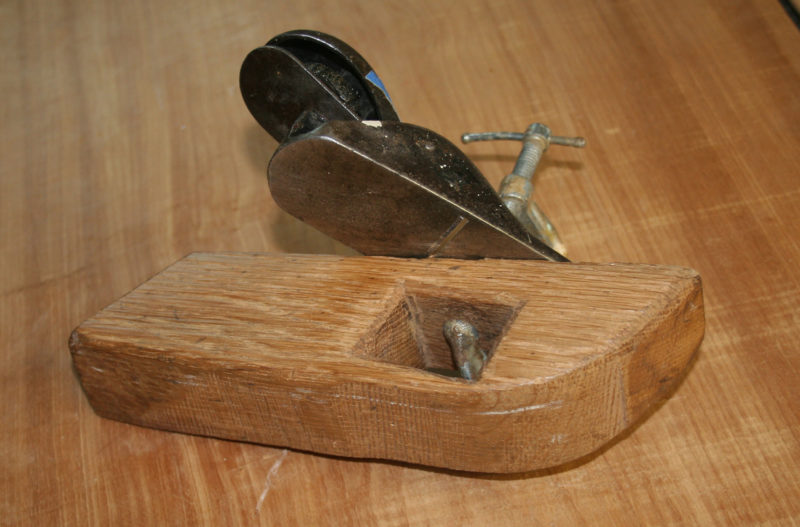
Two old friends: I made this sole fence in 1979 while I was building a Chamberlain dory skiff. The plane got its tail docked when I dropped it on a concrete floor. A little time with a grinder smoothed its rough edges. The square hole isn’t necessary. While it makes it possible to adjust the plane and clamp to fit the grooves for the blade on top, it’s easier to drill a round hole and rasp a new groove as needed.
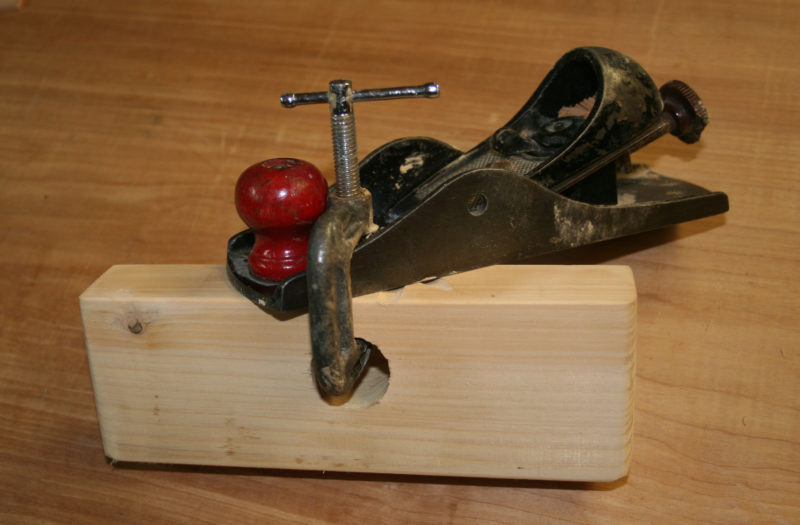
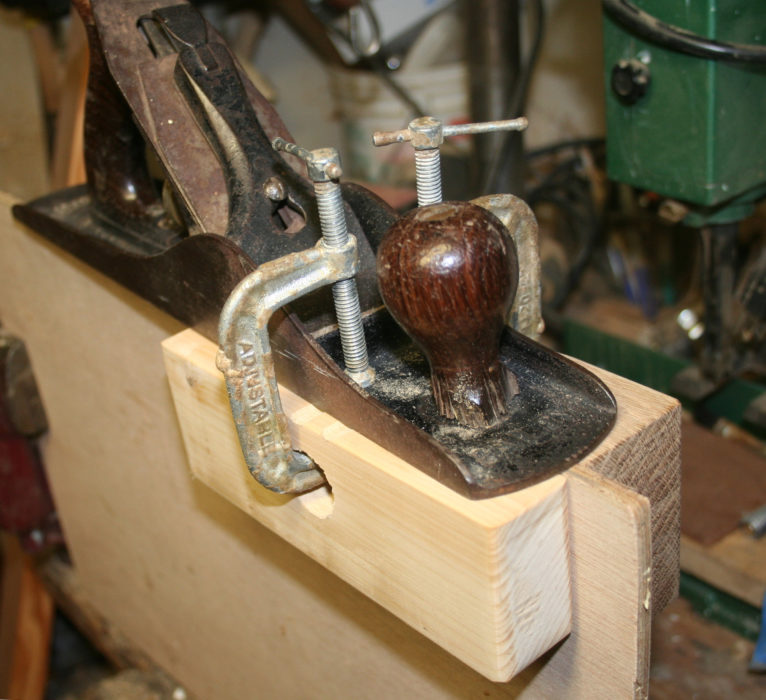
There’s usually enough room forward of the plane’s throat for a small clamp to apply pressure.
Flexible planks are better behaved when they’re resting flat on a long worktable and the smaller, lighter plane is more easily managed, it’s weight chiefly supported by the fence. While this is the only option for a plane that doesn’t have sides machined flat and square to the bottom, it has the added benefit of allowing the plane to be set at an angle to the work, shortening the contact area of the plane for concave work.

This small fence of locust wood took about five minutes to make.
Skewing the plane also makes the “apparent” bevel of the blade more acute for easier cutting whether the workpiece’s edge is concave, straight, or convex. The sole fence is just a block of wood with squared faces and a 1″ hole drilled in the middle close to one face. Grooves cut with a rat-tail file or a bandsawn recess keep the fence from pushing against the plane blade.
Sole fences require recesses to provide clearance for the plane blade.
I’ll occasionally have a hard time with a side fence on vertical work: a heavy plane working a narrow edge will want to tip and tends to cut at an angle. Then a pair of sole fences pressed to the sides of the workpiece with a light pressure will do the trick with the added benefit of making it easy to switch directions if the grain demands it.
When a single side fence isn’t stable enough for planing a straight edge, a pair of sole fences will keep the plane square.
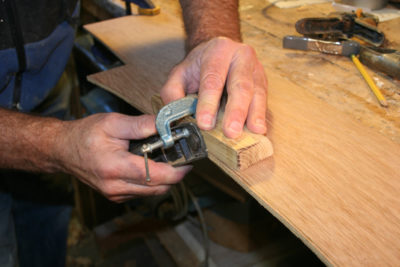
When there’s a lot of wood between the rough-cut edge and the pencil line I need to get to, I use a small router equipped with a fence. The router removes wood quickly and won’t push the wood around like a hand plane will. The router also rests its weight on the work unlike a power planer. The work is clamped with the edge just beyond the workbench.
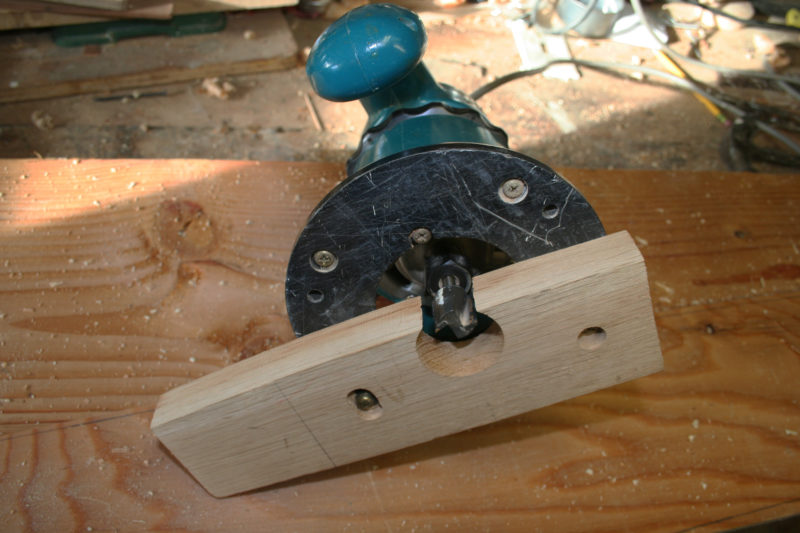
The fence is held to the router base by two machine screws. A 3/4″ carbide straight bit does the cutting.
The router fence is a piece of hardwood, cut straight or curved to match the work, with an oversized hole for a straight-sided router bit intersecting the working edge. There are two holes for mounting the fence with machine screws; one is elongated to allow the depth of cut to be adjusted from gobbling wood to sneaking up on a pencil line.
A workpiece thicker than the bit is long can be done in two steps: Work up to the line and then remove the fence, flip the piece over, and use a bottom-bearing flush-trim bit to finish.
It’s worth mentioning that there are ways to use a batten both to draw plank shapes and then, while it is still in place, use it as a guide for a top-bearing flush-trim router. But these methods require nailing the batten to the stock. Using a router with a fence doesn’t take you automatically to a finished edge as these methods do, but you can draw your lines with a more limber batten, use spline weights instead of nails, and work a complex curve that requires more than one batten to draw.![]()
Christopher Cunningham is the editor of Small Boats Monthly.
You can share your tricks of the trade with other Small Boats Monthly readers by sending us an email.


Clever, simple, economical and effective! Now why didn’t I think of that myself?!