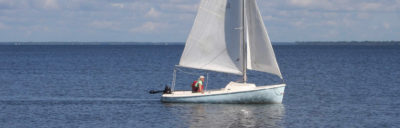
 photographs by Mark Kaufman
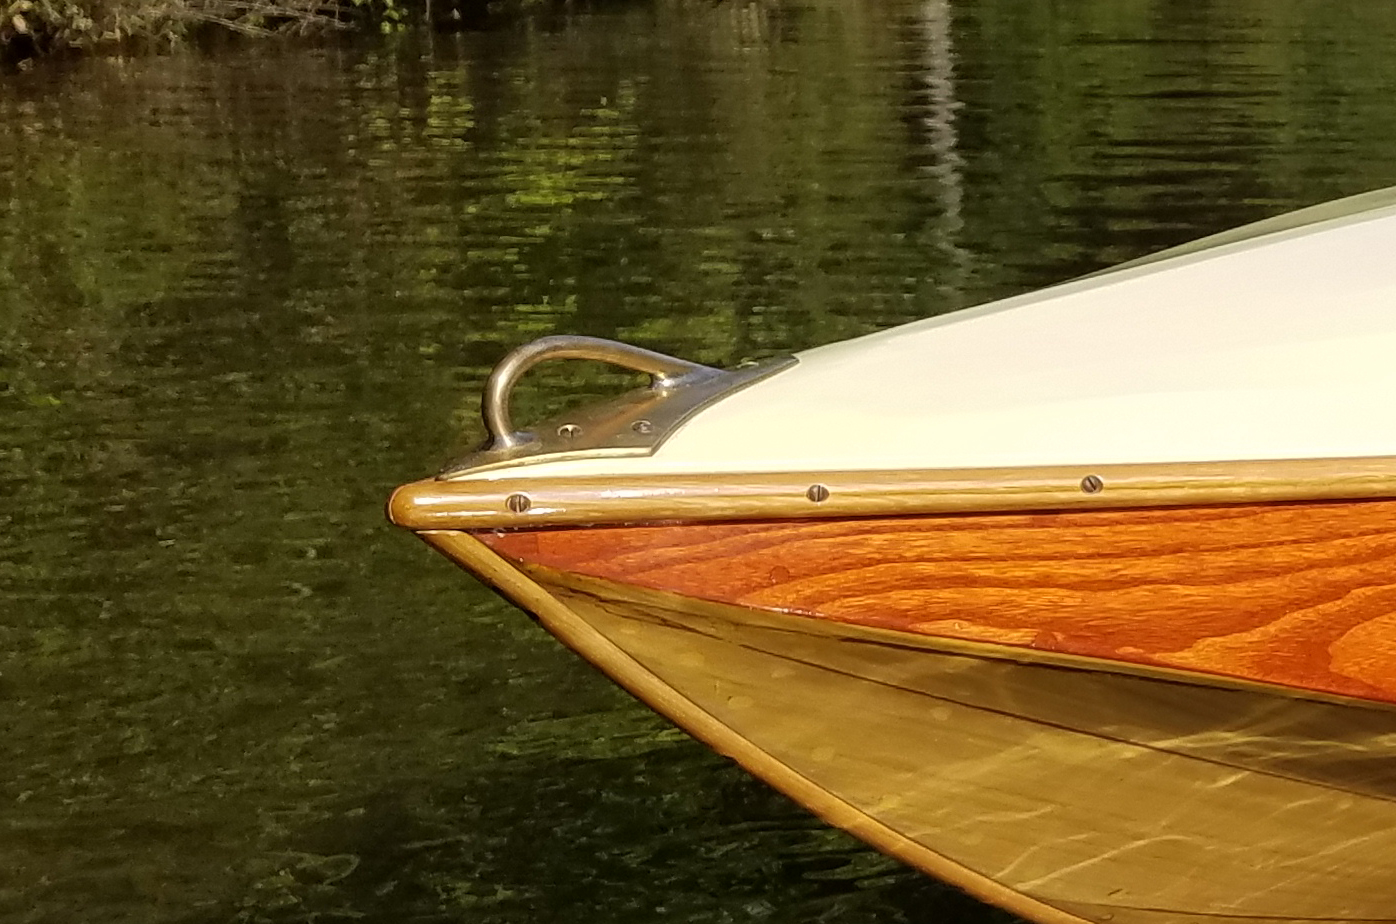
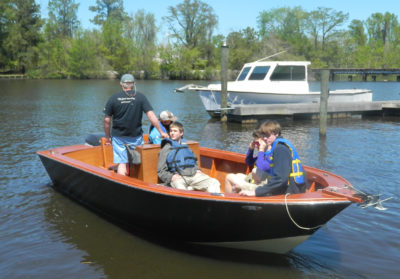
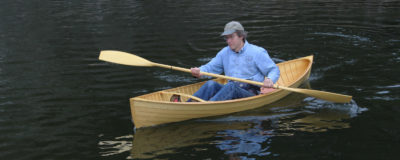
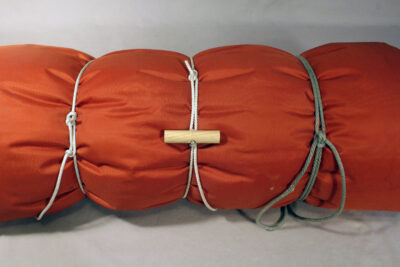
The transom U-bolts, wheel, and foredeck fittings added to the vintage look of the 10′ runabout.
While building a Crandall Midget Flyer 10’ runabout, from plans published in the January 1938 issue of Motor Boating, I wanted a bow handle, a foredeck fitting, and transom tie-down U-bolts that were appropriate to the period. I wasn’t able to find anything on the market, so I decided to make my own, and instead of shaping wood patterns and having a foundry sand-cast them, I would fabricate them myself with brazed brass and bronze. Another hobby of mine has been building fillet-brazed, lightweight steel bicycle frames, so I’d use some of the same techniques.

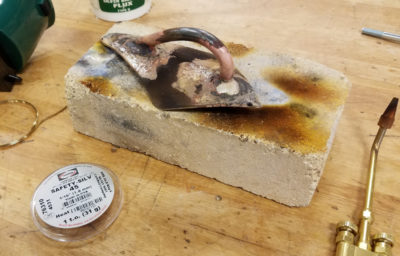
Important safety equipment includes a respirator to scrub vapors and fumes and goggles or glasses with Shade 3 lenses for protection from infra-red radiation.
By using a brazing alloy that would build up in fillets at the intersections, the resulting radiused transitions would have the appearance of custom-cast fittings. After some experimentation with different alloys, I found that Harris Safety-Silv 45% Silver Brazing alloy, purchased in a coil of 1/16” wire, produced a nice fillet with a golden color that is a good match for brass, though not quite so dark as bronze.
The brass parts of the small padeye are cleaned up, ready for assembly and brazing.
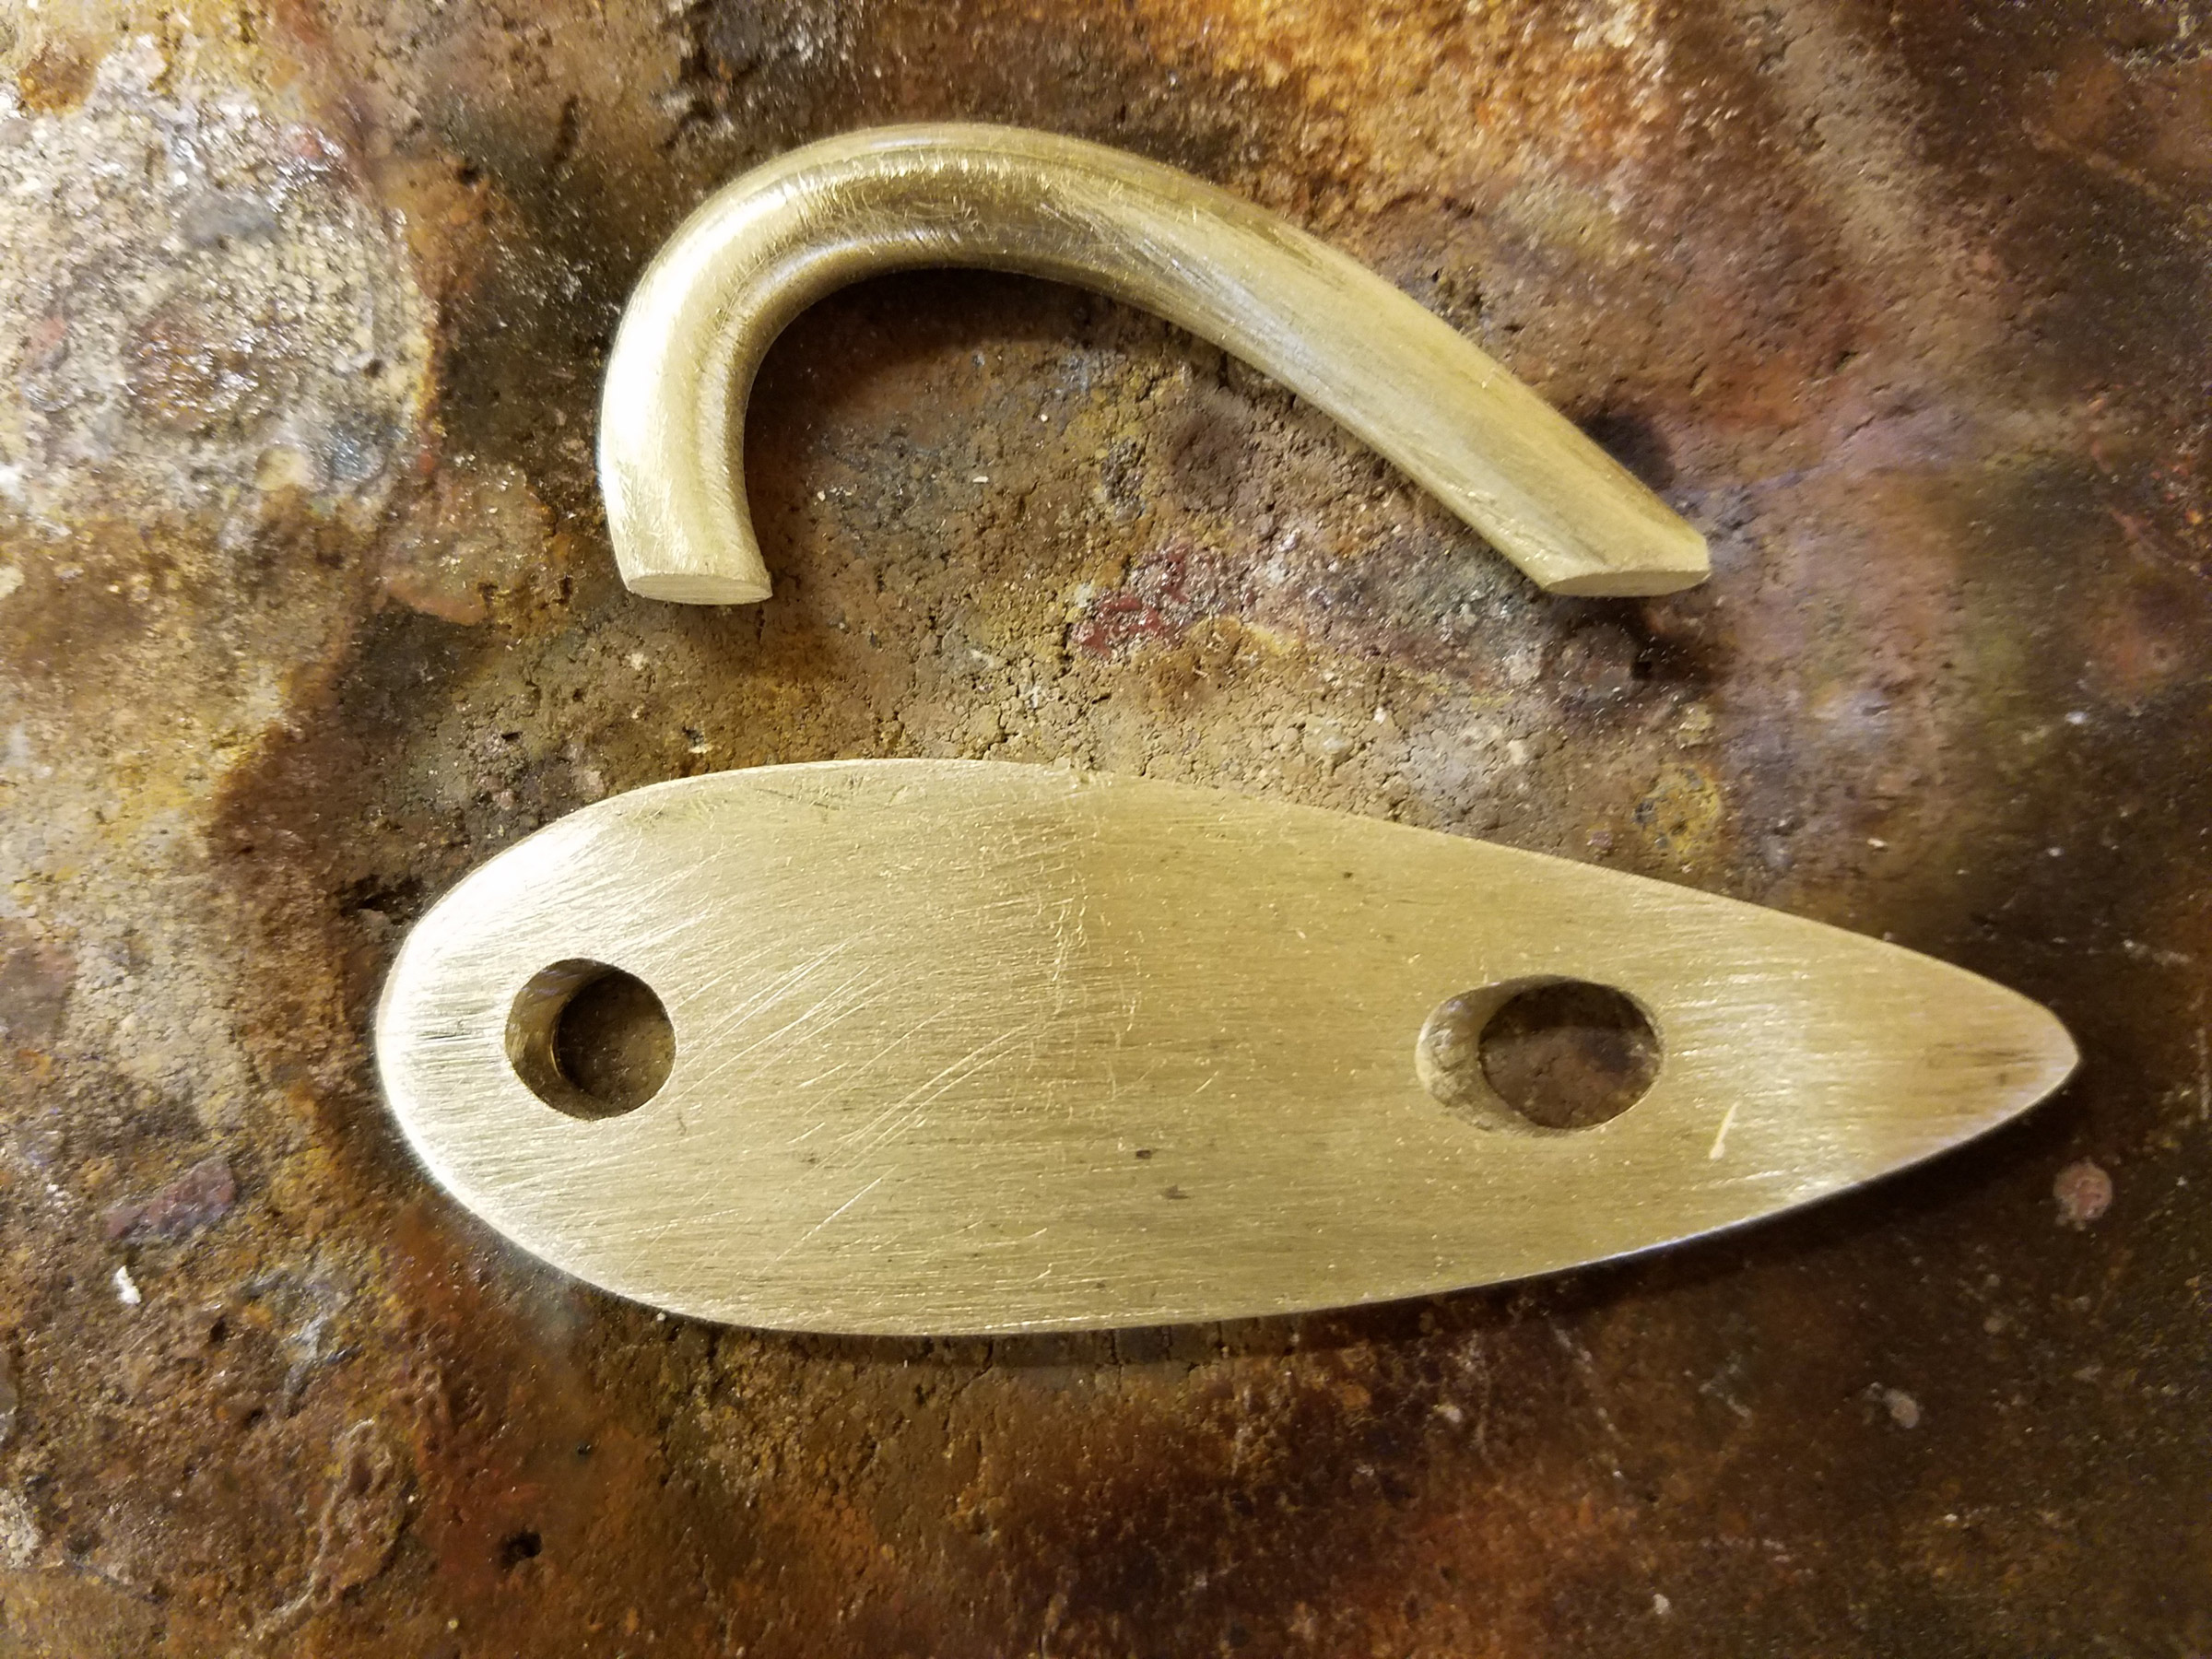
I started by making the bow handle from brass plate 1/8″ x 2″ x 24″ acquired from Hamilton Marine. The 3-1/2″ x 6″ base had to be shaped to fit the camber of the white oak breasthook under the fabric deck, so I hammer-formed the two halves of the plate over a curved section of heavy steel. To silver-braze the two halves together, I set them on a firebrick and coated all areas where the brazing was to occur with GFM Type U Silver Brazing Flux. I use a small Meco Midget oxy-acetylene torch, with the acetylene’s regulator set at 4 psi and the oxygen’s at 10–12 psi. These settings have worked well with other torches; the pressures are set with the valves opened slightly. After lighting the torch, starting with the acetylene, I bring up the oxygen and adjust it to get a gentle, quiet, neutral flame, just off-feather of the outer cone. It is important that the area for brazing is heated slowly so that the flux is not burnt or blackened. The flux will first turn to a chalky white and then, as it reaches the proper brazing temperature, it will become clear.

The bow handle, fully assembled and given generous fillets of Safety-Silv 45 brazing alloy, is ready to be cleaned, shaped, and polished. At right is the mini oxy-acetylene torch.
I hold the torch at a 45-degree angle pointed in the direction the work will progress and position the brazing alloy at an opposing 45-degree angle. A puddle is created when the brazing alloy comes in contact with the adequately heated metal; after creating the initial puddle, you dip the brazing alloy into the molten material–either the heated metal or the puddle of molten brazing material–as you travel along. Don’t try to melt the brazing alloy with the flame. Heat control is critical—apply only enough heat to melt the brazing alloy and not the brass. The part should also be positioned and repositioned so that there is always a valley for the molten material to flow into and create a radiused transition.
Cleaned up, the parts show the smooth transitions created by the fillets of brazing alloy.
When the brazing is finished, the residual flux will be a very hard, glassy coating that needs to be removed. Let the part cool to room temperature, then place it under a faucet of hot running water and scrub off the flux with a brass-wire brush. When the brazing was done I did some additional contouring and shaping to the base plate before fitting the curved handle.

The wheel began with spokes being brazed to a hub. The drawing shows the structure of the wooden rim.
I used 3/8” bronze rod for the curved handle. It was too rigid for my handheld tubing bender, a General #153, so I heated the rod with the torch to a dull red and bent it while it was still hot. The next step was to drill the holes in the base plate for the handle to fit into. Sheet brass really catches the flutes of the drill bit as it exits the back side, so use extra caution when drilling it.
The bow handle’s base plate is curved to fit the breasthook that lies beneath the stretched and painted canvas deck.
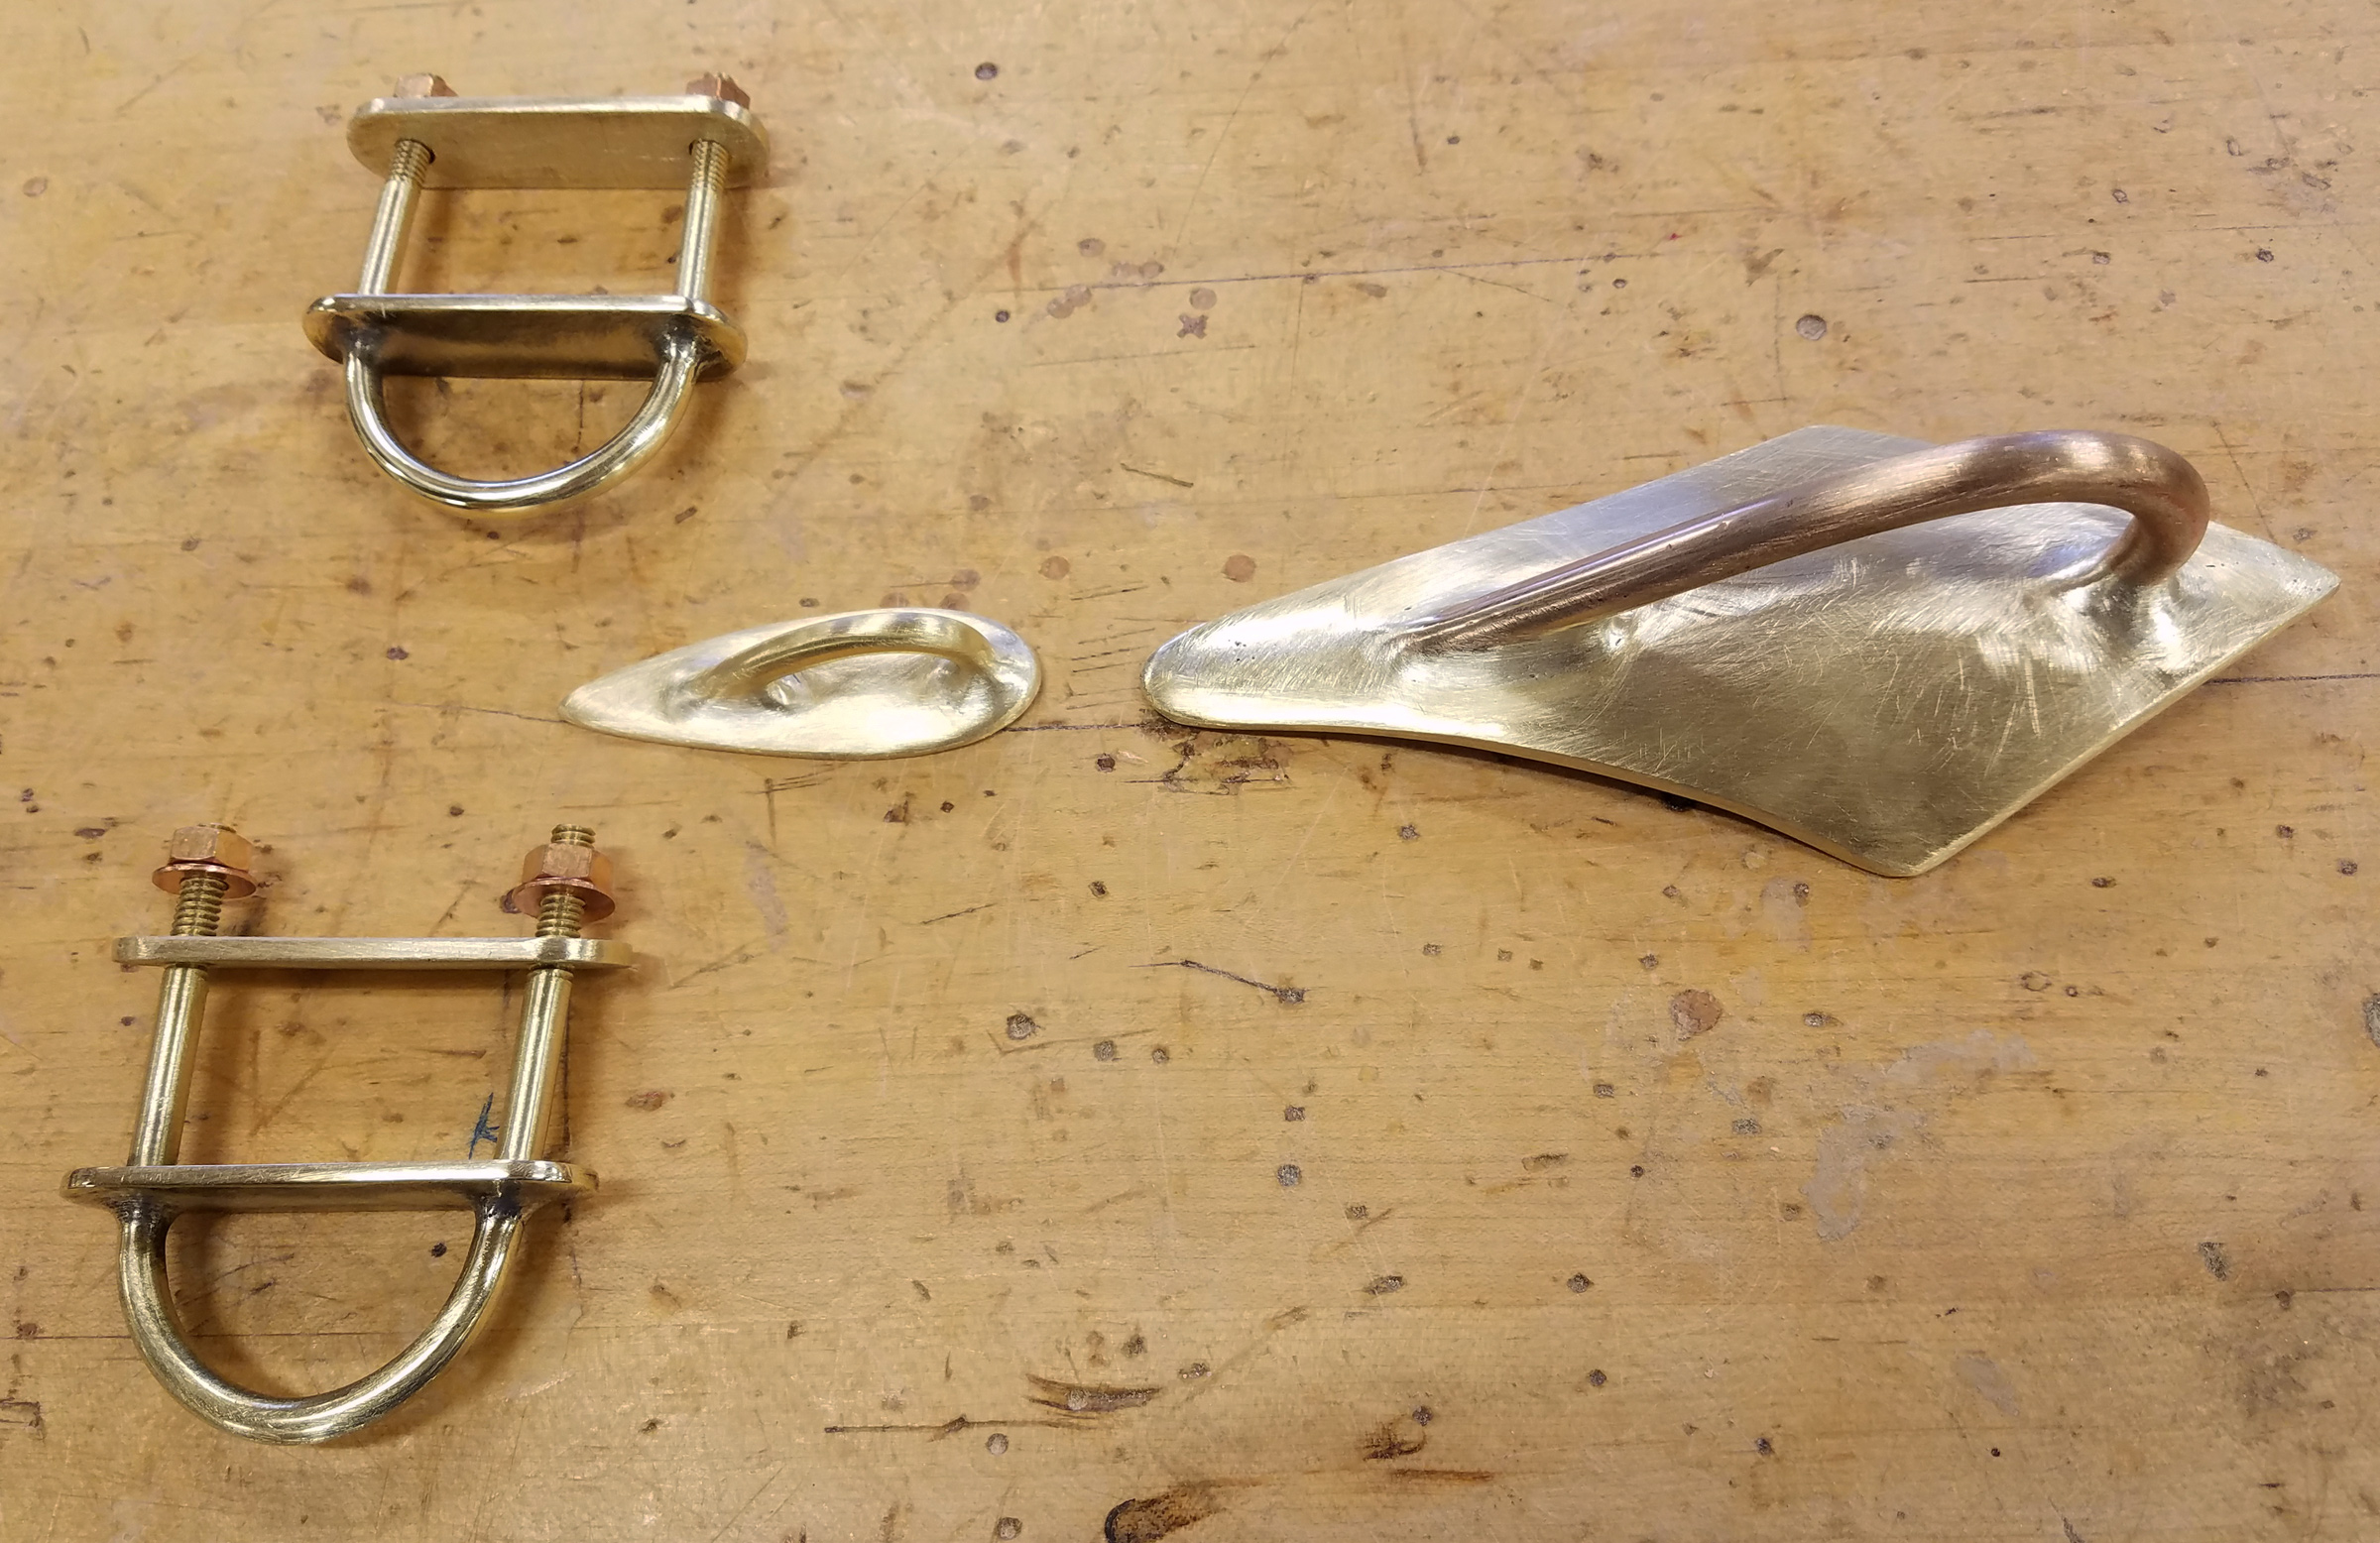
After inserting the handle into the holes in the base, I used the torch and flowed fillets in around the joints. The final profiling of the fillets can be accomplished by using a small round file, followed by 80- and 150-grit emery cloth and working through the various grits of sandpaper to 600-grit. Parts can be polished with a buffing wheel and buffing compound.
I also made a small deck fitting and transom tie-down U-bolts with 1/8″ brass plate and some 1/4” brass rod. The bolt ends were threaded to accept 1/4-20 bronze nuts.
Using a brazing allow to build fillets provides a way to create flowing transitions between joined pieces; the result, with practice, is elegant metalwork that can pass for cast without the investment of the equipment required for melting and pouring metal into molds.![]()
Mark Kaufman is a technology and engineering education teacher at Garden Spot High School in New Holland, Pennsylvania. He has been fascinated with boats and boatbuilding since his childhood days of boating with his family on Pennsylvania’s Allegheny River. As a teenager he built his first boats, a wood-and-canvas Trailcraft canoe and a Minimost hydroplane. Over the years, many of his high-school students have built skin-on-frame Greenland- and Aleutian-style kayaks. Mark has also taught classes on building these types of kayaks at WoodenBoat School since 2010.
Editor’s note: For a simple method of fabricating parts with brazing alloy and silver solder, see the review of the Bernzomatic TS 8000 in this issue.
You can share your tips and tricks of the trade with other Small Boats Monthly readers by sending us an email.


I know what you mean about drill flutes grabbing when drilling sheet metal. I’ve found that starting with a relatively small hole, then enlarging with a step drill works really well. The size of the hole to start with depends on the diameter of the step drills smallest step (starting end). Leaves a clean, perfectly round hole, and there’s no grabbing.
For readers who might be unsure why having a bit grab sheet metal is a problem, I can offer my first-hand experience. When the flutes grab, they can do so with surprising speed and force. If you are holding the sheet metal by hand, it will spin like a little lawn-mower blade and you won’t be able to get your fingers out of the way fast enough. Having learned my lesson the hard way, I always use pliers, vice grips, or a drill-press vice to keep from getting injured.
—Ed.
After using twist drills to drill a number of holes from 1 inch holes to 3/8 inch. I discovered using hole saws being a better way. They can’t be sharpened but certainly safer.
Long ago, an old friend told me that using a “damaged” drill bit—corners of the fluted wings knocked of with light hammer blows—is the solution for drilling bronze, brass, and copper. And clamping the piece of course!
Drilling in brass or other grabby materials is much safer if the lips of the drill bit are “backed off.” All that is needed is a small flat ground on the cutting lip of the bit so there is a zero rake on the edge. This prevents the bit from wanting to self-feed into or through the work. A little practice on the grinding will give the required safety factor. Once the bit is ground in this manner, don’t use it for steel without resharpening.
This, 100%. As hobby machinist who also loves boats, I can attest to how effective this is. You CAN buy dedicated drills for the purpose, but for one-offs, modifying regular drills is quite easy.
Nice article showcasing some very fine work! I’ll add to the drill-bit discussion that Richard Oliver’s comments above reflect what I was taught many long years ago, and that relieving the rake (to zero) of the cutting edge of twist drills causes them to “shear” rather than “bite.” This produces a nice clean hole in a range of non-ferrous metals without the grabbing. What is little known is that this also produces excellent results when drilling acrylic sheet (plexiglass). A little soapy water squirted on the bit while drilling, plus well-clamped material so that it doesn’t flex, will result in a very clean hole with polished sides.
I second Richard Oliver’s suggestion to back off the cutting lip. It turns a nightmare into a pleasant controllable experience, and it is easy to do. I did this to an old set of bits, which I now dedicate to non-ferrous drilling.