It is hard to capture the feeling of a good pulling boat, but perhaps the best way to sum it up is to say that some boats just glide and will cover great distances on the water with seemingly no effort at all. A few pulls are all that are needed to reveal a well-designed wherry. With the skin-on-frame Ruth, Dave Gentry has created an interesting adaptation of a classic rowing wherry that captures that elusive quality of glide.
The Ruth, with its fabric skin, and well-thought-out, easily built wooden frame, keeps the weight down to around 45 lbs, light enough for this 18-footer to be singlehandedly cartopped with ease. Gentry’s plans are a complete, well-illustrated, easy-to-follow, and include paper templates for the plywood frames.
The structure for the Ruth is a combination of plywood and lightweight western red cedar stringers. The 1/2″ marine-plywood stem, frames, and transom are notched for the full-length strips that bend from bow to stern and give shape to the wherry. Joining frames to stringers takes only a bit of thickened epoxy and stainless-steel screws. Even the most inexperienced builder with basic tools can have a frame built in just a few hours. The plywood breasthook and various supporting knees are laid out in the paper templates as well. They are essential strengthening elements and relatively simple to add with a bit of beveling and finesse.
The fabric skin goes on with a combination of stainless-steel staples and only a bit of handiwork with needle and thread. The plans recommend 8-oz polyester. Nylon durability is well regarded among the skin-on-frame kayak builders; Gentry mentions it as an acceptable alternative with a precaution that it does not heat-shrink as well as polyester.
A good pneumatic or electric stapler makes short work of the hundreds of staples that a fix the skin along the entire gunwale, but a hand stapler would also adequately do the job, albeit with a bit of fatigue at the end of the day. An extra set of hands for the skinning step is helpful. You can do the job solo, keeping the skin in proper alignment with push-pins straight along the keelson. The addition of the gunwale later on hides the staples, but care should be taken to set them consistently at a depth that holds and doesn’t cut or pull the cloth askew at each staple.
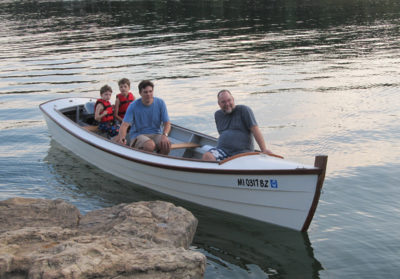
 Jim Dumser
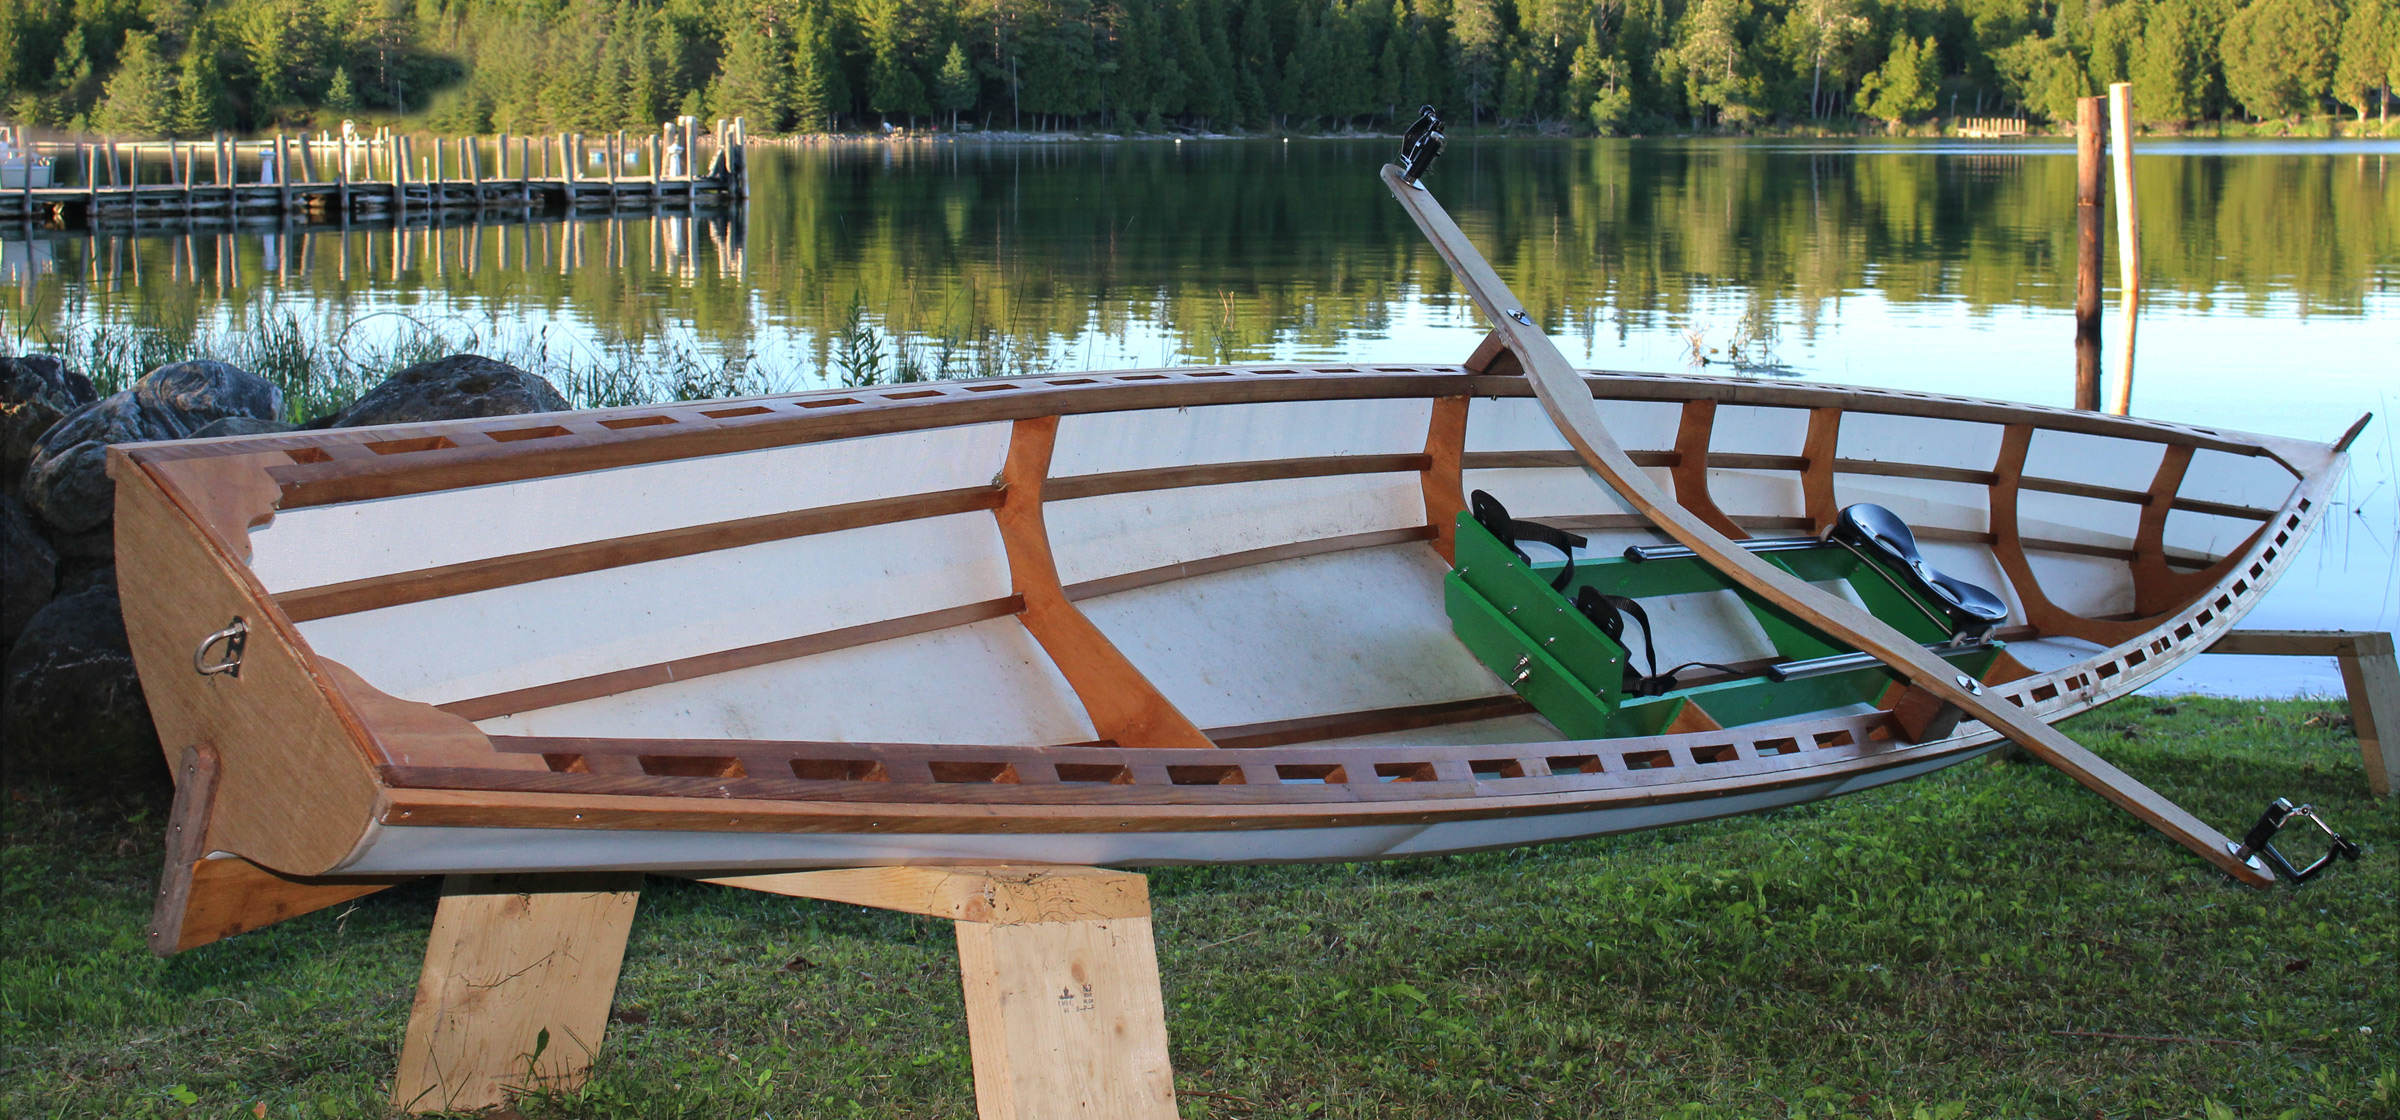
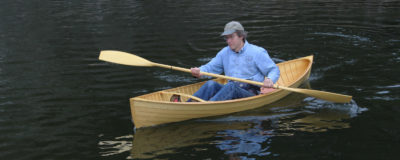
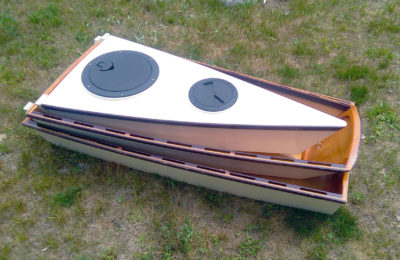
The author’s Ruth is rigged with a home-built rowing rig for solo rowing and is without floorboards and a seat for a passenger. A false transom covers the edges of the fabric skin for a tidier appearance.
The skin wraps around the transom and particular care should be taken to do a neat job with the folds and the copper nails; they will be visible when the boat is completed. On my build, I first used upholstery tacks as a decorative touch, but they didn’t hold well, and the folded fabric edge wasn’t as tidy as I’d hoped. I decided to hide the fabric and the staples with a false transom of 1/8″ plywood. It added very little weight and looks tidy.
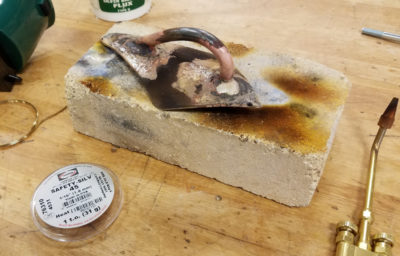
The only stitching required for the skin is at the bow. Even for the uninitiated, this short section can be accomplished rather easily. In addition to the supplied directions, helpful video tutorials are available online. Since polyester can easily unravel once cut, the edges need to be heat-sealed. If you don’t have a hot knife specifically made for the task, a flat cutting tip on a soldering gun works like a charm.
After the skin is attached to the frame, the gentle use of an iron will remove wrinkles and pull the skin taut. The polyester fabric needs to be sealed to become fully waterproof and the instructions call for oil-based paint or varnish. Inexpensive latex porch/floor paint, a favorite of many skin-on-frame builders, seems to hold up well, and can always be touched up or recoated. Marine topside paints, aside from being more expensive, are hard when fully cured and don’t seem to fare well applied to a flexible fabric surface.
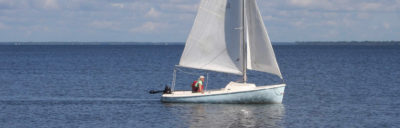
 Kyla Dumser
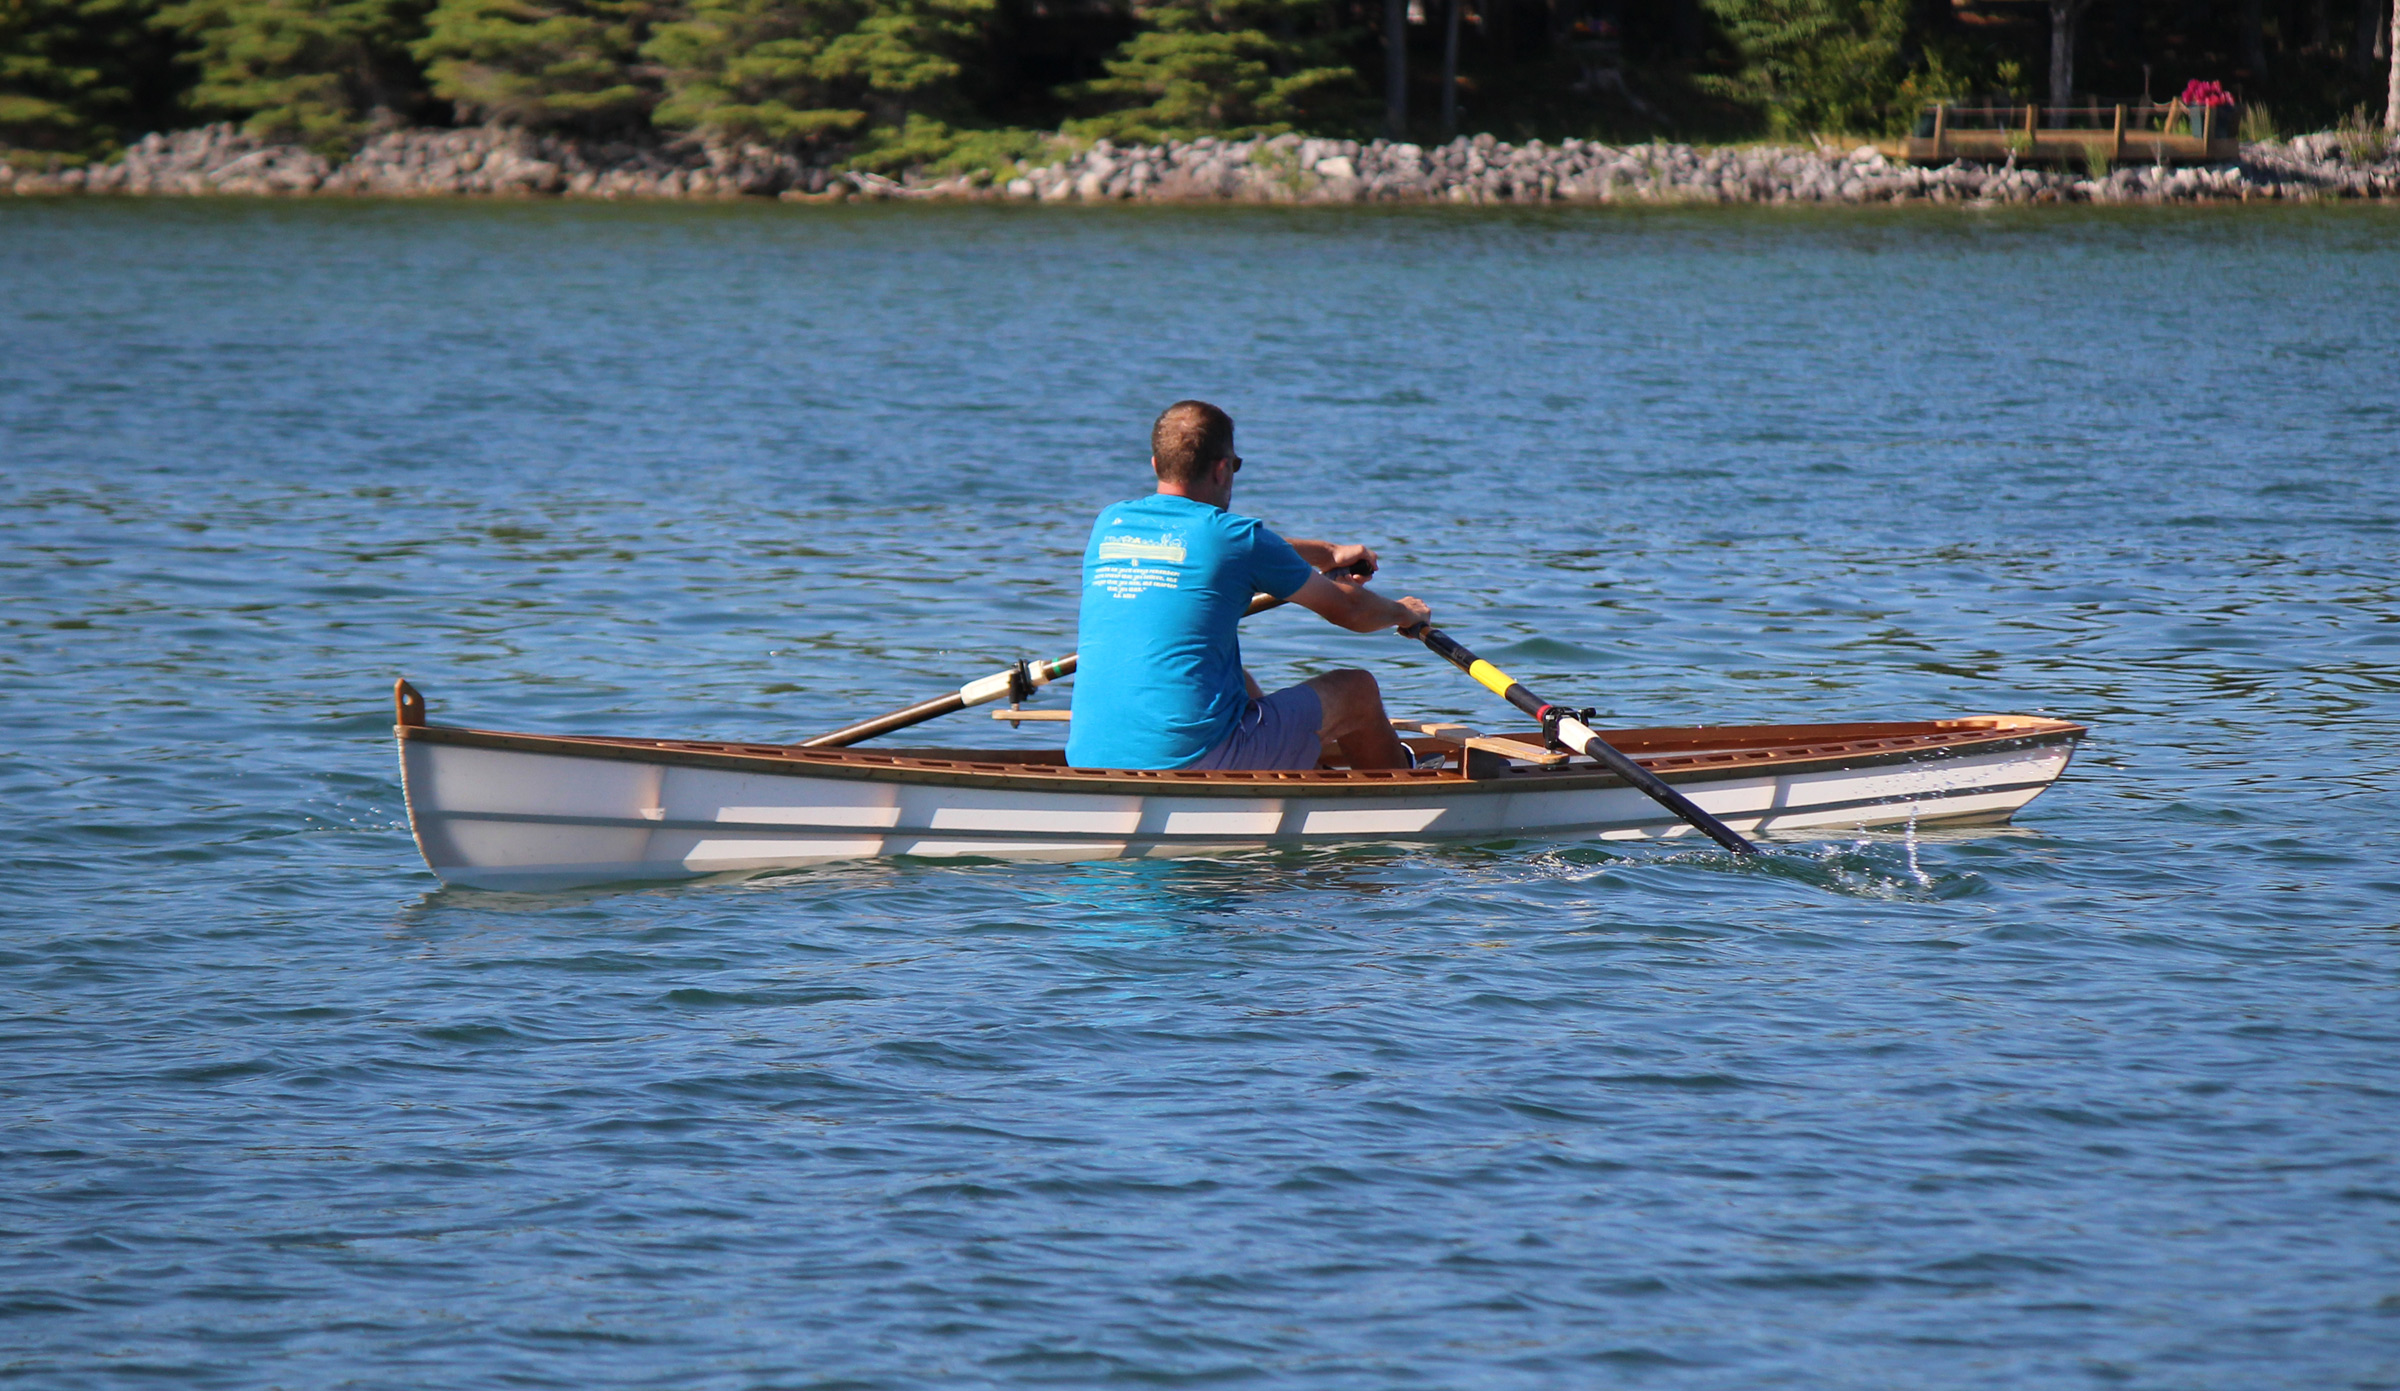
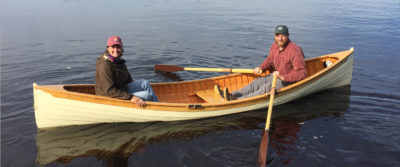
The length and enough fullness in the ends keep the Ruth in trim as the rower’s weight shifts back and forth on a sliding seat.
Once the skin is on, the rubrail and skeg round out a finished hull. Although the skeg is attached with screws through the skin, no leaks have developed and reinforcement by way of a short piece of brass fixed along the trailing edge of the skeg and the transom has proven ample support.
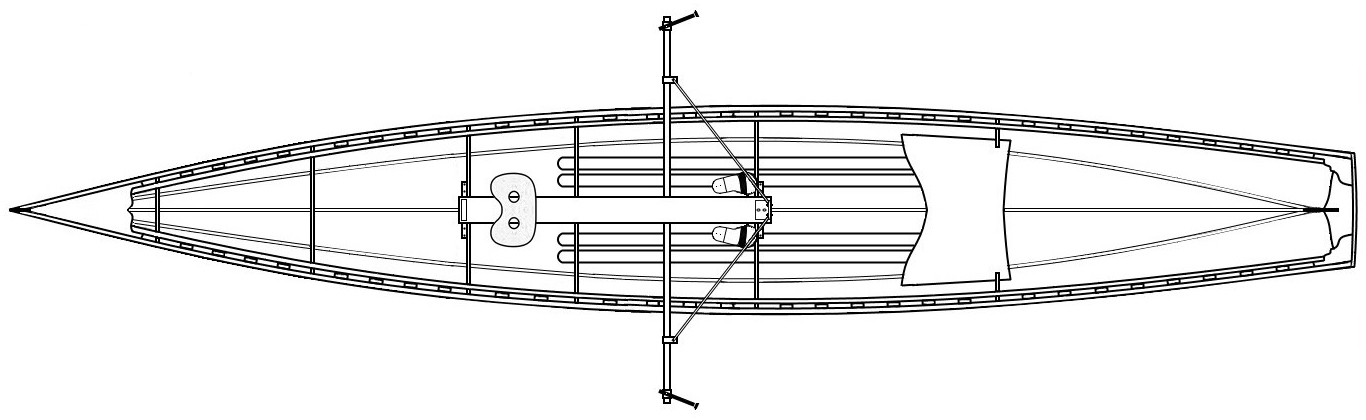
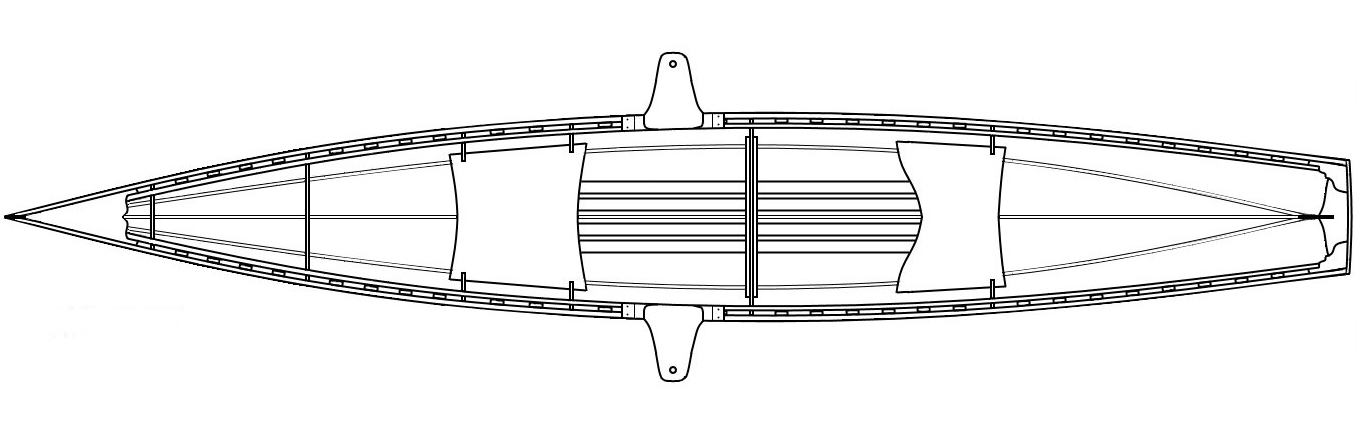
The plans detail an interior layout that consists of a rowing station and passenger seats. Designer Dave Gentry opted to rig his own Ruth with a fixed seat with simple outriggers as laid out in the original plans, a good option if you’re building on a limited budget. Fixed-seat rowing will require a pair of locks and simple plywood outriggers attached to the gunwales. A pair of 7′ to 7′ 6″ oars are a good fit.
The plans also include guidance on installing sliding-seat rowing units. I equipped my Ruth with a custom-built sliding seat rig that was designed around plans and a hardware kit ($299) from Colin Angus. Ready-made drop-in rigs like the Piantedosi ($595) have been successfully employed by many Ruth builders.
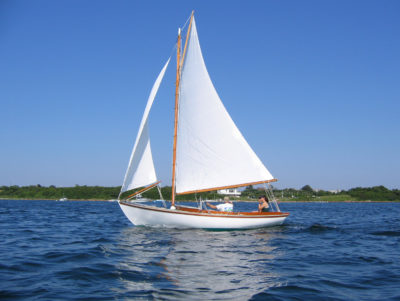
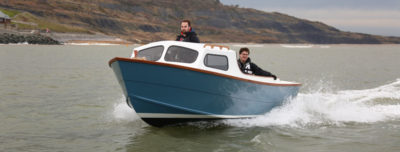
 Kyla Dumser
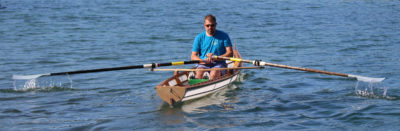
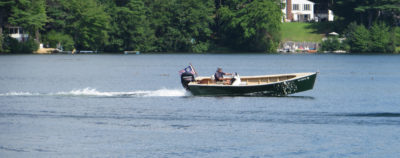
The author has been able to bring the Ruth up to 6 knots in a short sprint and can hold 4 to 5 knots at a sustainable effort.
My Ruth weighs 55 lbs with the addition of the built-in rowing rig. The boat is very comfortable on flat water and can take on a bit of chop. I can easily sustain a cruising speed of 4 to 5 knots using a 9’6” pair of carbon-fiber hatchet-blade sculls. Top speed for me is a little better than 6 knots, but the extra effort to sustain the sprint seems hard to justify when rowing for pleasure.
Getting aboard is not difficult, but care does need to be taken about foot placement to protect the skin. The plans detail lightly constructed floor boards for a fixed seat; I omitted them because they would have interfered with the placement of the sliding-seat rig.
I usually launch in shallow water and get aboard by sitting on the seat first and then swinging my legs into the boat. Under way, the stability is very good and the Ruth provides a dry ride even when things become a little rough. The craft’s light weight lets me come up to speed very quickly in just a few strokes and the sharp bow ensures that I can maintain speed even in modest chop. The skeg assures that hull will track well underway and yet allows for reasonable maneuvering in tight quarters.
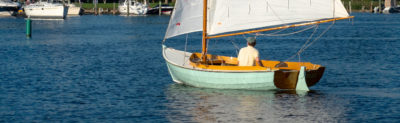
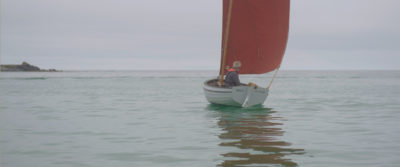
 Kyla Dumser
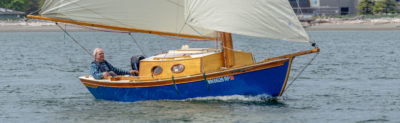
While this Ruth isn’t equipped with a seat for a passenger, the reserve buoyancy created by the transom will support the additional weight without putting the hull well out of trim.
The greater freeboard of the wherry design, compared to a traditional scull, does lend itself to a little fight in a crosswind, but weathercocking is not excessive and easily corrected. At 18′, the Ruth does an admirable job avoiding the tendency of shorter craft to hobby horse as a rower’s weight shifts fore and aft with the sliding seat. I built my Ruth for solo outings and didn’t install the passenger seat.
The 8-oz polyester skin specified in the plans might make one wonder about its long-term durability. There isn’t much between the rower and the water, but after three years the skin is still in good shape and has no tears or punctures. In the plans, Gentry mentions the option of adding a skim coat of a polyurethane adhesive along areas where abrasion is likely. The challenge is to keep it thin enough not to bubble up while curing, but, when successful, it provides an additional measure of security.
Dave Gentry’s capable Ruth is a winner. Few homebuilt boats will get you on the water as quickly and as inexpensively. The simple construction method, plainly written guide, and complete plans ensure that even a first-time builder will succeed.![]()
Jim Dumser is a husband, father, teacher, and boatbuilder who is lucky to have had the opportunity to share the art and love of boats with his daughters and his students for the past decade. Building boats is the natural extension of his time spent starting and teaching the Wood Arts program at North Carolina’s Community School of Davidson where students have built a number of boats from canoes to a St. Ayles Skiff.
Ruth Particulars
[table]
Length/18’
Beam/33”
Weight/45 lbs
Maximum capacity/375 lbs
[/table]

Plans ($65 for paper, $55 for digital) and kits ($500) for the Ruth are available from Gentry Custom Boats.
Update: The Gentry website seems to be down. Duckworks has plans for the Ruth. 7/14/22
Is there a boat you’d like to know more about? Have you built one that you think other Small Boats Monthly readers would enjoy? Please email us!


Do the plans come with plywood outrigger patterns? Or at least the specs?
Dave Gentry provides a full-sized template for the fixed seat oarlock “extensions” to be cut from 1/2″ okoume plywood. Colin Angus’ plans for the rowing rig include a full-sized template for a sliding seat rigger I made from spruce which was ‘glassed and epoxied.
Do you think that a forward-facing sliding seat rig could be installed in the Ruth wherry?
I think I’ve just discovered my boat. No, I don’t mean that I intend to build a Ruth now that I’ve seen the article. What I mean is, this looks exactly like the boat I bought used a few years ago. The appearance is so similar that I think the boat must have been built from these plans. I have a question about maintenance: how would you suggest going about cleaning (and/or refinishing) the “skin”? My boat now has a somewhat dirty appearance, after being stored outside for long periods. Another question: after rowing for a while in the cold waters of Frenchman Bay, the inside of the skin was a little bit wet. I assumed it was from condensation—very cold ocean water against the hull, humidity in the August air. Does that seem plausible? Or should I be concerned about leakage? Thanks for the article!
I have Dave’s Chuckanut 12S kayak. Skinned exactly like the Ruth, my boat often develops a bit of a “shine” on the inside of the skin when out for a few hours. As long as you are not seeing it pool and slosh, I would not worry about it.