 photographs by the author
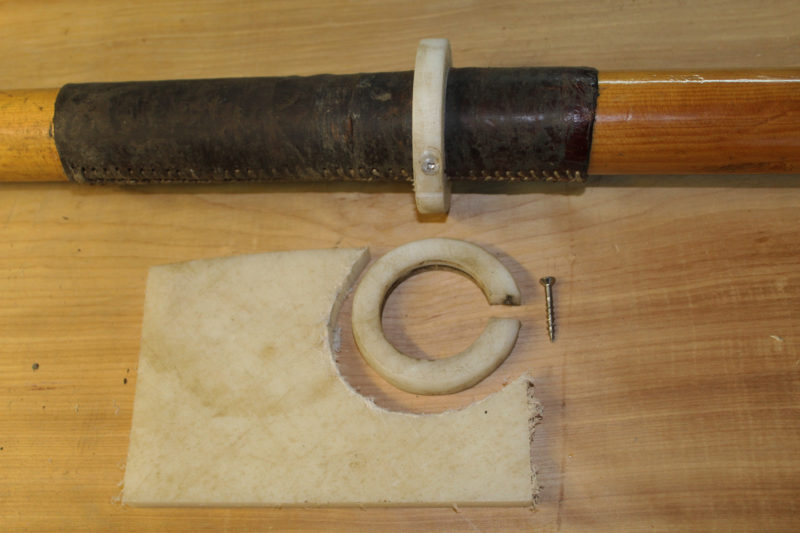
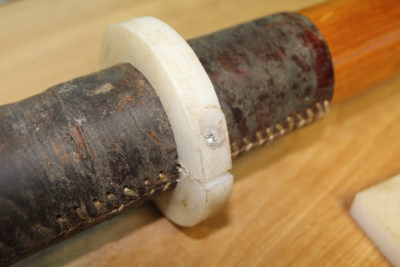
An old plastic cutting board and a stainless-steel screw make a quick, easily removed, and adjustable collar.
A few years ago I wanted to add collars to a pair of oars but didn’t want to remove the existing leathers to sew on strips of latigo. The leathers had been soaking up tallow for several years; I didn’t think I’d have much luck gluing anything to them. I also wanted collars that I could easily reposition or remove. High-density polyethylene (HDPE) seemed like a good material for the job. It’s easily worked and durable, and I happened to have a big piece of it in the kitchen: a 1/2″-thick cutting board.

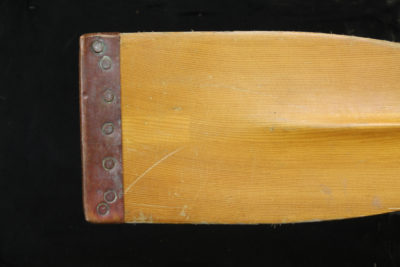
Careful drilling of the pilot hole is required to recess the screw head. The gap in the collar assures that it can be drawn up tight.
The oars had a diameter of 2″ at the leathers; a 2″ holesaw cut through the 1/2″ HDPE. I didn’t have a 3″ holesaw to create a 1/2″ wide ring, so I used a bandsaw to cut around the hole. Before I split the ring, I drilled a pilot hole and countersink for a 1-1/4″ stainless-steel square-drive flathead wood screw. To get the countersink deep enough to bury the screw head, I aimed the pilot drill to follow a tangent that came about 1/8″ from the inside hole. I then cut through the ring at a point where the unthreaded screw shank would be on the countersink side, the threads on the other. I had to saw about 1/4″ from the threaded side for the screw to squeeze the collar tight on the leathers. My quick and cheap collars wound up working beautifully and have lasted for years.
I recently decided to add collars to another set of oars, and while the HDPE collars are easy to make, there wasn’t much left of the cutting board, so I thought about doing something in wood. A ring wouldn’t work because of wood’s tendency to split along short grain. Reasoning that the oar doesn’t require a full collar to keep it from sliding out through the lock, I thought I’d try adding something smaller to the leathers.
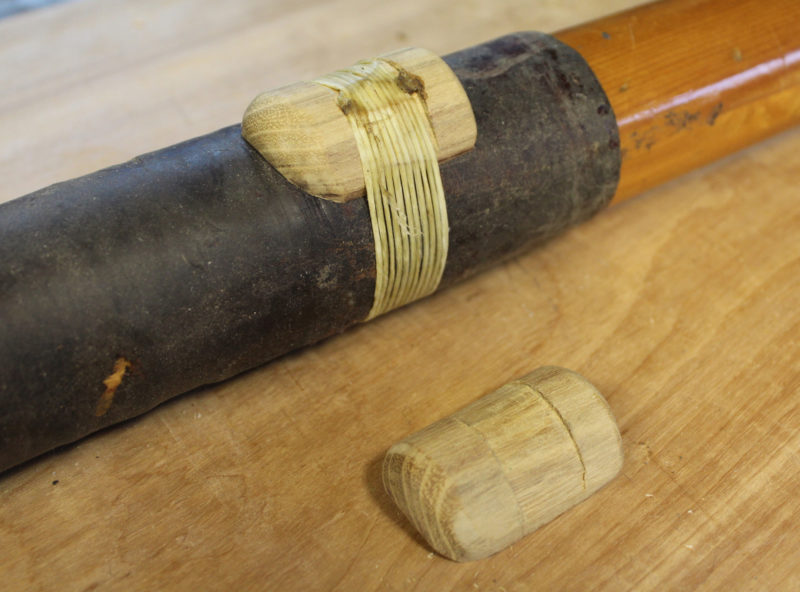
I did the lashing the same way I’d do a simple whipping on the end of a line: making an elongated loop over the thumb button, making tight turns around button and oar, and using the protruding end of the loop to pull the tail end under the tight band of turns. I put a flame to the trimmed ends and smeared the melted nylon flat.
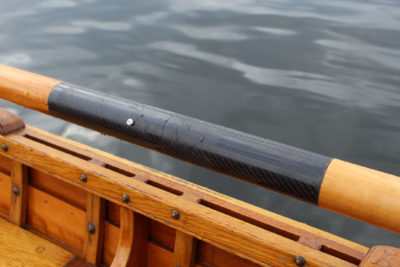
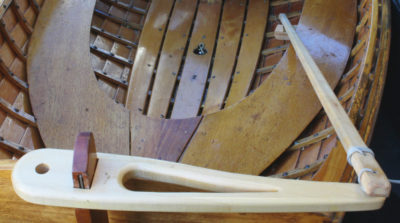
I cut pieces of hardwood—locust—1-3/4″ long and 1-1/4″ wide, and gave them an inside curve to fit the oar leather and an outside curve to create a crescent-shaped cross section. A quick test showed that the end that makes contact with the rowlock needs to be rounded. Lashings recessed in a wide groove hold them to the oars.

I roughed out the inside and outside curve on the bandsaw and cleaned up the inside curve with a 2″ sanding drum, the outside on a disk sander. A small rasp cut the recess for the lashings.
The thumb buttons, as I call them, worked just as well as collars. Because they can be rotated to the top of the oar and then passed between the horns of the lock, I added second button, to create a different gearing. With a little practice I was able to change gearing in between strokes without a break in the rhythm. Changing gears on the fly worked so well I added a third button, resulting in a range of gearing similar to what I have with the long collarless leathers I use for rowing on tholepins.
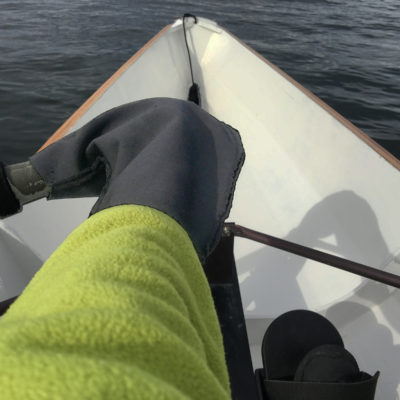
I lined the thumb buttons up with the bottom/trailing edge of the oar blade so spoon-bladed oars can lie directly next to one another, loom to loom, when the blades are cupped one inside the other. Without the splay created by a full collar, a pair of oars makes a more compact bundle for carrying and stowing.![]()
Christopher Cunningham is the editor of Small Boats Monthly.
You can share your tricks of the trade with other Small Boats Monthly readers by sending us an email.

Join The Conversation
We welcome your comments about this article. To include a photo with your remarks, click Choose File below the Comment box.