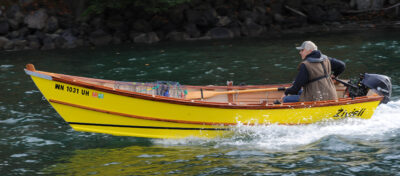
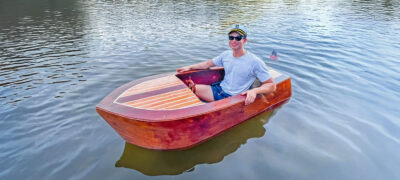
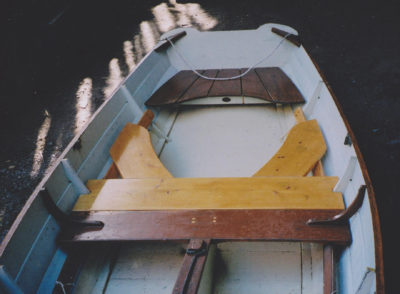
Last winter I needed to tighten the rivets on my Delaware ducker, JOSEF W. The job would require two people and some potentially awkward working angles.
JOSEF’s 1978 lapstrake build was completely traditional: cedar on oak (fits were wood to wood), fastened with rivets. When a lapstrake boat is placed in water, its wood swells against the rivets, compressing the wood and closing up the seams. Initially, and for a long time—if the boat is well built—this results in a tight hull. If the boat is left in water, the wood remains swelled, but if the boat is taken out for the winter season, the wood dries and shrinks, and the process of “taking up” must be repeated when next the boat goes in the water. After a while, as the wood is repeatedly pressed against the rivets, it will become crushed and take longer to swell. After many cycles, the wood will no longer swell enough to overcome the damage, and the seams will not close tight; the boat becomes leaky. This was the problem I needed to address.
 Photographs by the author
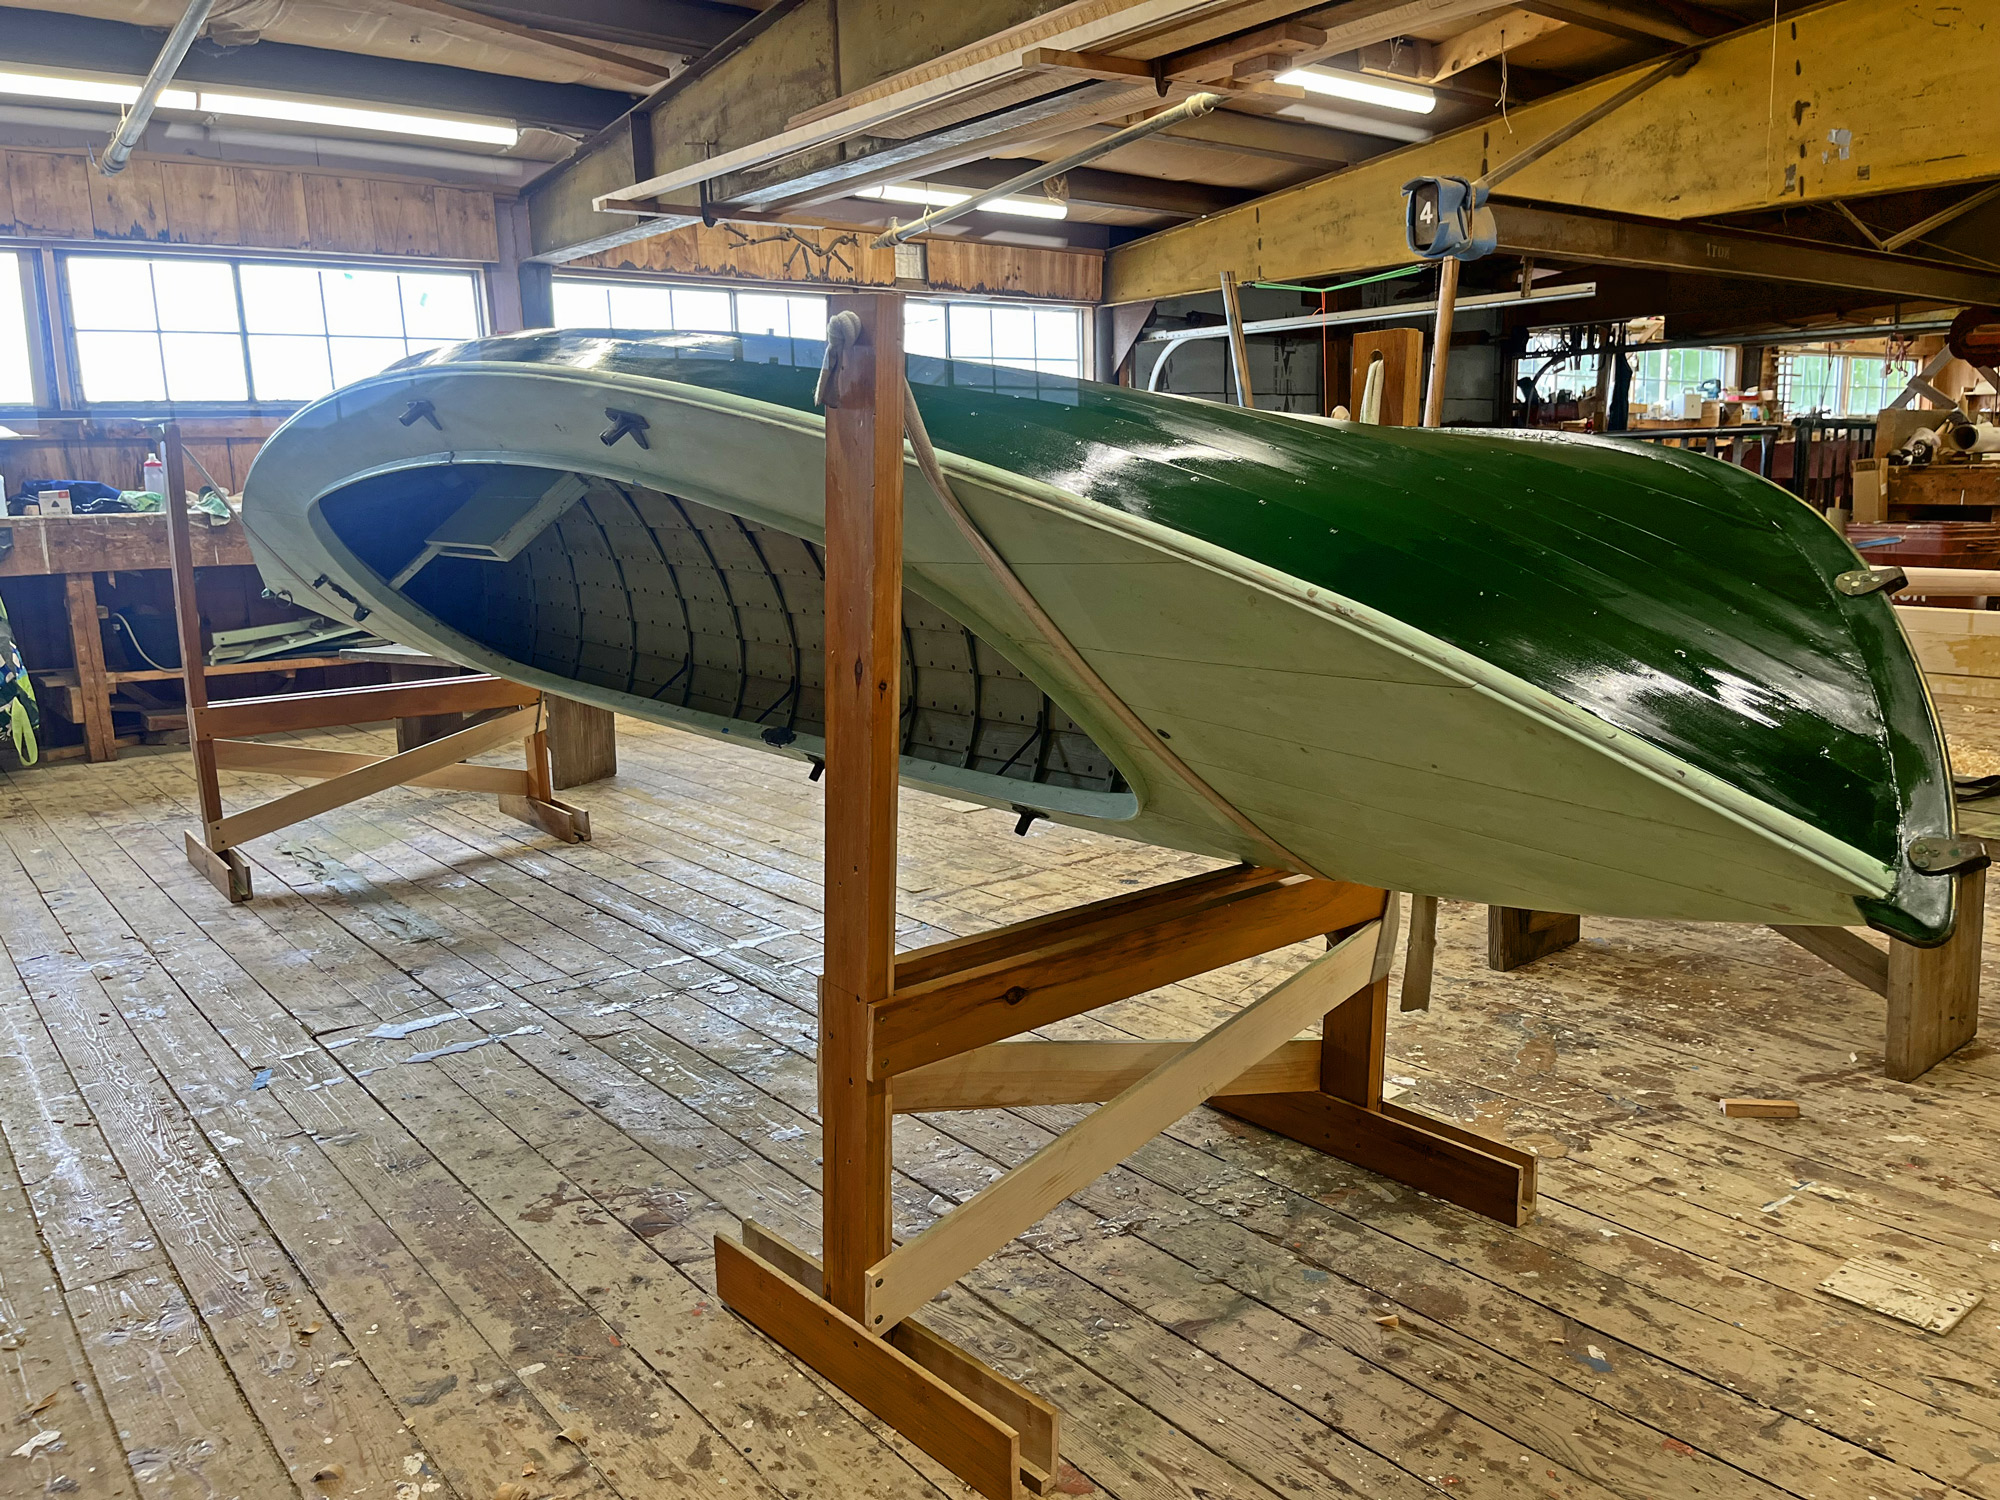
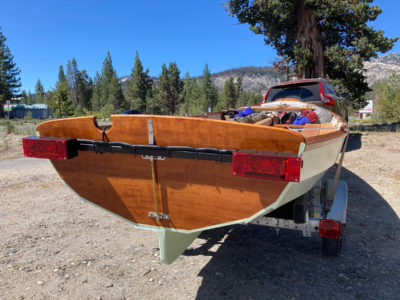
Supported by the slings, a boat can be tipped to any angle. By taking some of a boat’s weight off the straps, a person working alone can turn it to the required position and then, as the full weight of the boat settles back into the slings, it is supported at the desired angle.
The traditional remedy is to tighten up the rivets—a two-person job in which one holds a bucking iron on the outside of the hull against the rivet head, while the other works inside the boat, using a hammer to tap the rivet tighter against the rove. This was what I planned to do on JOSEF W.
I brought JOSEF W inside, but as I set her up on my 20″-high benches, a problem was immediately evident. If the boat were upright, the person holding the iron would have to work over their head, sometimes lying on the floor. Conversely, if the boat were inverted, it would be the person with the hammer who would be working above their head. I needed to roll the ducker into a position that would provide easy access for both workers. I had no way of setting up an overhead lift.
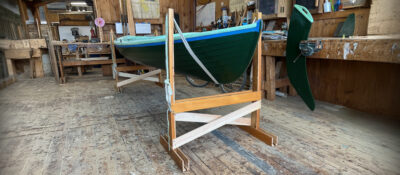
When building kayaks, I had often used an H-shaped sling system to support the build. I could, surely, modify that setup to suit this situation. I had recently disassembled some interior window casings and had a good deal of long scrap wood left over. I decided to use it to make two large H-shaped stands with webbing slings.

The slings not only support the boat but also can be adjusted up or down so that any part of the boat can be easily reached. The ducker is double-ended so the two stands can be the same width; if the boat to be supported is beamier in the stern, then the after stand would need to be correspondingly wider. For any boat, the stands’ vertical posts need to have a height above the cross bars equivalent to at least half the beam of the boat at the location of the stand.
The stands’ verticals needed to be positioned apart just a bit more than the boat’s beam at the support points. They also needed to be connected well and braced horizontally, and to have long fore-and-aft feet to give them good stability. Together, the stands must support the weight of the boat—160 lbs, in the case of JOSEF W.
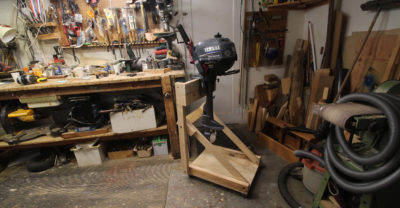
Using what I had, I was able to make a couple of H-shaped stands braced diagonally with 1×3s below the horizontal bar, which I placed at 21″, just an inch higher than my benches. Each stand was 4′ tall and 3′ wide, with 2′-long feet beneath each pillar (if my boat were more- or less-beamy, or weighed more or less, these dimensions would have been different). The stands had 2″-webbing slings—a soft layup that held knots well—that were fed through a hole in the top of each vertical. One end of the fabric was tied with a stopper knot; the other end had a loop through which I ran a line that could be tensioned and cleated off on the stand’s crossbrace. The slings were long enough so that, when slack, the boat could rest unimpeded on the stands’ crossbars.

I made my stands out of left-over bits of wood, but buying some inexpensive 2x4s, especially for the uprights, would have been more straightforward. The important element is that the stands are strong enough and stable enough to support the weight of the boat for which they are intended—in this case, my Delaware Ducker, which weighs 160 lbs.
Once the boat was on the stands, I could raise it by myself. Working incrementally, first at one end, then the other, I could tension the slings, tying off one end at a time, and thus raise the boat so that its bottom was clear of the crossbars and suspended in the slings. Once the boat was 1′ or so above the crossbars I could then rotate it by myself to any convenient angle up to 90° to make it easy for me as well as my iron-holding partner to get access to both rivet head and rove.
When we had dealt with the rivets, I wanted to turn the ducker over to paint the bottom. Inverting a boat is challenging when working alone. However, with the boat suspended in the slings, I was able to pull the rail to get the hull past 90°, at which point I could move around to the keel side and lift up on the lower rail to fully invert the boat. Once the boat was upside down, I could adjust the height of the slings for sanding and painting, and was surprised by how stable the boat was while I was working on it. Once I had finished with the bottom, I rotated the boat back to upright (realizing, too late, that I should have put some soft blanket material between the boat and the webbing as it marred the fresh paint a little). Now, I moved on to repainting the deck and interior, making full use of my ability to raise and tilt the boat as needed.
My H-stands are now out on loan to a friend who is building a complicated stitch-and-glue sailing kayak this winter. Once he is done, the stands will come back to me so I can tighten up on the ducker’s garboard rivets just a bit more. Being able to adjust the height and angle of a small boat when working on it greatly improves the experience for the worker. It is worth taking the time to figure out a simple system: your back, knees, and helper will thank you.![]()
Ben Fuller, curator emeritus of the Penobscot Marine Museum in Searsport, Maine, has been messing about in small boats for a very long time. He is owned by a dozen or more boats: kayaks, canoes, a skiff, a ducker, and a sail-and-oar boat, and is a regular contributor to Small Boats.
You can share your tips and tricks of the trade with other Small Boats readers by sending us an email.
More techniques on moving small boats
For more tips on lifting and moving boats, see Ben’s article, “Living with Little Boats.”
For a more sophisticated lifting gantry system, see Earl Boissonou’s article, “DIY Gantry Cranes.”
And for a description of Krenov-style horses, see Tom DeVries’s article with notes from Christopher Cunningham, “Show Horses and Work Horses.”


Nicely done, sir!
I needed this idea when I turned my NE dory two weeks ago on the floor of my garage singlehanded, only protected by uncontrolled sliding blankets. Luckily it was only the stripped hull, not the finished boat.
Well, next time I will build these nice H-stands. When painting the inside there is the potential to avoid painted noses when working under the gunwales by just flipping the boat 90 degrees.
Here are some prototype Z stands. I wanted to see how minimalist I could achieve the same structural support, artistically appealing for use as sales display. This is a mockup for checking size and visual balance before carving aquatic shapes in WRC 4x4s, and use in shop in meantime.
They hold a 40lb canoe fine, firmly enough to yard and yank on it. They make me walk sideways though, something goes on in the cerebral cortex similar to a funhouse mirror.
These are 38in high, and I agree: practical use-wise need to be at least 44in, to your 48in. Visually, next time I’ll raise the cross brace lower attachment point to 4in or so off the ground.
Also needs adjustable slings, I wasn’t yet sure how to make them attractive, but this article provides the answer.
Ben, it`s good to see that other builders are also using the same system.
I am using this system already for many years now and it is very handy to work on my Wood&Canvas canoes and on the Cosine Wherry-
Thanks Ben, good advice as always.
I hang my canoes from the garage ceiling with ratchet straps. Raising, lowering or turning them in the slings isn’t hard.