I have several roller stands that I’ve used to support long pieces of lumber and plywood as I feed them through the table saw. They work, but they’re not without shortcomings. On the infeed side, I have no complaints. I set the stand up with the roller at table height and feed the workpiece through. I do the same with the stand on the outfeed side but if the workpiece is flexible, the leading edge will sag and butt into the roller rather than cross on top of it. It’s an awkward moment when I have the blade whirring and I can’t finish the cut. And crosscutting with the stand out to the side of the table saw is out of the question. Last year I came across a better system, a washer roller. It’s easy to make and for many tasks works better than a roller stand.
 Photographs by the author
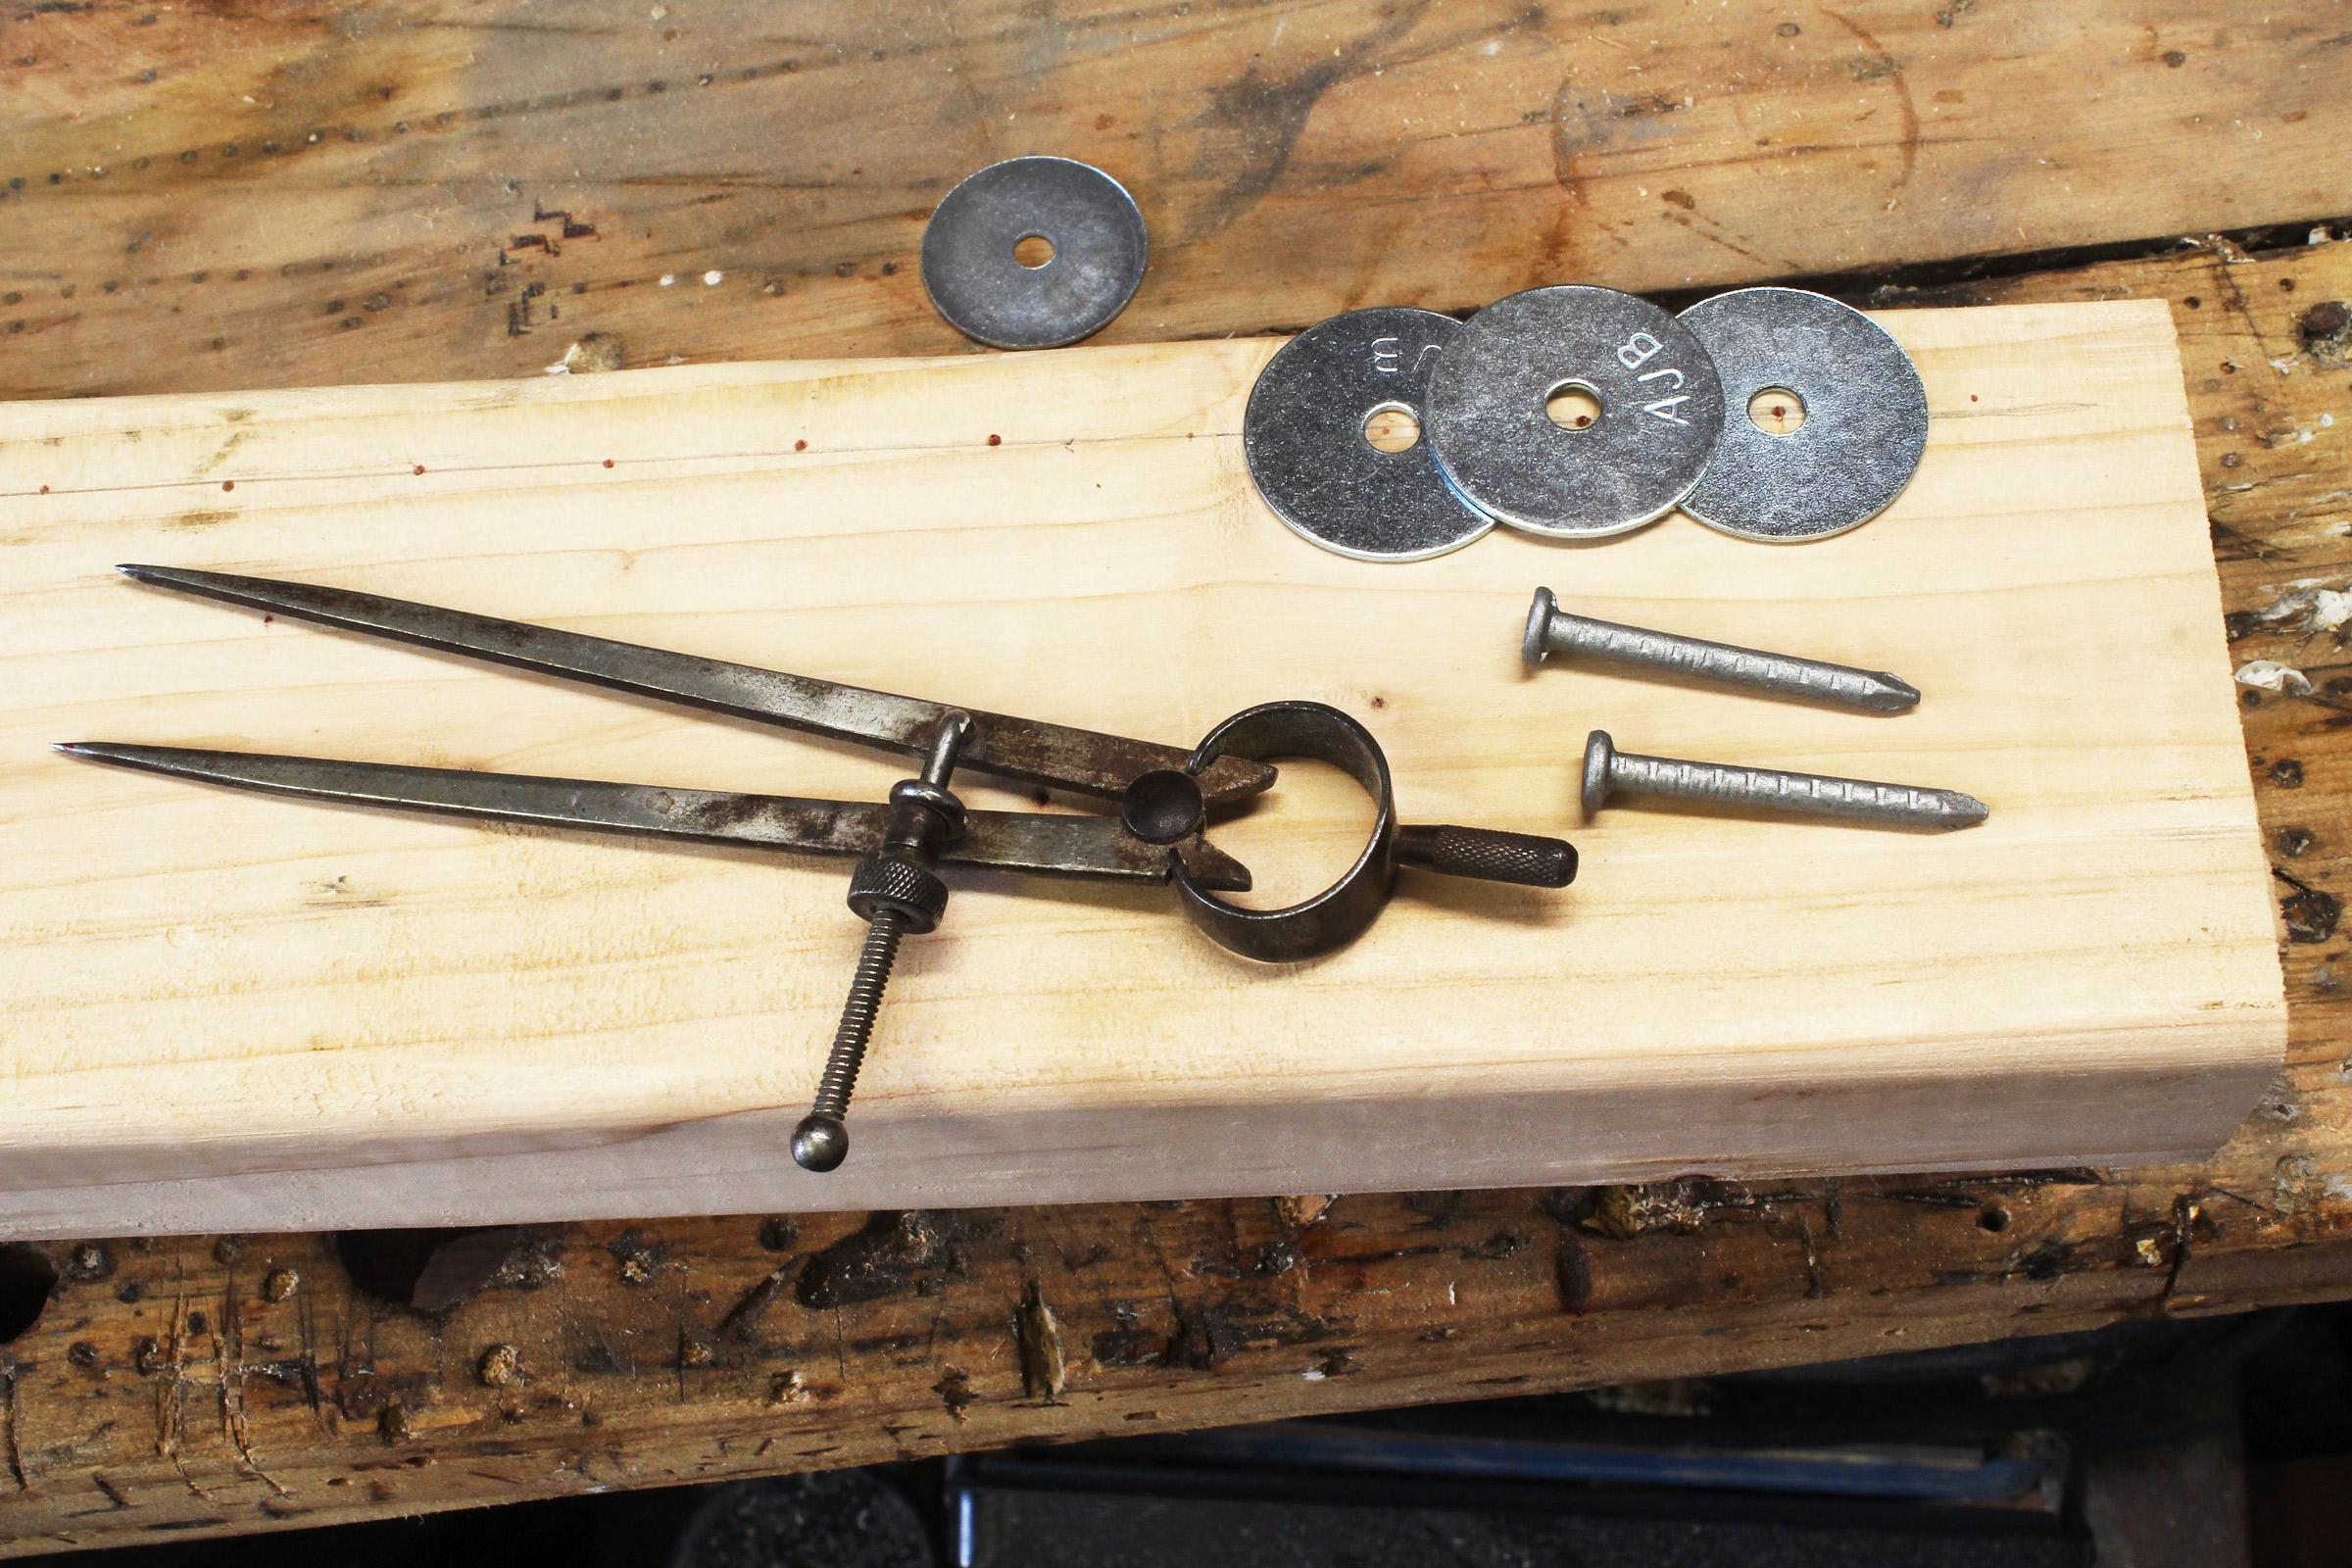
Stacking three washers with the lower two providing a gap for the top washer’s hole establishes the spacing for the nails. Walking off the interval with dividers simplifies the process. If you’re marking the spacing with a ruler, you can use a more convenient interval if it is a slightly larger spacing.
To make one you’ll need a length of common 2×4, fender washers (either 1″ or 1-14″), and 1-1/2″ hanger nails. I made rollers 32″, 22″, and 19″ long. The longest one is the most useful. Start by cutting the 2×4 to length. Then, determine where to drill holes for the nails that the washers will spin on. Hold a washer on the side of the 2×4 with about ¼″ of it extending past the edge. Mark the hole. The circle will be larger than the hole you’ll drill for the nail; the top of the hole will be at the top of the circle. Mark the center point for the drill and draw a line through it parallel to the edge of the 2×4. Set two washers side by side and a third on top. Move the pair apart until the hole of the top washer no longer overlaps the washer beneath it. Measure the distance between the holes and with a divider set at that distance, pace off the locations of the holes along the line on the 2×4. Pressing the point of the divider into the wood will help center the drill bit, especially if you’ll be using a handheld drill. A 5/32″ bit will make holes just big enough for the hanger nails to be pressed in my hand. Drill the holes, stopping just short of going through the 2×4.
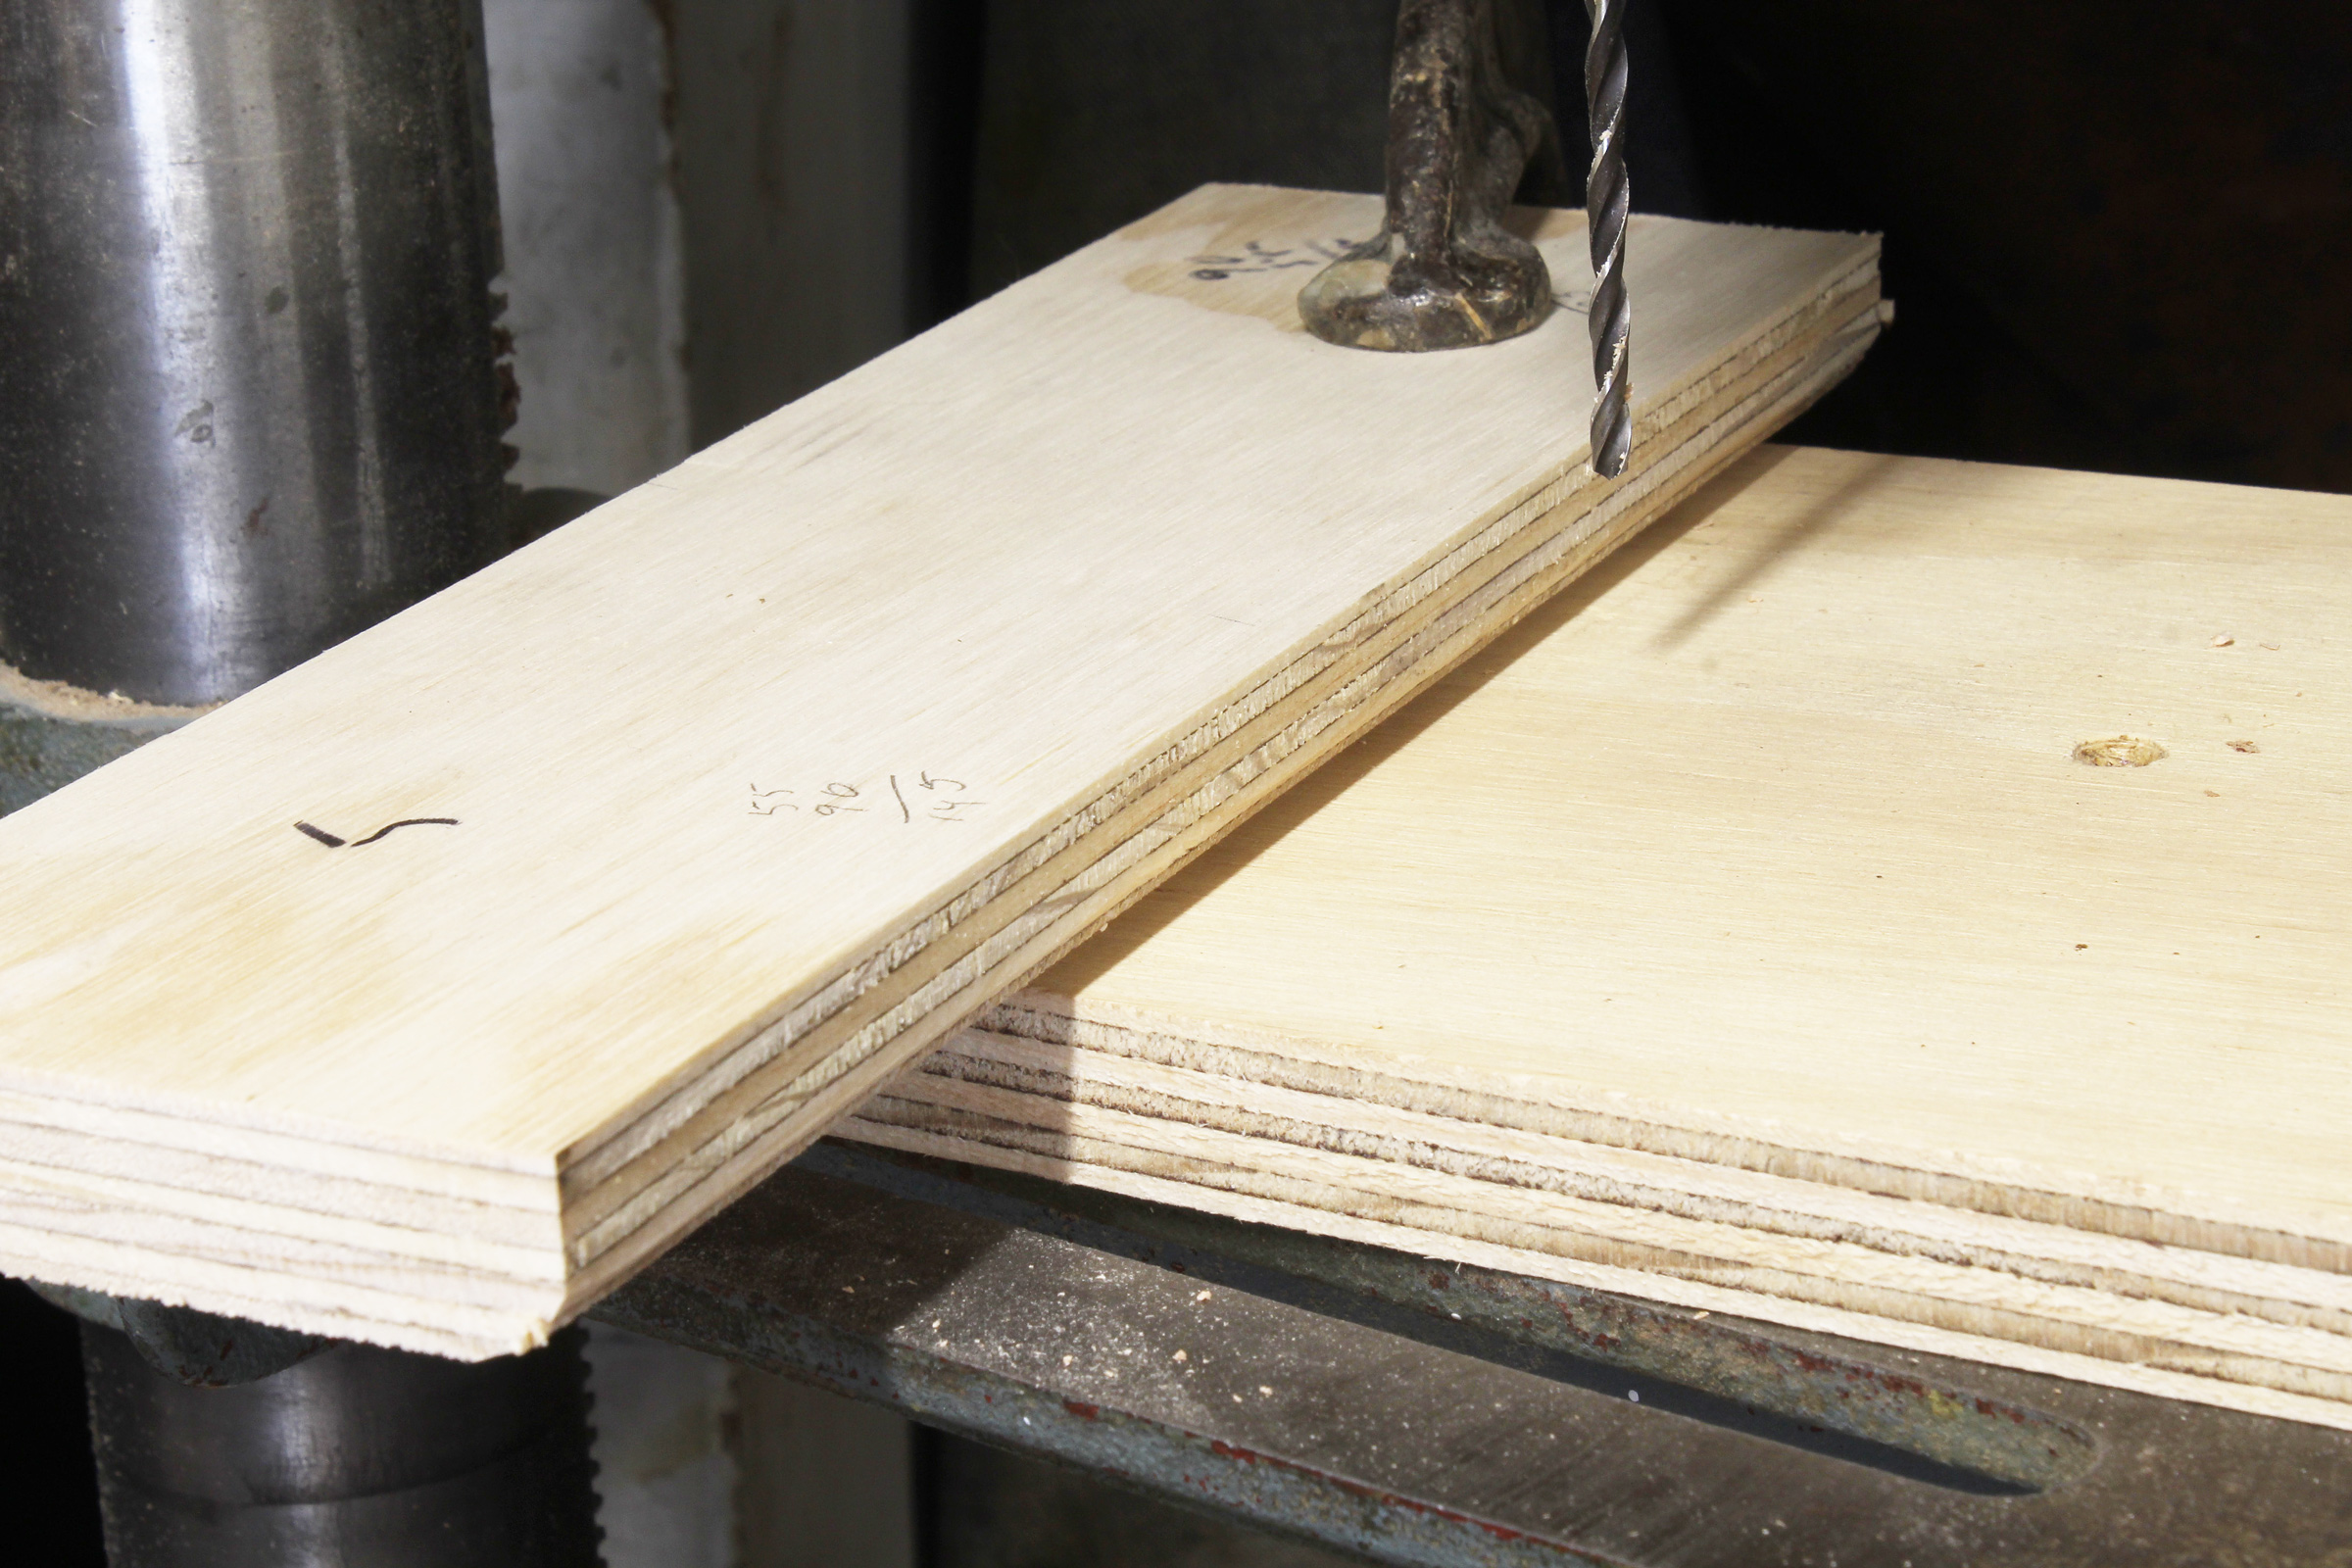
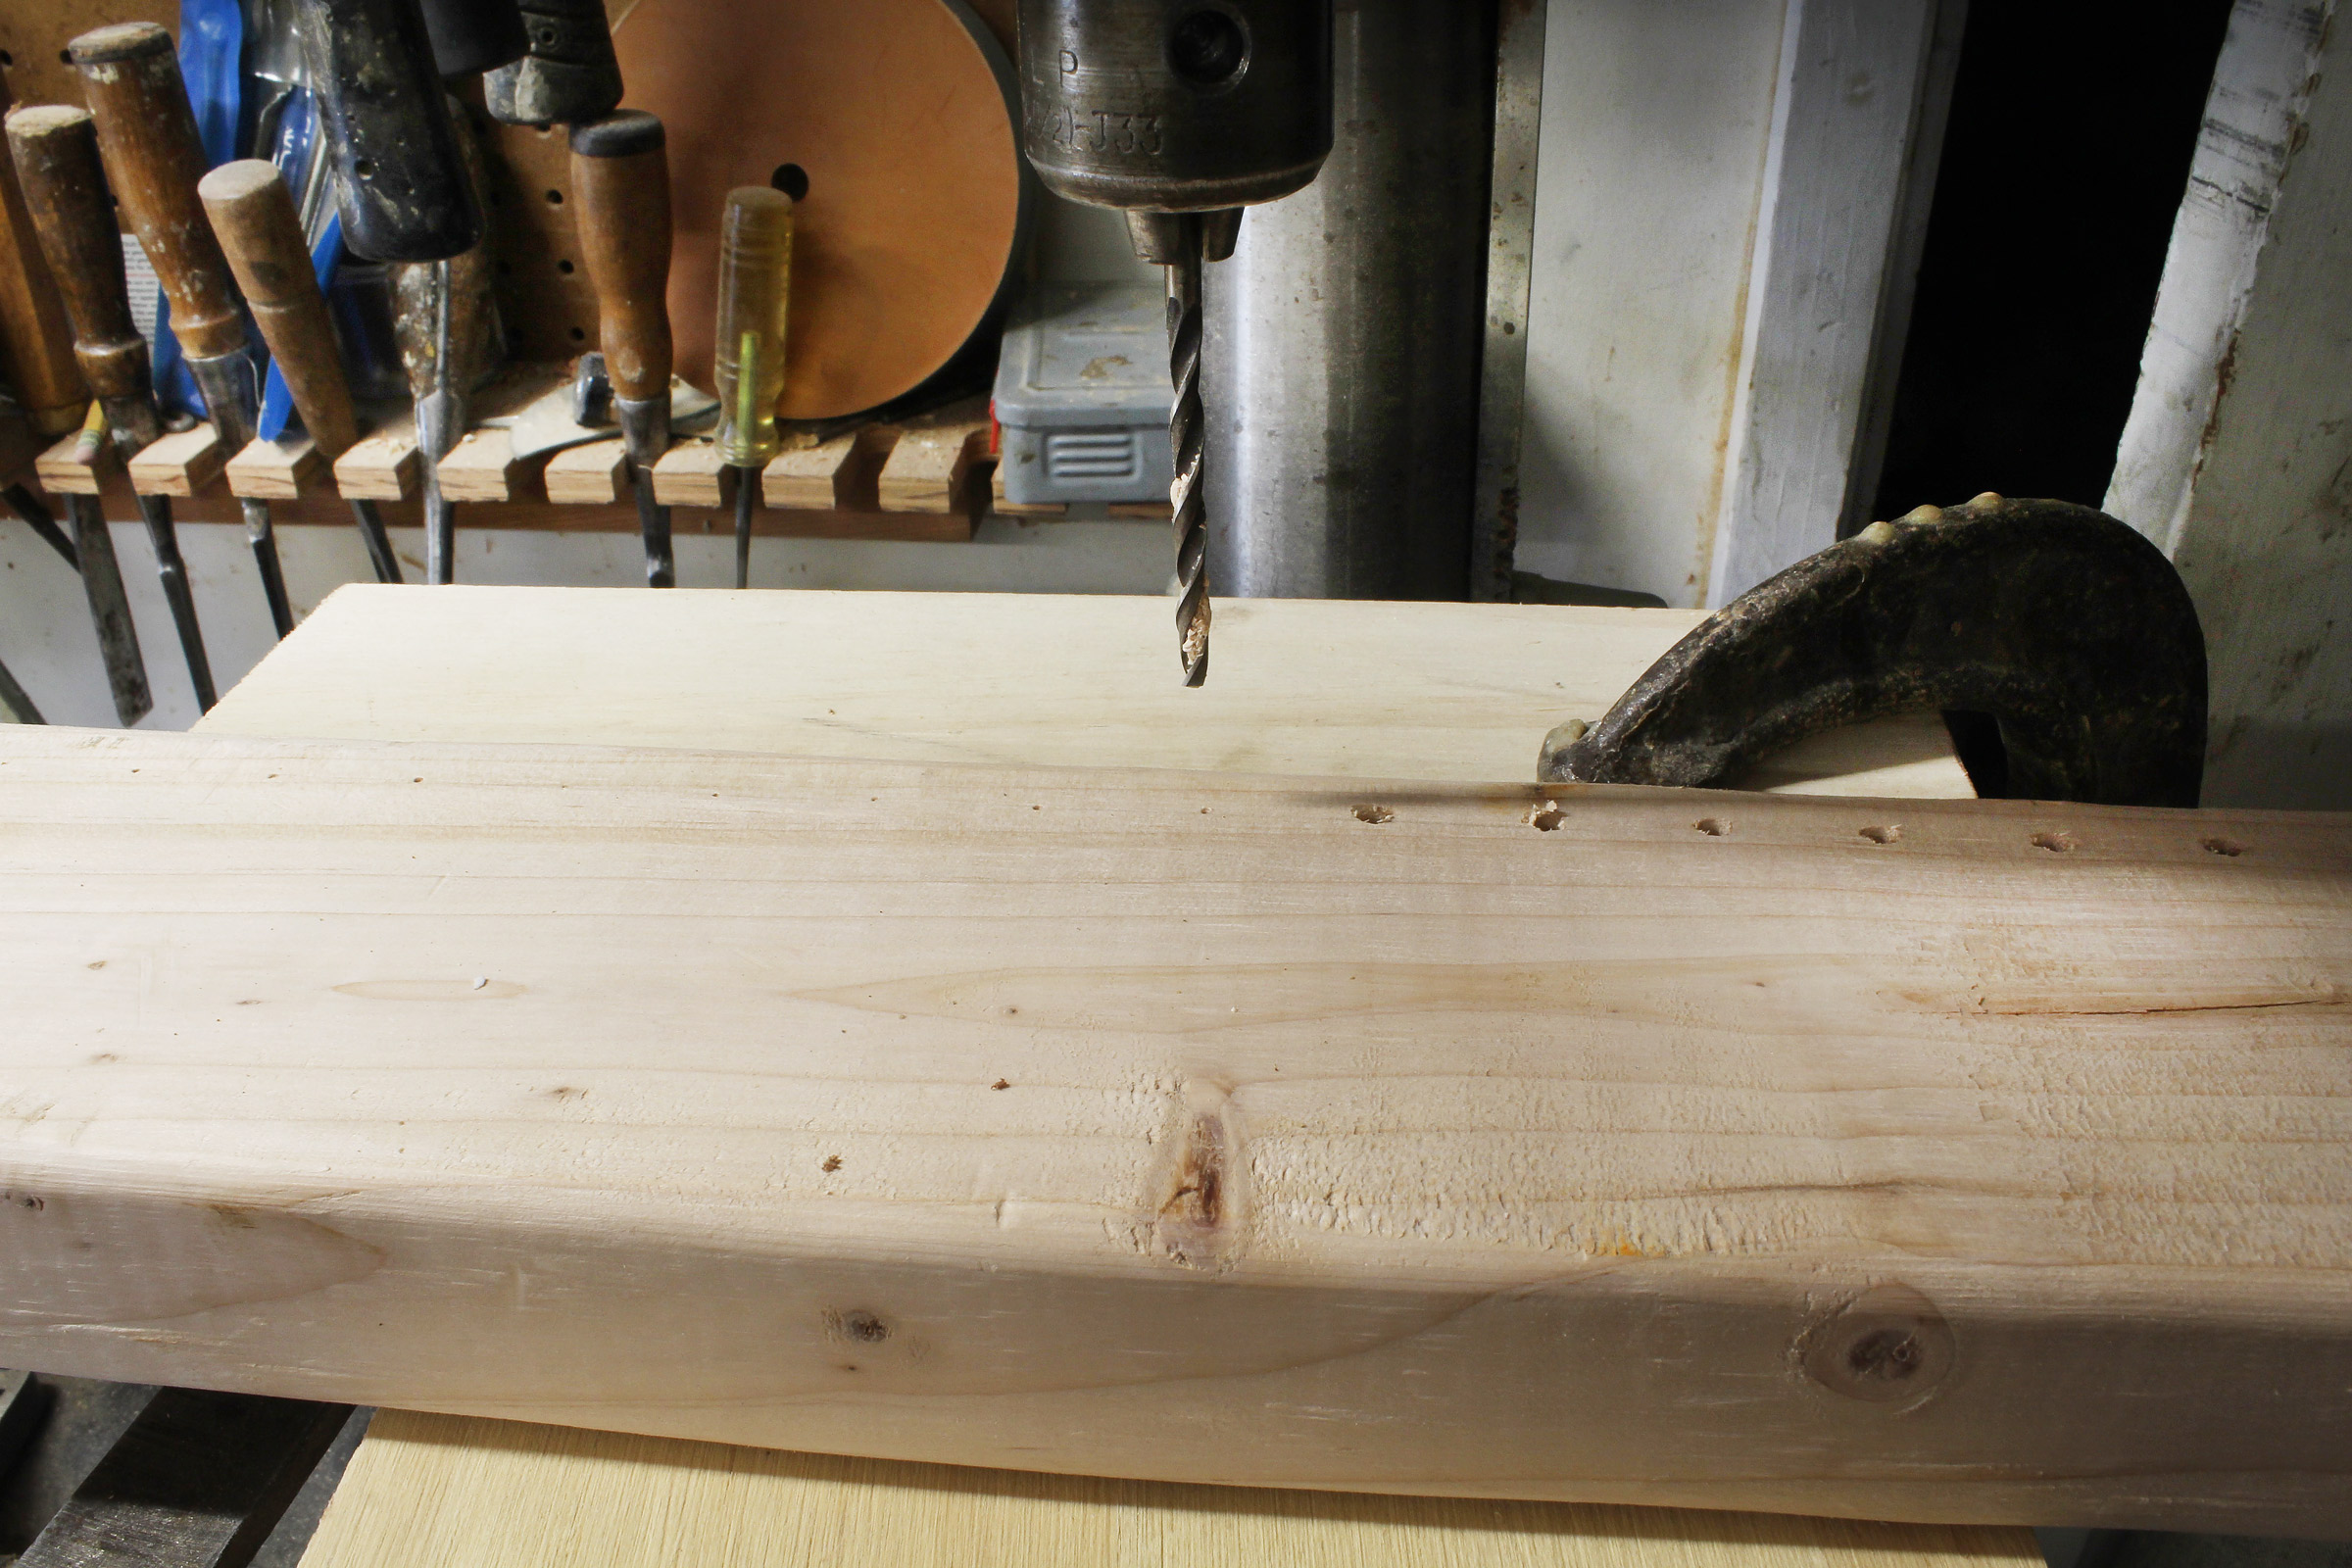
Drilling the holes accurately will keep the washers all at the same level. A drill press with a fence will make quick work of the drilling. The bottom edge of the fence is beveled back to keep drilling debris from pushing the workpiece out of position.
The drill press has its drilling depth set just shy of coming through the back of the 2×4.
The washers will be aligned best if you use a drill press with a fence. A wooden fence with its bottom edge beveled will keep any sawdust created by the drilling from pushing the holes out of alignment.
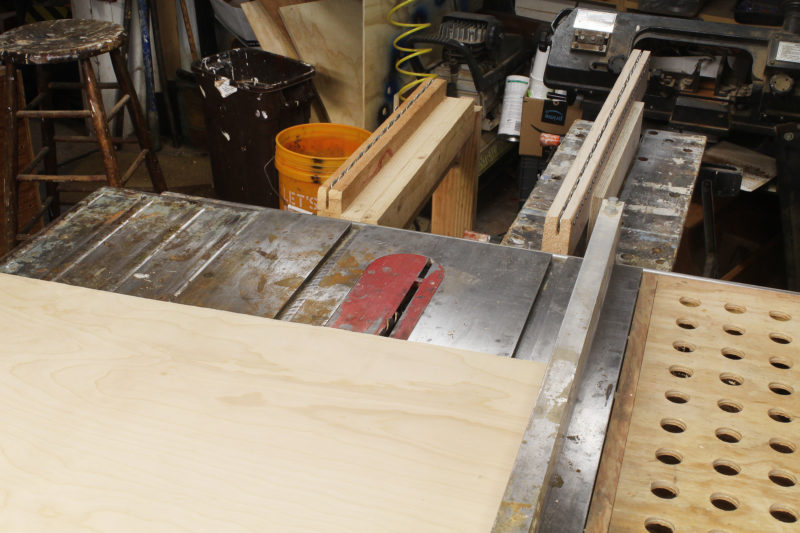
After drilling the holes, cut the kerf for the washers in the edge of the 2×4. Set the table saw’s depth of cut to match the diameter of the washers. If a single pass doesn’t provide a loose fit for a pair of stacked washers, move the fence slightly to take another pass, perhaps cutting with just a fraction of the saw blade. The washers need to be held loosely but close to vertical.
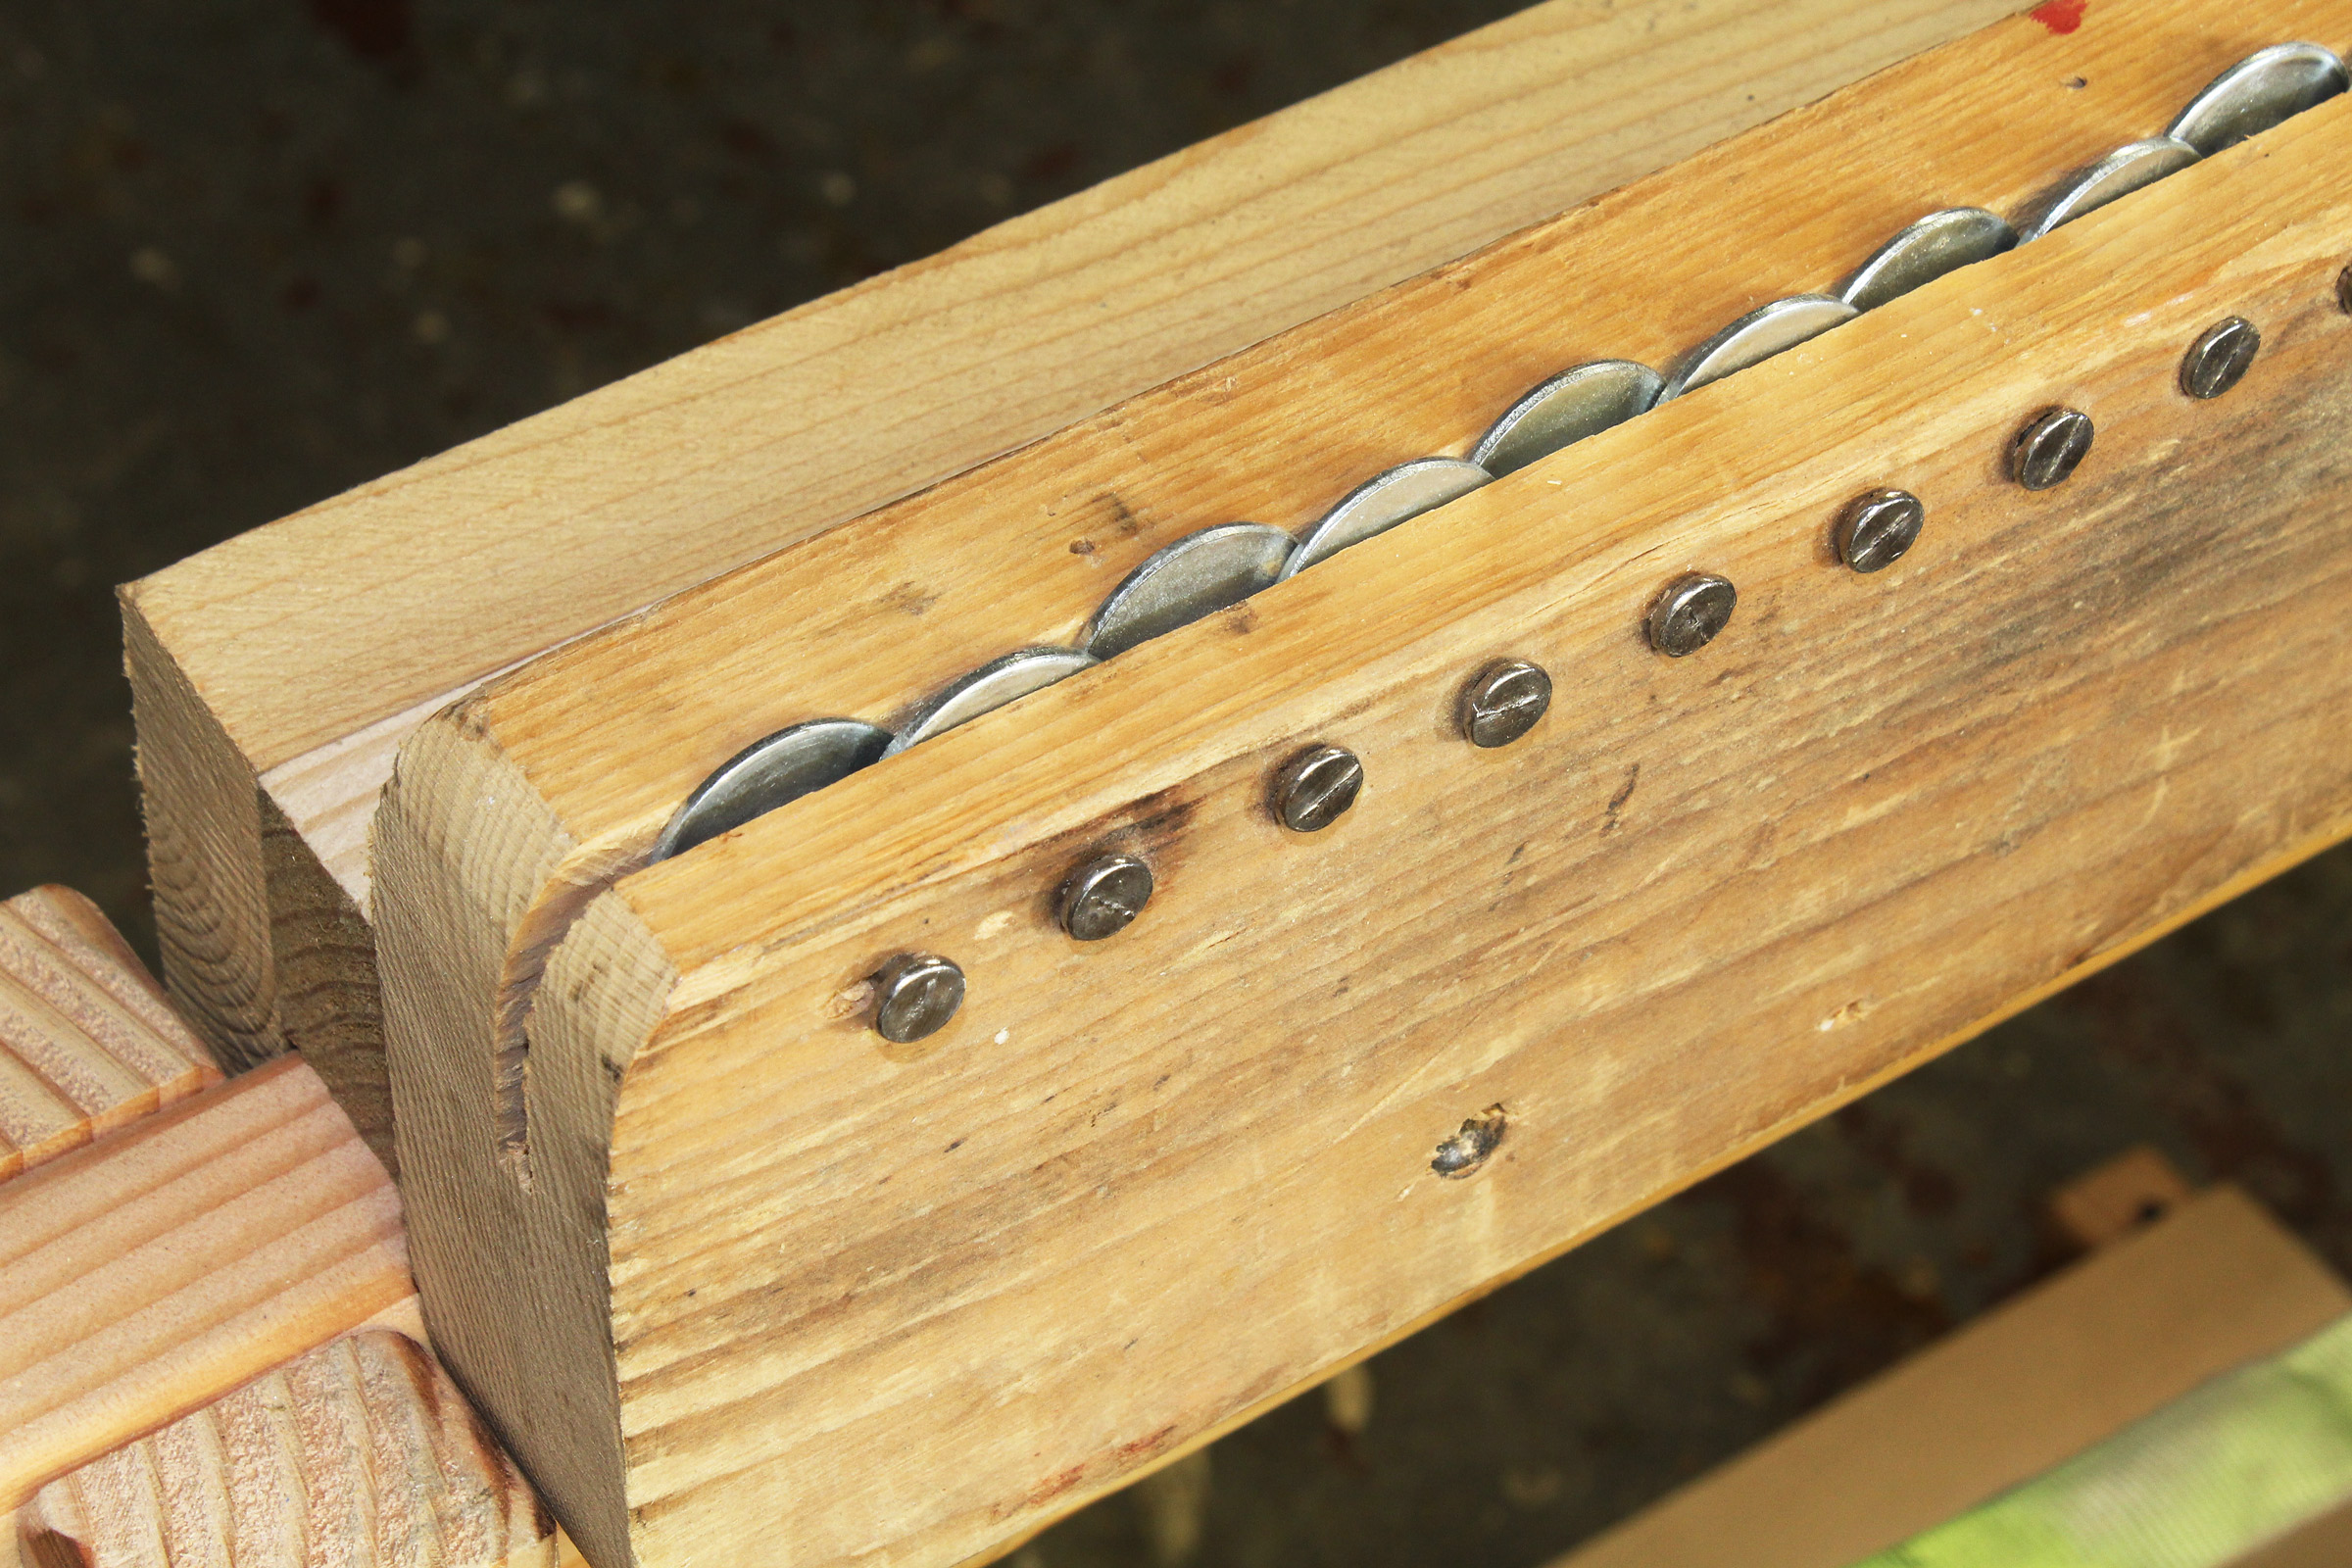
Washers are set on alternating sides to spin freely and guide the workpieces straight.
Set one washer at a time in the kerf and press the hanger nail into the hole and through the washer. The 1-1/2″ nails don’t need to be driven flush and thus poke out the back side of the 2×4. The heads can stand slightly proud. Alternate the sides of the kerf the washers are on.
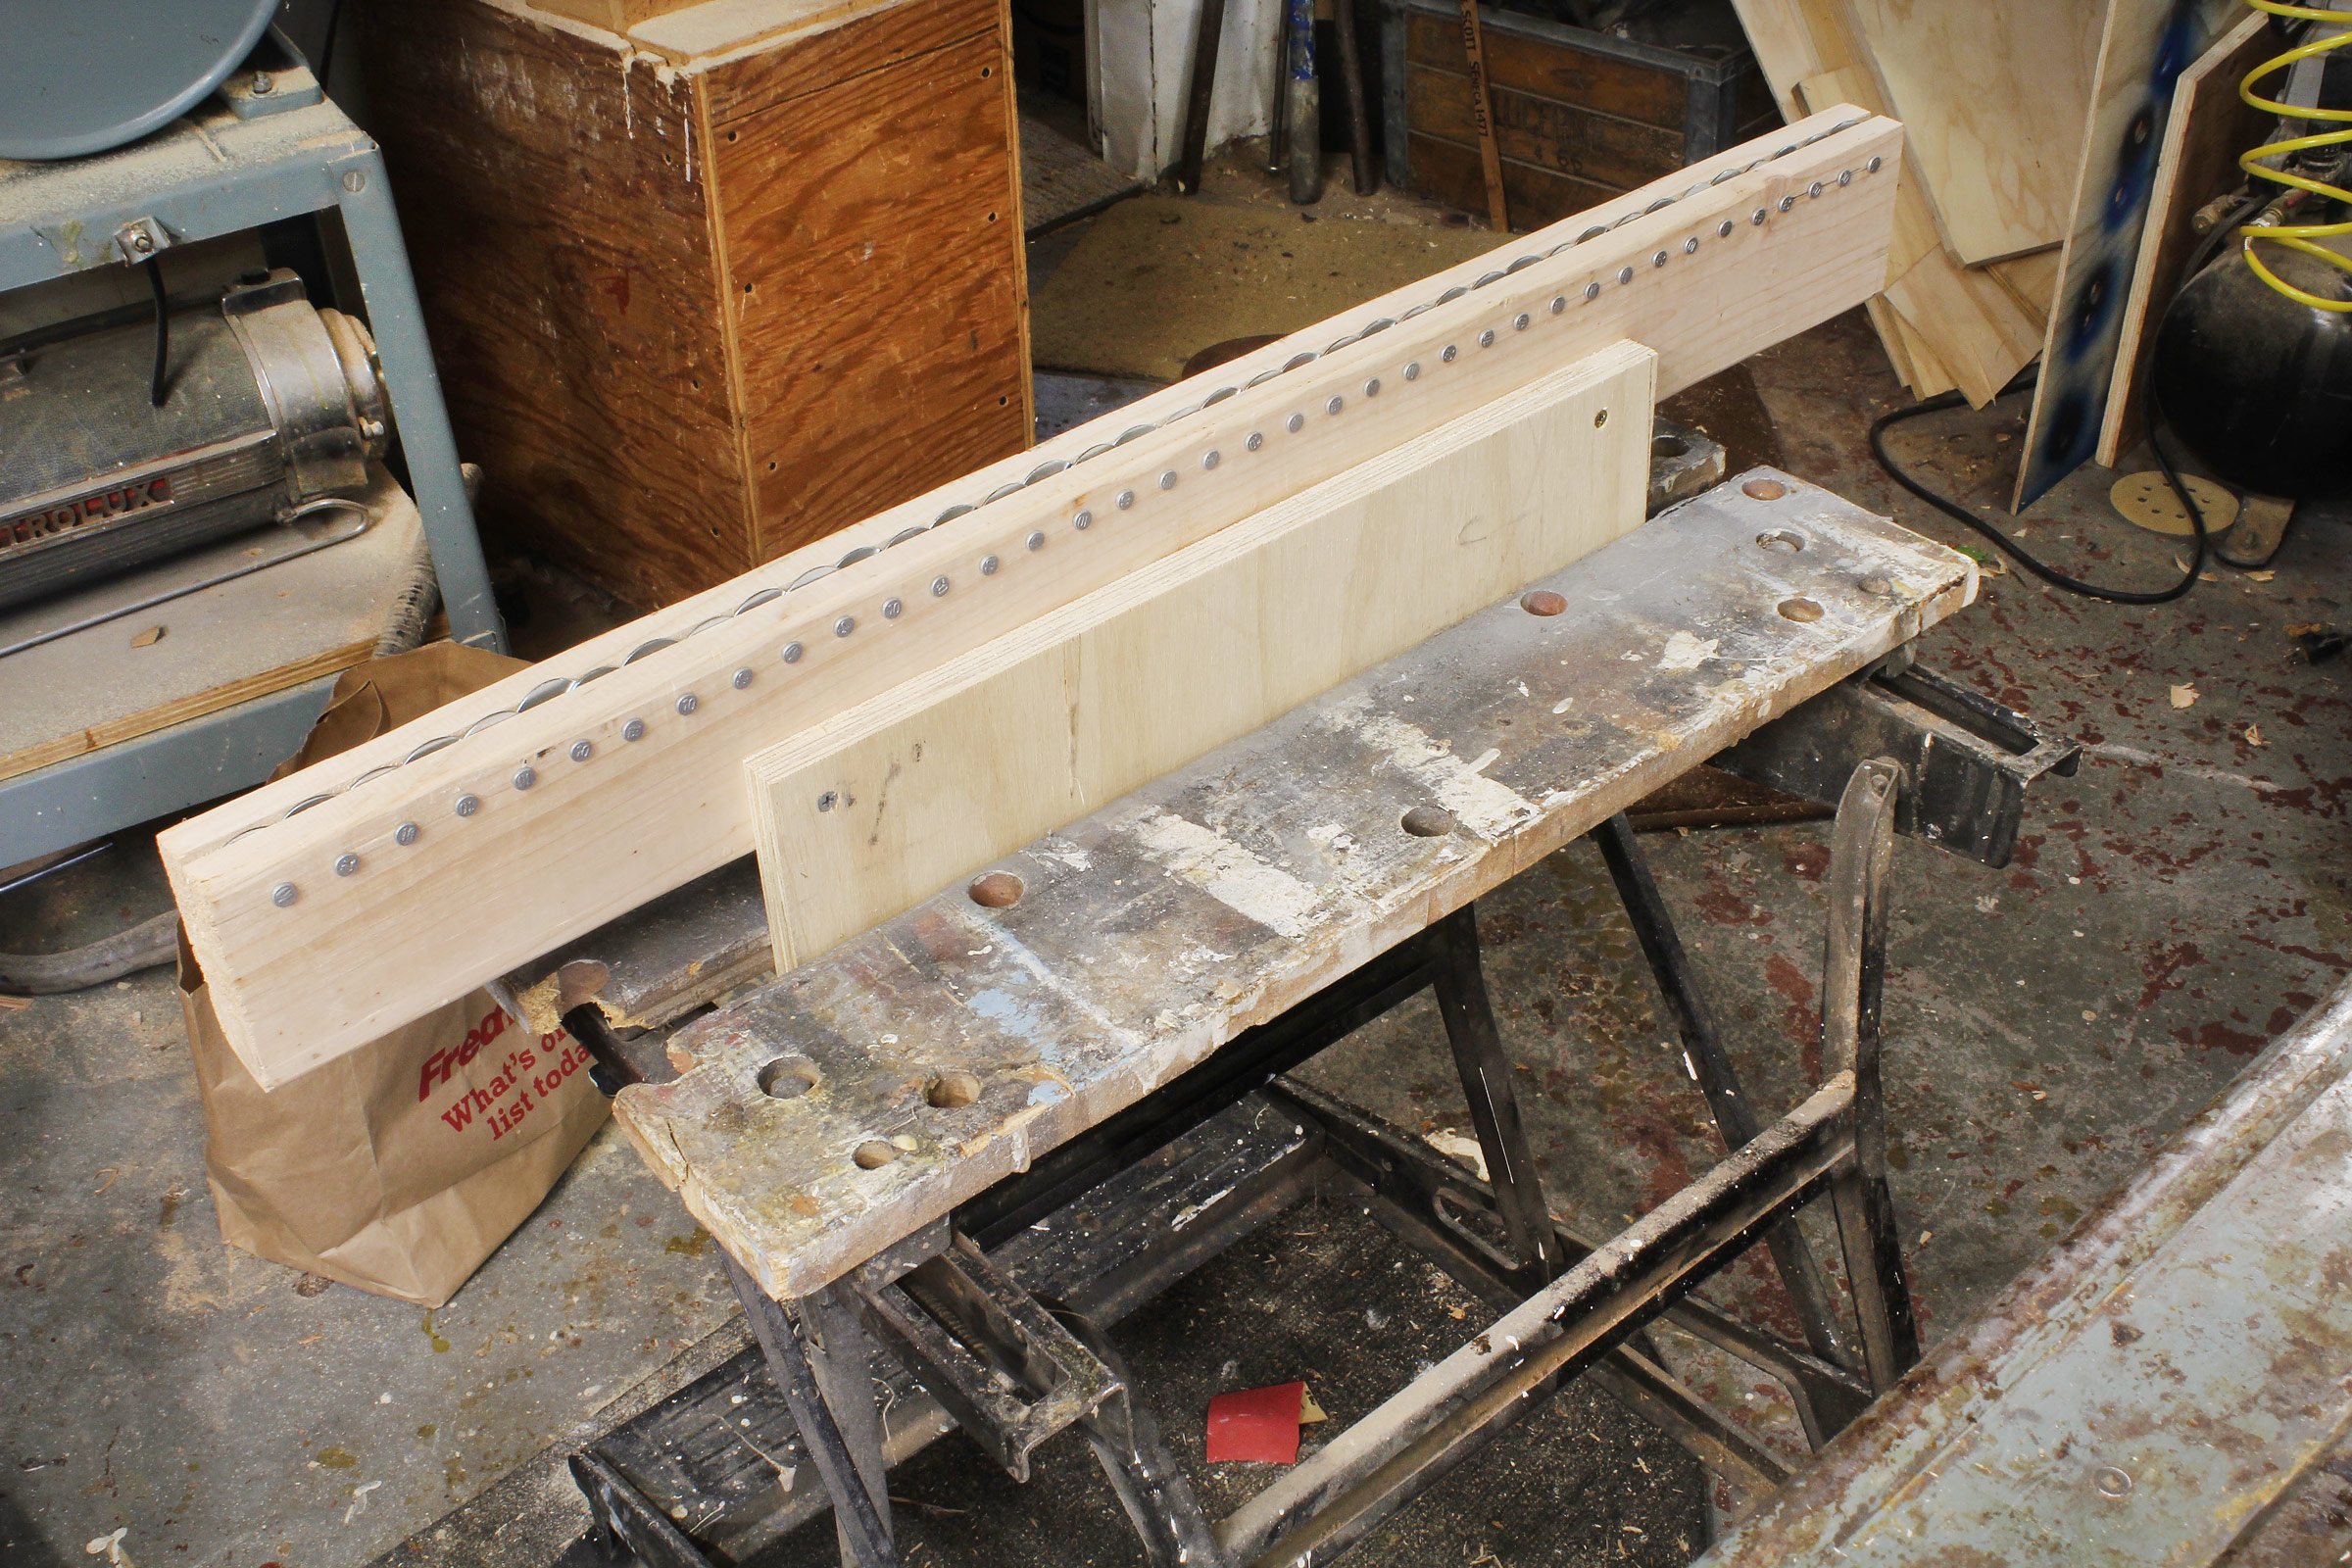
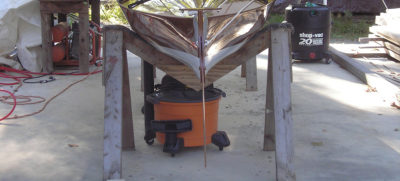
I use a Workmate, which has a clamping table top, to hold a washer roller with a piece of 3/4″ plywood screwed to it.
To keep from adding more clutter to a crowded shop, I didn’t make dedicated stands for the washer rollers. I added a few pieces of lumber to one roller to slip over the edge of the top of a sawhorse. Another roller has screwed to it a piece of plywood that I clamp in my Workmate. A cleat screwed to the lower end of the plywood serves as a stop that sets the washer tops at the correct height. If I’m using my crosscut sled, a lift set under the cleat adjusts the height.

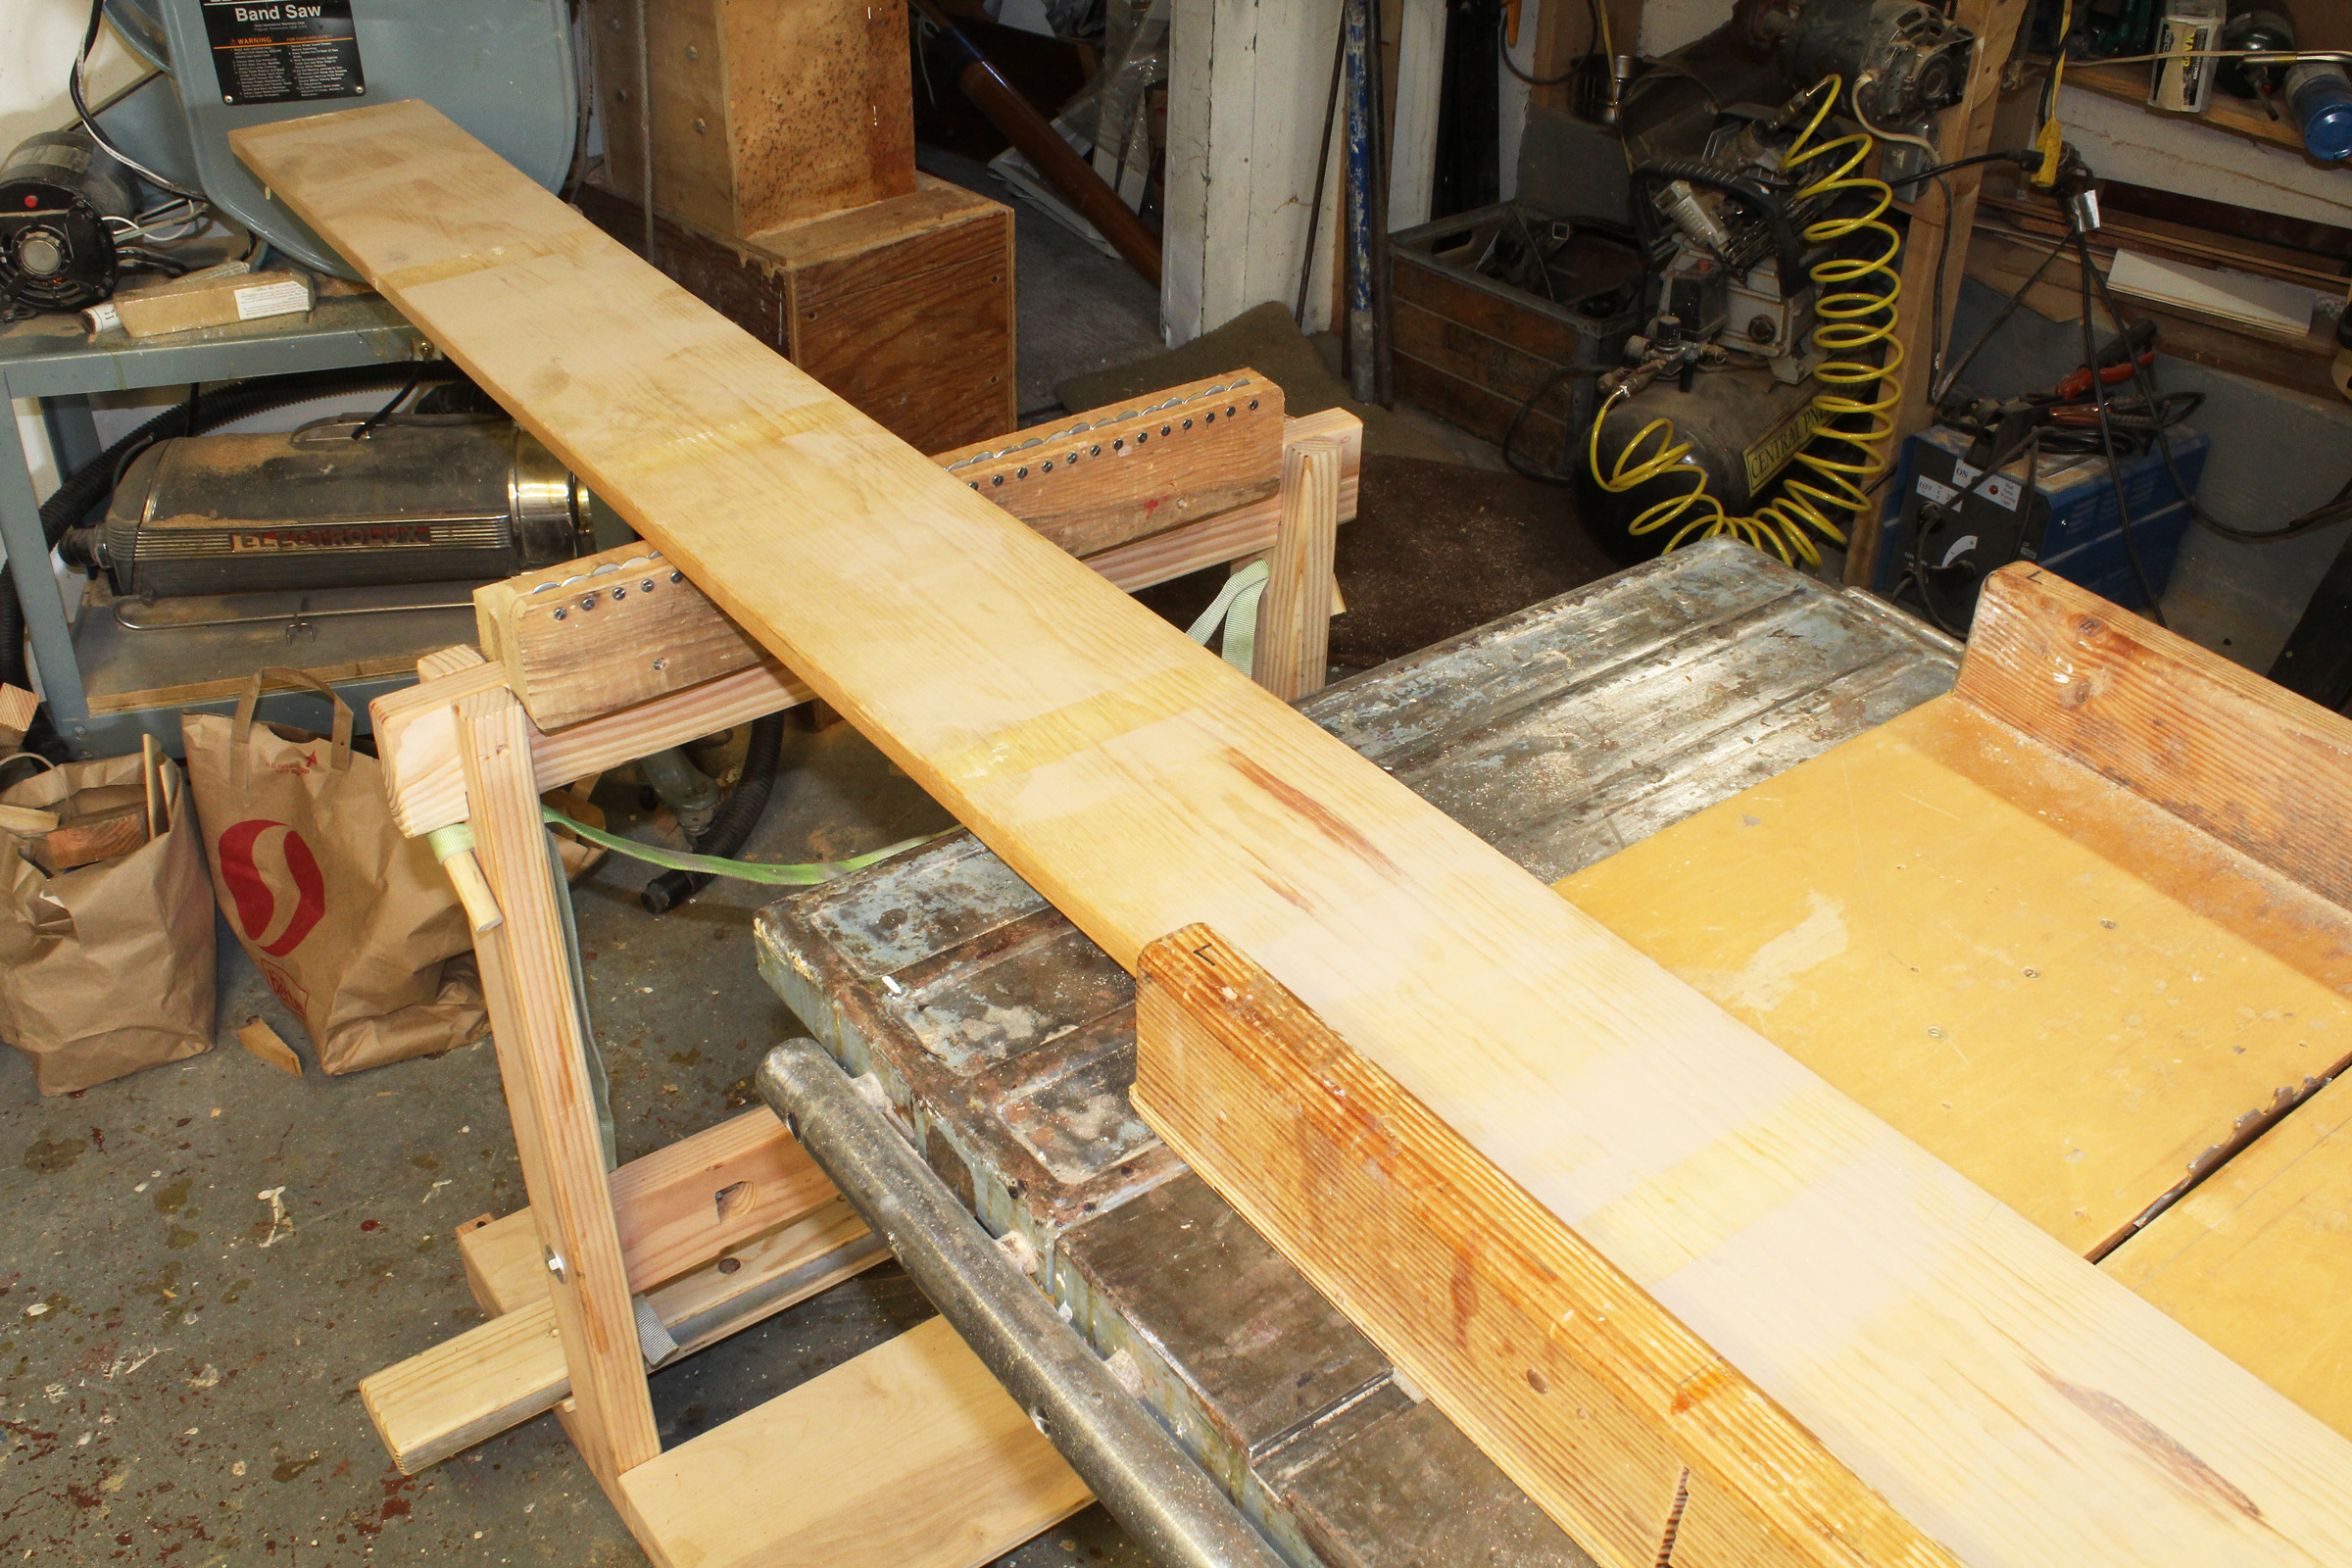
The end of a board dropping beyond the table saw can be picked up by putting a slope on the front end of the washer roller. A Workmate is holding this roller by clamping the piece of plywood that is screwed to the 2×4. A cleat screwed to the plywood sets the roller at the required height for a quick setup.

A few bits of lumber created a saddle to fit over the top of a Krenov-style sawhorse.
Washer rollers can be set at the back edge of the table saw to catch pieces immediately and continue to provide support.
The washer rollers can be set close enough to the back side of the table saw to catch the wood being sawn before it sags, and a roller set off to the side will work for crosscuts. With the end of a workpiece supported, I can focus on guiding it through the saw blade and not divide my attention and effort to pushing the wood down on the table.
A sled is a better table-saw accessory for many cross-cutting tasks. A washer roller helps it handle longer pieces of lumber.
I’m not sure where my old roller stands are. I haven’t seen them in months and haven’t felt the need to look for them, knowing the washer rollers are handily tucked under the table saw. ![]()
Christopher Cunningham is the editor of Small Boats Monthly.
You can share your tips and tricks of the trade with other Small Boats Magazine readers by sending us an email.


Join The Conversation
We welcome your comments about this article. To include a photo with your remarks, click Choose File below the Comment box.