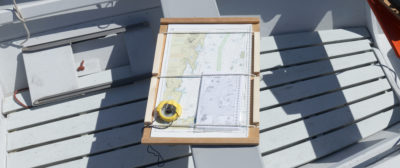
Many years ago, while building small craft, I sought a solution for securing a hull under construction in different positions. It occurred to me that V-shaped sawhorses would maintain a V- or round-bottomed skiff in a secure working attitude whether upright, inverted, or in between. This would also work for a flat-bottomed hull, as long as the bottom was narrow near the ends, as a dory is.
Consequently, I quickly and haphazardly conceived a simple design that could be implemented rapidly and cheaply, using standard 2×4 lumber. I build most of my sawhorses with legs cut to an acute angle on the flat on the upper ends, and cut to an obtuse angle on the bottoms, parallel to the shop floor. The upper angles are hard to cut through the width of a 2×4, so you rarely see sawhorses made this way. I do it because the horses are light, simple and strong, and use a minimum of material. I often gusset the ends with whatever scrap plywood is lying around the shop.
 Reuel Parker
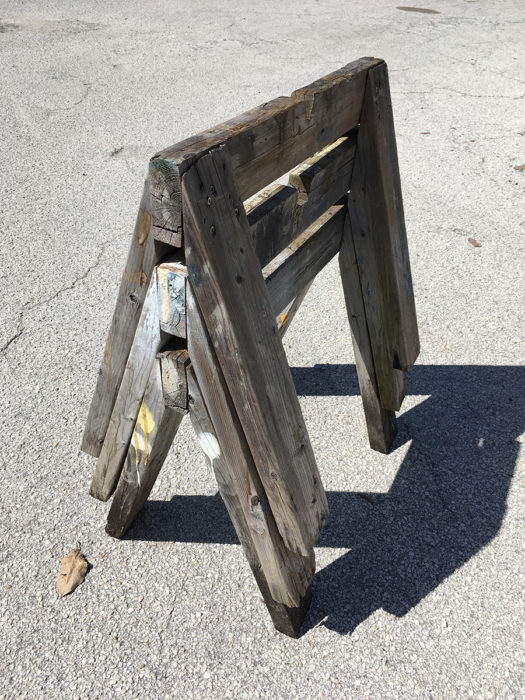
The drop-center sawhorses were an improvement on my standard sawhorses which have survived at least 15 years of use outdoors. The old and the new horses have the same beveled connection between the legs and crosspieces.
To make conventional horses, I cut four 2×4 legs to the height I desire—usually 24″ or 27″, and one 2×4 crosspiece to the width I desire, usually 36″ or 48″. To cut the upper ends of the legs, I use a bevel square set arbitrarily to an angle of about 25 or 30 degrees. I mark one side of all four legs and cut the line carefully with a circular saw set to near maximum depth. I cut the rest of the way through using a bandsaw with a wide blade (3/8″ or 1/2″). I screw the legs to the crosspiece using 2″ to 2 ½″ self-drilling exterior-grade screws or, in some cases, air-nail them with #10 ring-shank nails. I set the horses on a flat, level surface, and trace the feet parallel to the floor with a carpenter’s pencil or Sharpie pen. I set my circular saw to that angle and cut the feet. This makes them more secure but encourages rot from rainwater. If I am in a hurry, I just leave the bottoms of the feet square. These sawhorses seem to last well, and I have some that are at least 20 years old, having been in constant use, much of it outdoors. Occasionally, the bottoms of the legs rot, and I simply cut them a little shorter and keep using them.
 Reuel Parker
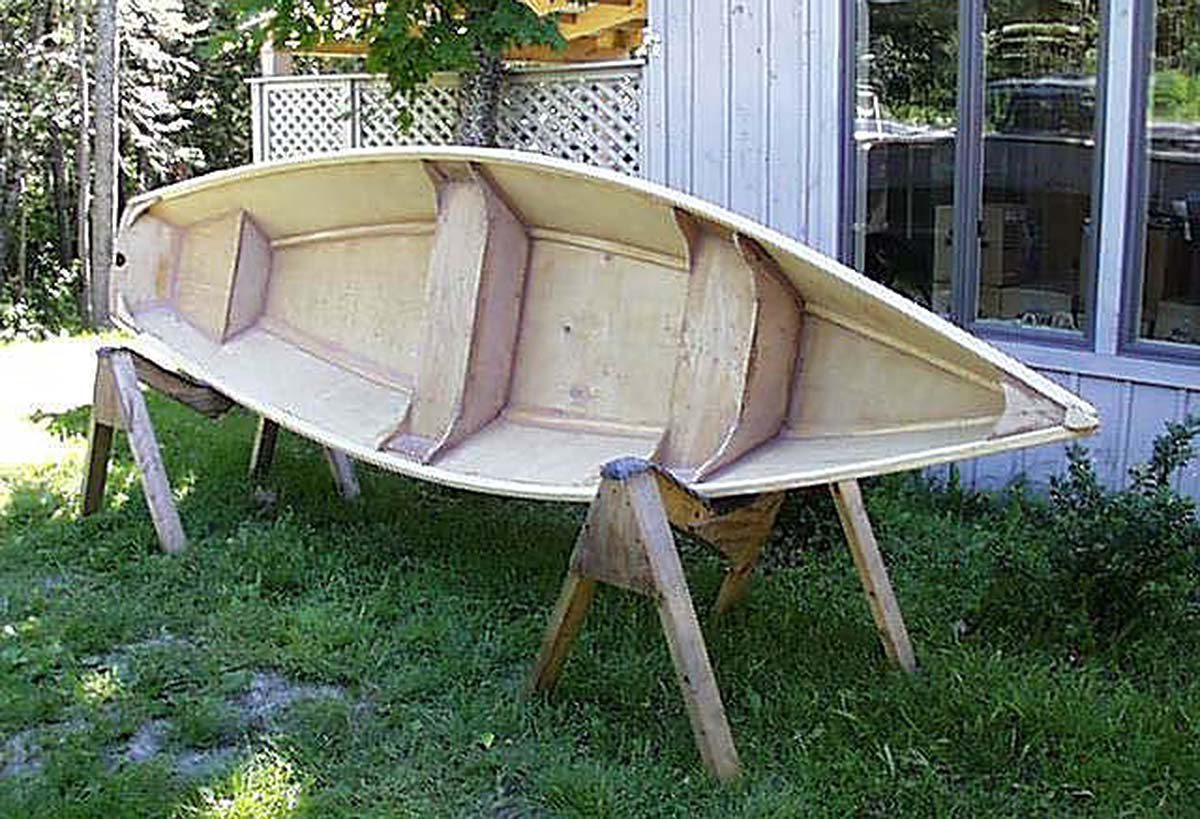
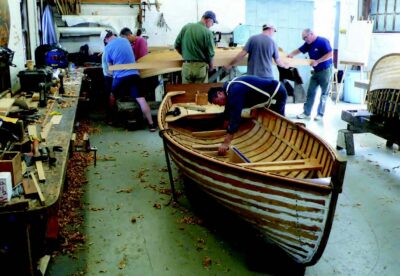
Twenty years ago I used drop-center sawhorses while building a 14′ dory in my shop in Maine.
To make drop-center sawhorses, I make the legs the same way, but make the crosspiece from two components, joined in the middle by plywood gussets on each side. The angle of the V can be tailored for a specific boat project or can be generic for general use. I have only made one or two sets of drop-center sawhorses, and I can’t remember when, or for what project. They are more than 20 years old.
To make the V components, I cut my 2×4 crosspieces to an angle of about 55 degrees where the halves join, and I trim the top outer edges to 35 degrees for the 3-1/2″ width of the legs. I do this so that I have flat surfaces at each side of the finished sawhorse for resting plywood or temporarily adding a plank across the top to use as a conventional sawhorse. To protect the boat, I carpet the tops of the horses with synthetic carpet stapled in place.
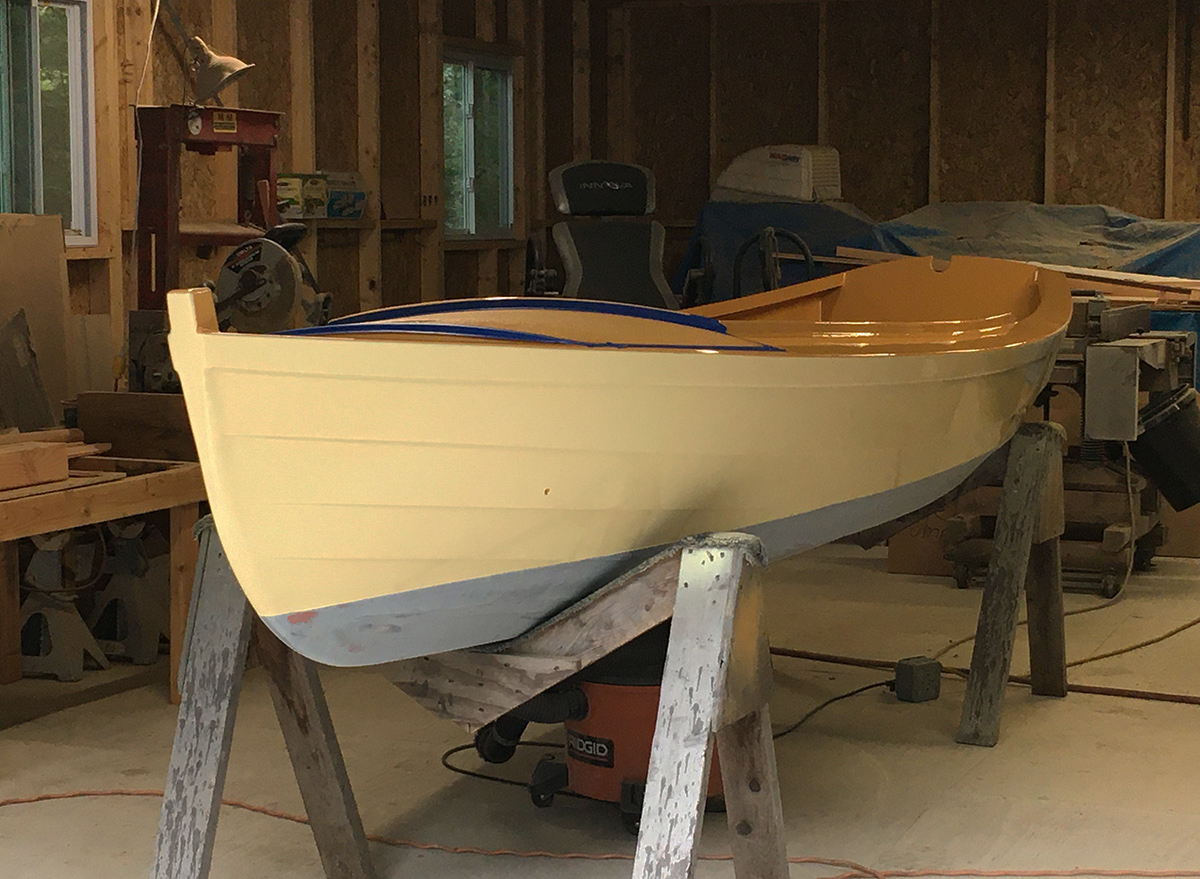
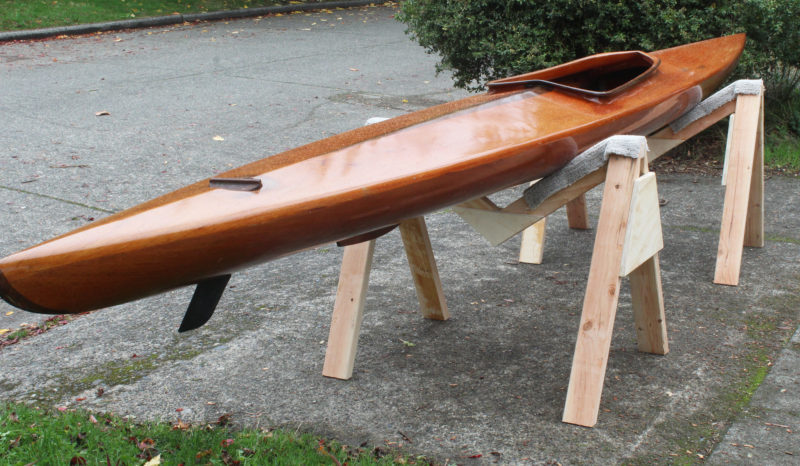
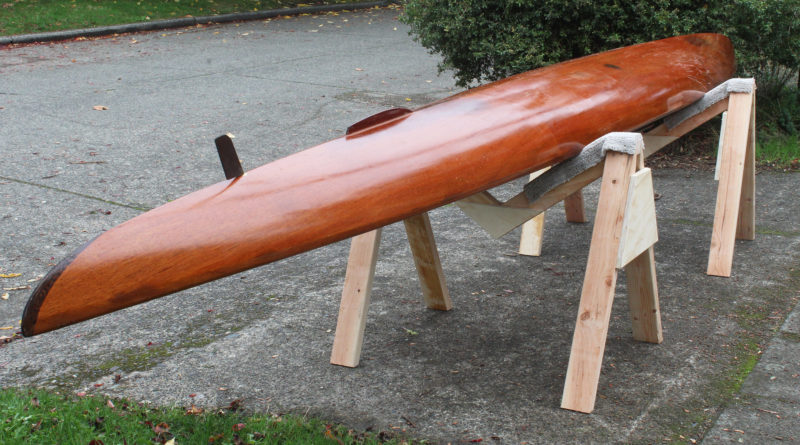
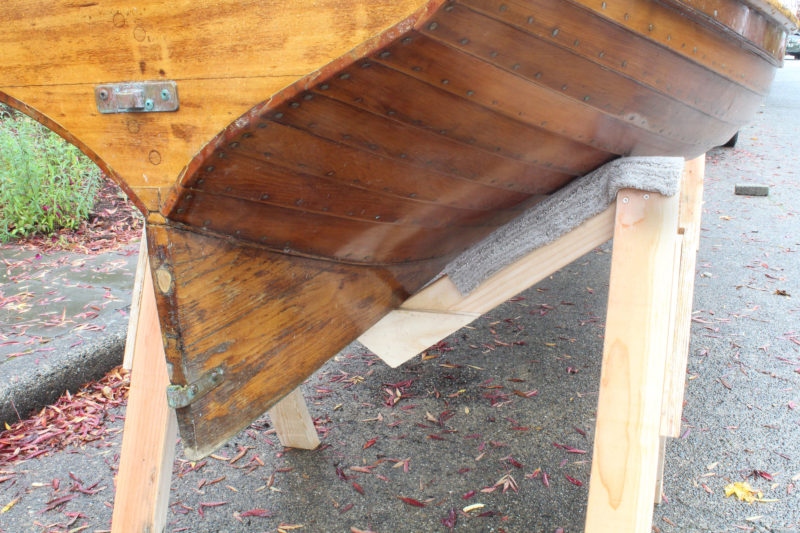
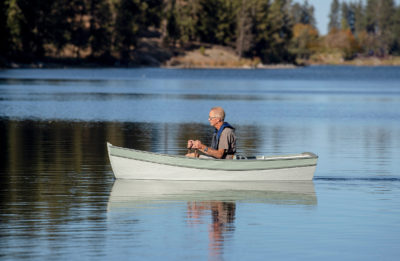
This Sea Bright Skiff sits upright, safely cradled by a pair of carpet-padded drop-center sawhorses.
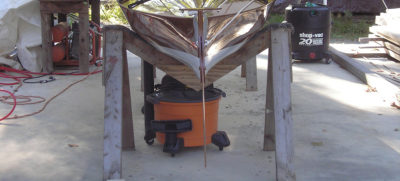
The horses are versatile in that they will secure a boat project in various attitudes and positions. The coarse carpeting aids this as it prevents slipping.![]()
Reuel Parker is a yacht designer, boatbuilder, and author who regularly contributes to WoodenBoat and Professional BoatBuilder magazines. A lifelong cruising sailor, he currently lives in the Bahamas aboard PEREGRINE and sails seasonally between Maine and Florida. He ventures farther as time and tide permit.
Editor’s Notes
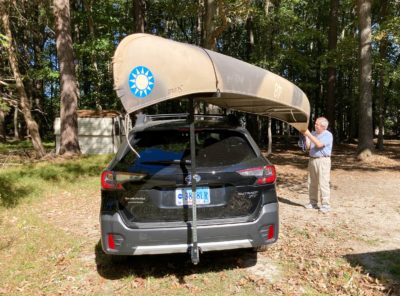
For many of my boat-repair projects I used ordinary sawhorses with straight crosspieces on top. To keep boats from rolling around, I used the foam cradles designed for carrying a kayak on a car’s roof rack. They worked marginally well but didn’t hold the kayak securely. Reuel’s drop-center sawhorses are perfectly suited to working on small boats, so as soon as I had his text and photos in hand, I made a pair for my shop.
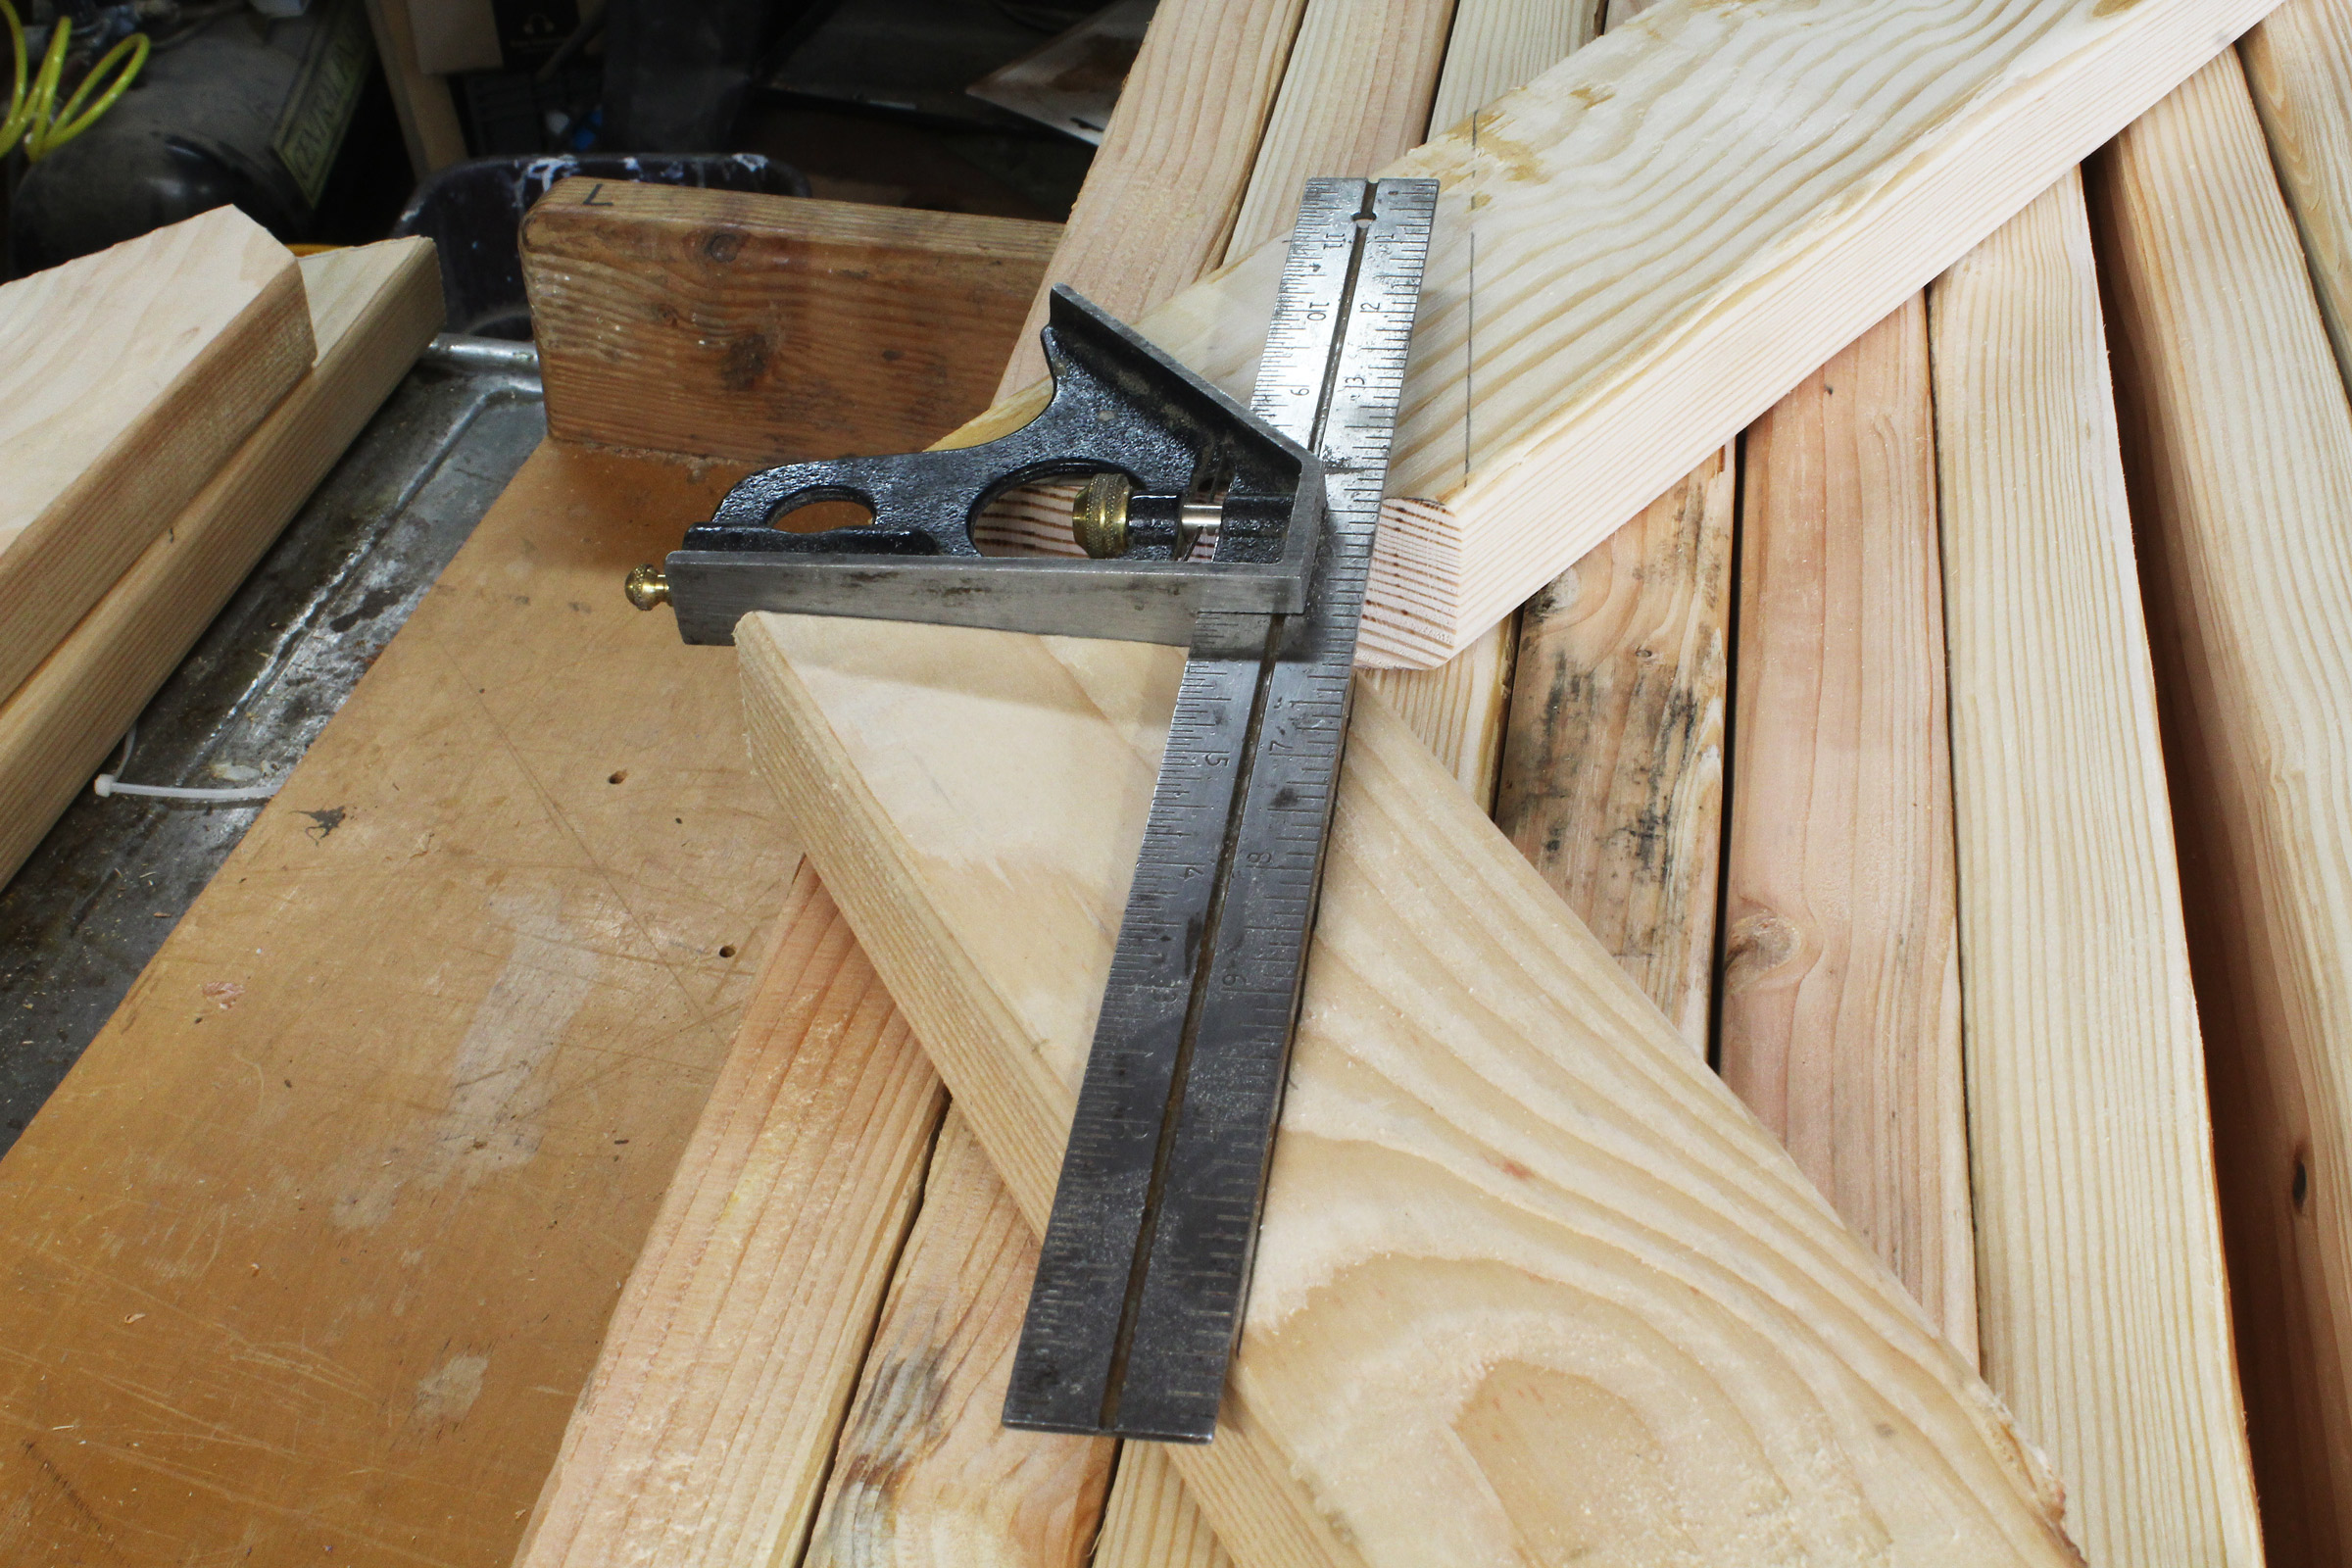
I made a few departures from Reuel’s instructions for a better fit for me. I wanted the boat to be held a little bit higher, so I made the legs 32″ long. Angled at 30 degrees they would make an equilateral triangle with an equally wide base. A 32″ span between the feet seemed a bit wide. I settled on a 24″ span and, using an online right-triangle calculator, plugged in a 32″ hypotenuse and a 12″ base to get the 22-degree angle for the top of the leg and 68-degree cut for the bottom.
An 8′ 2×4 will provide three legs with no waste. A full set of eight legs will consume all but 32″ of three 2×4s. The leftover piece and a fourth 2×4 will provide the rest of the lumber required.
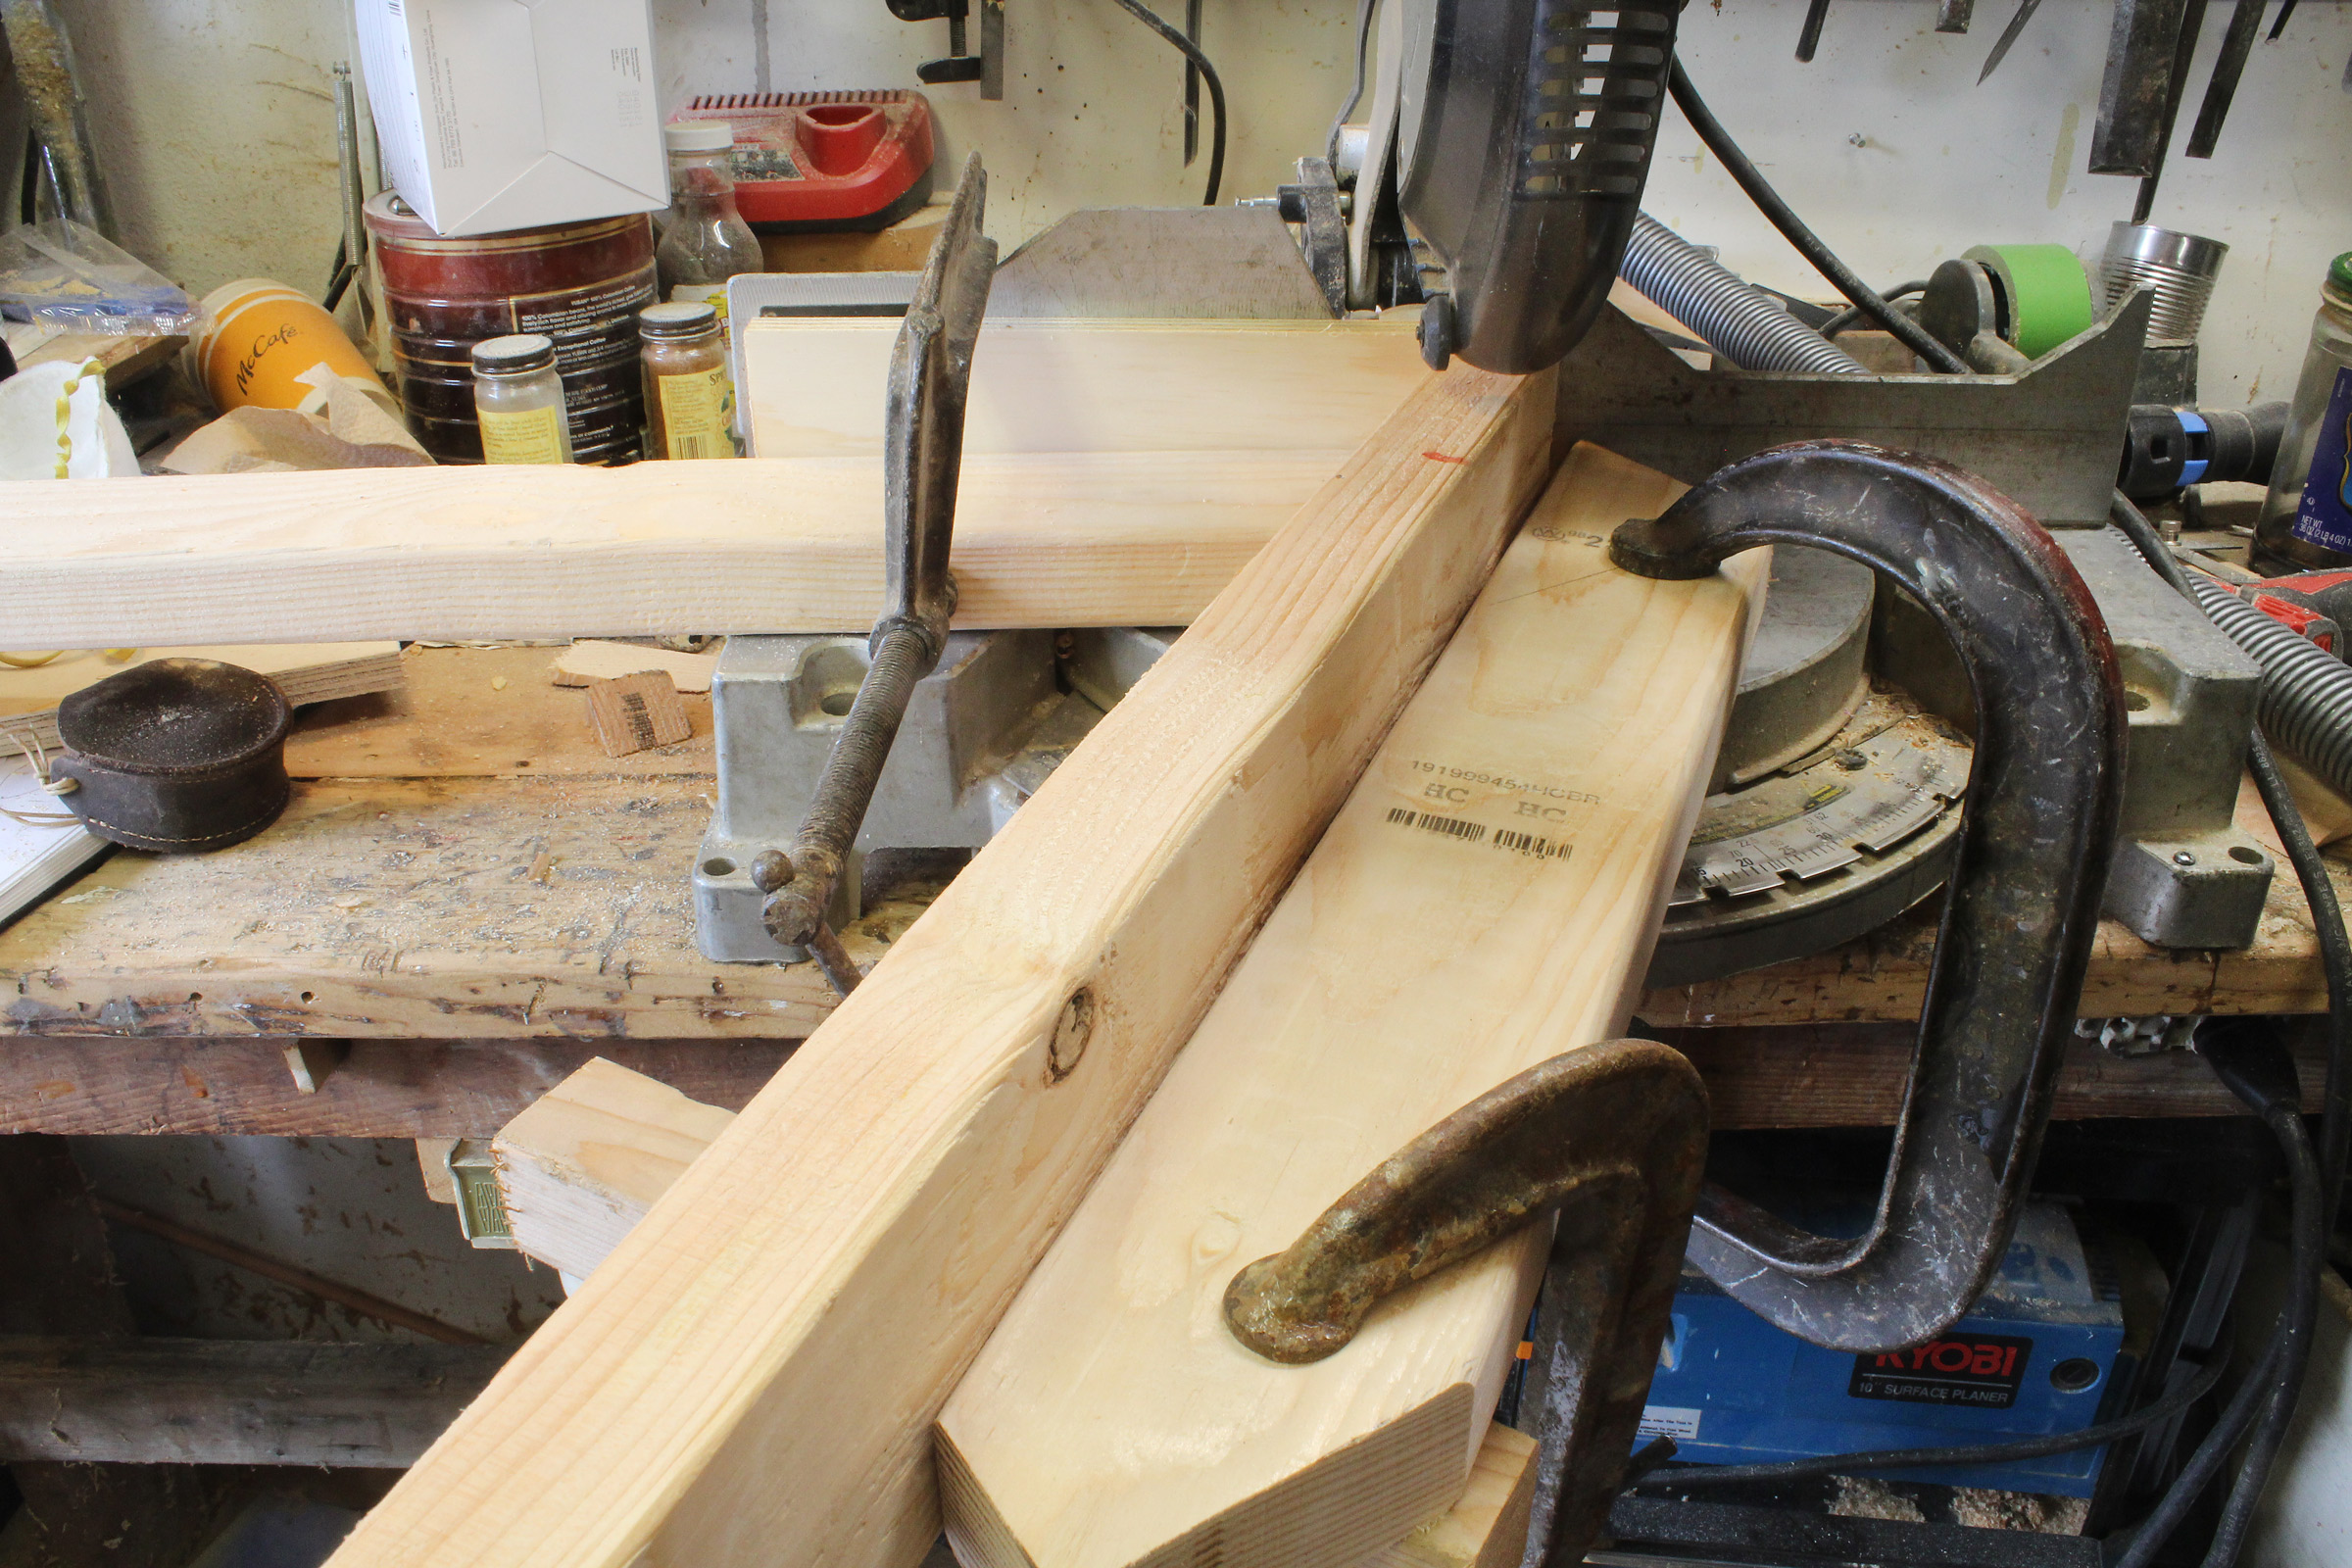
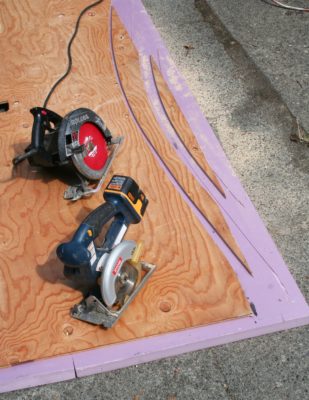
I opted to used a 12″ chop saw for most of the cuts. In retrospect, a band saw would well too, cutting by eye to lines drawn with a bevel gauge. The chop saw lent itself better to guides and stops for quicker, more uniform cutting.
A chop saw can’t be at 22 degrees to the fence for the acute angle at the top of the leg; angles are measured from 0 for a square cut. I set the saw to 22 degrees and cut a scrap 2×4, on the flat, to make a guide. With the chop saw set back at 0 degrees, I clamped it to the fence with a piece of plywood to serve as a stop. (Without it the saw could easily bind if the workpiece shifted, as it likely would if merely handheld.) I set the guide back about 1/8″ from the line of the cut to leave some enough of the 2×4 to stay secure against the plywood stop.
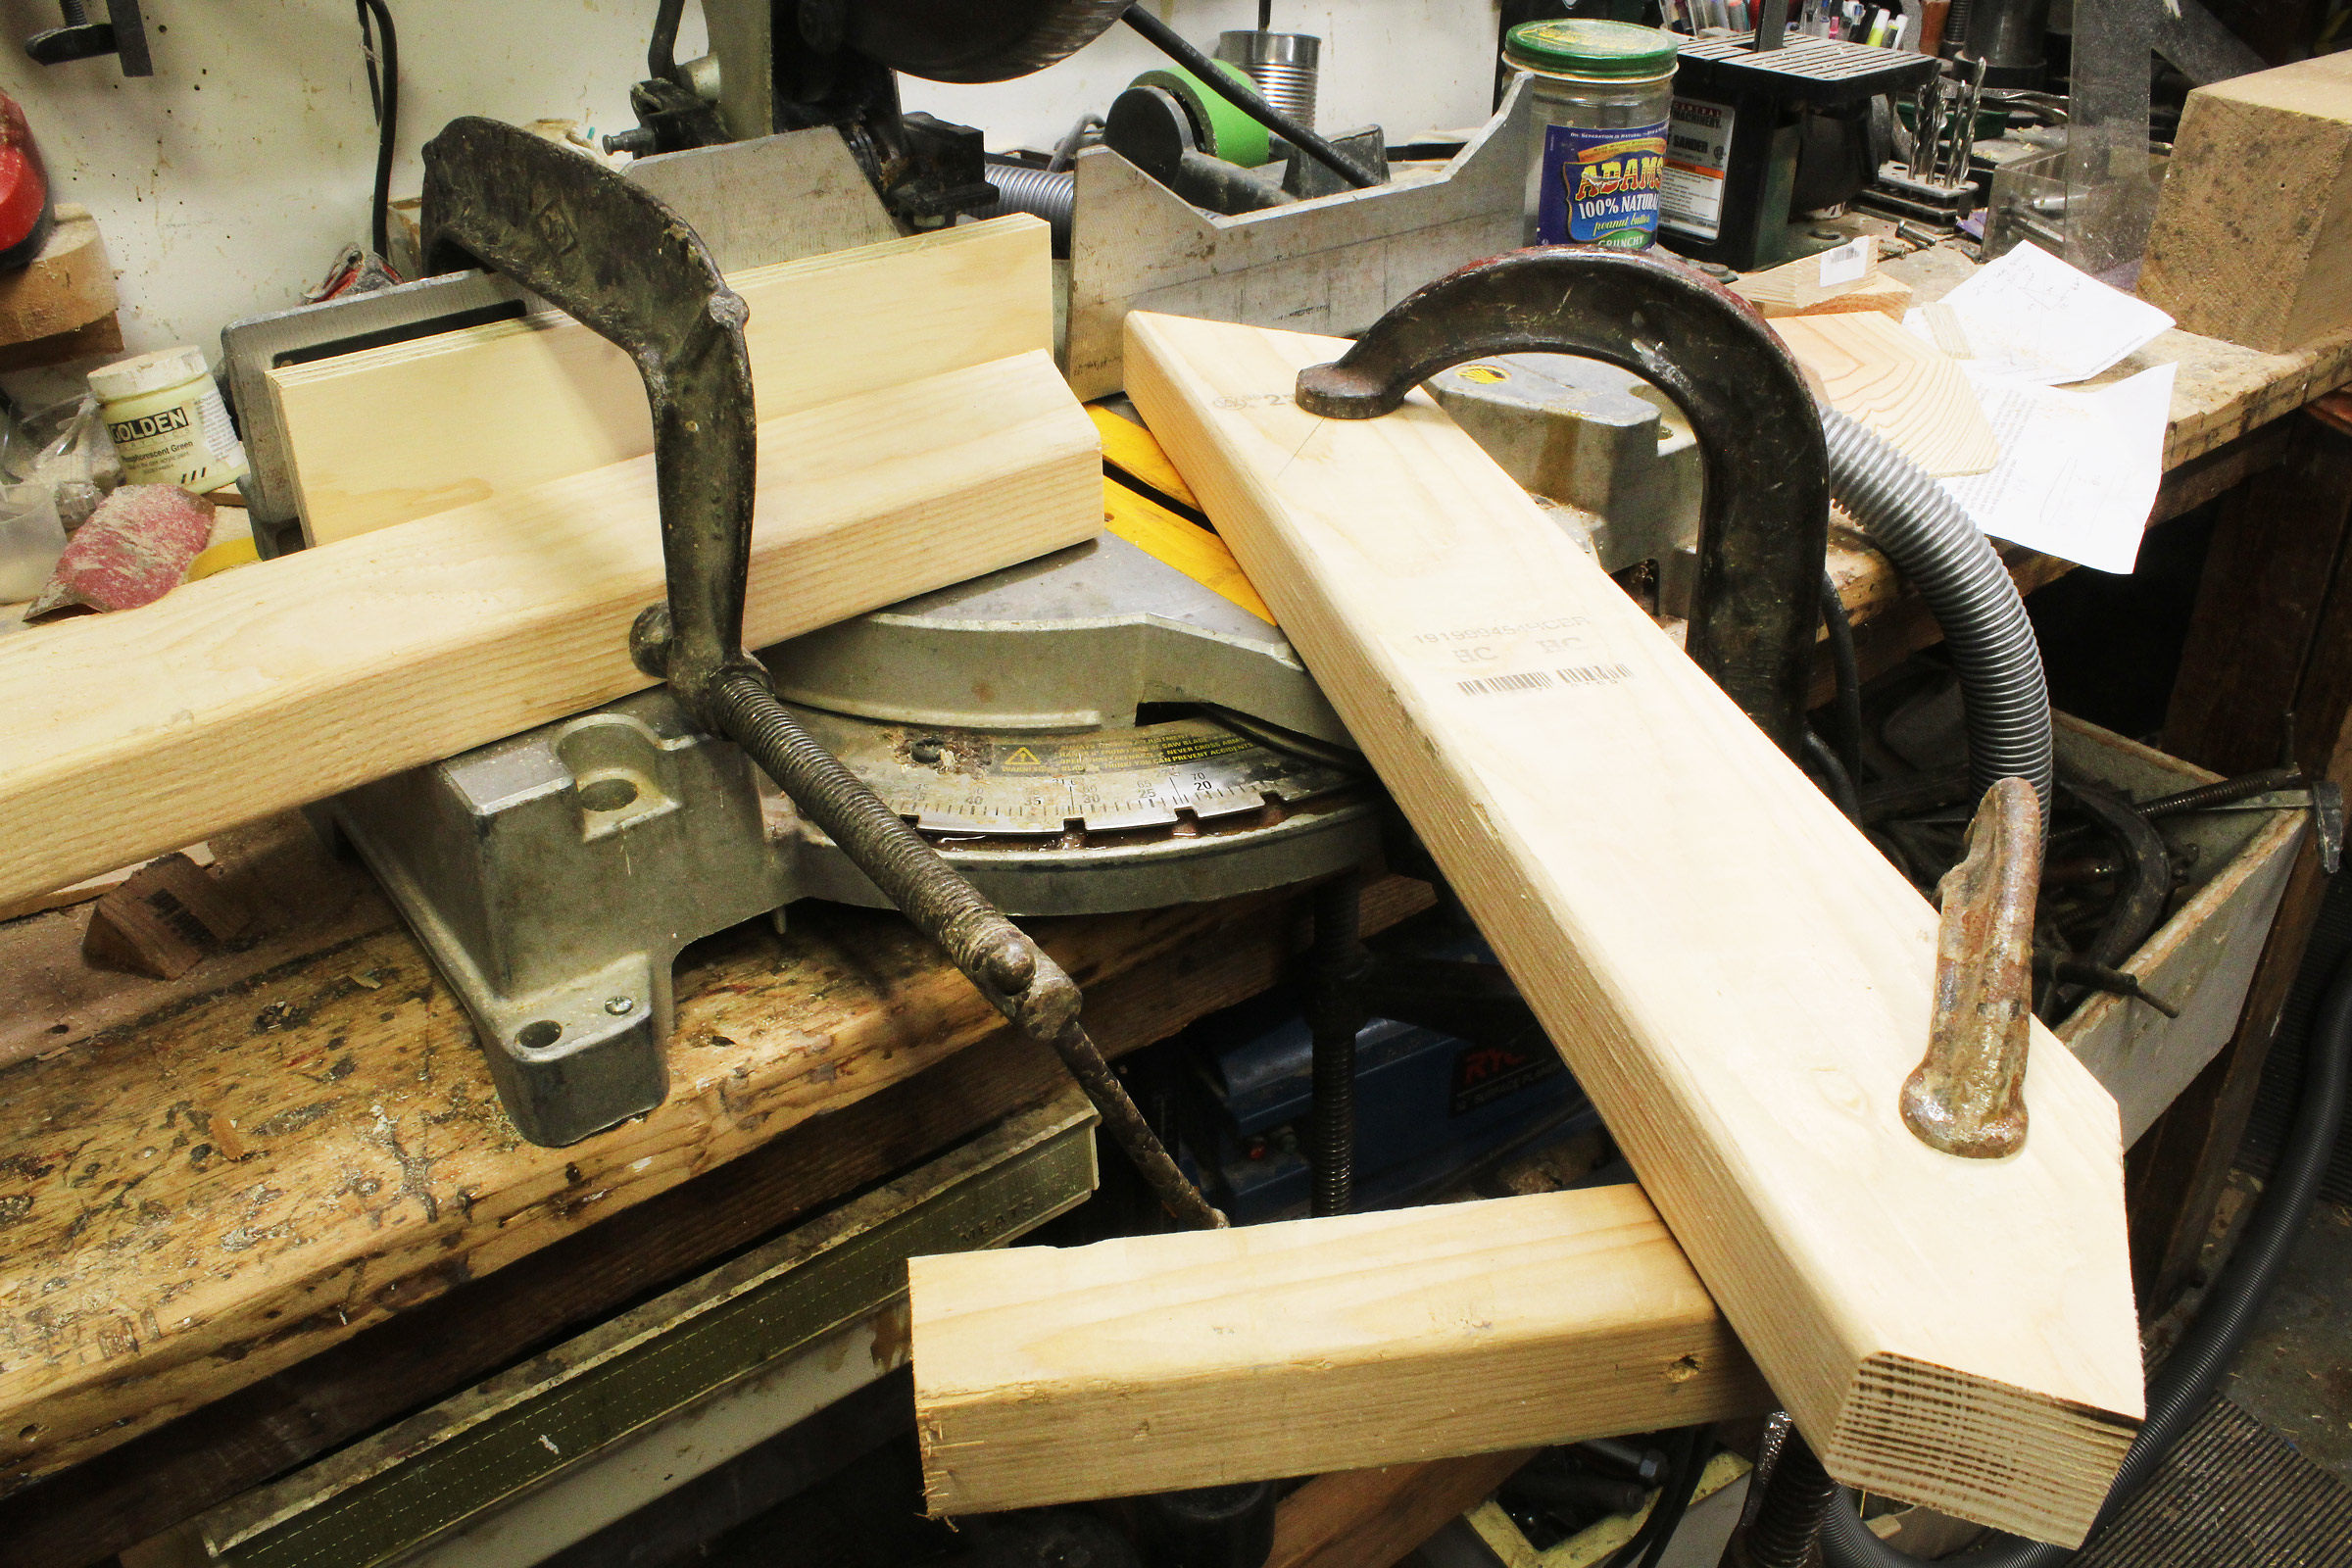
A longer guide assured the leg would be secure at the 22-degree angle. A block of wood clamped to the outer end served as a support.
With the chop saw set up to make safe, uniform cuts, it made quick work of the eight leg-top angles.
The chop saw’s 12″ blade can cut through a 2×4 on edge in one pass.
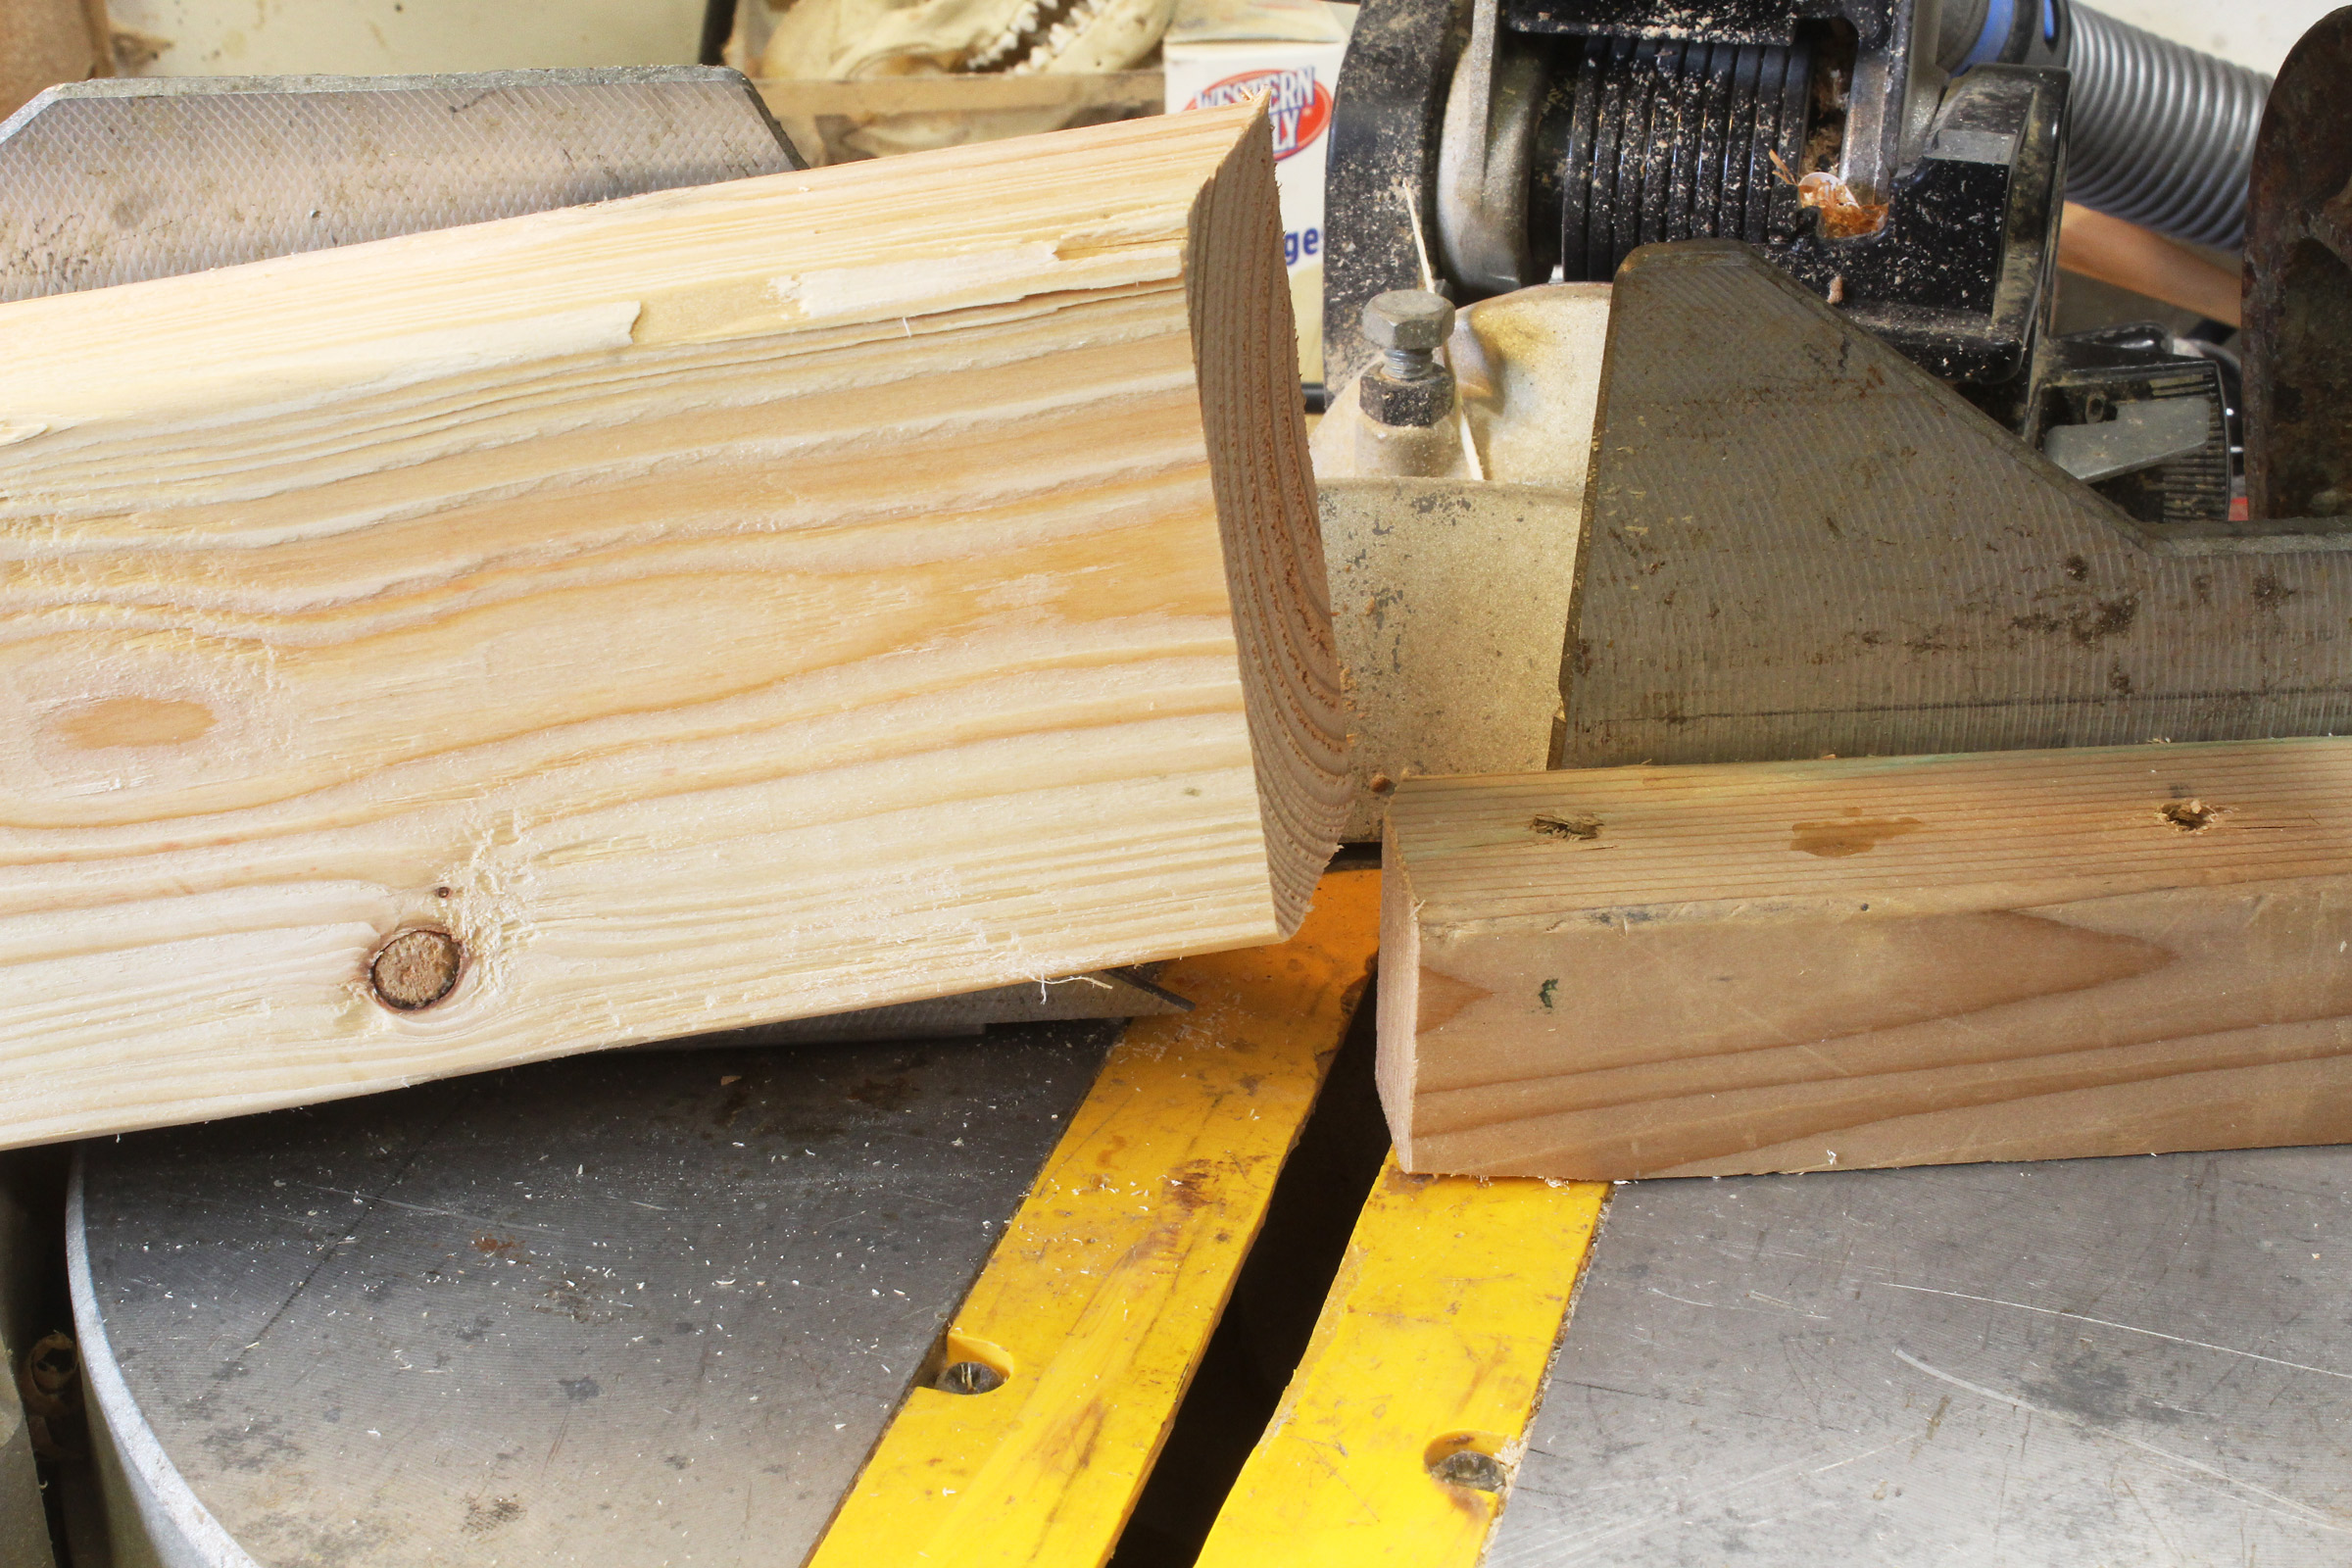
With the tops cut, the guides can be removed and the saw can be set at 22 degrees to cut the bottom angle with the 2×4 set against its fence. A stop speeds the work and assures uniformity.
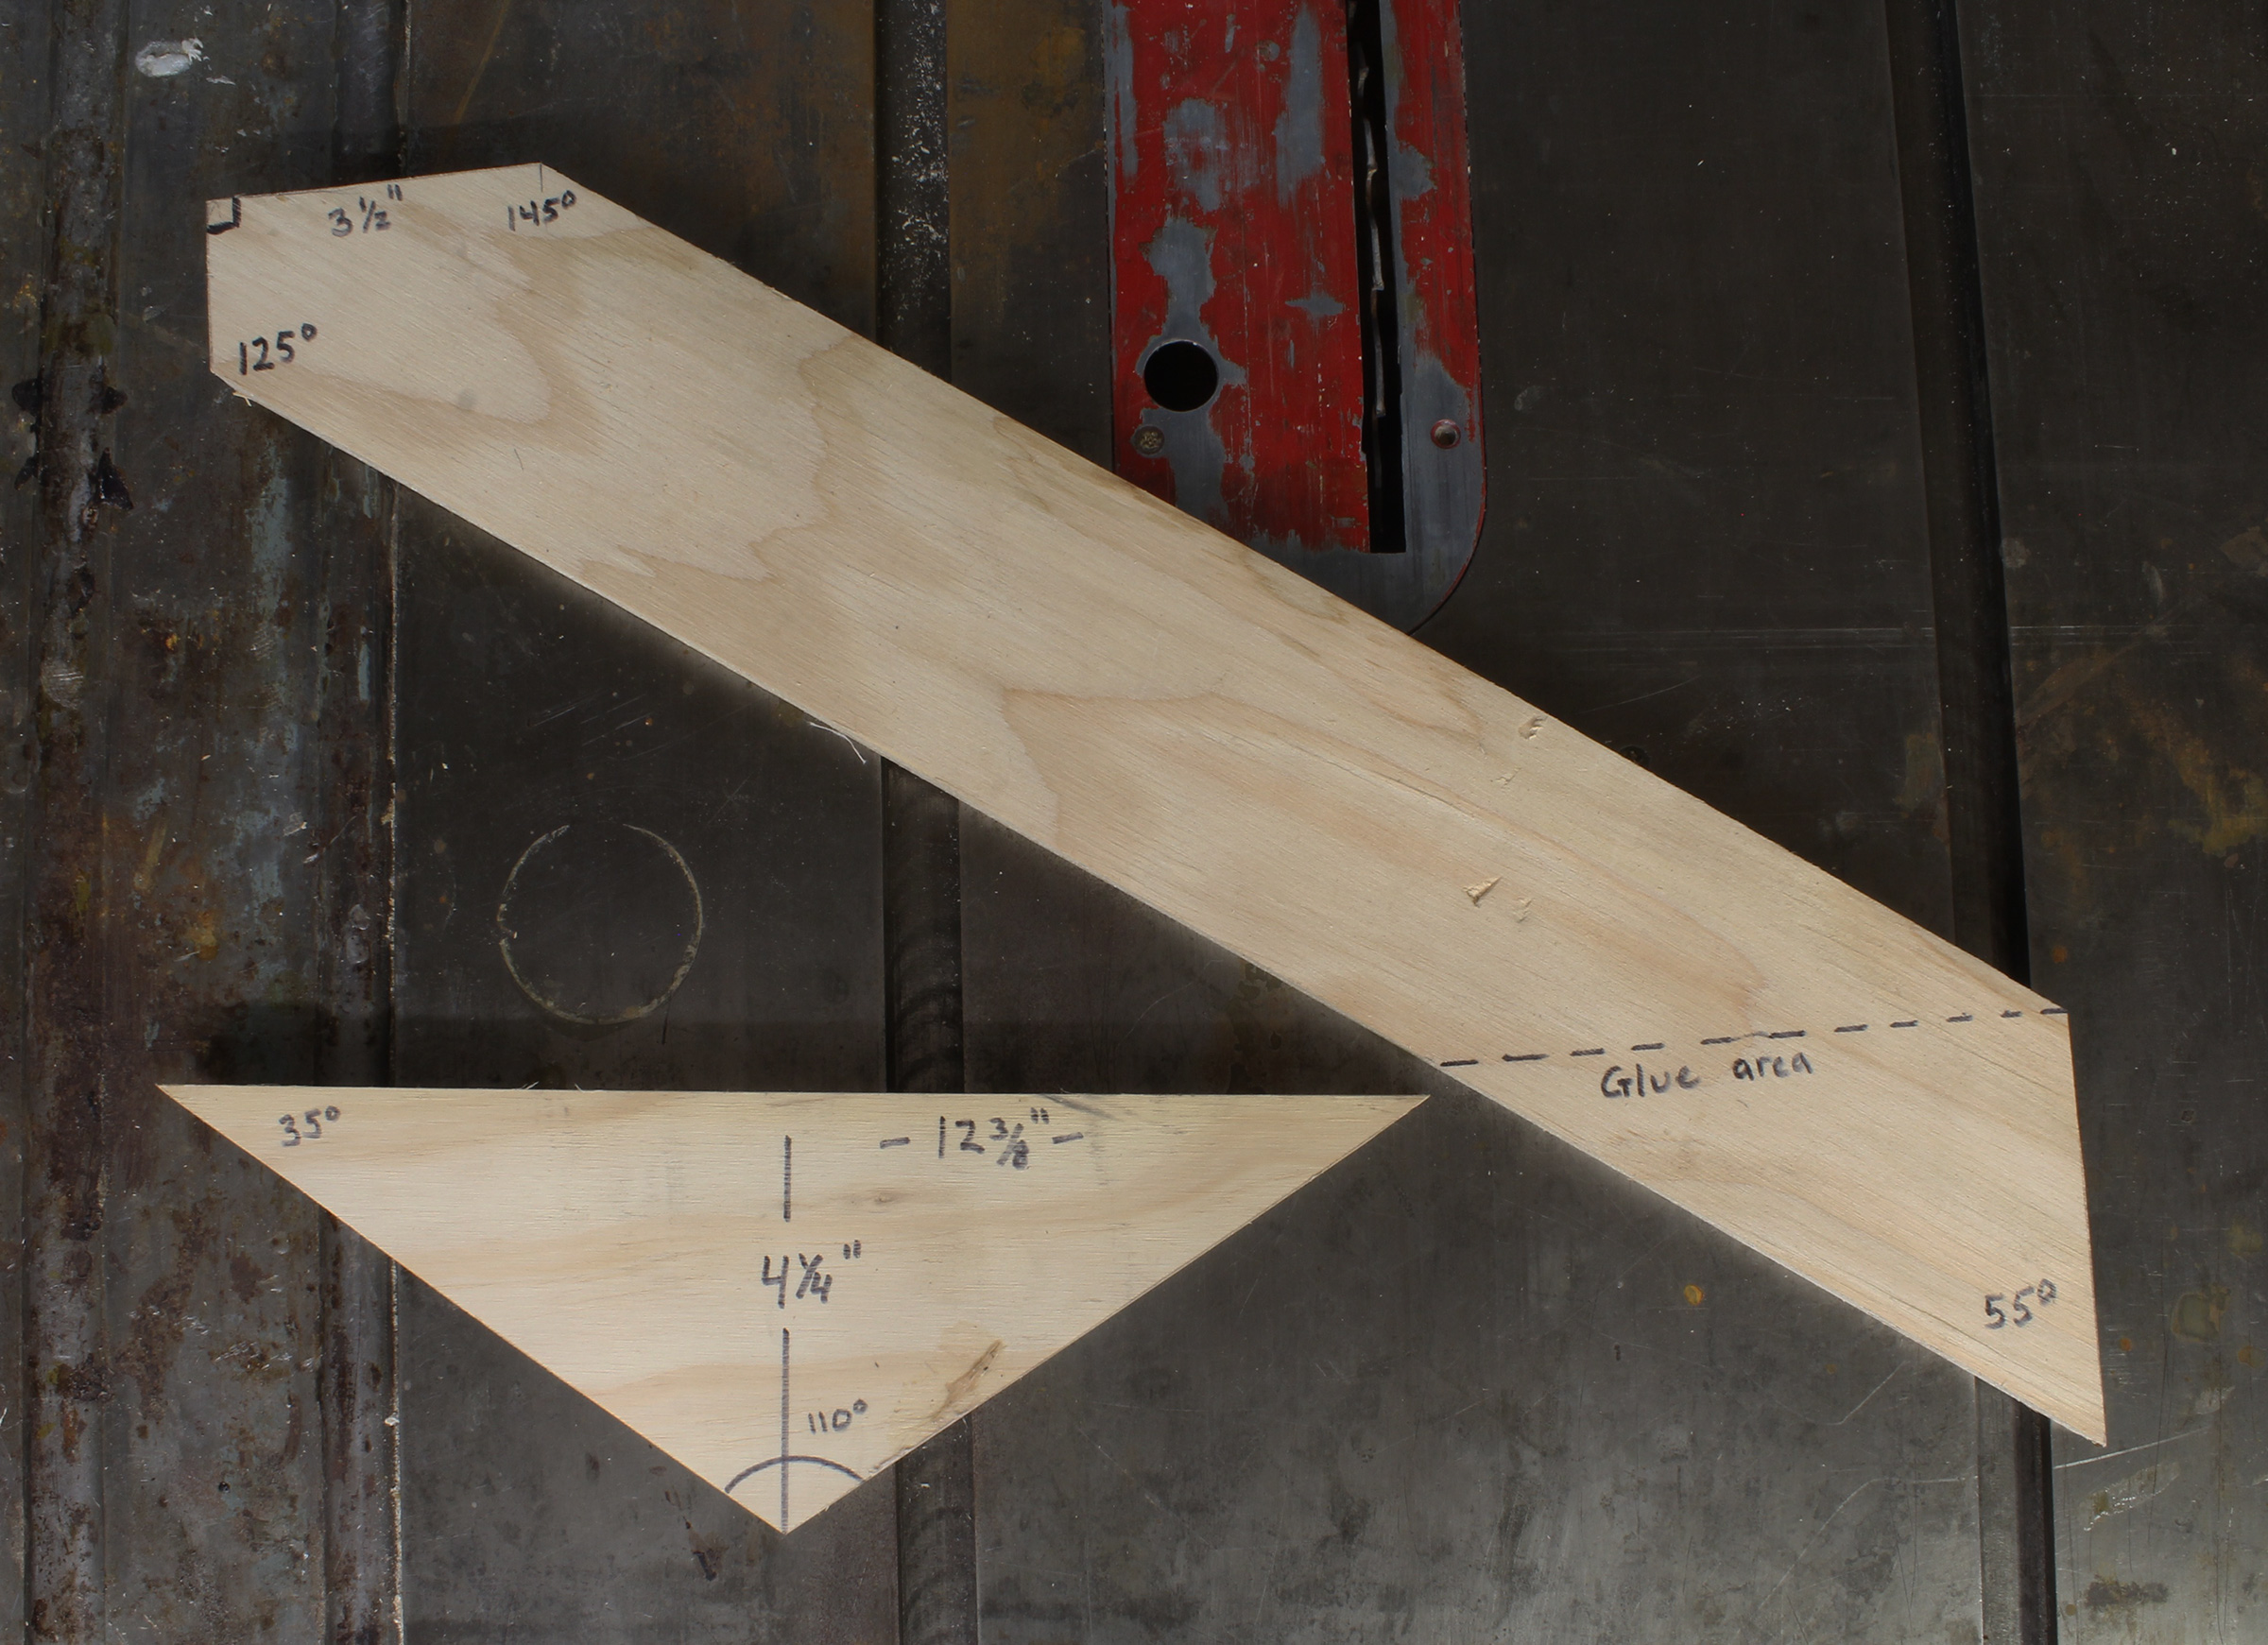
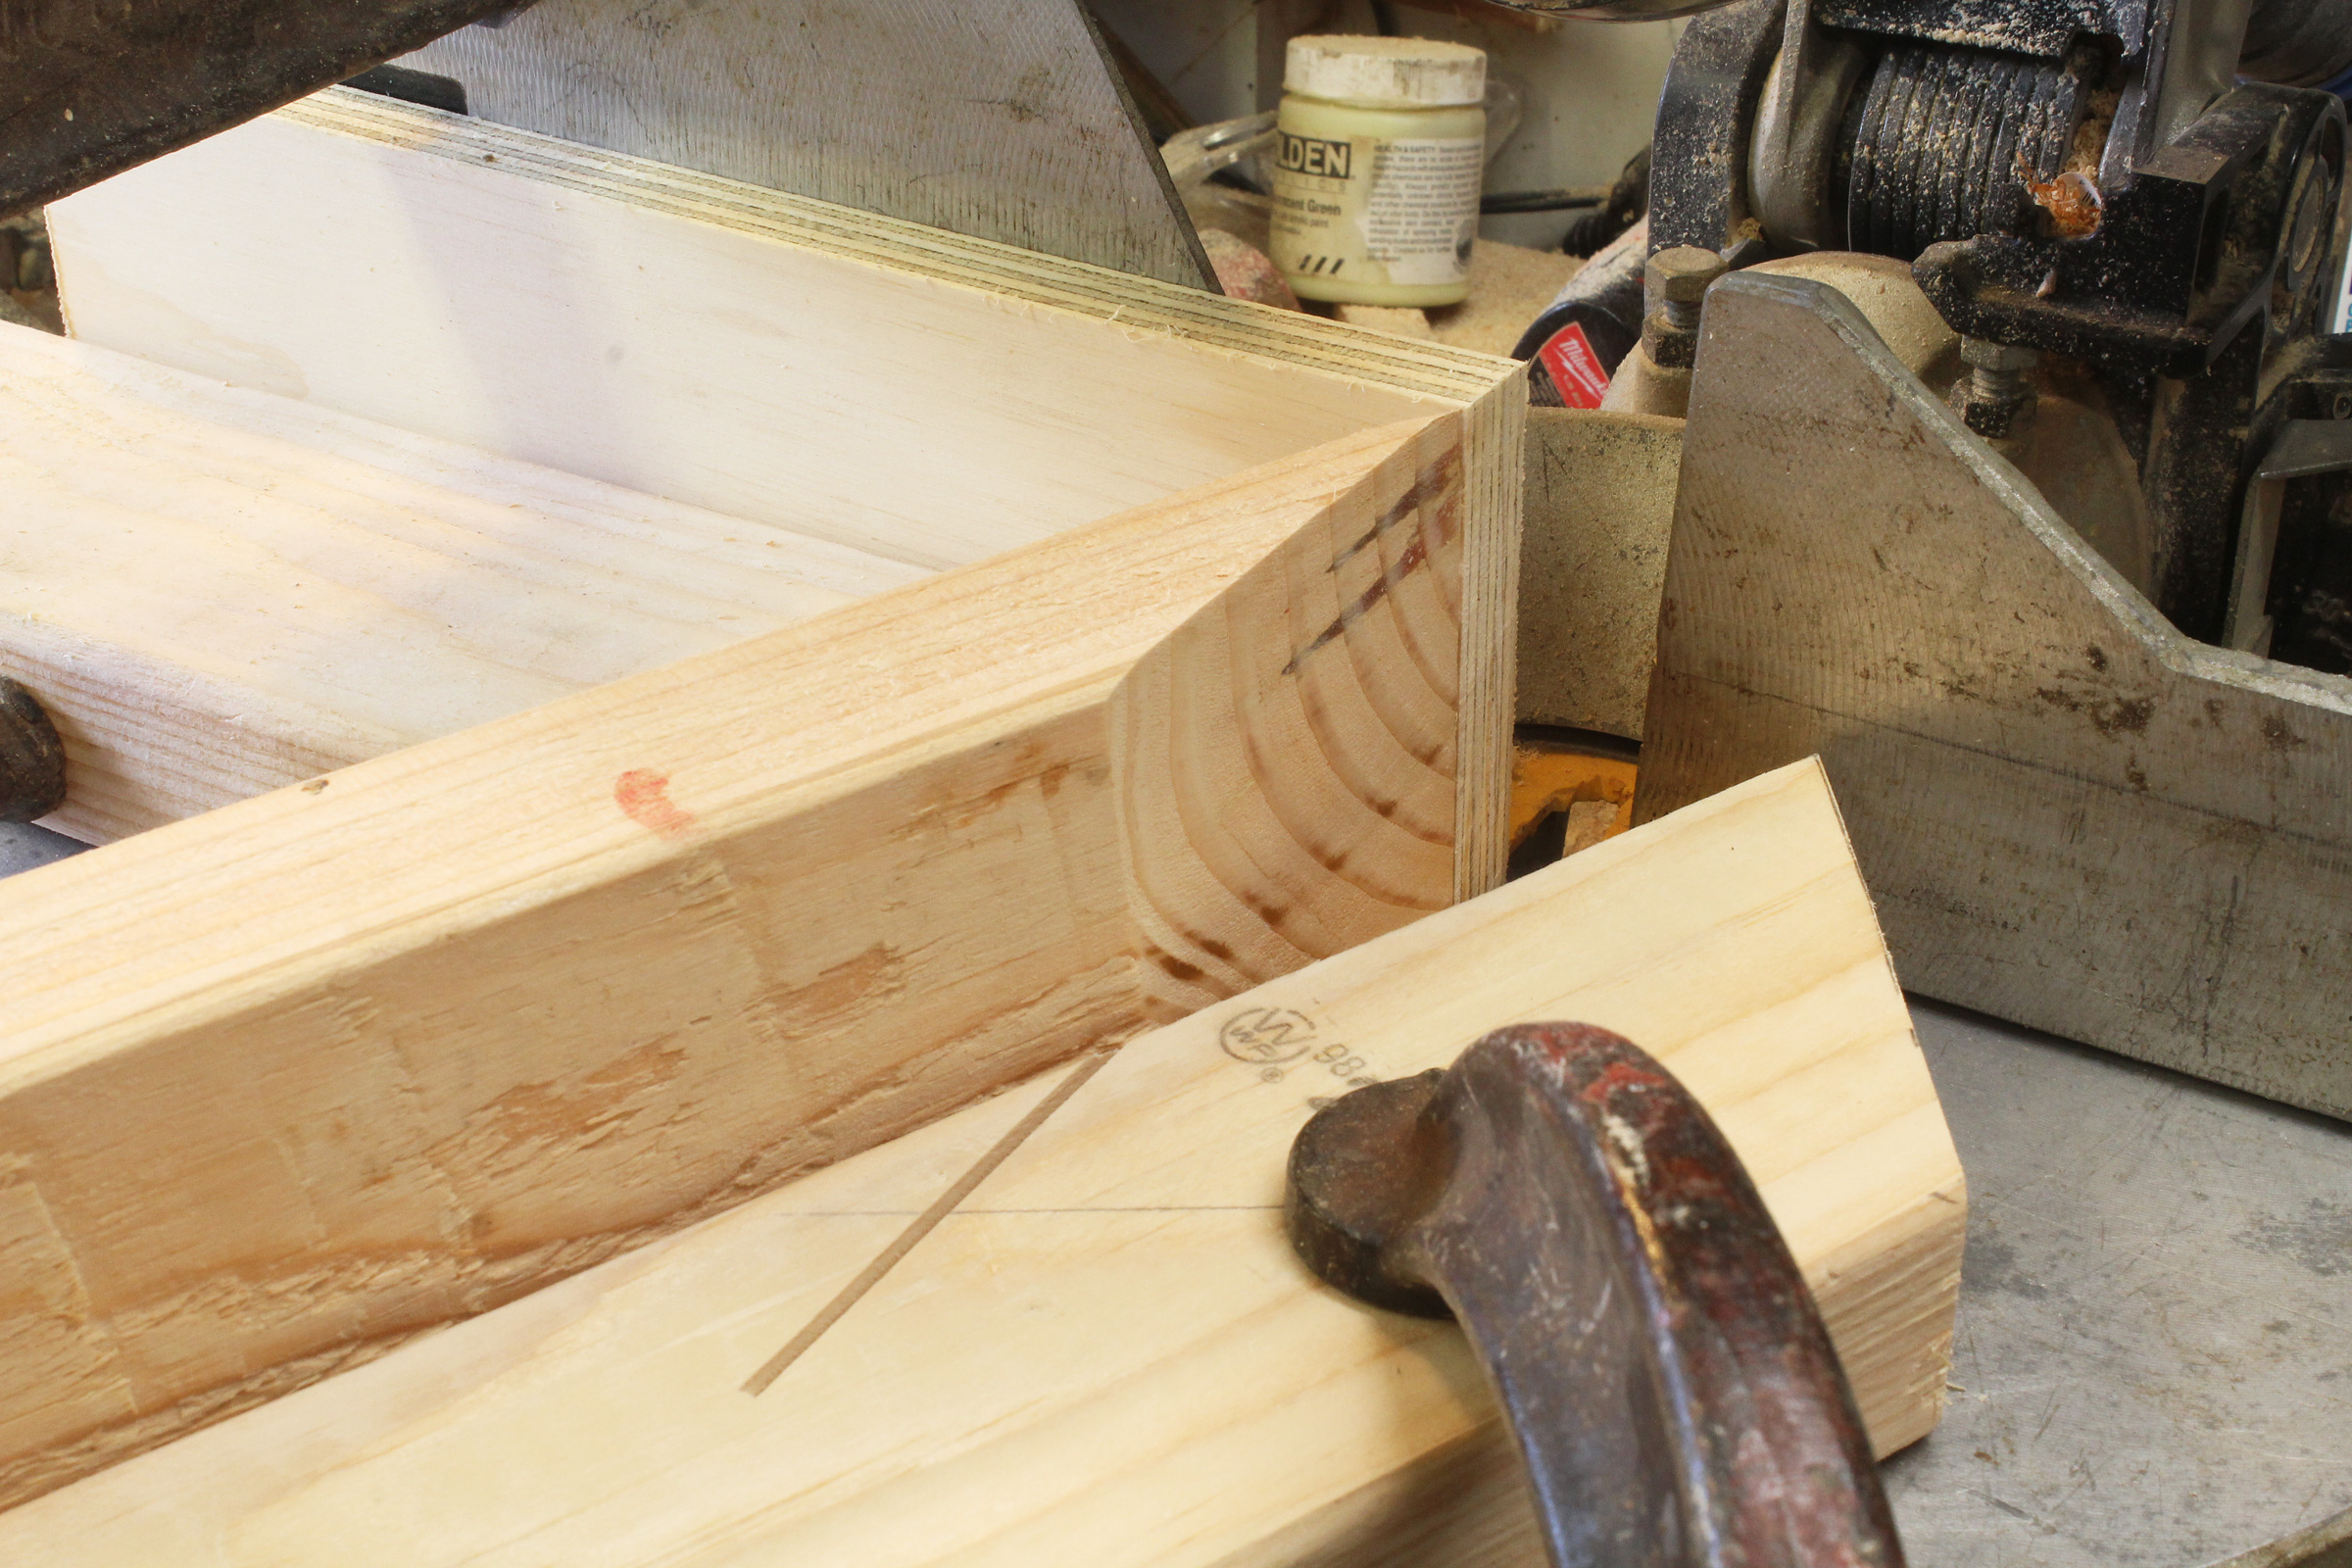
These are my patterns for the 2×4 crosspiece components and the plywood gussets, two of each piece for a sawhorse. The diagonals are cut from a 22-1/2″ length of 2×4.
To align the two halves and mark the area for gluing, I drew lines at the top of the cut, horizontally out from the top corner.
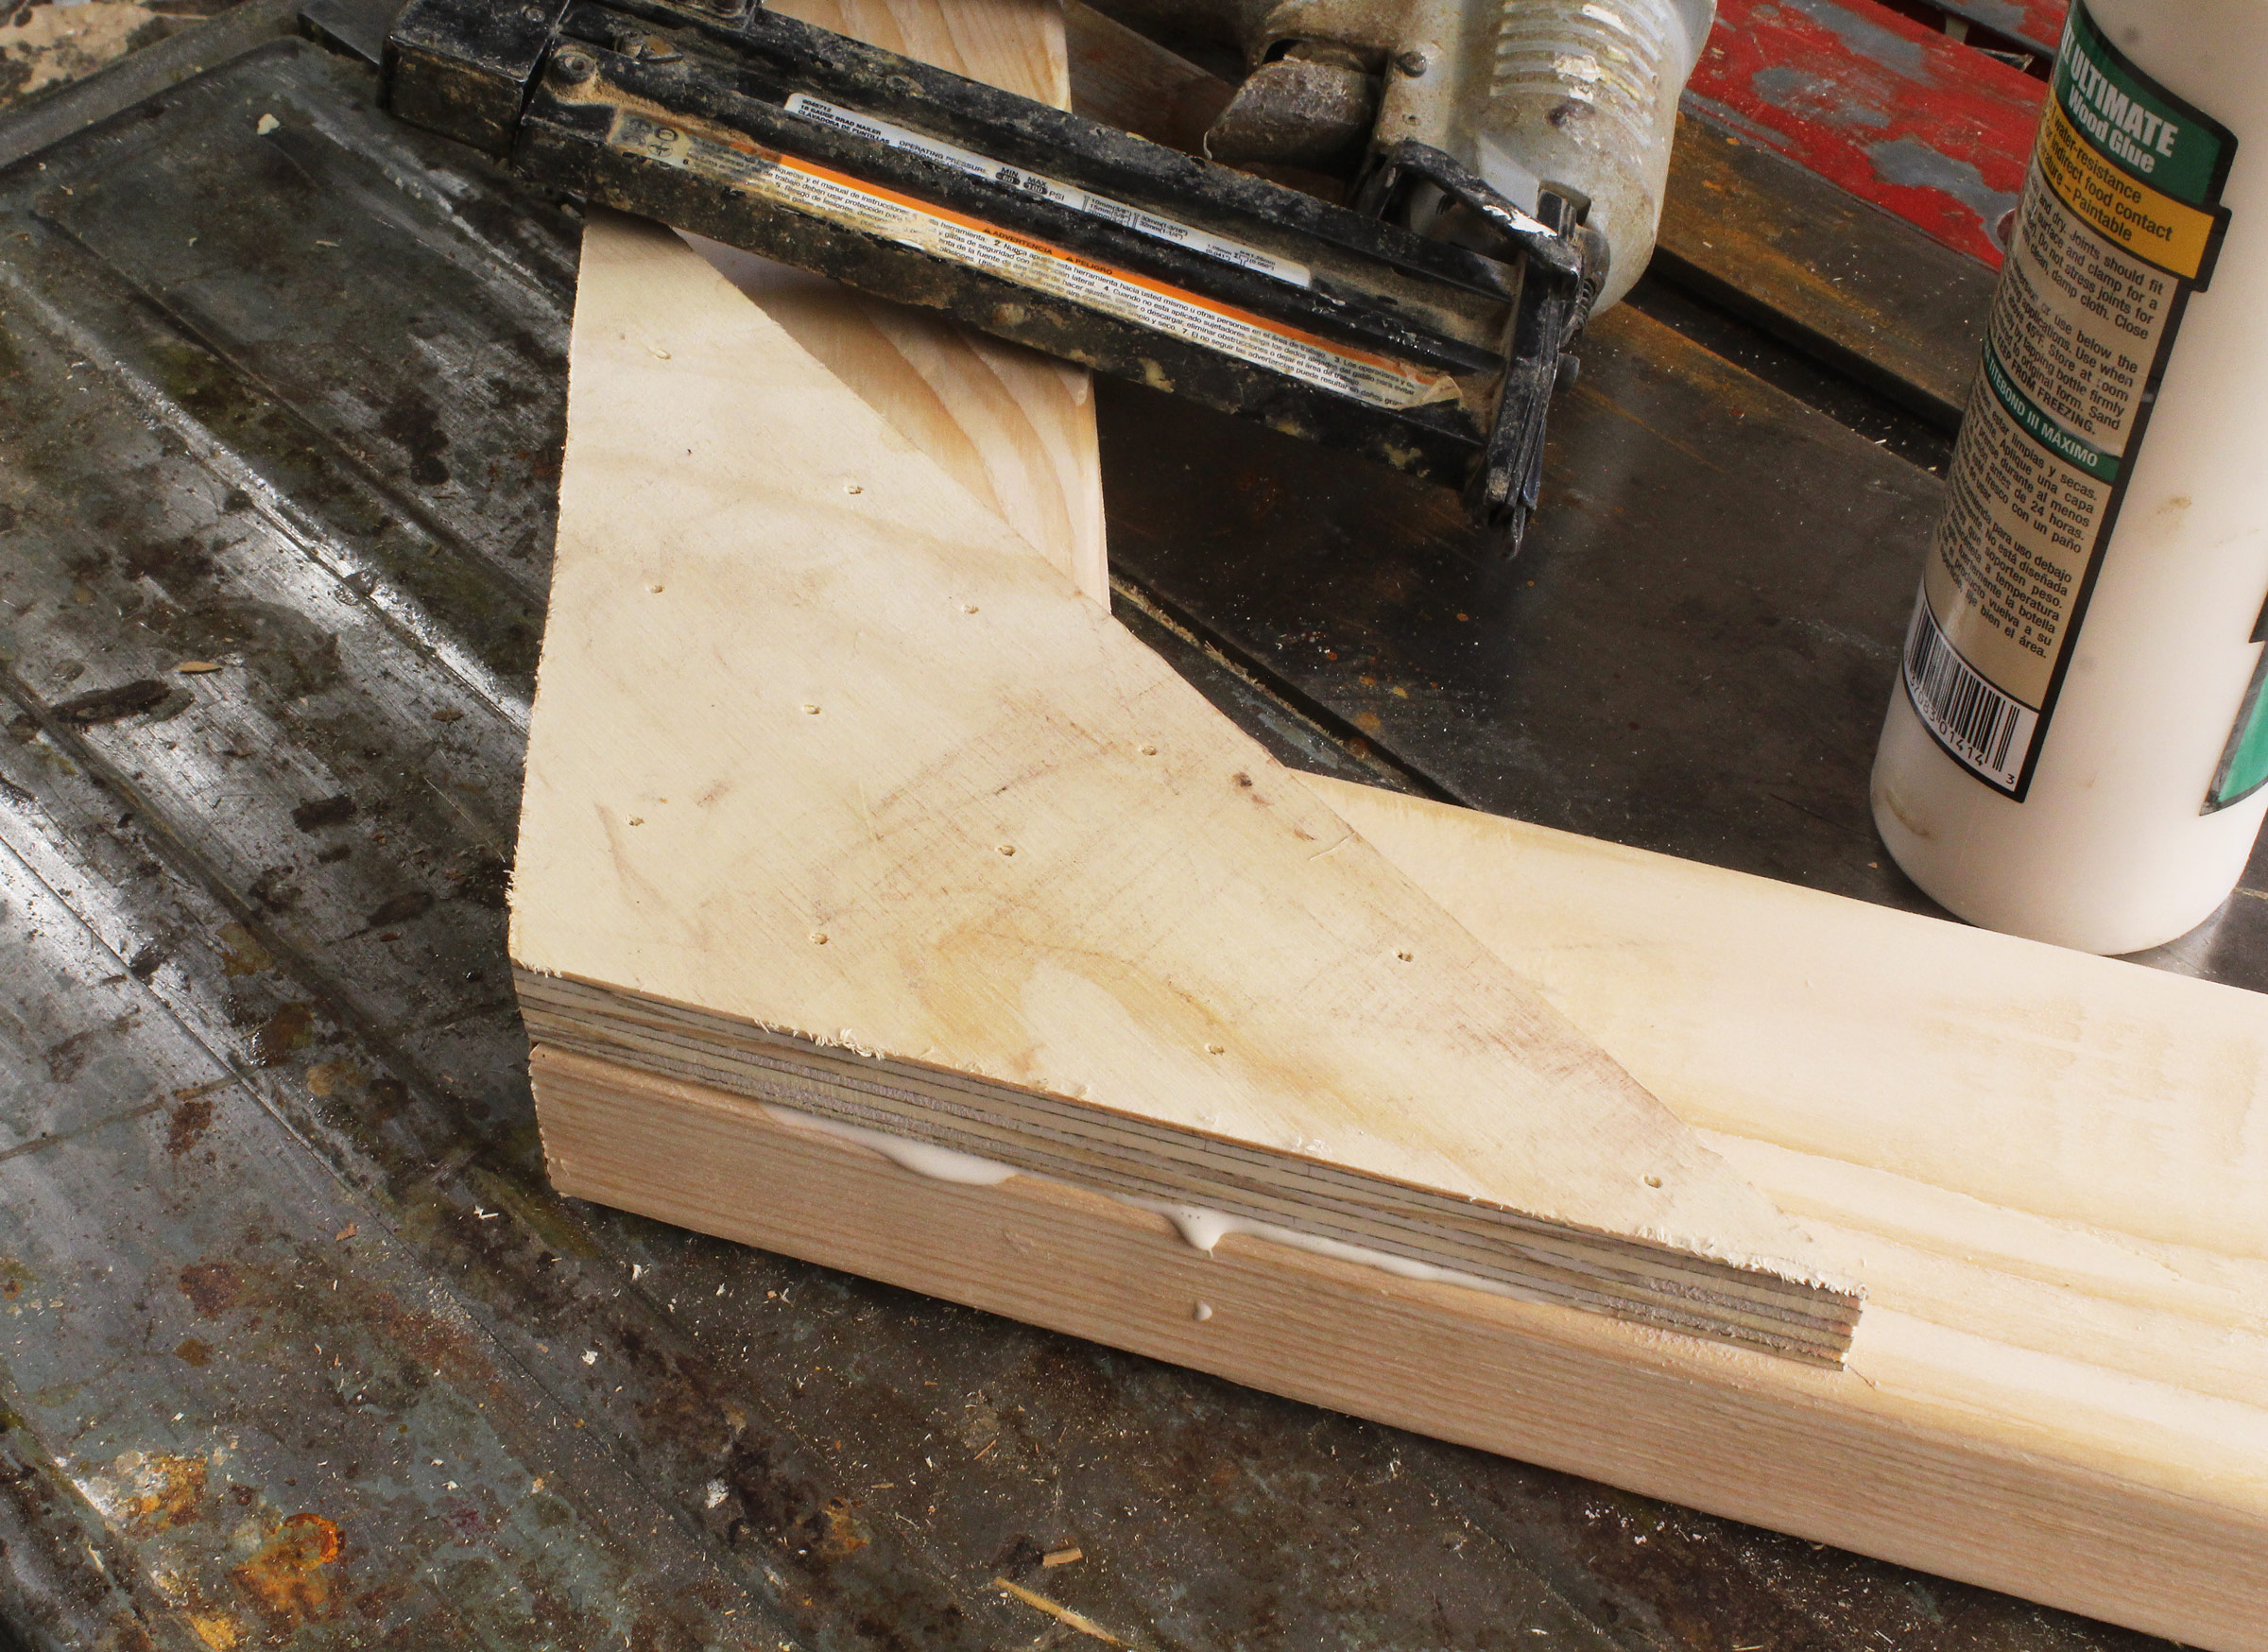
I had lots of 3/4″ plywood scraps, so I used them instead of 1/2″ plywood. Titebond III and galvanized air-gun nails did the fastening.

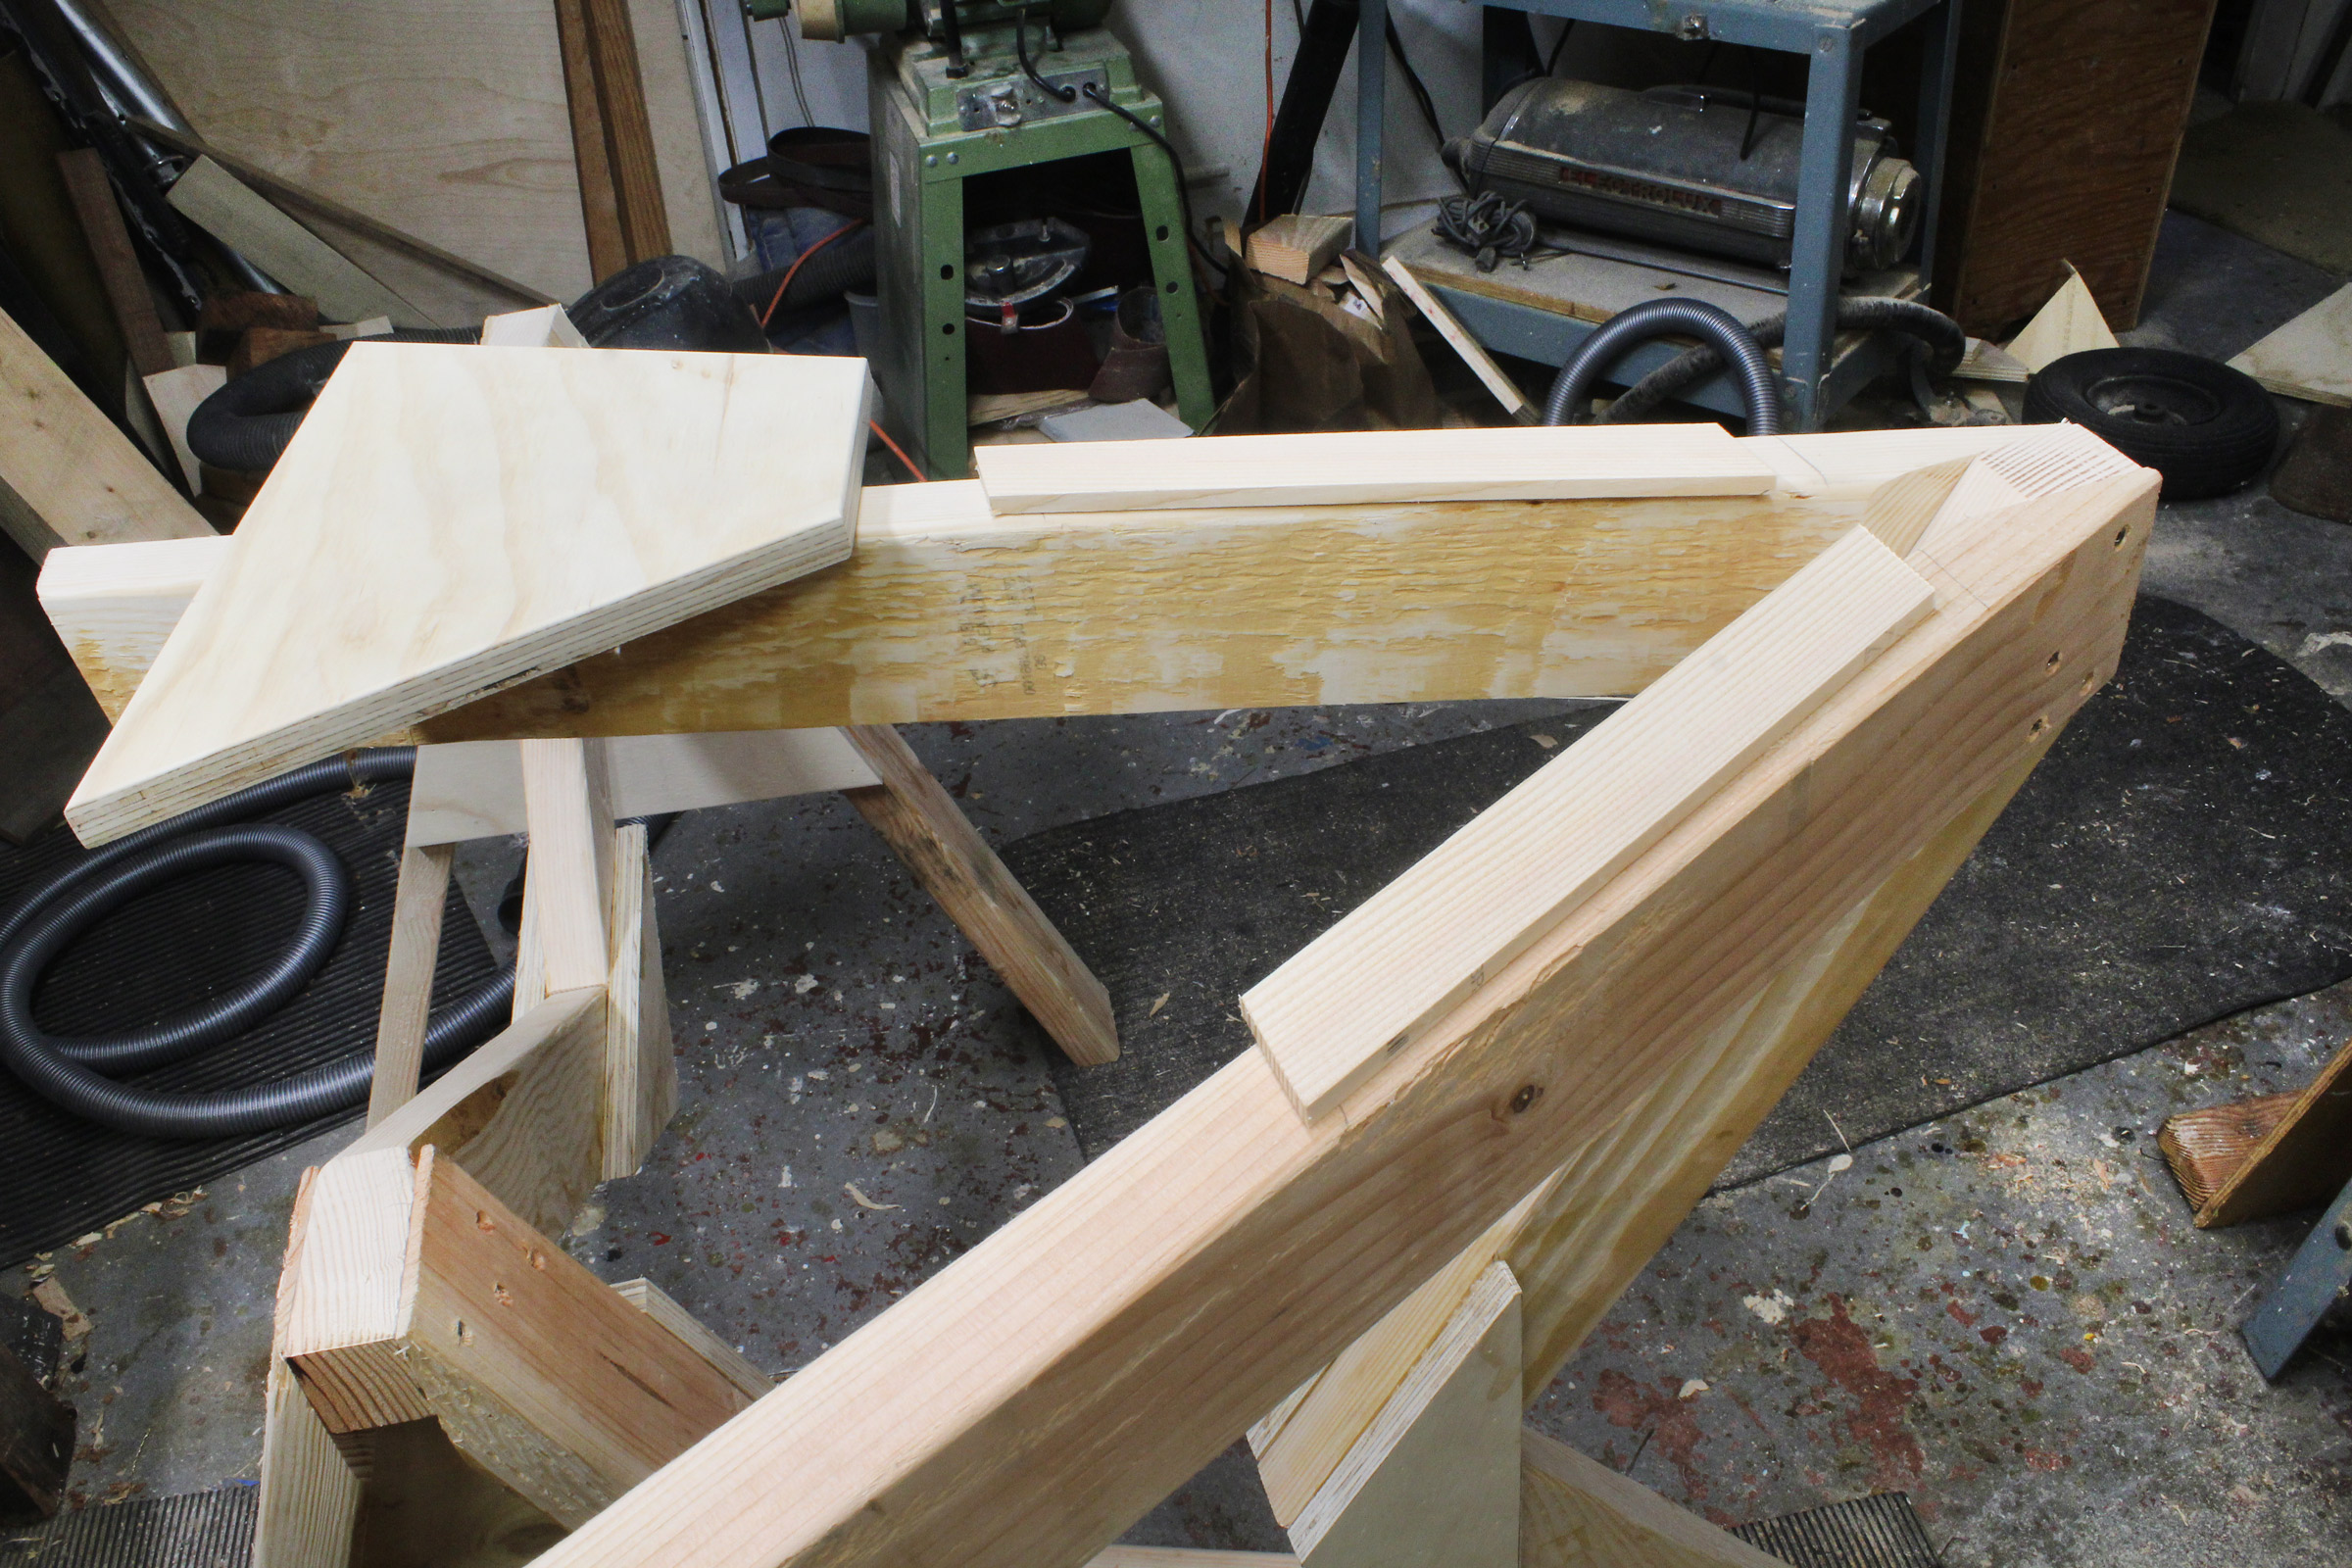
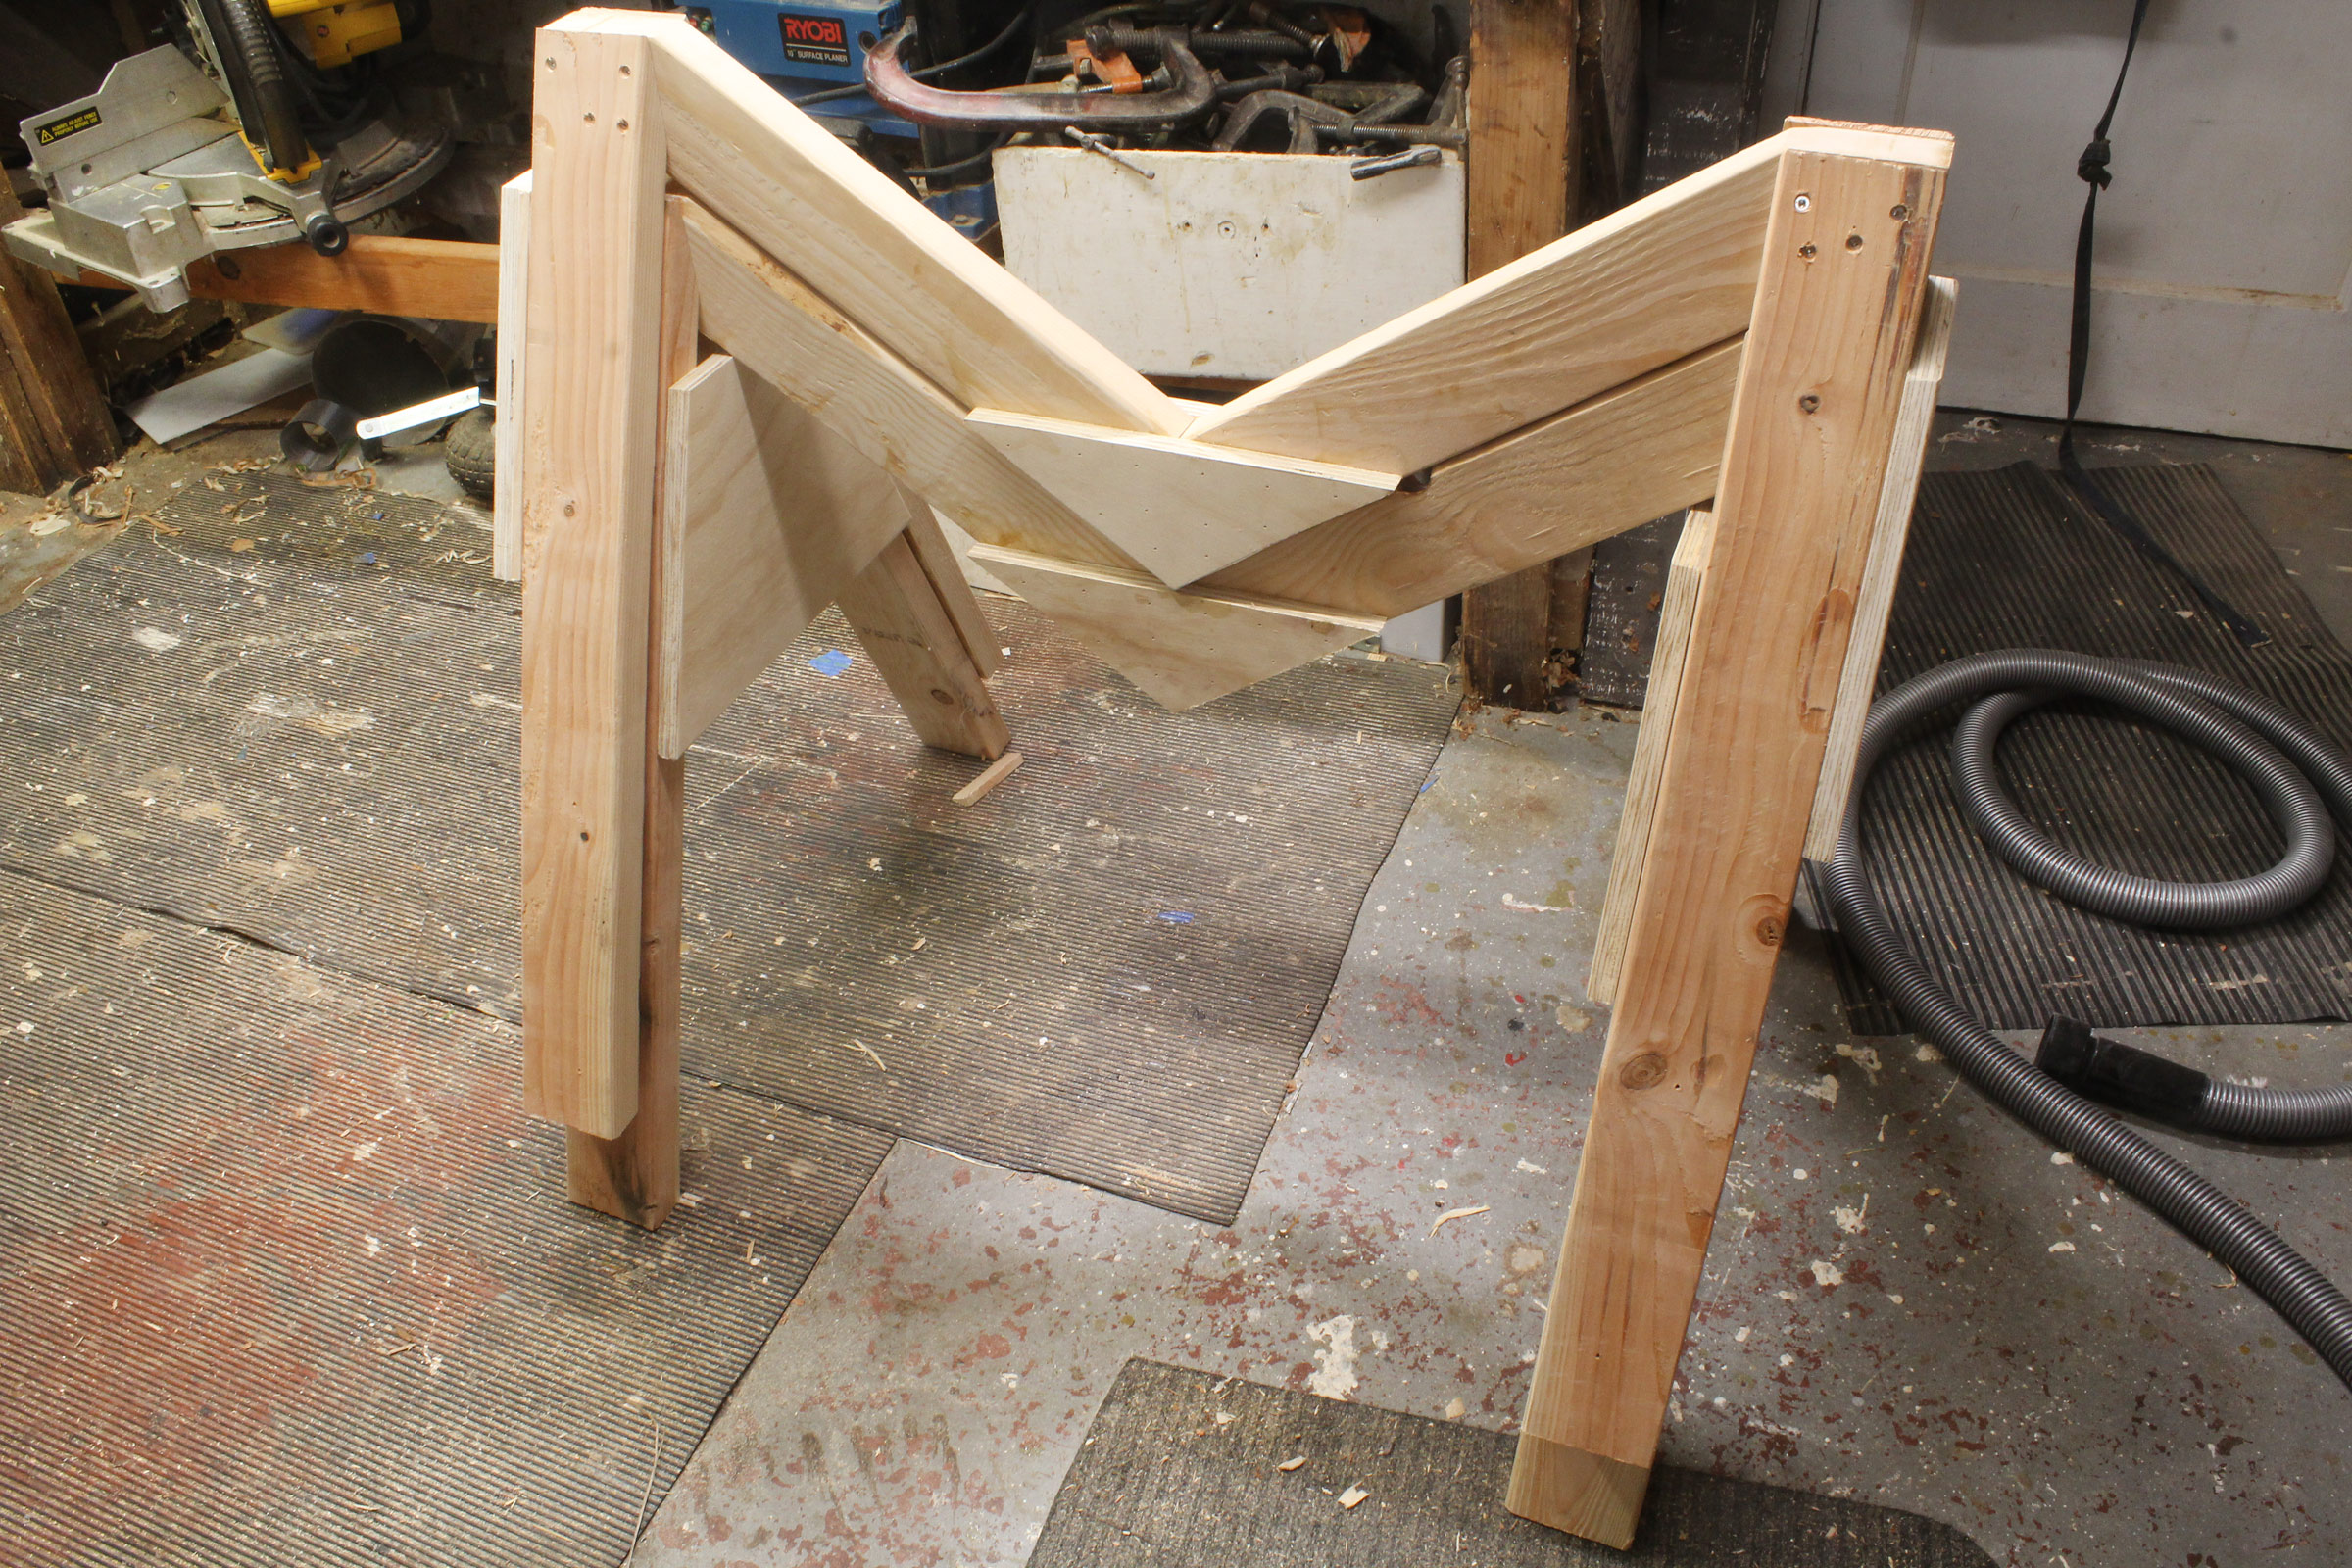
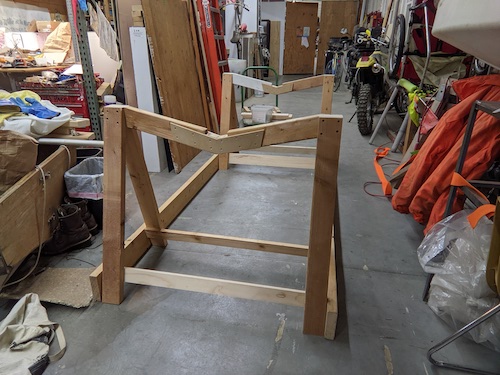
A rectangle of plywood, with the ends cut square, gets temporarily screwed to the legs to hold them parallel and at the right spacing while the tops are screwed to the crosspieces. A tool tote holds the plywood high to get the legs at the right angle to be fastened to the crosspieces.

To make the two horse stackable, I put the braces on the inside of the legs of the bottom horse and outside on the top horse.
To keep the horses from having too tight a fit when stacked, I made 1/4″ spacers for one of the ends and glued and air-nailed them on.
Stacked, the pair of sawhorses take up half the space. For long-term storage, the horses can be taken apart by removing the screws holding the legs and crosspieces together. Mark the pieces so they can be reassembled using the same screw holes.
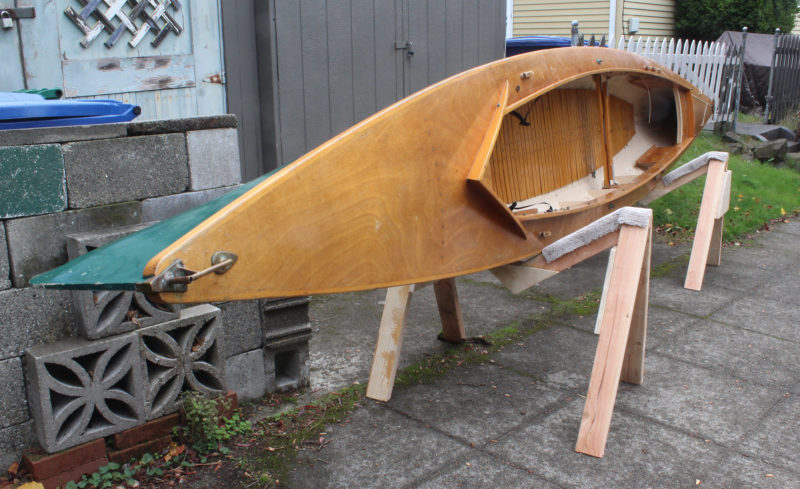
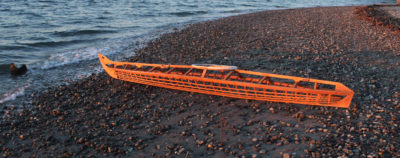
I did three major repair jobs of this Danish-built training K-1 on standard sawhorses. If I’d had drop-center sawhorses, the work would have gone much faster with fewer frustrations.
The rounded contours of the K-1 hull and deck make it unstable on ordinary sawhorses. The drop-center horses cradle it securely.
My 80-lb decked lapstrake canoe rests nicely on edge simplifying some tasks, including washing the interior and bailing out the water, which hides under the floorboards when the canoe is upright.
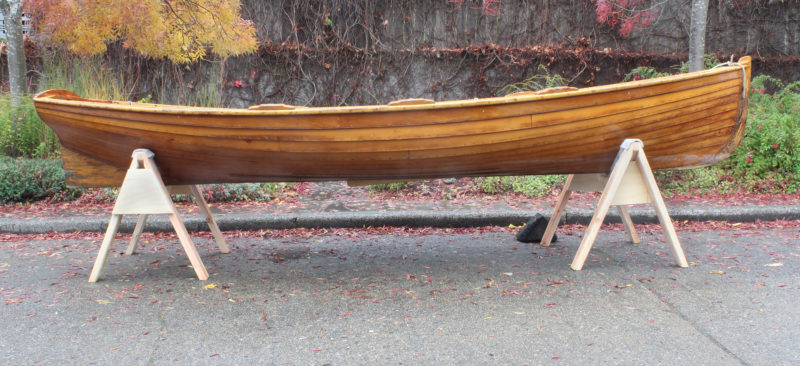
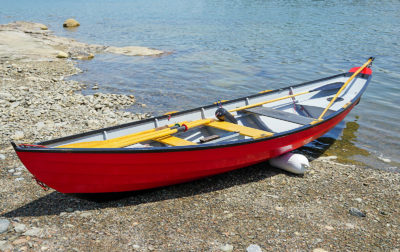
This 14′ New York Whitehall rests at a good height for working on the interior.
The Whitehall’s stout skeg puts the boat’s weight on the sawhorse while the planking just makes contact for stability.
When I first saw photographs of Reuel’s drop-center sawhorses, I knew it would be well worth building a pair. They exceeded my expectations and my only regret was that I didn’t know about them 40 years ago.
You can share your tips and tricks of the trade with other Small Boats Magazine readers by sending us an email.


I did the same by attaching a 1 ” piece of plywood to my sawhorse with a curve in it covered with carpet.
As usual, Reuel’s out-of-the-box, creative thinking solves a problem in a way that is logical, economical, not wasteful, and, most importantly, it WORKS!!
Reuel, you wouldn’t happen to have line drawings for this that I can be lazy and just download, do you?!
Wow, thanks so much for this post! The acute-angle-cutting jig described by the editor here simplified the labor of how the heck to cut a whole bunch of such shapes simply & safely. Very inspired here by The Sharpie Book; possibly ironic that the first “Reuel B. Parker design” I’ve built is a pair of sawhorses to hold a Sunfish 🙂
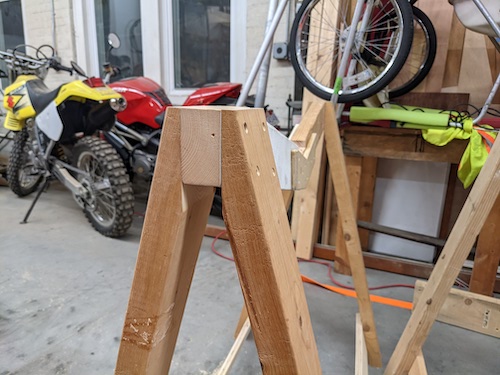

I used 15°/75° as the cut angles for the tops and bottoms of the legs, and just based the height dimension on the pieces of scrap 2x4s that I had available for the legs (aiming for just under 35″-36″, which worked out). The biggest change I made from Reuel’s design is to make the leg tops not quite as thin/pointy as his: the thickness of the tops of my legs is about 3/4″, to have something hearty to screw through into the crosspieces.
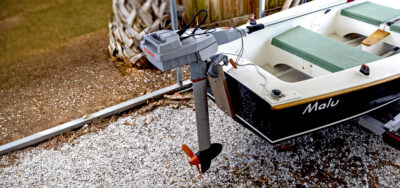
I built them into a rolling stand so I can work on this old 69-70 Sunfish and move it around by myself. With the rolling stand I’ll be able to take the boat outside to do my grinding/prep for the fiberglass work.