 Rosemary Wyman
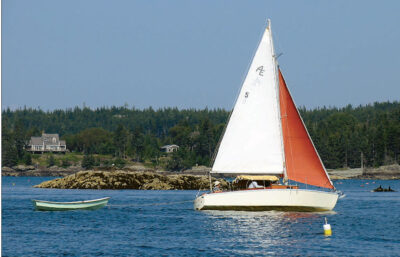
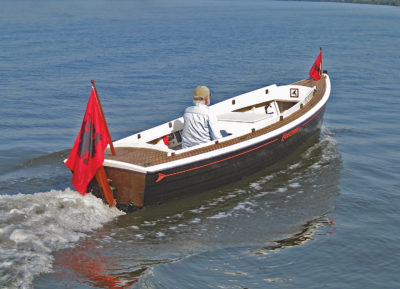
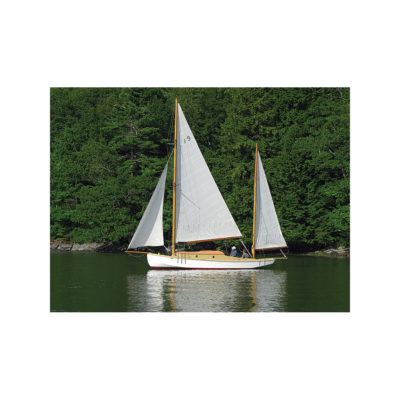
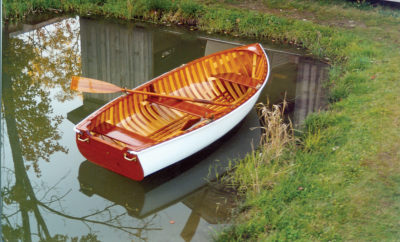
Drawing up a float plan showing the projected route can help a rescuer know where to look for an overdue boat. The author includes a sketch of the boat, with a brief description, together with a list of people on board.
Boat Navigation
Small boats are certainly less demanding to navigate than large ones. However, navigation skills are still important to understand.
All navigation starts with a suitable chart, whether it is a full-sized NOAA chart or a good-quality commercial chartbook. Situational awareness is important. You should always know where you are and be able to plot your position. You must be able to determine the boat’s speed under various rowing and sailing conditions. Over time, you can gain experience in estimating speed by using a GPS or by calculating speed between known locations under given conditions.
Navigation Tools
Two other essential tools, especially for navigating in reduced visibility, are a magnetic compass and a timepiece, which can be as simple as a wristwatch. The compass should be calibrated so you are aware of its deviation. Using a compass, you can steer toward a landmark that is beyond your range of visibility. You can also take compass bearings of known objects so you can plot your position on the chart.
The watch is important for predicting your arrival time at specific points. First, plot a course on the chart and measure the distance, for example, to the next navigation mark, then use the distance and approximate speed to predict an arrival time. Practice these skills in good weather so that you have confidence when you need it.
A GPS chart plotter is a magnificent invention, but like any other electronic device it can still fail at the least opportune moment, whether by dead batteries, submersion, and being dropped overboard. Therefore, you should always use a chart plotter as a supplement to a paper chart and a compass. I still remember my old bosun at school saying, “Boys, all these new electronic gadgets are aids to navigation, not substitutes for it!”
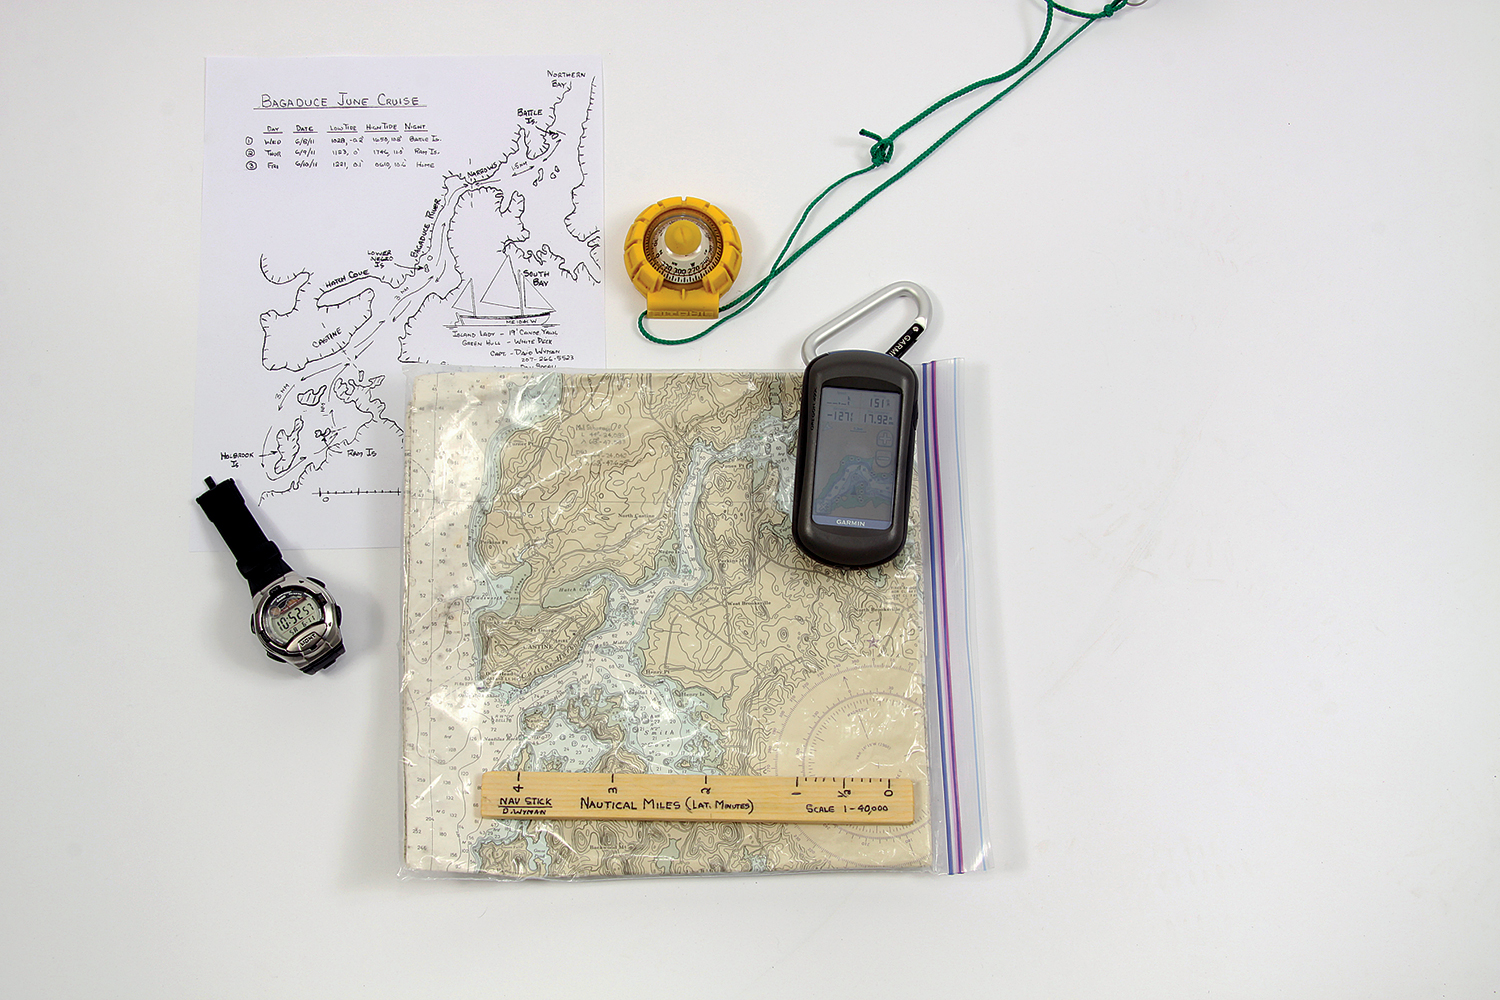
For short trips, I fold up a chart so it will show my intended cruising area, and put it in a large ziplock bag, along with tide and current information. I use dividers to measure distances. For measuring course direction, I prefer a pair of plastic triangles because they store flat, but parallel rules work as well.
Learn how to use these basic navigation tools and plan your trip before you get out on the water. I always plot courses ahead of time as much as possible on my chart, and I also write out a “float plan” for easy reference. Notations of courses and distances between landmarks are helpful for quick reference when you’re underway, especially in blustery weather.
I usually don’t use the dividers and triangles when I’m under way unless I need to double-check something or deviate from my plan. I often use a simple “navigation stick” ruler that I have marked with nautical miles. (One minute of latitude, which you can pick up from the side of the chart, equals one nautical mile.) This allows me to quickly measure a distance on the chart, plot a position from the GPS, or estimate a heading by keeping the stick at a constant angle to the chart while sliding it over to the compass rose.
 Rosemary Wyman
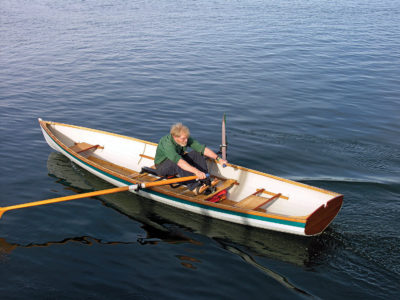
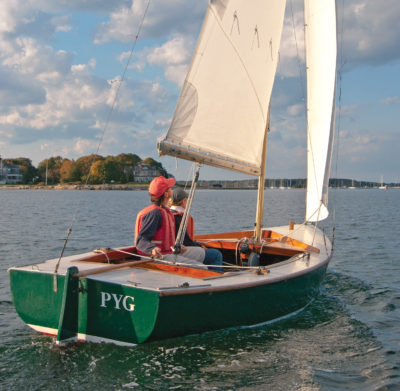
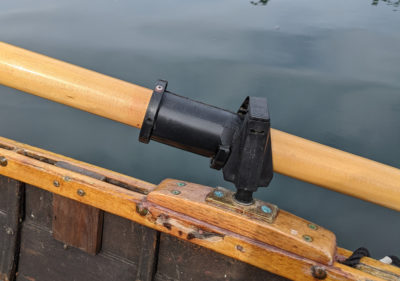
A chart, compass, and watch are vital for navigation. A simple navigation stick (shown in the chart bag) marked with distances from the chart’s scale can be slid across to the compass rose to find bearings. A handheld GPS is wonderful but not a substitute for basic gear. A copy of the float plan (upper left) with tides and headings noted can also be very useful aboard.
What Should Be Included on a Float Plan?
Your float plan should include a description of the boat, who is aboard, where you plan to go, and when you plan to leave and return. Leave a copy with someone ashore so that if you fail to return, or to check in as planned, searchers will have critically important information.
When I’m going out for a few days or exploring an unfamiliar area, I prepare a written float plan showing where I plan to go, along with tidal information and my tentative schedule. I check in at pre-arranged times, and I usually instruct the holder of my float plan not to be concerned until a full day after my planned return, but after that to call the Coast Guard and provide them with a copy of the float plan.
A firm schedule is the most dangerous thing you can have on a small boat, because adhering to a schedule without due regard for weather or fatigue can easily get you into trouble. It is always best to have a “Plan B” and even a “Plan C.”
Communication and Seamanship
Radios
All boats need to be able to communicate. I carry a waterproof, handheld VHF radio with a lanyard. I attach it to my clothing, so I can find it in an emergency and it stays with me in the event of a capsize. But be aware of the limitations of handheld radios. They usually transmit at 5 or 6 watts, and a rule of thumb is that for each watt you can transmit one mile.
You can hear a more powerful radio from a long distance, but they may not be able to hear you. Someone with an installed radio, usually transmitting at 25 watts, may be able to help you or relay your transmission. Always carry extra batteries or fully charge your radio before setting out, and conserve power if you’ll be out for a time.
Radio is useful for getting updates from NOAA weather radio, for communicating with other boats in your group, and for listening to boat traffic. Commercial vessels often broadcast their intentions, such as, “Sécurité, sécurité, sécurité, this is the tanker SS FLYING ENTERPRISE getting underway from the anchor-age and heading out the channel to sea.” This lets every boat in the area know what she is doing, and the word sécurité alerts listeners that important safety information—not an emergency broadcast—will follow. Remember the unofficial “rule of tonnage”: if she’s bigger than you, stay out of her way.
Cell Phones
Cell phones, which are becoming increasingly reliable, supplement VHF radios. A cell phone is a good way to communicate a change of plan to the person ashore who has your float plan. It can be useful for calling someone to ask for assistance, or, in a real emergency, calling 911 for help. But cell phones, too, have limits. Most are not waterproof, so I keep mine in a ziplock bag.
Anchors
Sailing without an anchor is like driving without brakes. An anchor will allow you to hold your position when afloat, keep your boat from floating away when going ashore, and keep you off the beach and headed into the wind during a squall.
Many small-boat sailors choose small, lightweight Danforth-type anchors, which are inexpensive and hold well under the right conditions. Unfortunately, if they are not set properly, or if the direction of the wind or current changes, the anchor may not hold or reset. I favor a heavier and more expensive claw- or plow-type anchor. These have always held for me, which I cannot say for lightweight Danforths. I use a 4.4-lb claw anchor for small boats and an 11-lb claw anchor for my 19′ canoe yawl. For both, I use a rode made up of 6′ of ¼” chain and at least 150′ of 3⁄8″ nylon line, made up of two shorter lengths tied together (see also Getting Started in Boats, WoodenBoat No. 217).
 Rosemary Wyman
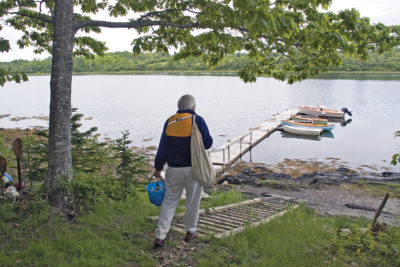
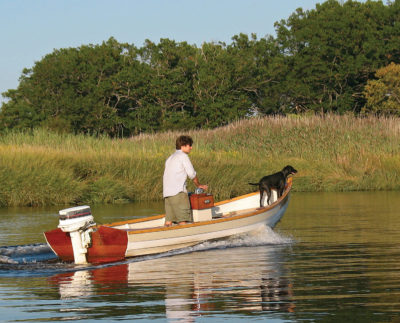
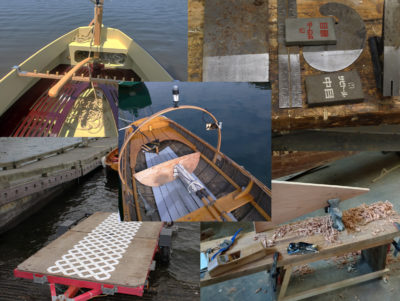
A suitable anchor and rode can be conveniently stored in a bucket that doubles as a bailer in case of capsize.
Anchors are useful in other ways, as well. Setting an anchor can also allow you to simply take a rest, for example when rowing against a current. Lowering the anchor can help estimate water depth. You can drop sail, set the anchor, and control your drift down to a leeward beach and then use the anchor to haul the boat off when getting under way again. I also often set the anchor when I’m making ready to set sail or when reefing so that I can work without hurrying and get the job done properly.
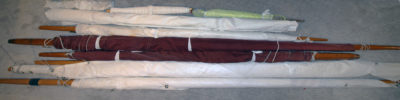
Reefing
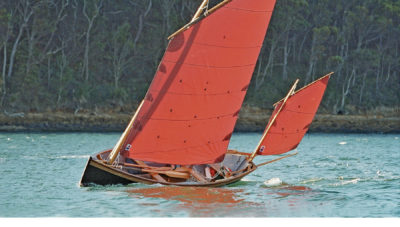
For any sailboat, being able to reduce sail by reefing or striking sail is critical. My canoe yawl has three sails, with two reefpoints in the mainsail, permitting many sail combinations. Every small boat should have some means of reefing as quickly and simply as possible, and the crew should practice regularly. Reefing in the middle of a squall, like putting on a life jacket after a capsize, is no time to learn. Reefing before setting out may be wise, since it’s much easier to take out a reef in light winds than to put one in amid strong winds.
Buckets and Bailers
A bucket or bailer is essential. Water in the bilge, whether from spray or after a knockdown, reduces a boat’s stability due to the free-surface effect, meaning the water’s ability to slosh about. It also reduces free-board, so even more water may come aboard. It is imperative to get water overboard quickly. A sponge or small bilge pump may be useful at the mooring, but when your boat is taking on water, the old adage that “the best bailer is a bucket and a scared person” is still true. Carry the largest bucket practical for your boat.
On a sailboat, water can also flood in through the centerboard trunk, especially if the boat is awash. You should have an easy and effective way to plug the slot or the hole where the pennant comes through. Otherwise, water may come in faster than you can bail it out.
Towlines
If someone offers a tow when the winds have failed or the current is against you, it is always nice to have a towline ready. The towline should be long enough so that you can be clear of exhaust fumes and ride in a comfortable part of the towing boat’s wake. I carry two 50′ pieces of 3⁄8″ line that can be tied together with a double sheet bend. (For this knot and others, see The Ashley Book of Knots, or check Animated Knots or other online resources.) This line can also be useful if you need to lengthen your rode. Cleat the towline to your boat in such a way that it can be let go if things start to go wrong.
To cut the towline in a hurry, or to cut lines that get tangled in an emergency, Every sailor should have a good, sharp knife. It should have a lanyard tied to your belt. Many sailors now carry belt-sheathed multi-tools that have a knife, pliers, and screwdrivers. I usually carry a fixed-blade rigging knife with a marlinespike and pliers in a leather sheath that fits on my belt. With these, I have reassembled or jury-rigged many boat components that got me home.
 Rosemary Wyman
Always carry a sharp knife, fitted with a lanyard so that it can be secured to your belt.
Repair Kits
Fortunately, on small rowboats or sailboats most things that break can be fixed without requiring outside help. My repair kit consists of heavy-duty duct tape, some small line, a few self-tapping wood screws, and a sail needle and thread. All this fits in a small ditty bag. It’s also worth carrying a few small pieces of wood that can be used to splint a broken spar or patch a hull leak. With these, I have repaired a broken oar, patched leaks in the hull, and stitched up a torn sail.
Fenders
If you plan to tie up alongside a float or another boat, bring an inflatable fender. Fenders can double as rollers for moving a boat up or down the beach. If you are alone, rolling the boat may be the only way to get off a beach if the tide has gone out more than you expected (see also “Beach Cruising,” in WoodenBoat magazine’s Small Boats 2009).
Food and Water
Bring enough water and food for your intended voyage plus an emergency supply in case you get delayed. A high-energy snack will help keep you warm and better able to handle any situation. For a day trip, I usually take a snack and enough water to last overnight. When camp-cruising, I always take at least one extra day of food and a couple of extra days’ worth of drinking water, so I can comfortably stay at anchor or ashore until the weather cooperates. You don’t want to be hungry or thirsty enough to be tempted to venture forth despite bad weather. Potable water, especially when boating on salt water, is more important than food, doubly so in hot weather.
Learn More About Boating Safety
Follow the rest of our guide on outfitting boats for safety.
Outfitting Boats for Safety Part 1: Intro & Minimum Legal Requirements


I found your article informative, and helpful in that my son has been teaching me to sail and I have a 19’ Stevenson’s Weekender wooden gaff-rigged sailboat to continue on with this coming summer. Safety and preparedness is key. Thank you for all your recommendations and tips from your experienced perspective.