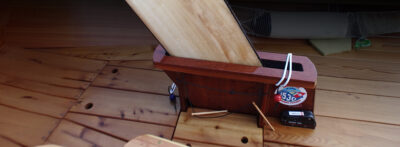
One of the nicest and easiest bits of marlinespike seamanship that we have found on a boat is French whipping for a tiller handle. It is both decorative and functional: its spiral of half hitches is attractive and provides a grip that is more secure than is a simple wrap without hitches.
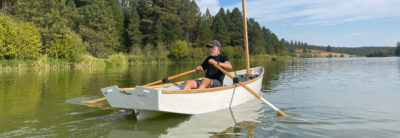
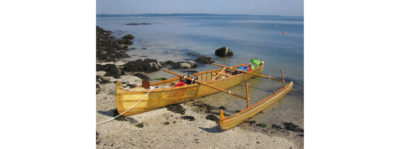
 This photograph and opener, Small Boats Magazine
The French whipping on this Whitehall’s tiller uses a soft 3/16″ solid-braid synthetic cord.
While any braided or laid cord can be used, synthetic or natural, we prefer laid cotton. It’s traditional, kind to the fingers when working it, easily pushed together to close any gaps in the wraps, and takes sealers well.
Although French whippings often have Turk’s heads covering the ends, these decorative elements aren’t necessary and we’re happy to forgo torturing ourselves with them. Fully functional French whippings can be applied with tidy and secure ends.
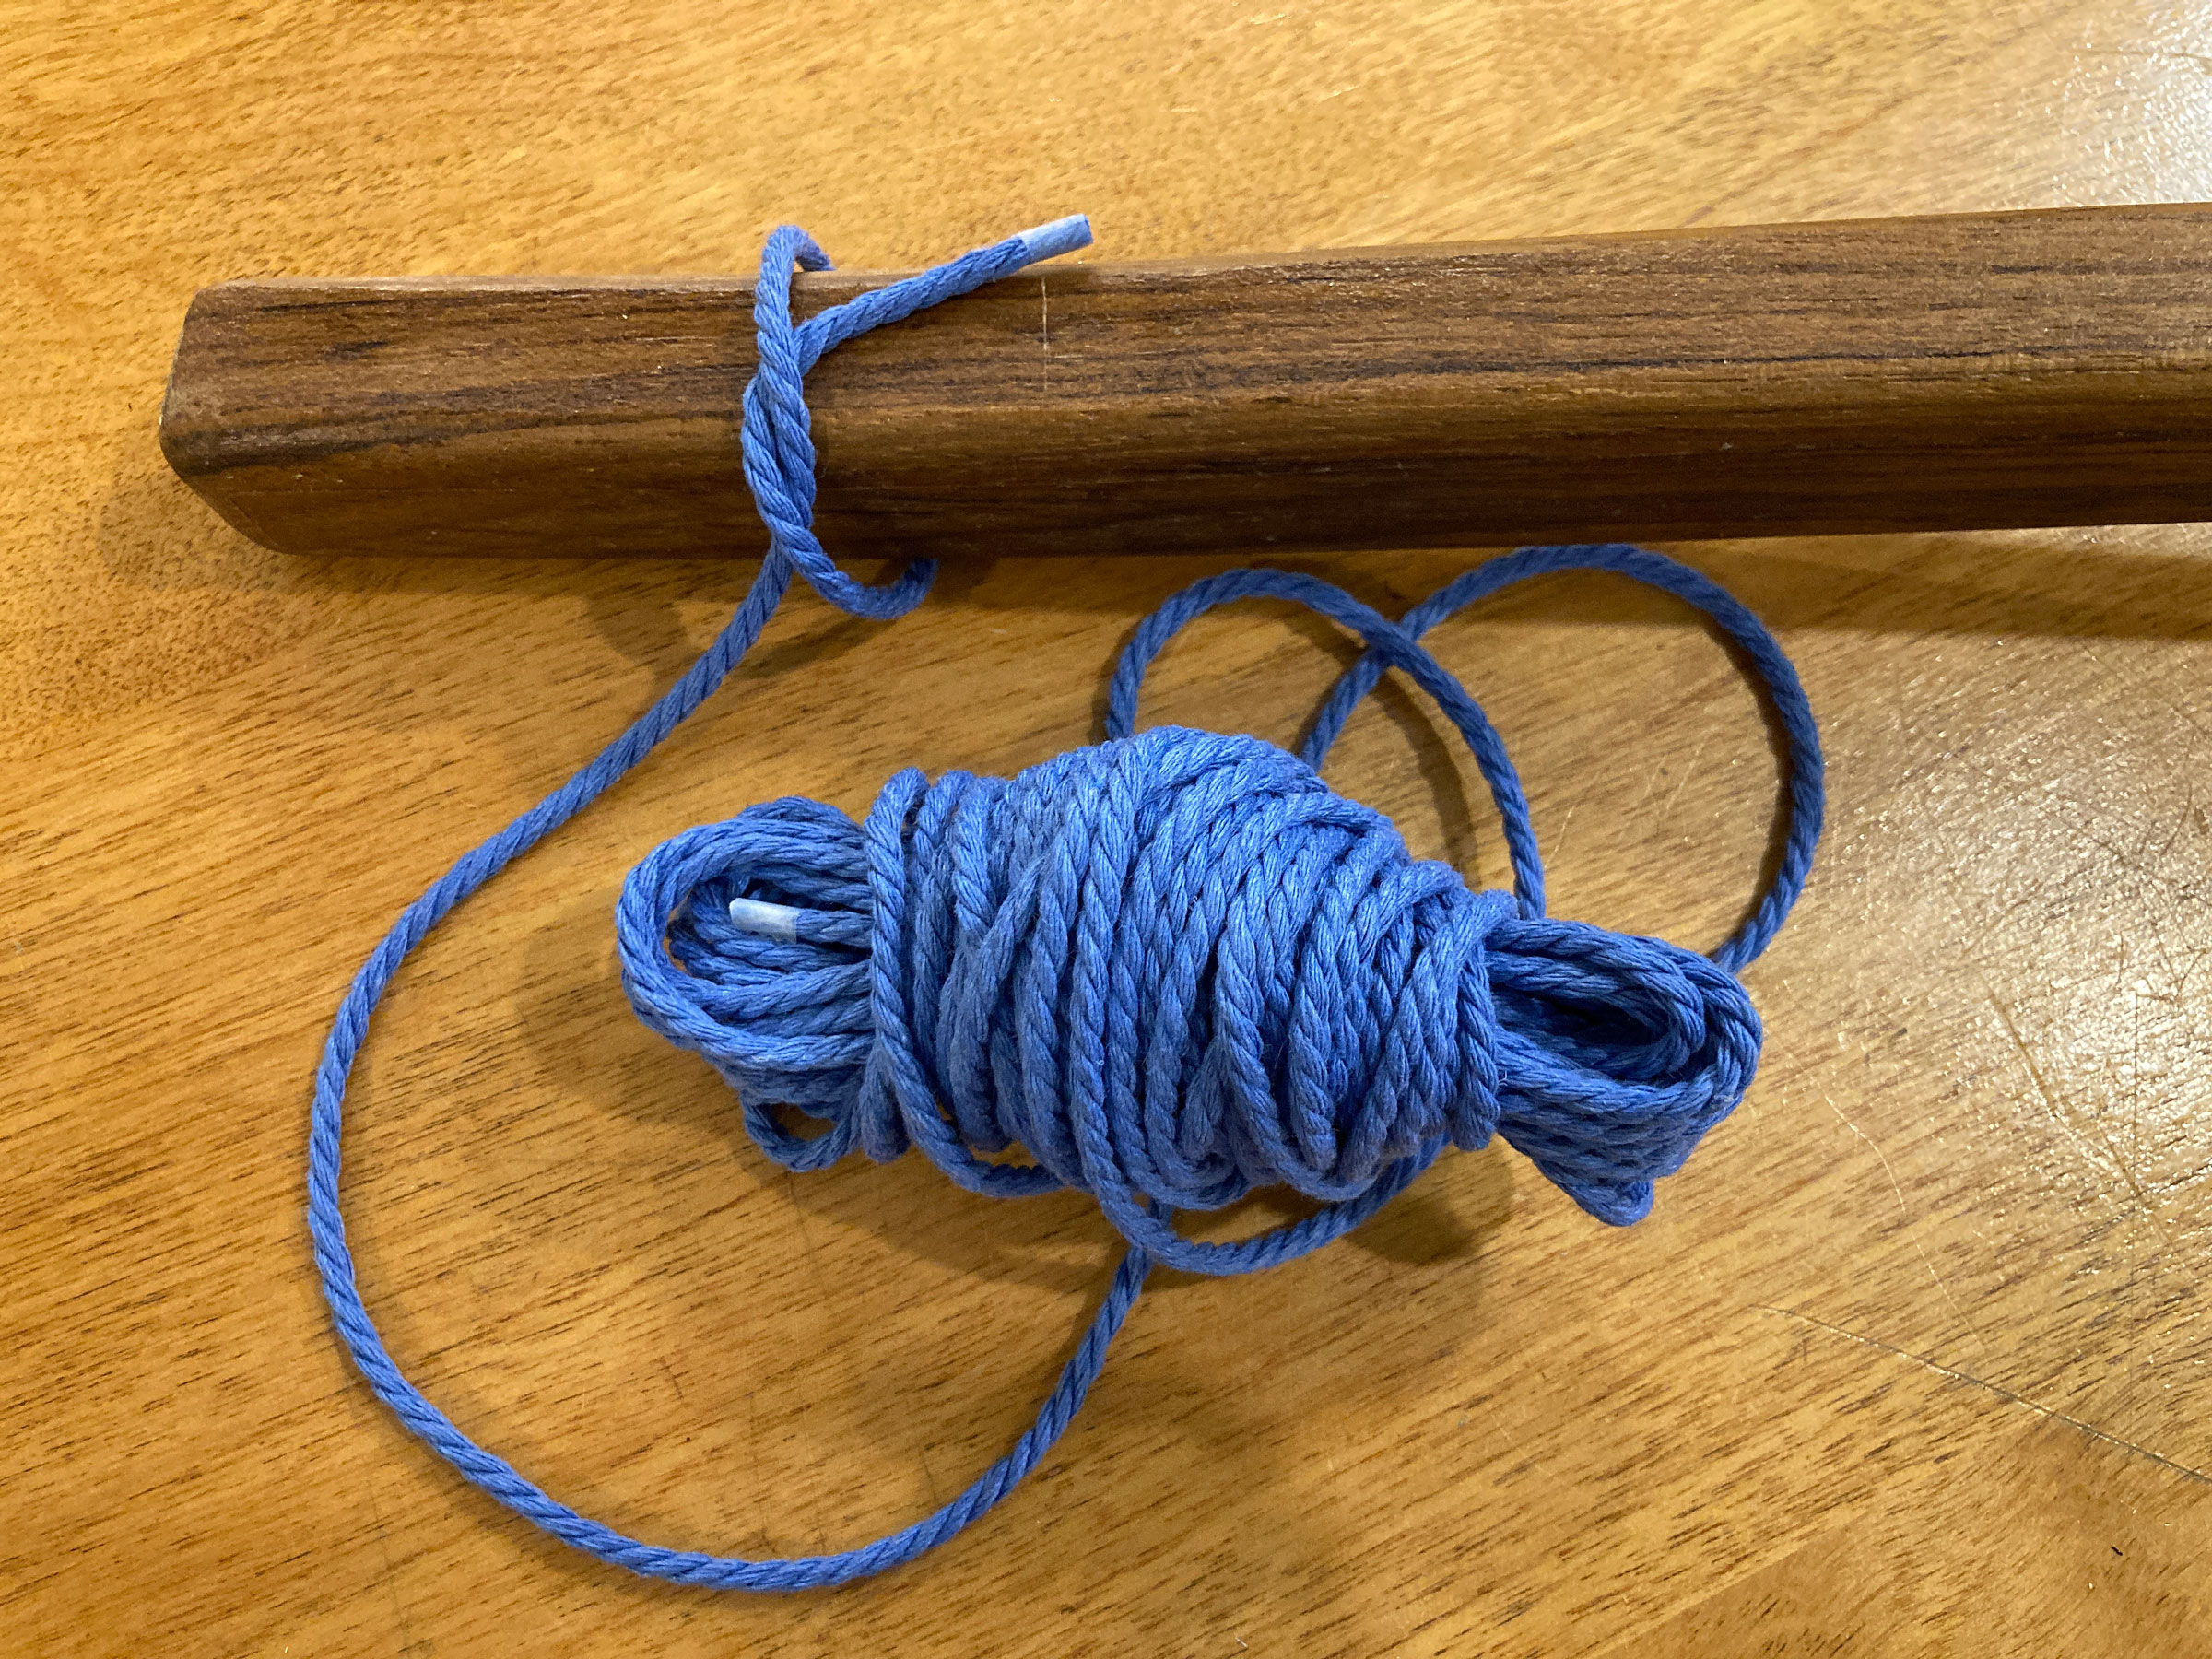
We whip about 5″ of a tiller, which is enough to provide a good hand grip. The amount of cord needed will depend on the circumference of the tiller (the tiller end here has a circumference of 4″) and we used about 25′ to wrap this one. It is nice to have a few extra feet of cord so we can choose where to end the hitches—usually on the underside of the handle. We do a test wrap of 1″ or so, undo it to see how much cord was used, and estimate the total length of cord needed. From there we can confidently cut the required amount and avoid pulling an unnecessarily long length of cord through each hitch. Another trick is to wind the cord like a yarn ball, which makes it easier to keep track of the working end of the cord and to avoid having to pull a long length of cord through each hitch.
We start the whip about 3″ from the end of the tiller, leaving room for a tiller-extension fitting should we decide to add one later. The first half hitch is put at the center on top, for appearance’s sake, leaving a short end of cord as an anchor that we capture under the first few wraps. Cotton cord flattens well and the tail end of the cord underneath the whipping won’t be noticeable. After the first few half hitches, we can slip the whip around the tiller to center the starting tag end on top. Then we continue the half hitches and stop every five or so hitches to slide the cords together as needed to provide a pleasing look to the finished whip.
The half hitches are continued, each hitch snugged to create a nice spiral. A tighter or looser hitch can be tied to adjust the alignment. Once we are within five hitches of finishing the whipping on the underside of the tiller, we set a loop of waxed twine past the end of the existing whipping and wrap each successive hitch over the twine. At the end of the whipping, the loop will pull the tail end of the cord back under those last 5 hitches. Then it is time to closely trim the ends of the line. If using cotton cord, we can dip the tiller in hot water to further tighten the whipping as the cord dries.
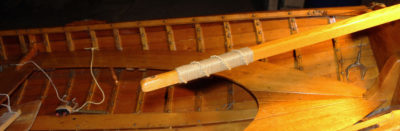
 Photographs by the authors
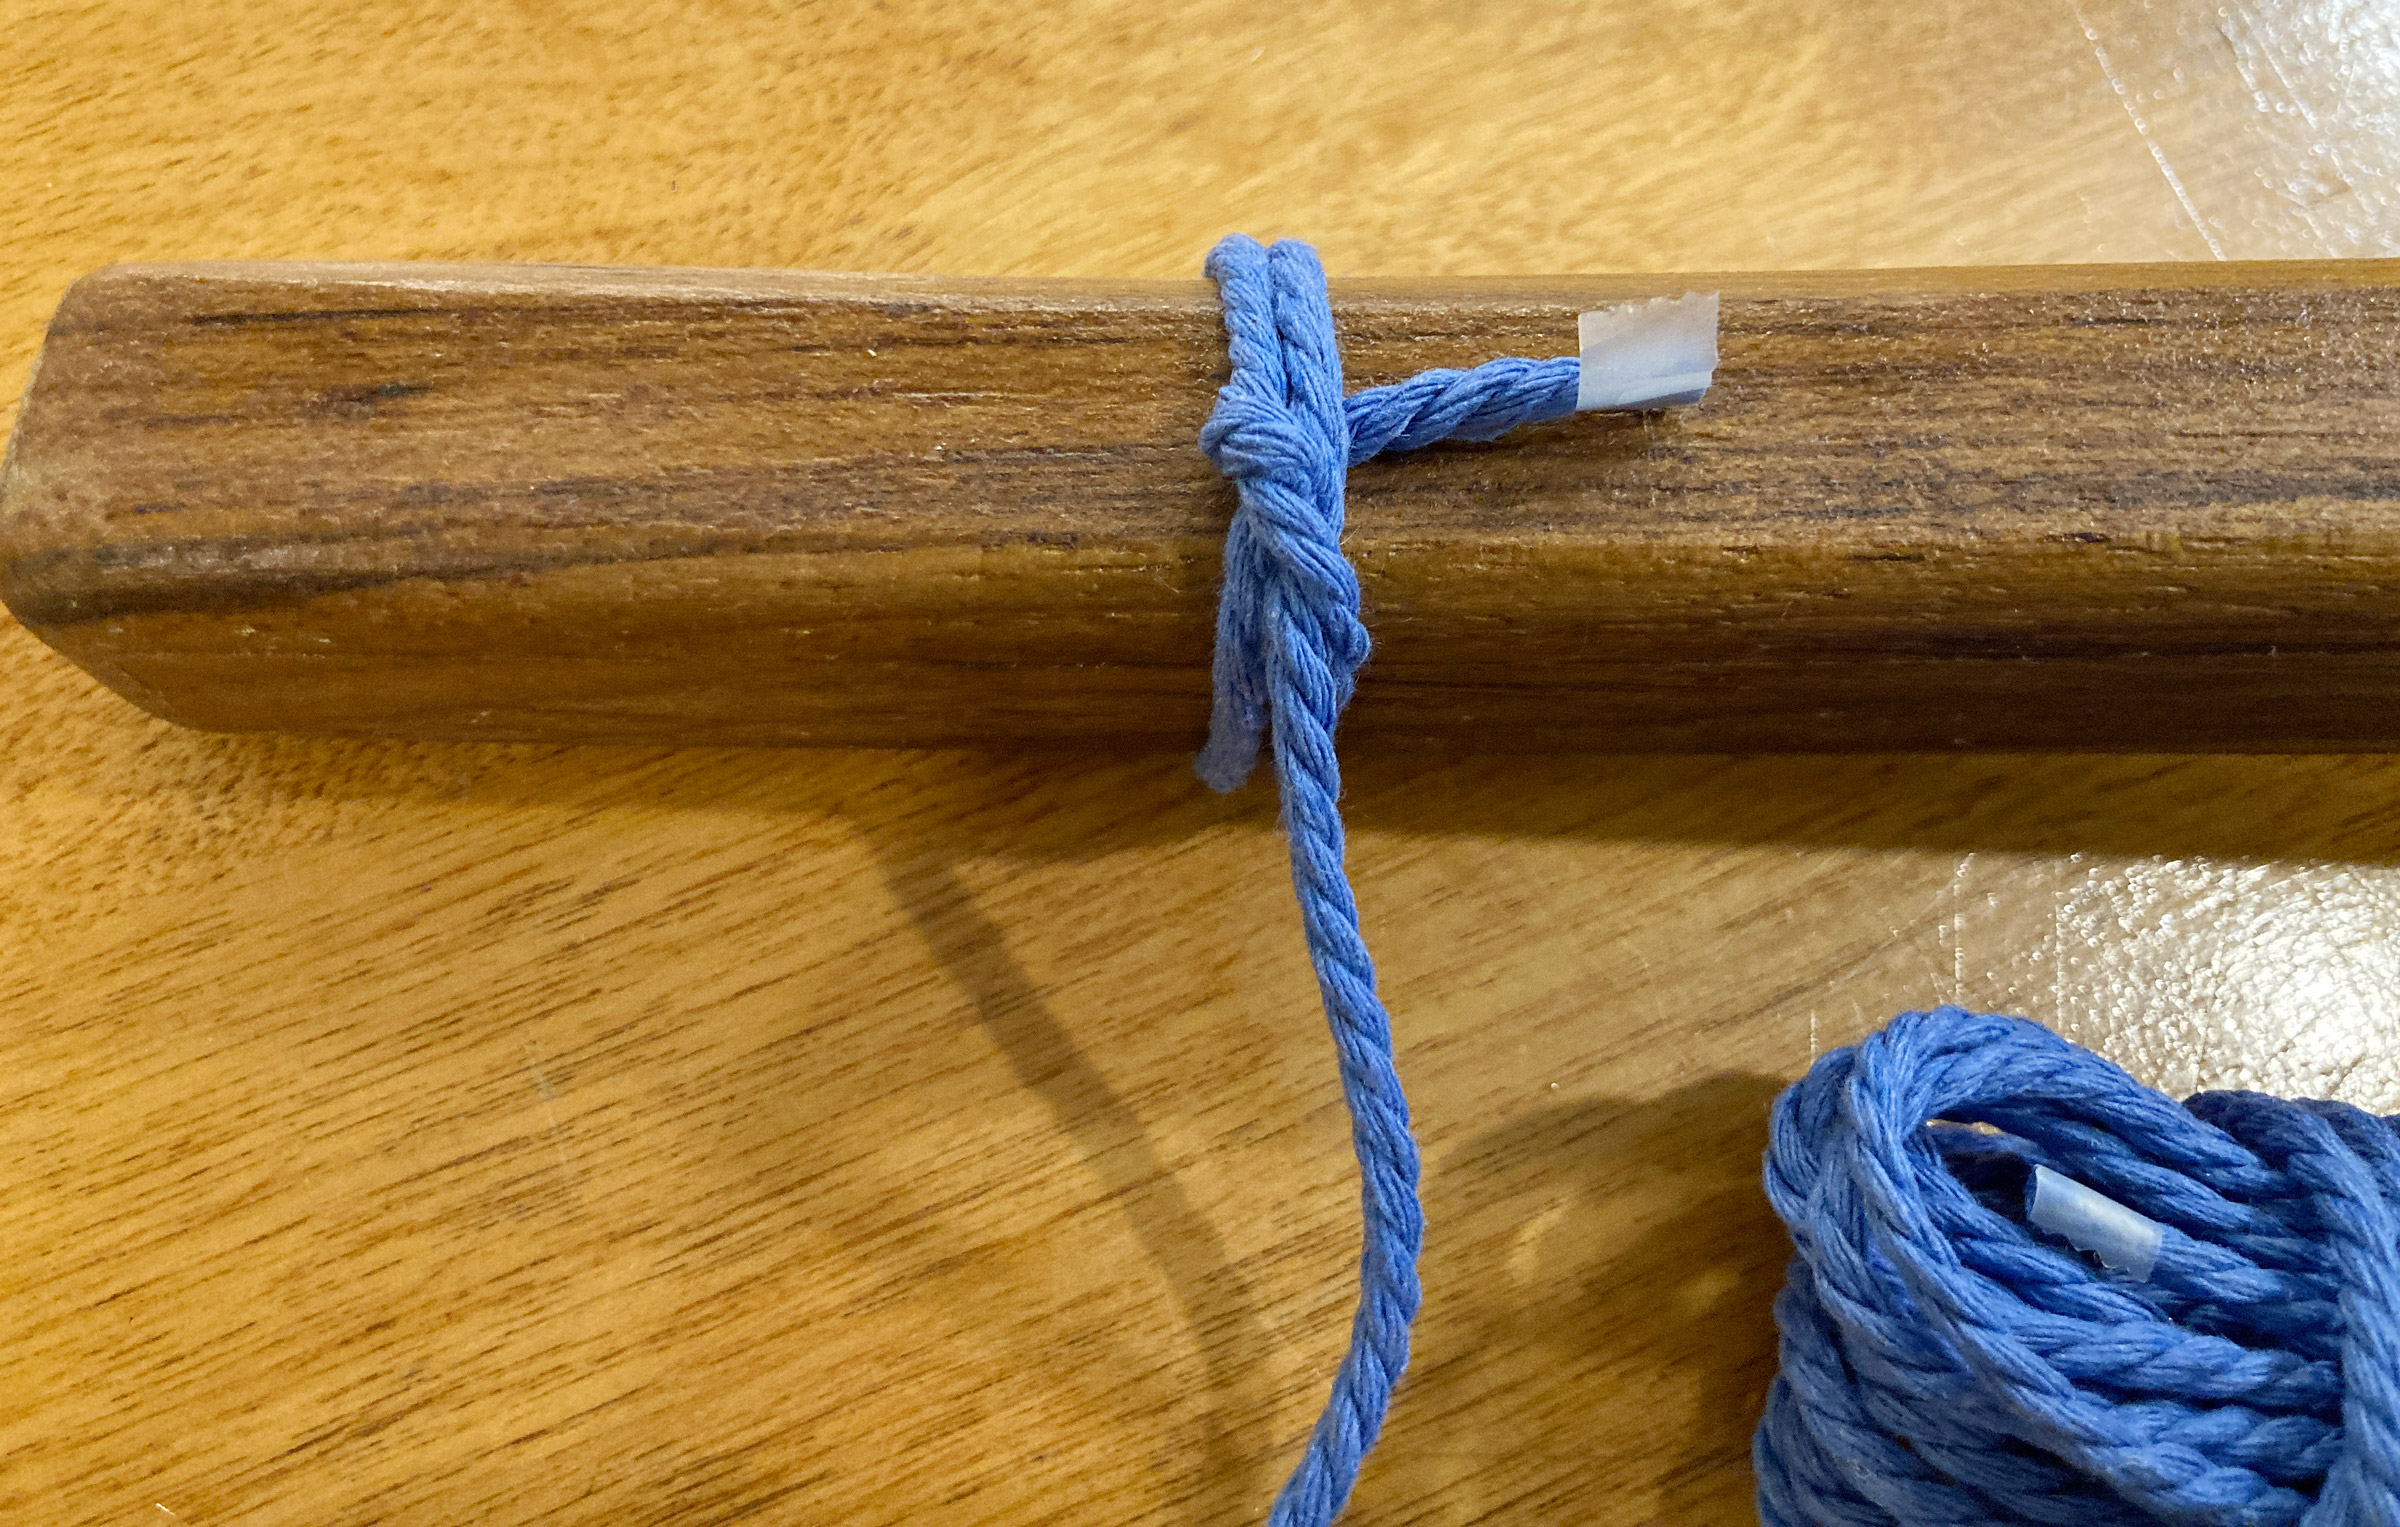
The whipping starts with a simple half hitch tied around the tiller. The starting end will be covered by the wraps as the lashing proceeds. A piece of transparent tape or masking tape could be placed over it to hold it temporarily in place. Viewed from the right-hand side, the cord will make counterclockwise turns around the tiller.
The second wrap, like the first, passes under itself to make a hitch before being drawn tight. The cord emerging from the hitch can be pulled tight in the direction of the wind, then in the opposite direction against the wind to get the hitch tight, compact, and aligned with the previous knot to make a spiral ridge.
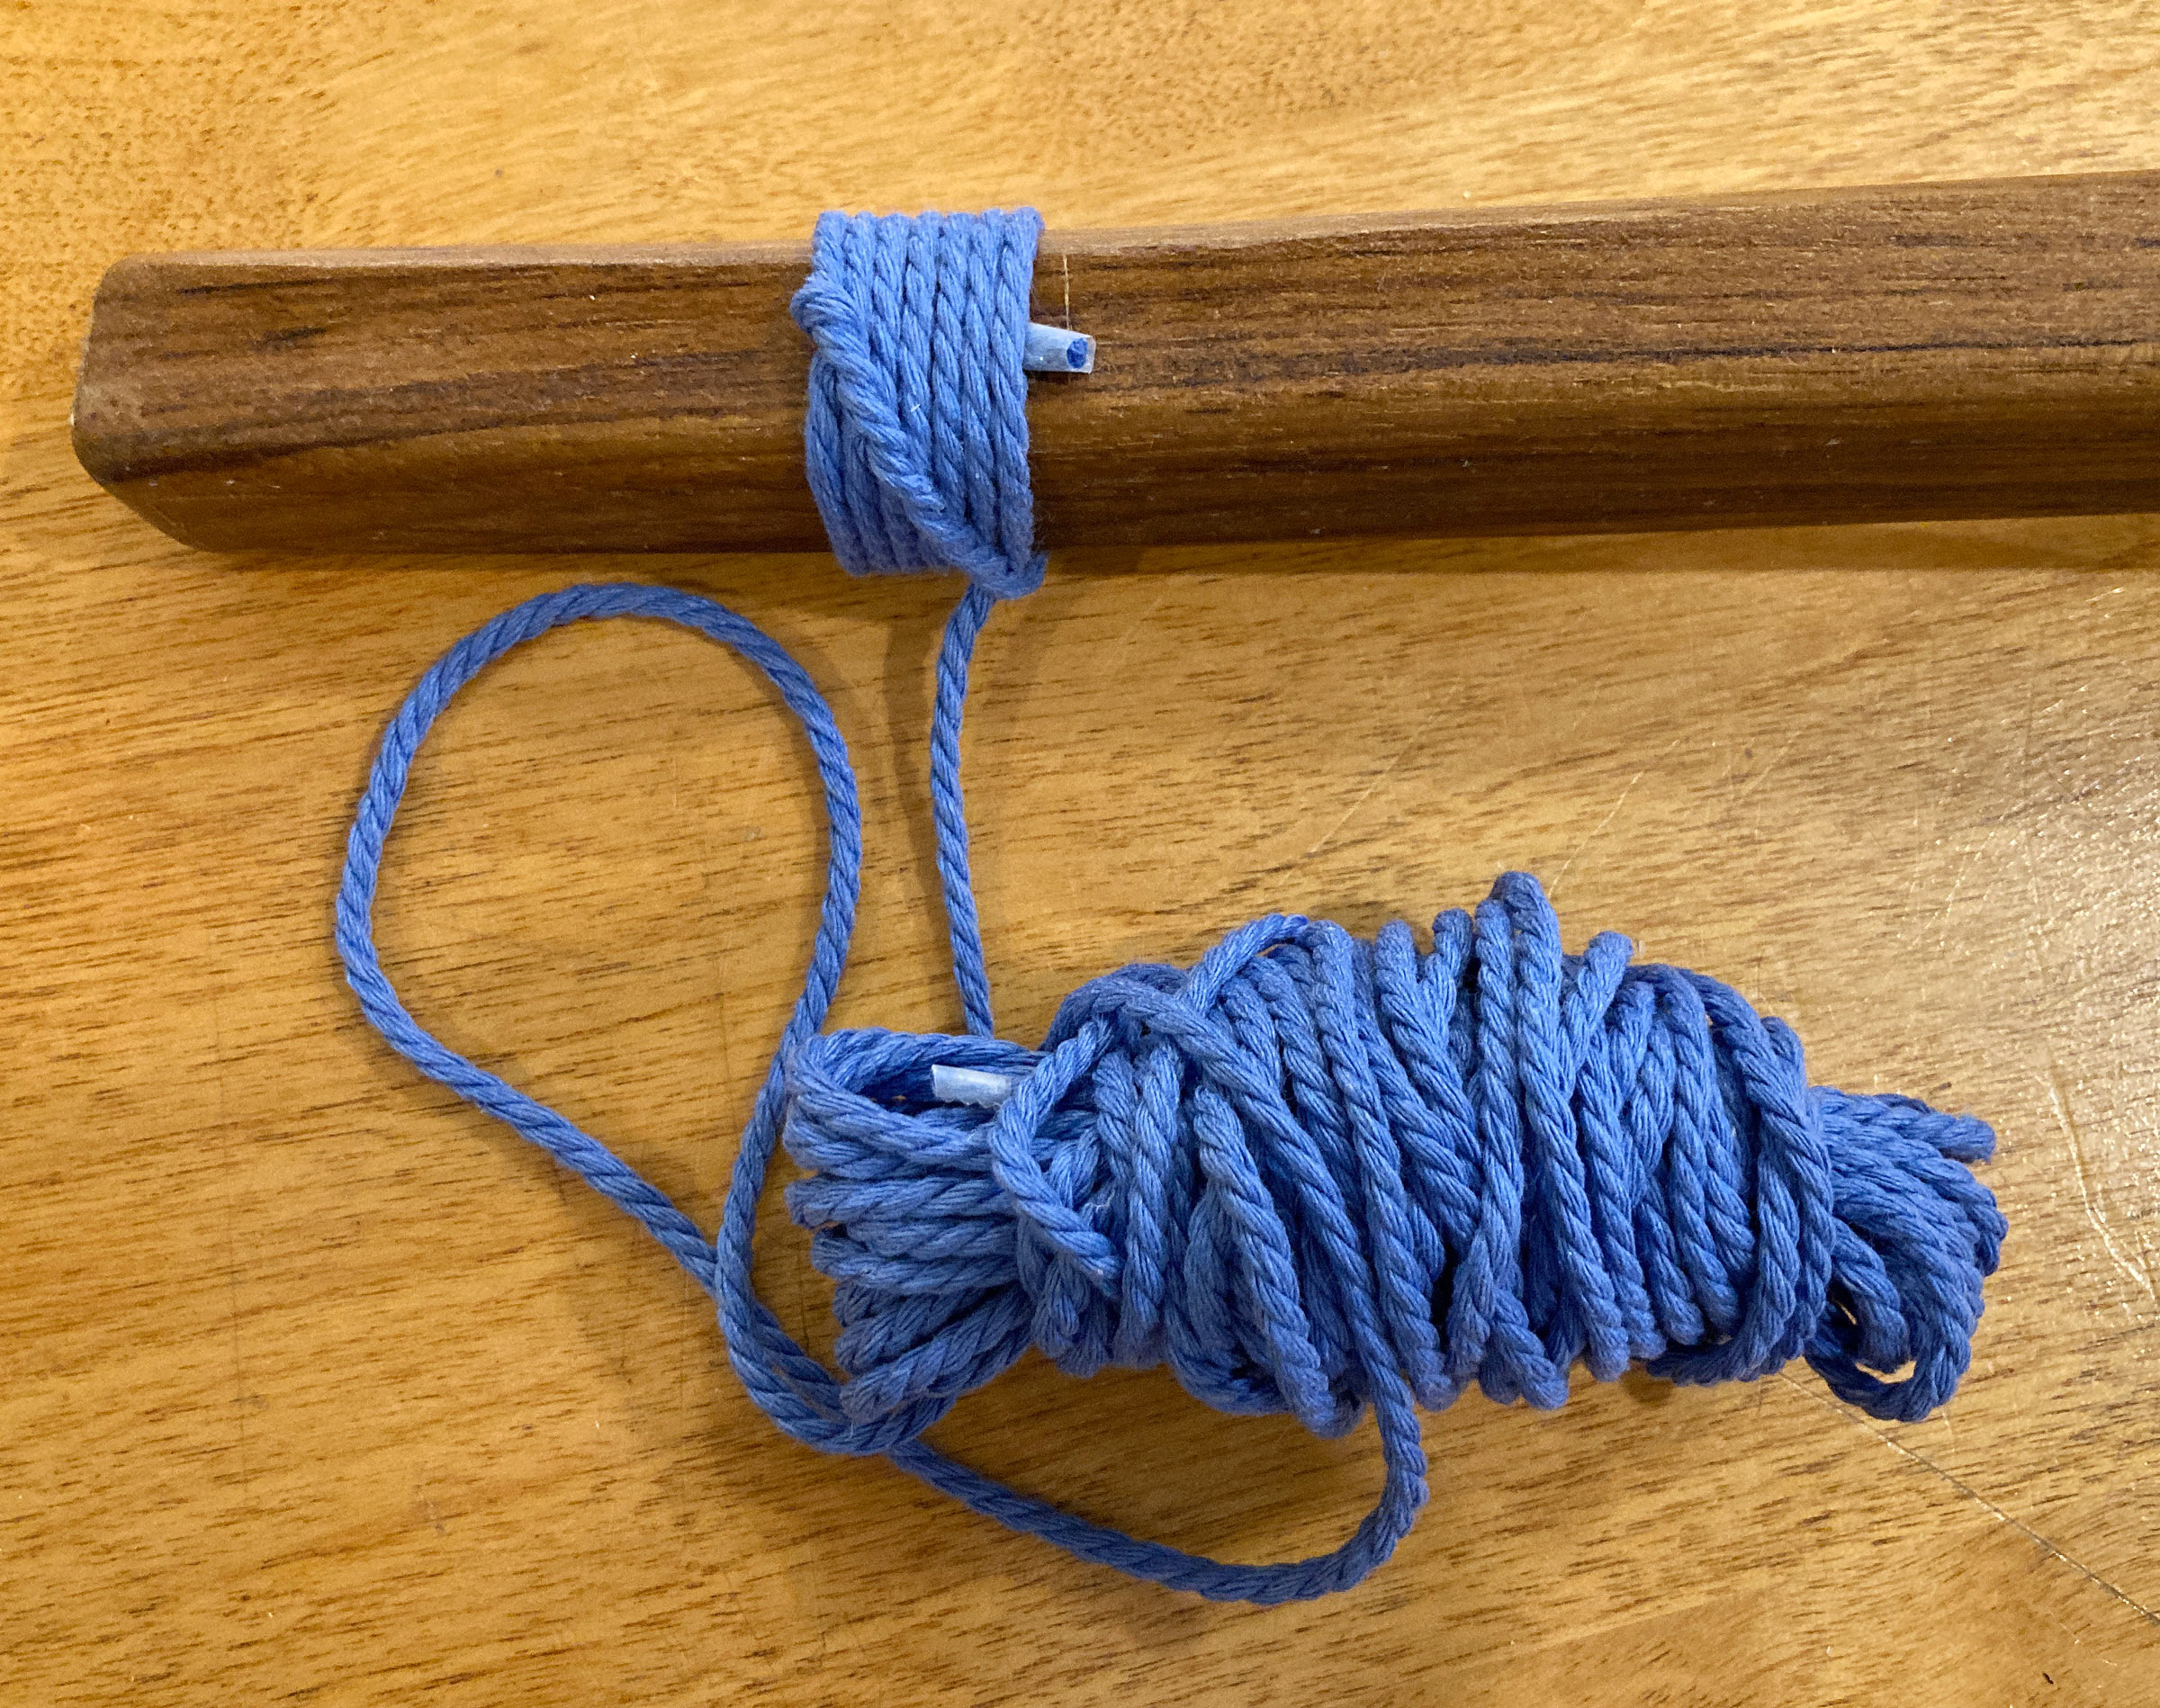
Before the tail end is completely covered, it can be pulled tight with a pair of pliers to make sure the first wrap is snug.
The wraps and hitches continue, forming the spiral.
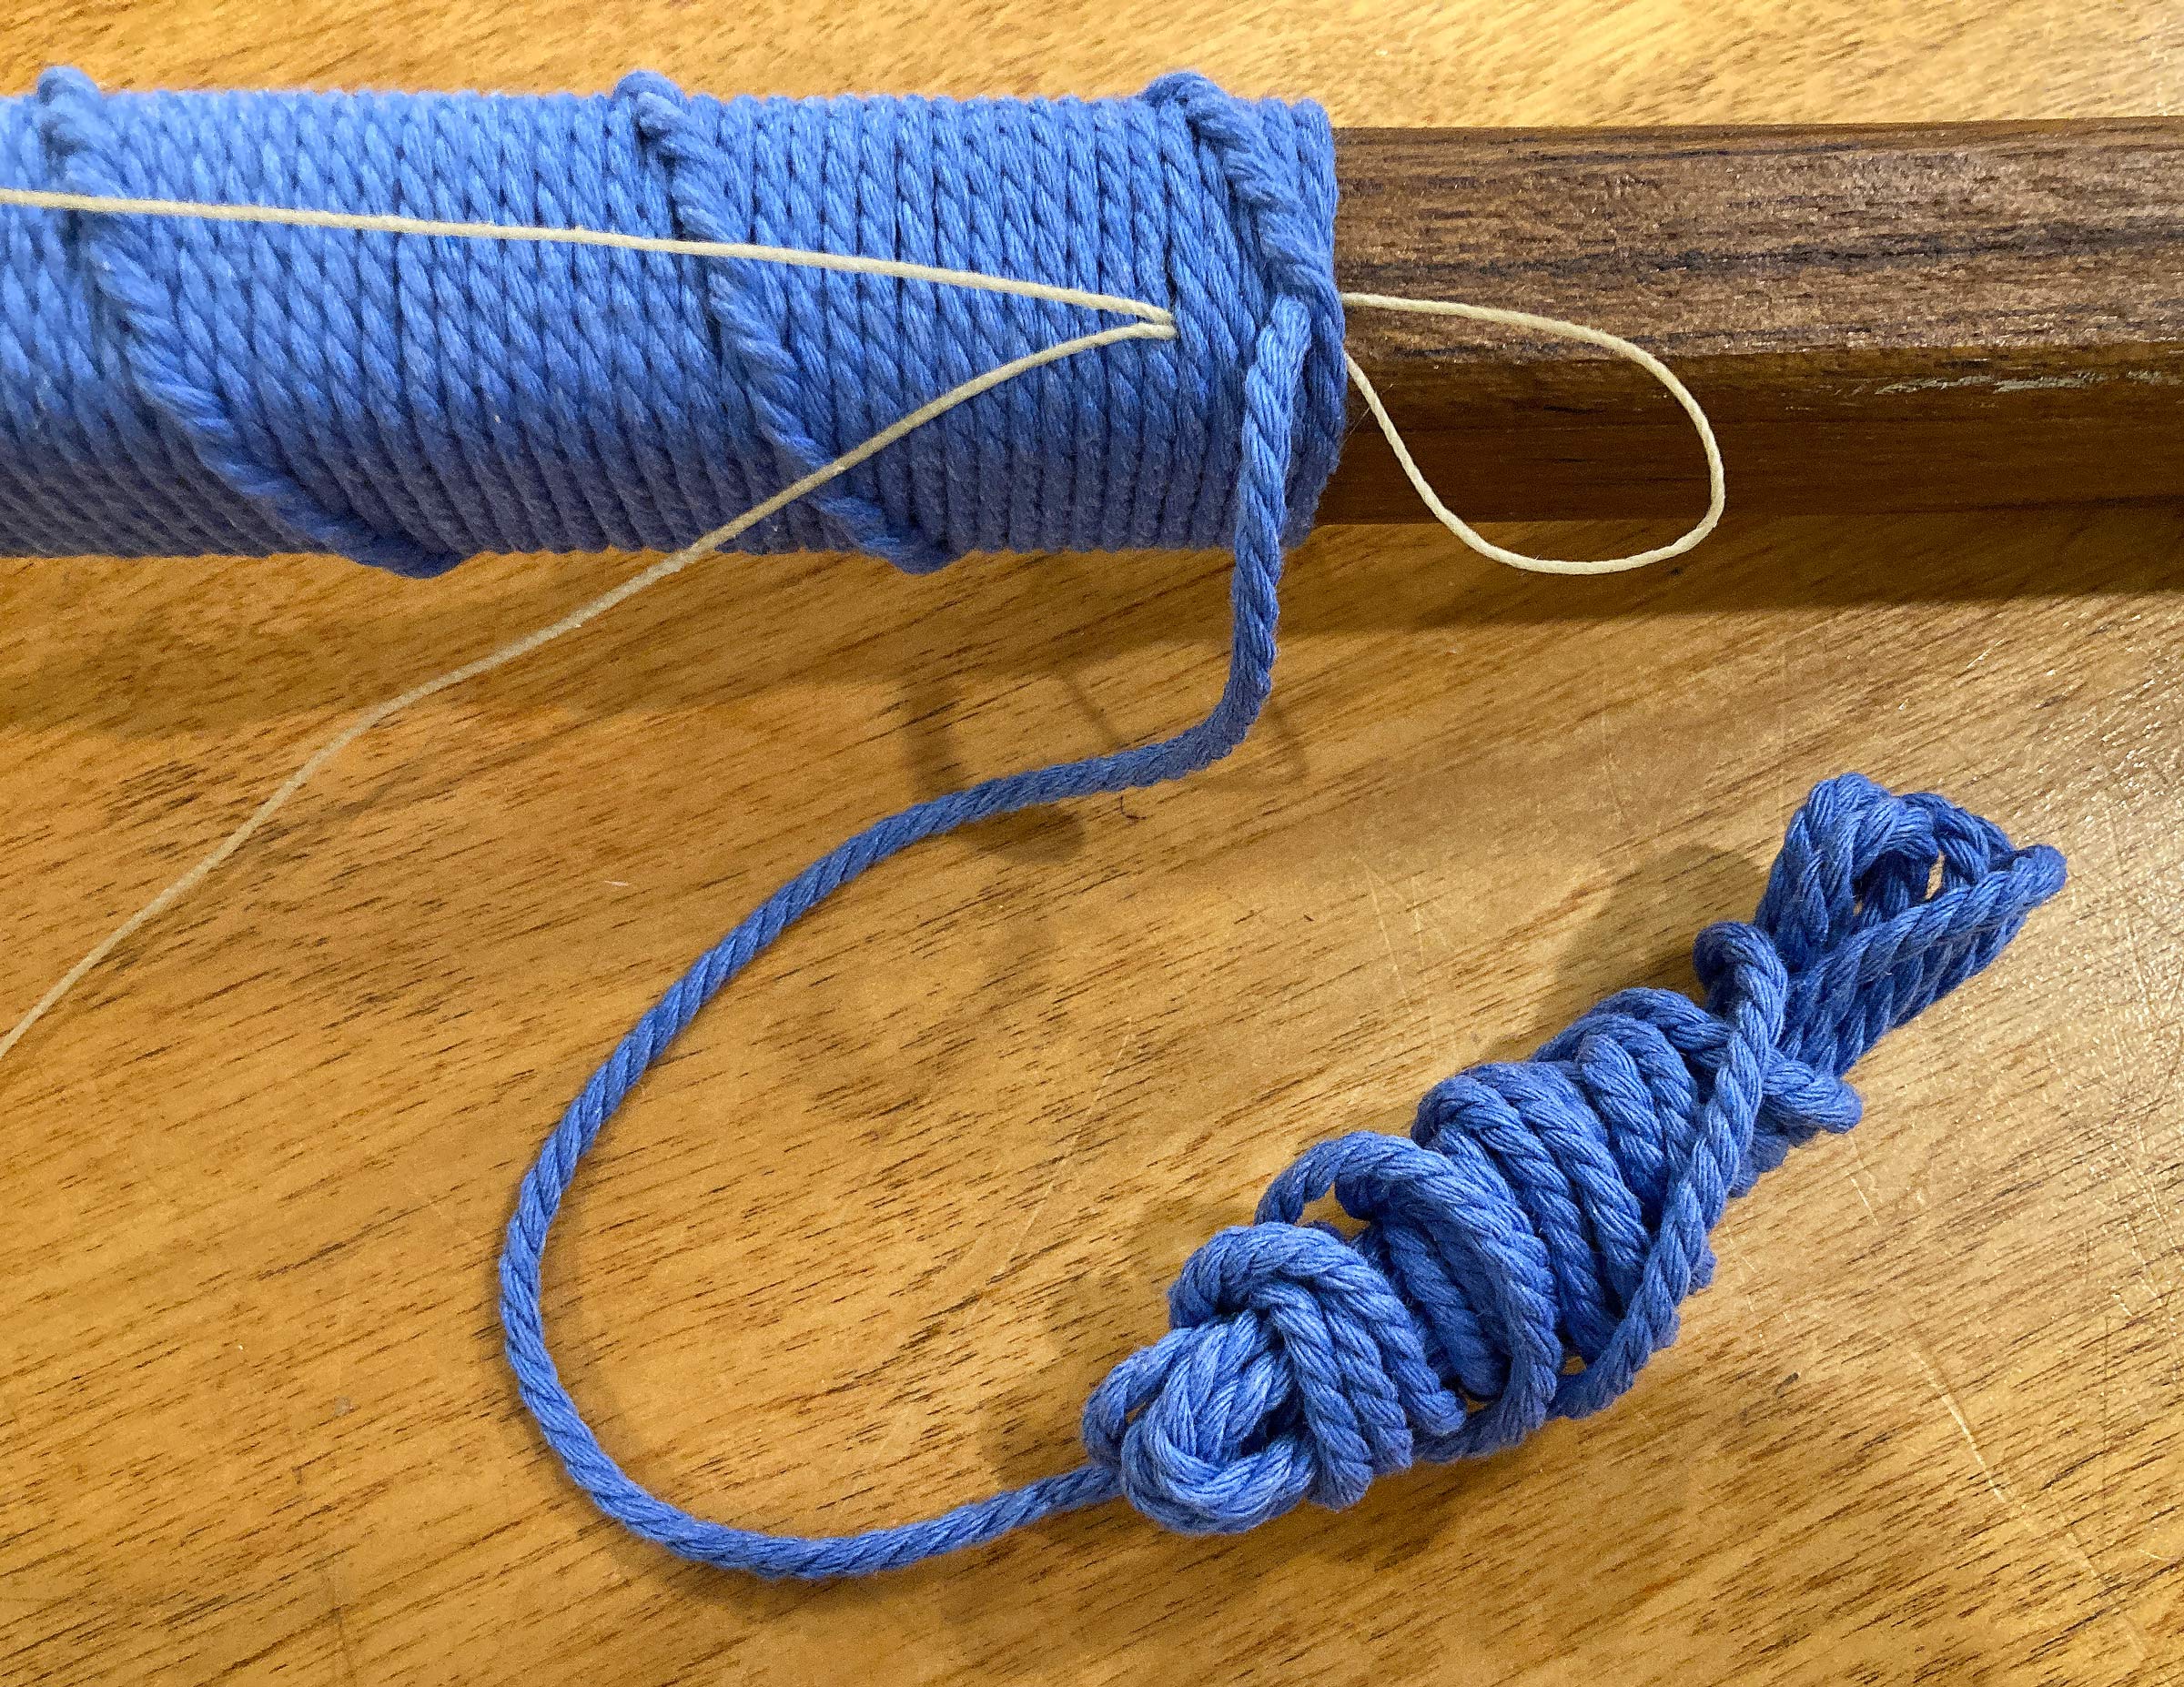
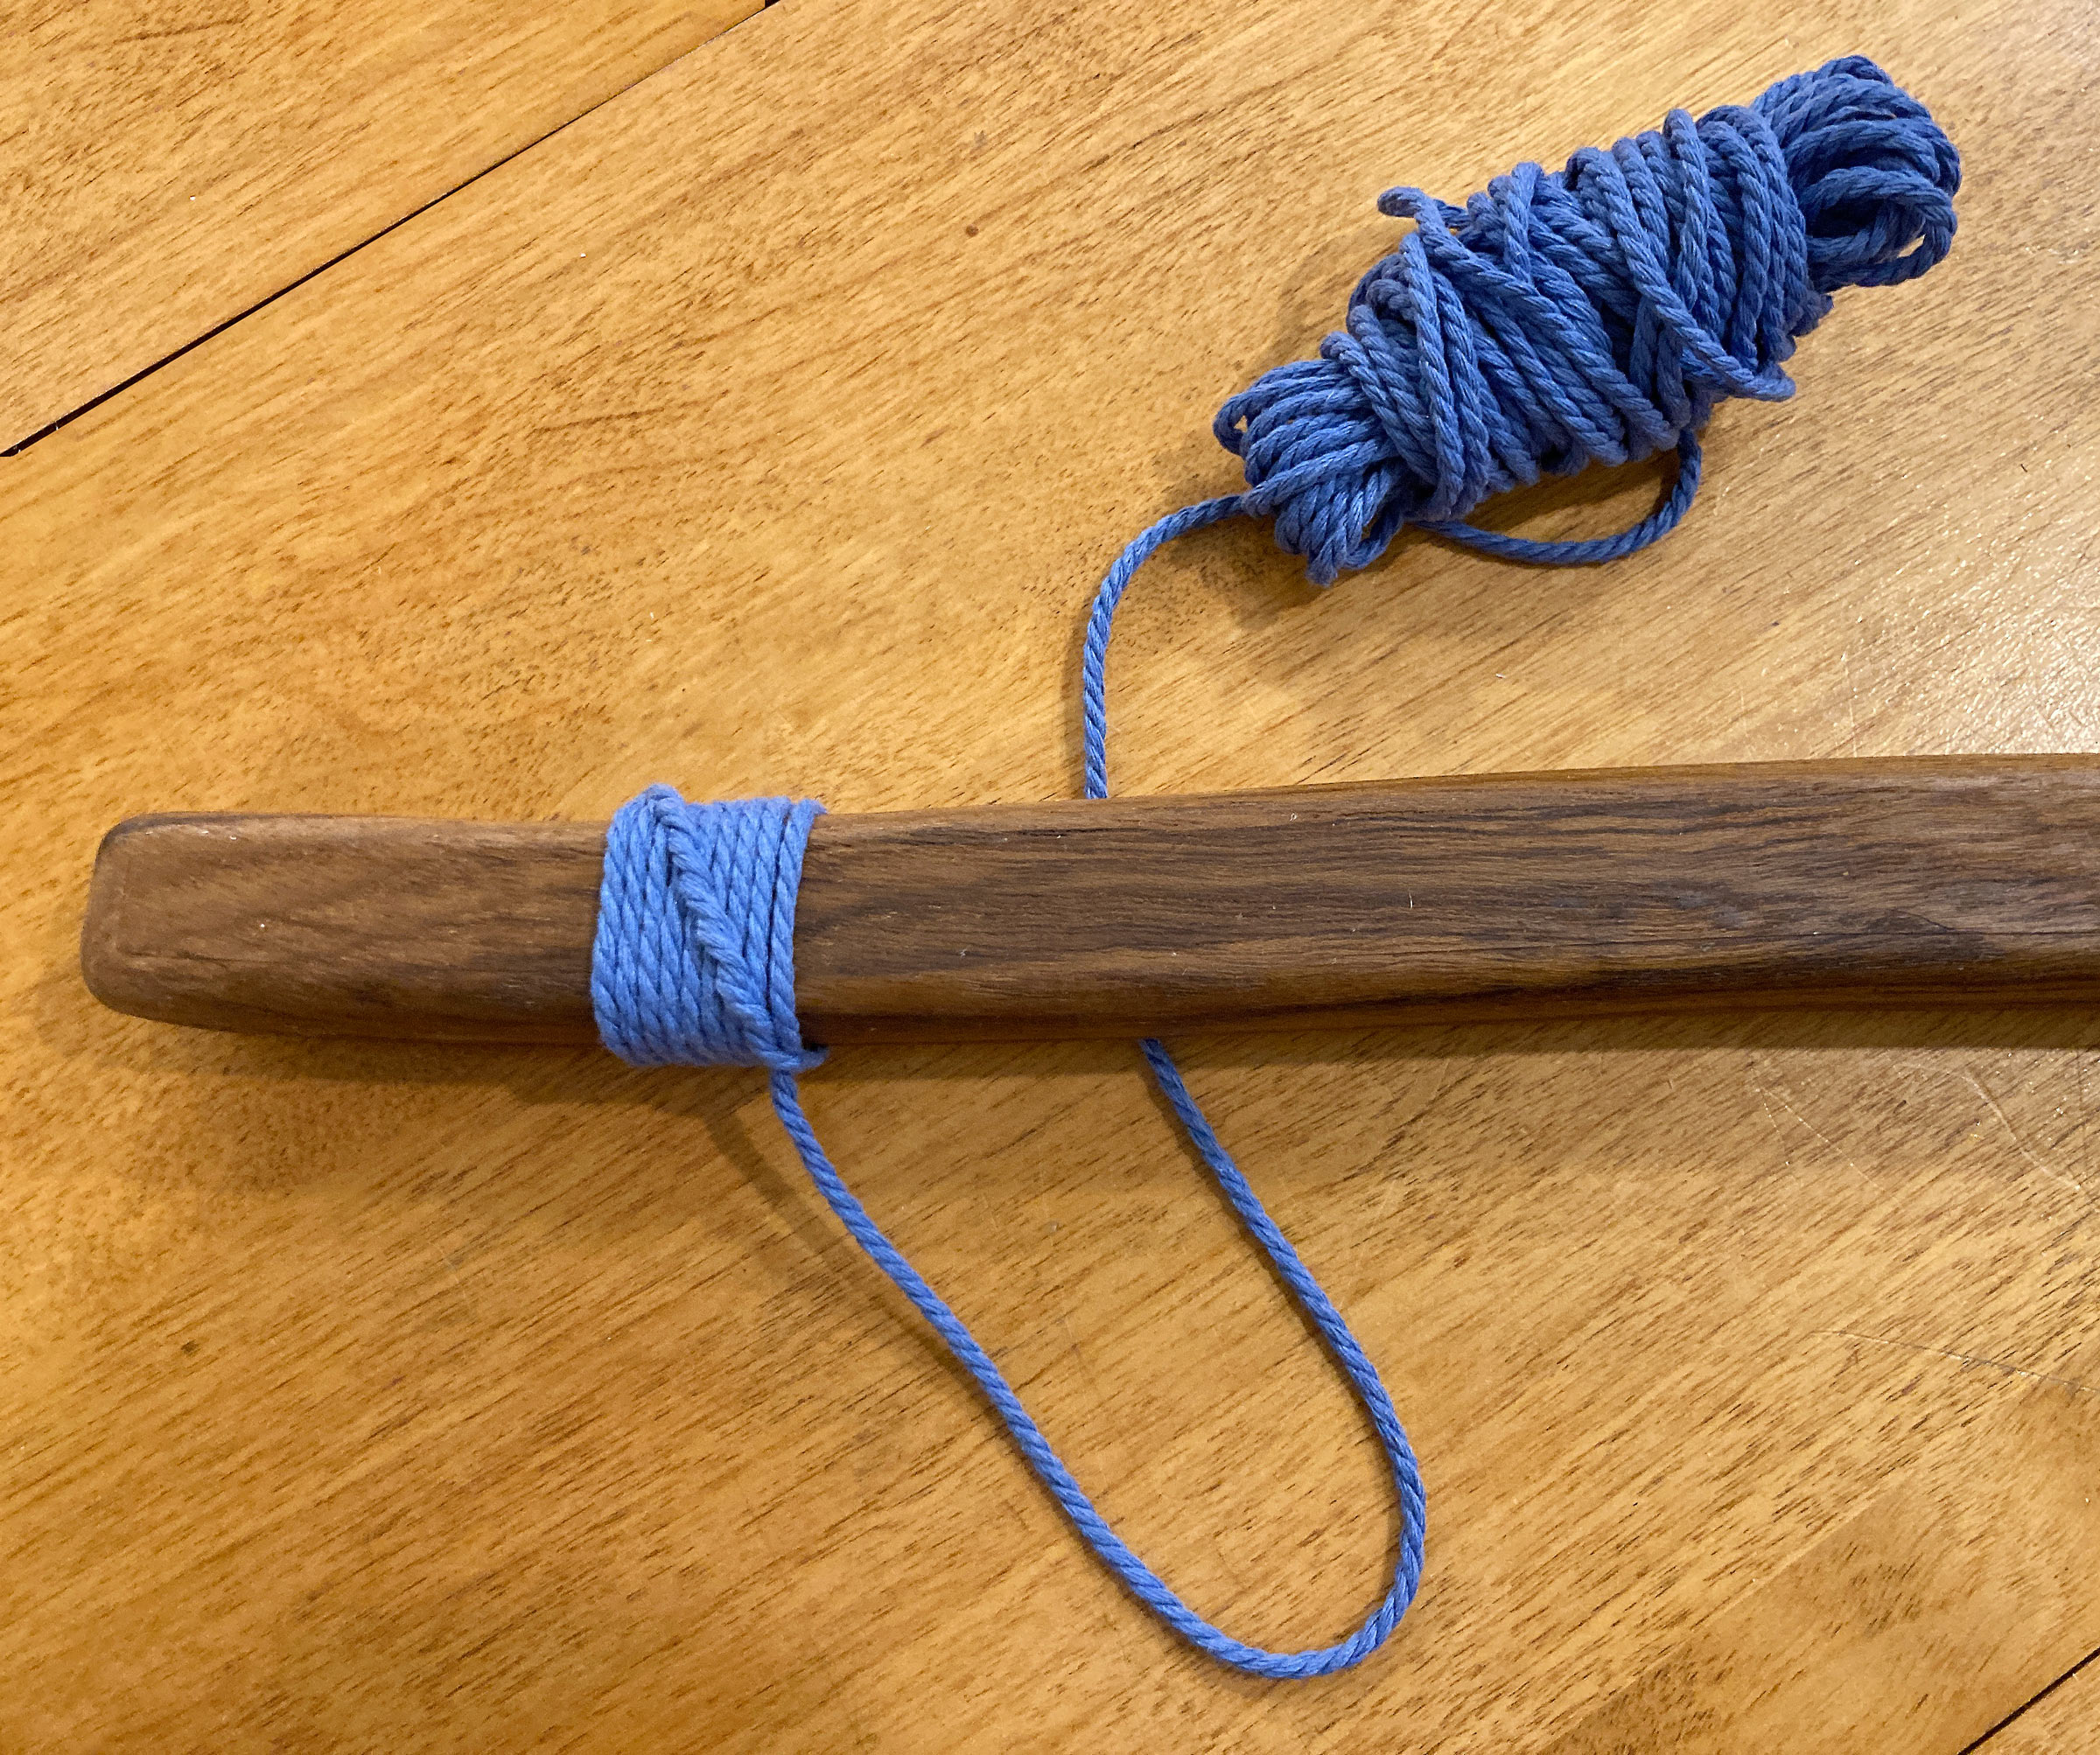
A half-dozen wraps before the end of the whipping, a loop of thin line gets covered by the wraps.
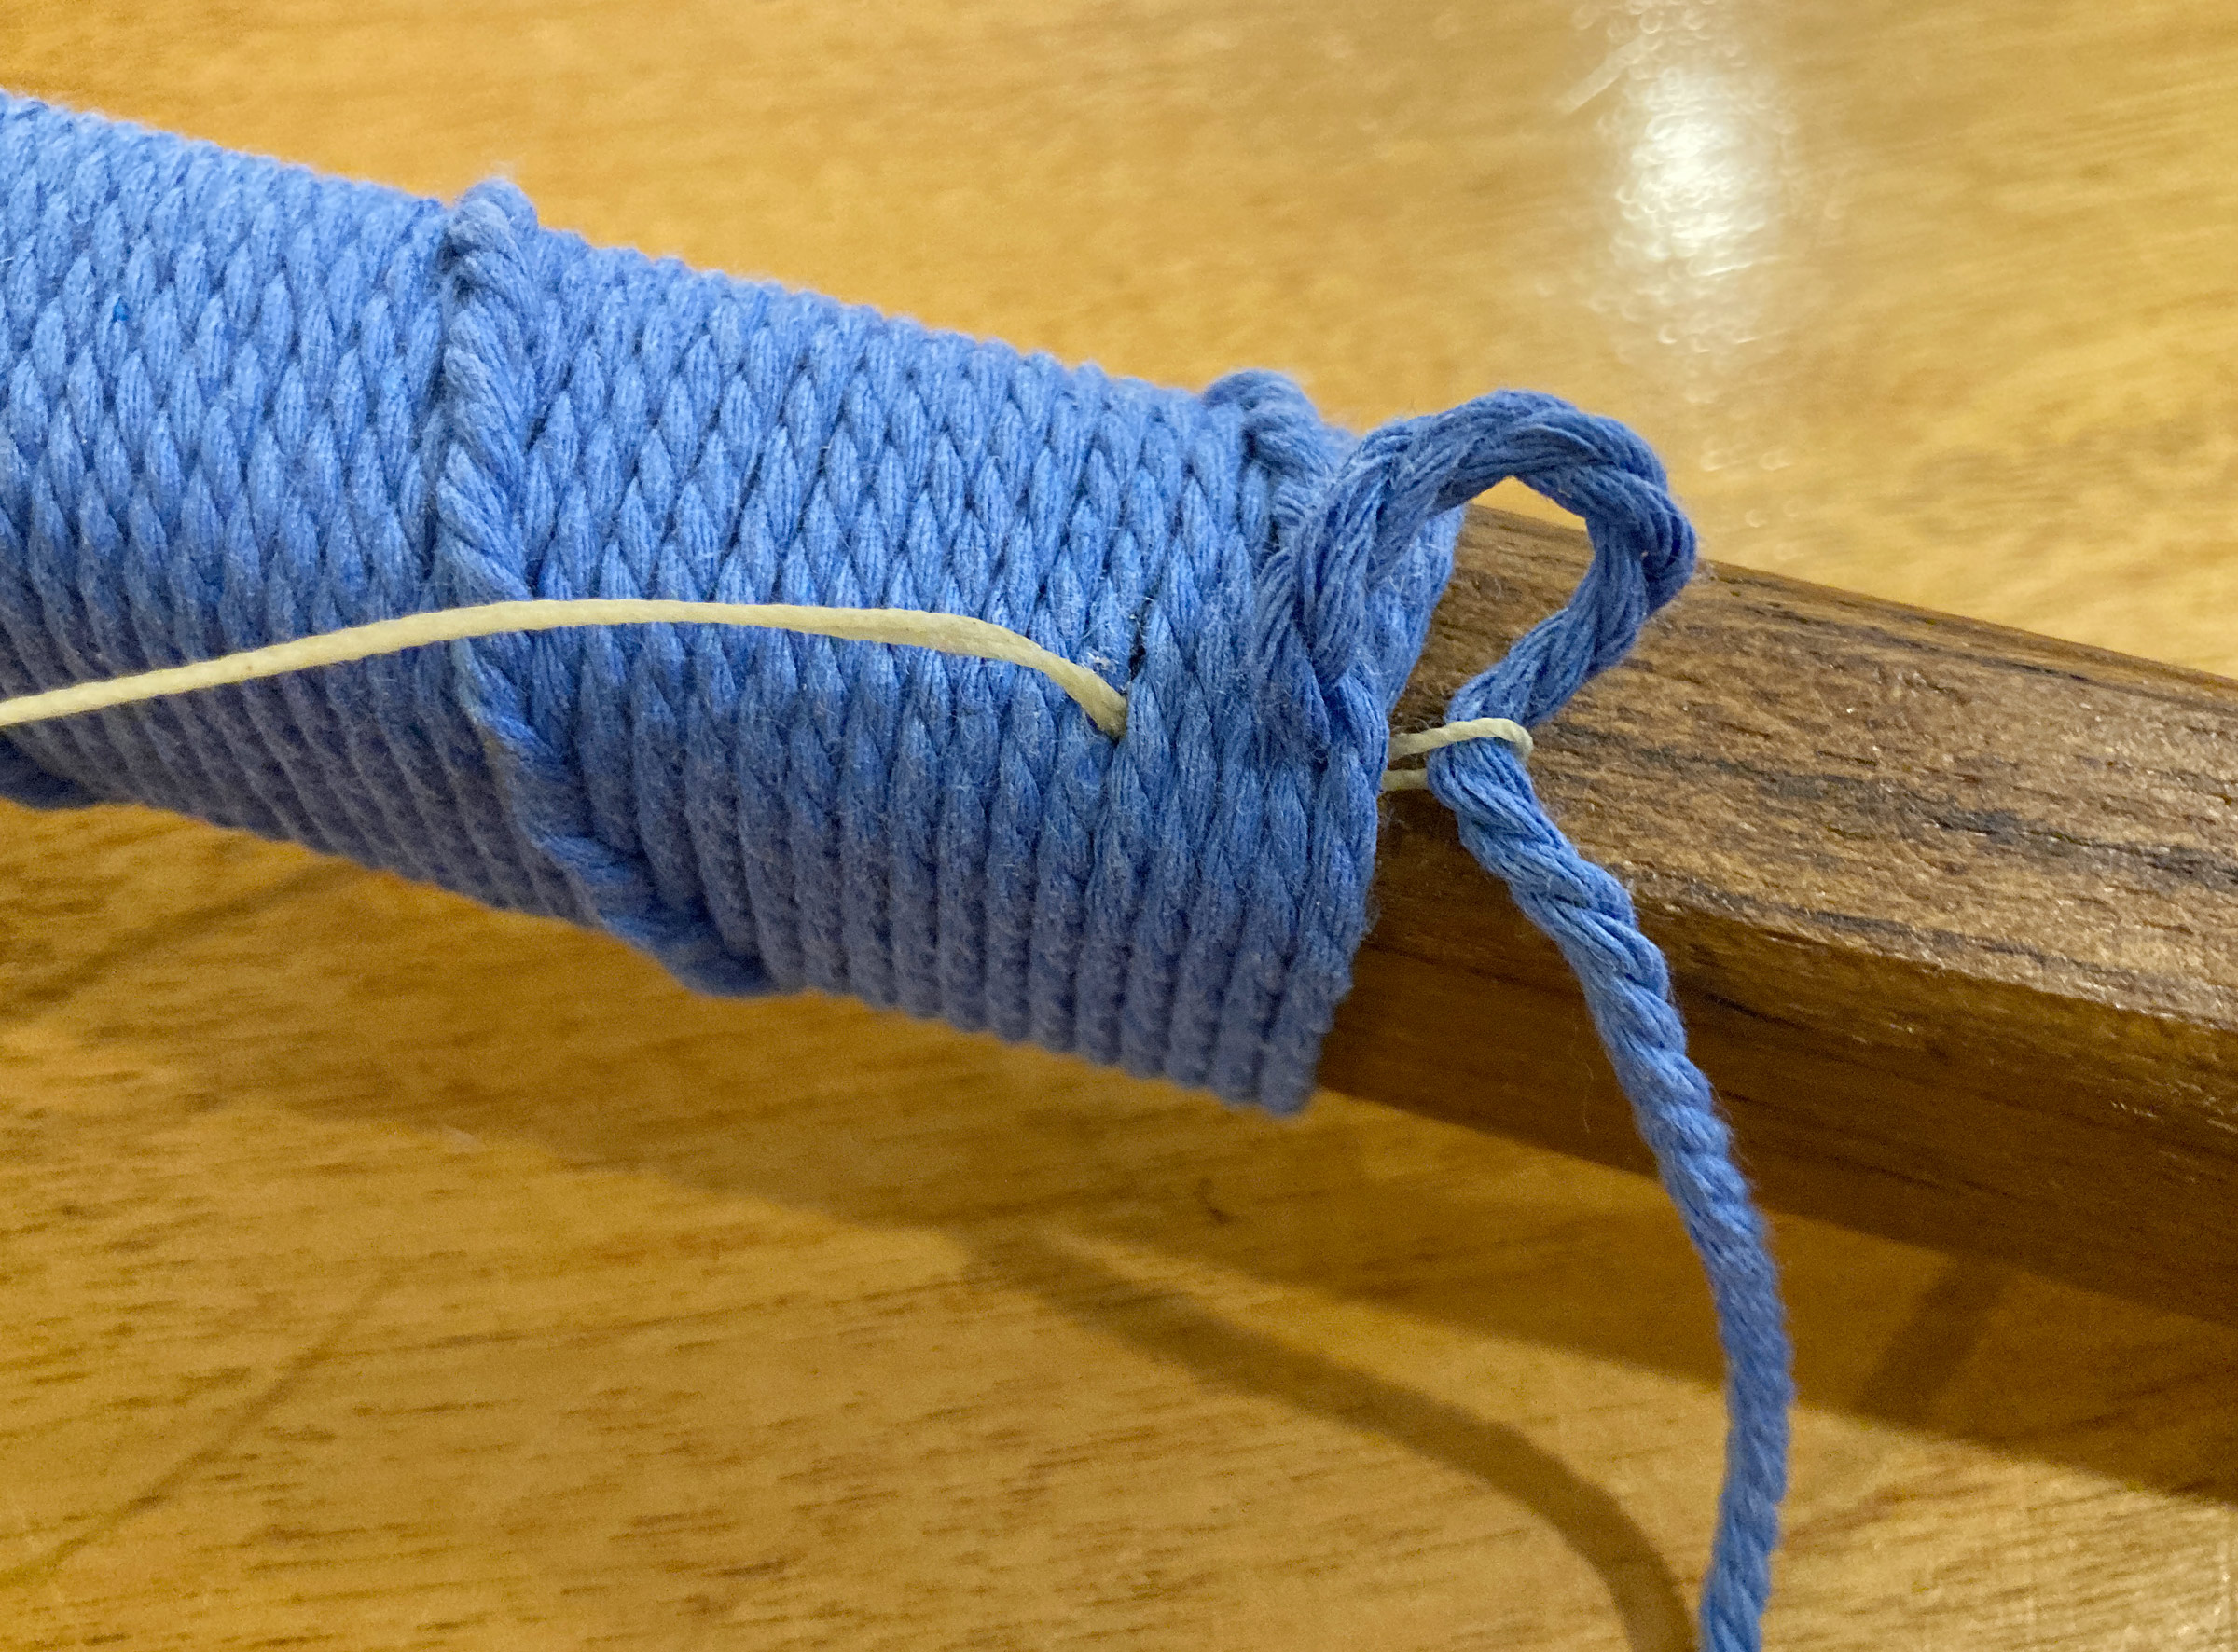
At the finish, the tail end gets pulled through the loop.

The loop pulls the tail end under the wraps.
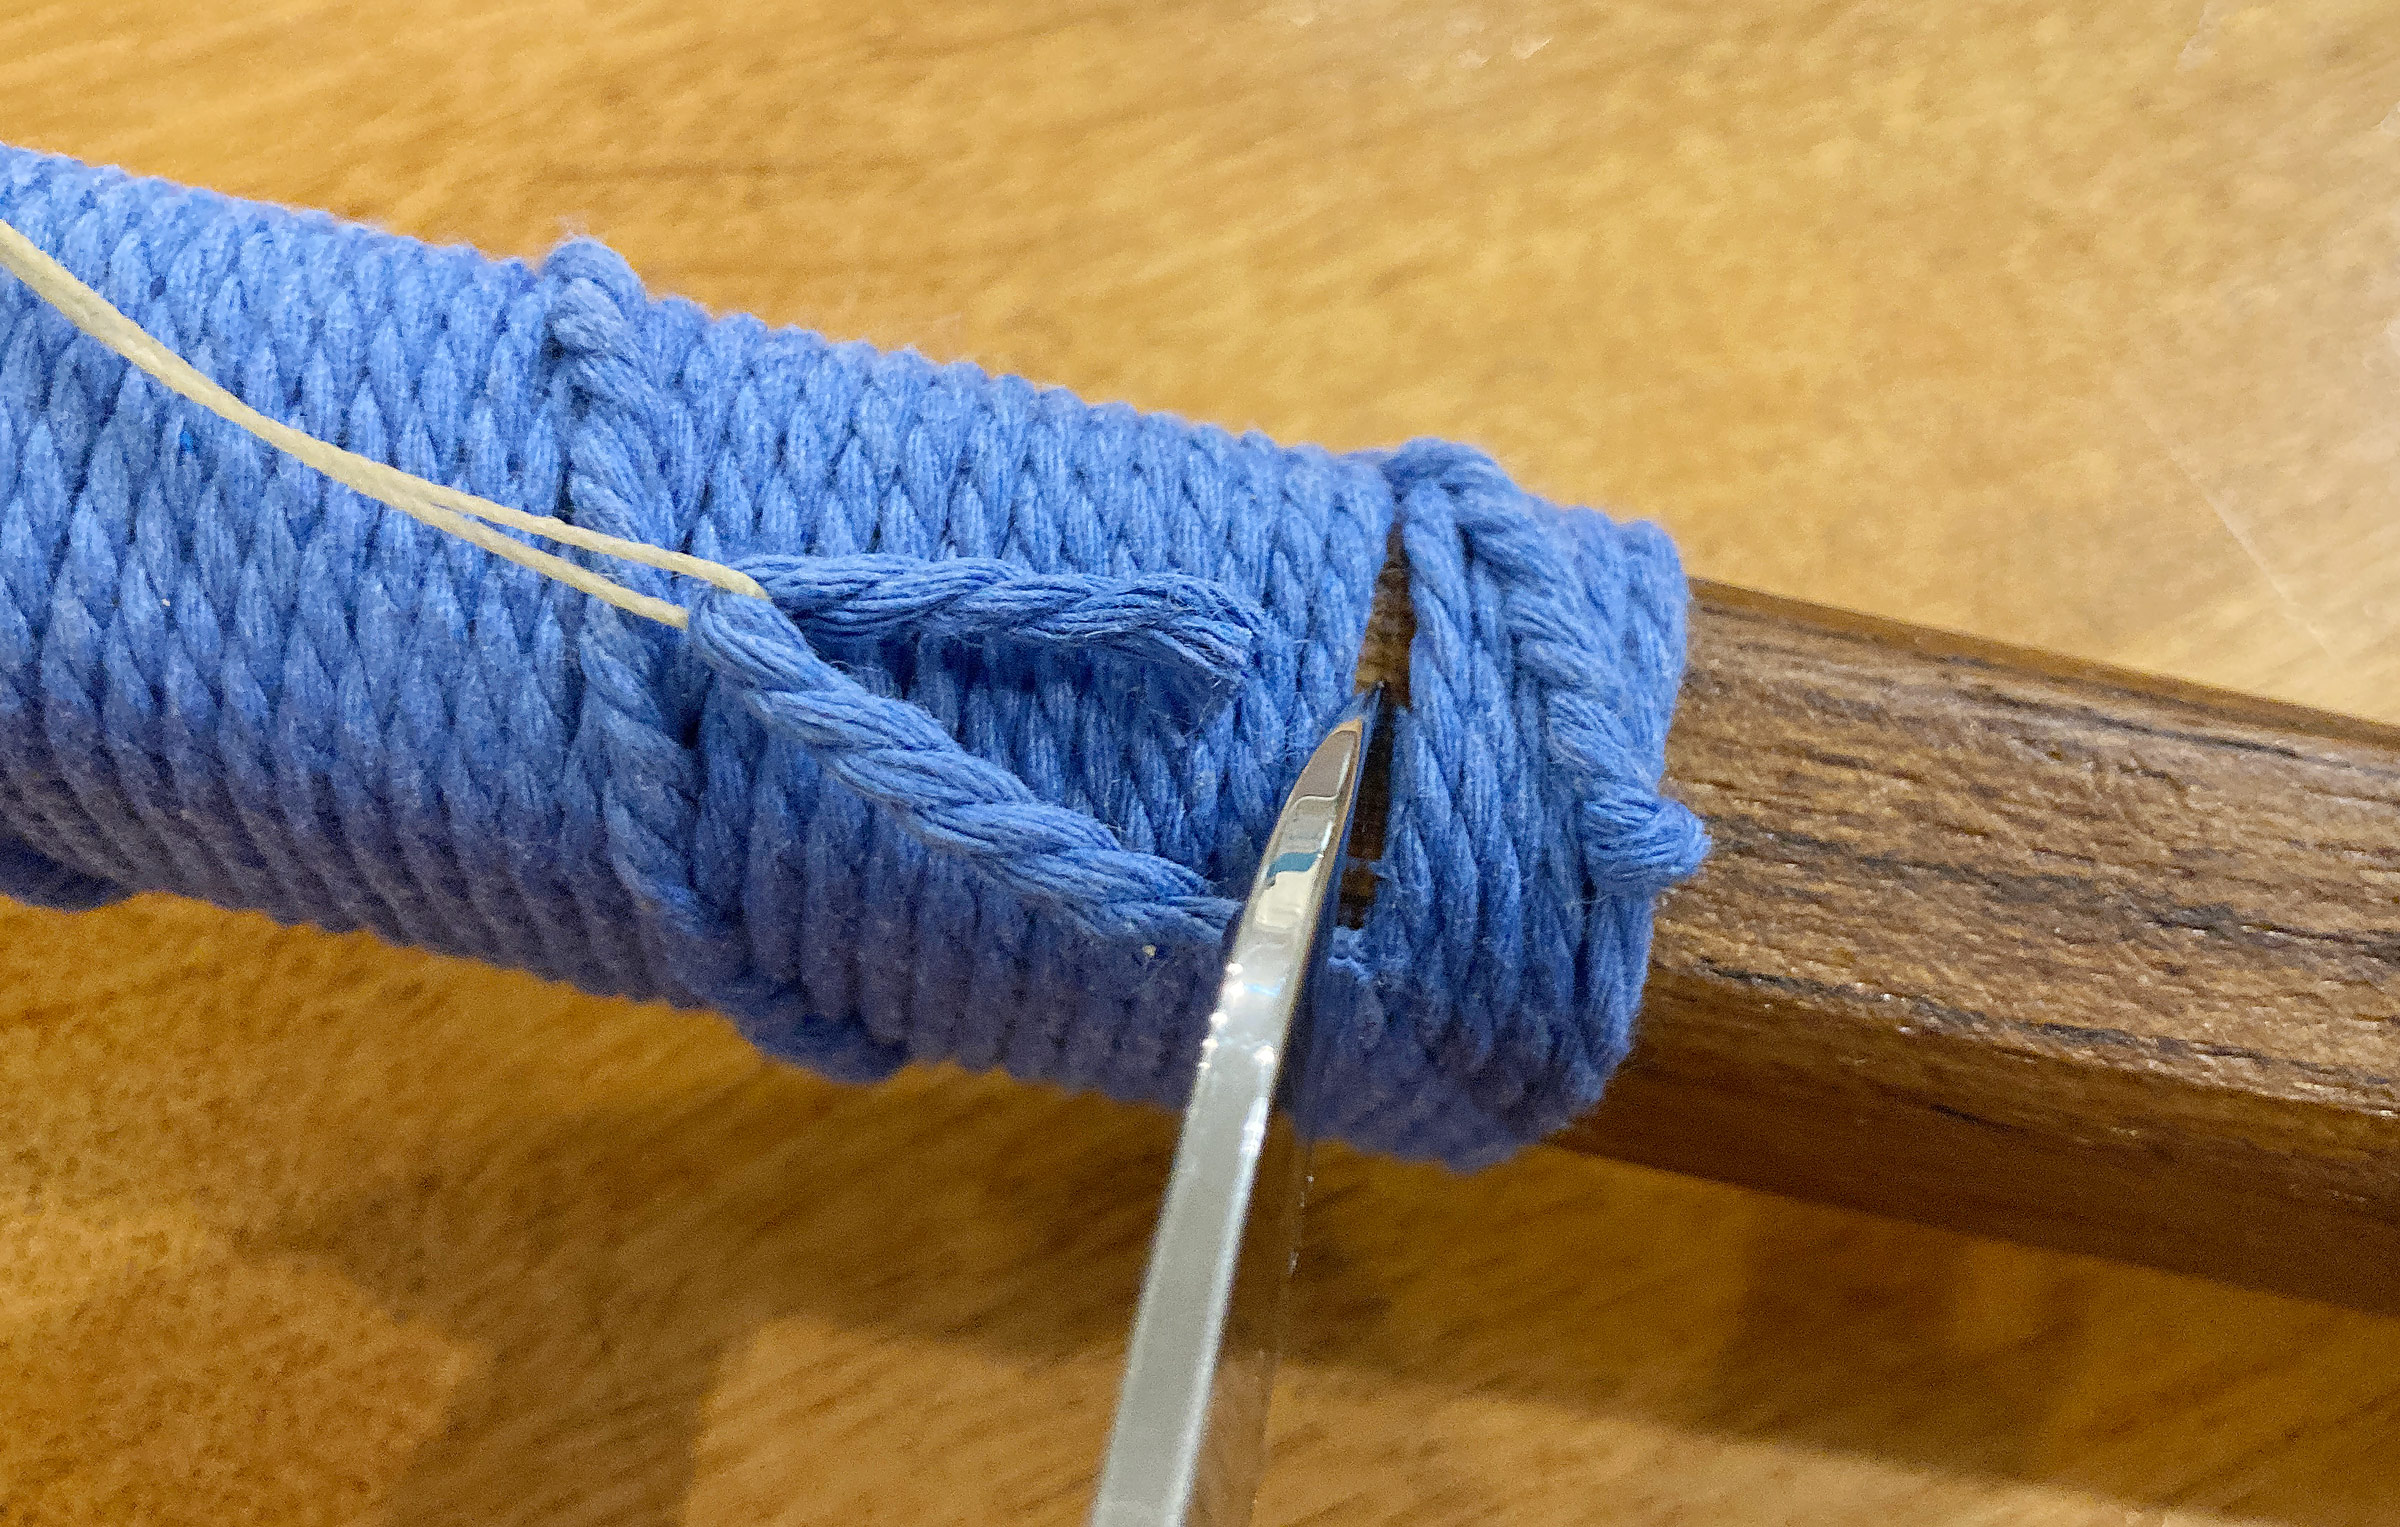
The remaining cord is carefully cut with a sharp knife. Once it is removed the gap between wraps can be closed-up by adjusting the cord.
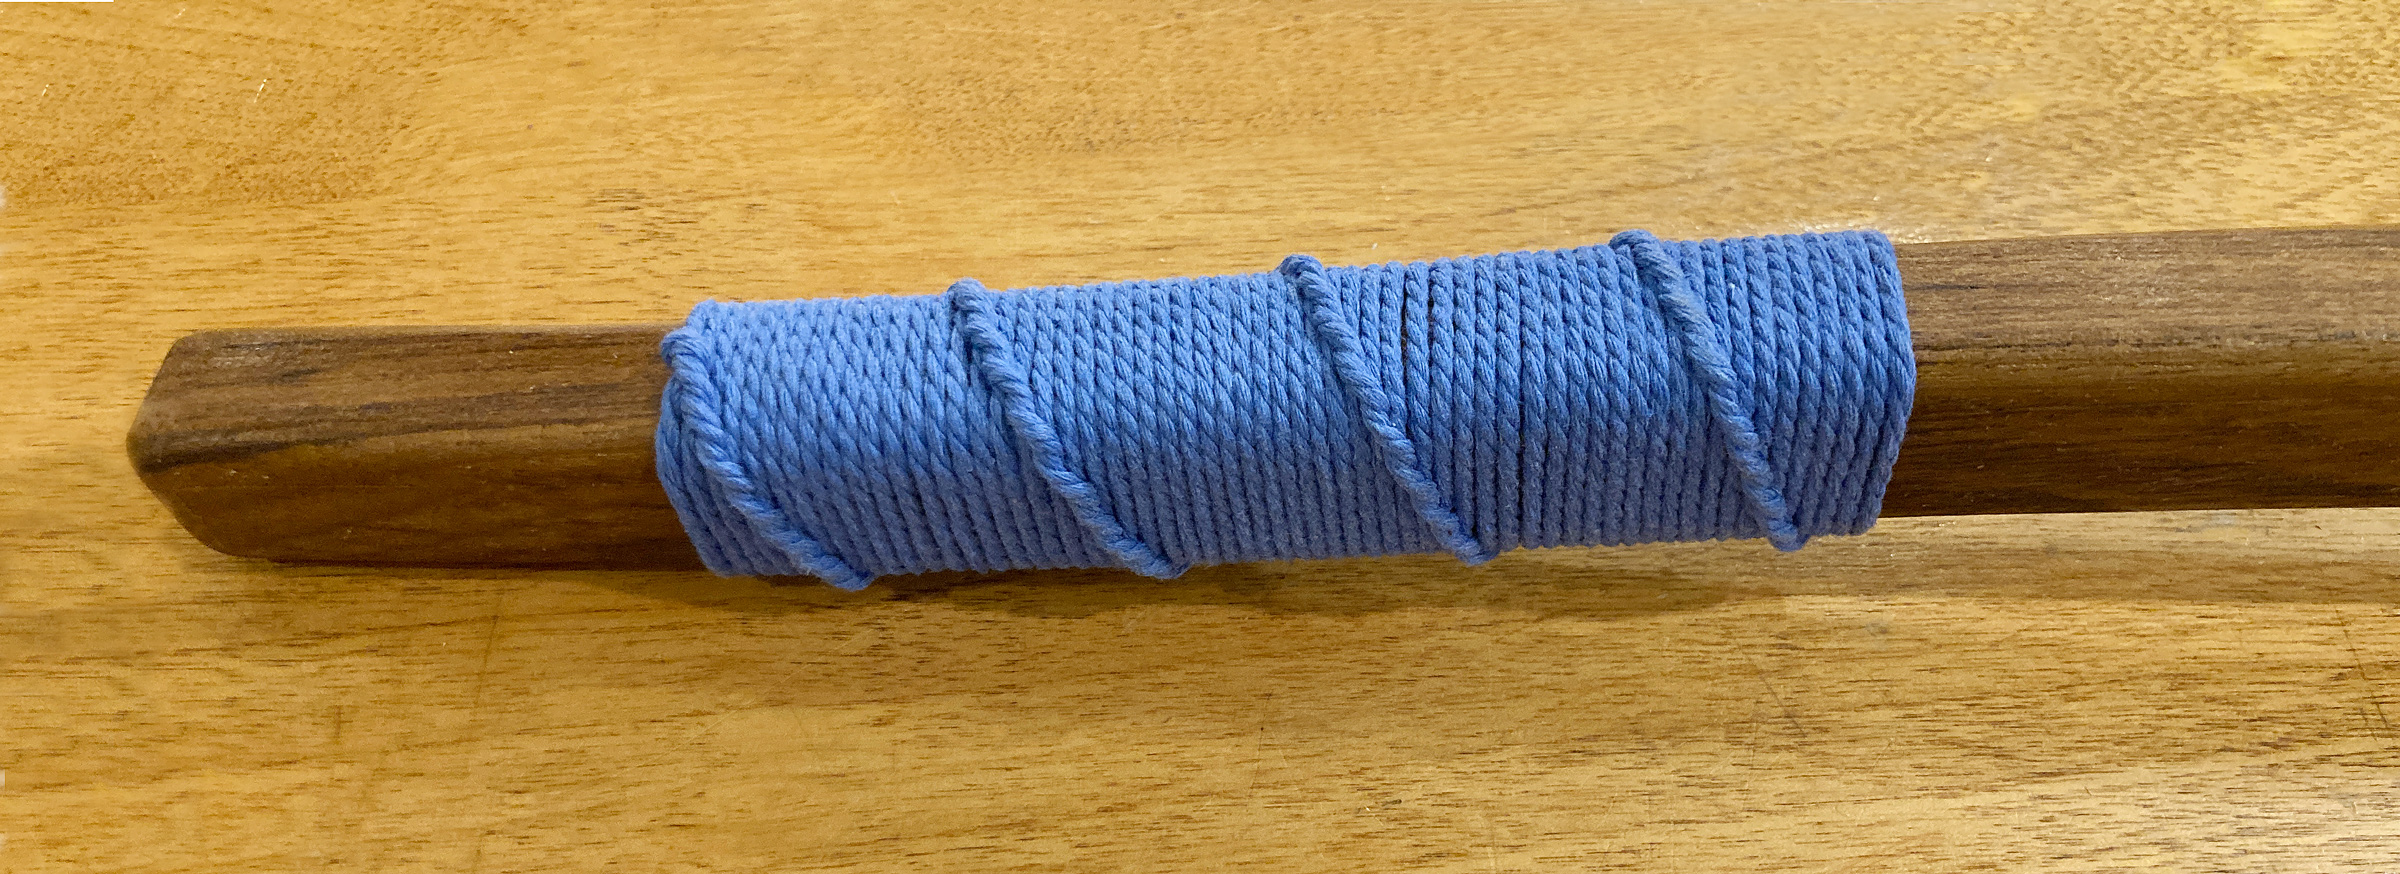
The finished wrap can be coated with varnish or waterproof glue to keep the whipping tight and prevent it from slipping.
After the cord has dried, we seal the whipping with varnish or a waterproof glue such as Titebond III, and in just 15 minutes we have a good-looking non-slip grip on a slick, varnished tiller.![]()
Audrey, aka Skipper, and Kent Lewis mess about on the shoal waters of Virginia’s Hampton Roads, and have traveled coast to coast with a menagerie of small boats. Their tiller adventures are logged at their blog, Small Boat Restoration.
You can share your tips and tricks of the trade with other Small Boats Magazine readers by sending us an email.


In the middle 1960s I was stationed on board a WW-2 vintage destroyer out of Pear Harbor. All of our ladder hand rails were served in this manner or, the half hitches were alternated left and right so they lay in a straight line under the rail. Turks heads to secure the ends, of course.
I once was given an old 5 drawer dresser with no knobs. I made 10 small monkey fists with Turks heads under them which I fastened to the drawers for pulls. Wish I remember what happened to it….
At first glance, it looked complicated, but was very easy when I got started. A simple way to enhance a tiller or whatever.
I love this whipping. It would be a little project for the spring. I’m only thinking about the sealers. Classic varnish has a lot of resin (natural or synthetic), which isn’t much ok for soft surfaces. In this case I thing would be better a classic oilskin, I mean the boiled linseed oil (BLO) with part of wax (bees = harder, paraffin = softer). Or for really classic smell the warm tar and BLO (but it may stay little bit sticky, more than wax).
There is a mix I use for impregnating the old canvas used for my dinghy. It is 8 parts of linseed oil (classic oilskin had BLO, I use sometimes raw, it is mainly a wax diluting medium), 1 part of tar (it is a good anti-mildew agent) and 1 part of paraffin. When heated, it flows like a pure oil, and when cold it is like a butter. It can be diluted further with the turpentine or synthetic solvent (cheap) for oils/alkyds, so it may flow even cold.
On canvas, I use and old iron to heat it up to penetrate properly, on rope the heat gun would be fine.
Need to try it on the cotton rope work.
Hmmm. The title led me on a bit.
Nice, thanks.