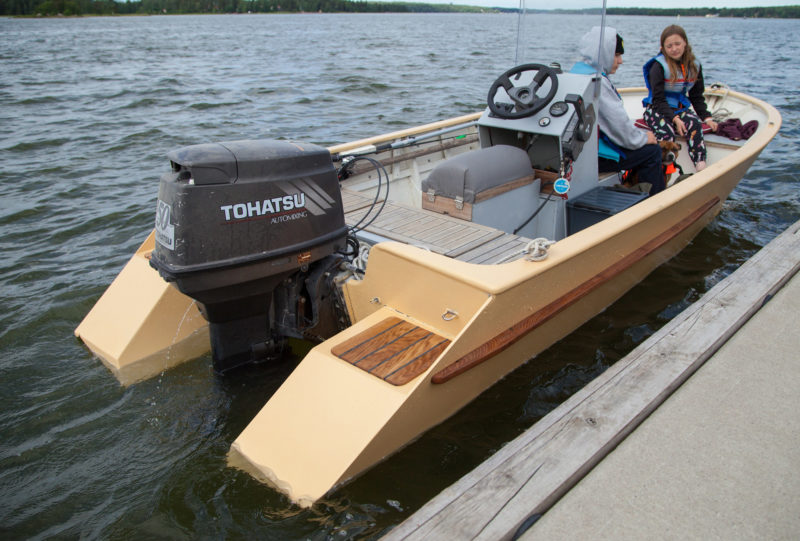
 Photographs by the author
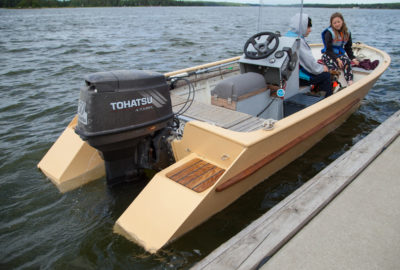
The tops of the extensions, squared off inside of the diagonal side panels, serve as steps for climbing aboard over the stern. The bright finished squares of decking are hatch covers.
Many small skiffs would benefit from an extended waterline and increased planing surface. My own 14′9″ (4.5m) outboard skiff has deep V-hull shape that makes the ride more comfortable at high speeds in sharp chop, but the hull still weaves from side to side, drags a big wake at in low speeds, and requires a lot of power to get on plane. My boat also has a tendency to hobby-horse at high speeds; while I can stop this by trimming the motor to force the bow down, the remedy reduces top speed and fuel economy.
Trim tabs could help get the boat on plane and would probably solve hobby-horsing, but they would also add vulnerable electronics to the boat and are not a visually pleasing solution. When I saw the clever structure of transom extensions in the Tango Skiff 13, I decided to design and add extensions to my boat. Before construction, I tested the theory, temporarily bolting two kitchen-cabinet doors on the transom to extend the bottom surface. Although they didn’t add buoyancy, they surprisingly made a significant improvement in slow-speed behavior and also took care of the hobby-horsing. So the project was a go.
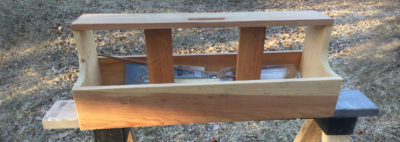
I purchased 9mm okoume plywood (12mm, in retrospect, would have been a better choice) and built the port extension first, one piece at a time, starting with the planing surface at the bottom and improvising measurements for the subsequent pieces from the growing structure. When I had the first extension assembled, I took it apart and used its pieces as patterns for the second.
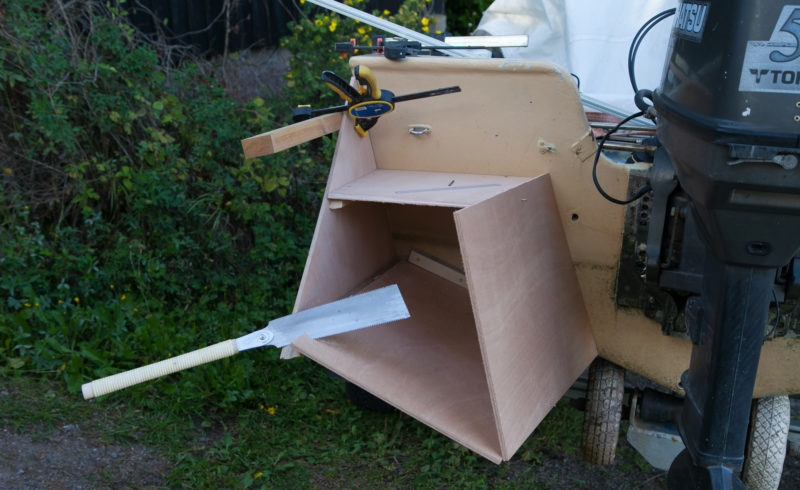
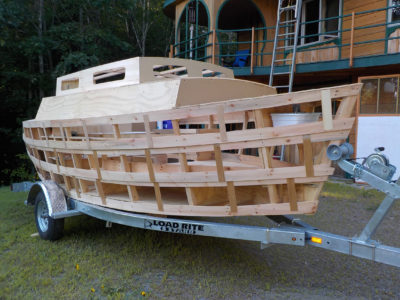
The plywood panels were shaped and attached one after the other, each helping determine the shape of the next.
I joined each extension’s pieces together and to the transom, using pine strips above and oak strips below the waterline. I wanted to be able to disassemble the extensions if something went wrong, so I used Sikaflex and stainless-steel screws in the attachments to the hull, while the extensions themselves were glued together and filleted with epoxy. The top side of each extension serves as a step for boarding and has an inspection hatch. Before assembly, I painted the parts with epoxy primer. Because of the multiple angles, there were some puzzles to solve when putting the parts together the first time. I took care of gaps with epoxy fillets.
Once the extensions were in place, I rounded their corners, filled and faired the screw countersinks and joints, sanded everything smooth, and painted the extensions to match the hull. Mahogany rubbing strips reinforce the connection between the extensions and the hull.
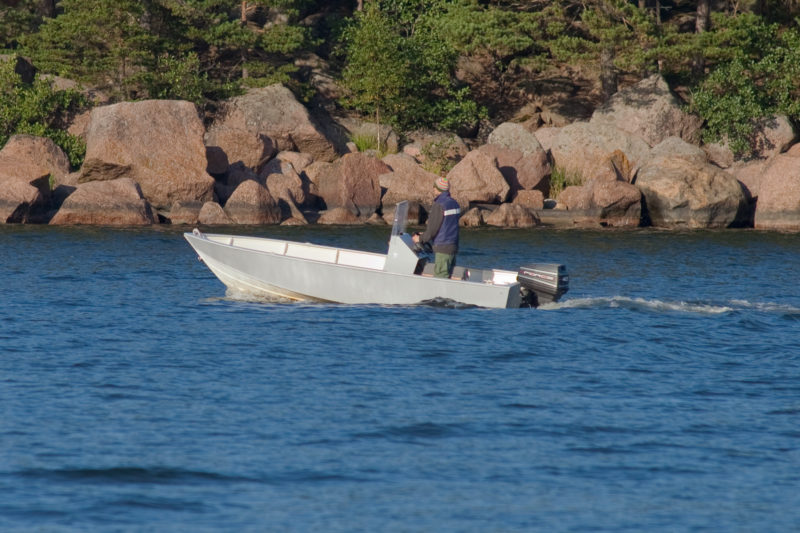
Before the extensions were installed, the skiff settled heavily at the stern. Skiffs without a console would settle even deeper with the skipper seated there.
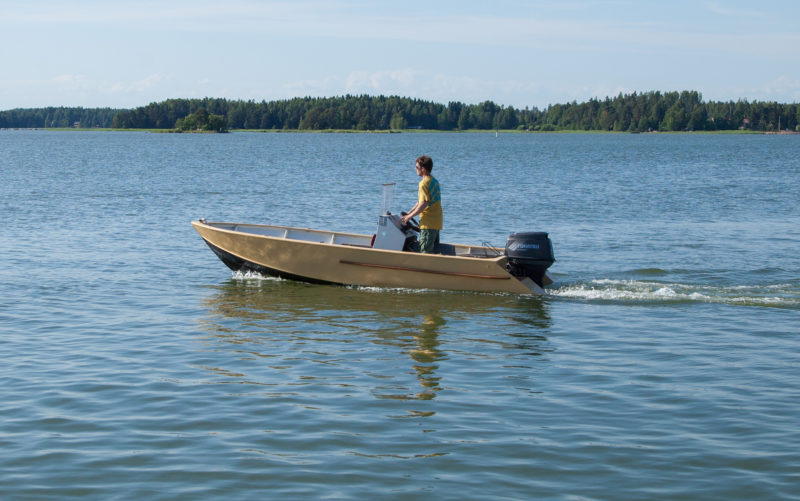
With the stern supported by the buoyancy and planing surface of the extensions, the skiff maintains better trim.
Although it was a somewhat arduous project, I am pleased with the result. Hobby-horsing is gone, turbulence and wave formation is reduced at slow speeds, and the boat does not wander. The extensions do add some drag, so I lost a knot or two at top speed, but the improved behavior is worth the sacrifice. To my eye, the side profile of the boat improved and the extensions make the boat appear more balanced. I wanted to maximize the planing surface, so I intentionally made the gap between the extensions narrow, and if I tilt the motor up in shallow water and turn it too far, the propeller can hit them if I’m not careful.
Many outboard skiffs, whether deep-V like mine or flat-bottomed, suffer from poor weight distribution, with motor, driver, and gas tank all at the back of the boat and could benefit from transom extensions. ![]()
Mats Vuorenjuuri is the father of three and an entrepreneur, making a living in graphic design, photography, and freelance writing. He has sailed all his life, and wooden boats, sailing, and boating are his passions. He has restored both sailboats and motorboats, and in recent years has discovered the simplicity and joy of small boats. He currently owns a small, open plywood motorboat, a Herreshoff Coquina, and TURBO. He wrote about cruising the Finnish coast in his Coquina in our May 2016 issue.
You can share your tricks of the trade with other Small Boats Monthly readers by sending us an email.


A good idea well done
The Bolger Sneakeasy design, among others, developed these some time ago, and they are said to work very well. Glad to see they are still relevant.
A good idea and something I will consider. I am guessing that the bottom of the extensions followed the bottom of the hull and if that is the case do you think there would have been a benefit in sloping up the extensions by say 1″ at the back? That way you would still get most of the low speed benefit but have less drag at the top end.
Strangely enough, my grandfather had a riverboat here on the Mississippi with a flathead V-8 for power. For years it cruised at about 9.5 knots. Then one year he decided to add swim ladders on the back. He built them so they could lock down in place, went up the river and forgot to pull them up. He knew something was wrong only by the speed at which he traveled and the level nature of the boat at cruise. When he tested the boat’s speed, it had increased to 14 knots! All this to say, it is funny what changing what is happening at the transom can do to a boat’s behavior.
Your grandfather, Nick, missed his chance to patent the idea. If the ladder created some submerged steps, they might have generated some lift to improve the boat’s trim. The idea has been developed (and patented) by Peter van Oossanen, a Dutch naval architect. He calls it a Hull Vane. It can increase fuel efficiency and, in rough water, reduce pitching and rolling. I’m thinking I might carve some foil shapes on my swim ladder.
Christopher Cunningham, Editor, Small Boats Monthly