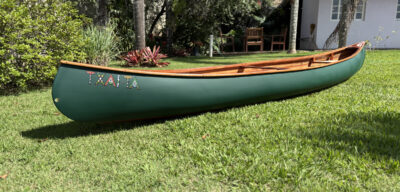
A good way to get straight lumber to take curved shapes is to laminate it, gluing several thin flexible strips into a solid curved piece that has great strength without excess weight. Among the many laminated parts I’ve made are roof beams for cruiser cabins, thwart knees for a sailing dory, gunwale-to-gunwale frames for a faering, pivoting frames for a folding coracle, lapstrake canoe stems, and deckbeams for a sneakbox.
The first step in the lamination process is to resaw strips thin enough to bend around the required curves. While a table saw is the best tool for making straight cuts, setting the rip fence a small fraction of an inch from the blade can be dangerous. There are various tools on the market that minimize the risk. For example, a zero-clearance insert—a throat plate that fits around the blade and minimizes the gap between it and the table—is a good start. It will keep thin strips from being pulled down by the blade. There are also shop-made devices that slide into the miter-guide slots so that thin strips can be cut in relative safety without engaging the rip fence, but there’s a limit to how long the strips can be. Long strips can be cut by using a thin-rip table saw jig that sets the width to be cut on the left side of the blade, but this requires resetting the fence for each cut.
 Photographs by the author
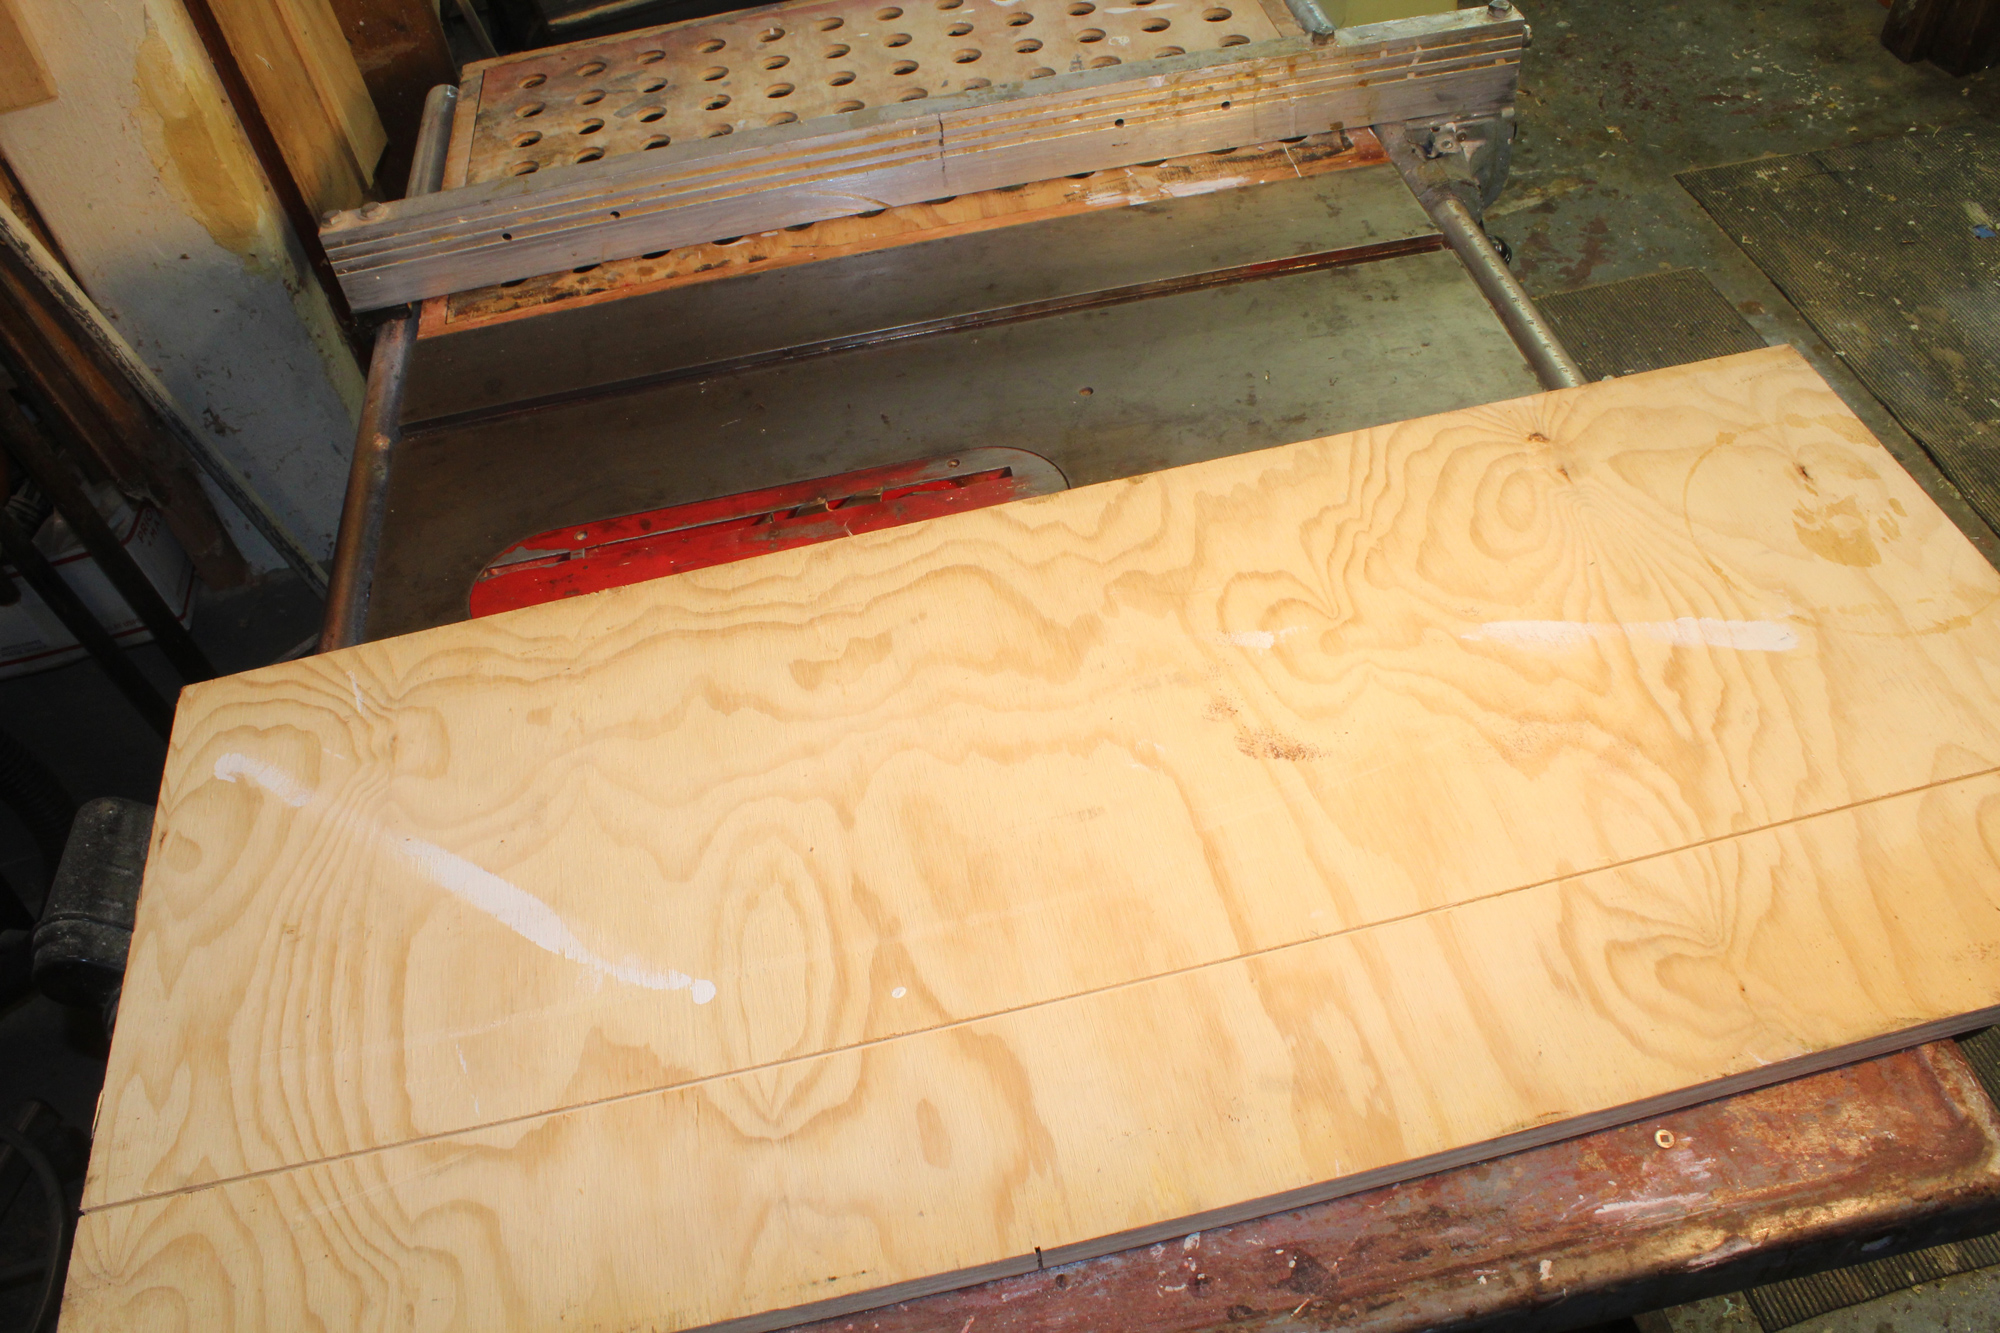
With the rip fence locked and the blade set to cut a depth of 1⁄8″, a shallow kerf is cut into one side of a 3⁄4″-plywood base, which is then flipped over, end for end, to bring the kerf to the top.
Searching for an alternative method, I found nothing that worked just how I would like, so decided to make a setup based on an online video, altered for more reliable and safer results.
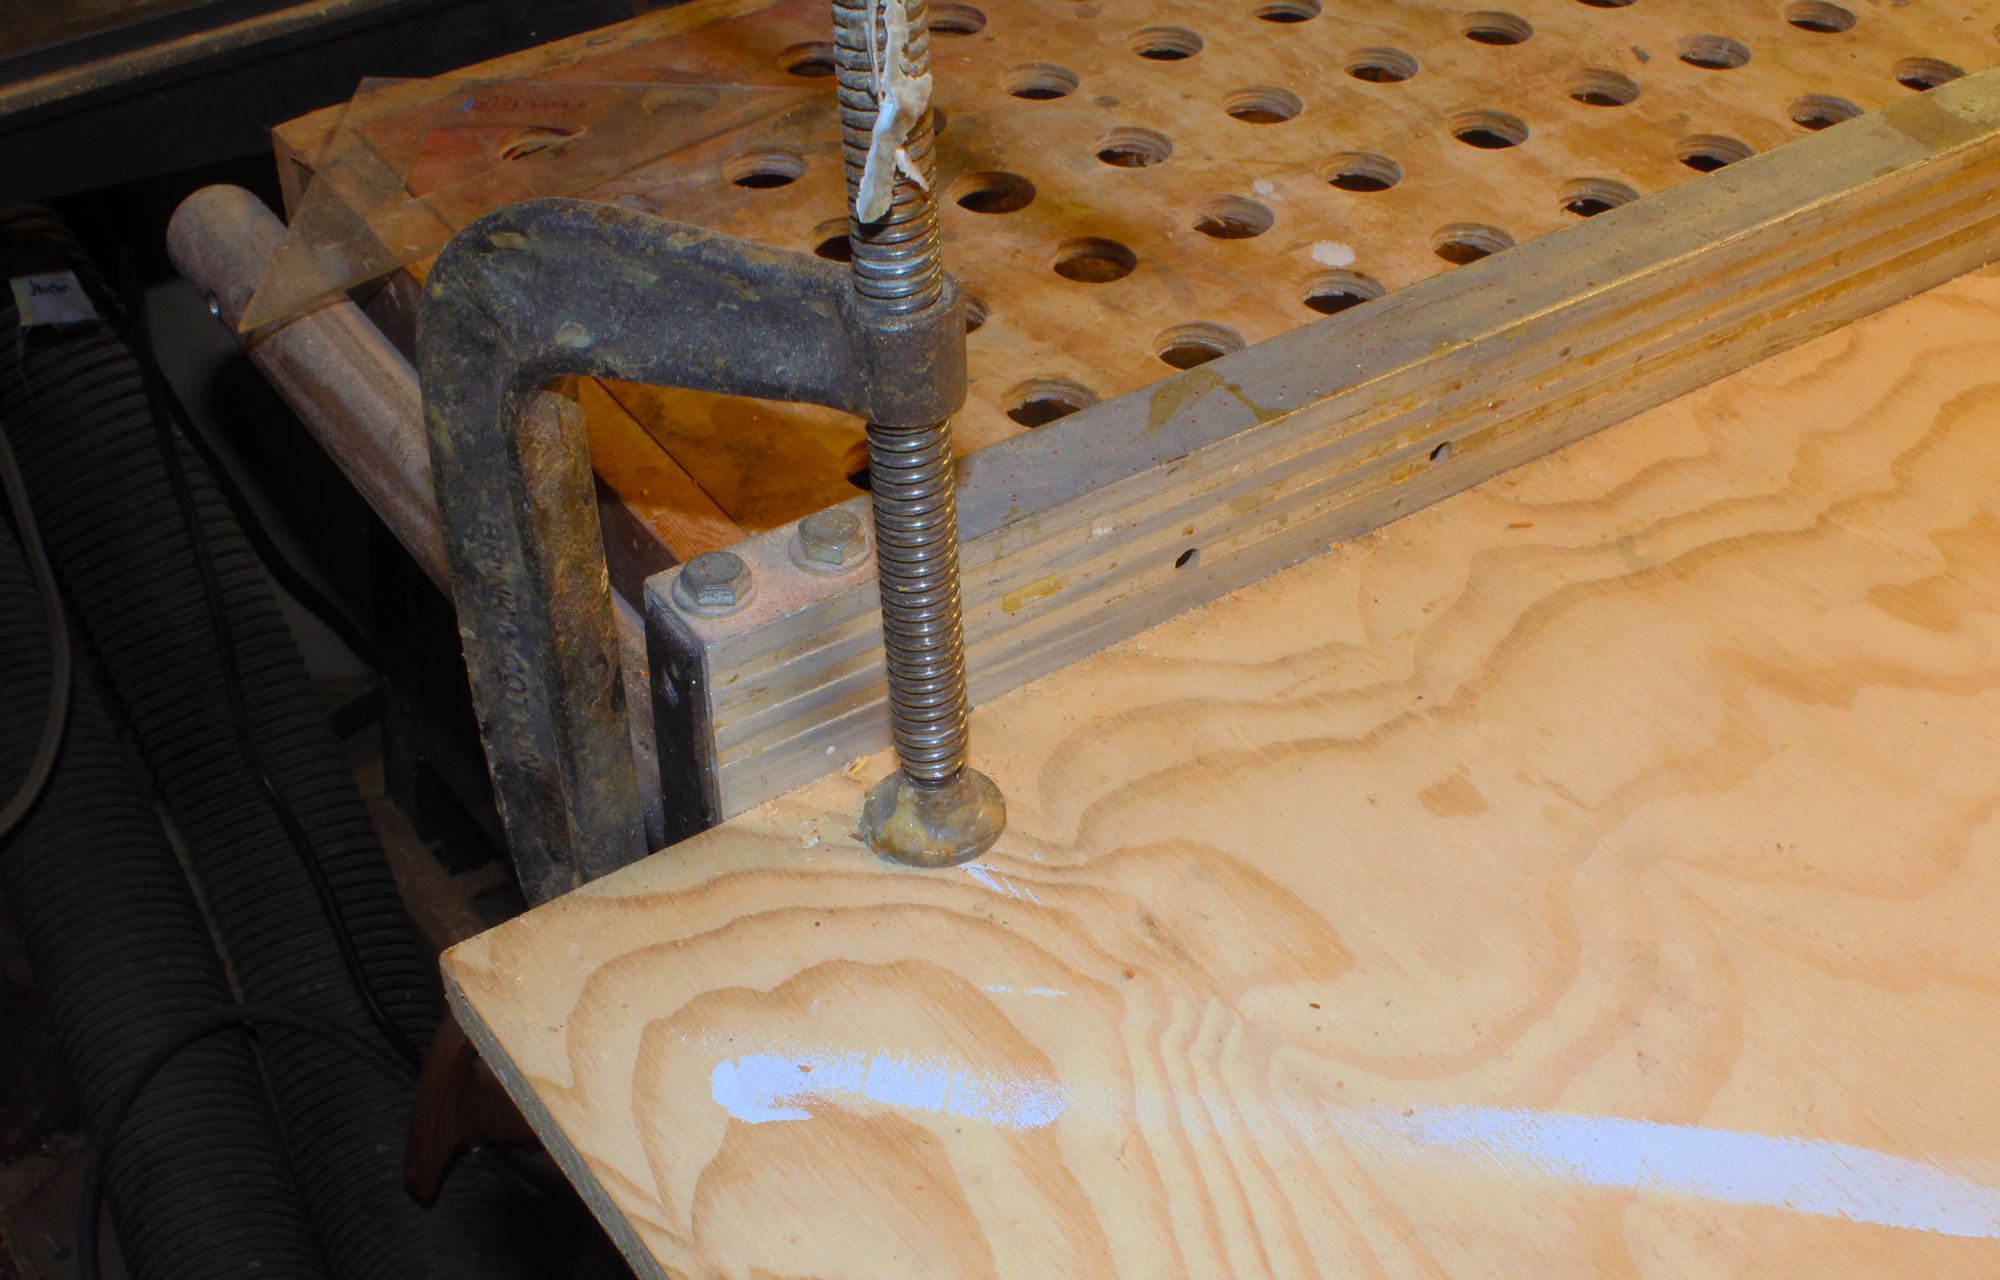
The plywood base is set against the rip fence and clamped in place.
Making the infeed fence is the first step. Take a short piece of 2×4, about 12″ long, and with the table saw trim about 1⁄4″ off one edge to create an accurate right angle and two sharp corners, one of which will make aligning the fence on the base much easier.
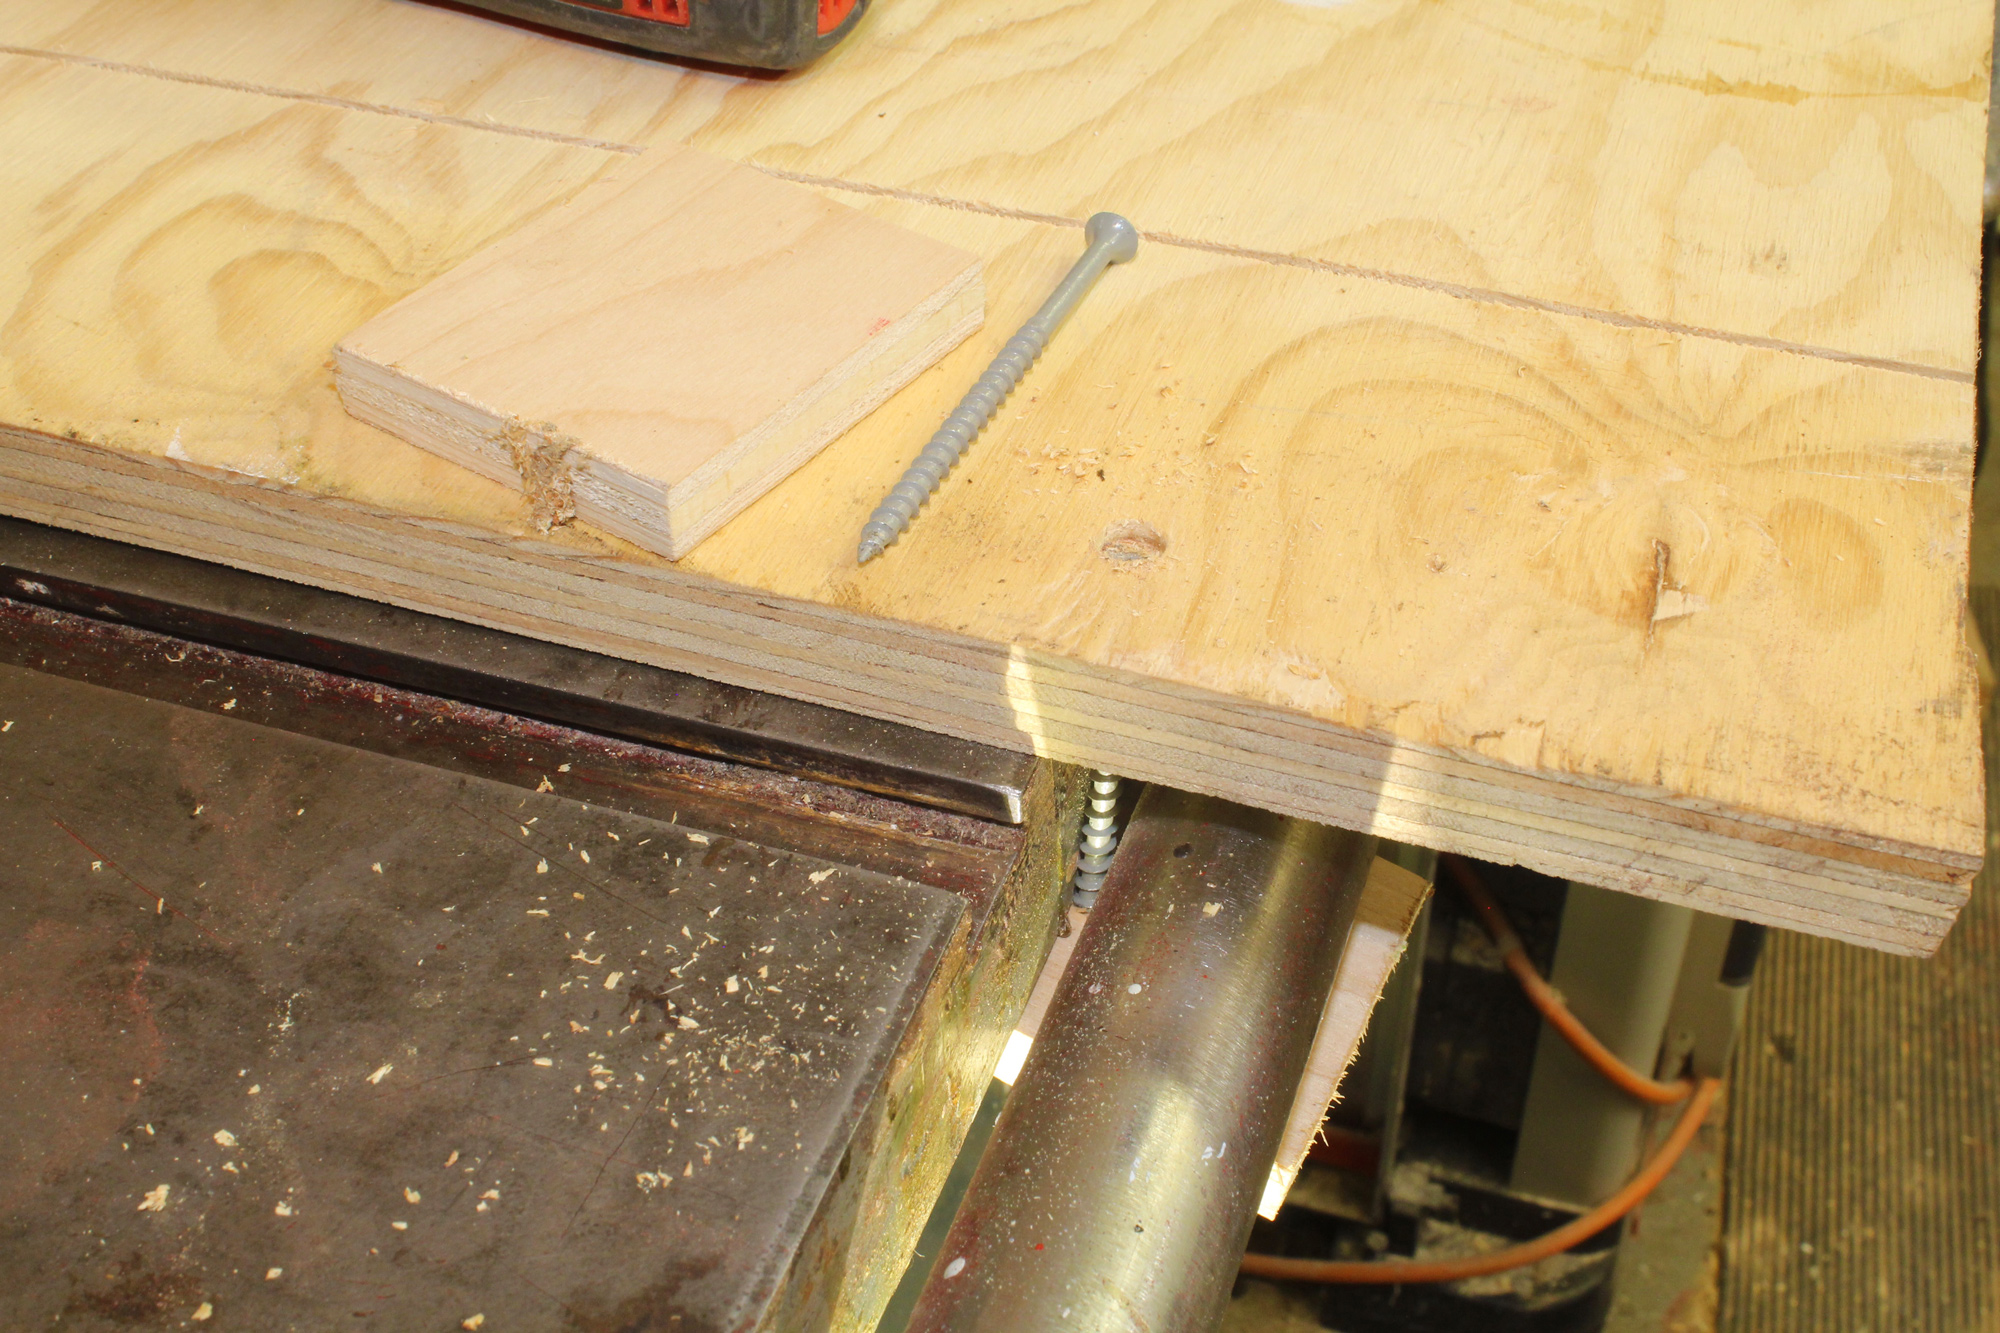
When I cut the kerf, I didn’t leave enough room for clamps on the left side of the plywood base, so I anchored its edge with long screws, countersunk to keep from interfering with the stock to be sawn and driven through a scrap of plywood beneath the gap between the saw table and the fence rails.
I had a piece of 3⁄4″ plywood that was a good size for the base: 36″ × 16″. I set my table saw’s fence at 12″ and the blade height at about 1⁄8″ to cut a kerf in the plywood’s best side. Flipped end-for-end and set back against the fence, the kerf established the line along which the blade would cut. With the saw blade retracted, I set the base against the fence and clamped it to the table. Only 4″ of the base extended to the left of the kerf, which I thought would be enough for the lumber I’d be sawing, but that side of the base didn’t lie flat on the saw table, nor did it provide room for another two clamps. To pull the plywood down, I used long screws, set in countersunk holes and driven into scraps of 1⁄2″ plywood spanning the underside of the table and the fence rail.
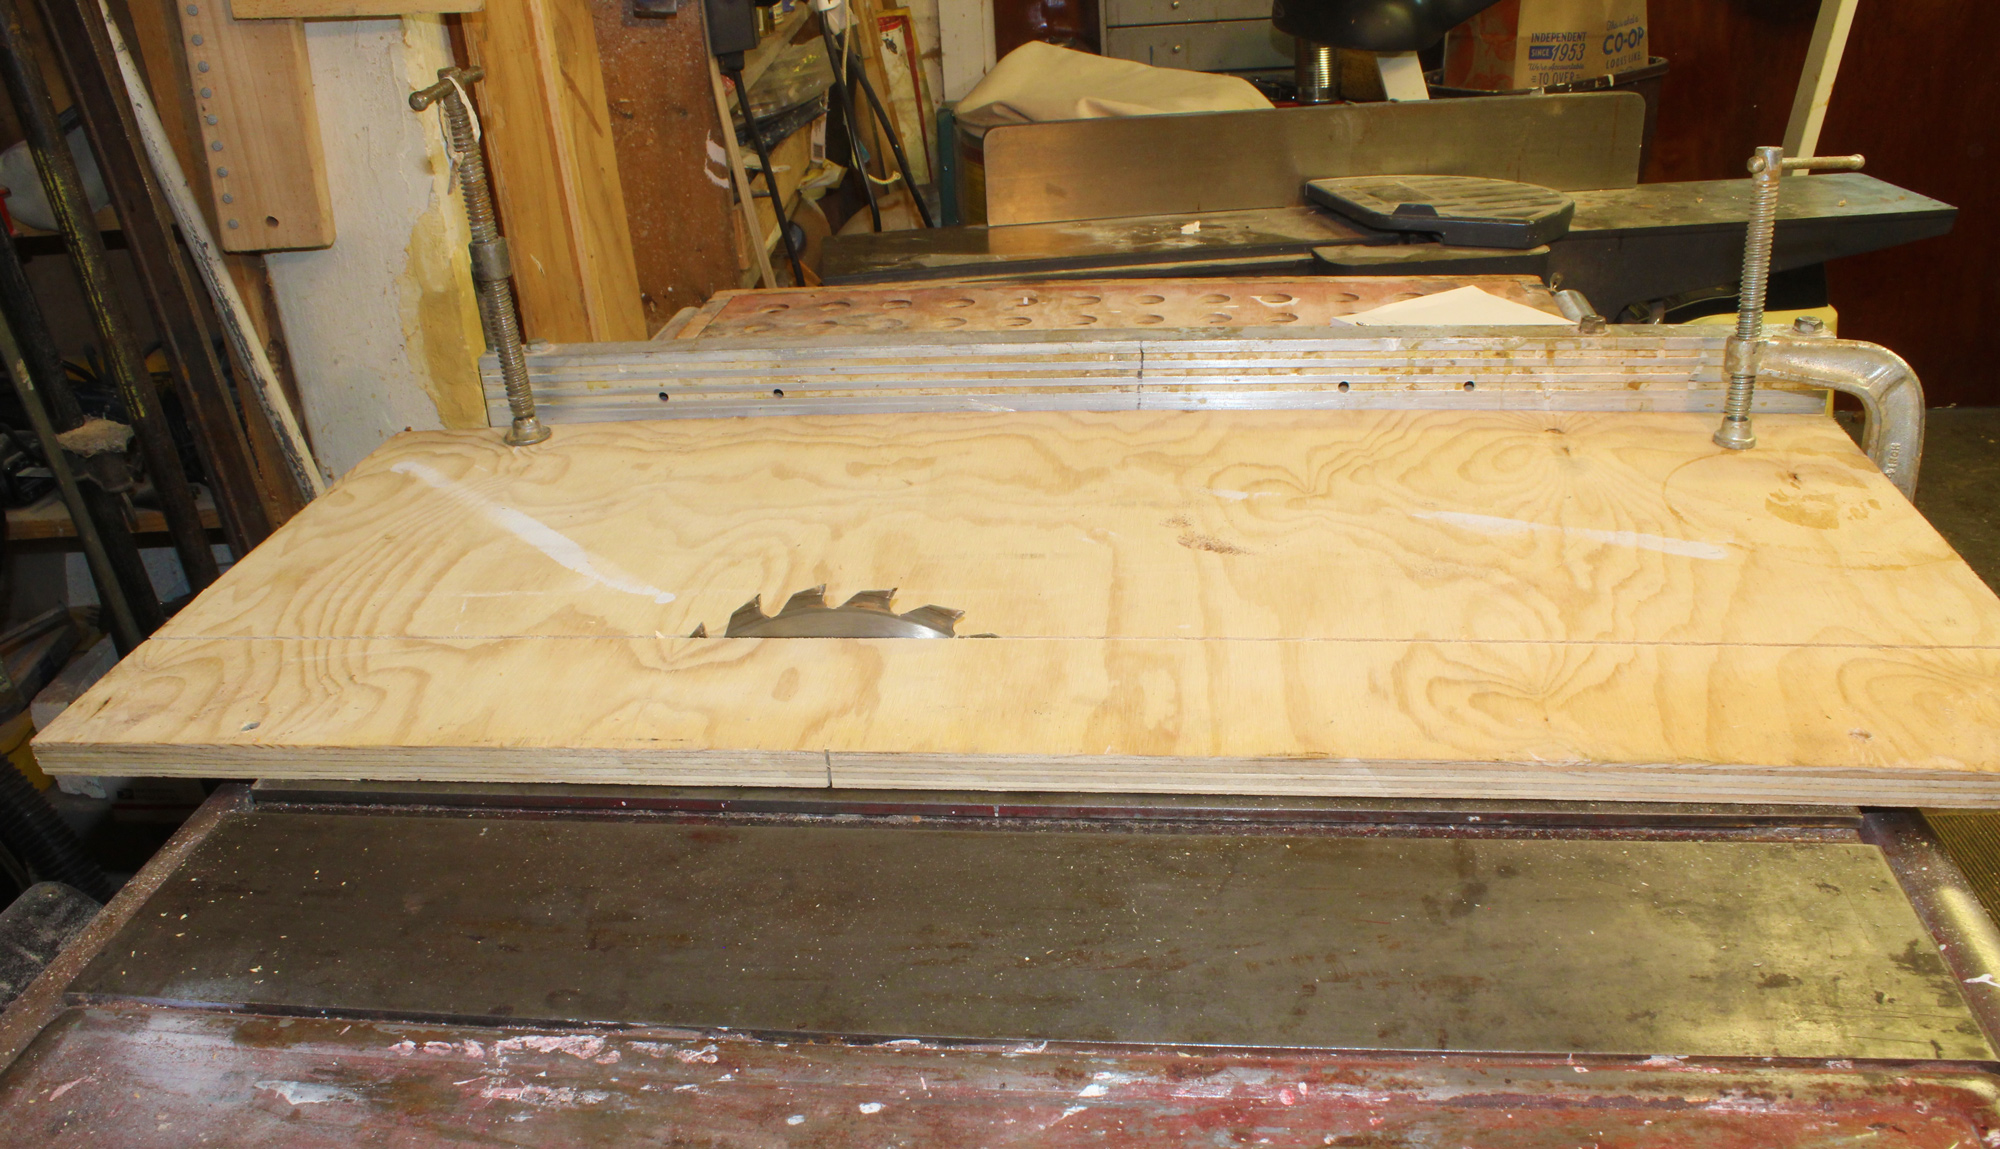
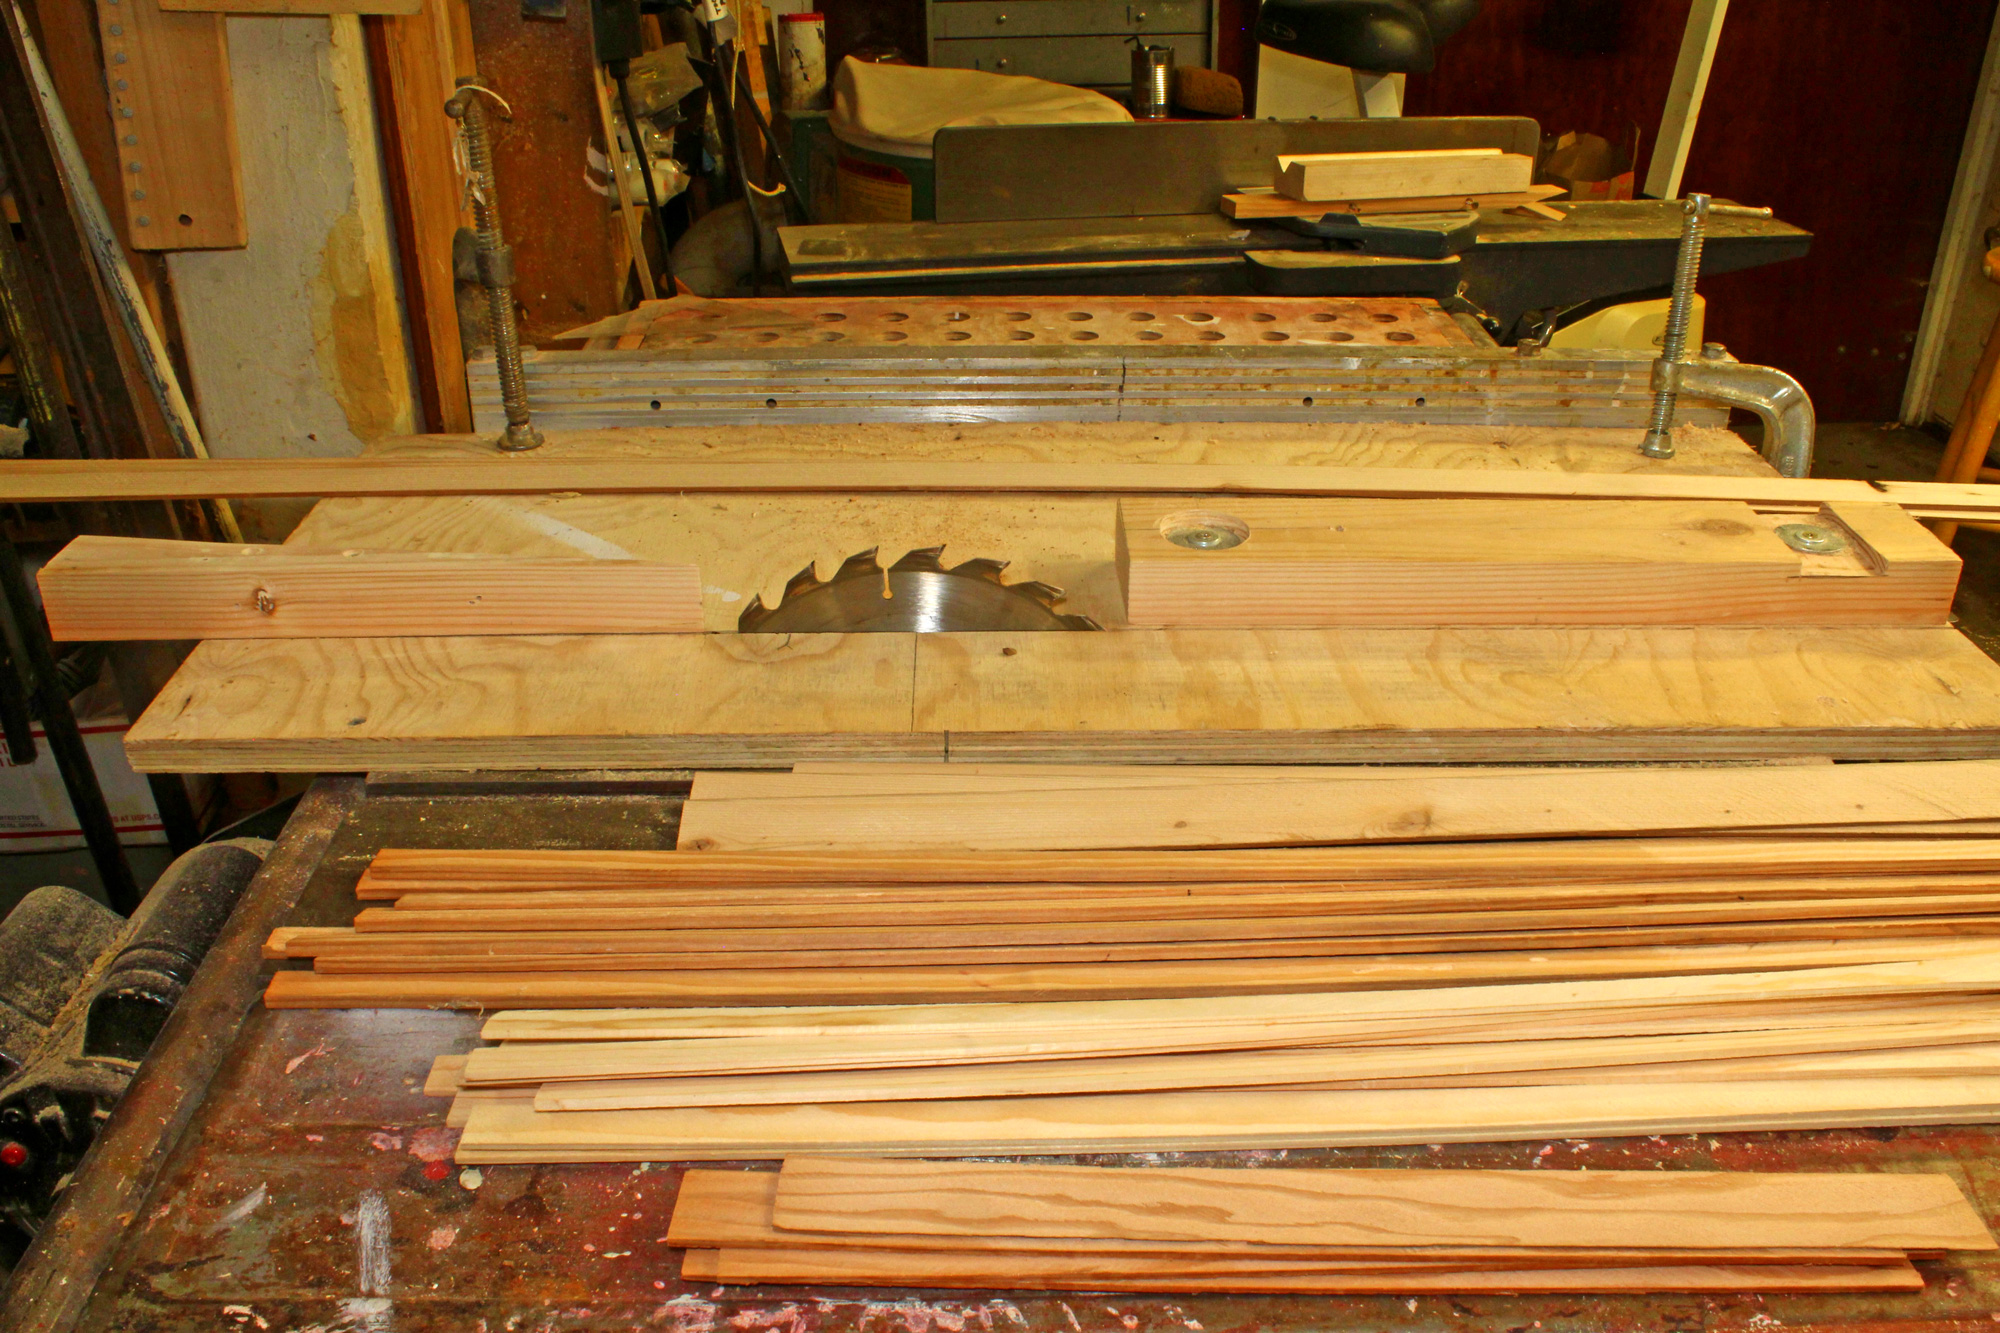
The saw blade, first completely lowered, is raised while running and emerges from the previously cut shallow kerf. This creates a zero-clearance slot well suited to cutting thin strips.
With the base securely anchored, I turned on the saw and cranked the blade up through the base. It emerged from the kerf right on target. I kept raising the blade until it was high enough to cut through 1 1⁄2″ lumber, the thickest I’ve used for laminating.
Returning to the infeed fence, I drilled 1⁄2″ holes in each end to accommodate 2″ screws to anchor the fence when tightened and to allow a range of adjustment when loosened. Each screw had a washer to capture the screw head and a fender washer to span the 1⁄2″ hole. I screwed the fence to the base and set it parallel to the kerf at a distance of 3⁄16″, roughly the middle of the range of strips I’ve cut in the past. I used a 3⁄16″-thick file as a spacer, and marked the location of the fence on the base by circling a pencil in each hole. I then removed the fence, marked the center of each penciled hole with a punch, and drilled a shallow pilot hole for the screws.
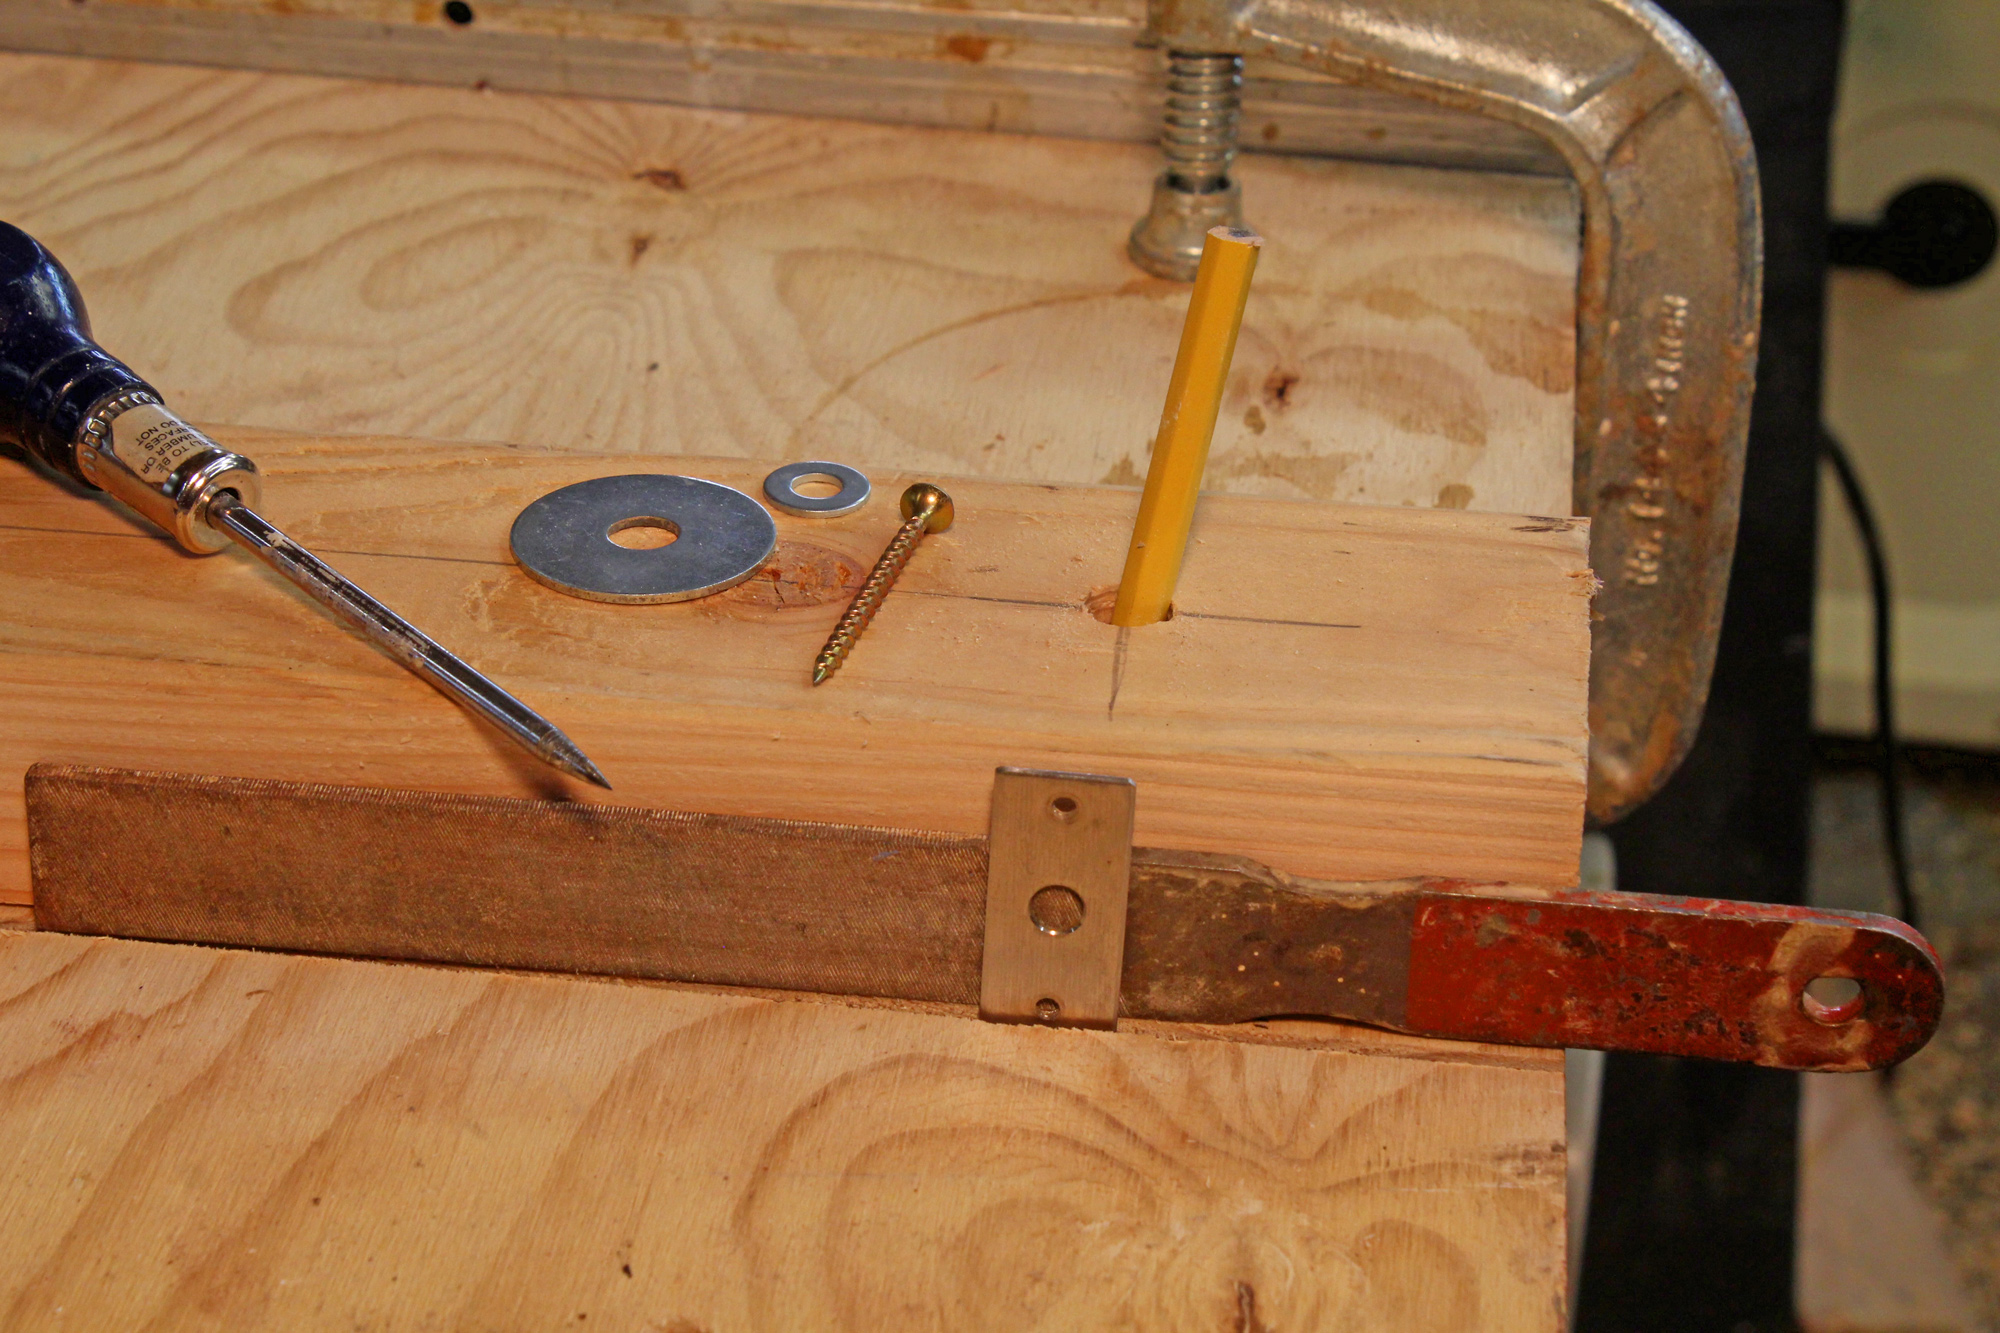
The infeed fence, cut from a 2×4, is secured with screws set in 1⁄2″ holes to allow for a range of adjustment. For a set of 3⁄16″ strips , I placed a 3⁄16″-thick file alongside the fence and positioned its face directly over the right side of the kerf using a small piece of metal plate temporarily positioned in the kerf. The fence was then locked in place with the two screws, each with a washer and fender washer.
The wedge on my jig is cut at an 8° angle. You can use a protractor to establish that angle, but it’s easier to mark one edge of a 2×4 close to its end. Then, 12″ along from that mark, make a second mark 1 3⁄4″ in from the edge. A line drawn between the two marks will create an 8° angle for the wedge.

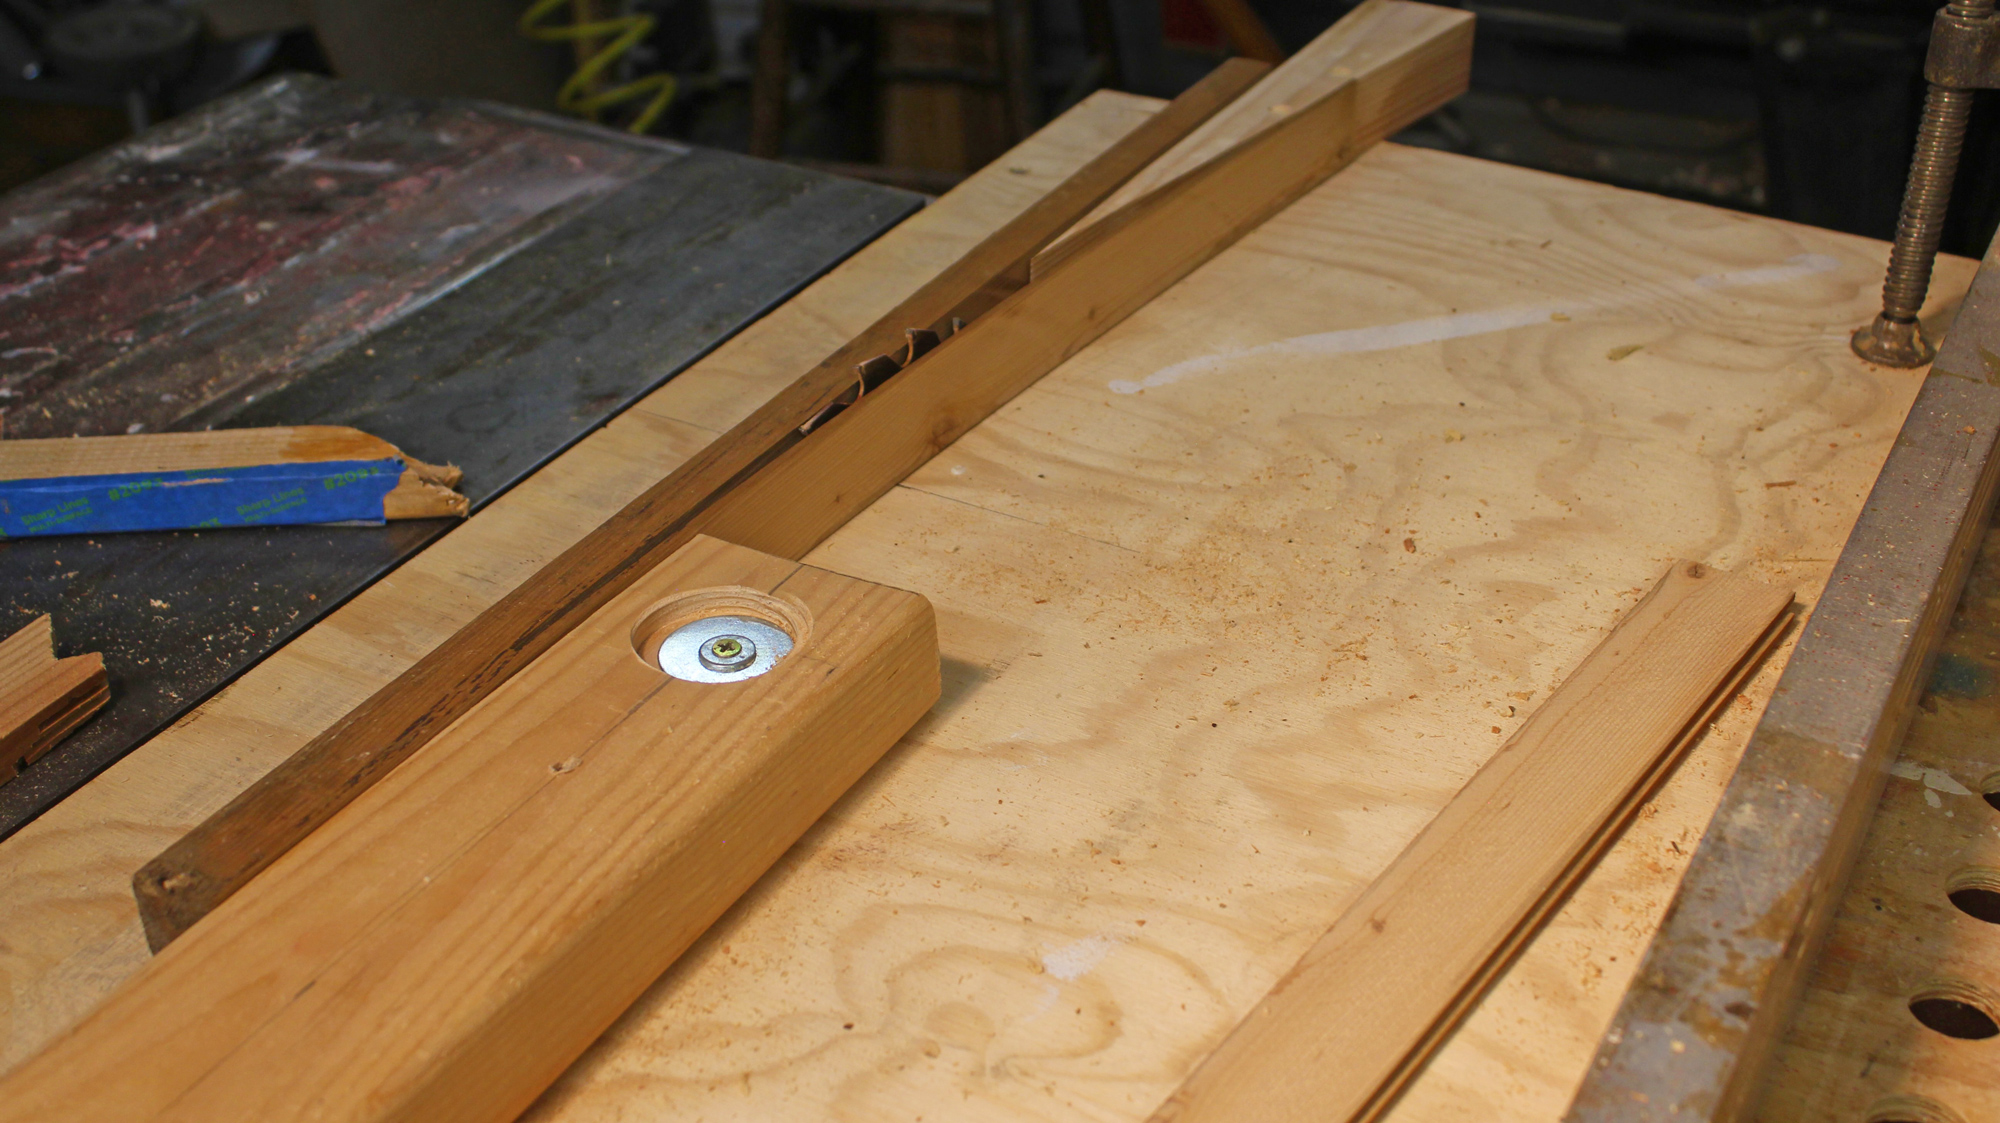
To serve as an outfeed fence, the wedge that guides strips away from the saw blade is screwed to the plywood base so that it covers the shallow kerf with its face aligned with the kerf’s left edge.
Because the outfeed wedge has a narrow angle and its point is set back from the blade, the strips are kept from bending too much, which would spoil the end of the cut.
I set the wedge on the plywood base with its point just behind the blade and an edge aligned with the left edge of the base’s kerf. This will serve as an outfeed fence. The wedge point does not need to be touching the side of the saw blade, as I have seen in some versions of this jig. By placing the point farther back, the strip will bend less and be under less strain as it moves out and away from the saw.
The point of the wedge stops just clear of the saw’s blade.
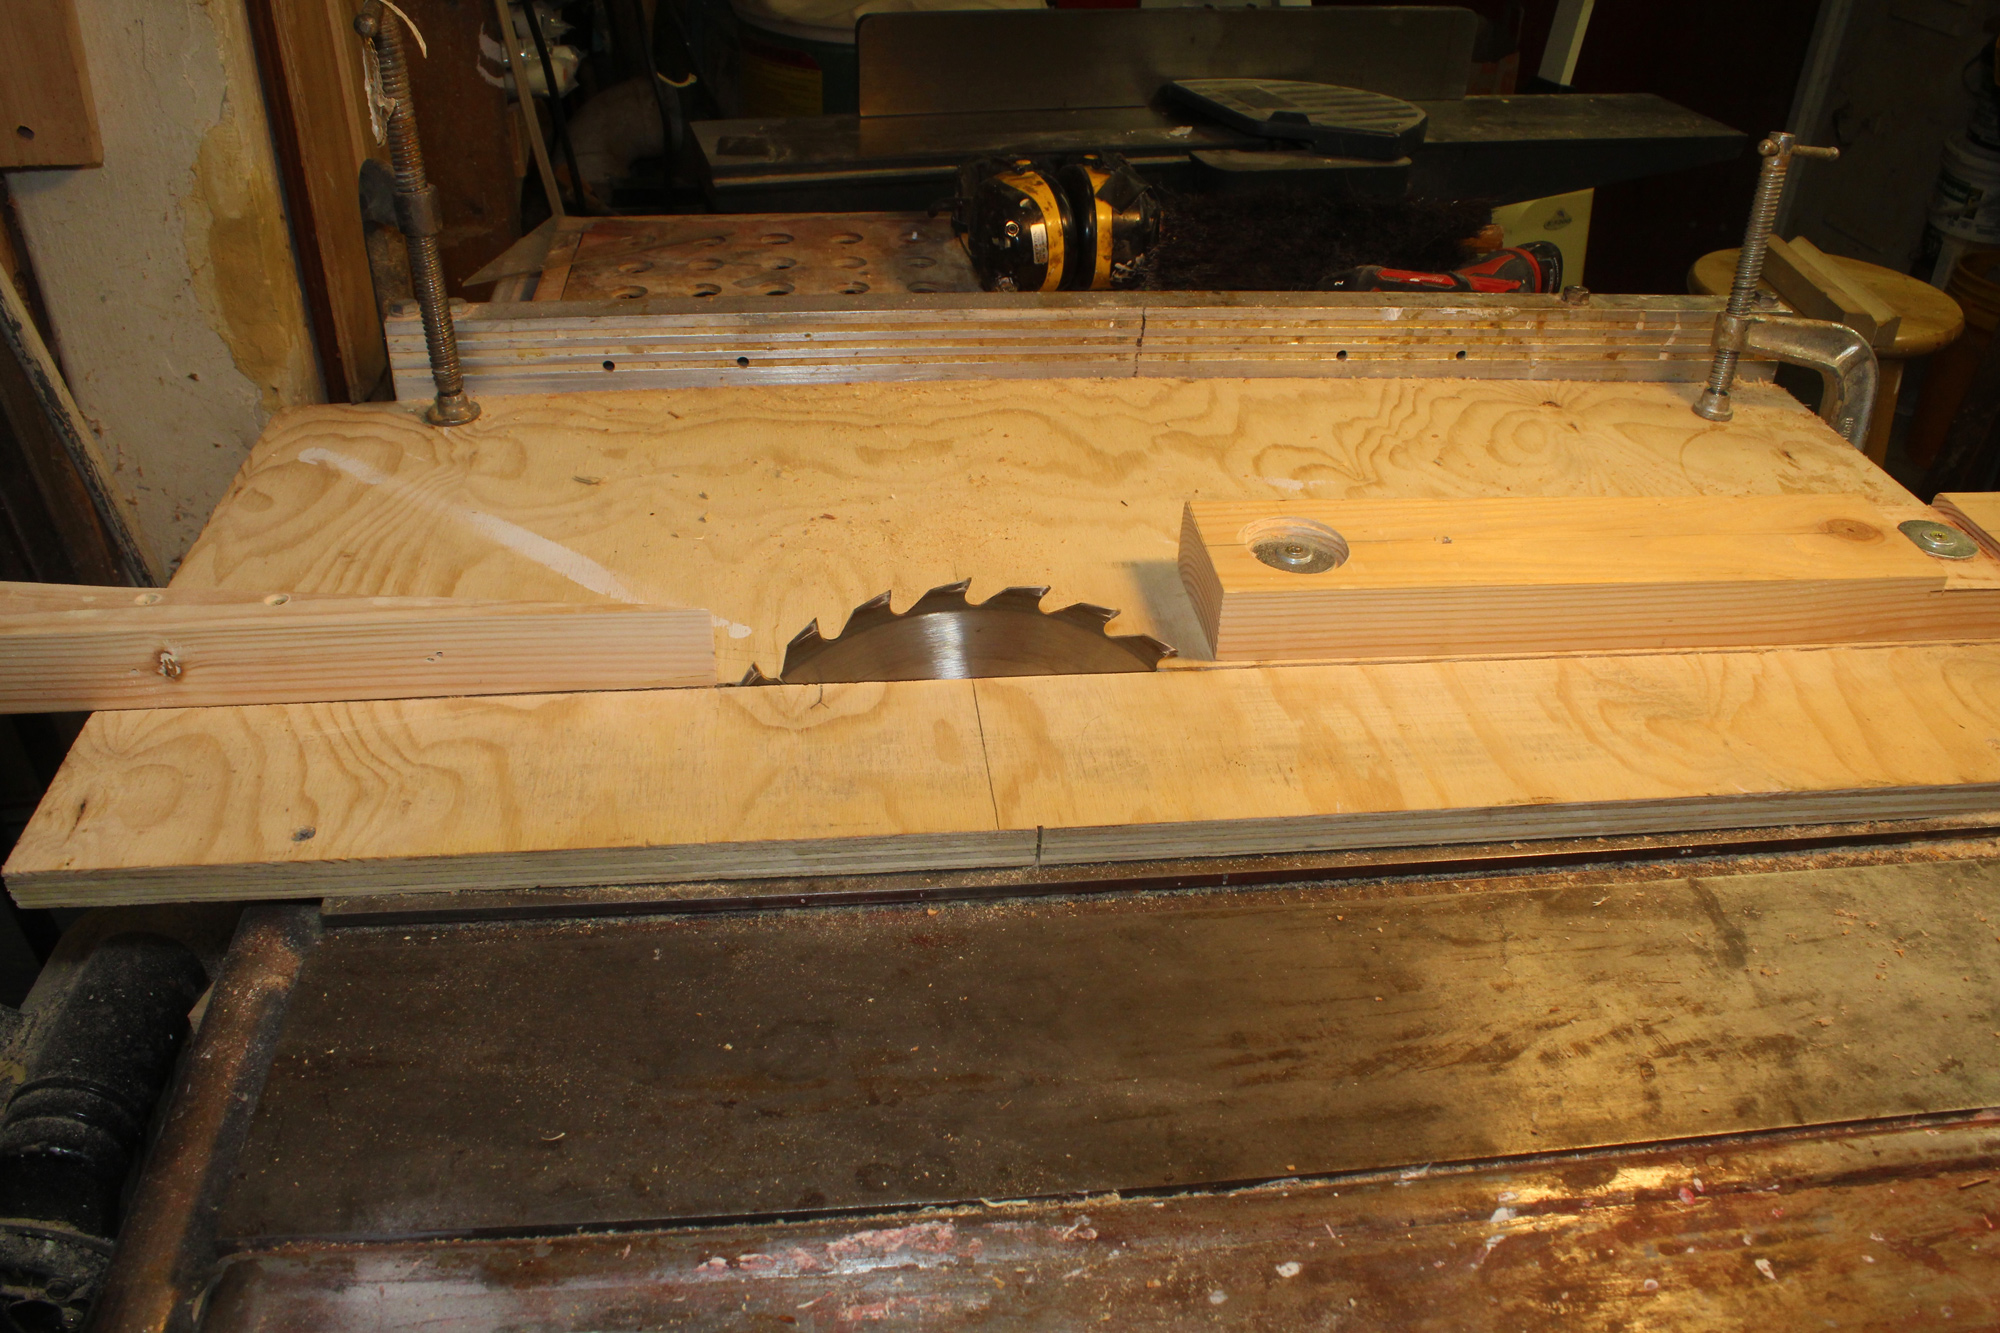
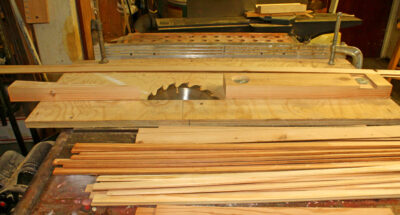
The infeed fence (right) and the outfeed wedge (left) ensure that the stock from which the strips will be cut stays straight and aligned as it is guided past the blade.
Using the thin-strip jig is straightforward. The wood is pressed against the infeed fence at the start of the cut and against the wedge’s outfeed fence at the end, providing an unwavering cut from start to finish. As the stock being cut grows narrower and closer to the saw blade, use a push-stick or two for safety.
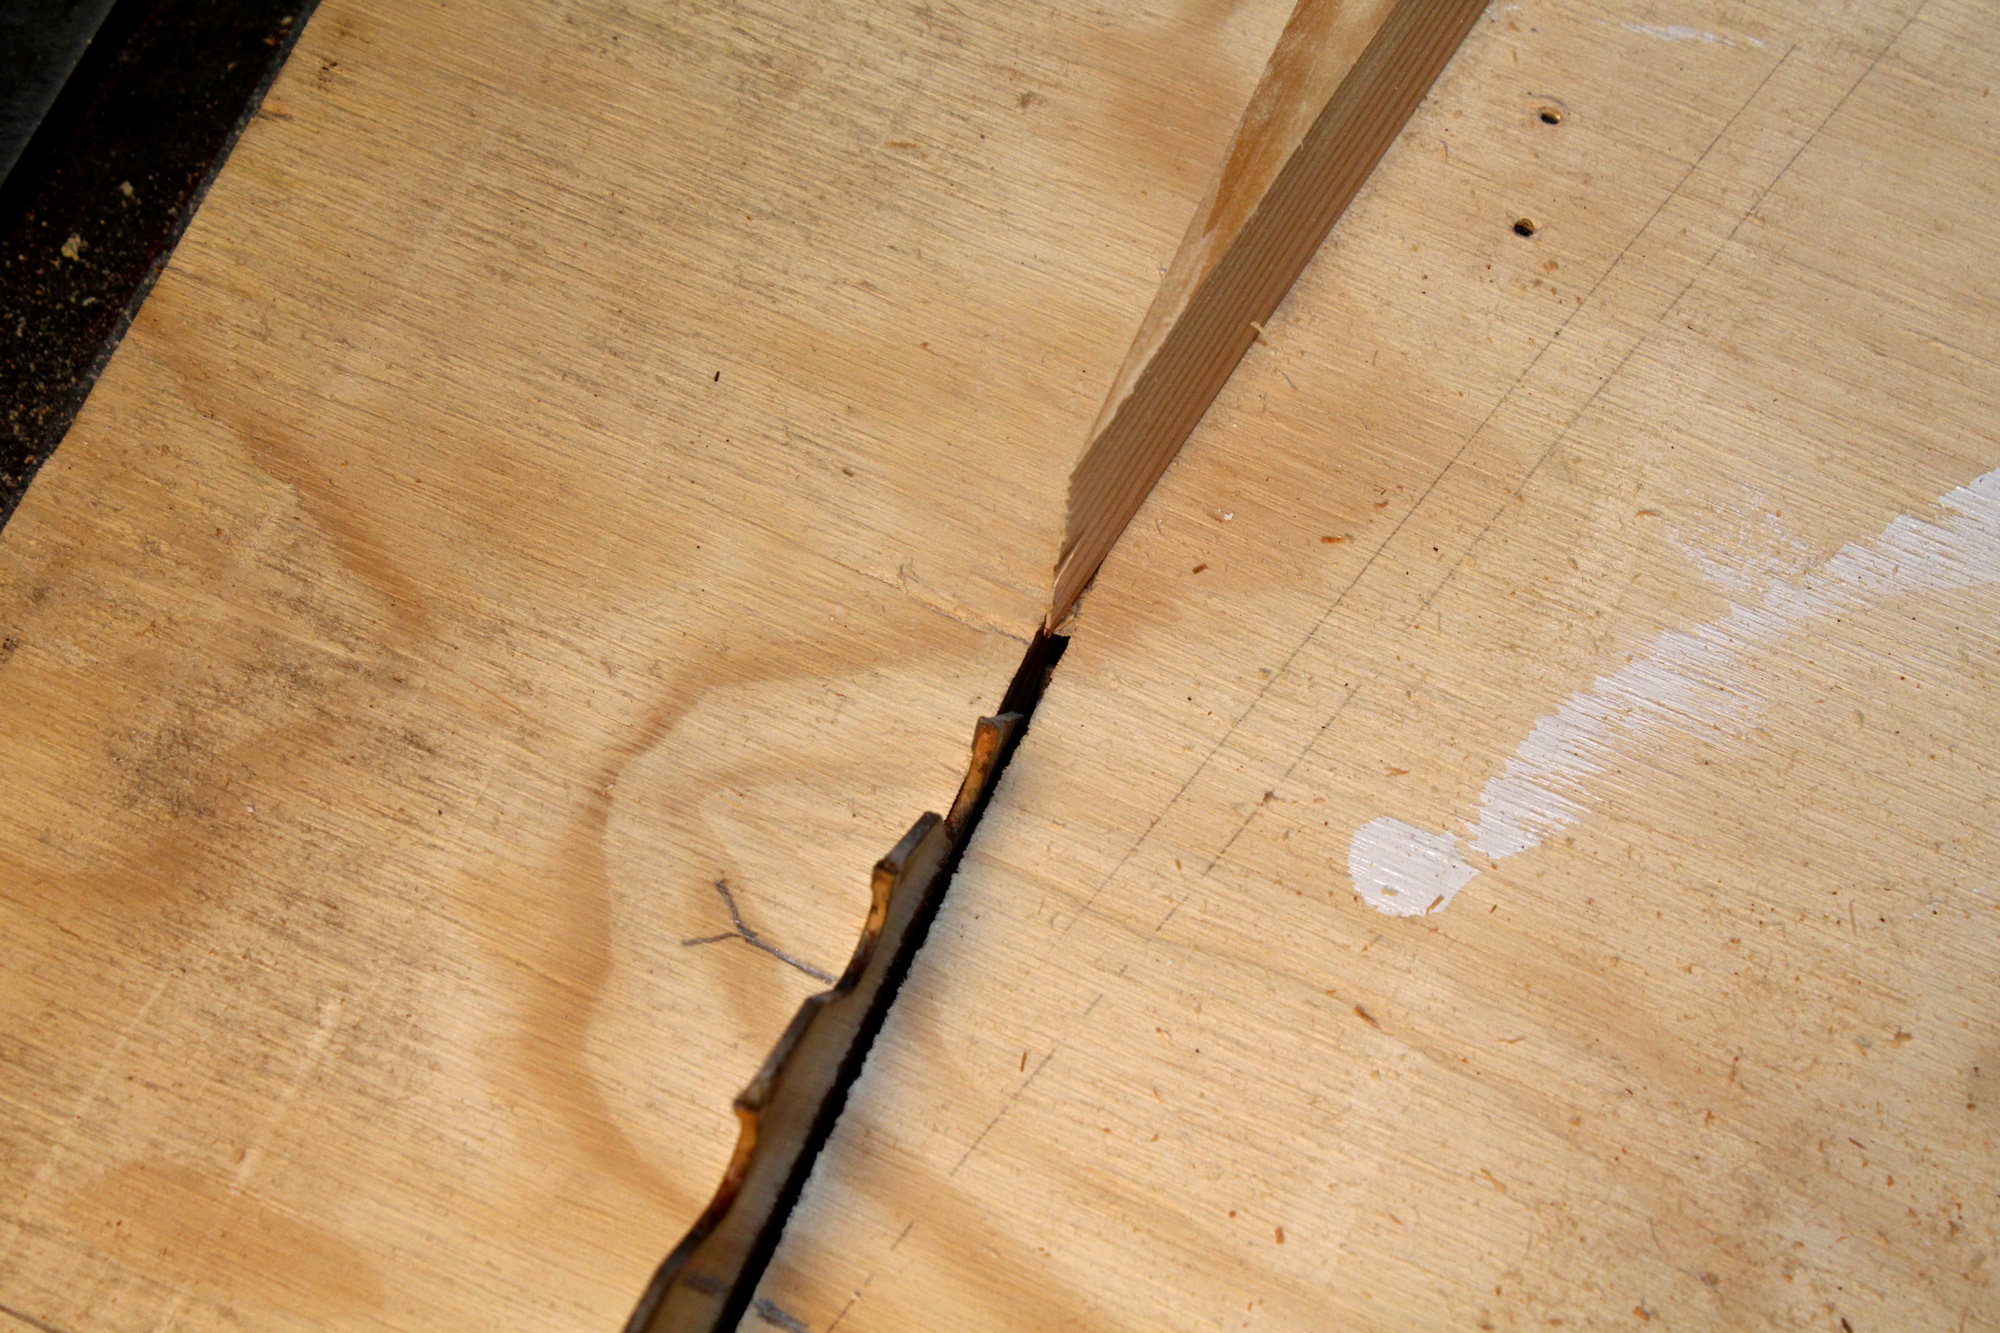
Even with the slender wedge and its placement back from the blade, the bend in the strip will cause the strip to break away a small fraction of an inch before the end of the cut, often leaving a small tab on the upper corner of the back end. This can be quicky removed later with a stroke of a knife. The stock from which the strips are being cut is always trimmed completely at the end and is ready for the next strip to be cut.
The thin-rip jig cuts strips of practically any length without having to make any adjustments to the fence.
This thin-strip cutting system is easy to make and does its job quickly and effectively. As with any task involving a table saw, take every precaution to use it safely.![]()
Christopher Cunningham is Small Boat’s editor-at-large.
You can share your tips and tricks of the trade with other Small Boats readers by sending us an email.
For more of Christopher Cunningham’s woodshop ideas, see:
PVC Spring Clamps and a Tool for Applying Them, simple clamps made more useful with reverse-action pliers.
Shop-Vacuum Filter Care, making filters more effective and longer lasting with some simple maintenance tips.
Power Carving, working wood with an angle grinder.


Ingenious, Chris! I’ll be making one of these next time I have a need to laminate anything.
The thin leading edge of your wedge looks like it could break or just erode with repeated use, so I would recommend making it with one of the small purpleheart offcuts that boatbuilders always save but never seem to find a use for.
Cutting accurate size strips for our Penobscot 14 was a challenge, so much so that we found a cabinetmaker to cut them with his saw/fence. Now we have a way to DIY. Huzzah.
For the most part, I use my bandsaw for resawing. I’ve got a Delta 14″ with 6″ throat and for resawing I use “Wood Slicer” blades (from Highland Woodworking). One needs to tune up the whole setup: tracking, guides, bearings, and adjusting the fence for drift, but I can get strips and veneers up to 6″ wide, and down to less than 1/16″ thick . The kerf is under 1/16″ so there’s more yield in strips. The setup gets clunky when doing long strips, so auxiliary longer fence and support at both ends and more hands will be needed but for shorter strips, veneers, etc. it’s pretty straightforward.