 Tom Pamperin
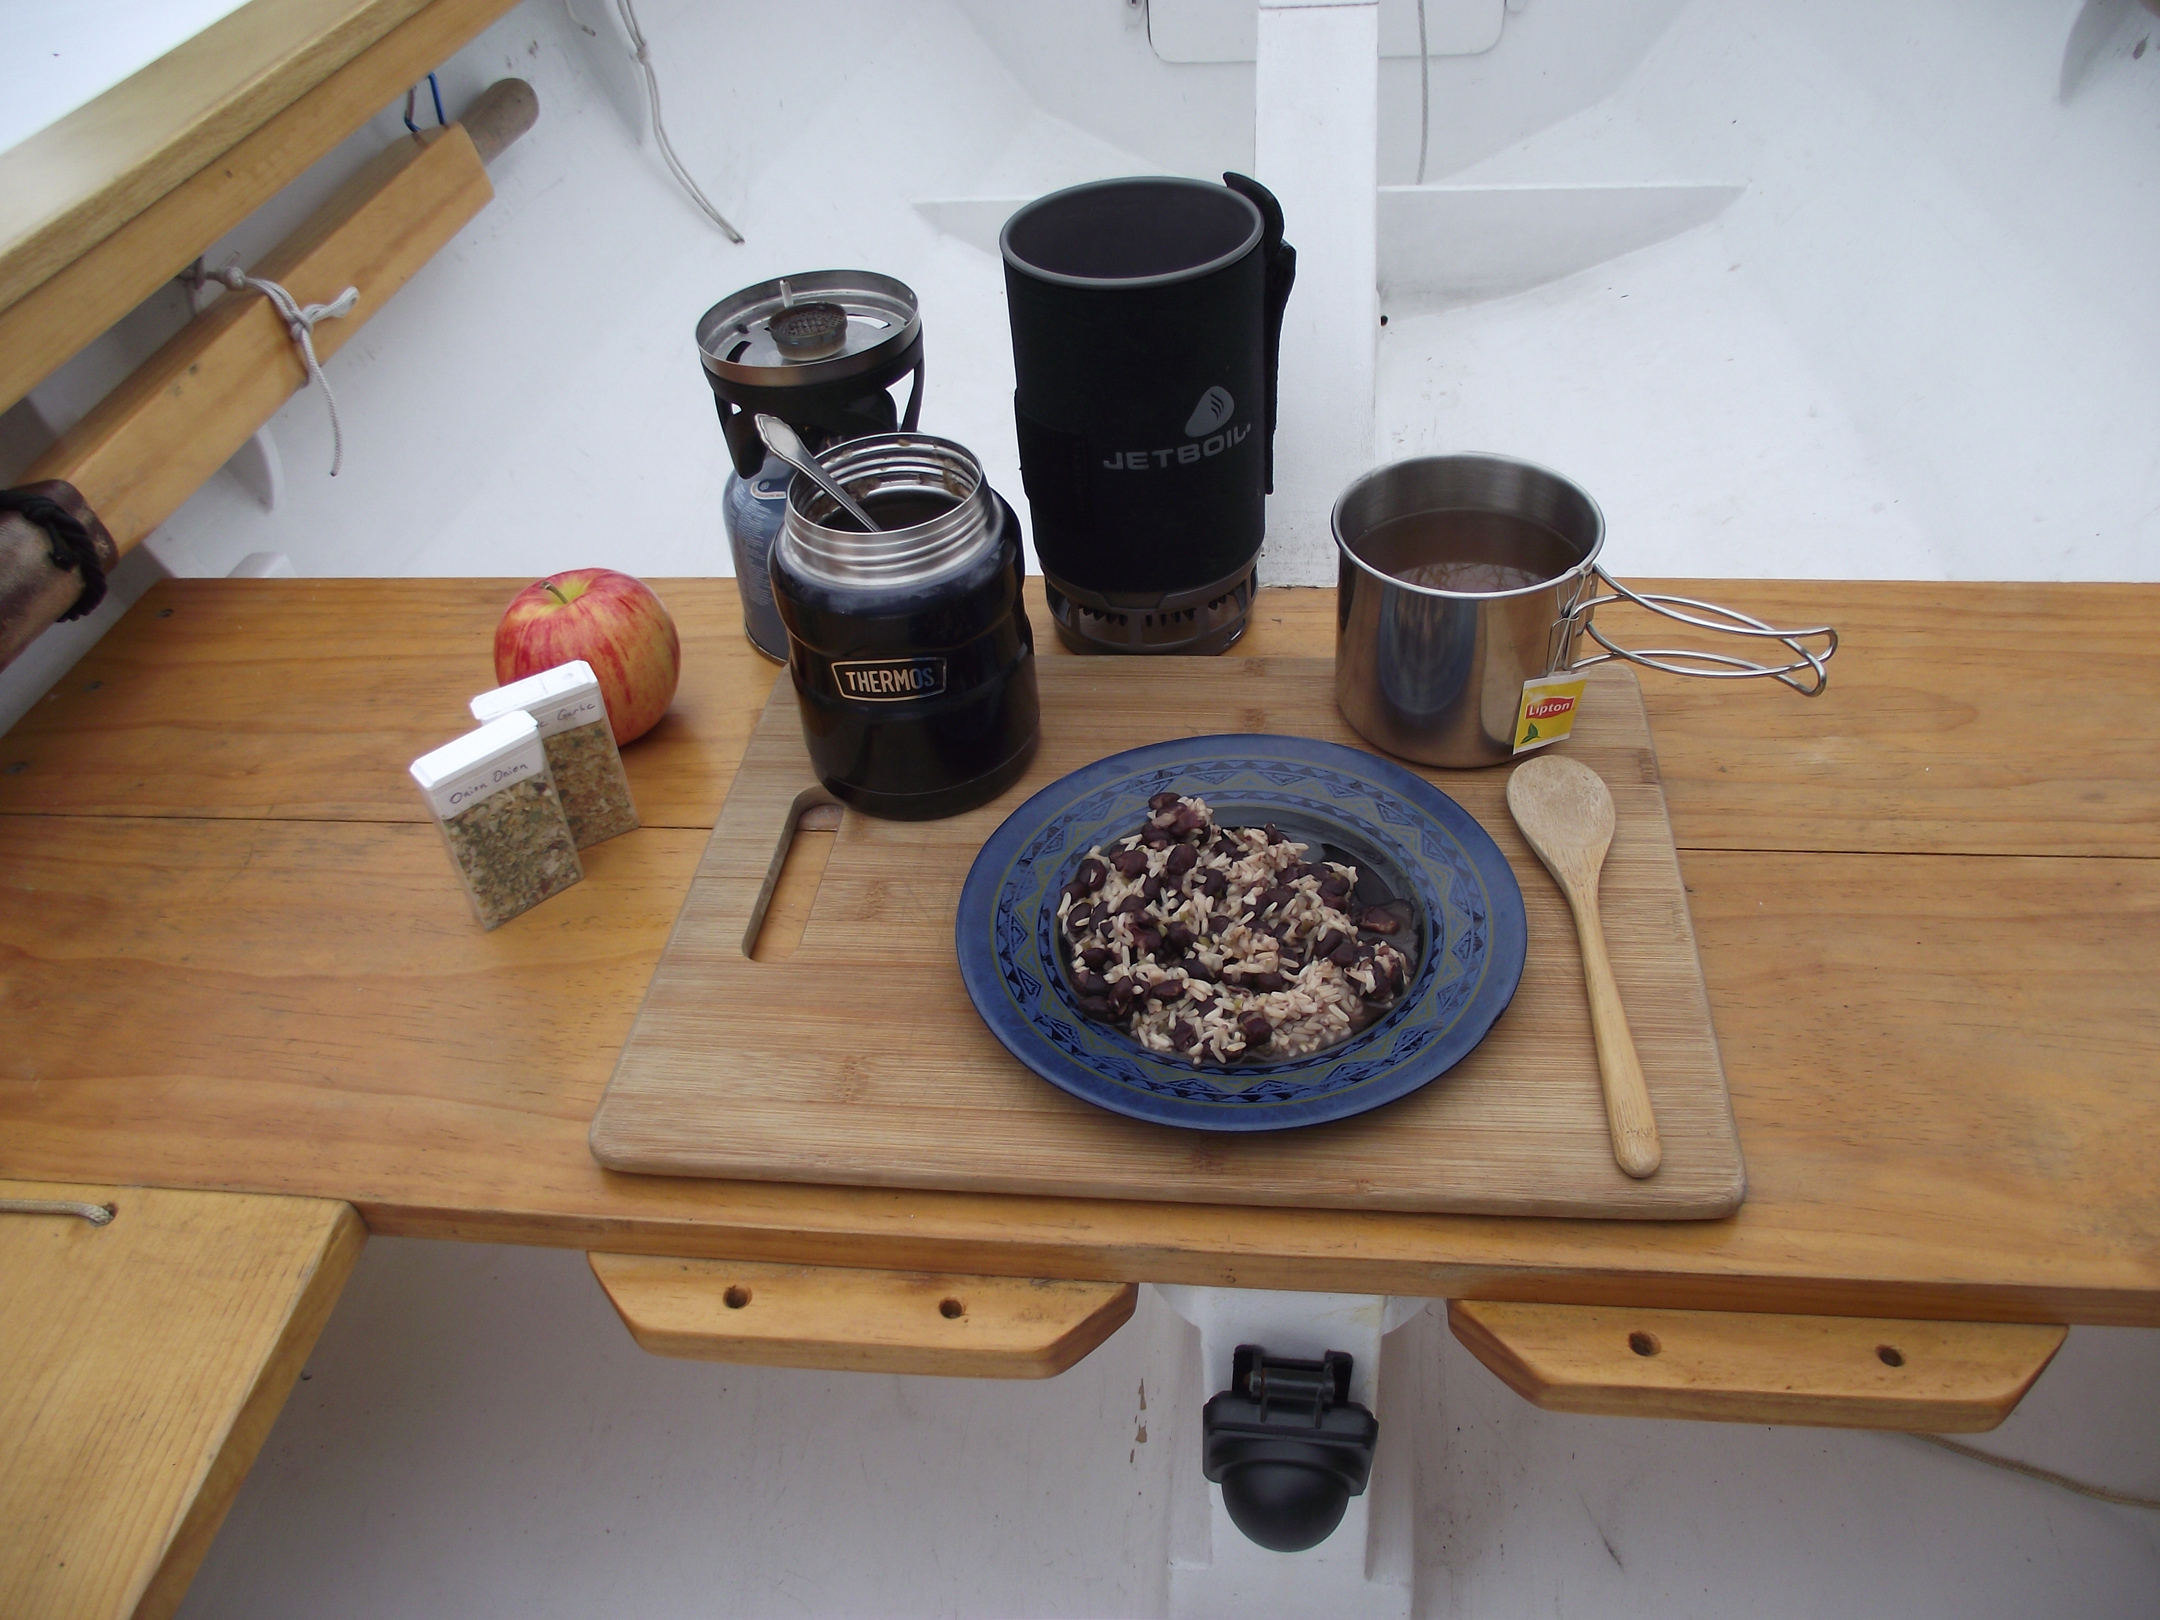
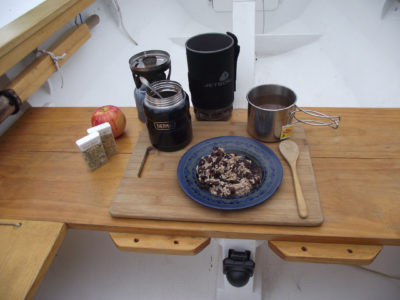
With a small wide-mouth thermos, water boiled in the morning will have a hot cooked meal for you for lunch or dinner.
When I’m out cruising I’m generally too lazy to do anything fancy to feed myself. I rarely bothered with hot meals at all. When I did fire up my cruising cook set, a single-burner backpacking stove, the lack of an effective low setting made real cooking impossible anyway. Boiling water, yes. Simmering, no. Then I discovered thermos cooking. It’s so simple that I now regularly cook hot meals when I’m cruising.
To try it you’ll need a wide-mouth insulated food jar or vacuum bottle; Thermos, Stanley, and Hydroflask offer good choices. Get one that is lined with steel rather than glass—steel retains heat better. A 16-oz thermos will cook a large entrée for one person. For bigger meals, you’ll need a larger bottle, or even more than one.
Boiling-hot water does the cooking; a pot and a compact stove or a small campfire will do the job. Thermos cooking uses very little fuel—a single 8.5-oz pressurized propane/isobutene fuel canister provided 18 days of hot meals on my last solo cruise.
Pre-packaged meals from the supermarket like pasta and rice-based dishes work well, as do bulk grains or dry soup mixes—anything prepared by boiling in water. Oatmeal, steel-cut oats, couscous, and quinoa are standard fare on my boat because they’re cheap, wholesome, and keep well. By themselves, bulk grains don’t have much flavor, so you’ll want to carry spices and other ingredients to make them more interesting. There are plenty of recipes for thermos cooking on the web. A funnel with a wide stem comes in handy when pouring the dry mix into the thermos. You’ll lose less heat and avoid getting bits of food in your bilge or scattered around your campsite.
Preheat your thermos by filling it with boiling water, then seal it up and set it aside. This step is important—your thermos should be hot before you begin cooking. While your thermos is preheating, prepare your dry ingredients so you’ll be able to add them quickly to minimize heat loss. Check your recipe to see how much water to add. Start your stove again and boil that amount—this is the water your food will actually cook in.
Once the cooking water is boiling, open your thermos and pour out the water you used for preheating. This water will still be fairly hot; I often use it for a cup of tea or hot chocolate. Quickly add the dry ingredients and the boiling water, and reseal your thermos.
Gently roll your thermos around to mix the ingredients, then lay it on its side: Your meal will heat more evenly on the horizontal. Set it aside to cook. In cooler weather, wrap your thermos in a towel or space blanket for extra insulation. If you’re especially ambitious, give it an occasional roll.
Three to eight hours later—depending on what you’re cooking—you’ll have a hot, fully cooked lunch or dinner waiting. Not sure your rice or pasta is done? Give your thermos a shake. If you don’t hear water sloshing around, it’s ready. If you’re still not sure, go ahead and check: A quick look or two won’t do any harm. And don’t worry about overcooking—once your meal is ready, you can leave it in the thermos all day or night. It’ll still be warm and ready to eat when you get to it.
With thermos cooking, it’s easy to wake up to a hot breakfast—it’s about the only way I get breakfast in bed—or sit down to a hot supper immediately after tossing out an anchor for the night, with no need to dig through your gear to find your stove and supplies. I especially appreciate a ready-to-eat hot meal for those late-night arrivals.![]()
Tom Pamperin writes regularly for WoodenBoat. His first book, Jagular Goes Everywhere: (mis)Adventures in a $300 Sailboat has just been published. His article on cruising Lake Nipigon appears in this issue of Small Boats Monthly.
You can share your tricks of the trade with other Small Boats Monthly readers by sending us an email.


Join The Conversation
We welcome your comments about this article. To include a photo with your remarks, click Choose File below the Comment box.