For some of us, the end of the boating season is the time to turn our attention to the maintenance of our small outboard motors. In our fleet, we have three motors ranging from 2-1/2 to 25 hp, and with the coming of winter we need to make sure they will run properly next year after sitting idle for several months.
 SBM photographs
A bucket full of fresh water is sufficient for flushing the cooling system without the need for hose-fed muffs clamped over the motor’s intake.
Putting the outboard away for the winter begins with some basic maintenance. Flush the cooling system as you normally would by running the motor with either the lower unit in a bucket of fresh water or muffs clamped on the lower unit’s water intake with a hose supplying fresh water. Flush the motor long enough to ensure that water circulates through the entire cooling system. Running the motor will also warm the oil, making it easier to drain the oil for the change that will follow. Our 25-hp motor has a thermostat, so we have to run the motor long enough for the thermostat to open to let warm water flow out of the discharge port. Once finished with a flush, keep the outboard vertical for a bit and let the water completely drain out of the port, so that there is no water left inside to freeze over the winter.
The crankcase-oil drain plug for this outboard is set deep in a recess in the engine bottom. Be ready to capture the old oil when the bolt comes free.
Collect the old oil in a bucket and wear gloves to keep it off your hands.
While the engine is still warm, but not hot, open the crankcase drain port to drain the oil. A four-stroke’s oil must be changed every 100 hours, or annually. See the motor’s manual for what type of oil the engine requires and how much it takes to fill it. Two-stroke outboards do not have oil in the powerhead crankcase and don’t require an oil change, but the spark plugs can foul quickly due to the buildup of the oil that is mixed with the fuel. Spark plugs are cheap, and they should be changed during your winterizing maintenance.
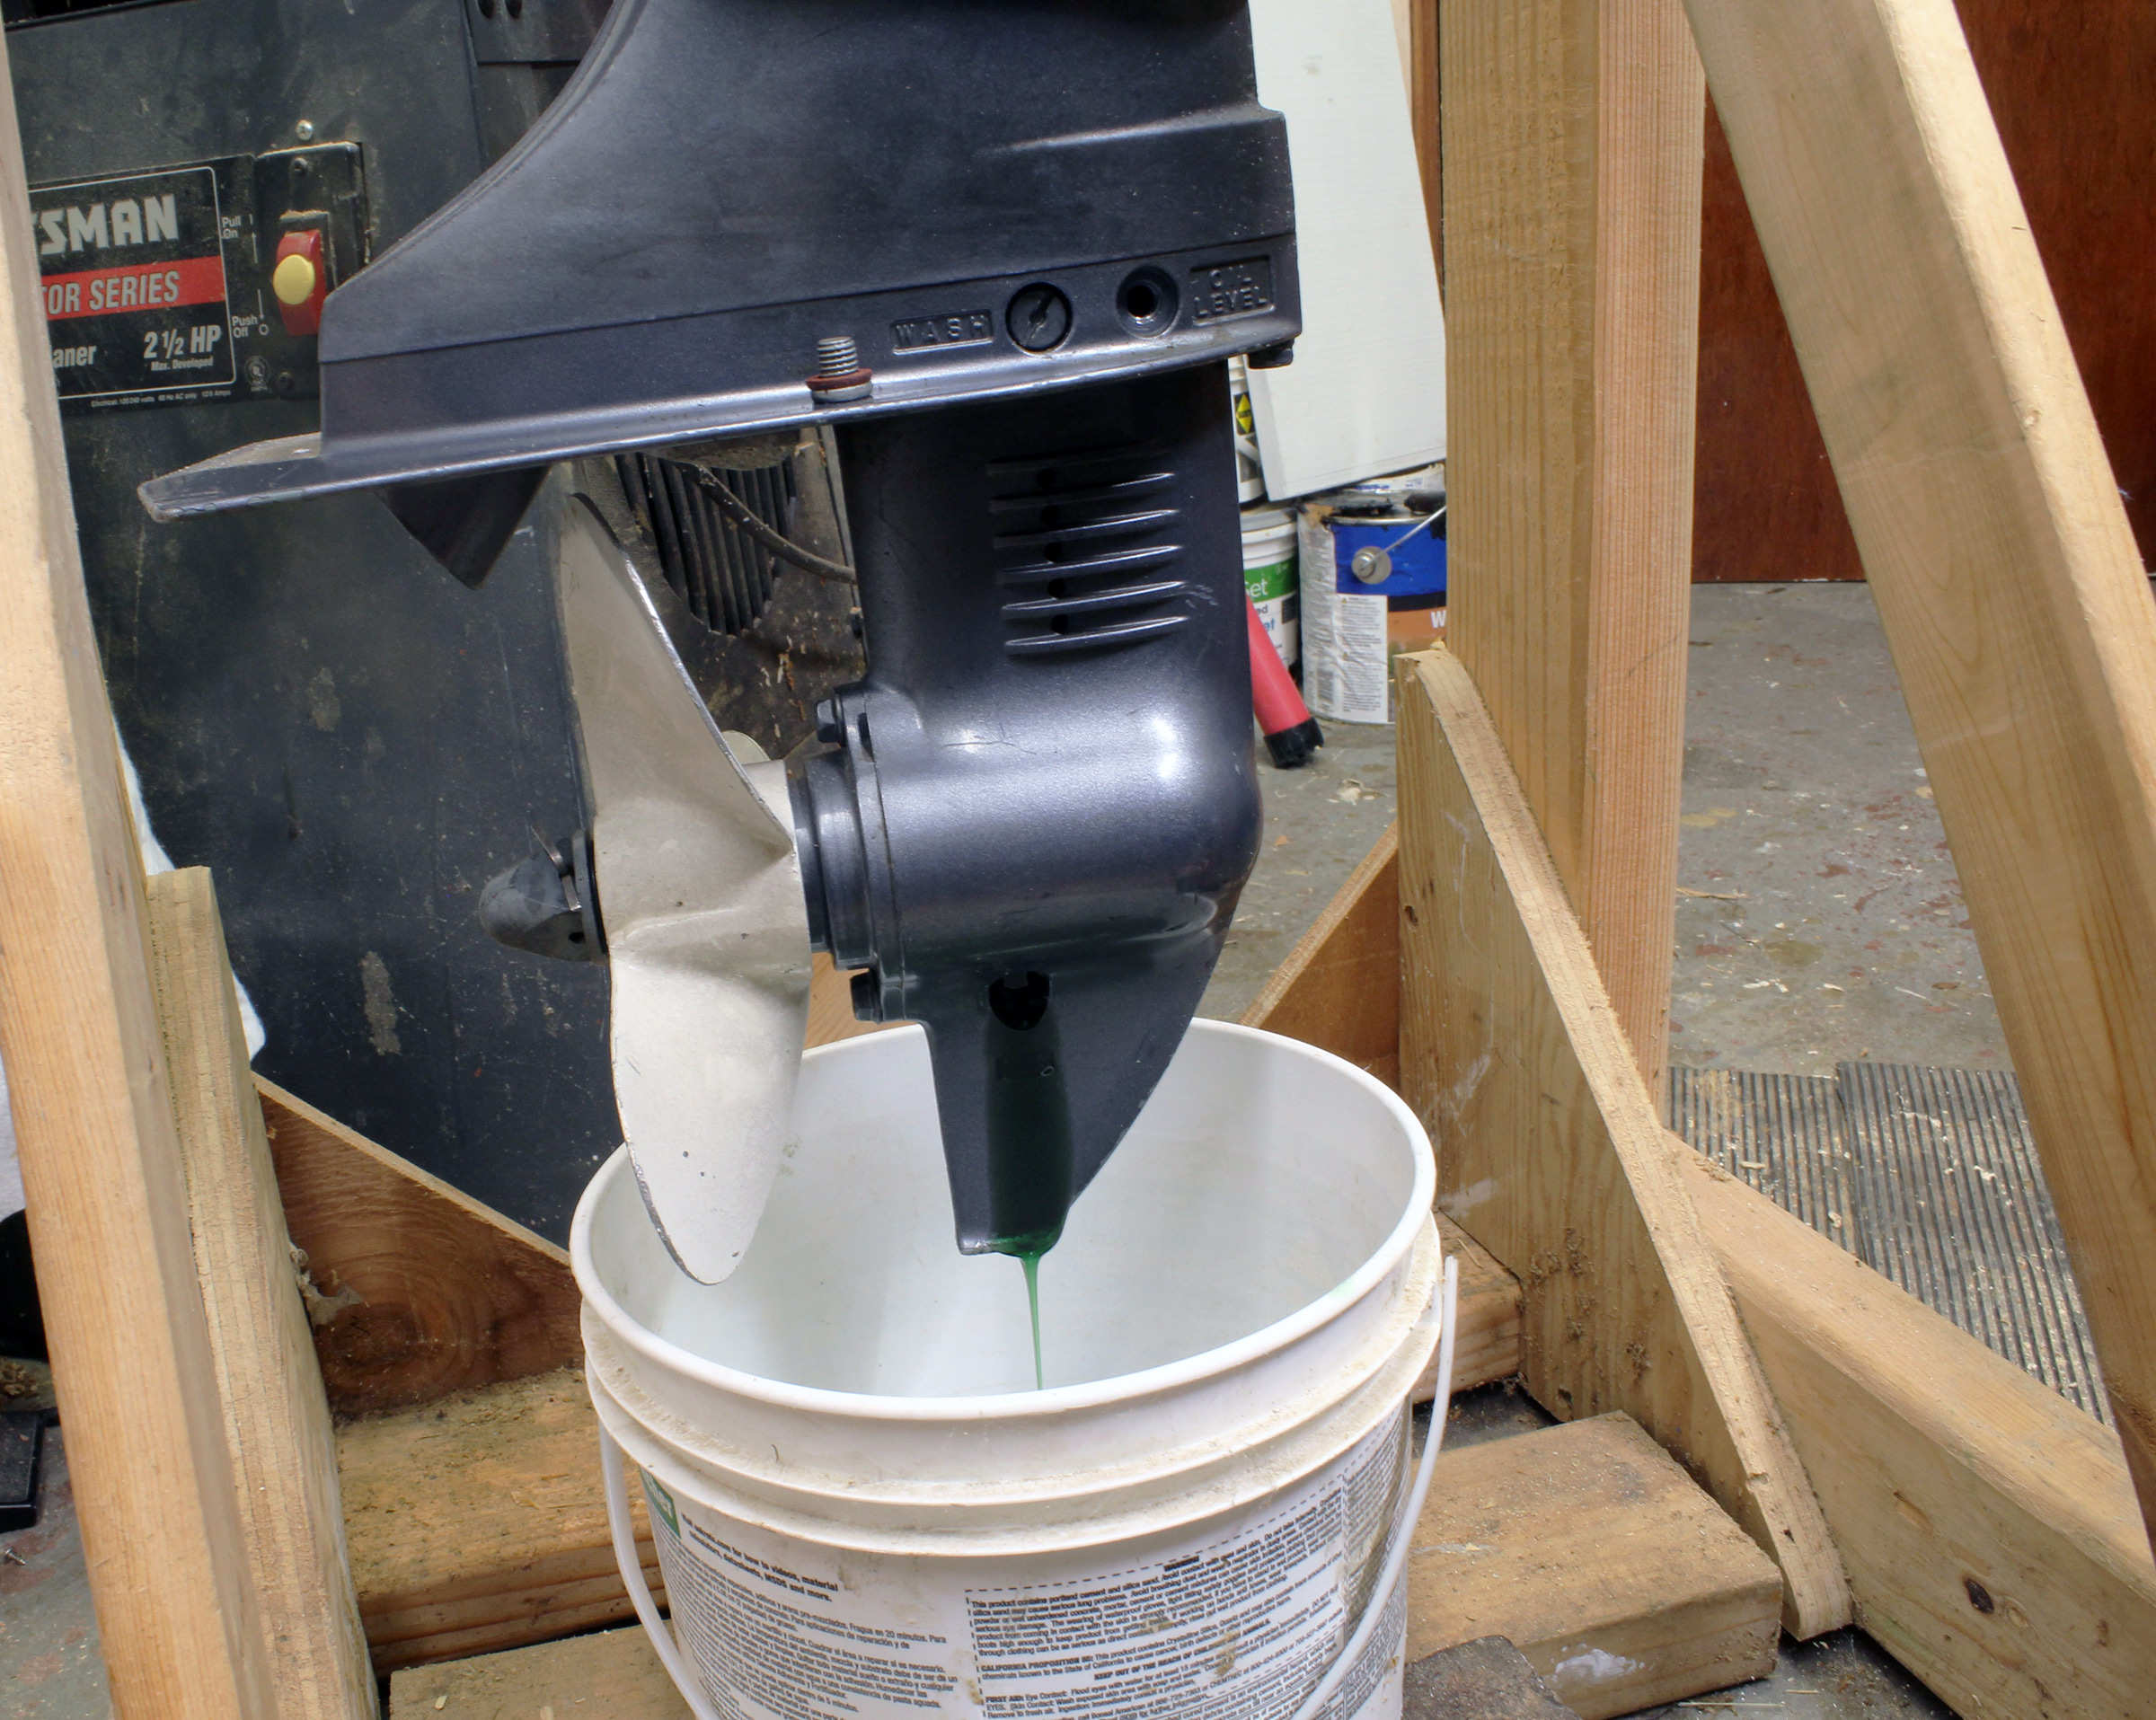
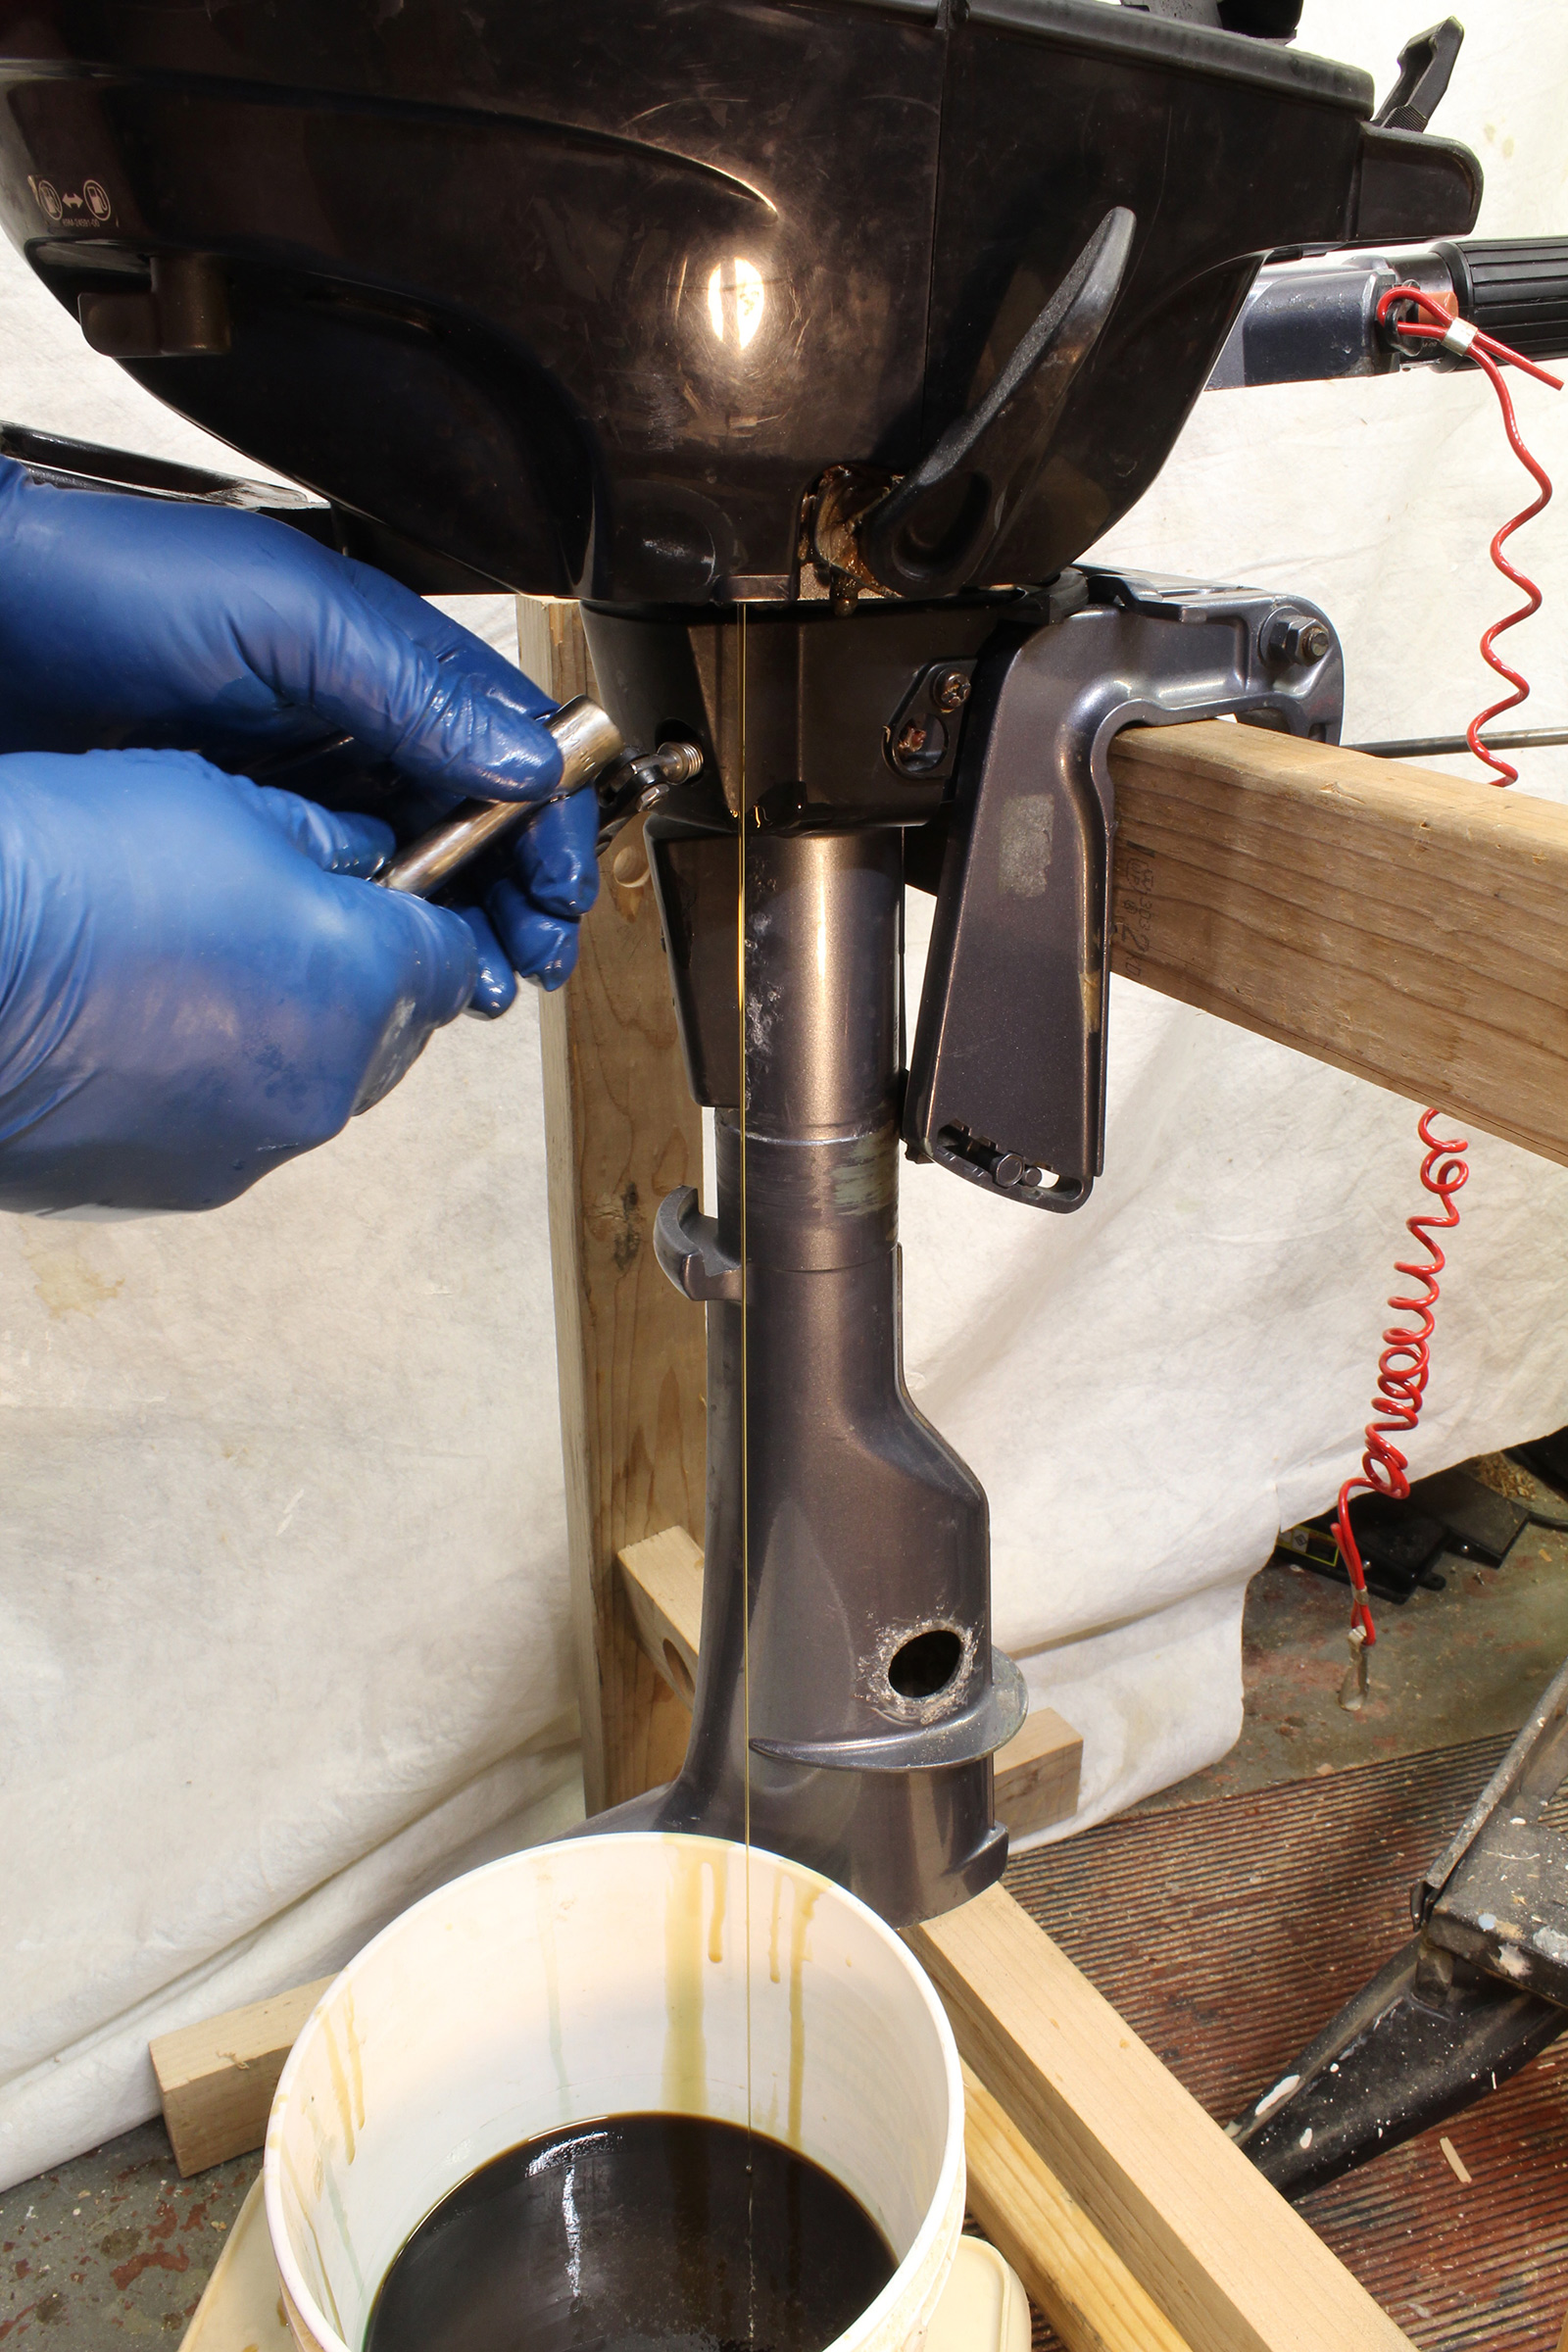
Here the gear oil is flowing from the lower unit’s drain hole. The translucent green oil has none of the milkiness that would indicate water intrusion. Note the bolt siting on the anti-ventilation plate. Before it goes back into the vent at the top of the lower unit, the red gasket should be replaced with a new one.
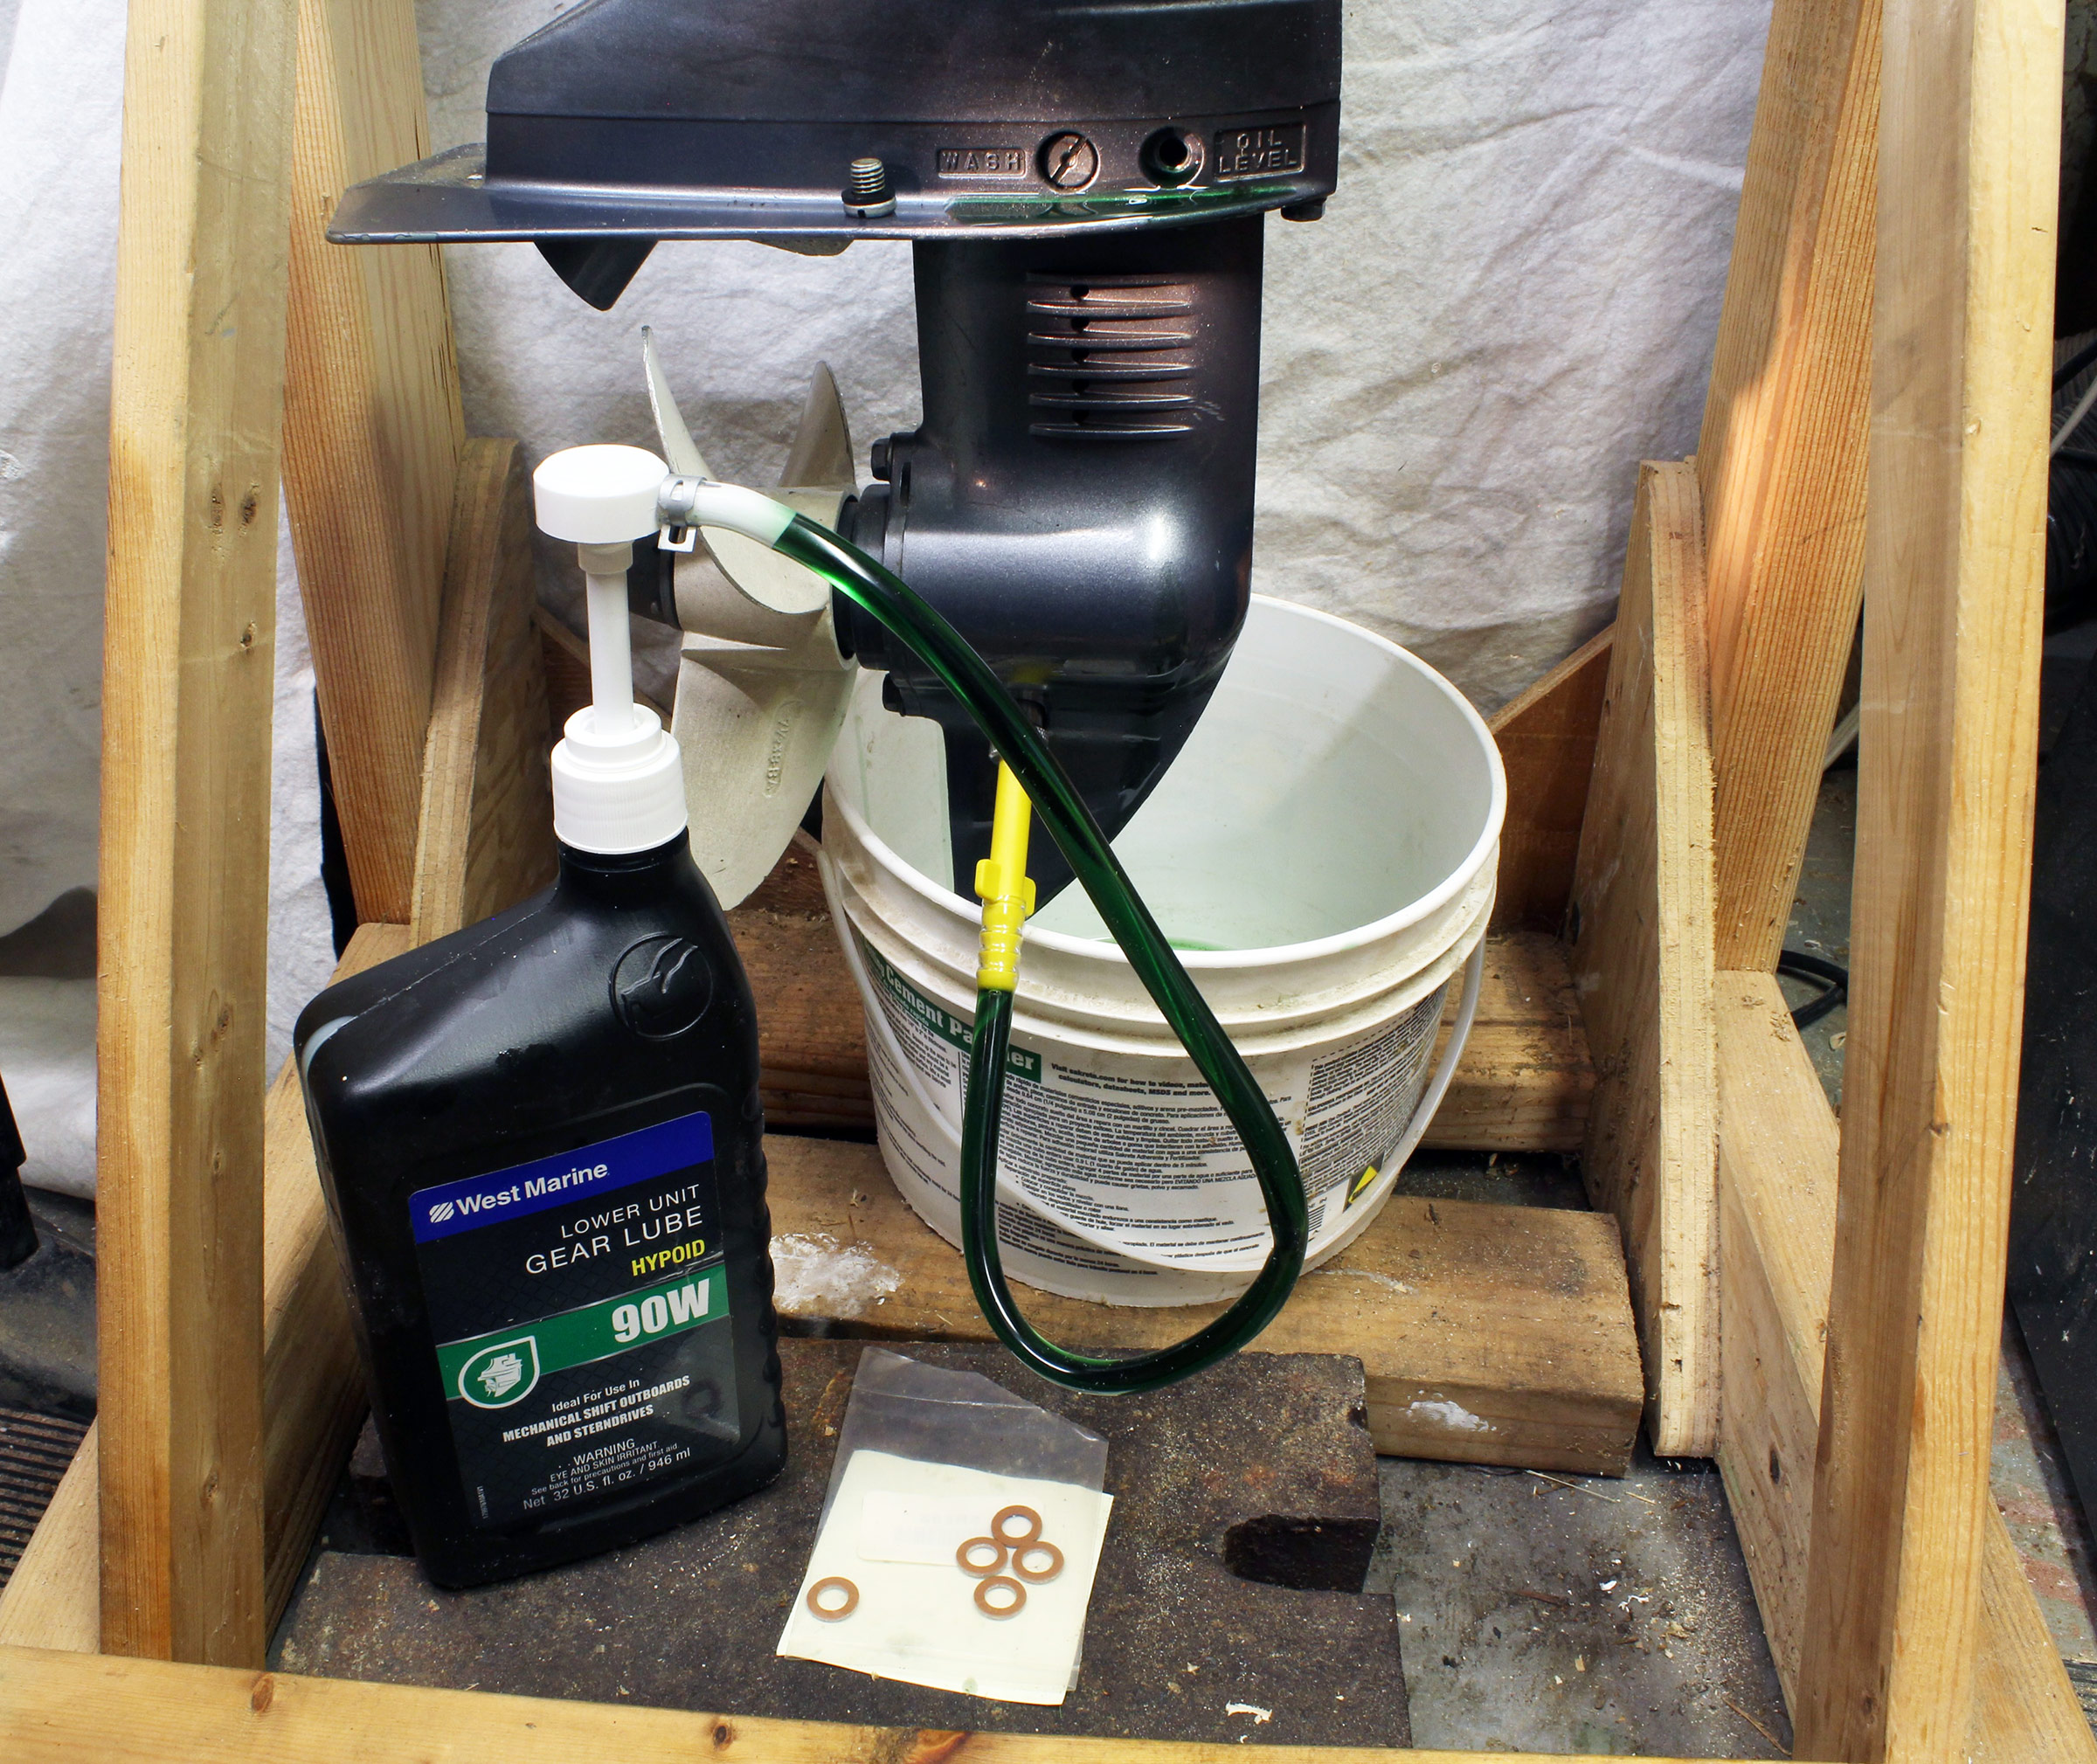
The lower unit is refilled with gear oil from the bottom up. You can buy a hose that will connect the threaded lower unit fitting to the container of fresh oil, but a pump is easier to use. Note the green gear oil puddling on the anti-ventilation plate, indicating that the lower unit is full.
The lower unit’s gear oil must also be changed every year, or every 100 hours. There are two gasketed bolts: the top one is the vent only; the bottom is for draining and filling. Check to make sure the drained fluid is not cloudy, which would indicate water intrusion and that the propeller-shaft seal may need to be replaced.

Remove the prop to check for fishing line wrapped around the shaft. This prop is fine; there are just a few strands of weeds to clear.
Propellers must be removed at each service interval because the shaft needs to be lubricated and the shaft forward of the prop must be inspected for fishing line that isn’t otherwise evident and can damage the seal.

A gas siphon costs about $10 and is a quick and safe means of emptying the outboard’s fuel tank.
Gas degrades with time and is a common problem for outboards that have been improperly stored without being serviced first. Drain the gas with a siphon or hand pump (don’t invert the motor to pour it out) or run the motor to fuel exhaustion. Drain the carburetor, as well. The internal jets and orifices in small carburetors are sensitive to the gummy residue created by stale gas. Fuel that has been left in the tank for several months also loses some combustibility and will not make a motor happy come time to start in the spring. Remove the drain screw at the bottom of the carburetor bowl to drain any remaining fuel.
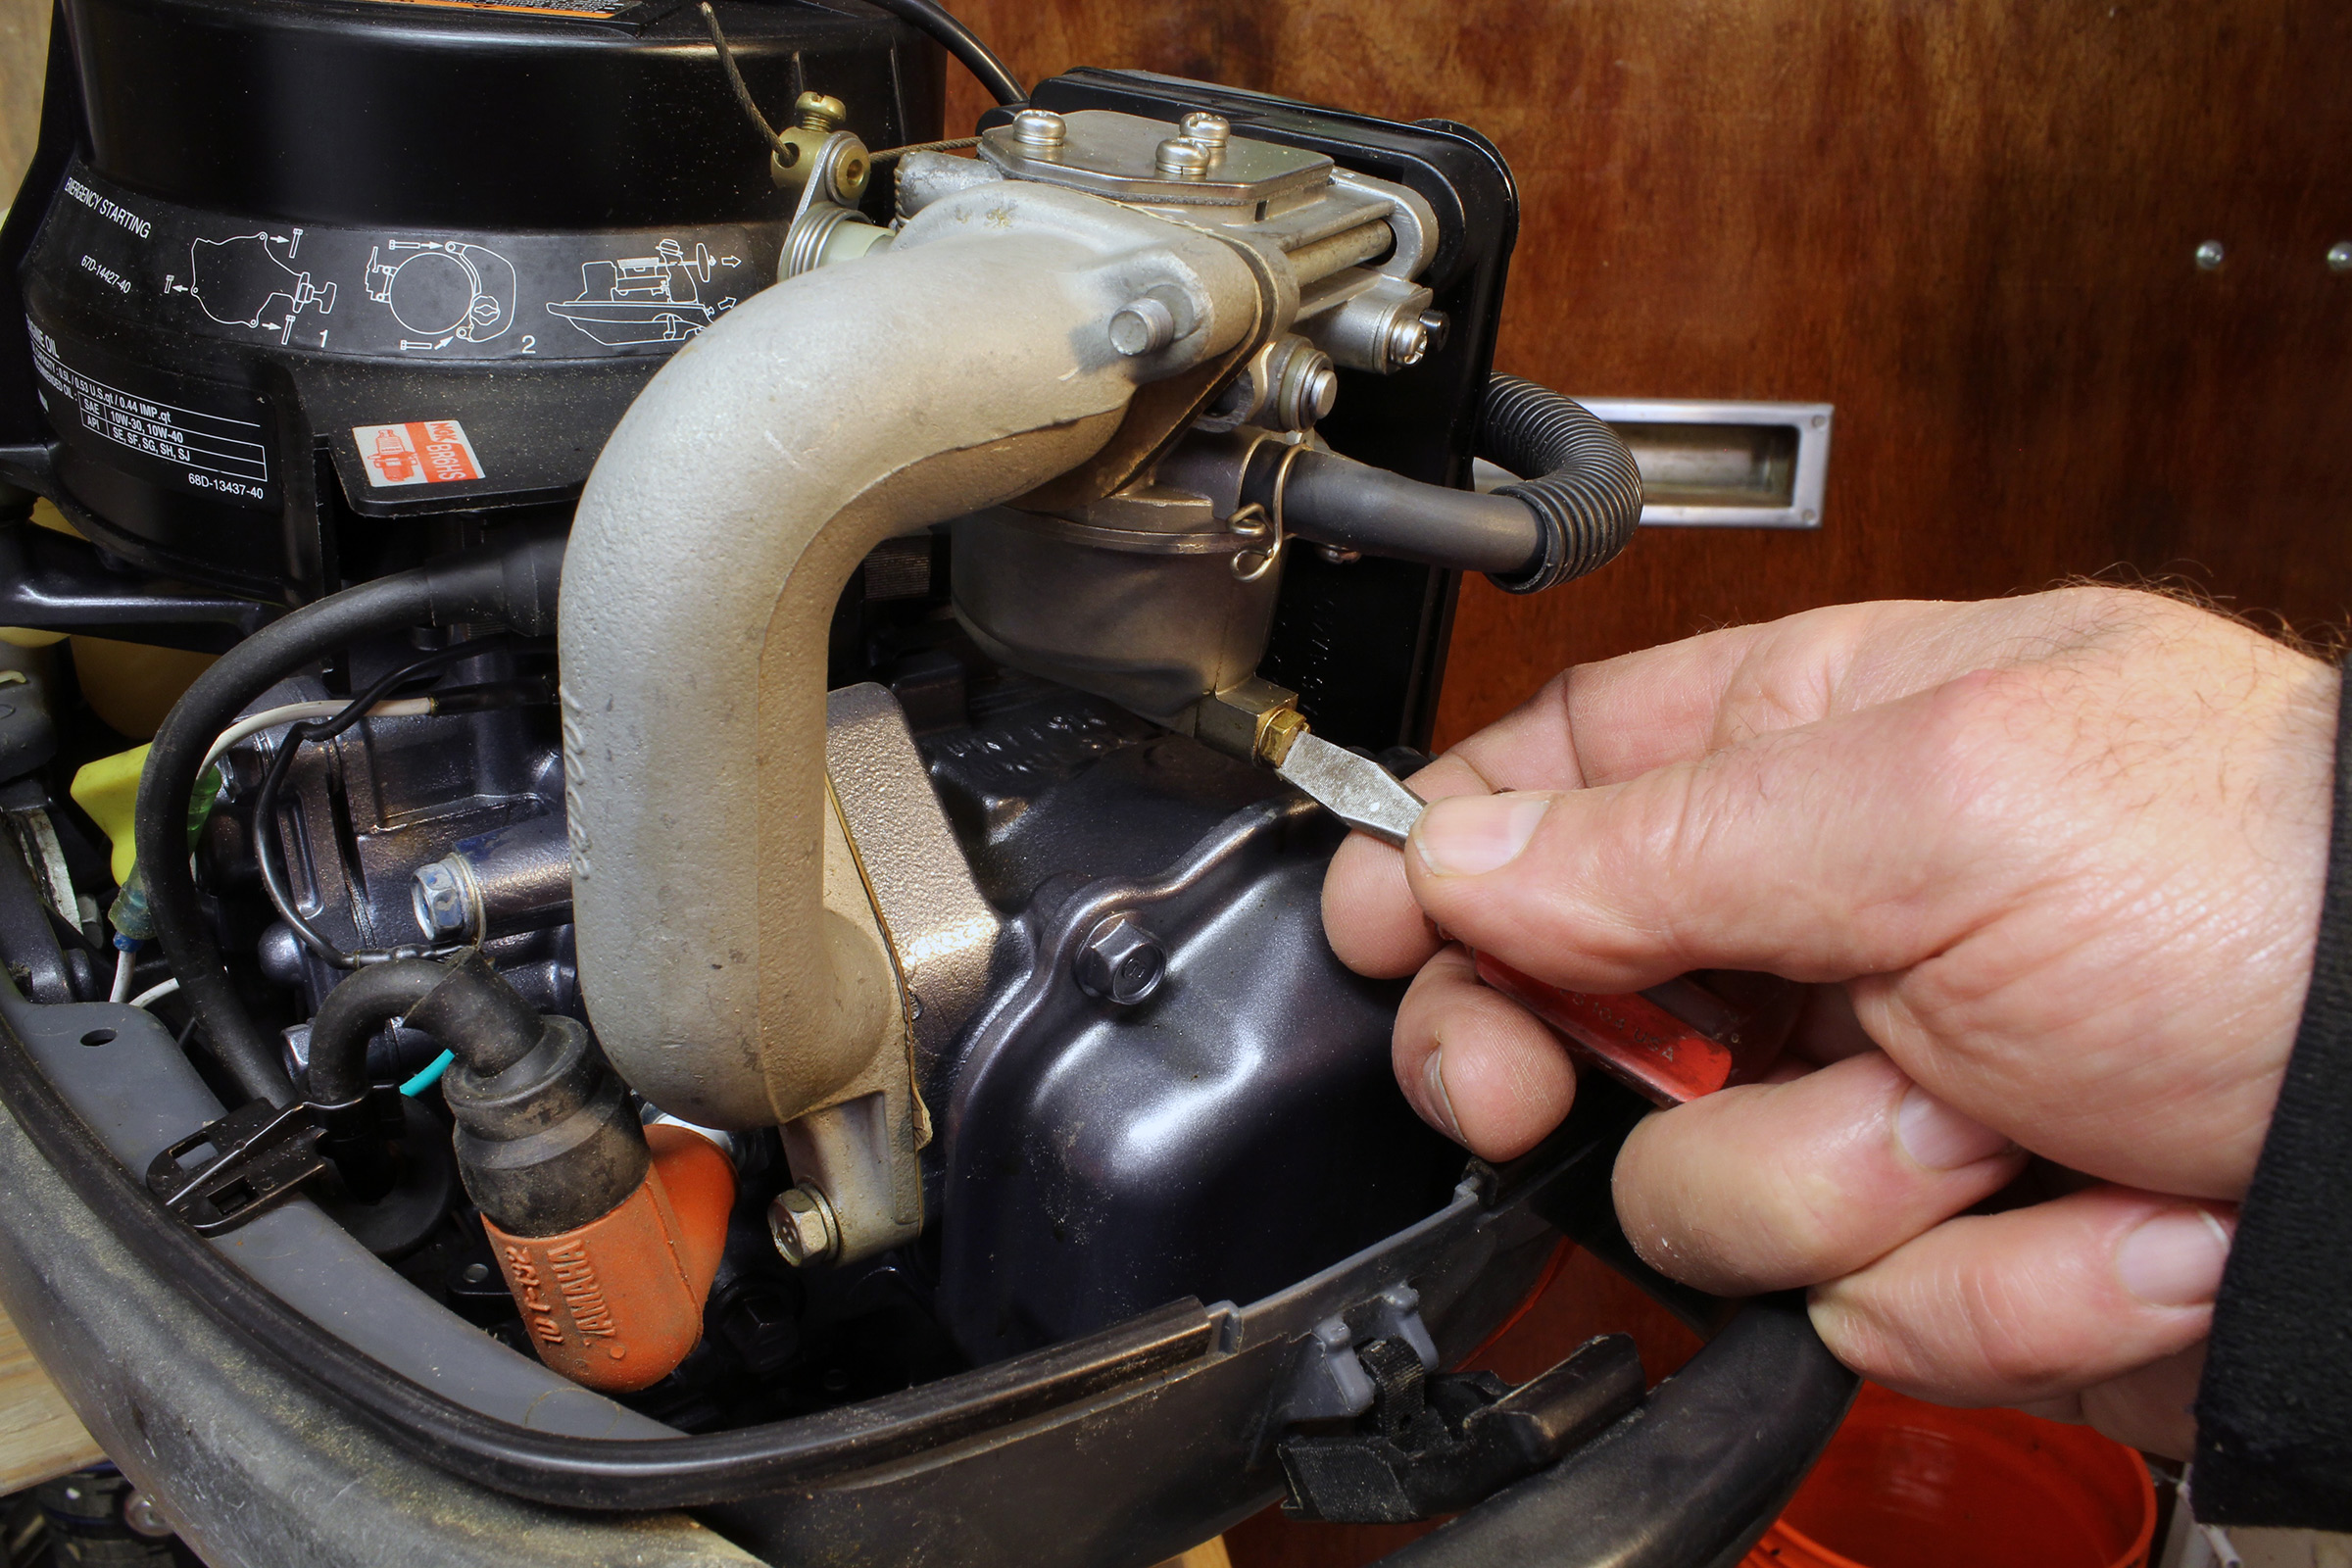
The bowl at the bottom of the carburetor has a drain for emptying remaining fuel before the motor sits idle over the winter.
To prevent corrosion inside the motor, consider using marine fogging oil for the cylinders if the motor is to be laid up for extended periods. The pressurized spray is injected into the air intakes while the motor is running and then, with the spark plugs removed, into the cylinders; pulling the starter cord distributes the oil.
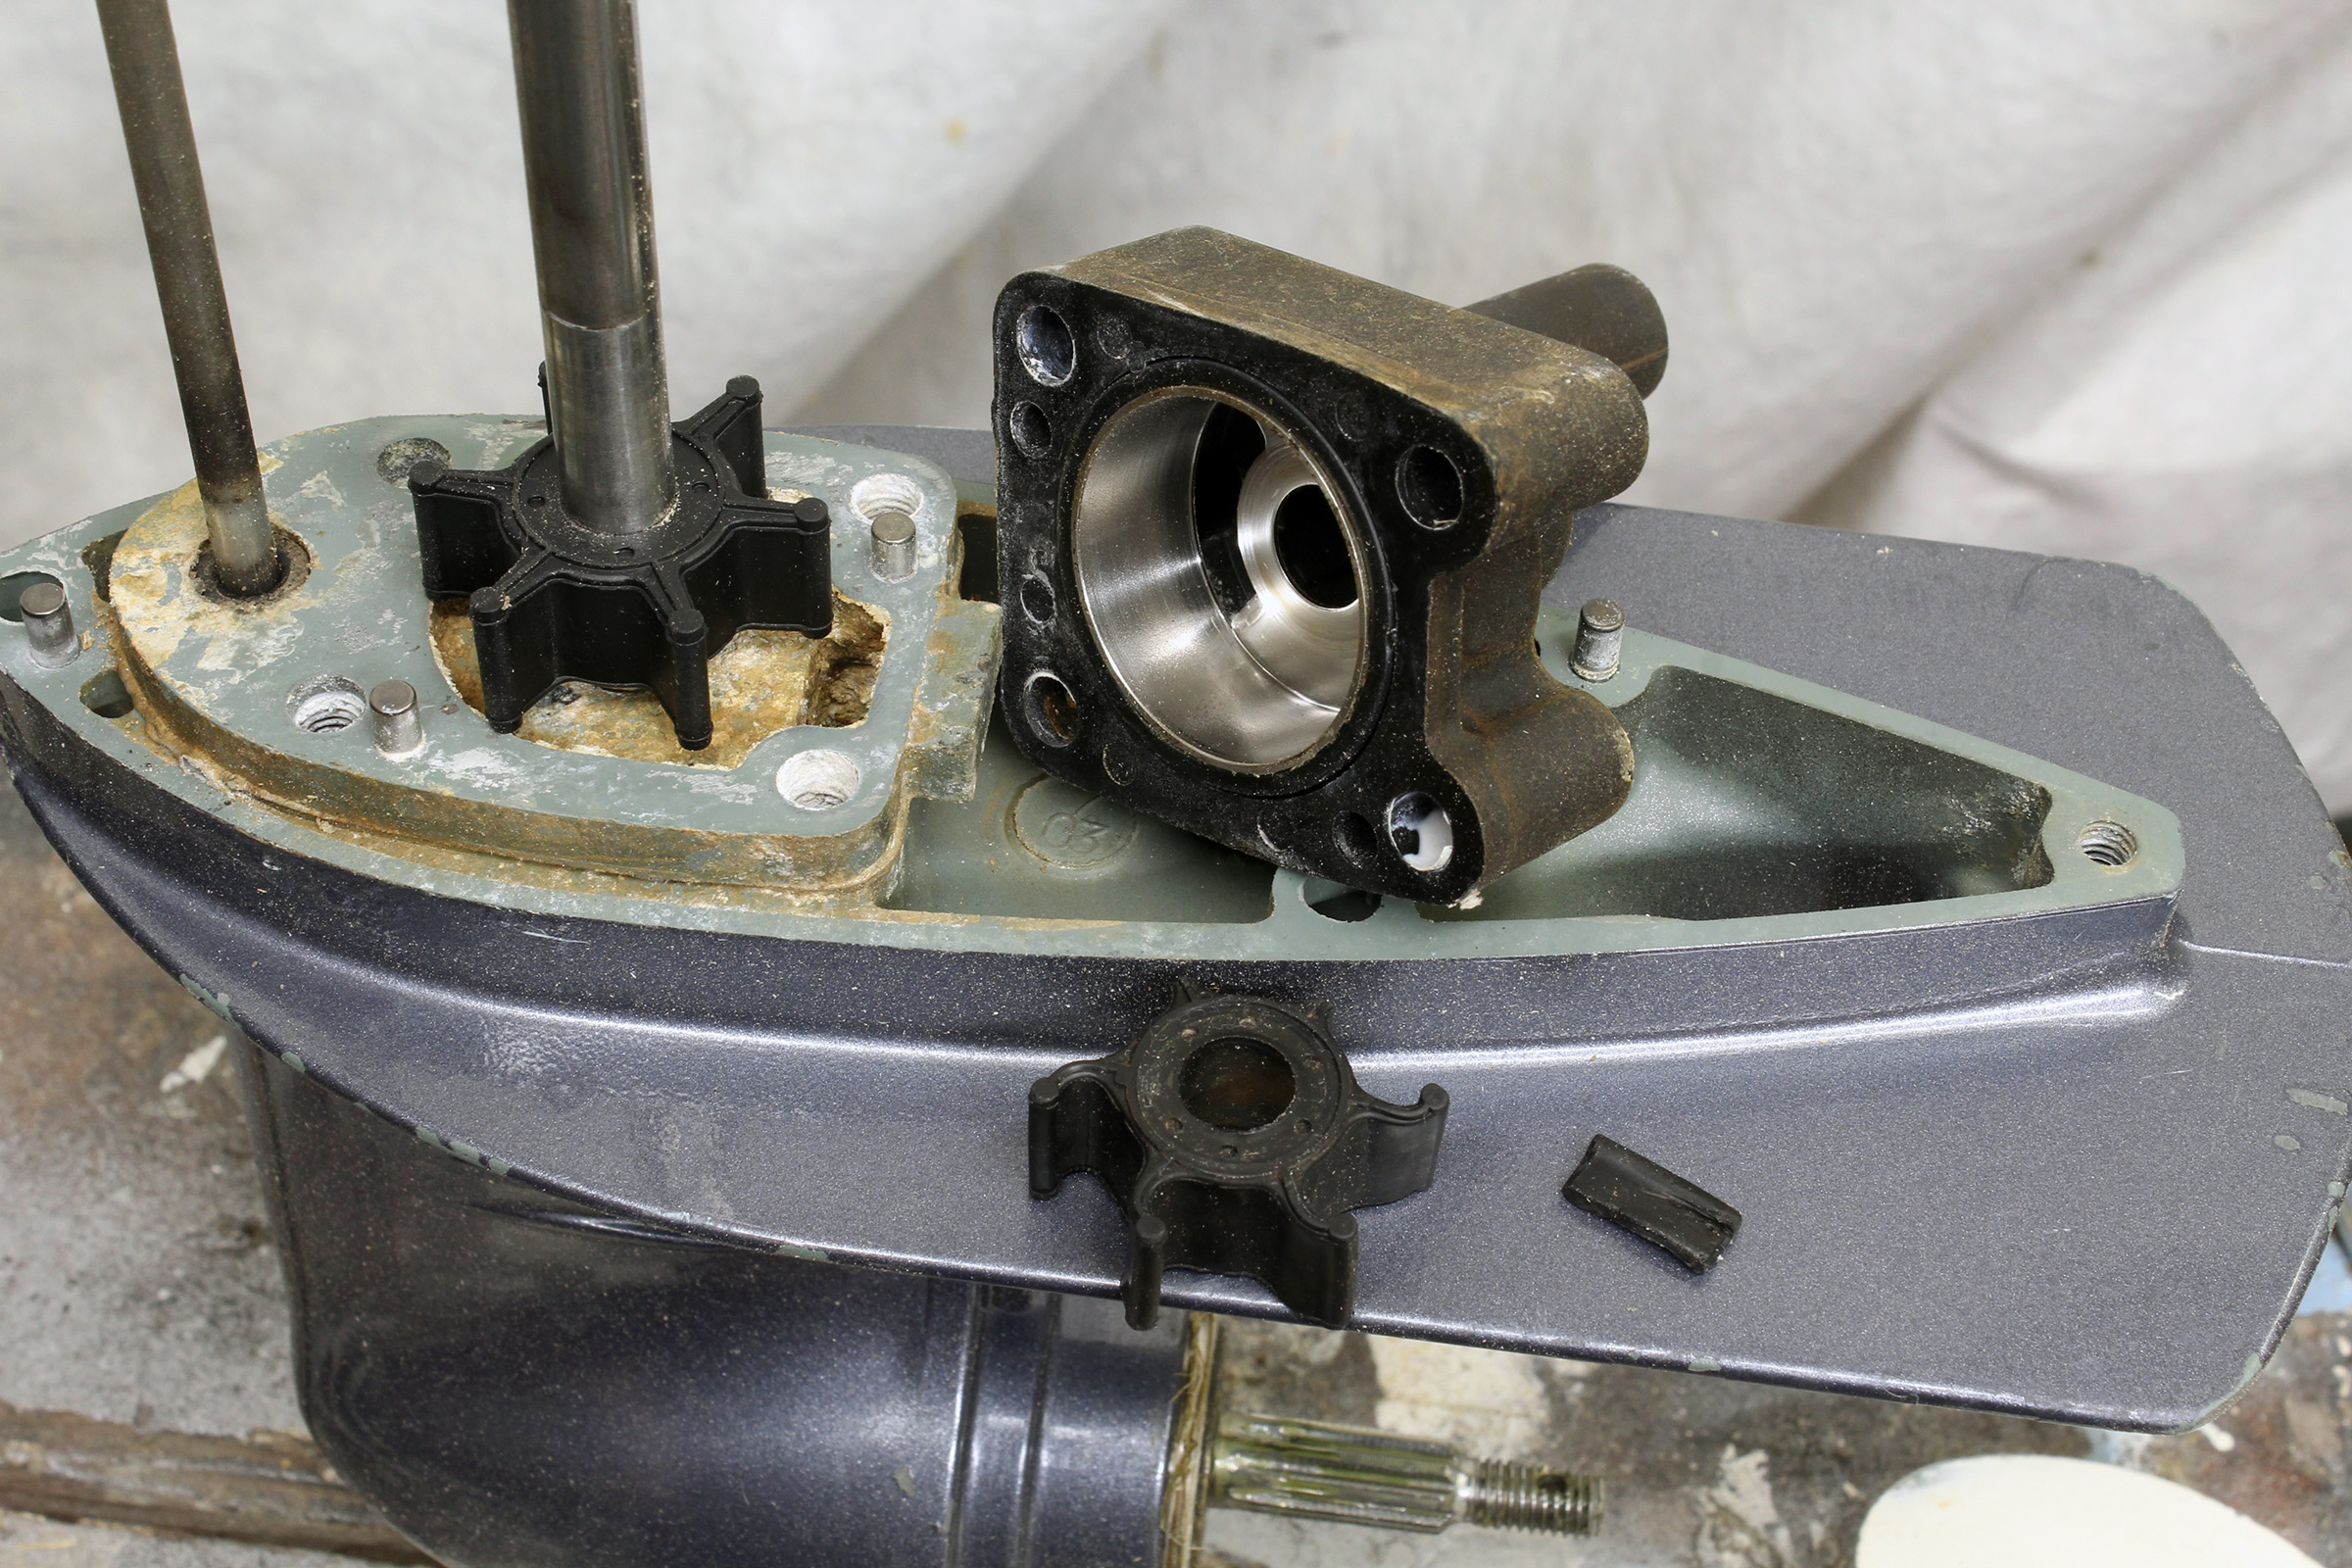
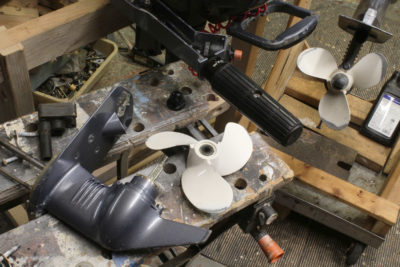
The water pump is easily accessed by unbolting the lower unit and pulling it down until the driveshaft is free from the powerhead. A reluctant lower unit can be gently removed by placing a block of wood on the narrowest part of the anti-ventilation plate, close to the motor’s midsection, and tapping it with a hammer. Here, a new impeller has been slipped down over the driveshaft. The old impeller, set on the plate, has seen better days and four of its fins are permanently bent. The tip of a fifth was recovered taking the pump apart. The water intake needs to be checked to see if the sixth fin is hiding there.
The water-pump impeller should be changed every three years, whether it looks serviceable or not. The rubber vanes lose flexibility and effectiveness with age. The impeller maintains the water flow that is essential to cooling the motor, and nothing can kill a motor faster than excessive heat. Service manuals and YouTube videos are available online to illustrate the process of removing the lower unit to access the water pump for a variety of makes and models. Removing the lower unit also provides an opportunity to lubricate the mounting bolts so they don’t permanently seize in place with age and corrosion. You can also lubricate the lower unit’s driveshaft so that it does not freeze into the powerhead’s driveshaft. All threaded fastenings should be coated with a marine-grade Tef-Gel anti-seize compound.
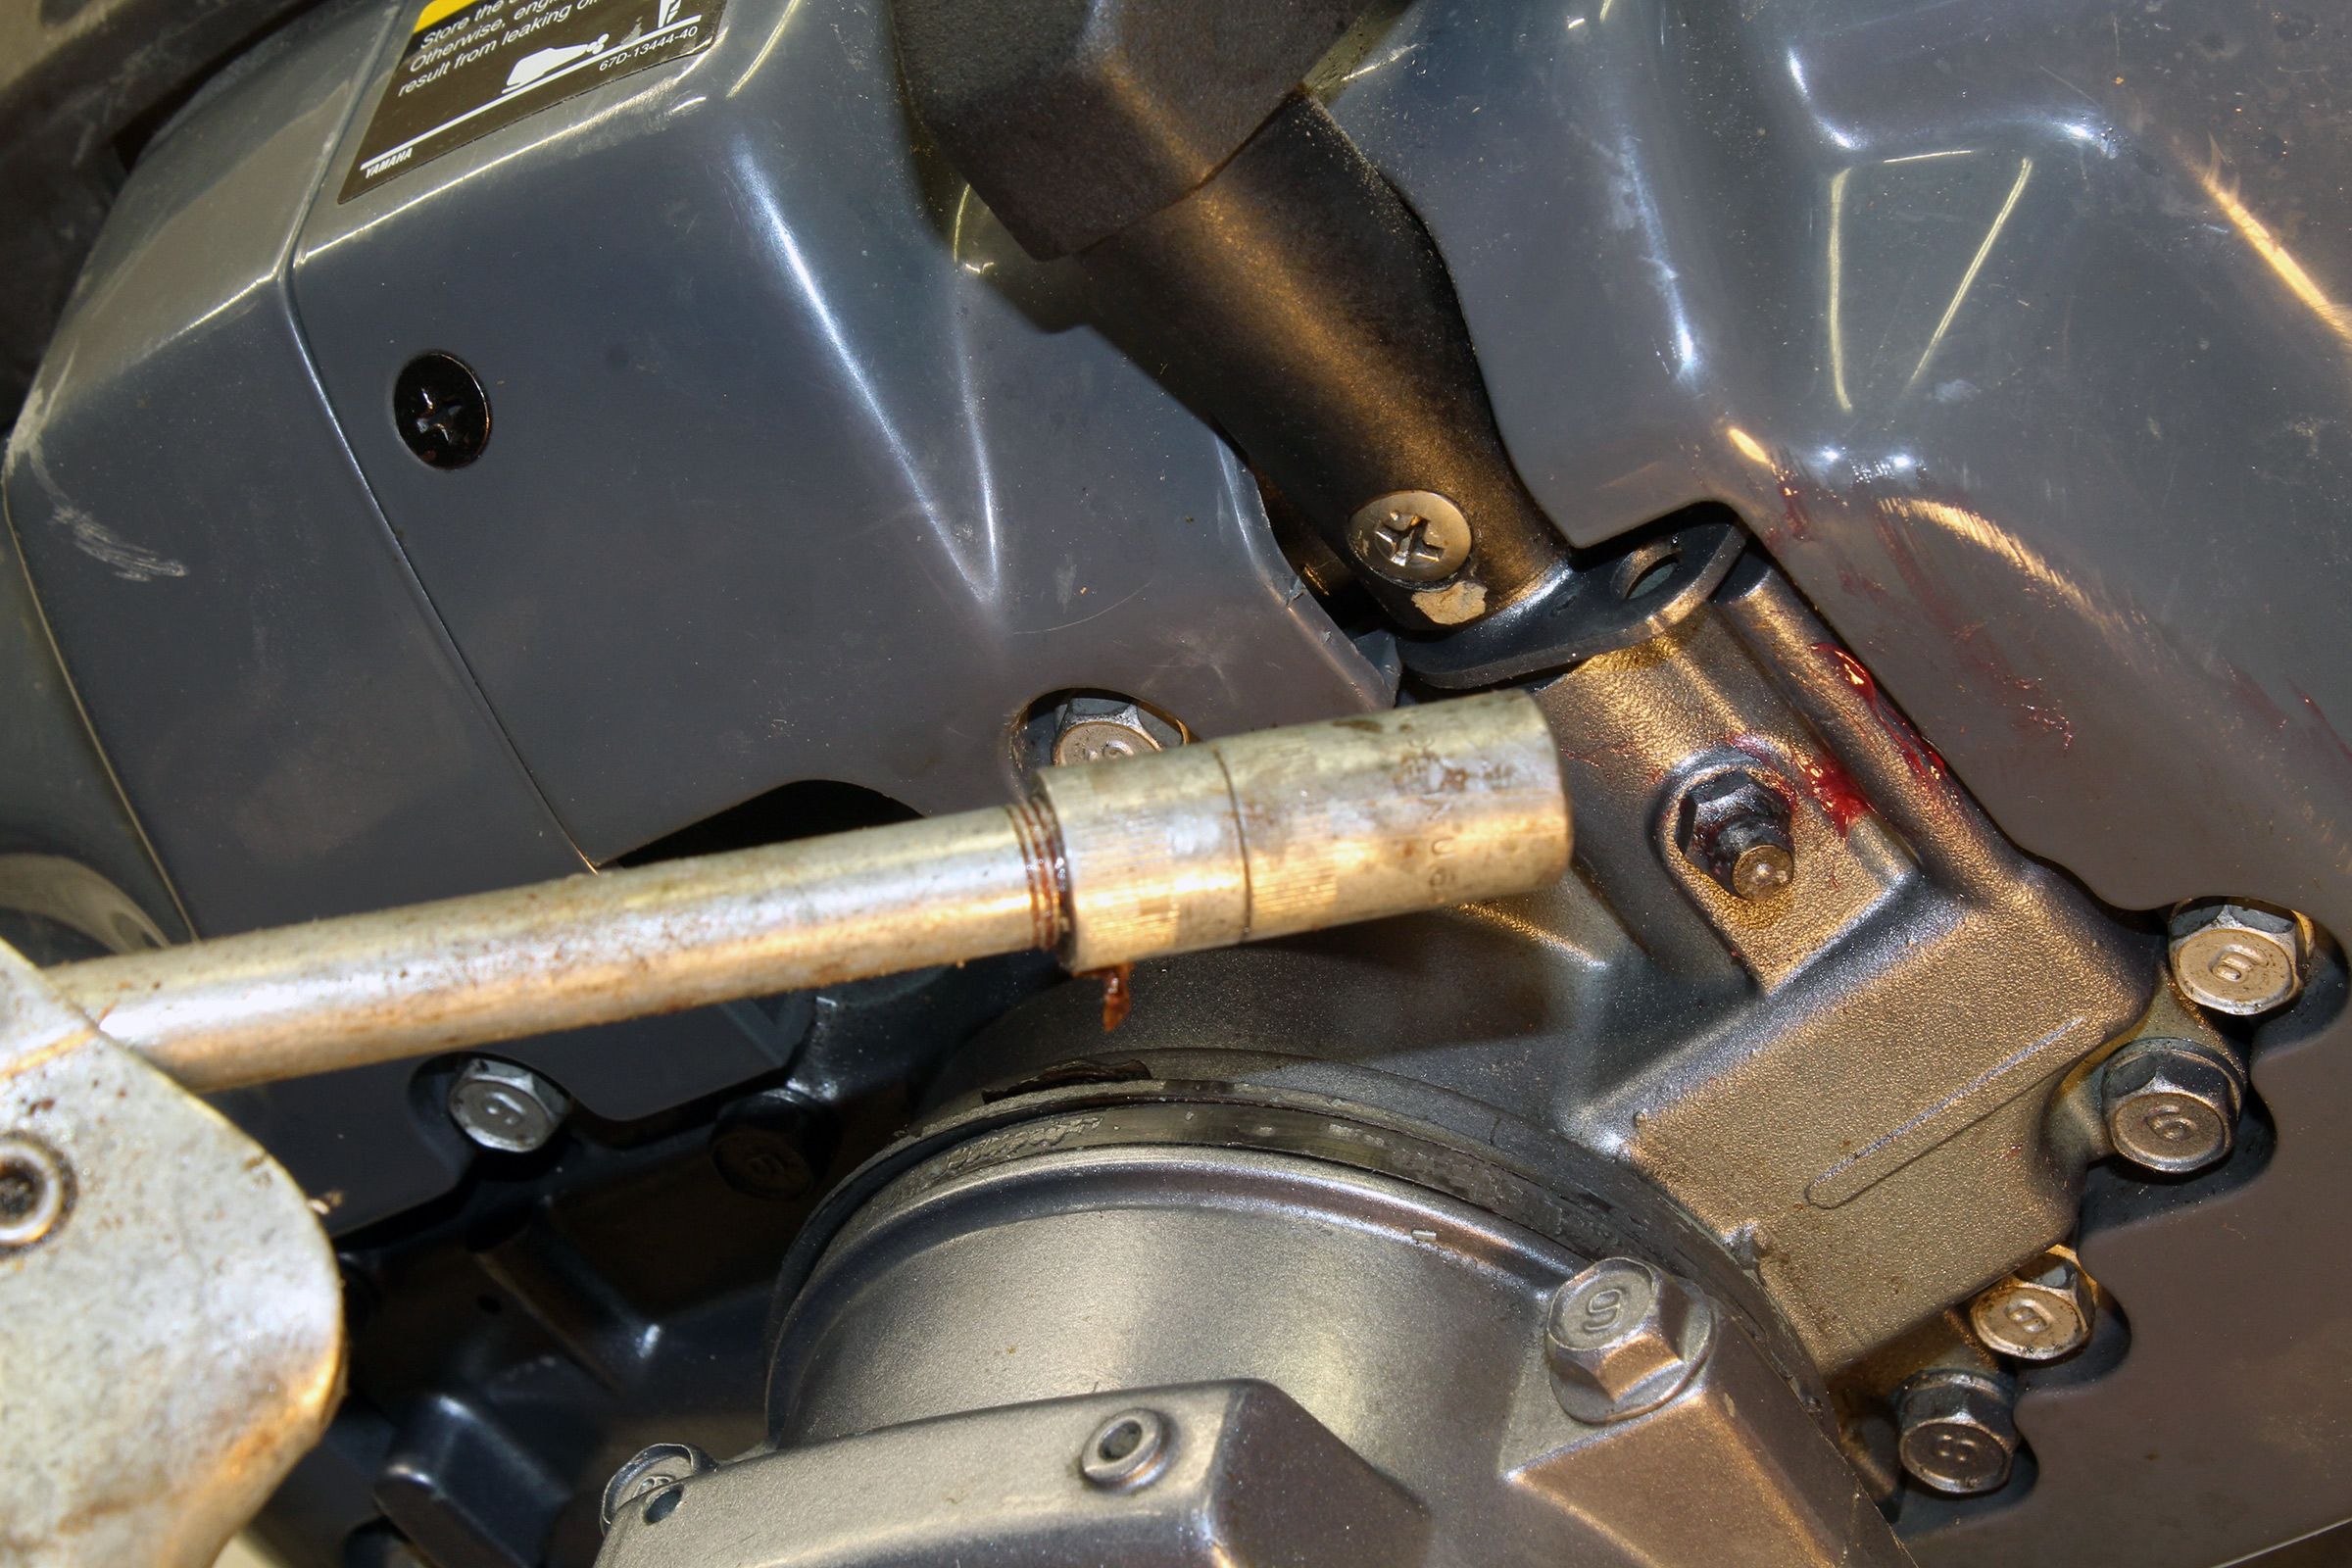
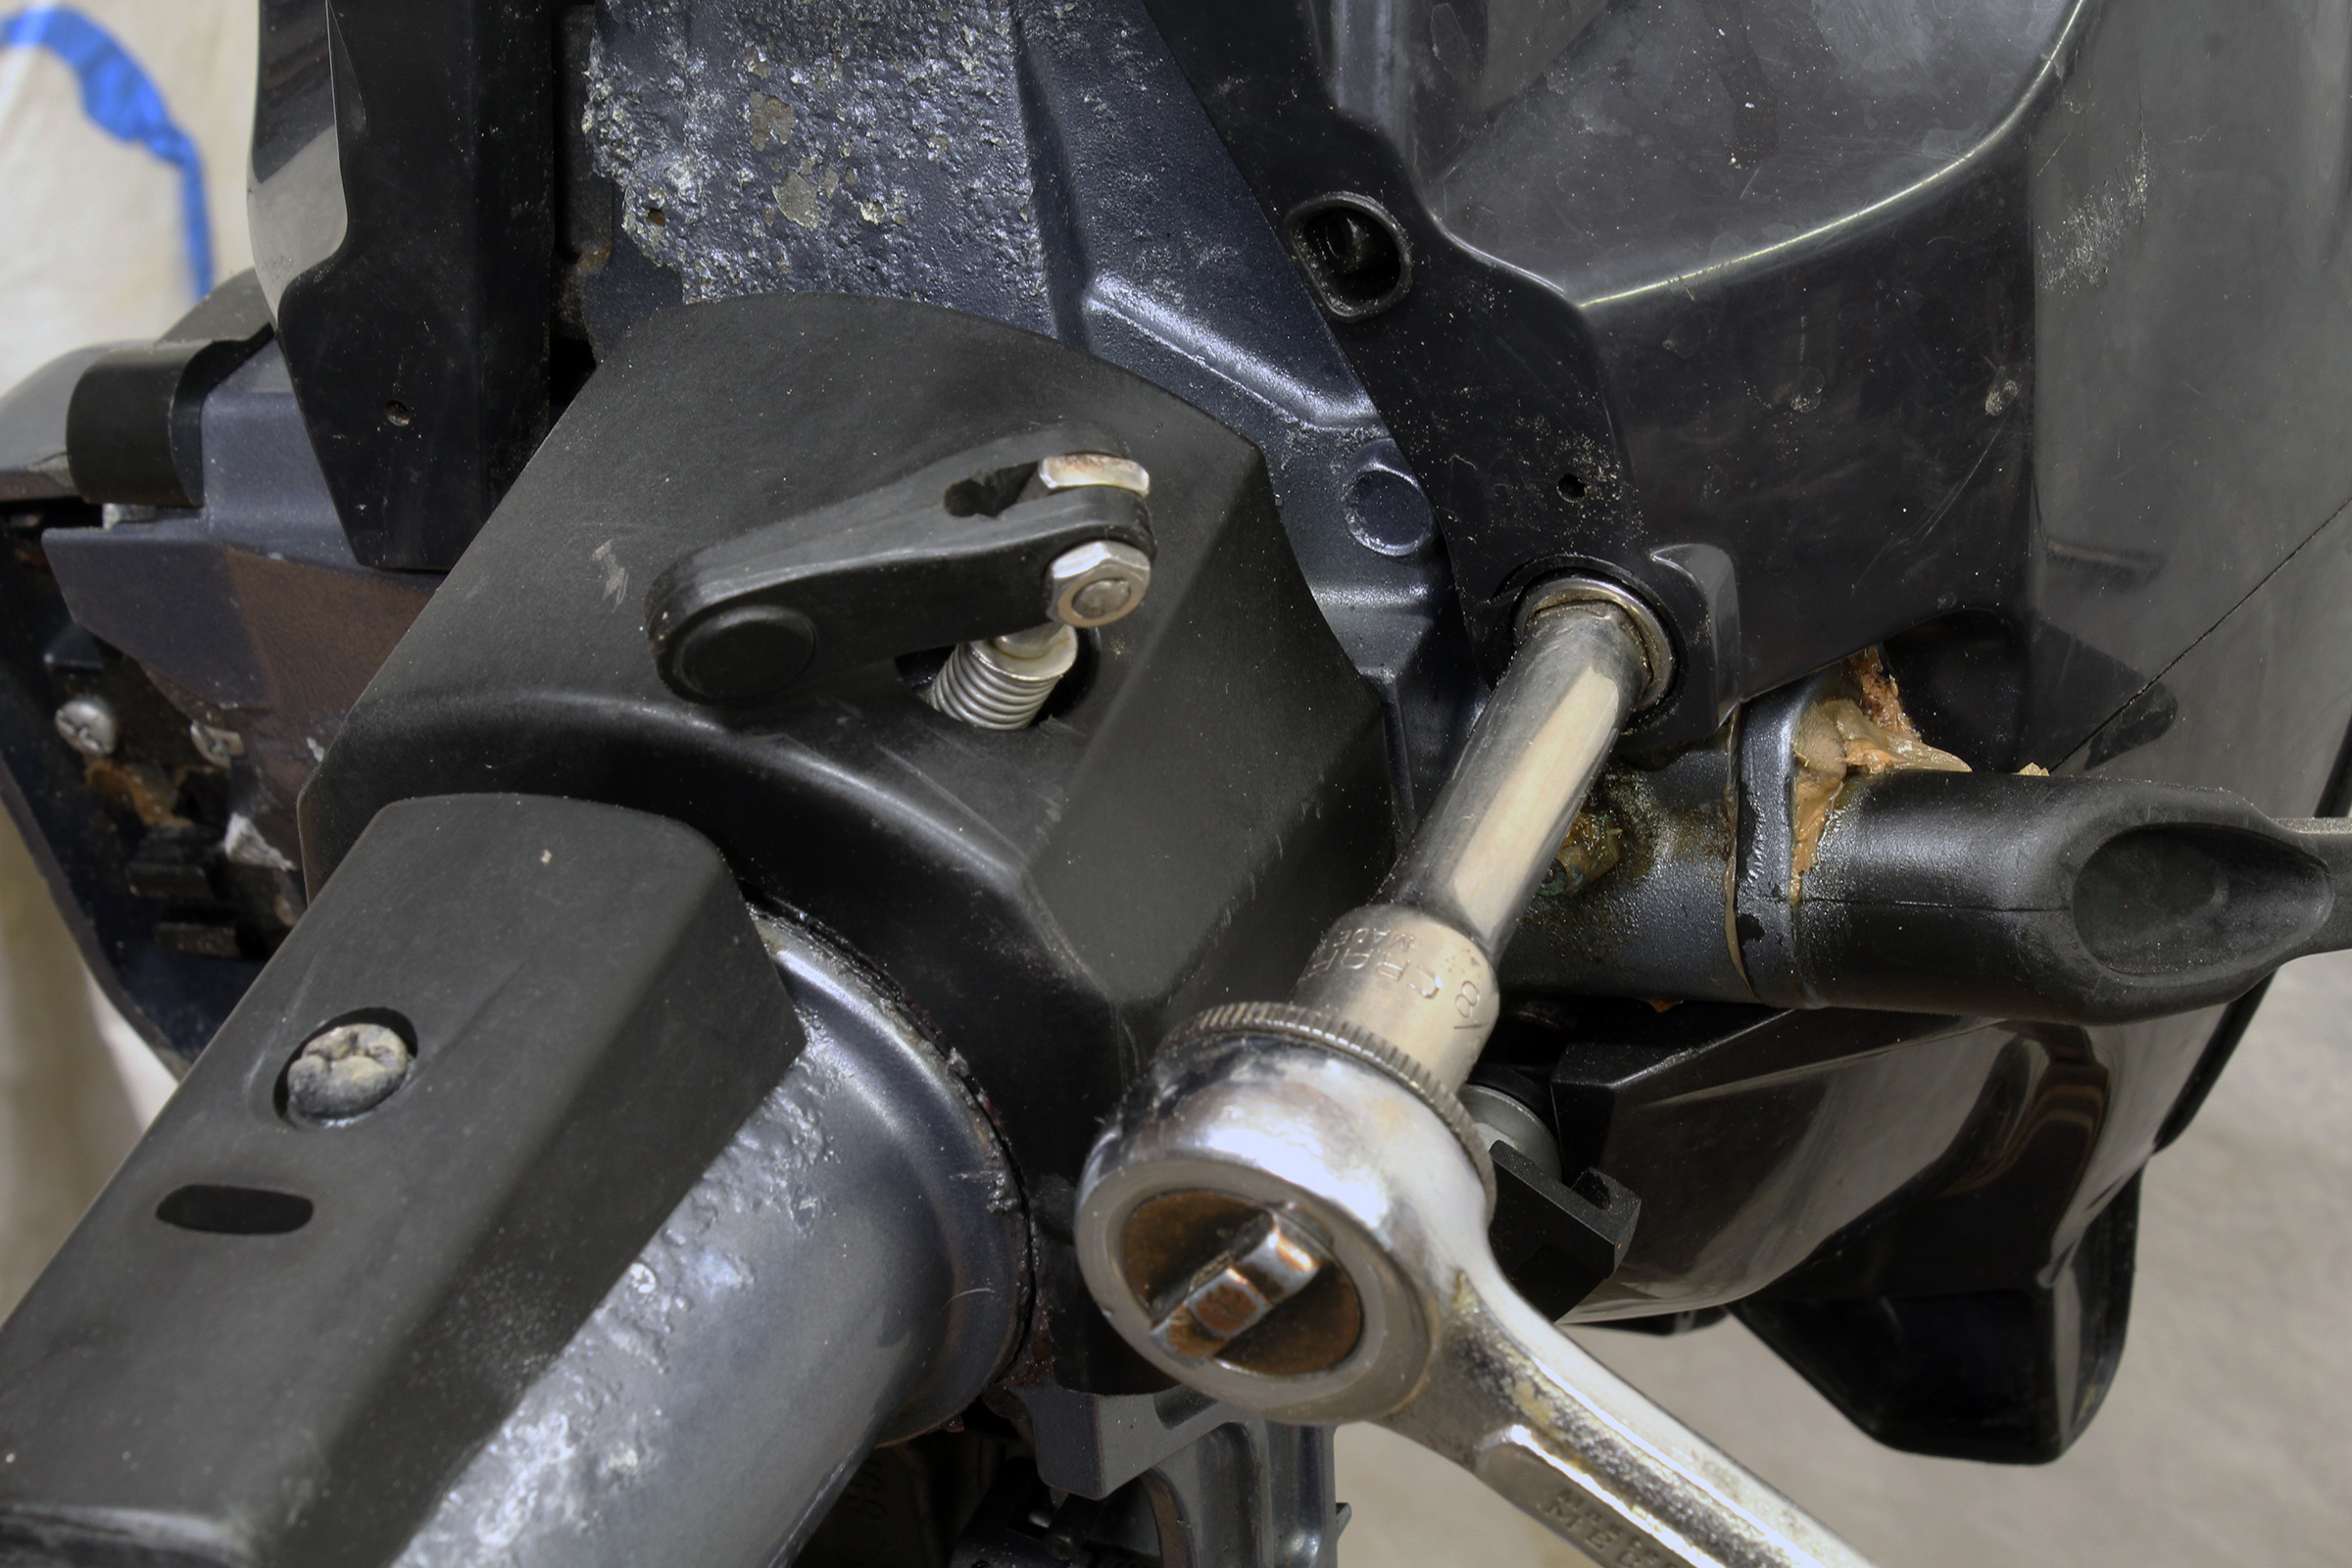
The tip of the grease gun is pointed at a one of the Zerk fittings that need a new application of waterproof grease.
Check the steering and tilt mechanisms, and use a grease gun to lubricate points as needed. Look at throttle linkages, especially the mount’s retaining hardware, for general condition and corrosion.
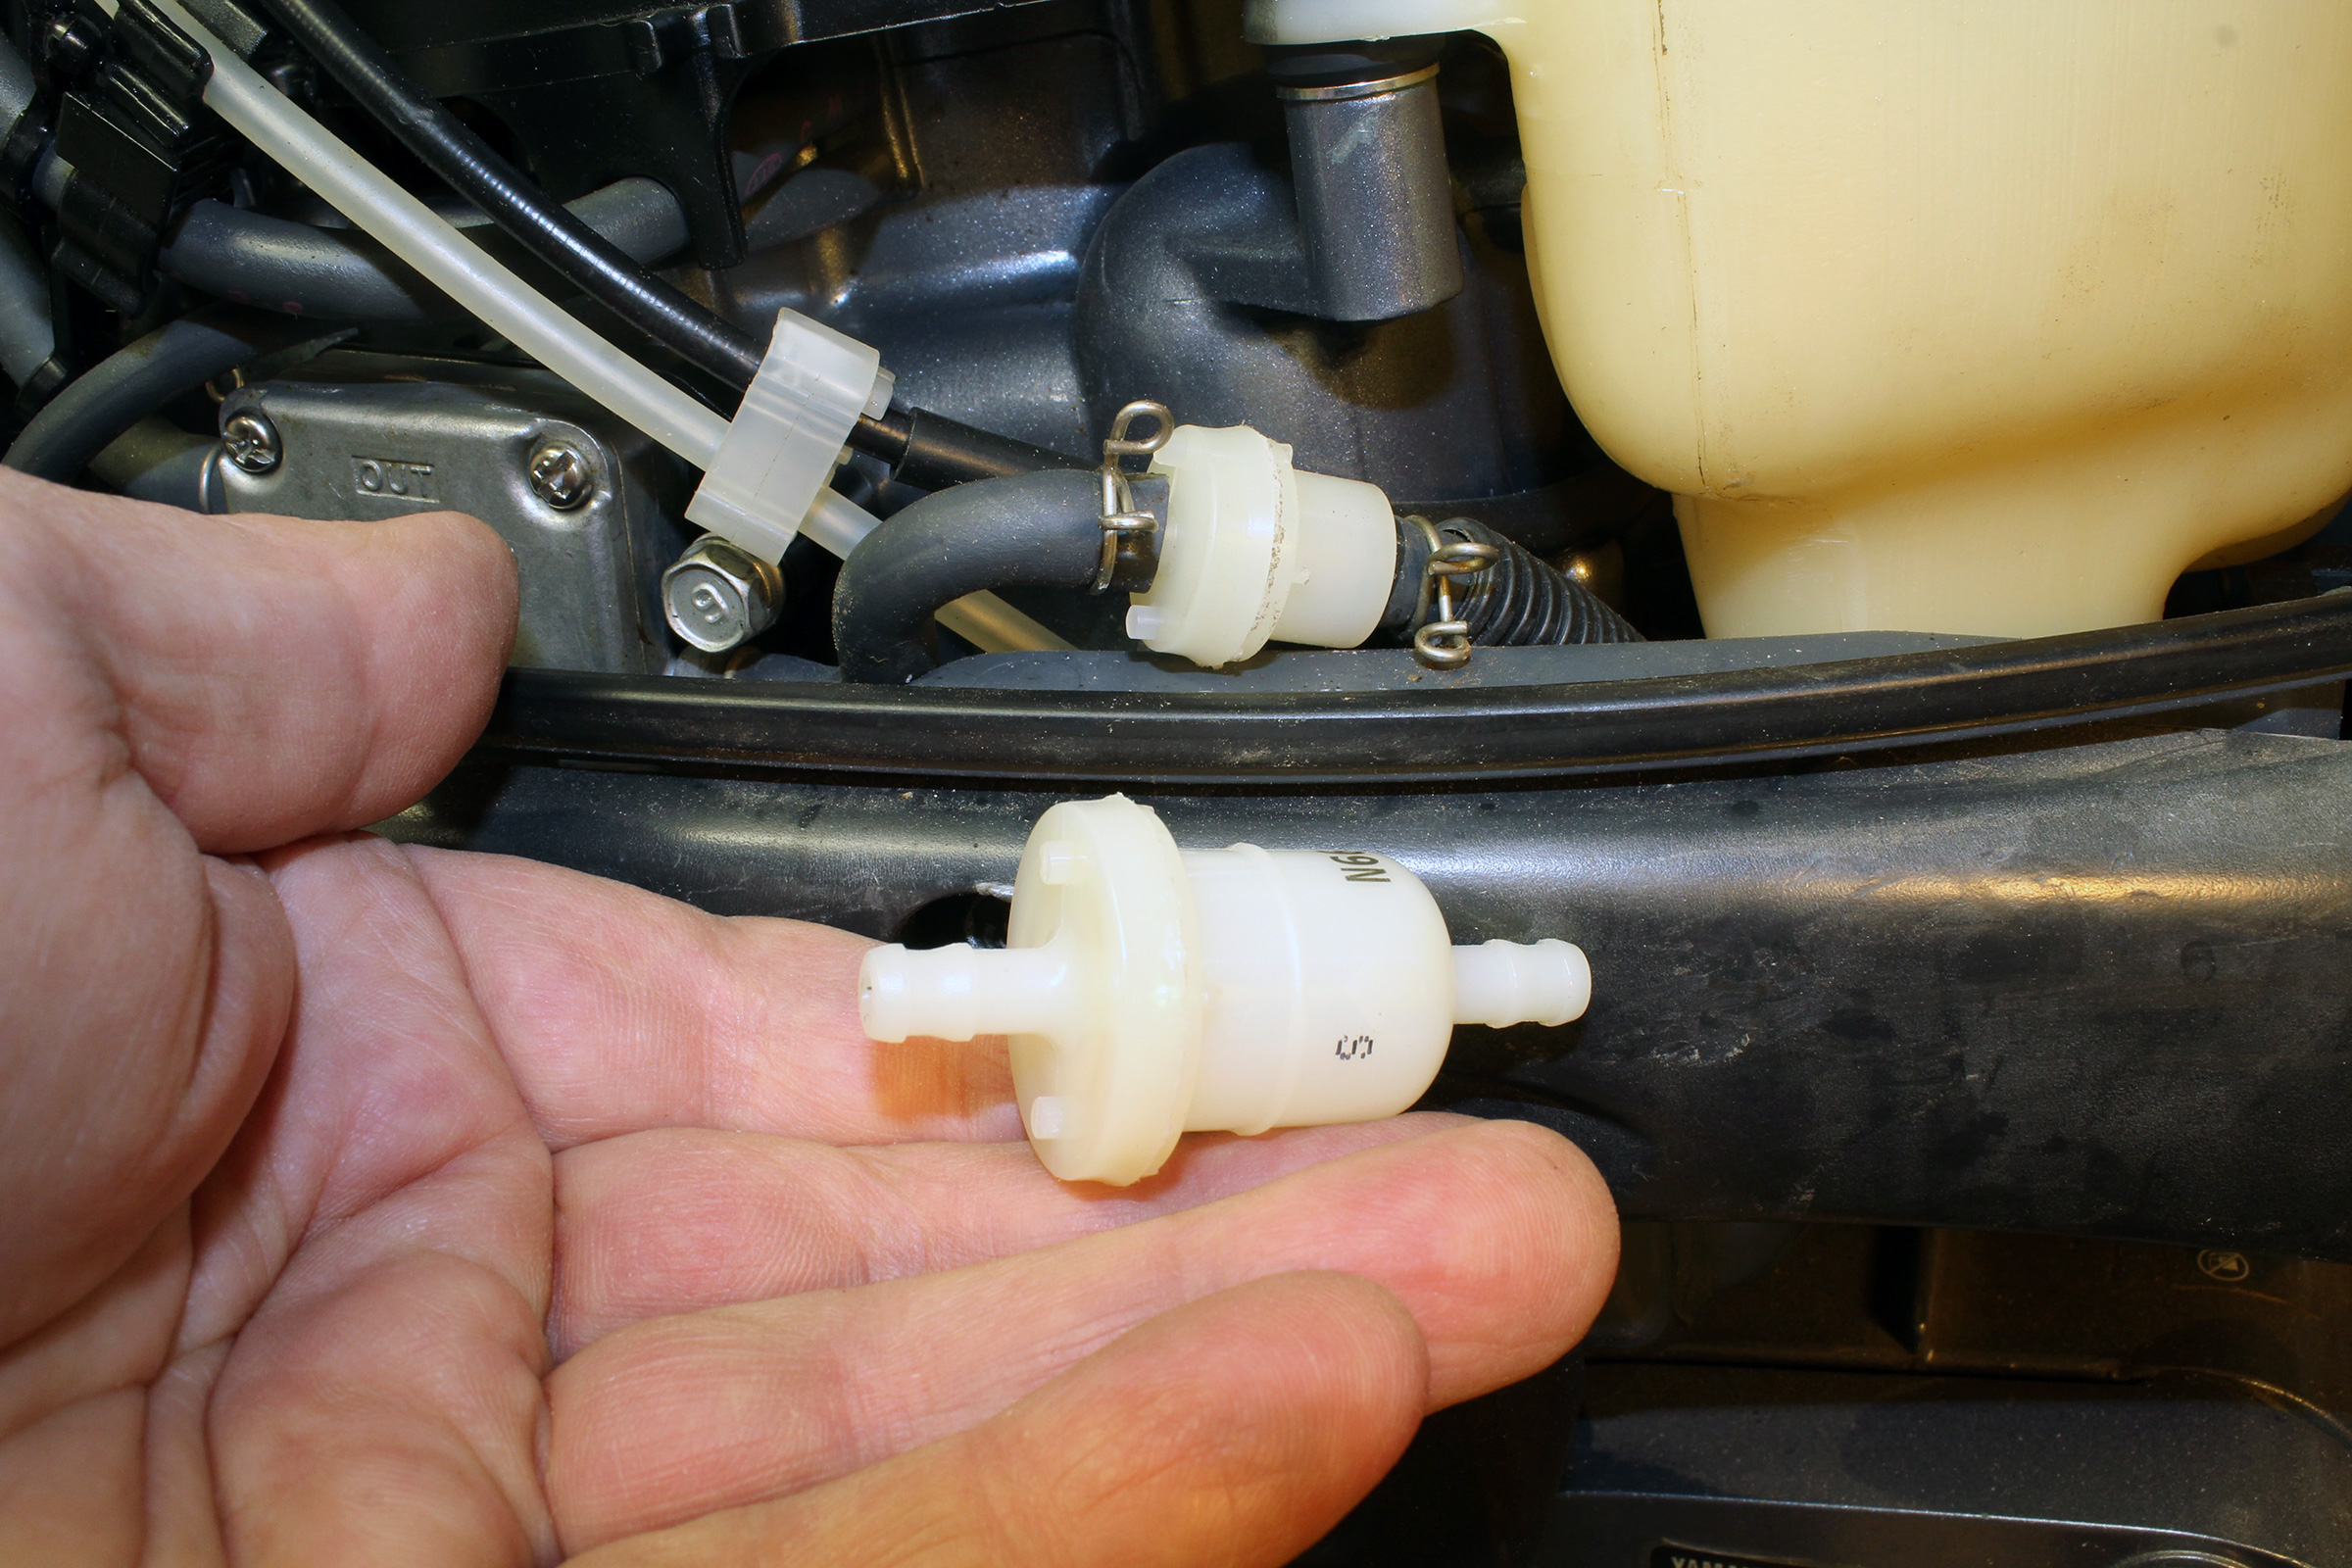
The new fuel filter in the foreground will replace the existing filter behind it. Pinch clamps on the fuel line make the change easy.
The in-line fuel filter (or water-separator filter, if there is one), should be changed every 100 hours or annually. It is essential to keep fuel as clean as possible.
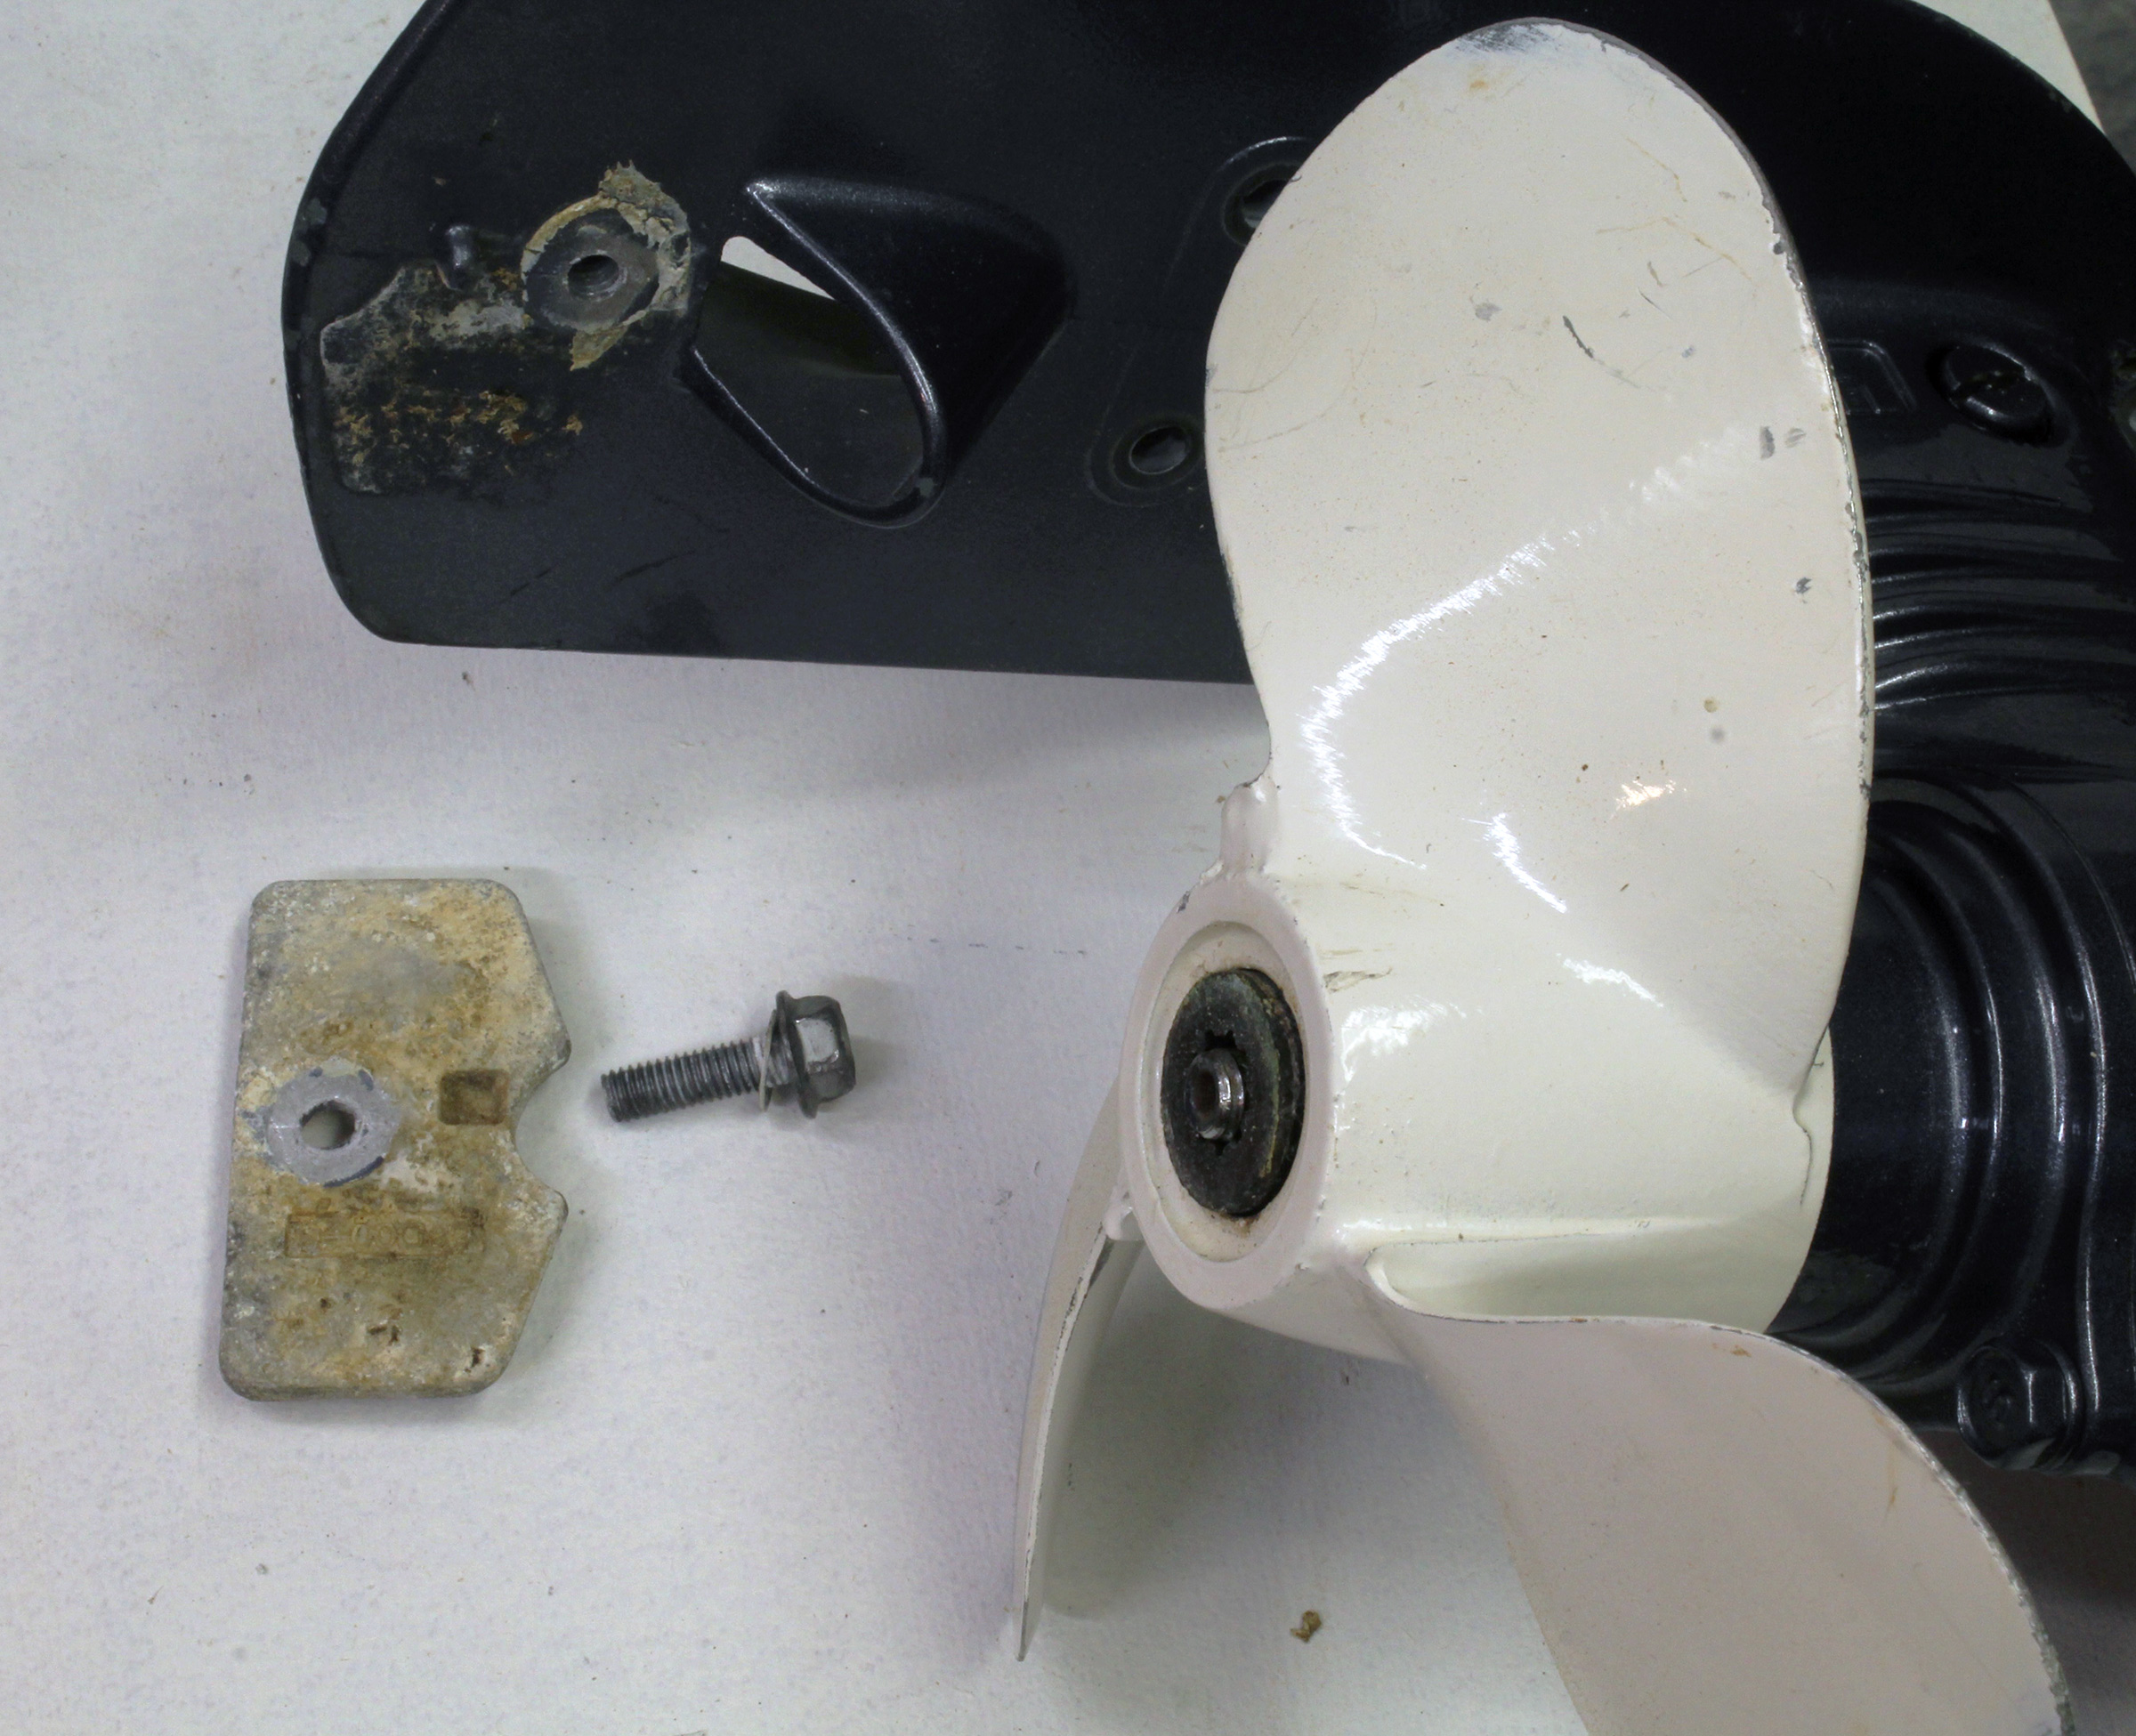
The sacrificial anode comes off with the removal of a single bolt. This one still has plenty of metal and just needs a bit of cleaning.
Check the sacrificial anode on the lower unit and clean it if it is scaly; replace it if a significant amount of it has eroded.
Make sure that the motor’s exterior gets a freshwater rinse; when it’s dry, touch up any paint chips, and put a coat of wax on the powerhead cover. Coat exposed metal inside the motors with Green Grease, a true waterproof grease, and treat external metal surfaces as needed with a corrosion preventative such as WD-40 but take care to not spray it onto rubber components. For rubber fittings and seals use a synthetic-based grease, not one that is petroleum-based.
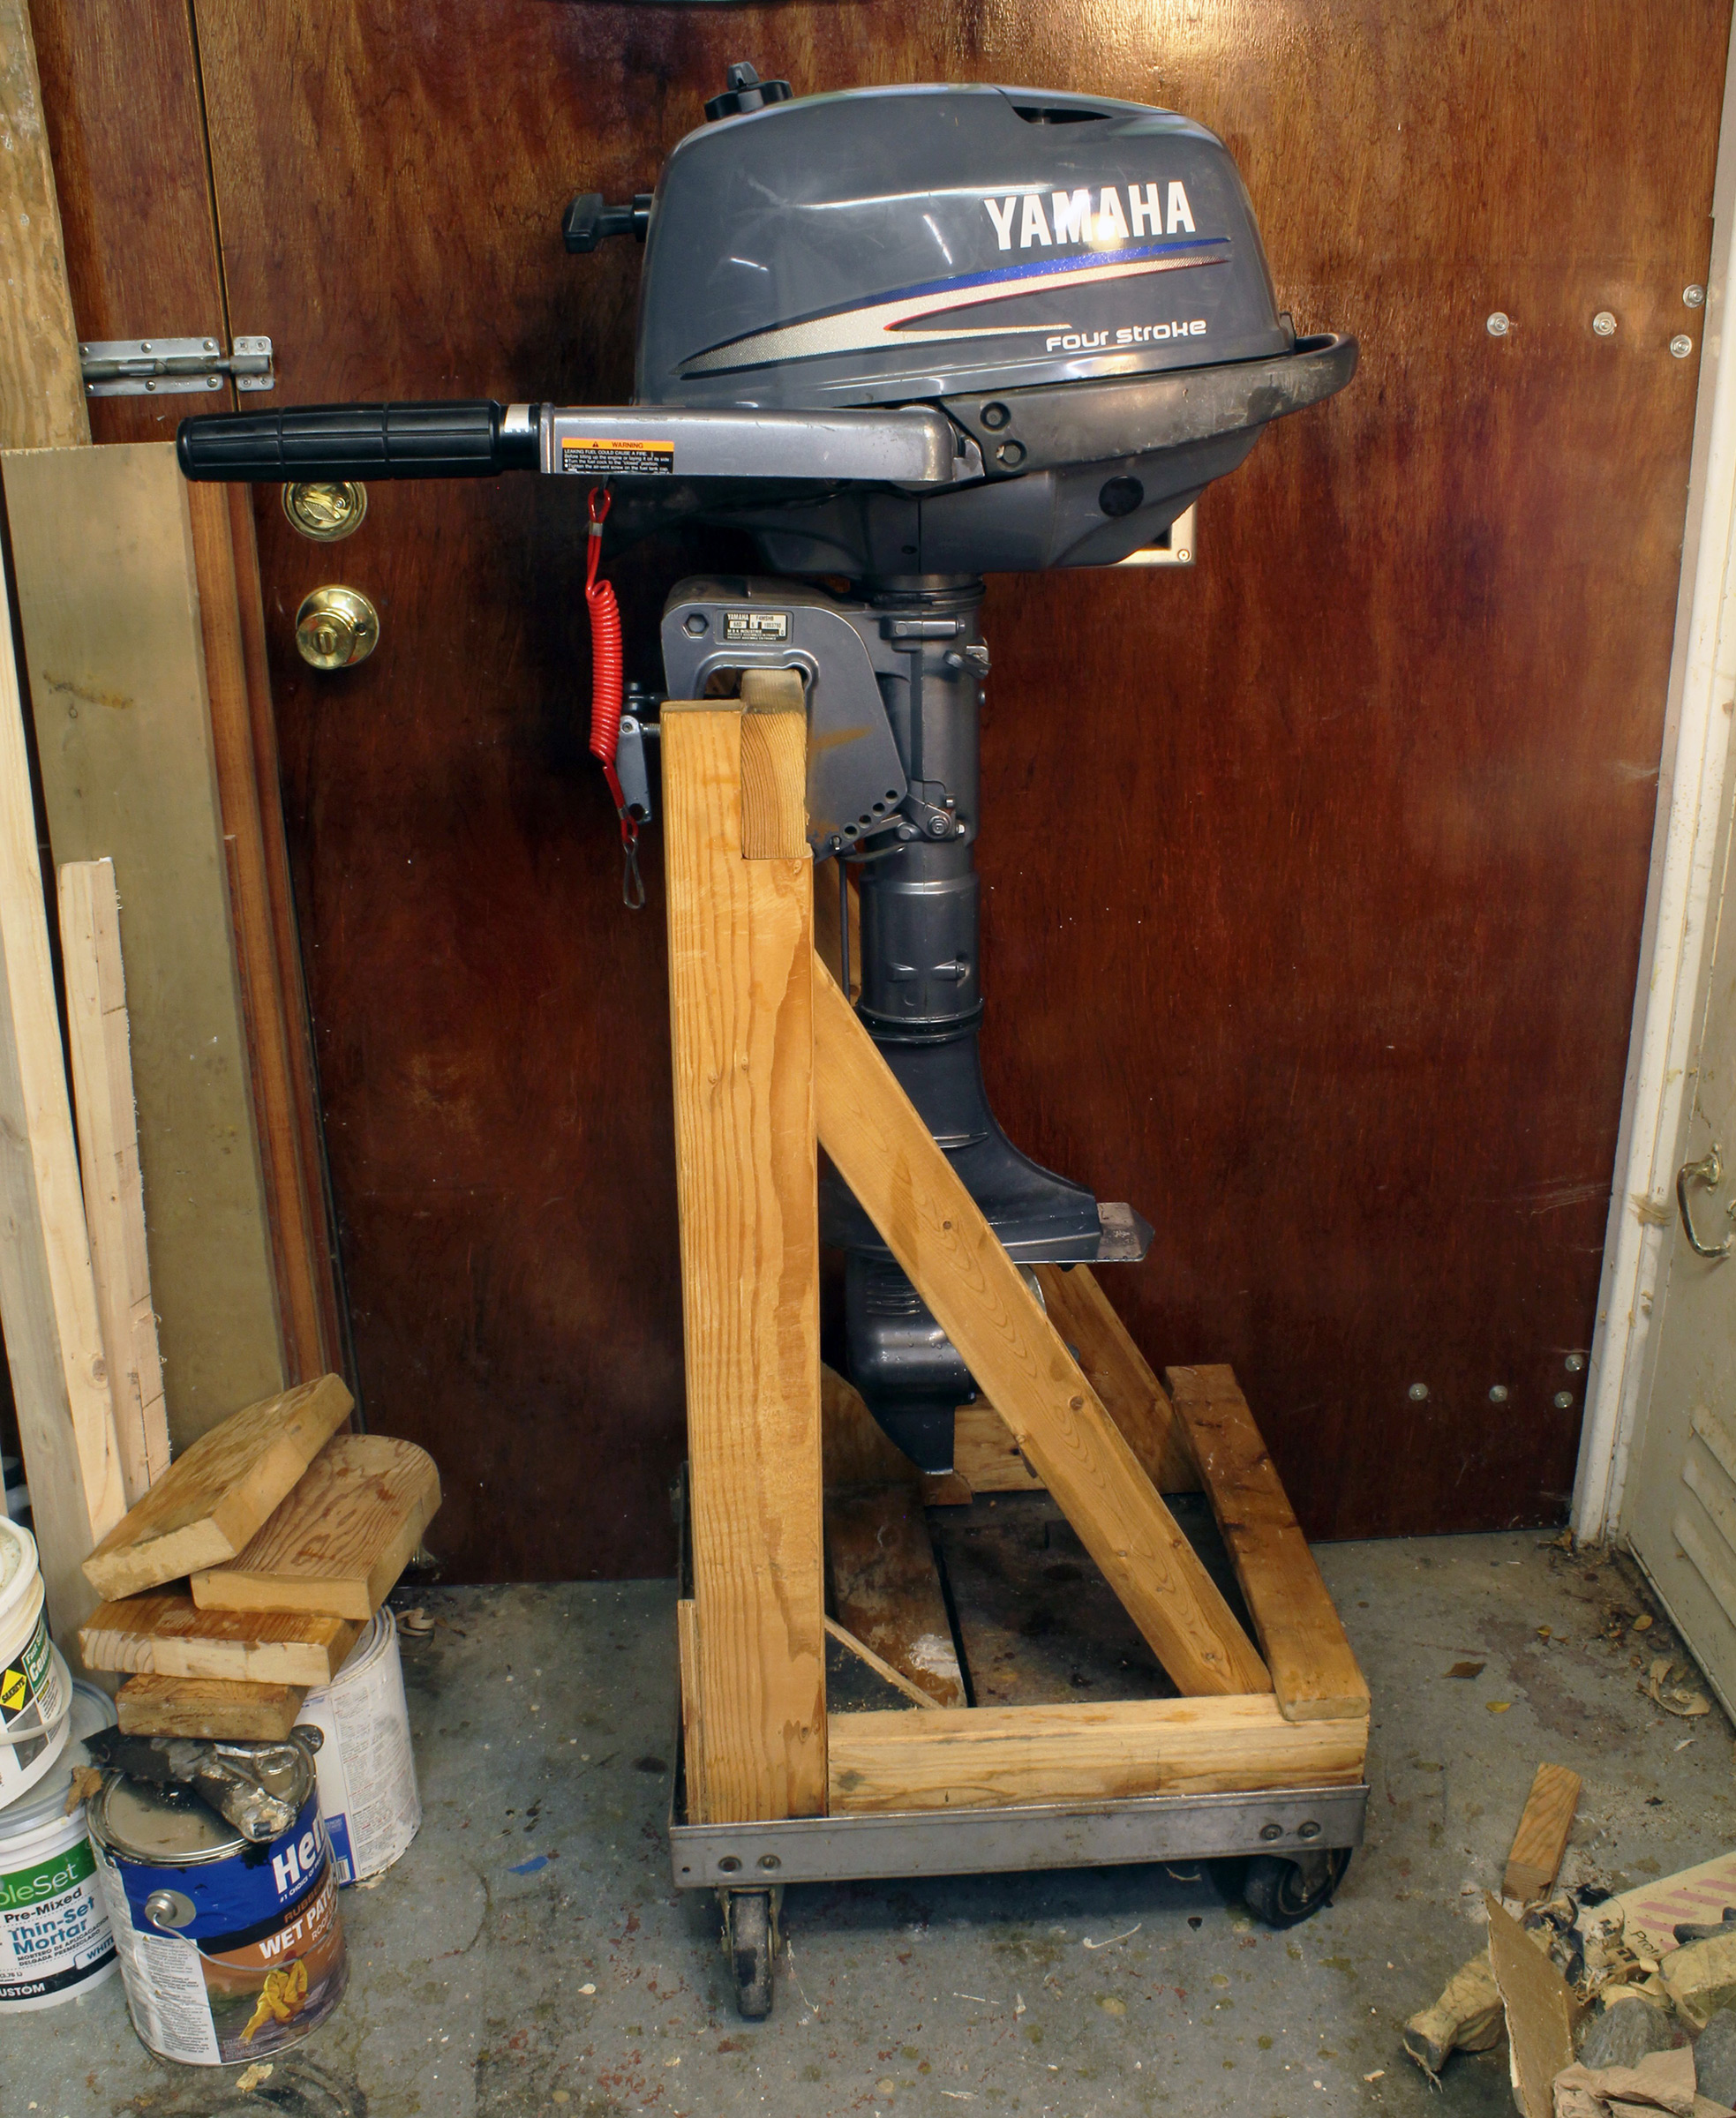
When all of the winterizing has been done, the outboard is ready for hibernation. It’s best stowed upright on a sturdy stand.
Four-stroke outboards must be stored either vertically or lying down in the position shown in the manual. If you lay them on the incorrect side, the crankcase oil can get through the air intake and fill the cylinder, causing hydraulic lock and damaging the motor. Two-stroke outboards can be stored in any position. If possible, stow the motor on a sturdy stand and protect it with a non-abrasive cover in an area where critters can’t get into it, lest the motor become a food cache for mice and squirrels, who also like to chew on wires, or attract the wasp-like mud daubers, who are known to plug cooling-system discharge ports. If your motor uses a battery, put it on a smart charger.
With our three motors well taken care of, when the next nice day rolls around in the springtime, we will be ready to head out on the water, confident in the health of a vitally important propulsion system.
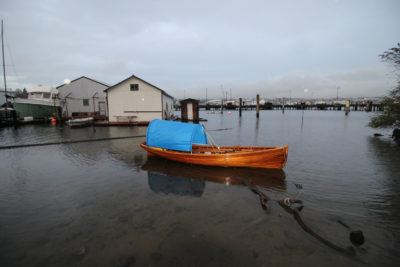
Prepare your small boat for winter storage
Now that your outboard motor is ready for a long winter’s nap, you need to protect the rest of your boat so it’s good to go when spring arrives. Follow our boat winterization guide for details on how to cover and store your craft to protect it from winter weather and unwelcome pests. ![]()
Audrey and Kent Lewis mess about with their small armada in the Tidewater Region of southeast Virginia. Steve Baum is a U.S. Coast Guard veteran who spent a career on the water surrounded by ships and small boats, and then embarked on another career with the U.S. Army Corps of Engineers to ensure that our waterways are safe for boating.
You can share your tips and tricks of the trade with other Small Boats Magazine readers by sending us an email.


Very thorough, thanks! But I’ll be honest, reading all this makes me want to check out the price of an electric outboard again!
Why is it not recommended to run the engine until the fuel runs out?
That was an option noted in the text—”run the motor to fuel exhaustion”—but not mentioned in the photo caption.
—Ed.
It makes sense now that I re-read it.
I’m skeptical of running pre-mix two stroke engines out of fuel. Remember, the oil is in the fuel.
I’ve had great results using a strong Techron additive mix to degum carburetors after they sit. For best results, run the mix for a minute, let it sit for a full day and Bob’s yer uncle! I have not found another brand, including Seafoam, that works as well.