Many years ago, I took an adult-education entry-to-woodworking course. The once-a-week evening classes were held at a local high school over 10 weeks. I made a mahogany hinged-lid box with dovetailed corners. It took me the whole 30 hours of the course to make. When it was finished, I was ridiculously proud of it until a friend said, “Nice! What else did you make?”
I still have and use my adult-ed box, but I’ve made nothing since. I’m handy with a paint-stripper, power sander, sanding block, paintbrush, varnish brush, even occasionally a palette knife and wood filler, but I am not a maker of wooden objects. So, when another friend recently suggested I make a wooden toolbox, I laughed. Then I found the CLC Tool Box. While Chesapeake Light Craft is well known for its kits for kayaks, canoes, and boats, the company also offers some “small projects,” among them the Tool Box.

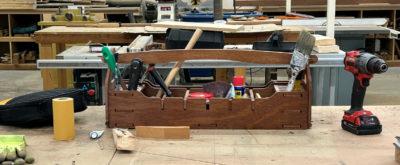
The finished box measures approximately 25″ × 10″ and, with its gently arched carrying handle, stands about 9″ high. It’s made entirely out of 9mm marine plywood. On their website Chesapeake Light Craft says the toolbox is an “interpretation of the ‘classic tab-and-slot’ type favored by woodworkers for its ease of assembly.”
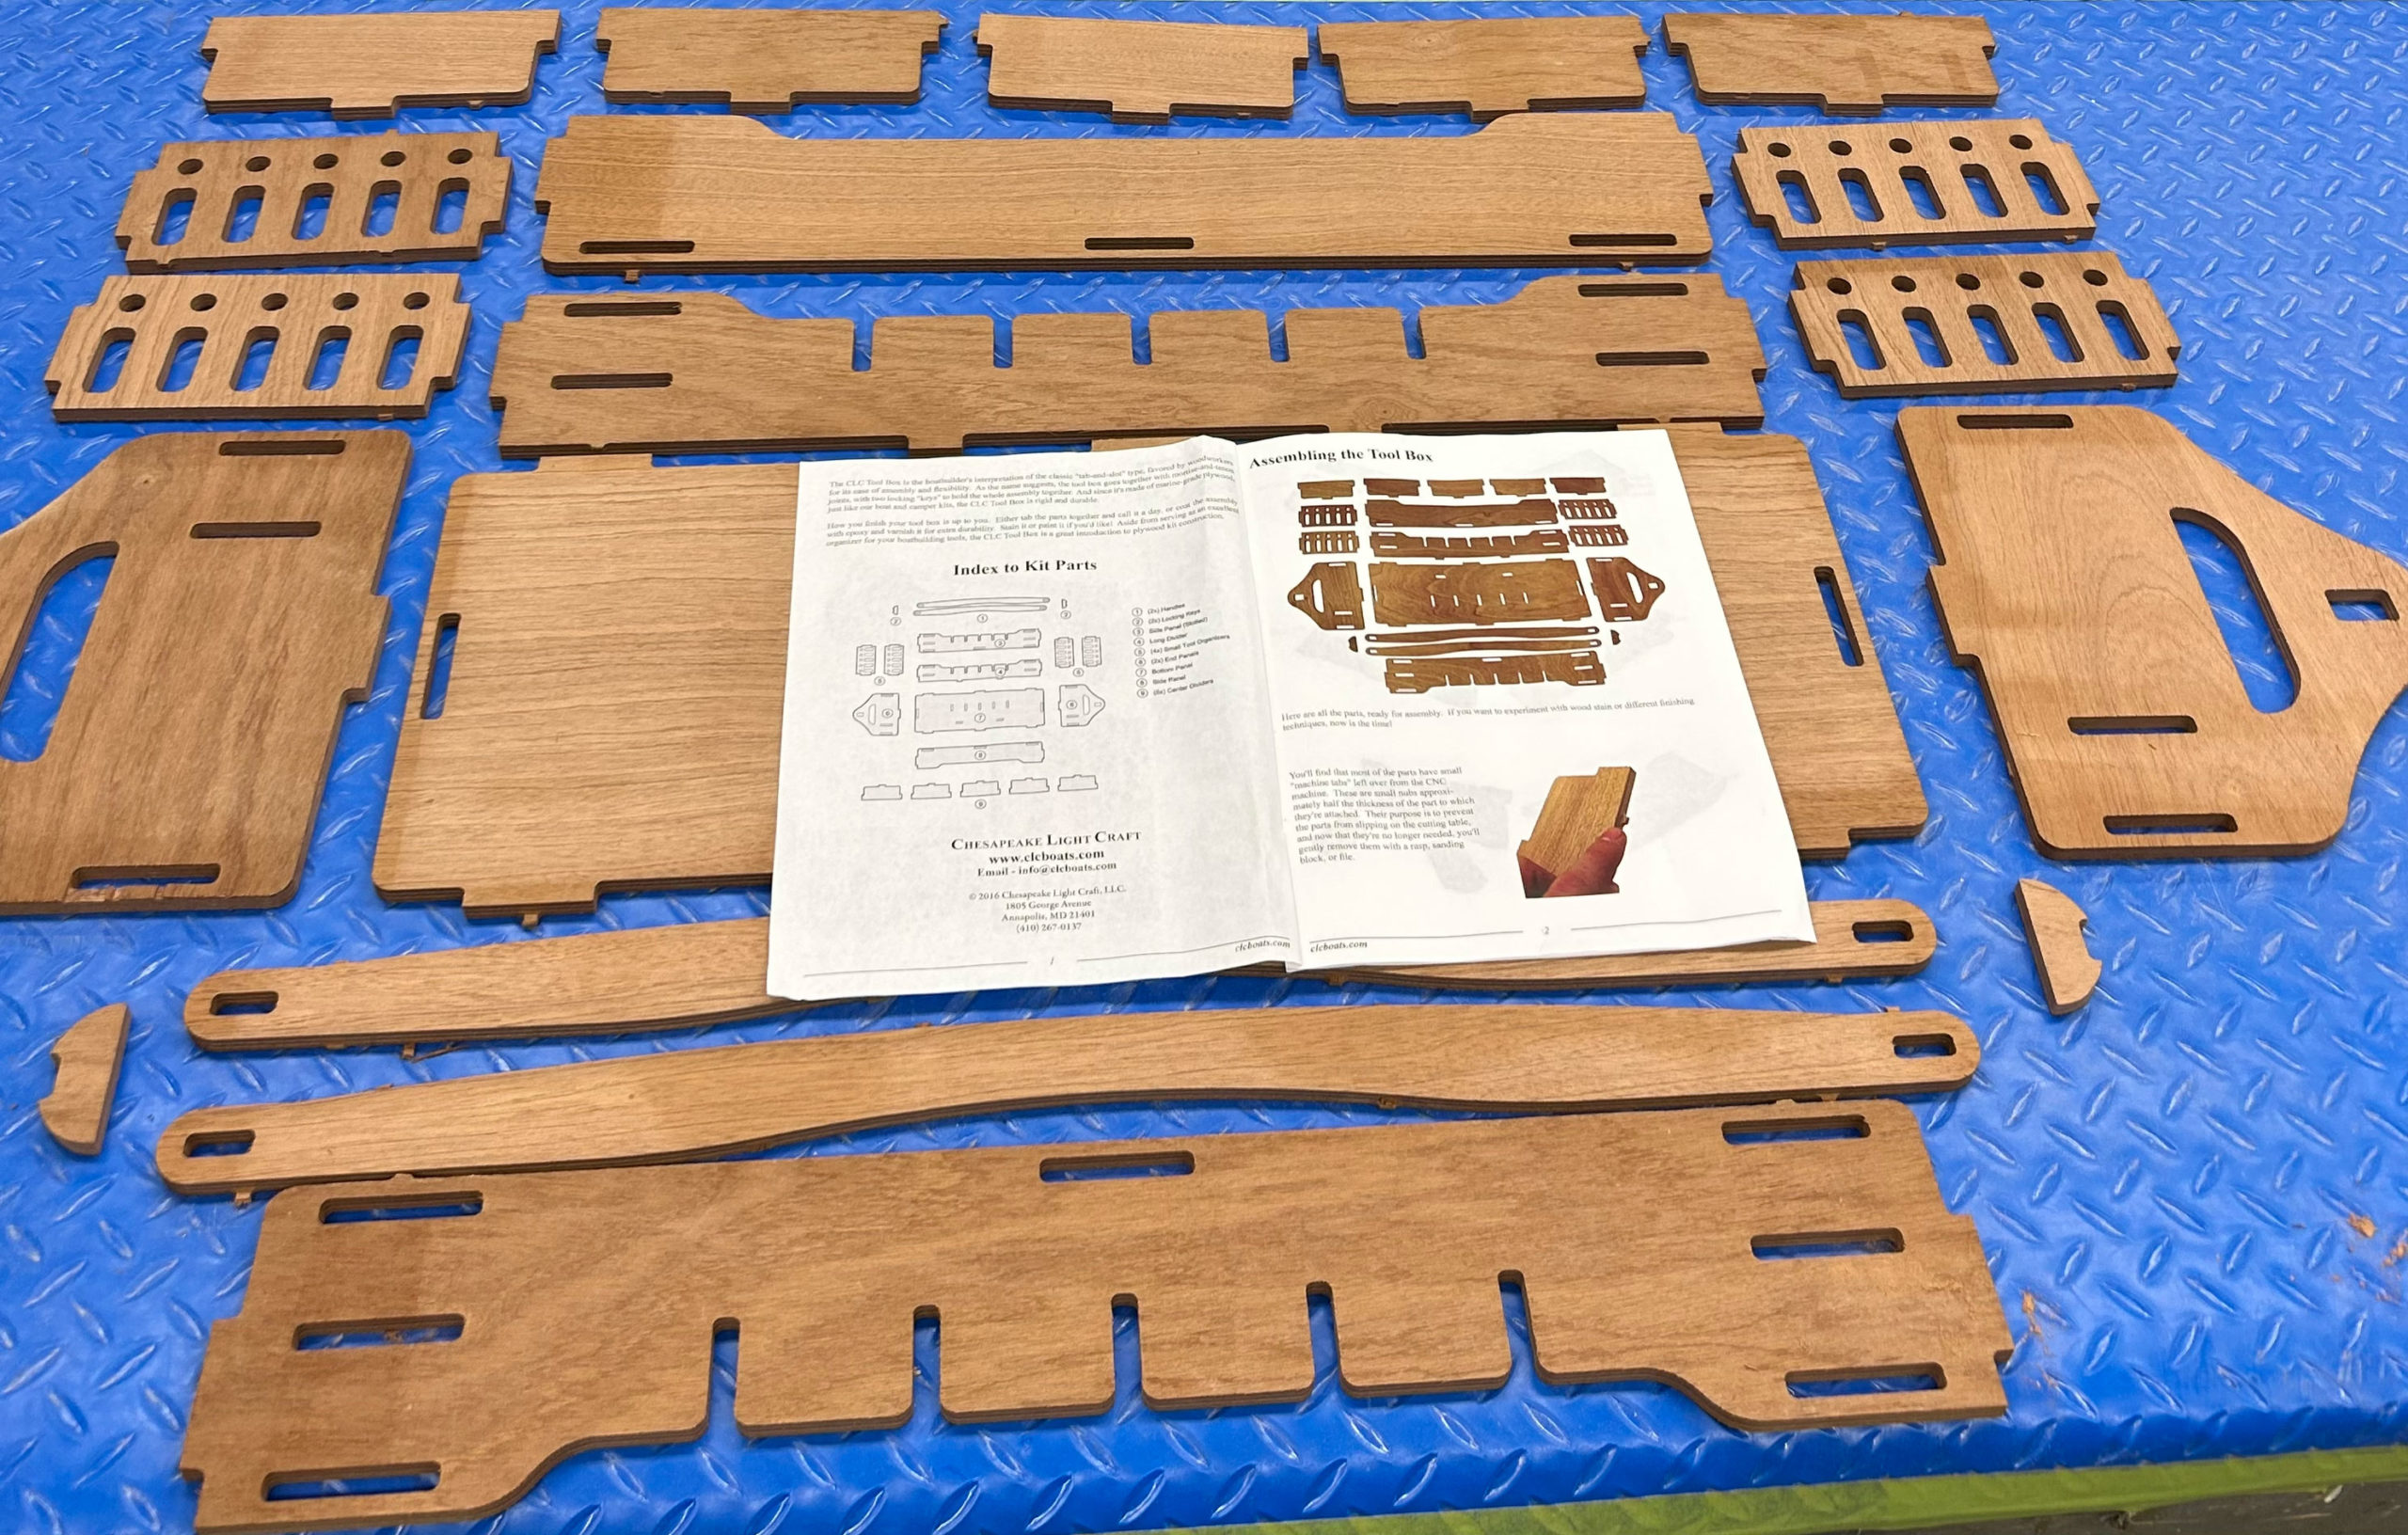
When the kit arrived, I was skeptical: I opened the box to reveal nothing more than a pile of machine-cut plywood pieces taped together. There were no fancy wrappings, not even any tools, but there was an illustrated instruction manual. I quickly scanned the 11 pages and was pleased to see large full-color photographs accompanied by one- or two-sentence directions showing the toolbox assembly, step by step. I read that I would need a file or rasp, some sandpaper, and some wood glue.
 Photographs by the author
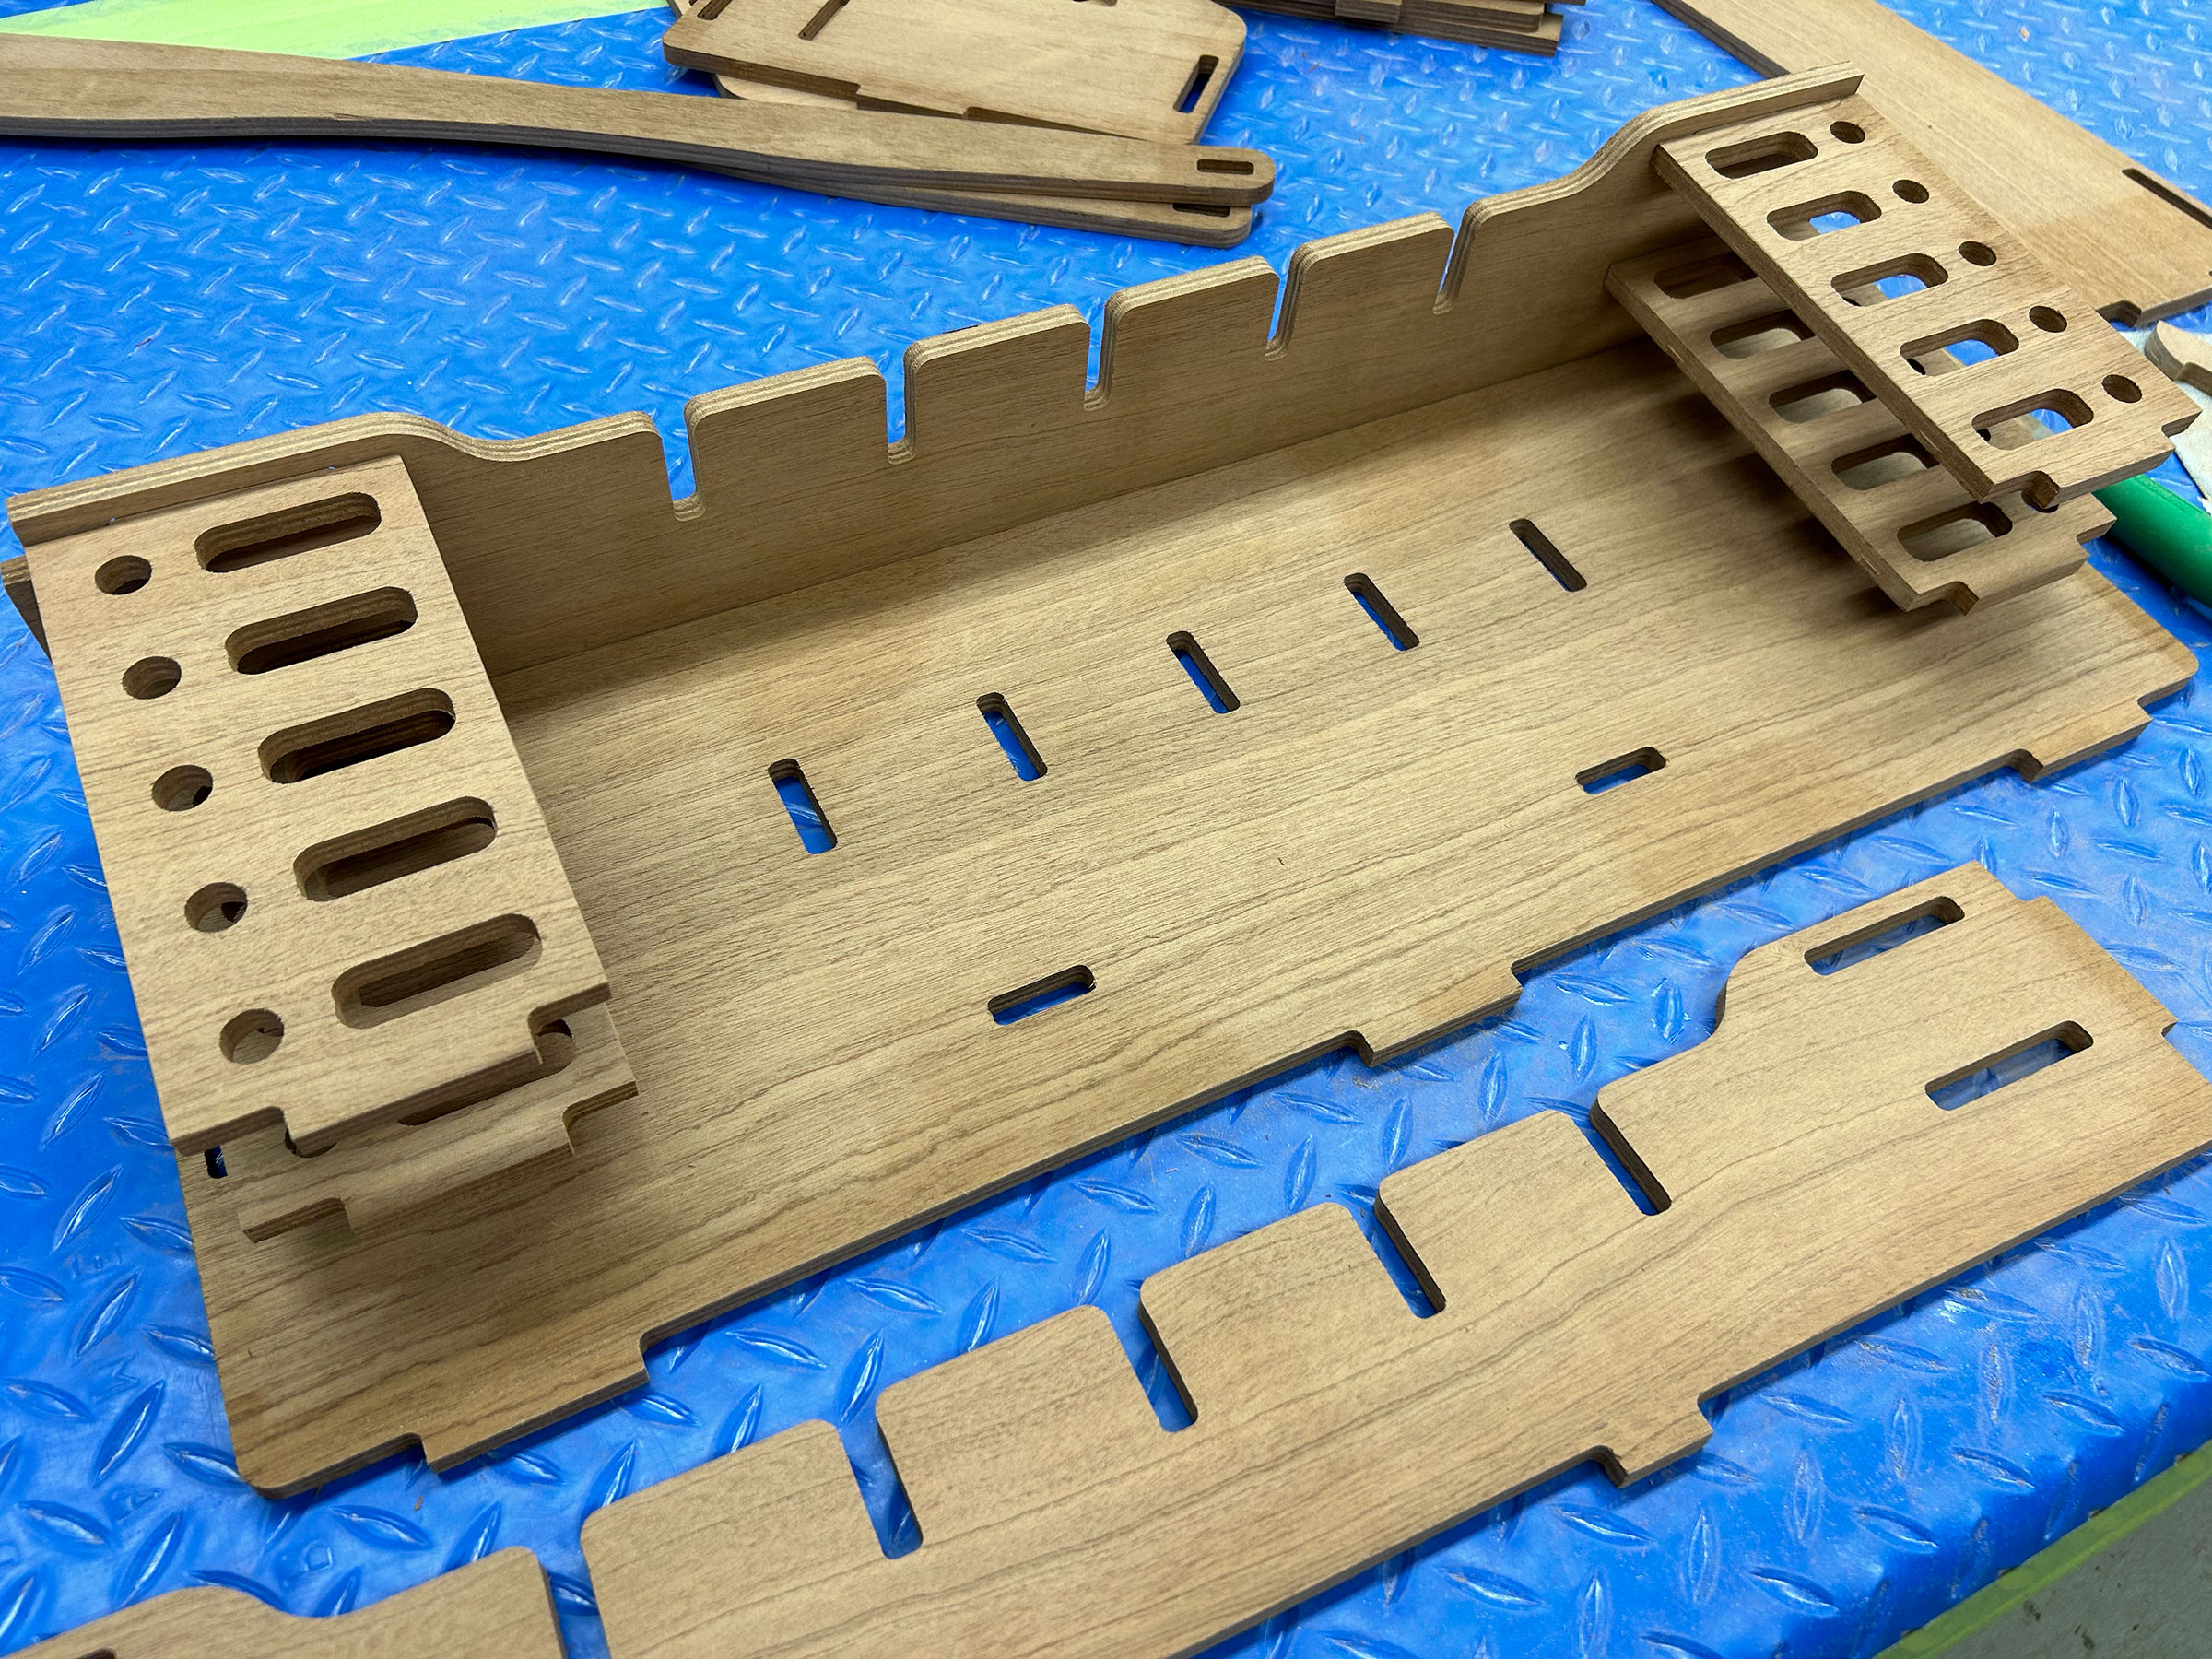
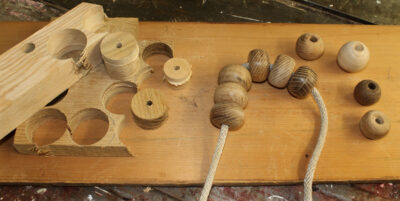
The 9mm plywood kit pieces are all accurately machine cut for snug fits. The small tabs seen at the bottom edges of many pieces are leftovers from the router-cutting process and need to be removed before assembly.
The tools are used at the beginning of assembly. Nearly all the pieces have small tabs left over from the cutting process and these must be removed prior to building the box. The manual recommends a rasp, file, or sanding block. I started with a file, but the process was frustratingly slow. I persevered with half-a-dozen of the tabs but with many still to do I decided to try a sharp-bladed knife. I carefully cut away the bulk of each tab and then sanded the edge smooth. In very short order all the tabs were gone, and I was ready to start assembling.
The parts are assembled in a particular order so that the finished tool box doesn’t need glue to hold it together.
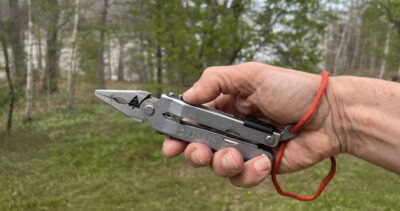
Apart from one false turn at the very beginning when I failed to spot that the two side panels were not identical and that I had, by chance, started with the wrong one, the assembling process was quick and simple: the tenons and slots lined up perfectly and to my delight, in less than an hour, I was ready to install the carrying handle and locking keys. This was the only moment during the construction when I doubted the process. It is a tight fit to get the handle (two 9mm-plywood pieces glued together along their length) into the holes in the end panels. I had to use some gentle persuasion with a rubber mallet to get the two pieces to accept one another. Once the handle was through, the locking key slipped into place in its slot without complaint. I repeated the process at the other end and there it was: a completed plywood toolbox.
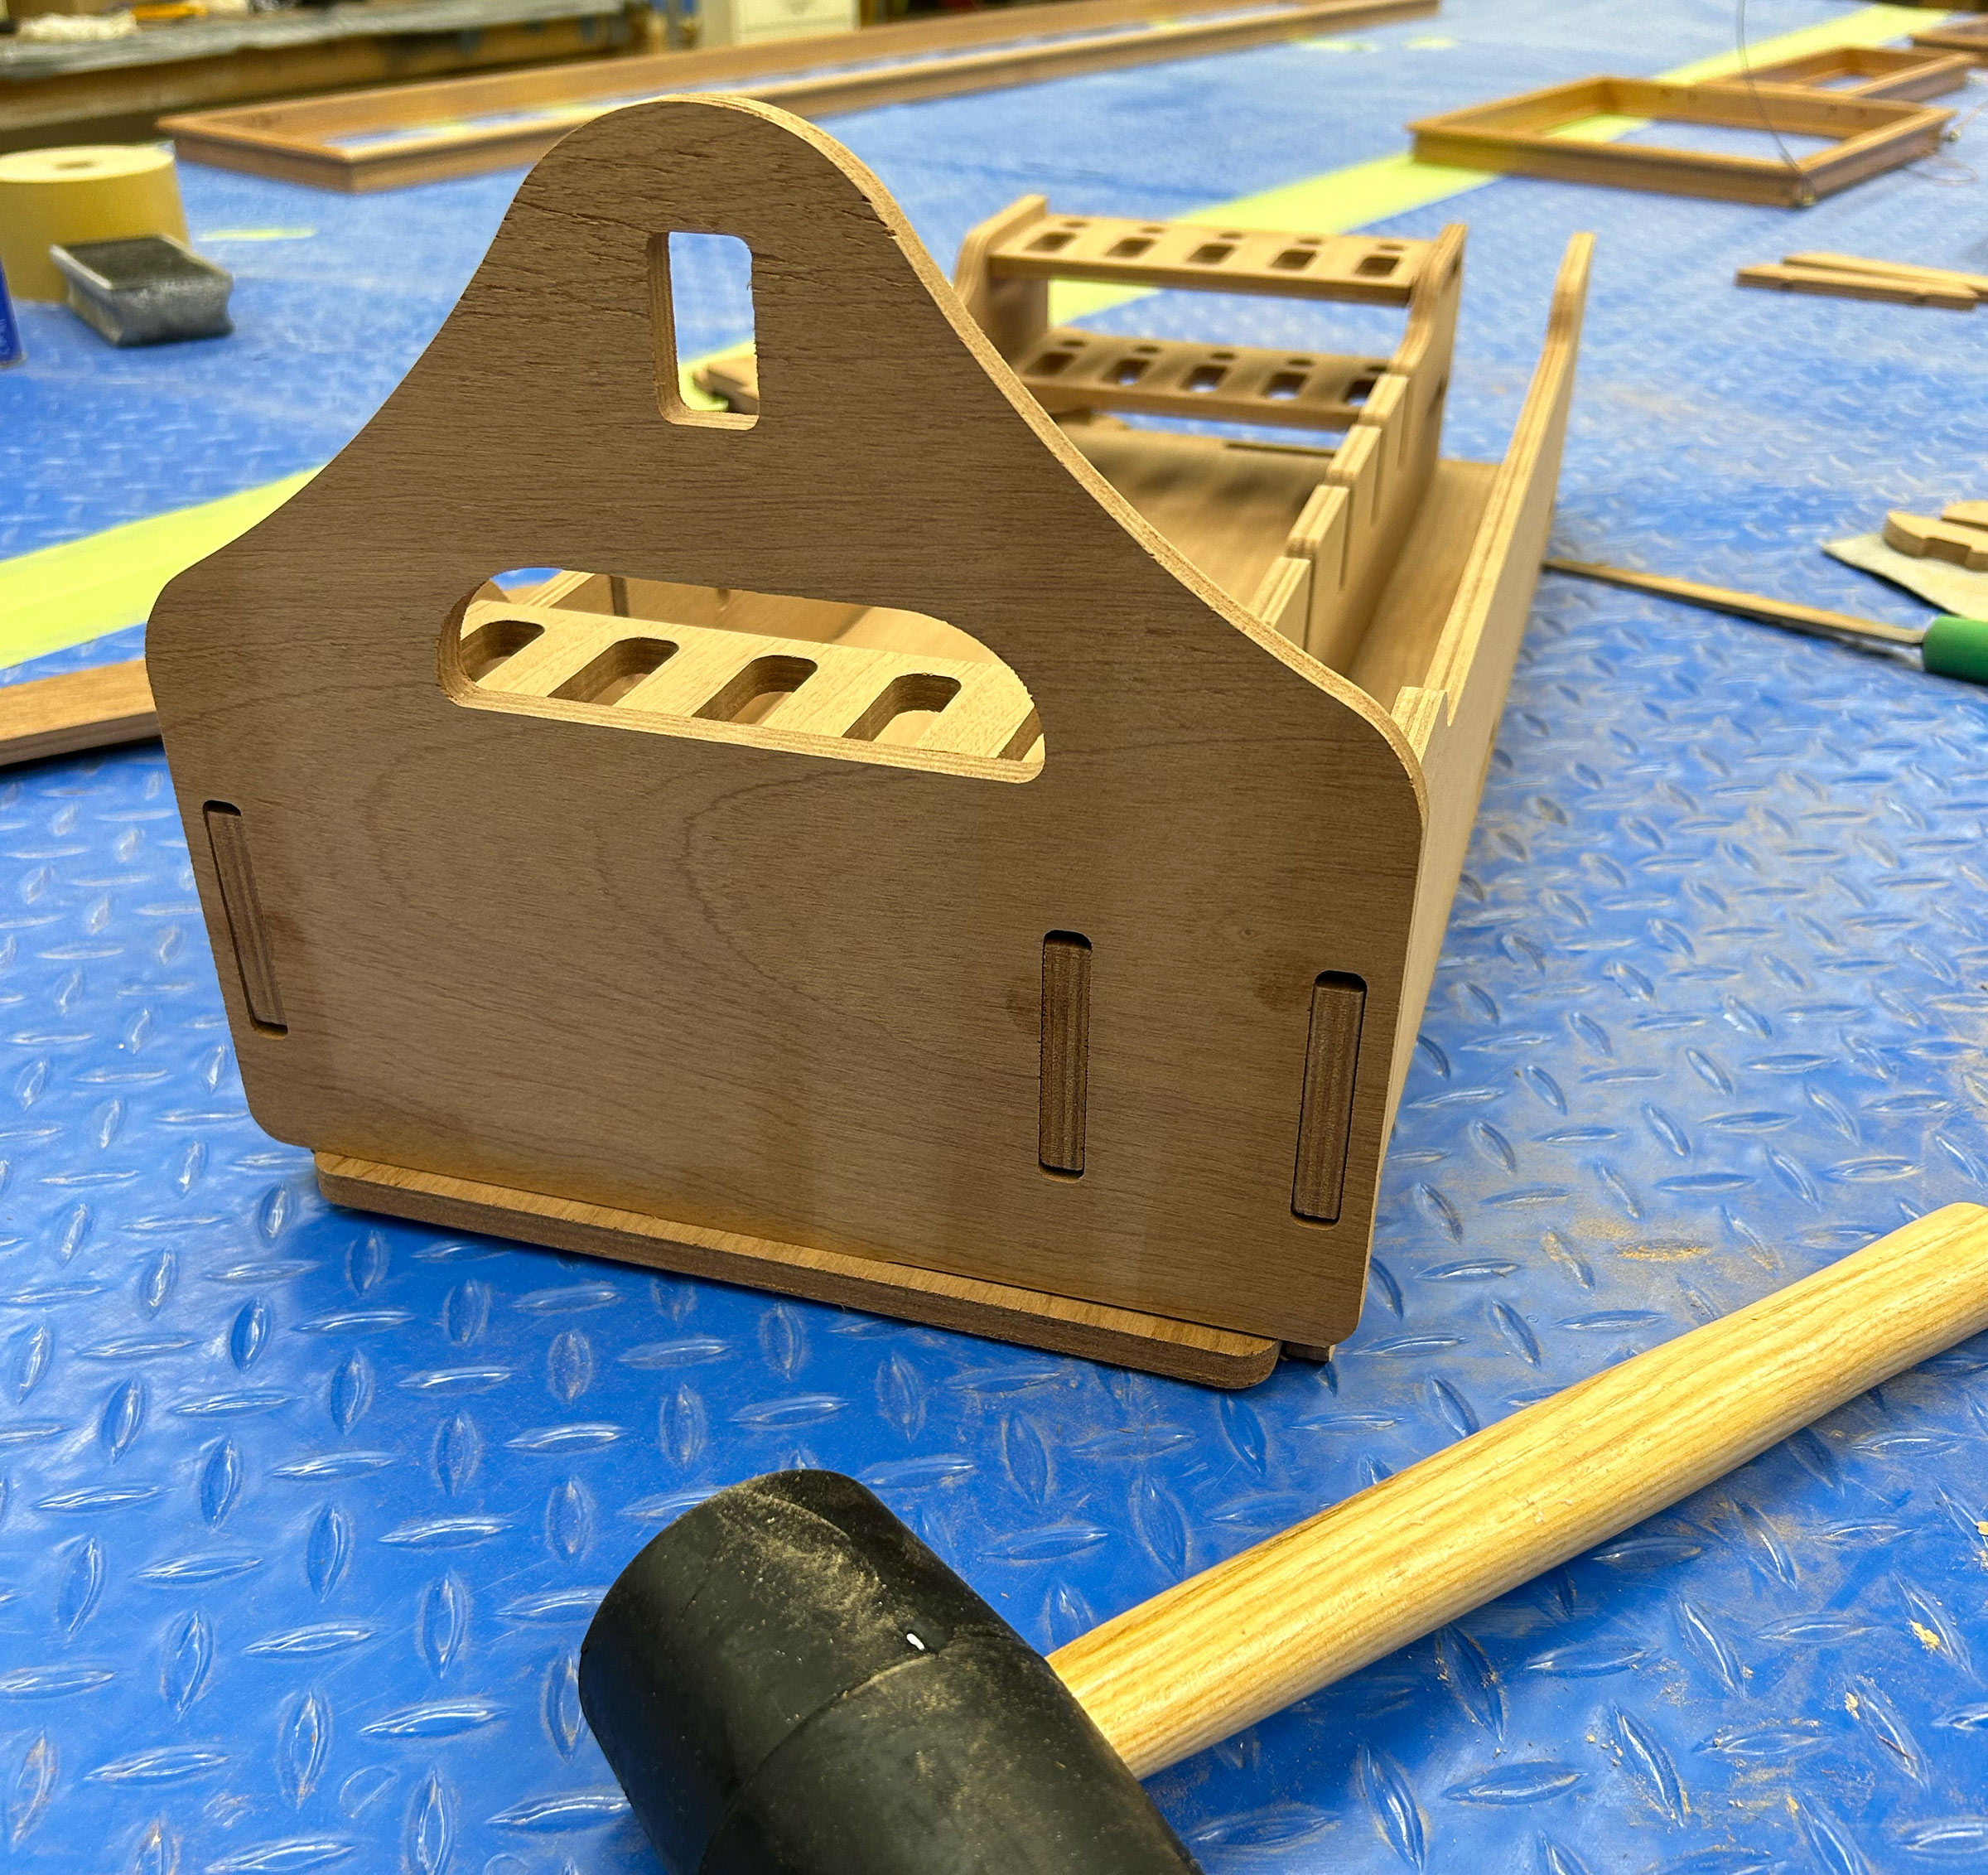
A few taps with a rubber mallet helped get the end pieces set.
During and after construction I smoothed most of the edges with 120-grit paper to remove splinters and round-off the hard cut of the plywood, but I was impressed by the ease of assembly and the look of the finished product. While the instructions indicate the marine-grade plywood doesn’t need to have a finish, I applied several coats of spray shellac, which I rubbed down between coats with a 3M scuff pad.
The handle is made of two pieces glued together to make it stronger and provide a more comfortable hand grip. The keys tapped into the ends of the handle hold it in place and lock the entire assembly together. The dividers in the center can be removed.
At the end of the construction, there were two extra pieces still on the bench, so I called Chesapeake Light Craft. They apologized that the pieces are not mentioned in the text but explained that I could glue them to either side of the top arc of the handle to increase the thickness, if desired, for carrying comfort. It might, indeed, improve the feel when the box is heavy with tools, but for my smaller hands I think I will just do a bit more smoothing of the edges and call it good.
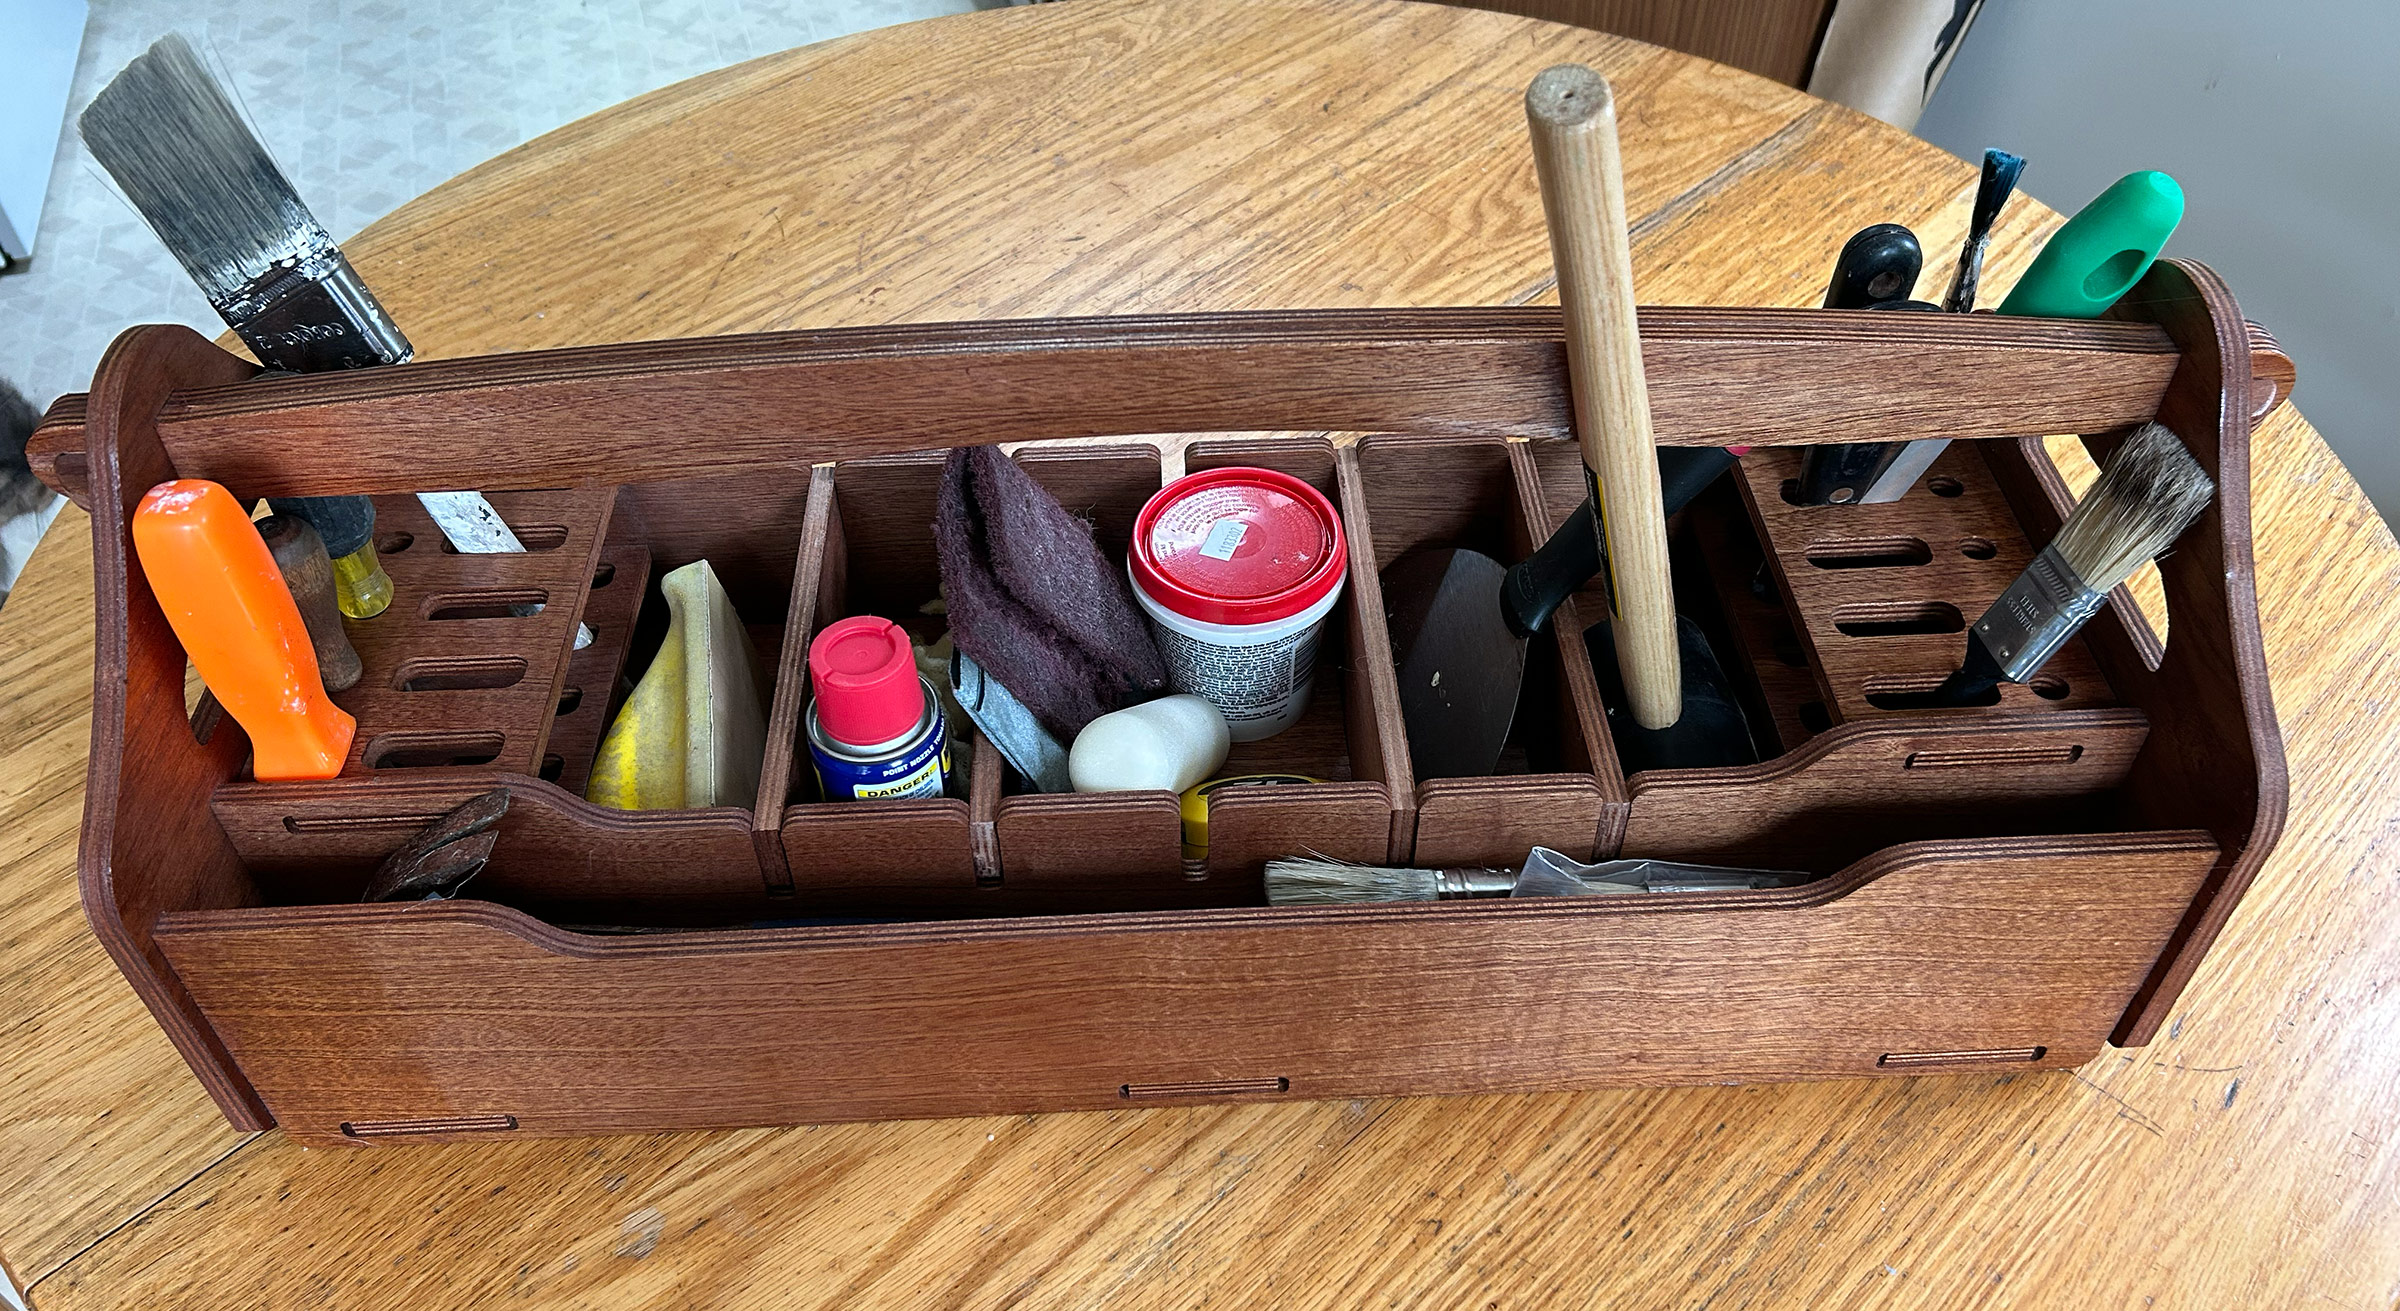
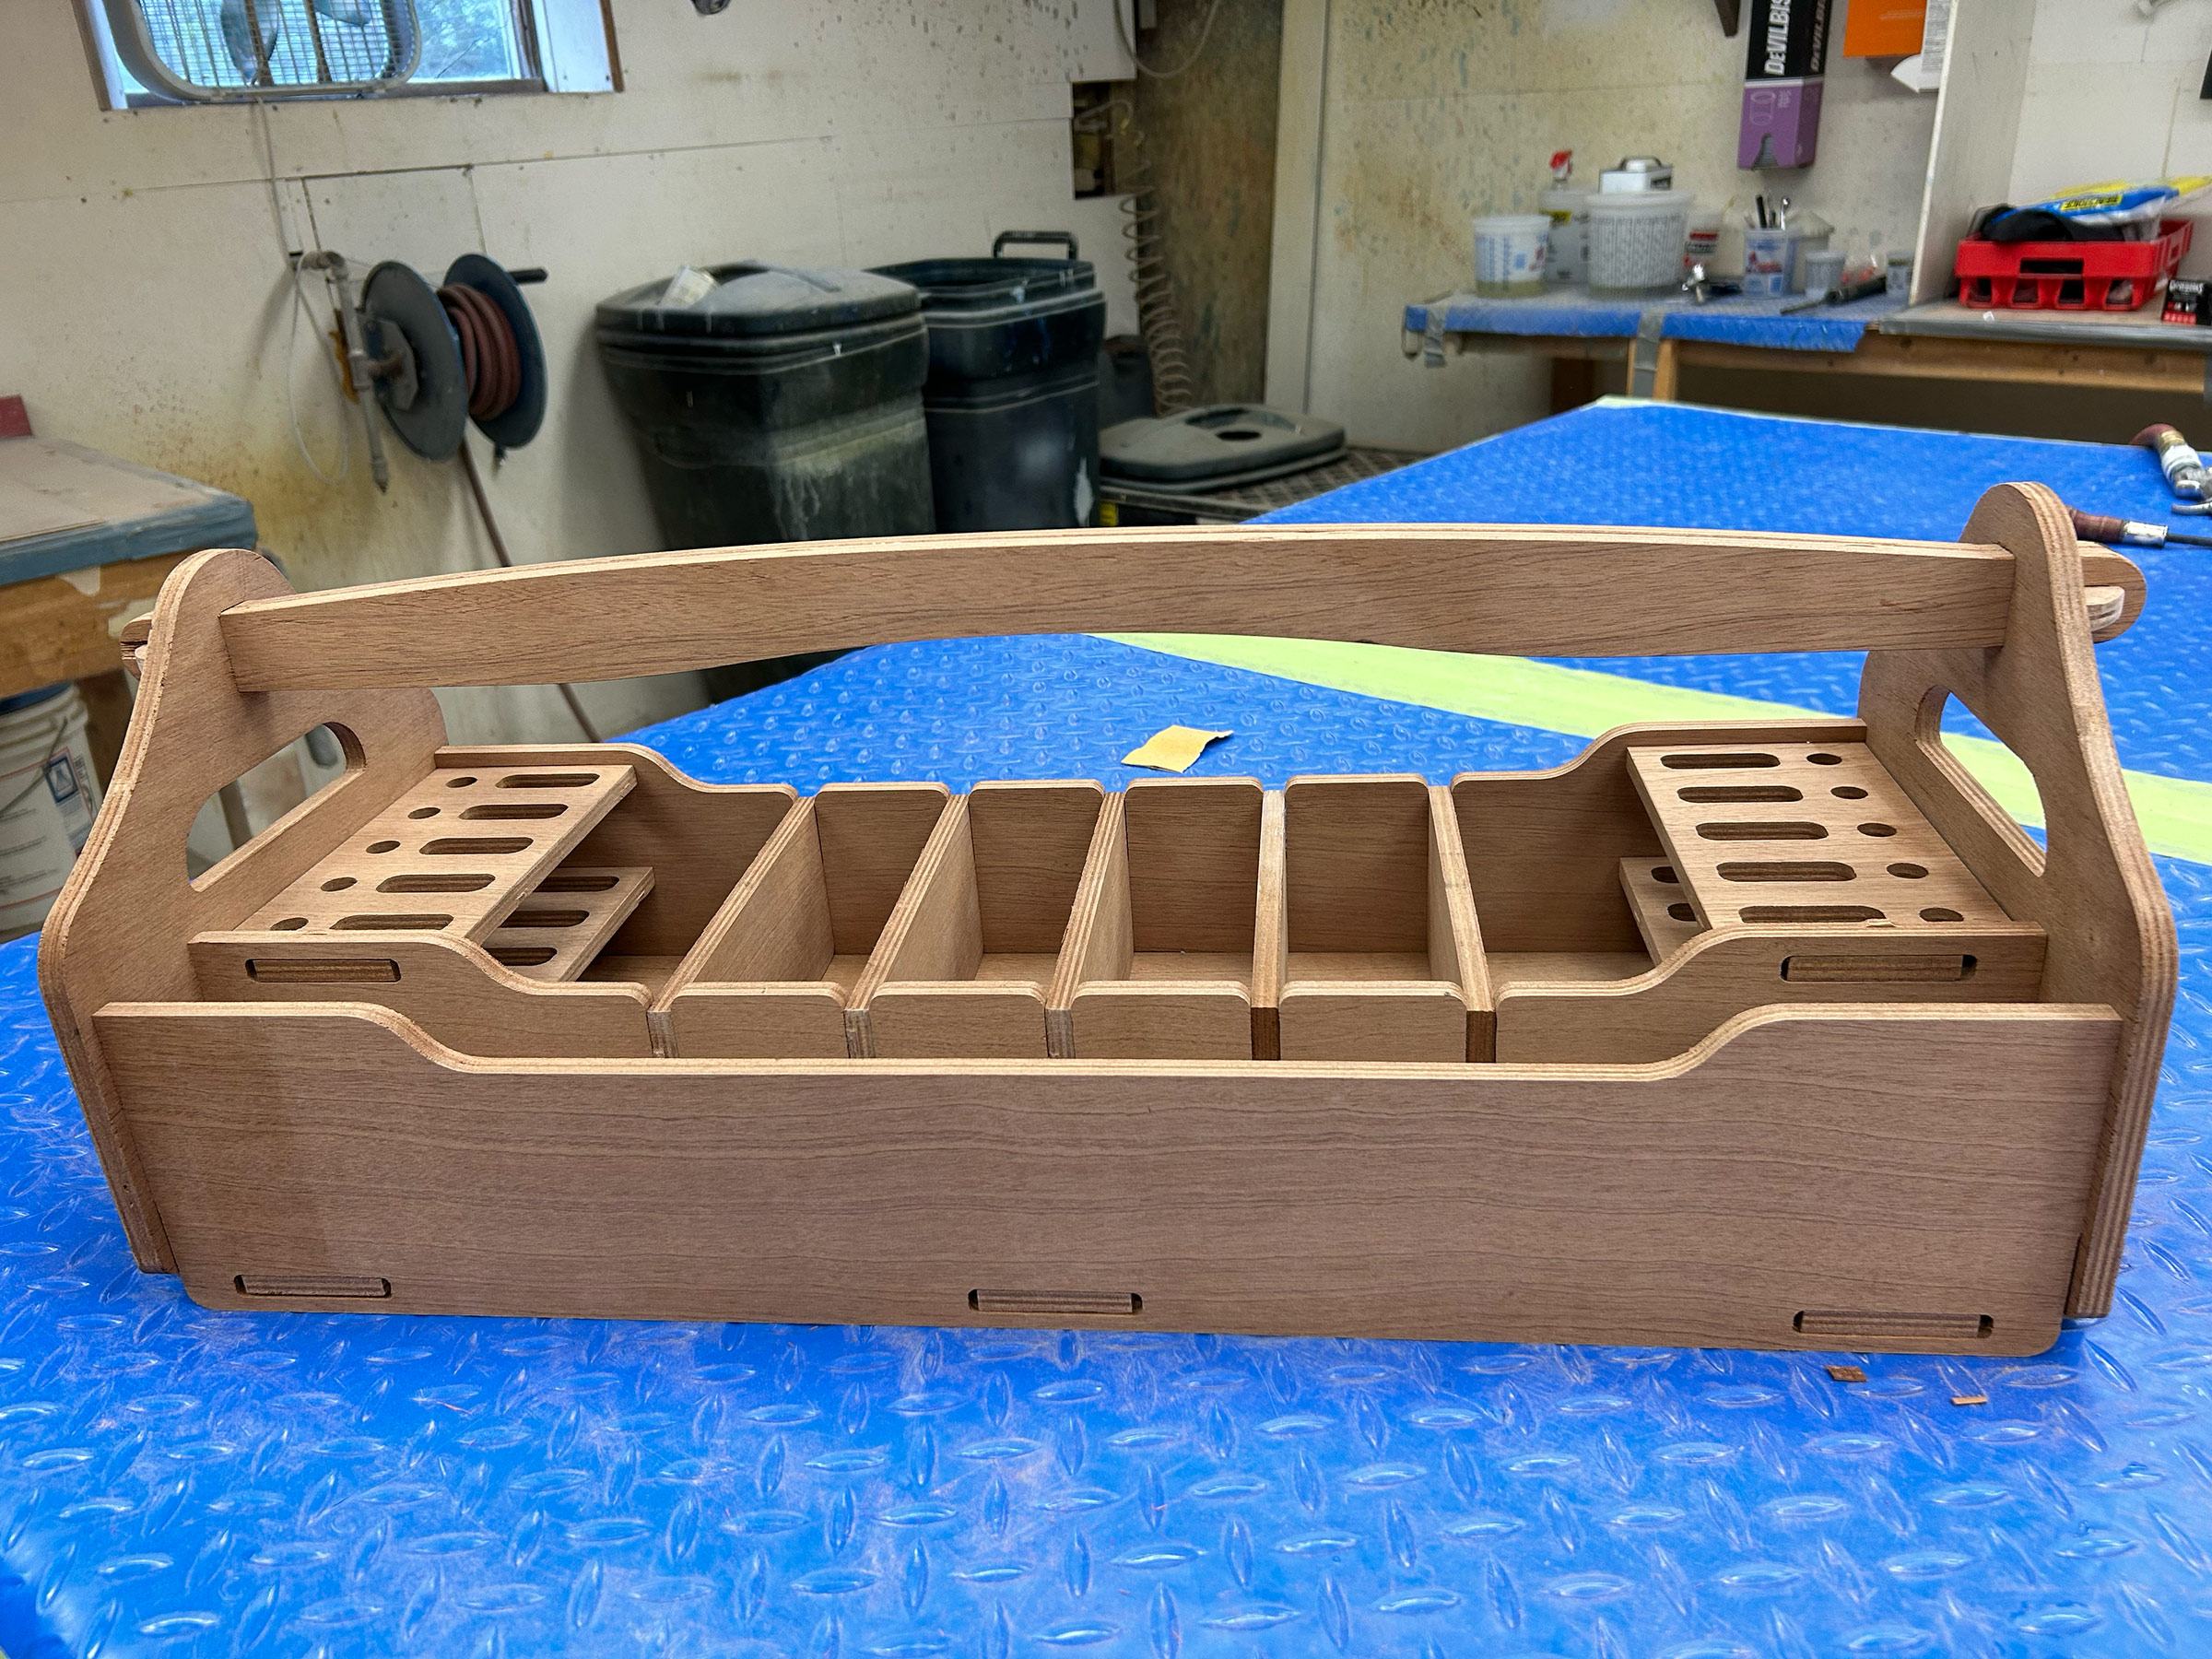
A shellac finish brought out the color of the plywood. The middle divider has been removed to create a space for larger items.
After the shellac dried, all that was left to do was load up some tools. In each end, a shelf with holes can hold five screwdrivers and the two layers assure that the tools remain upright, handle at the ready. The wider ovals are useful for pliers, files and rasps, slender-handled paintbrushes and scrapers, and spokeshaves. In the main body of the box the partitions create spaces for palm planes, glue bottles, and tool rolls. Dividers can be removed for wider bays as needed.
Along the front, a 24-1⁄4″ full-length compartment will hold a framing square, hammer, larger brushes, and a short saw. Everything is kept in place and easily visible. Perhaps, when I go to work on one of the boats next spring, I’ll be able to spend time actually working instead of rummaging in my canvas bucket for the next elusive tool.![]()
Jenny Bennett is the managing editor of Small Boats.
The CLC Tool Box Kit is available from Chesapeake Light Craft for $75.
Is there a product that might be useful for boatbuilding, cruising, or shore-side camping that you’d like us to review? Please email your suggestions.


Join The Conversation
We welcome your comments about this article. To include a photo with your remarks, click Choose File below the Comment box.