Oars can easily become damaged if they are not protected from metal oarlocks, and they are commonly outfitted with sewn-on leathers or slipped-on rubber sleeves. Skipper’s father, Cap’n Jack, chose a different approach: he liked to wrap the oarlocks with small-diameter cord as a method of protection. The cord is much cheaper than a set of sleeves or leathers, and wrapping is much faster than sewing—an oarlock can be wrapped in minutes—and won’t damage the wood in the way nailed-on leathers do.
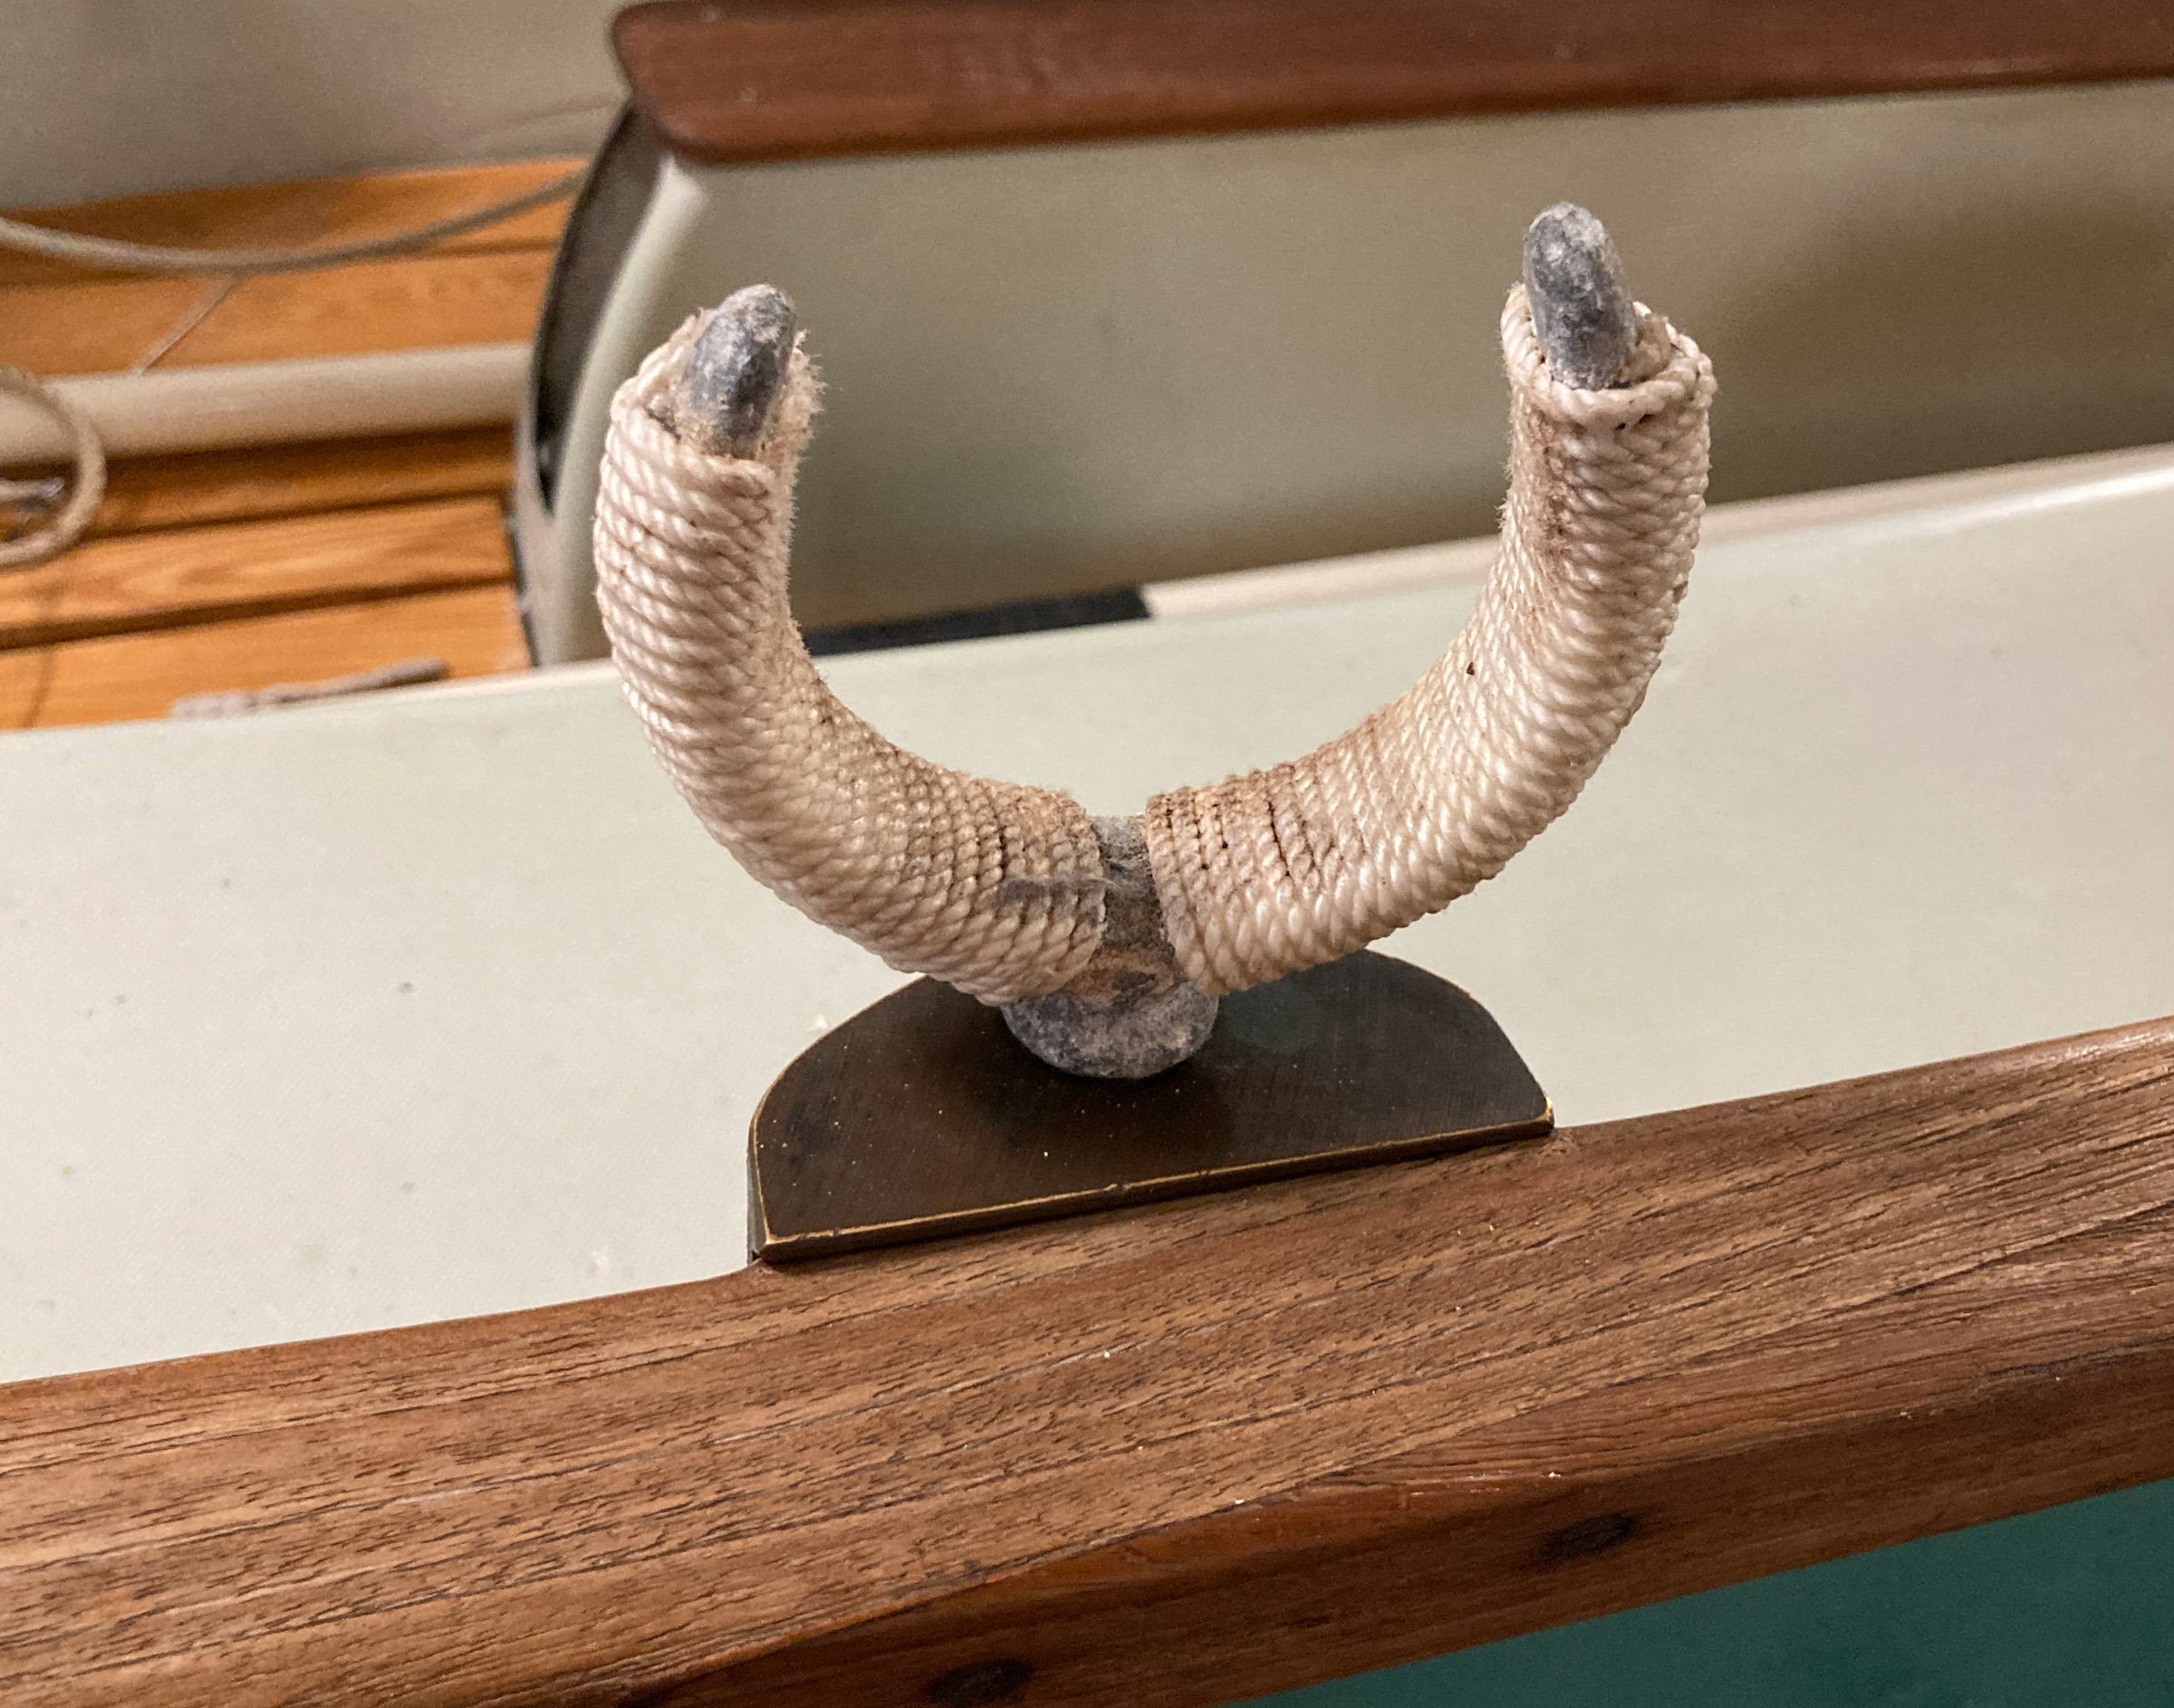
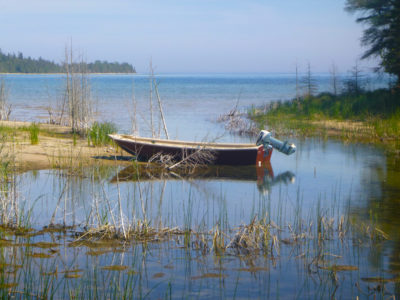
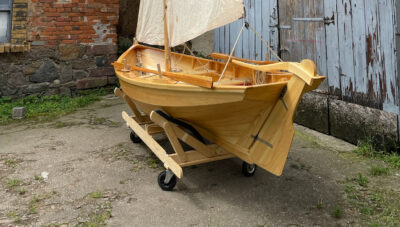
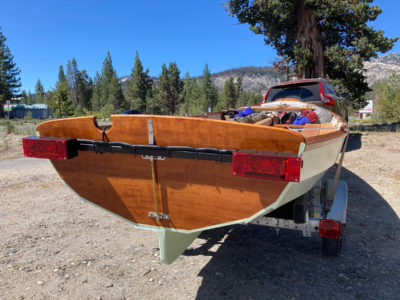
The oarlocks on Skipper’s 1980 Drascombe Lugger have been wrapped with cord for almost 40 years now, and they are holding up great. The cord cushions the oar and provides a little friction to help keep the oar from slipping out of the oarlock. Another benefit of wrapping an oarlock is that it reduces rowing noise and, overall, the cord-wrapped oarlock looks very shipshape.
 Photographs by the authors
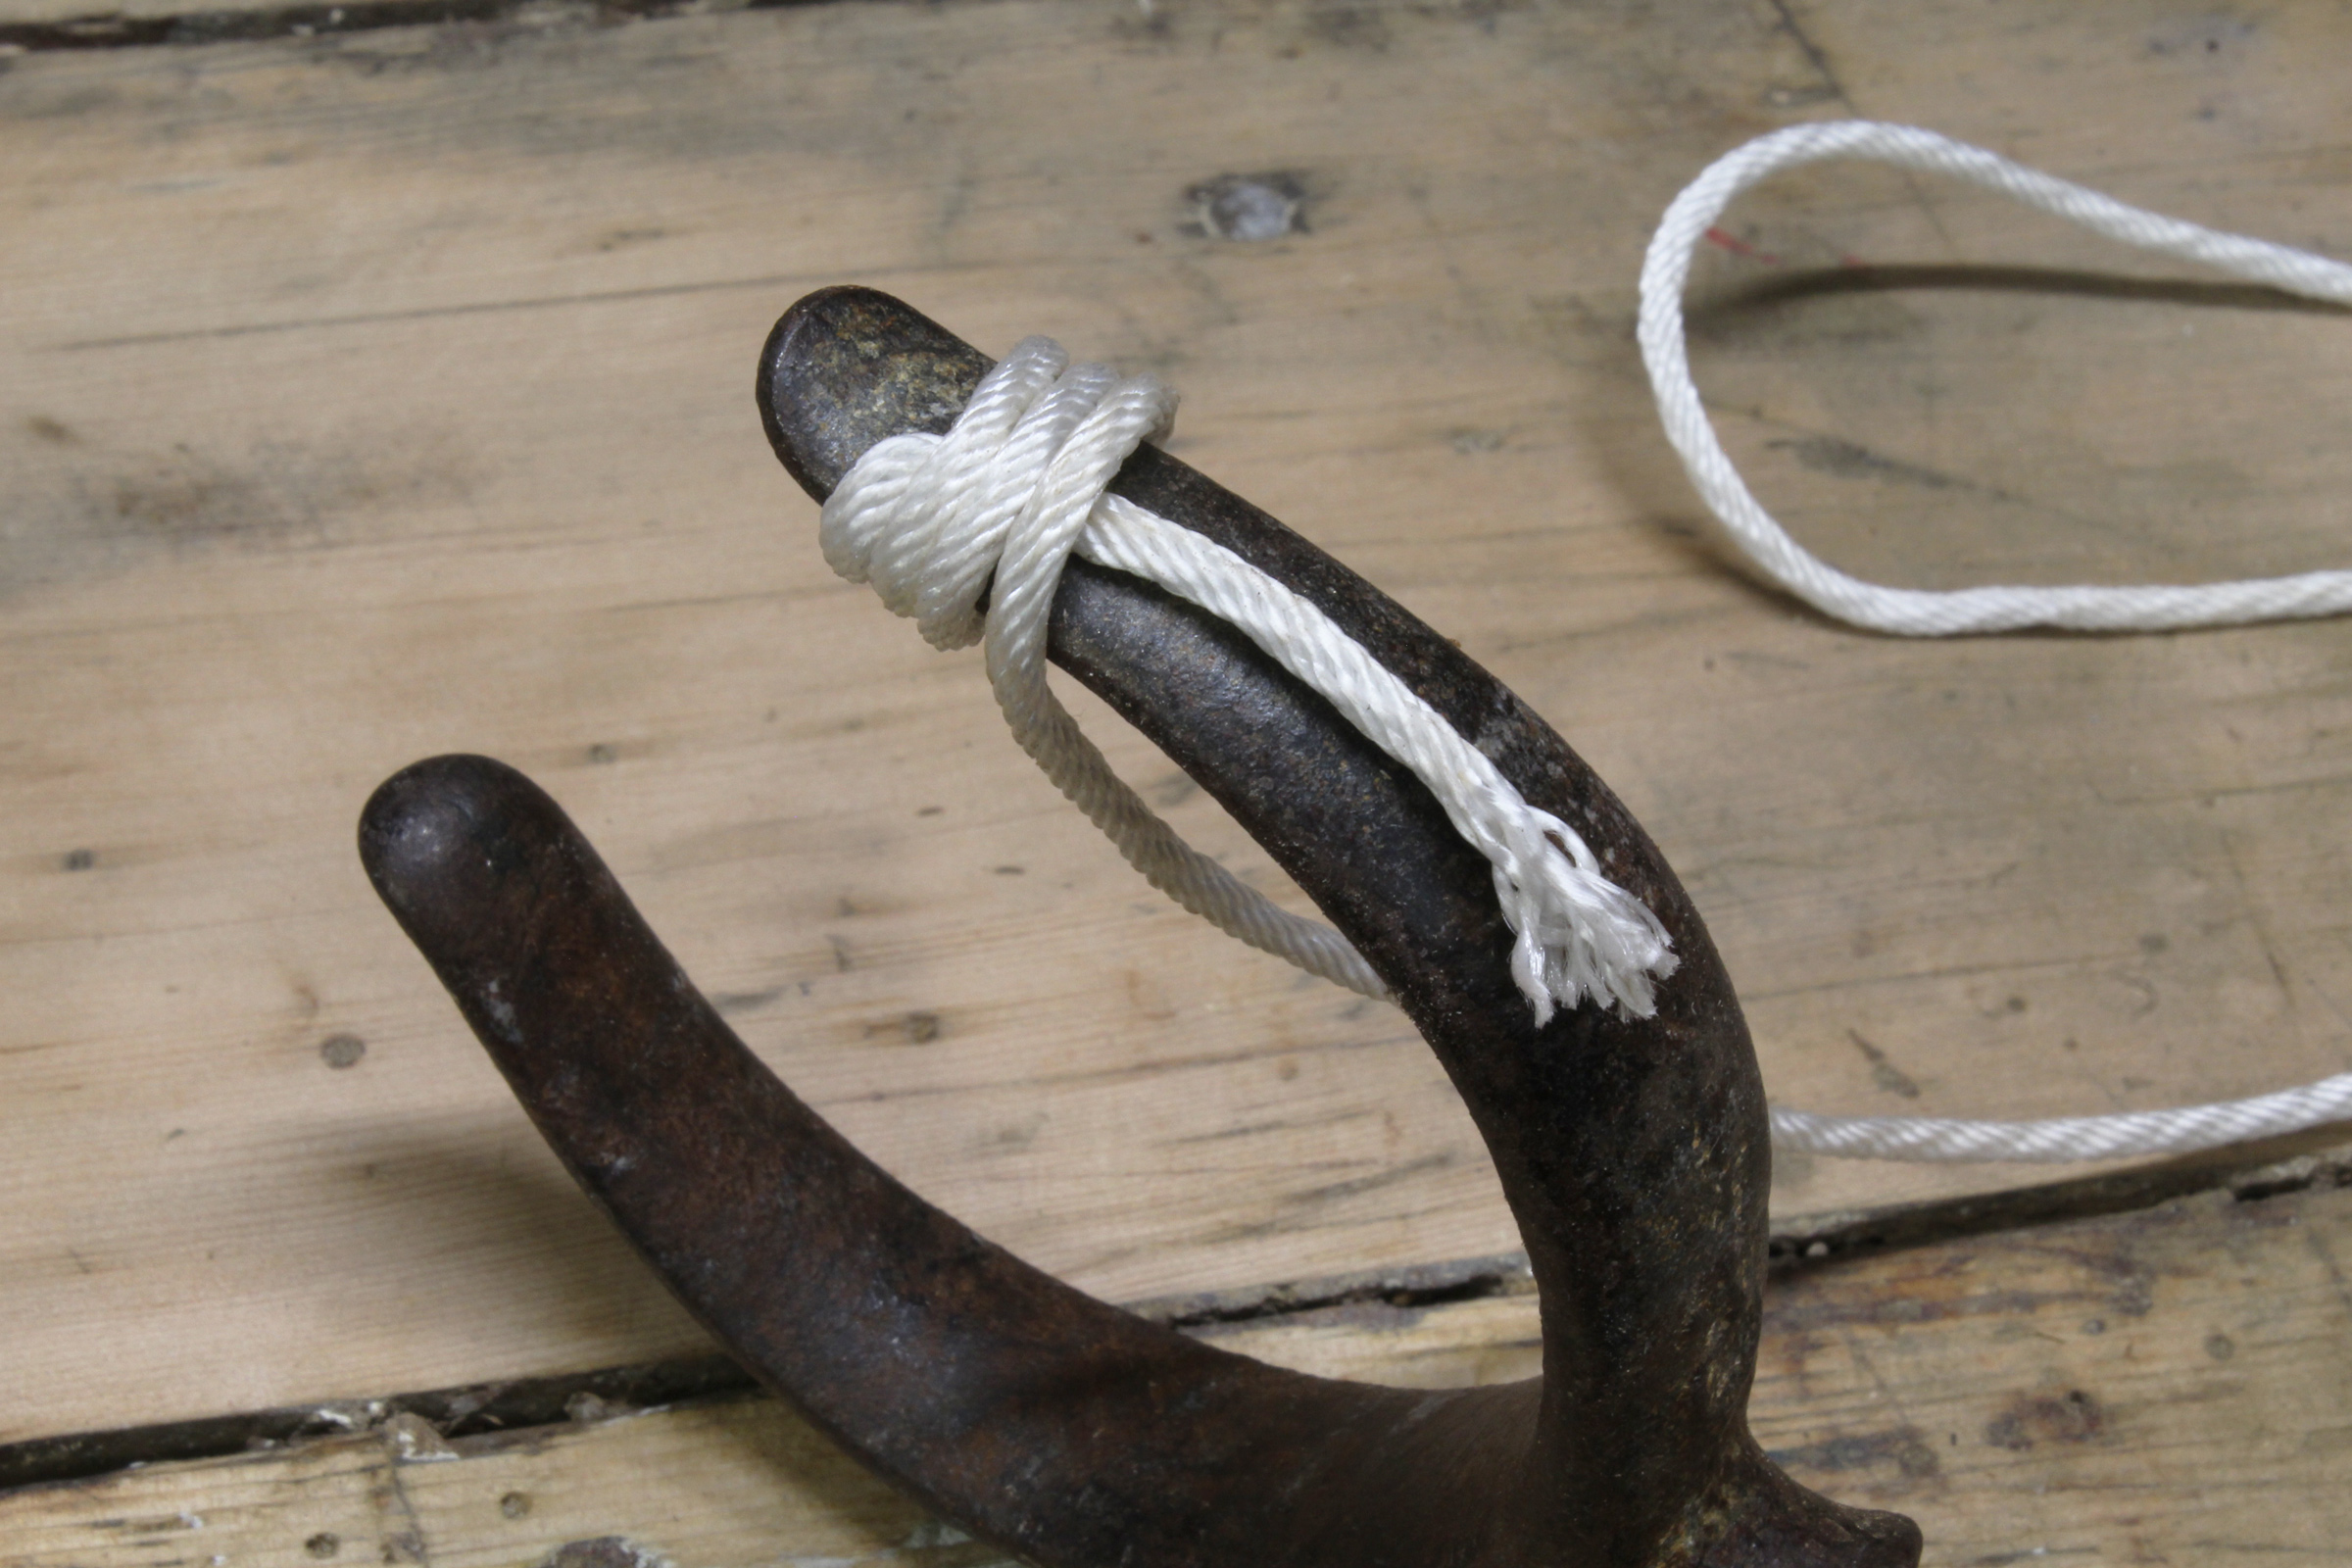
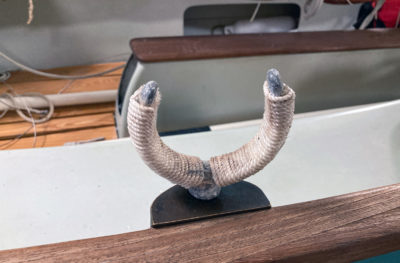
The wrap starts with the end of the cord on the outside of one horn, squeezed tight by the first several turns.
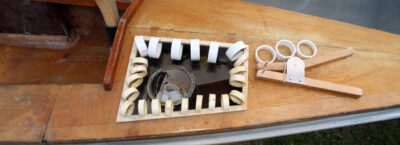
We recently wrapped a set of Wilcox and Crittenden #1-sized locks with 1/8″ braided Dacron cord. Small-diameter braided or twisted cord can be used, as long as the diameter is sufficient to provide a protective surface for the oar and still leave clearance for the oar loom. It can be a bit awkward to wrap the oarlock while unwinding cord off of a spool or from a hank, so to get the right length, you can do a quick job of wrapping the lock according to the instructions here, leaving a 12″ or more at the tail end, and cutting the cord to length. For the permanent wrap, start over and pull the cord tight this second time.

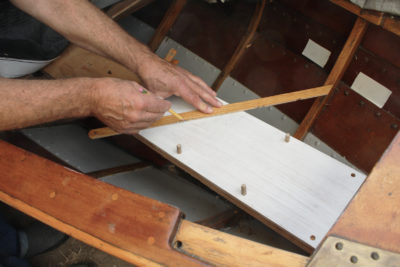
Adjust the wraps to cover the inside curve of the lock while working around the stem and eye. The wrap here is finished with hitches and the end cut flush and melted.
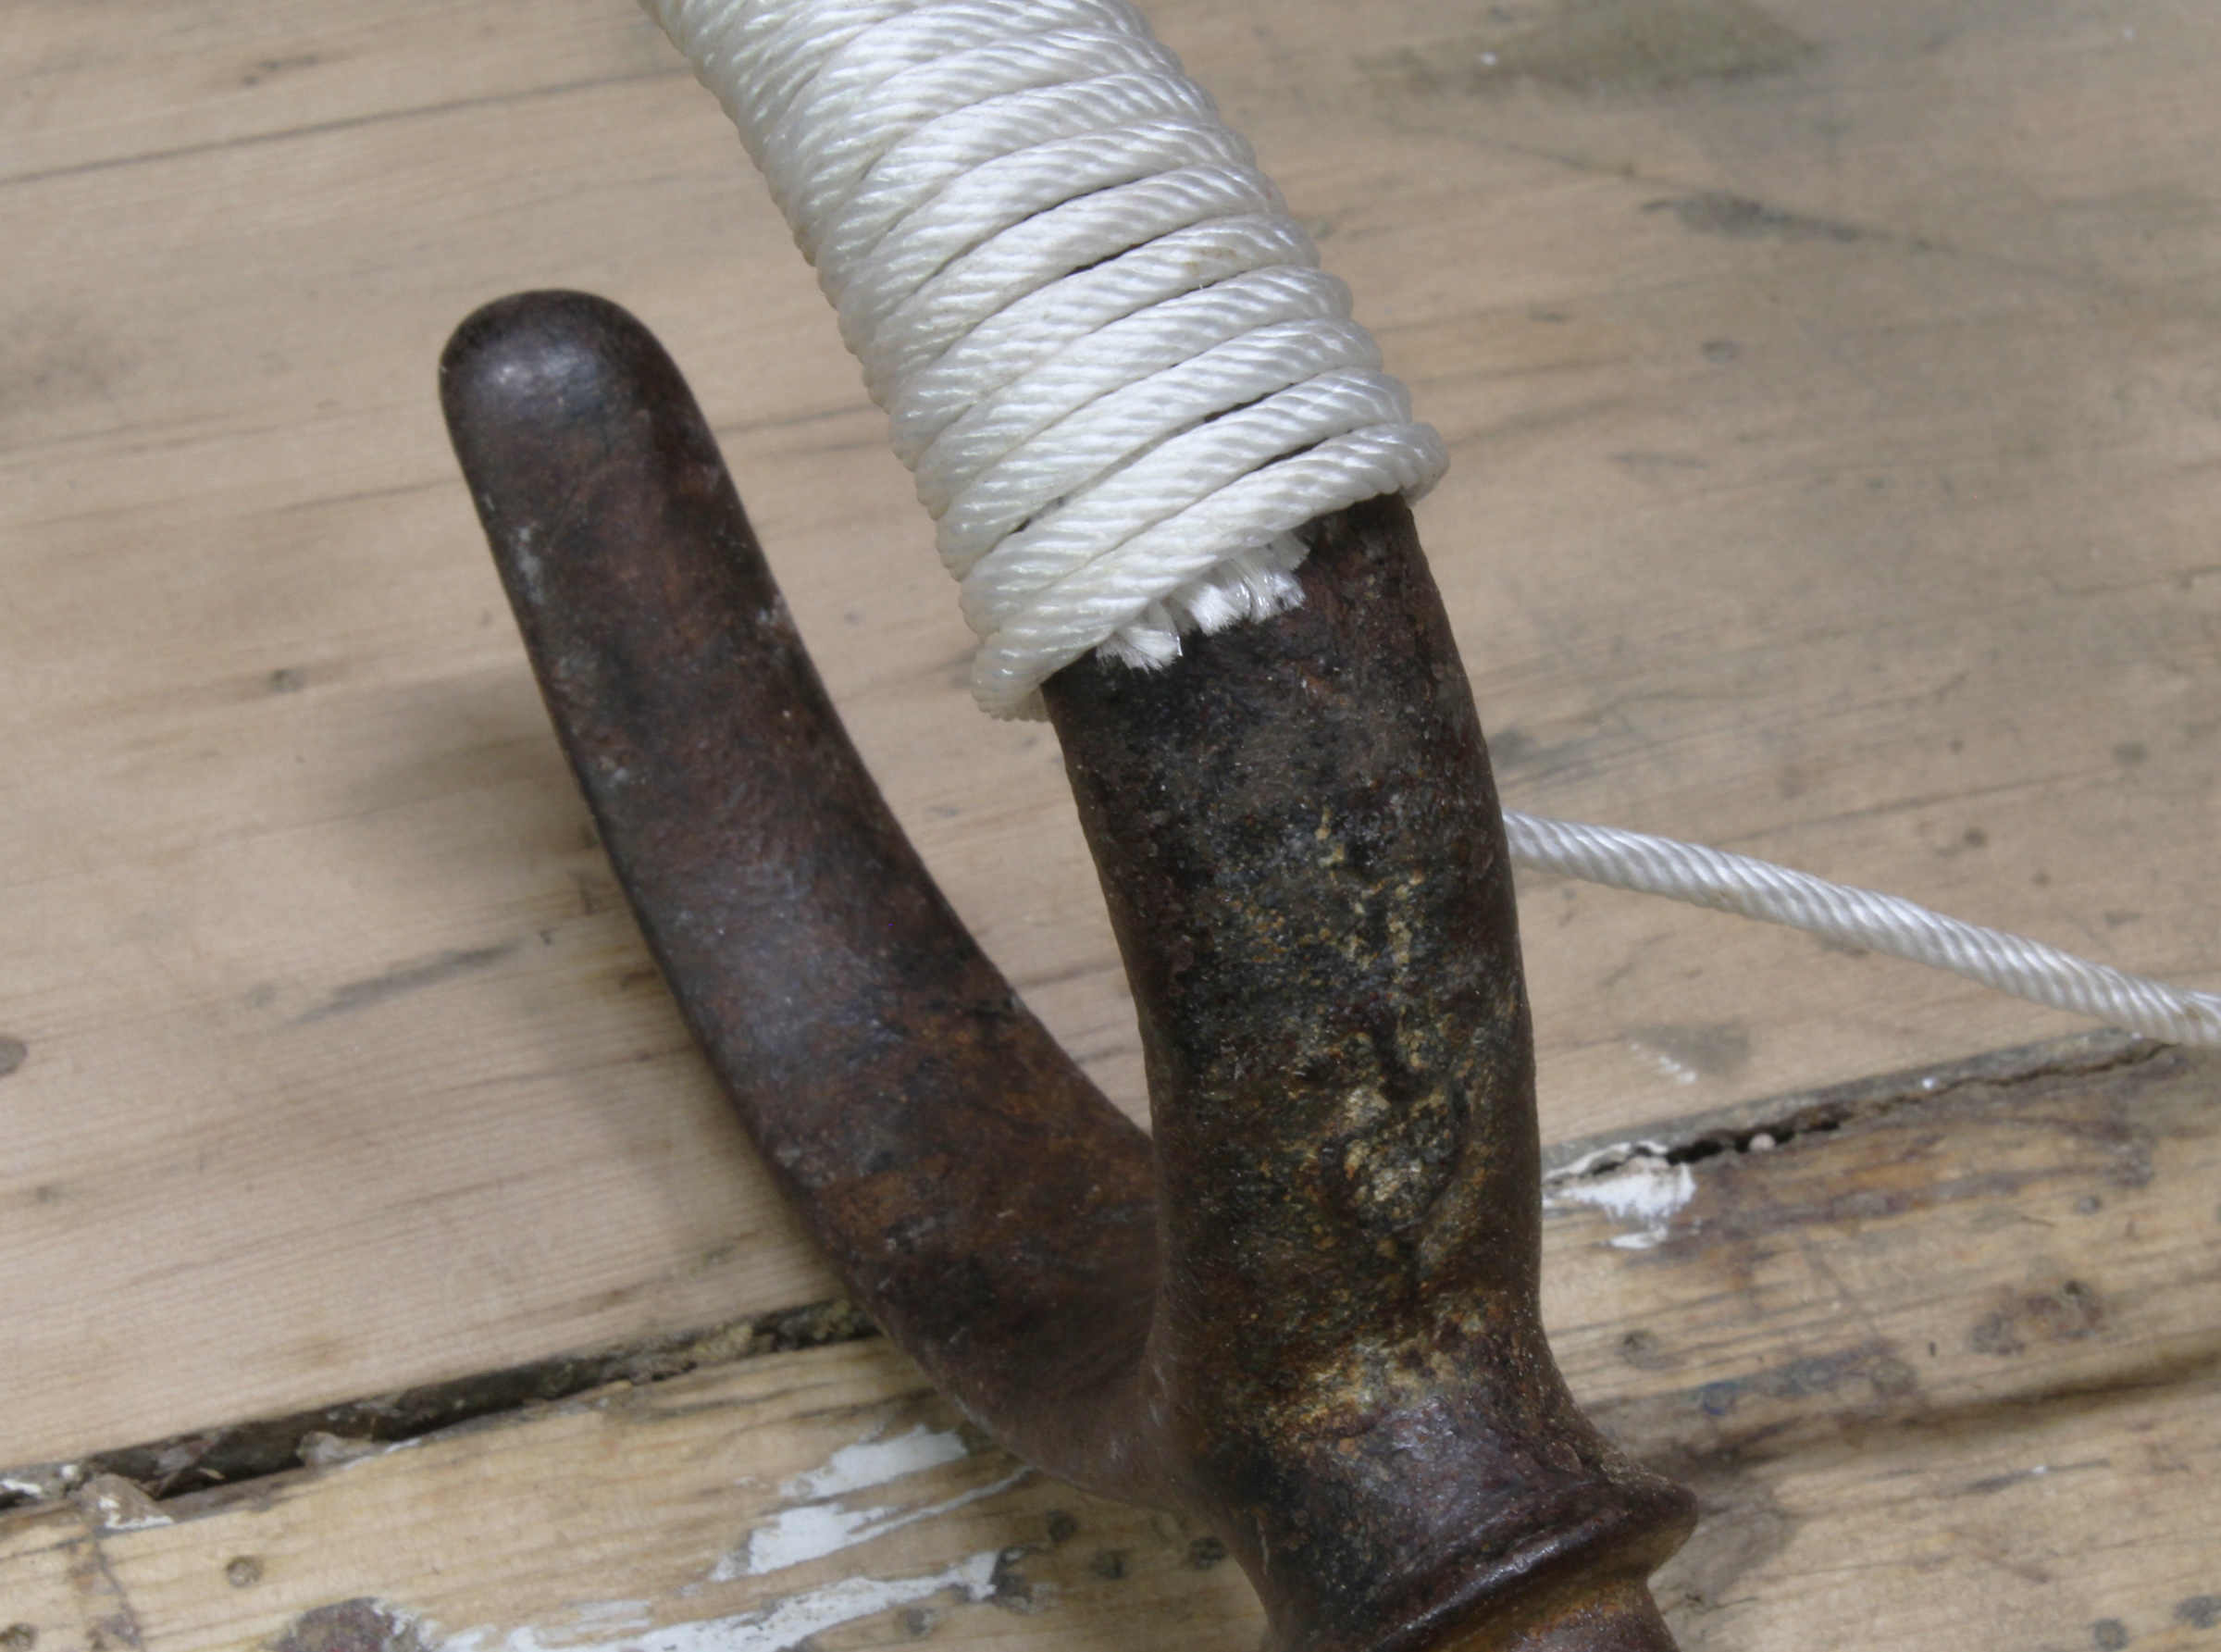
The beginning or standing bit of the cord is captured by wrapping the first few turns of cord around it, and then the wrap is continued around the entire oarlock, taking time to evenly space the wraps and pulling the cord tight along the way. Getting from one horn and around the shaft to the other horn will work itself out with just a little fussing to get the inside part of the wraps to butt against each other. Once the bitter end of the cord is at the end of the opposite horn, the cord can be knotted underneath itself with a clove hitch or tucked back under the last few wraps with the aid of an awl. The tail end should emerge on the outside of the lock. After the excess cord is cut off, we melt the end of synthetic cord to make a small stopper knot to prevent unraveling.
A coat of Titebond III waterproof glue keeps the cord wrap from shifting or loosening.
We then work marine-grade varnish or waterproof glue into the exposed surface of the cord to help seal everything in place. Once the wrapping dries, the oarlock is ready for action.
With many types and sizes of cord to choose from, wrapping an oarlock is an inexpensive, fun, and easy project that can provide effective protection for your oars. ![]()
Audrey (Skipper) and Kent Lewis row, sail, and paddle an armada of small boats in the Tidewater region of the United States. Their adventure blog can be found at Small Boat Restoration.
Editor’s Notes
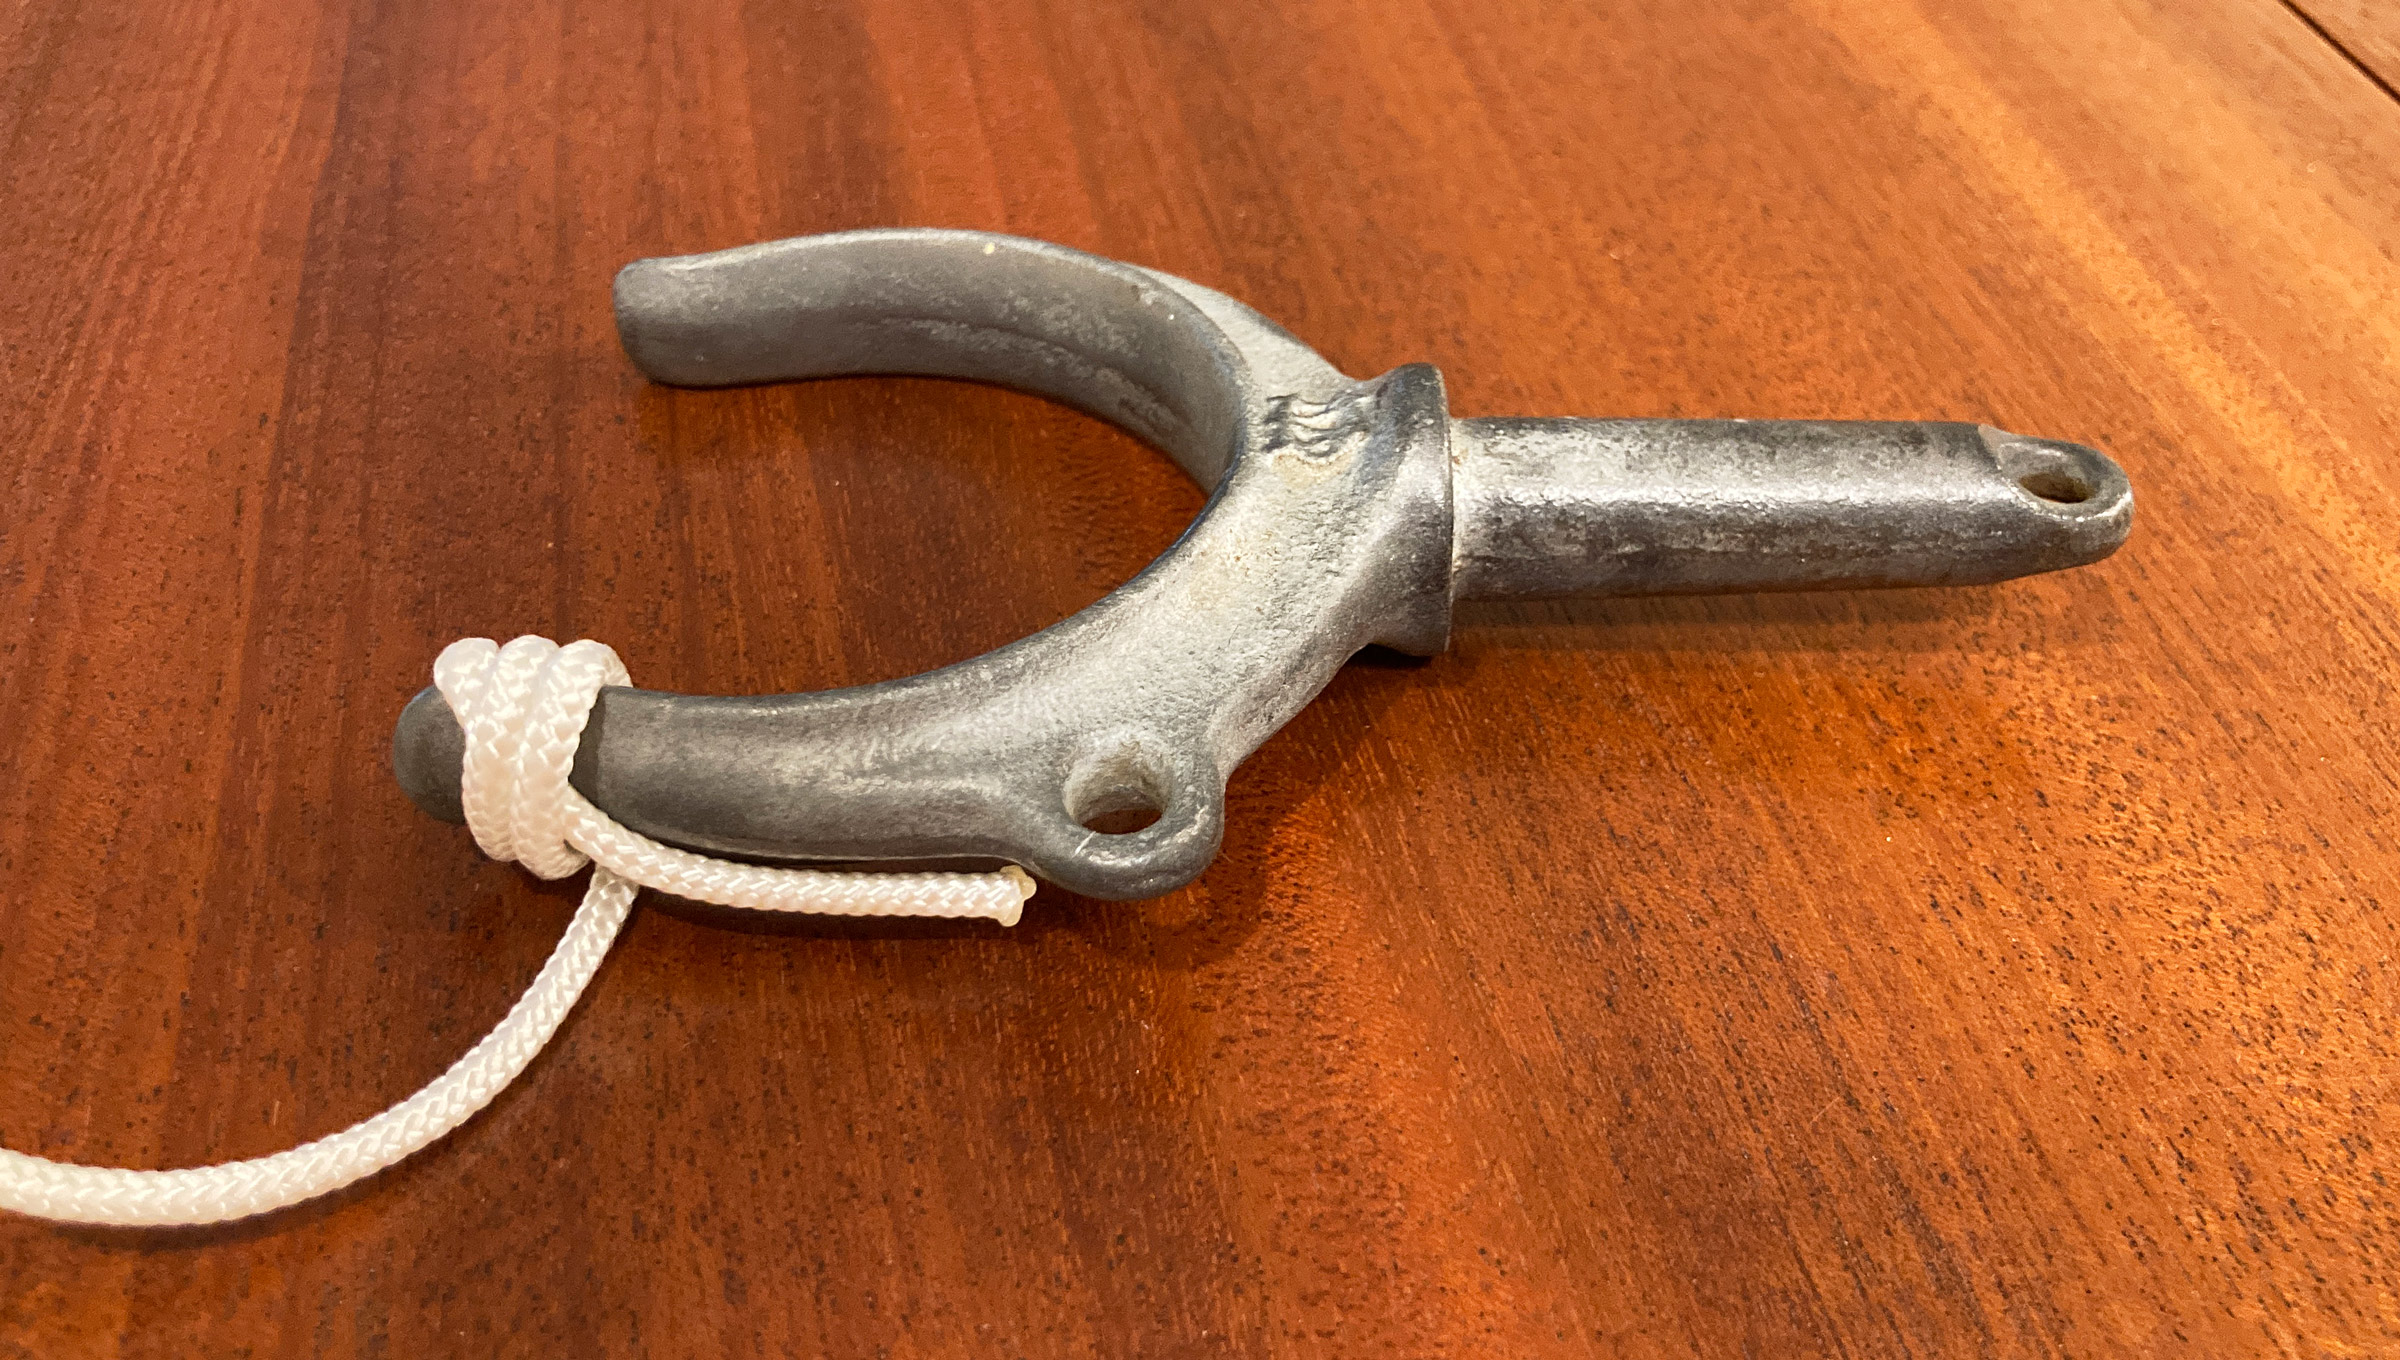
I mounted an oarlock in the stern of my Caledonia Yawl so I could use one of the oars that I have for rowing to steer if the rudder fails (again) or to scull the boat through tight quarters. For those two uses, the oar doesn’t rest with its leathers in the lock. I wrapped the lock with tape, but that didn’t hold up well in the saltwater and sunlight and didn’t offer the varnished oar loom much protection. I liked Cap’n Jack’s idea of wrapping the lock in cord and went to work. My galvanized lock has an inside diameter of 3-1/8″ and required 12′ of 1/8″ solid-braid nylon cord.
For the start of the wrap, the end of the cord should be cut and allowed to fray. Melting the end creates a hard knob that interferes with the wraps that would cover it.
The wraps have reached the frayed cut end and press it flat against the lock.
To finish the wrap, rather than use an awl to make space for the tail of the cord, I made a few turns over a loop of artificial sinew and threaded the cord’s end through it. Sailmaker’s twine would work too.

A little slack is required in the last half wrap to pull the tail end through.
A hard pull on the tail end will retighten the last wrap.
The tail end gets cut off in between wraps. Using a sawing motion with the knife will spread the fibers and flatten the end.

After pushing the wraps closed over the cut end, a dab of thin super glue will keep the cord end where it belongs.

With the lock now wrapped, I can use an oar for sculling or steering without undue damage to the varnished loom.
You can share your tips and tricks of the trade with other Small Boats Magazine readers by sending us an email.
Very interesting, good looking and functional. Would paracord be soft?
Skipper and Cap’n Jack always say “Try it, and take pictures.” Paracord would definitely be soft, and it can be found in a lot of chandleries aka the craft sections in Walmart.
What a great idea! I’m going to try it, using ringbolt hitches to add a little sailorly flair and take up some of the gaps on the outside of the oarlock.
I might be wrong, but I don’t think paracord would work too well. It might wear and fray too easily, and it I don’t think it would take up the sealer well enough to add any toughness.
Paracord might be a little soft. I’ve done my sculling oarlock in 1/8″ nylon I think, cheap hardware store stuff. Be interested to see how the cord feels on the feather.
And a real advantage practiced by navies the world over in the days before motors: your oars are muffled, ready to sneak up or smuggle at night.
…more pirate secrets let out of the ditty bag…
Wonder if soaking the wrap in shellac would work? That way you can easily repair or remove the finish. I tie Turk’s head knots for buttons on my oar leathers and finish them with shellac.
Shellac, varnish…it would be a little messy but a proper wipe down of the oar lock itself after wrapping would take care of that. Cap’n Jack was always working glue into his marlinspike art.
The oarlock can be suspended by a line while the coating dries.
A related option is to sew leather on the oar locks. I acquired my Caledonia Yawl with the oar locks already leathered and have been surprised that it (and cord-wrapped) isn’t employed more often. Having laced leather on oars previously, it seems just as effective to lace the oarlocks and a bit easier. Thanks for sharing!