Our family spends some time at a cabin in the Les Cheneaux Islands on Lake Huron in Michigan’s Eastern Upper Peninsula. In our fleet there we have a center-console 21′ Widebody Tolman Skiff that we finished building in 2011, a lug-rigged Arch Davis Sand Dollar that we finished in 2015, a rowing wherry, and an assortment of kayaks. Do we really need another boat? Peter, my 13-year-old son, wanted a small powerboat that he and his friends could take fishing and exploring; I was interested in a utility skiff for trailering to the lake to do work at the cabin. We both wanted a quick build, simple construction, and nice lines.
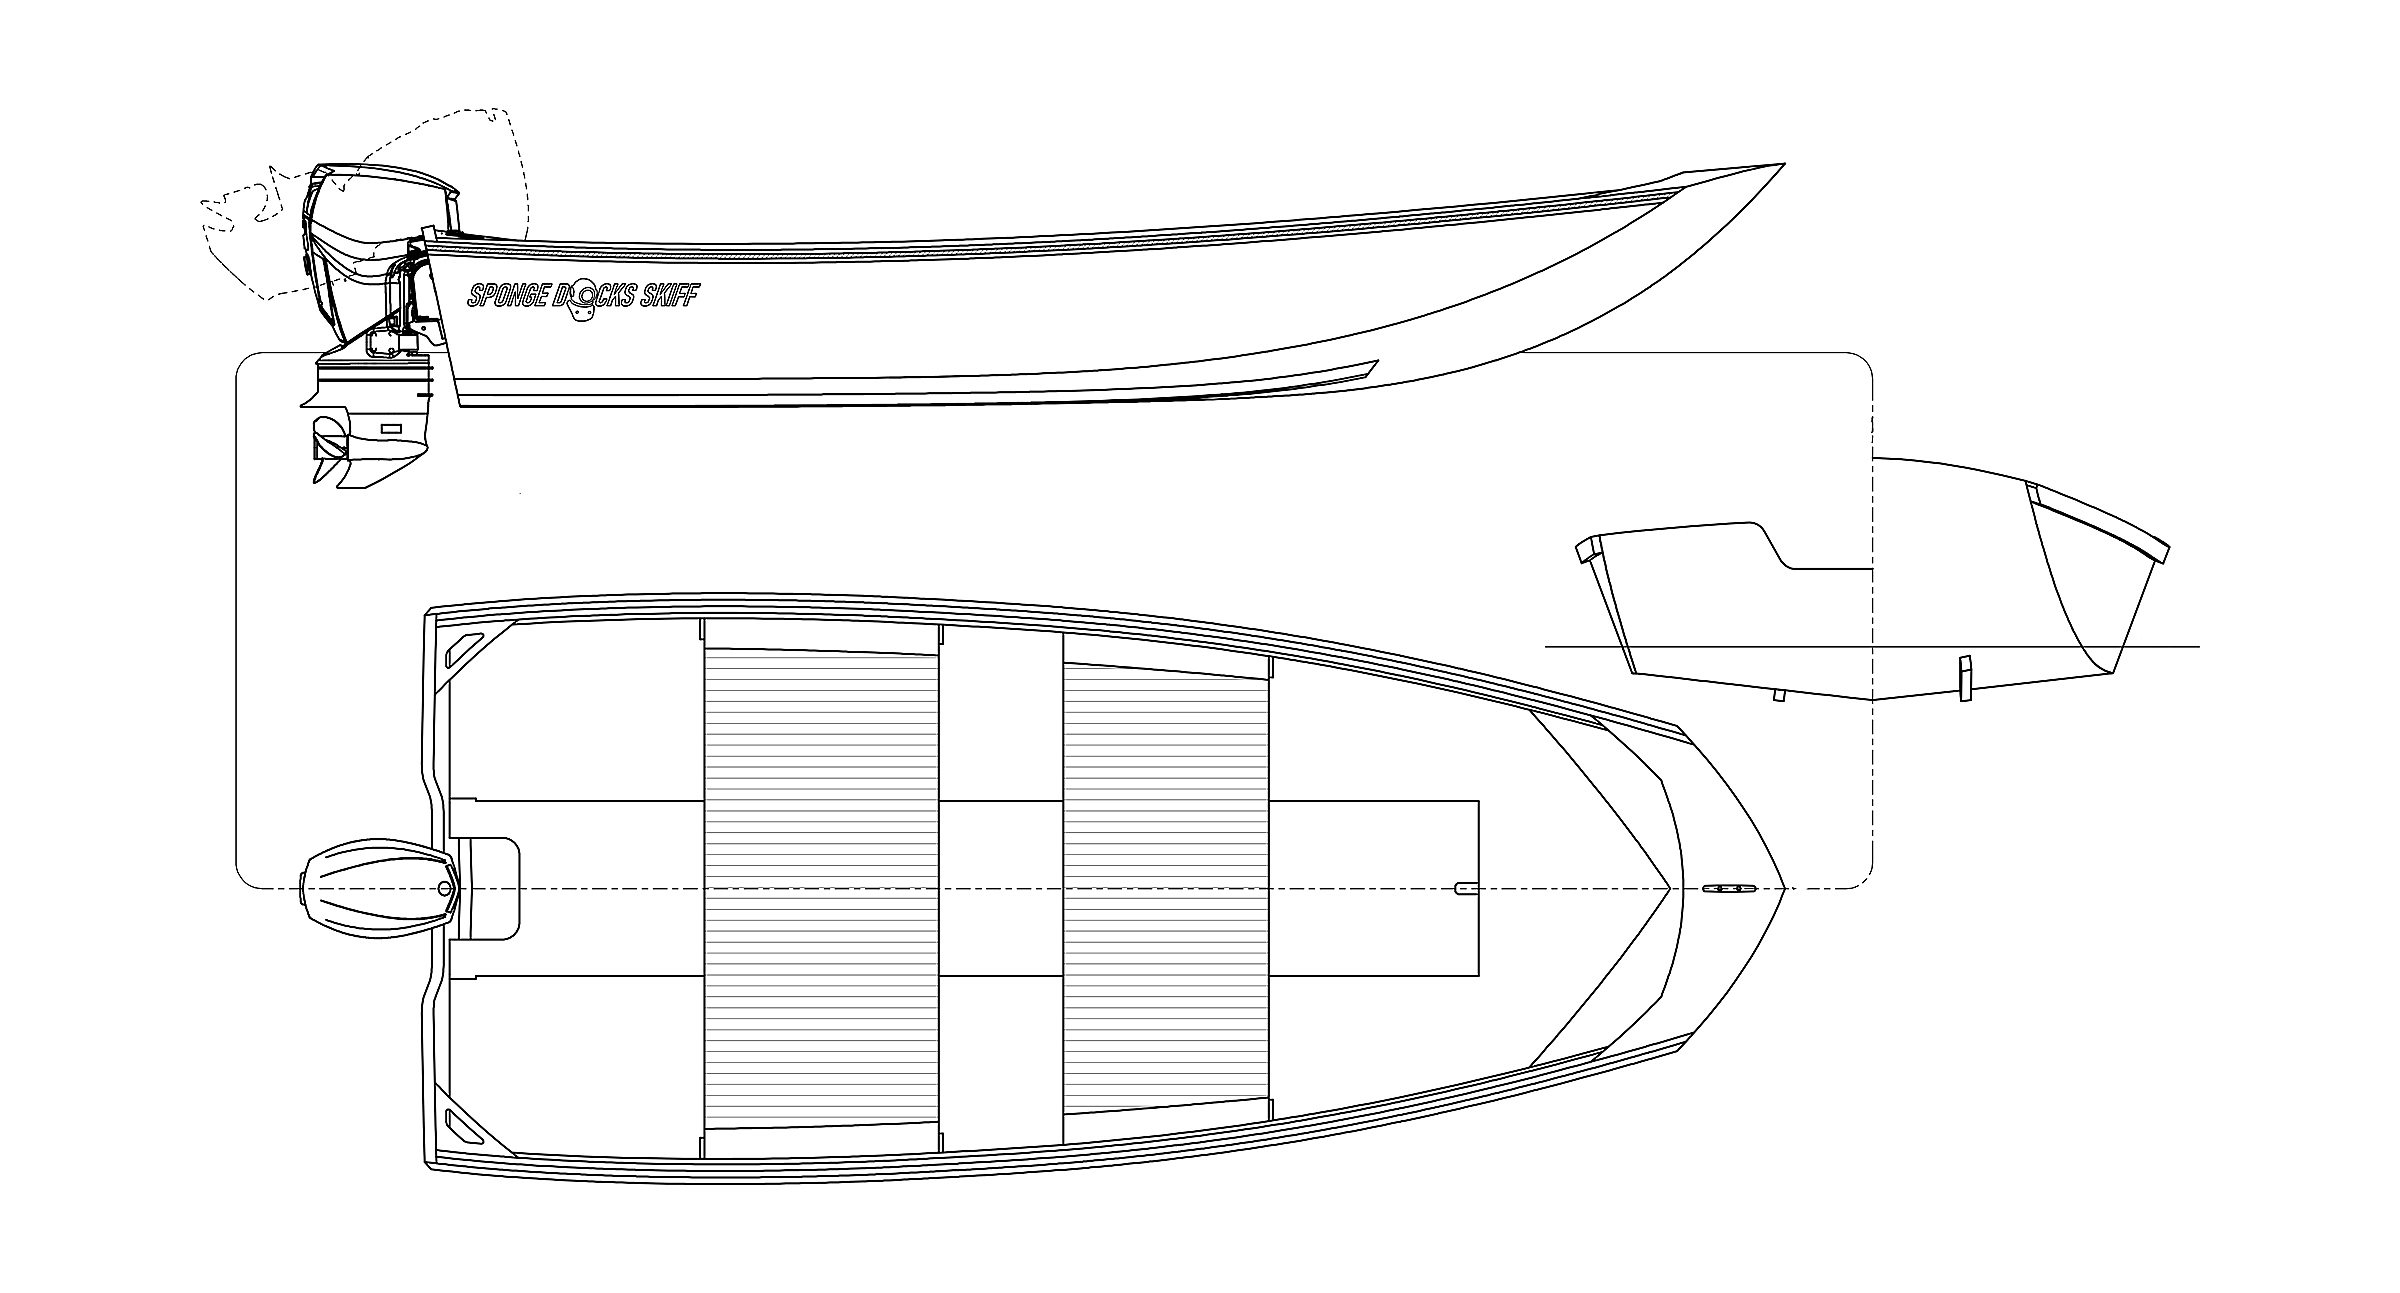
When I happened across the Sponge Docks Skiff 13 by Bedard Yacht Design, I was immediately intrigued by the simple, practical interior and the gently curving sheer and transom sides. The Sponge Docks Skiff can be purchased with a CNC cut file, and since I have a CNC router in the shop, the simple, quick build became even simpler and quicker. Peter and I had a project. We ordered the downloadable plans and received six plan sheets along with a building manual and, in lieu of the full-sized templates, a DXF cut file, which had all the pieces drafted and nested on sheets.
 Photographs by the author
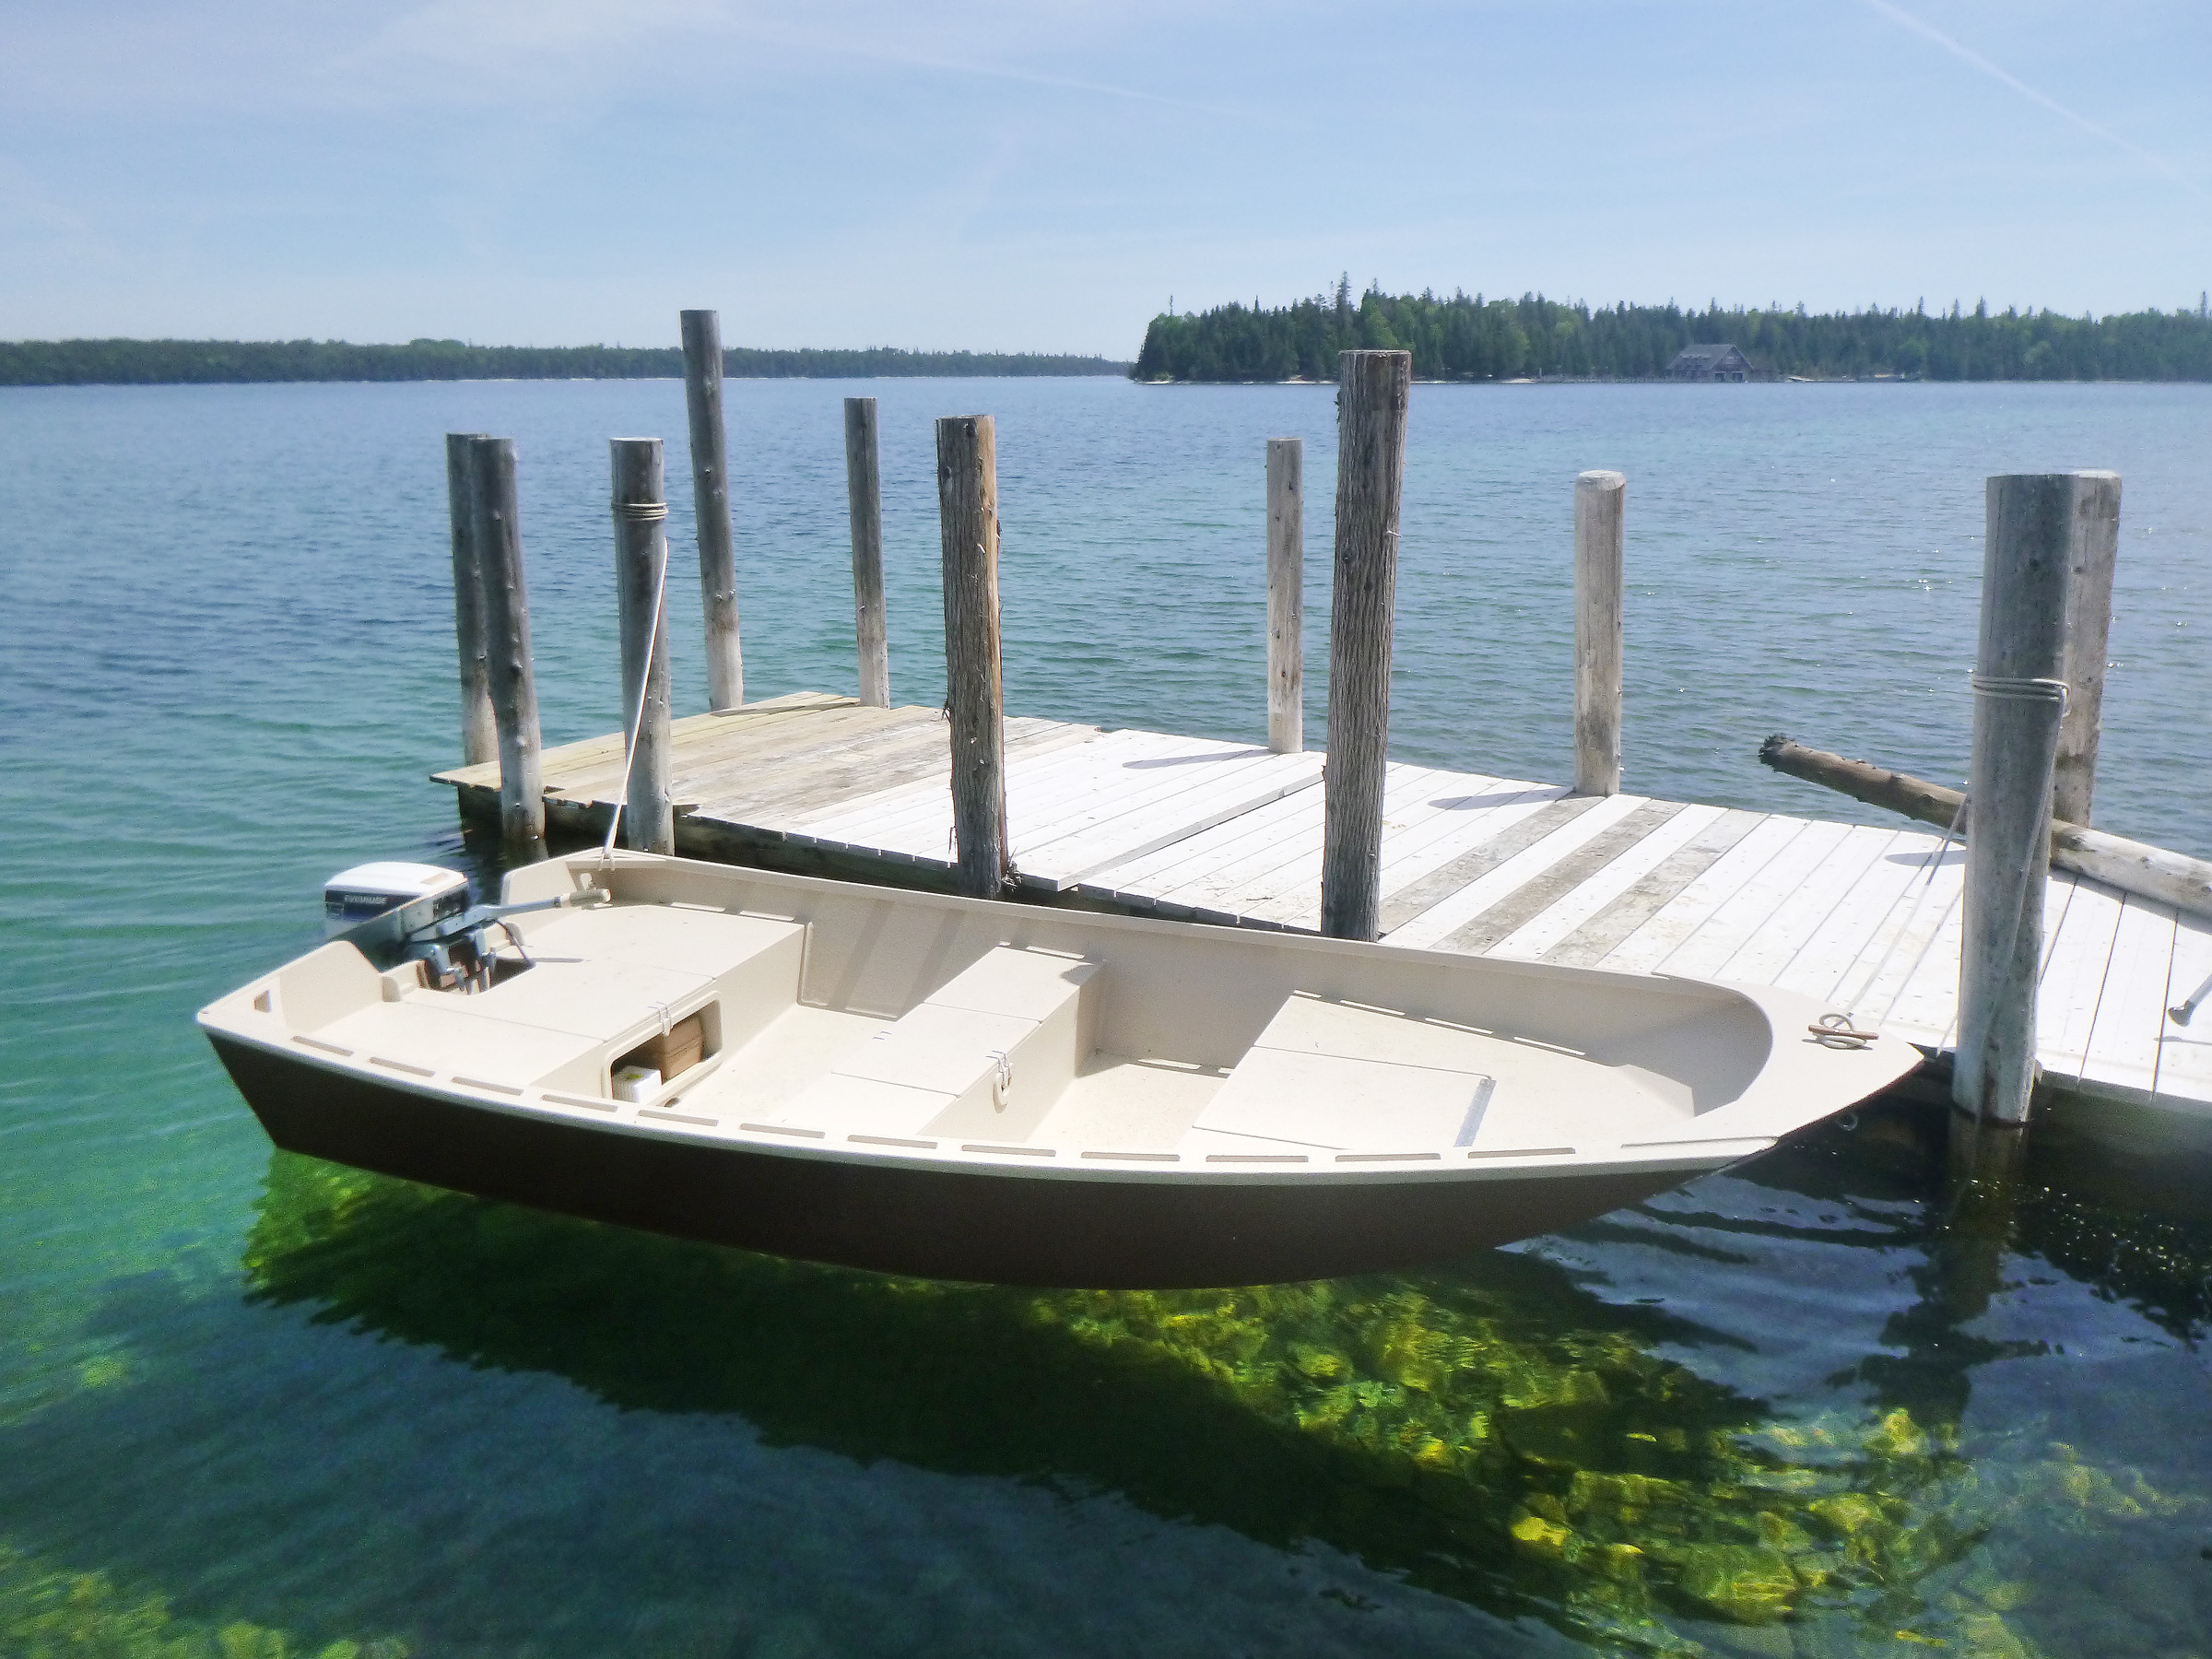
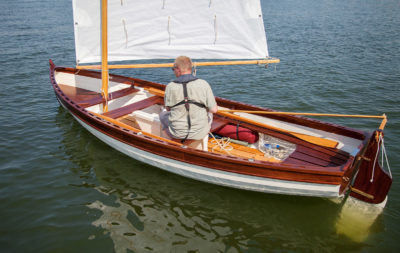
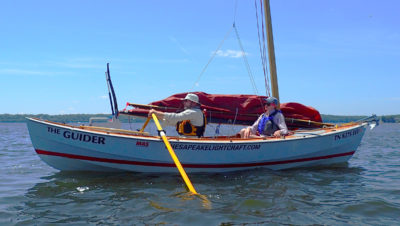
The three seating areas enclose buoyancy compartments and provide access to storage compartments.
The DXF cut file imported directly into my CNC programming software, and in a couple of evenings we had a stack of boat parts cut from 6mm, 9mm, and 12mm Hydrotek marine plywood. Prior to this skiff, I had built four boats using plywood, epoxy, and fiberglass with different building methods. I had previously only done a little bit of the stitch-and-glue construction that is used for the Sponge Docks Skiff, but the build process was straightforward and the instructions were clear. The Sponge Docks Skiff is built right side up sitting in a cradle consisting of three plywood sections that match the bottom. The long 9mm bottom pieces and 9 mm hull sides are joined with puzzle joints rather than scarf joints, simplifying the process.
After gluing the transom’s two layers of 9mm and one 12 mm together, all the pieces of the hull were ready to be stitched together on the building cradle. The CNC-drilled holes made the stitching process easy and the hull took shape quickly. Peter crawled under the boat to get all the hard-to-reach stitches! The seams were then epoxied together between the stitches, the stitches removed, and the seams filleted and fiberglass taped/epoxied. As the plans specify, before the seat tops were glued on, we filled the port and starboard seat compartments with some leftover hard foam construction insulation that we had. The center compartments of the forward, center, and aft seats are storage compartments. We would use bungee cords looped over a catch to keep the hatch covers secure.
Spray rails secured to the perimeter of the bottom turn the spay downward to keep the occupants dry.
As the plans directed, we covered the hull bottom with two layers and the sides with one layer of 6-oz fiberglass and epoxy. The hull was finished with inwales, outwales, a small foredeck, running strakes to protect the bottom, spray rails, and hardware.
The plans detail three chineflat rail options. The traditional option is square-sectioned wooden rails fastened to the bottom edges of the side panels, just shy of the radiused chines. The more modern option is a pair of rails with angled bottom faces fastened to the bottom, just inside of the chines. The rails can either be made with a PVC pipe or a square-sectioned wooden rail on the bottom panel with epoxy fillet on the inside face to create the flats that knock the spray down. We built the more modern option using the wooden rails on the bottom.
The skiff is normally built with solid inwales, but I prefer scuppered inwales. The boat can be rolled up on its side to drain water and dirt, and dry bags can easily be lashed or clipped through the scuppers. Rather than create the openings with dozens of small blocks, we used the CNC router to mill pockets in one side of the stock for the inwales.
The plans mention primer and paint without specific recommendations, but because the skiff would be used on a lot of rock beaches we used a roll-on truck-bed liner.
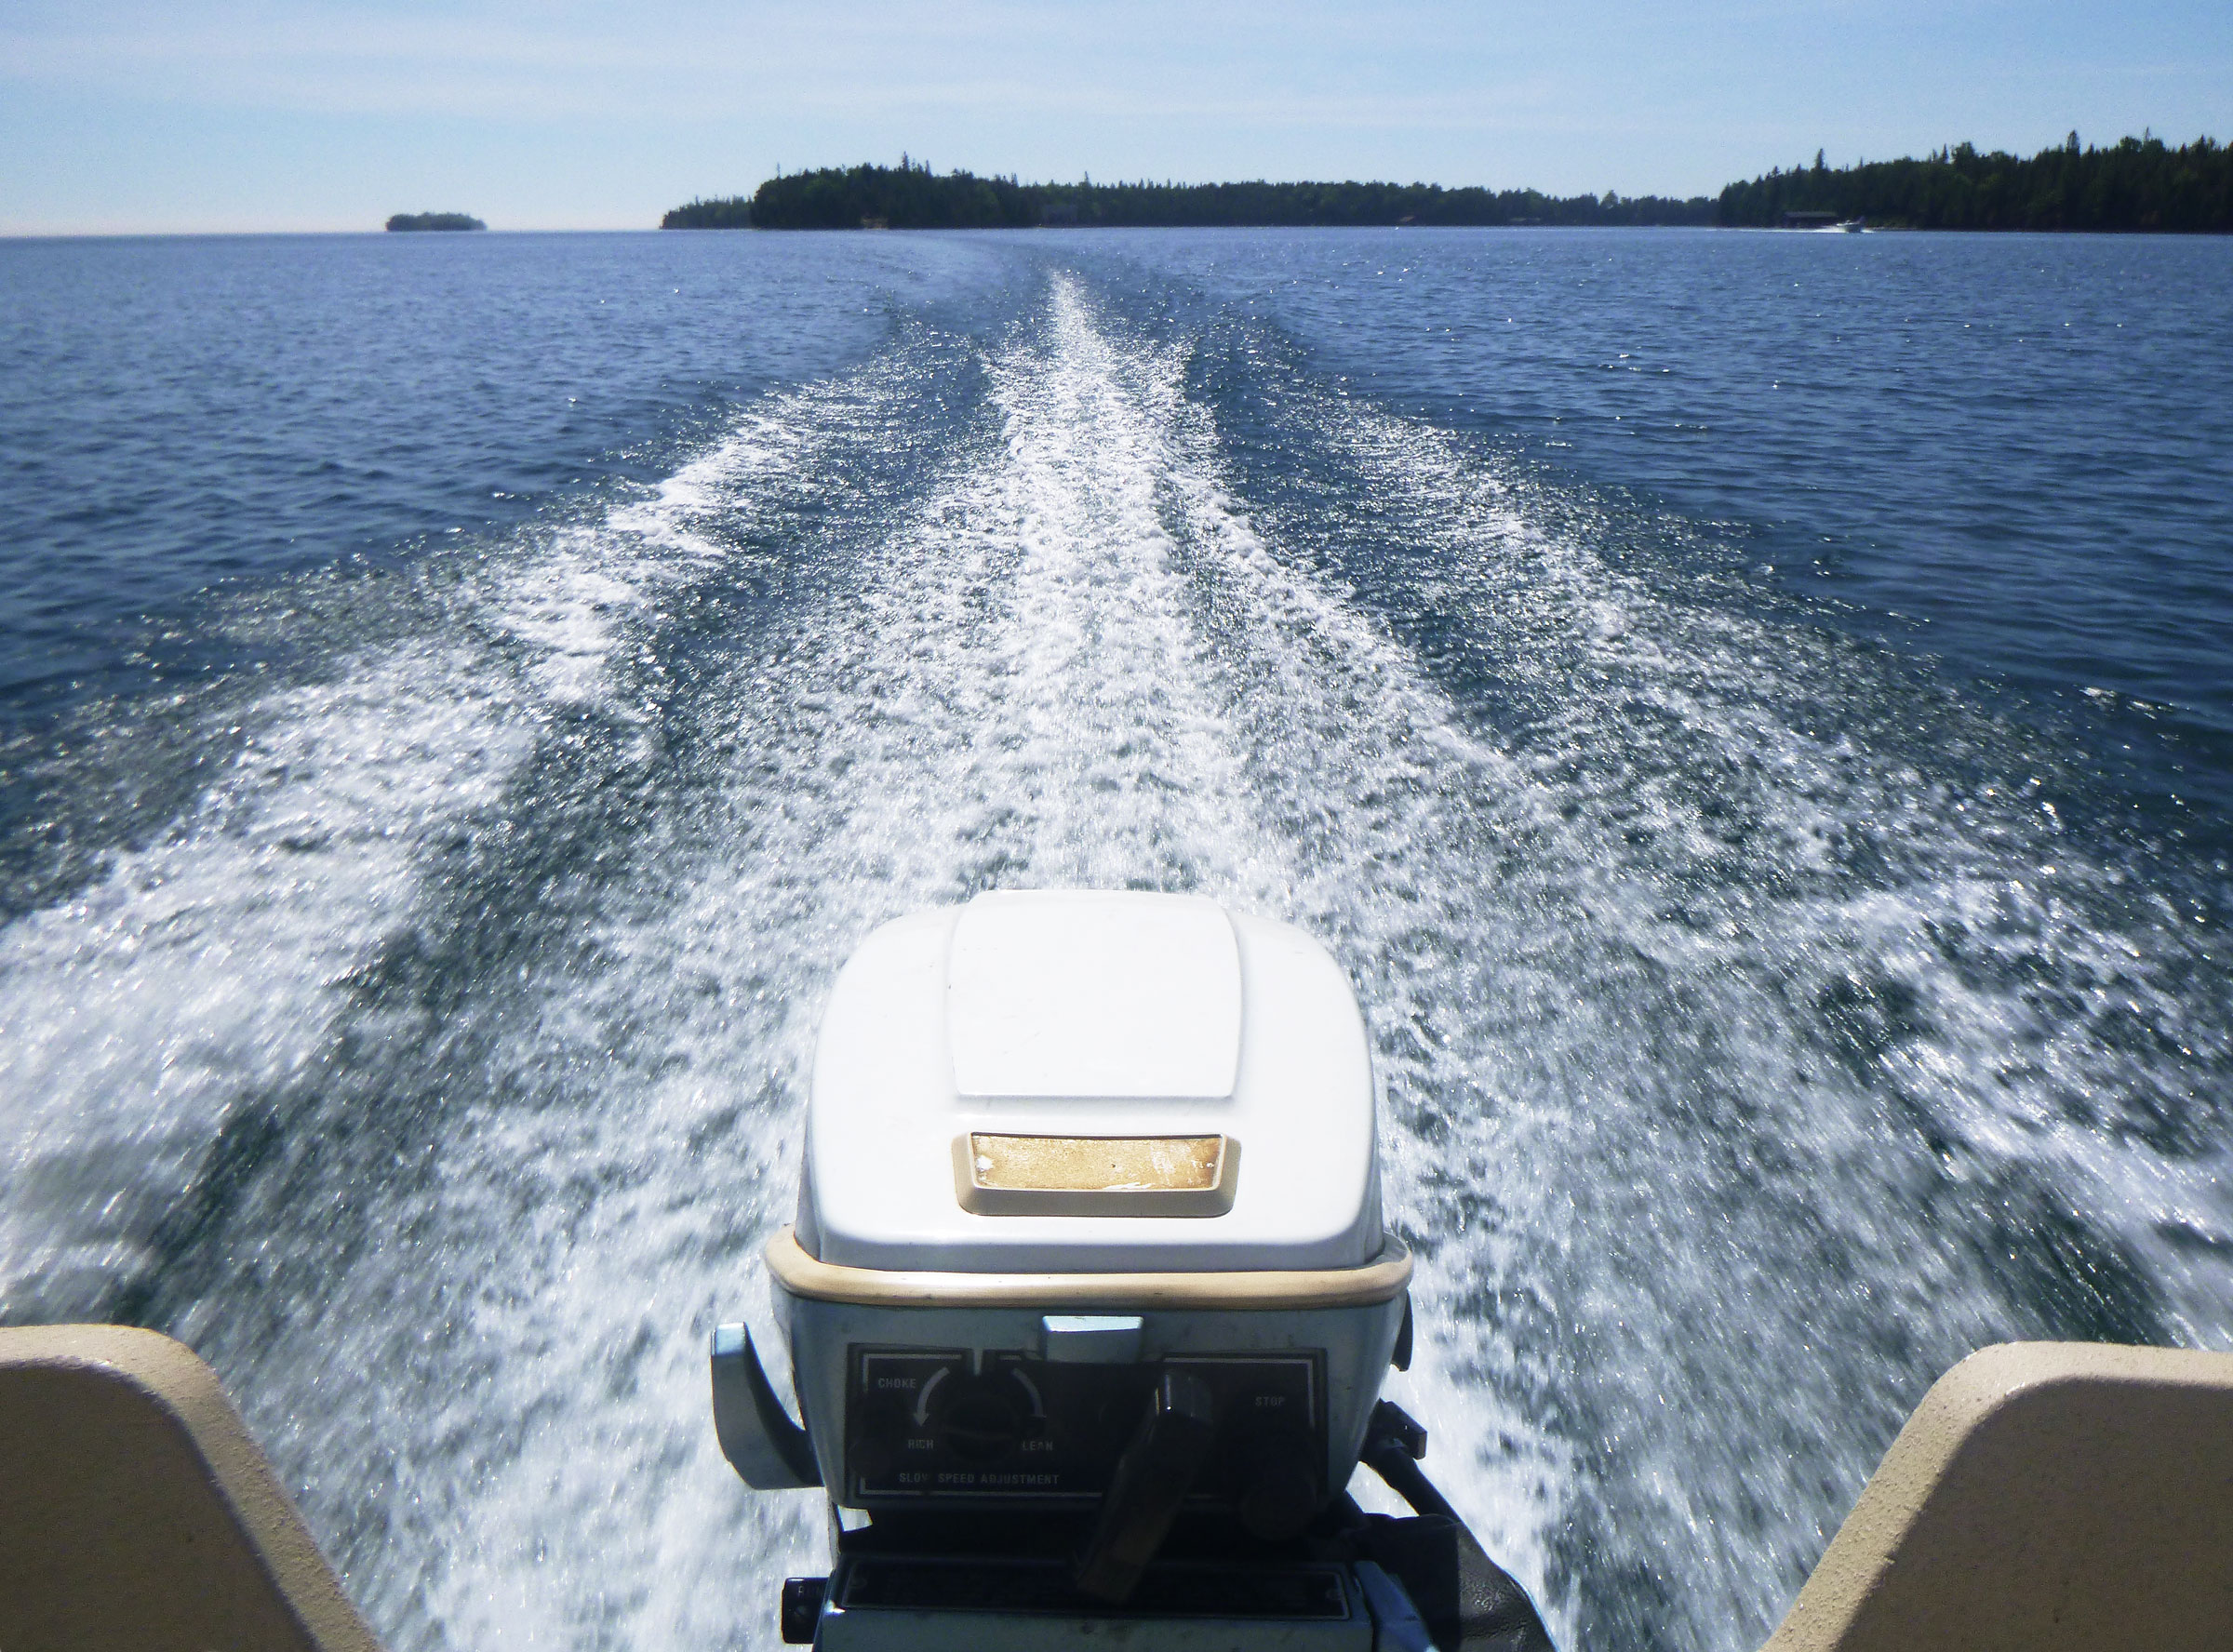
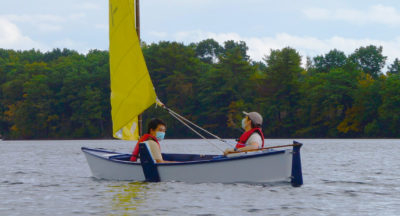
The skiff can take an outboard of 10 to 29 hp. To limit the top end speed to keep my son and his friends safe, we equipped ours with a used 15-hp two-stroke motor.

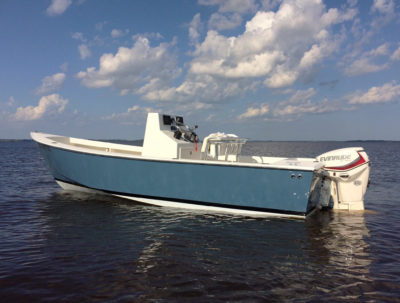
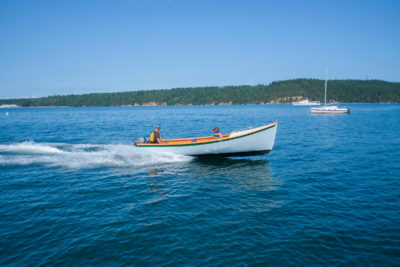
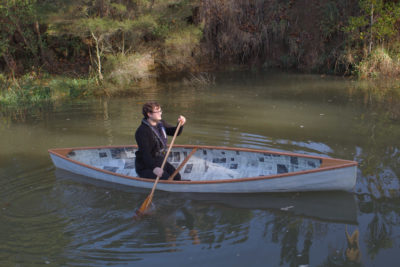
A 6″ draft and flat bottom make the skiff well suited for exploring thin coastal waters.
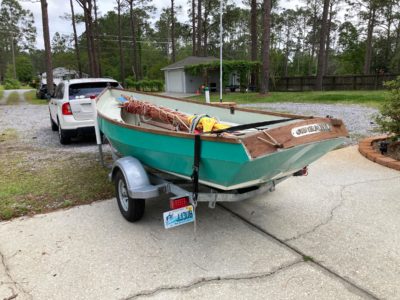
When we first used the boat to get to the cabin for a work party, we used our utility trailer to transport the skiff. Peter, a friend and I could easily slide the Sponge Docks Skiff off the cross bars we’d secured to the top of the utility trailer’s sides and into the water. We clamped the outboard on and we were ready to go. With the boat loaded down with tools and gear, we were, needless to say, stuck in displacement mode and not going to get on plane. After we moved the gear ashore, Peter could not resist zipping around in front of the cabin with a big grin on his face. When both he and I were aboard, the skiff still easily hopped up on plane. We neglected to bring a GPS, so we had no way to check the speed, but the boat felt plenty fast enough to me. That first mission with the boat was a success.
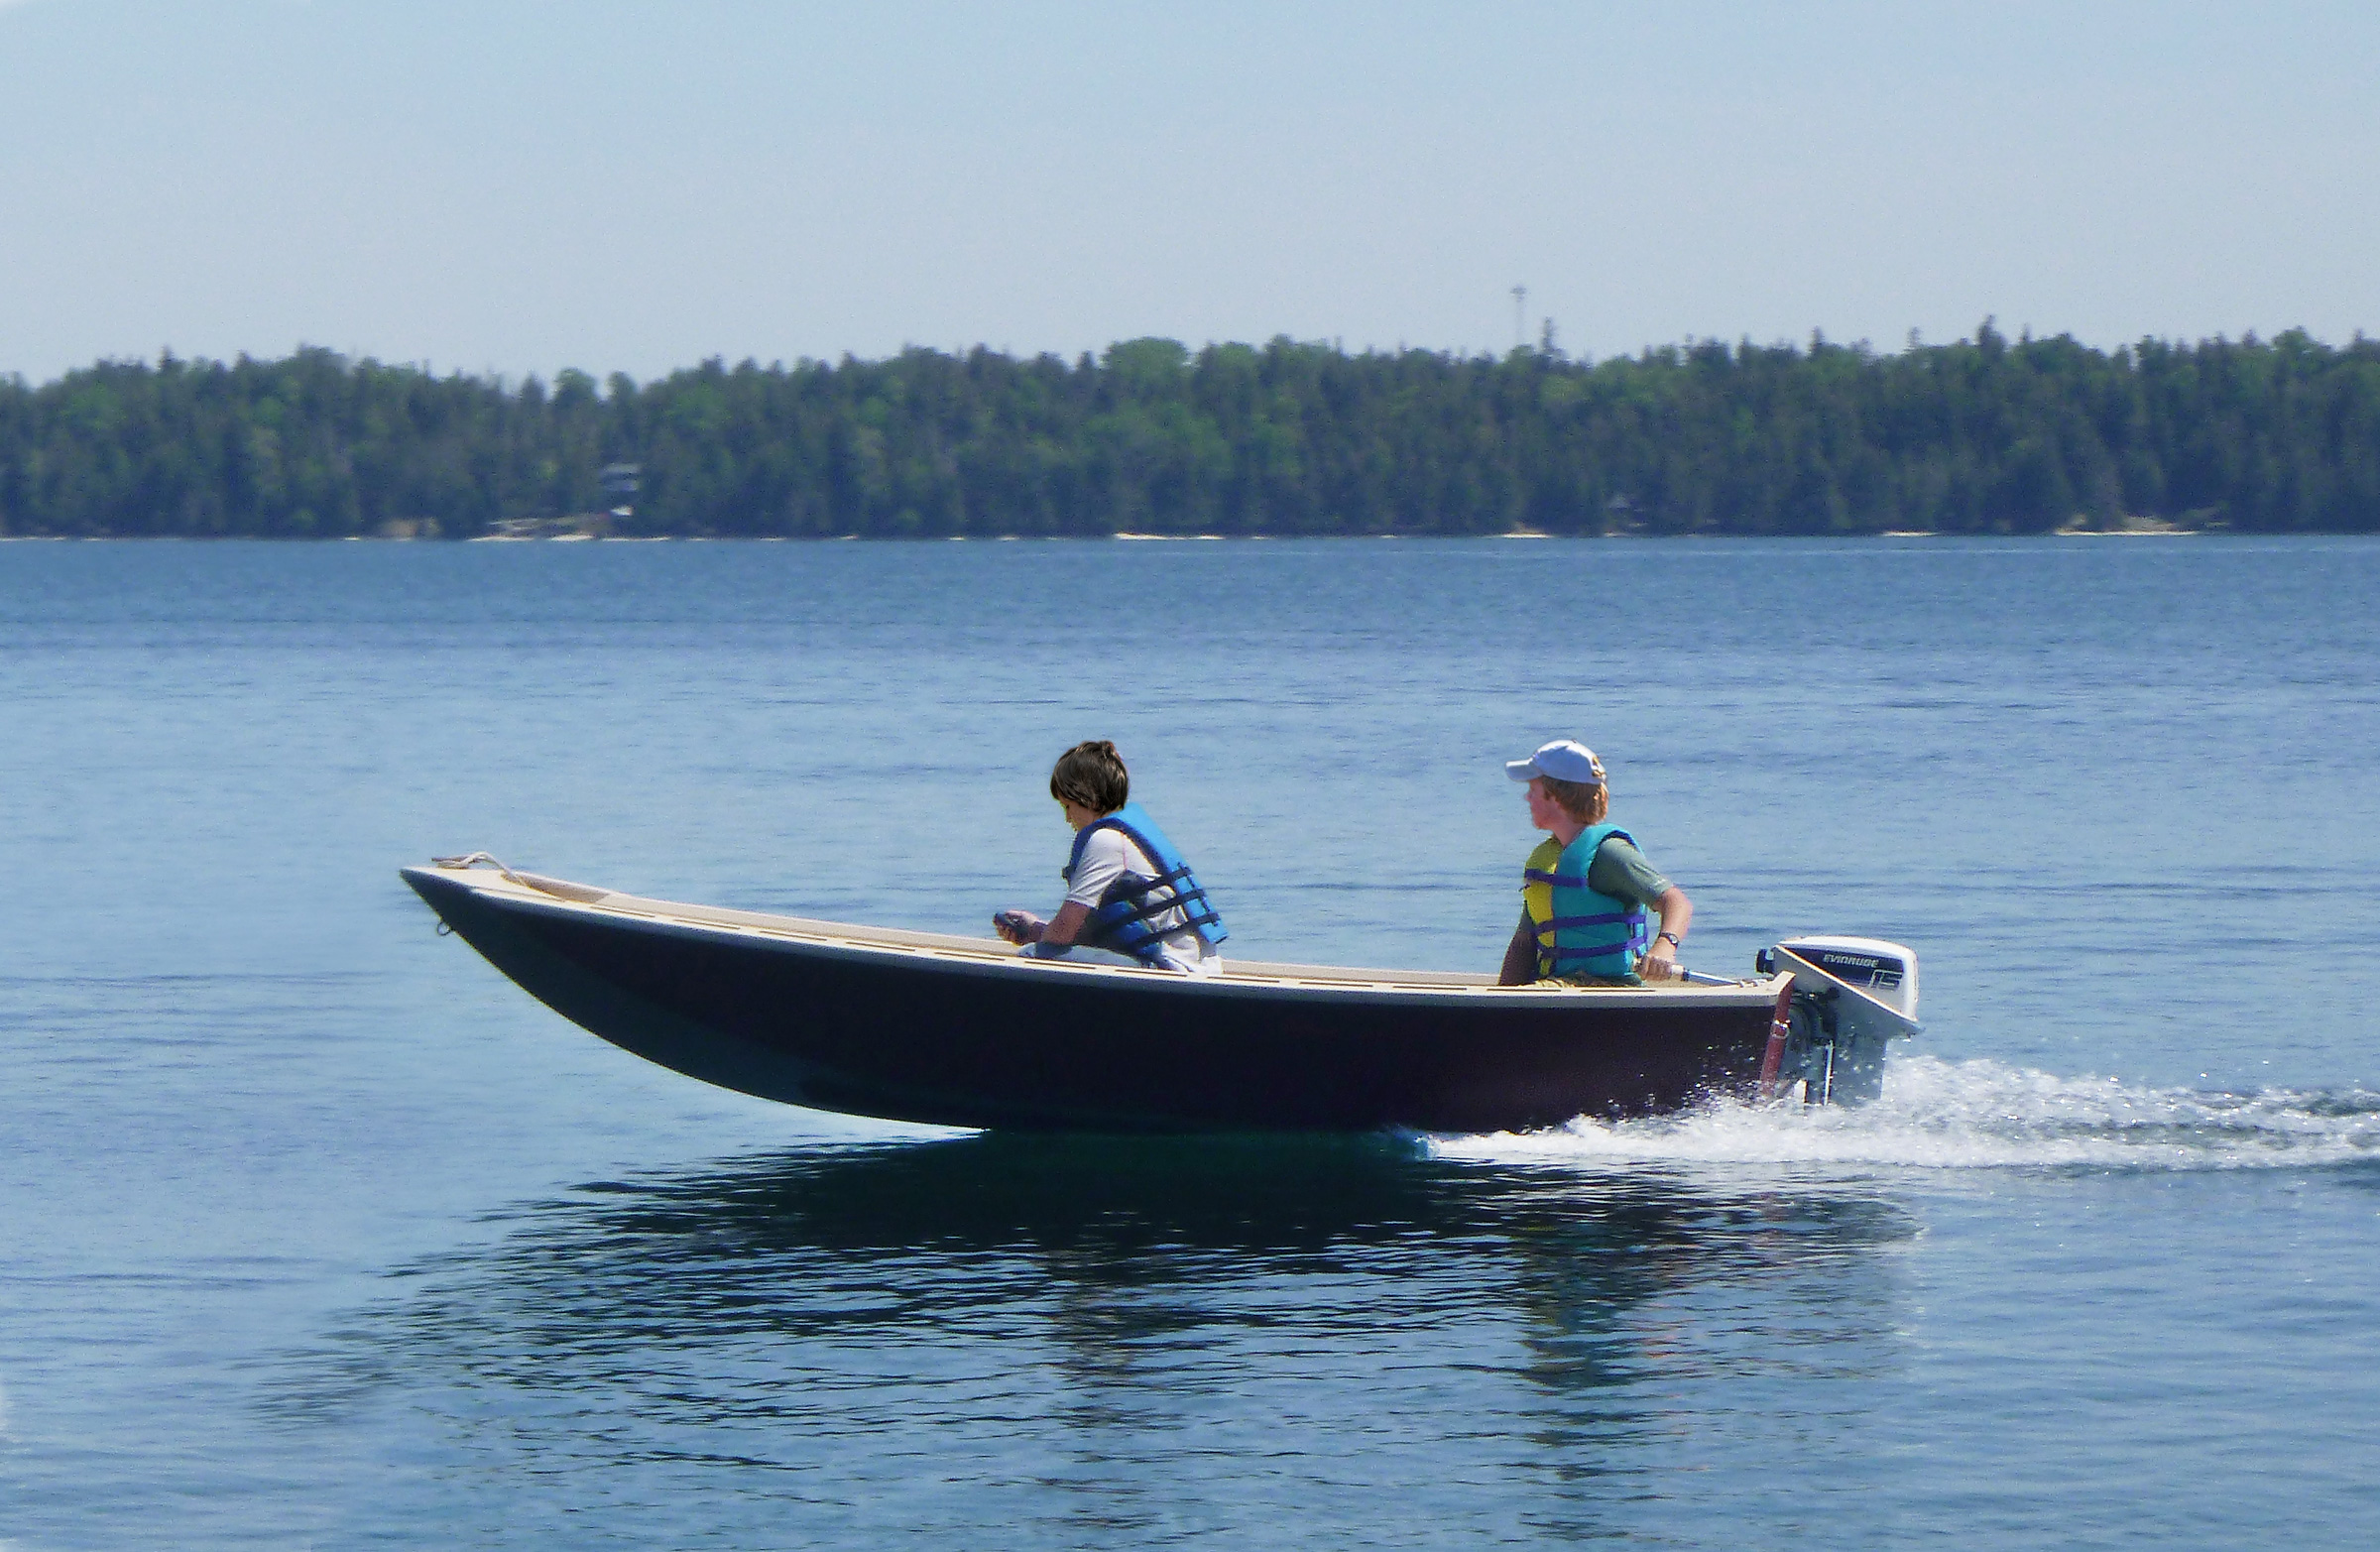
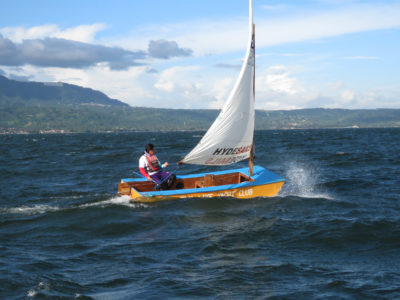
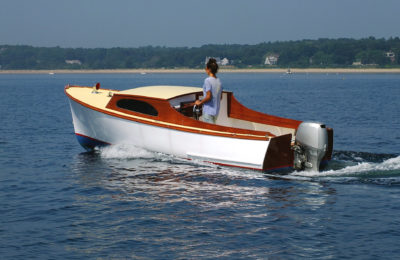
Powered by a 15-hp outboard, the skiff, with a solo operator aboard, can hit 22 mph.
We took the skiff out with a handheld GPS to record speeds. With Peter alone in the boat, it pops up on plane quickly and tops out at 22 mph. Top speed with Peter and his 13-year-old friend is similar. With just me aboard the boat also planes quickly and tops out at 21 mph. With me at the tiller and the two boys aboard, the skiff starts to feel underpowered with the 15-hp outboard. At wide-open throttle, the boat hits 13.5 mph and then slowly climbs over the bow wave and the speed creeps up to top out at 19 mph. The boat gets on plane quicker if I move to the middle thwart and let one of the teenagers drive. The skiff is nimble and quick in the turns. The rails on the bottom prevent the boat from skidding while cornering and the spray rails do a nice job of knocking down the spray.
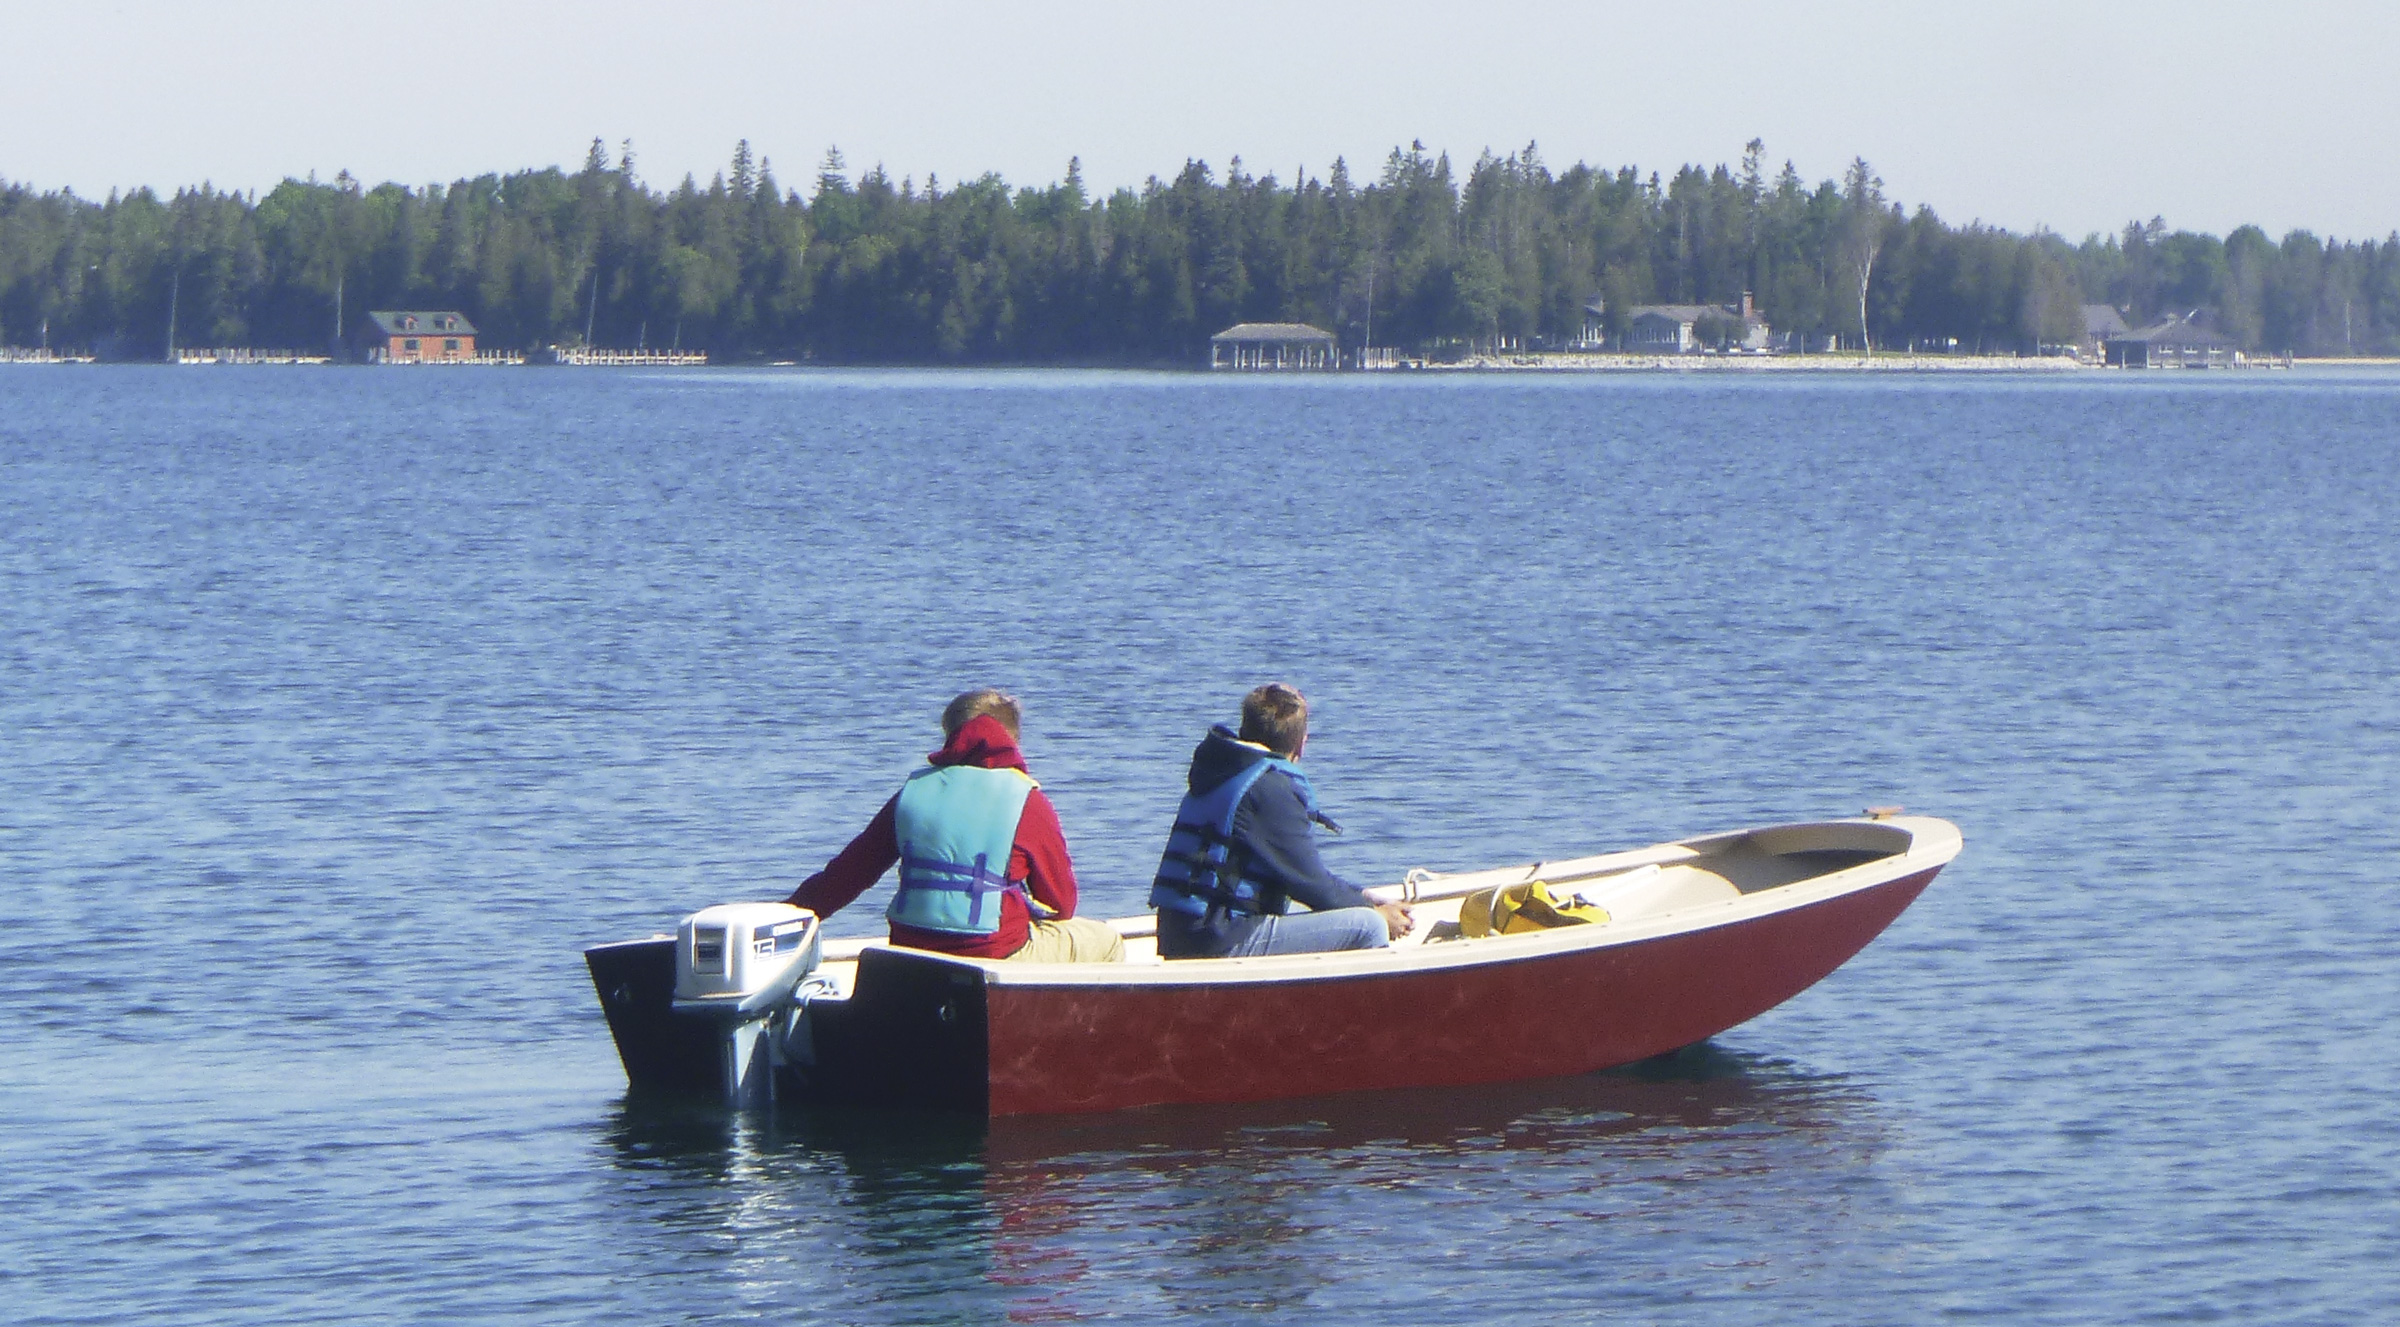
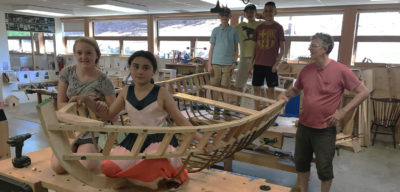
The simplicity of the skiff makes it a good introduction to boatbuilding and powerboat operation.
I have no need to make the Sponge Dock Skiff any faster, and Peter is happy with its performance. He definitely enjoyed motoring with his friend around the islands and taking the boat out to go fishing. Every so often the boys would yell up to me “we’re going on a boat ride” and the two would take off. At the end of the trip, Peter summed up the experience with “the boat is awesome!”
The Sponge Docks Skiff has been an unequivocal success. The skiff was straightforward to build with clear instructions and accurate cut files. Building it with Peter was an opportunity to spend time with him working on an interesting and instructive project. Finishing the project was bittersweet for me, but for Peter, the only bitter part was how long it took to build. The final product is a great utility boat with nice lines, and Peter gets to captain a boat appropriate to his size and age. We anticipate many more productive and enjoyable days on the water with the Sponge Docks Skiff. ![]()
Sam Smith is an engineer, farmer, and builder living in the Great Lakes area. Boats and boat plans are his endless source of observation, study, dreaming, and building, and he and his family enjoy using the boats he has built to explore the great outdoors together.
Sponge Docks Skiff Particulars
[table]
Length/13′
Beam/5.5′
Draft/6″
Maximum power/29 hp
Dry weight/approx. 250 lbs
[/table]
The Sponge Docks Skiff is available from Bedard Yacht Design as plans—download $89.99, print $119—with optional DFX cut files for an additional $100. Complete kits are available for $1,999.99; wood components only for $1,199.99.
Is there a boat you’d like to know more about? Have you built one that you think other Small Boats Magazine readers would enjoy? Please email us!


Join The Conversation
We welcome your comments about this article. To include a photo with your remarks, click Choose File below the Comment box.