For decades I’ve used spiral wraps of slender strips of rubber cut from inner tubes in gluing up oars, paddles, and spars. I used the rubber strips initially because I didn’t have enough clamps for the longer pieces or clamps large enough to span blanks for oar and paddle blades. Even though I now have plenty of clamps, including bar clamps, I still use rubber strips for those particular jobs. The strips are easy to apply and provide plenty of pressure. The rubber weighs next to nothing—a set of clamps is heavy and can cause a workpiece to sag and curve—and hardly occupies any space while doing its job, so the workpiece is easy to set aside while the glue cures.
 Photographs by the author
I used to wrap the rubber strips directly on the glue-ups.
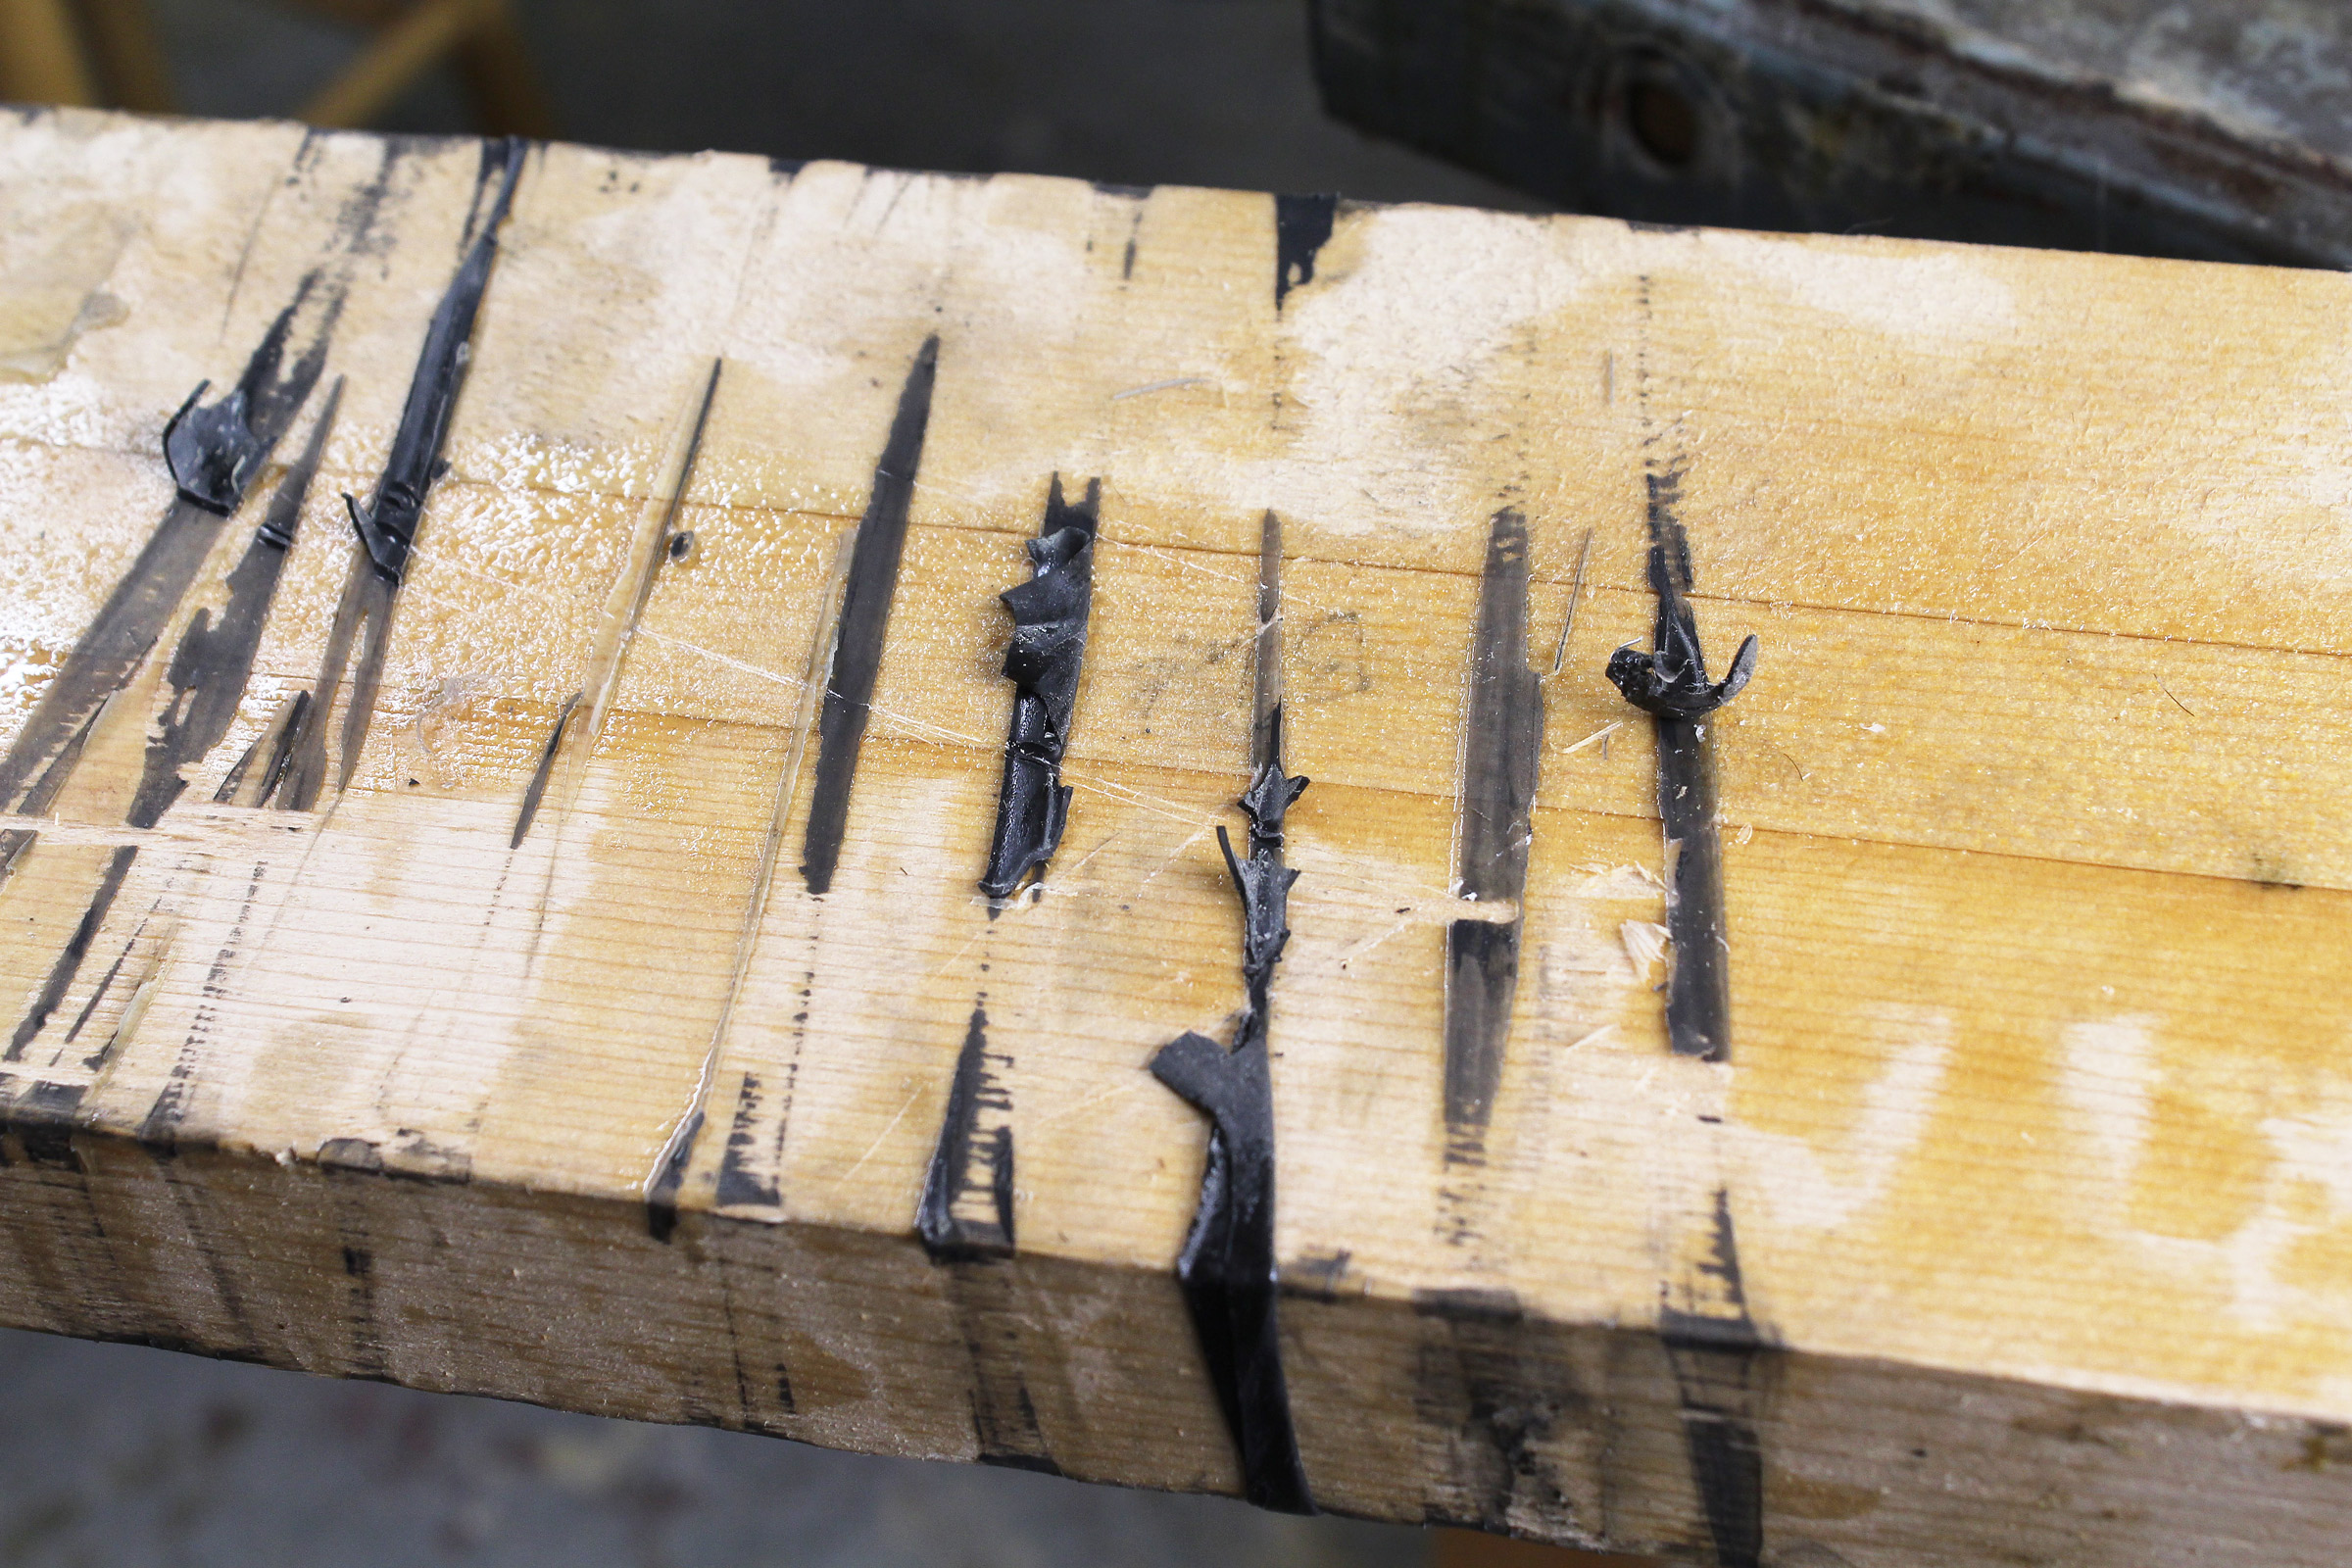
The rubber held up for a while, but with repeated use and age it started sticking to the cured epoxy and tearing. That wasn’t much of a problem when inner tubes were readily available and often free for the asking at auto tire stores. With tubeless tires now nearly universal, used inner tubes are not.
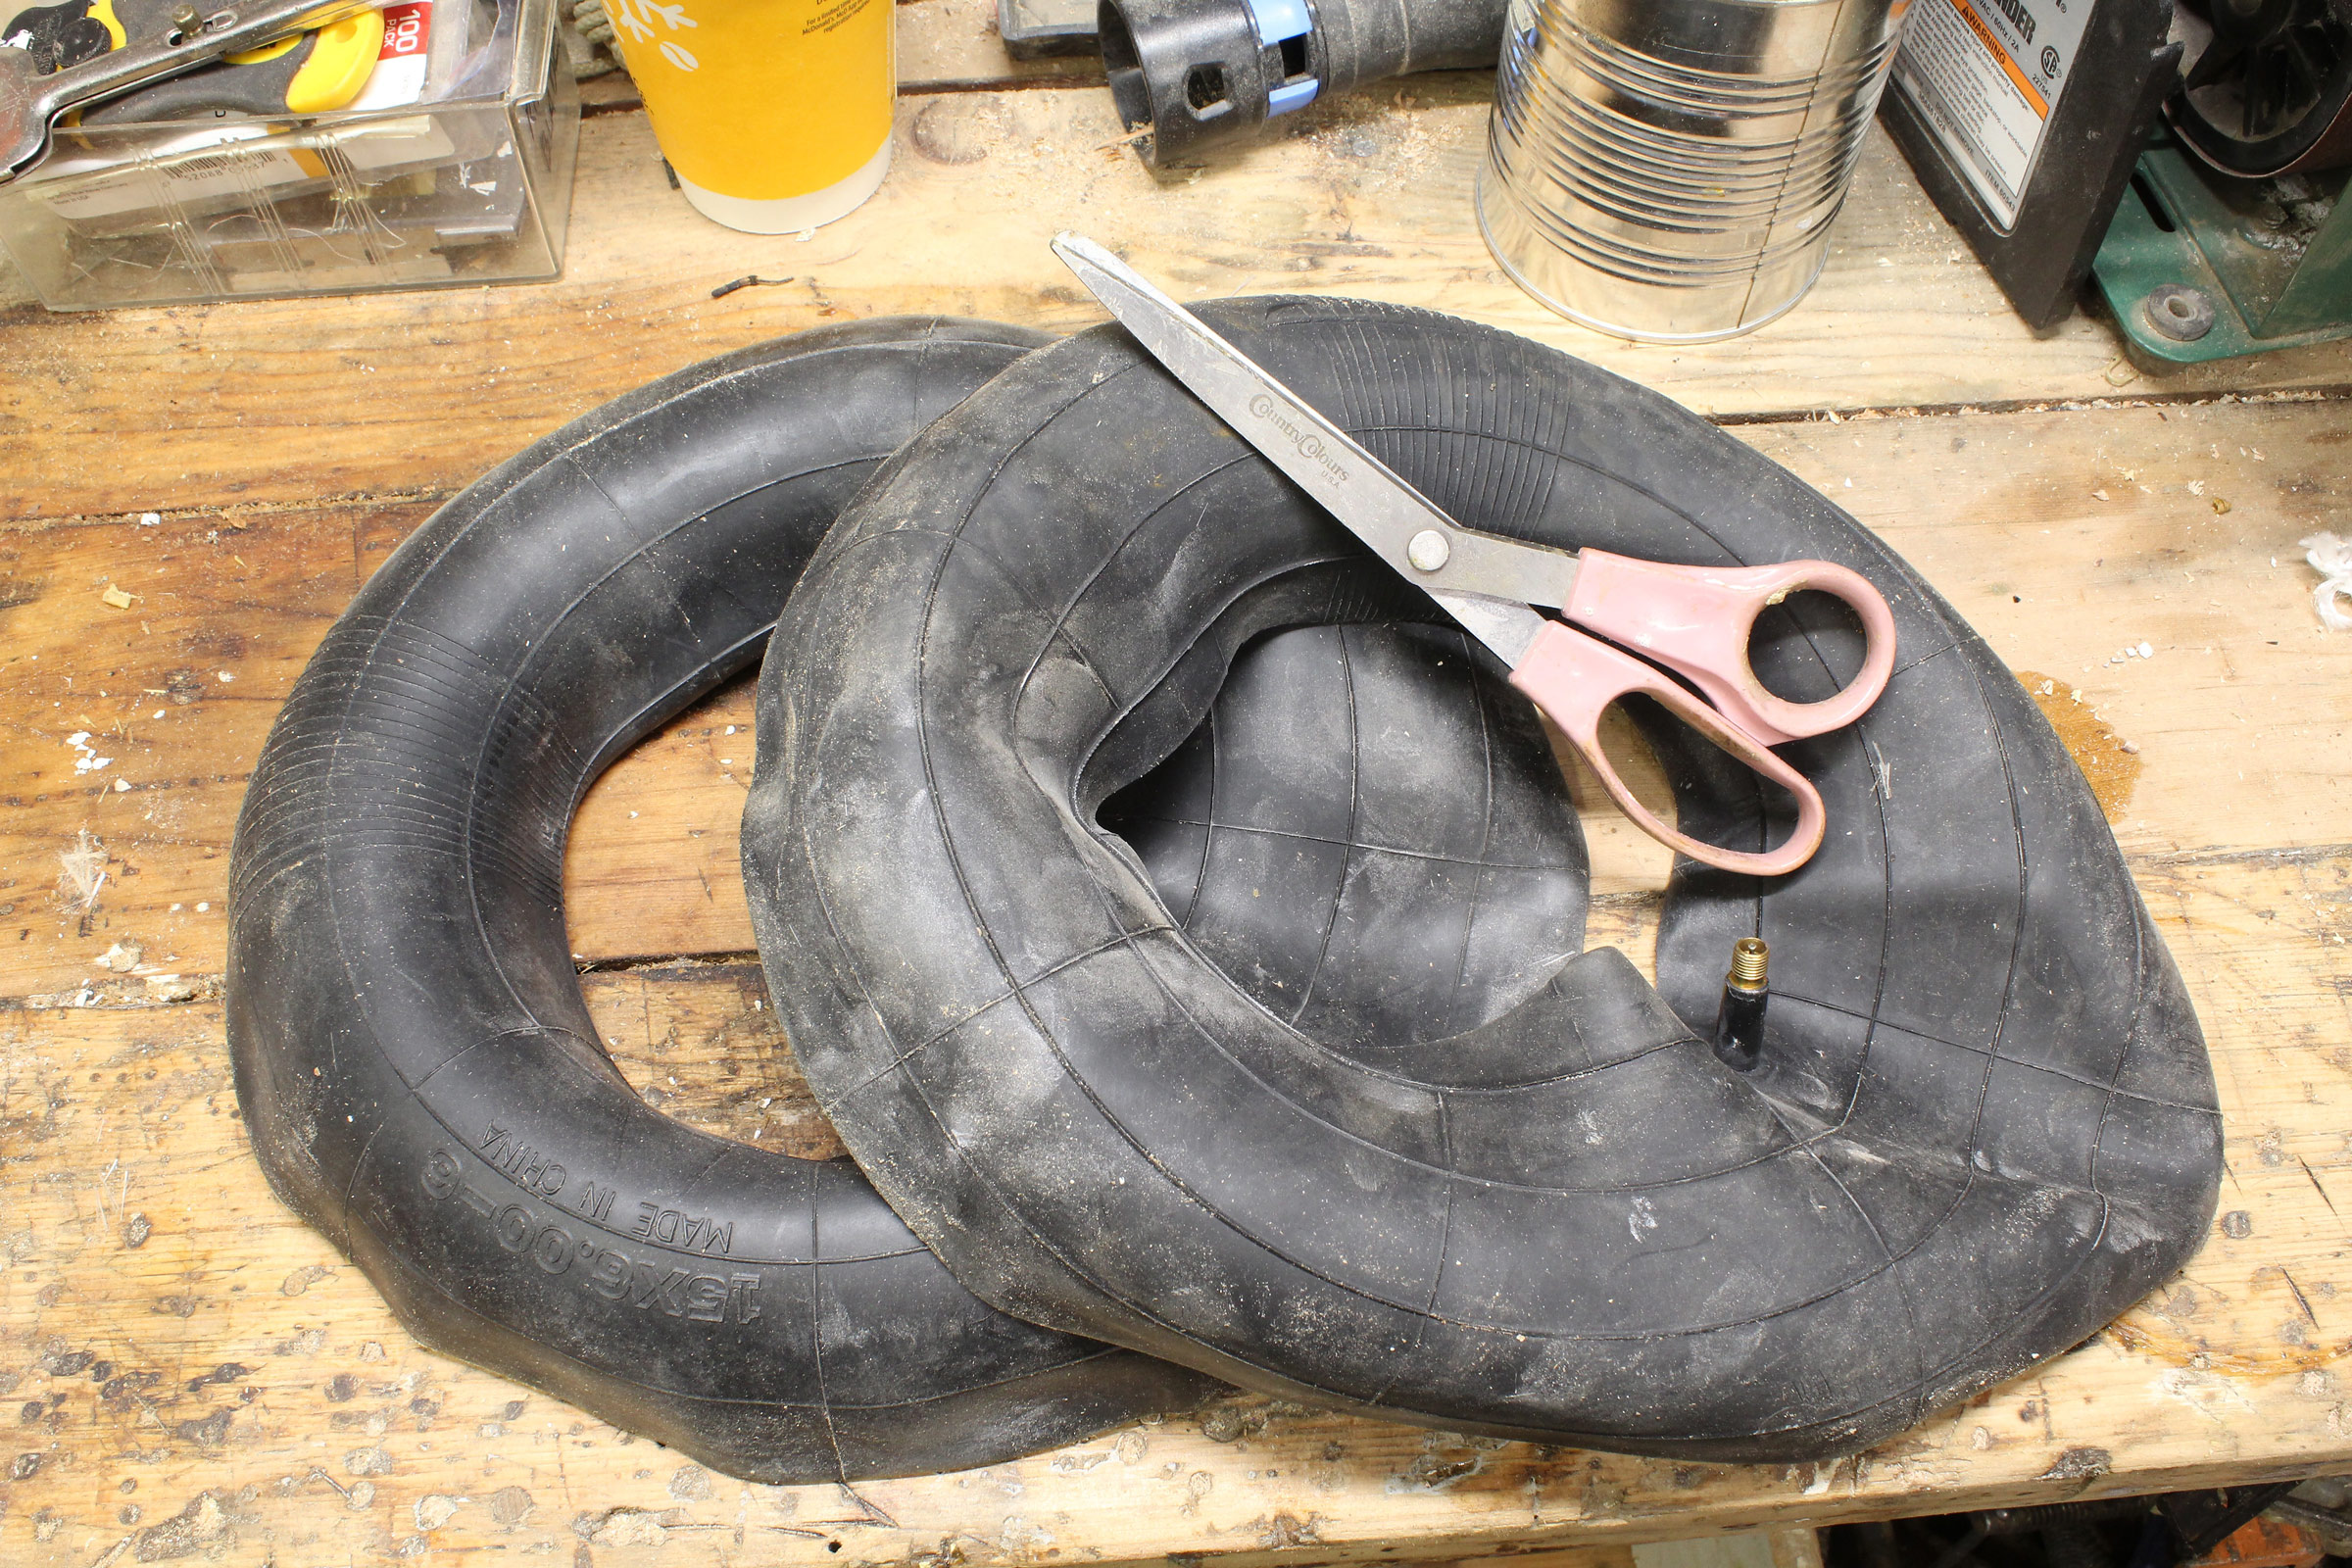
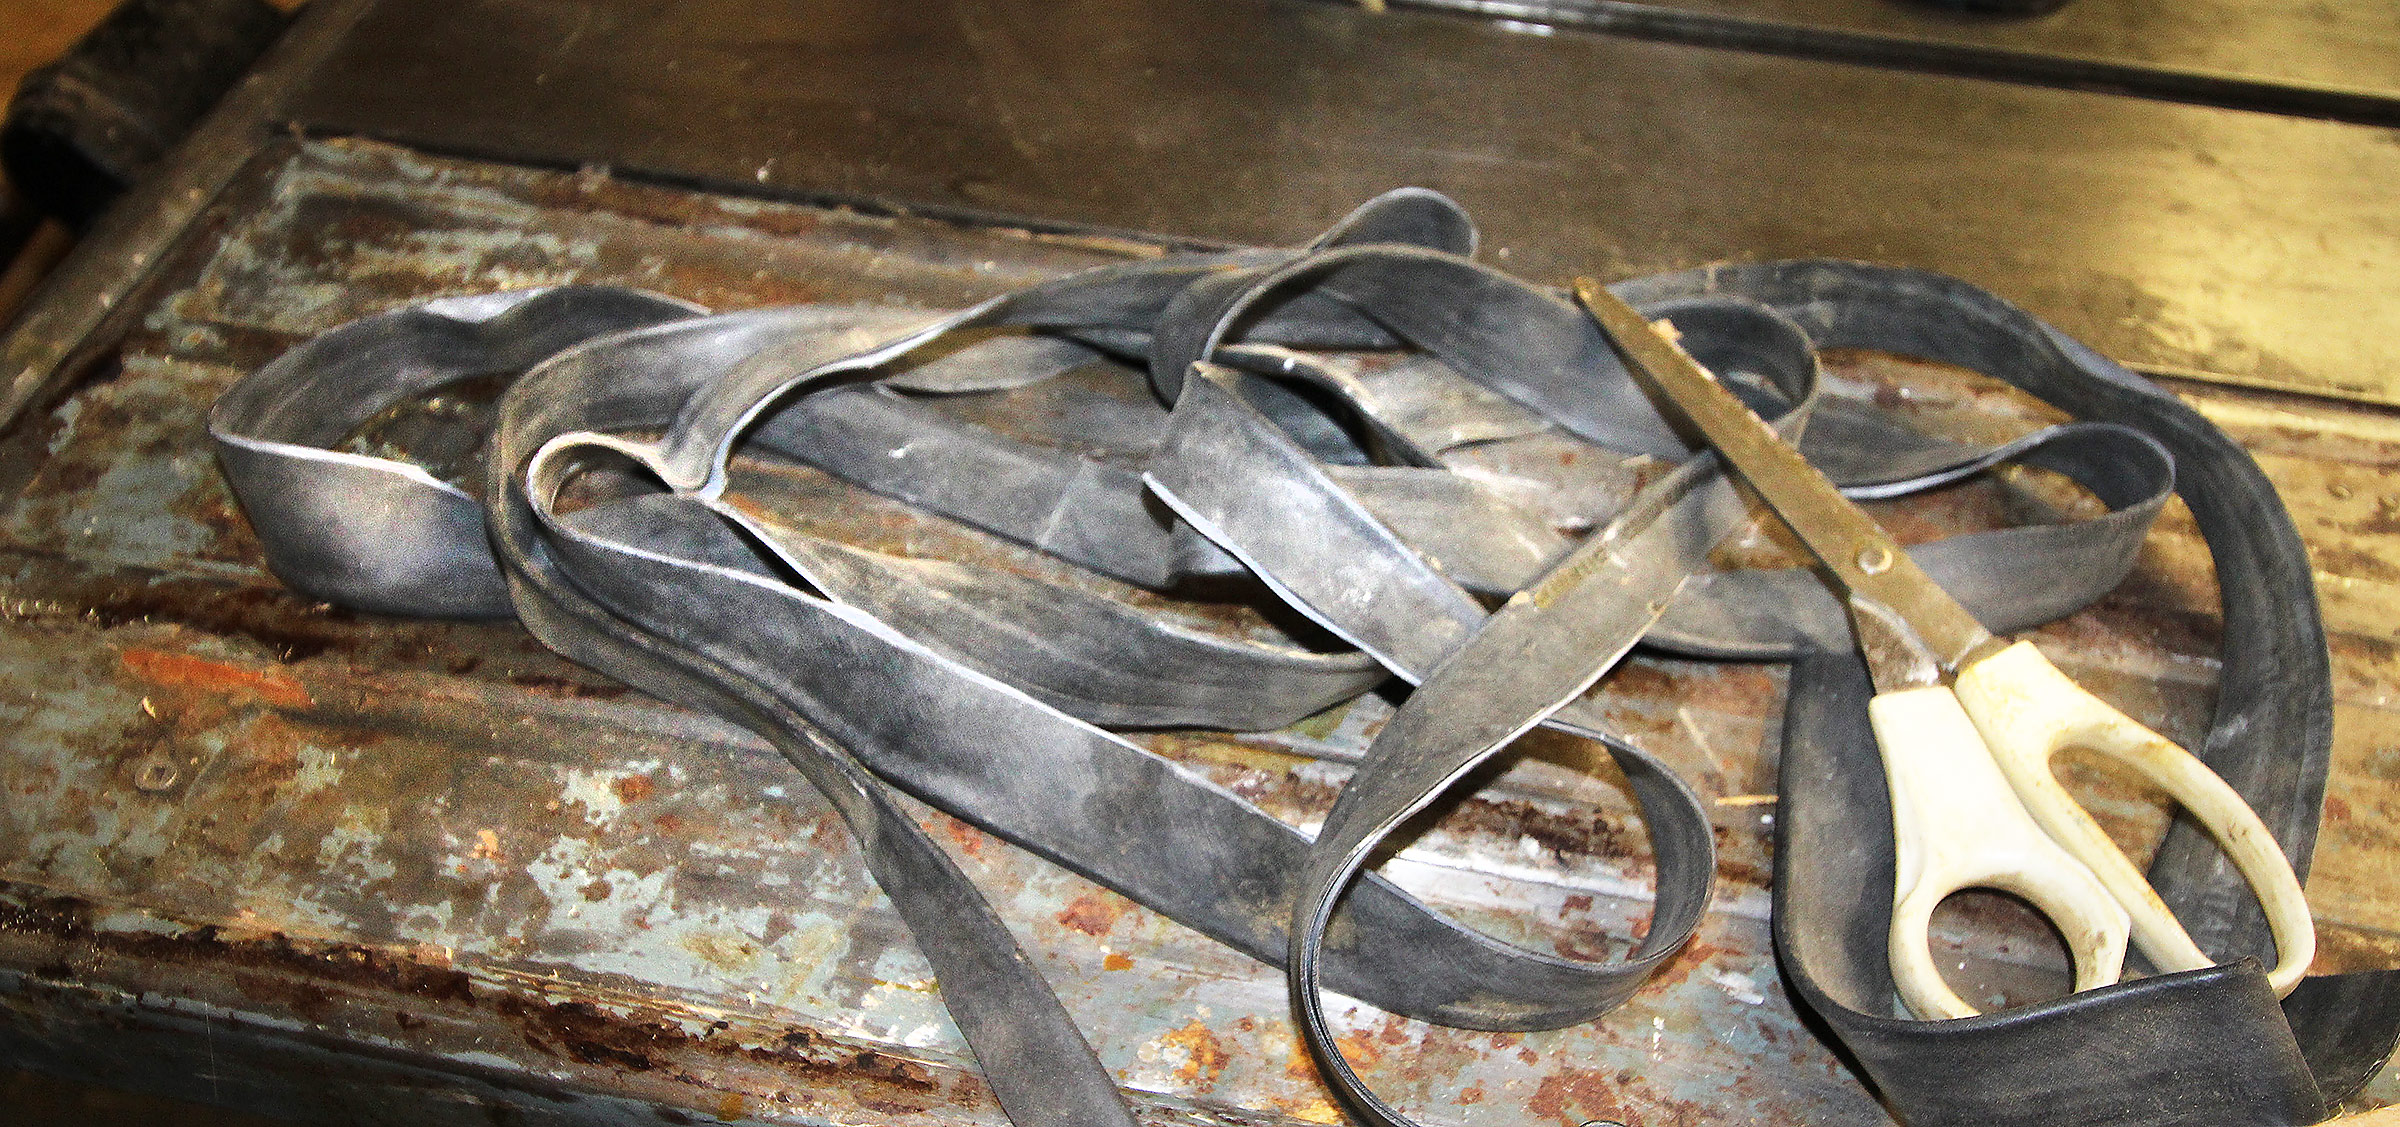
Fortunately, new auto inner tubes aren’t expensive (less than the cost of a bar clamp) so the rubber for strips isn’t hard to obtain whether from auto parts stores or online sources. I use scissors to cut the inner tubes in half down the middle, like a split bagel.
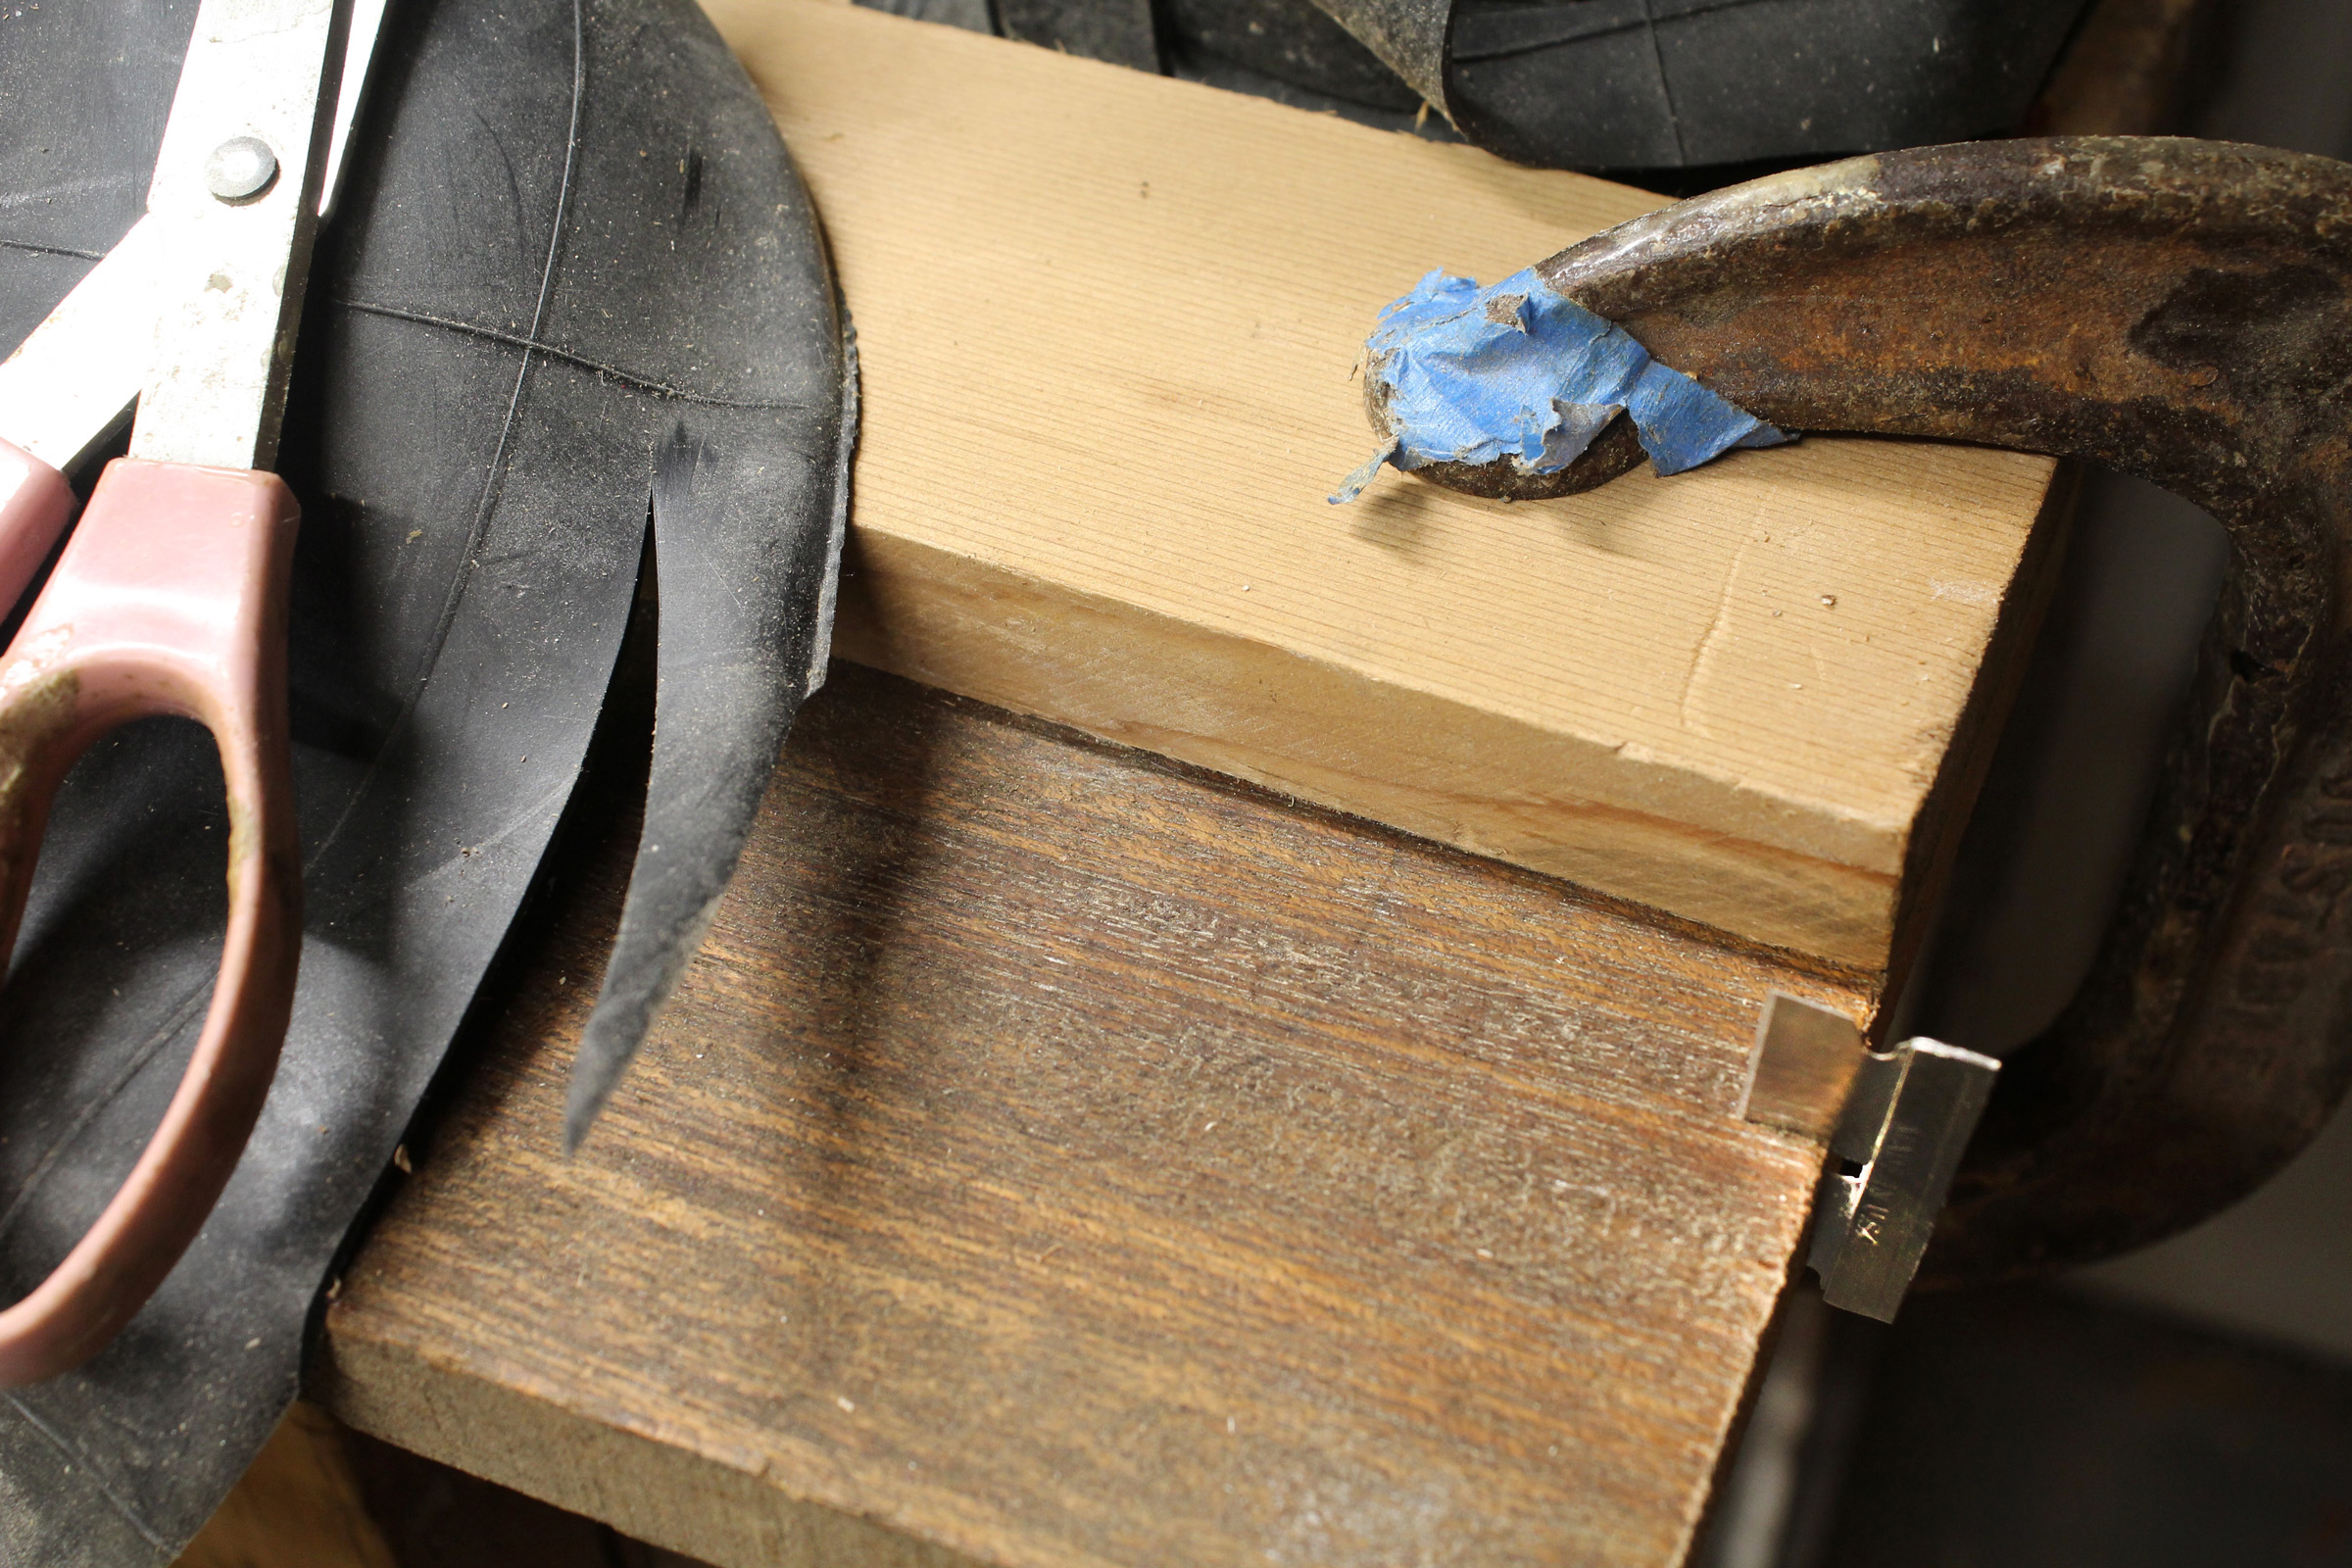
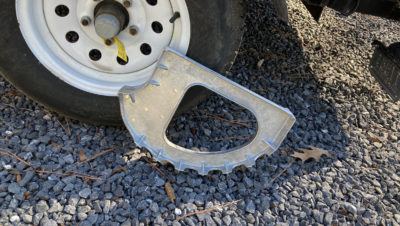
To cut each half into strips, I use a technique that I’d read about for making babiche, the leather lacing used for making traditional snowshoes. The device for cutting the strips is a simple arrangement of a board as a base, a razor blade tapped into one end of that board, and a second board clamped to the first as a fence about 1/2″ from the blade. To start the strip, I make an angled cut in the outside edge of the rubber disc. This is the leader to pull between the blade and the fence.

With one hand I pull the leader and the strip that follows it. With the other hand I guide and flatten the disc of rubber, taking care to keep my fingers away from the blade. Pulling down over the edge of the base and slightly toward the fence will produce a long, uniform strip from the inner-tube half.
I also save all my bicycle inner tubes that are beyond patching. I use the road-bike inner tubes for clamping mostly as they are; I just cut the valve-stem section out with scissors. With my mountain-bike inner tubes, shown here, I cut the stem out and then split the rest of the tube in half down the middle.
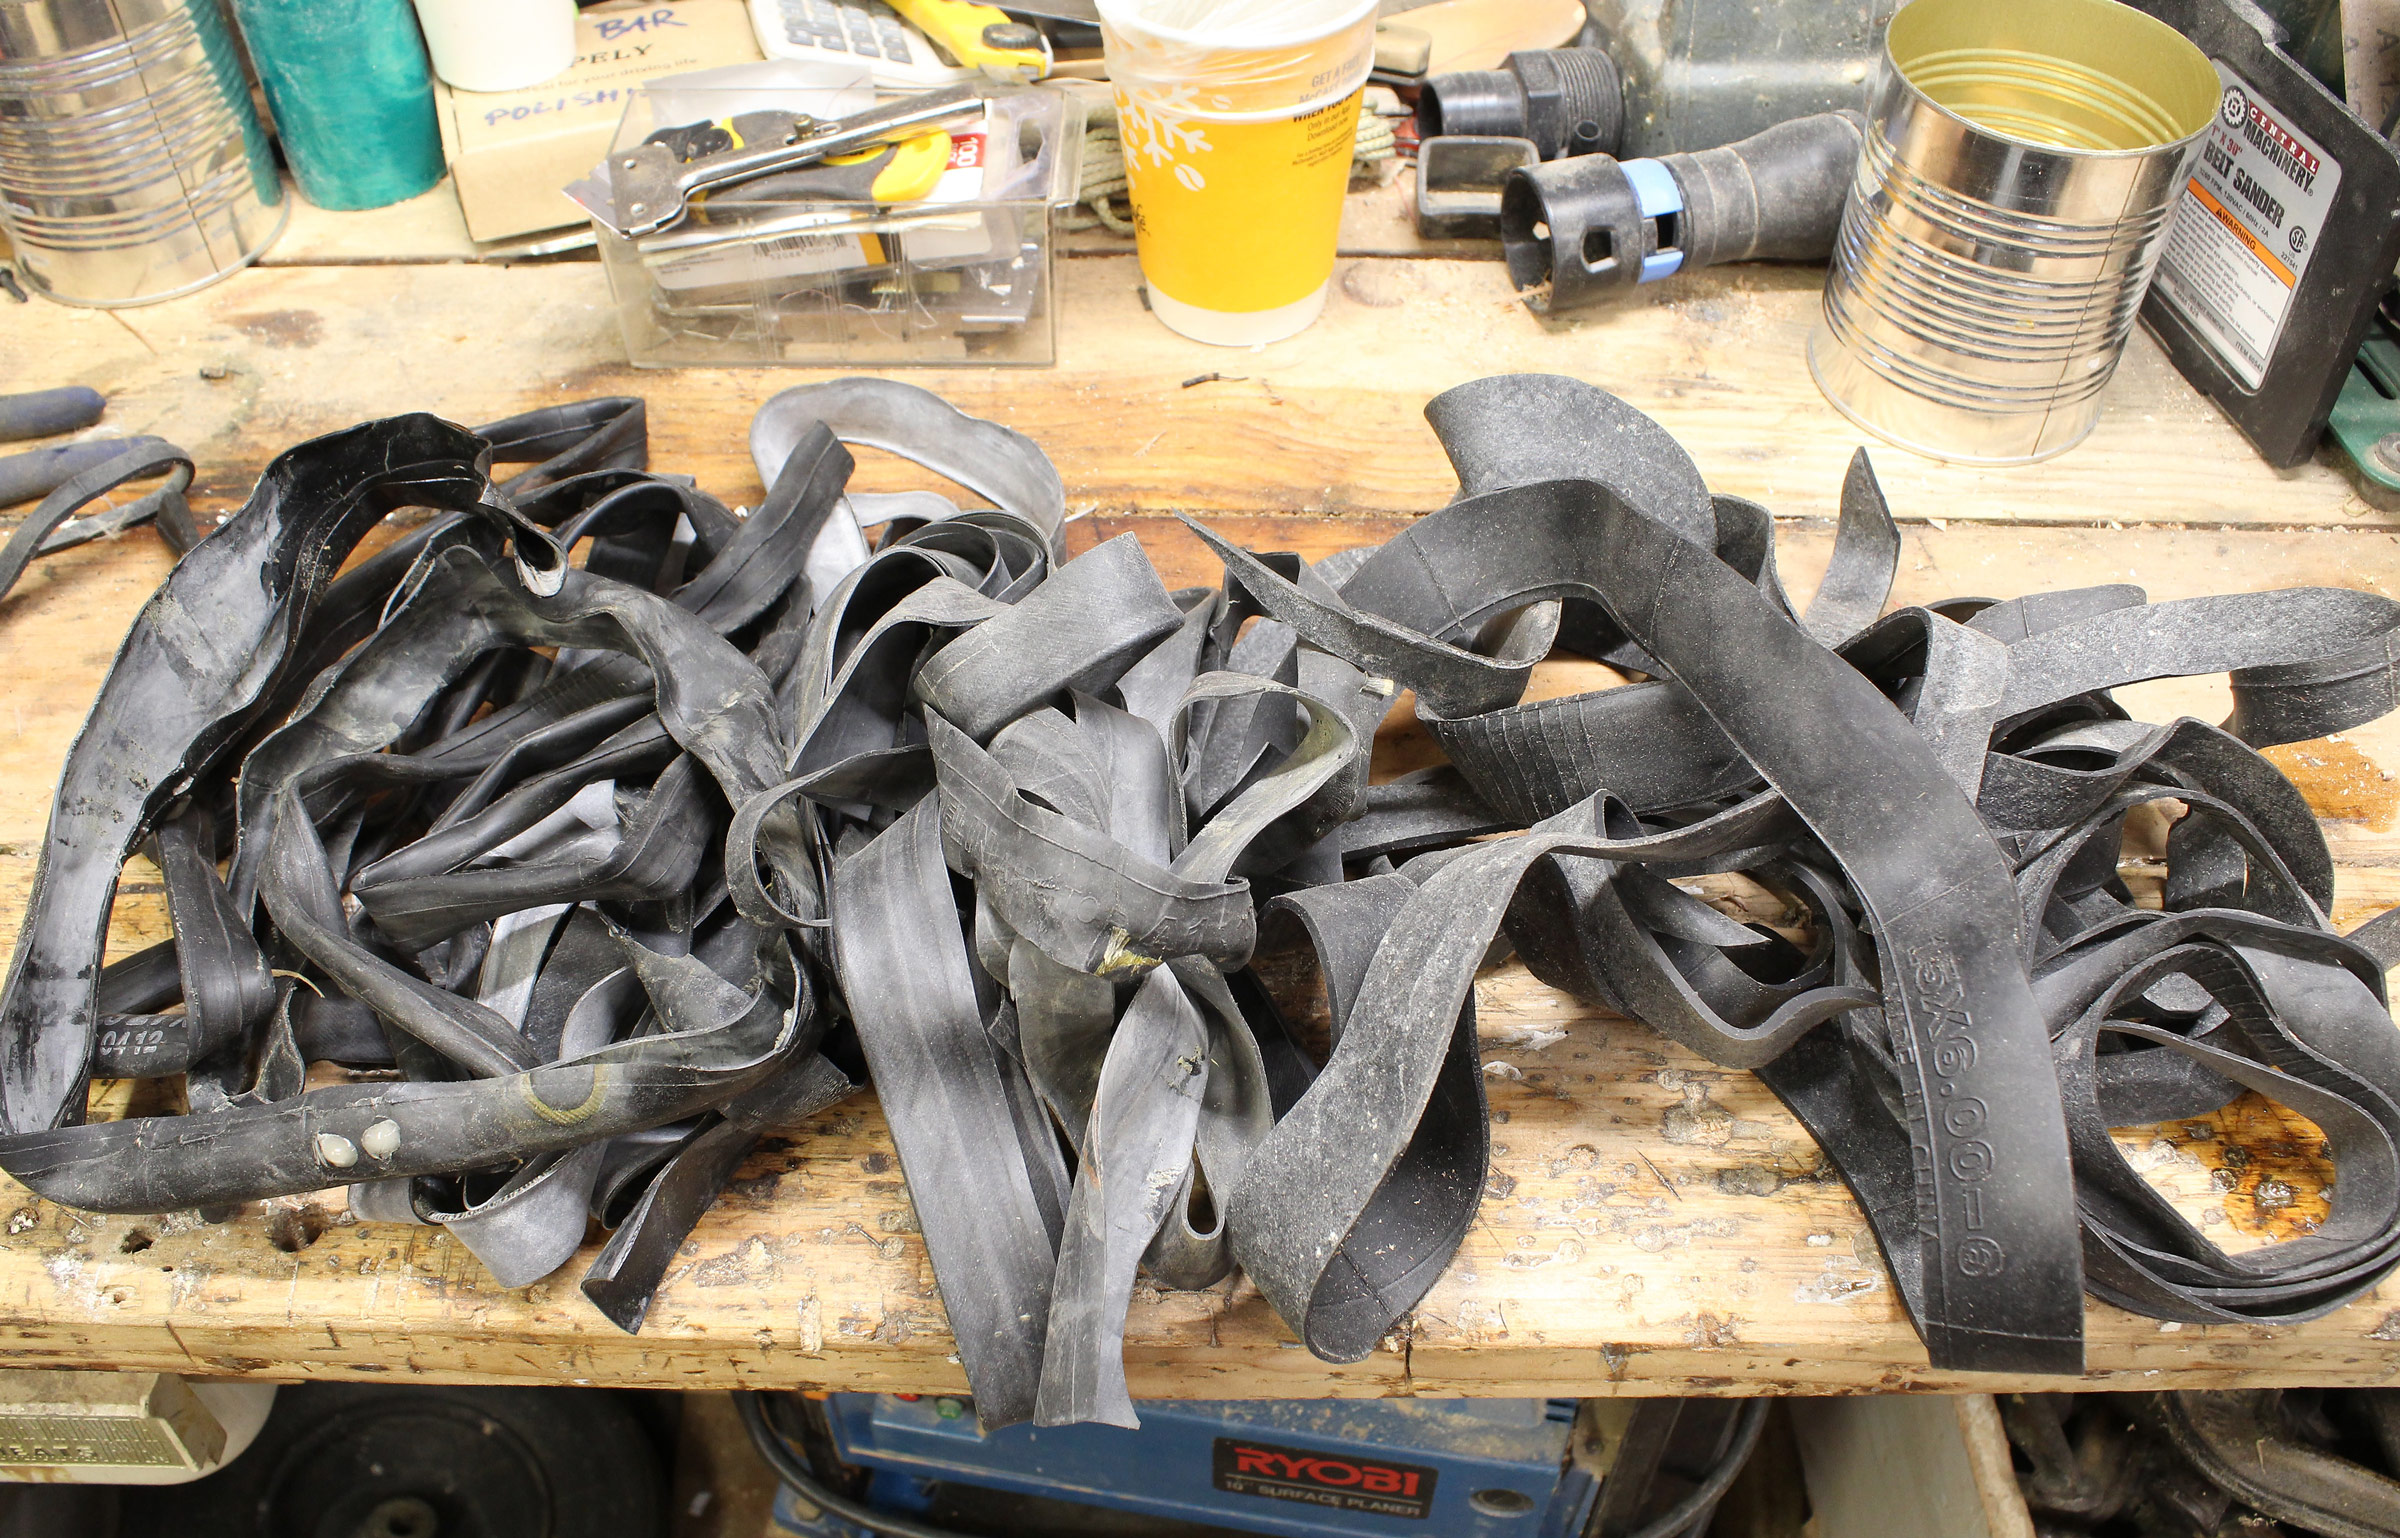
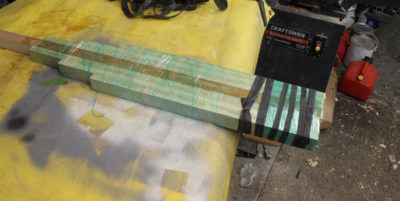
A pile of rubber strips can take the place of dozens of clamps.

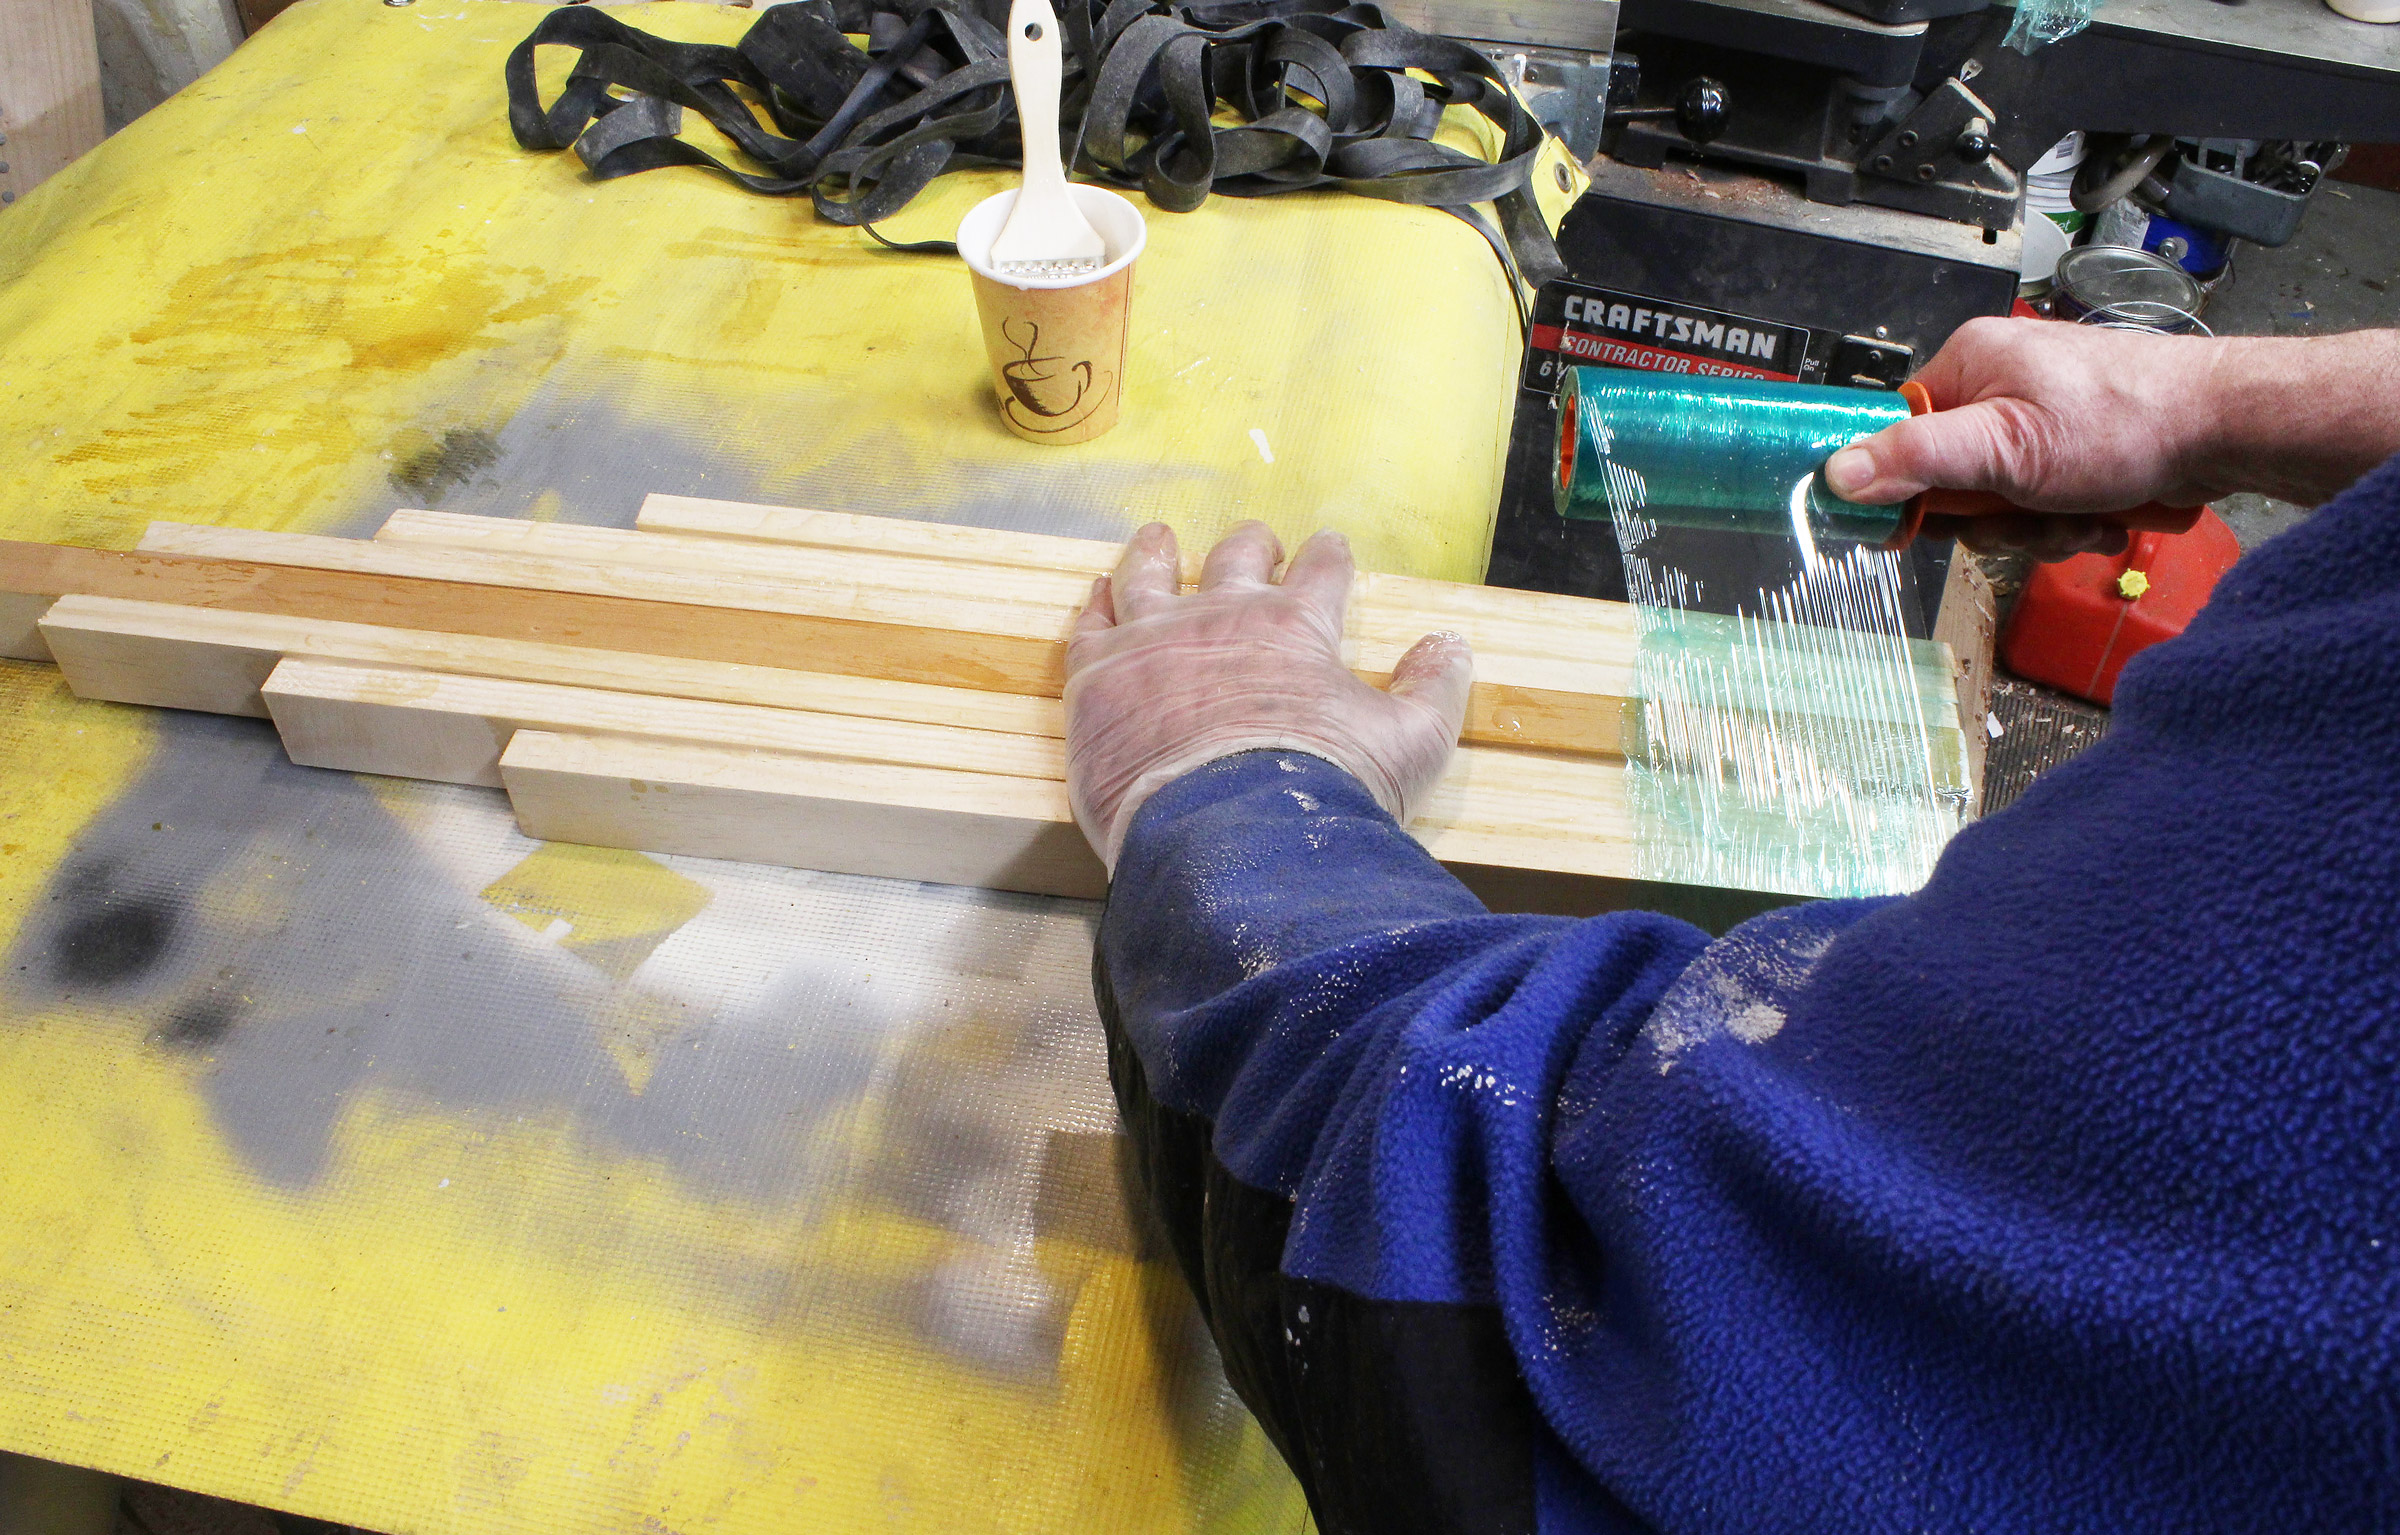
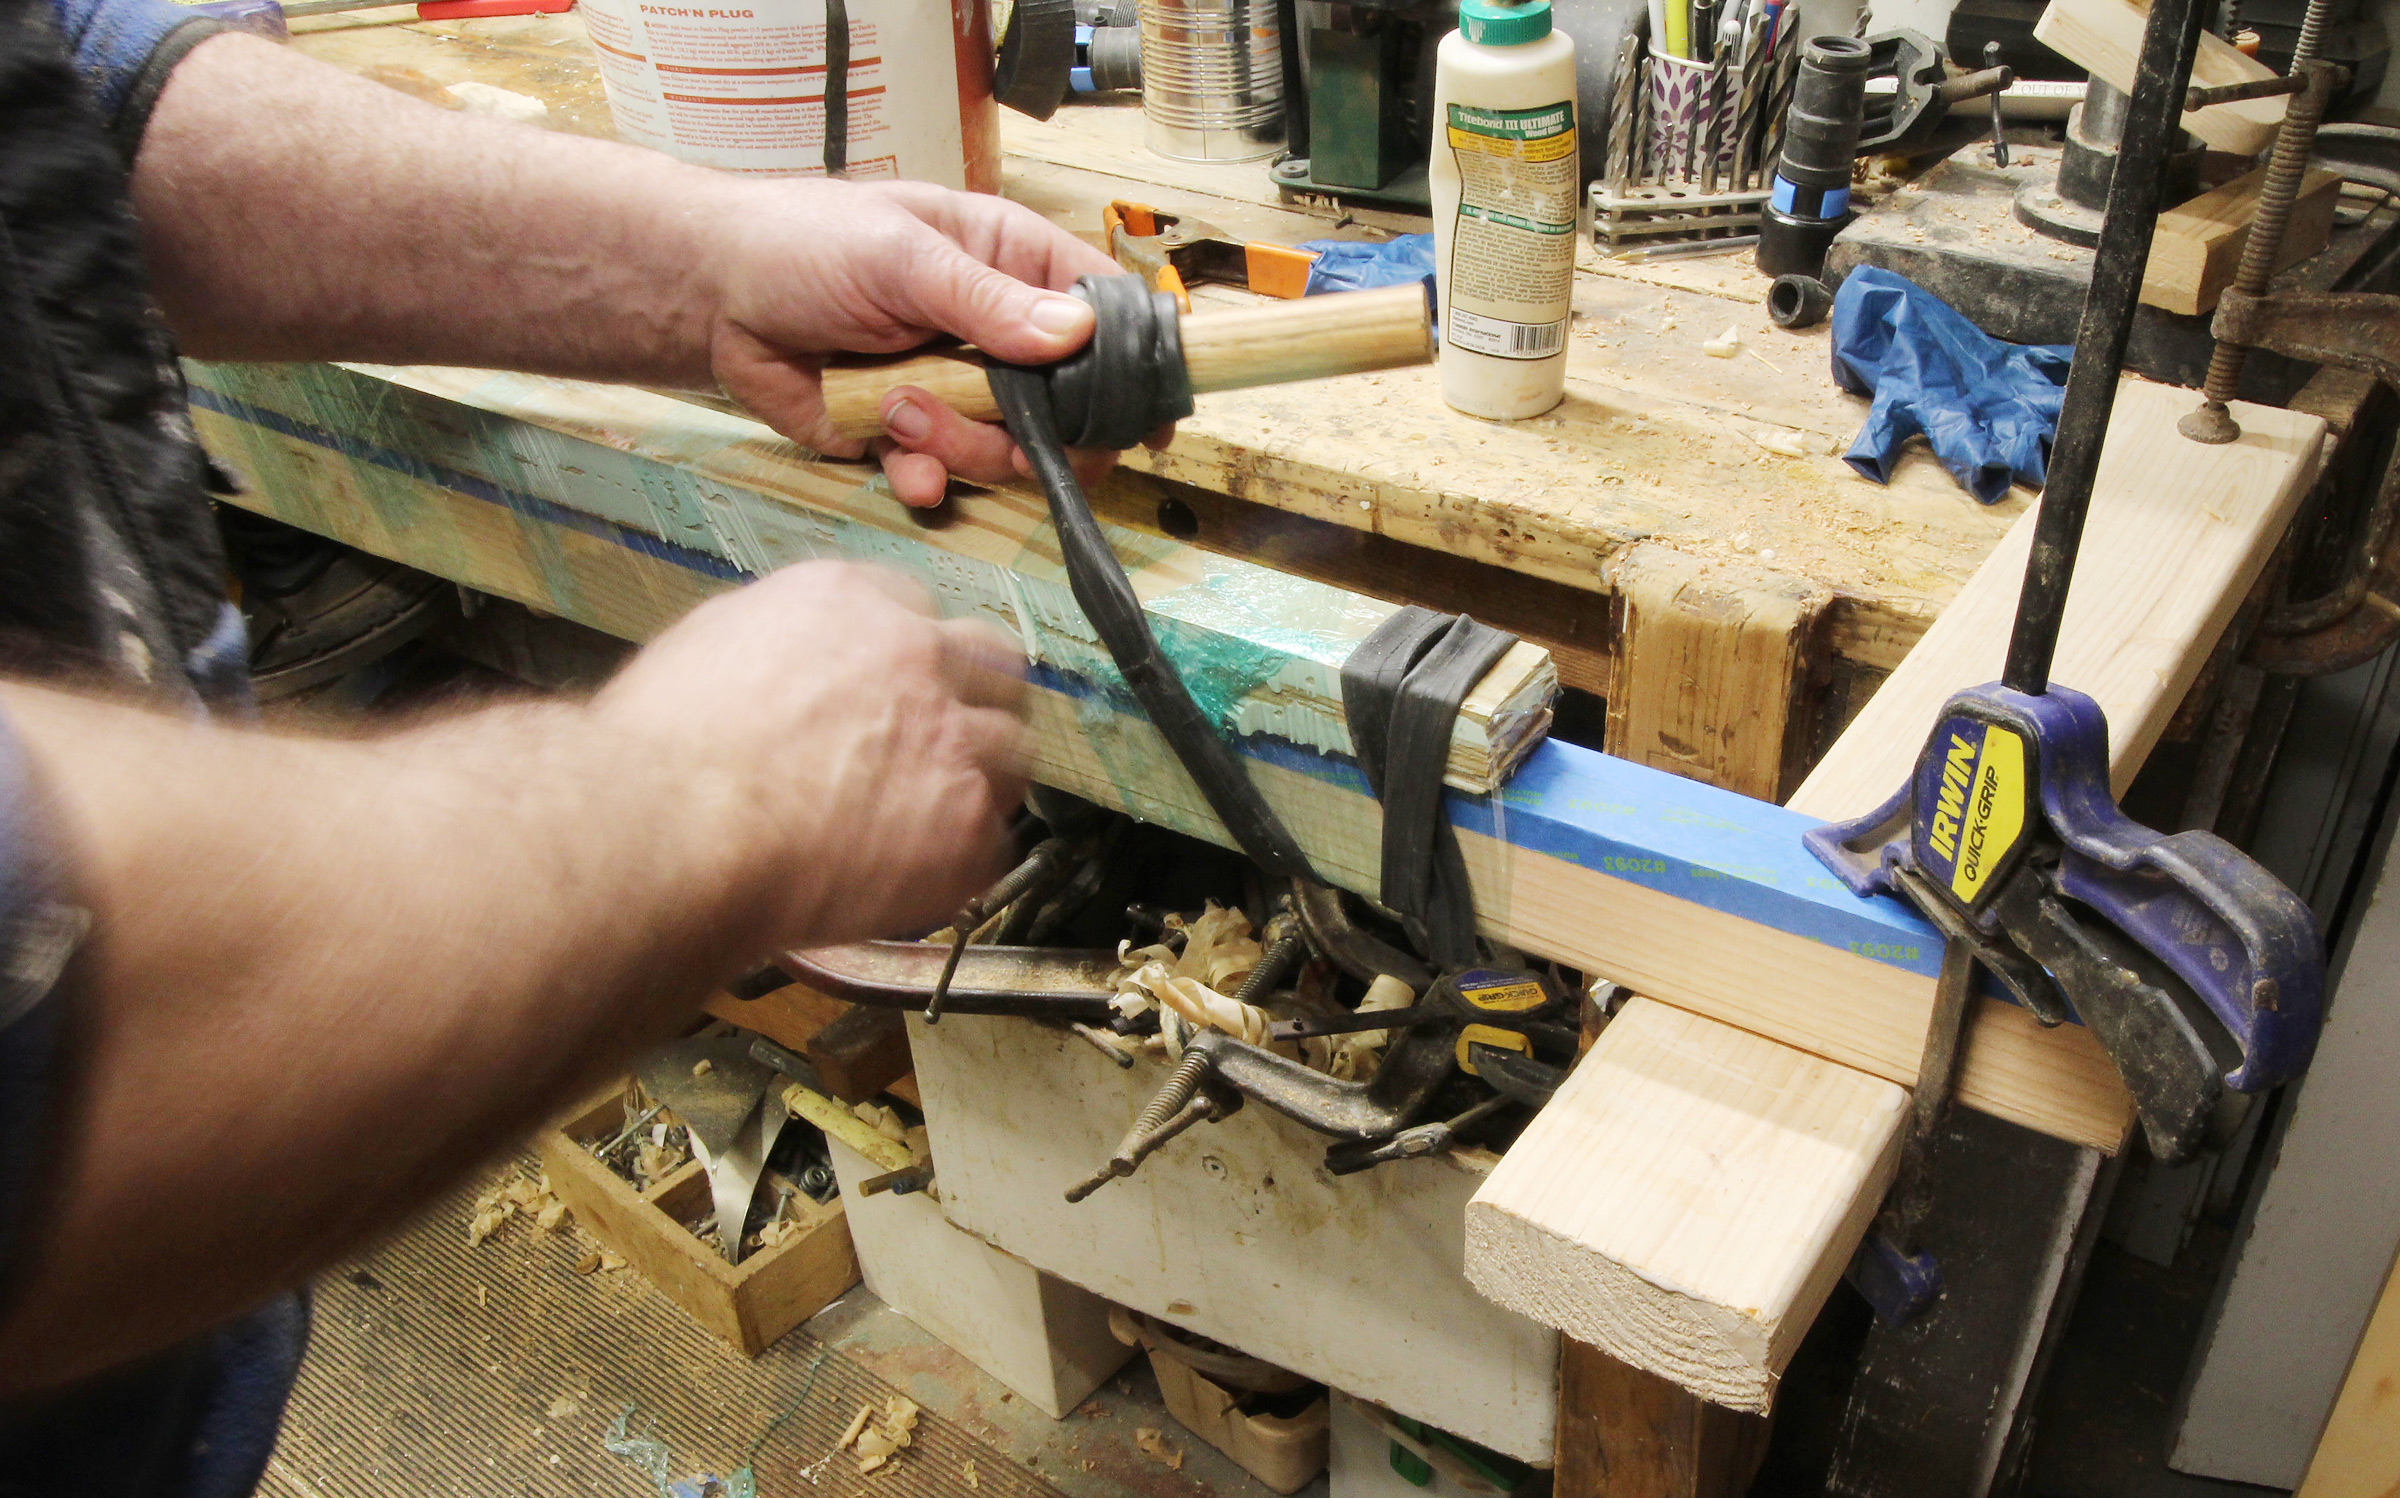
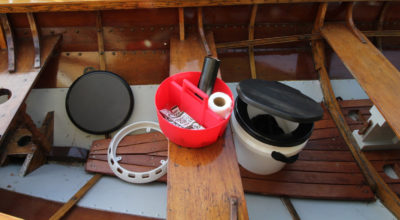
To lengthen the useful life of my rubber strips, I first apply stretch wrap—the flexible plastic film used for packaging and bundling boxes for storage or shipping—to the glue-up. Winding each rubber strip around a short dowel makes it easier to wind it around the workpiece. The spring clamp can hold a stretched rubber strip to free up both hands.
The stretch wrap contains the mess of glue so well that I can take my gloves off and work with clean bare hands.

To start a wrap of rubber, I hold the tail end against the workpiece and overlap it with a tensioned wrap or two. I can then spiral the wrap along. When I get to the end of a strip, I can hold the tension in it and tuck its tail end under a previous turn or wrap the next strip over it. The rubber strips also stay dry making them much easier to handle than if they were slippery with glue. Even if you opt to forgo using rubber strips and use clamps, the stretch wrap can also benefit glue-ups by preventing the spread of glue from workpiece to gloves to clamps.
A spring clamp can come in handy for holding the tail while I get the next strip ready. It takes a couple of turns over itself and the end of the previous strip. Note the bar clamp at left holding the work firmly to the table top.
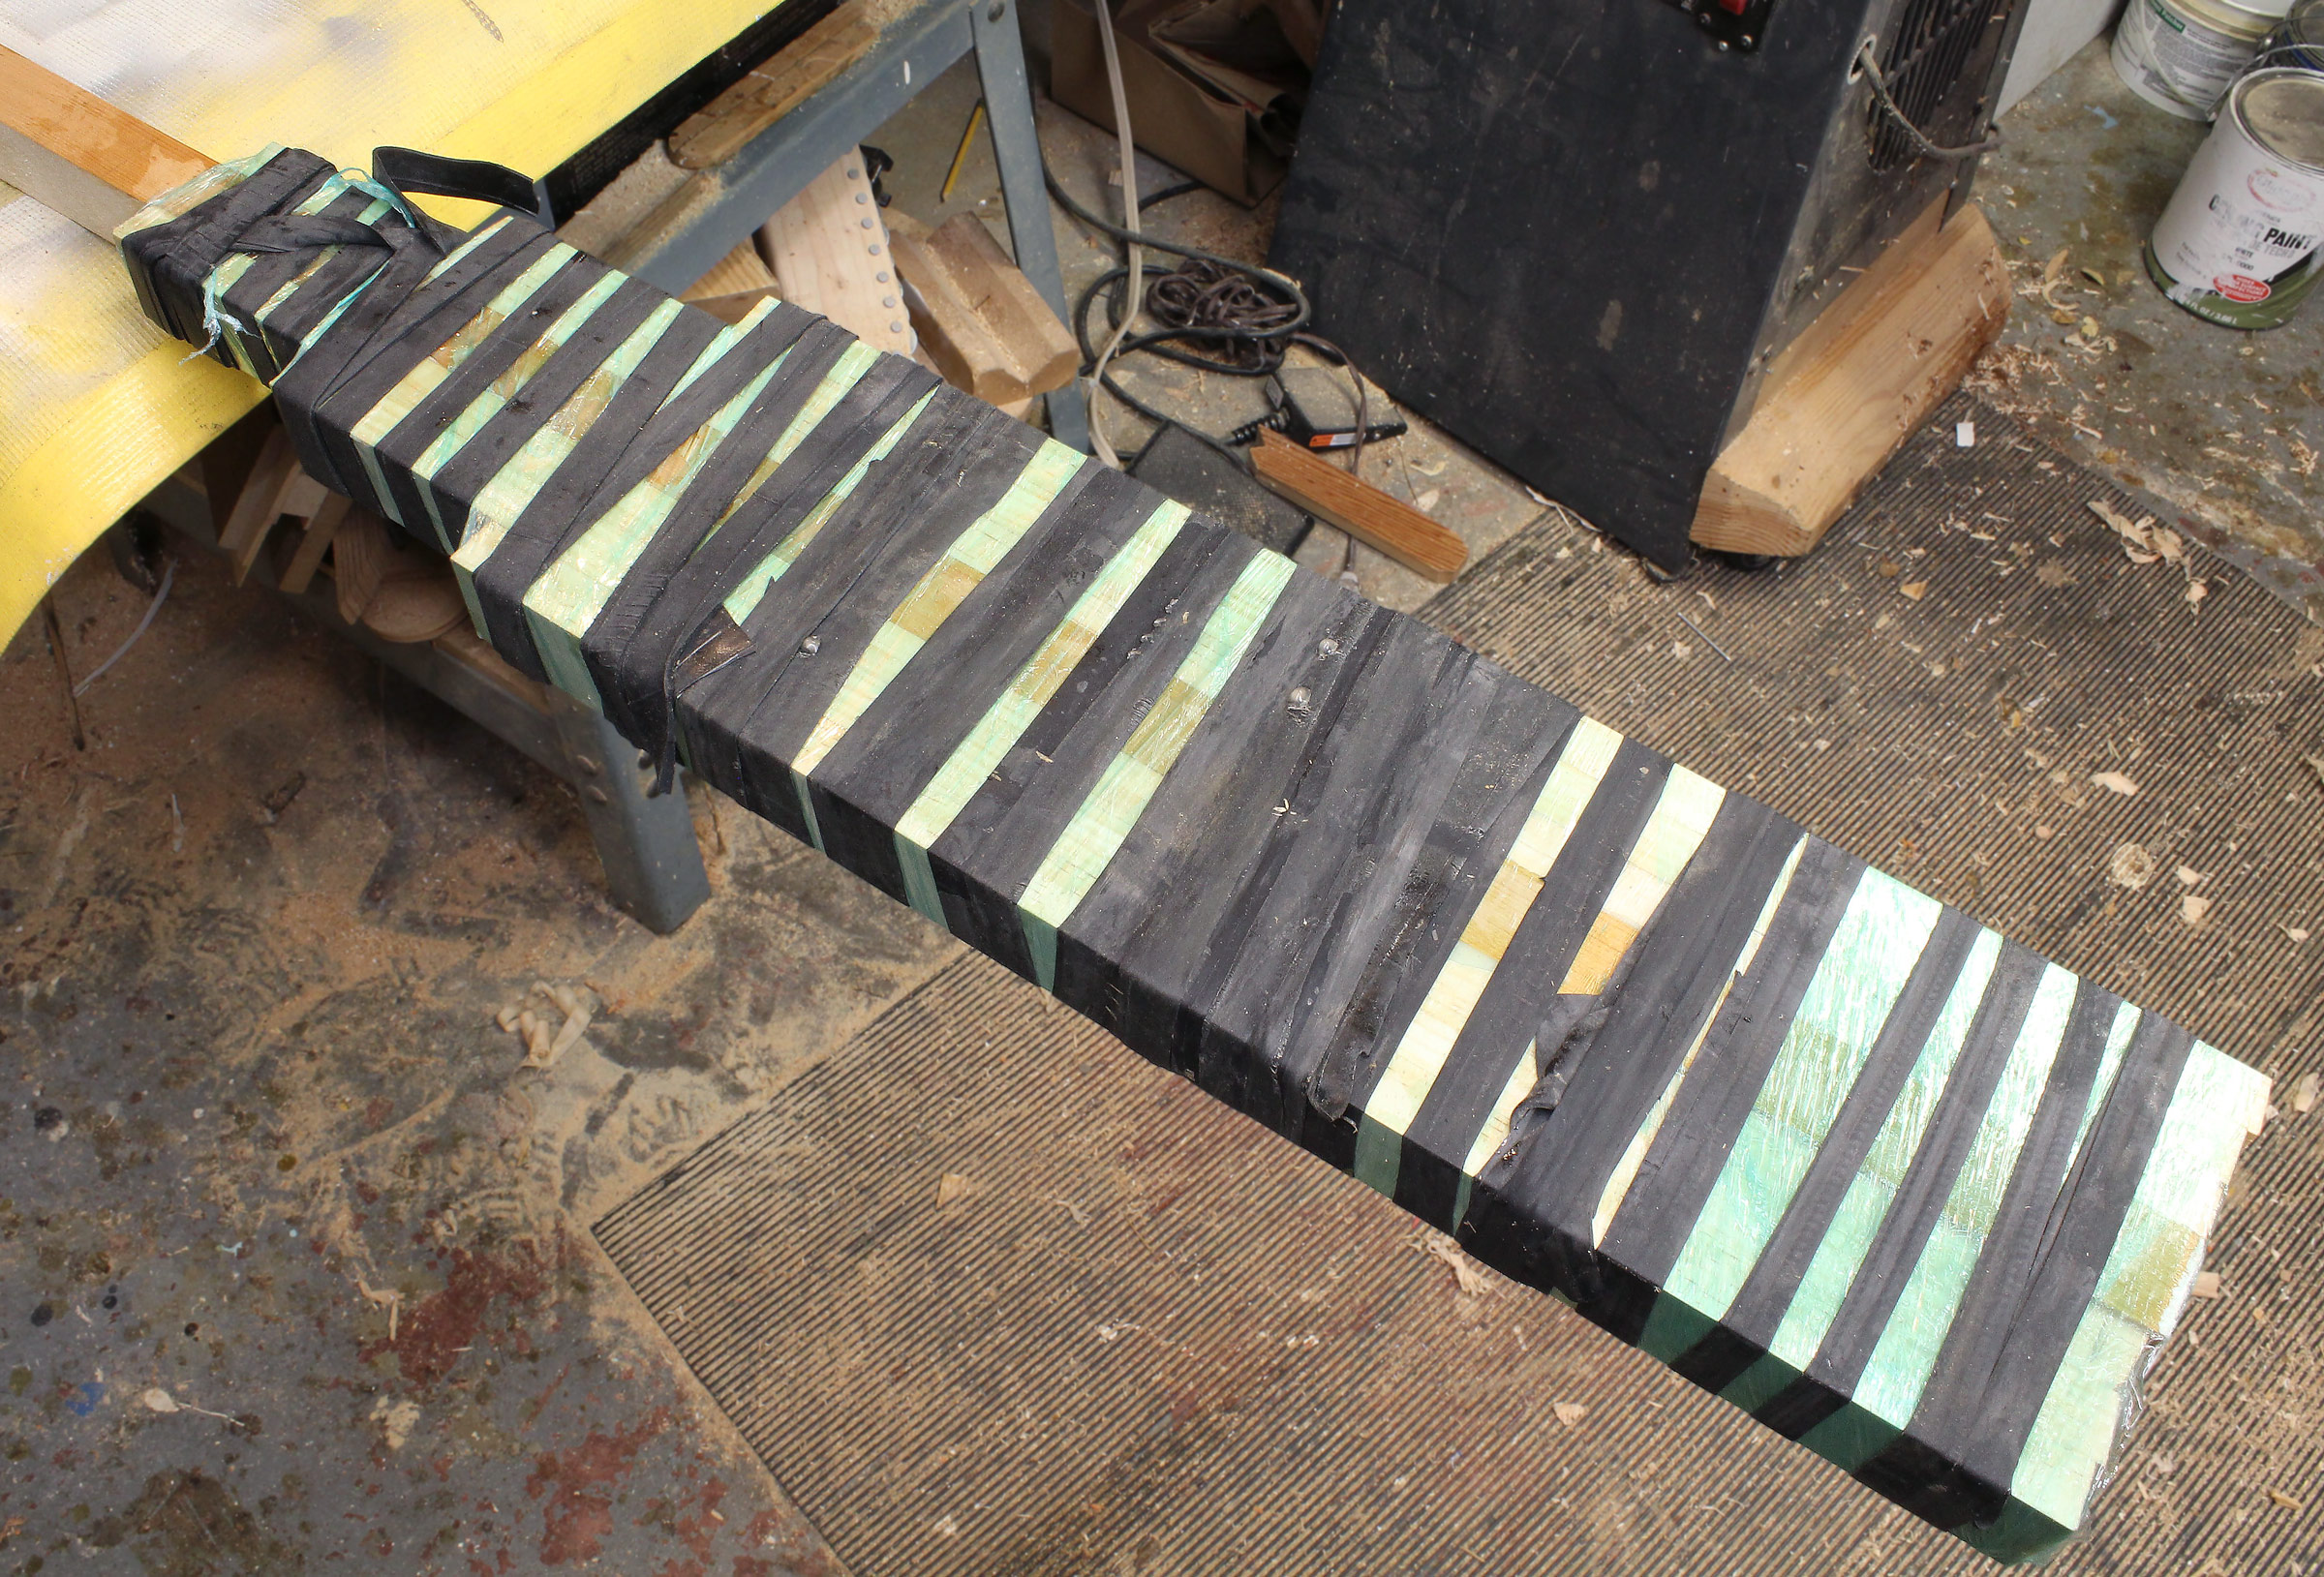
I finish off with the last tail end tucked under. This paddle blank can easily be set aside while the epoxy cures.
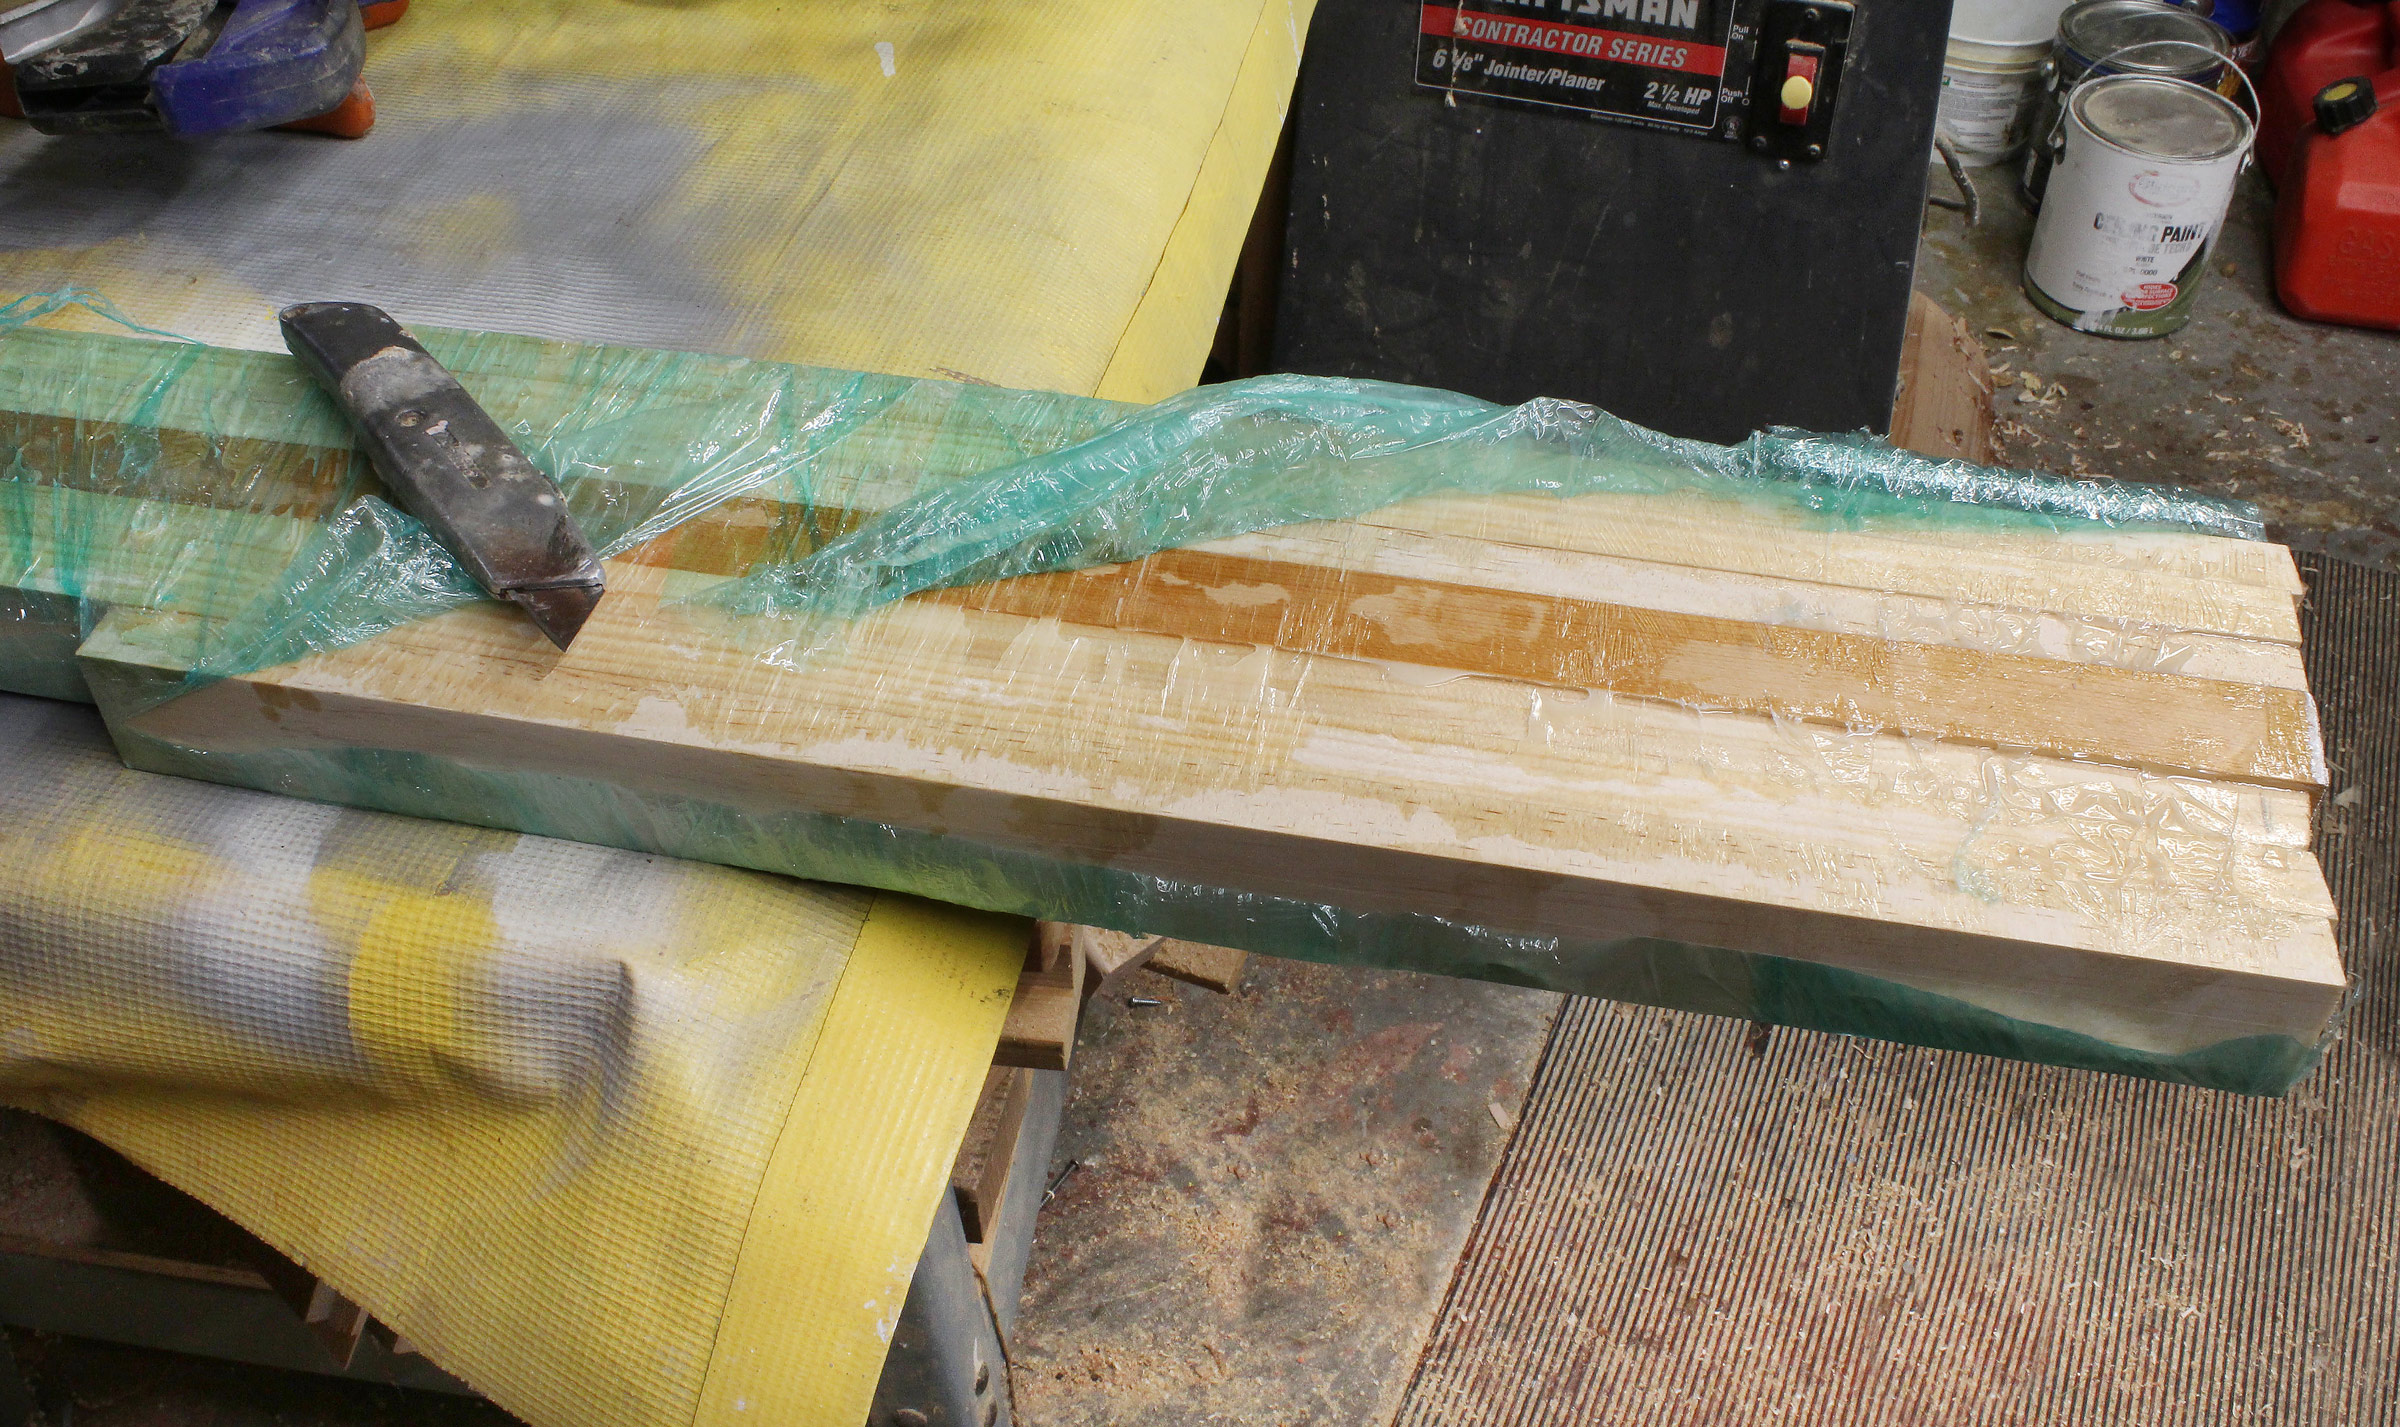
The curing of epoxy isn’t affected by the wrap and when it is fully set, the film peels right off. I just run a sharp blade lightly along one side and remove it in one piece.

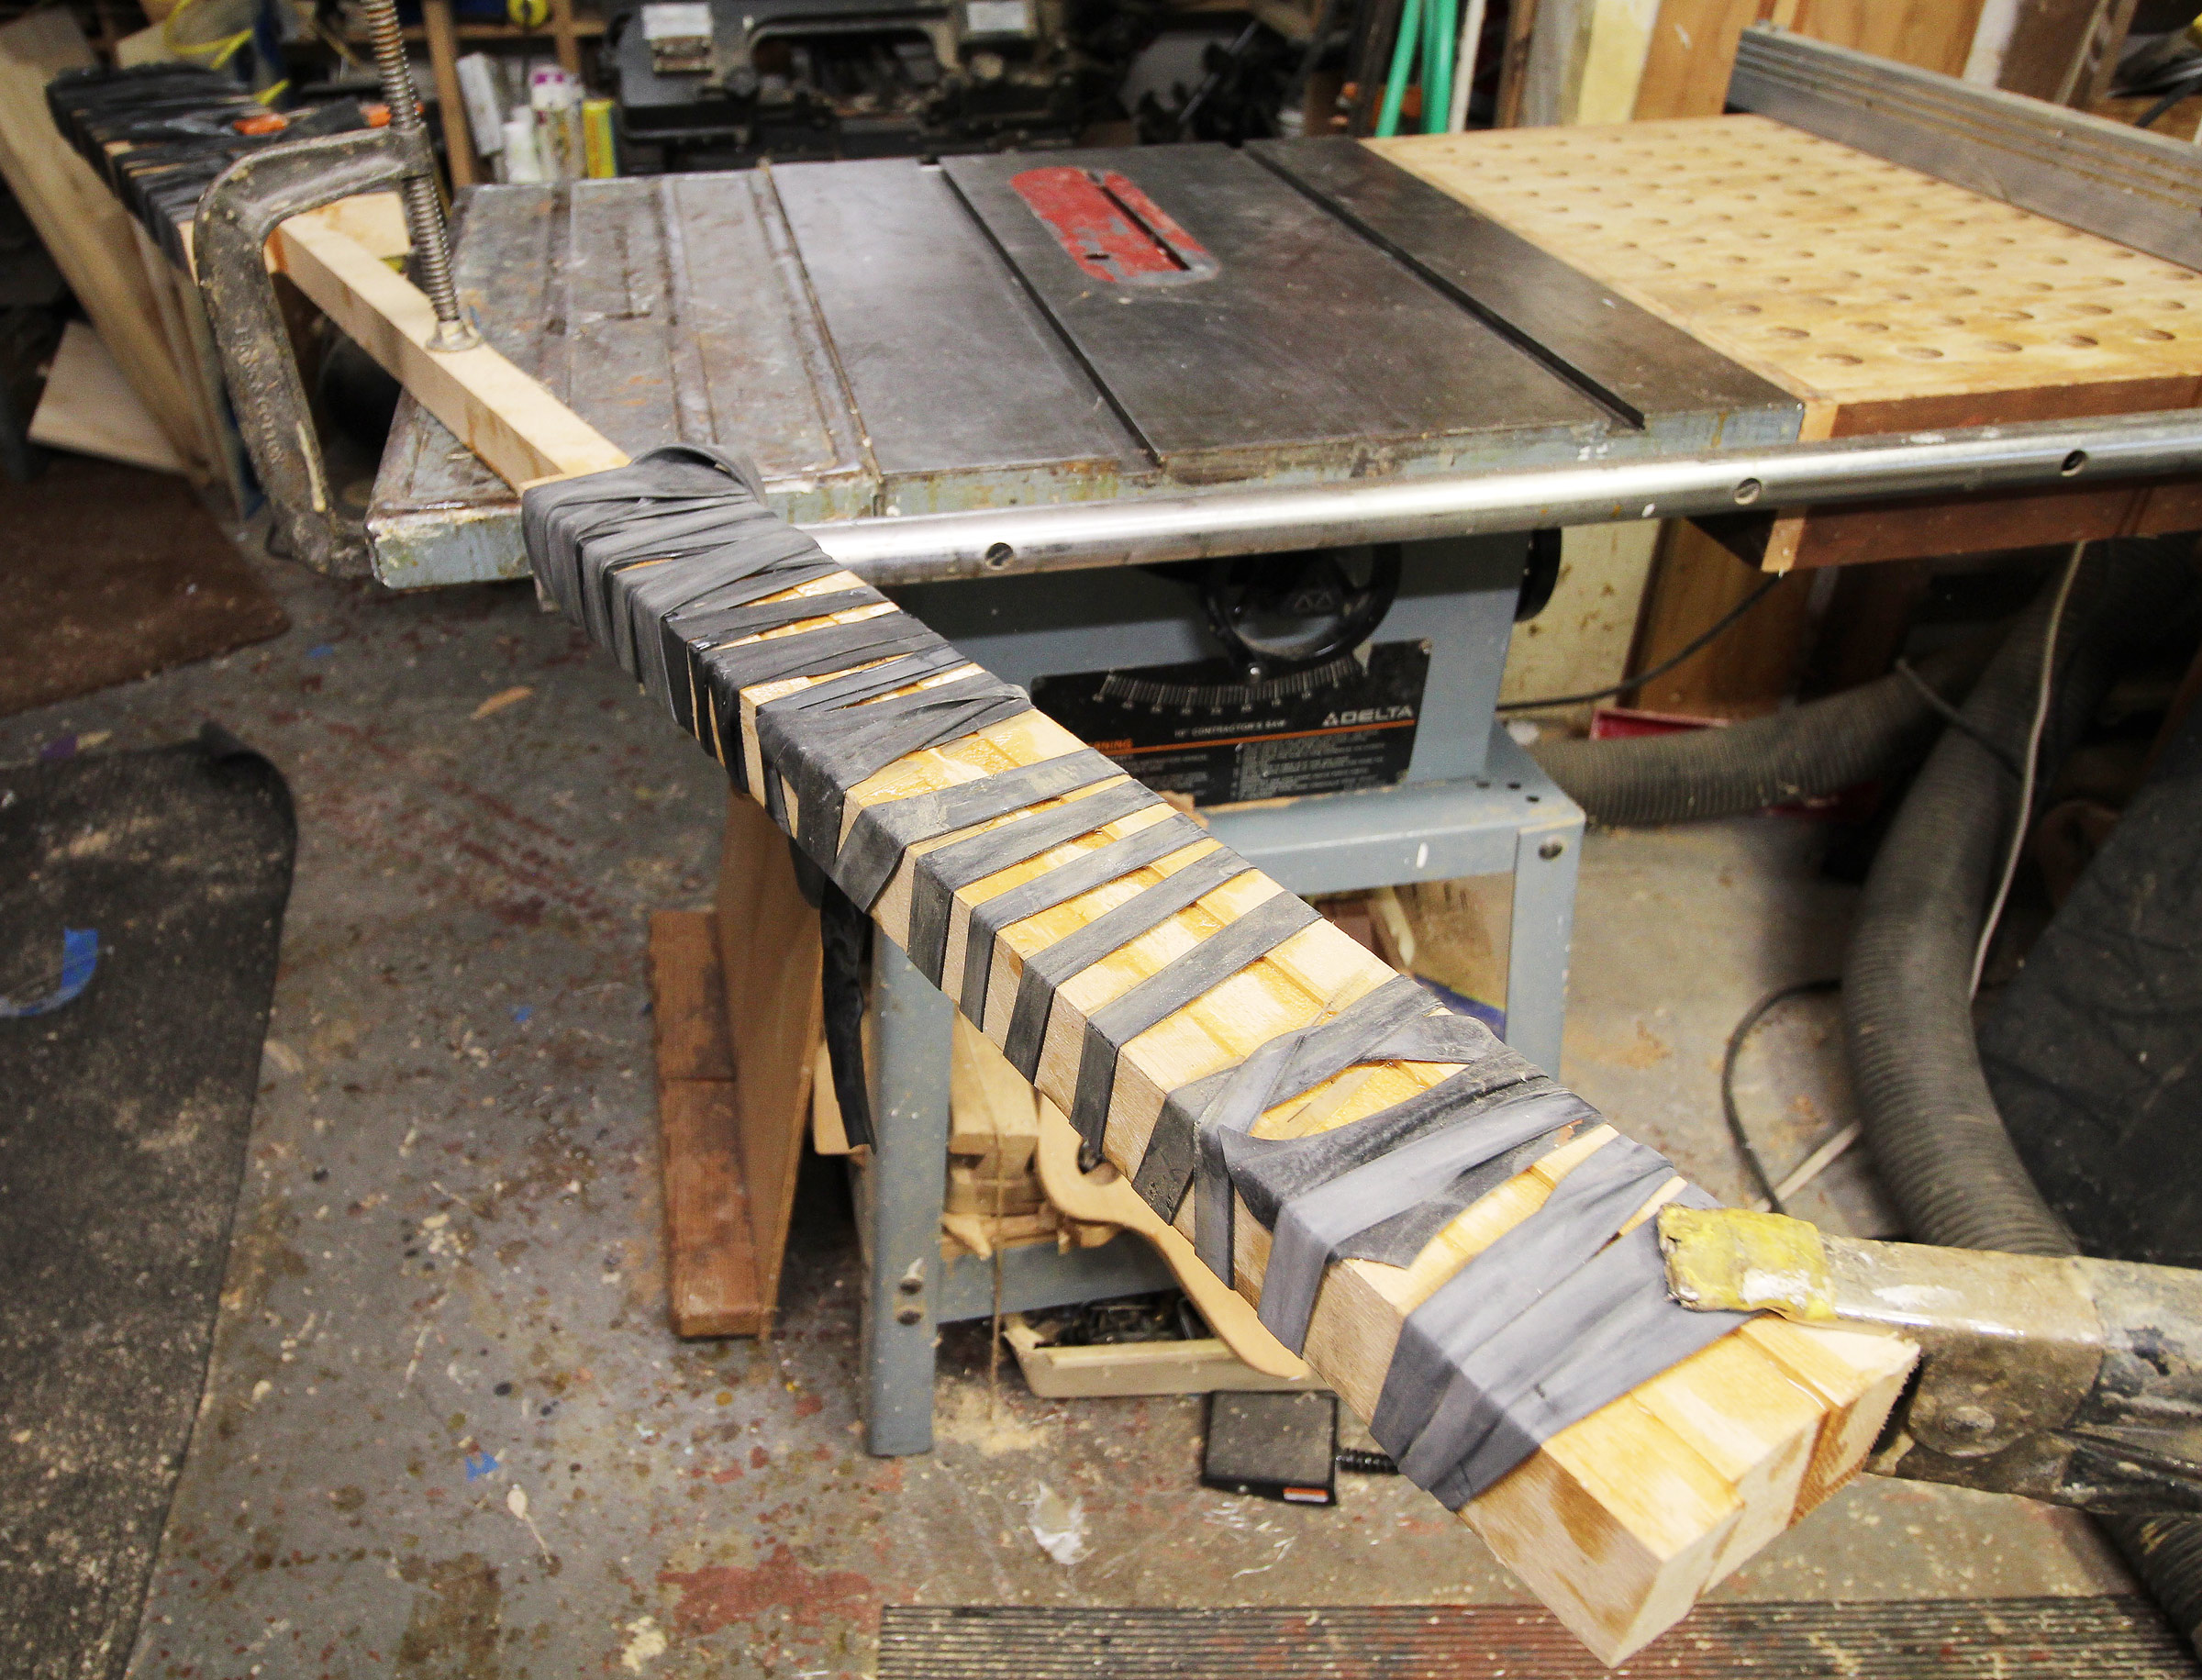
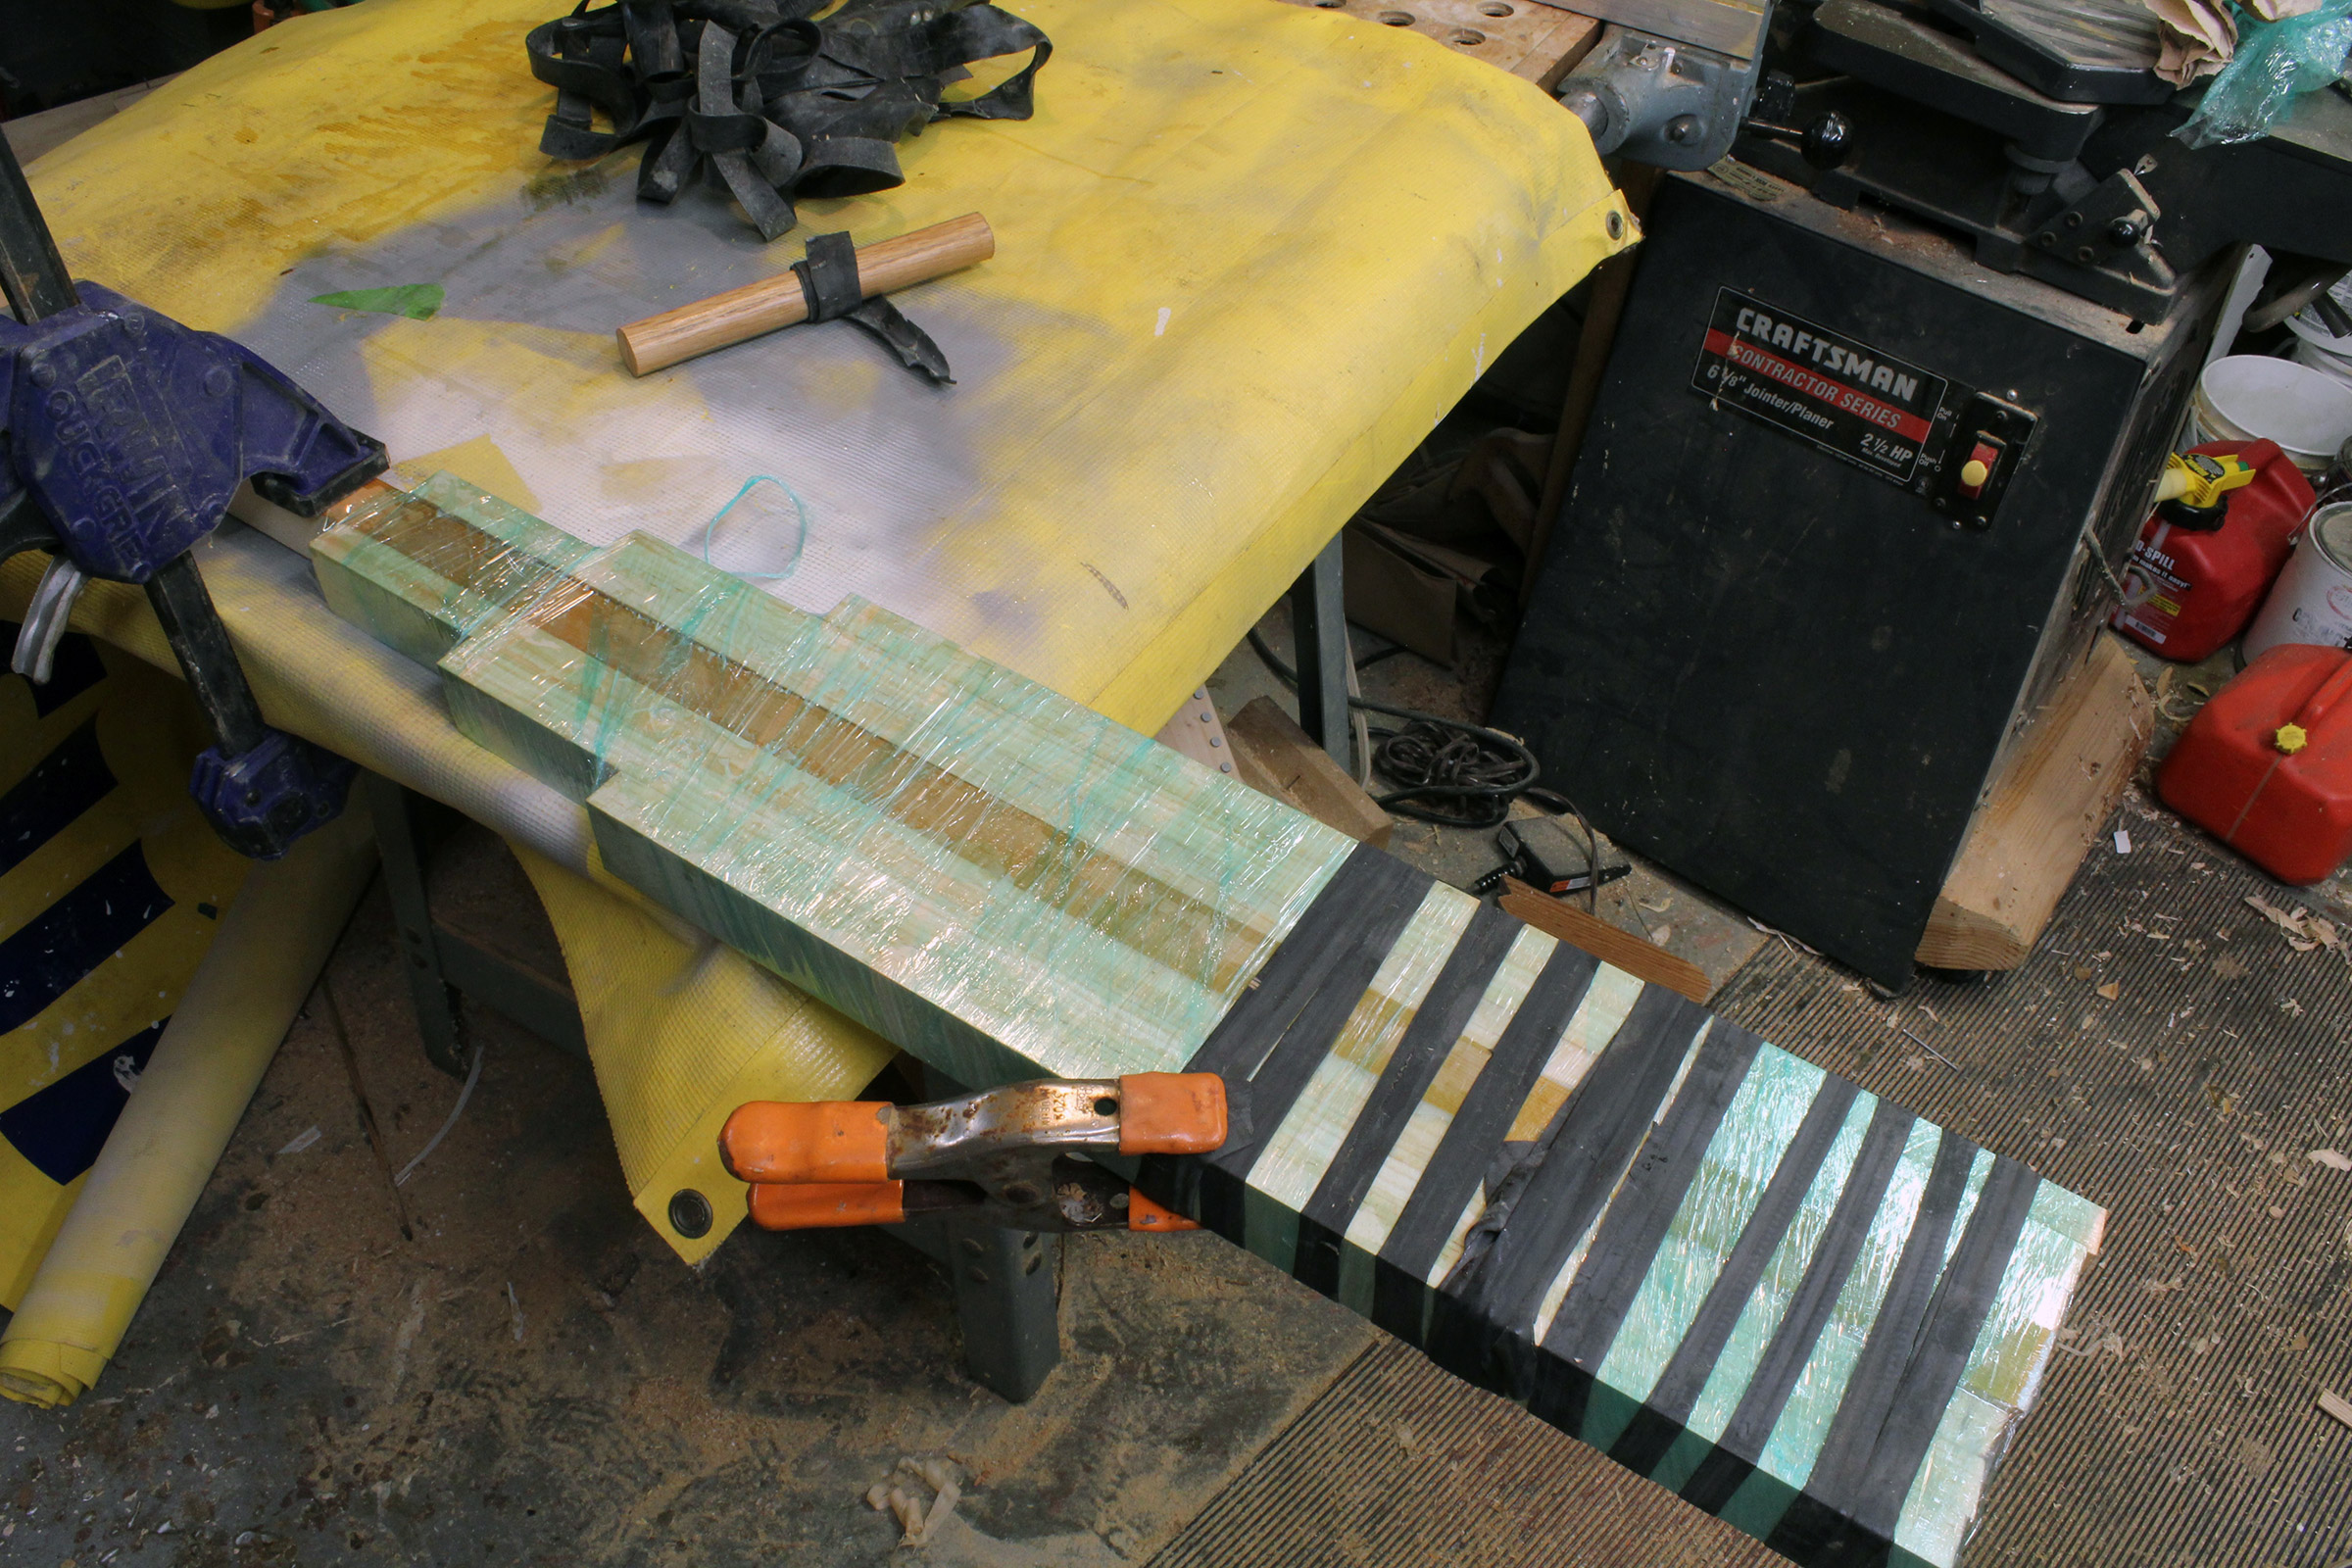
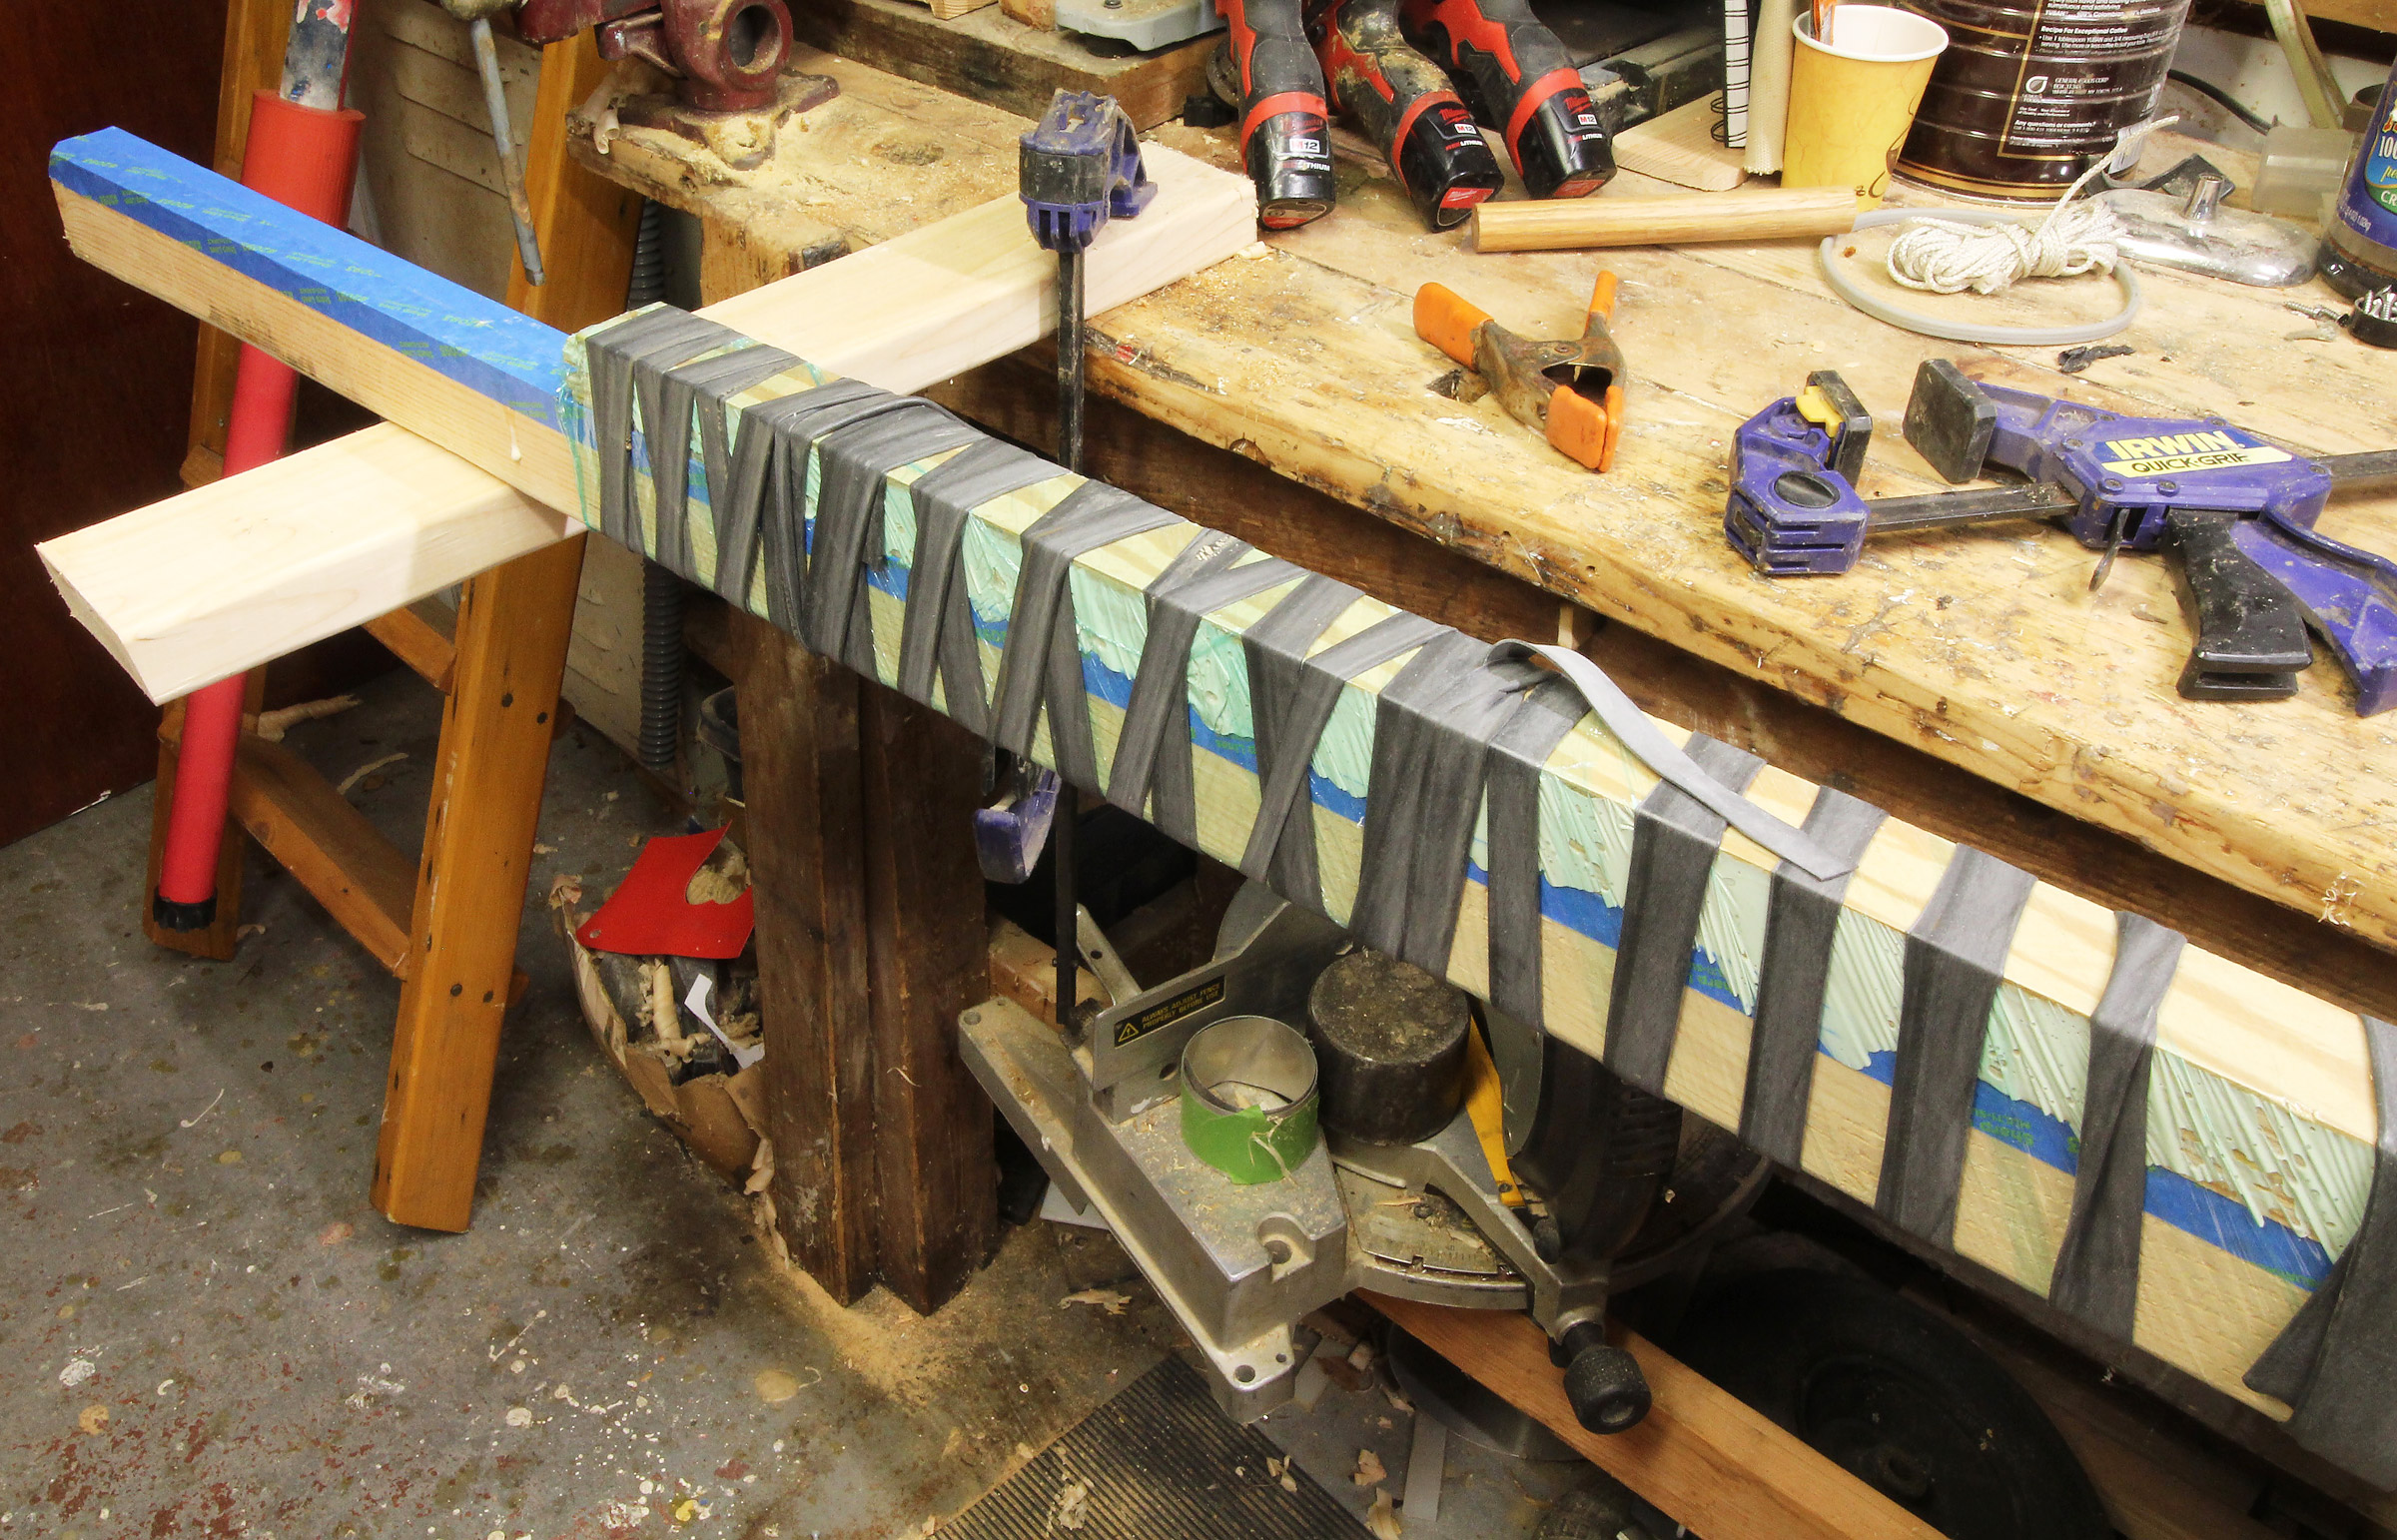
For gluing long pieces with laminates that are likely to bend, a 2×3 laminating beam will be included in the wrap to keep the laminates straight. The top of the beam has been planed flat and covered with blue masking tape to keep it from being glued. Three 2×4s clamped to the workbench will provide 360-degrees of clearance for applying the stretch wrap and rubber strips. Wrapping each rubber strip around a dowel is especially helpful when working with long workpieces.
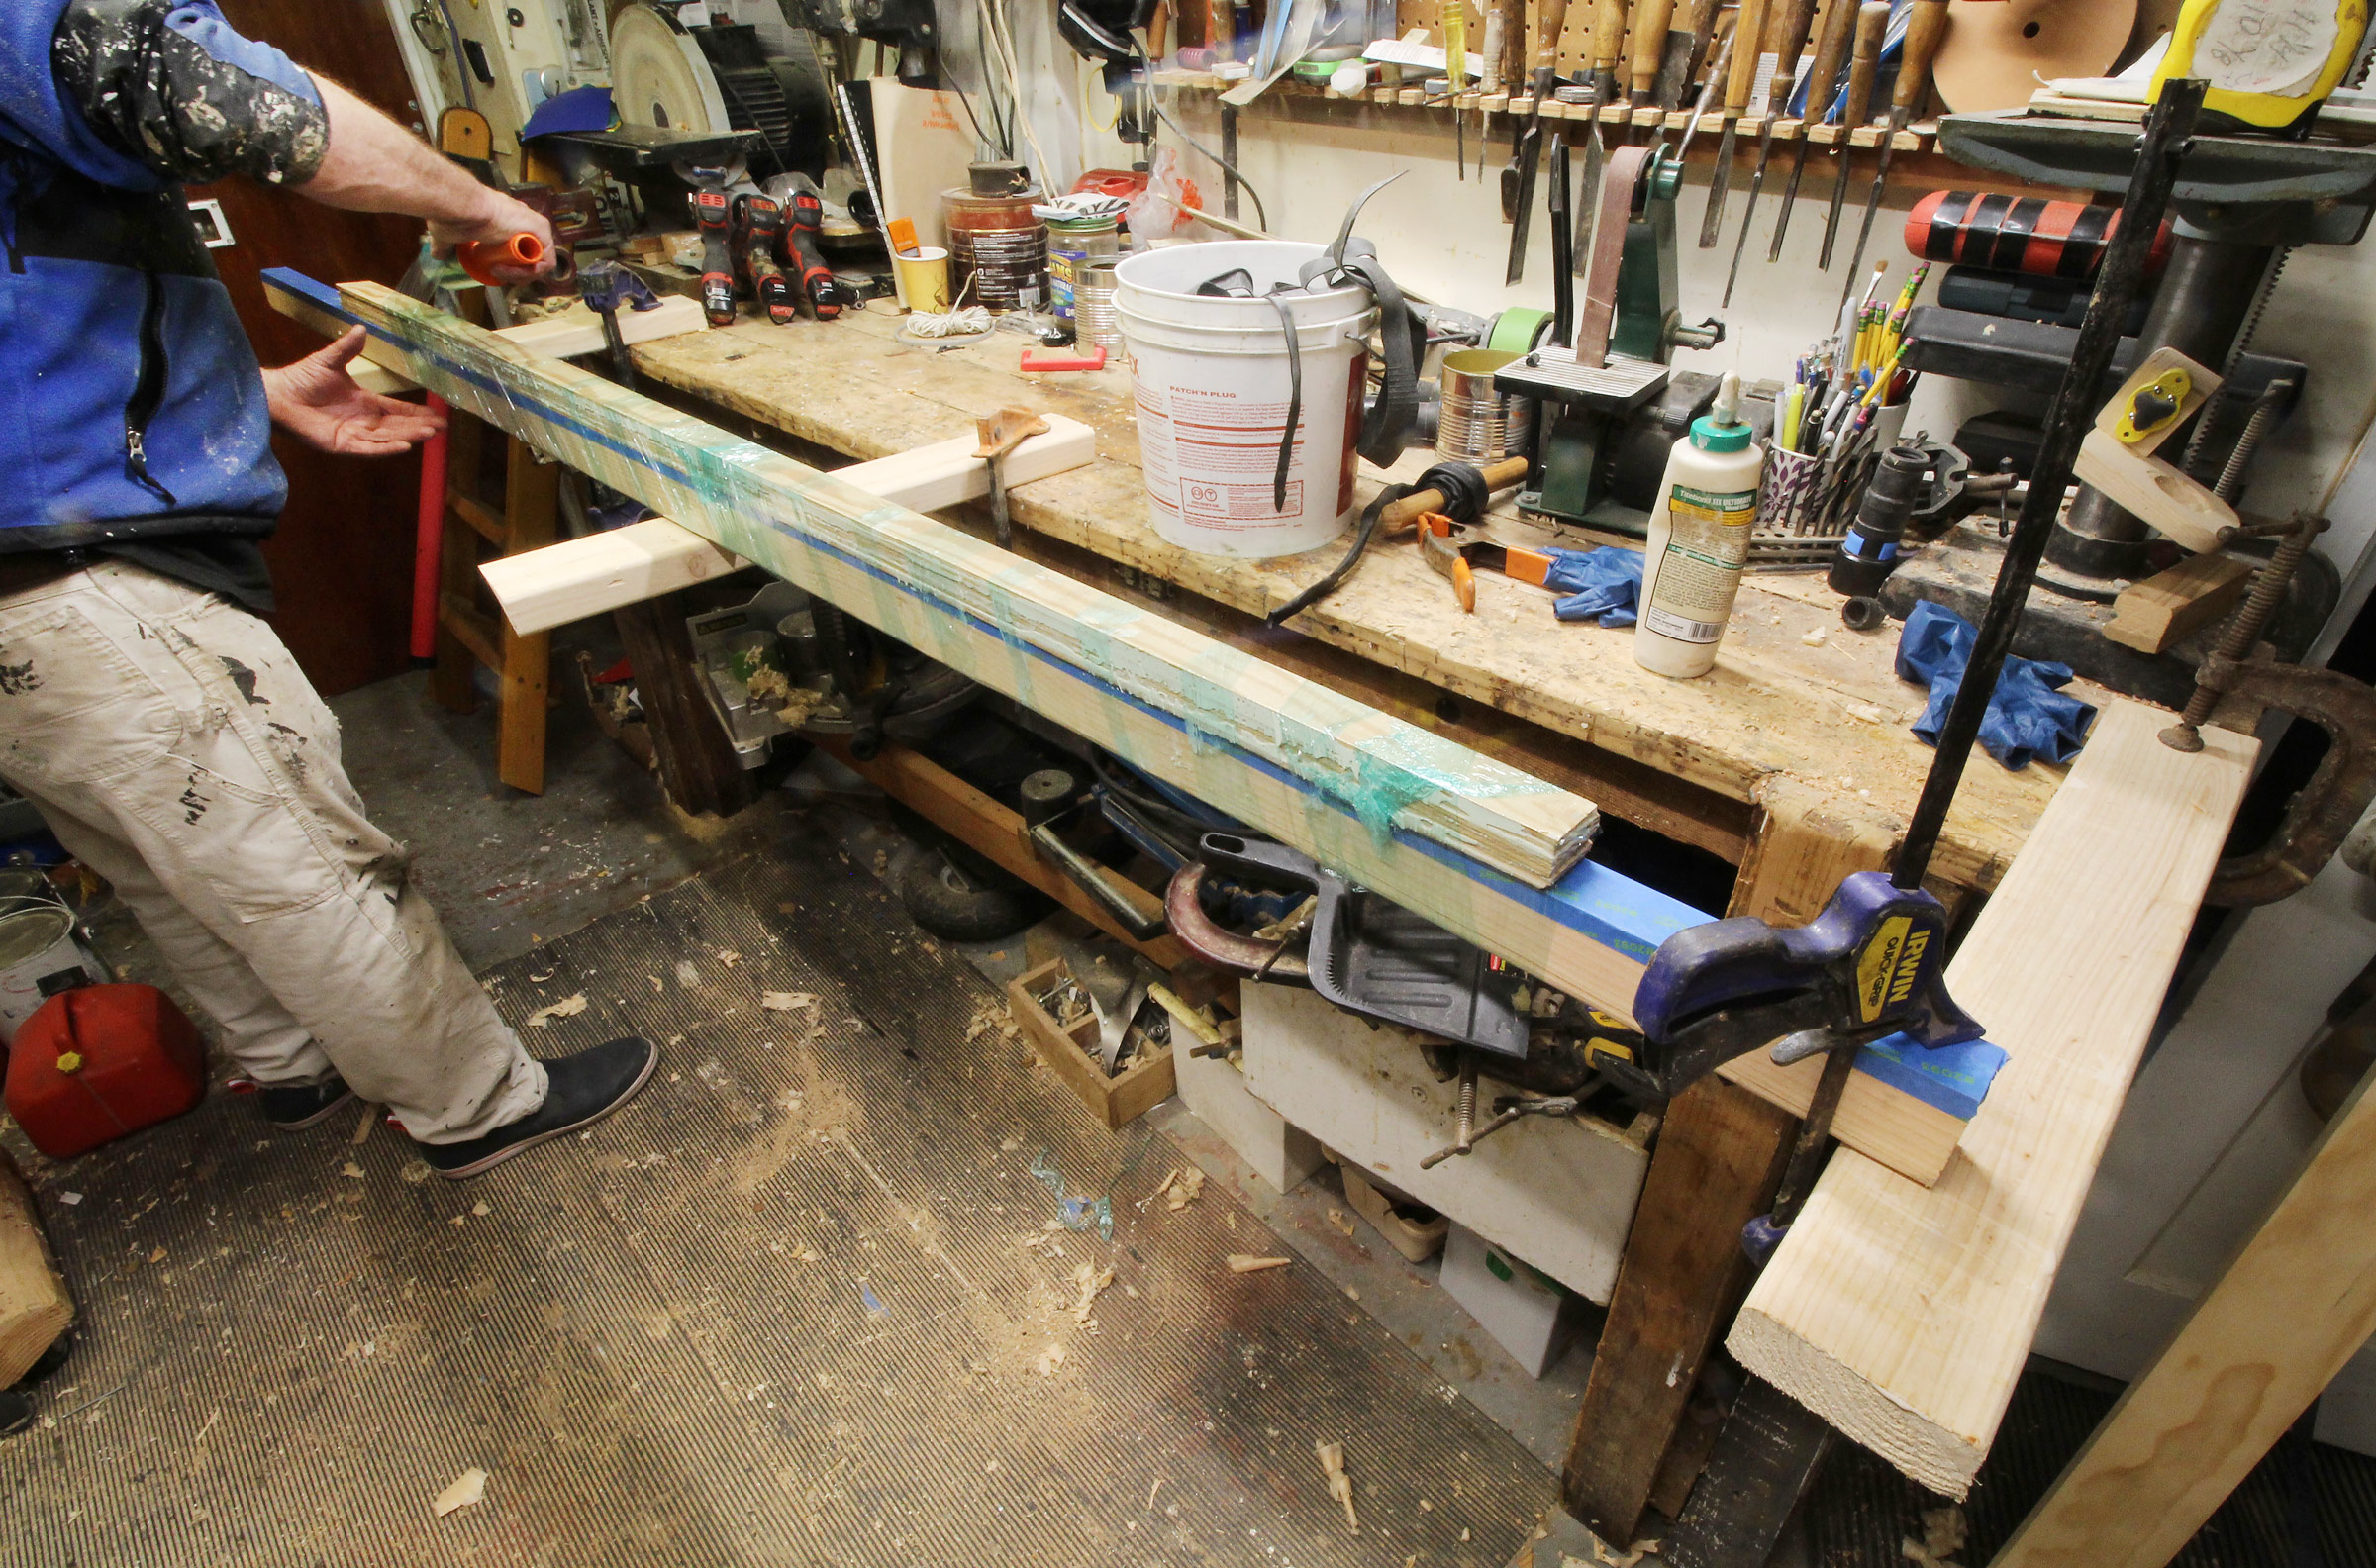
A bar clamp holds the laminating beam steady as it is wrapped with the glued laminates.
Slippery layers of wood are not very well behaved when clamps are applied. The stretch wrap presses the laminates together but not so firmly that they can’t be adjusted. A tap with a mallet or a pinch of the sides with a clamp is all that’s needed to align the pieces flush with each other.
For long workpieces, wrapping a strip around a dowel makes it quicker to wrap.

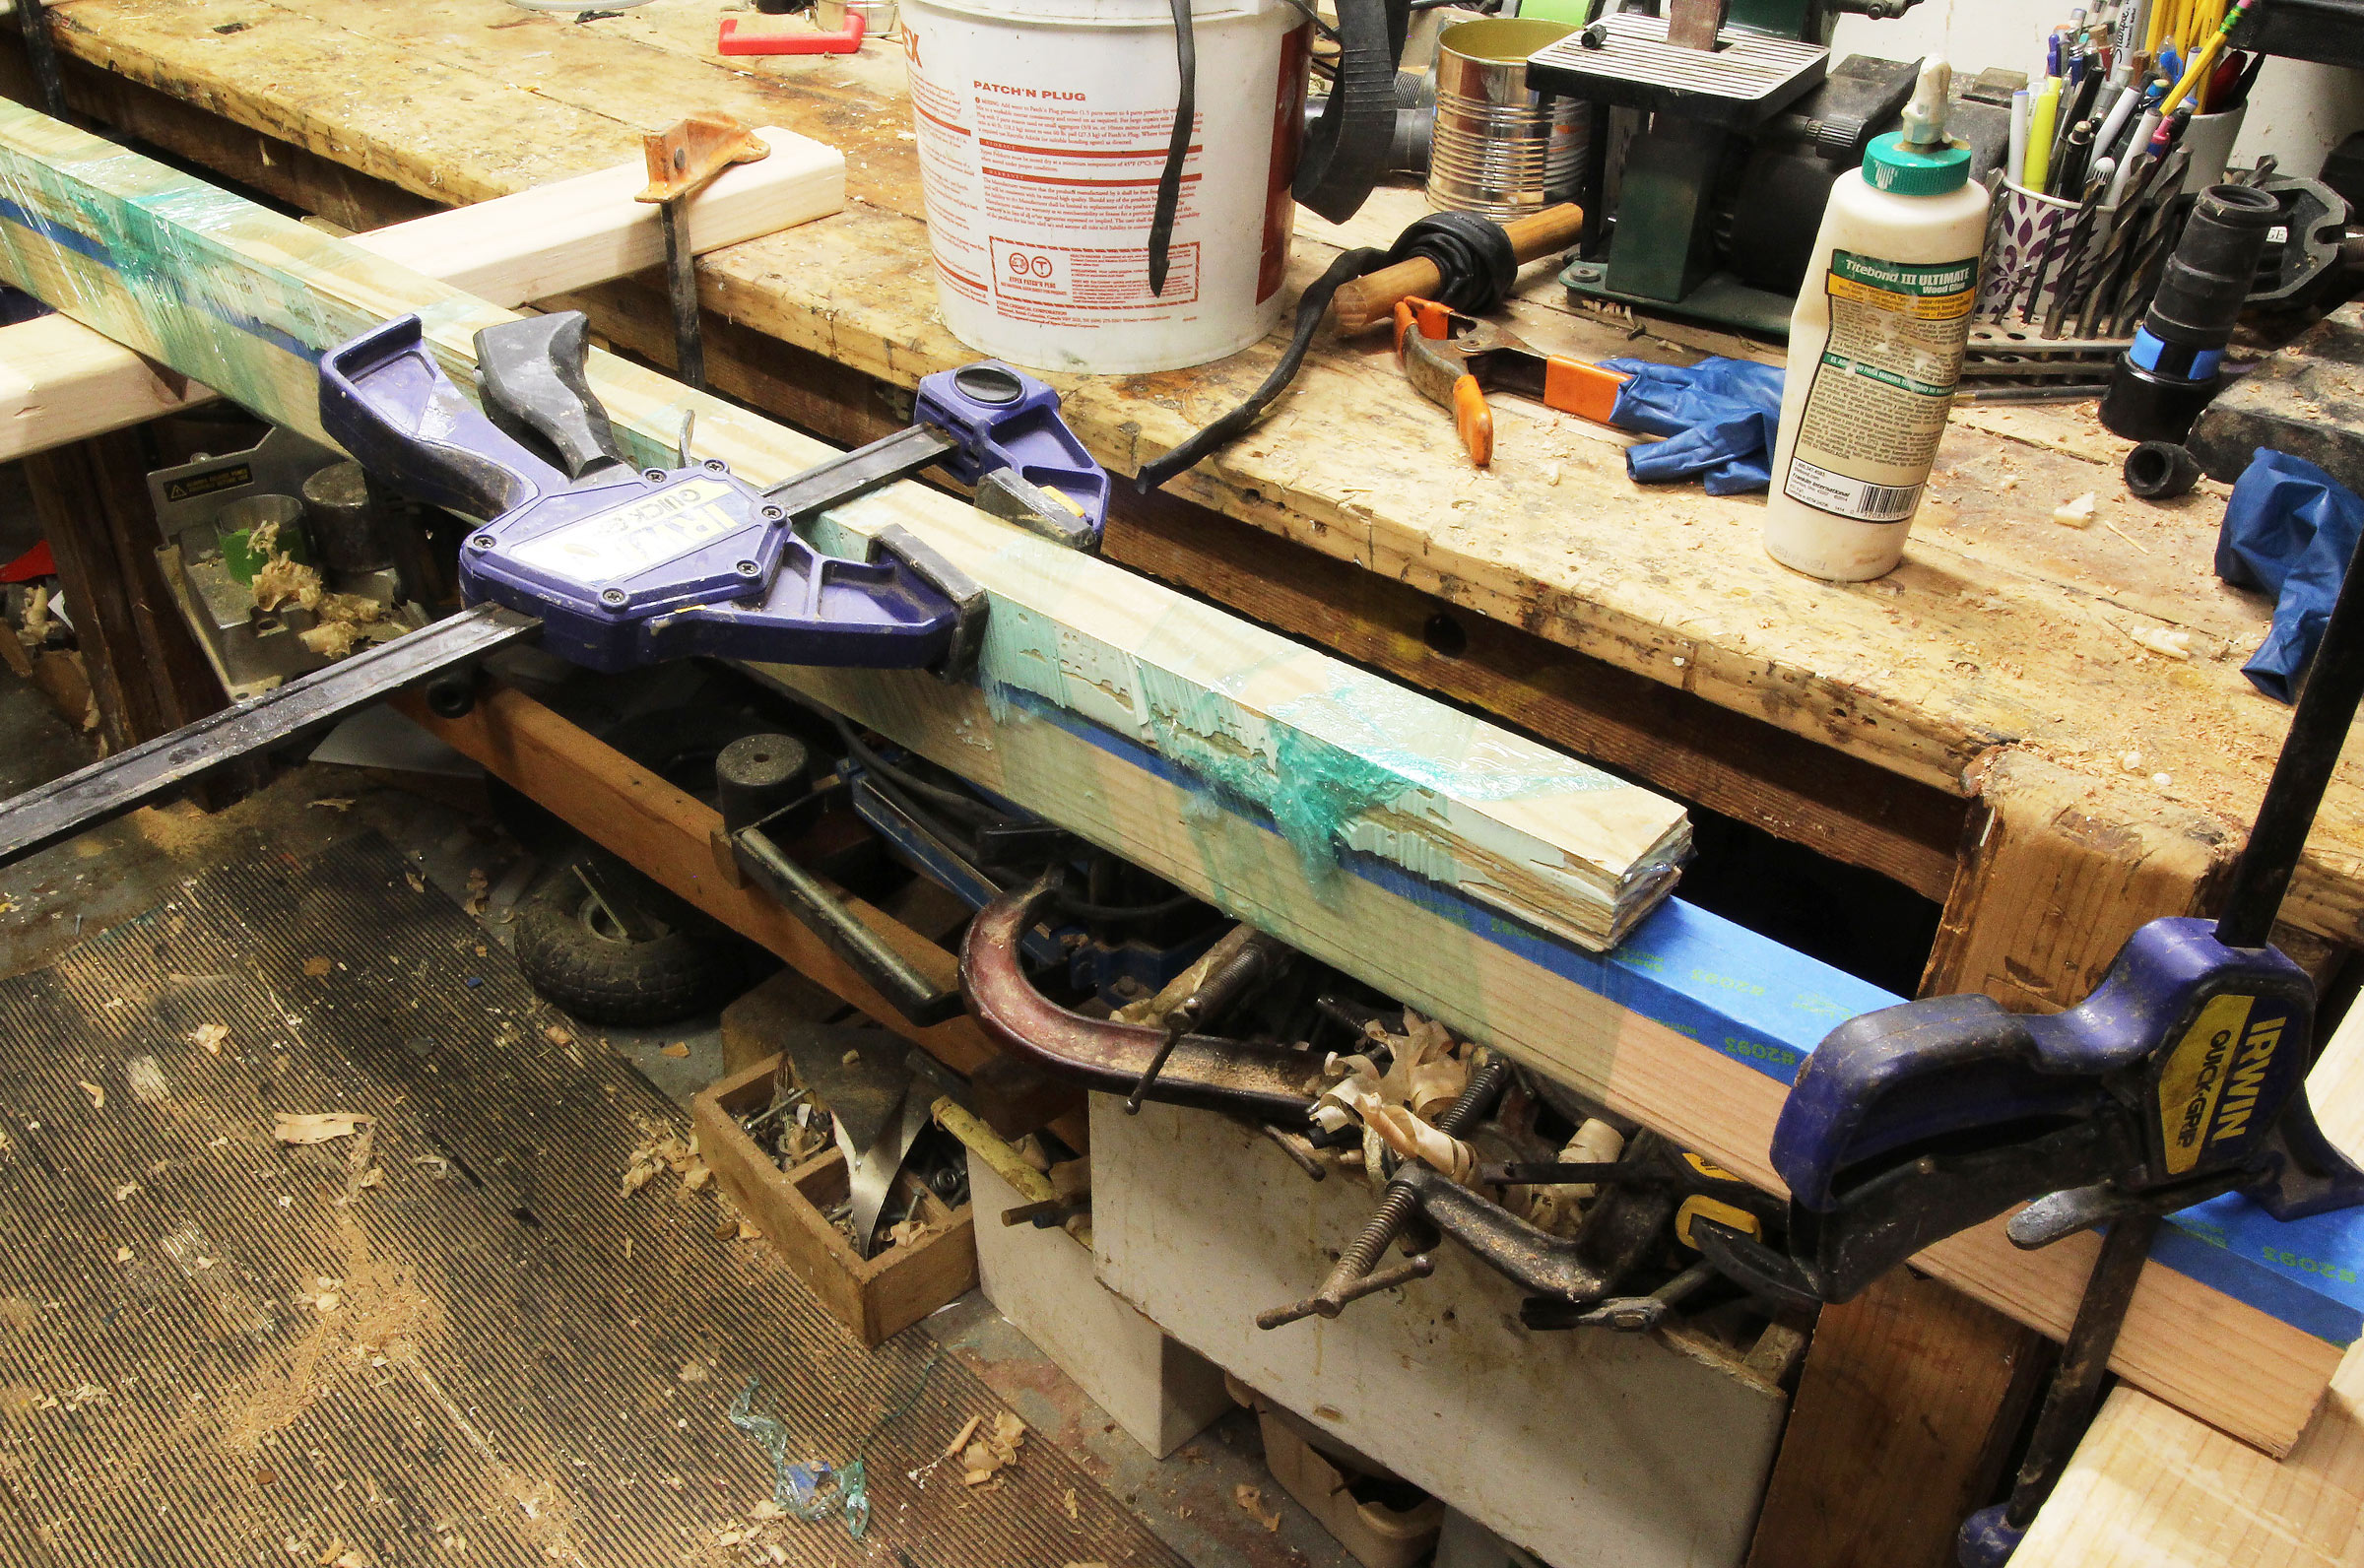
Shifting the work close to a support and reclamping it can help the laminating beam stay straight when the rubber is pulled downward to tension it.
While a single wrapping of rubber strips can do the job, a second can be wrapped back over the first.
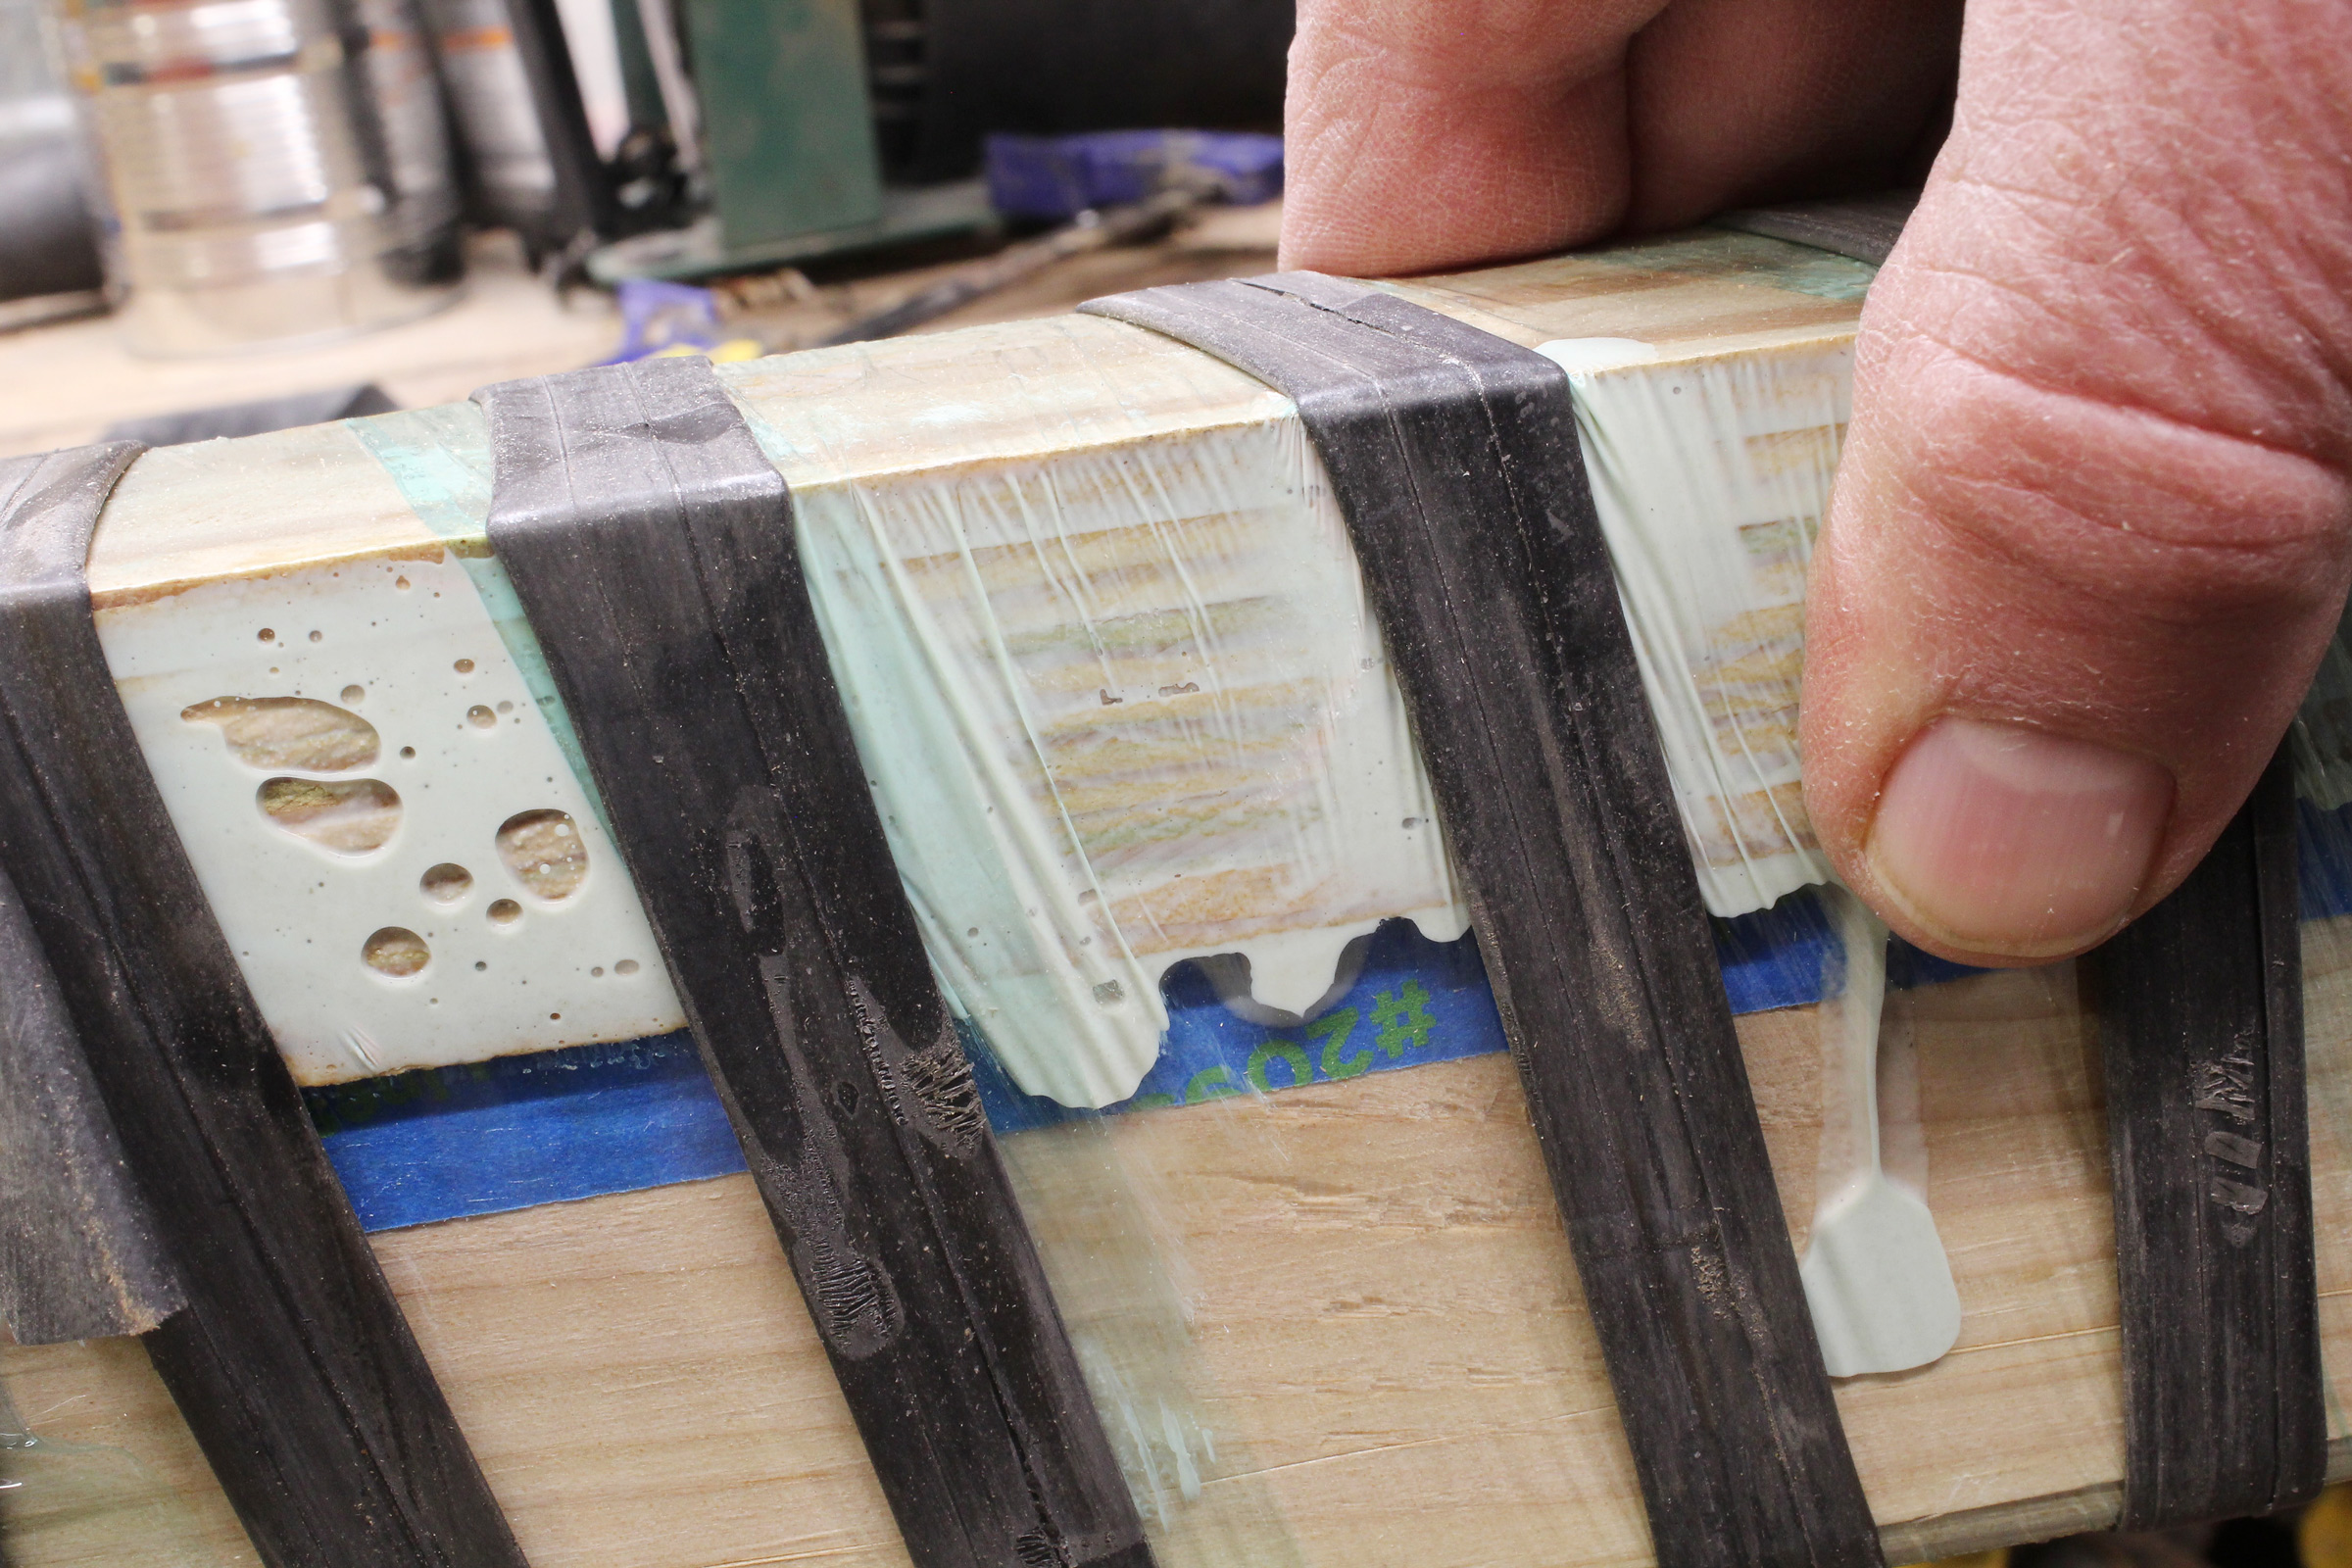
The stretch wrap is transparent, and I can see the glue joints to make sure they are fully closed. If there is an opaque puddle of glue, as there is with Titebond III, obscuring the view, it can be pressed out of the way. To test the effectiveness of the rubber strips, I cleared a window of glue and applied a clamp to that area. No additional glue squeezed out from the joints. With Titebond III, the squeeze-out will accumulate under the wrap and, cut off from air there, it won’t cure. I leave the rubber strips on for the glue’s stated 24-hour cure time and then remove them and the wrap to allow the uncured glue to dry.

The glue lines of this epoxy-glued paddle blade blank are as thin as any glue-up done with clamps.
While the stretch wrap is not reusable, it is recyclable. The roll I bought at Home Depot is made by Pratt Retail Specialties and is made of 100% recycled plastic, and, according to my online research, it can be recycled. Stretch wraps are usually made of linear low-density polyethylene (LLDPE), a category-four recyclable material. It can be recycled along with low-density polyethylene (LDPE), which is also a category-four material, at locations where plastic-film products such as plastic bags are collected. Check with your local recycling programs. The stretch wrap cannot be recycled with the remnants of Titebond on it.
While I haven’t used the stretch wrap on bird’s-mouth spars yet, I will the next time I have the opportunity. I expect the wrap, along with rubber strips and maybe some of the stainless-steel hose clamps I’ve used for past spars, will be a combination that tidies up another very messy glue-up. While it’s often said a boatbuilder can never have too many clamps, there are jobs more easily and just as effectively done without using any at all.![]()
Christopher Cunningham is the editor of Small Boats Monthly.
You can share your tips and tricks of the trade with other Small Boats Magazine readers by sending us an email.


Great ideas! Is 15 x 6.00 x 6 for a trailer or is that off an airplane?
That inner tube was made for “Lawn and Garden” use and likely fit a riding mower rear wheel. It produced roughly 33′ of strips that were 1/2″ to 5/8″ wide.
I have long considered using rubber strips for glue-ups but in my reading I recall being warned not to do this as it may create a twist over a long run.
Of course taking a reverse second winding twist over the first would tend to counteract that tendency.
On the other hand, it is hard to find lumber yard stock without a twist these days. Maybe a little reverse twist would be beneficial.
You are “sneaky smart.” Articles like yours make some of us smack our foreheads and say “Why didn’t I think of this?”
Thanks for sharing.
Keep up the great tips. I am glad I didn’t toss those lawn tractor and trailer tubes. I often thought I could use work-out stretch bands but they would cost too much. Free is good.
Luthiers (guitar builders) use rubber clamping bands all the time. You can get a pack of 5, 3/4″x84″ bands for under $20 at Stewmac. The stretch-wrap underlayment is the perfect solution for an epoxy job with clamping band. Great idea!
I cut up mountain bike tubes into “rings” and use them for so many tasks. Excellent for bundling loose paddles, ski poles, xc skis, tent poles, garden stakes, extension cords etc. I hadn’t thought of them for clamping glue-ups!