You might not think of some of the most important tools in your workshop as tools. They’re your shop lights—important for safety, accuracy, and unblemished finishwork. The old lights I had in my garage shop were a mish-mash of 4′ fluorescent tubes including the old T12s and some T8s (T stands for tubular and the numbers are the tube diameters in eighths of an inch). The bulbs were getting pretty tired and didn’t provide good quality light or enough of it. I know something about the technical side of lighting because energy efficiency retrofits, which included lighting upgrades, were something I did in my day job before I retired. However, like the cobbler whose children went without shoes, I had never upgraded my own shop. When the ballast in one of the fixtures needed replacing, I decided it was time to upgrade to LED fixtures.
 Alex Zimmerman
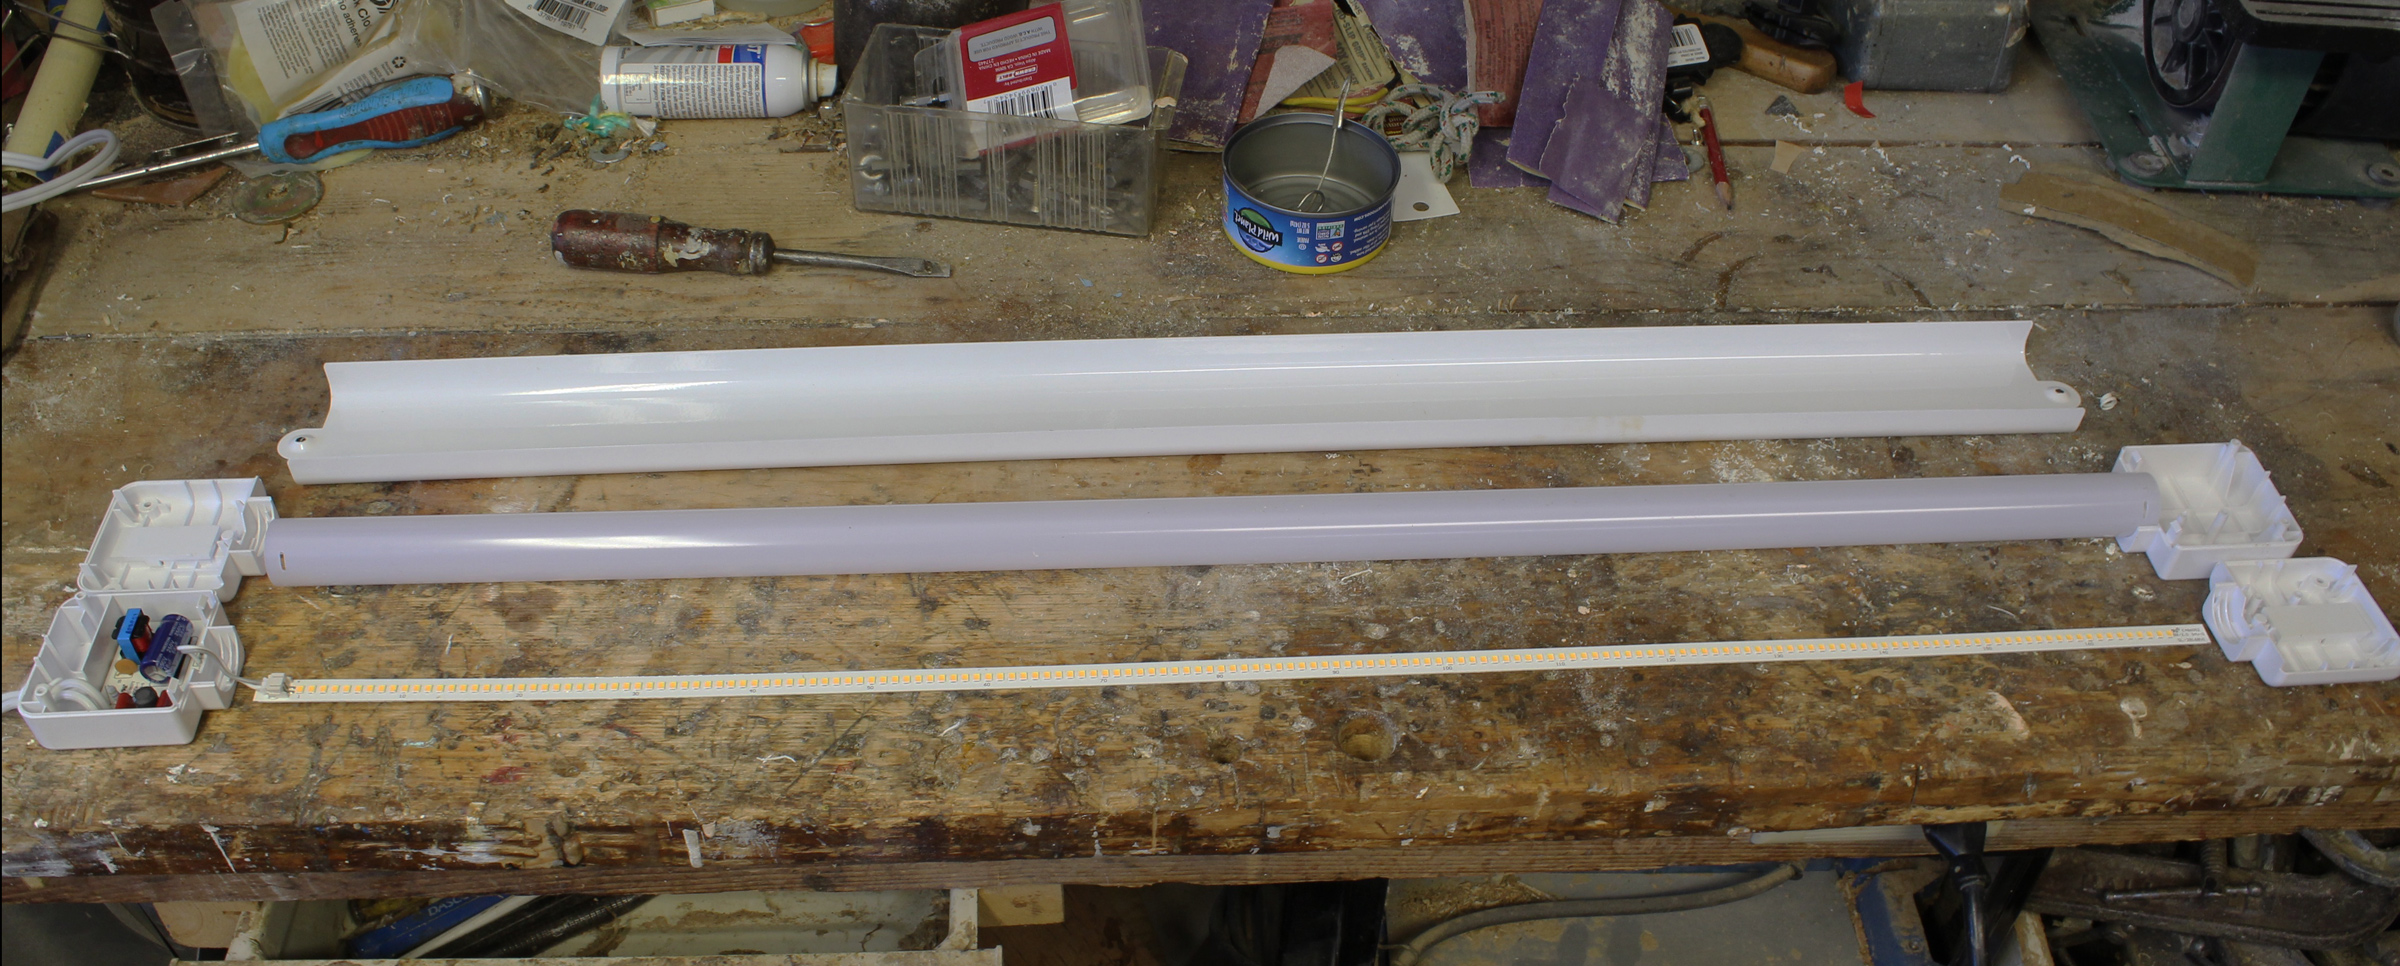
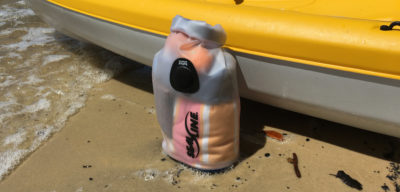
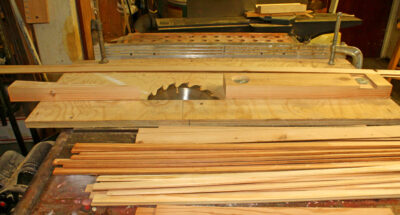
The author’s new light fixtures look like fluorescents, but the LEDs in the tube provide more light, better light, and last much longer.
LEDs—light-emitting diodes—have gotten dramatically better in the last few years, and the tubular lights made with LED strips are significantly better than the best fluorescents. They don’t flicker or hum, have good color rendition, turn on instantly even in freezing temperatures, and have a very long life. It’s unlikely I’ll have to replace them in my lifetime, but if they do need to be disposed of, they don’t contain the mercury that fluorescents do. The cost of LEDs has come down to a point where they are competitive with, or even cheaper than, any of the lighting alternatives.
If you go shopping for lights, you’ll come across some technical terms such as color temperature, CRI, lumens, and luminous efficacy.
Color temperature is the apparent color of the light source. Color temperature is literally the temperature of a “black body,” a theoretical object that reflects no light, heated to make it emit light like metal heated with a torch. Its temperature and the light it produces are both expressed in degrees Kelvin. The old incandescent bulbs, which we all had in our houses at one time, are at the low end of the temperature range (about 2,700 K) and appear to our eye to be quite warm, yellow in color. Skin tones look good under this source. Full daylight is toward the higher end of the temperature range at about 5,780 K and, by comparison, appears very cool, bluish in color. Thirty years ago, most commercial 4′ fluorescents—the 1-1/2″-diameter T12s—were 4,100 K, appeared quite cool and, in fact, were called cool white. T8 and T5 fluorescents now are commonly available in 3,000 K, 3,500 K, and 4,100 K. The 3,500 K lamps are a pretty good compromise and most people like how things look under them. LED light fixtures are generally available in 3,000 K, 4,100 K, and 5,000 K.
The CRI—color rendering index—is a measure of how well the colors of objects under a light source are rendered compared to an ideal source such as sunlight or an incandescent lamp. The ideal “black-body” light has a score of 100 and all other light sources are scored relative to that. Old-style fluorescents could be in the low 60s, and modern tri-phosphor fluorescents such as T8 or T5 tubes are somewhere between 80 and 85, which is pretty good. Most LEDs now available are slightly better, in the range of 80 to 90. High-CRI lights are important when you are trying to judge colors of paint. Paint that looks right under poor-CRI lights will look very different when you move your boat outside in the sunlight.
Luminance, sometimes also called brightness, is the total light output of a fixture expressed in lumens. The labeling of most new bulbs or fixtures will indicate the number of lumens. An old-style T-12 40-Watt fluorescent tube (stamped F40T12 on the end of the tube) actually draws about 50 Watts and puts out about 3,050 lumens, and an LED version built to replace it puts out 1,800 lumens while drawing just 16 Watts at a cost of about $7. By dividing a light’s lumens by its Watts you get its luminous efficacy, the light you get for the electricity. Incandescents and halogens range from about 8 lumens per Watt (lm/W) to about 20, depending on bulb size, and both convert most of the electrical energy into heat. The newest 4′ T8 and T5 fluorescent tubes produce up to 96 lm/W. Most commonly available LED shop lights are better than 90 lm/W, and one I found at Home Depot is 128 lm/W (for $44.97).
For general lighting of workshops, the Illuminating Engineering Society recommends illuminance levels—the amount of light falling on the work surface— in the range of 300 to 750 lux (that’s 30 to 75 foot-candles). Older eyes, like mine, will need a level at the higher end. Illumination engineers can determine which lighting fixtures will deliver that illuminance with this formula:
I = Ll x Cu x LLF / Al, where I is the illuminance in lux, Ll is the luminance in lumens, Cu is the coefficient of utilization for the inefficiency of the fixture), LLF is a light-loss factor to account for age and dirt, and Al is the illuminated area in square meters.
Calculating the ideal fixture is one thing, but what’s available in your local home improvement store will determine what you purchase. So, what type of fixtures and how many of them do you need to provide your shop with that optimal illuminance of about 750 lux? The area in my workshop where I build my boats measures about 8′ x 18′ and has an 8′ ceiling, so this is where I want to have good general light.
 Small Boats Magazine
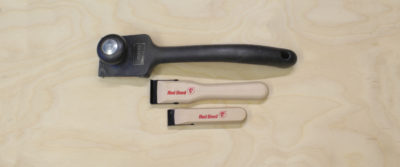
Inside the tubes of an LED shop light is a long strip of LEDs. The 30-1/2″ tube of this 3′ fixture has 168 LEDs and cost $16.
My local hardware store, Canadian Tire, had some fixtures on sale (regularly $59.99) : 4′, 50W LED double strip lights, with 4,500 lumens output from each fixture. By plugging 750 lux into the formula for a third of my shop area (8′ x 6′), I find that area requires 4,647 lumens. That’s 4,647/4,500 = 1.03 fixtures, but since fixtures don’t come in fractional units, a single 4,500-lumen fixture is close enough.
 Small Boats Magazine
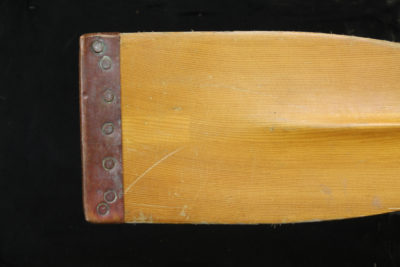
Each of the yellow rectangles is a 1/8″ x 3/32″ LED that puts out a light so bright that it’s best not viewed directly.
If you don’t want to do the calculations, a single 4,500-lumen fixture for an 8′ x 6′ area in a shop with an 8′ ceiling is a pretty good rule of thumb. The fixture doesn’t have to be 4′ long, either. If you can find a 3′ fixture with the same output, that would also do. I wouldn’t, however, install spotlights with that output for general area lighting, as it would result in lighting that is too bright underneath them and too dim between.
My lights have a 5,000 K color temperature, not too far off daylight, which is good for painting and finishing. Their efficacy, at 90 lm/W, is a little lower than the best available, but hey, a deal is a deal and, at the electricity rates I pay, we’re talking a difference in operating cost of just 50 cents a month between that and the most efficient LED light. None of the fixtures I was going to replace were built into the ceiling, so I could just replace the whole fixture rather than retrofit a built-in recessed fixture that is best left in place. If you need to keep the existing fixture, there are LED replacement kits for fluorescent fixtures, with efficacy of up to 115 lm/W, that include new drivers and LED strips to replace T12 or T8 tubes.
 Alex Zimmerman
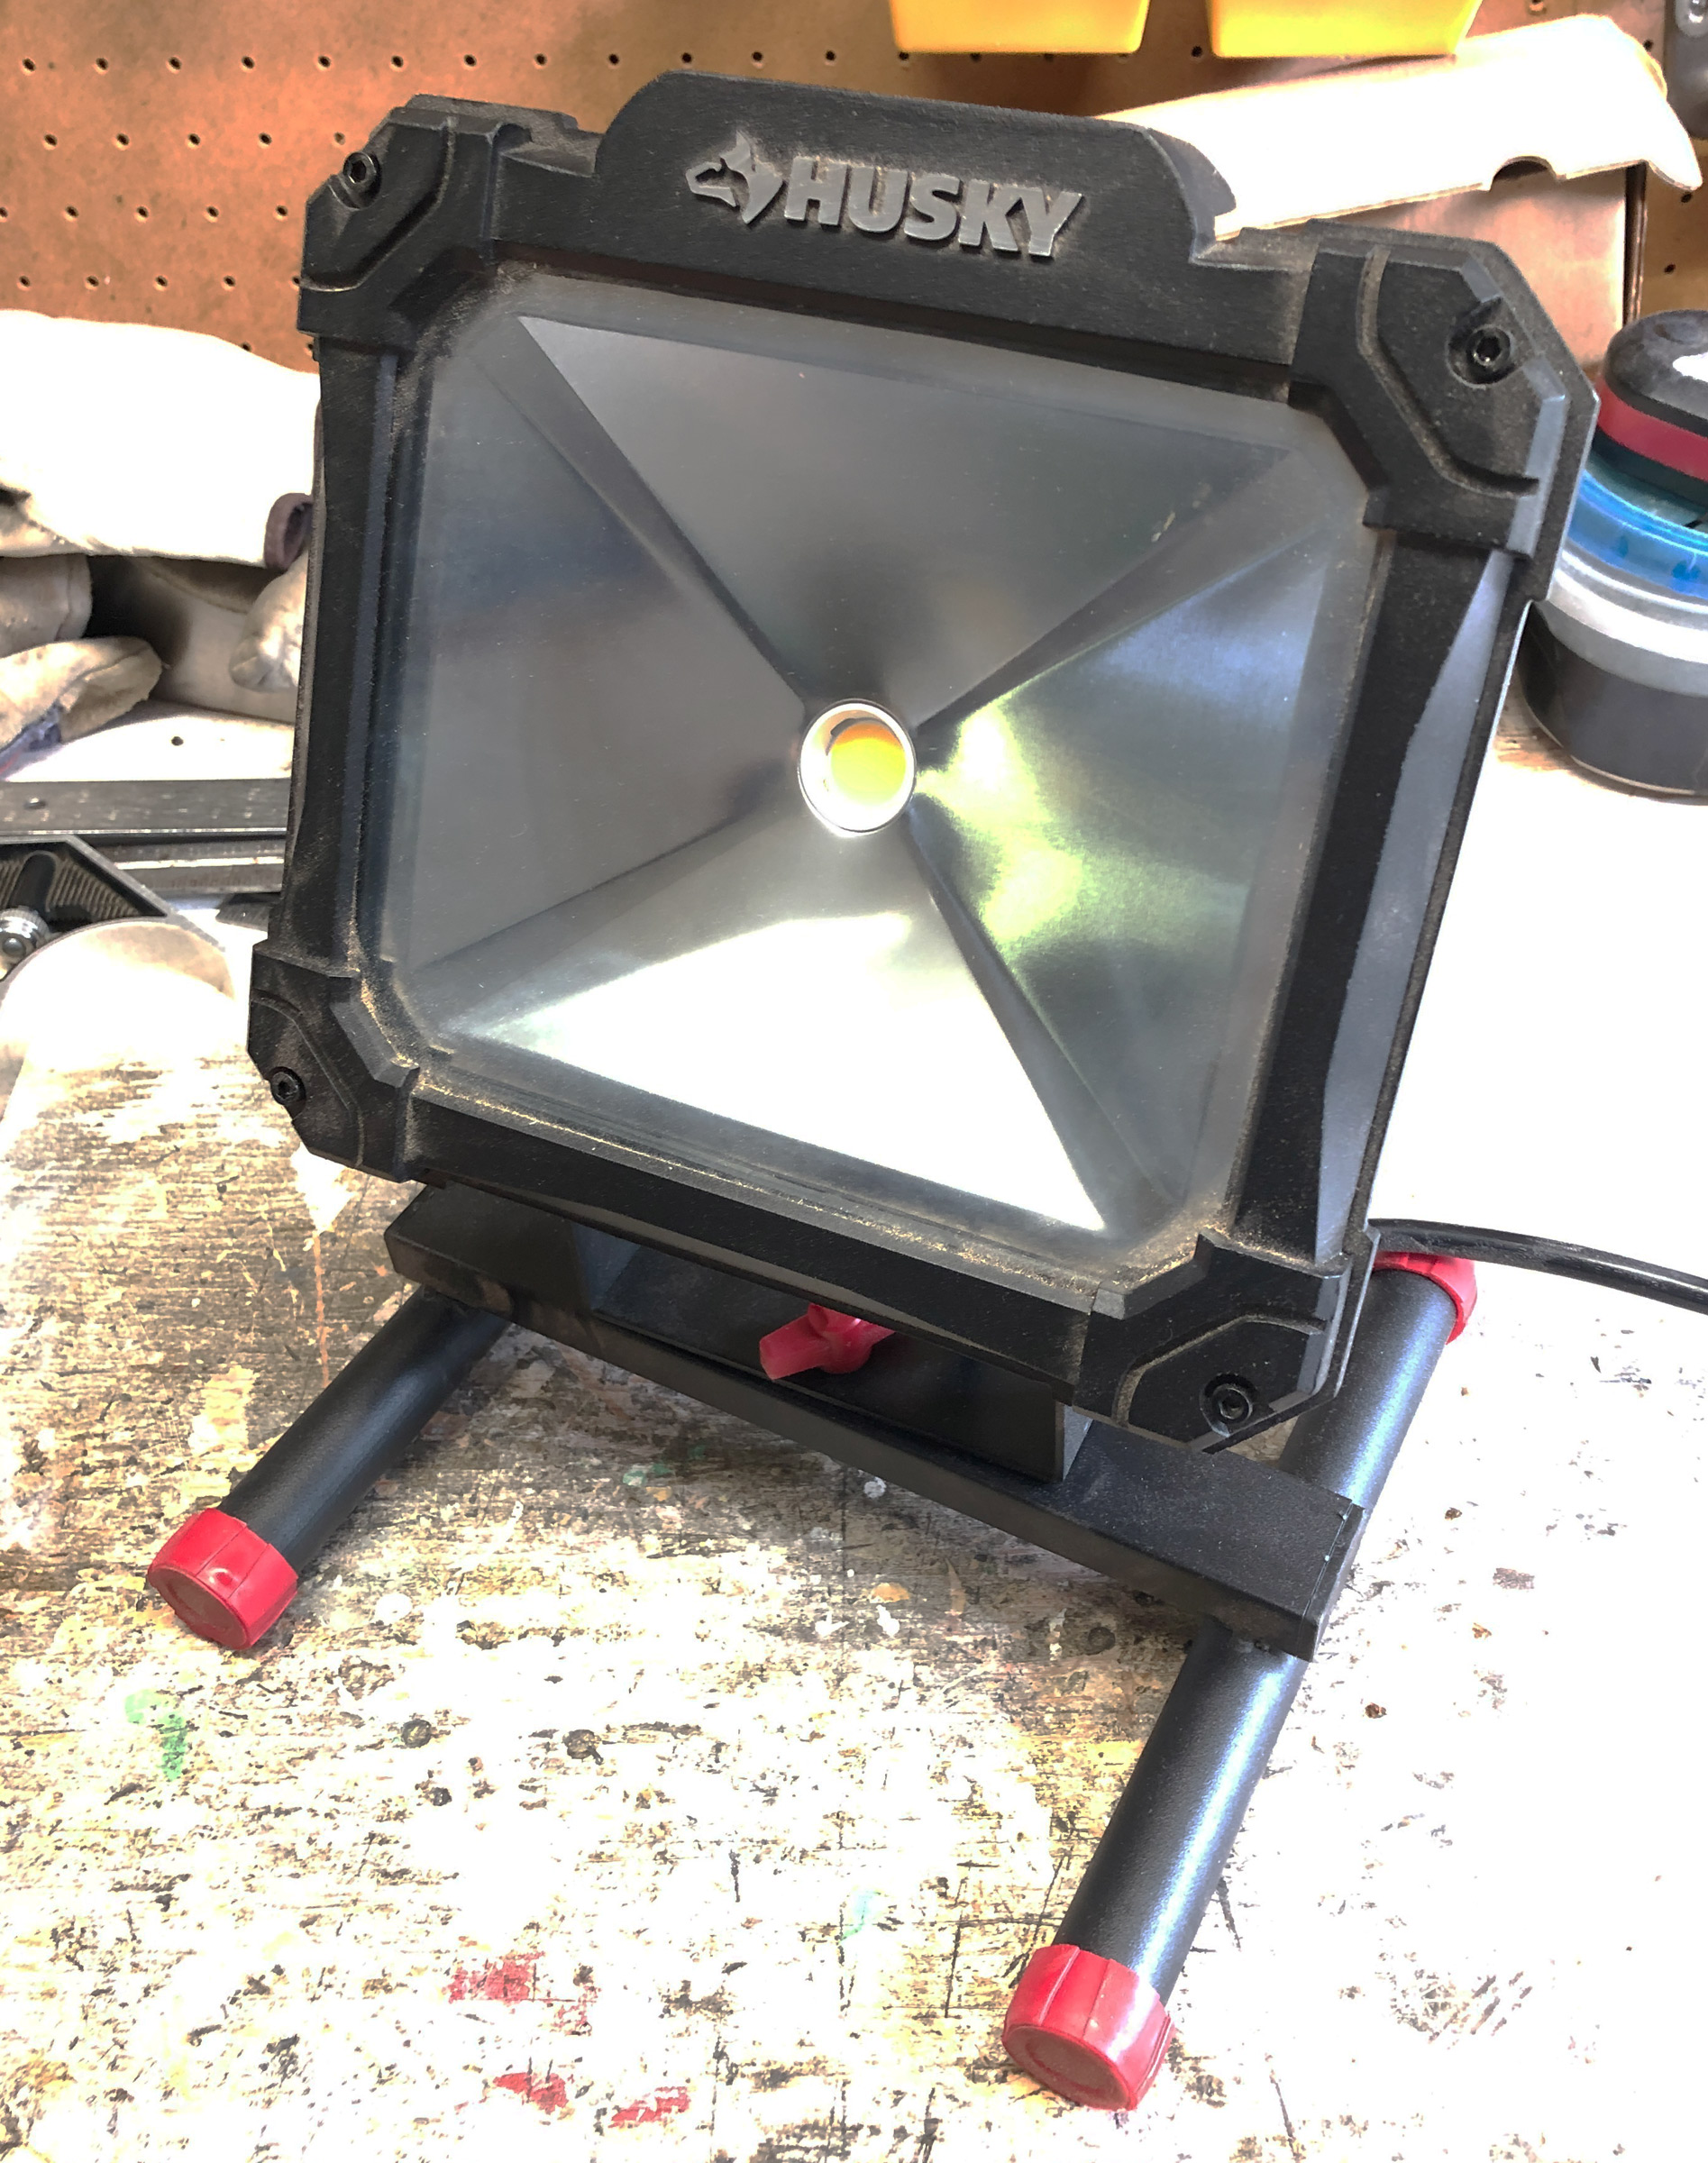
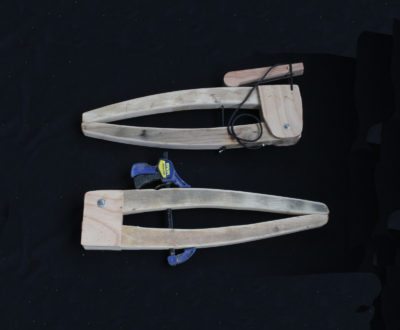
This portable work light has a single LED that puts out 3,500 lumens.
The workbench is where a lot of close-up work gets done, usually with your back to the overhead area lights. The bench is closer to a ceiling-mounted light, and with my 27″ x 9′ bench, it needs 2,000 lumens to provide 750 lux at the work surface. The fixture I got (again on sale) is a 28 W, 4′ single strip, with a pull-chain switch that puts out 2,500 lumens—a little more light than required but, for detailed work, more is better. For jobs that aren’t illuminated by the ceiling fixtures (think working under upturned hulls) I have a 3,500 lumen, 43-Watt, LED spot work light that cost $39.98.
Upgrading my shop lighting from fluorescent to LED has made it much easier to work in the shop, with less eyestrain at the end of a long day. I am pleased with the result.![]()
Alex Zimmerman is a semi-retired mechanical technologist and former executive. His first boat was an abandoned Chestnut canoe that he fixed up as a teenager and paddled on the waterways of eastern Manitoba and northwestern Ontario. He started his professional career as a maritime engineer in the Canadian Navy, and that triggered his interest in sailing. He didn’t get back into boatbuilding until he moved back to Vancouver Island in the ’90s, where he built a number of sea kayaks that he used to explore the coast. He built his first sail-and-oar boat in the early 2000s and completed his most recent one in 2016. He says he can stop building boats anytime. He is the author of the recently published book, Becoming Coastal.
You can share your tips and tricks of the trade with other Small Boats Magazine readers by sending us an email.


Great article, but it would be nice if it included the cost of the fixtures.
Good suggestion. The prices were all in the linked pages, but I’ve added them to the text for all of the products mentioned. A search for the dollar sign—$—will find them quickly.
Editor
Costco has a two pack of 4k 4000-lumen shop lights for $60, but they’re sometimes on sale for less. I have about 8 sets, and I really like them.
LED shop lights; awesome garage & work shop improvement! Brought a dozen 4 ft fixtures from COSTCO. Connected new LED’s to existing ceiling bulb fixtures with socket to plug adapters. Some LED fixtures are set up to daisy chain several LED’s together easily. Integral pull chain switch is great for the LED over the bench. One continuously powered LED light has motion sensing plus high/low timer features. Nice to have when ducking into the garage/shop at night.
The LED work lights are also a huge improvement over the way too hot yellowish halogen work lights. I was thrilled to toss out my old halogen lights before burning anything down. Perfect for those dark hole bilge projects.
Thanks, Alex, for your description of several lighting parameters.
You’re welcome, Joe.
Your example highlights the fact that there are many ways to get to a good result. My article is really a bare-bones description of one way to do it.
My shop is in my basement, which, while limiting how big I can build, comes in handy. I replaced the 4 incandescent lamps with long strips of Barrina T5 LED in 5k. They made a dark hole into a brightly light workspace. The only issue I have ever had, as I have yet to add more circuits to power my tools, one of my outlets is on the same line. Using anything on that line with a motor makes the LEDs flicker.
Like Alex, I deal with light for living, I work as a Stage Electrician here in Atlantic City. LEDs are a very bright future for all of us.
Thanks for the article. I based my purchase of 4 LED tubes for my 19′ x 9’x 8’high garage shop and a flood for over my desk/bench on it. Went low tech and strung some twine from side to side wall and hung the daisy-chained tubes from it and, as a bonus, the setup allows for the rollup door to open and shut without interference.
Plenty of cheap and effective light for the shop!
I am building a 12′ Acorn in a 14′ by 20′. Adding 4′ LEDS here and there and my future is looking brighter! Boatbuilding rocks!
Great article in lighting. I recently installed new LED lighting in my two-car garage/workshop. I found a rule of thumb online that for a woodworking shop 75 lumens per sq ft is good. I installed seven 4′ fixtures in three rows on my 8′ high ceiling. The total lumens came to the 75 lumen per sq ft rule. I am super happy with the result. One flick of a switch and I have the best lighting I have ever had in a shop. It was well worth the money.