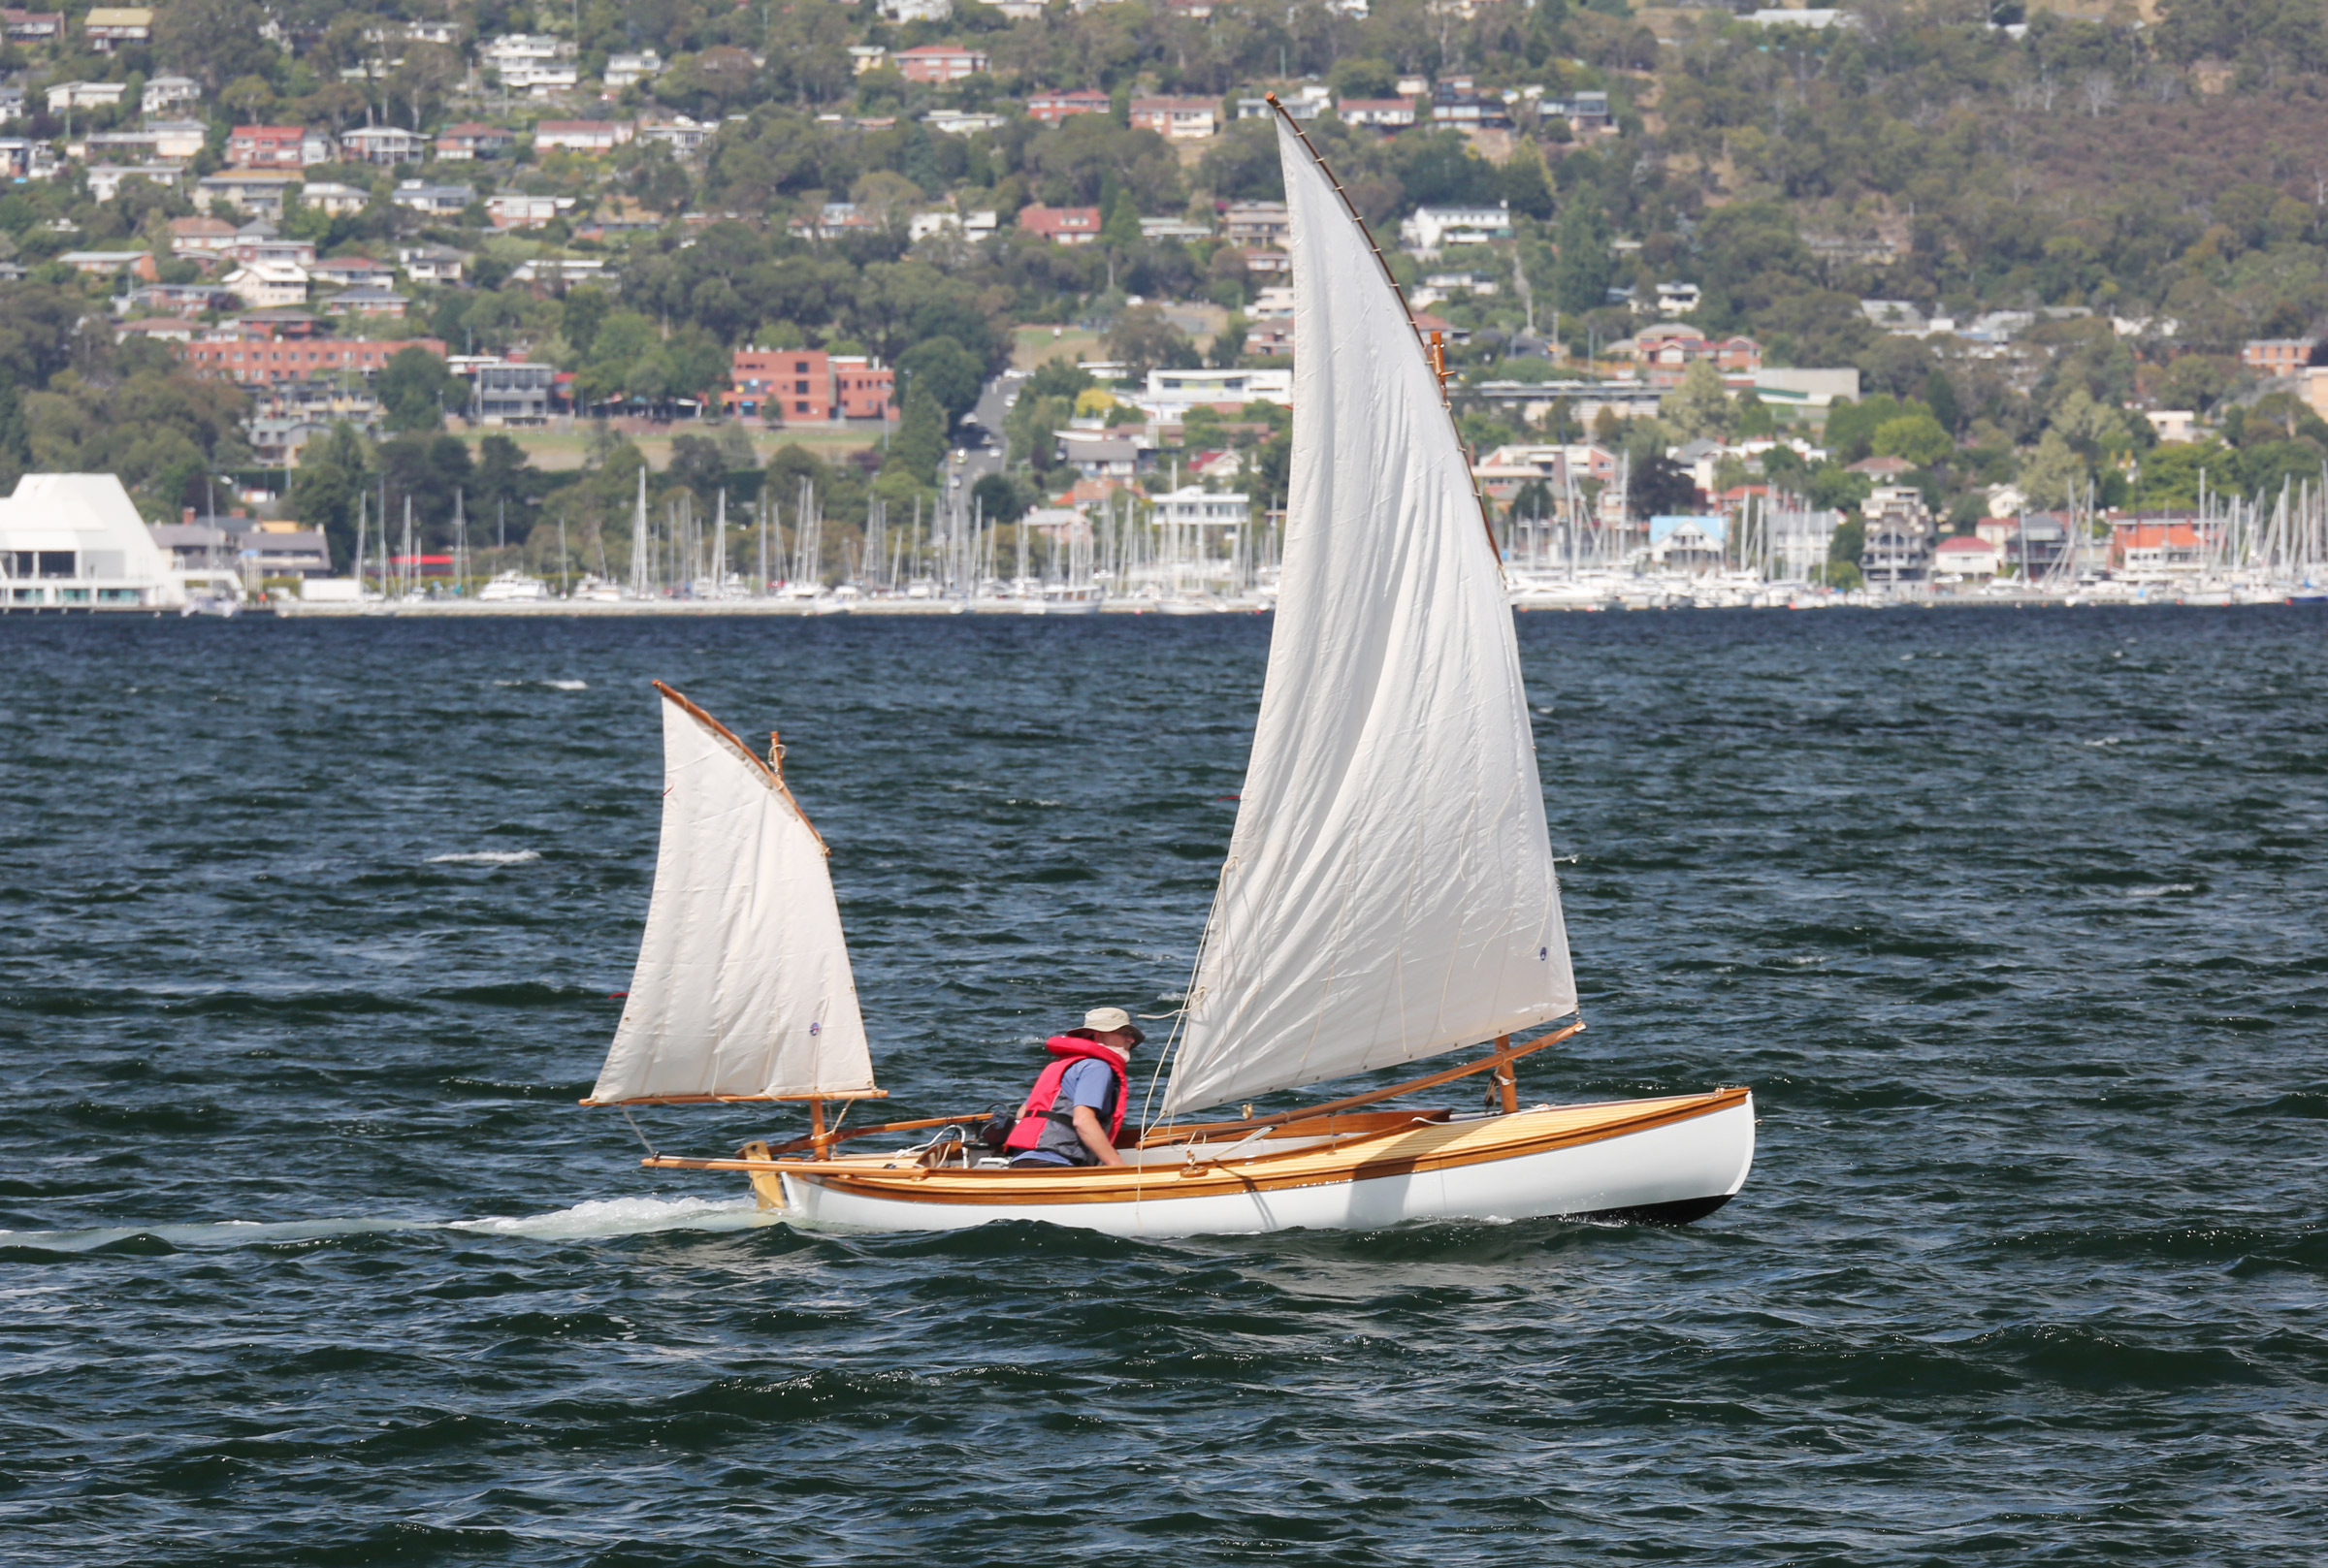
In 1883 the Humber Yawl Club was formed in northeast England by a group of canoeing enthusiasts who felt that the conditions in the Humber estuary required more seaworthy craft than they had previously used. This led to the designing and building of so-called canoe yawls, although strictly speaking they were neither. Not only did they race against each other, both paddling and sailing, but they were also cruised extensively on sheltered inland waters. In the days before cars were used to trailer boats, the canoe yawls were built very lightly so that they could be loaded and carried on trains, and occasionally they were also transported by steamer to the European mainland. One of the Humber Yawl Club’s founding members was a young engineer called George Holmes who, in 1888, designed a canoe yawl called ETHEL which was built locally by J. Akester. At 13′2″ ETHEL was specifically designed to fit in a guard’s van (caboose) on a train, and her beam allowed two people to sleep on board, on either side of the centerboard case.
In 1991, Classic Boat magazine ran a series of articles on the build of a strip-planked replica of ETHEL. On seeing this, Tom Dunderdale commissioned Paul Fisher of Selway Fisher Design to design a slightly larger version. The result was the Lillie design which, with a length of 14′11″, could be built of stitch-and-glue plywood using 8′ sheets of plywood scarfed together, with seven strakes. Although Tom’s boat was built this way, Paul also produced plans to allow strip-planked construction.
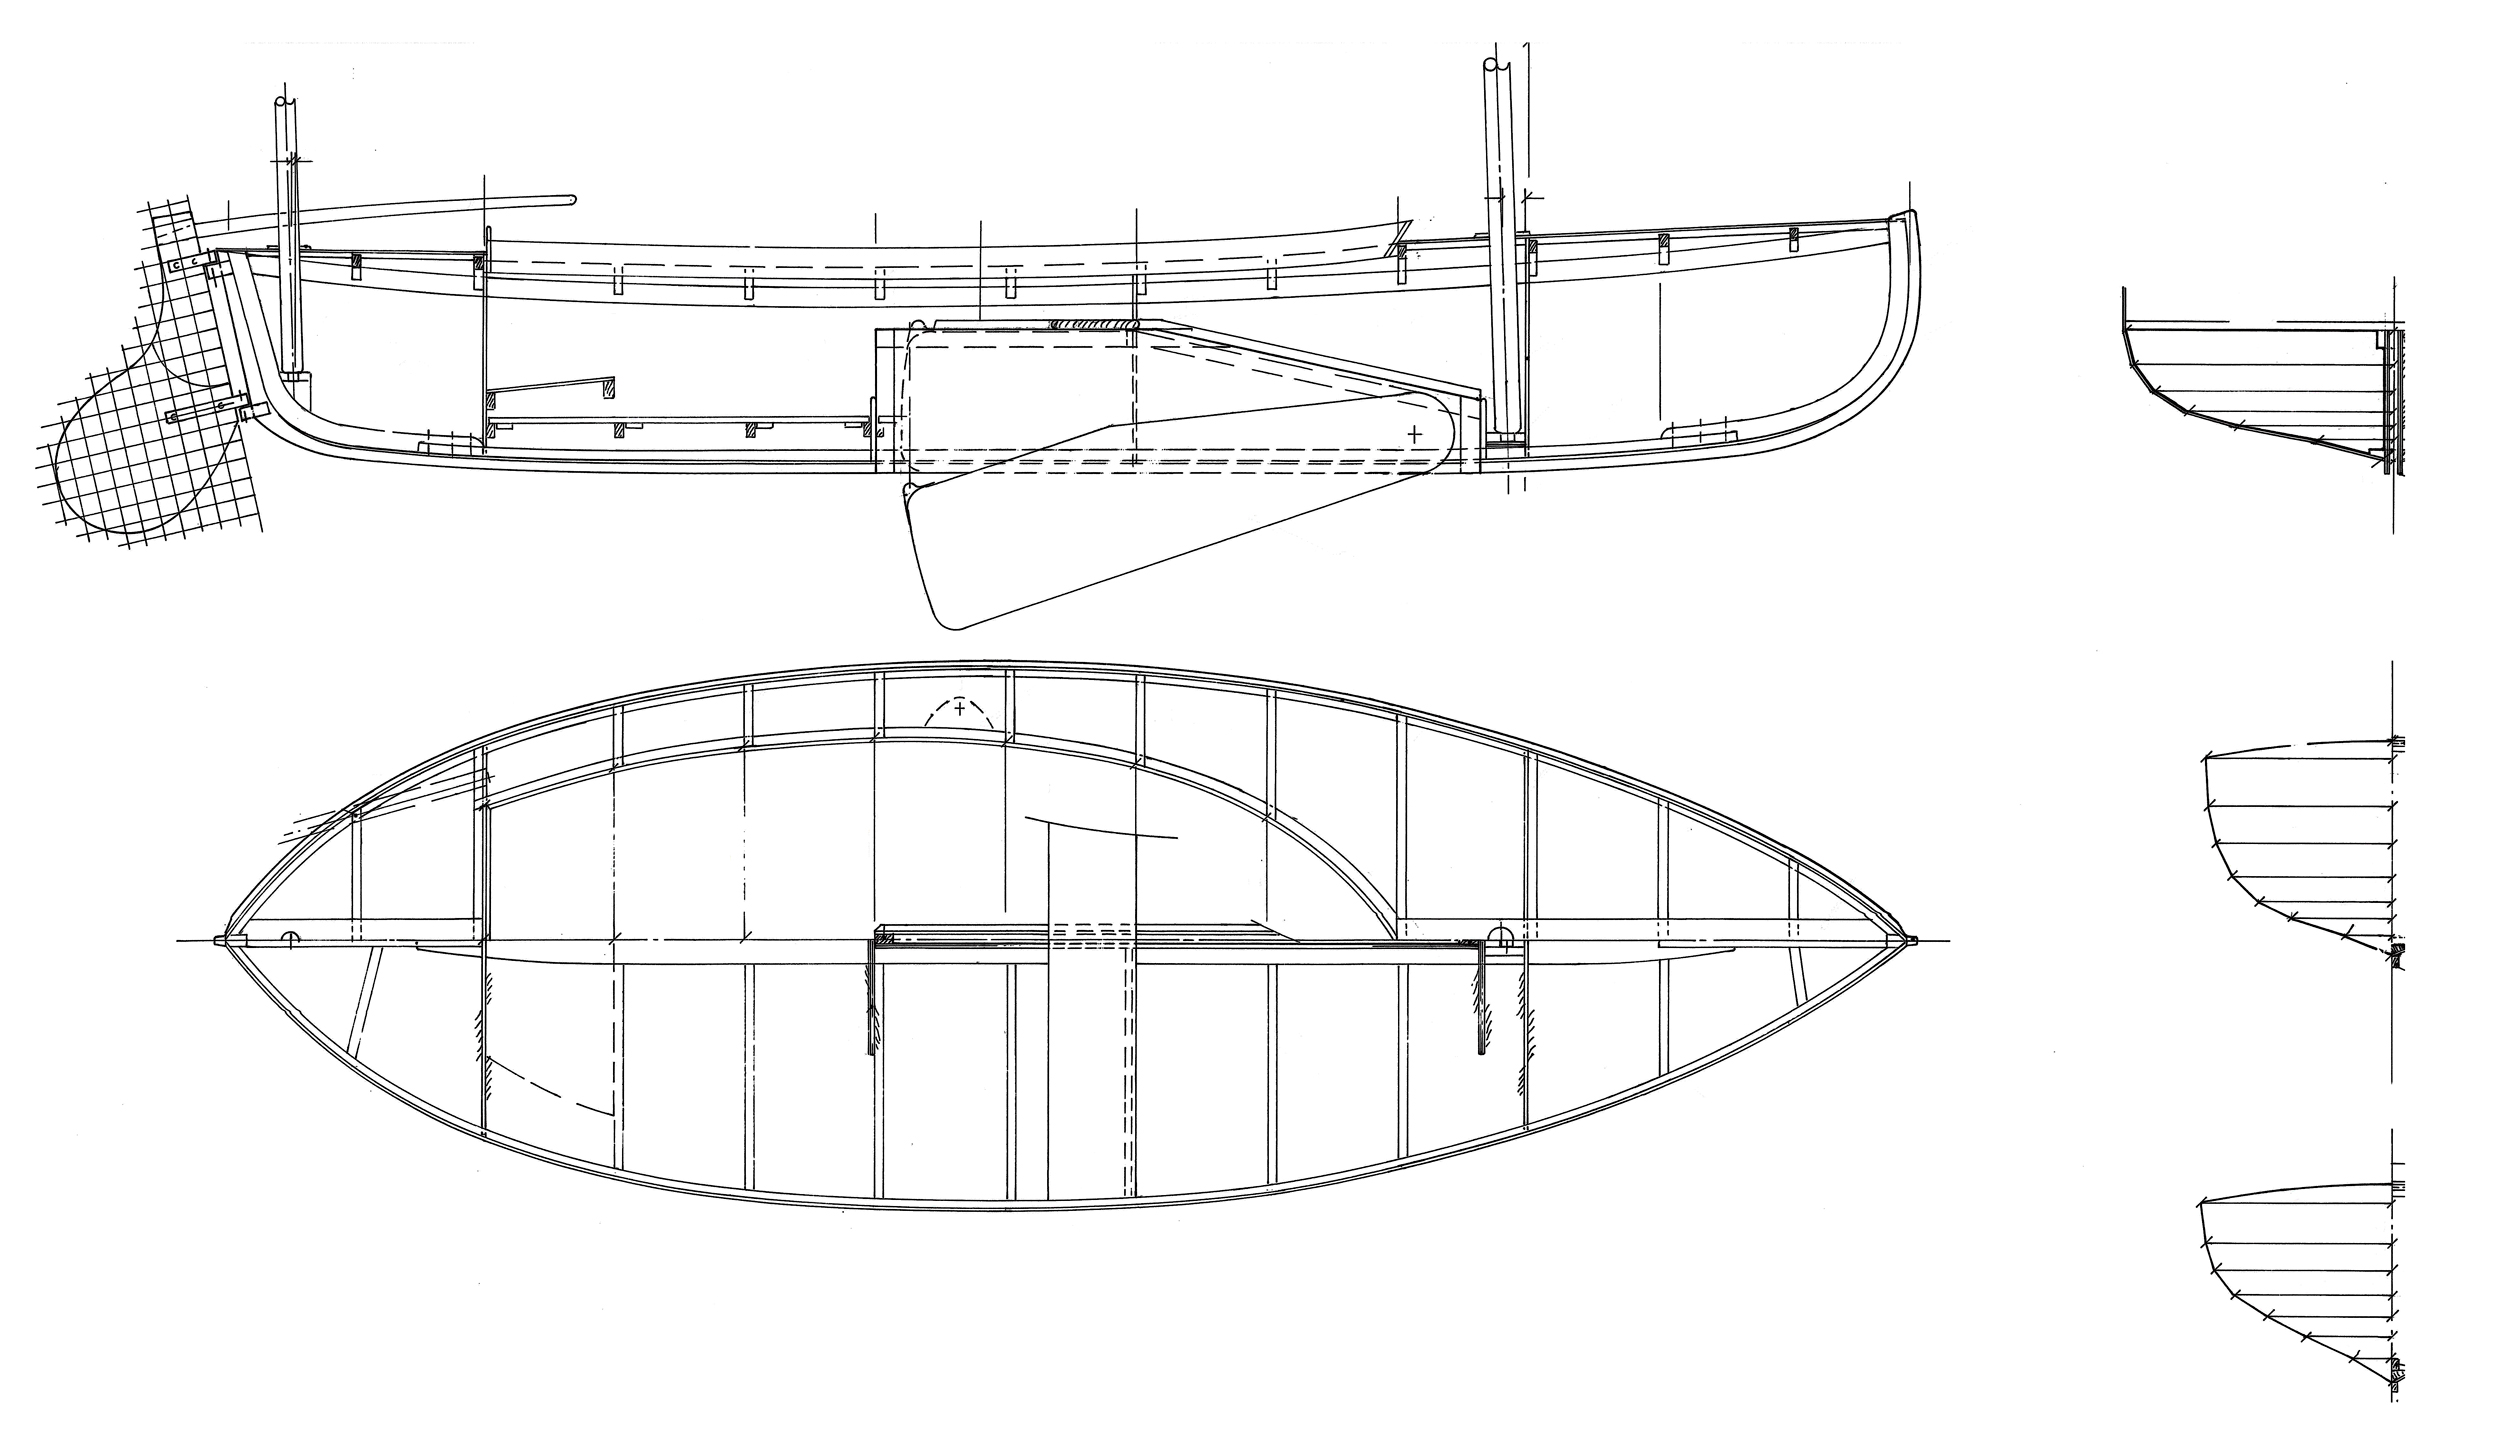
The plans set includes six pages of drawings and a 12-page booklet, Building Schedule and Key to Plans. The plans include drawings and a table of offsets for each of the seven plank shapes; construction details for plywood and strip construction; measured drawings for frames, stems, and molds; and sail and spar plans for lug and gaff rigs. The booklet includes the key, notes on stitch-and-tape construction, and drawings for the tiller and motorwell.
 Photographs by the author
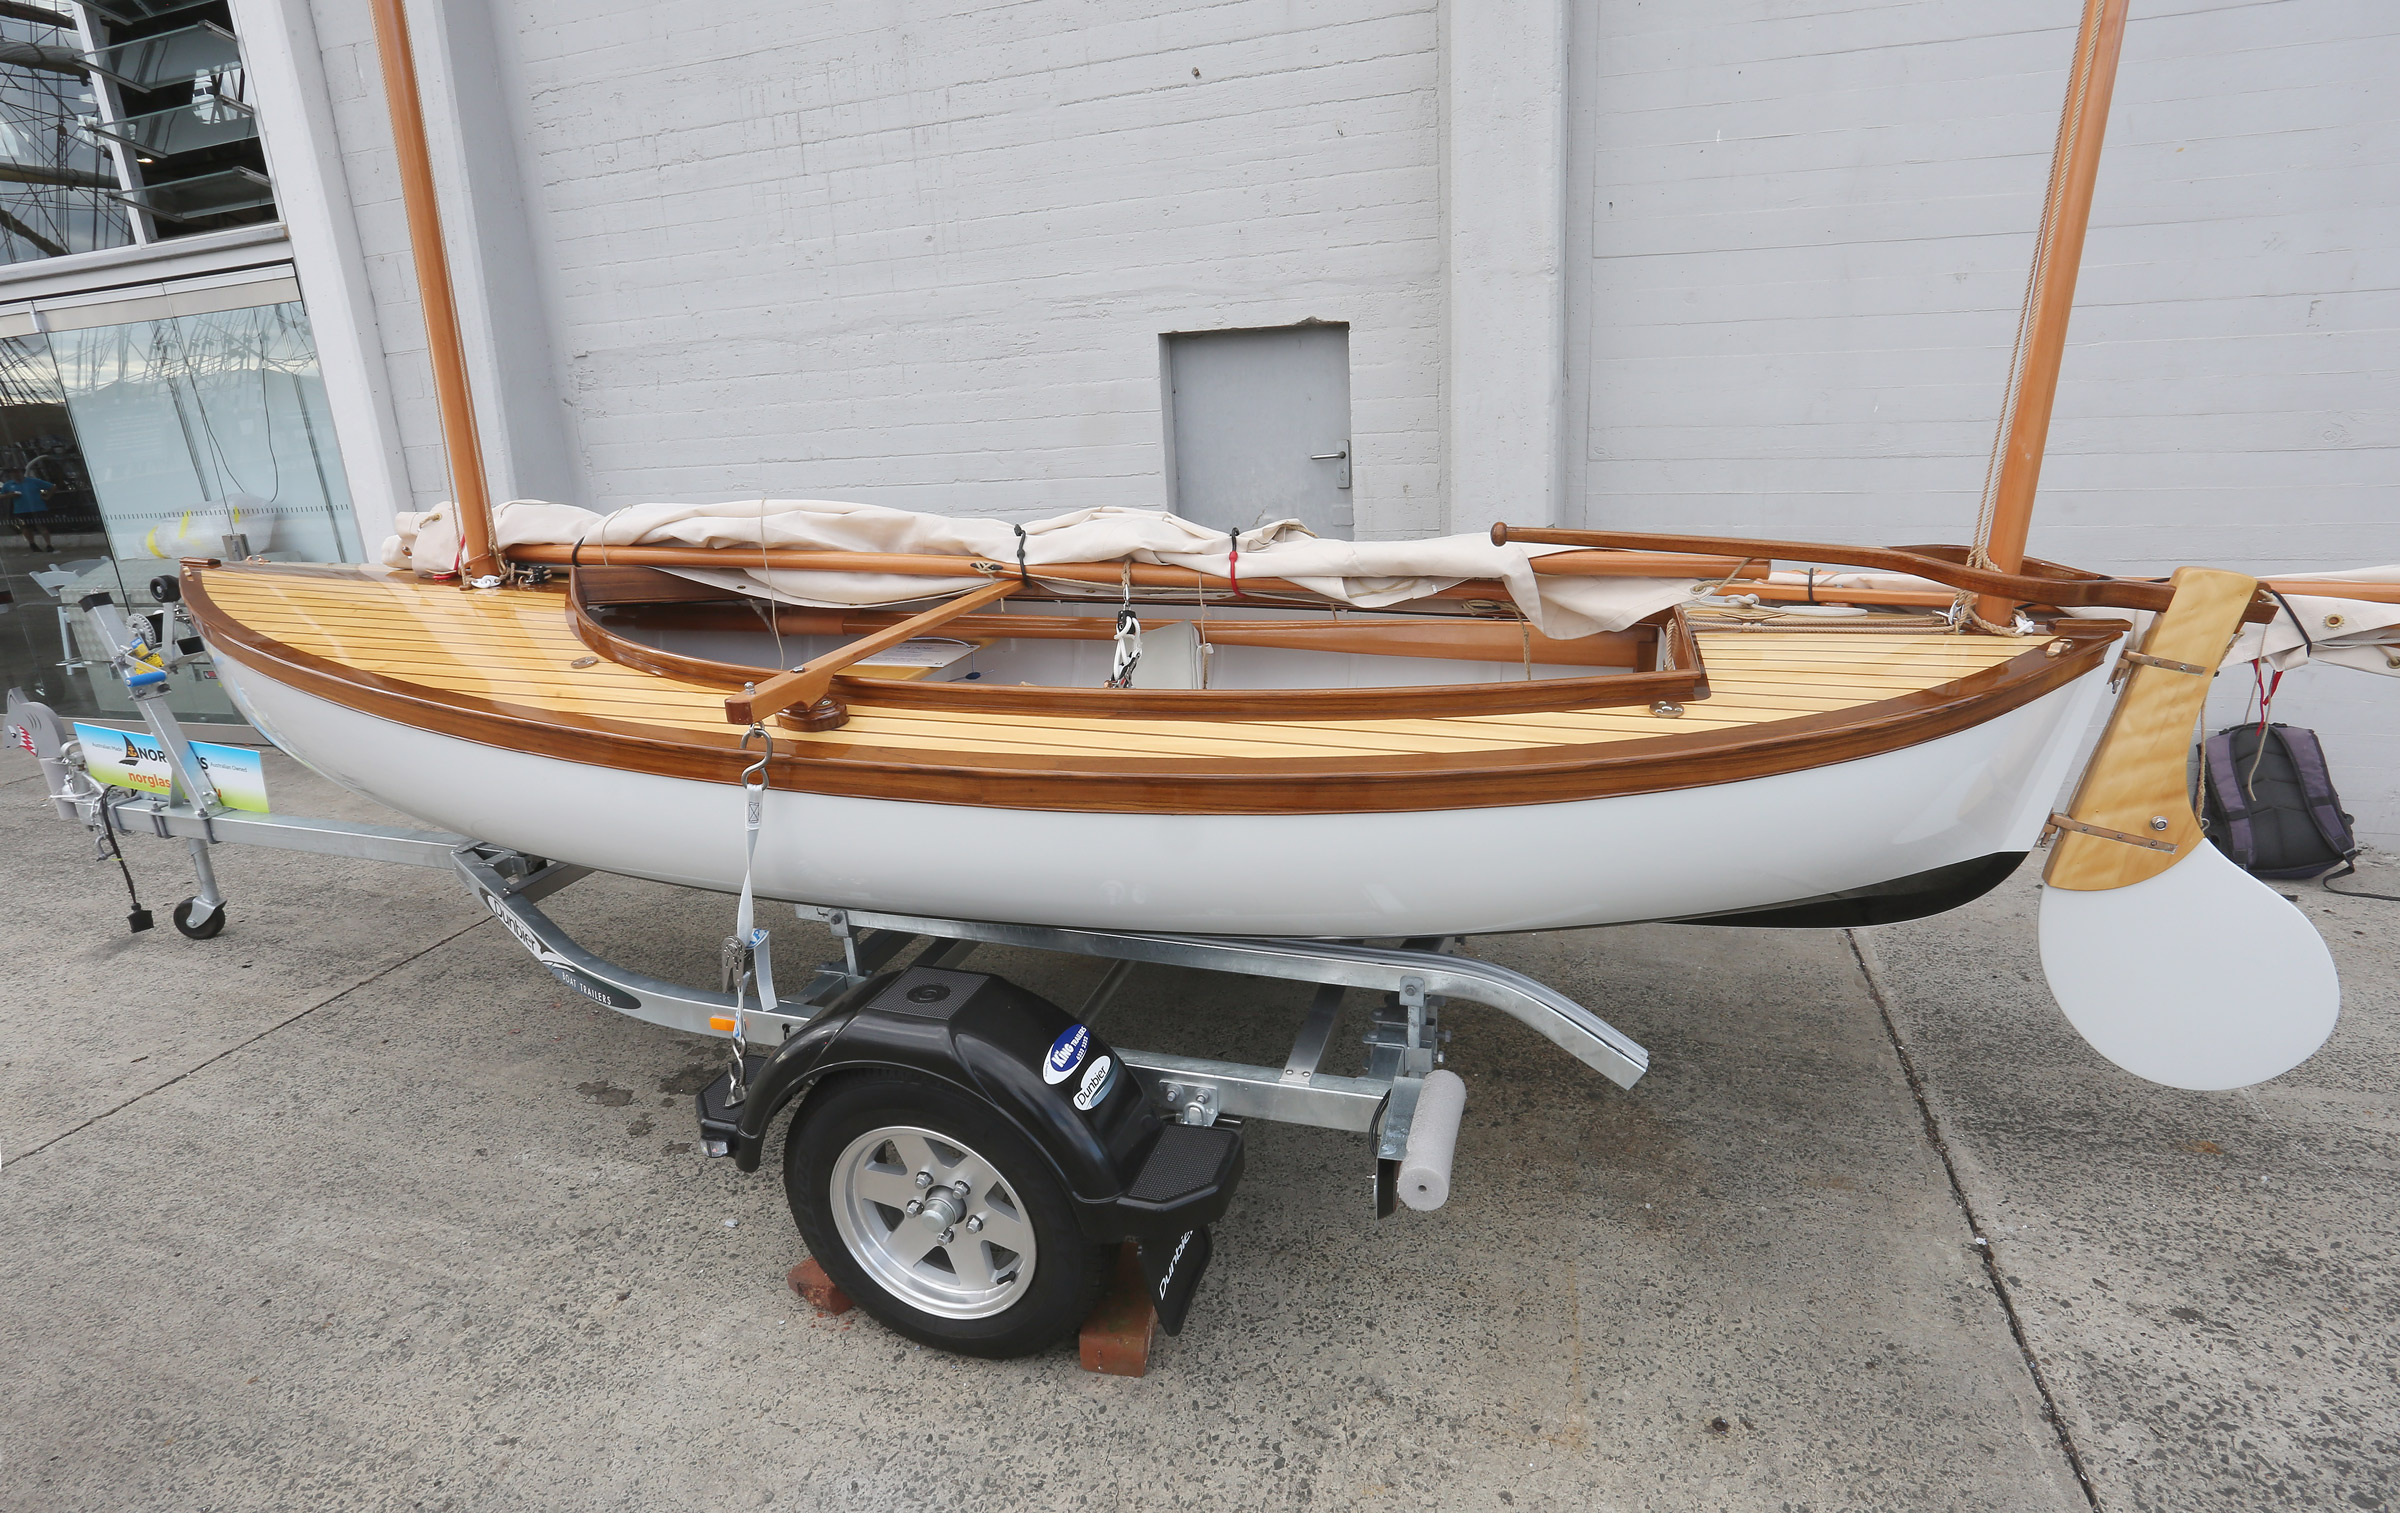
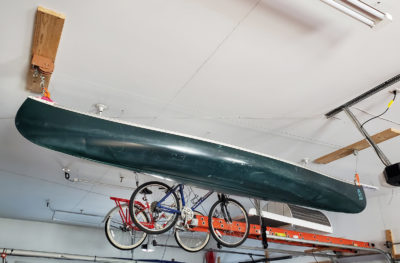
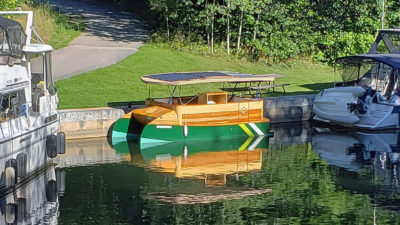
Out of the water, Lillie’s sweet curve from bow to stern and complementing soft turn of the bilge can be fully appreciated. As the rudder must be hung before the mizzen mast is stepped, the low-hanging blade could cause a problem on a steep launching ramp, but if this were the regular setup for launching, the rudder could be fitted with a lifting blade. Note the purpose-built crossbeam bolted to the oarlock pads, which allows the trailer straps to be brought straight down without damaging the brightwork.
Retired Tasmanian doctor David Ridgers had previously built three boats for himself and was keen to build another. Initially he was drawn to the curved yards of the slightly larger Selway Fisher canoe yawl, the 16′ Casco Bay, but was unsure about the inboard rudder placement. When he visited the Australian Wooden Boat Festival in 2019 and saw a stitch-and-glue Lillie, whose owner was enthusiastic about the boat’s sailing characteristics, he decided that’s what he would build. He chose strip-planking, however, as he was “particularly attracted to the hull’s curvaceous shape,” which he thought would not be best served by plywood construction.
Because the plans include accurate drawings of each of the 13 temporary molds, there is no need to do any lofting. David initially transferred the mold shapes to sheets of 3⁄16″ MDF (medium-density fiberboard) as it was very easy to shape, and he then used those as patterns to create the 1⁄2″ MDF molds with a spindle molder/shaper. Once they were set up upside down and checked with a laser level and a long fairing batten, he half-jointed the inner stem and sternpost (both from 2″ × 1-3⁄8″ solid Huon pine) to the 1″ × 4-3⁄4″ western red cedar hog (keelson) and set them up on the molds. He then fitted the 3⁄4″ x 2″ Douglas-fir inwales (laminated from two pieces) into the notches cut in the molds. For the planking strips he used 13⁄16″ × 3⁄8″ western red cedar, but rather than using bead-and-cove or tongue-and-groove sections, he beveled the edge of each plank to fit its neighbor. He started planking at the sheer, “perhaps unwisely,” and worked toward the keel, but when he got to the turn of the bilges, he realized he was going to have problems with the bend and twist. He got over that by fitting about 10 strips that were half as wide or even less, but kept them parallel. He used Titebond III PVA adhesive to glue the planks to each other, to the centerline components, and to the inwales, and temporarily stapled them to the molds. After trimming the ends of the planking where they ran out over the centerline components, he fitted the outer stem and sternpost, which were laminated in situ, and the 1-1⁄4″ × 1-3⁄8″ outer keel, all in celerytop pine.
After fairing the planking, he sealed it with a penetrating thinned-out epoxy, sheathed it with 165gsm (7-oz) twill ’glass and epoxy, and then filled and faired it. He completed the below-the-waterline painting before turning the hull over. (He initially painted the bottom white and the topsides black, but after he launched the boat, he found that bright sunlight highlighted the filled holes under the black paint, so he redid the paintwork with the colors reversed.)
With the hull the right-way up, the molds were removed. The hull was stiff enough without them, thanks to the inwales. The inside of the hull was then sheathed in the same way as the outside.
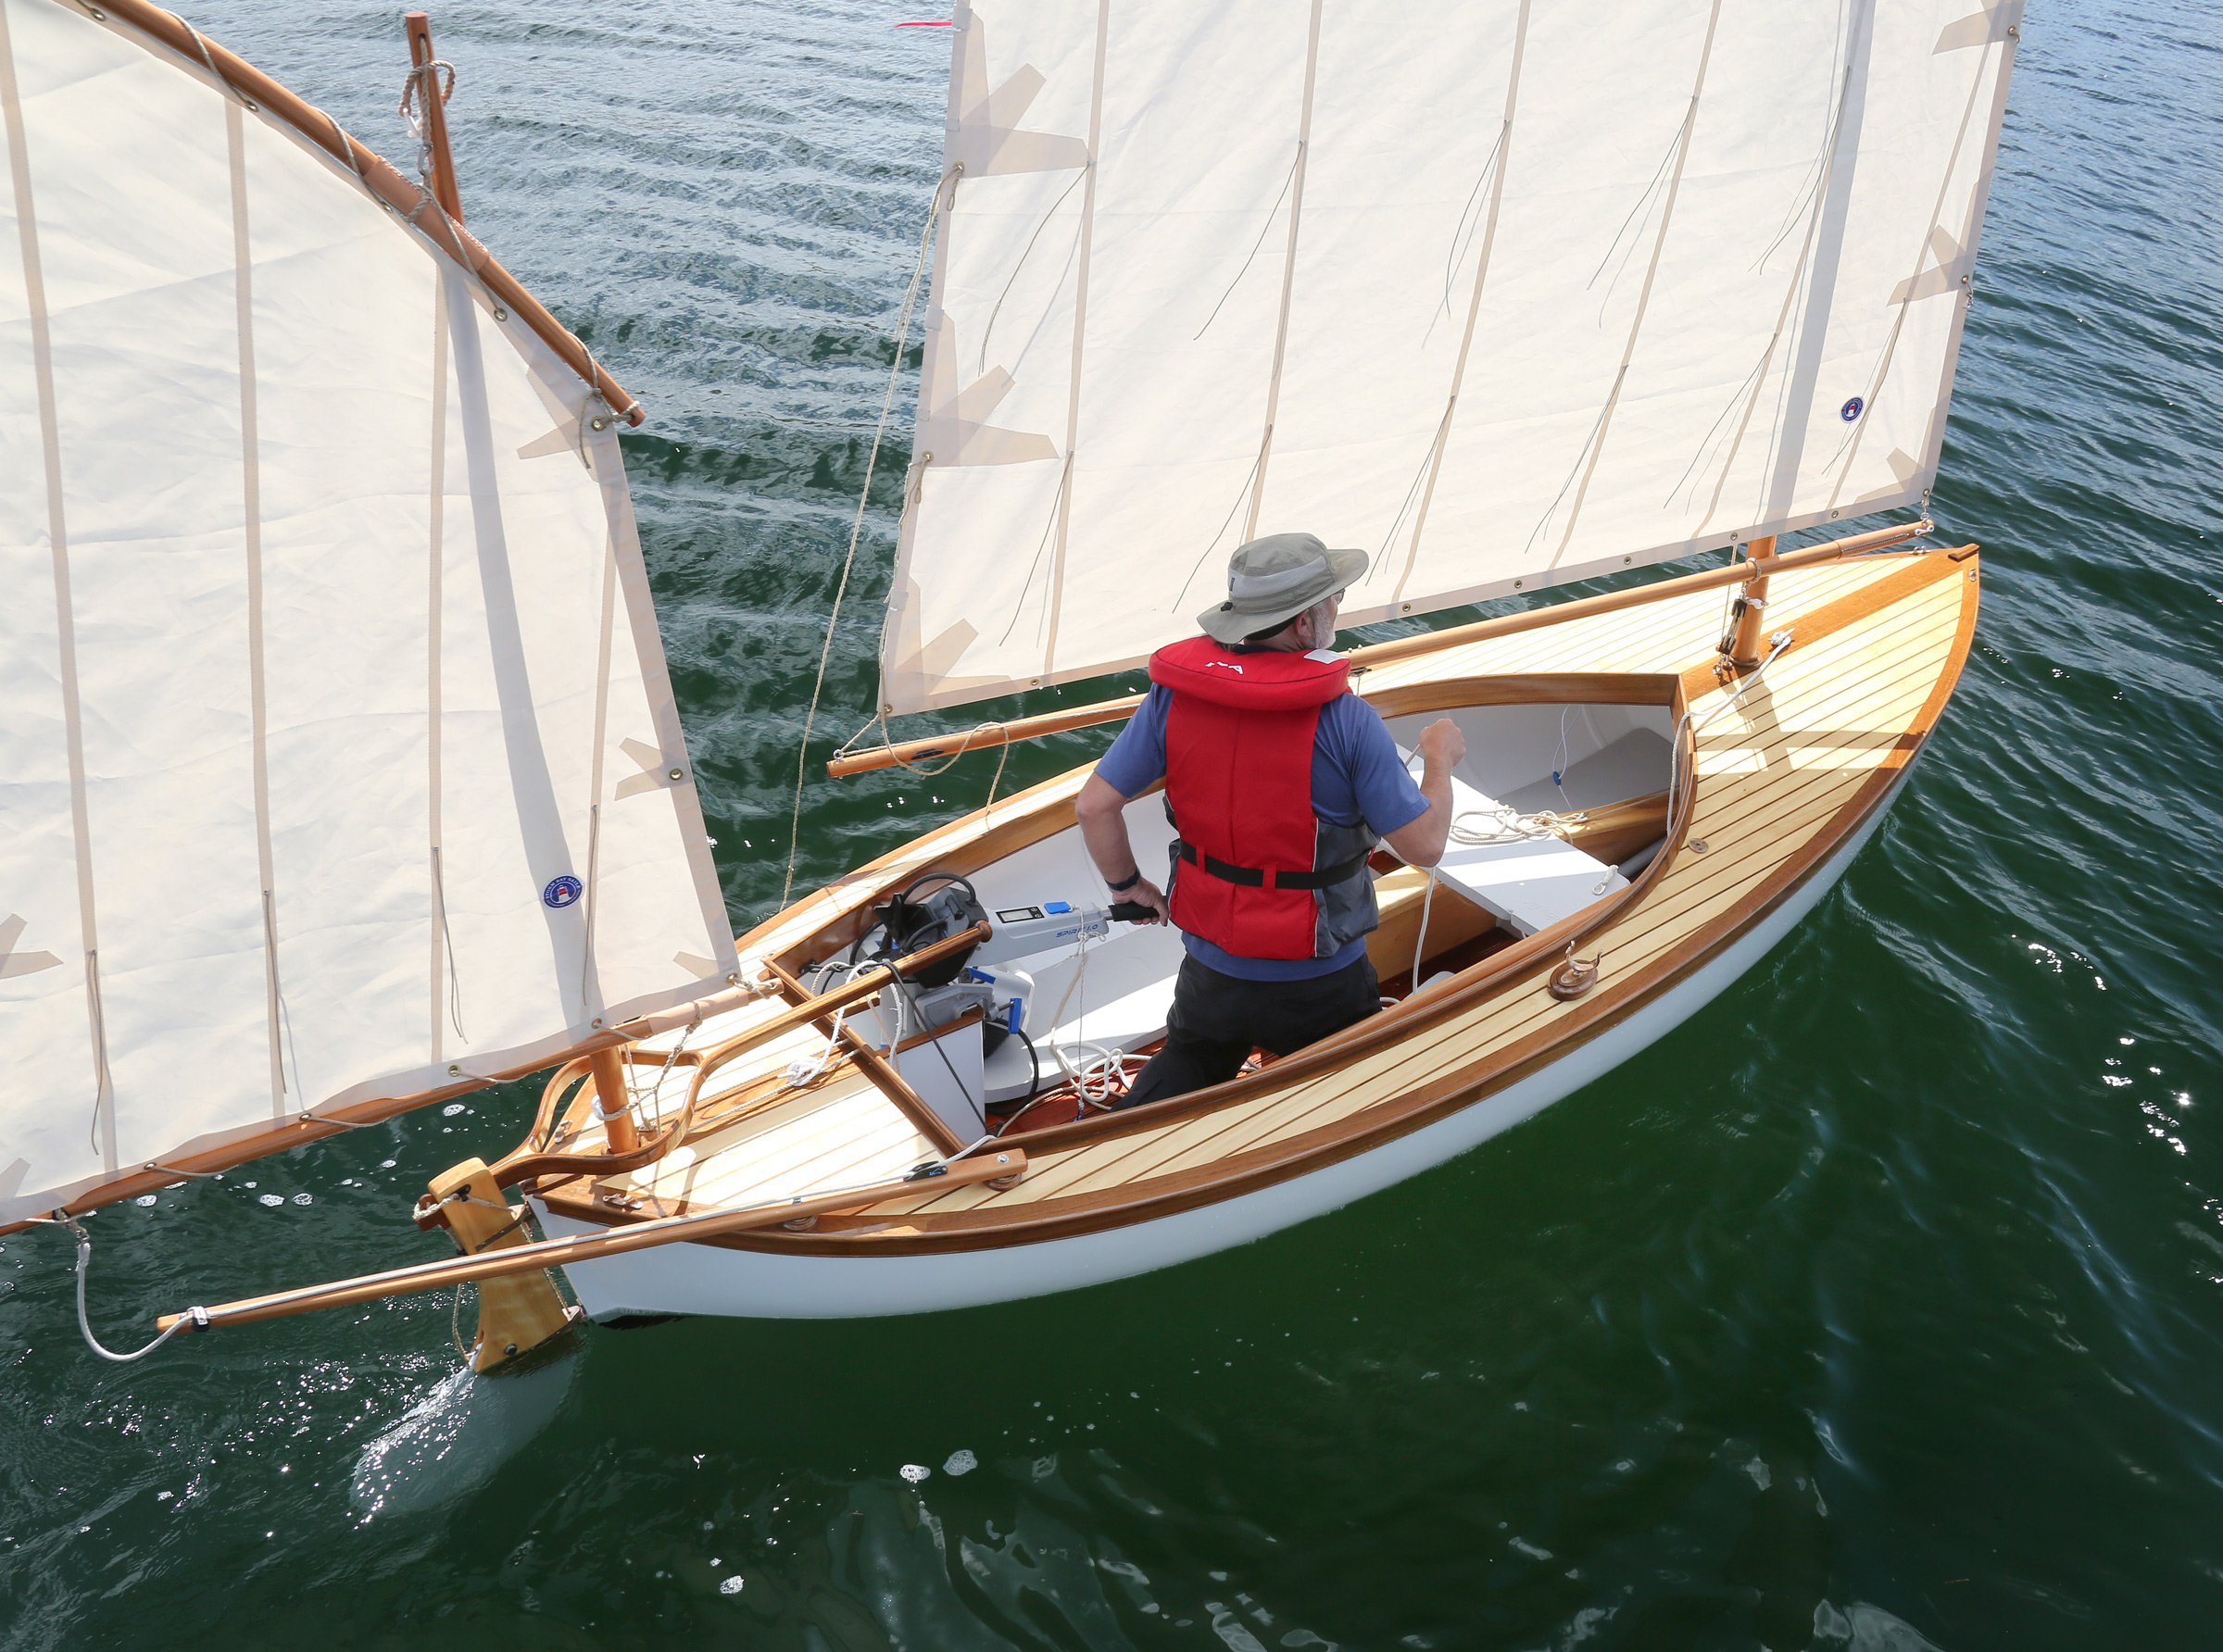
In a small boat the canoe stern introduces some challenges, especially for a yawl sail plan. The mizzen is sheeted to an offset boomkin and is led to a jam cleat outside of the cockpit coaming and close to hand for the skipper. The tiller—its movement obstructed by the mizzenmast—is laminated in two parts, both of which have a steam-bent curve built in. The mast is stepped through the resulting hole. The first tiller David made (seen here) does not allow the tiller to swing beyond 15° on either side. David is fabricating a replacement that will accommodate the full 70° arc indicated in the plans.
The centerboard case was made up of 3⁄8″ ply with a thin veneer of Huon pine. David has his own vacuum veneer press in his workshop and, because he is all too aware of what a valuable resource Huon pine is these days, limits his use of it to veneers rather than solid timber wherever he can. Six 1″ × 1⁄4″ celerytop-pine ribs—which weren’t shown on the plans, but which David thought would “add to the boat’s appearance and make her less like a fiberglass boat”—were then steamed into place each side and glued in with screws temporarily holding them through the hull.
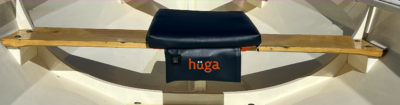
The 3⁄8″ ply bulkheads at each end of the cockpit have oval hatch covers veneered in bird’s-eye Huon pine. The semi-ring frame amidships is split by the centerboard case. David placed the latter 2-½″ farther forward than shown in the plans to provide an option of stretching out and sleeping between it and the aft bulkhead. The case also had notches to accept the carlins (1″ × 1-3⁄8″ and laminated from two pieces). After fitting these, David then fitted the 5⁄16″-thick teak coamings inside the carlins. He found this one of the most challenging parts of the build but managed to do it without steaming the timber. David fitted the 1⁄8″-thick teak rubbing strake—which is tapered slightly at the ends to accentuate the sheer—before the deck went on so that he could clamp it.
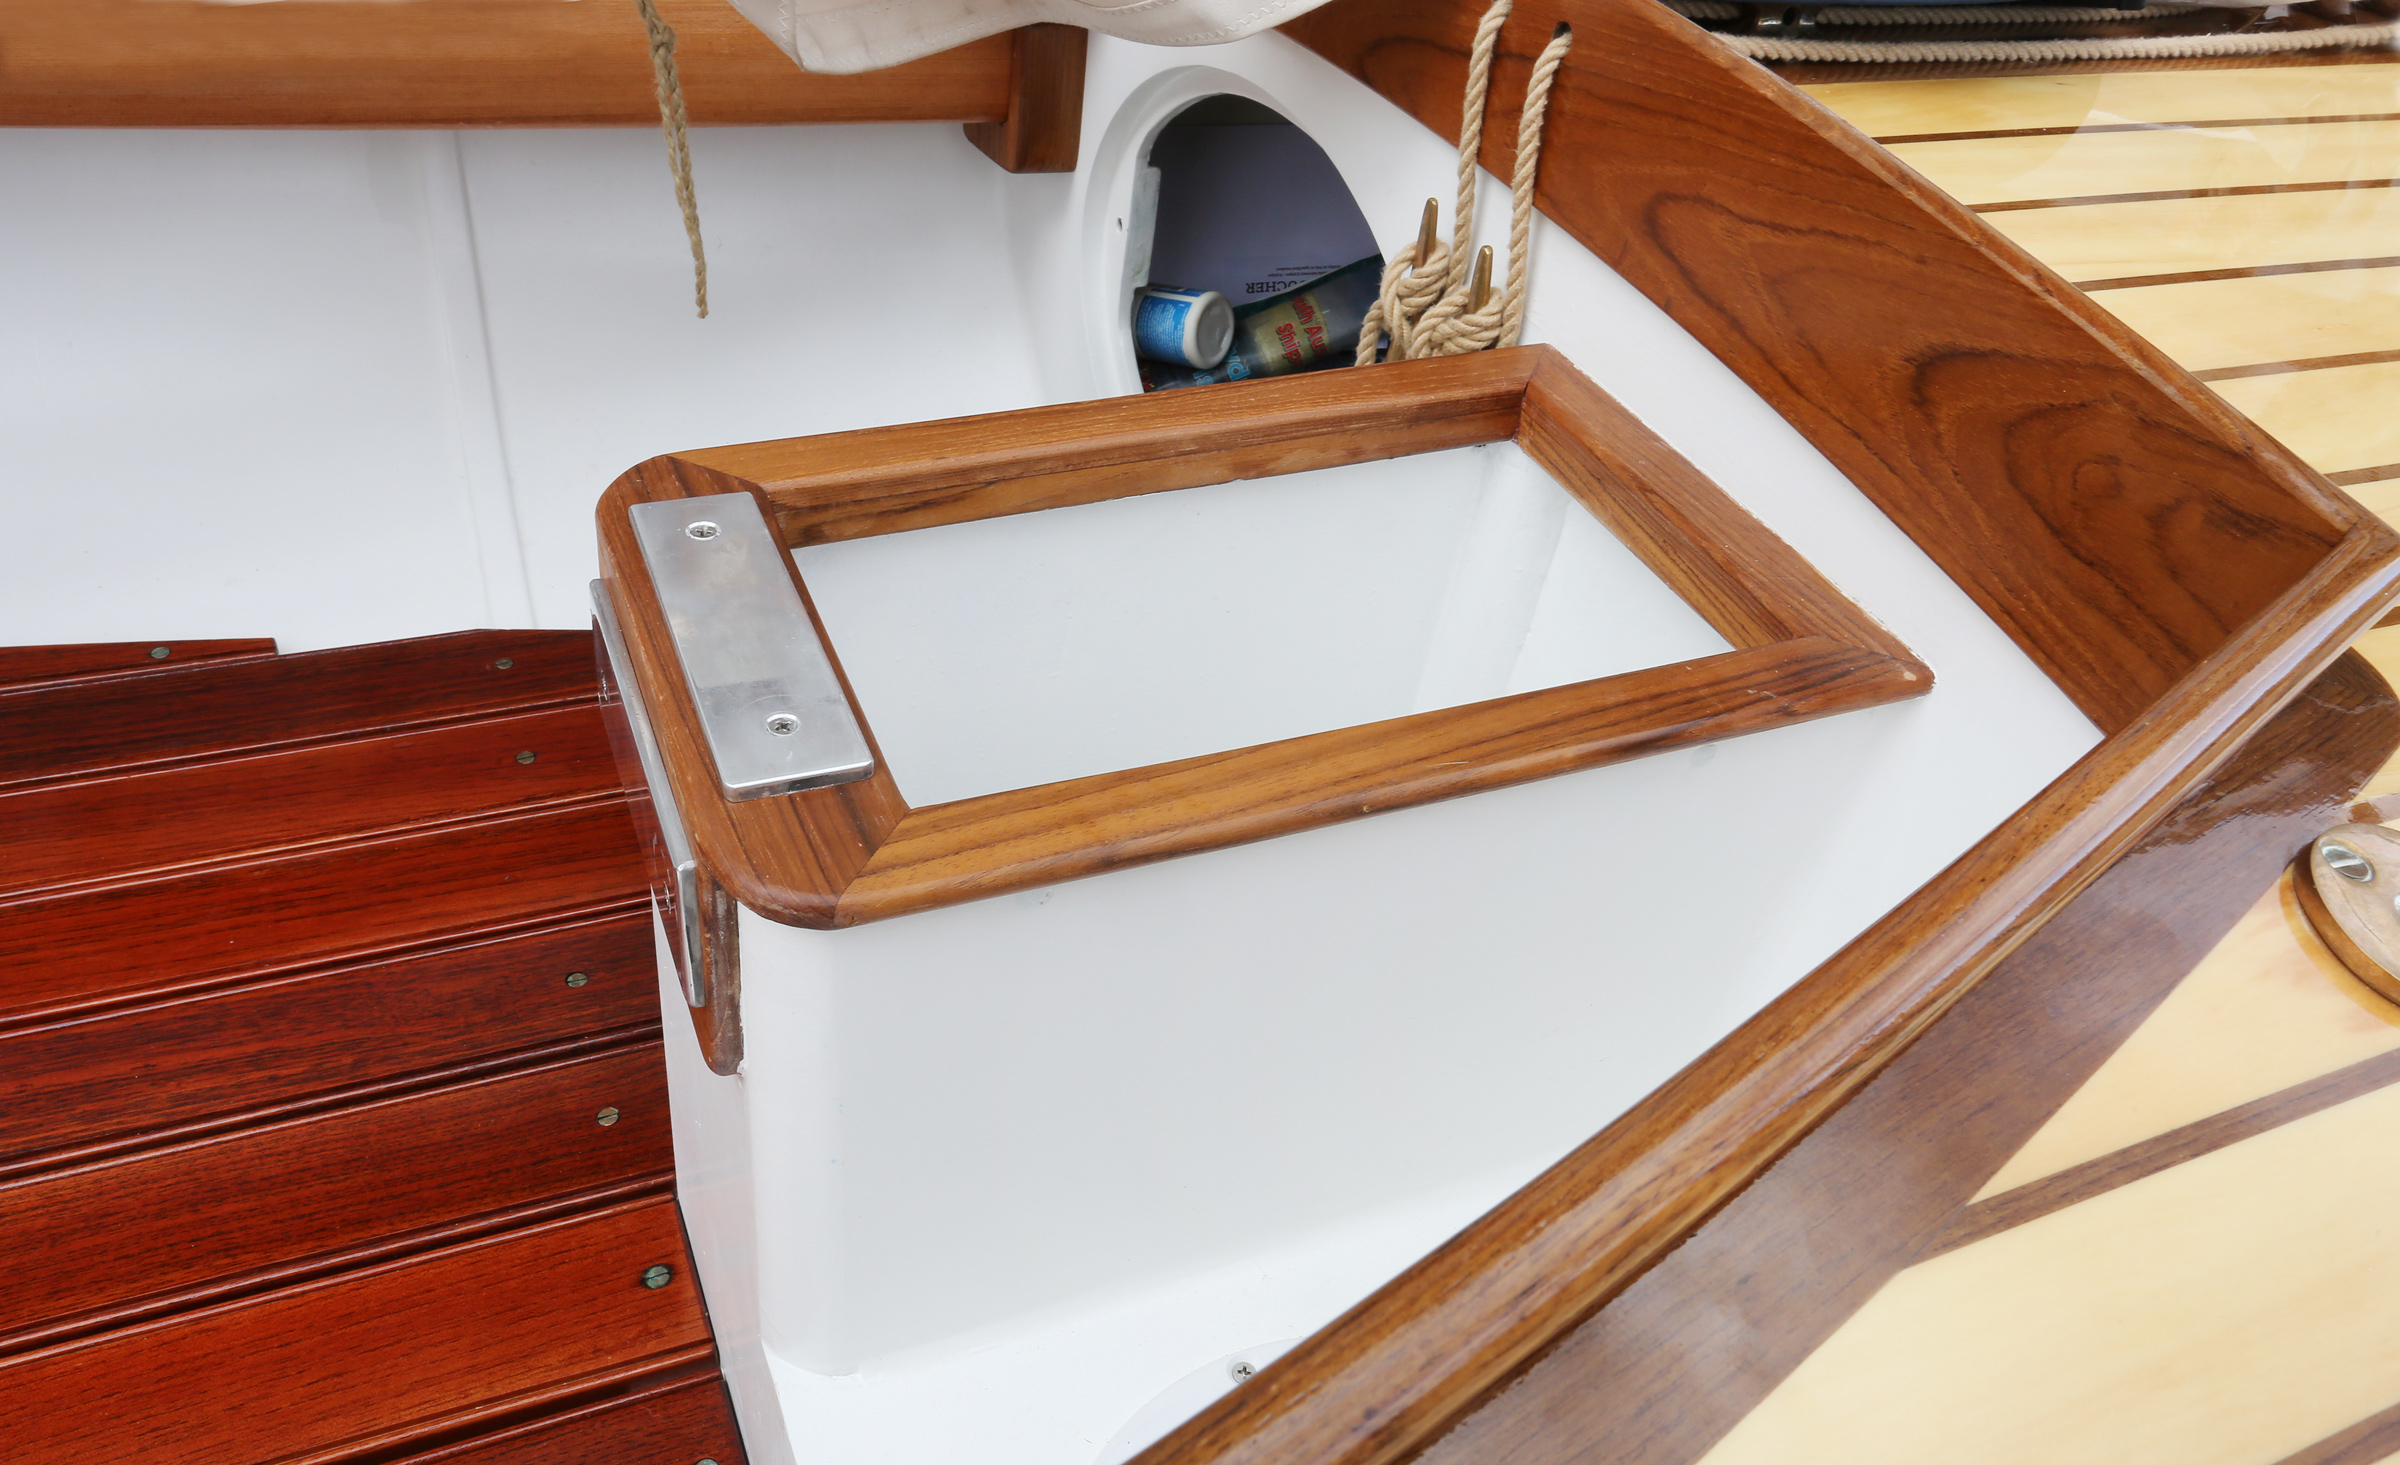
The outboard well is featured as an option on the plans. For David, a small electric motor was a must and thus so was the well. Beyond the well can be seen one of the six celerytop-pine ribs that David fitted for purely aesthetic reasons.
The main deckbeam forward of the cockpit is laminated celerytop pine, but all the others are sawn King Billy pine (1″ × 1-3⁄8″), and when these were in place the 1⁄4″-thick plywood subdeck was fitted. The teak margins, kingplank, and covering boards were then laid, followed by Huon pine straight-laid planking with teak inlays in the seams, all 5⁄32″ thick. David used 3⁄8″ ply for the floors, some of which are double thickness, and which also act as bearers for the sole boards of 1⁄2″ Surian, an Indonesian hardwood. At the aft end of the cockpit, offset to port, David fitted an outboard well, an option shown on the plans.
The plans call for solid Douglas-fir spars (with bamboo as an option for the lug yards). David made hollow Douglas-fir spars using octagonal bird’s-mouth construction, and the masts have tapered tenons at the bottom for easy location into the steps. He added a sealed plastic tube to the mizzenmast’s step to avoid water getting into the aft locker, although that does mean water can settle in the tube itself.
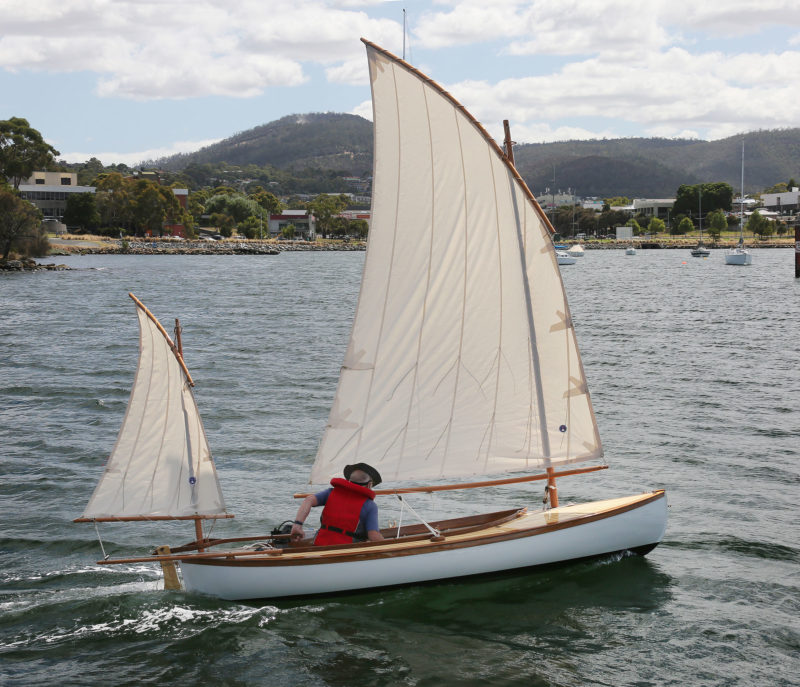
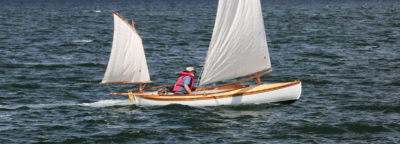
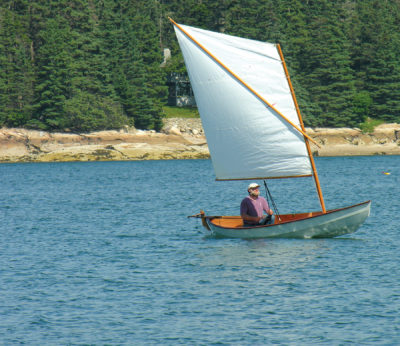
The low main boom calls for some close attention and nimble movements from the crew when tacking or gybing. As designed, Lillie has straight rather than curved yards, and these would slightly raise the booms. With no headsail, the balance-lug yawl sail plan does require practice, but once mastered it offers plenty of maneuverability, and the large usable sail area is beneficial when sailing downwind.
David decided to give the yards a curve—as they are for the Casco Bay, which had first attracted him, and because he thought he would enjoy the additional challenge of making them. It would seem that this decision has contributed to the booms being lower than if they were straight as in the plans calling for closer attention from the crew when tacking and jibing.
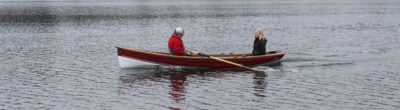
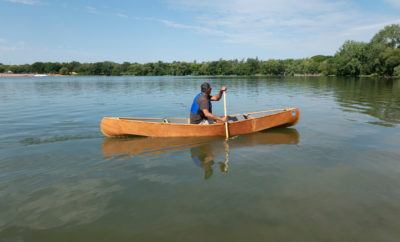
With two of us on board, the electric outboard drove the boat at about 5 knots at full power, and could be rotated to give maneuverability both ahead and astern. The boat was also a pleasure to row with the 7′ oars designed by Iain Oughtred for his Elf, which David had built previously.
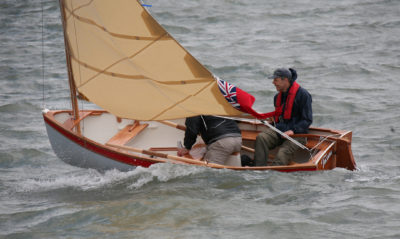
David told me that during his first sail in the boat, she was a bit overcanvased for the wind strength (about 15 knots) but he felt safe nonetheless. During my brief sail in fickle conditions, the boat hinted that it could provide tremendous fun and excitement, and sitting on the cockpit sole or on flat fenders on the side decks were both comfortable options. We did, however, have a bit of trouble when trying to tack, but for reasons that are solvable. The tiller is made in two parts, with a steam-bent curve around the mizzenmast. David used Tasmanian blackwood, but it sprang back after steaming, resulting in a tiller that only allows about 15° (instead of the designed 35°) of movement each side. He is making a new tiller with thinner and more laminations. Without the option of a headsail (which the gaff-rigged version has) to back when tacking, the relationship between main and mizzen is critical. We discovered that the best method to help turn the boat through the wind is to ease the mainsail immediately before tacking while keeping the mizzen sheeted hard in; as the boat passes through the wind, ease the mizzen and sheet in the mainsail; then delay sheeting in the mizzen until the boat has gathered way on the new tack.
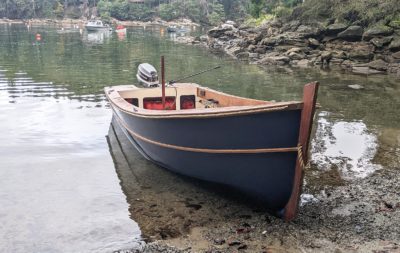
Lillie comes into her own on a broad reach. Skimming across the water she feels stable and easily handled, especially when sailing singlehanded.
We both agreed that the boat felt stable, helped no doubt by the 4-¾″ square lead insert in the bottom of the ¾″ ’glassed plywood centerboard. After further sea trials, David reported that “progress to windward seemed acceptable, and the boat was even happier sailing free,” and that certainly fit with my impression of the boat’s enjoyable reaching performance.![]()
Nigel Sharp is a lifelong sailor and a freelance marine writer and photographer. He spent 35 years in managerial roles in the boat building and repair industry and has logged thousands of miles in boats big and small, from dinghies to schooners.
Lillie Particulars
[table]
Length/14′11″
Beam/4′8″
Mid-hull depth/ 1′5″
Draft, board up/8″
Draft, board down/2′1″
Sail area, lug/106 sq ft
Sail area, gaff with jib/104 sq ft
Dry weight/approx. 353 lbs
[/table]


Has anyone built this or the “Classic Boat” version, specifically in the strip method?
Looking for details of construction, any difficulties, etc.
This boat has a very gentle turn of the bilge, and no tumble home to consider. It does not pose any challenges for strip construction. It’s among the easiest shapes that I have considered. Why strip-plank? You could get just as much strength and stability using stitch-and-glue. It would also turn out lighter that way.
Also, it is worth to consider that strip-planking results in 50% waste. When you resaw the strips you lose as much as 20 to 30% of the wood on the kerf (thickness of the sawblade), and another 20 to 30% in chips when you plane the strips smooth on four sides.
If your dog thinks of having puppies these chips may come in handy for bedding the pups.
Your question cannot be answered not knowing what degree of expertise you have building small boats.