When Ben Fuller proposed an article on bags and totes for carrying gear, I was slow to cotton to the idea. I’d been schlepping boating gear without anything to collect and carry all the miscellaneous bits and was getting along just fine. Or so I thought. I’ve been doing a lot of kayaking for exercise during the summer and from week to week increased the distance and intensity. At the end of a 10-mile, 2-hour outing I’d feel pleasantly exhausted when I returned to the launch site. Normally I’d leave all the gear in the kayak, carry it to the car, and lift it onto the roof racks, but with tired arms, I didn’t at all like lifting so much weight. I changed my routine and left the kayak at the dock while I took an armload of gear to the car. Then the 27-lb kayak was much easier to carry and lift. I began to see the utility of a tote to carry my water bottles, energy bars, seat pad, PFD, sprayskirt, notebook, and the dry bag with phone, wallet, and keys. A tote would put the weight on my shoulders, where I’d scarcely notice it, and lighten the load on my arms.
I went to work drawing a cross-body sling bag and gathering materials left over from other sewing projects. Ben’s scuba bags have drawstring closures, a feature that I liked for containing gear more securely and guarding against splashes, so I added a collar to the bag that would give my tote similar protection. I made the shoulder strap as wide as the bag is front-to-back; that makes for a very comfortable carry with the pressure widely distributed.
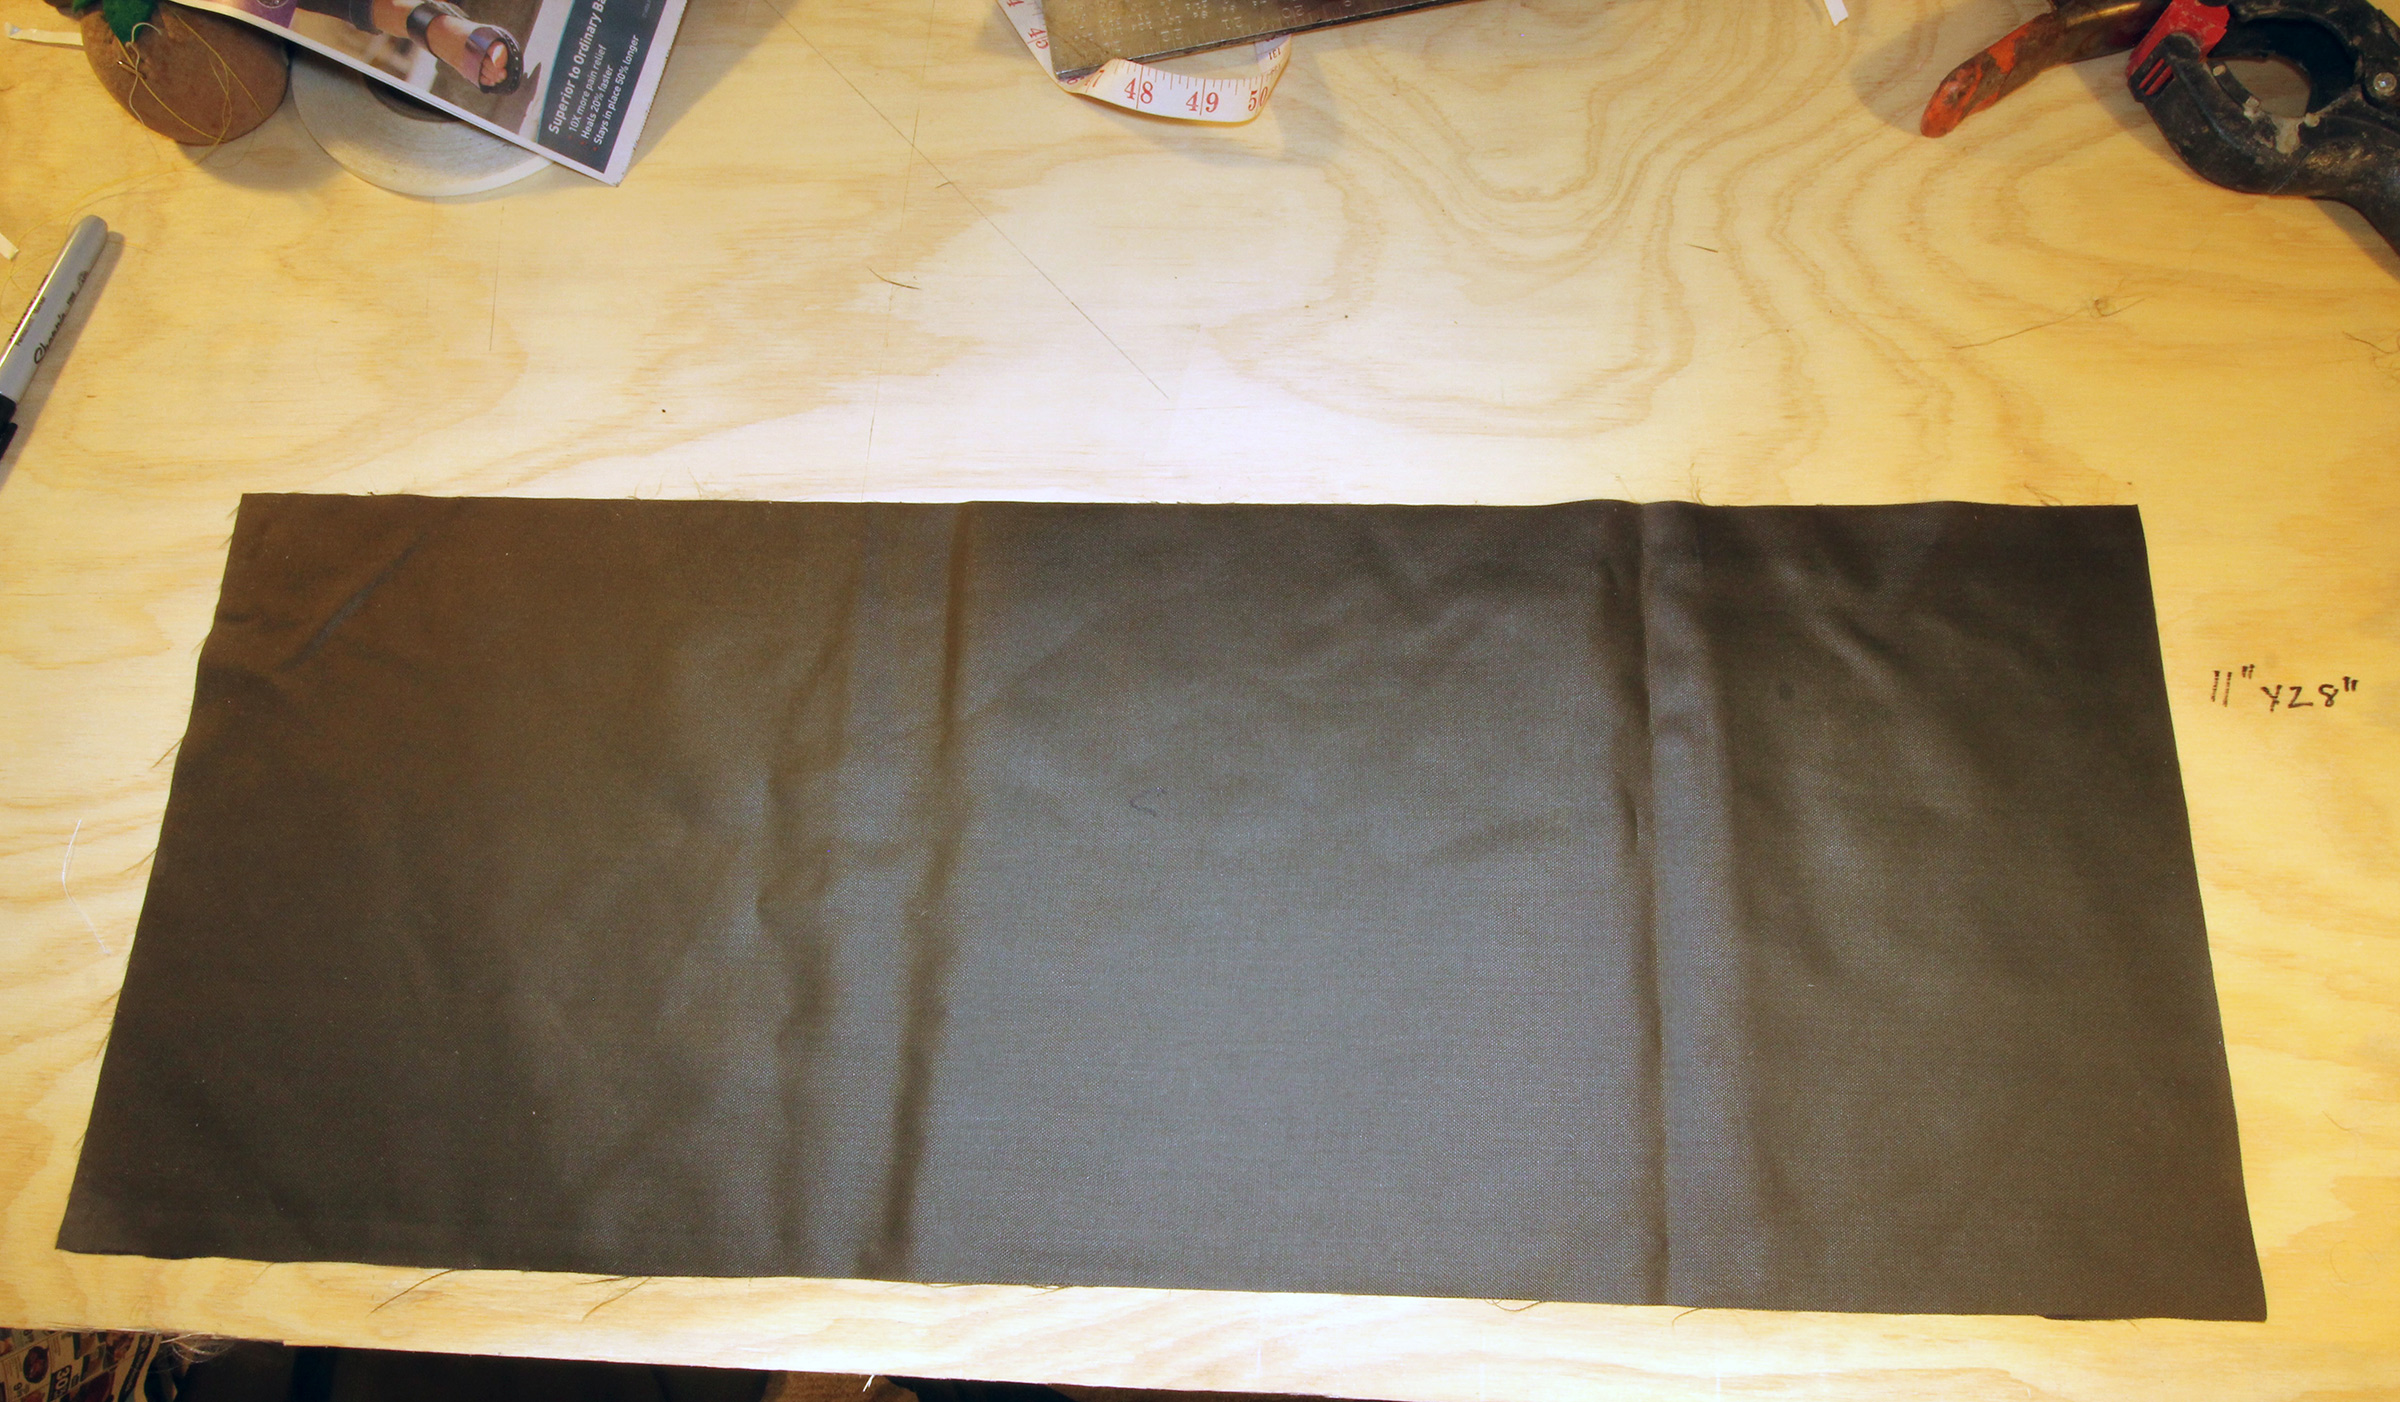
The fabric I had on hand was 430-denier coated packcloth. I had considered using leftover canvas but decided against it because it can be very difficult to sew where seams overlap, and the finished bag would be bulky and not easily stowed when not in use. It would also require waterproofing, a process I haven’t yet figured out.
The packcloth is slippery stuff and needs to be pinned before sewing to keep the layers from creeping past one another. I’ve used a stapler for “pinning” sailcloth, but the staples bunch up the packcloth.
Here’s how to make this sling tote:
 Photographs by the author
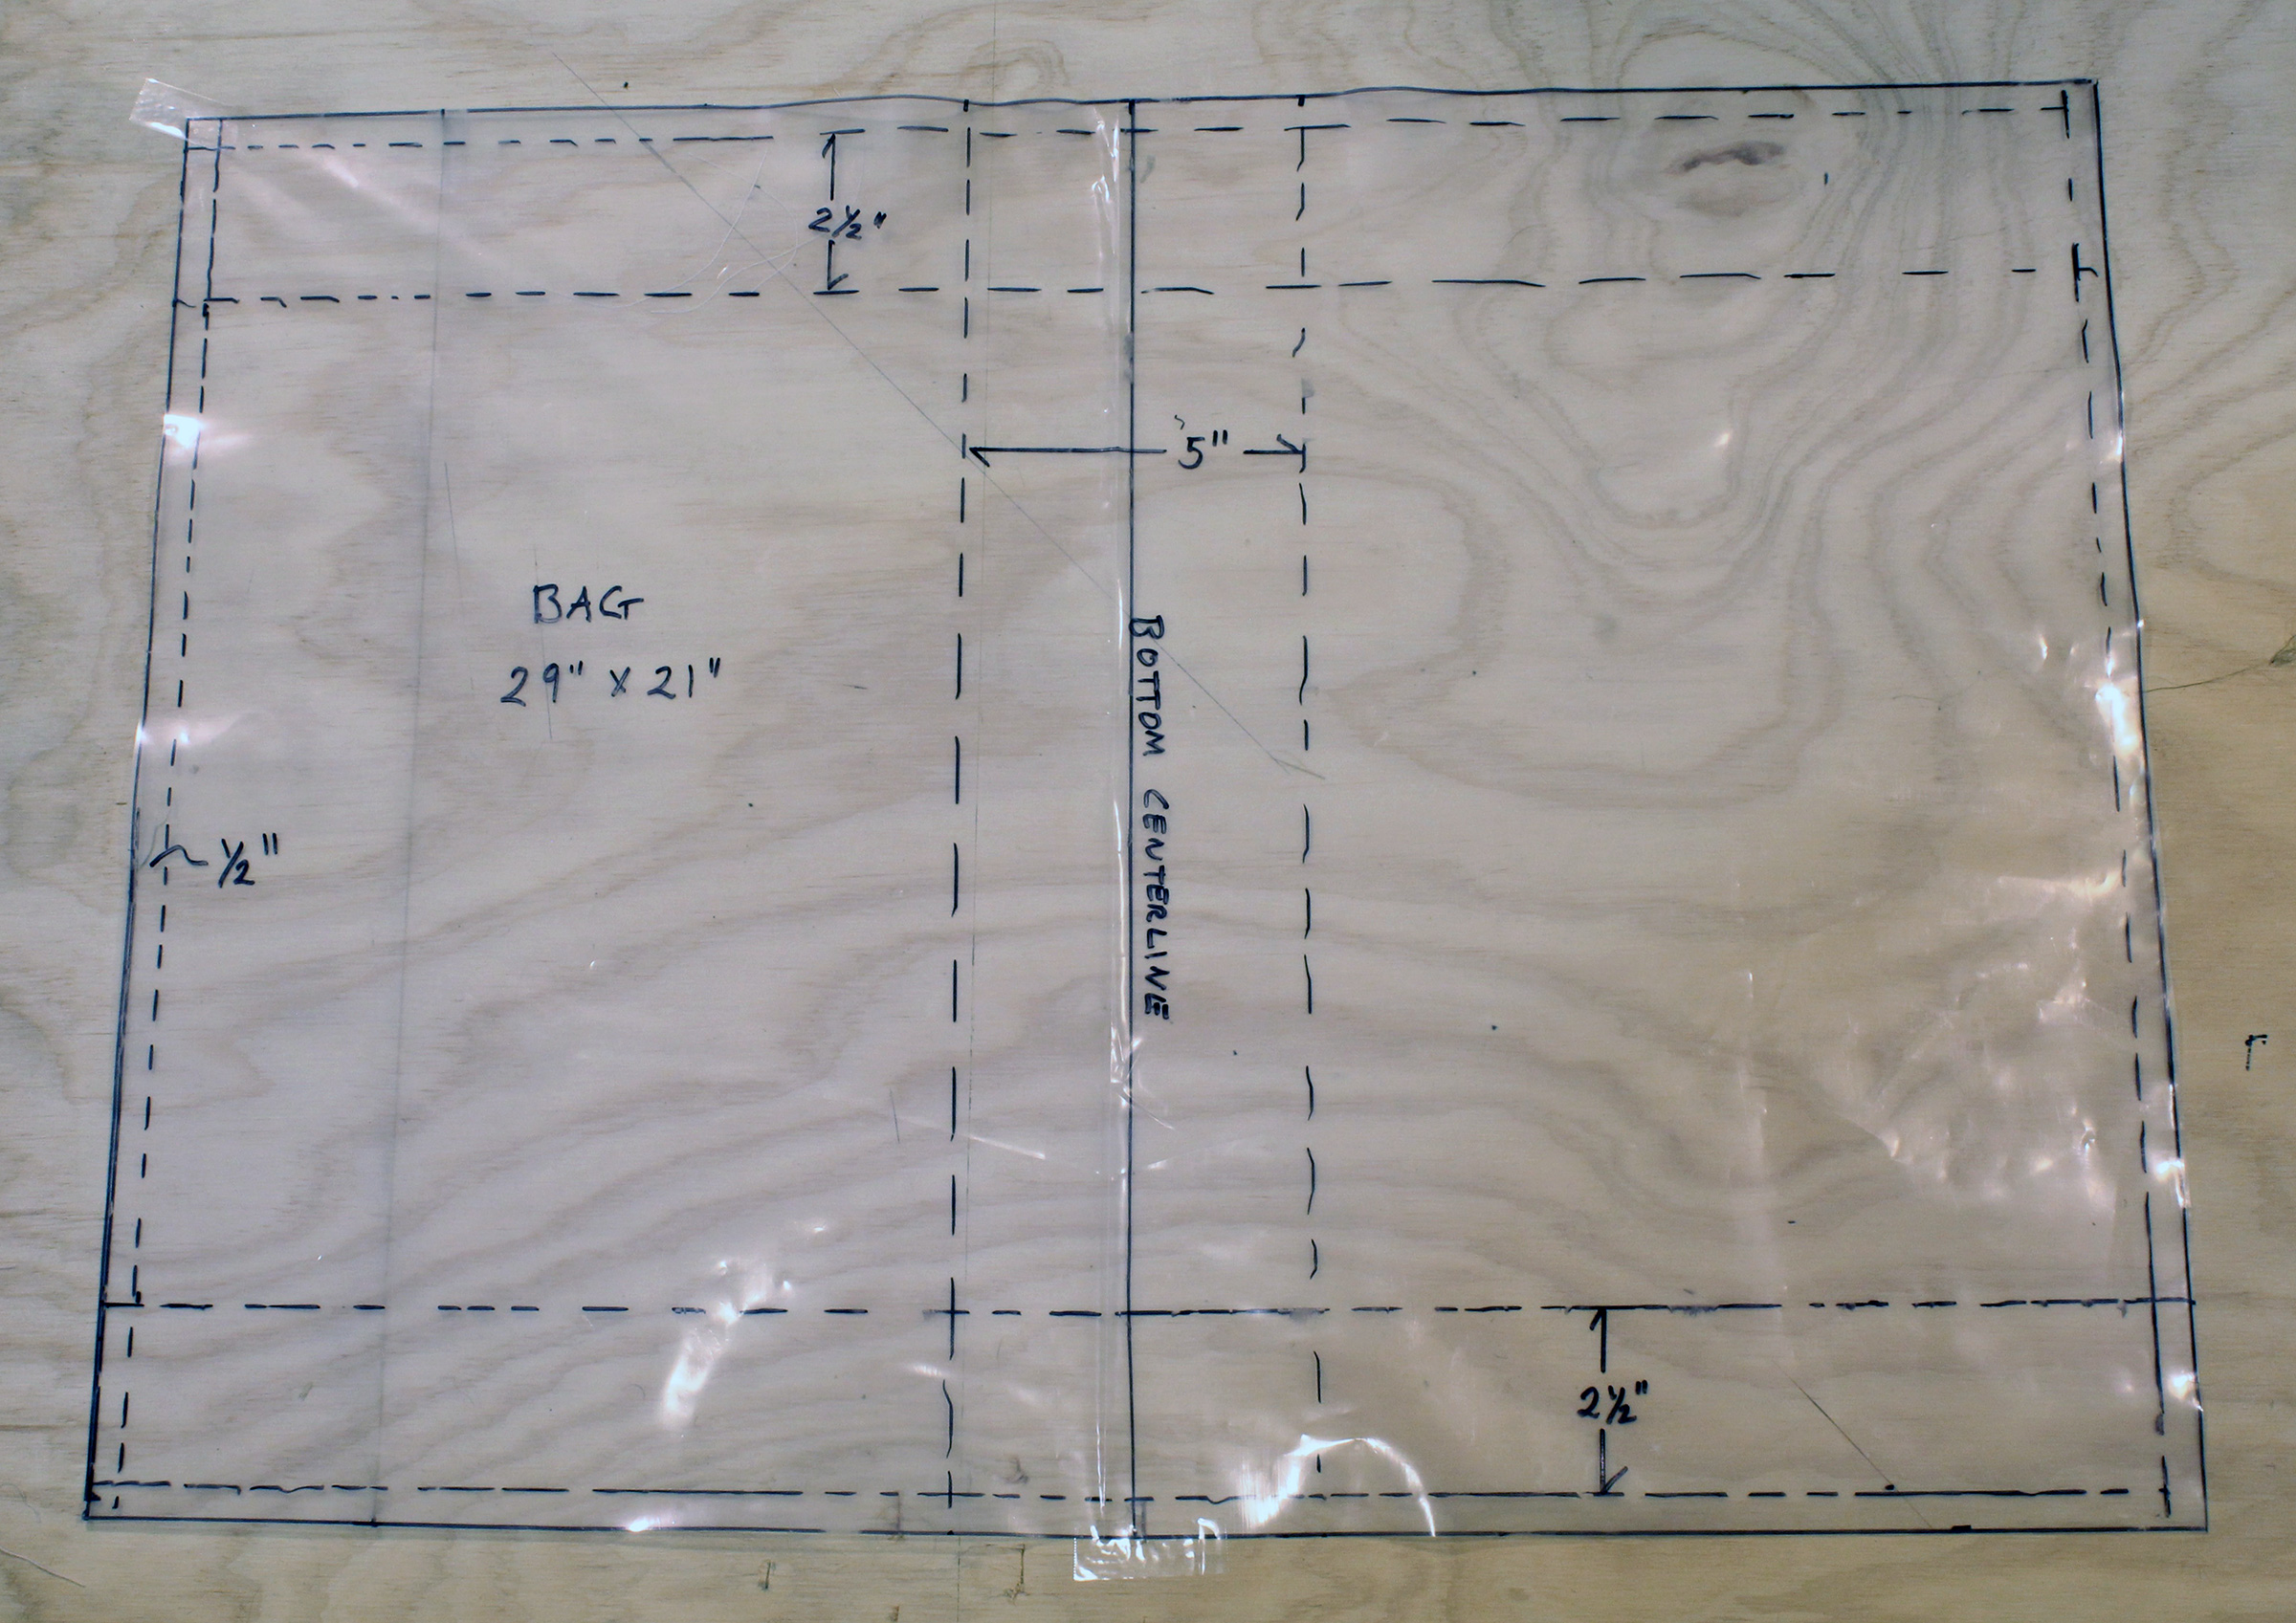
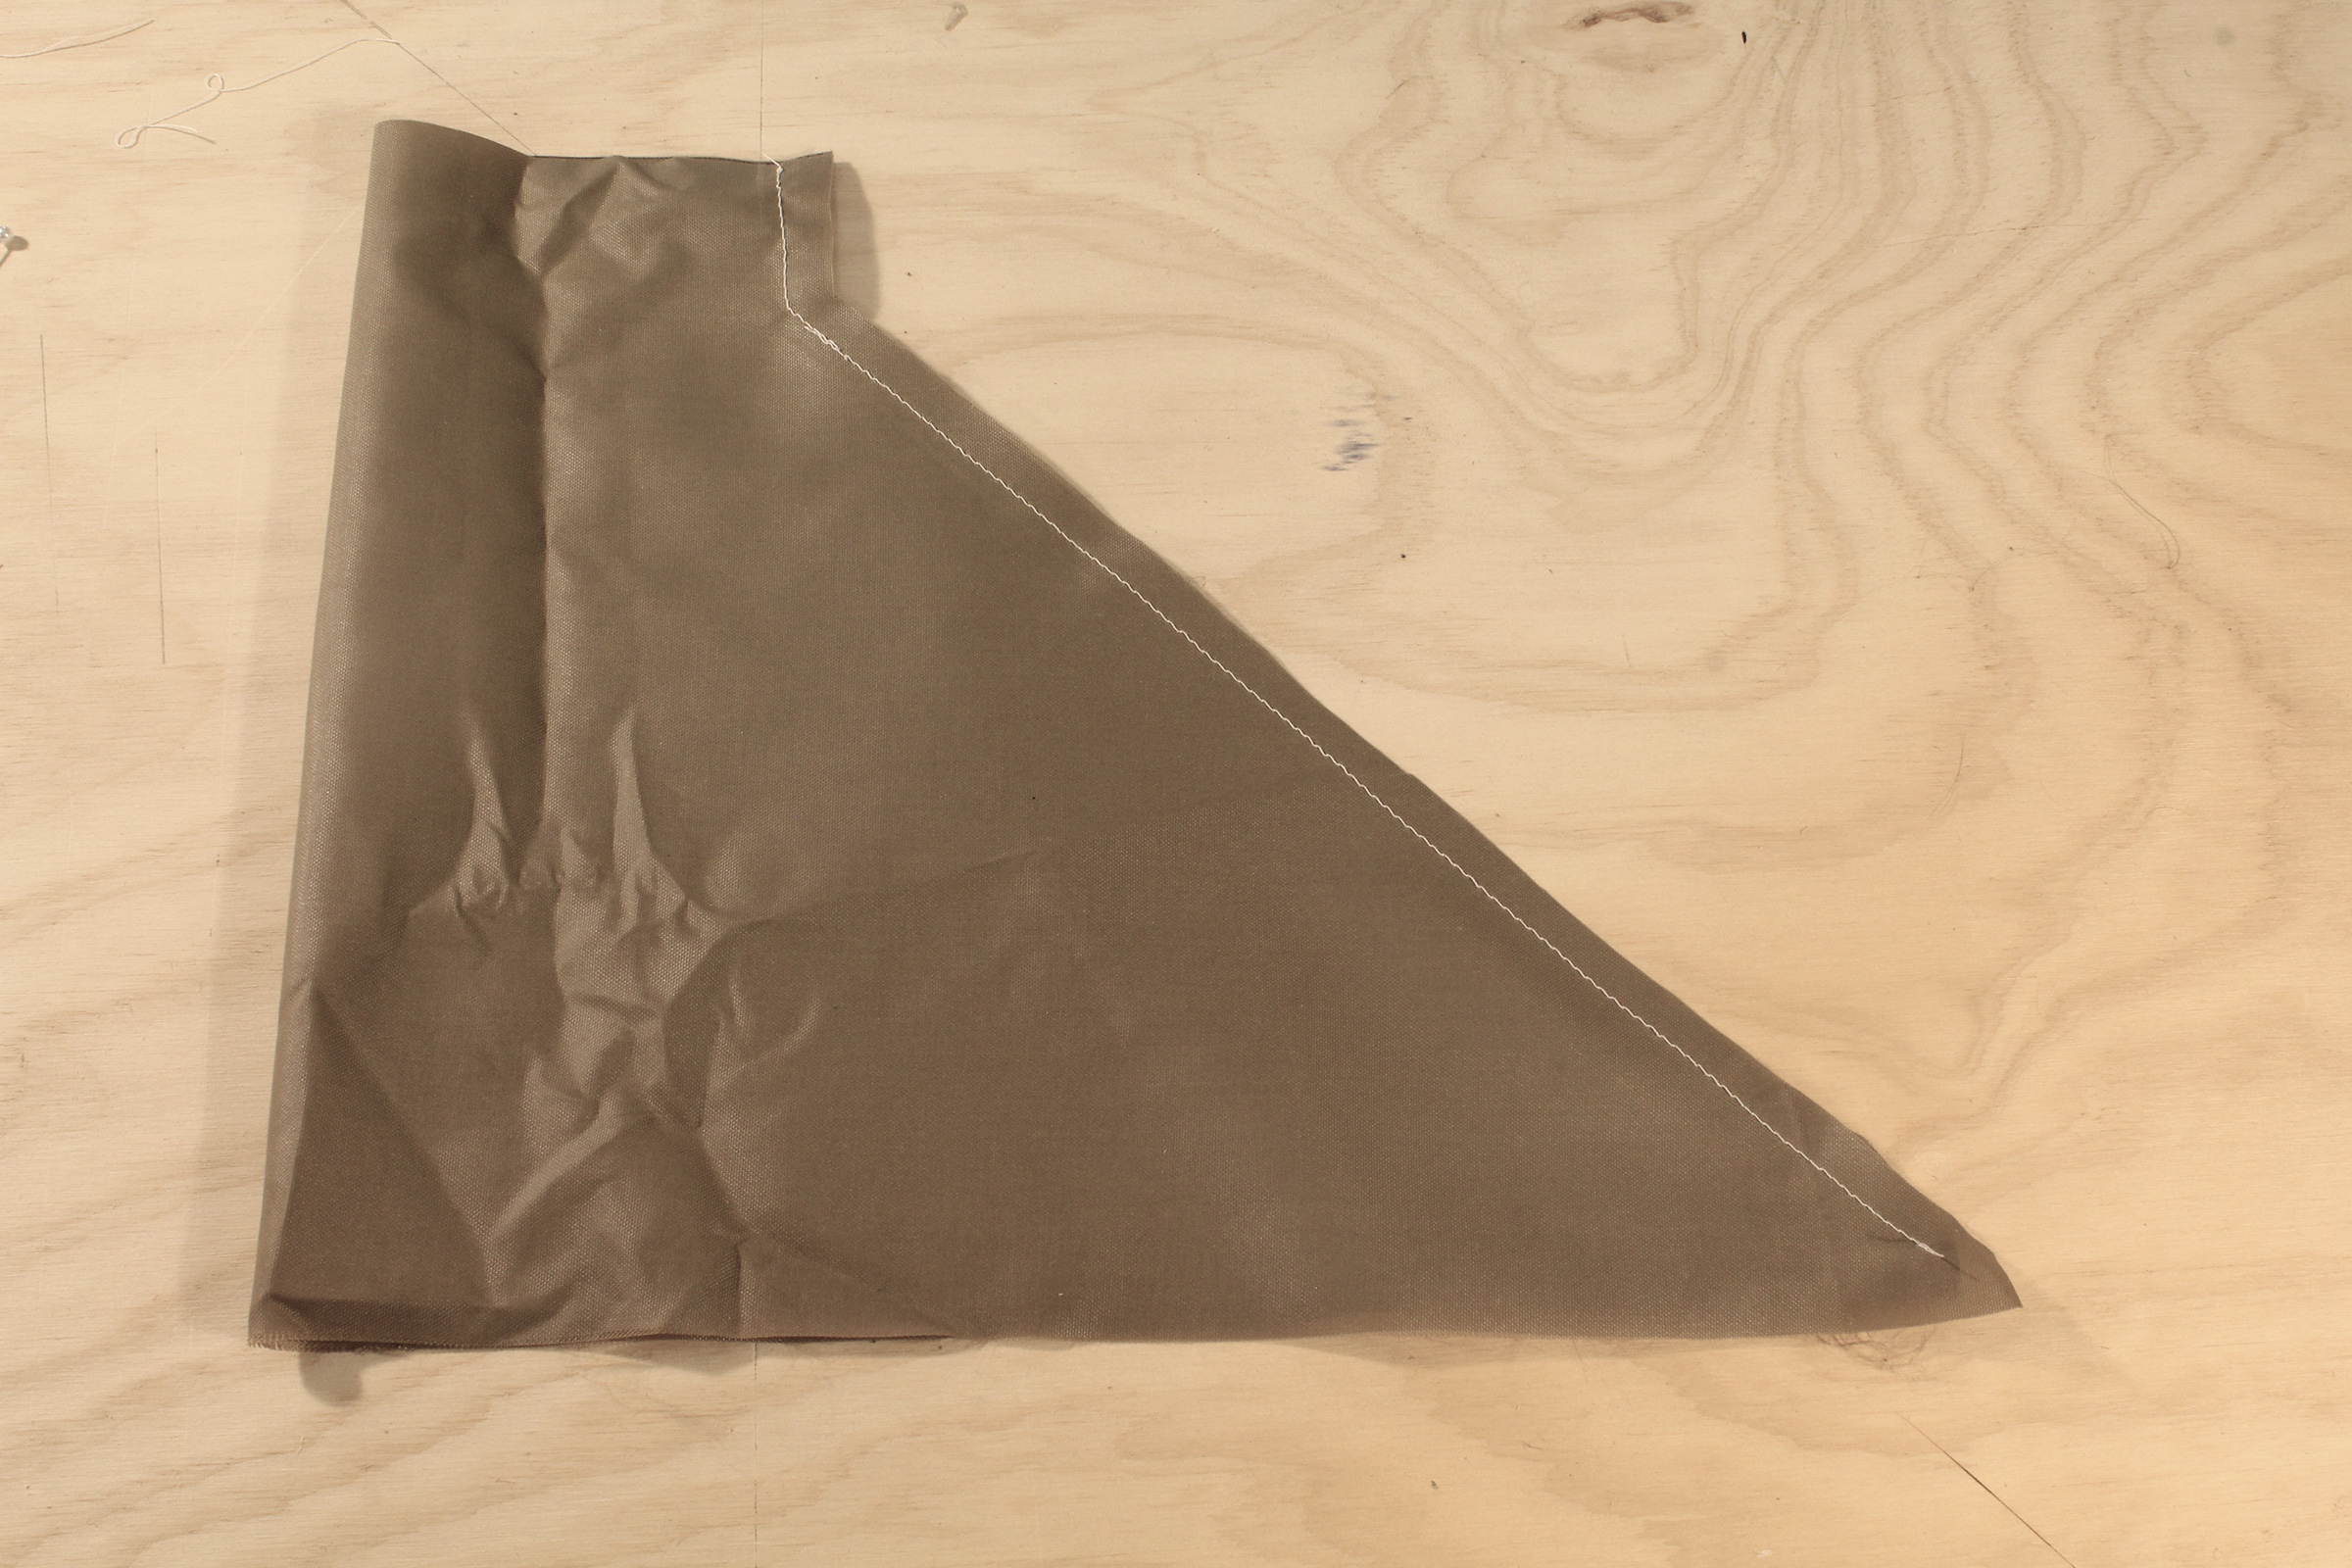
The bag part of the tote starts with a 29″ by 21″ piece of packcloth. This pattern will produce a bag 11-1/2″ tall, 15″ wide, and 5″ front to back. The folds and seam allowances are marked with dashed lines. Seam allowances are all 1/2″. You don’t need to transfer all the lines to your fabric, they’ll take care of themselves during the sewing. The coated fabric will reduce fraying on the edges, but not as much as I’d expected. Heat-cutting the fabric will bond the fibers. I’ll use seam sealer to coat the edges on my finished tote.

The gusset pattern is a half-pattern and requires an area of packcloth 14″ high and 34″ wide. Each of the gussets gets folded in half at the left edge of the pattern. The centerline of the rectangular extension at the top creates a 5″-wide sleeve that the tote strap is inserted into.

The collar gets sewn to the top of the bag and includes a drawcord sleeve that allows the tote bag to be closed. I made the collar from two pieces, and a half-pattern is shown here. If you have enough fabric for a single length it would be 40″ long (two seam allowances for a two-piece collar get subtracted).

Here are the patterns and cut fabric: one piece for the bag, two pieces for the gussets (with their half-pattern), and two pieces for the collar. The strap is not included here.

The packcloth is very slippery and needs to be pinned for sewing. I use a spring clamp at the edge of the work surface to hold one end while I tension the fabric with one hand and pin with the other.
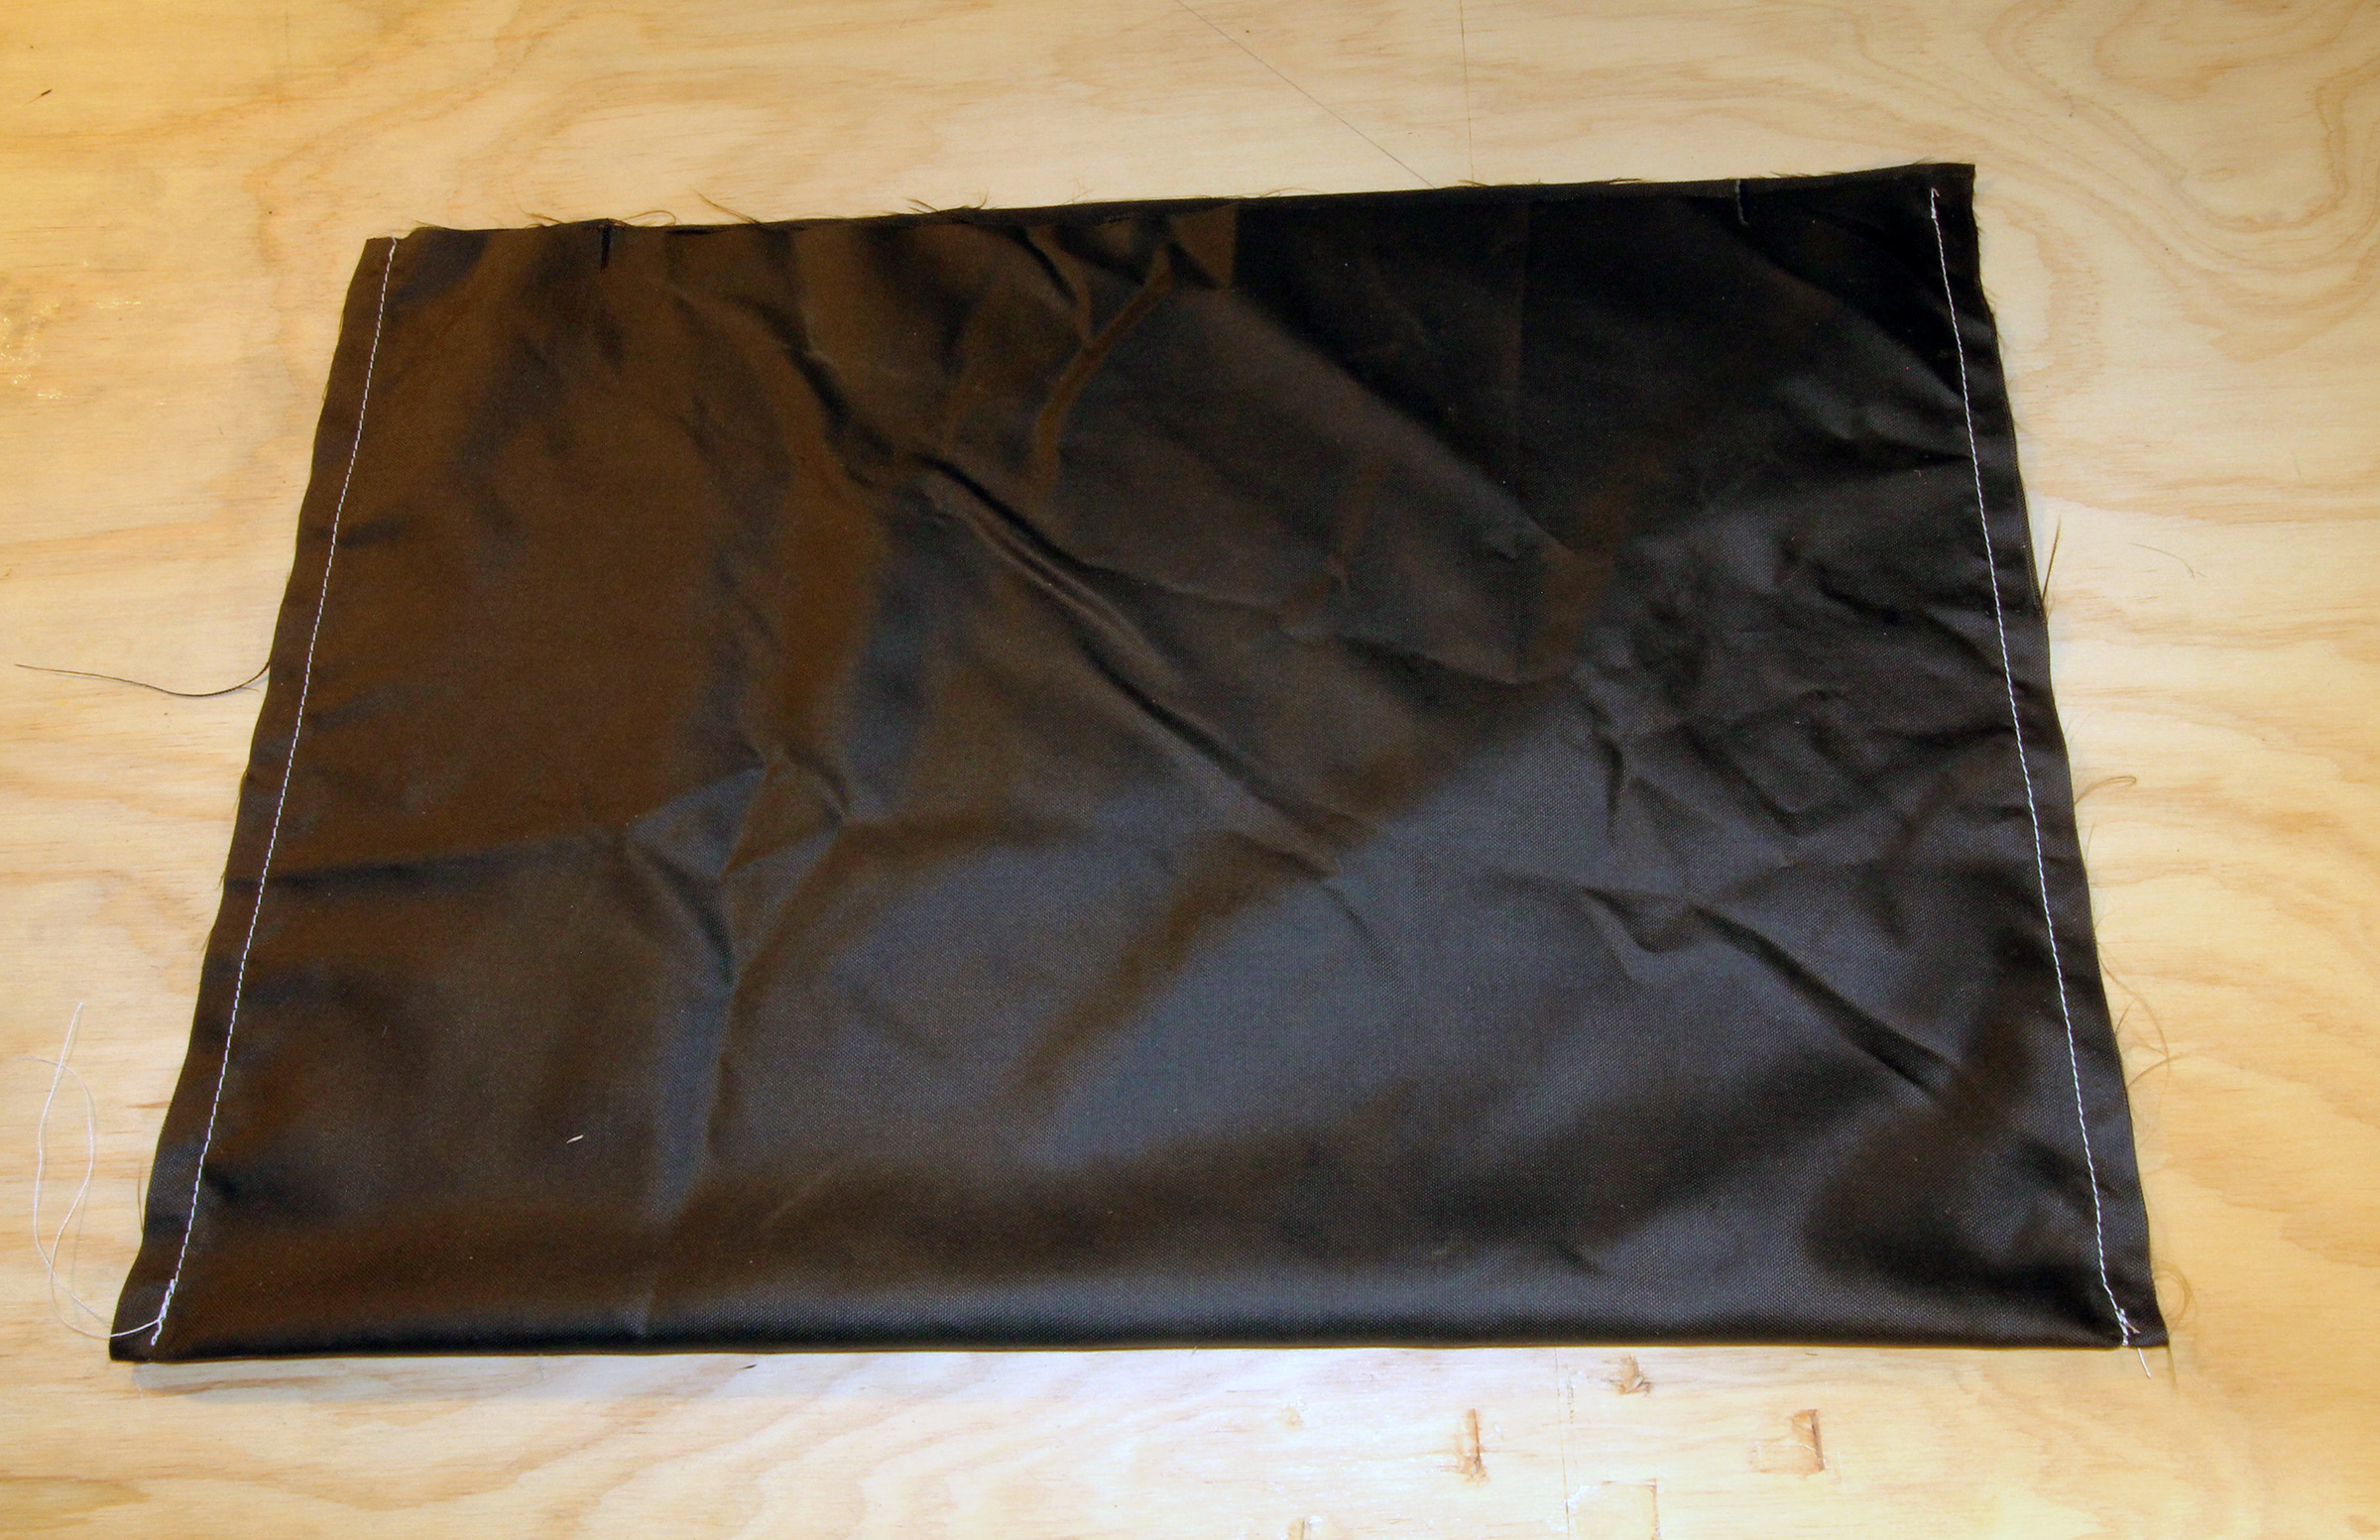
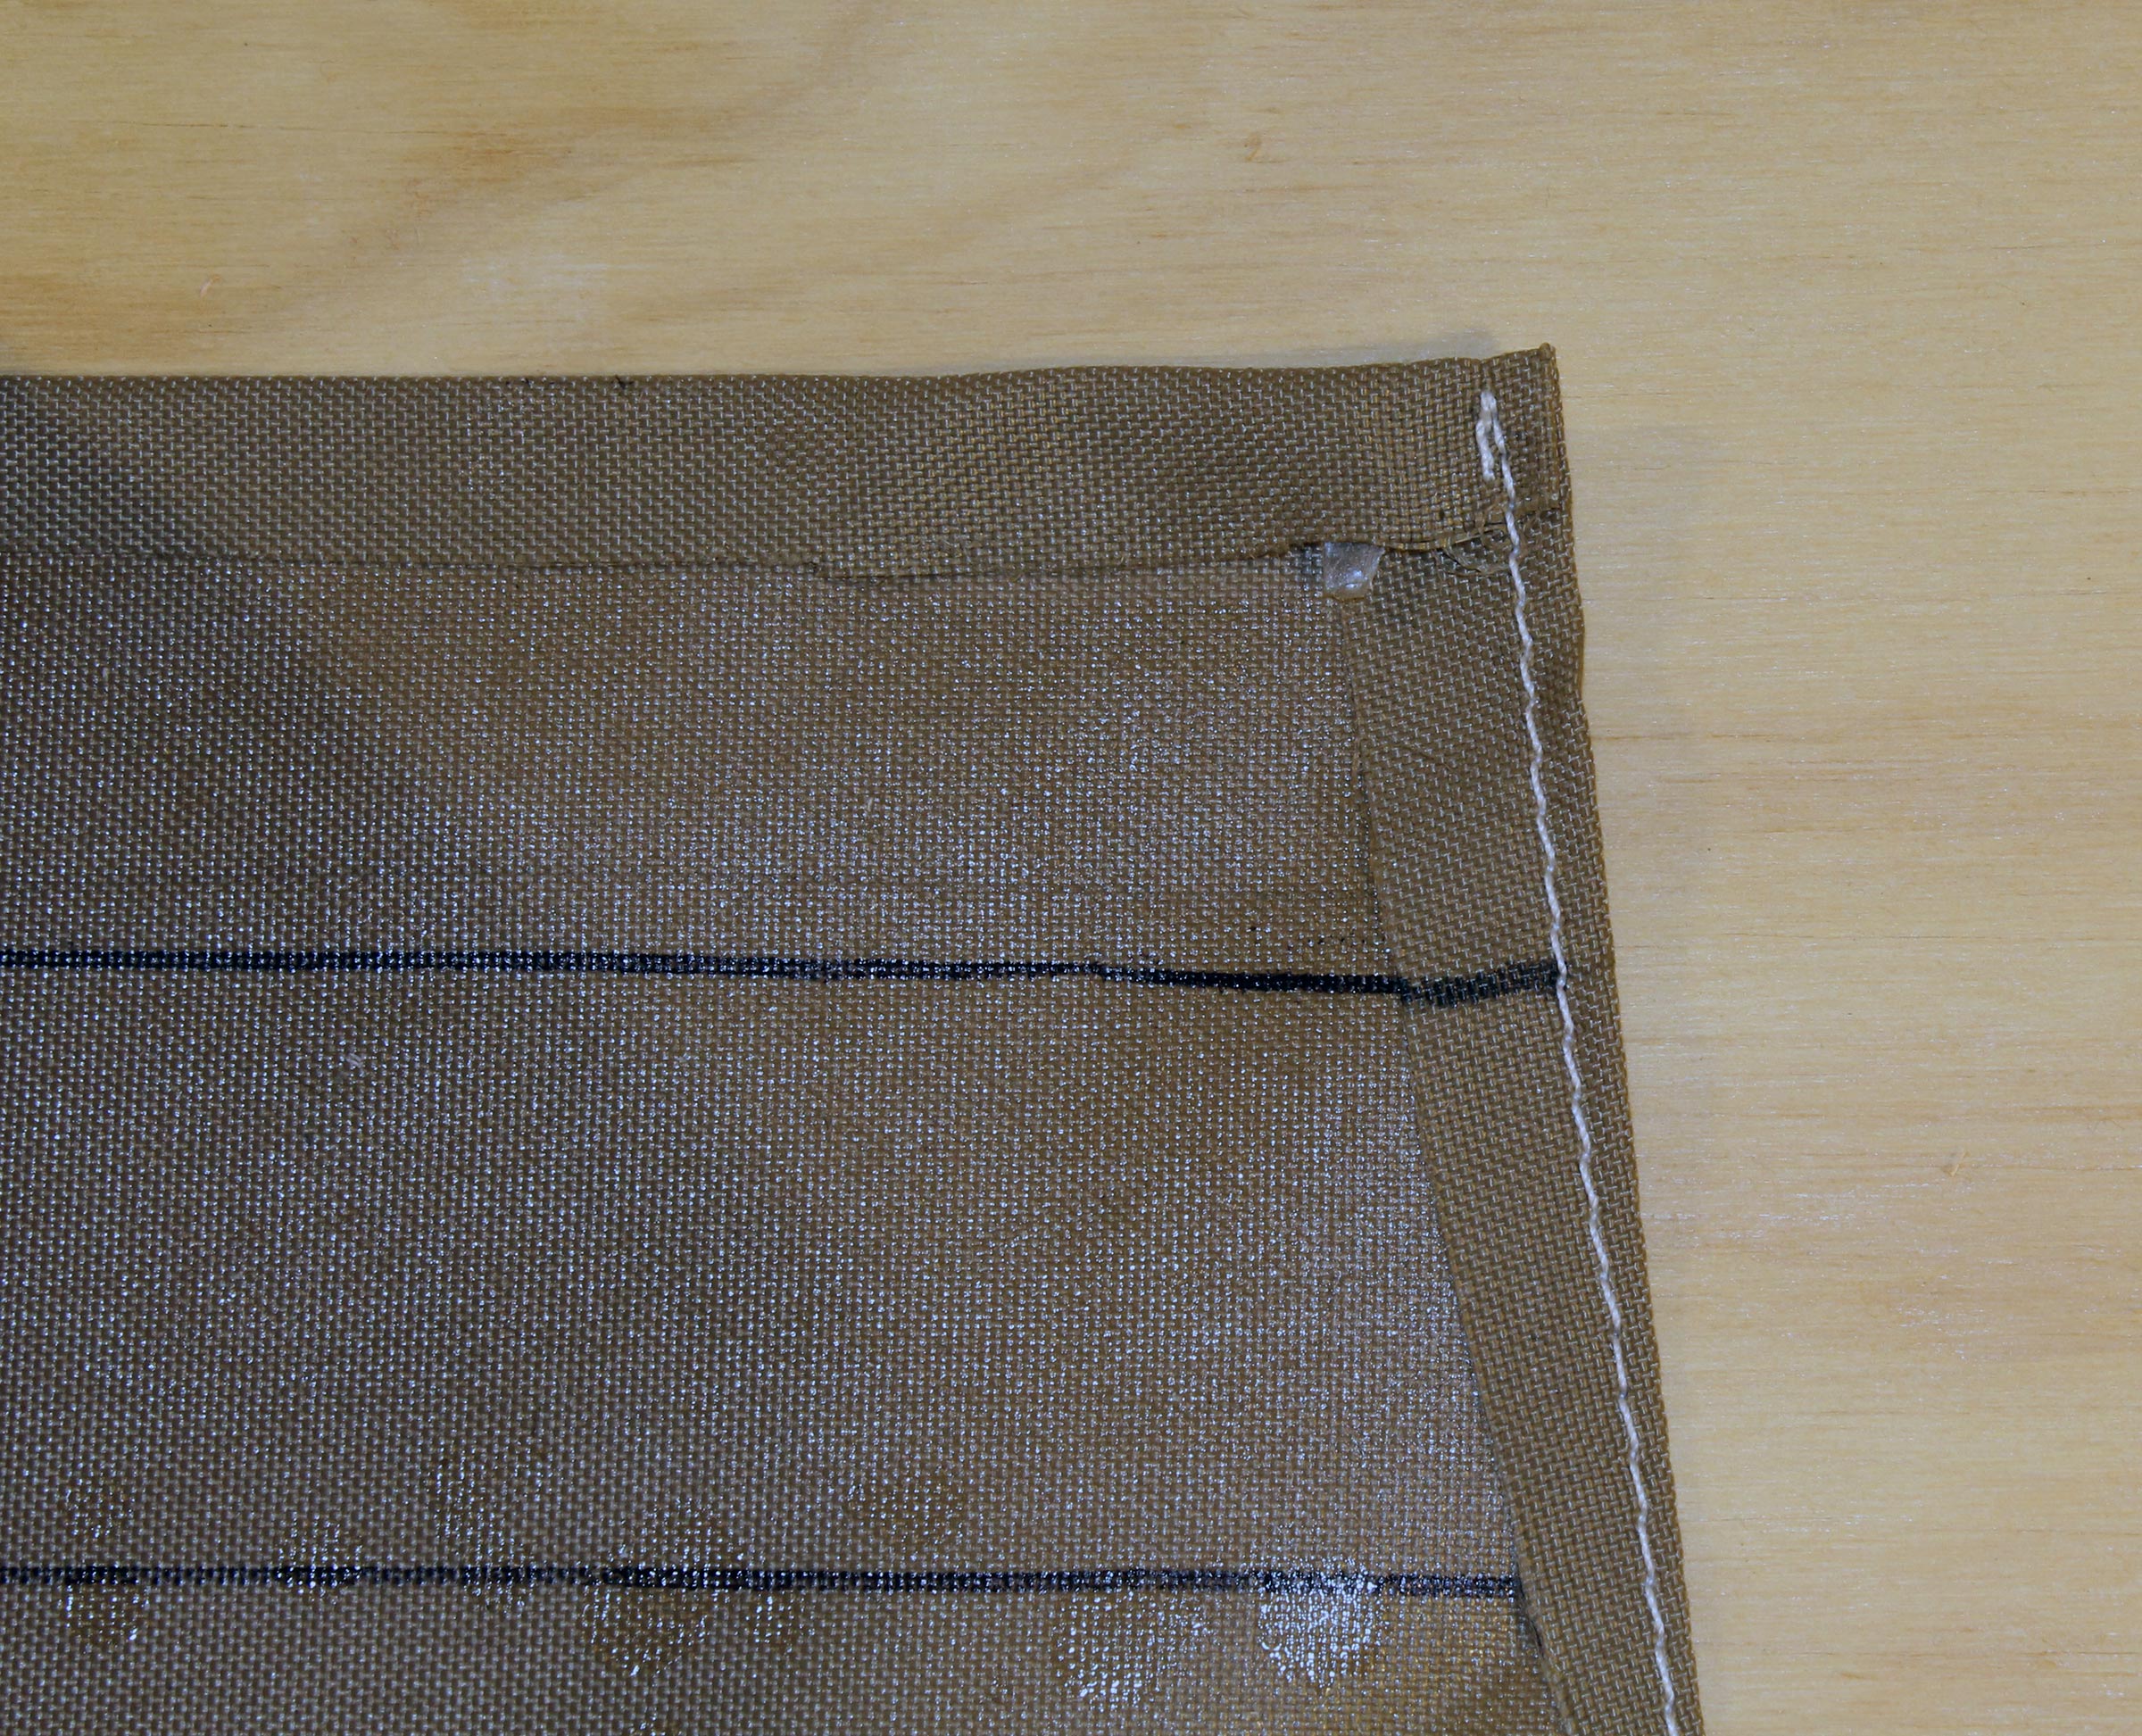
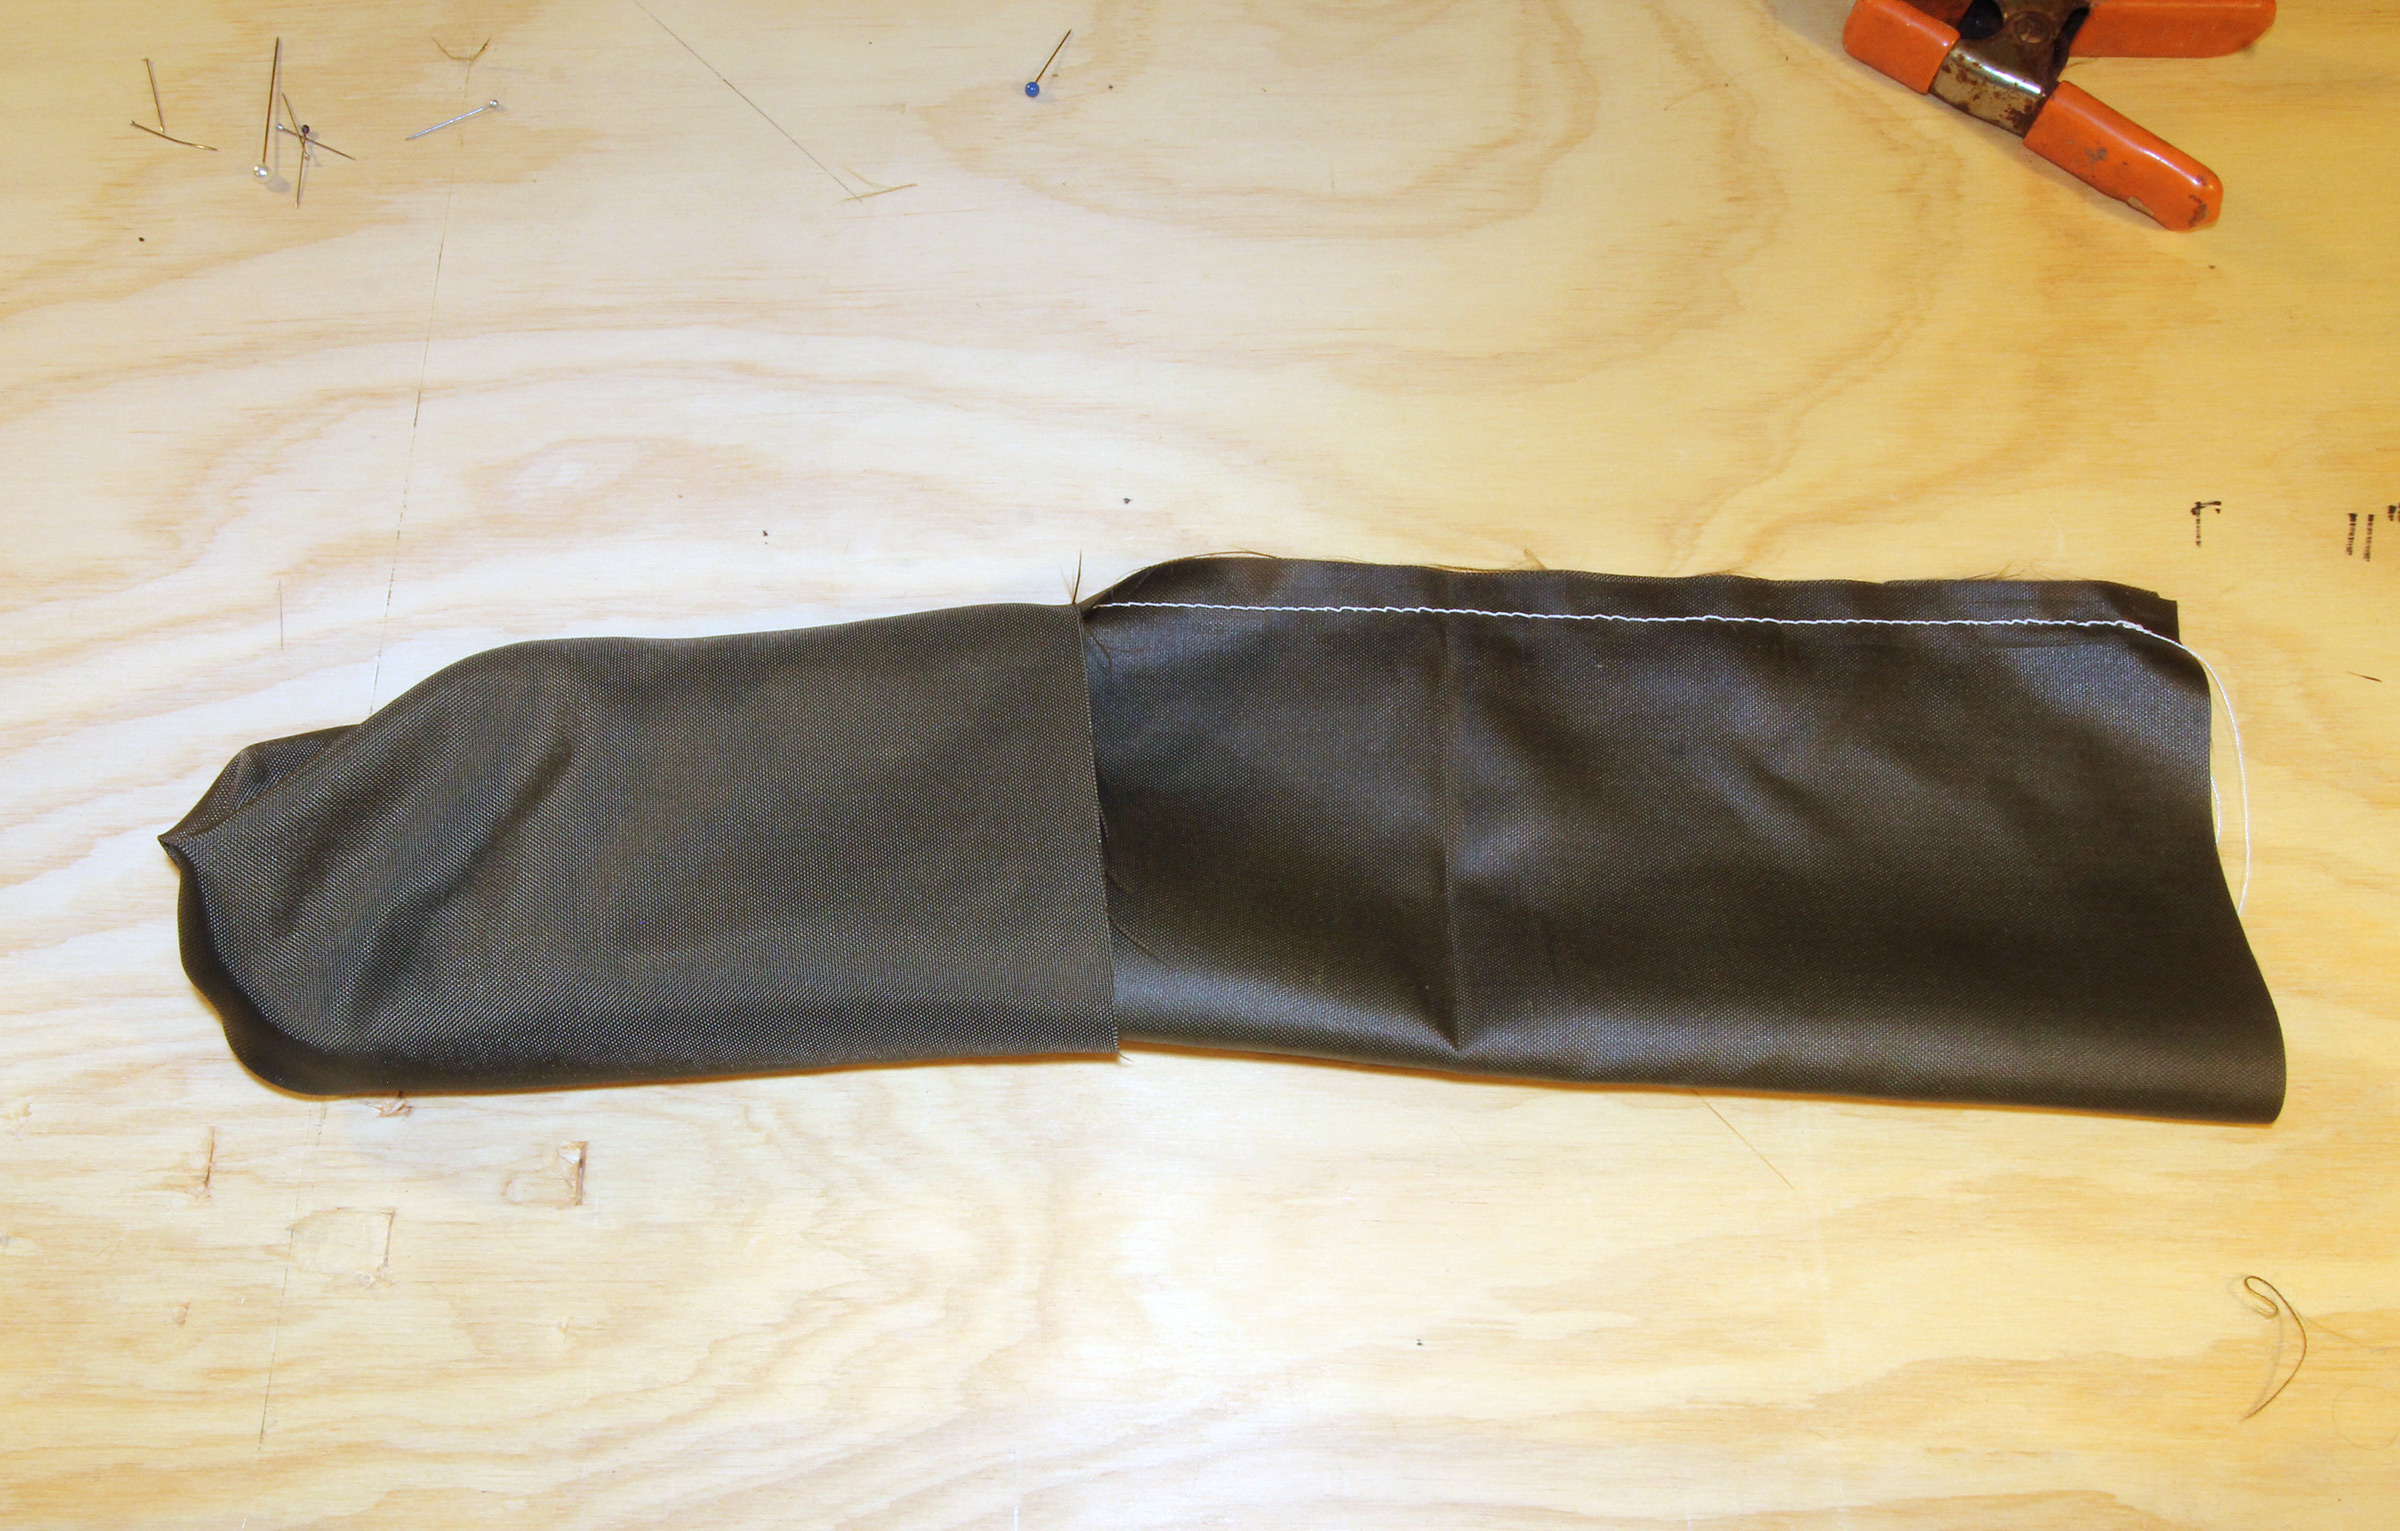
The bag gets folded in half, coated side out, and then sewn along each edge.
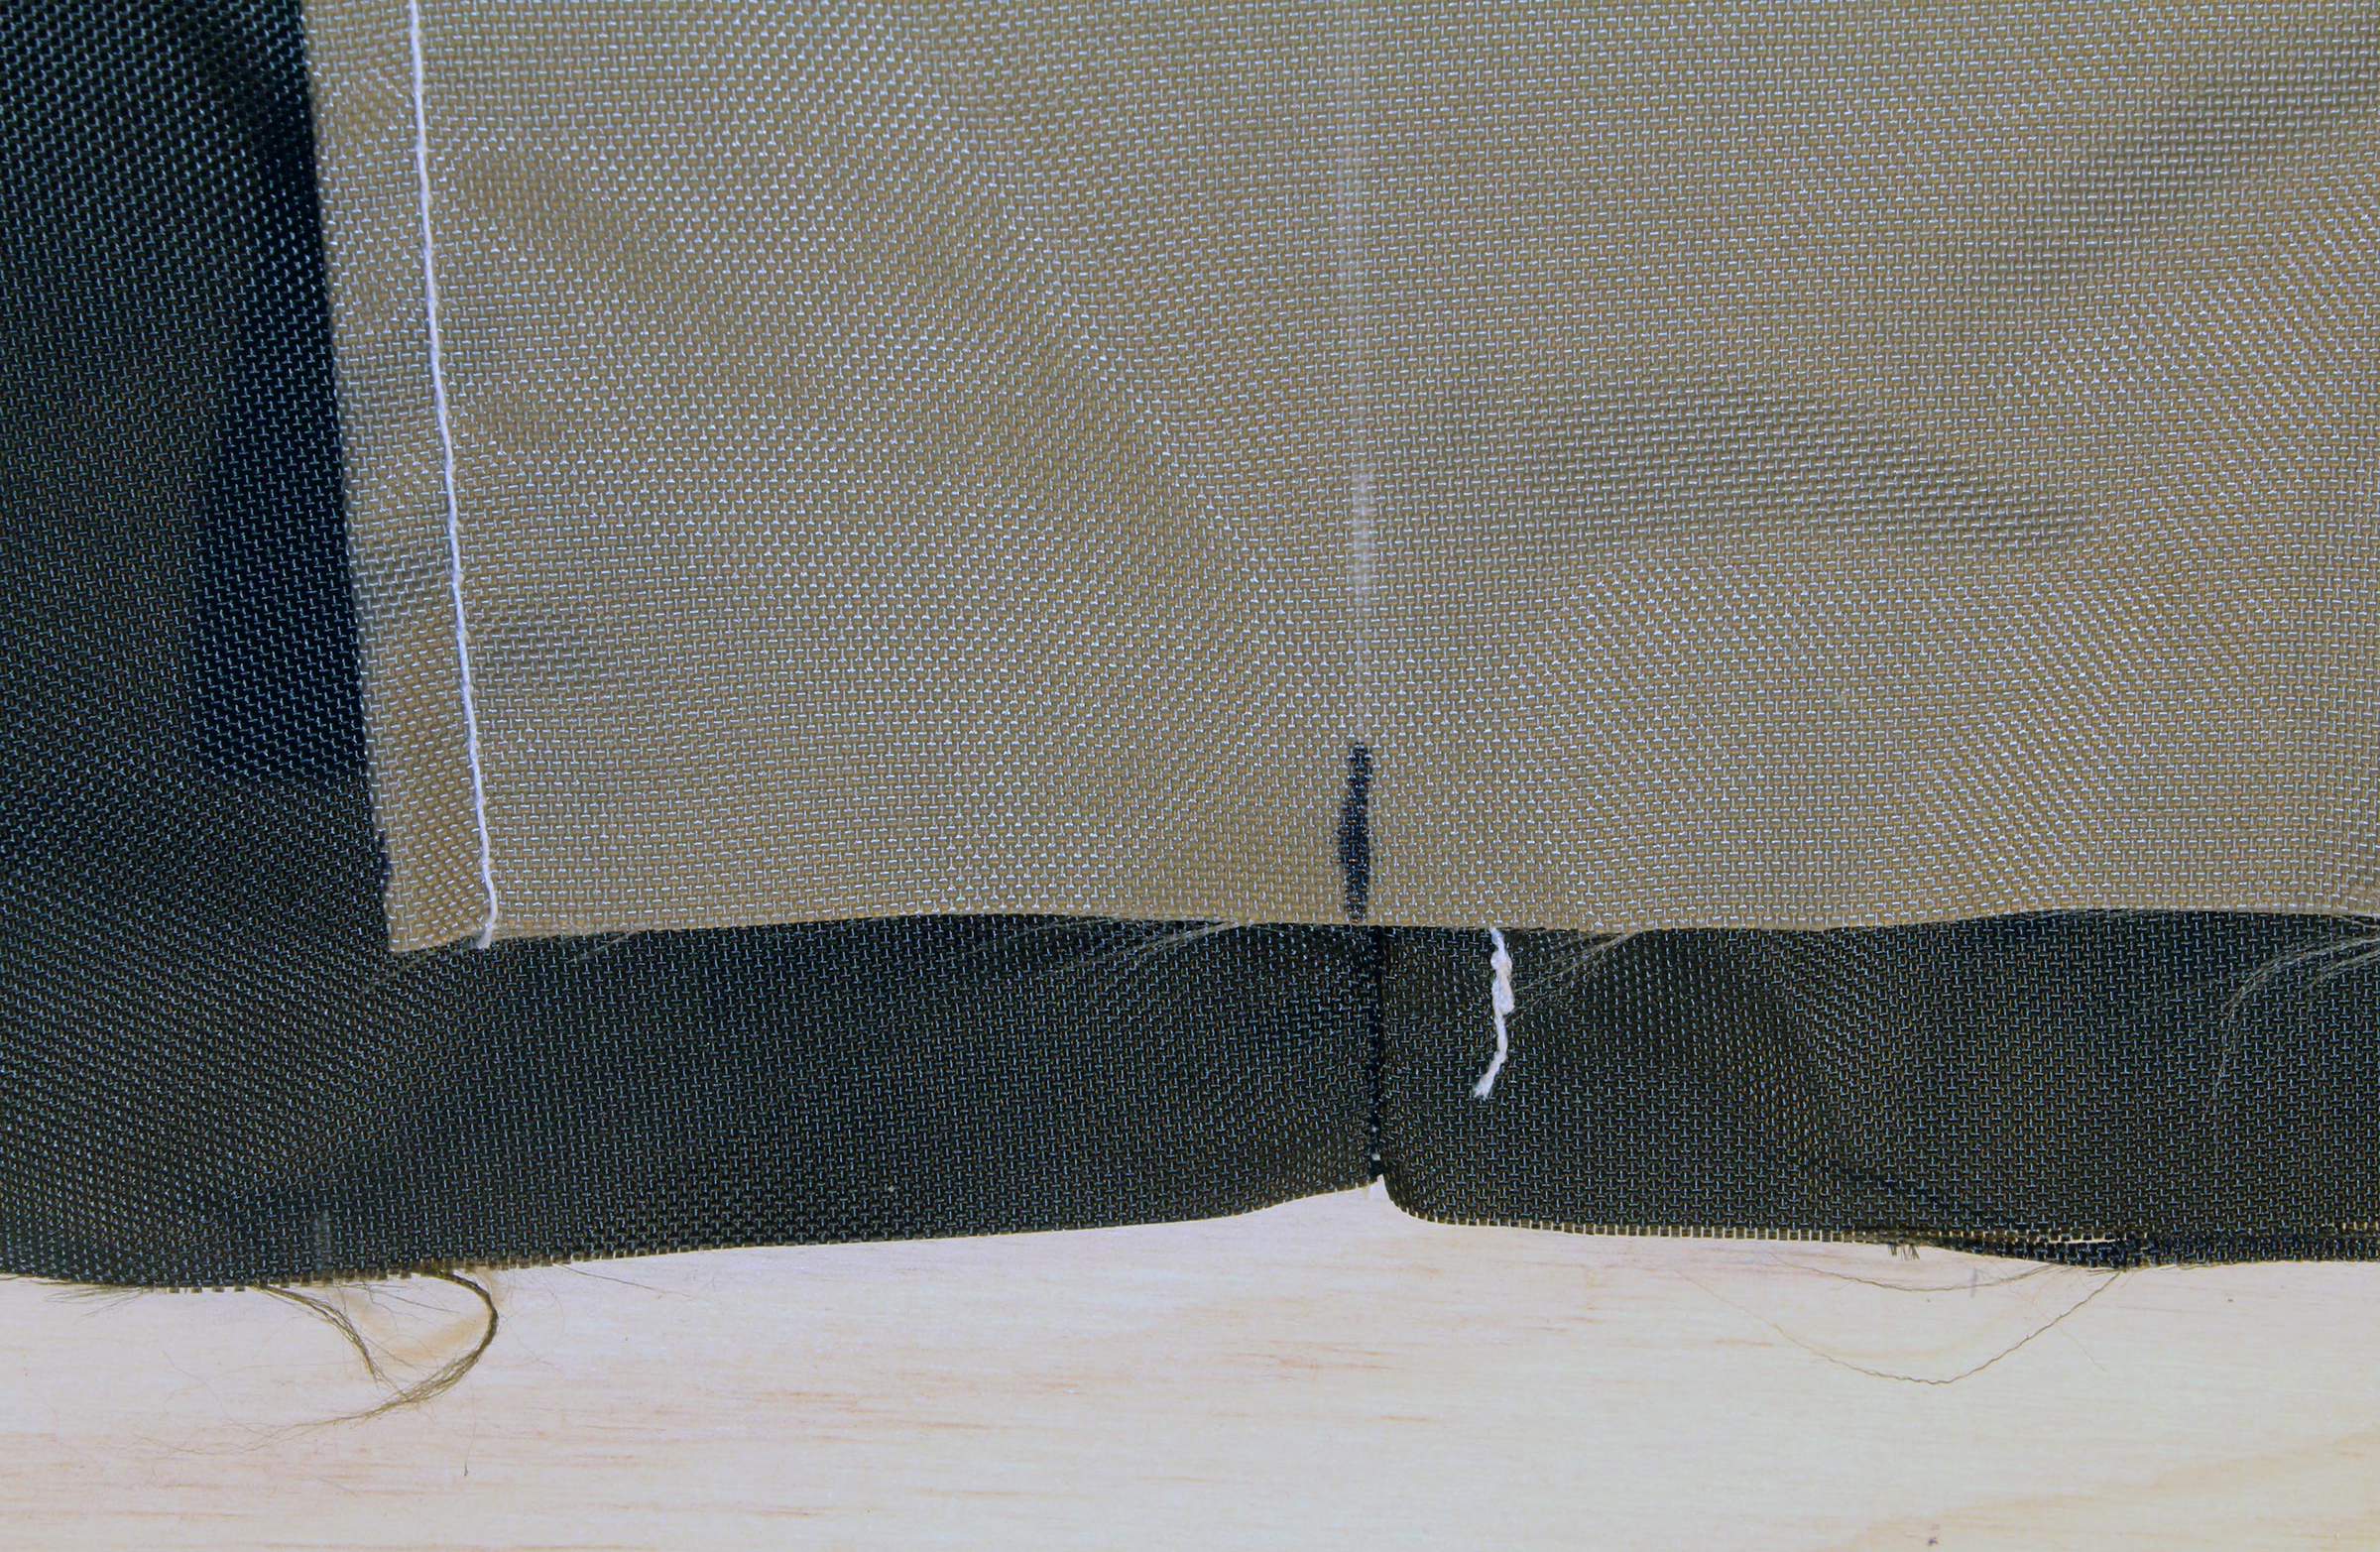
The seam gets flattened on the inside of the bag and then sewn down. It’s not necessary to get that second line of stitching all the way to the bottom corner inside the bag—within 1″ is enough. (In the next photograph you’ll see why.) At the bottom of the photo graph here, the second line of stitching is visible on the outside of the bag.

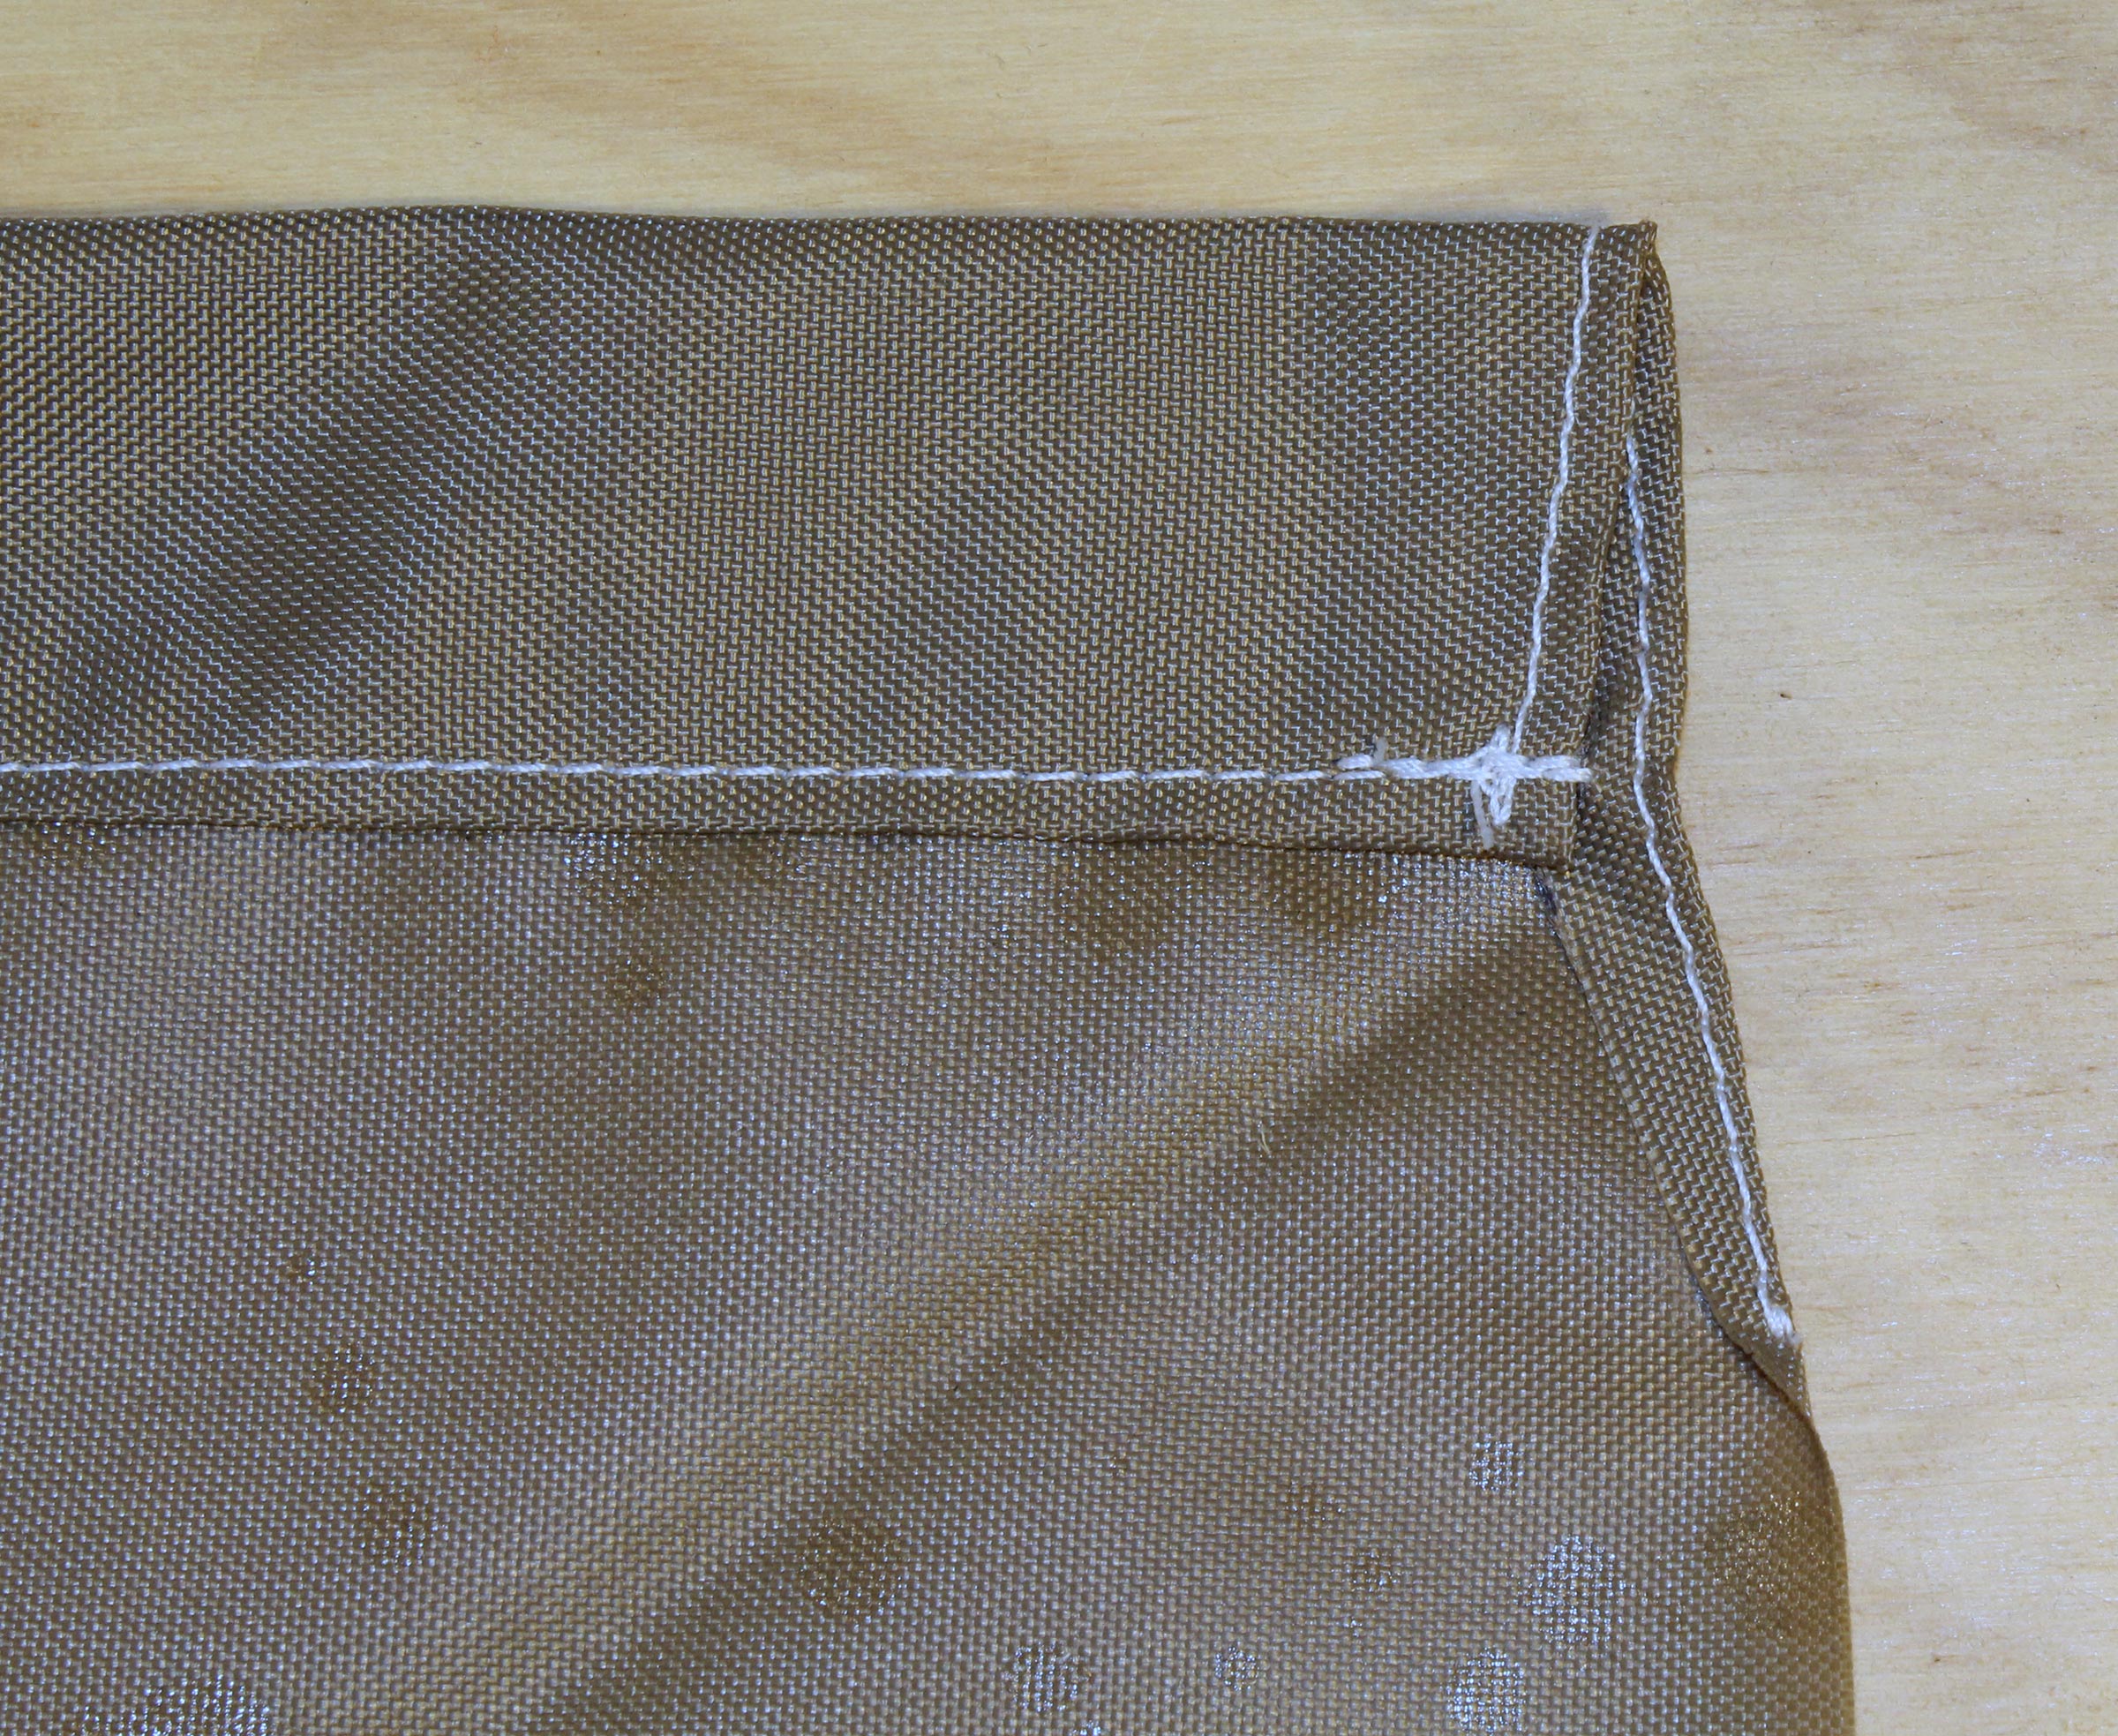
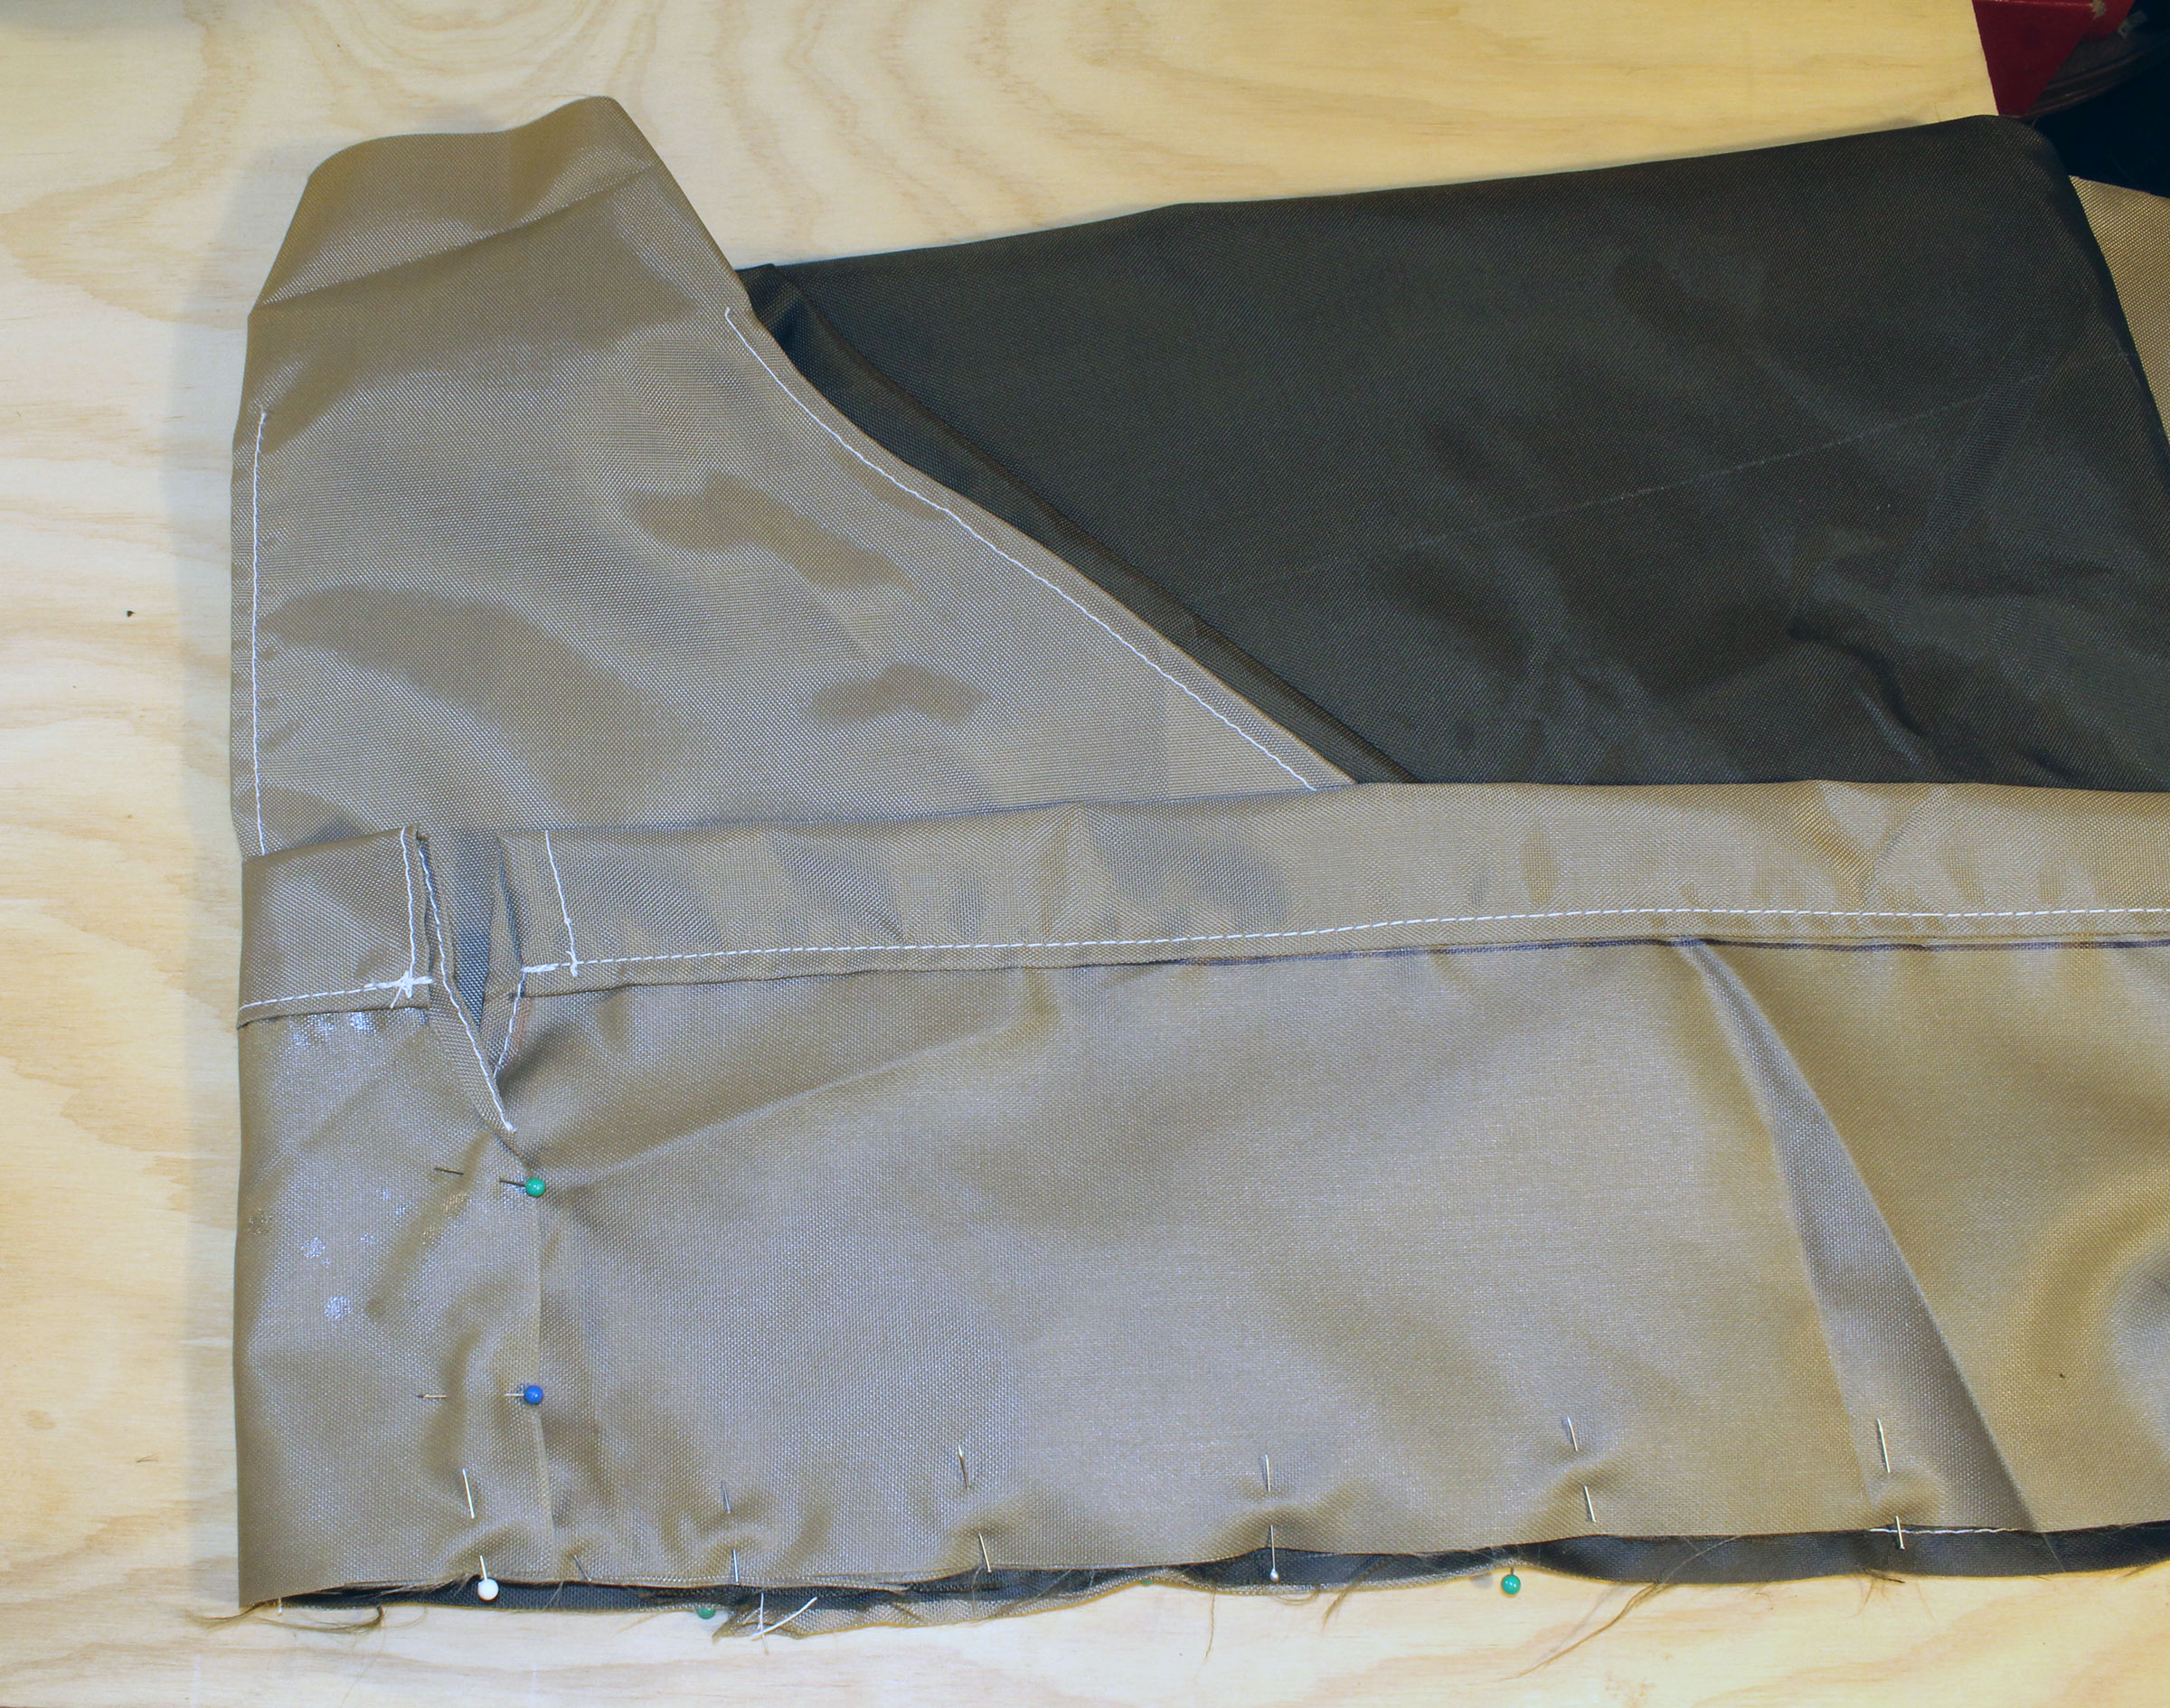
The bottom corners of the bag get flattened to create a “dog’s ear,” which gets pinned to hold it in place. A ruler marked 2-1/2″ either side of a center mark is used to draw a line for sewing a seam that spans 5″ of the corner. This gives the bag a squared box bottom.
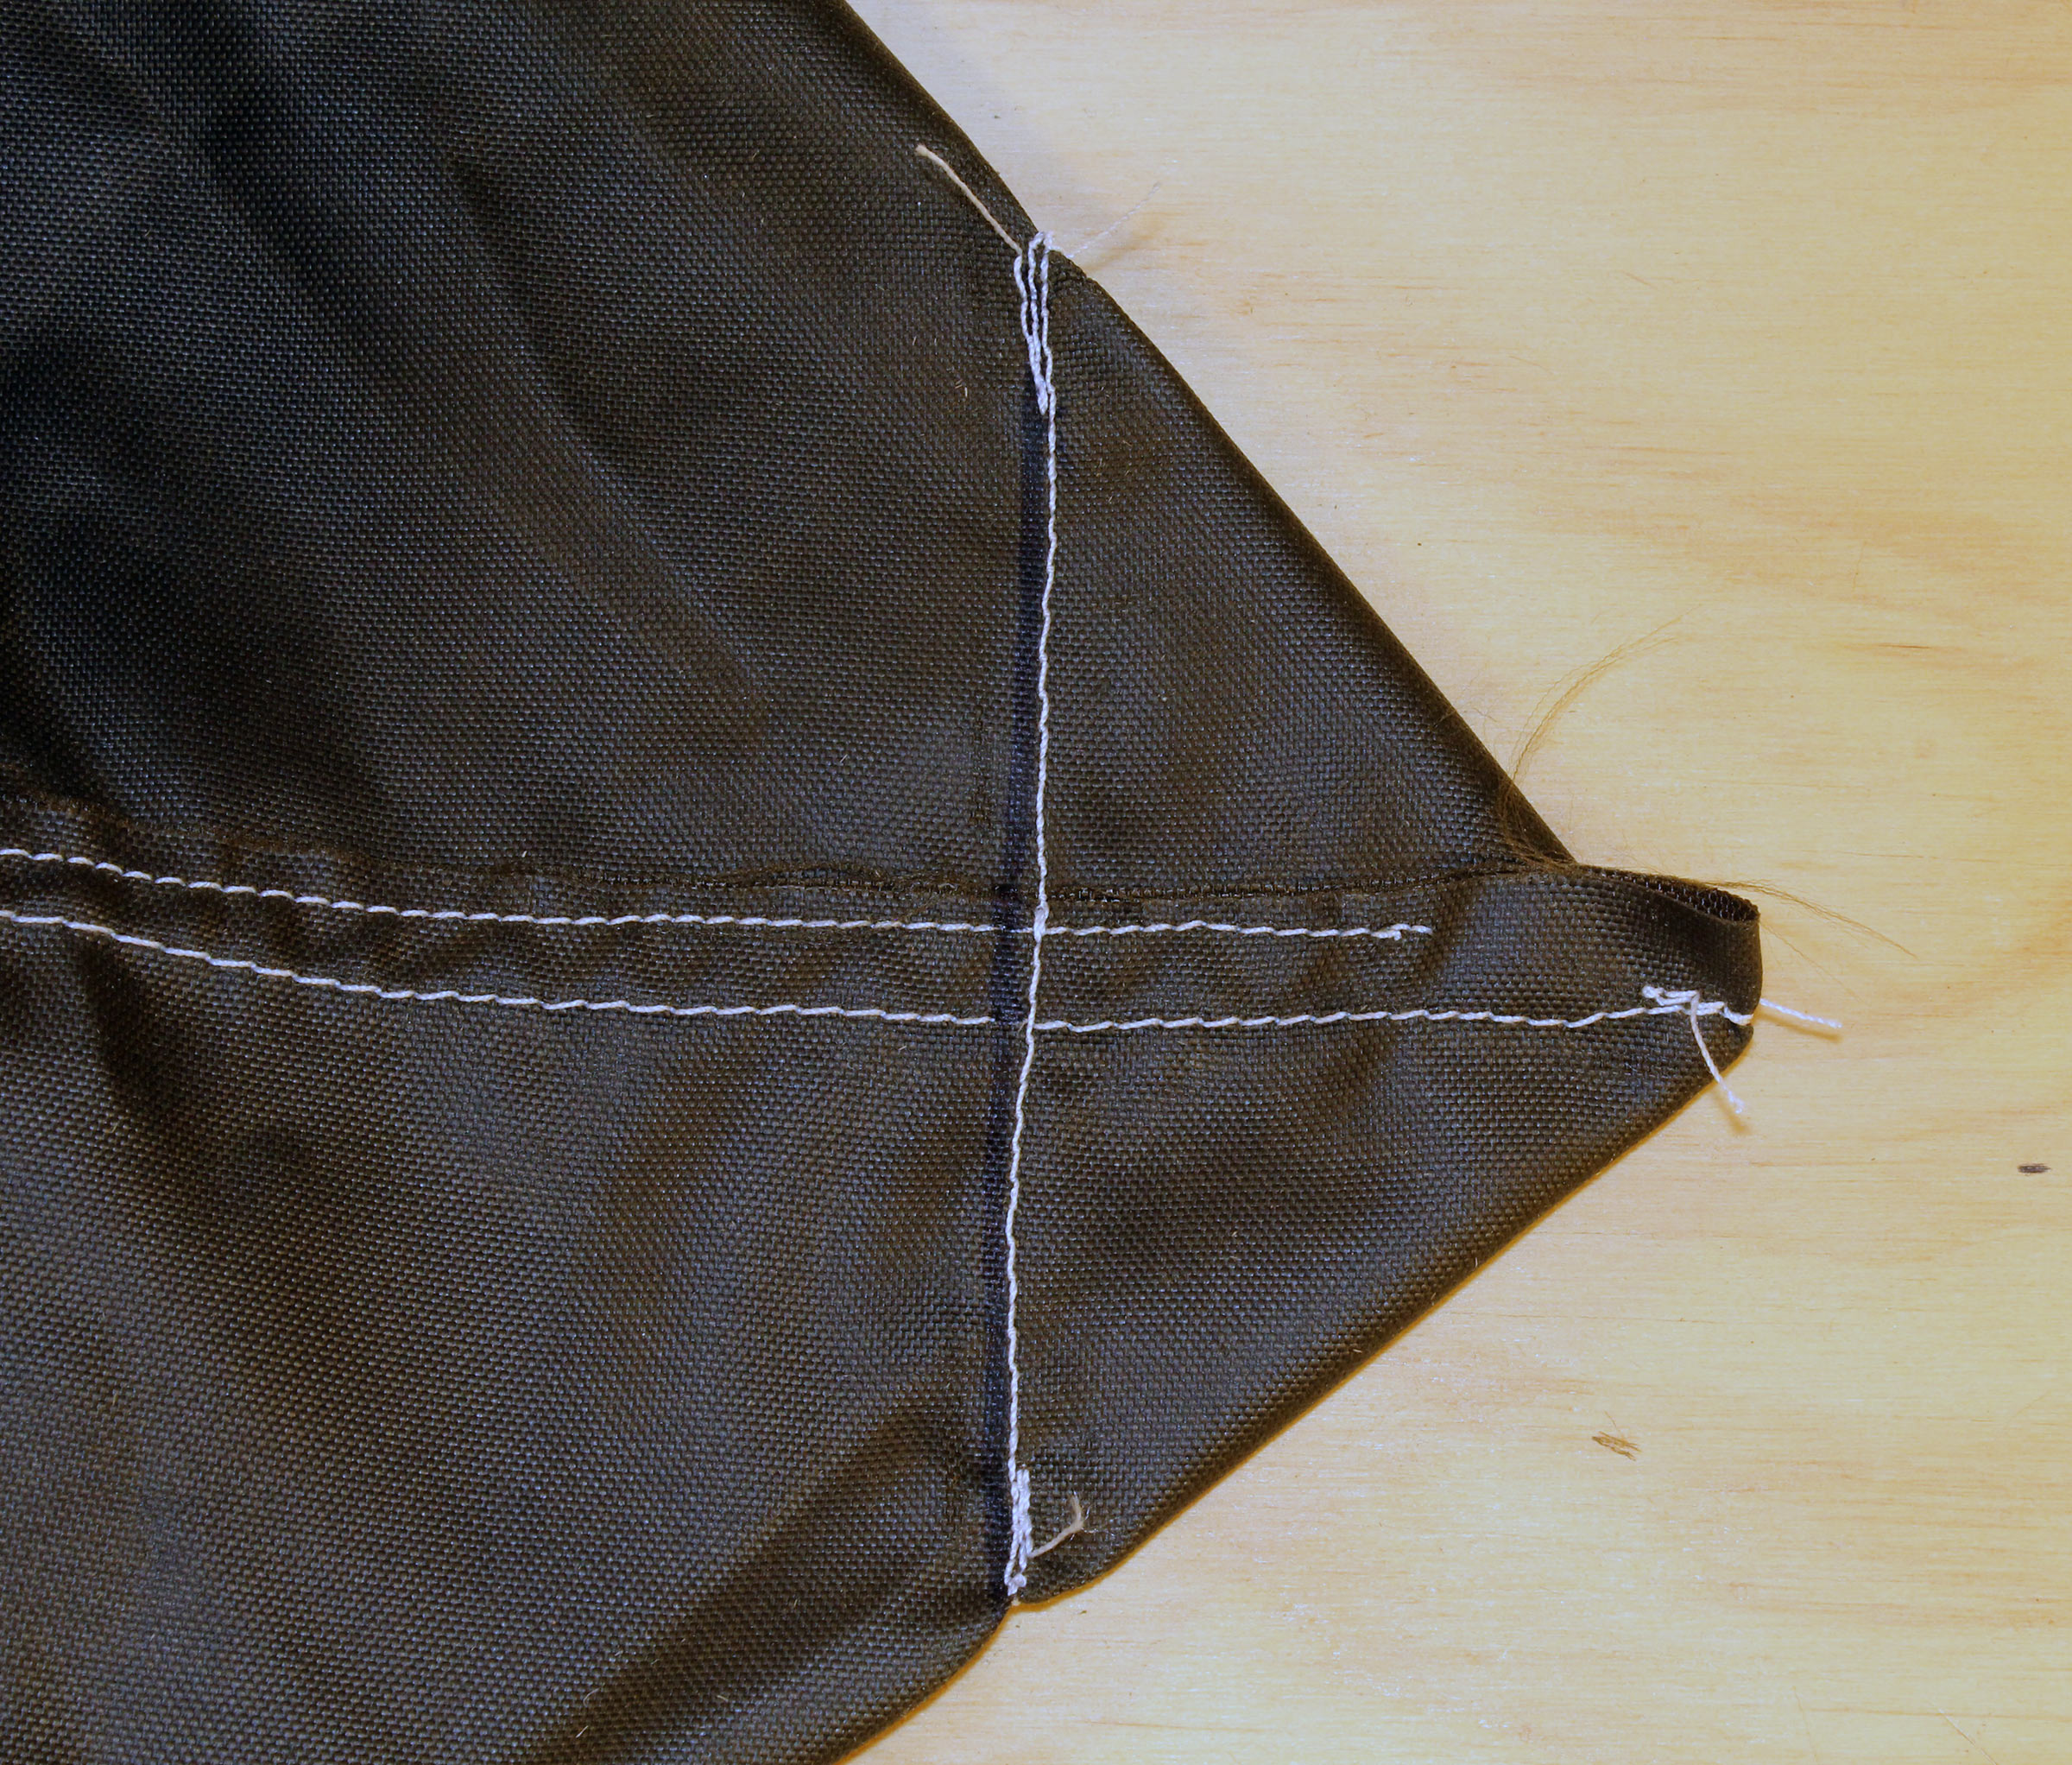
Sew along the 5″ line and backstitch at the ends.
The gussets get folded coated side out and sewn along the diagonal edge and the short vertical at the top. Make a small cut in the 1/2″ seam allowance to bisect the angle from the cut edge to just shy of the stitching. It will help with the sewing that follows after gusset is turned right side out.

With the gusset turned coated side in, the edges below the vertical part at the top are sewn. Sew in the order and direction shown. It will eliminate the problem of fabric creep that would happen if you sew from the fold to the seam.
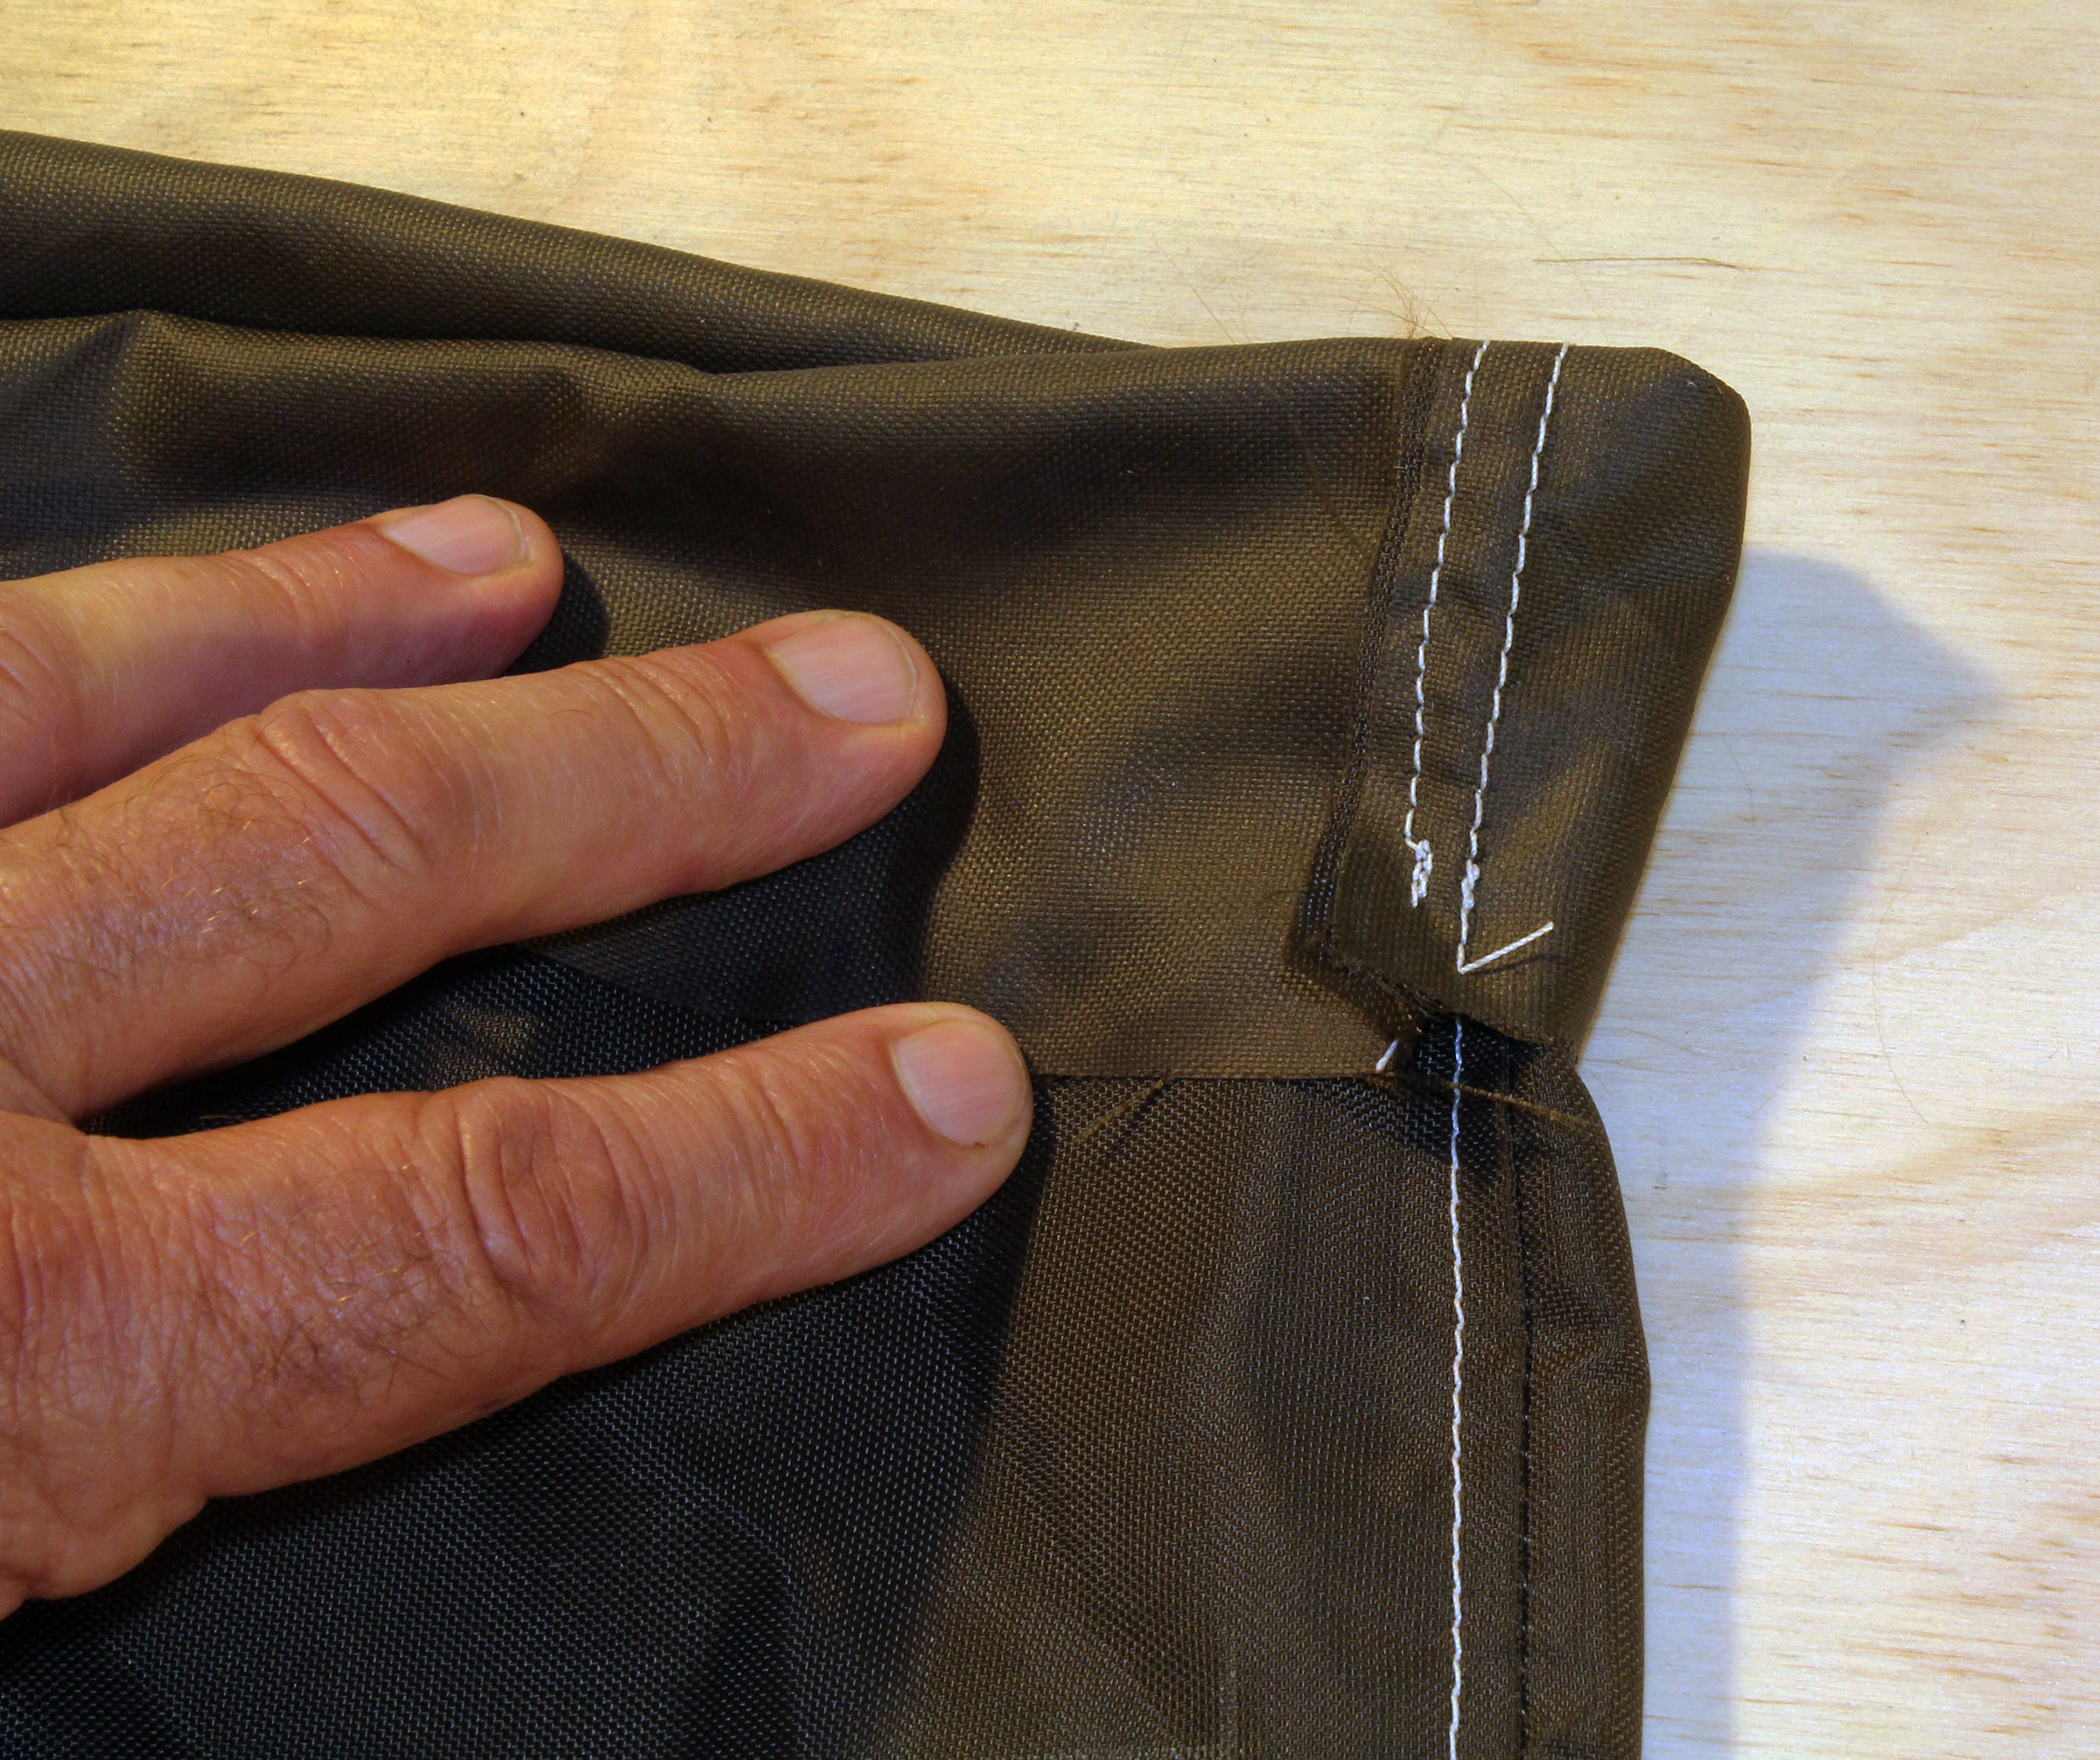
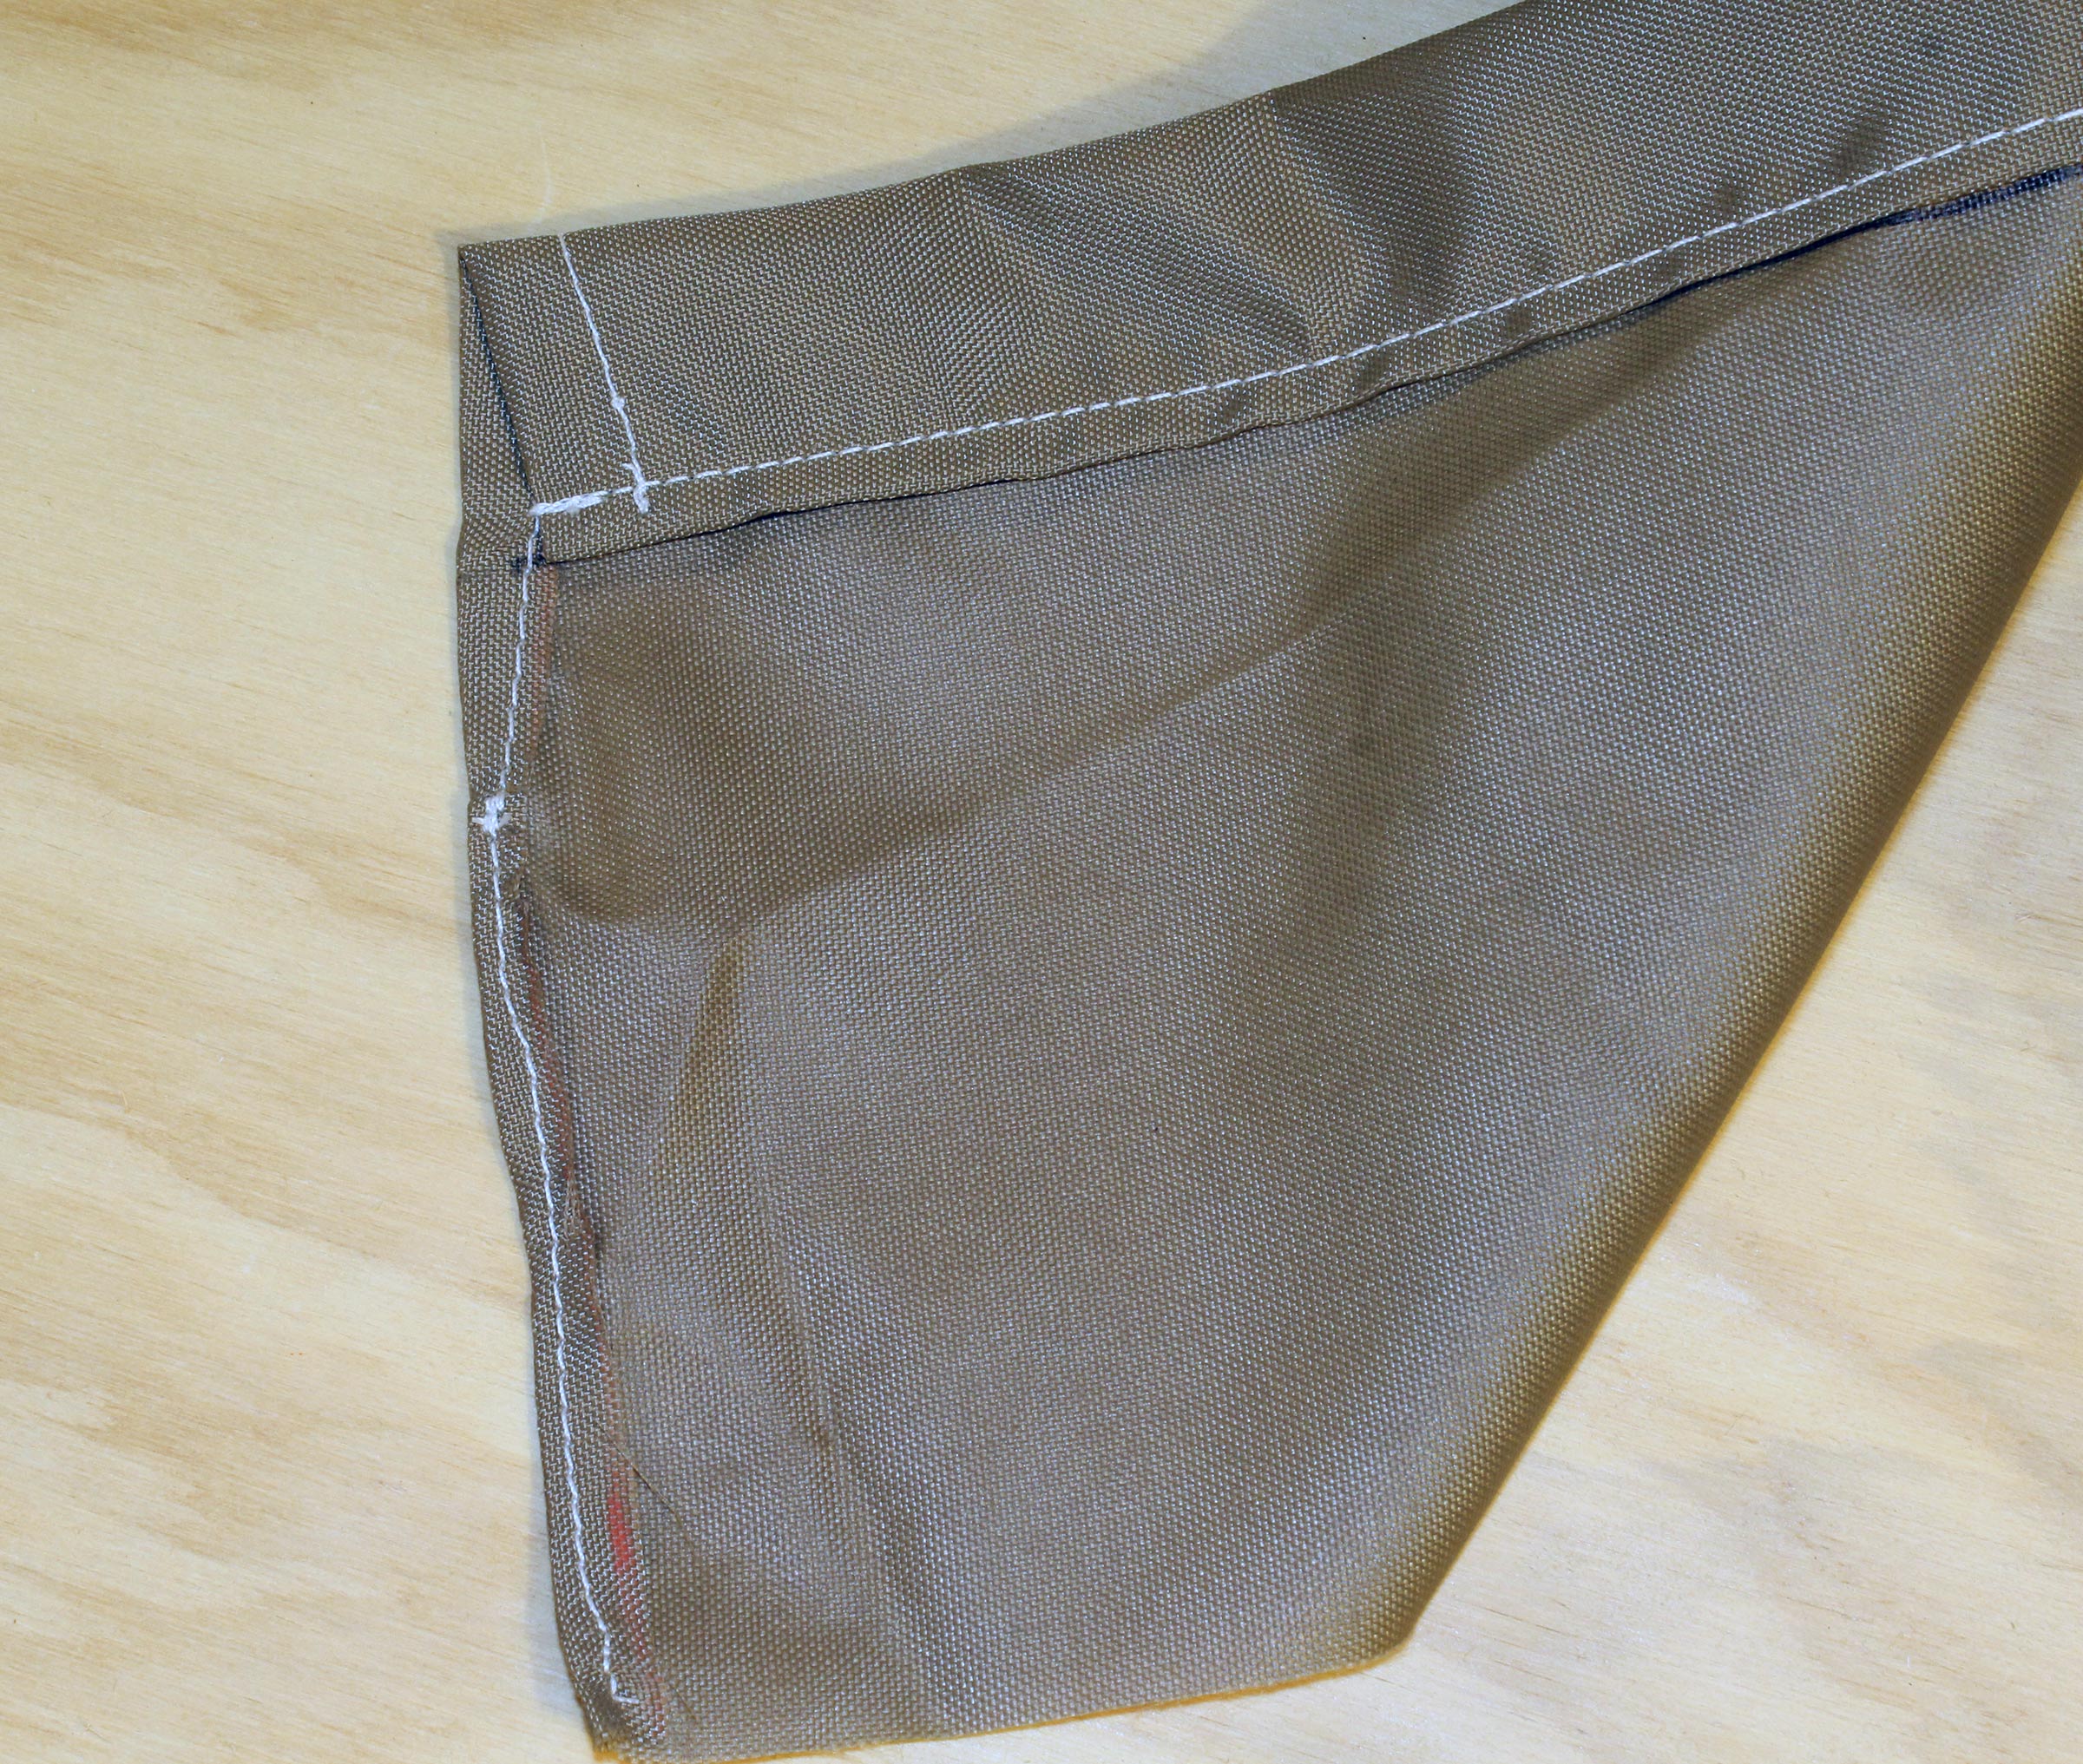
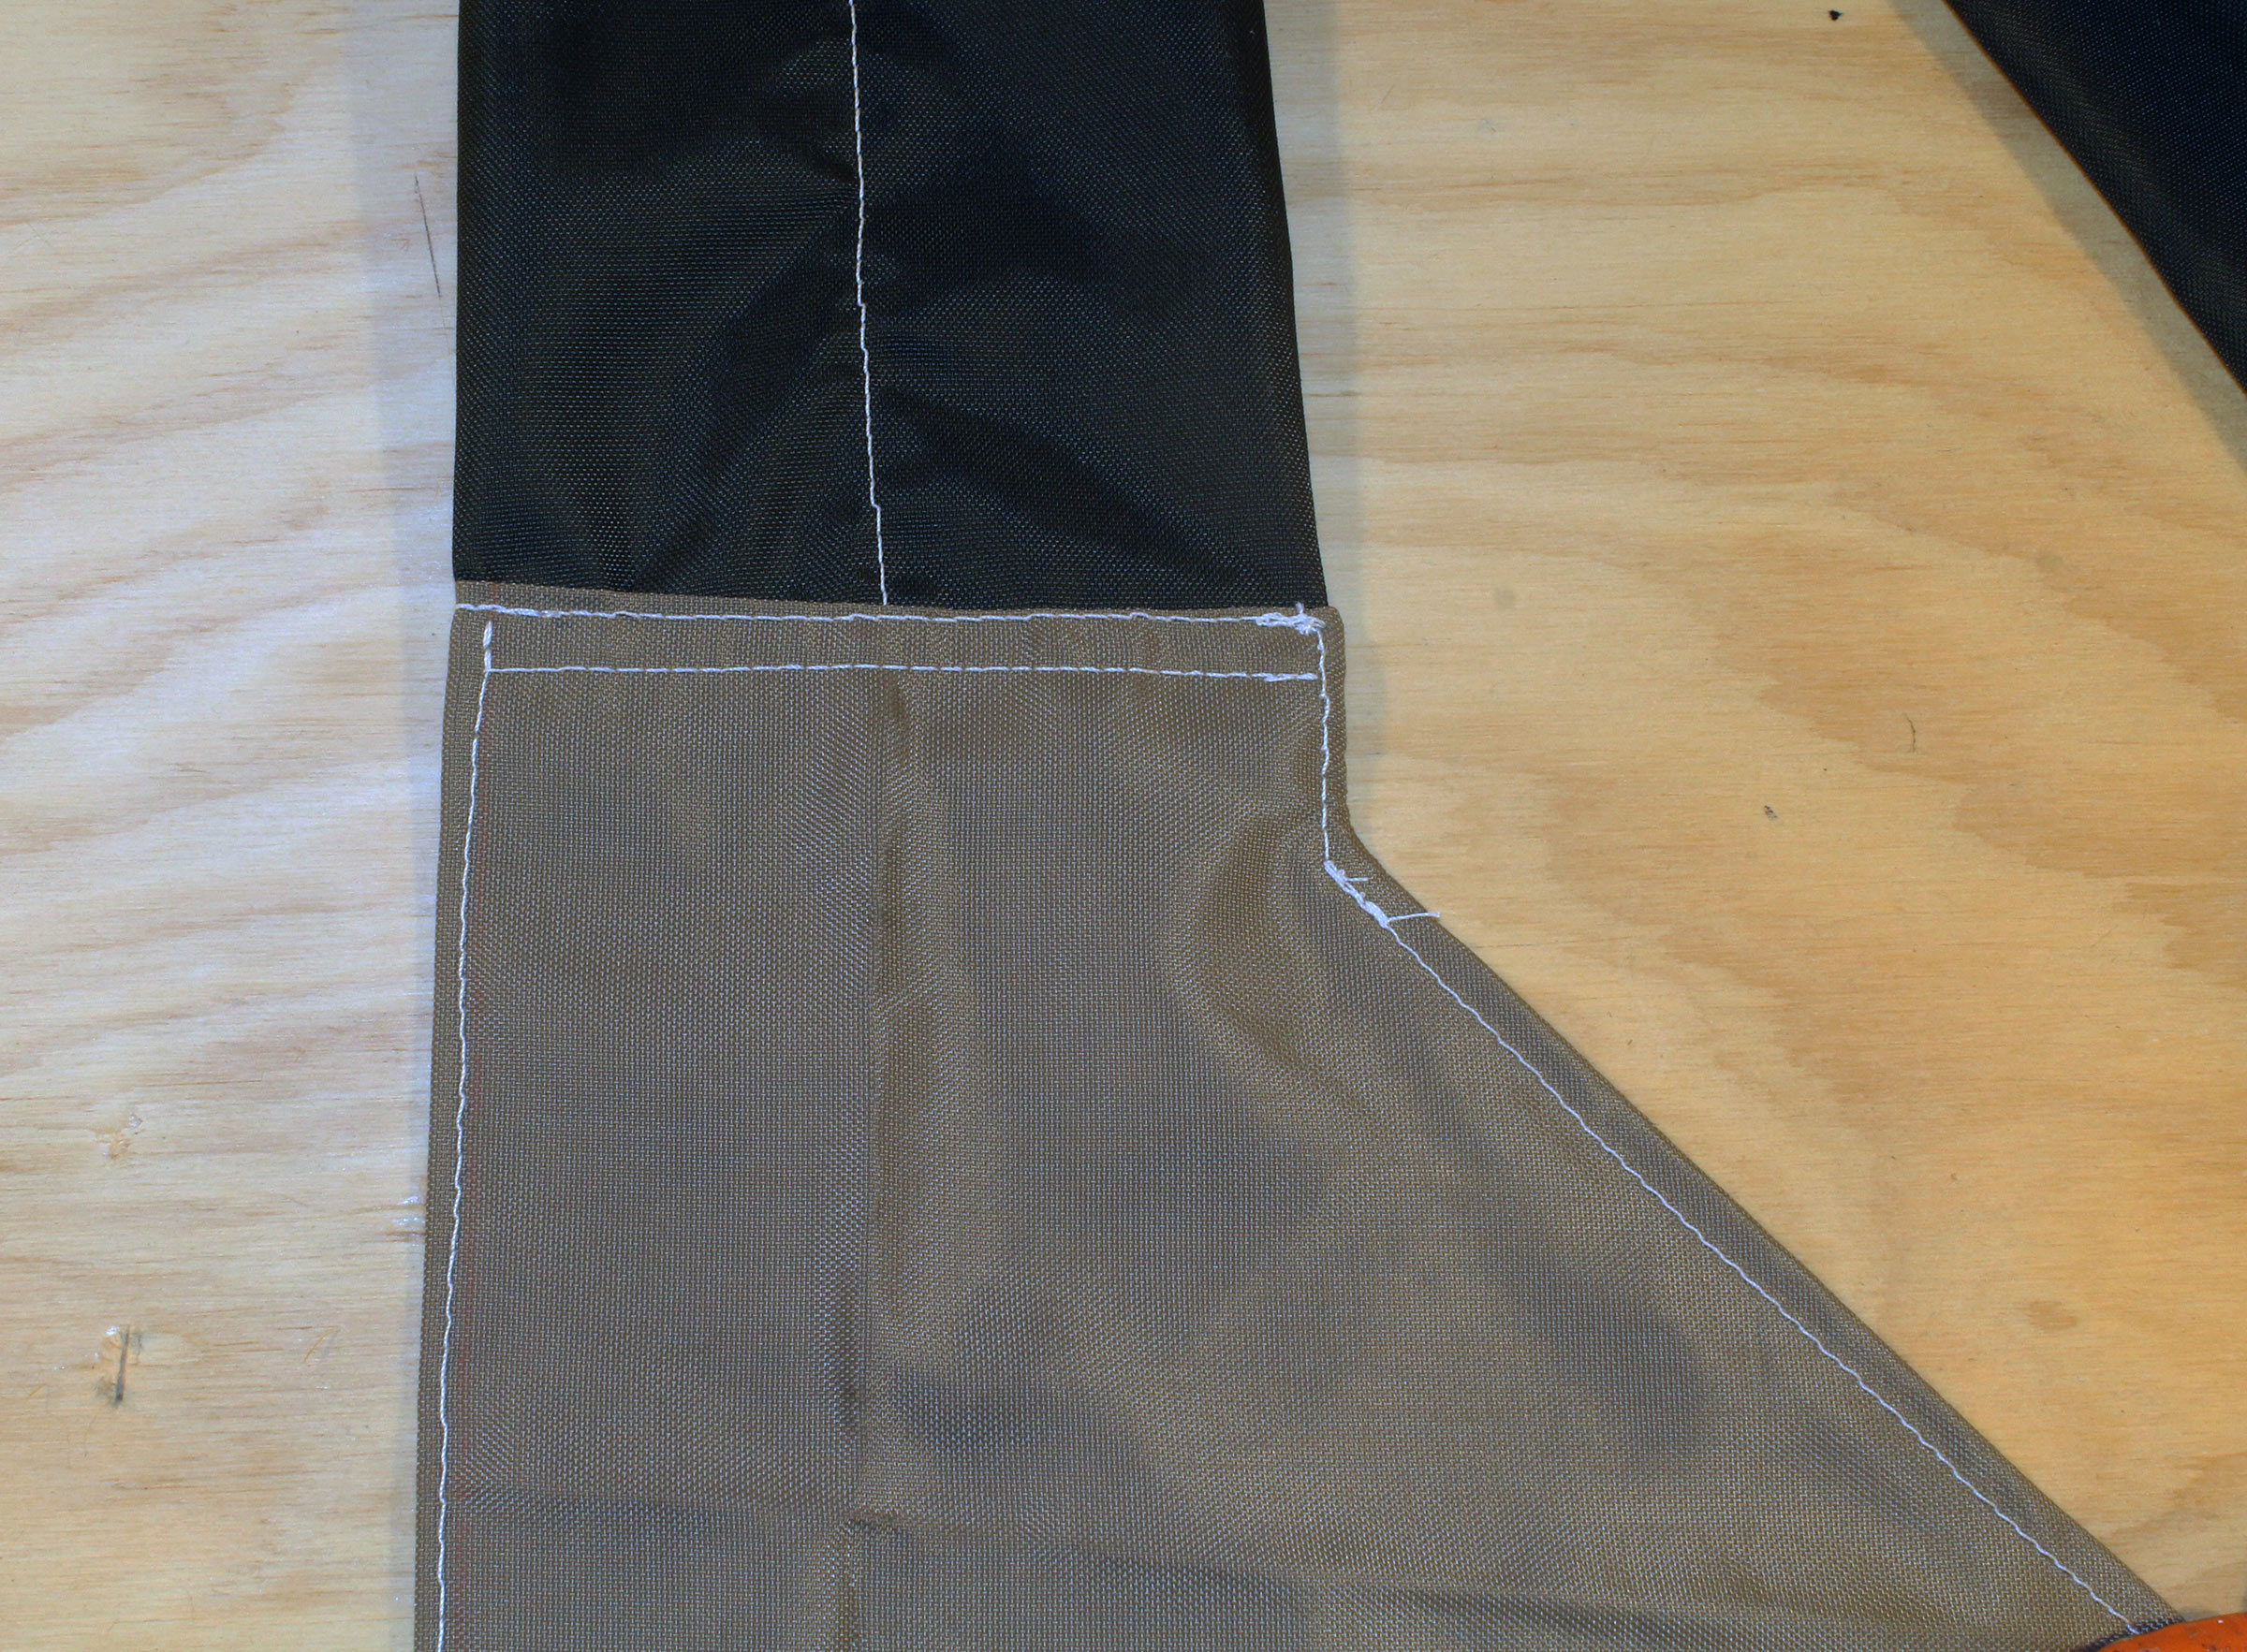
The gusset (light color) is marked 2-1/2″ from the edge at right. That mark aligns with the seam on the outside of the bag, now turned right side out. The end of the bag will finish at 5″ wide and 5″ of the gusset will cover the bag end. The rest of the gusset gets pinned, wrapped around to the face of the bag, and sewn. The second is pinned to the other side of the bag and sewn in the same manner.
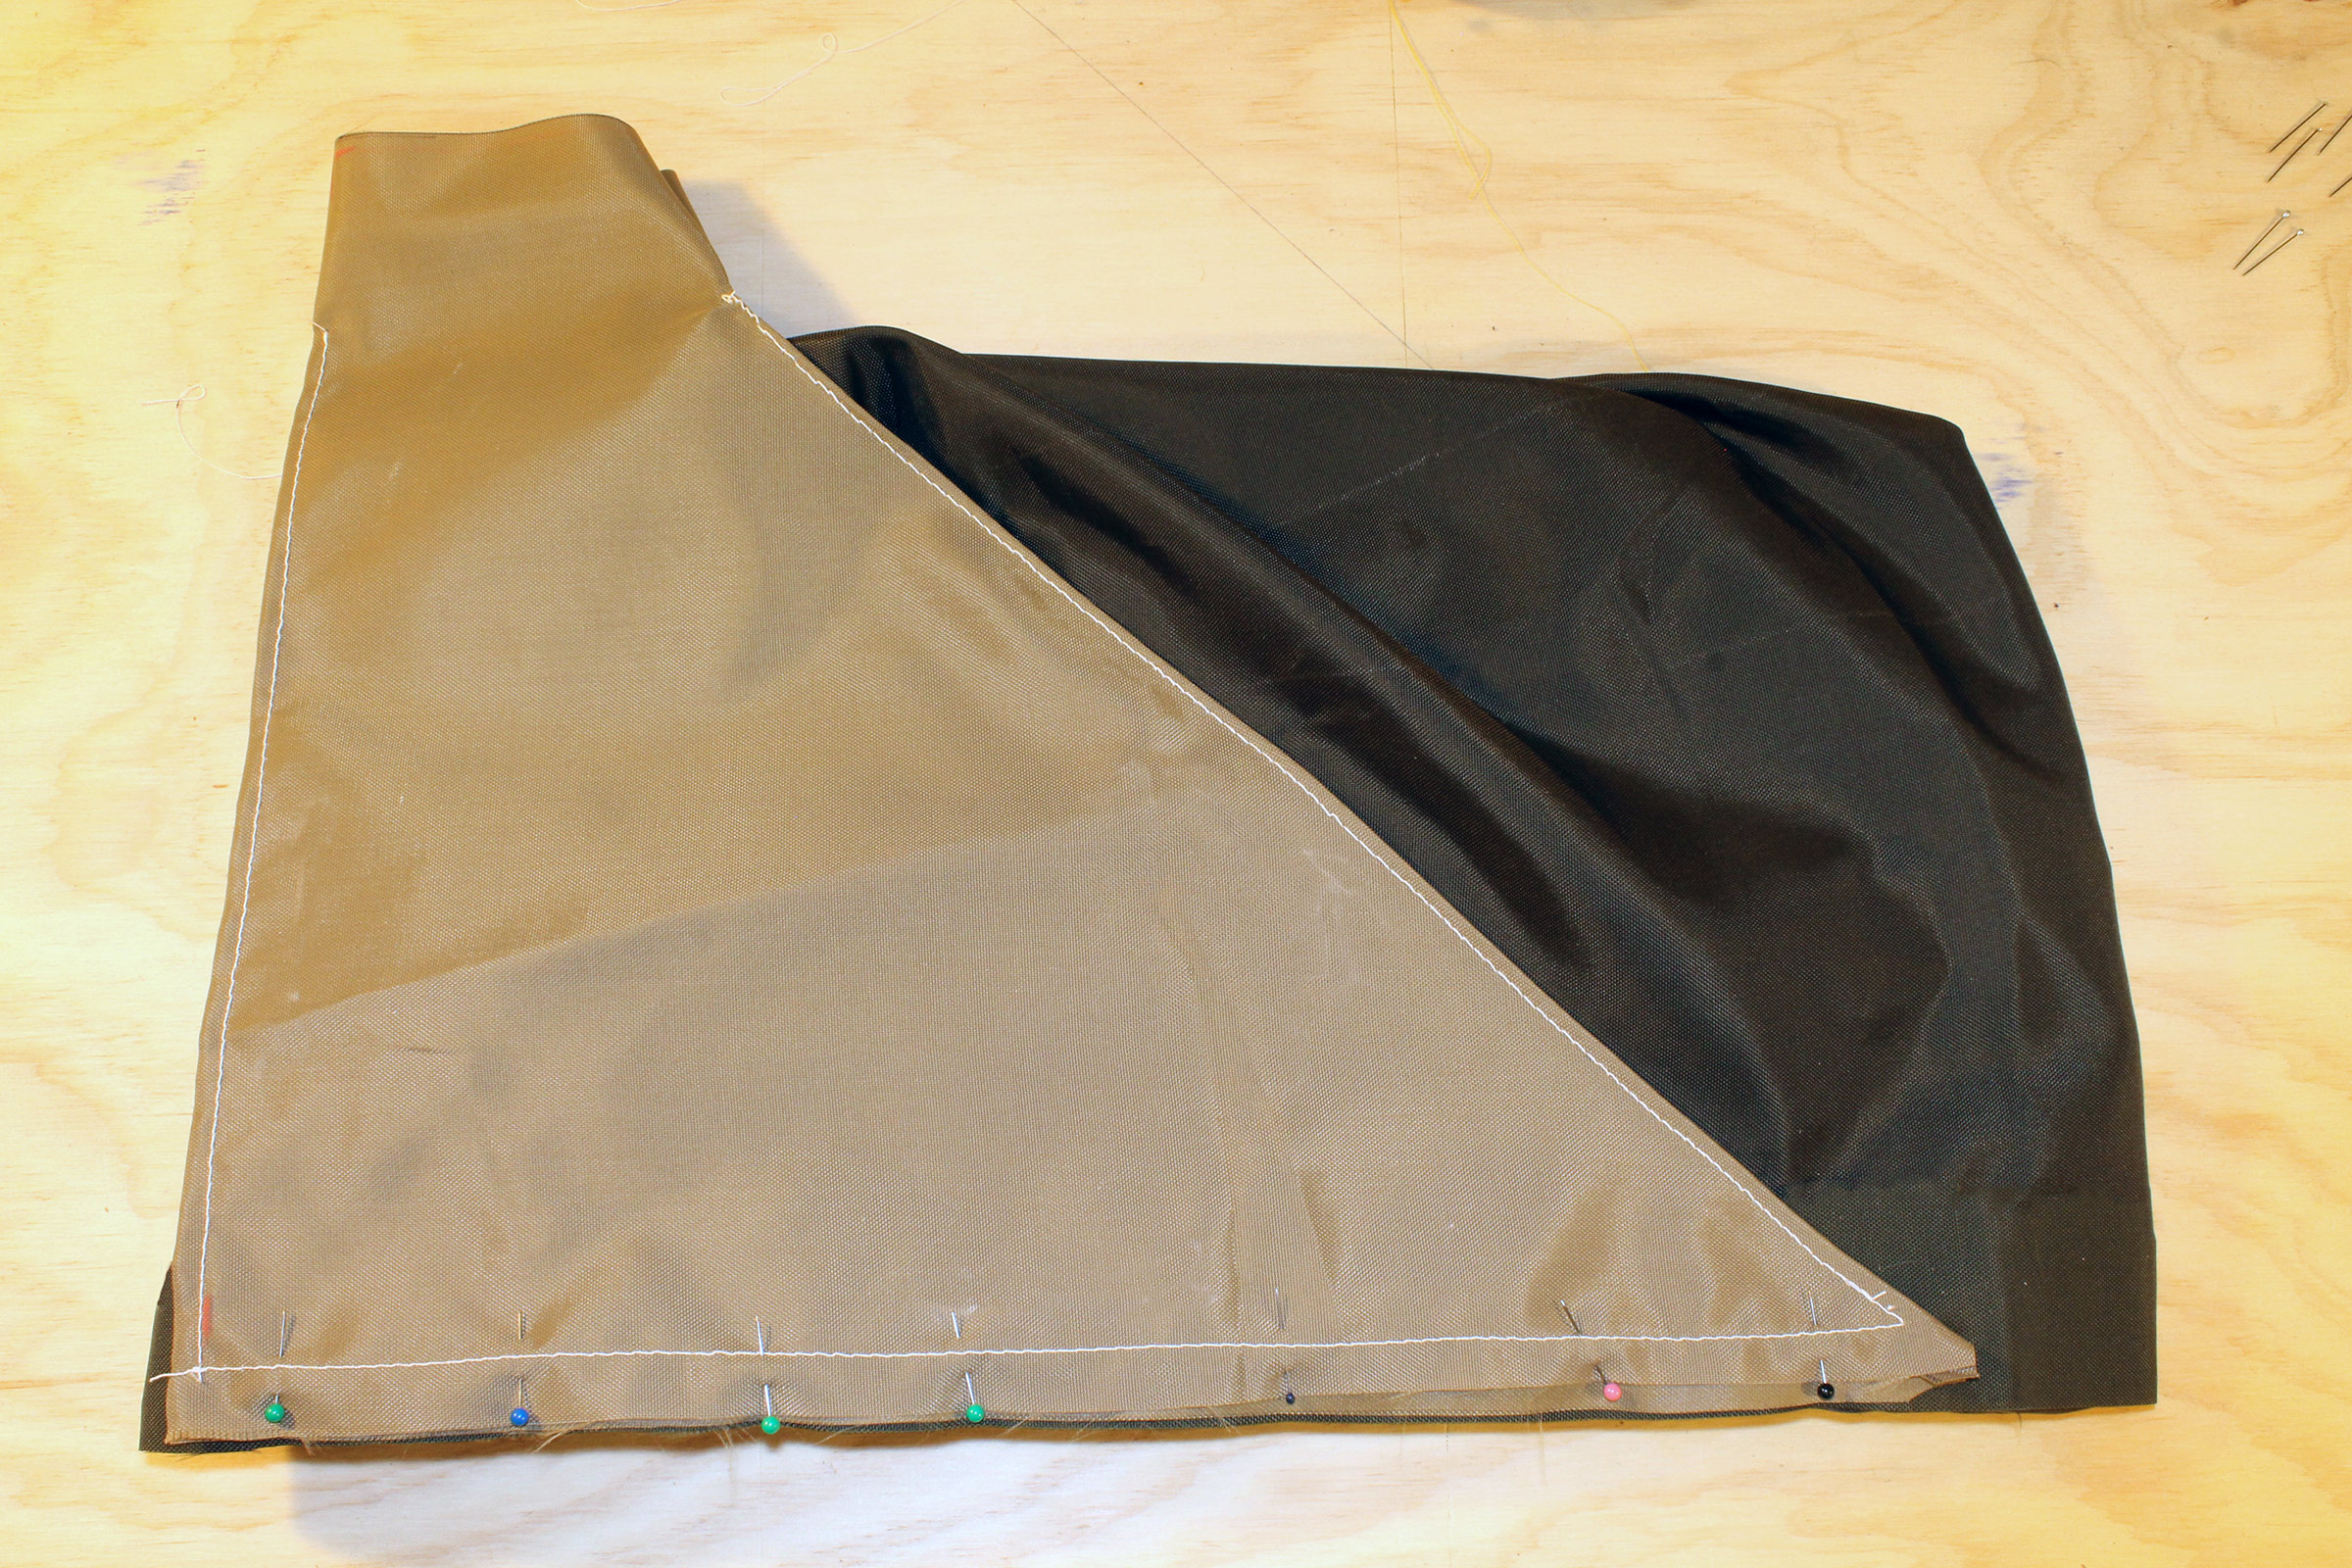
With the bag right side out, the first of the two gussets, aligned as note in the previous photograph, is pinned to the bag edge, then sewn. The second gusset follows.
After its two halves are sewn together, the collar gets folded to create a sleeve for a drawstring. The end of that sleeve is folded at a diagonal to create a fold at the end of the sleeve. The top 1/2″ of the collar is then folded, as shown here. I tried using a fabric adhesive for the work on the sleeve, but it didn’t hold nylon as well as it does cotton. I shifted to the 1/4″ double-sided seam tape that I use for sailmaking. Pinning would also hold the fabric in position for sewing.
The diagonal fold is under the top fold and then sewn.
The finished end of the drawcord sleeve has a folded edge that won’t be unraveled by the drawcord.
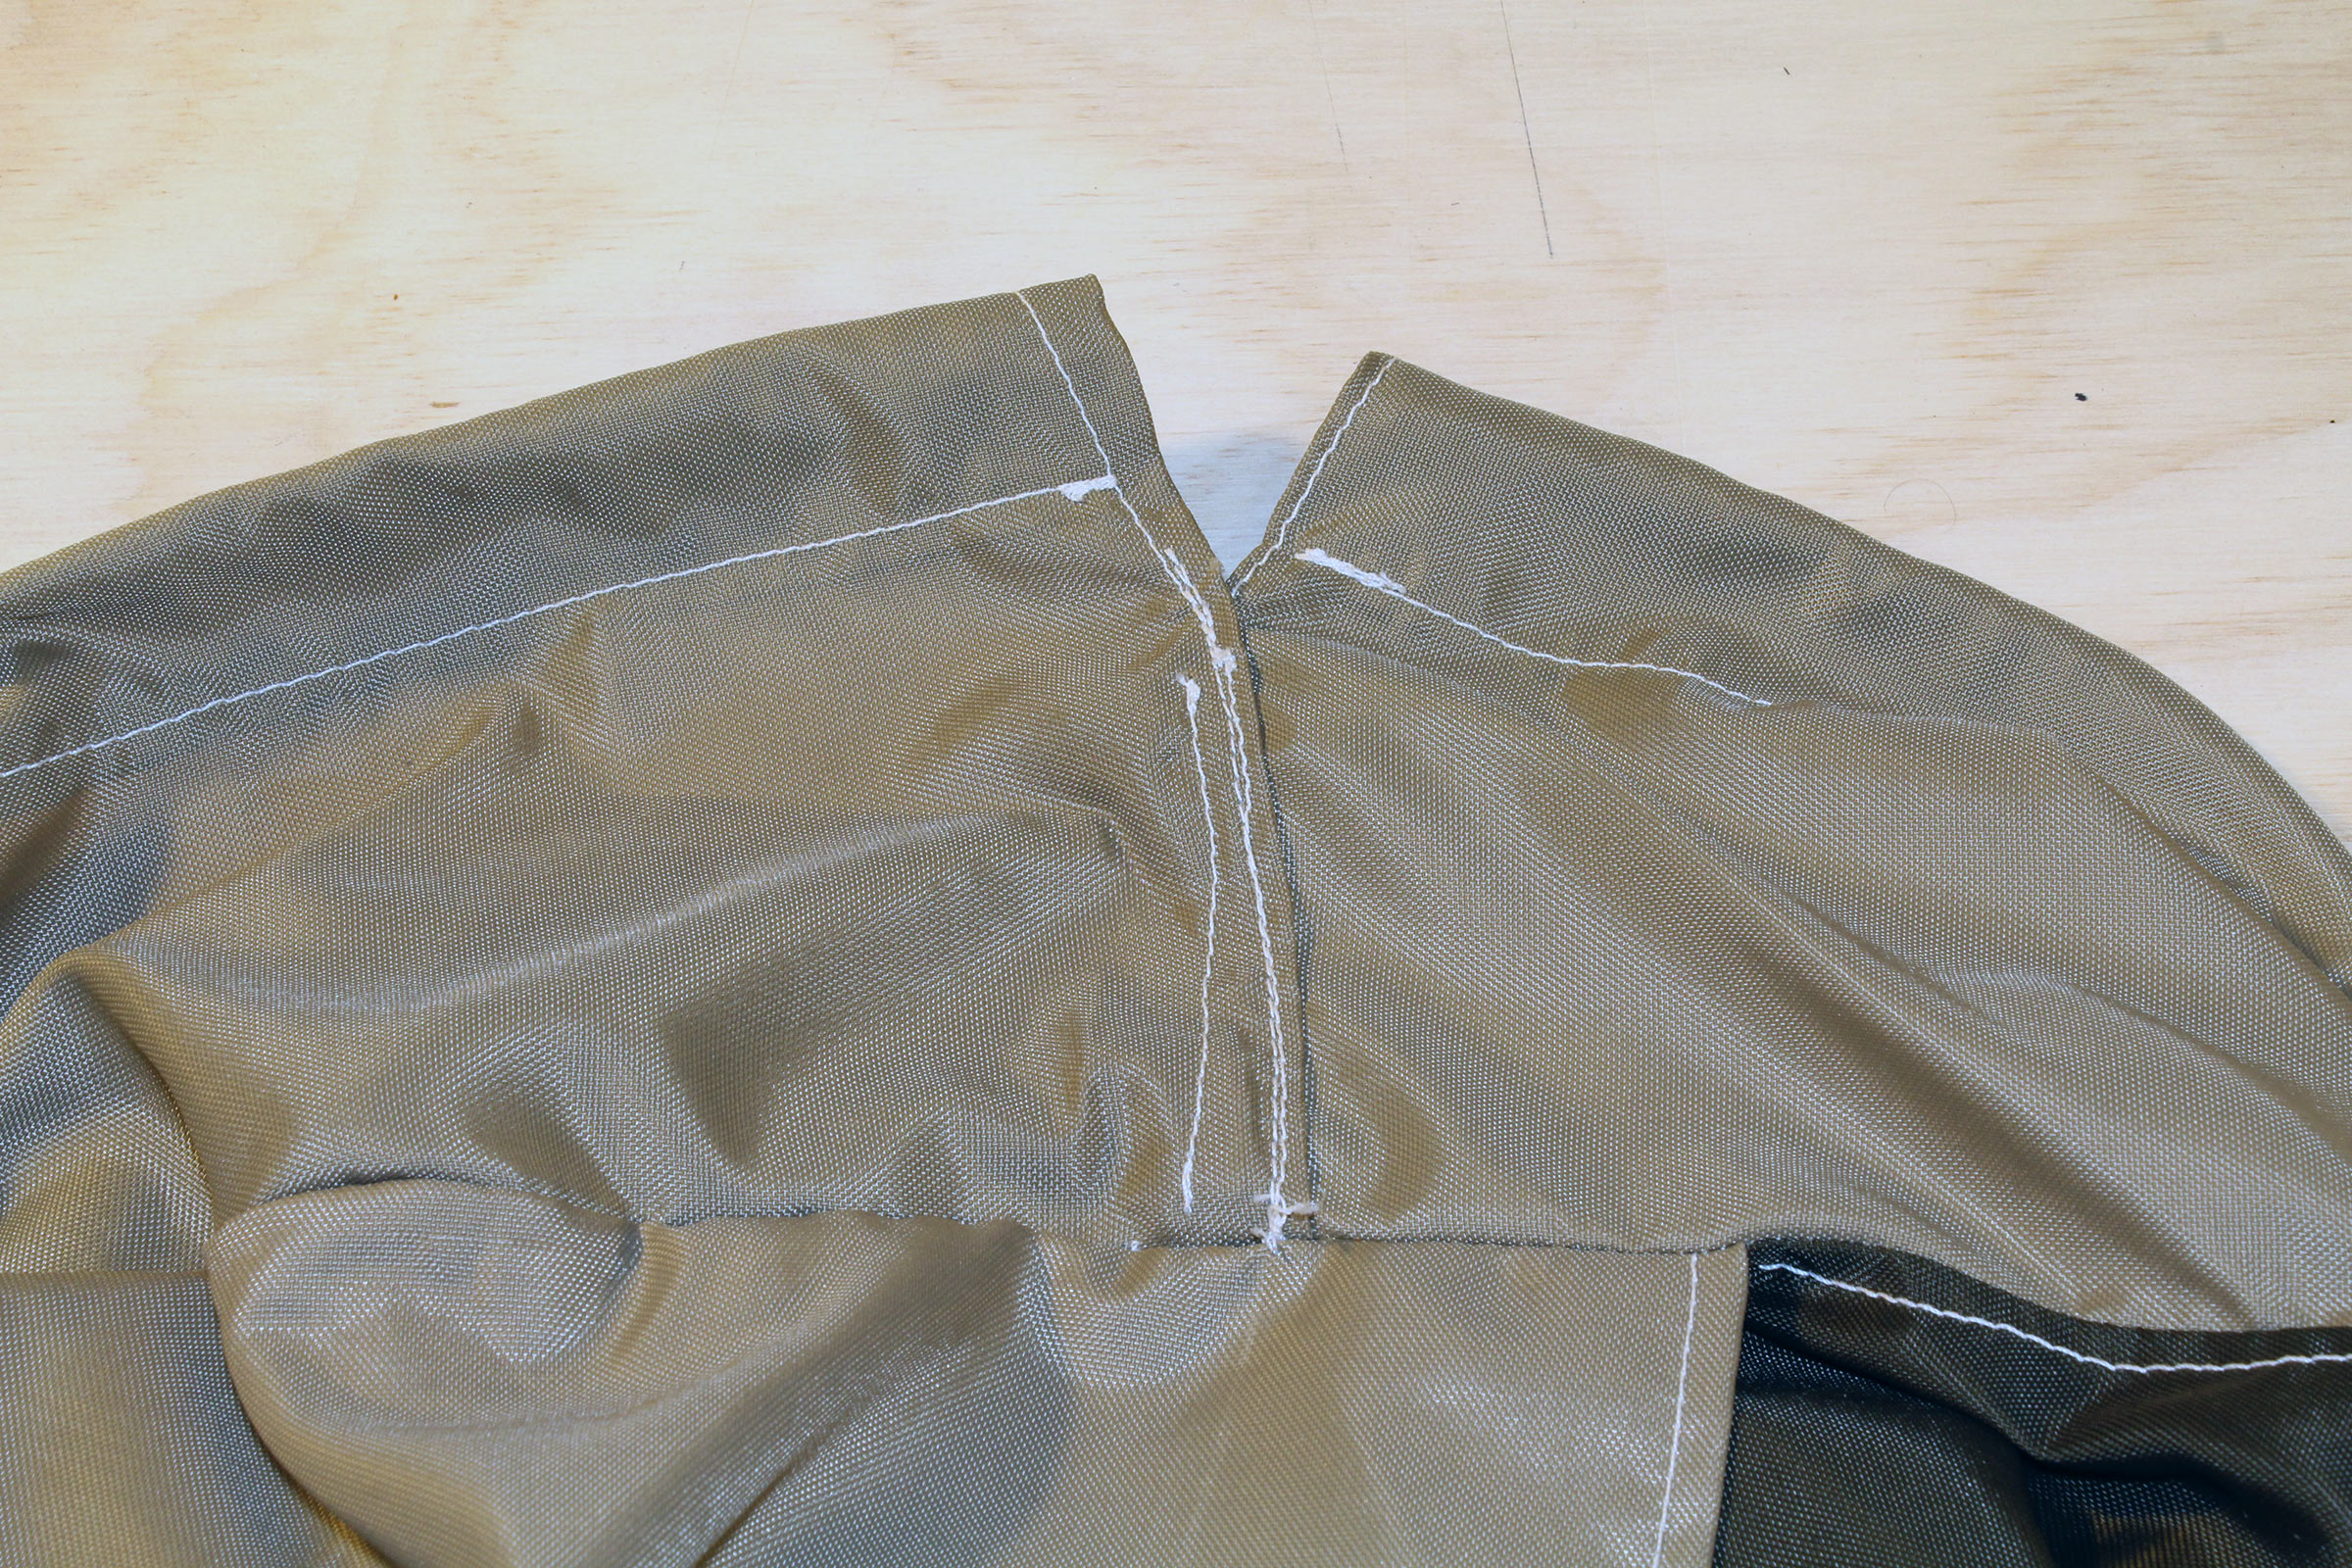
One end of the collar should have a fold to conceal the raw edge that would otherwise be visible on the outside. I didn’t do a very neat job here. I should have ripped out some of the diagonal stitching below the sleeve to give myself more fabric to work with.
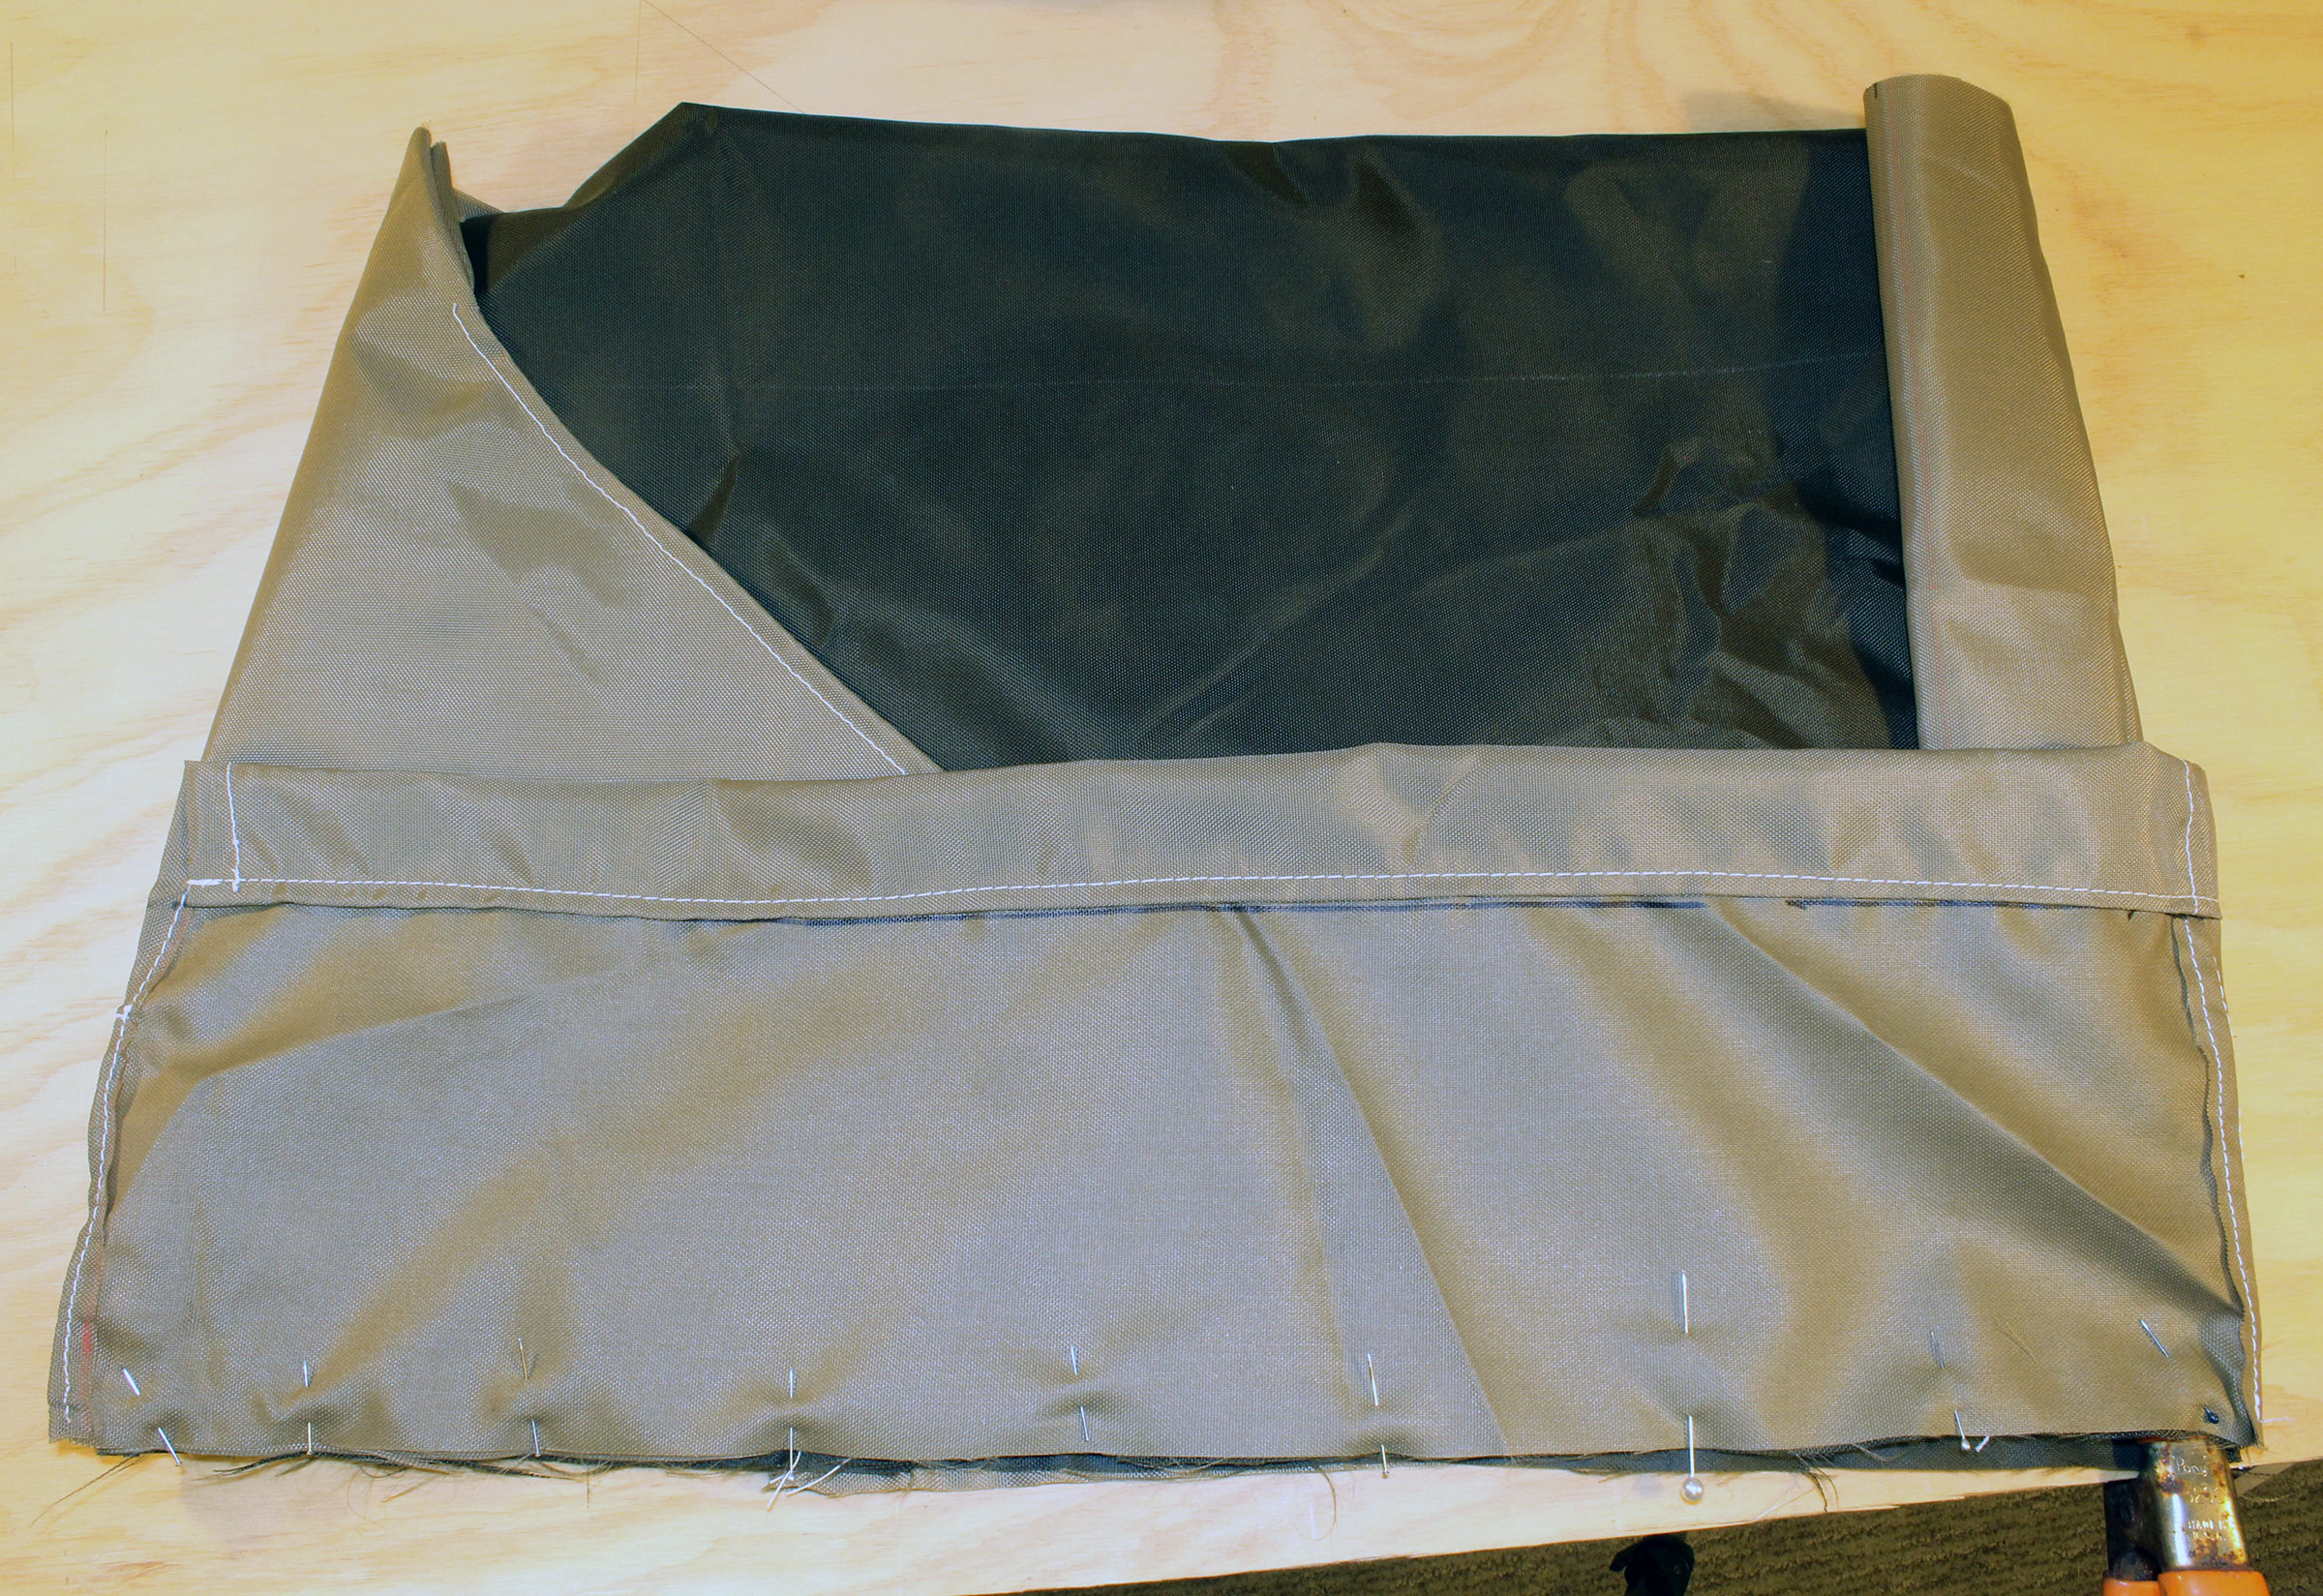
The collar gets pinned to the assembled bag and gussets. A spring clamp (bottom right) comes in handy for tensioning all the layers of fabric to get them to lie flat against each other.
When the collar is pinned to the entire perimeter of the bag and its gussets, the ends of the collar will meet with an overlap. The end with the hem goes underneath, to be on what will be the outside of the tote.
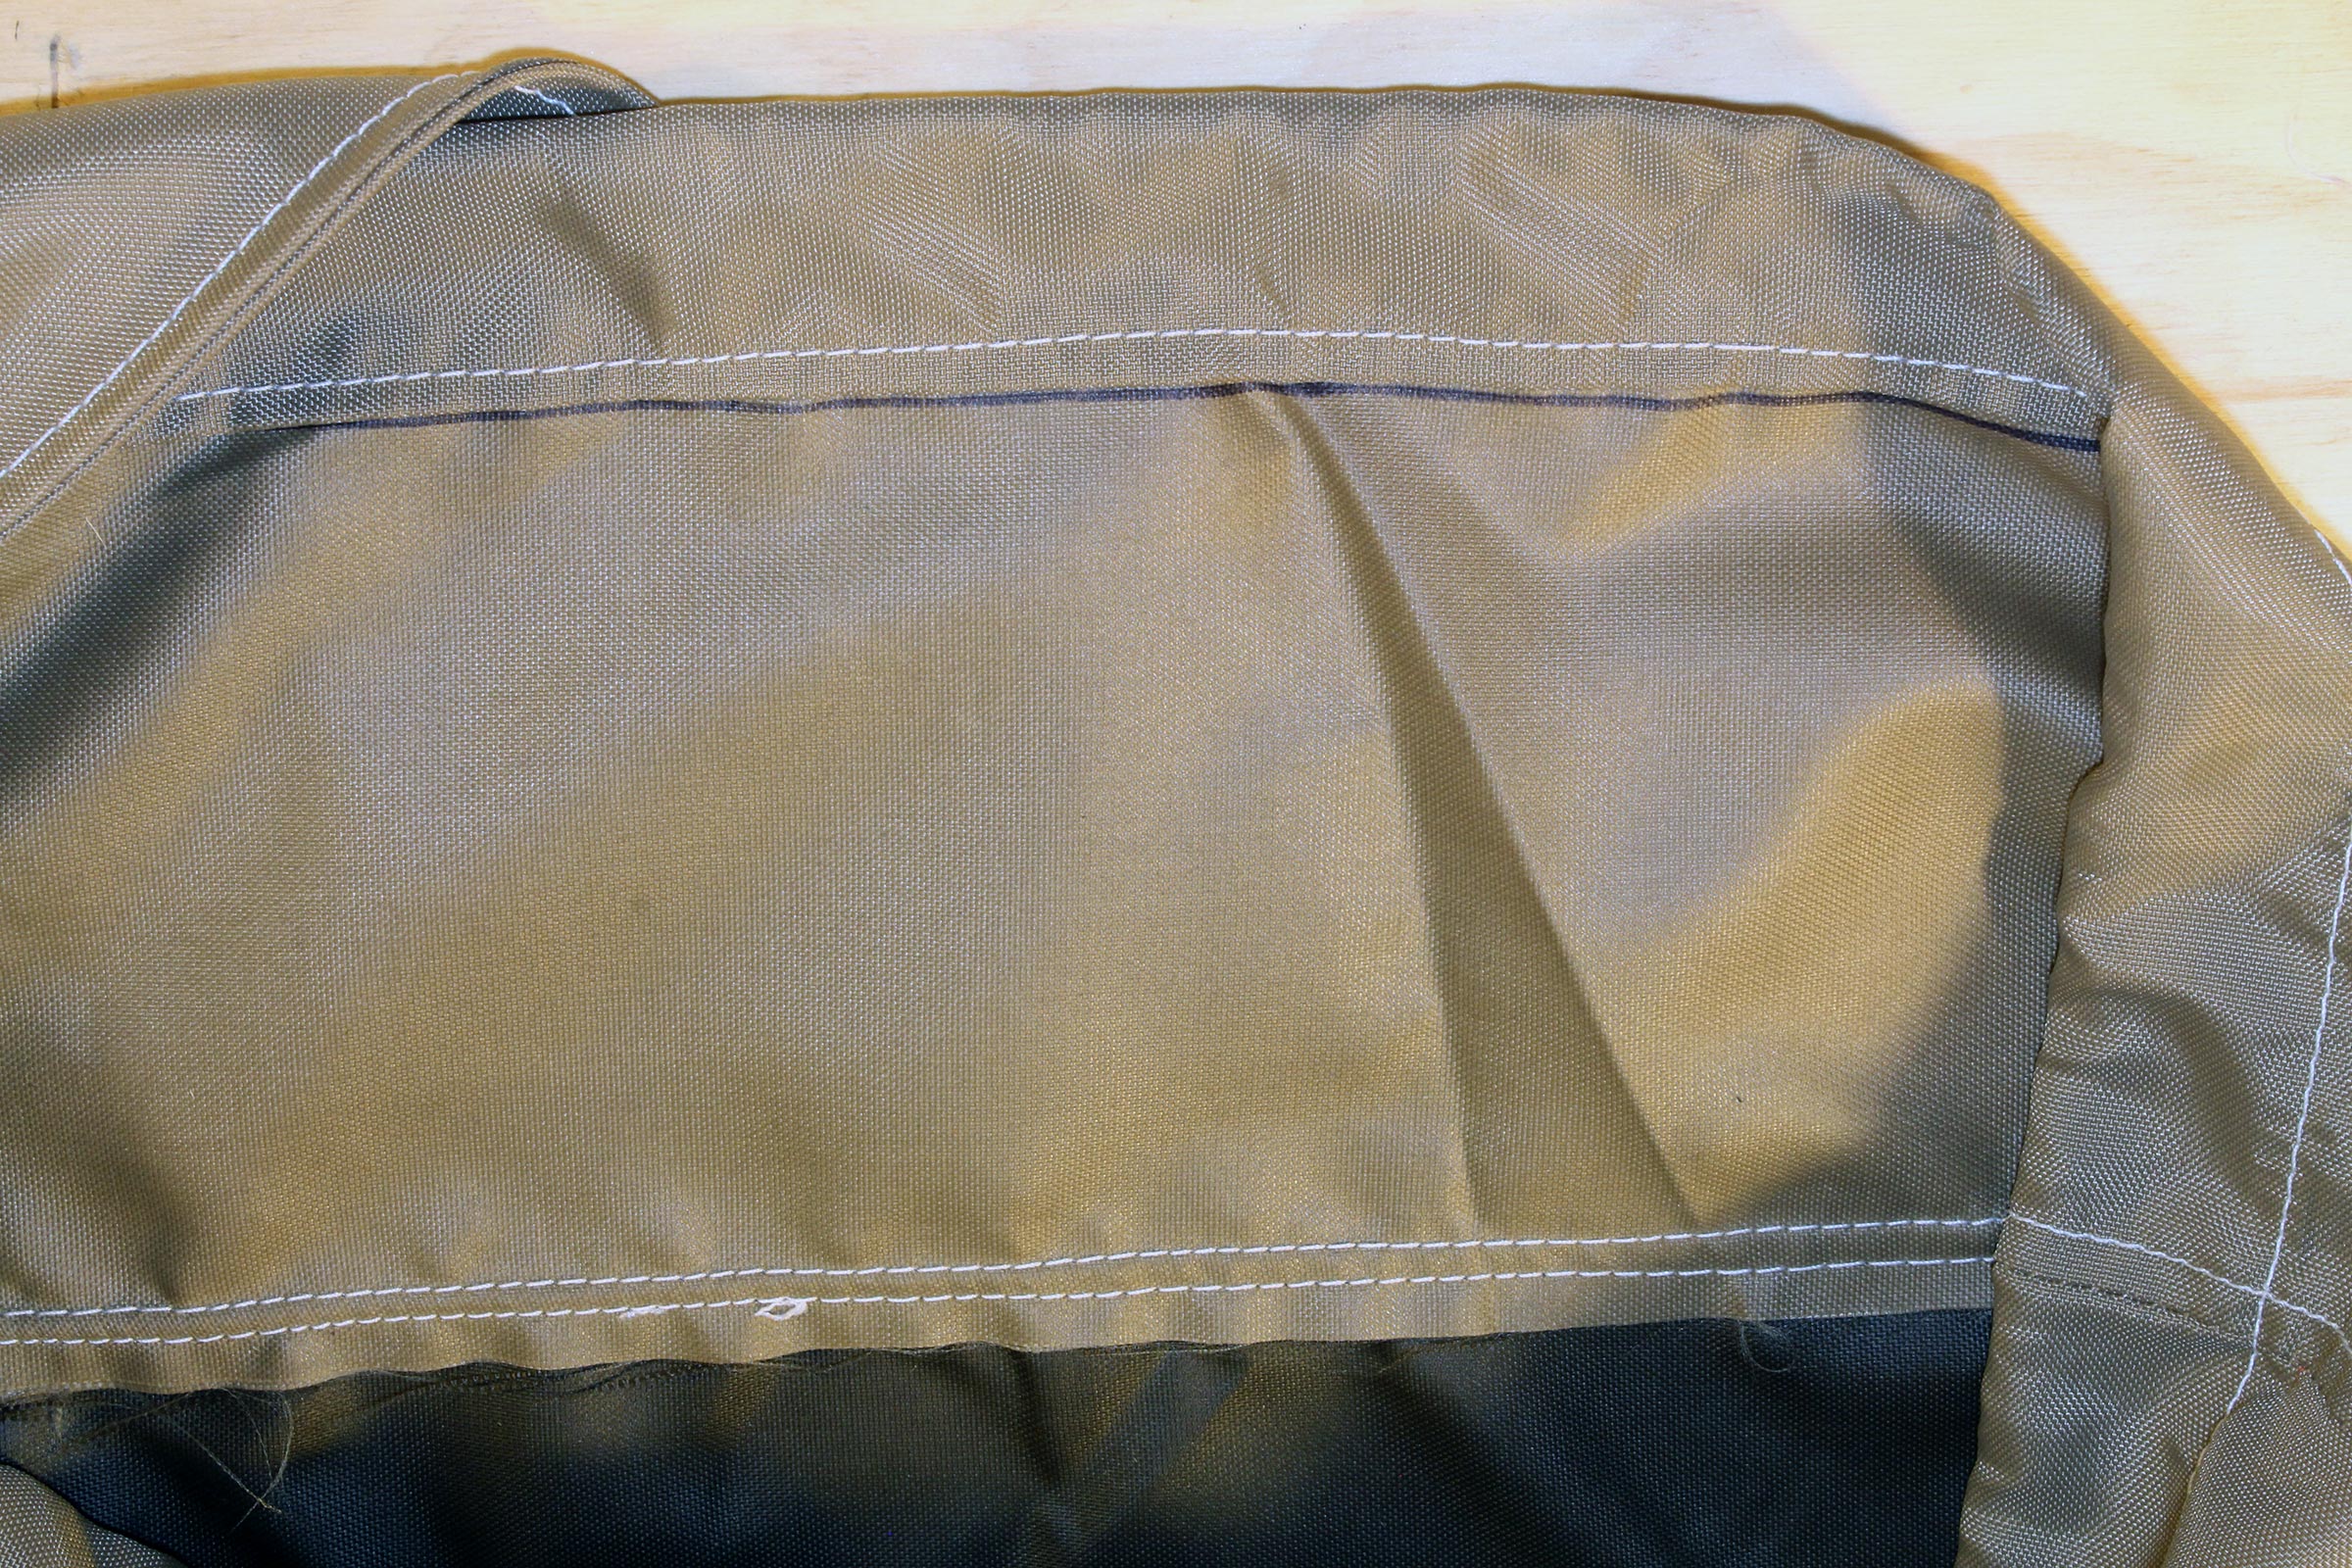
After the the collar has been sewn to the bag and gussets, the collected seam allowances (at photograph bottom) are all folded down over the bag and sewn flat.
The overlap of the ends of the collar are sewn together, and with a bit of care, more neatly than I have done here. I use contrasting thread to make the sewing clearly visible in photographs, and it makes bad sewing just as clear.
The strap is made from a piece of pack cloth 11″ wide. The length varies to fit the user and is determined by putting the tote on. Pin a strip of scrap fabric into the openings at the tops of the gussets and adjust the height of the bag so you can comfortably reach the bottom of the bag with your arm straight. Add about 4″ to the length of the scrap and cut the cut the strap fabric to that length. I’m 6’ tall and cut a strap 28″ long.
After the strap is folded in half and sewn (as it appears here at right), it gets turned inside out.
Fold the edge of the gusset extension to the inside and insert the sleeve; sew two lines to secure the sleeve and finish sewing the sides of the extension.

The collar’s sleeve gets a cord and a lock. My homemade brass bodkin, as the tool for threading the cord through its sleeve is called, is shown here.
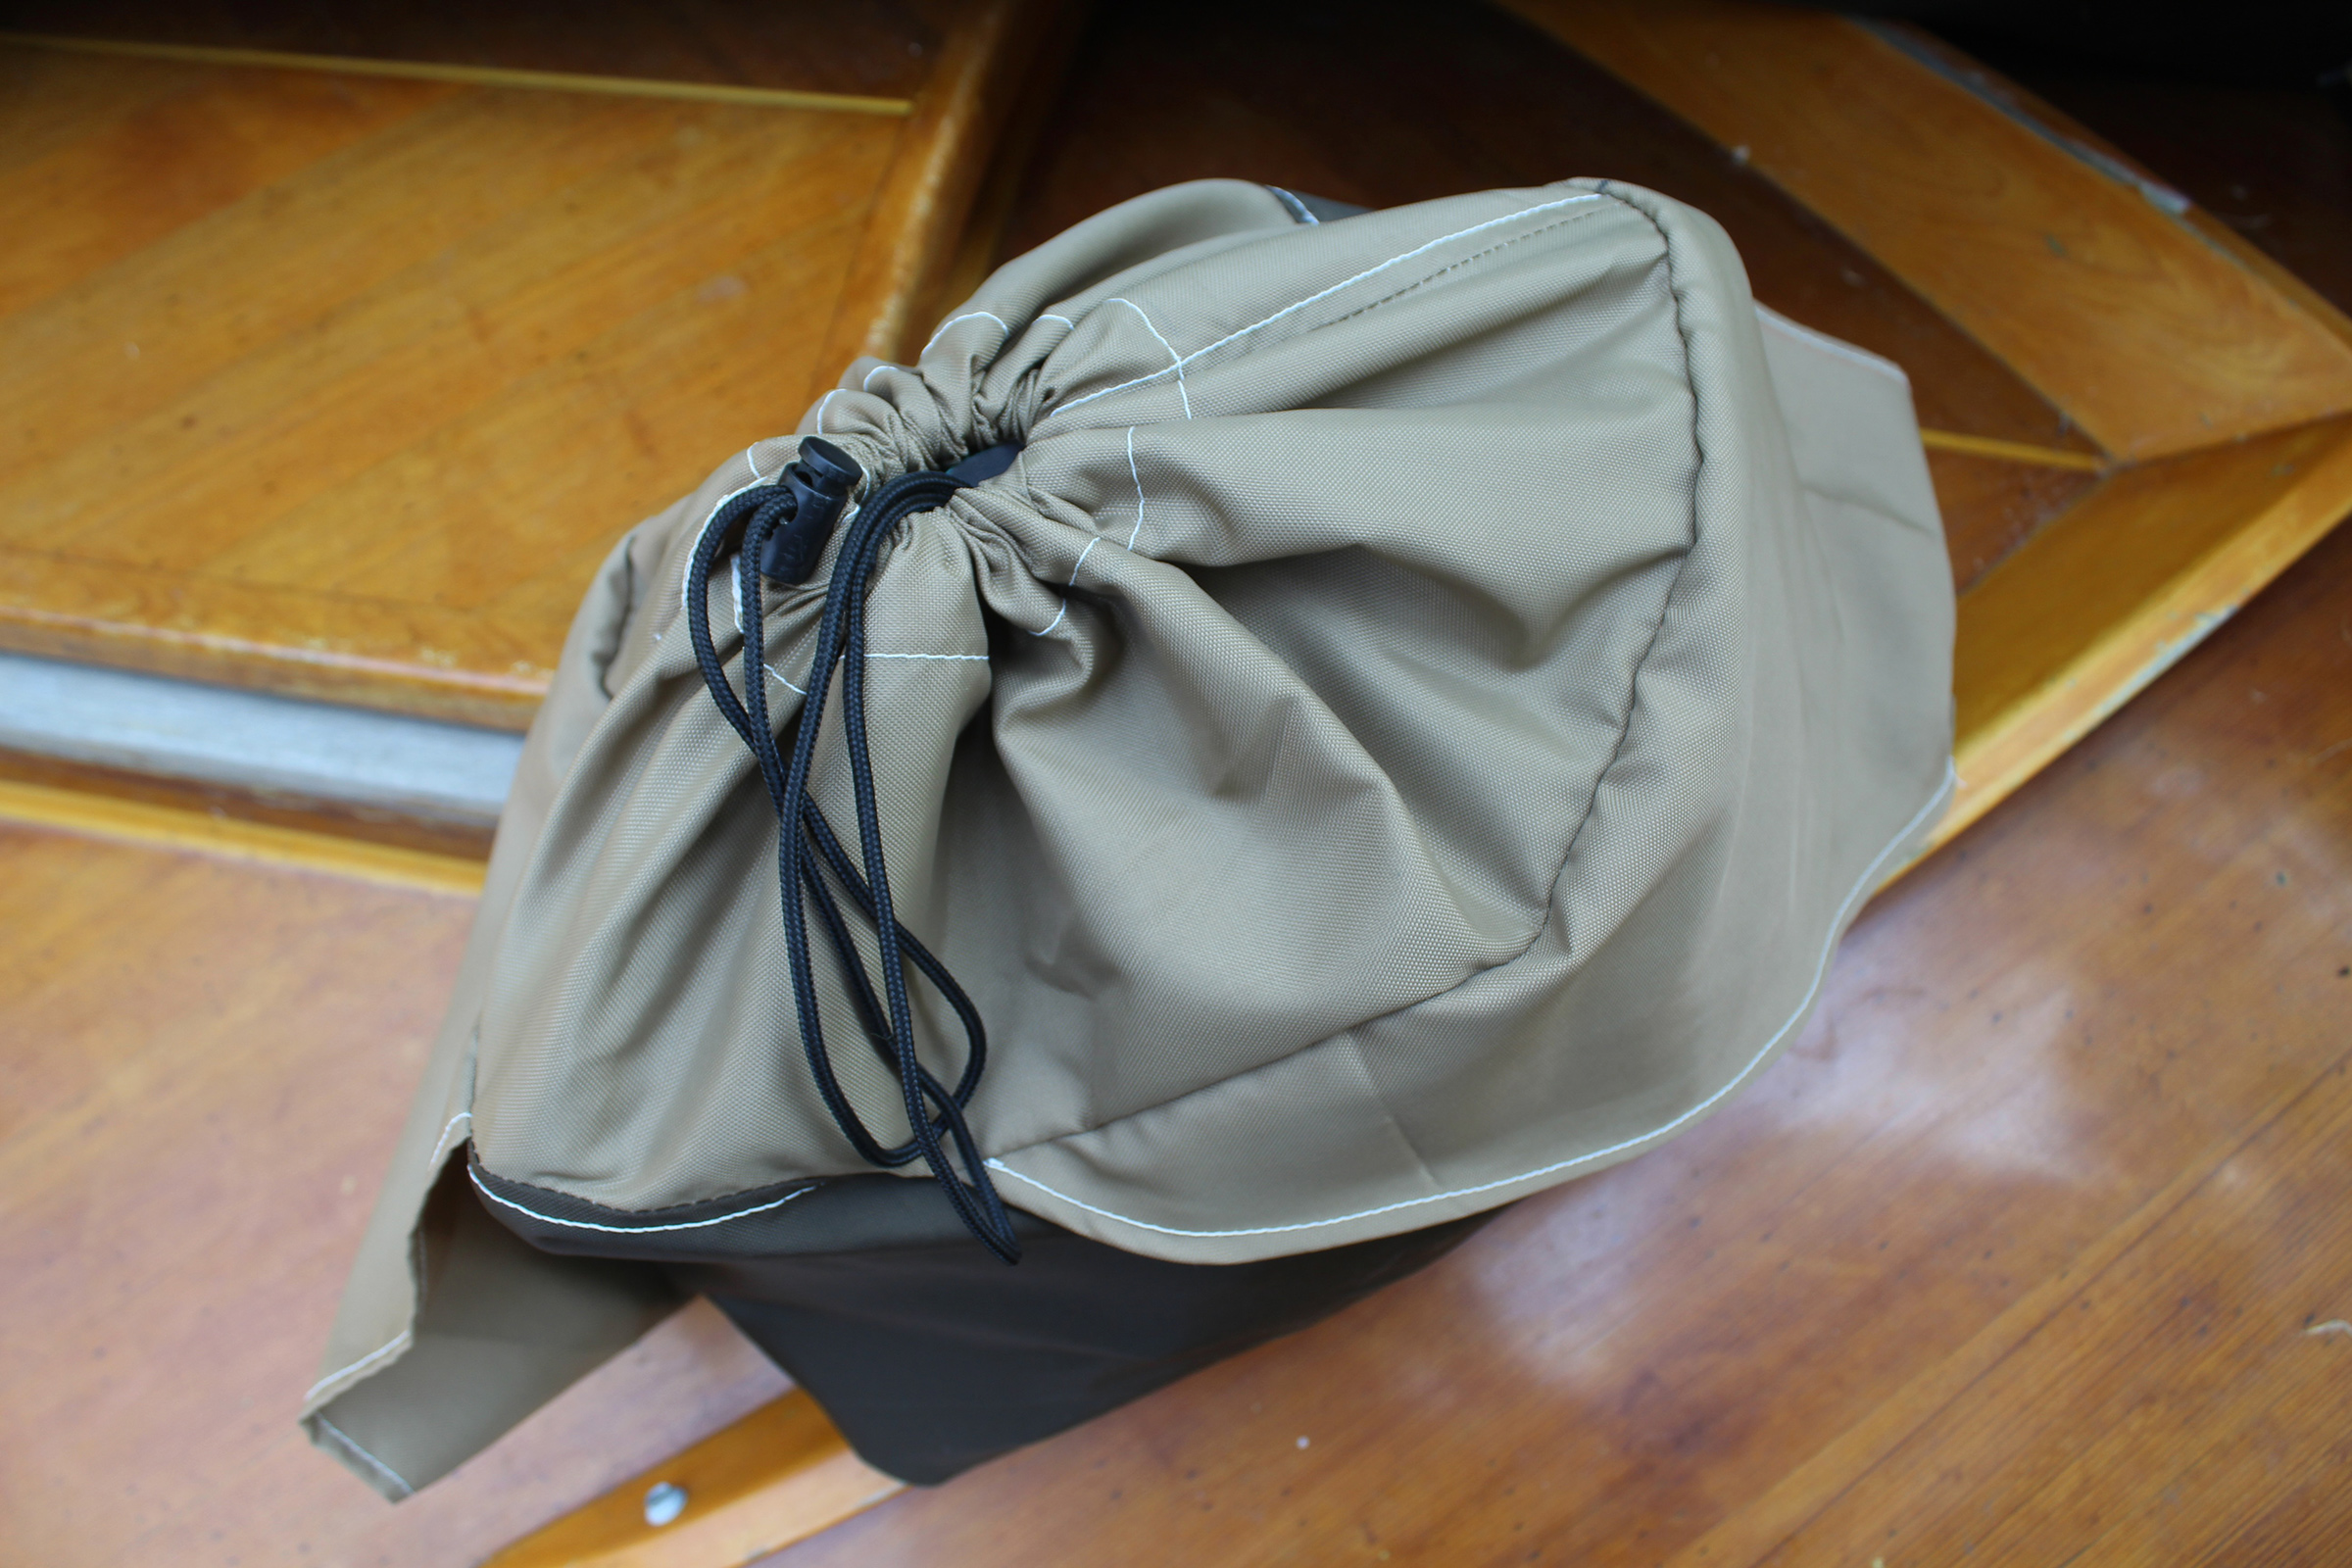
The collar usually hides out of the way inside the bag. When it’s needed to keep gear in or spray out, pull it up and cinch the cord.
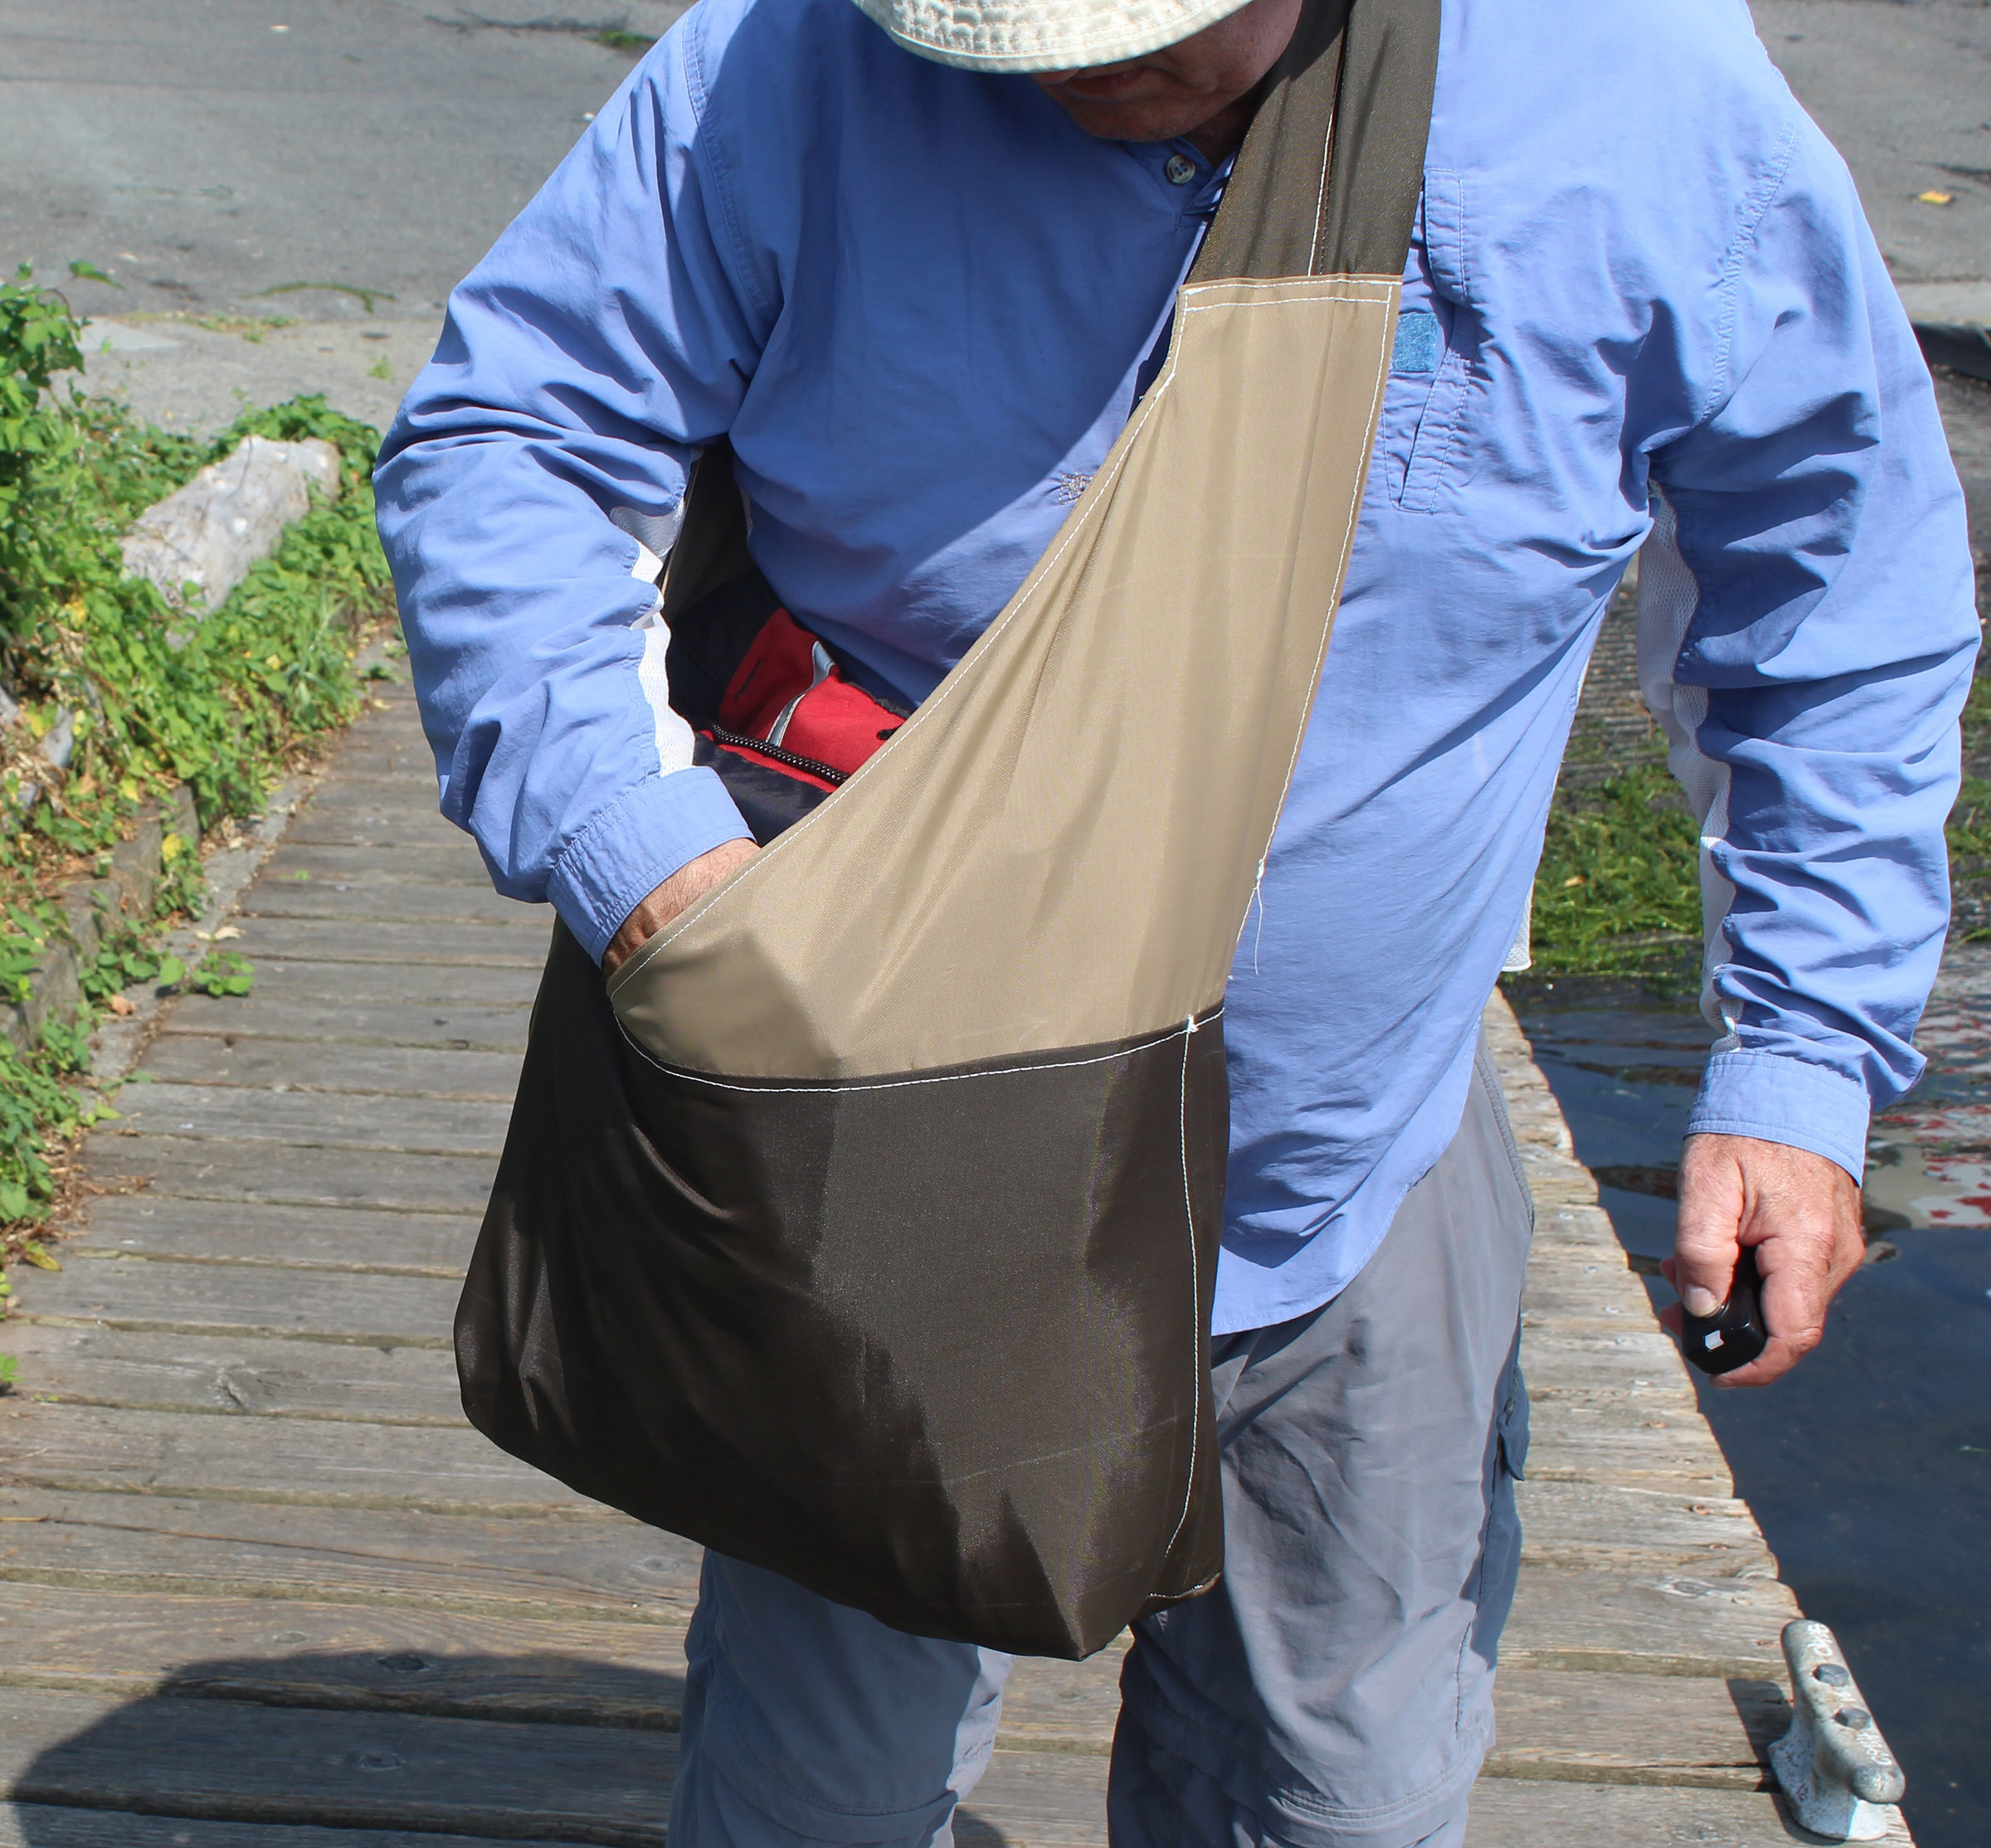
A sling bag has a significant advantage over a backpack. It can be pulled around front for easy access to the contents.
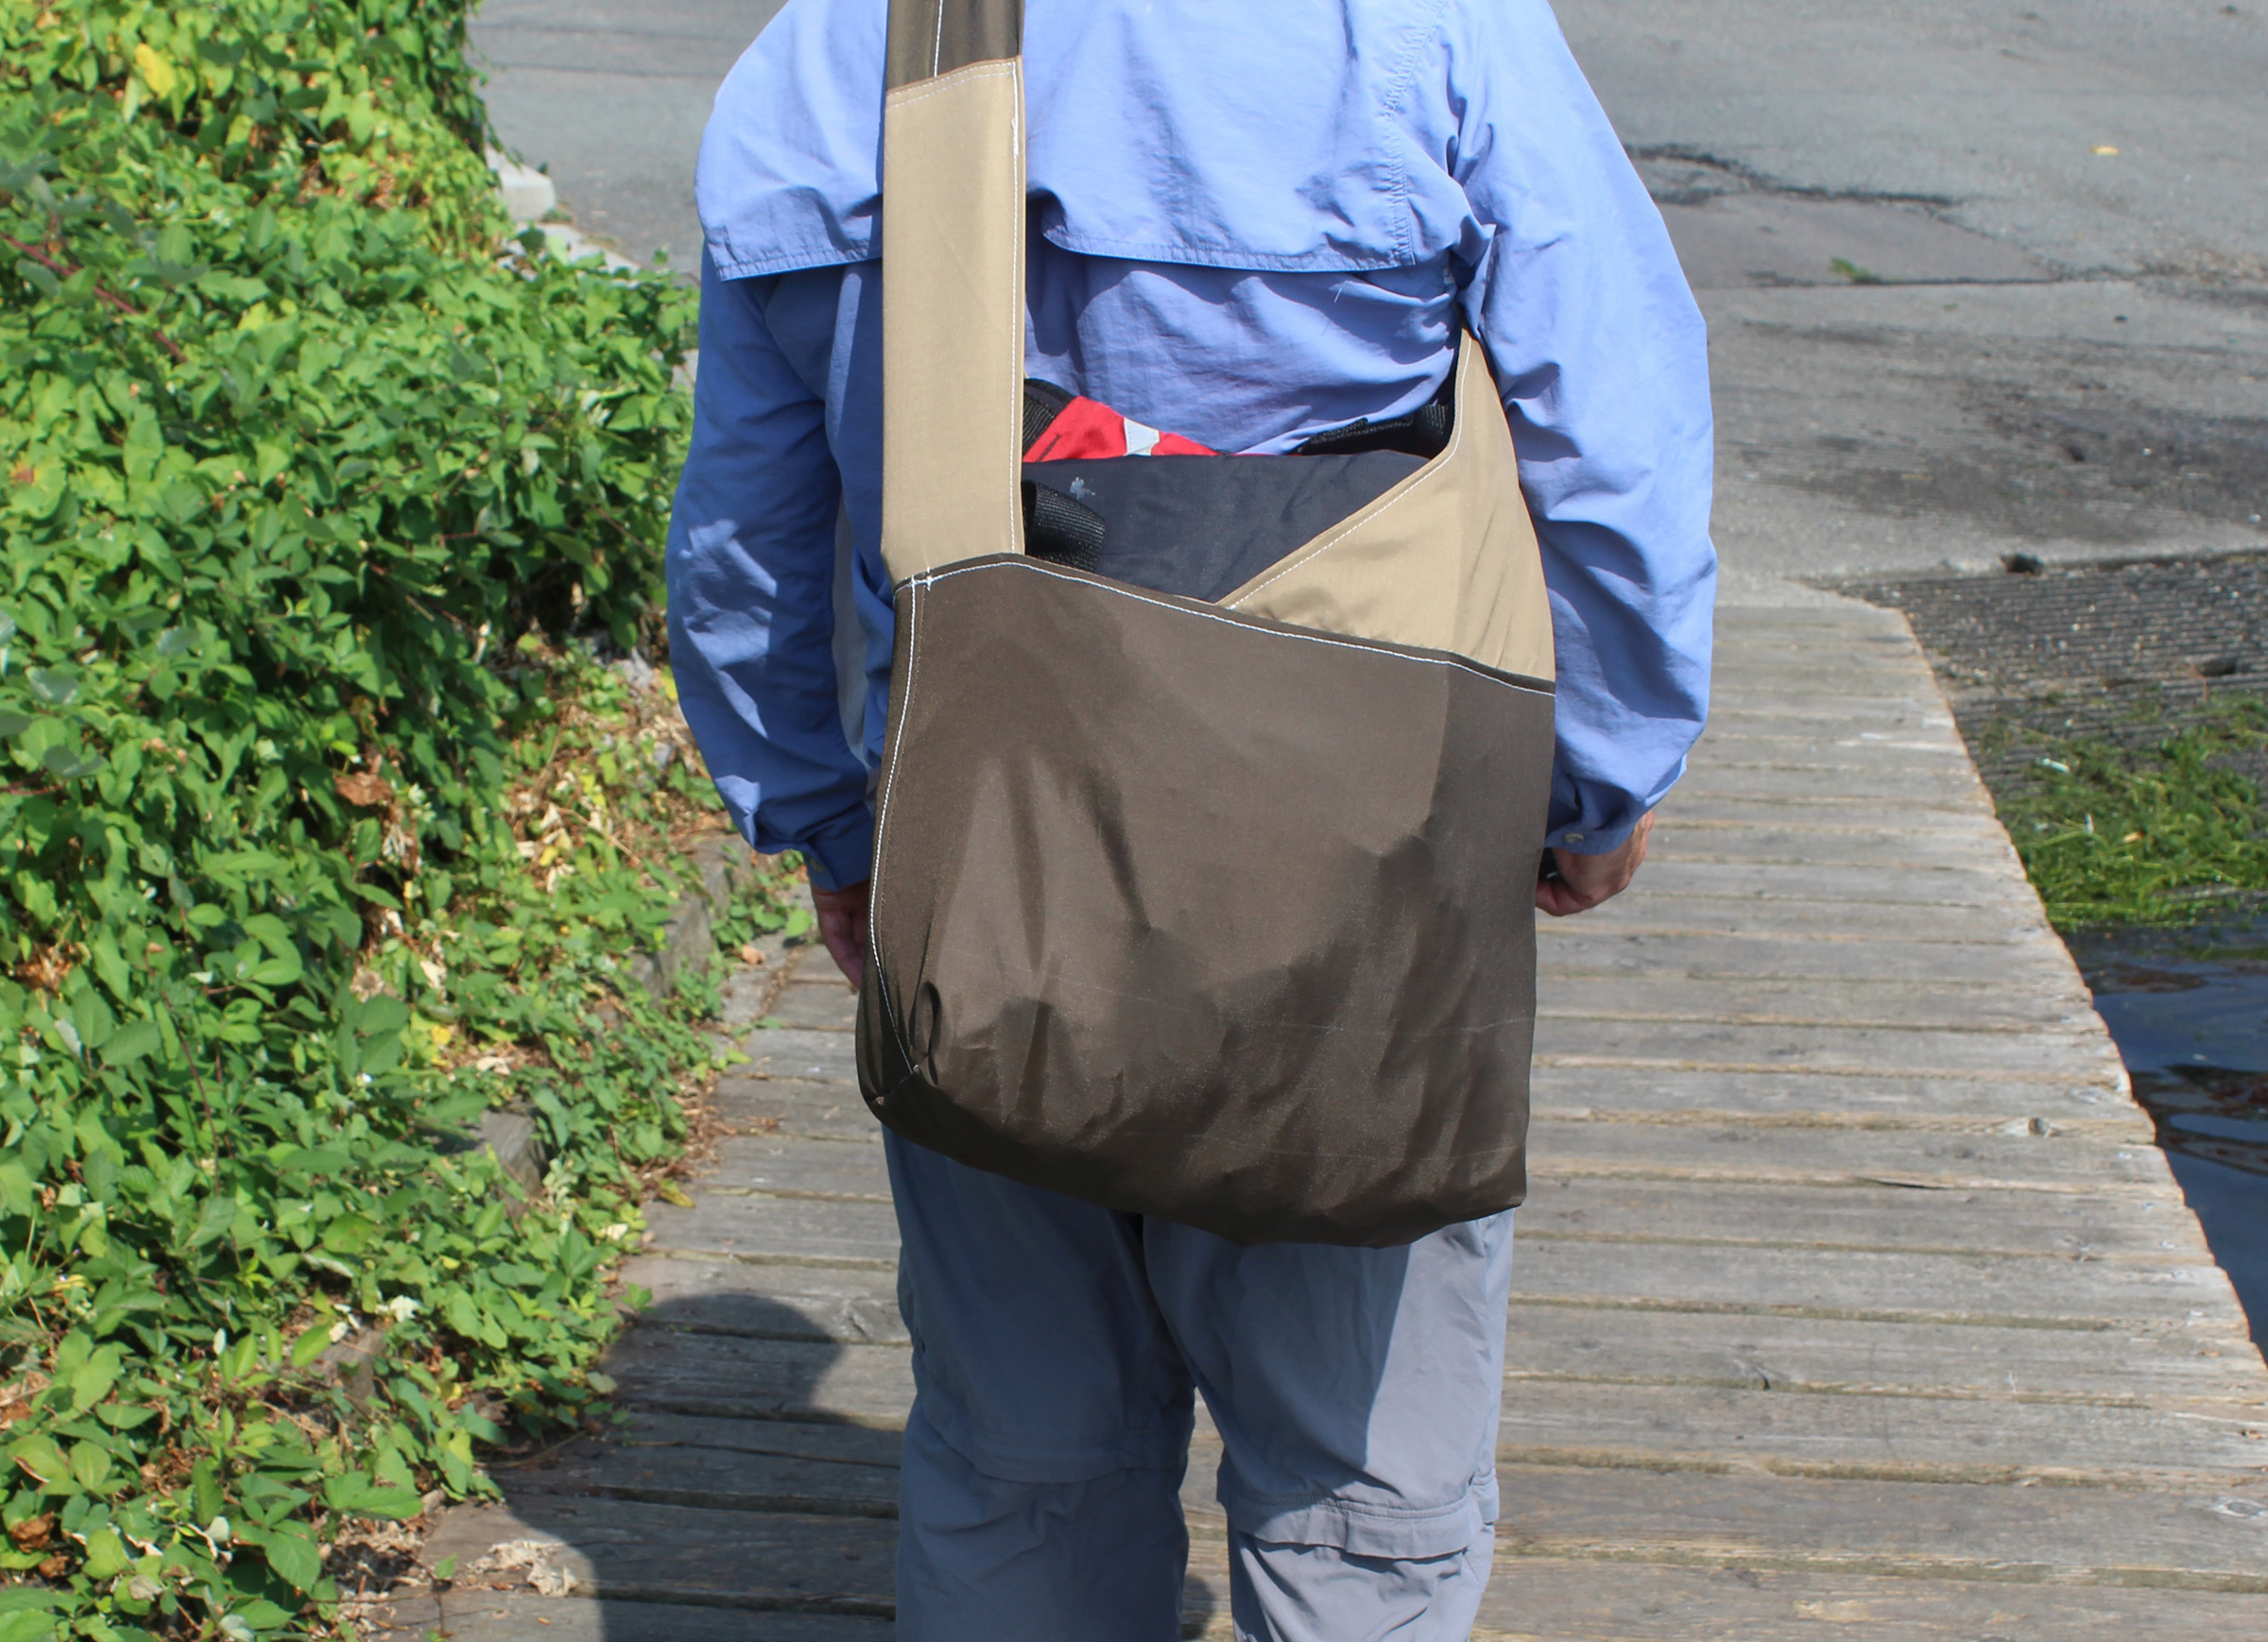
This sling tote can carry my PFD, paddling jacket, spray skirt, self-inflating seat pad, hat, water bottle, snacks, and a small dry bag that holds my phone, wallet, and car keys.
Ben was right—a sling bag is a very handy tote. It is comfortable to have on, has a generous capacity, and shifts in an instant from out of the way behind me when I don’t need the gear in it to up front when I do. I expect I’ll get a lot of use from it, whether at the launch site, or going ashore for a walk with snacks, extra clothing, camera, and notebook all at the ready.![]()
Christopher Cunningham is the editor of Small Boats Magazine.
You can share your tips and tricks of the trade with other Small Boats Magazine readers by sending us an email.


Thanks for the sewing lesson! I too did some bag making this summer, though I didn’t need to create a bodkin to finish it. My bags were sized to fit through the hatches of my Scamp so that I could organize my cooking gear and provisions for easy access, and especially for easy removal and storage after a voyage. The bags are slightly smaller in footprint than a paper grocery sack, but are about 1/2 again as tall with a slotted handle at the top. They hold my stove and cooking gear, my clothes, food and bottled water. I have a heavier bag for tools and spare parts. When the bags are fitted in the boat’s voluminous storage areas, there are no random items to track down, and the use of various fabrics helps me identify which bag to pull out if I’m looking for clean socks or a cutting board, etc. I used heavy Cordura nylon for some of the bags and waxed canvas for others, and all of my adventuring gear fits in eight bags. It has been fun to think up these kinds of projects and design and build them, especially when they work as well as these have.
Michael Moore
Scamp TOR #170
I find Small Boats Magazine always interesting, and packed full of good boaty ideas and inspiration. I particularly liked your tote bag article this latest issue. I will definitely be making one soon.
Ordered some cloth, looks like a perfect bag to haul the random stuff from car to boat!
If Jack Bauer had one of these, he could have saved the world in 23 hours instead of 24.