A variety of different tools can be used to shape the flowing curves of oars and paddles, rudder blades and centerboards, horn cleats and tillers. A particularly effective tool is the sanding bow, which consists of a bow—a rigid frame, usually curved—and an abrasive belt stretched between its two ends. There are a few commercial versions—often articulated and equipped with devices for securing the ends of the sanding belt—and an even greater variety of home-made sanding bows, likewise equipped with means to secure the ends of the belt. However, the simplest types use a 1 × 30 sanding belt that loops around a bow, which is sized to hold the working span of the belt somewhat taut without the need for any clamping mechanism.
The first sanding bow I made, perhaps 15 years ago, was a 24″ flexible bow made of 1″ × 1⁄4″ laminated bamboo, bent like a simple archer’s bow with a 1″ sanding belt stapled to each end. Because the bow was flexible, I couldn’t apply much pressure to the belt, and the tool was relegated to hanging on a shop-wall pegboard, gathering dust rather than creating it.
Recently, with a spoon-blade-oar project underway on my workbench, I realized the time had come to make a more effective sanding bow.
 Photographs by the author
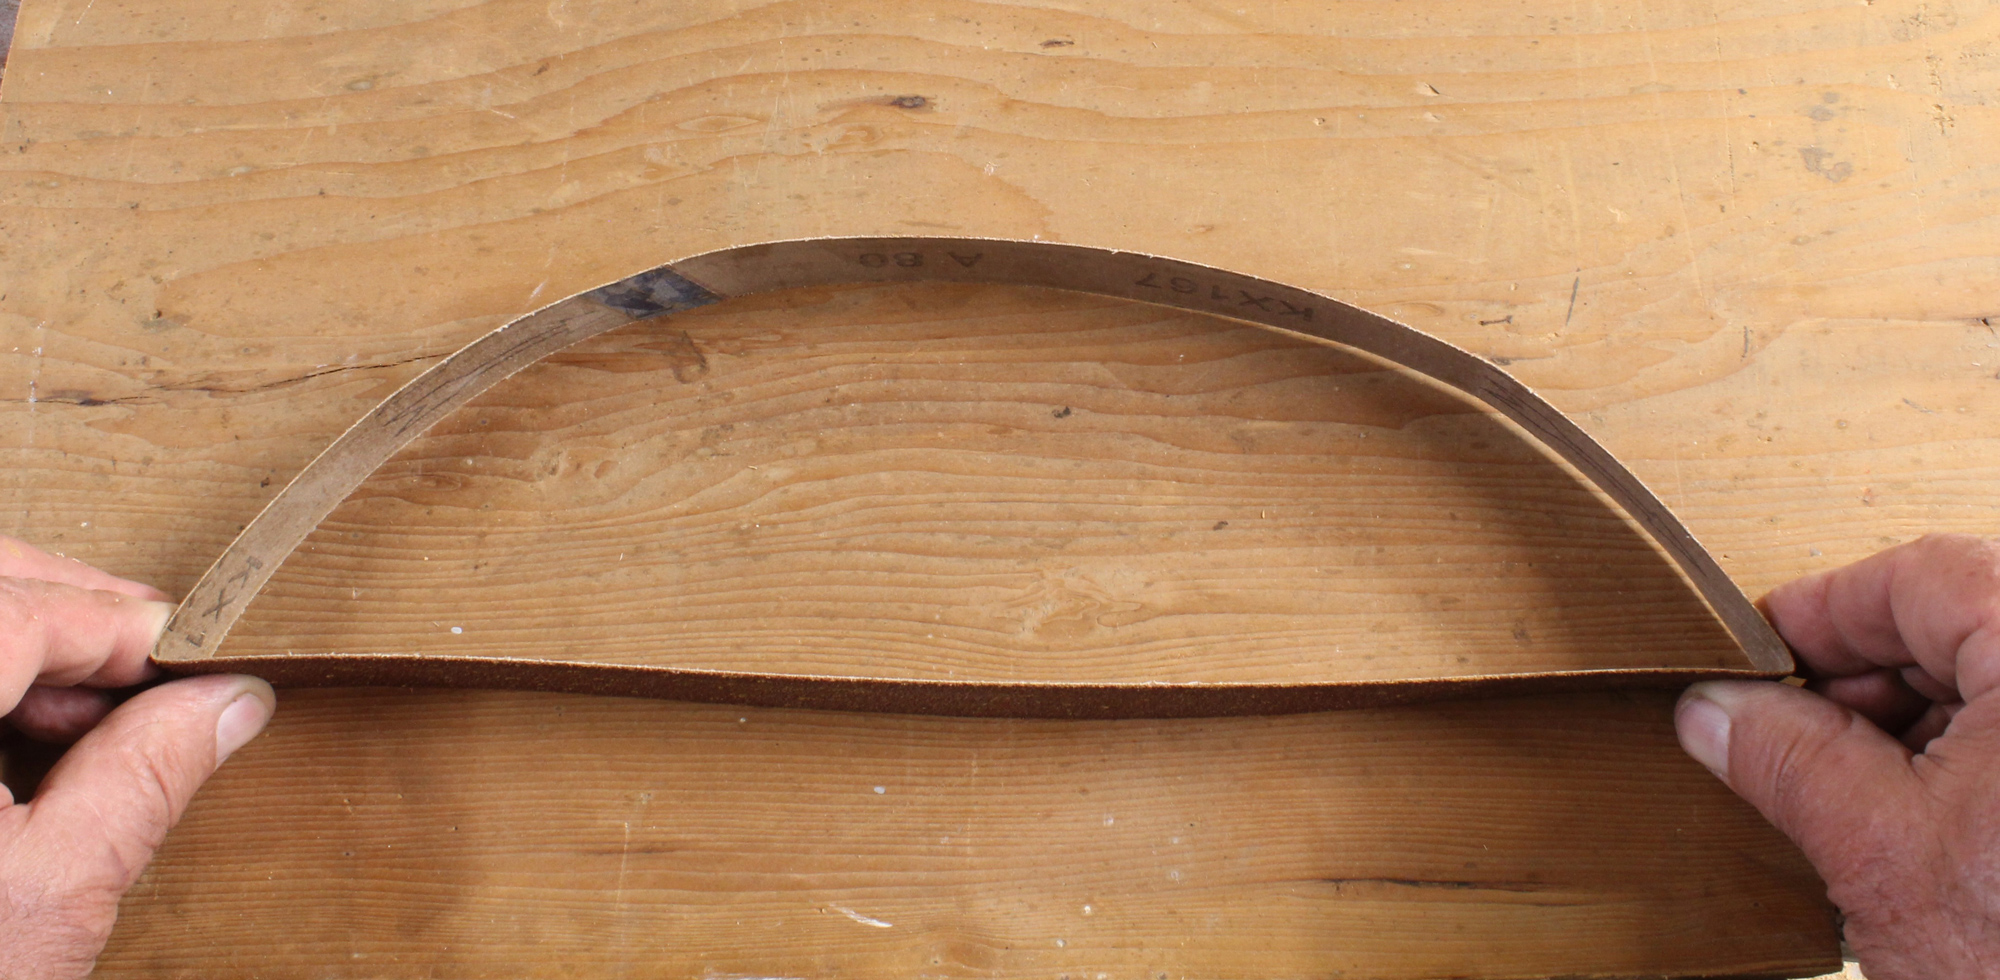
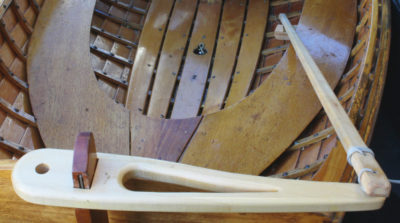
I pinched corners into a 1 × 30 sanding belt to establish the shape of the bow. For the straight portion I settled on a length of 14″, leaving 16″ to wrap around the back of the bow.
A 16″-long thin oak batten bent into the belt created a pattern for the bow. Slipping the belt up from the bottom edge allows accurate tracing of the back of the batten. The belt isn’t traced; its position is drawn with a ruler set on the marks for the inside corners of the batten.

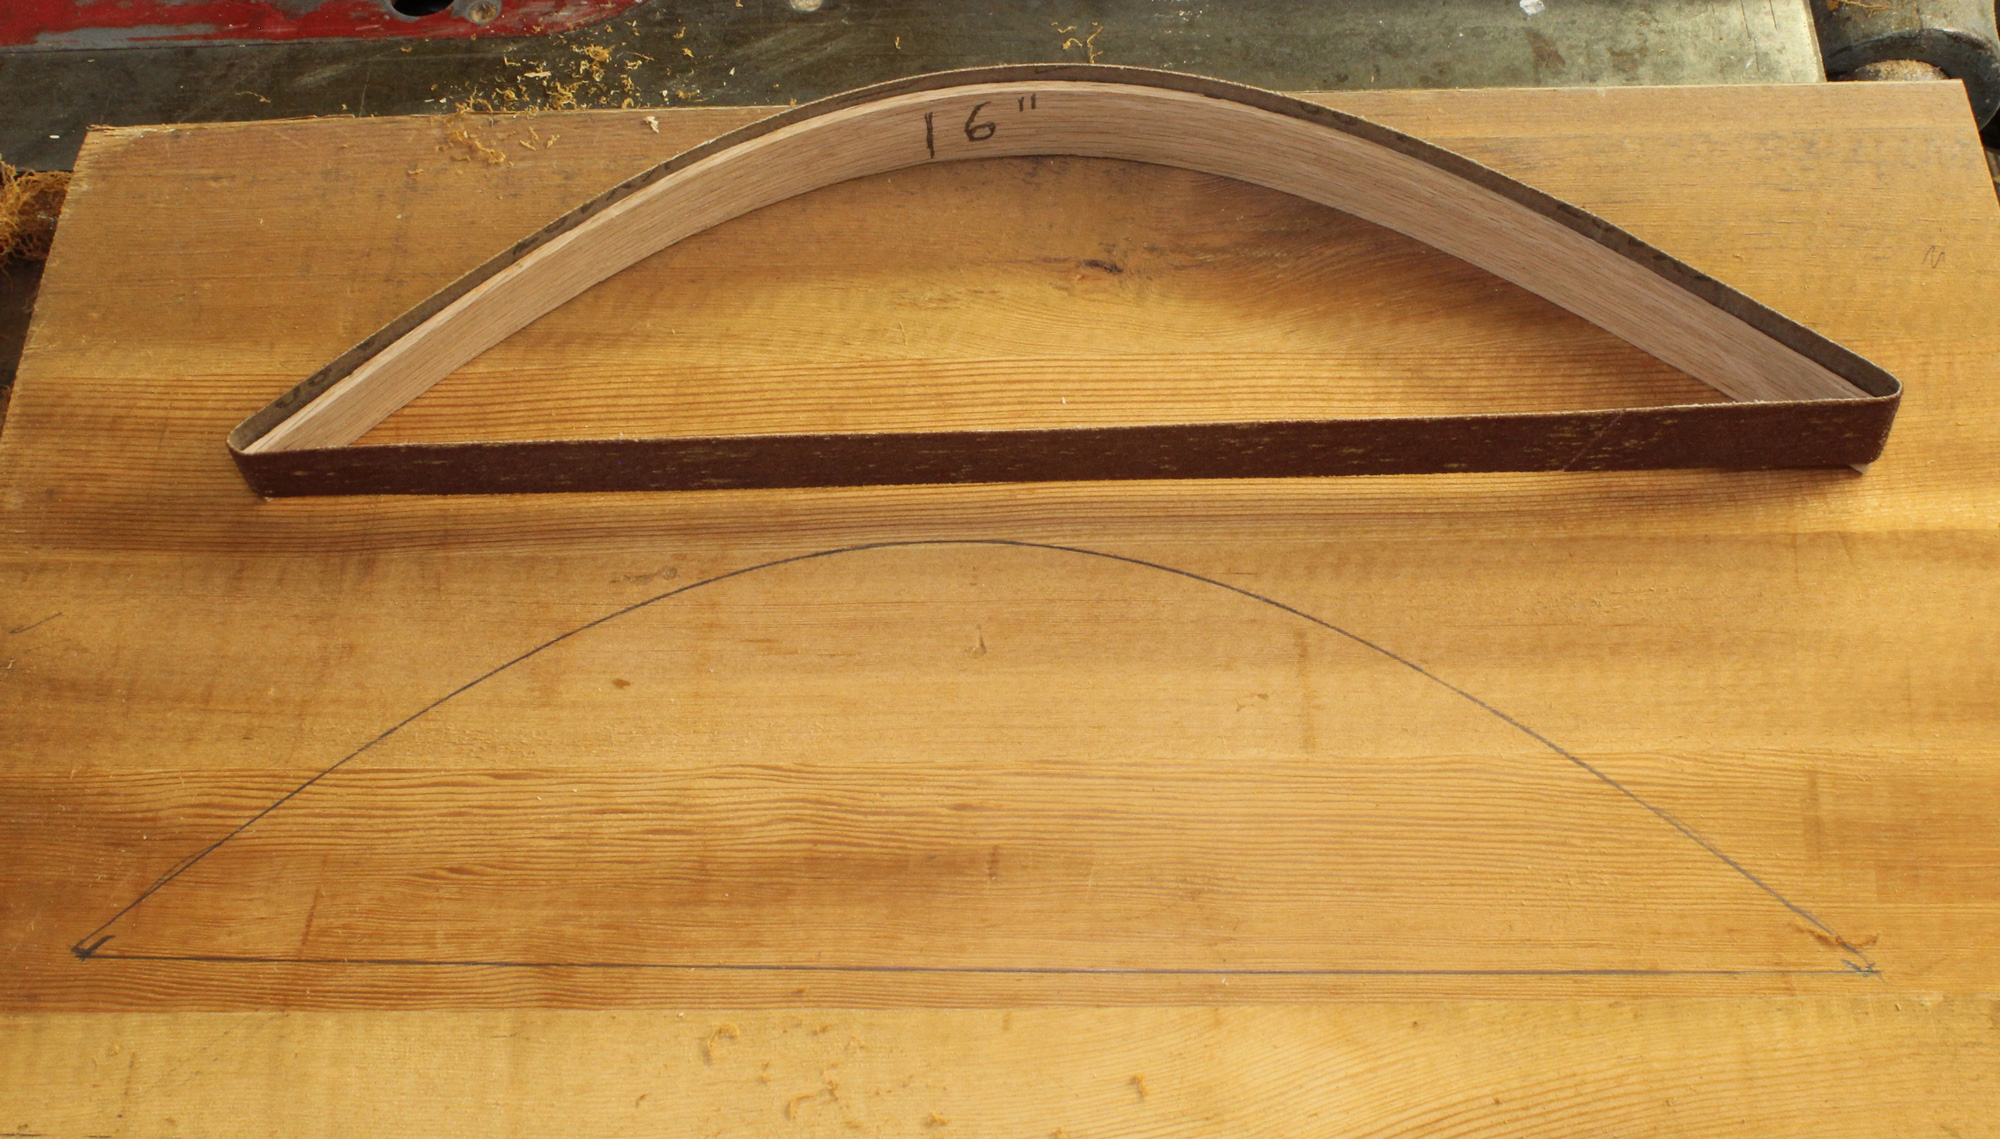
The belt and batten are moved 1 1⁄2″ for tracing the inside curve of the bow.
For the sanding belt, I decided to use the 1 × 30 belts that I use with my 1 x 30 sander, and for the bow, some 1″-thick Douglas fir. To make sure the bow would be a close fit for the continuous loop of the belt, I first pinched two corners into one of the belts to establish the shape of the bow. Having determined a 14″ length for the working part of the belt and 16” for the distance around the back of the bow, I needed to create a pattern for the bow itself. To do this, I cut a 16″-long strip of 3⁄4″ oak to a thickness of just under 1⁄8″, and bent it inside the belt. I then traced the resulting outer curve of the oak strip onto the Douglas fir. This gave me the correct arc for the outside of the bow. I also made short marks at the ends of the 1⁄8″-wide oak strip to indicate where the belt turns the two corners.
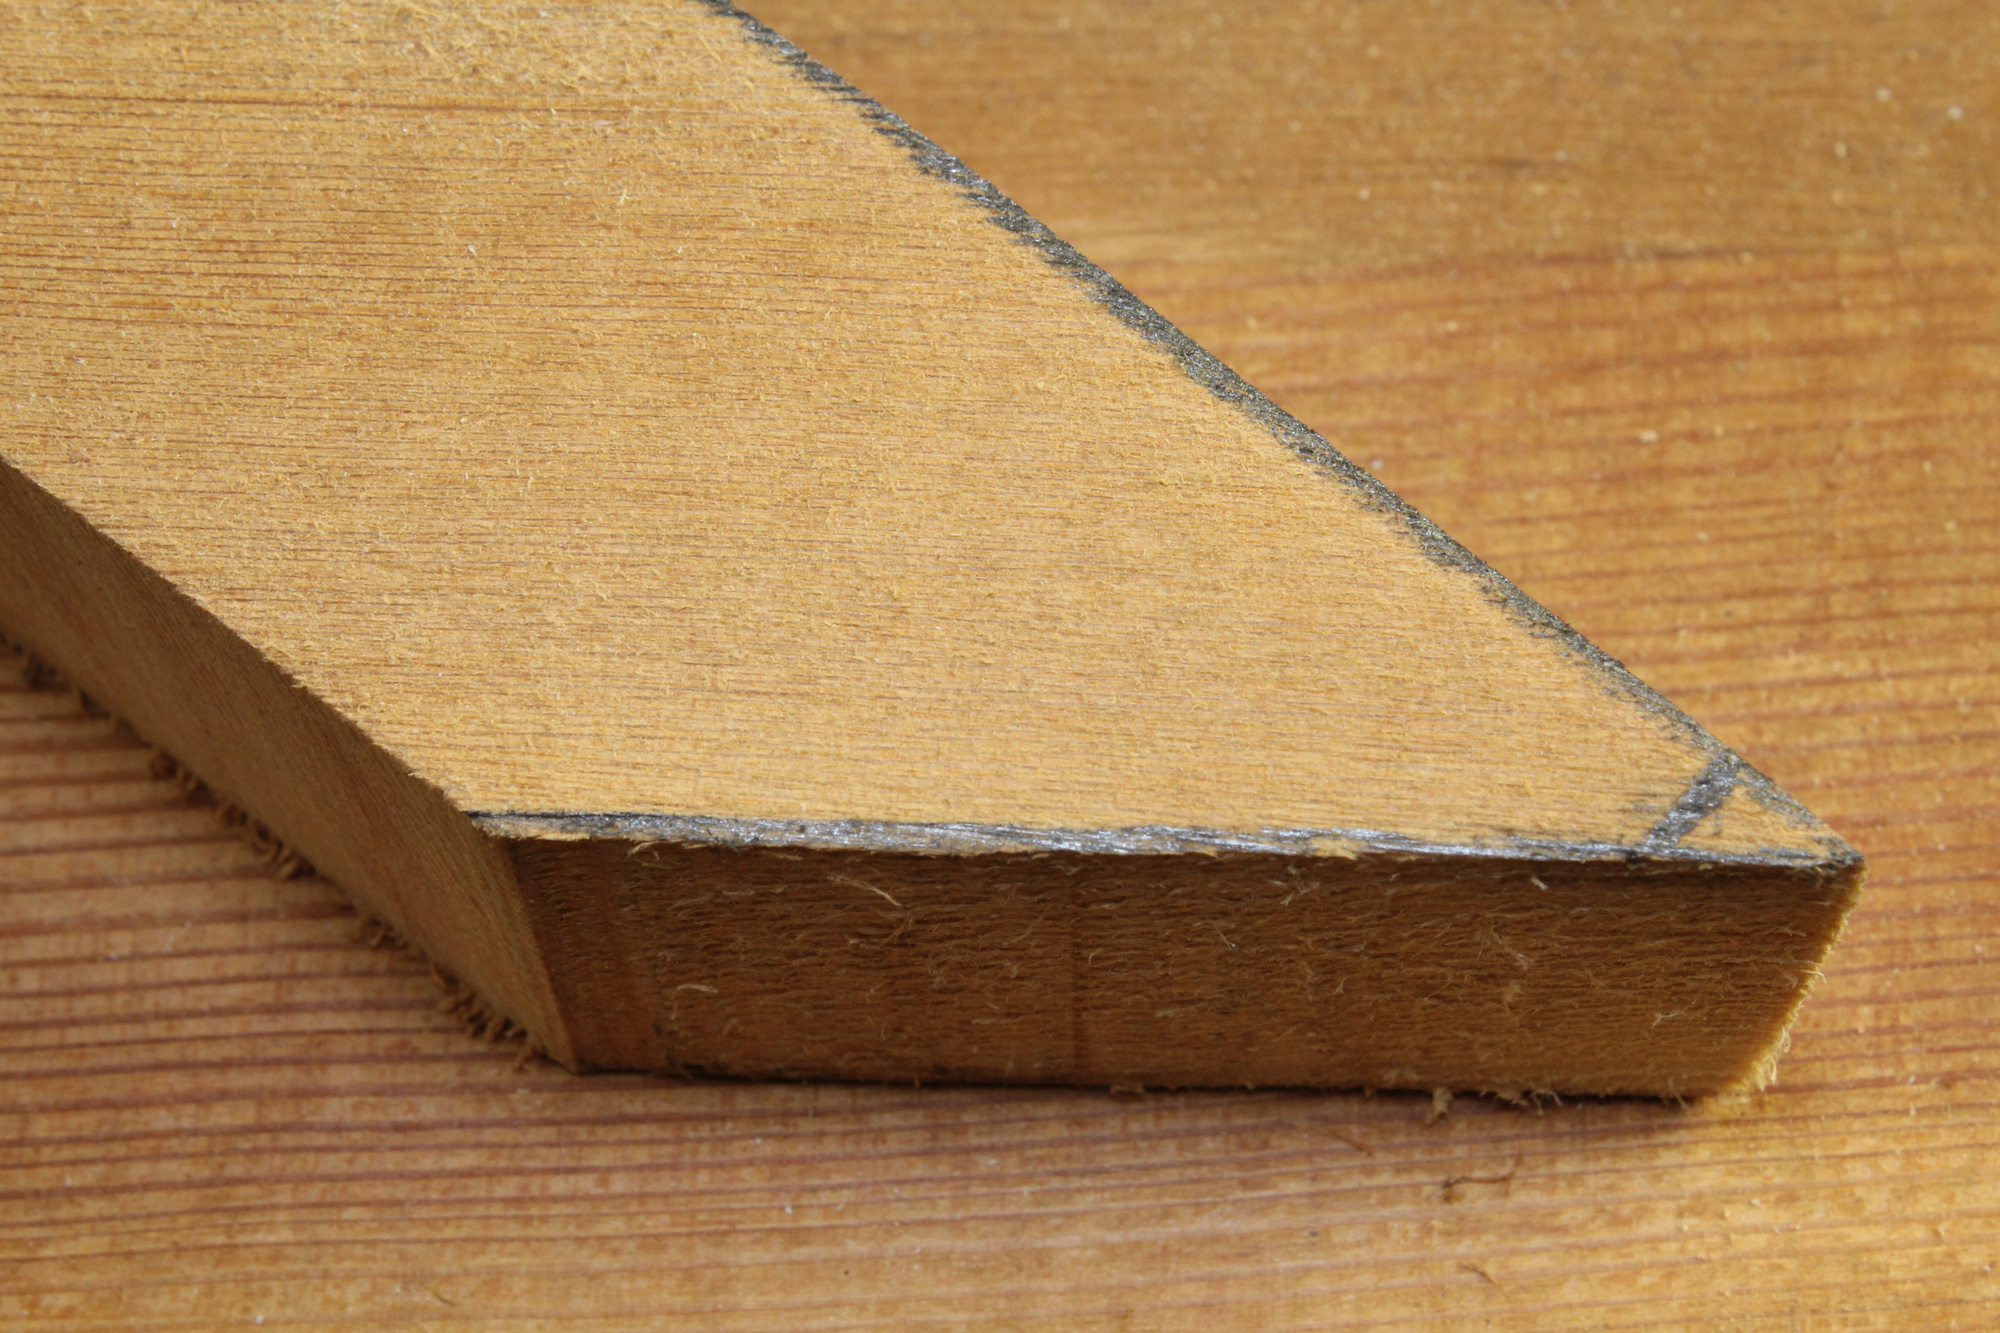
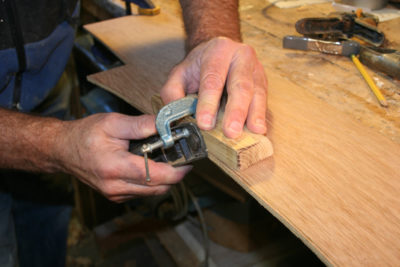
The bow is cut out, leaving the sharp corners at the intersections of the lines for the back of the bow and the belt.
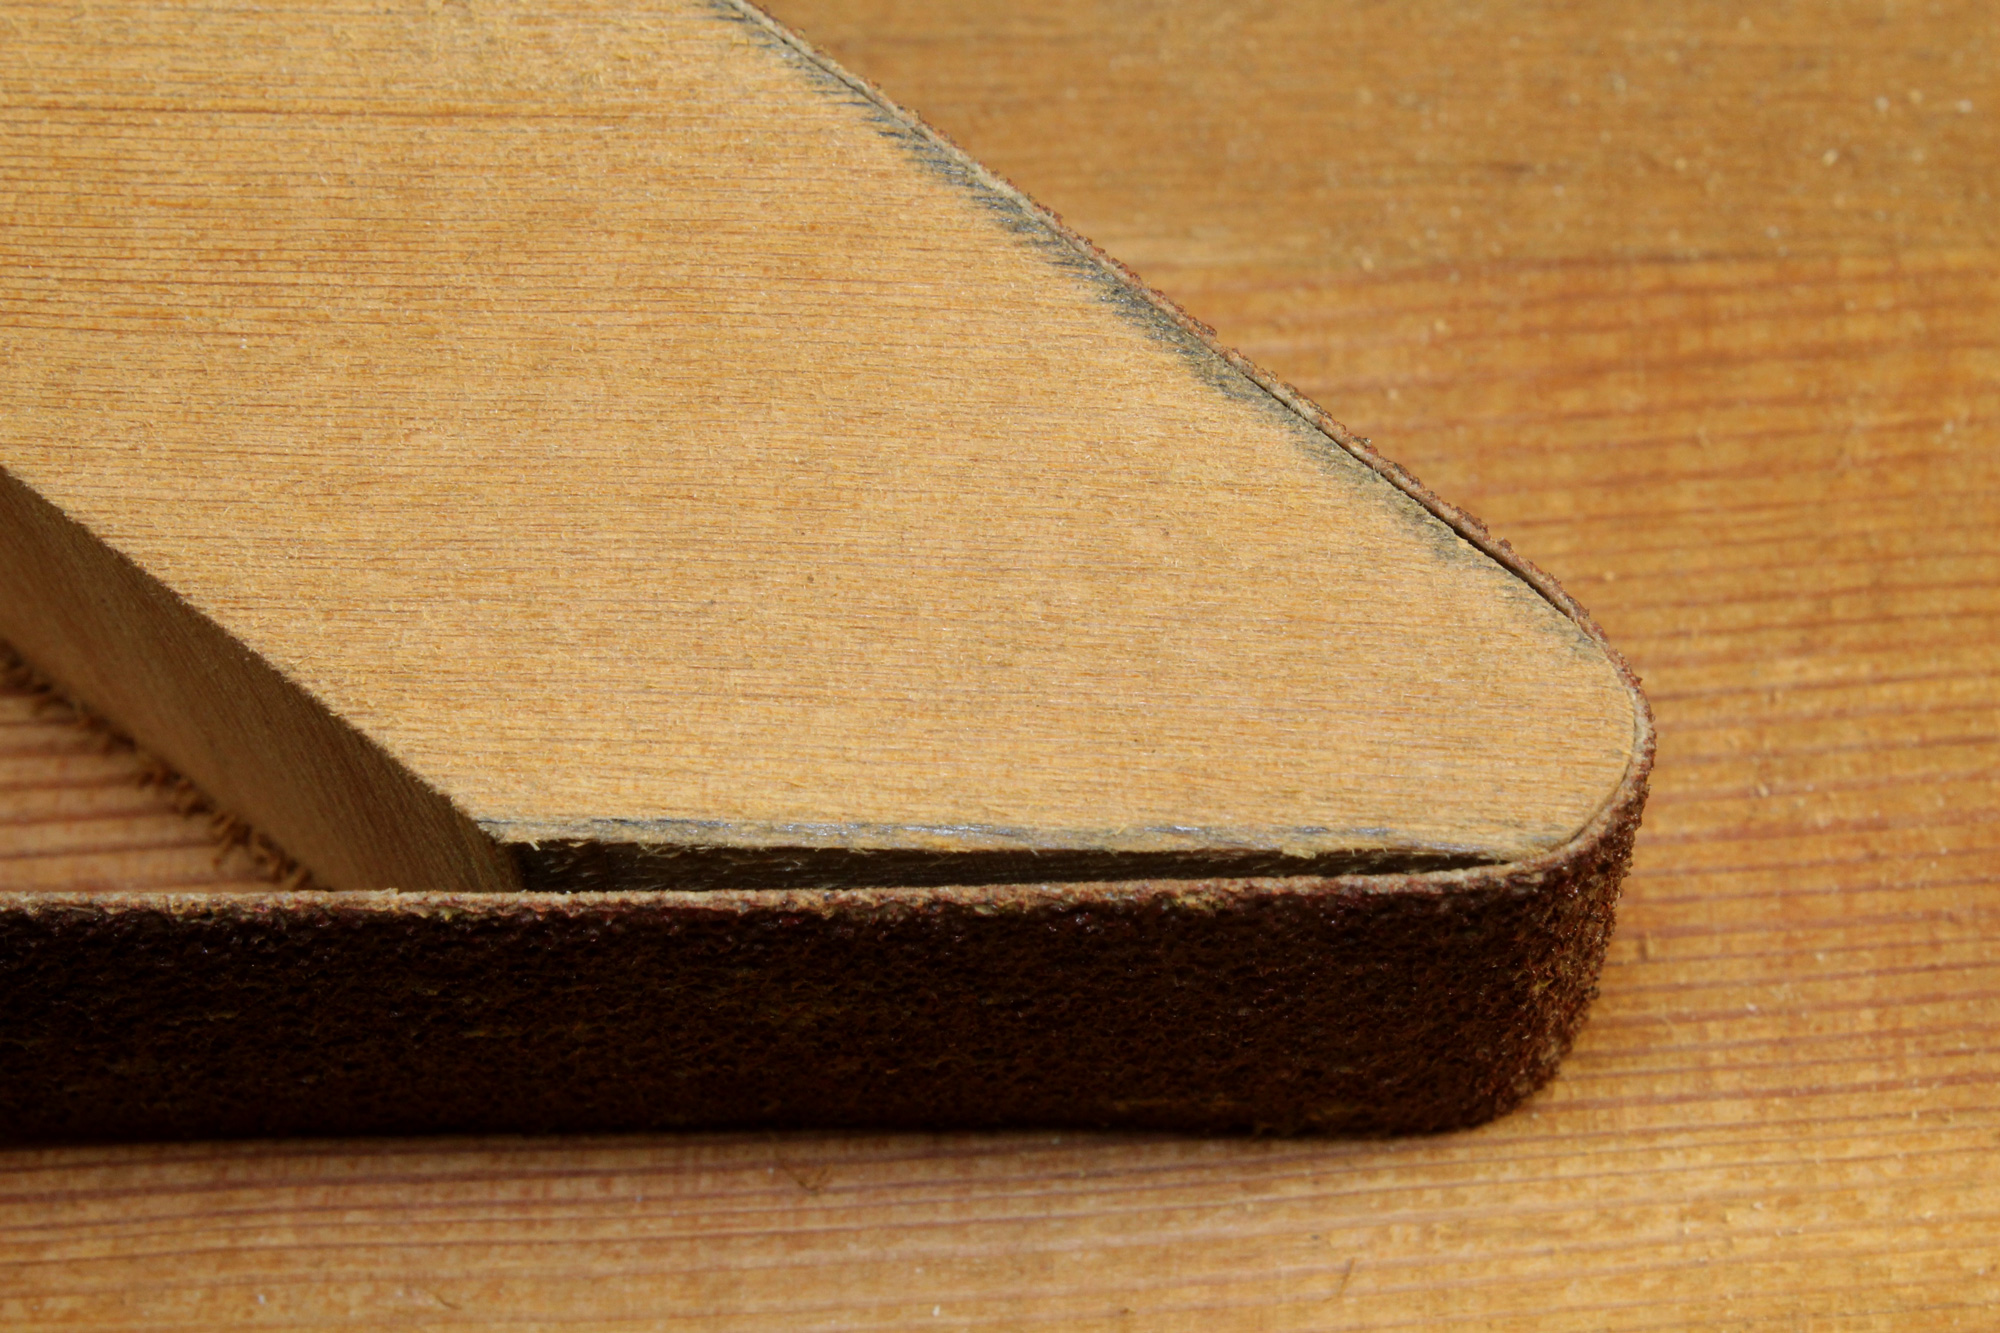
Slowly sanding the corners round and frequently testing the fit with the belt will ensure that the belt isn’t too loose on the bow.
Next, to establish the bow’s inside face, I moved the oak and belt 1 1⁄2″ down from the first arc and traced a second arc, again following the outer edge of the oak. A horizontal line connecting the first tracing’s bottom corner marks completed the pattern. Where the extensions of that horizontal line meet the outer curve of the bow, the intersections make sharp points. Having bandsawed around the perimeter of the bow, I gradually sanded the points from a sharp angle to a round until the belt would slip into place. The easiest way to put the belt onto the bow is to slip it over the ends and then push it up over the curve.
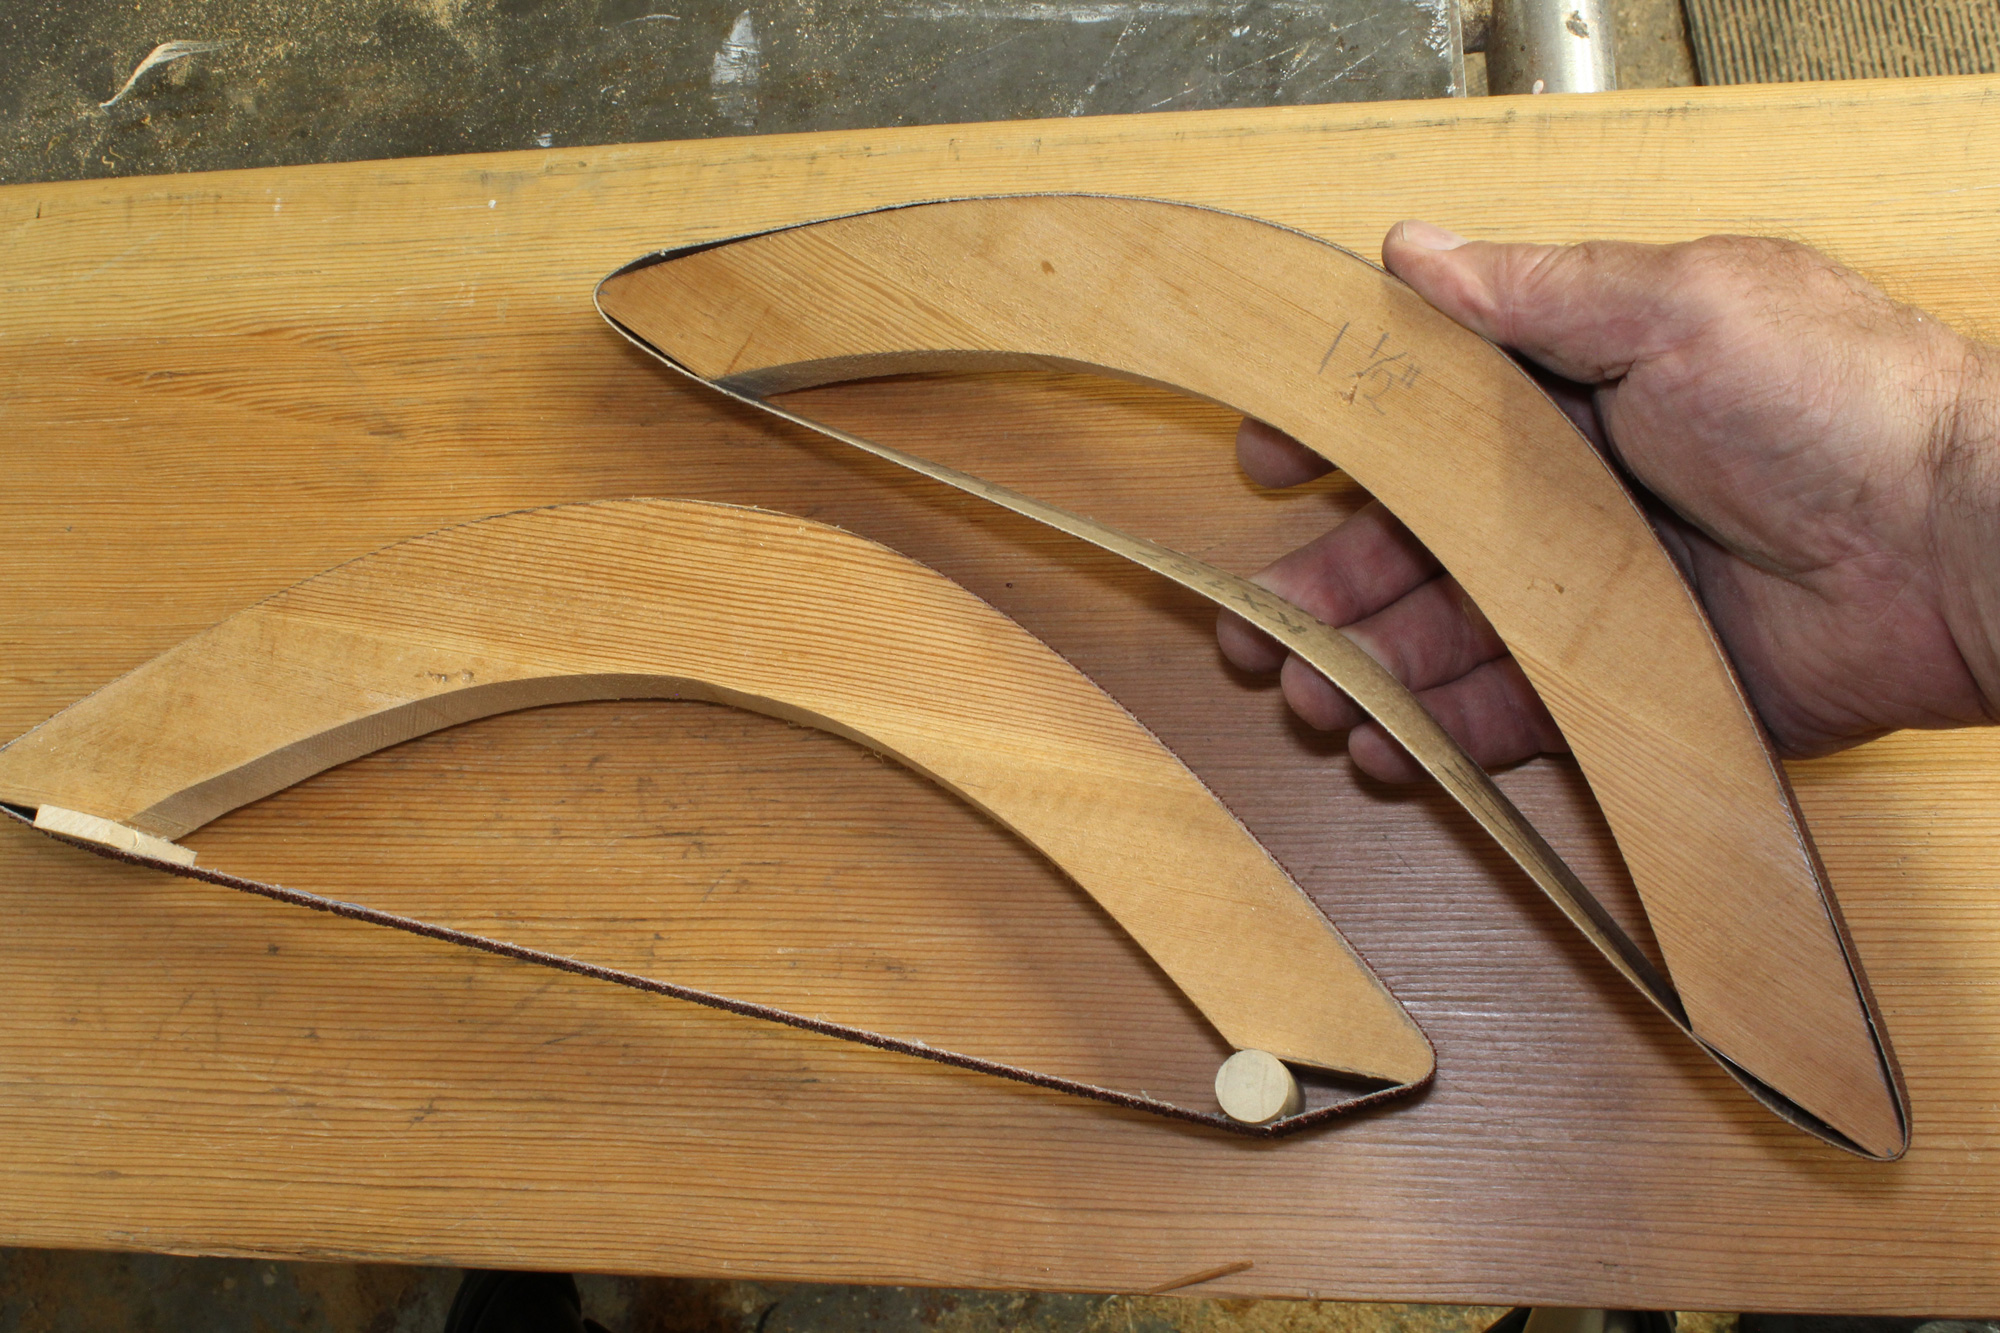
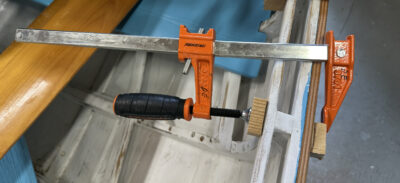
The belt will have a bit of slack, which is useful for sanding some curved surfaces. Slipping shims or dowels between the bow and the belt adds tension for sanding more gently curved surfaces or for working more aggressively.
It’s okay if the belt has a bit of slack. Indeed, that can be an advantage when sanding tight curves as the belt will wrap itself around them. However, by slipping some 1 1⁄2″ lengths of 1⁄2″ and 3⁄8″ dowel or small shims between the bow’s flats and the belt you can increase the tension so that the sanding bow can resonate like a guitar when the belt is plucked. The tensioners stay in place because any pressure on the belt narrows the gap between the belt and the flat. By using tensioners of different sizes and at one or both ends of the bow, the belt’s tension can be adjusted to suit the curve being sanded.
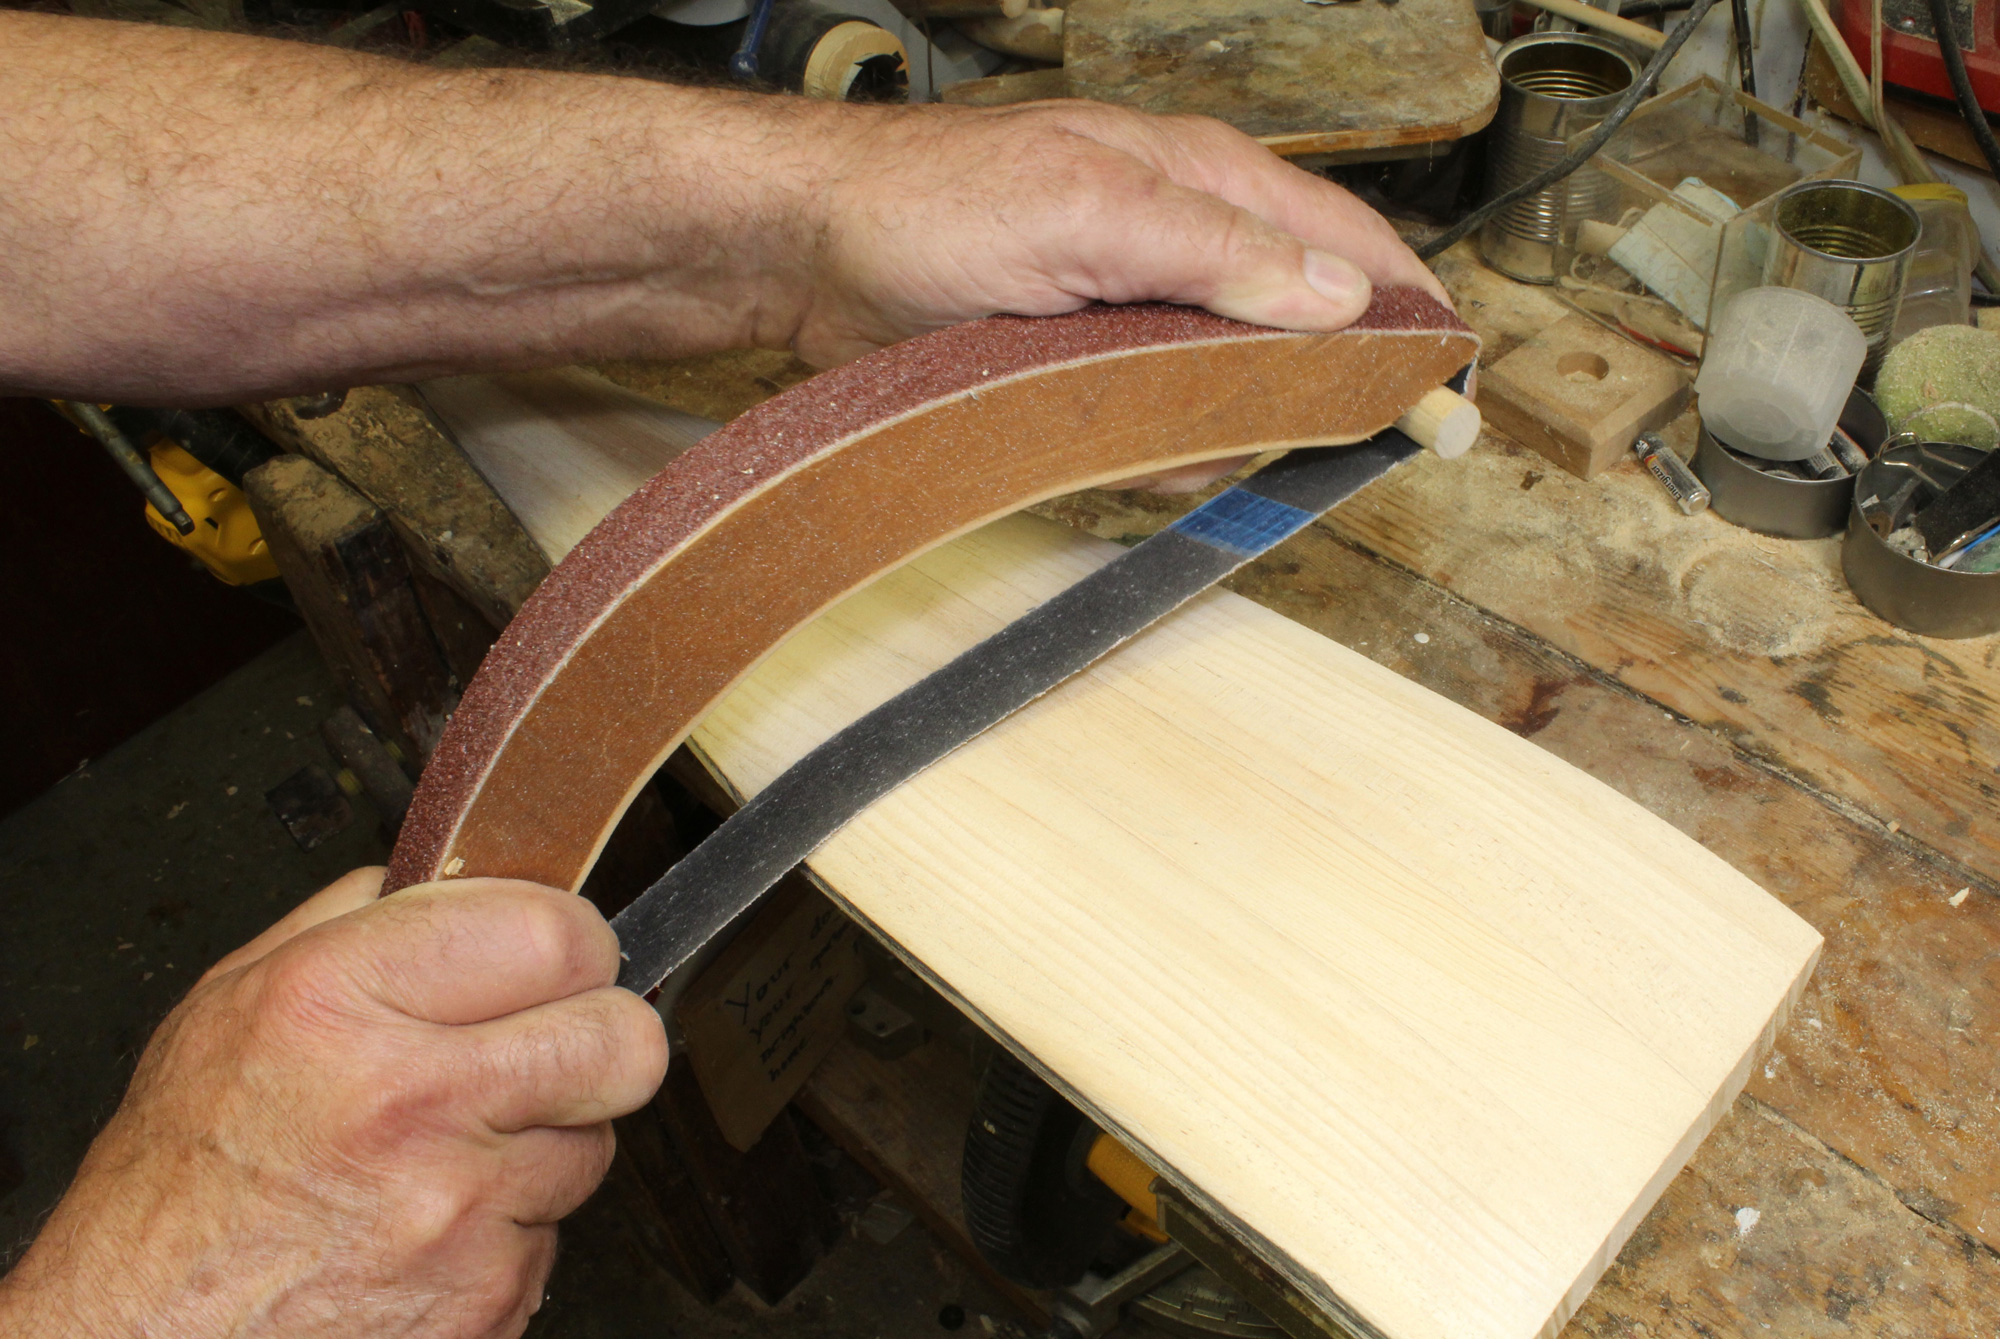
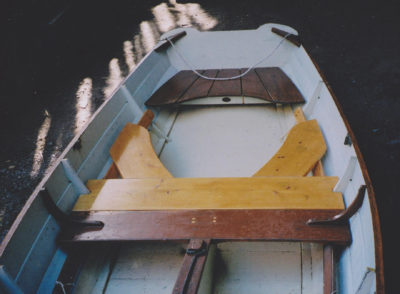
The curved back face of an oar’s spoon blade is a good place to use a bow sander, as is the more complex shape at the junction of the blade and loom. Using two hands on the bow sander makes it cut faster.
The 1 × 30 sanding belts aren’t expensive—about $1 apiece for the coarsest, and less for finer grits. For shaping and fairing curves, I use 40-grit belts. They cut quickly, but are not as coarse or as prone to cutting flat spots as a rasp. The belts are very durable since the grit doesn’t tend to work itself off (as will happen with sandpaper). If a span of grit does wear down, the belt can be removed from the bow and reoriented to put a fresh length to work.
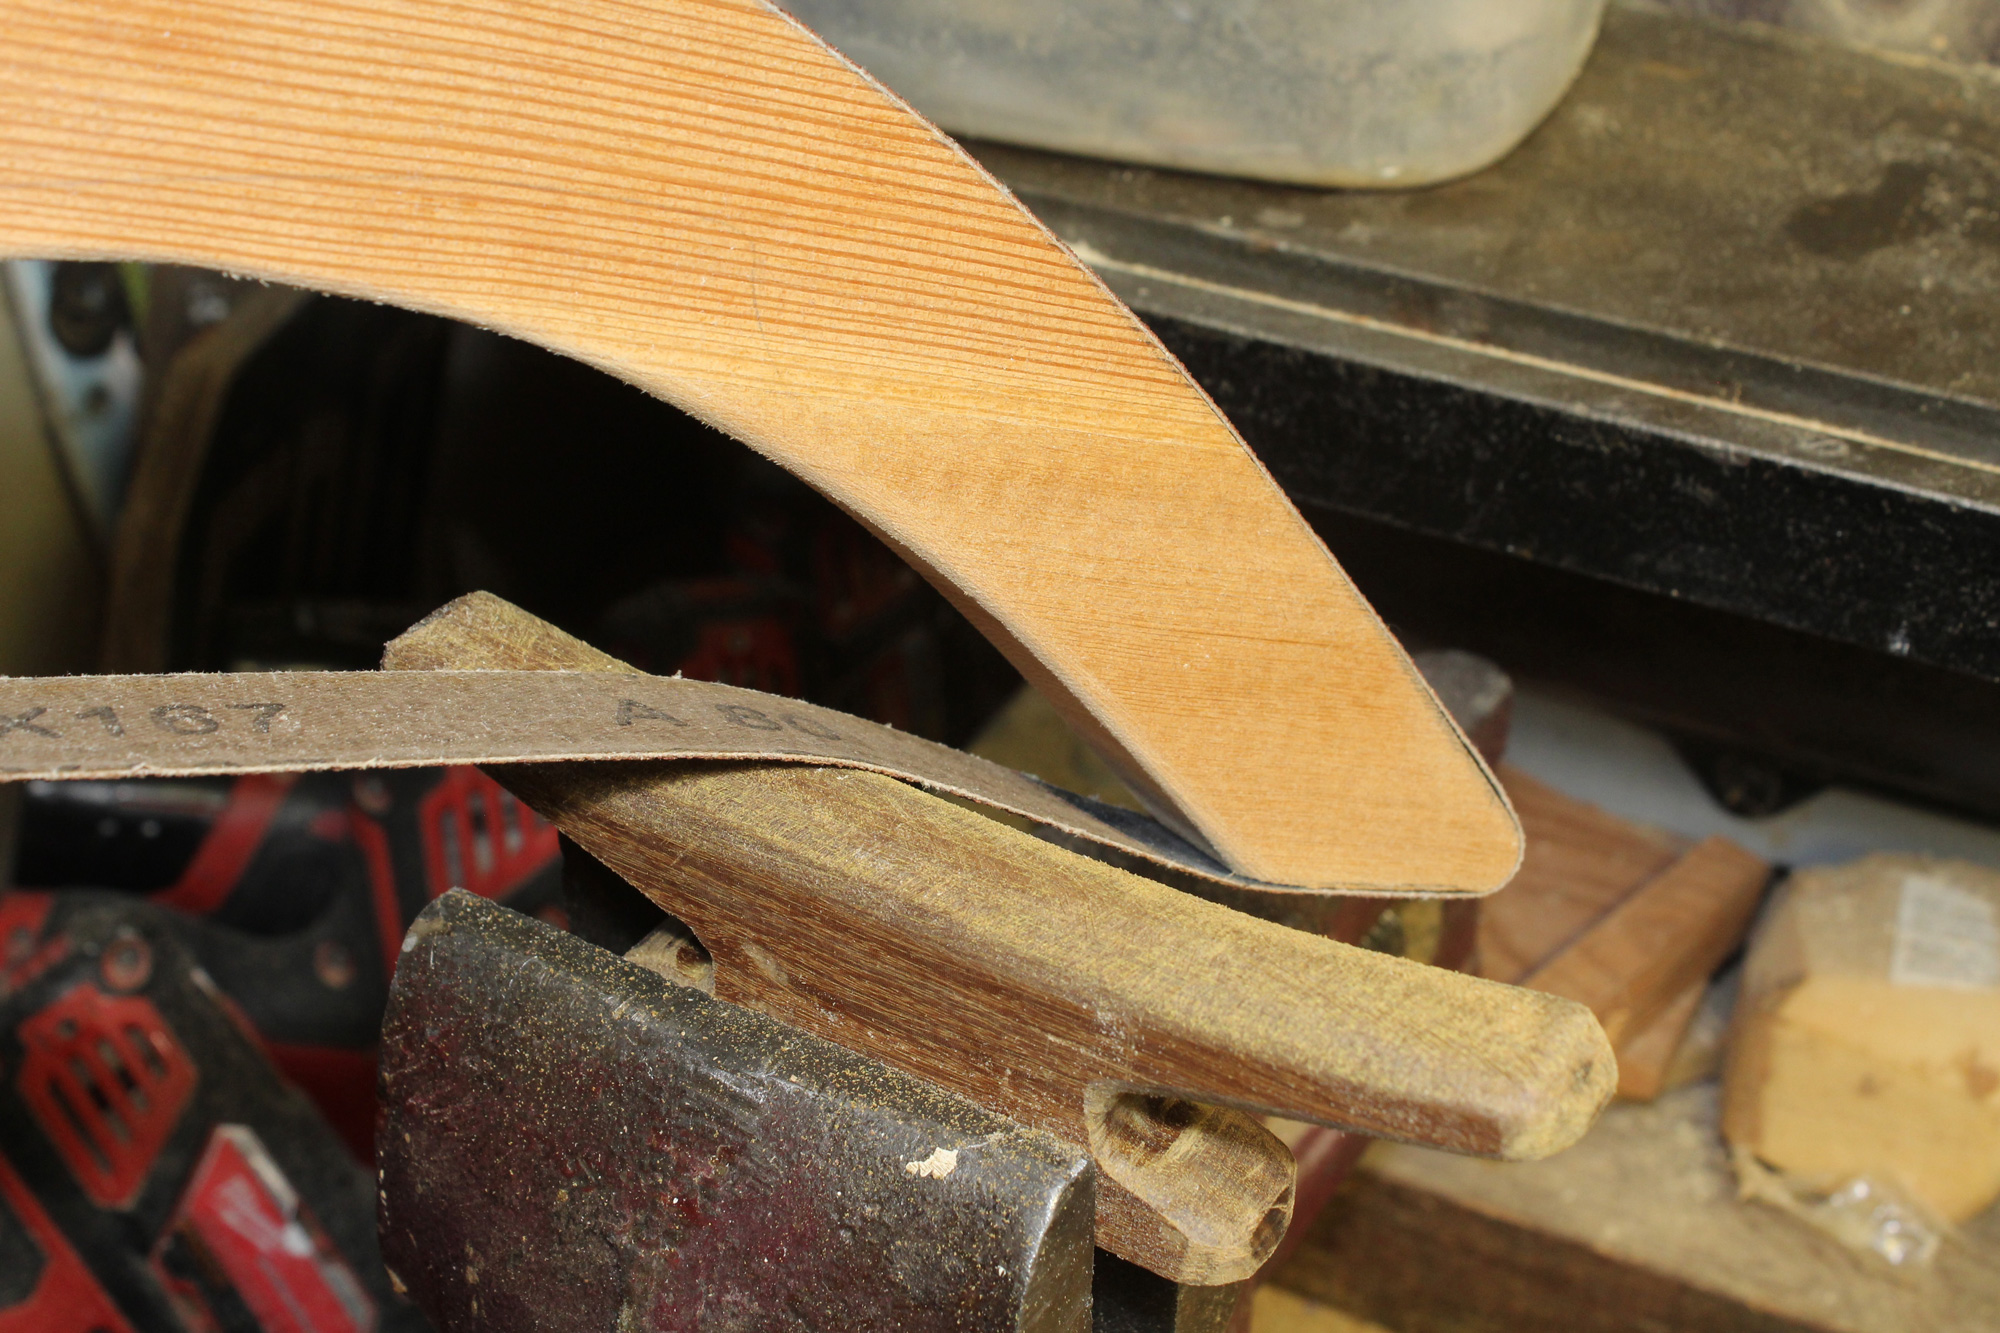
Shaping a cleat made of very dense ipe goes quickly with a sanding bow.
The bow can be used with one hand for light sanding, but when used with two hands more pressure can be applied to further speed cutting. If the belt is run across the grain it will remove wood quickly, but it can also be set at an angle to the grain and pushed parallel to it to reduce tearing.
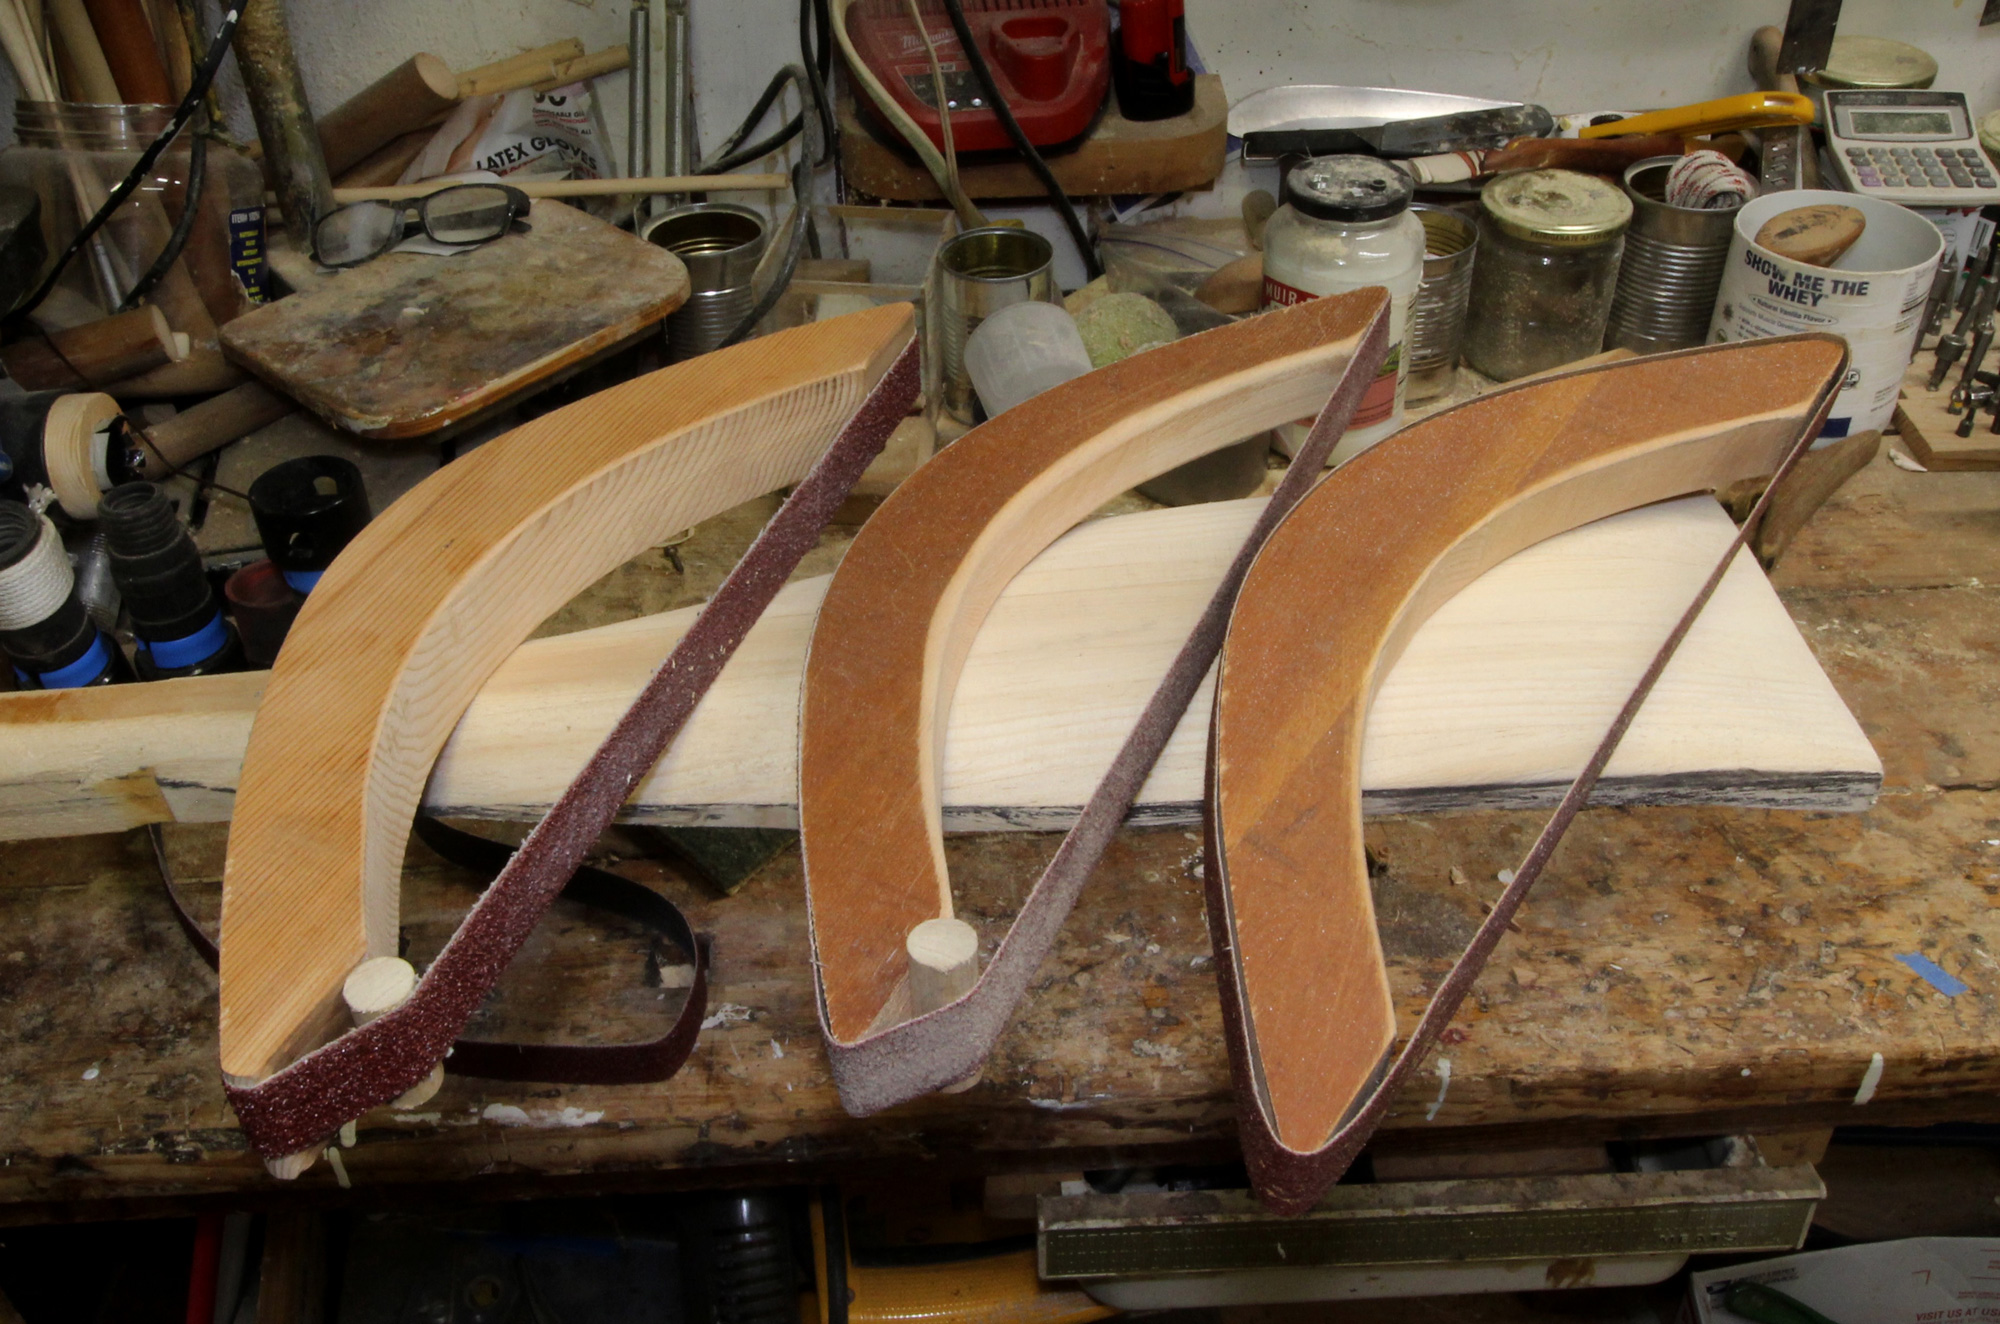
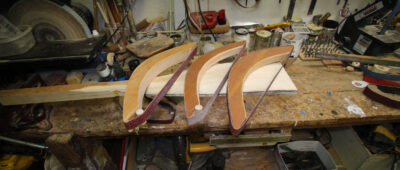
I now have three sanding bows fitted with, from left to right, 40-grit, 60-grit, and 80-grit. The bow on the left is made from a common 2×6. Being 1 1⁄2″ thick, it extends beyond the belt but is just as functional as the other two bows, which I cut from 1″ stock. Sanding the edges on the inside curves of the bow makes for a more comfortable grip.
Belts can be changed easily, but the bows are so easy to make that I now have three, each with a different belt for each grit that I use on a regular basis. Unlike their predecessor, these bows will spend more time making dust than gathering it.![]()
Christopher Cunningham is editor-at-large of Small Boats
You can share your tips and tricks of the trade with other Small Boats readers by sending us an email.
For more tips from Christopher Cunningham’s workshop, check out:
Sawing Laminates, setting up for a thin-strip jig on a tablesaw.
Coloring Cordage, Dying synthetic rope for a natural look.
Shop-Vacuum Filter Care, Making filters more effective and longer lasting.


Sweet, Chris, thanks. I do a lot with files, it’s how it makes sense to me to progress to the shapes I want, but a few of them are dull and $$$ to replace. I’ll try these.
Any ideas on sanding blocks for compound concave surfaces? Recently I tried to shape curved thwarts for a canoe using the cutout section as backing for the block, but since it isn’t a steady radius that didn’t work. I wound up wrapping a dowel with paper and holding at an angle as I swept back and forth, but wasn’t best for making a machined-looking perfect surface with 3D curves of constantly changing radii in all three dimensions.
Top and bottom of pic are the thwarts, middle is cutout of midship plane, below with tape is cutout from underside the thwarts. Look close at top one you can see it is thinner on vertical plane in middle than ends.
Brilliant!