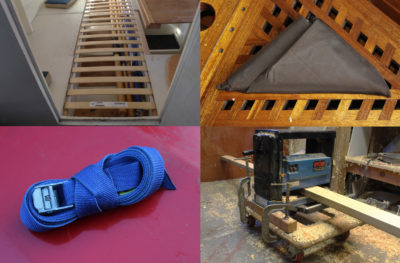
A Mobile Thickness Planer
 Photographs and videos by the author
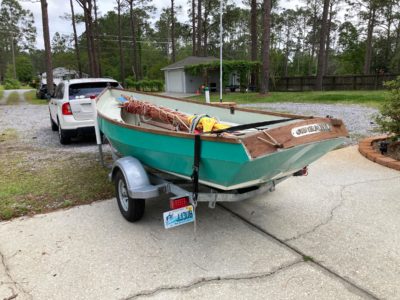
My planer’s first set of wheels was a set of chair casters inserted in holes in the 2x2s attached to the base. Here one of the 2x2s is clamped to a dolly. The 2×4 being planed is pushing against the door at the back of the shop as the feed rollers drive the planer forward.
When I built my 19′ decked lapstrake canoe, my shop was in a cellar not quite 30′ long, so working with 20′ lumber for the keel and gunwales was a bit awkward. I could rip planks on my table saw by making a partial cut, stopping the saw, and flipping the plank around to finish the cut from the opposite end. A thickness planer can’t easily accommodate stopping, removing the lumber, and starting again, so I put mine on wheels. I’d start it up on the far end of the basement, feed the lumber in, and when the stock hit the wall, the planer would propel itself across the shop floor. It left a trail of chips behind it, but that was before I had a dust collection system so I had to sweep up anyway.
Coiling Tie-Down Straps
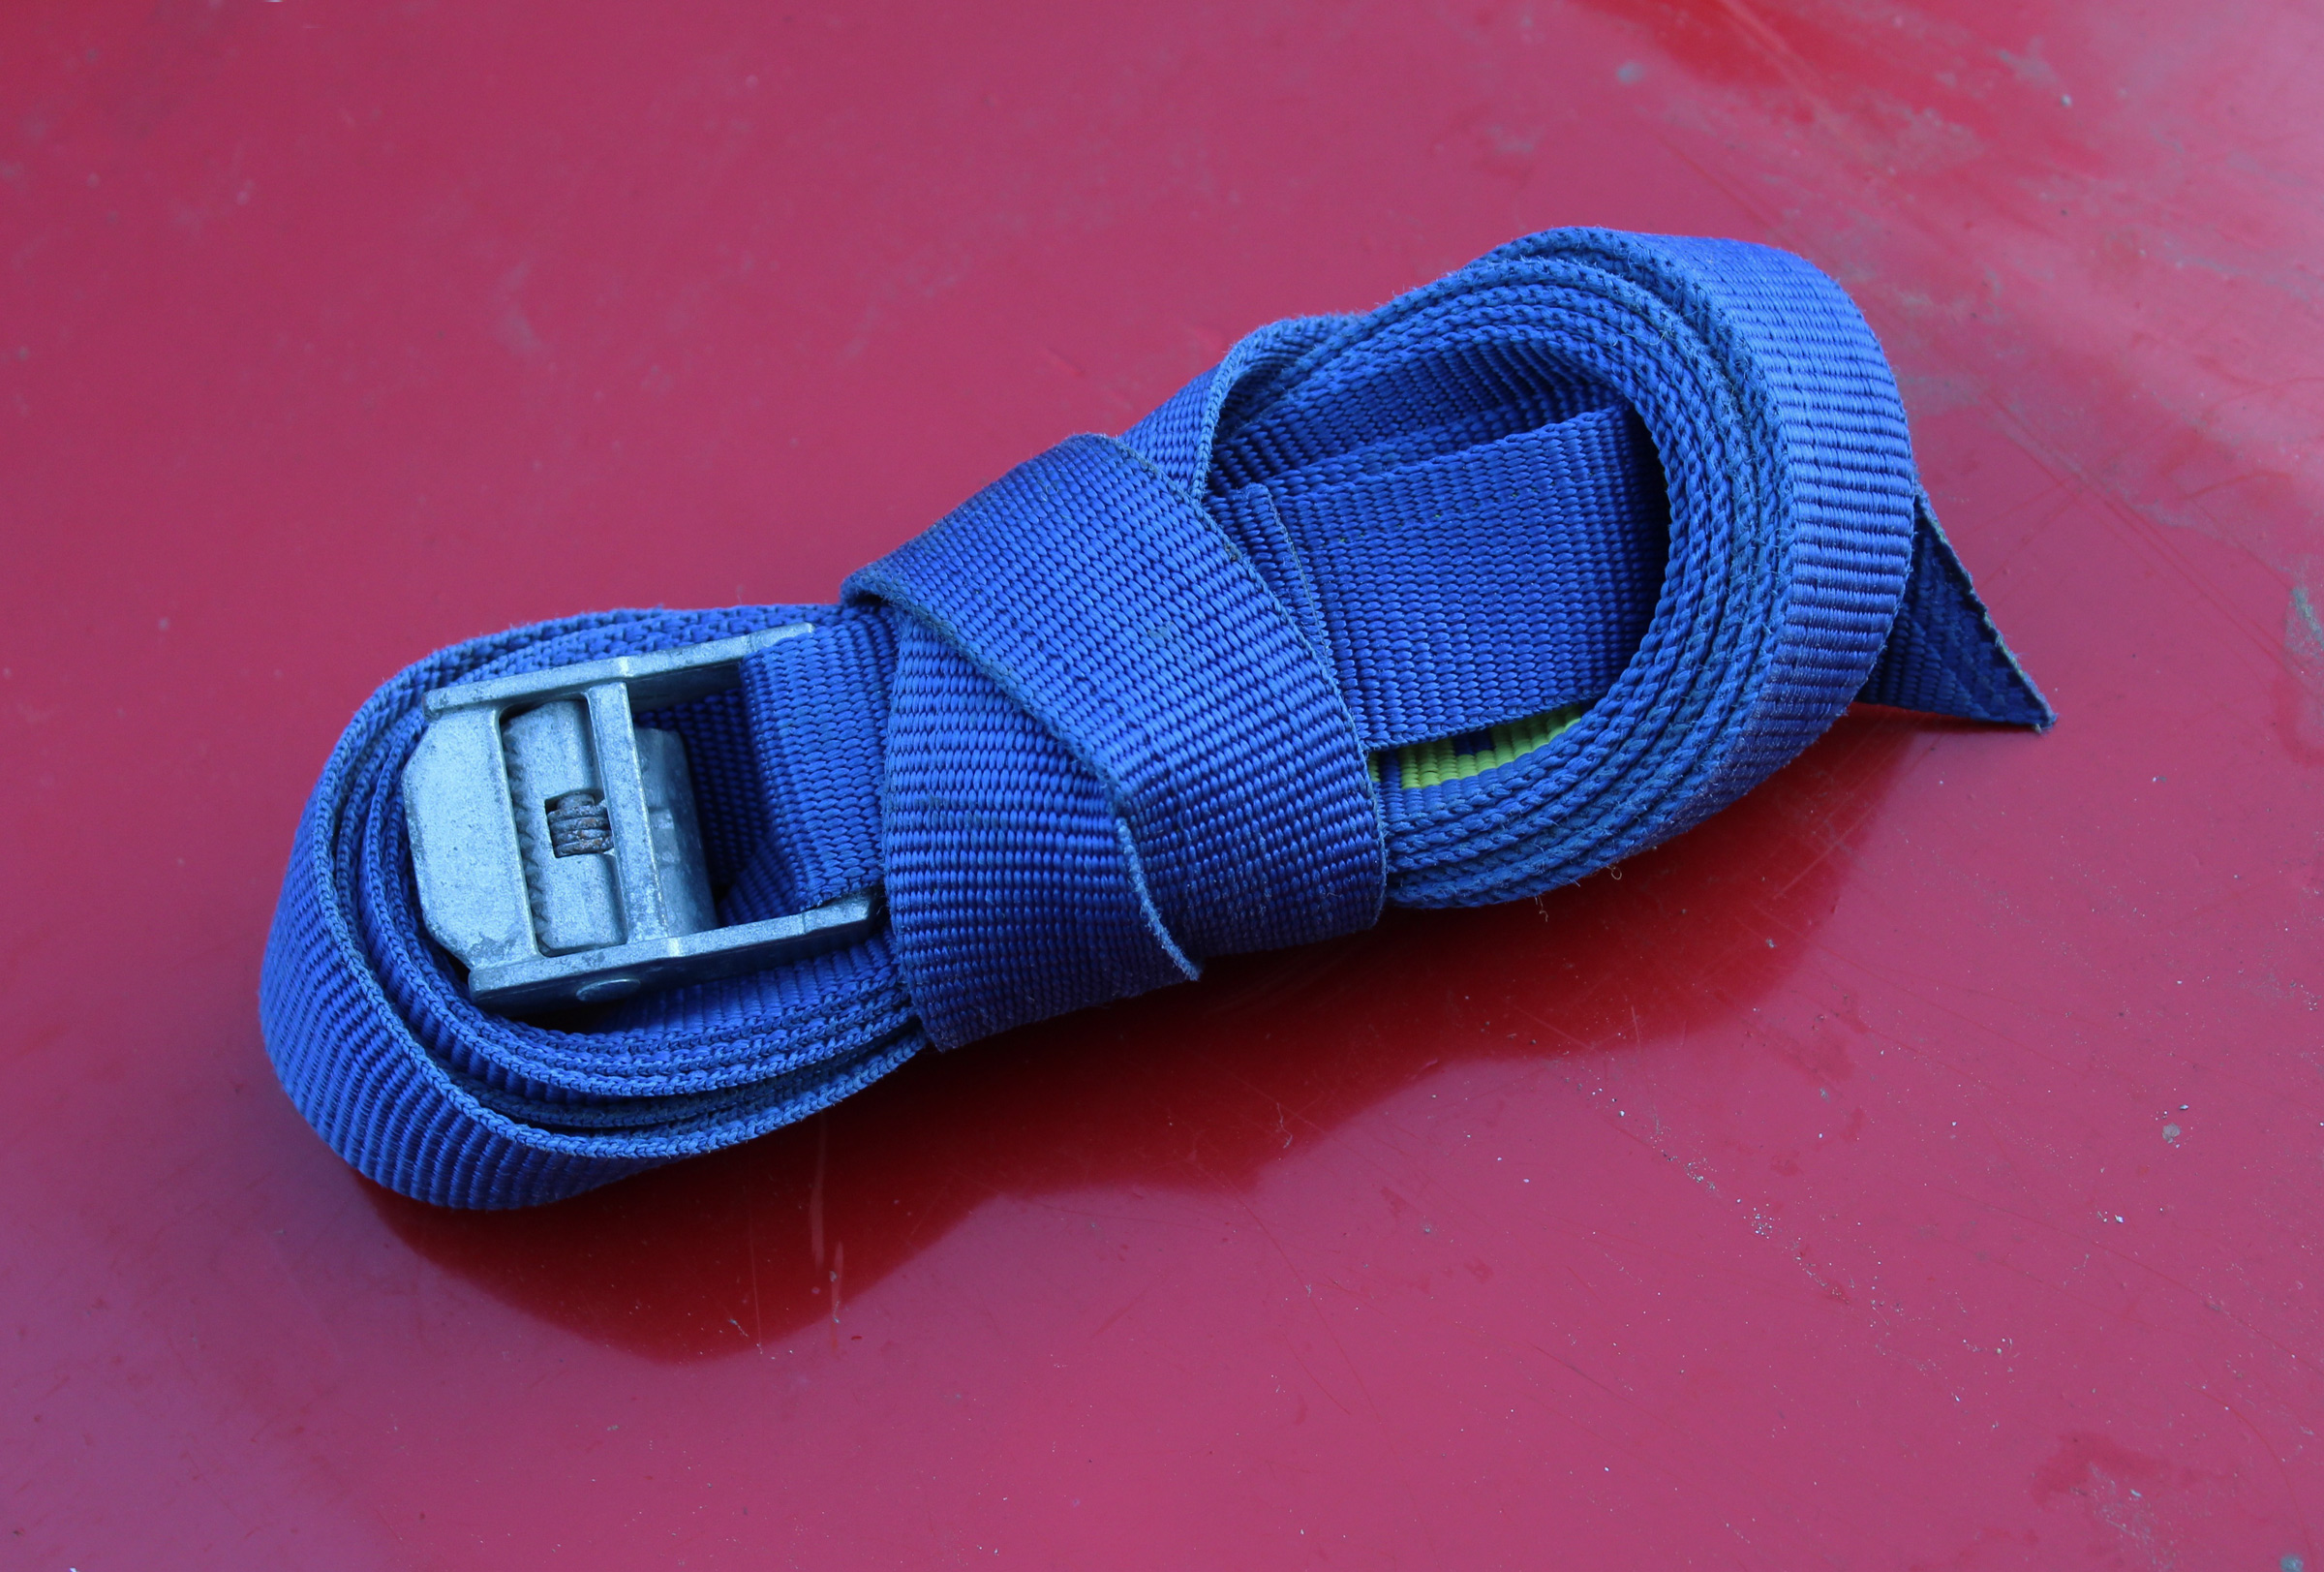
A figure-8 coil keeps tie-down straps in a compact, twist-free package.
Tie-down straps with cam buckles are very tidy devices for holding kayaks and canoes securely on roof racks, as well as a host of other applications, but they’re not so tidy when they’re piled in the back of the car waiting to be used. The 1″ webbing common to most straps doesn’t take as well to a loose coil as rope does, and winding them in a tight coil around the buckle requires something to keep them from coming undone. A better way to coil straps comes from the days when computers stored data on punched paper tape. Russ, a former Army intelligence officer turned kayaker, coiled tie-down straps the same way he had coiled paper tape by wrapping it in figure-8 turns around his extended thumb and pinky finger. The figure-8s have the advantage of alternating twists, so when the coil is undone, the webbing isn’t tangled up on itself.
Start by letting the buckle hang down about 3” from the inside of the pinky of your left hand. Feed the strap with your right hand and let the left hand do most of the work. Rotate your left hand, pulling the webbing around the outside of the pinky then keep rotating until you can dip your thumb under the webbing. Reverse the rotation, pulling webbing from your right hand until you can dip your left pinky under the webbing. That’s one figure-8. Repeat until you have all but about 18″ of webbing remaining. Remove the coil from your thumb and pinky and press the buckle into the hollow where your thumb was. Pinch the center of the figure-8s in the middle, fold the tail end at a right angle and take two or three tight wraps around the coil. Tuck the tail end under the last wrap and cinch it tight. That’s it.
Here’s a step-by-step look:
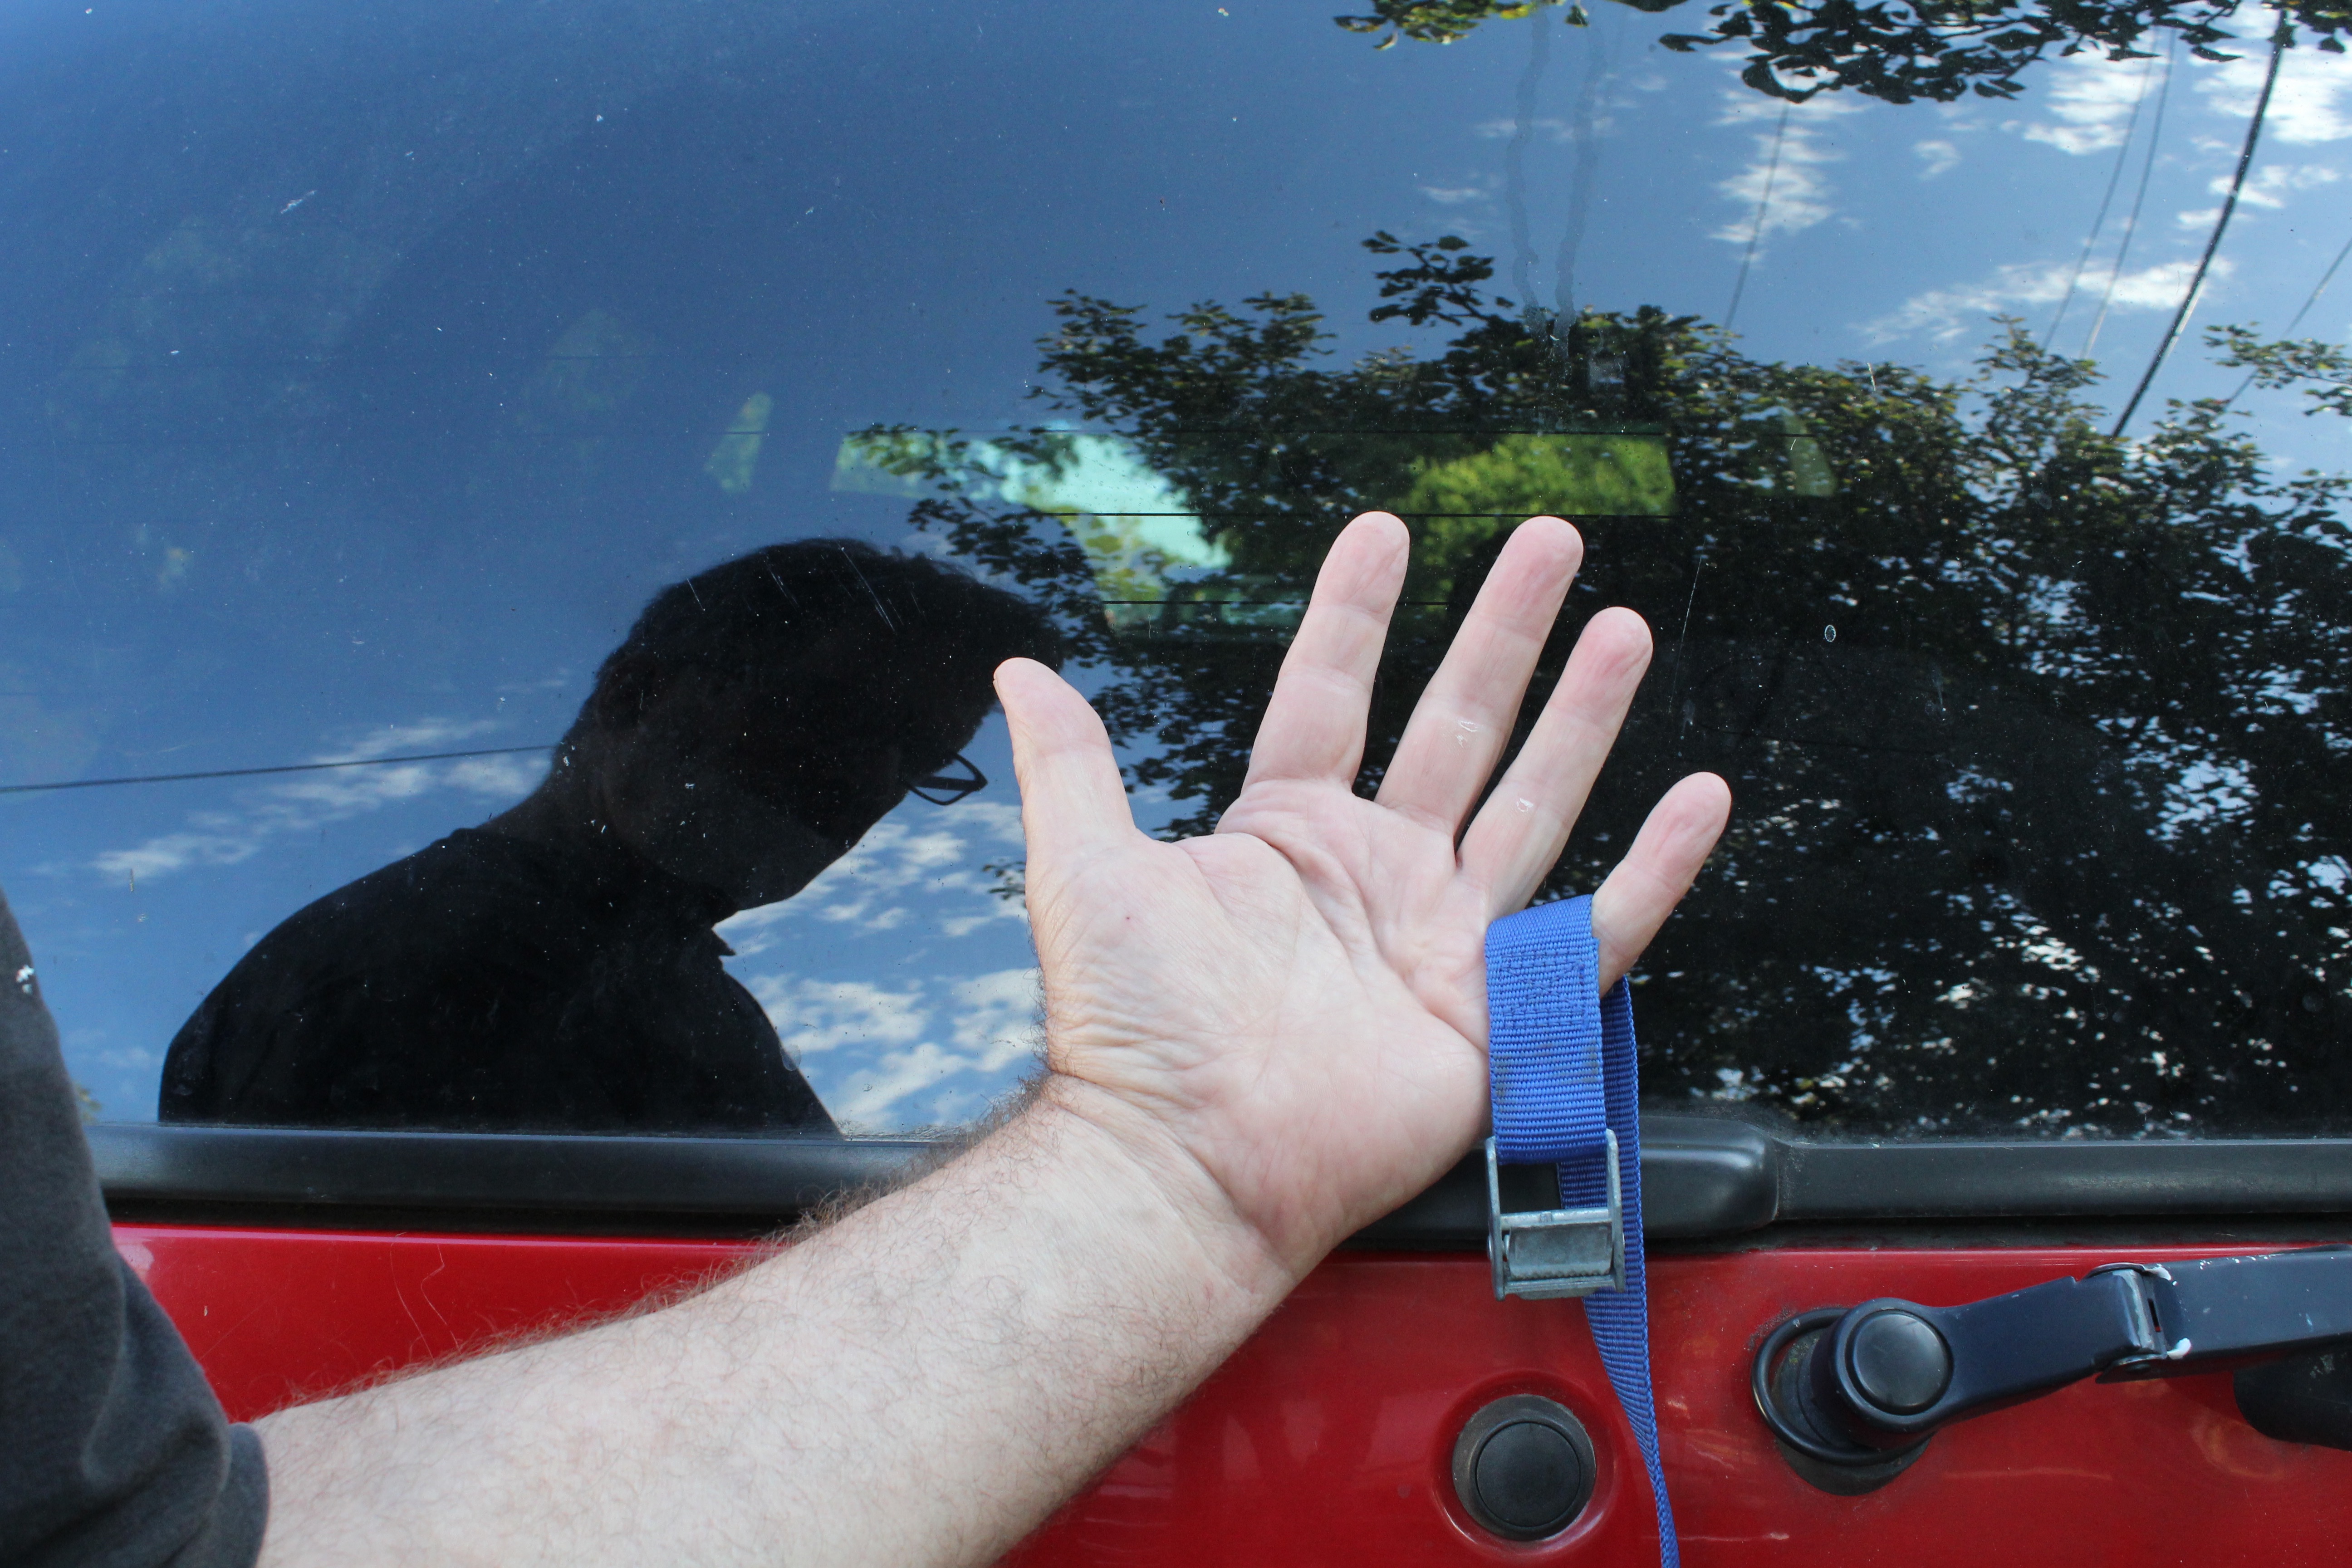
Hang the buckle from your pinky.
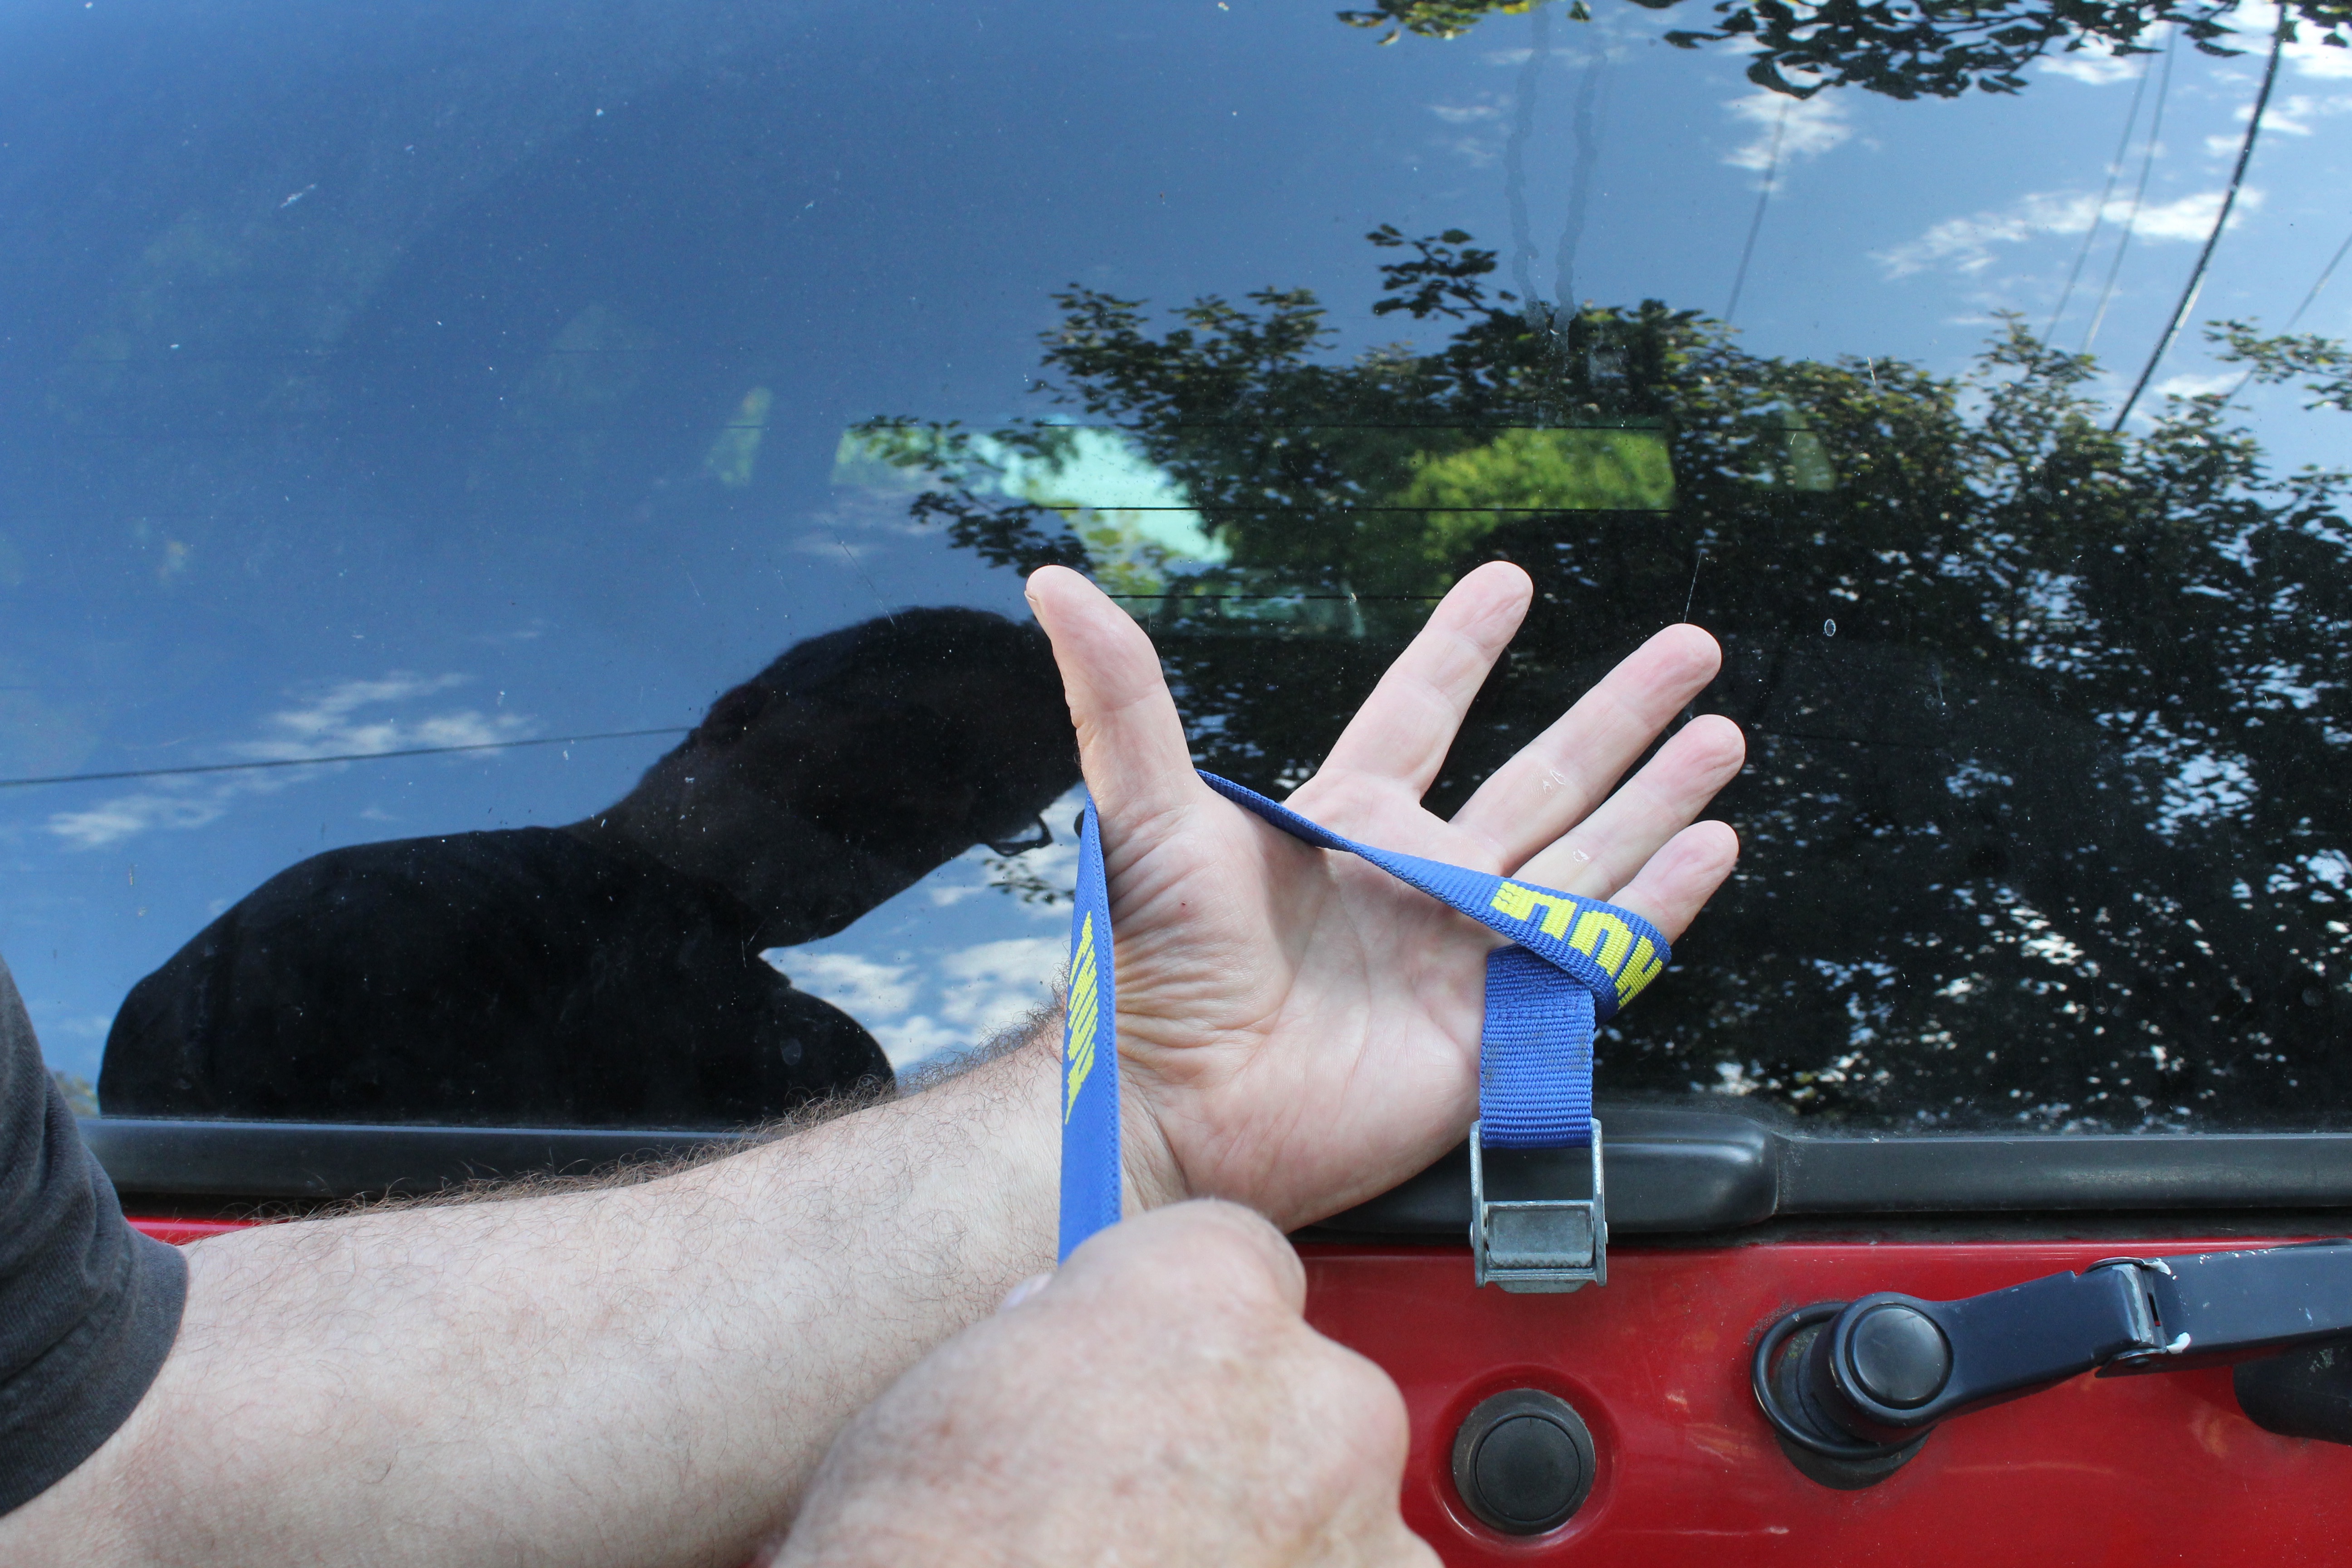
Pull the webbing around your pinky and lead it over your thumb.
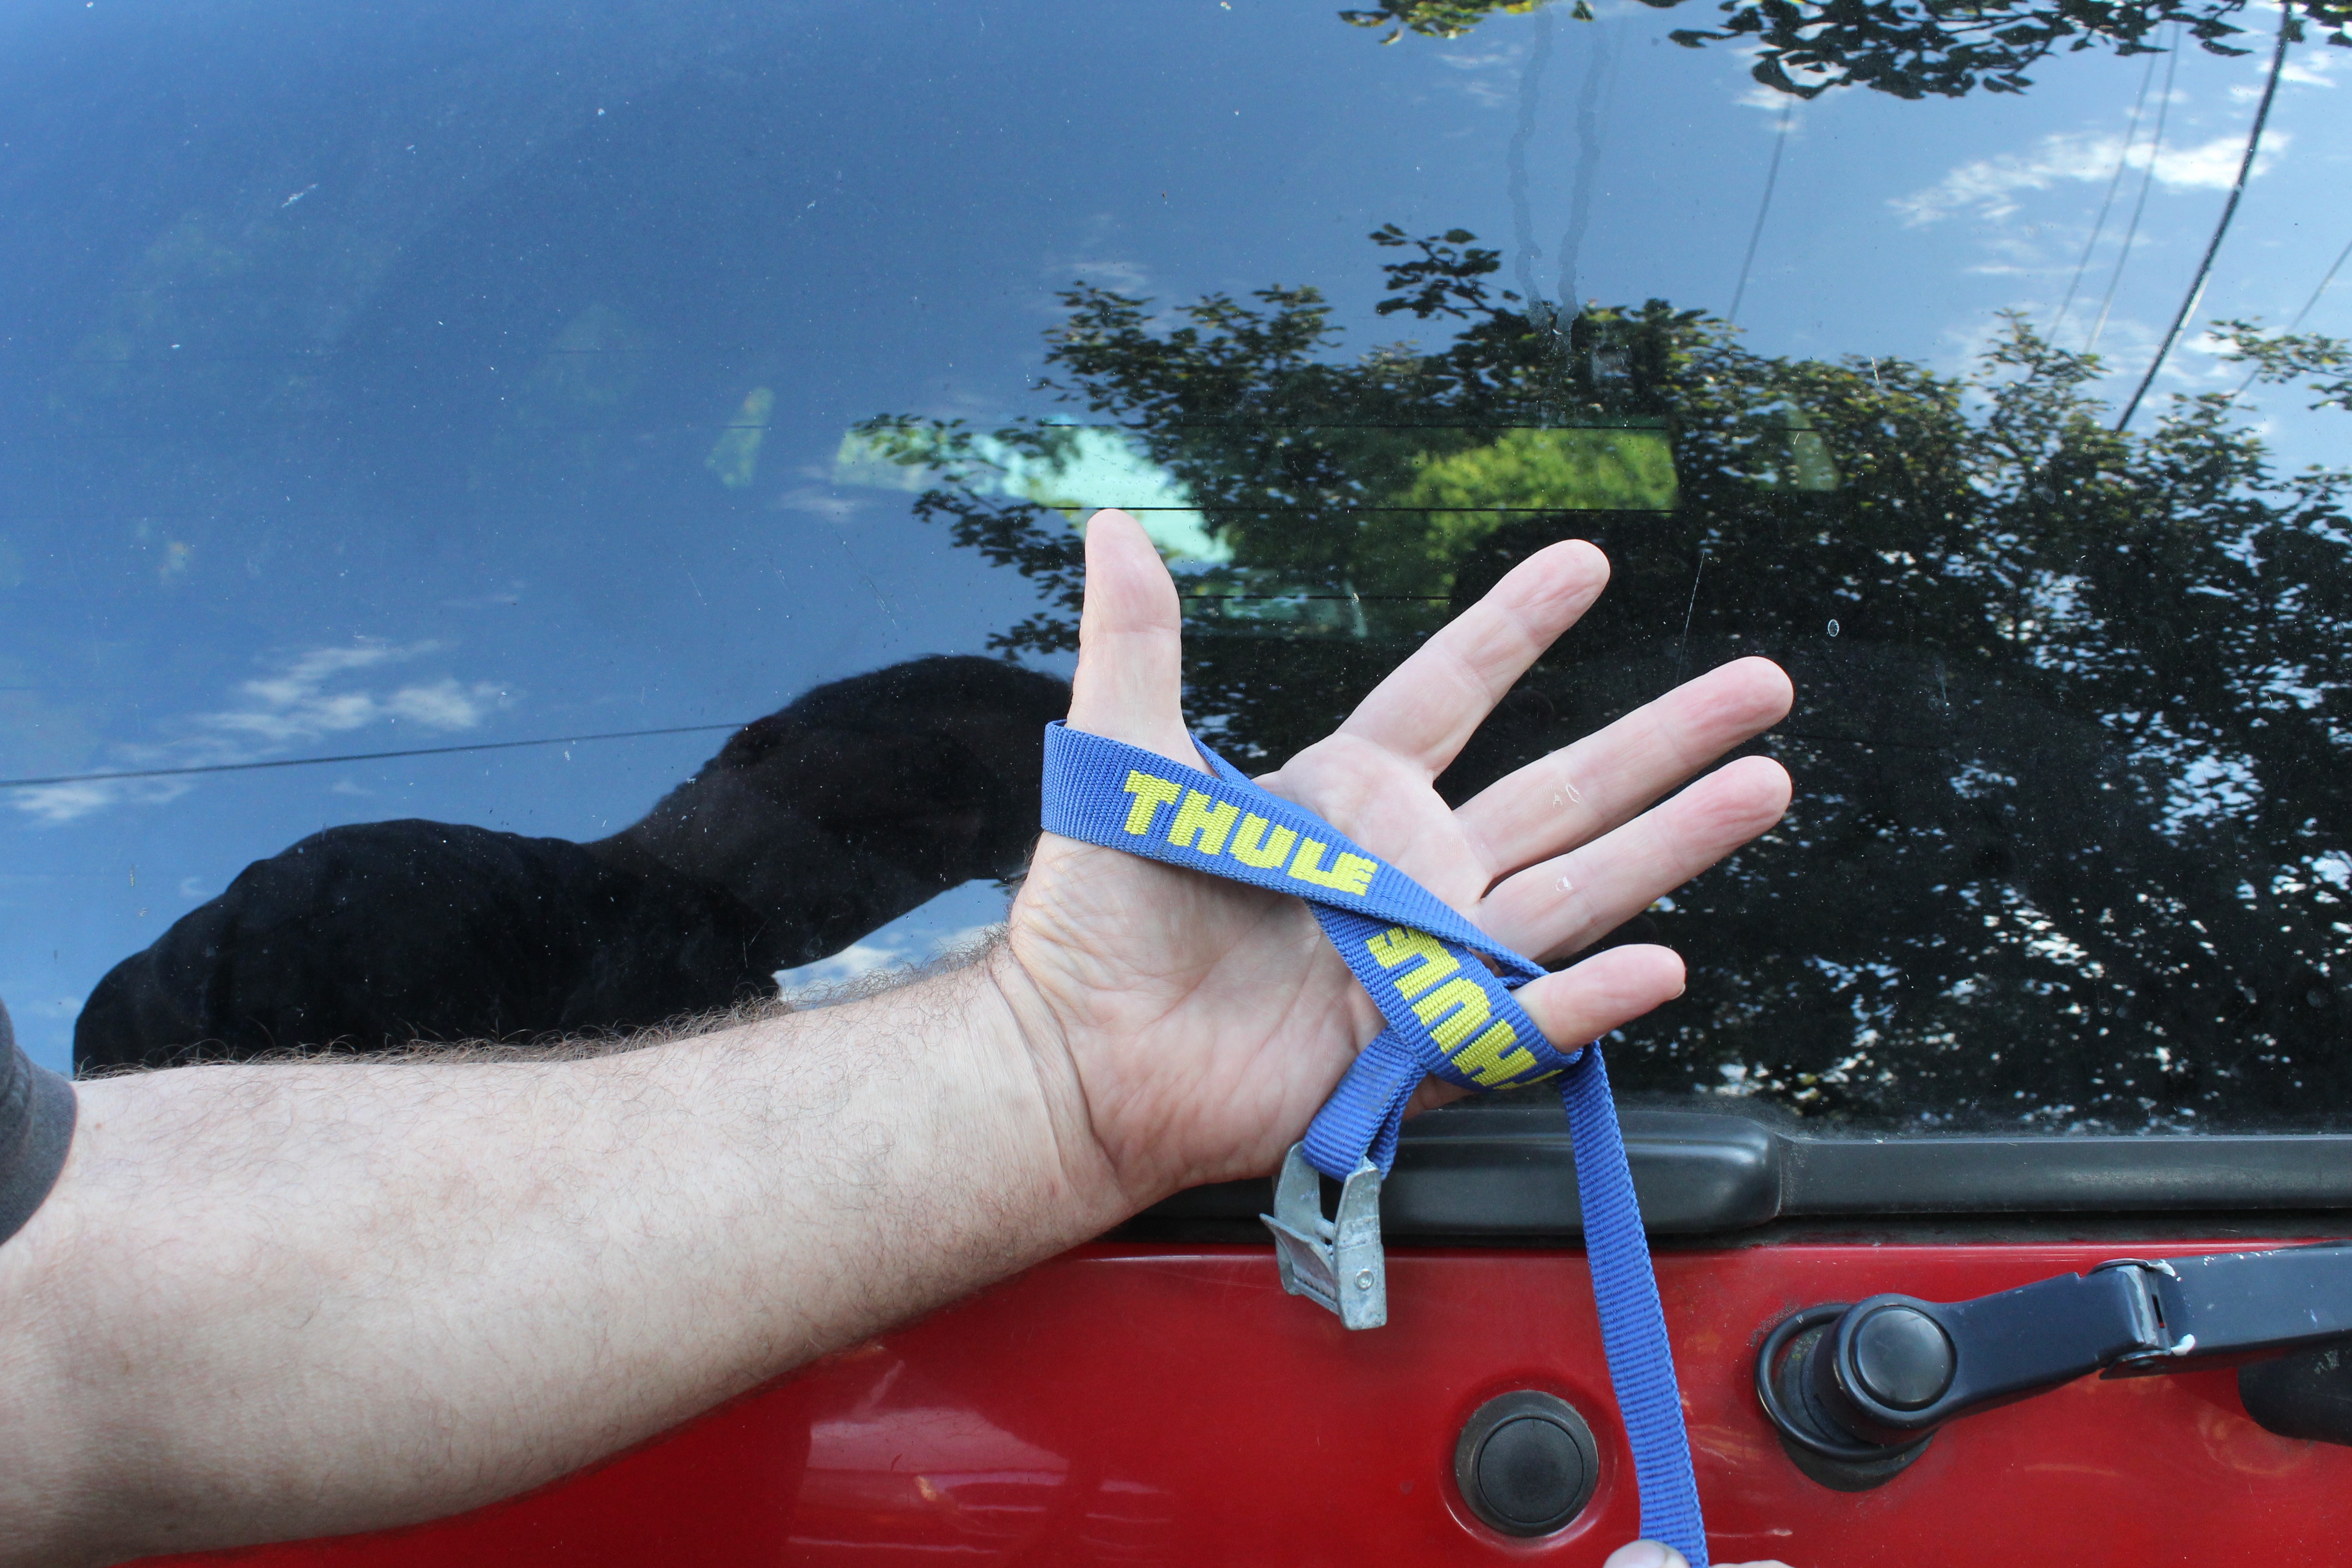
Bring the webbing over the pinky, finishing the first figure-8.

Continue making figure-8s, always keeping the webbing flat and without twists.

Pull your thumb out and press the buckle into the recess.

Wrap the remainder of the webbing around the middle of the figure-8s.

Tuck the tail under the last wrap.

Cinch tight.
When you need to use the strap, pull the tail end free, undo the wraps, hold the buckle, and drop the figure-8s. The strap is ready to use.
Flag-Folding Tarps
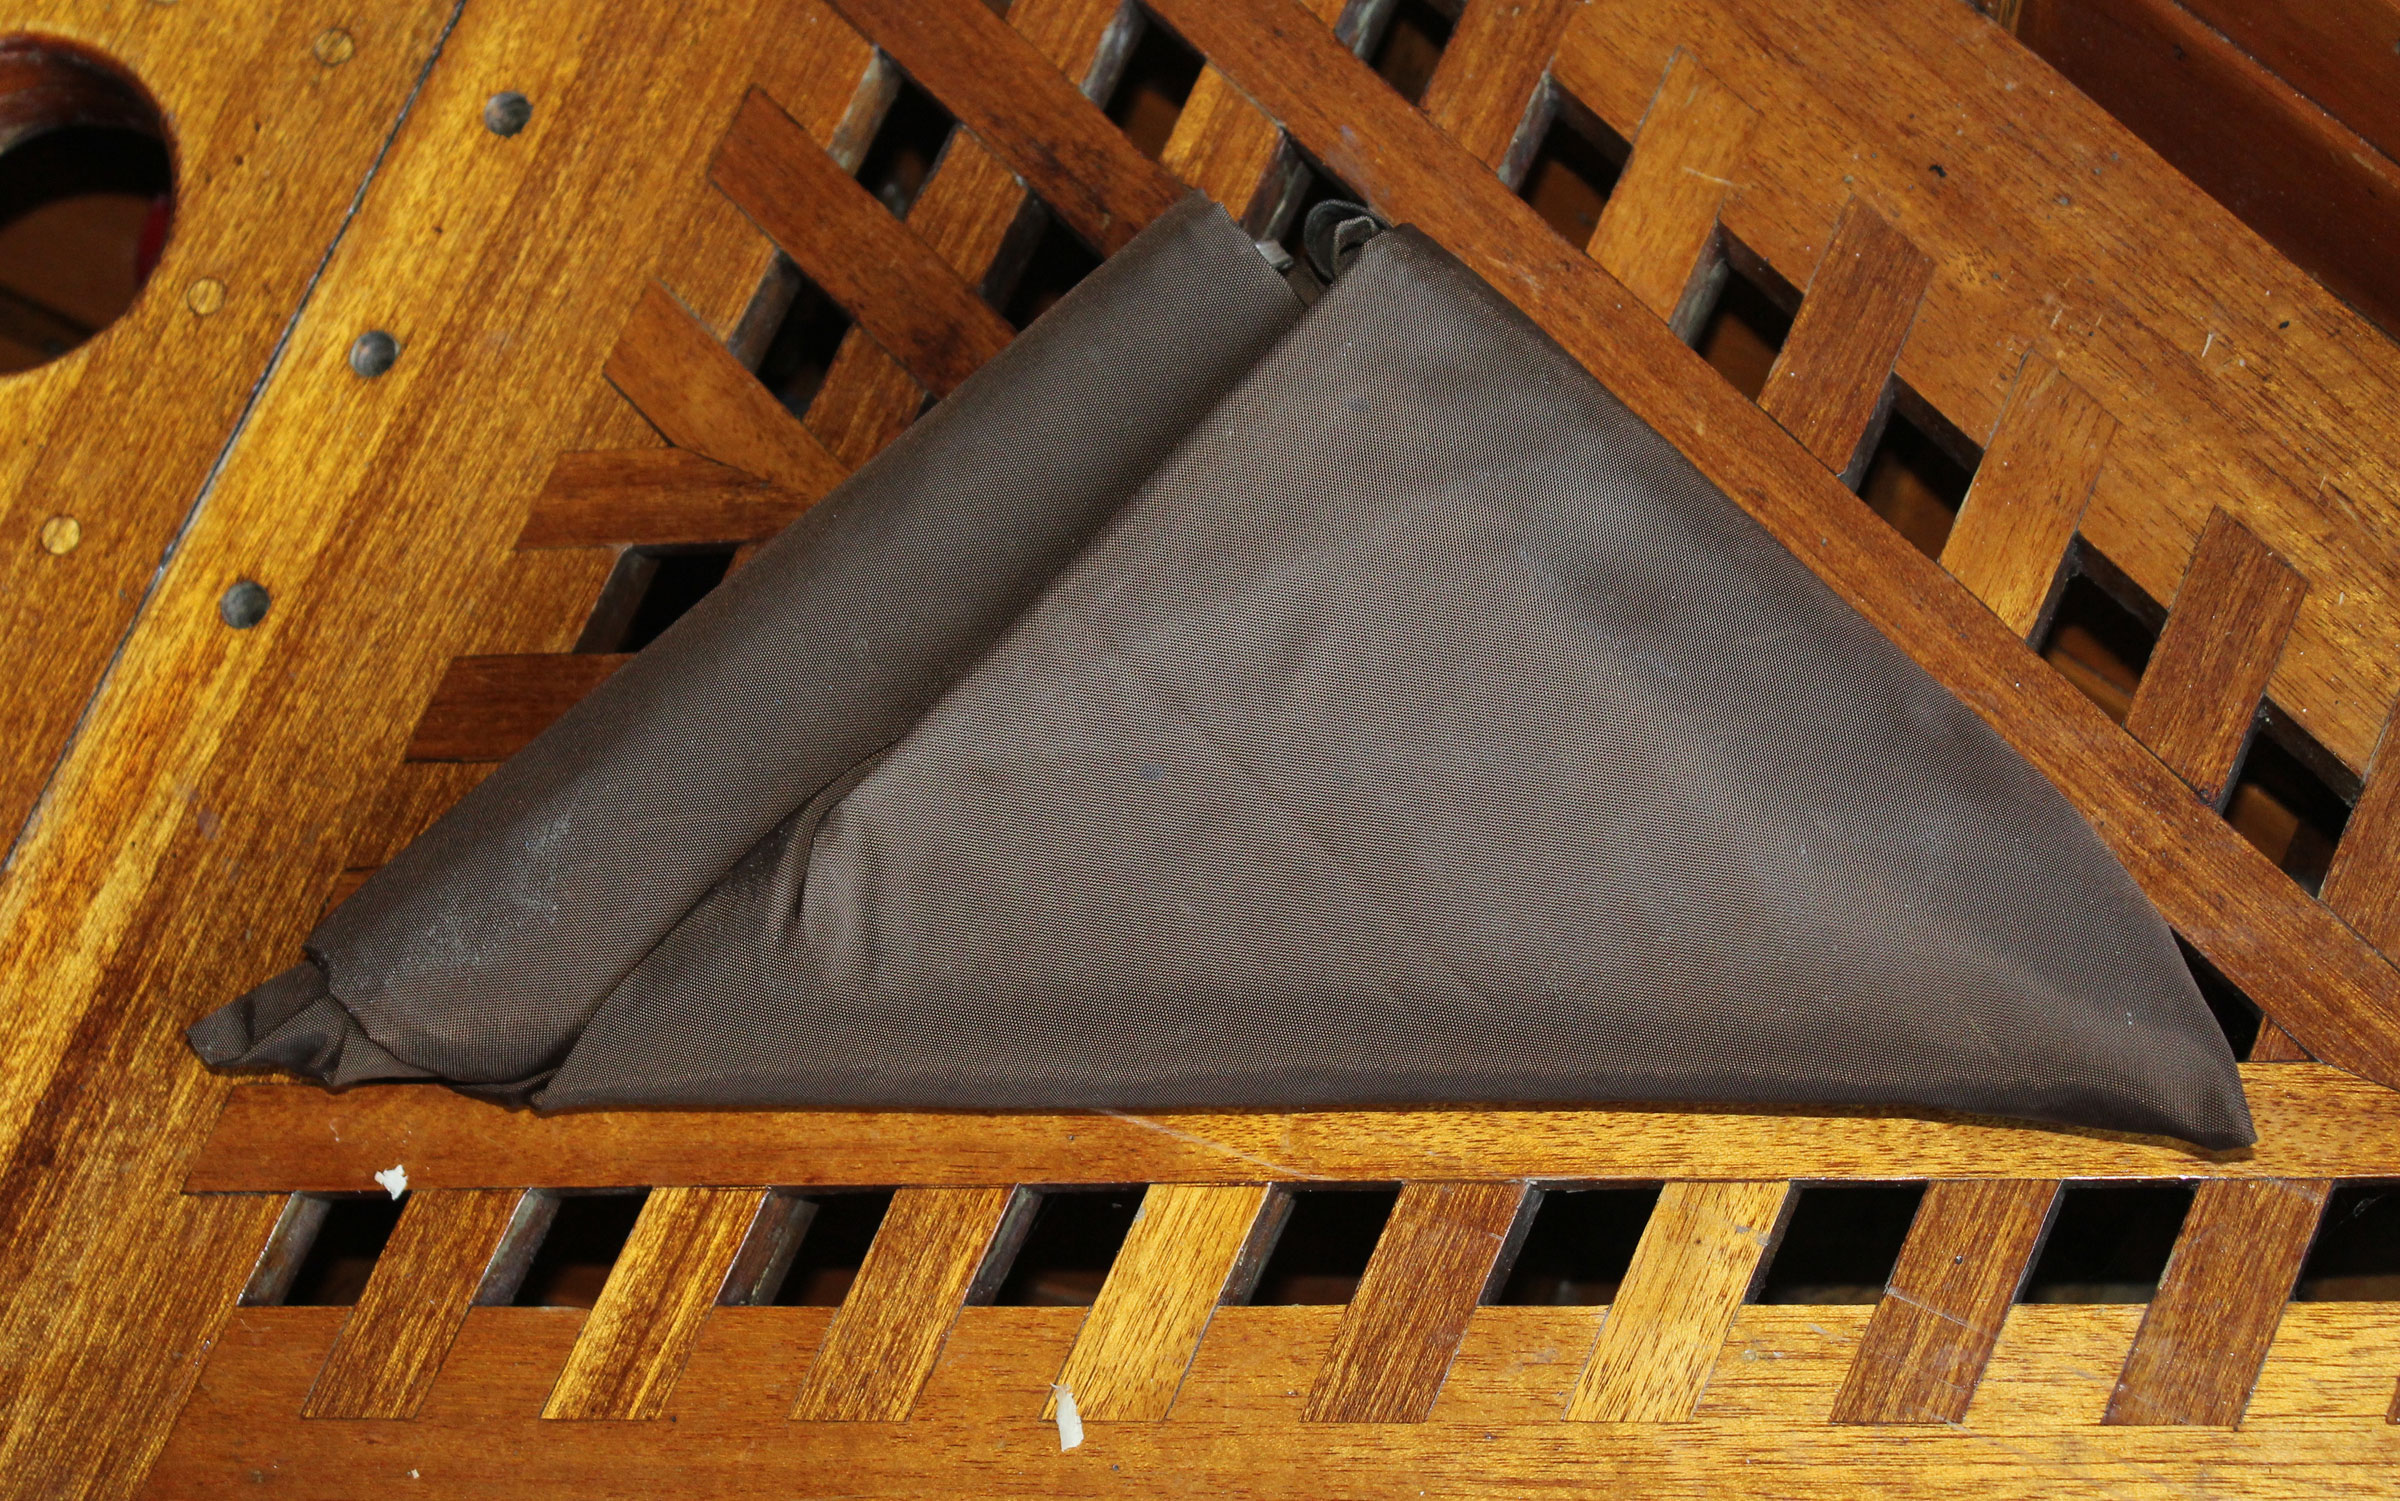
The flag-folded tarp stays wrapped tight by tucking its end into a pocket in the folded triangle.
The method for folding a national flag into a triangle works quite well for camping and workshop tarps and ground-cloths too. The last step tucks the tail end away and the package will hold itself together. Two people can make quick work of folding a tarp, but if there’s no one else around, a spring clamp comes in quite handy. Fold one of the short sides of the tarp in half and clamp the corners to a fixed object. Move to the other end, pull the tarp tight and make the same fold, and then fold it in half again. Return to the clamped end and put a second and a third fold in, making the tarp 1/8th of its full width. Walk the unclamped end out, to tension the tarp again and put the third fold in that end.
Fold one corner in to form a triangle and then “roll” the triangle along the quartered tarp, drawing the fabric tight around the triangle. Stop when you have a leg of triangle (not the hypotenuse) crossing the fabric with at least a leg’s length of fabric remaining. If you have less, back up; if you then have more, fold the remainder to make it about as long as a leg of the triangle. Fold the remainder diagonally to make a mirror-image triangle and then tuck that triangle tight into the pocket formed by the wraps.
Here’s how that looks:
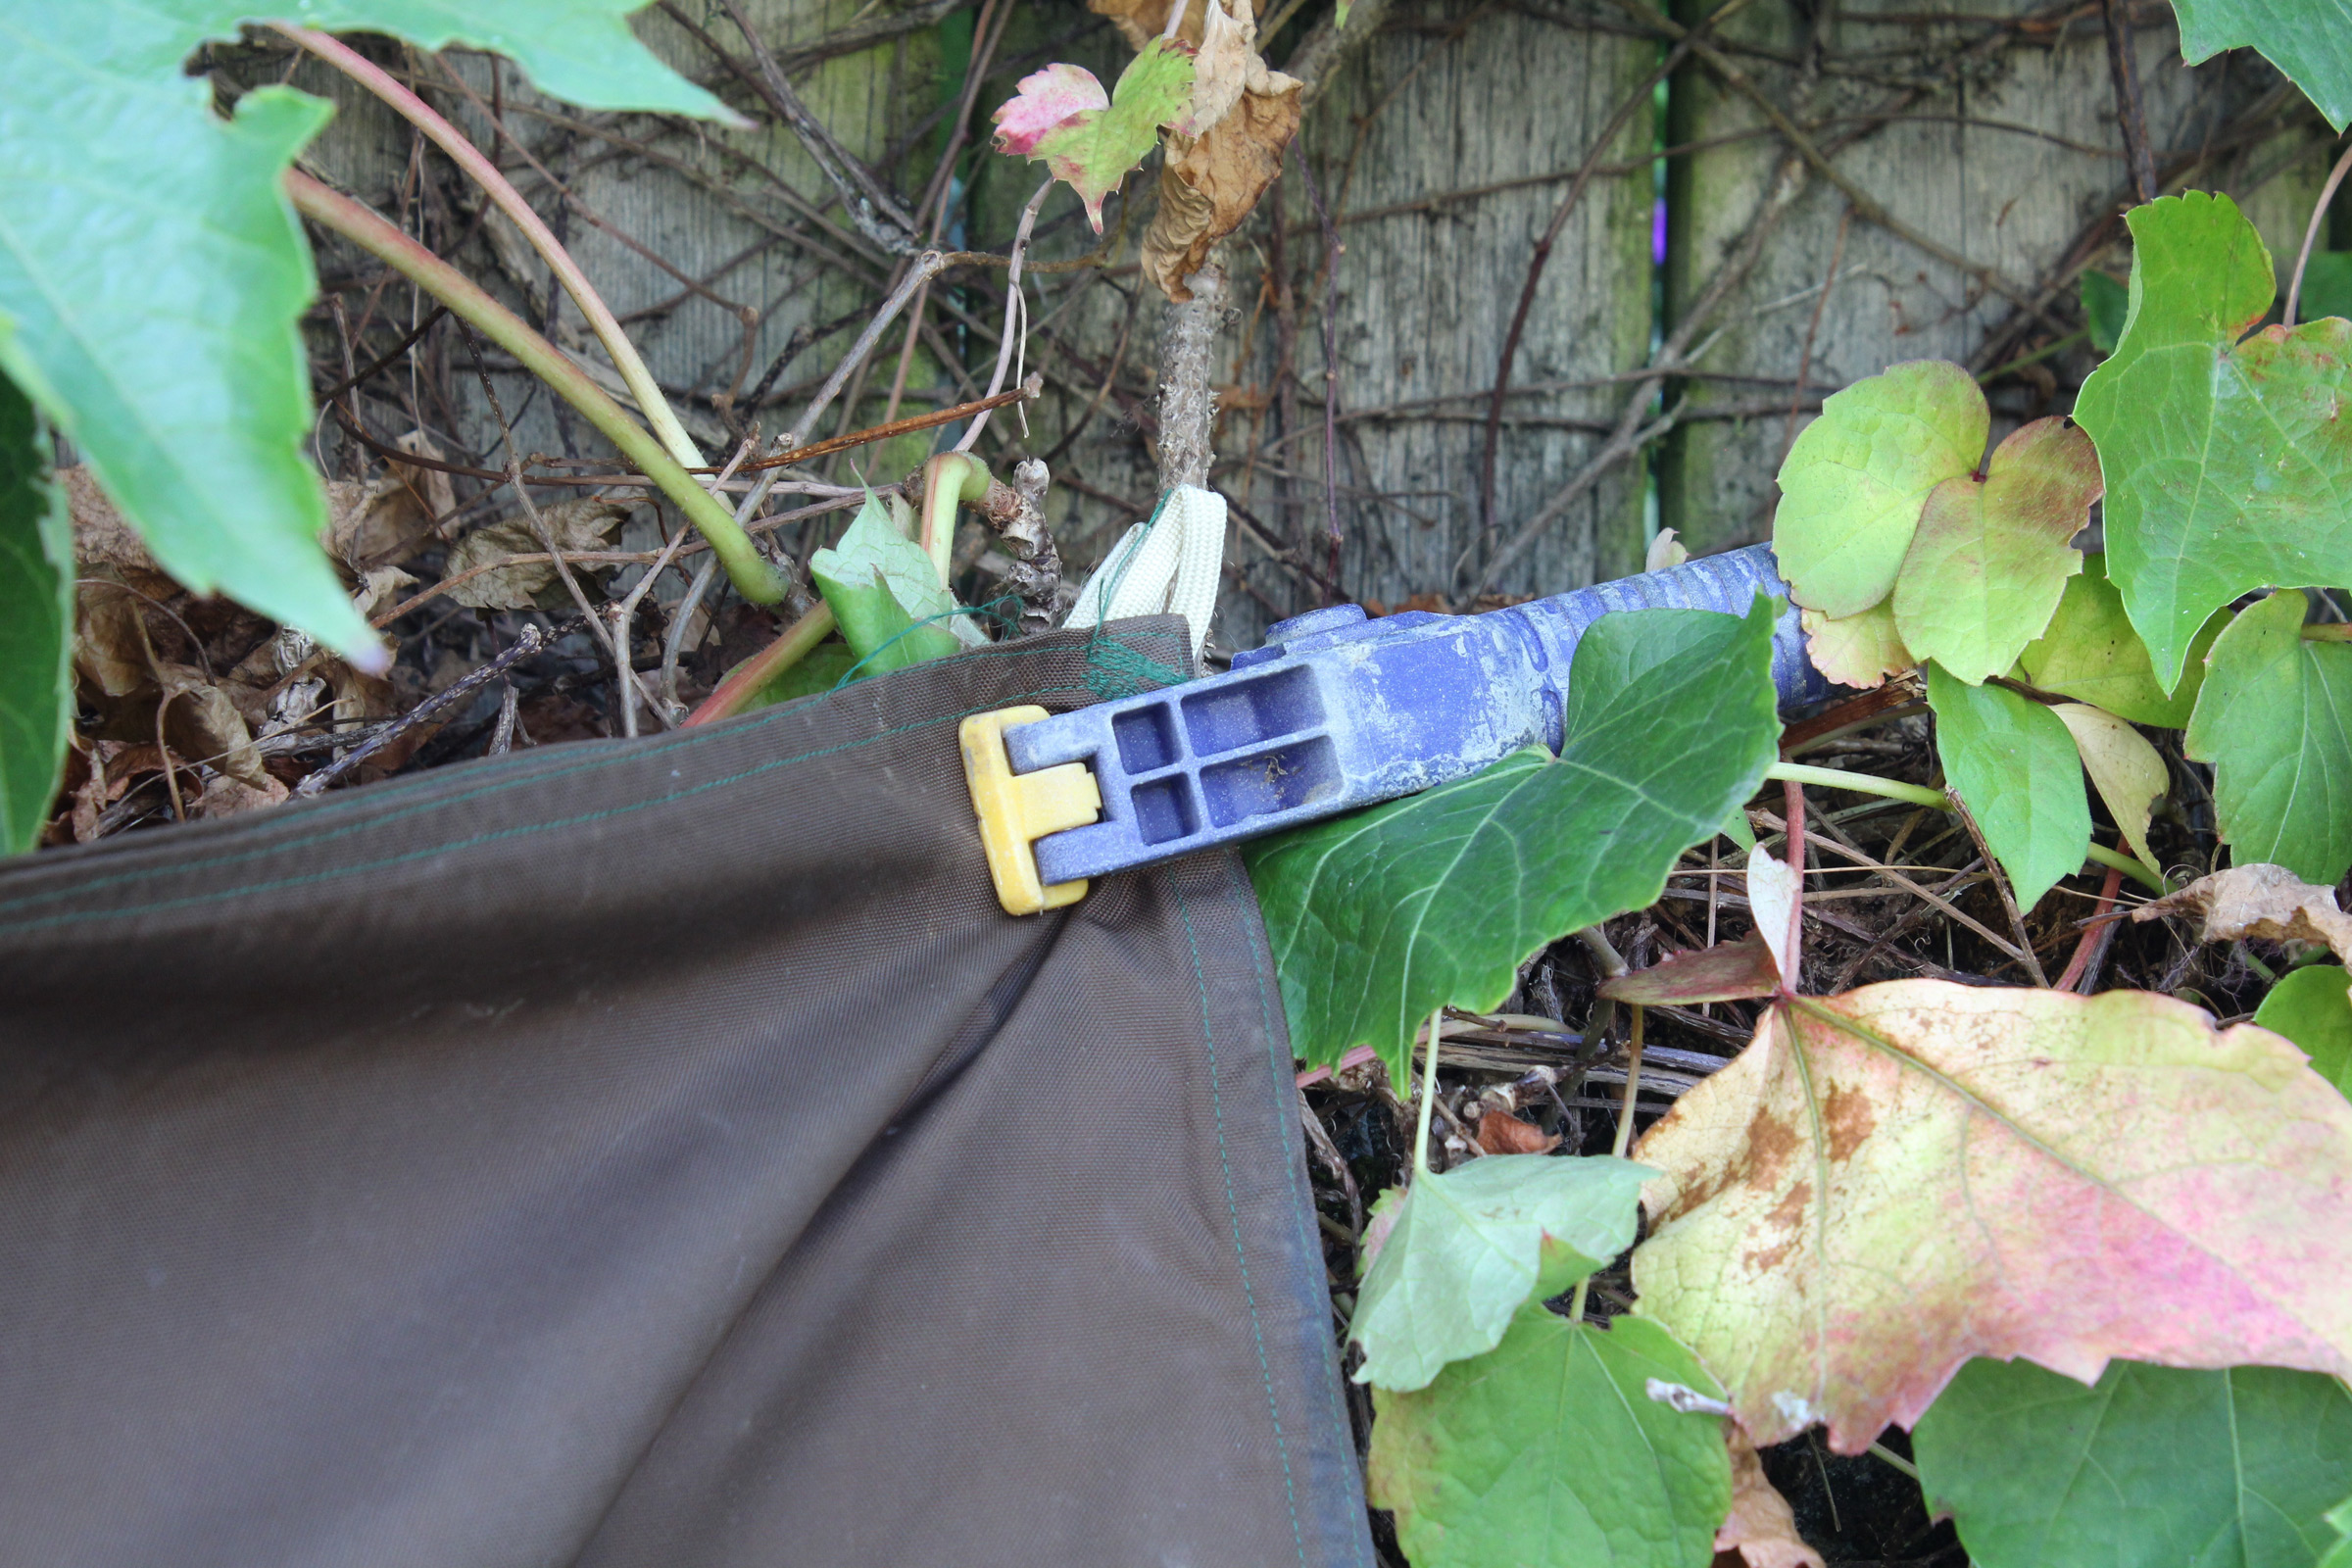
If you’re folding a tarp on your own, have a spring clamp lend a hand.
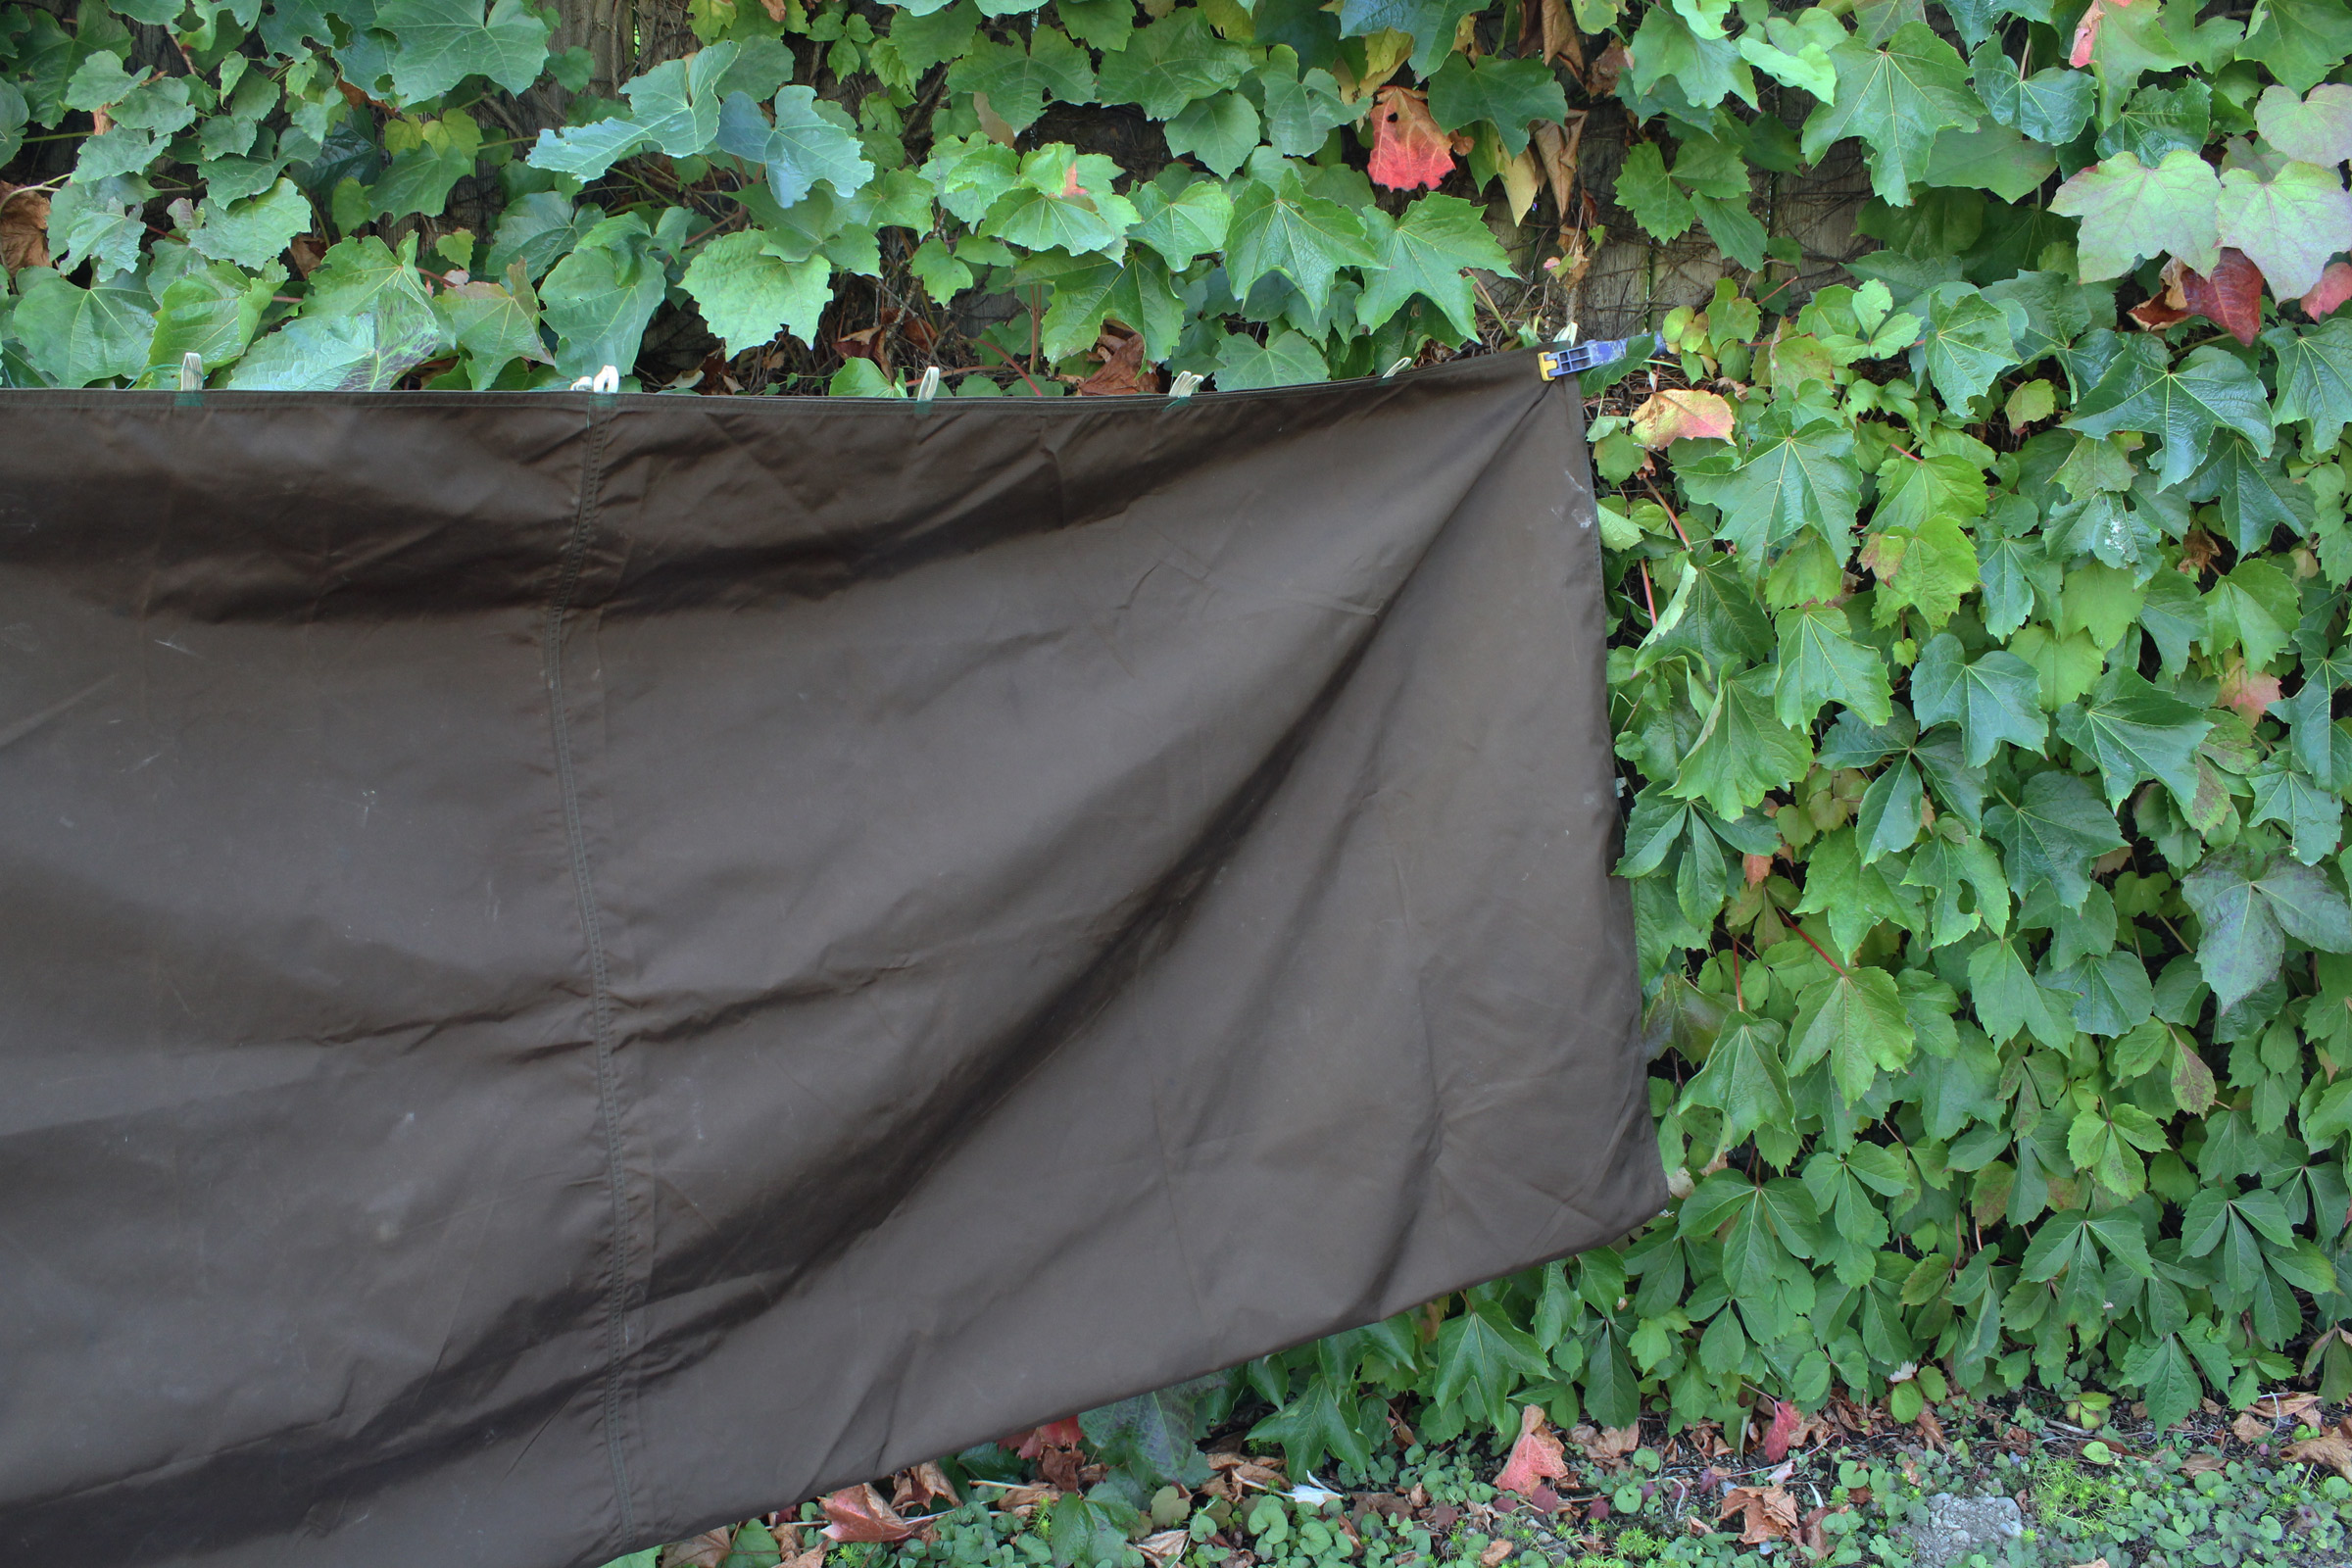
Start with the tarp folded in half and have the clamp hold the two corners, then fold the other end to halve the tarp.

A second fold quarters the tarp’s width.
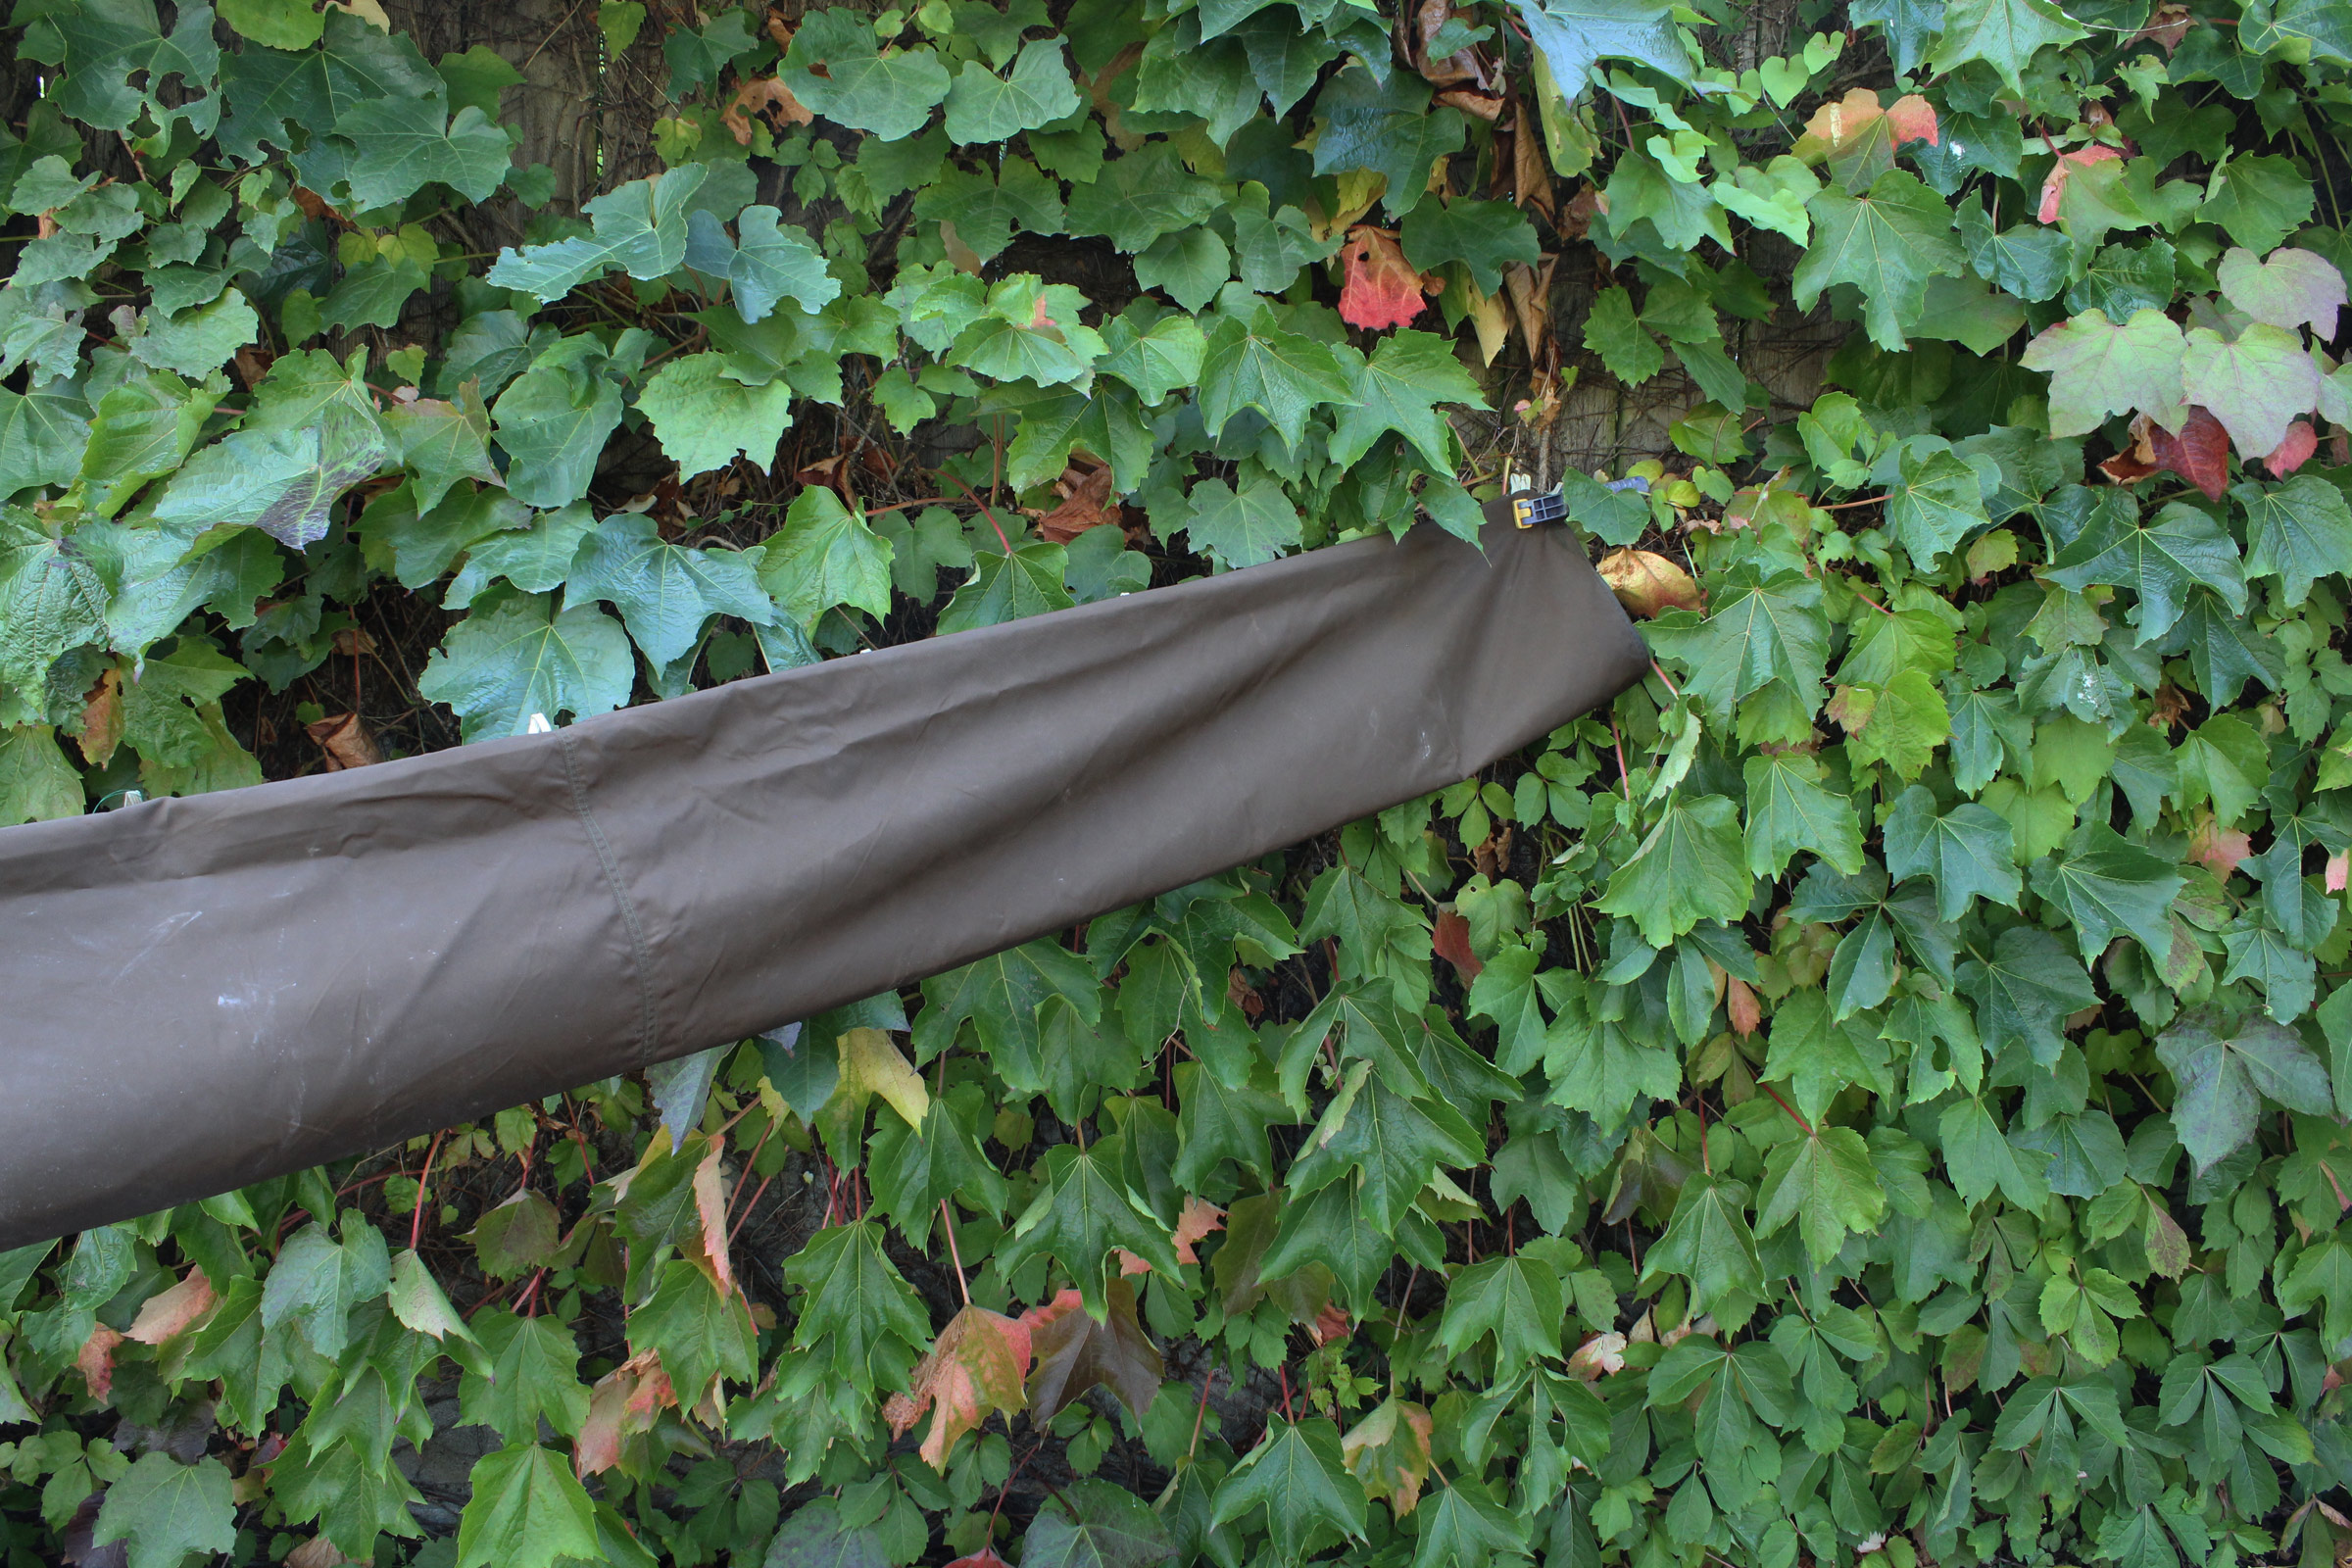
The third fold decreases the width eightfold.

Fold one corner on a diagonal to form a triangle.
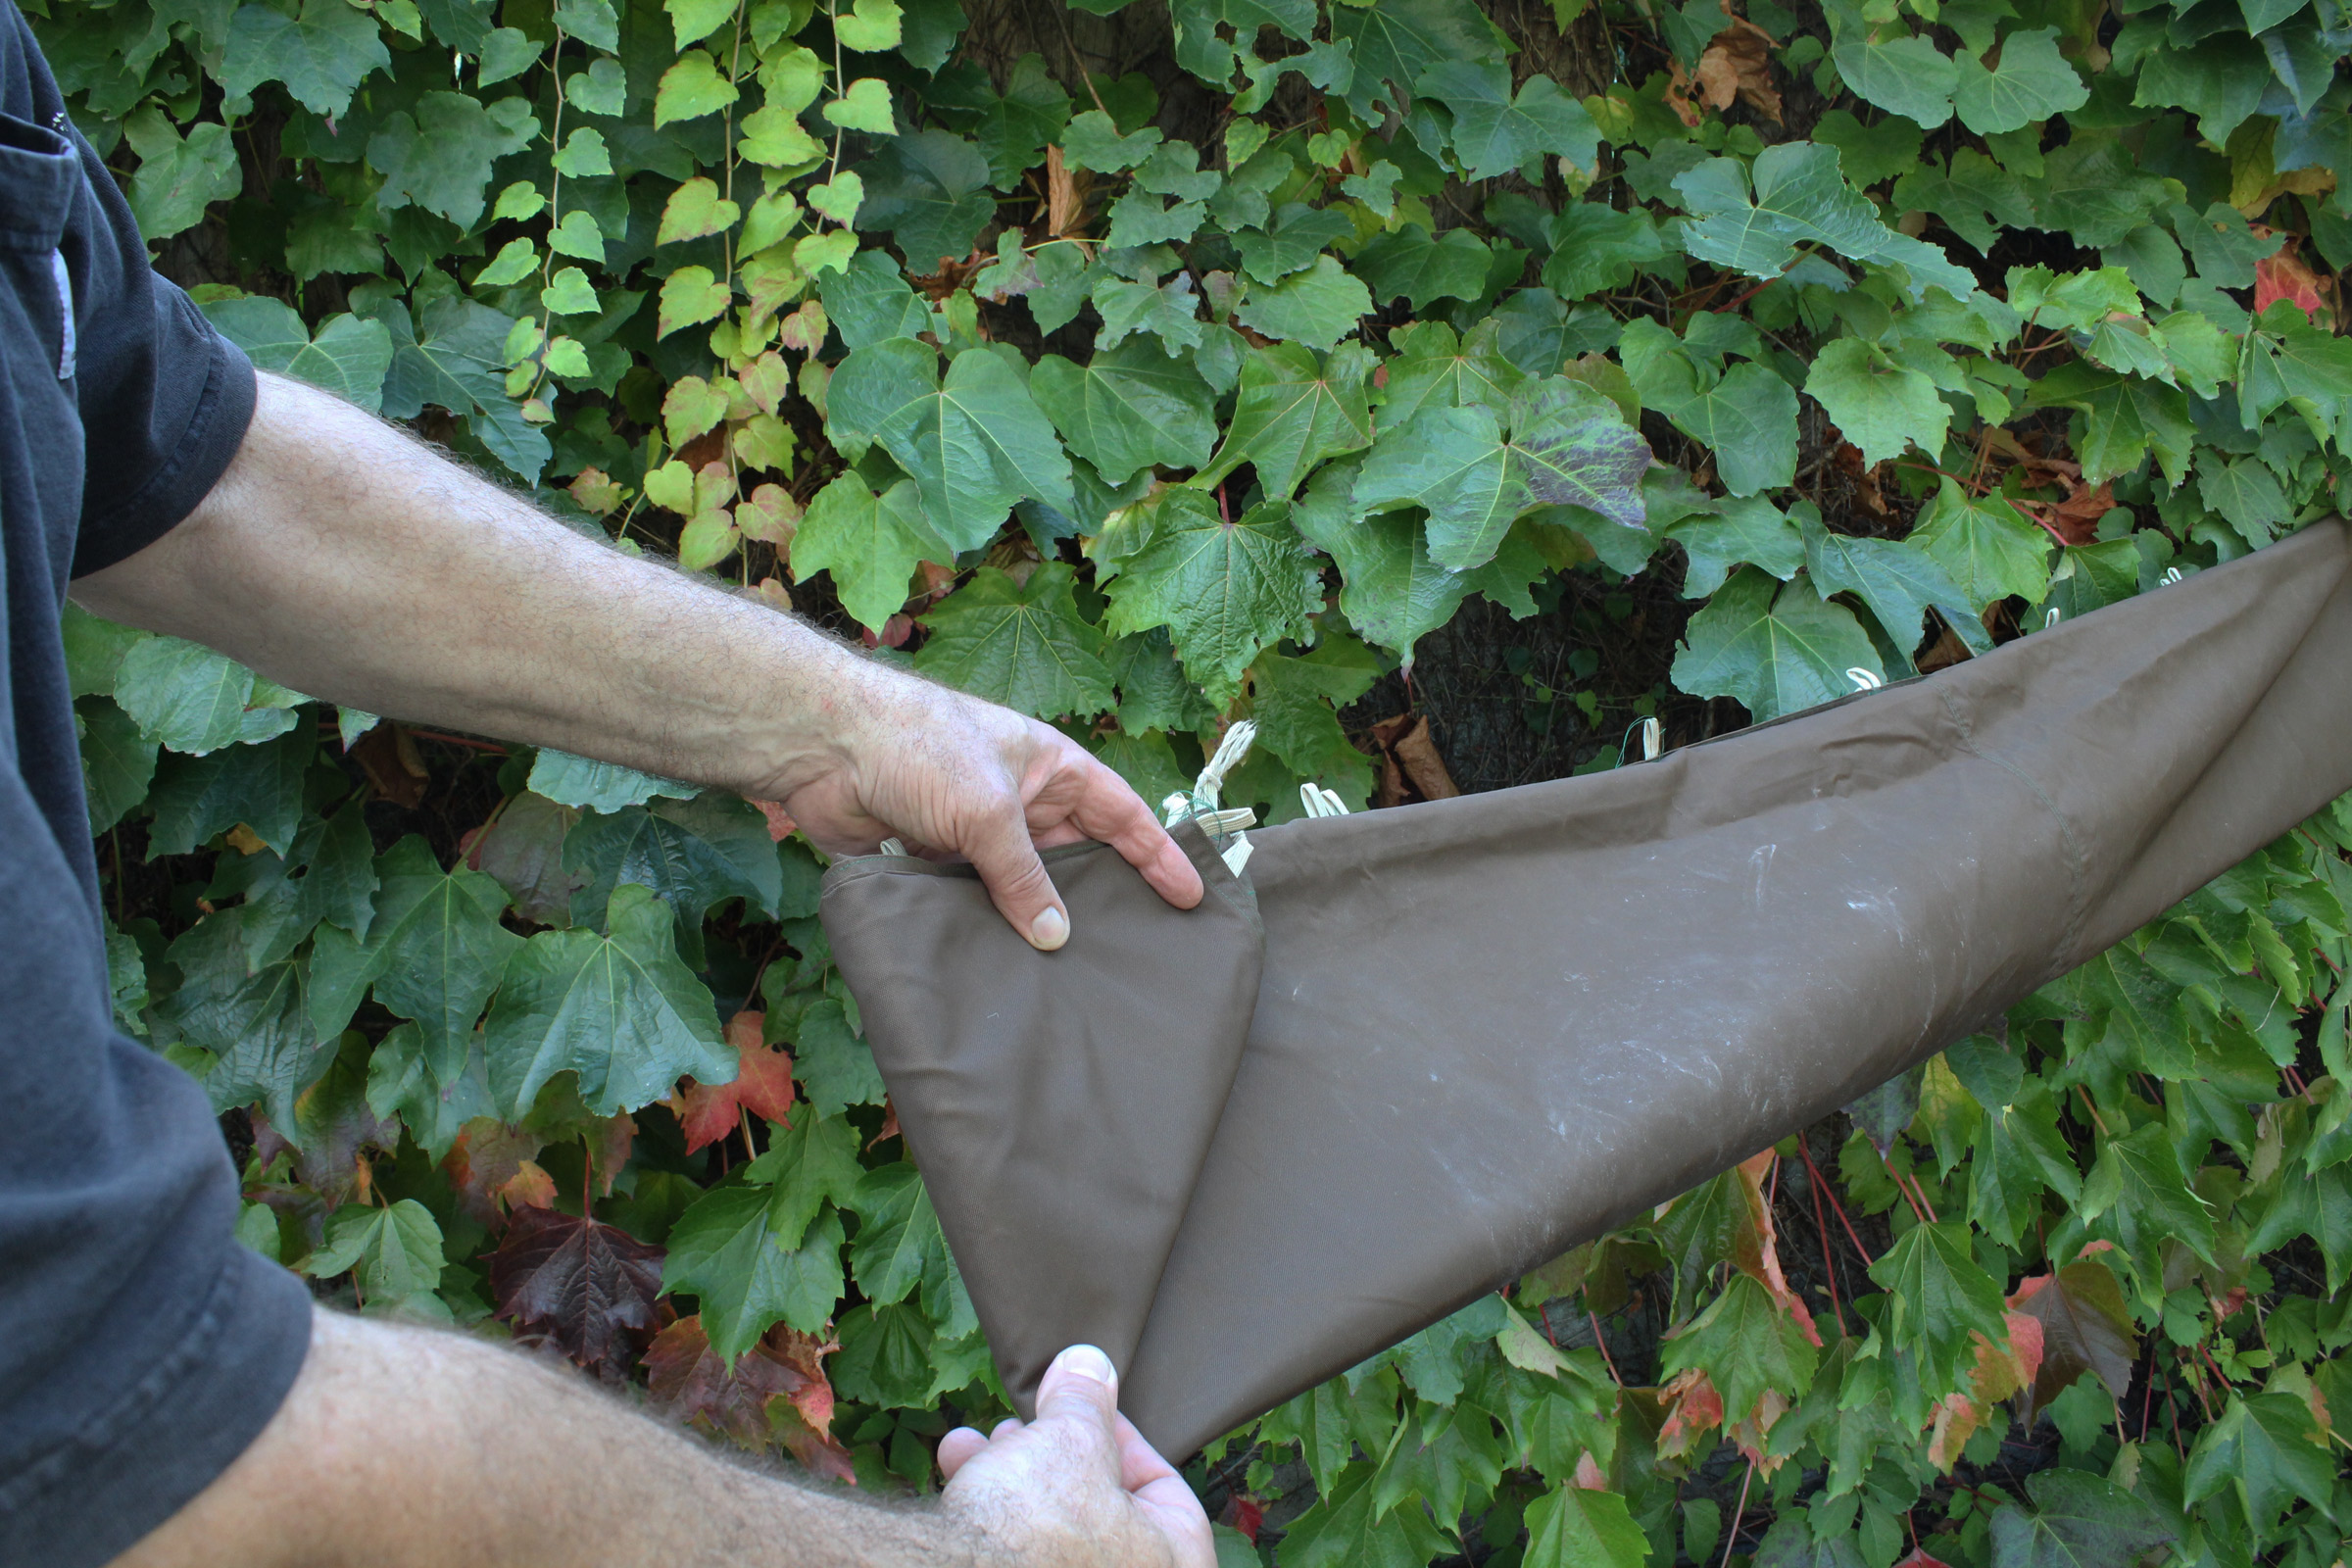
Flip the triangle along the length of the tarp.
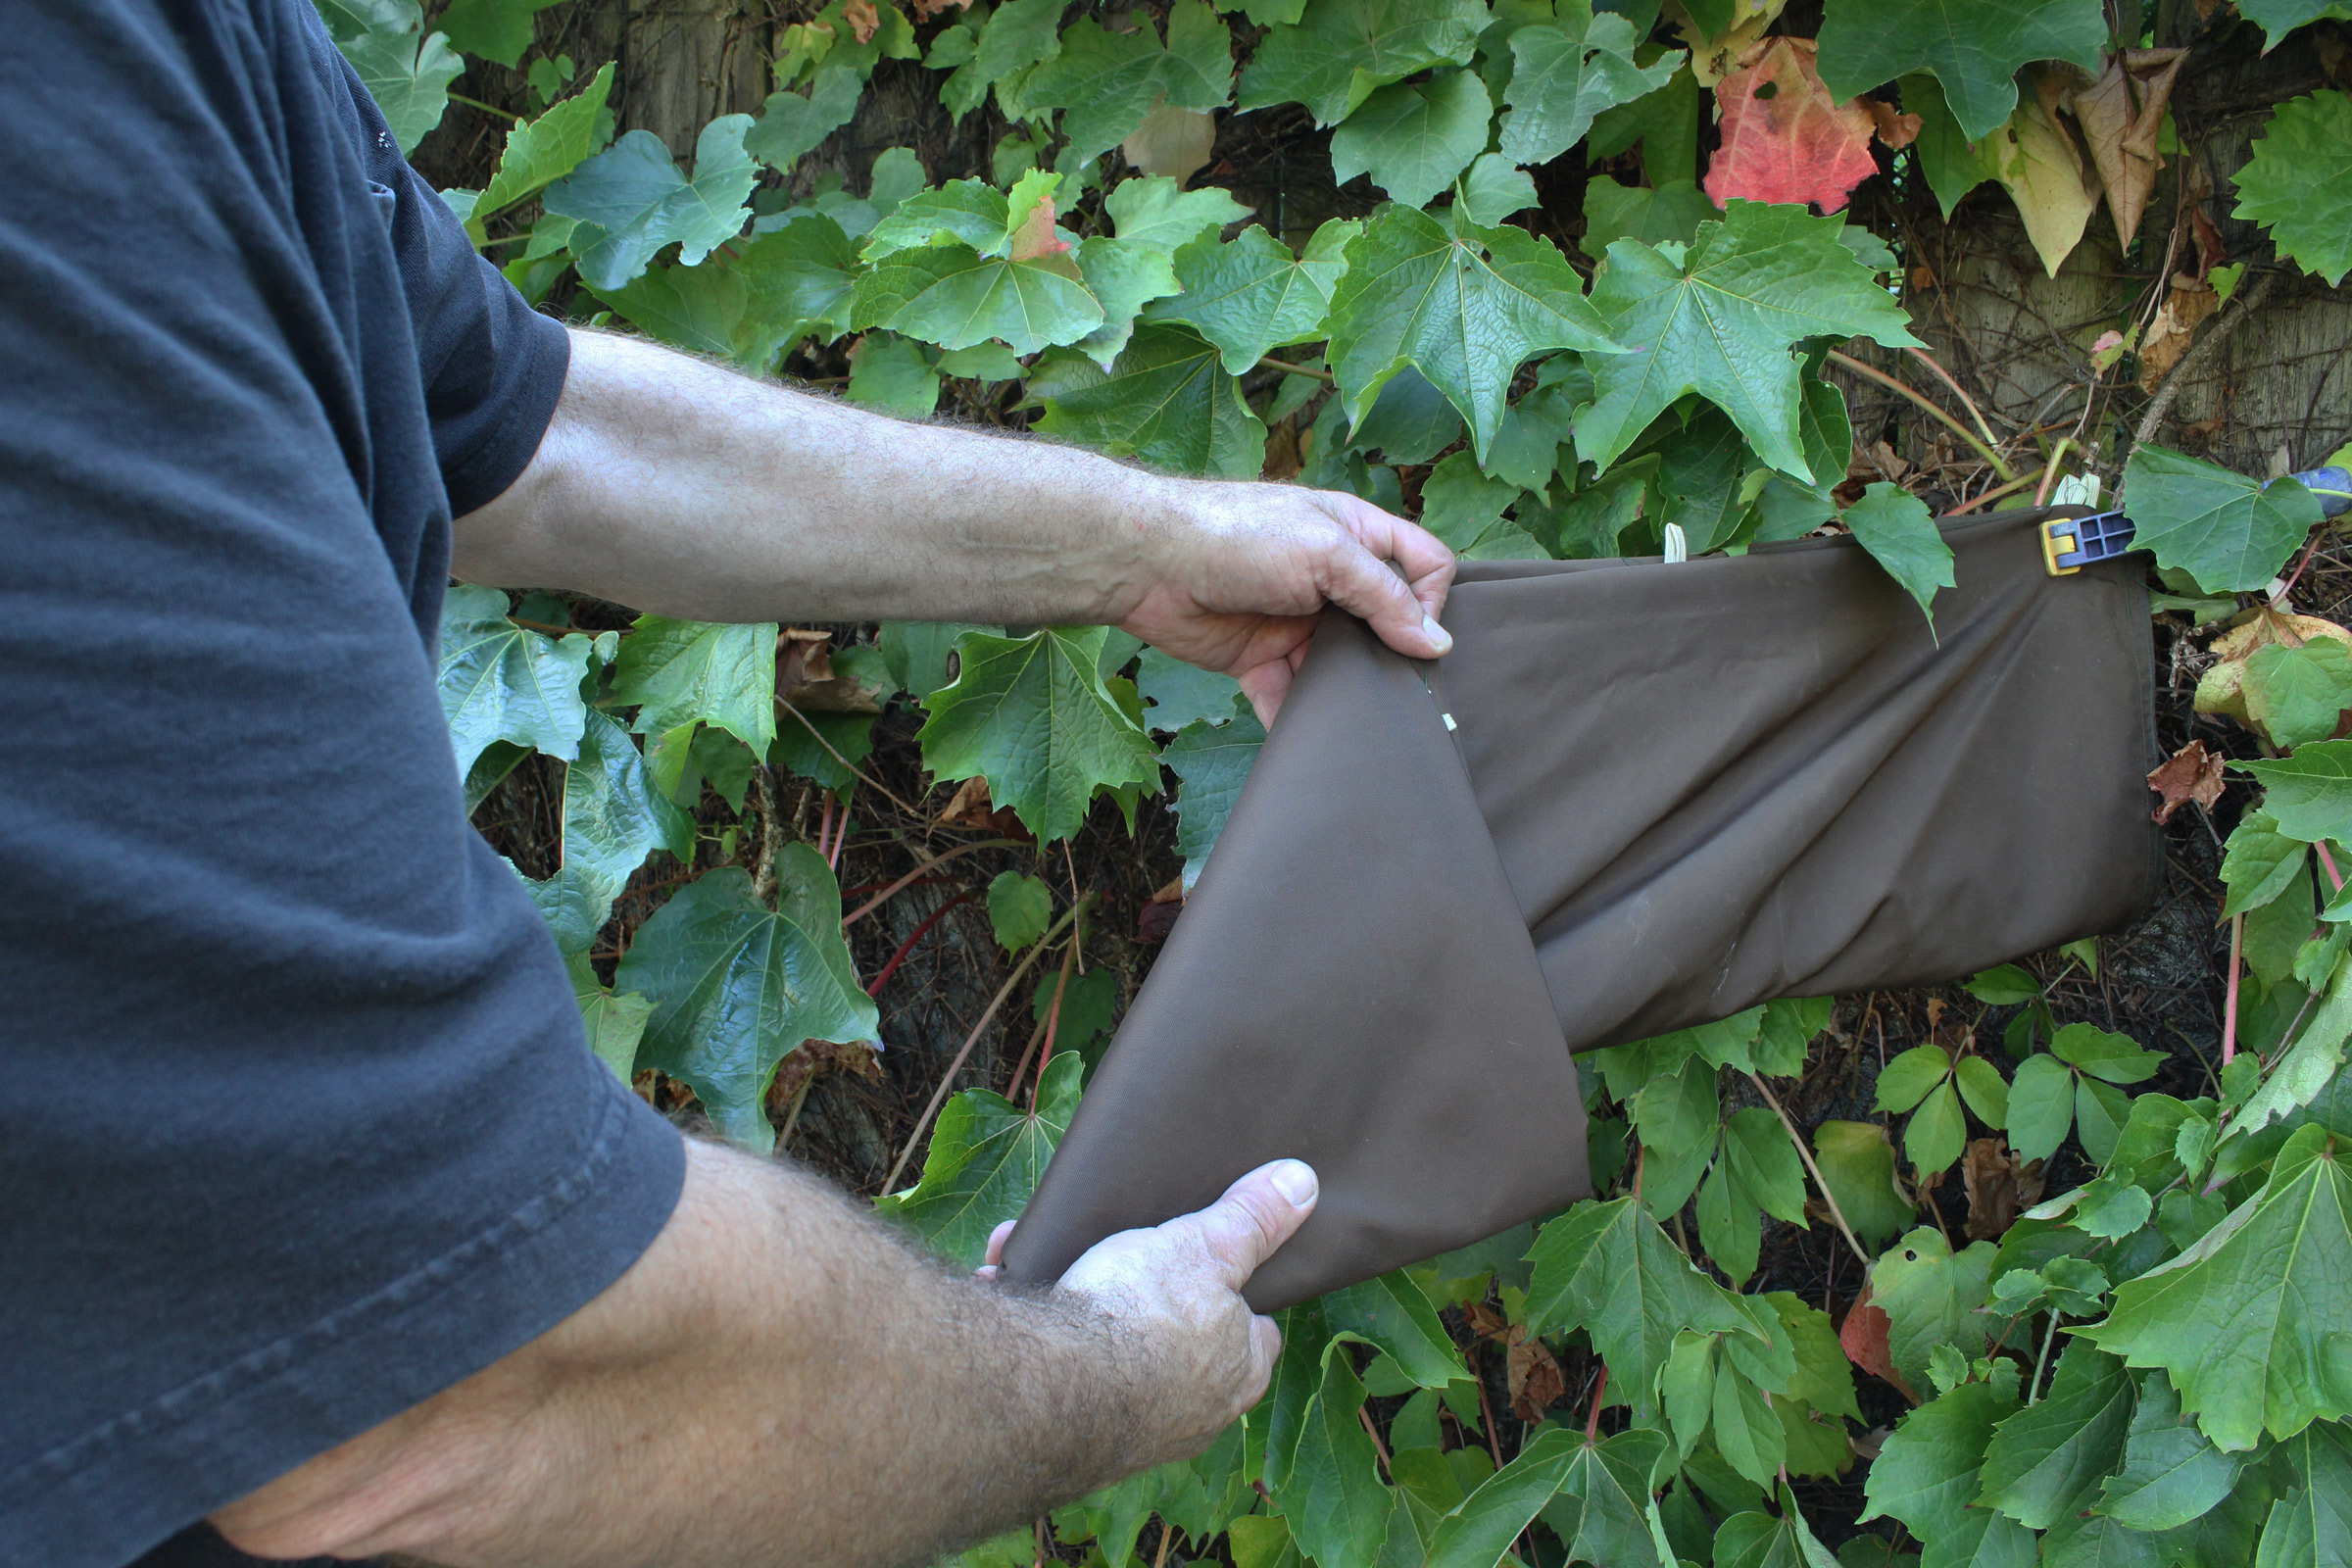
Keep rolling the triangle until you’re close to the end and you have the triangle’s edge square to the tarp. Here there’s not enough tarp left to get to the next squared edge, so the remaining tarp will be folded toward the triangle.
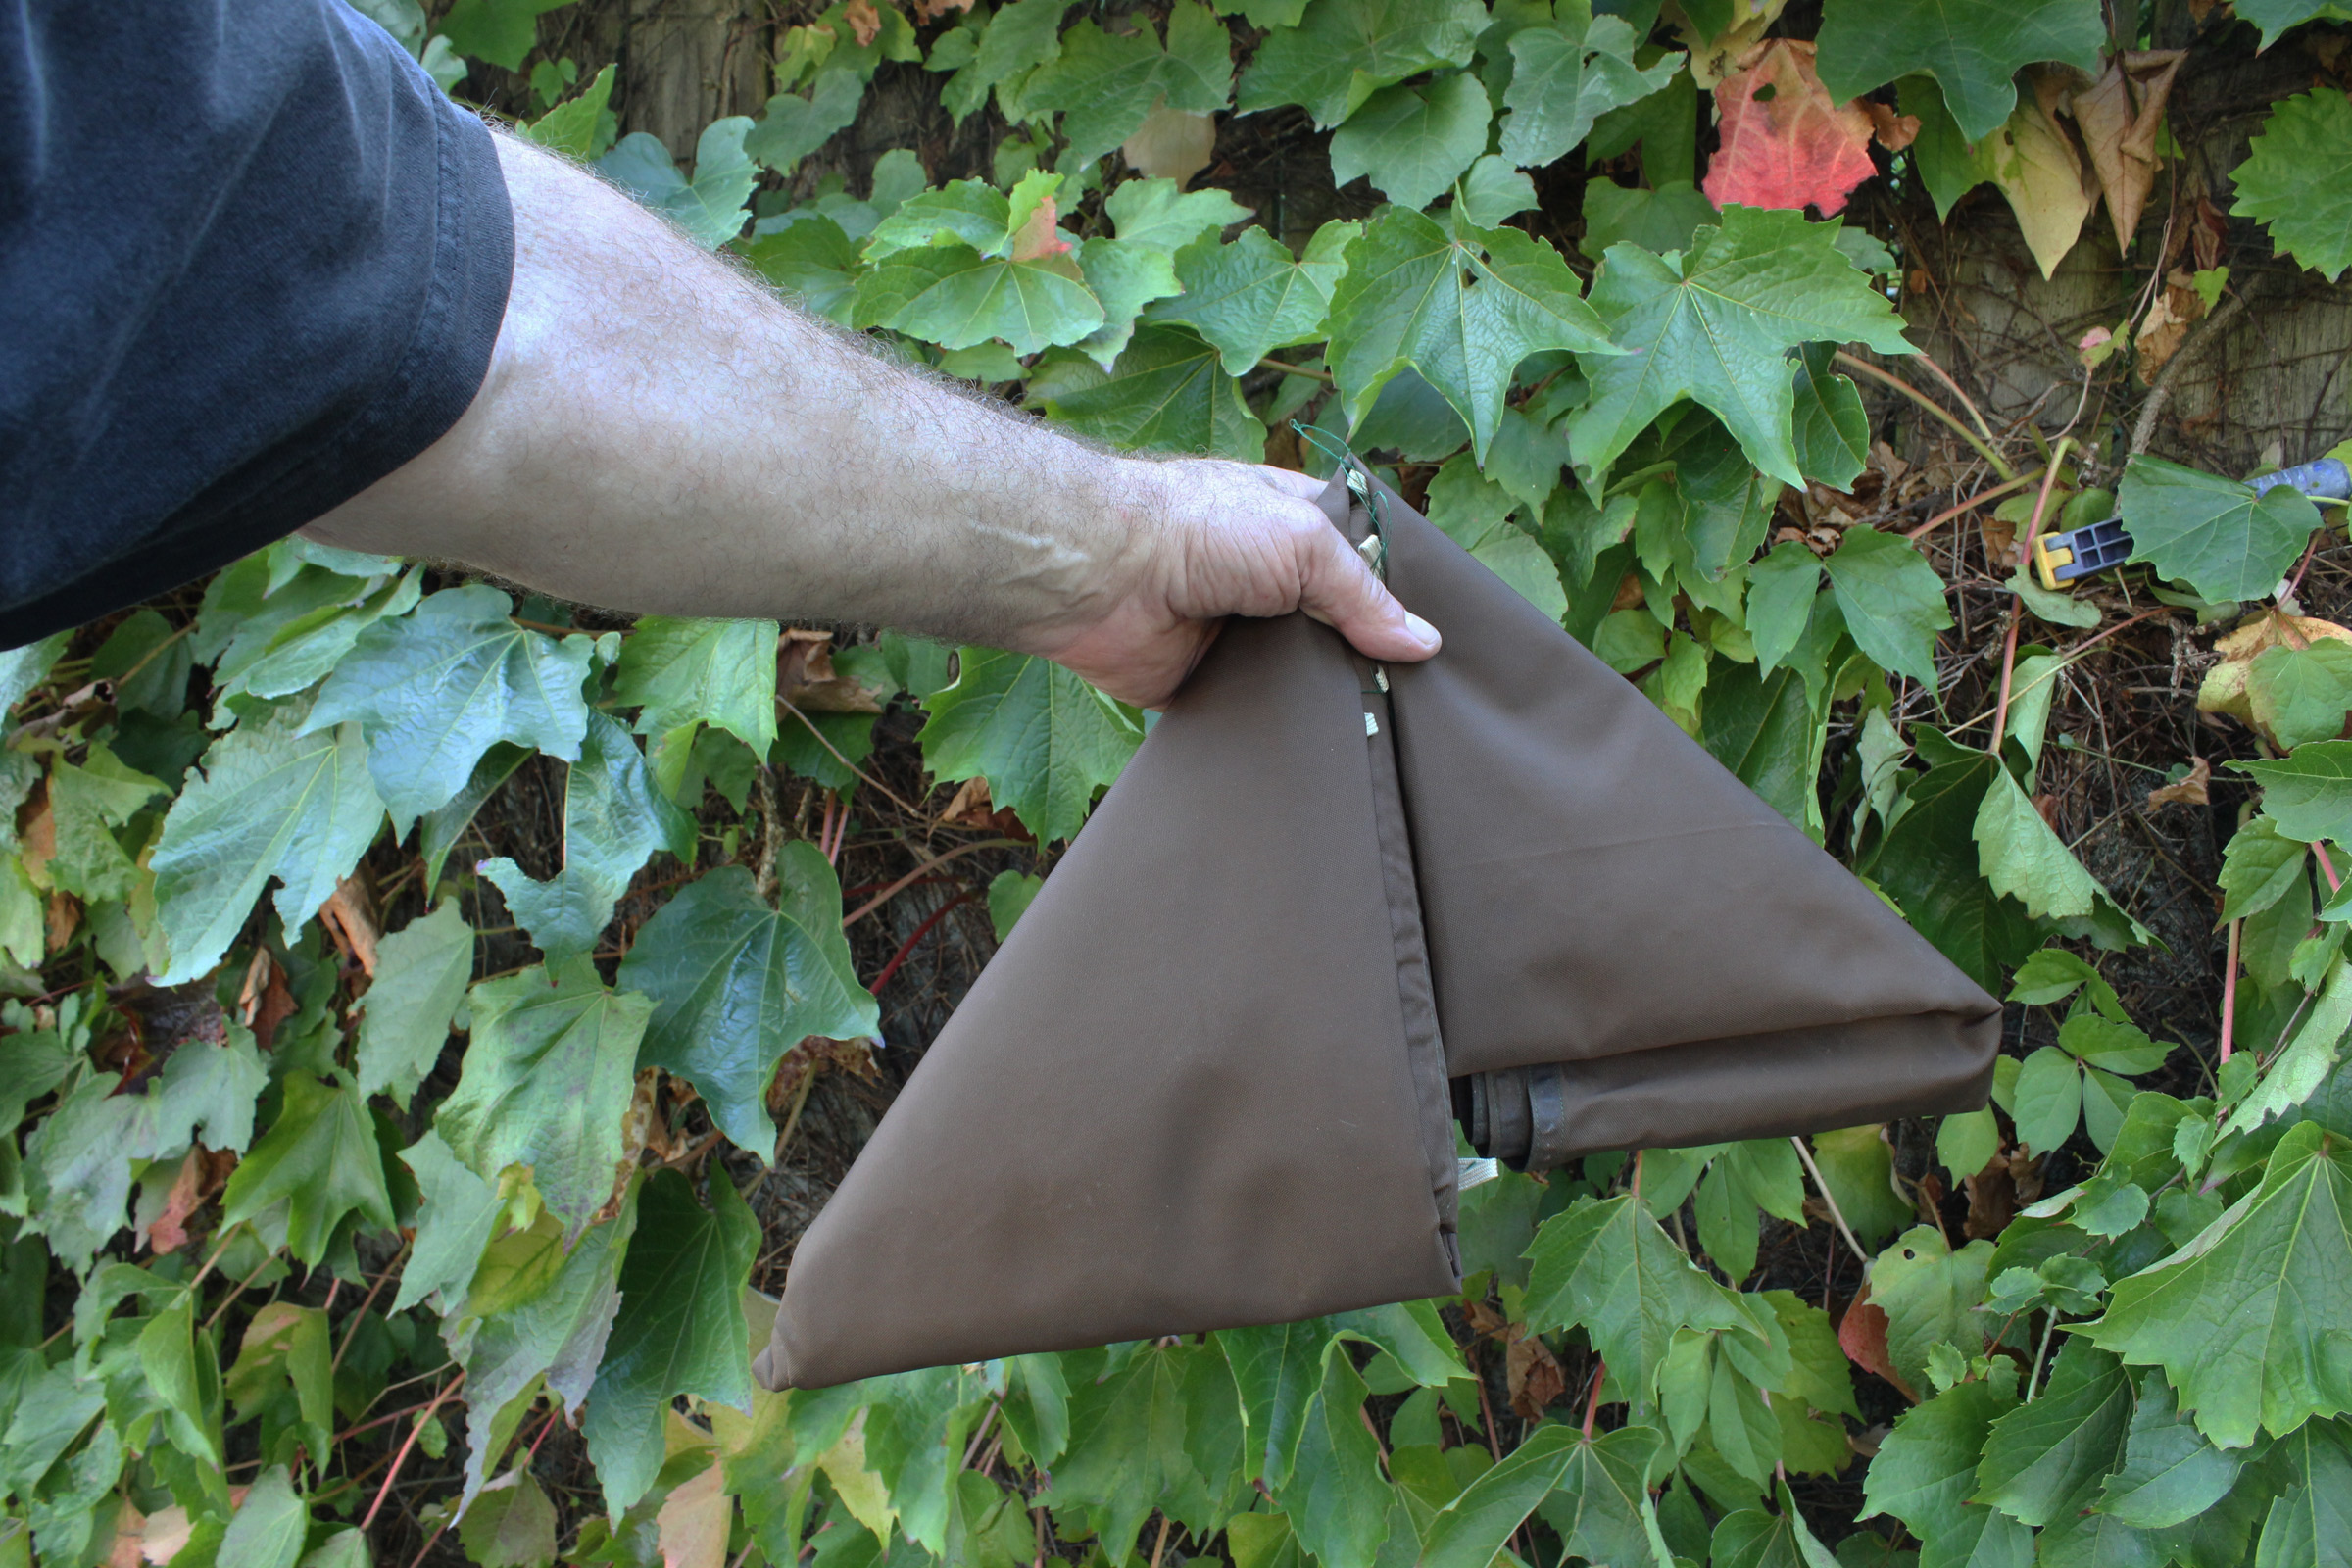
Fold the tail end to make a mirror-image triangle.

Tuck the tail end into the pocket of the triangle.
Throw the flag-folded tarp in the boat if you like—it won’t come undone.
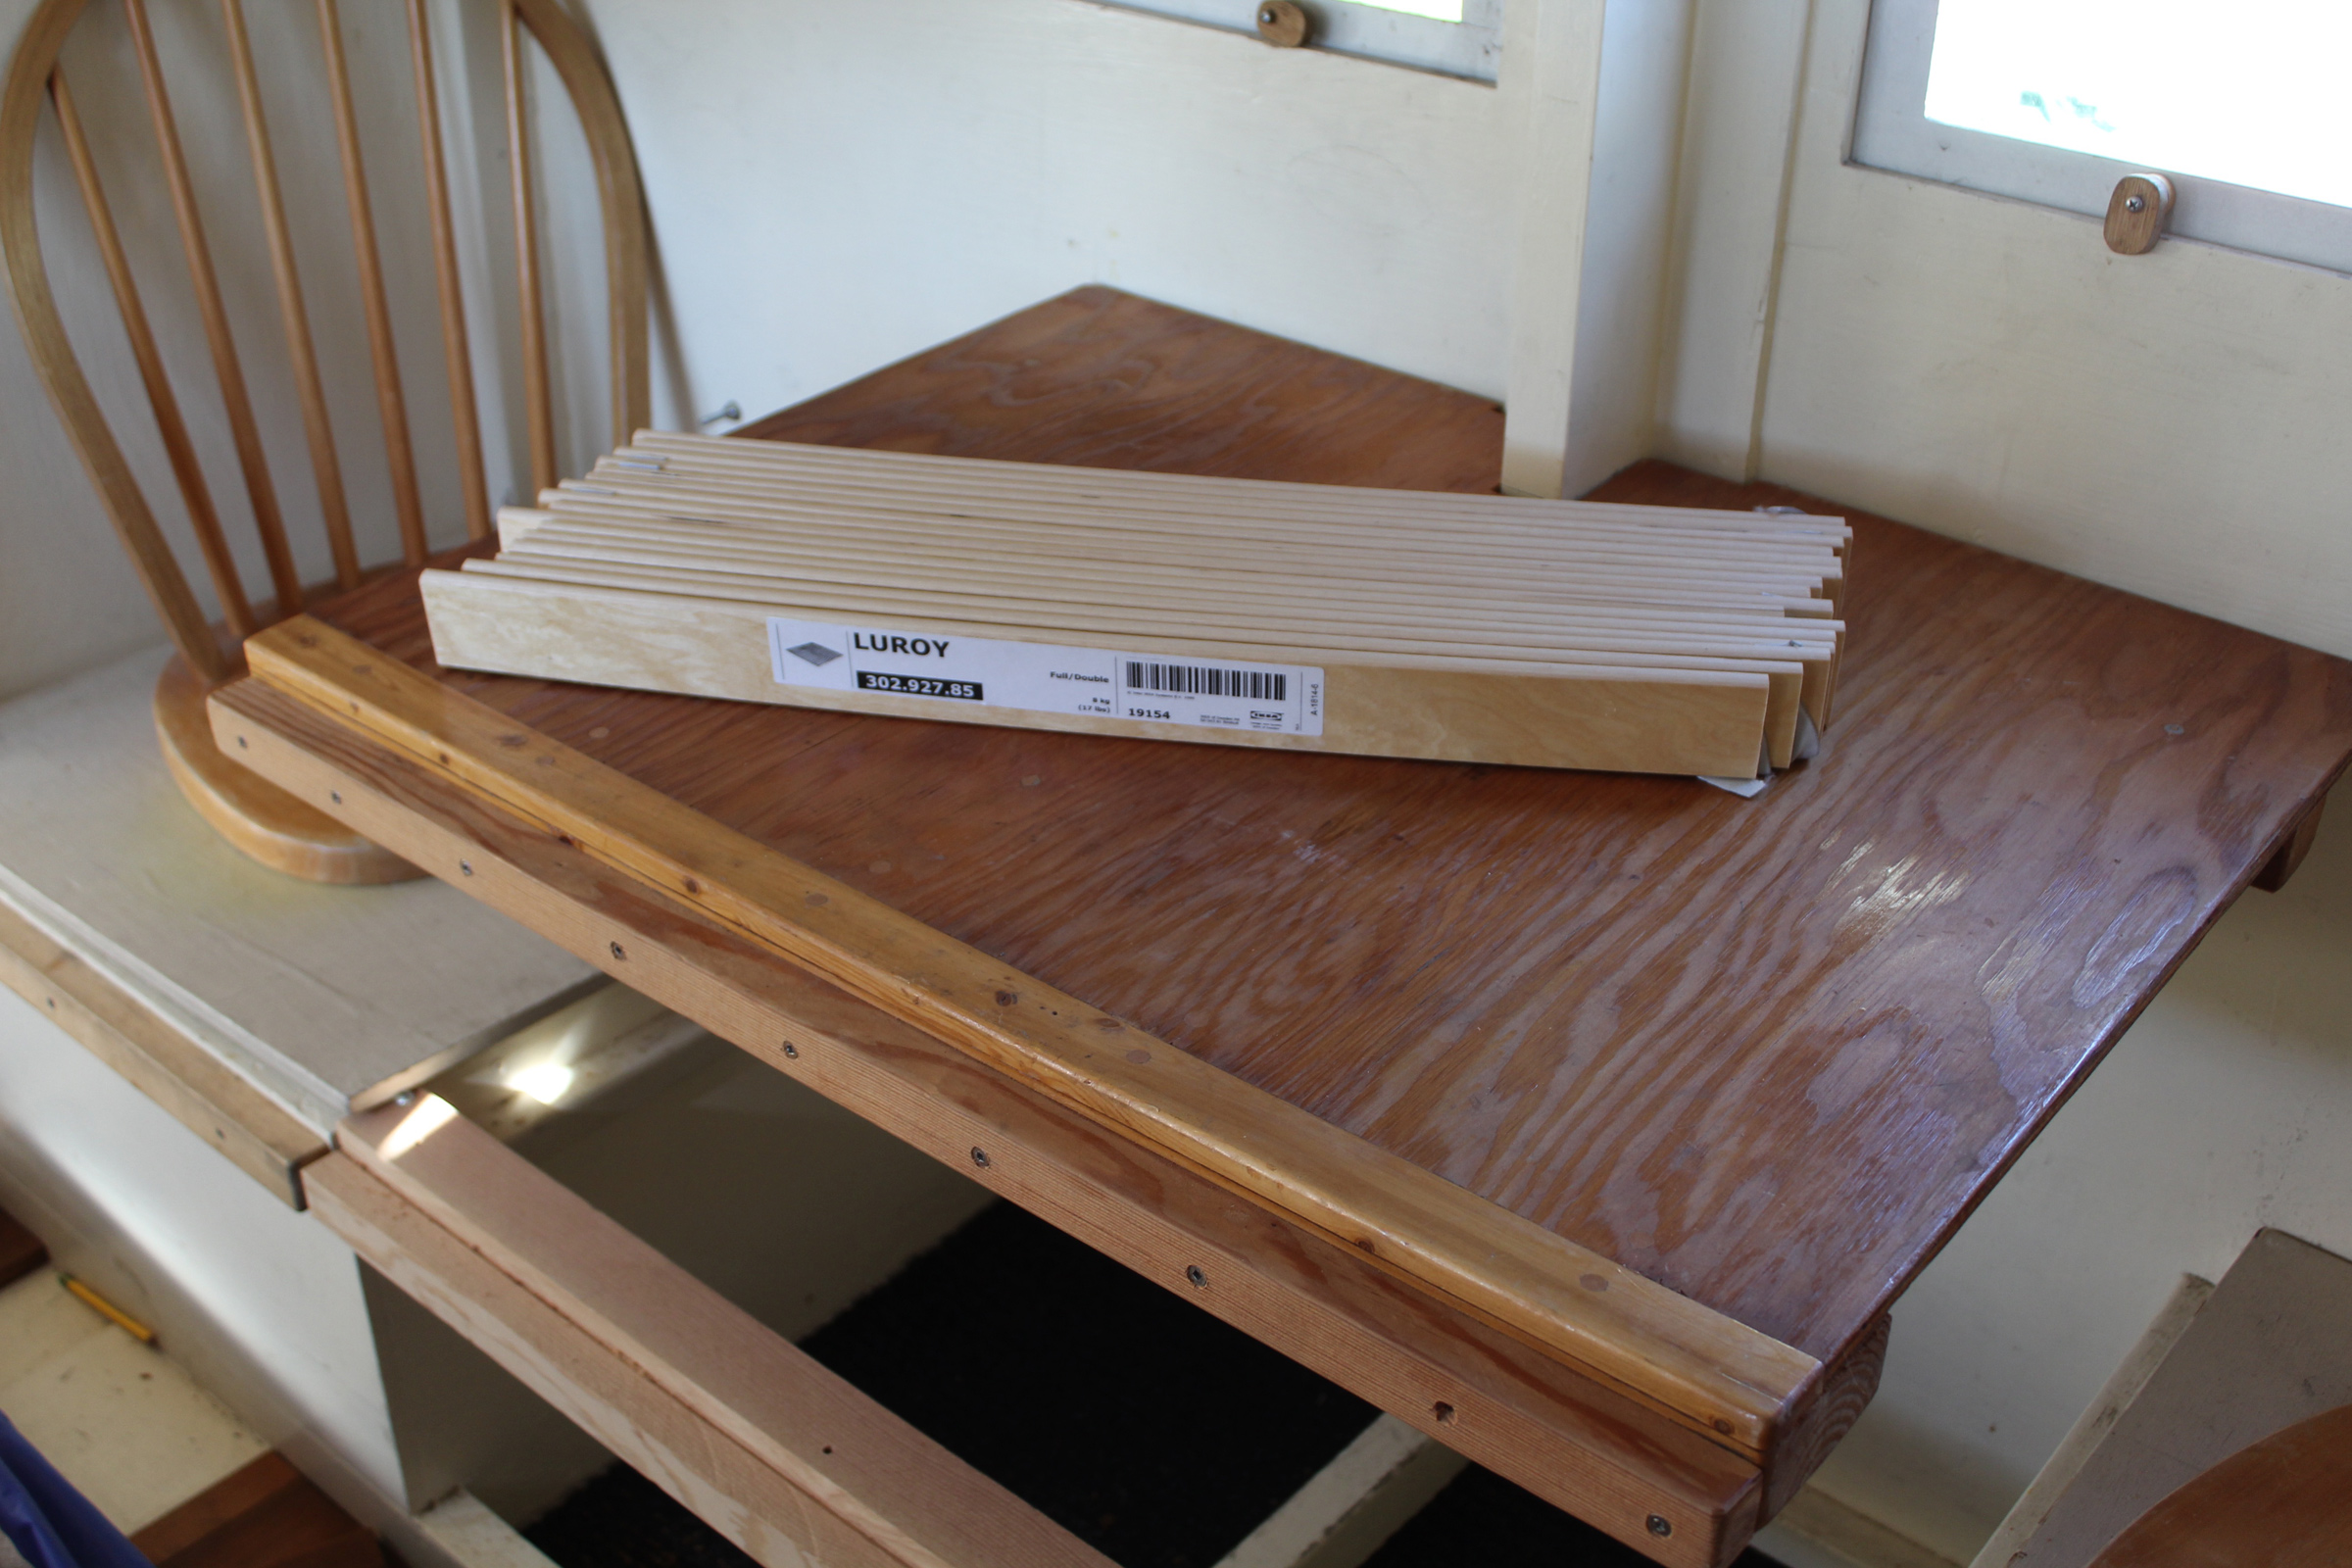
IKEA Slats for a Sleeping Platform
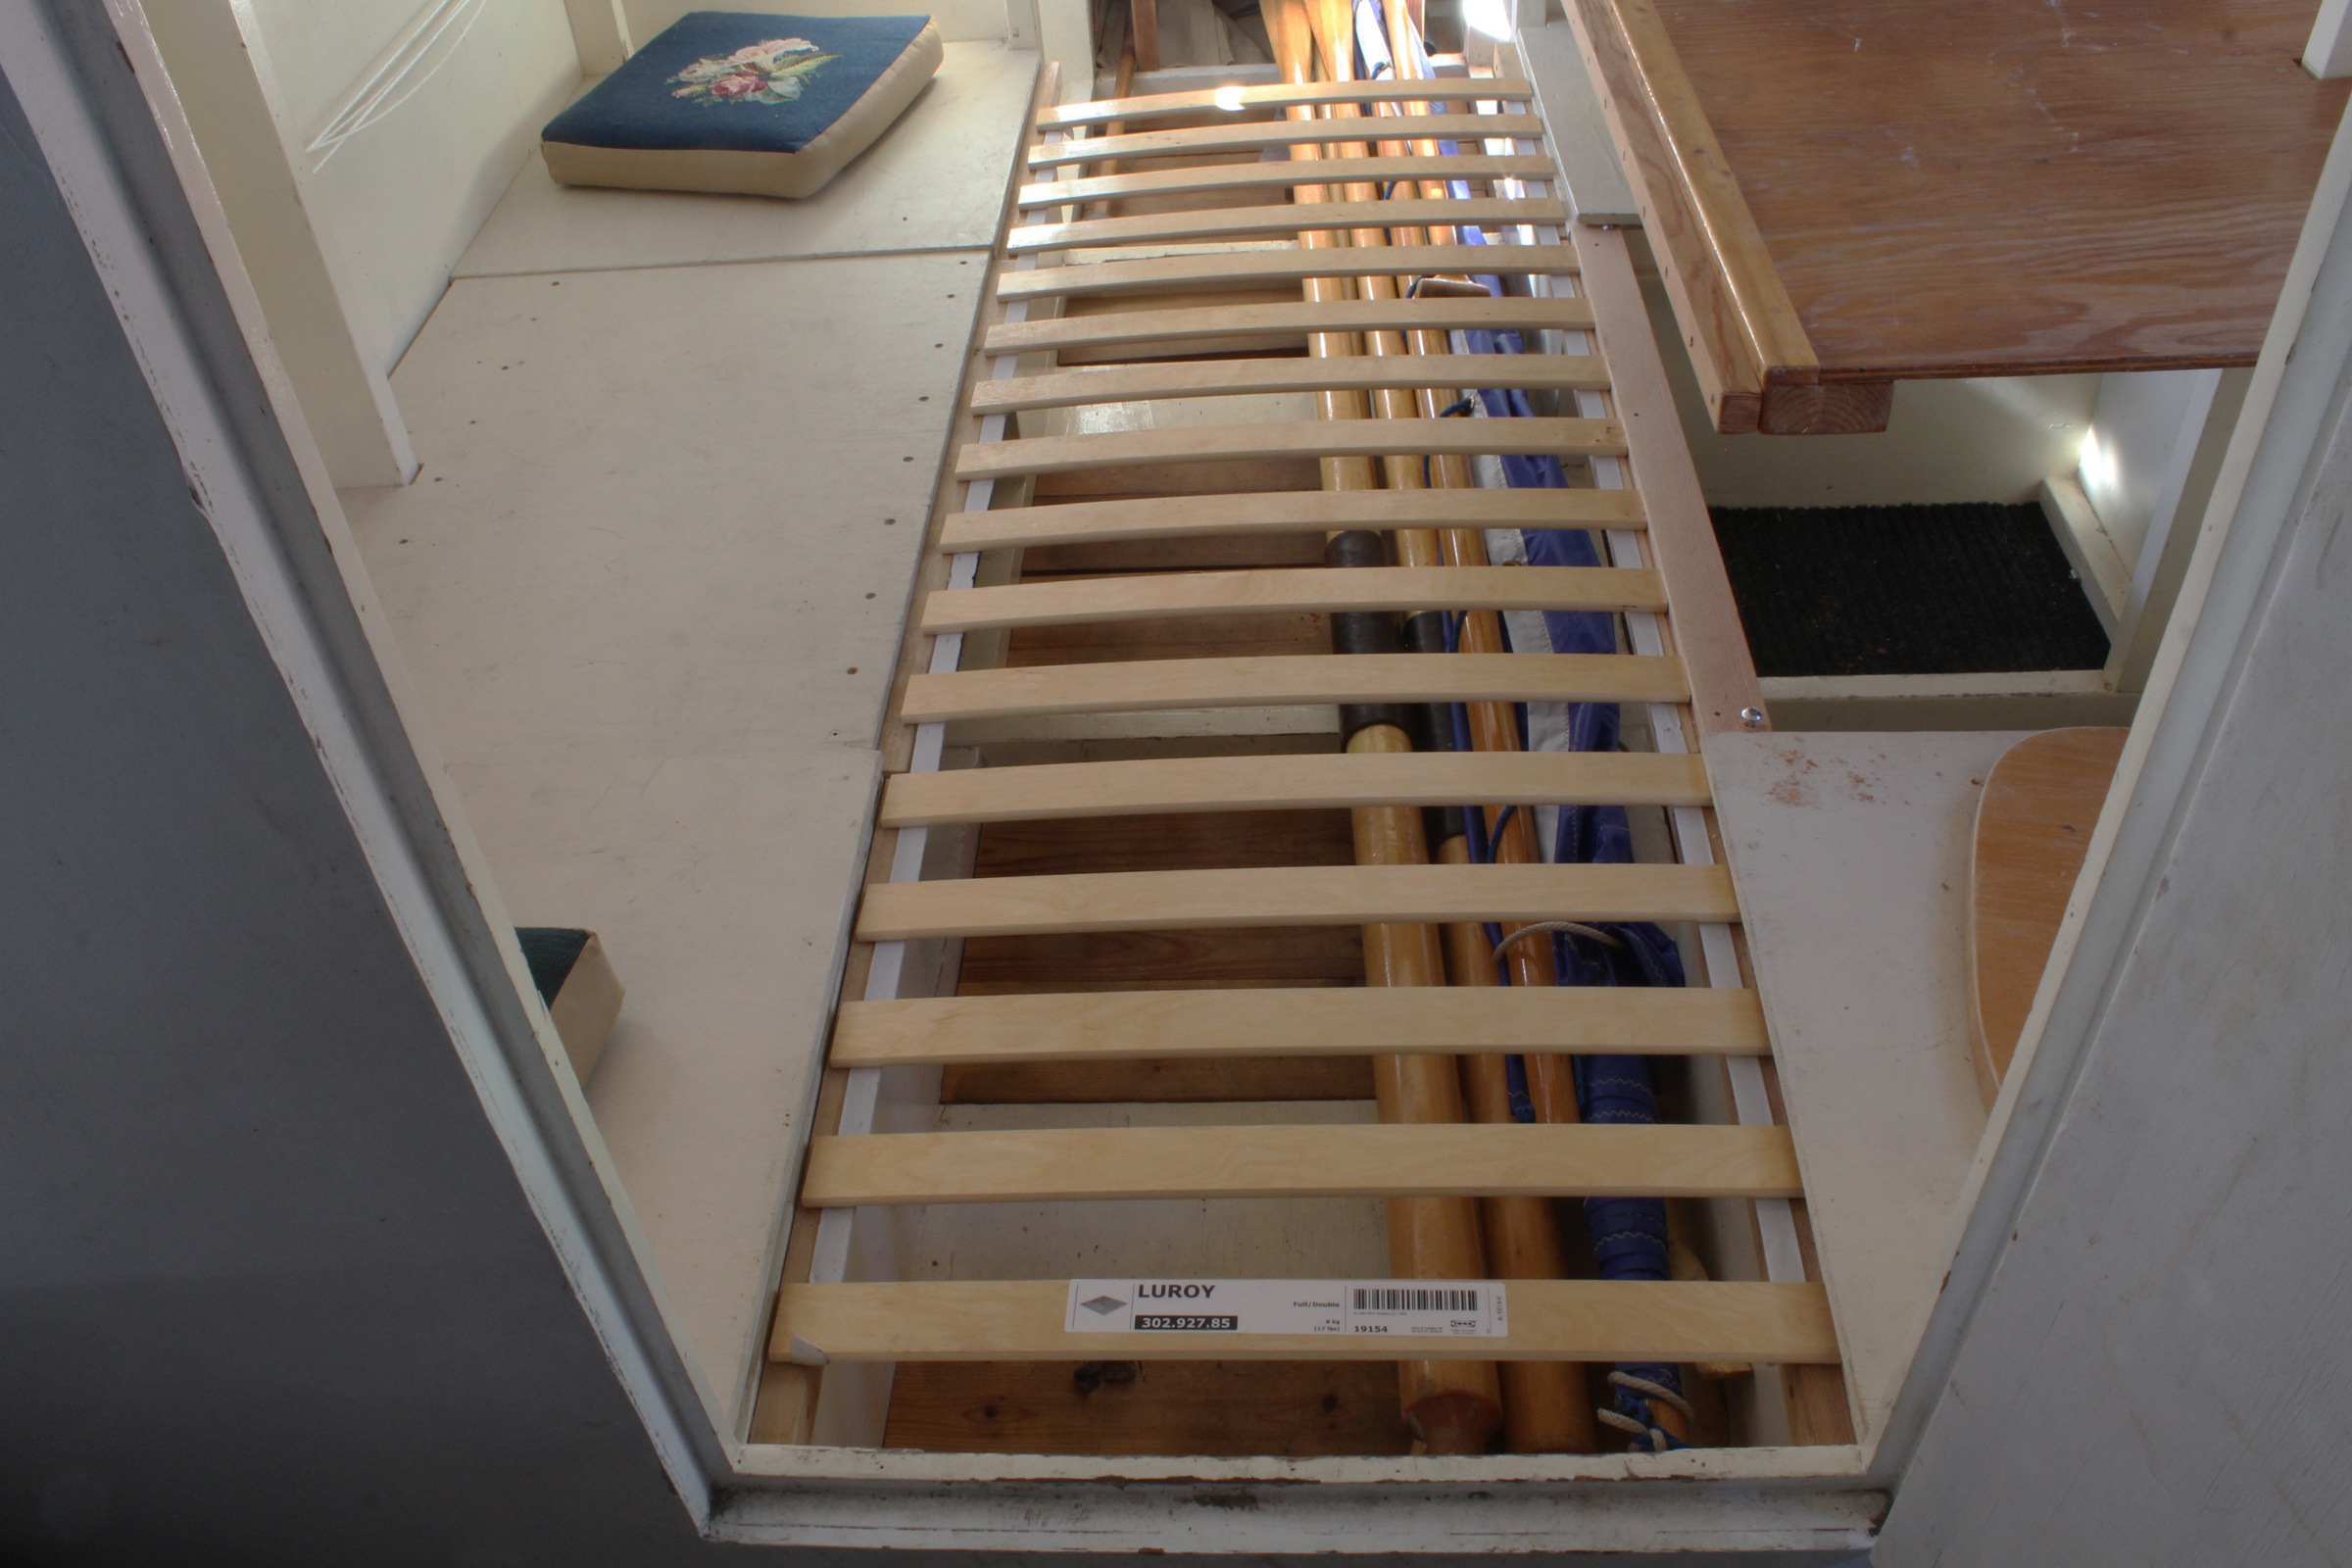
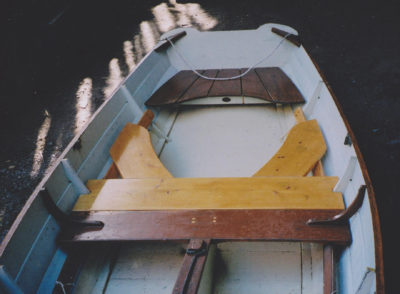
Resting on ledges on either side of the cabin passageway, the slats form a platform for a mattress. White polyester straps fastened to the bottom of the slats keep them together and evenly spaced.
One of our readers, Mike B., asked if I’d ever used IKEA bed slats to create a sleeping platform for overnight cruises. I hadn’t, but just happened to have a spare roll of 27-1/2″ (70 cm) slats for a double bed (Luröy), picked up free off a want ad, and a little canal boat that needed an upgrade for the bulky 3/4″ plywood panels we’d been using to create a sleeping platform in the cabin. The slats are slightly arched and made of 17 layers of hardwood veneer. The space for the slats is 24″ wide, so I had to trim them to fit. They’re joined by a pair of polyester ribbons, so I clamped the slats together and used a chop saw to take a bit off each end.
Stacked together, the slats take up very little room. The ledges for the slats are evident on the seats, on a beam spanning the gap under the table, and on the table itself when it’s lowered to create a queen-sized sleeping platform.
At night, the slats rest on ledges to either side of the passageway between the cabin’s side benches. Stops hold the slat at each end so the whole set is kept in place, just as they are on an IKEA bed, when a mattress is laid on top.
The slats are springy for comfort and are able to support a mattress and a sleeping crew member, just as they would in a bed frame. They’re easily stacked for storage, and take up much less space and weigh a lot less than plywood panels.![]()
Christopher Cunningham is editor of Small Boats Magazine.
You can share your tips and tricks of the trade with other Small Boats Magazine readers by sending us an email.

I’ll have to try the strap coiling method. I’ve been doing the hard coil: double the strap, tucking the end thru the opening at the back of the buckle with enough 6 inches or so of slack then rolling the strap up tightly from the double. The end then gets wrapped around the coil and secured in the buckle. These tightly coiled straps fit nicely in a plastic pound coffee container.
Some great tips, Chris. My favorite is the traveling planer. My shop is a good size but I find I still have to drag the planer outside to handle really long pieces. Well, no more! By the way, the video is cute, it reminds me of our Rumba vacuum cleaner.
Andrew
I did something similar to the Ikea slats for my Kurylko Alaska, HORNPIPE, except I made the slats to fit lengthwise, as HORNPIPE had no side benches. Worked well and, as you point out, took up a lot less room when stacked out of the way.
Well, the planer ‘trick’ is effective, and might be good for a single long board, but given it’s spewing shavings down the length of the shop, and can’t connect to a dust/shavings collector, I don’t think it’s practical.
Planing long stock with the mobile planer did make a bit of a mess in my basement shop, but my only alternative was to take the long-plank work outside. I usually do my boatbuilding in the winter, so I opted for sweeping. At the time, I didn’t have a dust-collection system nor a hose fitting on the planer, and the chips went out the back of the plane. It was easier to clean up that trail of chips than those shot out to the side as in the video.
Hi Chris,
Thanks for the strap coiling method. I just have to remember it the next time I use them! Flag-folding tarps is also a great idea. I learned the technique in the Boy Scouts; never thought to use it for another purpose.
Your strap-coiling method is a keeper! Thank you for describing it so completely.
I laughed aloud—in pleasure—at the little planer on a dolly. Love it. Sweeping residue is just messing with wood shavings and that has never been a problem for me. I will definitely use this tip.
Thanks, Chris.
Just a quick “thank you” for the strap-coiling instructions. Made it simple enough even I could do it! A great way to reduce the tangled mess. Thank you, and thanks to Russ as well – from someone else who remembers when computers used paper tape…
I like the strap coiling idea, and I’ll probably try it out, but I have a system of my own all worked out. It turns out that the straps I use, when coiled around the buckle, fit nicely in to a 26-ounce plastic peanut-butter jar. I now have the perfect excuse to keep eating peanut butter! Thanks for your tips!
I have been using the strap coiling method for several years coiling para cord when camping. By pulling the inside end to uncoil the cord, it never tangles. 50′ is the longest you can wind around your fingers. I have never tried it with straps, so that will be next. I have been coiling them around the buckle and then using a rubber band to keep them coiled, when I don’t lose them. Thanks for the tip.