 Photos and video by the author
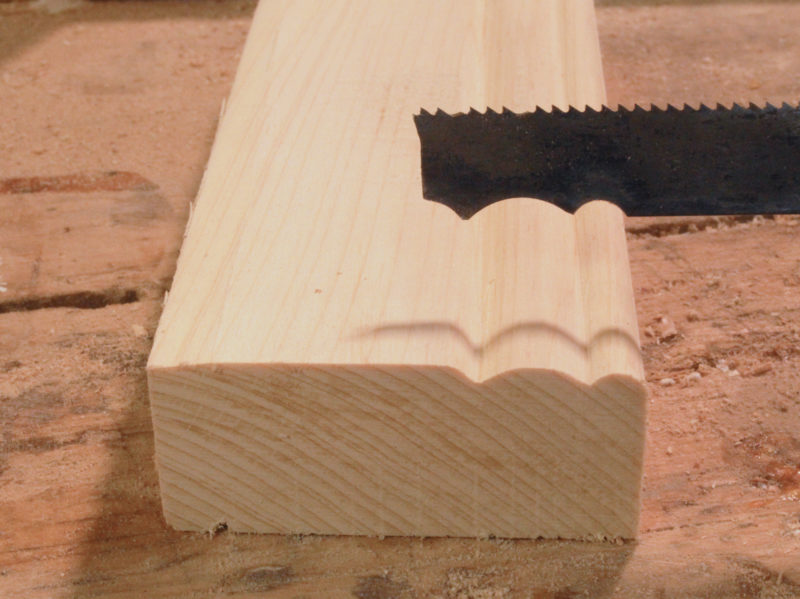
A millennium-old profile pattern cut into the plank edges of Norse boats has a recess for the rivet heads and is flanked by a pair of grooves.
There can be a lot of scrambling around on a small boat, so it’s best to take the curse off the edges of all the bits of wood. The rounded corners will not only keep the your shins and knuckles intact, they will also hold on to varnish and paint longer. You could just take a quarter-round router bit to everything, but the softening of all the edges blurs the sweet, sweeping lines that make a wooden boat such a pleasant study. Putting a bead on an edge rounds the corner and adds a small groove that creates a crisp yet well-protected accent line. Risers, inwales, and outwales all have sweeping curves that carry this decorative element well. A slightly more intricate treatment for plank edges has a long history. Traditional Norse boats have at their planks’ edges a decorative molding that dates back over a 1,000 years. The tool used to cut the molding, a strek høvel (strake plane), is a U-shaped piece of iron with a wood handle spanning its ends. The cutting edge was at the center of the curve and appears to have done its work by scraping rather than shaving.
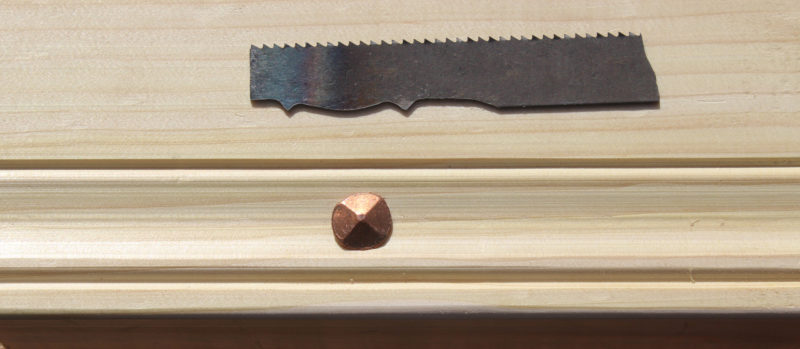
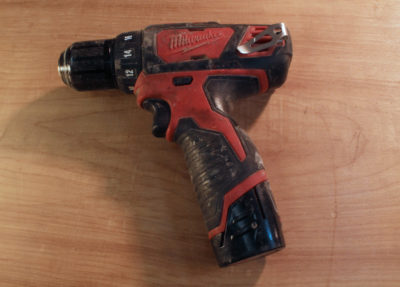
The curves of this cutter match two Dremel grinding bits. It took only a couple of minutes to repurpose this bit of hacksaw blade.
There are router bits that will machine simple beads and other patterns, but I prefer to do the job with a shop-made tool that lets me determine the shapes and placements of beads and the grooves. I use bits of hacksaw blade for a cutting edge. I cut the blades into shorter pieces with a cold chisel and an anvil. With just a light hammer tap on the chisel, the plain high-carbon blades will shoot pieces off. Bi-metal blades won’t break off quite so dramatically, but the crease the cold chisel makes will make the blade break when it’s bent. I do the contour shaping at a bench grinder at the corner of the wheel or with a Dremel tool and grinding-stone bits . The Dremel bit will create a burr that needs to be removed, either with careful work by the same bit or by working the flats of the blade on a sharpening stone.
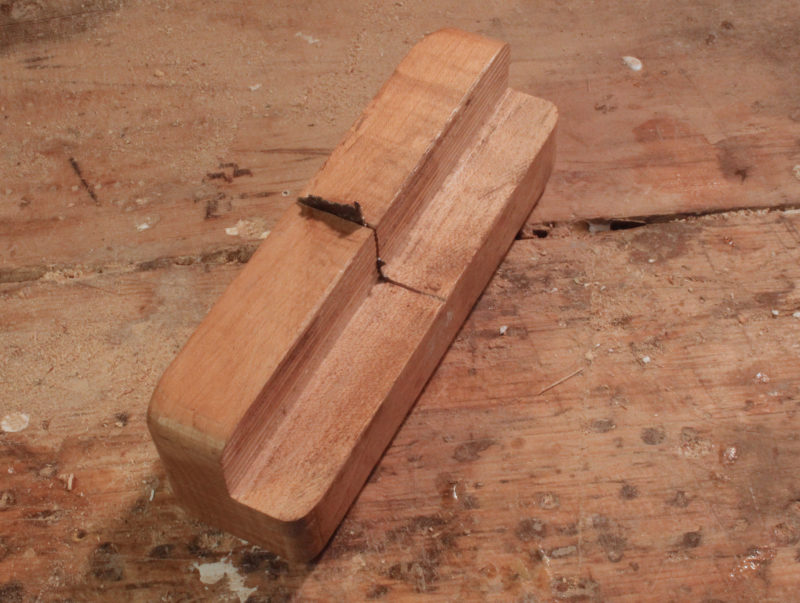
My original profile scraper, made in 1979, is a single piece of maple with a kerf to accept a blade. A piece of a worn-out Japanese saw became the blade. A screw set at an acute angle to the kerf locked the blade in place.
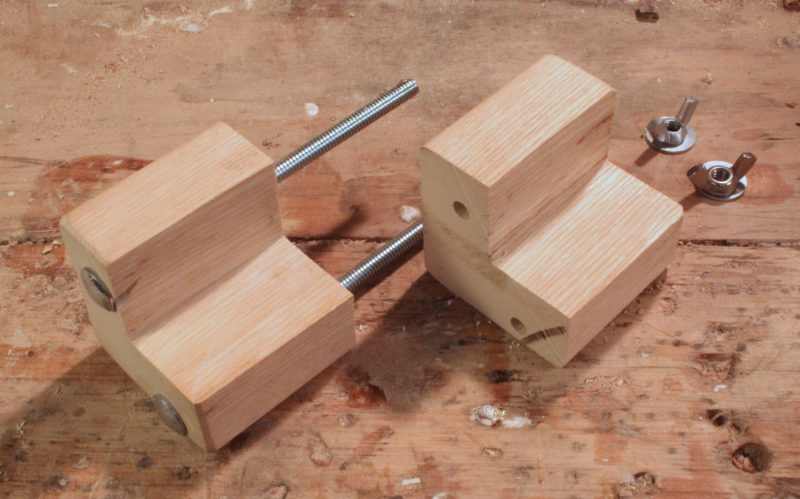
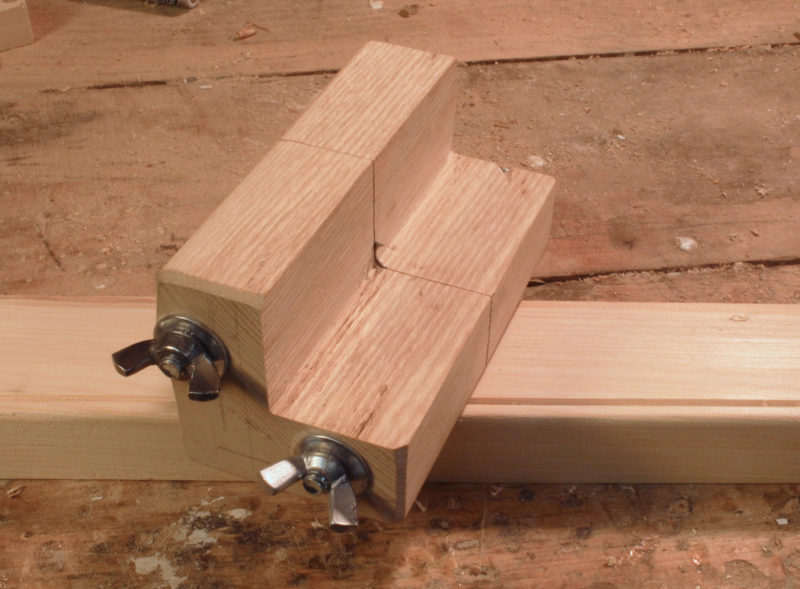
A two-piece tool makes changing and adjusting blades much easier. Note that the lower bolt and hole are set away from the notch to provide room for the cutting blades.
I make the scraper bodies from scraps of hardwood: oak, ash, or maple. My latest holder is 4 1/2″ long and cut from a block about 2 3/8″ square. I first cut a 1 1/4″ right-angled notch along the full length of one edge. Then I drill two holes for a pair of 5″ carriage bolts. I use a long undersized bit on my drill press to get two parallel holes in the holder, then cut the holder in half. In one half I drill 1/4″ holes for a snug fit on head side of the bolts, and in the other half a 17/64″ hole for a slip-fit over the bolt threads. Assembled with washers and wing nuts, the holder is ready for the shaped hacksaw blade. Aided by the sides of the hacksaw teeth pressing into the holder, the wingnuts provide enough holding power. (With hex nuts and a wrench, it’s possible to apply enough pressure to split the wood.)
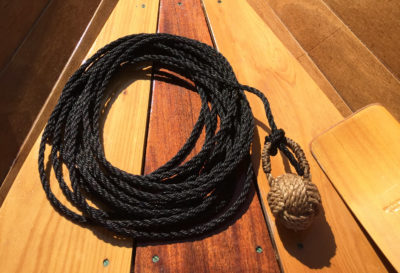
The cutter for a simple corner bead is easy to make and the effect it creates is dramatic. You can see how the outside edge , rounded for safety and durability, makes the visual line indistinct. The groove restores the line with a crisp edge set in high contrast by the shadowed groove.
I start the cutting with firm lateral pressure, holding the holder tight against the edge of the workpiece, and very little downward pressure, pushing the cutter into the work. The single sharp point of a simple bead cutter is easily derailed by the grain of the wood, so a gentle, cautious start is best. The blade will be less apt to wander the deeper it goes.
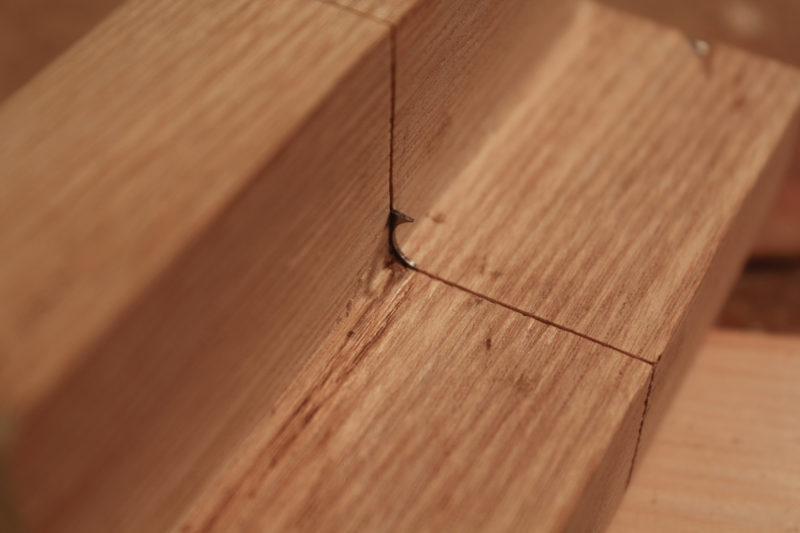
The simplest edge treatment is a corner bead, formed by a cutter with a half-round hollow and a sharp spur.
More complex profiles are limited only by the shapes you can grind into the edge of a hacksaw blade. I did a simplified version of the molding on the planks of the Gokstad faering I built in 1986, and used my earliest profile scraper to cut a pair of lines at the edge of the plank first; then, with the blade moved, cut another pair above the space the rivet heads would occupy. The shapes you choose to cut will be limited only by what you can grind into a bit of hacksaw blade.![]()
Christopher Cunningham is the editor of Small Boats Monthly.
You can share your tricks of the trade with other Small Boats Monthly readers by sending us an email.


I love this kind of stuff. I know I’ll be keeping my eyes open for some project to use this on.
An excellent example of making do w/ found pieces around the shop. For those who prefer manufactured instead of DIY, Lee Valley has, in their new tool section, a cast tool of this type.
Very nice: It reminds me of an even simpler scraper that Michael Dzubinsky (hope I’ve spelled his name correctly) showed me in Douarnenez where he built a Whitehall Dinghy. It consisted of a steel screw in a wooden block. The slot that did the scraping, was kept sharp with a file or hacksaw and cut a nice groove, rounded on one side. It was during the second festival in 1988, a long time ago, but this brings it all back.

How easy is this to do at the ends of a plank? Or do you typically do this prior to mounting the piece, scrape within 2″ or 3″ of the end, and then trim that off? I see the scraper becoming damaged or bent as you go past the end of the plank and then bring it back on.
It’s a bit easier to make the profile before you cut any excess length off the plank end, but it isn’t difficult to scrape past the edge, extending the profile the plank’s full length. I wouldn’t try pushing and pulling the scraper back and forth over the end. Just push it, cutting only in one direction, keeping lateral pressure on the tail end of the tool until the blade passes the end. Pulling the blade into the end of the plank will bring the tool to a stop, but there is so little blade exposed that you’re likely to break it.