I have been a member of the RiversWest Small Craft Center, a small boatbuilding club in Portland, Oregon, and upon my retirement, I decided I would like to build myself a small boat to row and sail. I wanted to have a boat that would be easier to move about in because of my aging knees, one of them recently replaced.
One of the club members, a retired boatbuilder, suggested I check the designs in The Dory Book by John Gardner. Being a transplant from the Northeast, I decided on the Swampscott dory design. I had rowed an original at Mystic Seaport some years ago and liked the feel on the water. I didn’t have the confidence to build my first boat from the somewhat sparse information in the book, so I bought a plan set for Iain Oughtred’s John Dory. It included full-sized templates, so I could avoid the unappealing task of getting on my knees to loft from a series of offsets. For those who’d like to start with offsets, they’re provided on the plan and profile drawings.
The plans consist of six pages of drawings and include full-sized patterns for the frames, stem, and transom. While the drawings have a wealth of details, they are not a step-by-step guide to construction. Oughtred’s book Clinker Plywood Boatbuilding Manual will provide instructions for those who need guidance.
My home has a basement with a rather large window that’s level with my front yard. After making a few scale drawings, I decided I had enough room for the building frame and a path to remove the boat upon completion. This indoor location afforded me pleasant and practical temperatures for building in both winter and summer.
 Photographs by Russell and Sharyn Smith
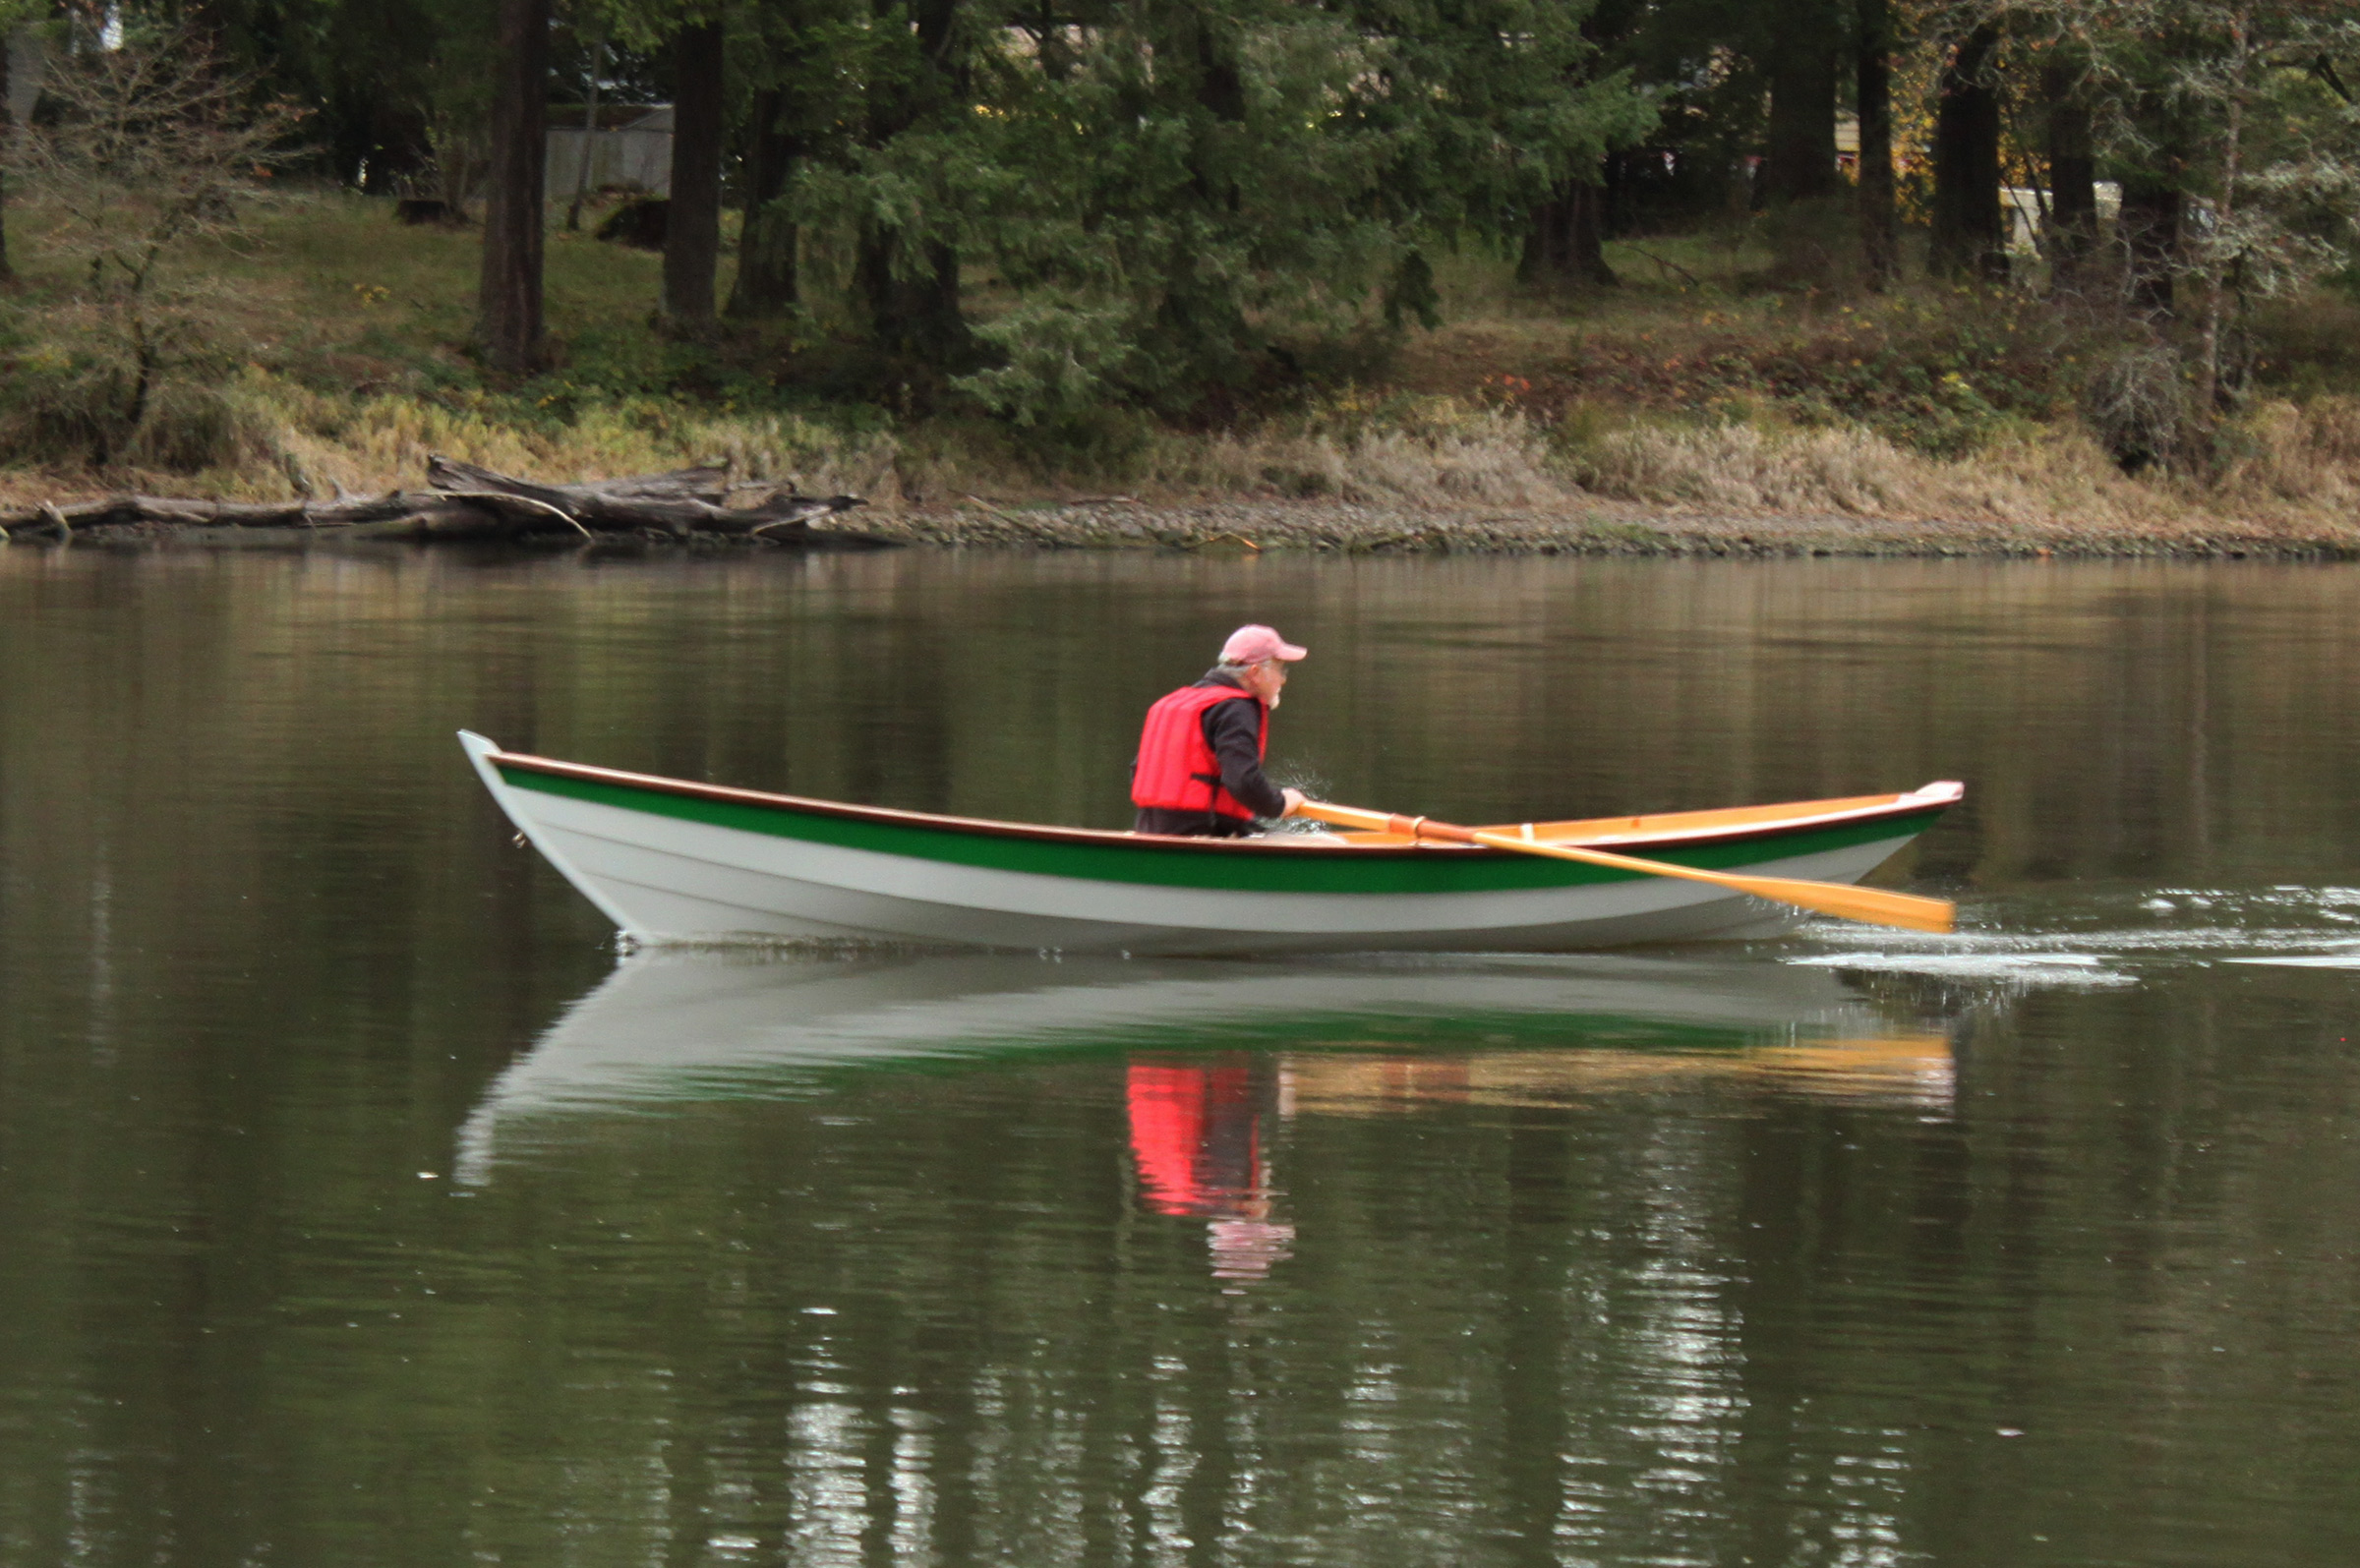
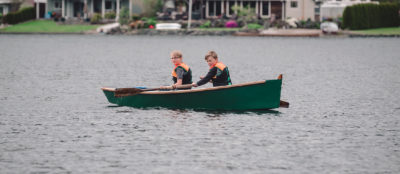
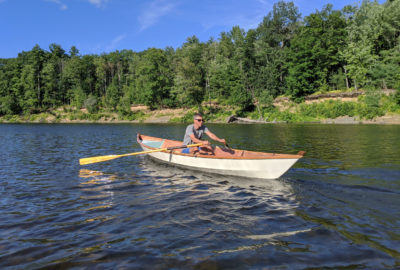
The dory slips along easily with a solo rower. At the bow, four strakes are evident; the plans provide an option for three, with the garboard and first broad strake combined.
I decided after seeing a completed John Dory that I would use the two-plank garboard option that shows on the plan. I liked the look of having four strakes. I also decided to make all the planks of 9mm thick plywood instead of 6mm for the top two planks as called out on the plan.
I made the five permanent frames and stem out of Douglas-fir and the transom from 5/4 mahogany. The frames were cut in pieces and spliced together using 1/4″ plywood splines and thickened epoxy. The two temporary frames—one close to each end—can be made of inexpensive softwood. Once all the frames, inner stem, and transom were installed plumb and centered I used a block plane and a batten to bevel the flats of frames so they would make full contact with the planks.
The bottom was cut from 5/8″ (15mm) plywood slightly oversize, trimmed and beveled to match the angle at each frame for the garboard plank. Although the plans did not specify fastenings, I drove two #10 bronze screws through the bottom into each of the permanent frames in addition to thickened epoxy.
Next was the sheer clamp, a 5/8″-thick by 1-1/2″-wide piece of Douglas-fir that extends from stem to transom passing through notches in each of the frame tops. I found that because the frames were made of vertical-grained fir, the pressure of the sheer clamps caused cracks in the frame notches. I chalk this error up to inexperience; I should have used the hardwood specified in the plans. Adding 1/4″ x 6″ plywood gussets to the top of each frame with thickened epoxy allowed the sheer clamps to be installed without any further problems. I also made up two knees of mahogany, one at the stem and the other at the transom, just to reinforce the bottom connection to both of these junctions, although they’re not called out on the plan.
In order to avoid mistakes with the expensive 9mm marine plywood, I made plank templates out of 1/4″ underlayment. I made a spiling template out of the same material in articulated sections about 4’ long. Each section was connected to the other with a 10″-long connector with a pivot hole in each section. Once the template was positioned correctly, screws driven through the connector maintained the section alignment after removal from the frames. After spiling and cutting the patterns, I tested their fit on the frames. When they looked acceptable, I traced their outlines on the permanent plank stock.
Coming from Scottish lineage, I hate to waste expensive wood. Rather than scarf plywood panels into full-length sheets and cut planks from them, I cut my plywood into strips slightly larger than the pattern and cut the scarfs at an angle to match the curve of the pattern.
Upon completion of the planking, I sealed the outside of the hull with epoxy, and then applied epoxy and 6-oz fiberglass over the bottom and around the corners of the garboards. I then added the 32″ skeg noted in the plans.
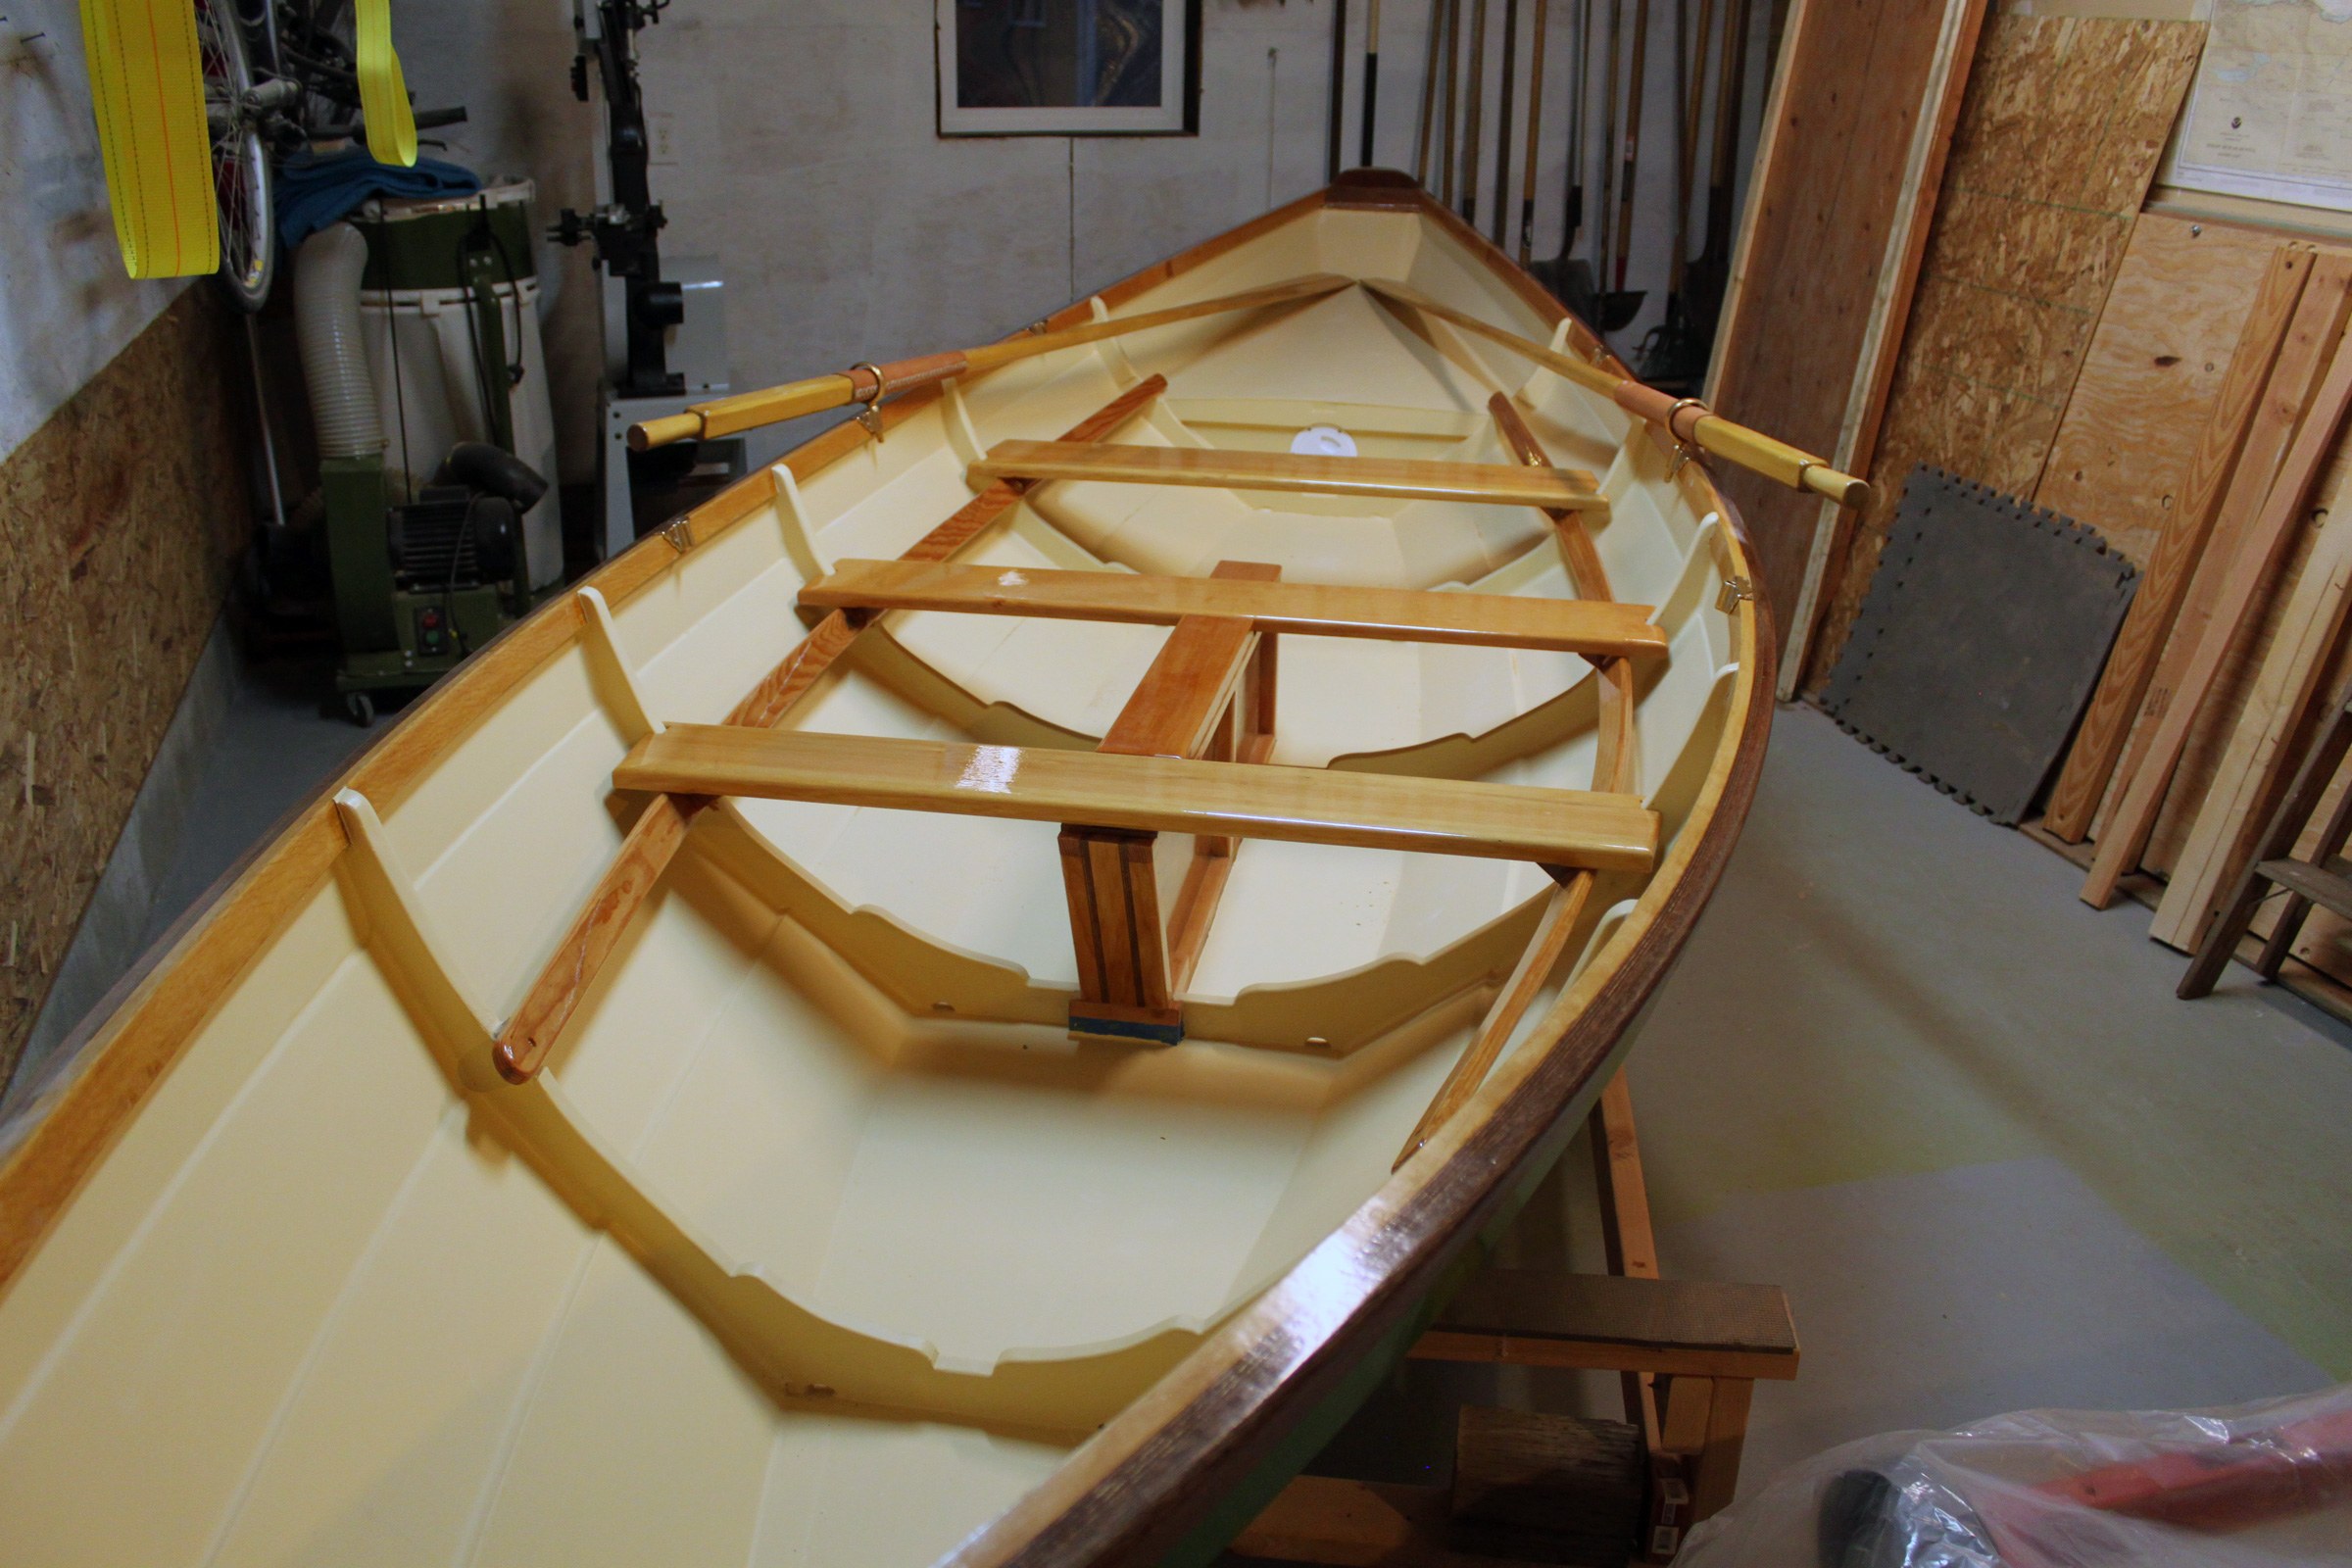
The frames have knees rather than gussets or clips often used in dory construction. The floorboards have yet to be installed. Note the flotation compartment and its white access hatch in the stern.
The hull gets turned over for finishing, including installing the breasthook, gunwales, and outer stem. A thwart riser of 5/8″ x 2″ Douglas-fir was added inside the frames on both sides. These pieces had to be steamed and installed hot in order to get them to bend to meet the frames.
A combination seat/flotation compartment in the stern has a top made of 1/4″ plywood supported by a centerline kingplank and crowned deckbeams made of 5/16” plywood laminations. While the plans include details for a shop-built wooden hatch for access to the compartment, I installed a plastic screw-in hatch in the bulkhead. The plans also include drawings for a second watertight compartment in the bow, but I chose the open option from the plans and installed a simple mast-partner beam. Both options have gated partners to ease raising the 12′ 6″ lug-rig mast. The plans include an option for a gated partner located farther aft for builders who choose one of the two sloop rigs for the dory.
The centerboard trunk is sided with 9mm plywood and secured to the bottom where it divides two frames. The top of the case is braced by the forward and middle thwarts. I chose the simplified version of the centerboard and trunk, which is flush with the tops of the thwarts. The other option in the plans is a trunk that peaks between the thwarts and houses a centerboard with more surface area and lateral resistance when deployed. The dory has removable floorboards built in sections that drop in between the frames and alongside the centerboard trunk. I used western red cedar for the slats.
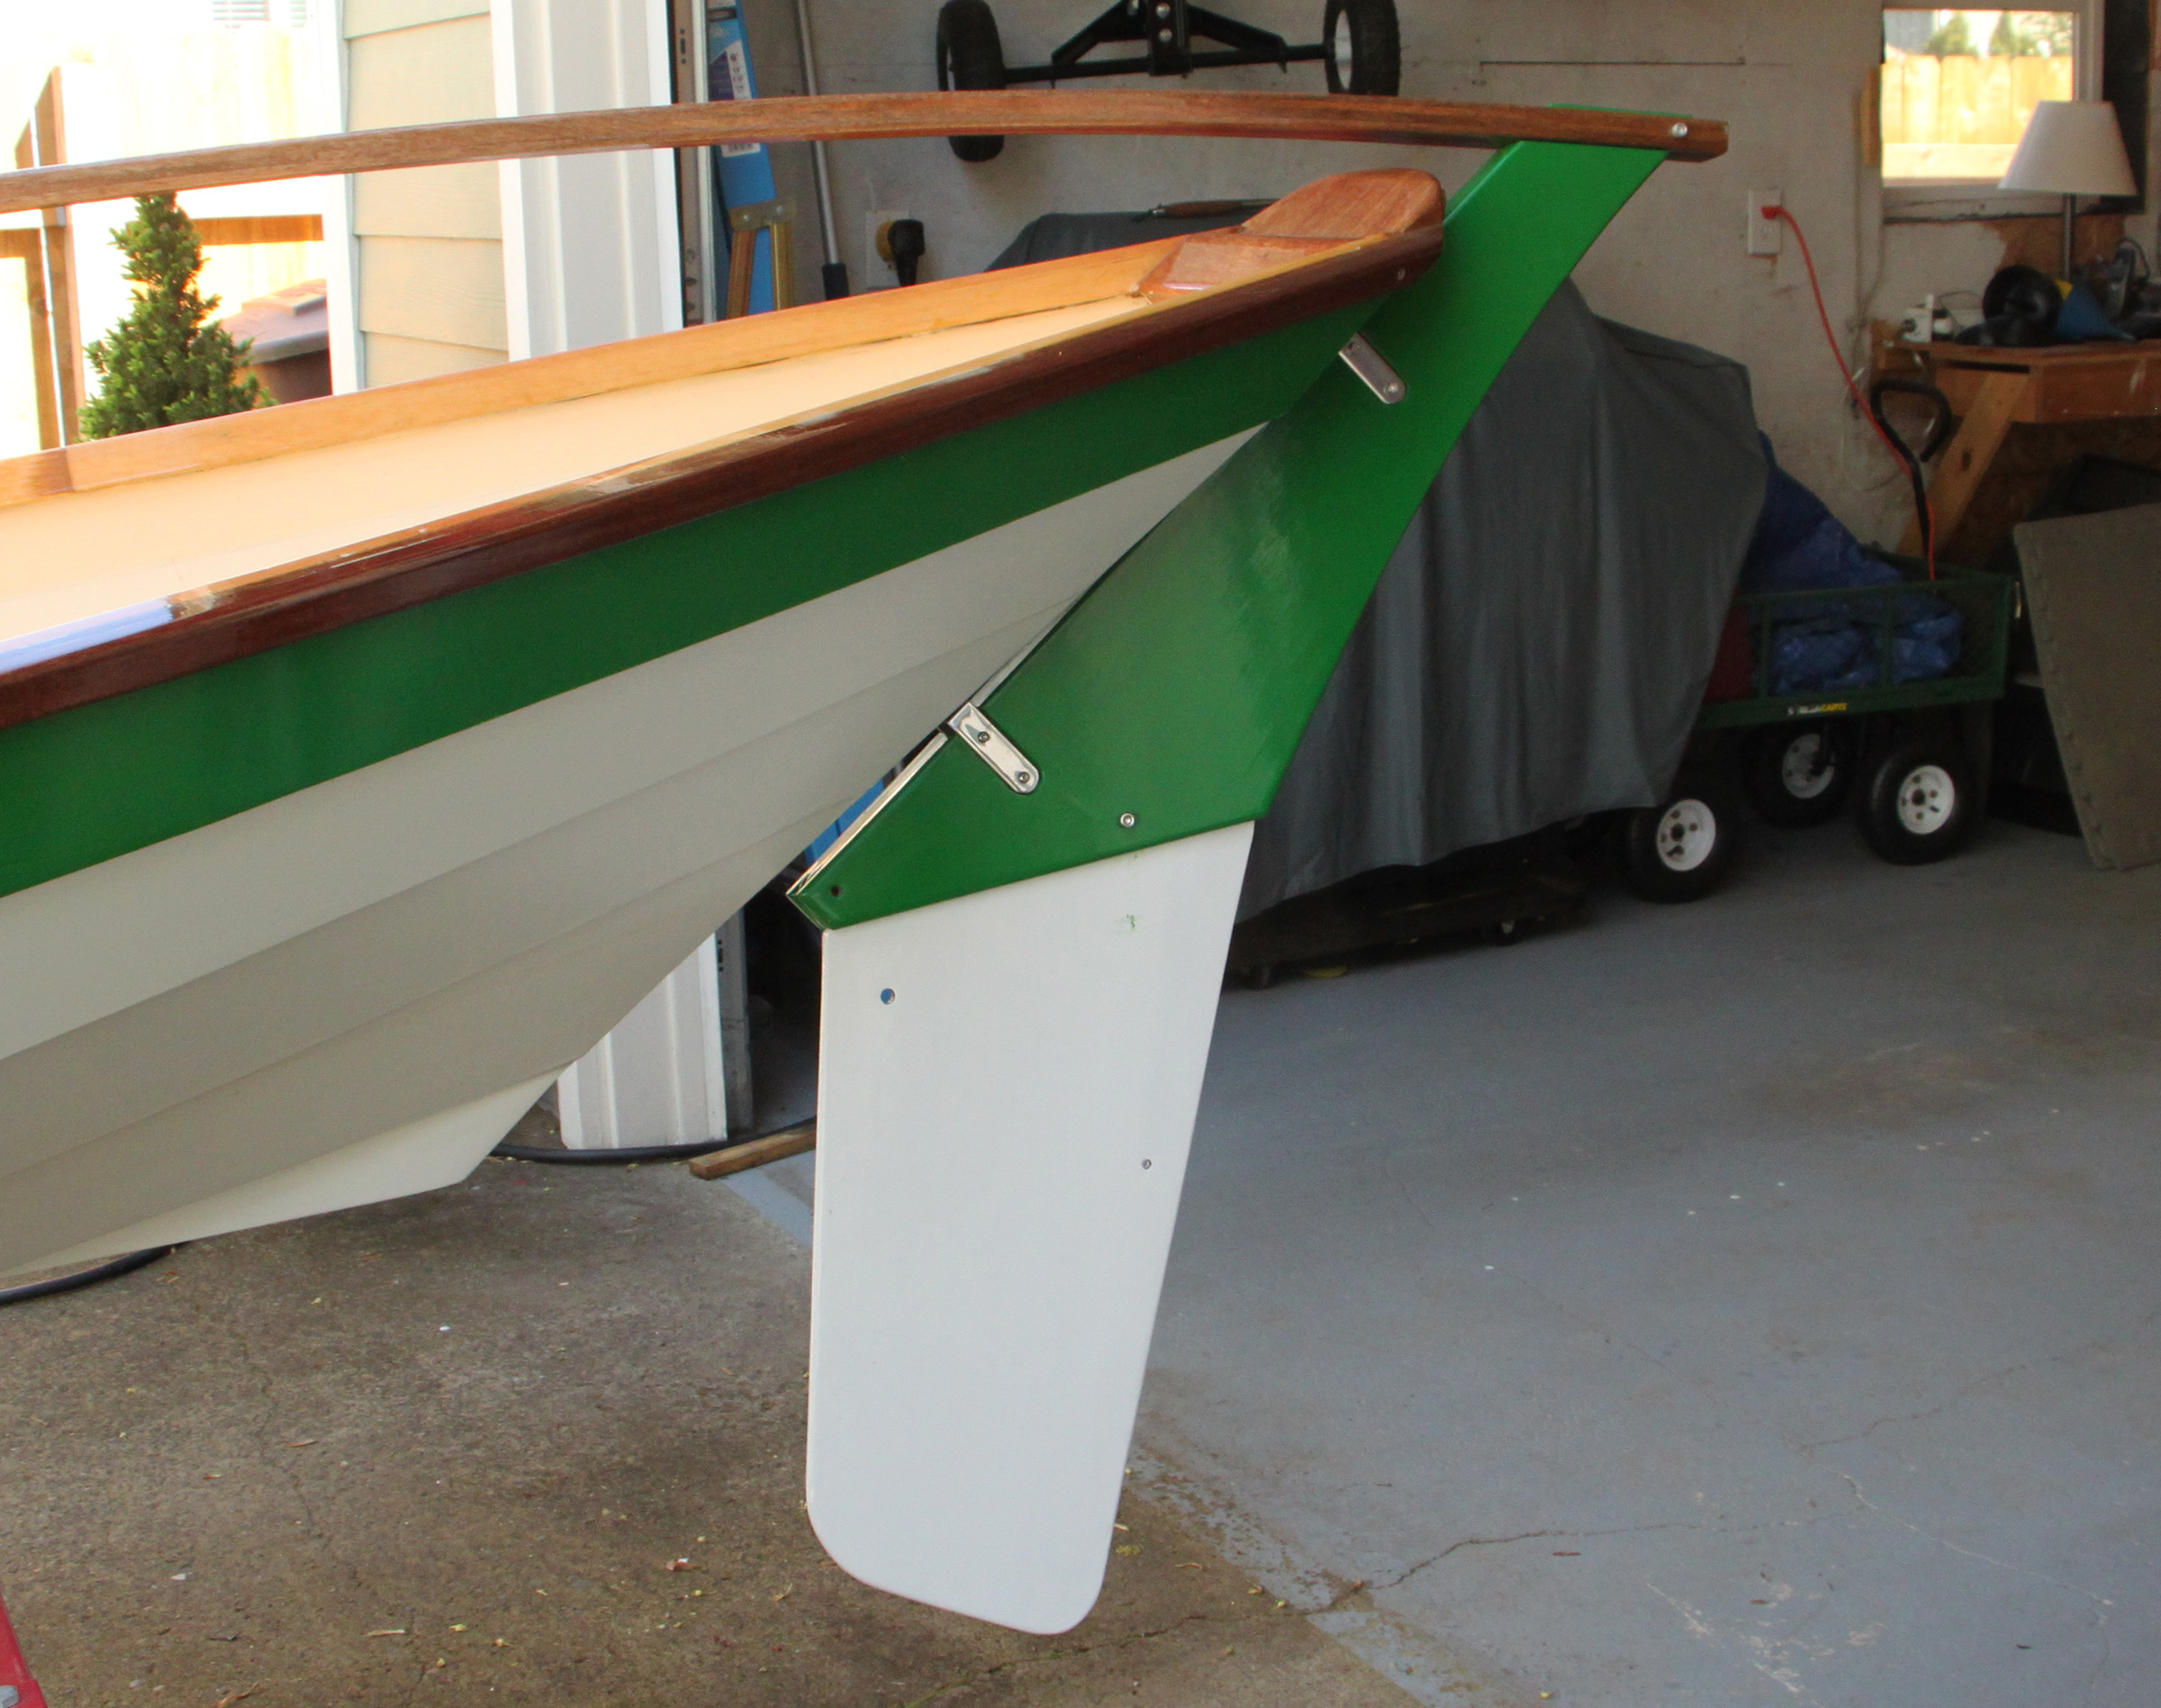
The kick-up version of the rudder will be equipped with lines to retract and deploy the pivoting blade. The plans include drawings for a traditional one-piece rudder.
The plans offer options for a fixed-blade rudder and a retractable one as well as a tiller and a yoke. I chose the kick-up style. It uses 1/2″ (12mm) plywood for the cheeks and 7/8″ plywood or hardwood for the rudder blade. The blade is raised and lowered with 1/8″ lines.
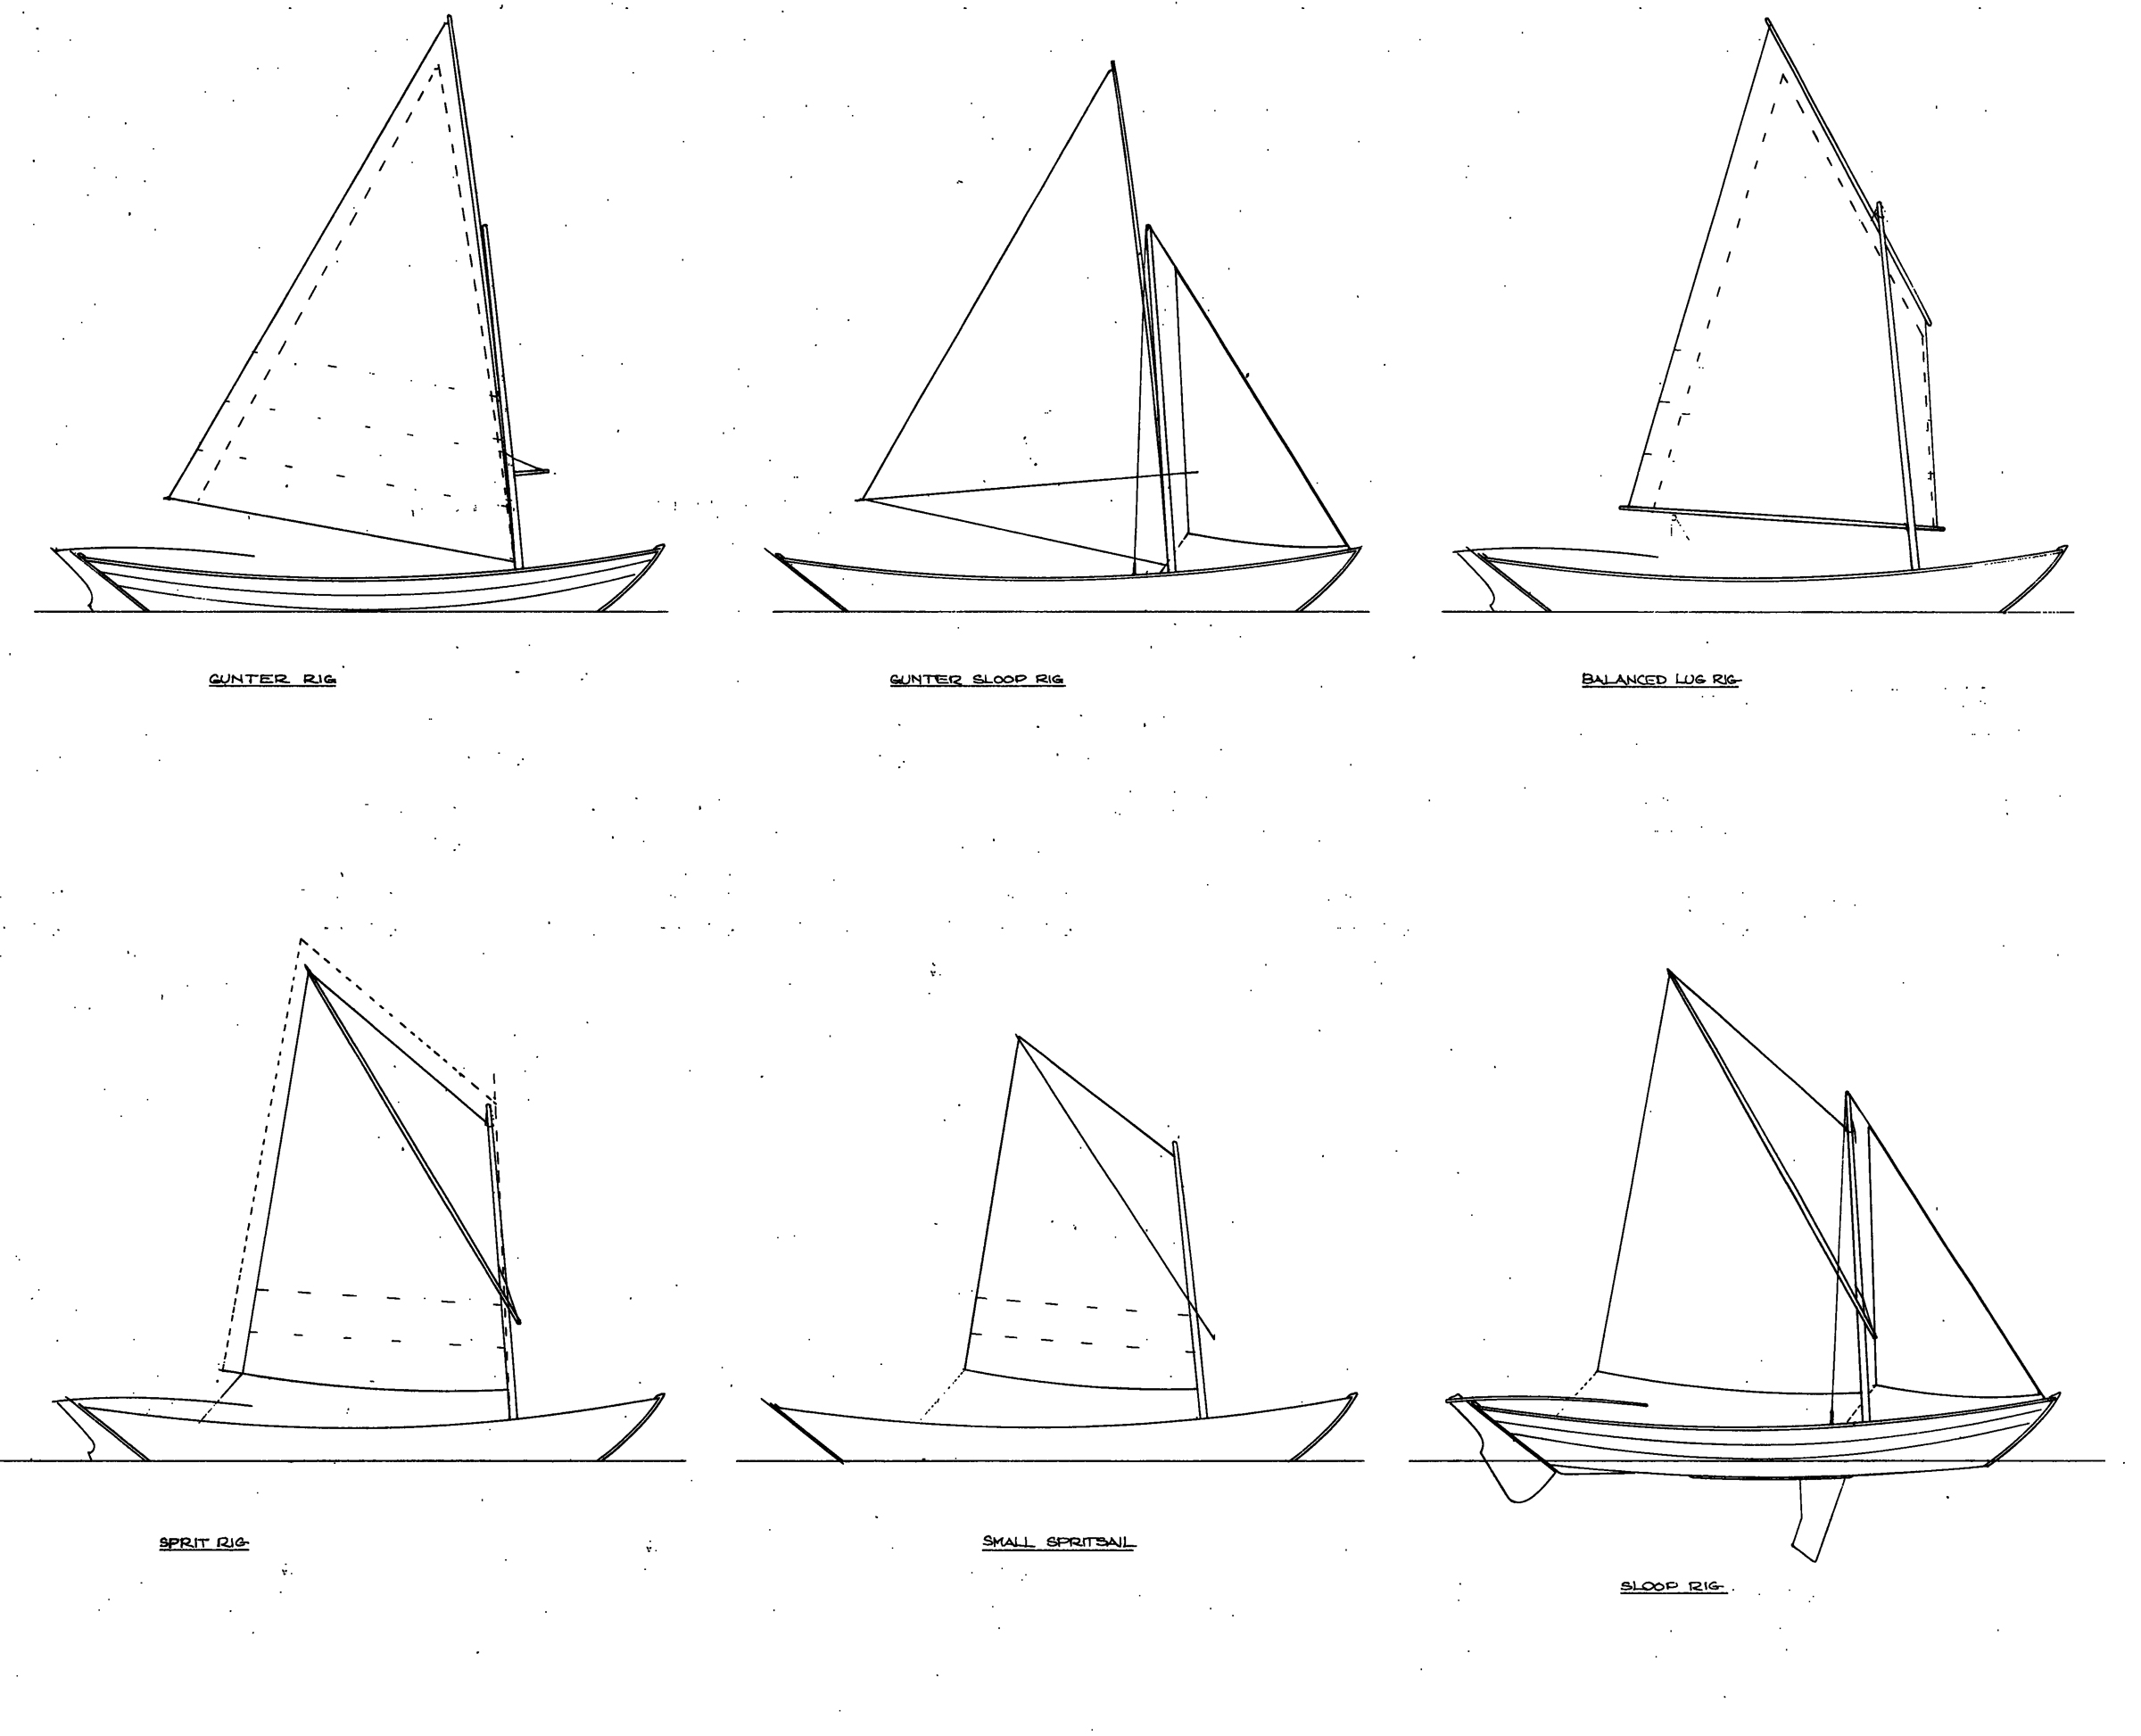
The plans offer six sail rigs: gunter, gunter sloop, balanced lug, sprit, small sprit, and spritsail sloop. Being a novice sailor, I decided to use the balanced lug. I repurposed an orphaned mast for the boat and made up a new yard and boom of Douglas-fir laminations, tapered according to the plans, and rounded with a spar gauge and spokeshave. The sail I purchased from a Portland area sailmaker was sewn to the dimensions called out in the plans.
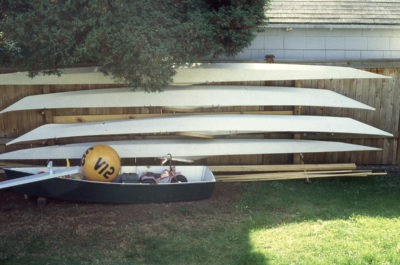
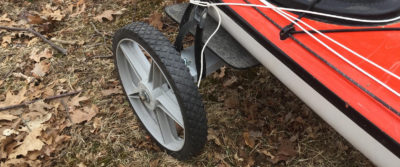
All of the spars fit inside the boat for transport. I made two racks that clamp to the thwarts and hold the sail, yard, and boom bundled together as well as the mast, tiller, and oars, all retained with bungee cords. With a hull weight under 200 lbs, the dory isn’t a burden for trailering or for solo launching and retrieval at the ramp.
The glued-lap-plywood construction brings the dory’s weight in at about 200 lbs, half the weight of a traditionally built Swampscott, making it easier to accelerate.
For rowing, I have a pair of 9′ Alaska-yellow-cedar oars that I made several years before building the dory. The standard formula for oar length would suggests 8-1/2′ oars would be the best fit for the middle and forward rowing station and 7-1/2′ oars for the aft station. I’m finishing a set of 8-footers and will add those to the John Dory quiver.
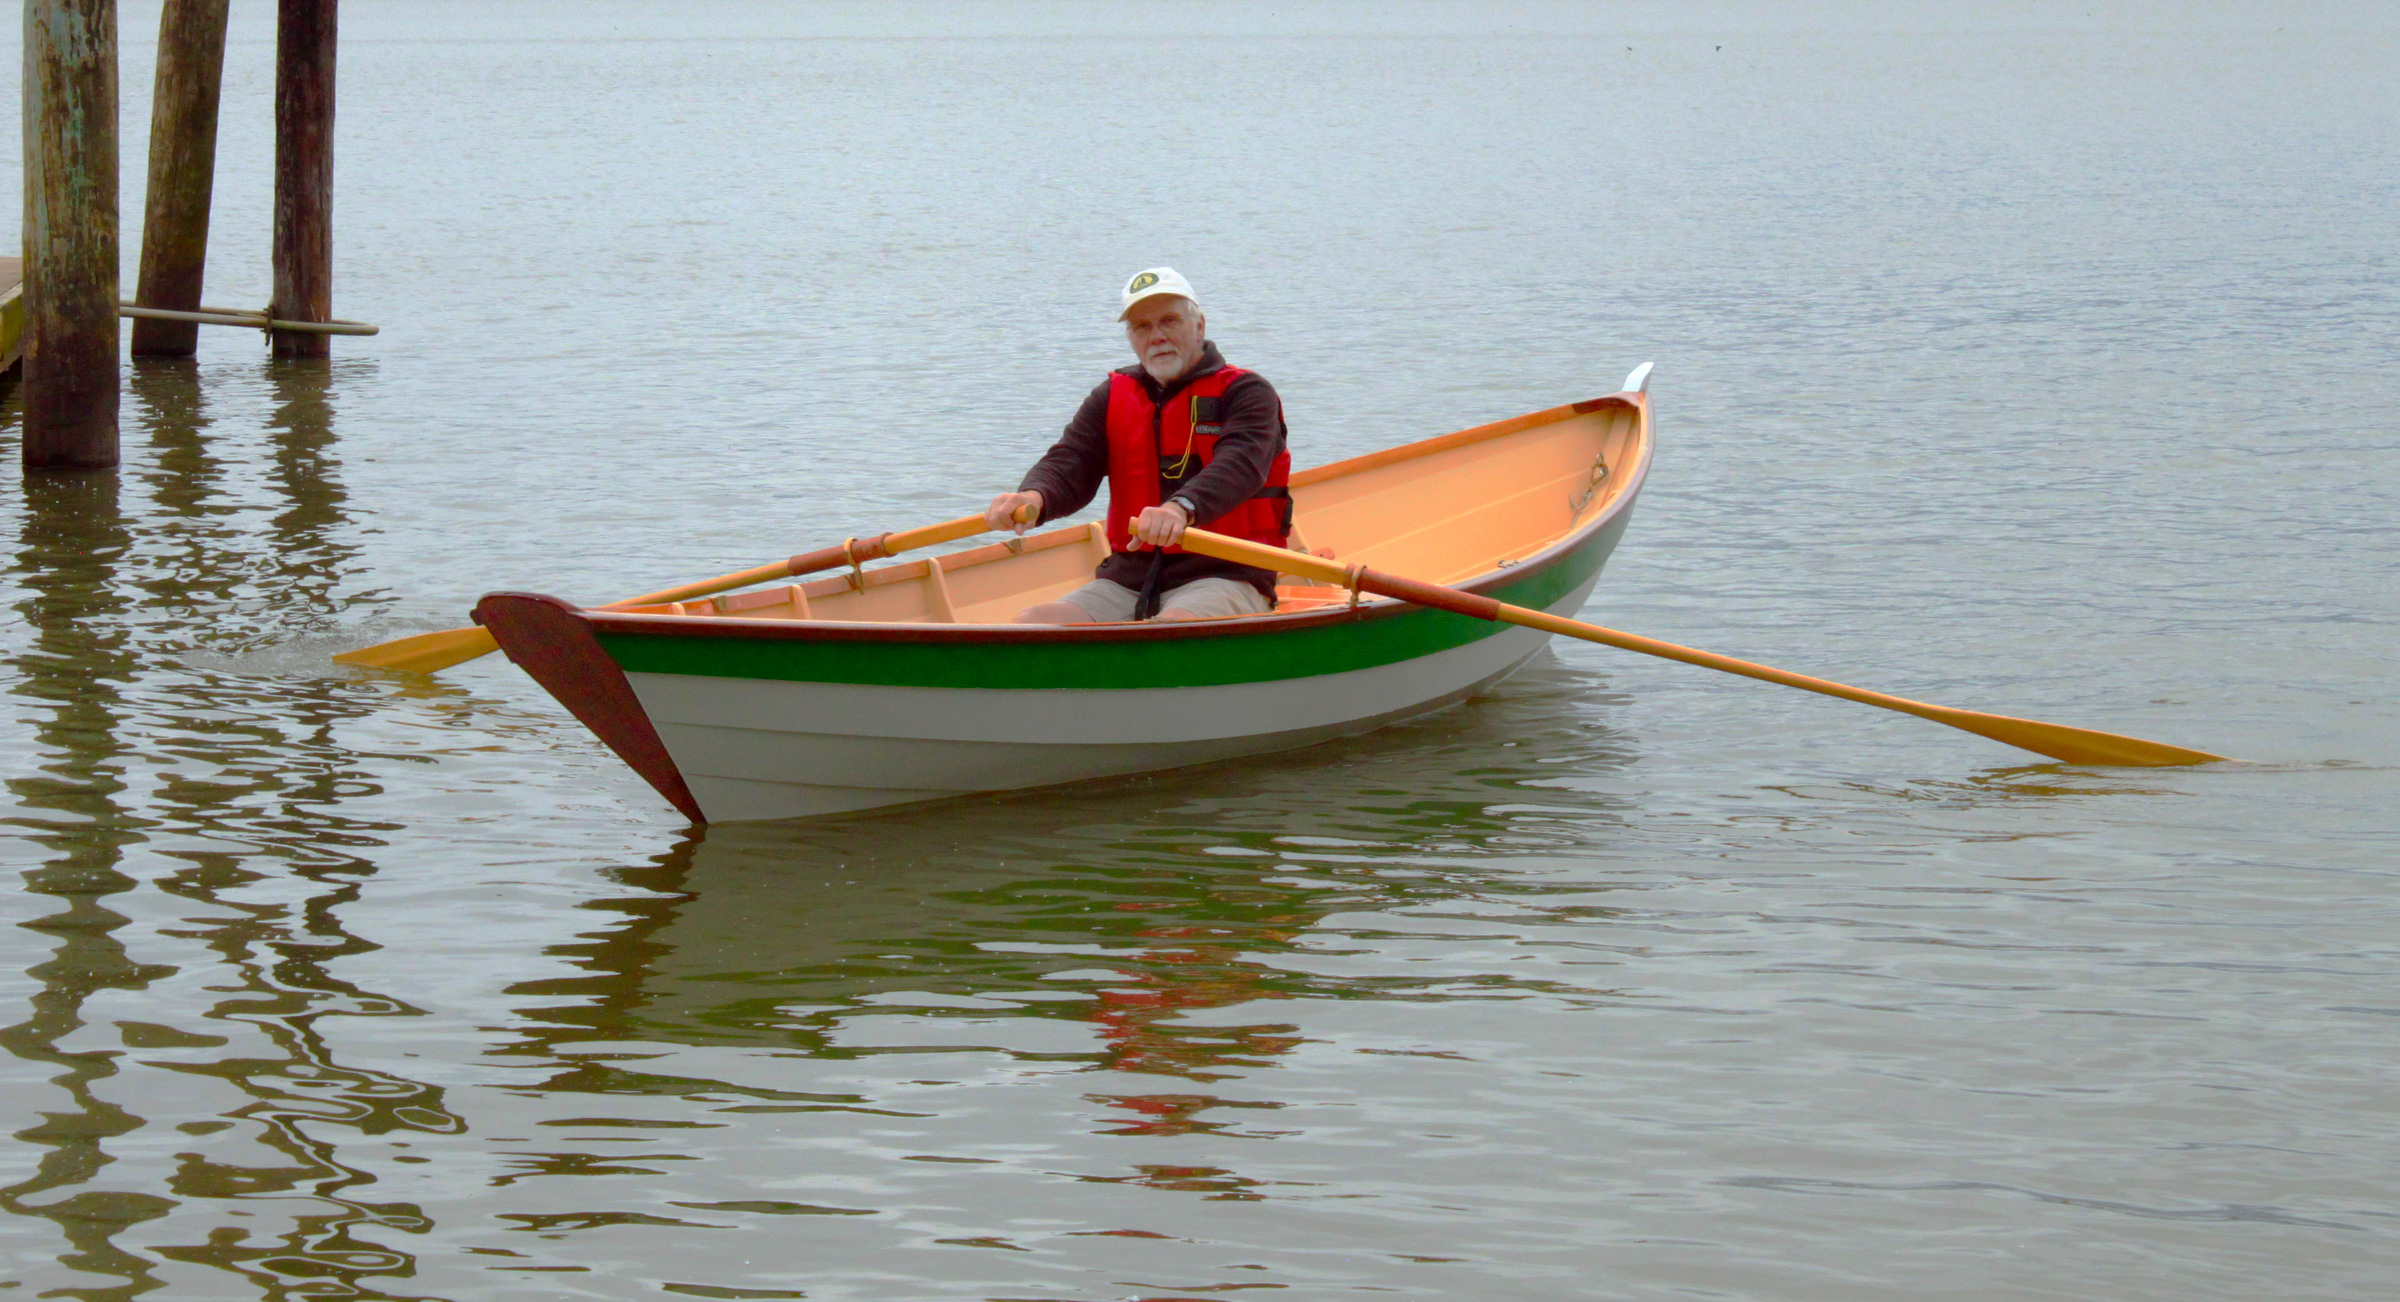
Afloat, the John Dory feels tender while I’m getting aboard, but the more the hull tips, the more the secondary stability becomes evident and keeps the boat from feeling uncomfortably tippy. After I’ve taken my seat on the center thwart, the boat feels steady; I can slide my weight of 200 lbs over to the gunwale and look down into the water and still have one plank width above the water.
The boat is very easy to row solo. I used a temporary foot brace prior to making my floorboards last year and found it considerably helped applying power. The skeg assures the boat tracks very nicely. When I’ve taken a passenger along, seated on the stern flotation compartment deck, I rowed from the forward station. The dory was still easy to row and steer with company aboard. I didn’t take the rudder along on those outings, but I could have had the passenger take over the steering so I wouldn’t have to look over my shoulder to navigate. When the rudder is equipped with the tiller, the passenger would have to sit on the aft thwart to steer. A yoke, also detailed in the plans, would allow the passenger to steer from the stern bench, facing forward with a tiller line over each shoulder.
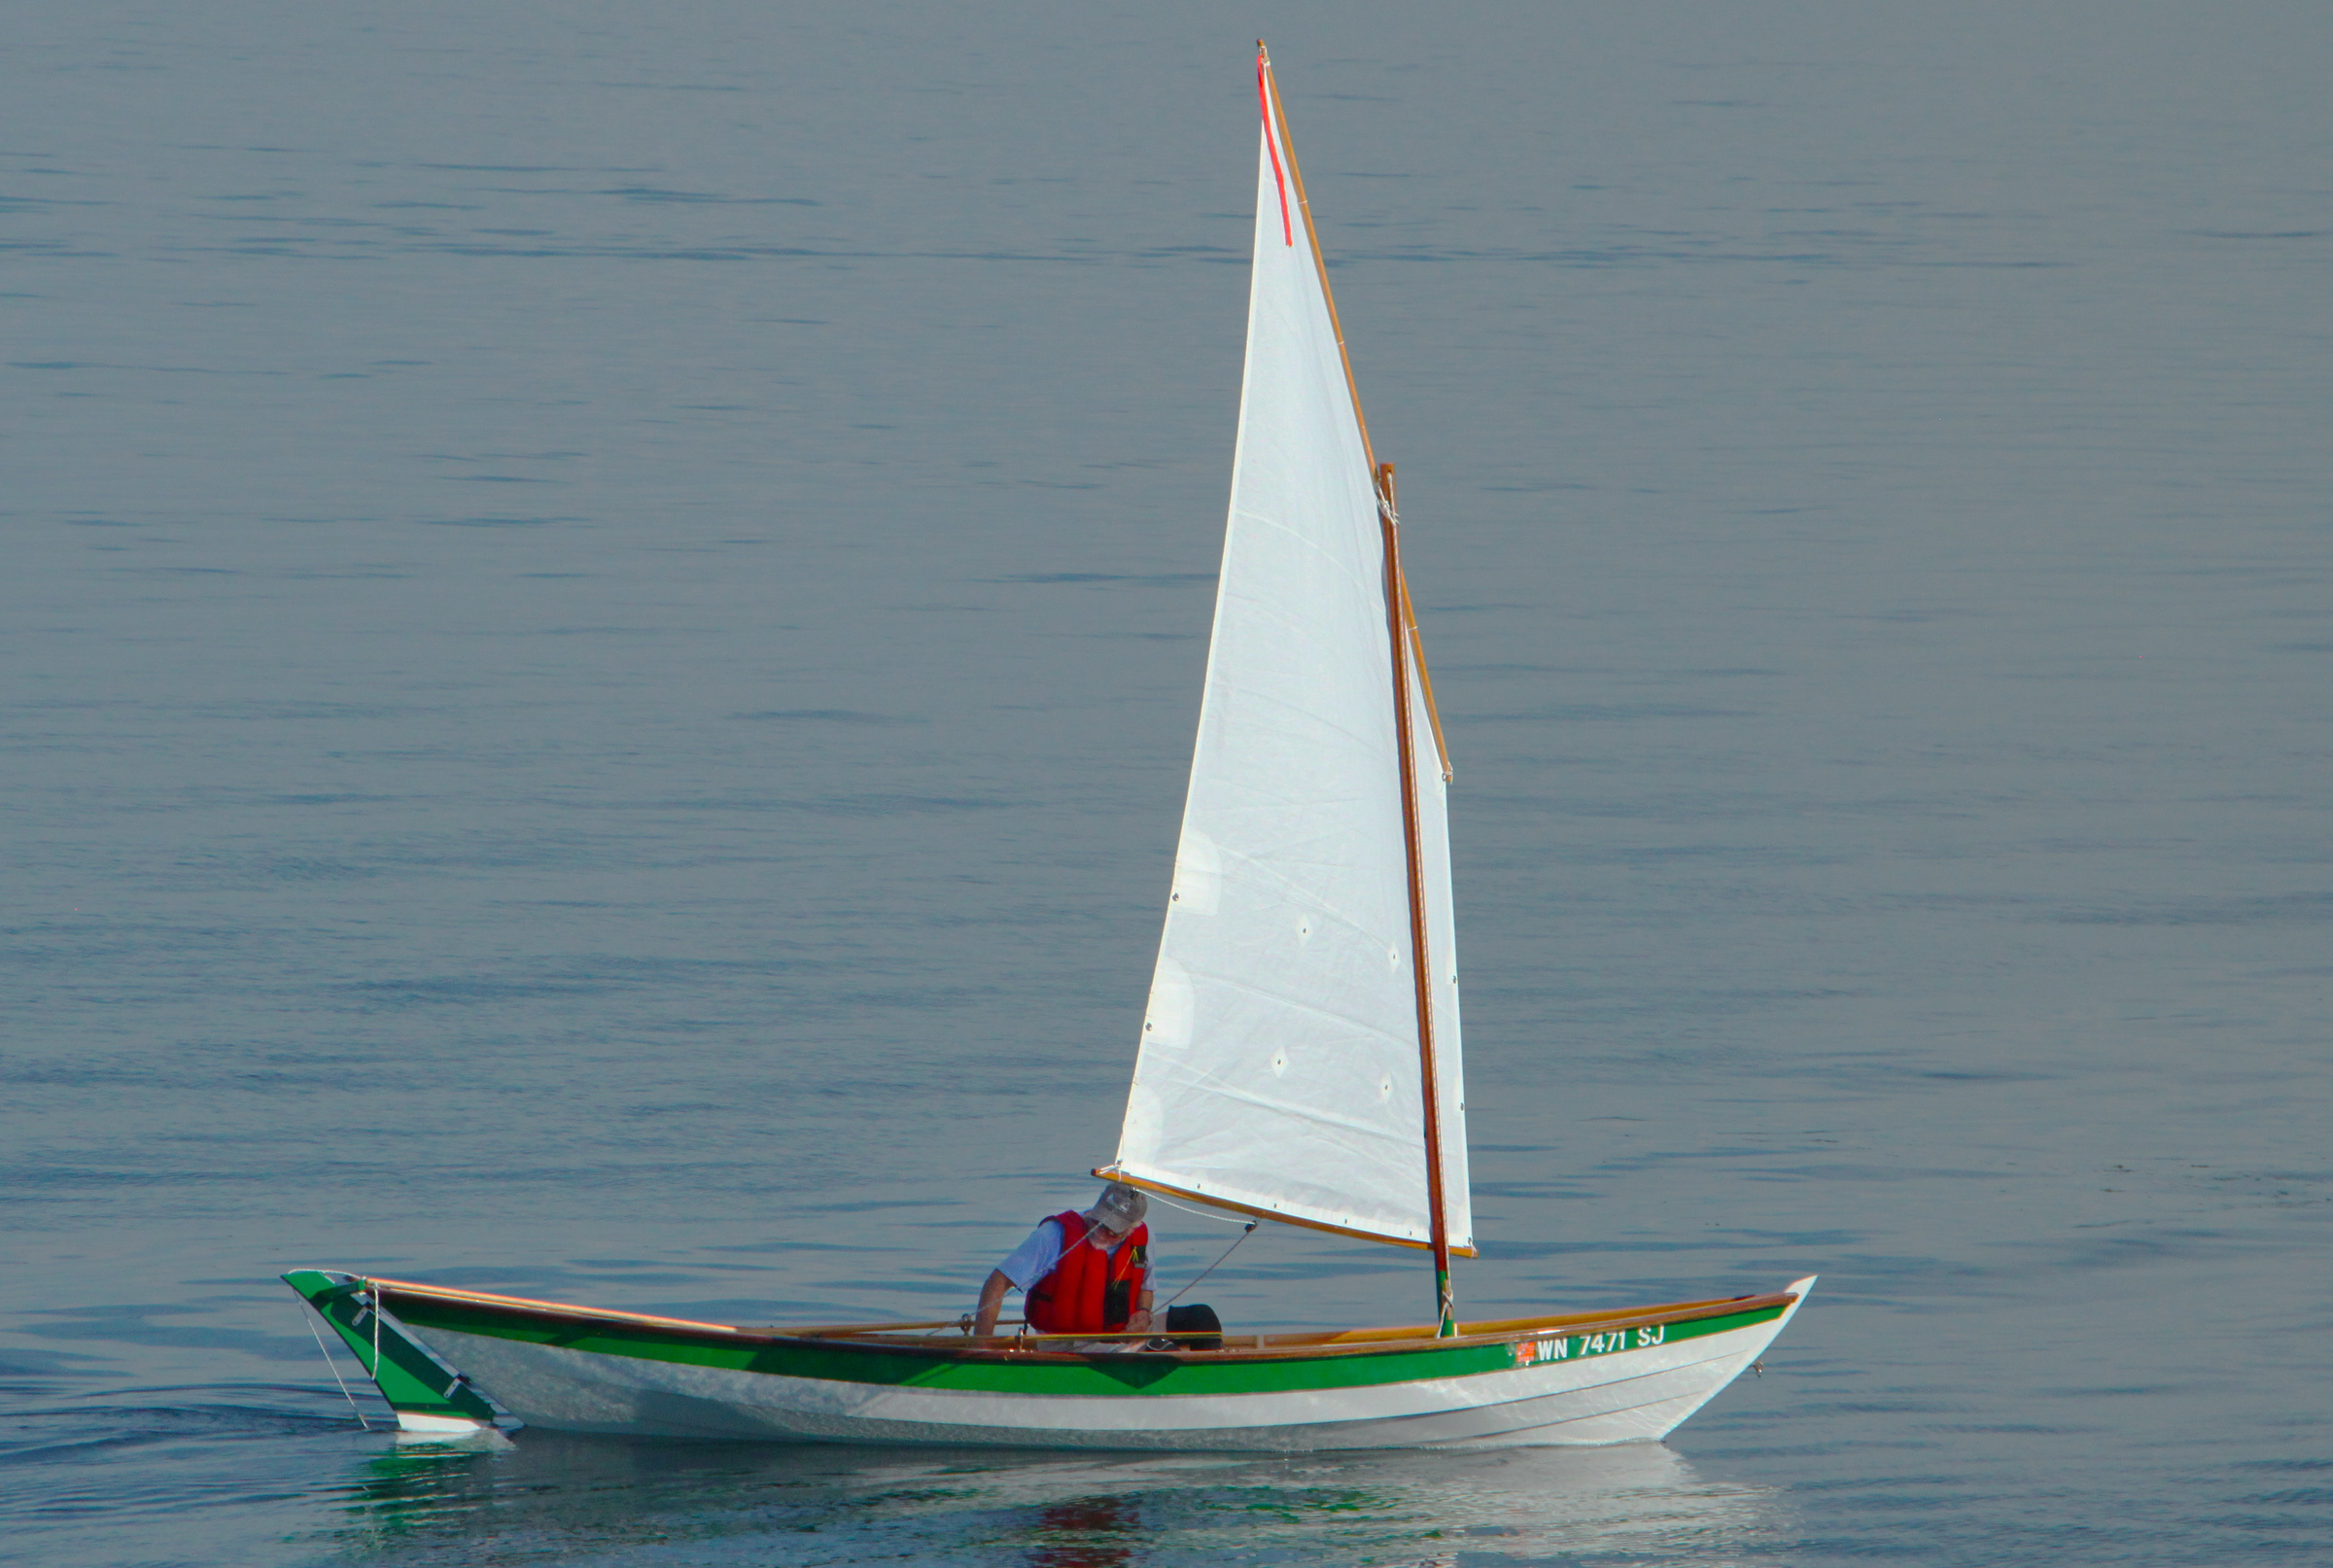
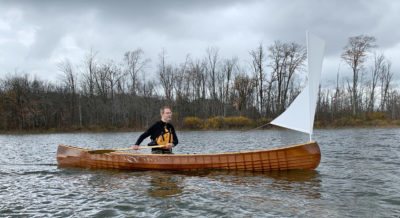
The plans include six drawings for different sailing rigs. This dory carries the balanced-lug rig. The author initially rigged the rudder with the Norwegian tiller seen here, but later opted to use the standard tiller with an extension, as shown in the plans. A yoke with tiller lines is also detailed in the plans.
The lug rig goes up quickly. With the sail already attached to the yard and boom, all there is to do is tie the halyard and downhaul on, rig the sheet, and you’re ready to raise the sail. I had initially rigged the rudder with a Norwegian push-pull tiller but, being a novice sailor, I had trouble making precise clean tacks in light air. I decided to switch to the straight tiller arm as shown in the plans and found it worked better for me. The boat does move well in the light air I’ve had for sailing thus far, but it can be challenging to make a clean tack. This may have more to do with my limited experience than the boat. In heavier winds, I expect the dory’s good secondary stability will give me confidence.
While waiting out the pandemic lockdown this year, I’ll scarf an additional 14″ to the mast so I can raise the rig a little higher for more clearance. I’m 6′ 2″ tall and had some problems getting the boom to clear my head. The plans have a provision for a motorwell, and I have been thinking about adding one in hopes that I may use the boat more often.
From the building to the rowing and sailing, the John Dory has been an enjoyable and educational experience. I am happy with the way it turned out and have had some very nice comments about it from many people who know boats. My interest in small wooden boats will always be with me. I am not sure if I will build another boat, but I will always take pride in my John Dory.![]()
Russell Smith, 75, was born and raised in New Jersey. His first exposure to boats was in high school when he worked as a deckhand on party fishing boats on the Jersey shore. He was an Outside Machinist at Electric Boat in Groton, Connecticut. Drafted into the U.S. Army, he trained as diesel mechanic on amphibious vehicles and after his service worked as a diesel truck mechanic for various fleets for 28 years. More recently, he worked for the past 16 years doing field service for a company that sold thrusters and roll stabilizers for yachts. He has long been a member of RiversWest Small Craft Center, a community woodworking and boatbuilding shop in Portland, Oregon. Russ started building boats in 2003 with a sea kayak built from plans. He started work on the John Dory about 6 years ago.
John Dory Particulars
[table]
Length/18′ 3″
Beam/4′ 8.5″
Depth amidships/1′ 6.75″
Draft/6″
Hull weight/ around 200 lbs
[/table]

Plans for the John Dory are available from The WoodenBoat Store, printed plans only, for $183. Plans can also be purchased from Oughtred’s Boats.
Is there a boat you’d like to know more about? Have you built one that you think other Small Boats Magazine readers would enjoy? Please email us!


Great looking boat. Very nice article.
A wonderful rowing and sailing craft. I was particularly amazed at the number of sailing rig choices. Very well built build.
Beautiful job on buildings your dory, I love the colors you painted it. Hope you’re still enjoying your great dory. I will be launching my CLC Southwest dory this summer. Looking forward to doing some rowing like you.
Al lyons