When I was in Sea Scouts in high school, I got to sail a Lightning, and it became the standard by which I have since measured all small sailboats. I have always wanted a small sailboat of my own but, as awesome as a Lightning is, it is too big and heavy for me to manage on my own. I had grown to hate dealing with trailers and stayed masts, and wanted something I could transport on top of the car. For many years, I searched for the perfect boat, keeping a growing file of likely designs.
I found some promising candidates in Reuel Parker’s The Sharpie Book and Howard Chapelle’s American Small Sailing Craft, but I discovered the boat of my dreams when I saw the lovely Drake 13 Sharpie from Selway Fisher.
There are three Drake sharpies: an 11-footer, an 18-footer, and (for my needs) the “just right” 13′ boat. I ordered plans and they arrived from England, folded in a packet. While the four pages of drawings and eight pages of instructions are clear and well-detailed, it proved very helpful for me to have built a few boats: a Bolger Cartopper rowboat and a 13′ Pete Culler Butternut double-paddle canoe.
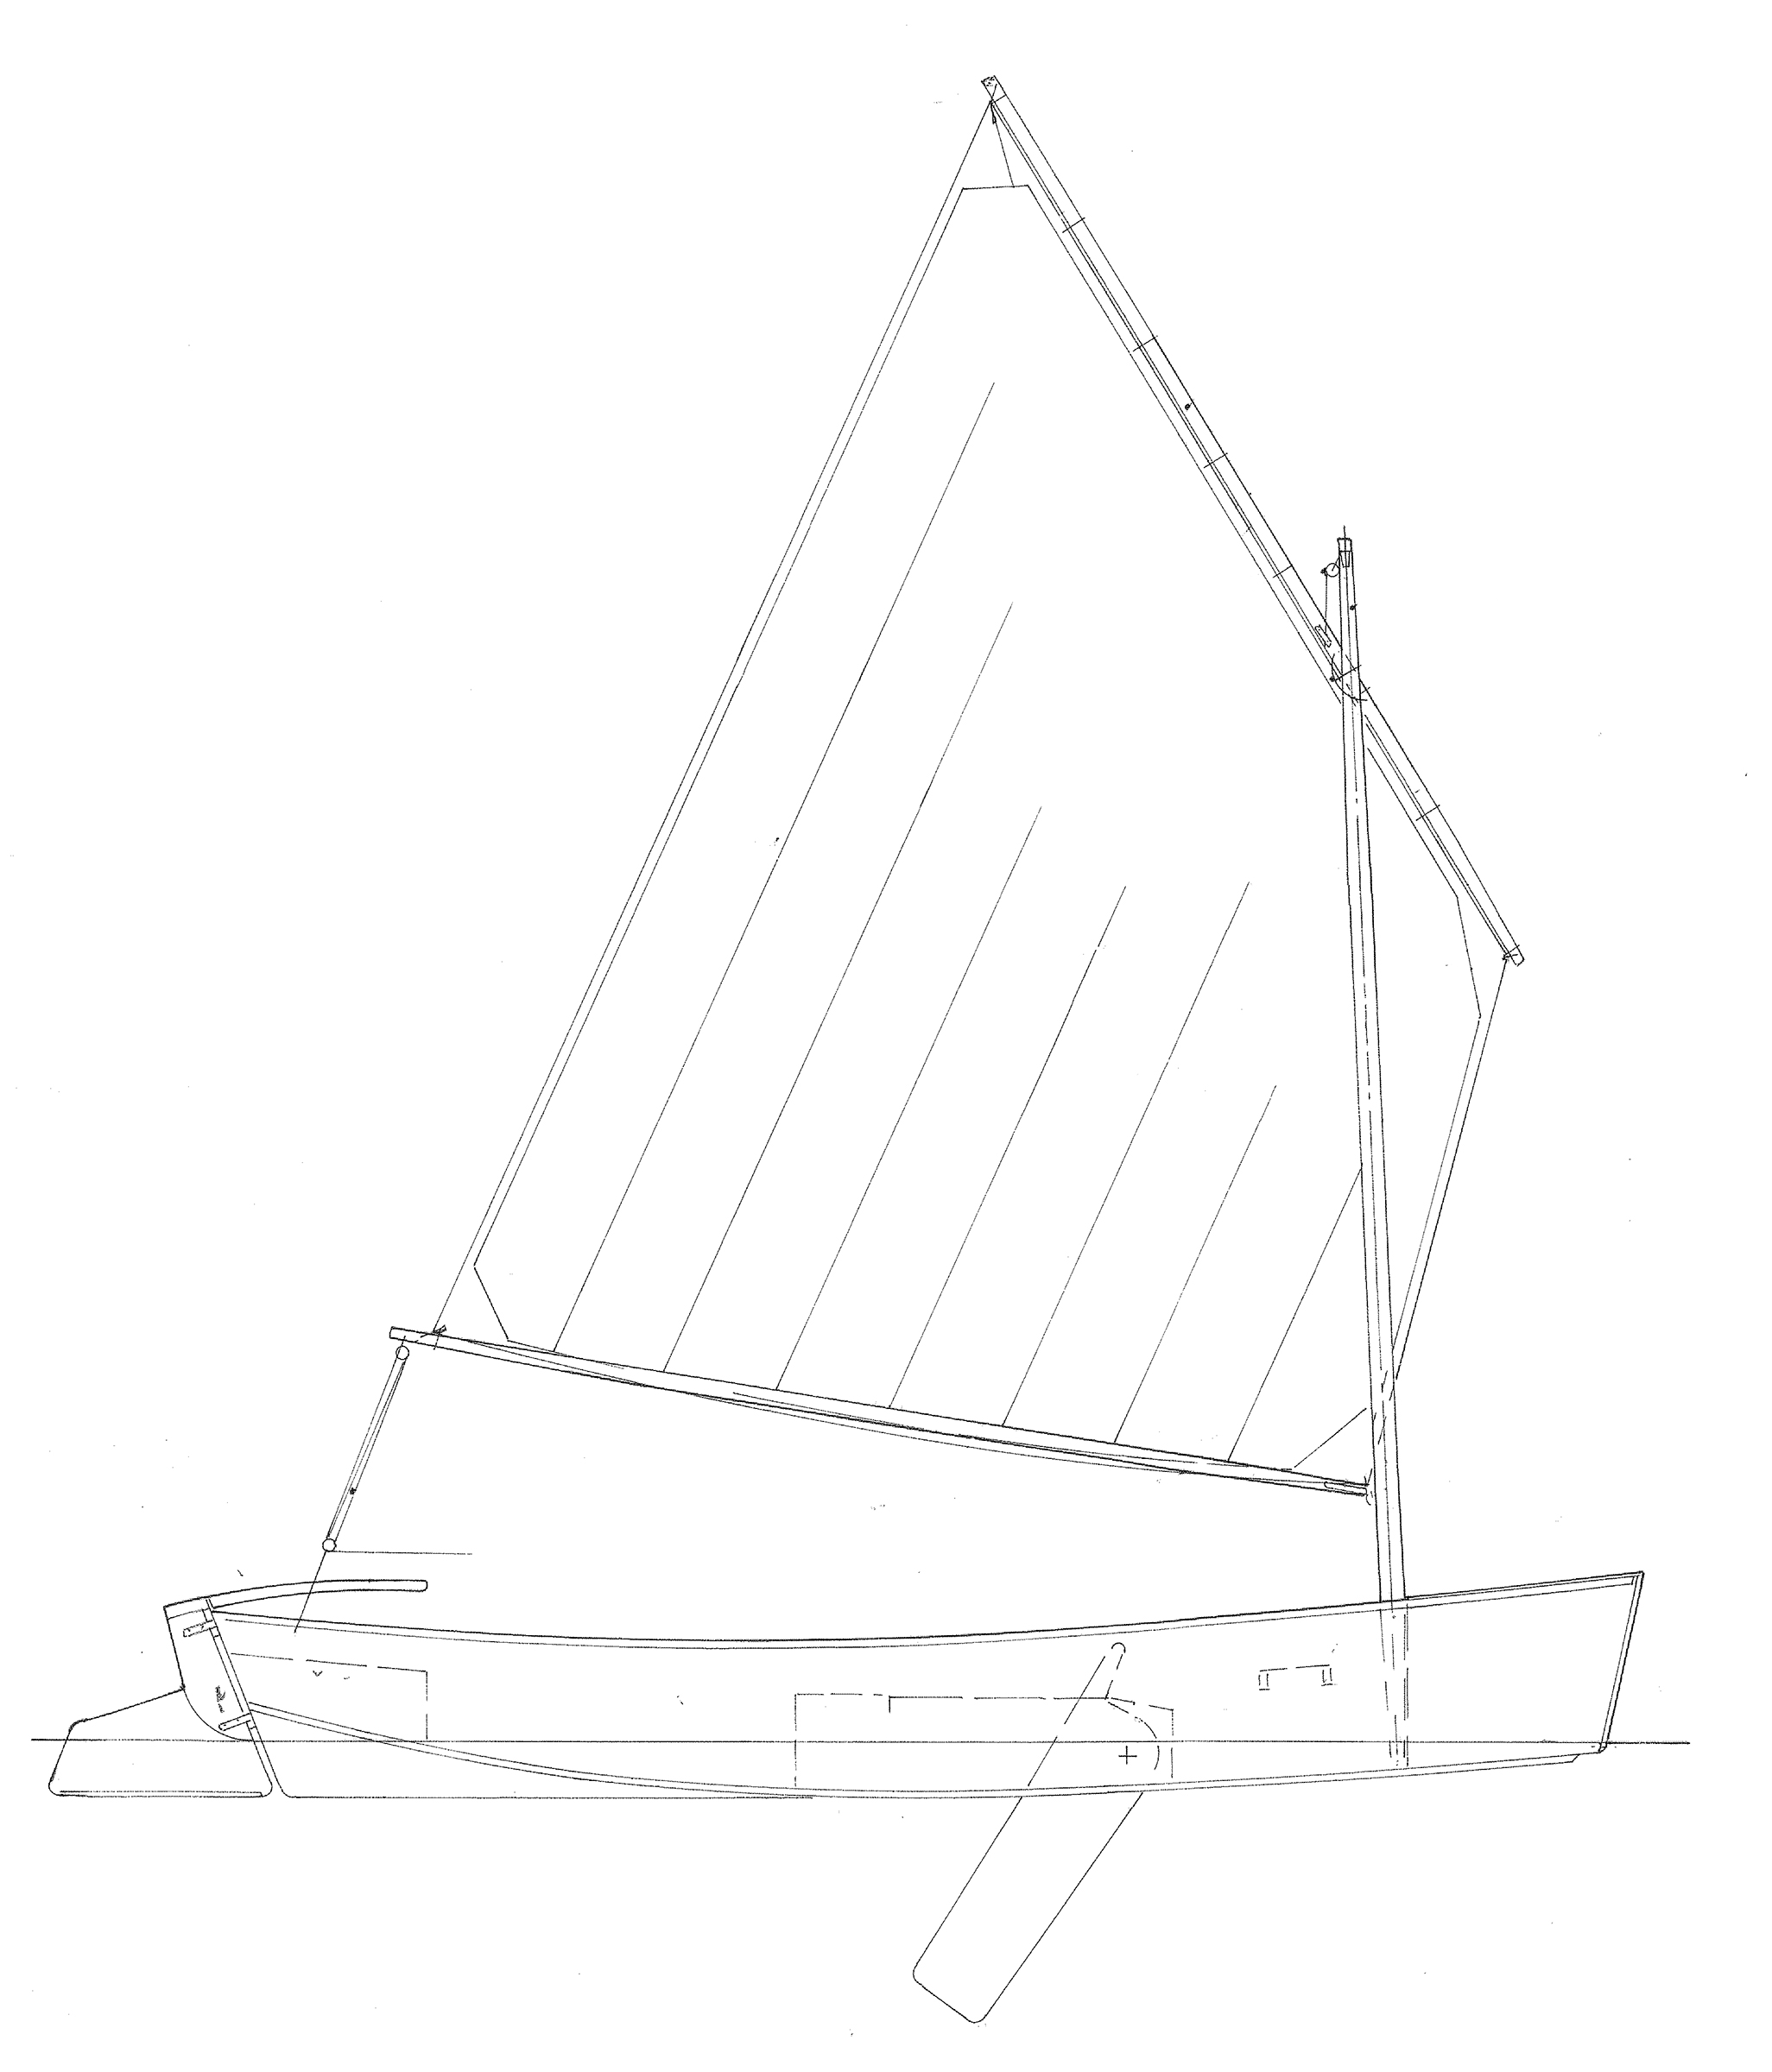
I studied the Drake 13 plans carefully and decided on a few changes. I would want to sit on the bottom of the boat, which meant changing the centerboard shown in the drawings to a daggerboard for its shorter trunk. I also preferred a balance lugsail to the standing lug in the plans because the balance lug is so tunable and maybe more importantly, I think it looks cooler. The sail plan I drew has about 7 sq ft more sail area, an increase of about 10 percent. Douglas Fowler made the sail to the drawings I provided.
 Photographs by Buddy Levy
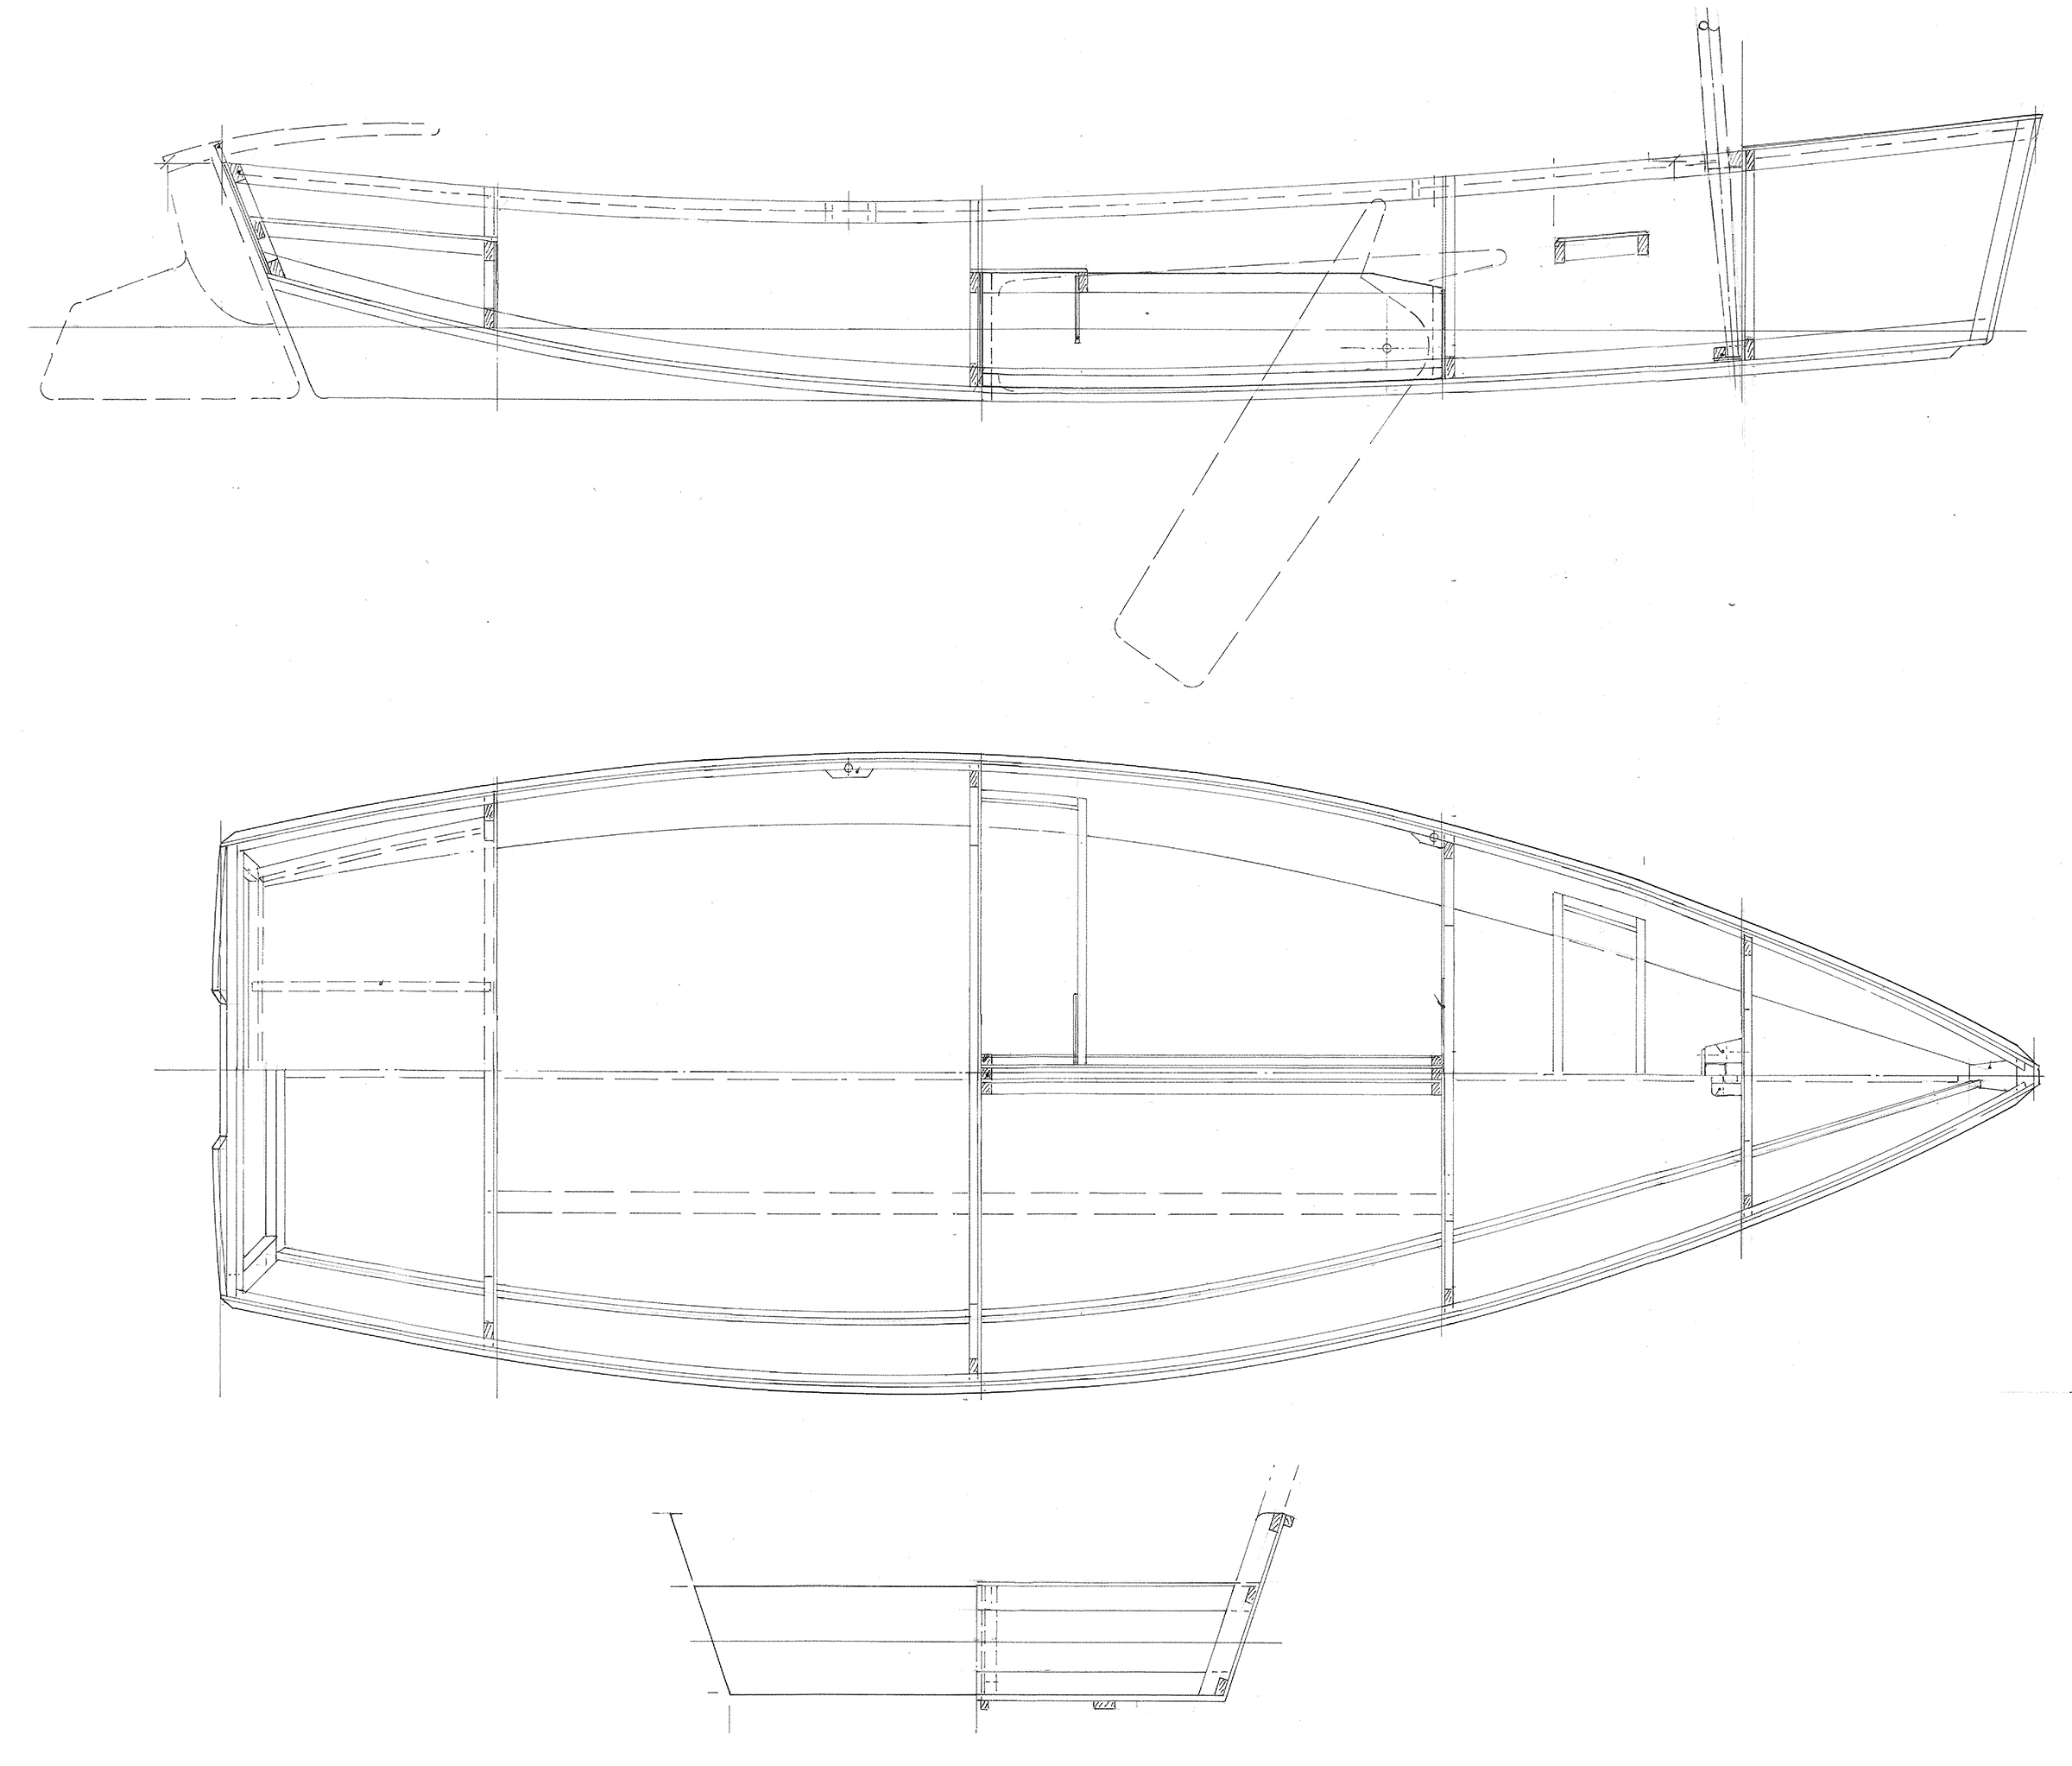
The plans offer options for building plywood-on-frame or stitch-and-glue. While the original design calls for two thwarts and a centerboard, this boat has a stool for rowing and a daggerboard for sailing. Sealed compartments in the ends provide flotation.
Paul Fisher, the designer, assured me that the modifications I had sketched would work but, just in case, I made the daggerboard slot longer than necessary so that I could adjust the center of lateral resistance if I got the sailing balance of the boat wrong. That, and the adjustability of the balance lugsail position, would also give me the ability to fine-tune the balance. I shaped a piece of closed-cell foam that fits in the daggerboard slot vertically to hold the daggerboard in place and then fits into the trunk horizontally to fill the slot when rowing.
The plans offer two construction methods: plywood planking over frames and stringers or stitch-and-glue. I opted for stitch-and-glue because I know the system well and it creates a very strong hull that’s light in weight and provides a clean, smooth interior that’s easily maintained.
The instructions provided with the drawings note that plywood can be either marine or exterior grade, but I didn’t want to use fir exterior plywood as it checks badly unless covered with fiberglass. I ordered five sheets of Joubert okoume plywood.
I butt-jointed the plywood pieces with ’glass on both sides instead of using butt straps or cutting scarf joints, as shown in the drawings. On the lengthened sheets, I laid out the panel shapes with a series of penciled tick marks according to the measured drawings. I connected those points into fair curves using a flexible batten and then cut out the panels. Stitching the four panels together—bottom, two sides, and transom—rapidly turned them into something resembling a beautiful little boat.
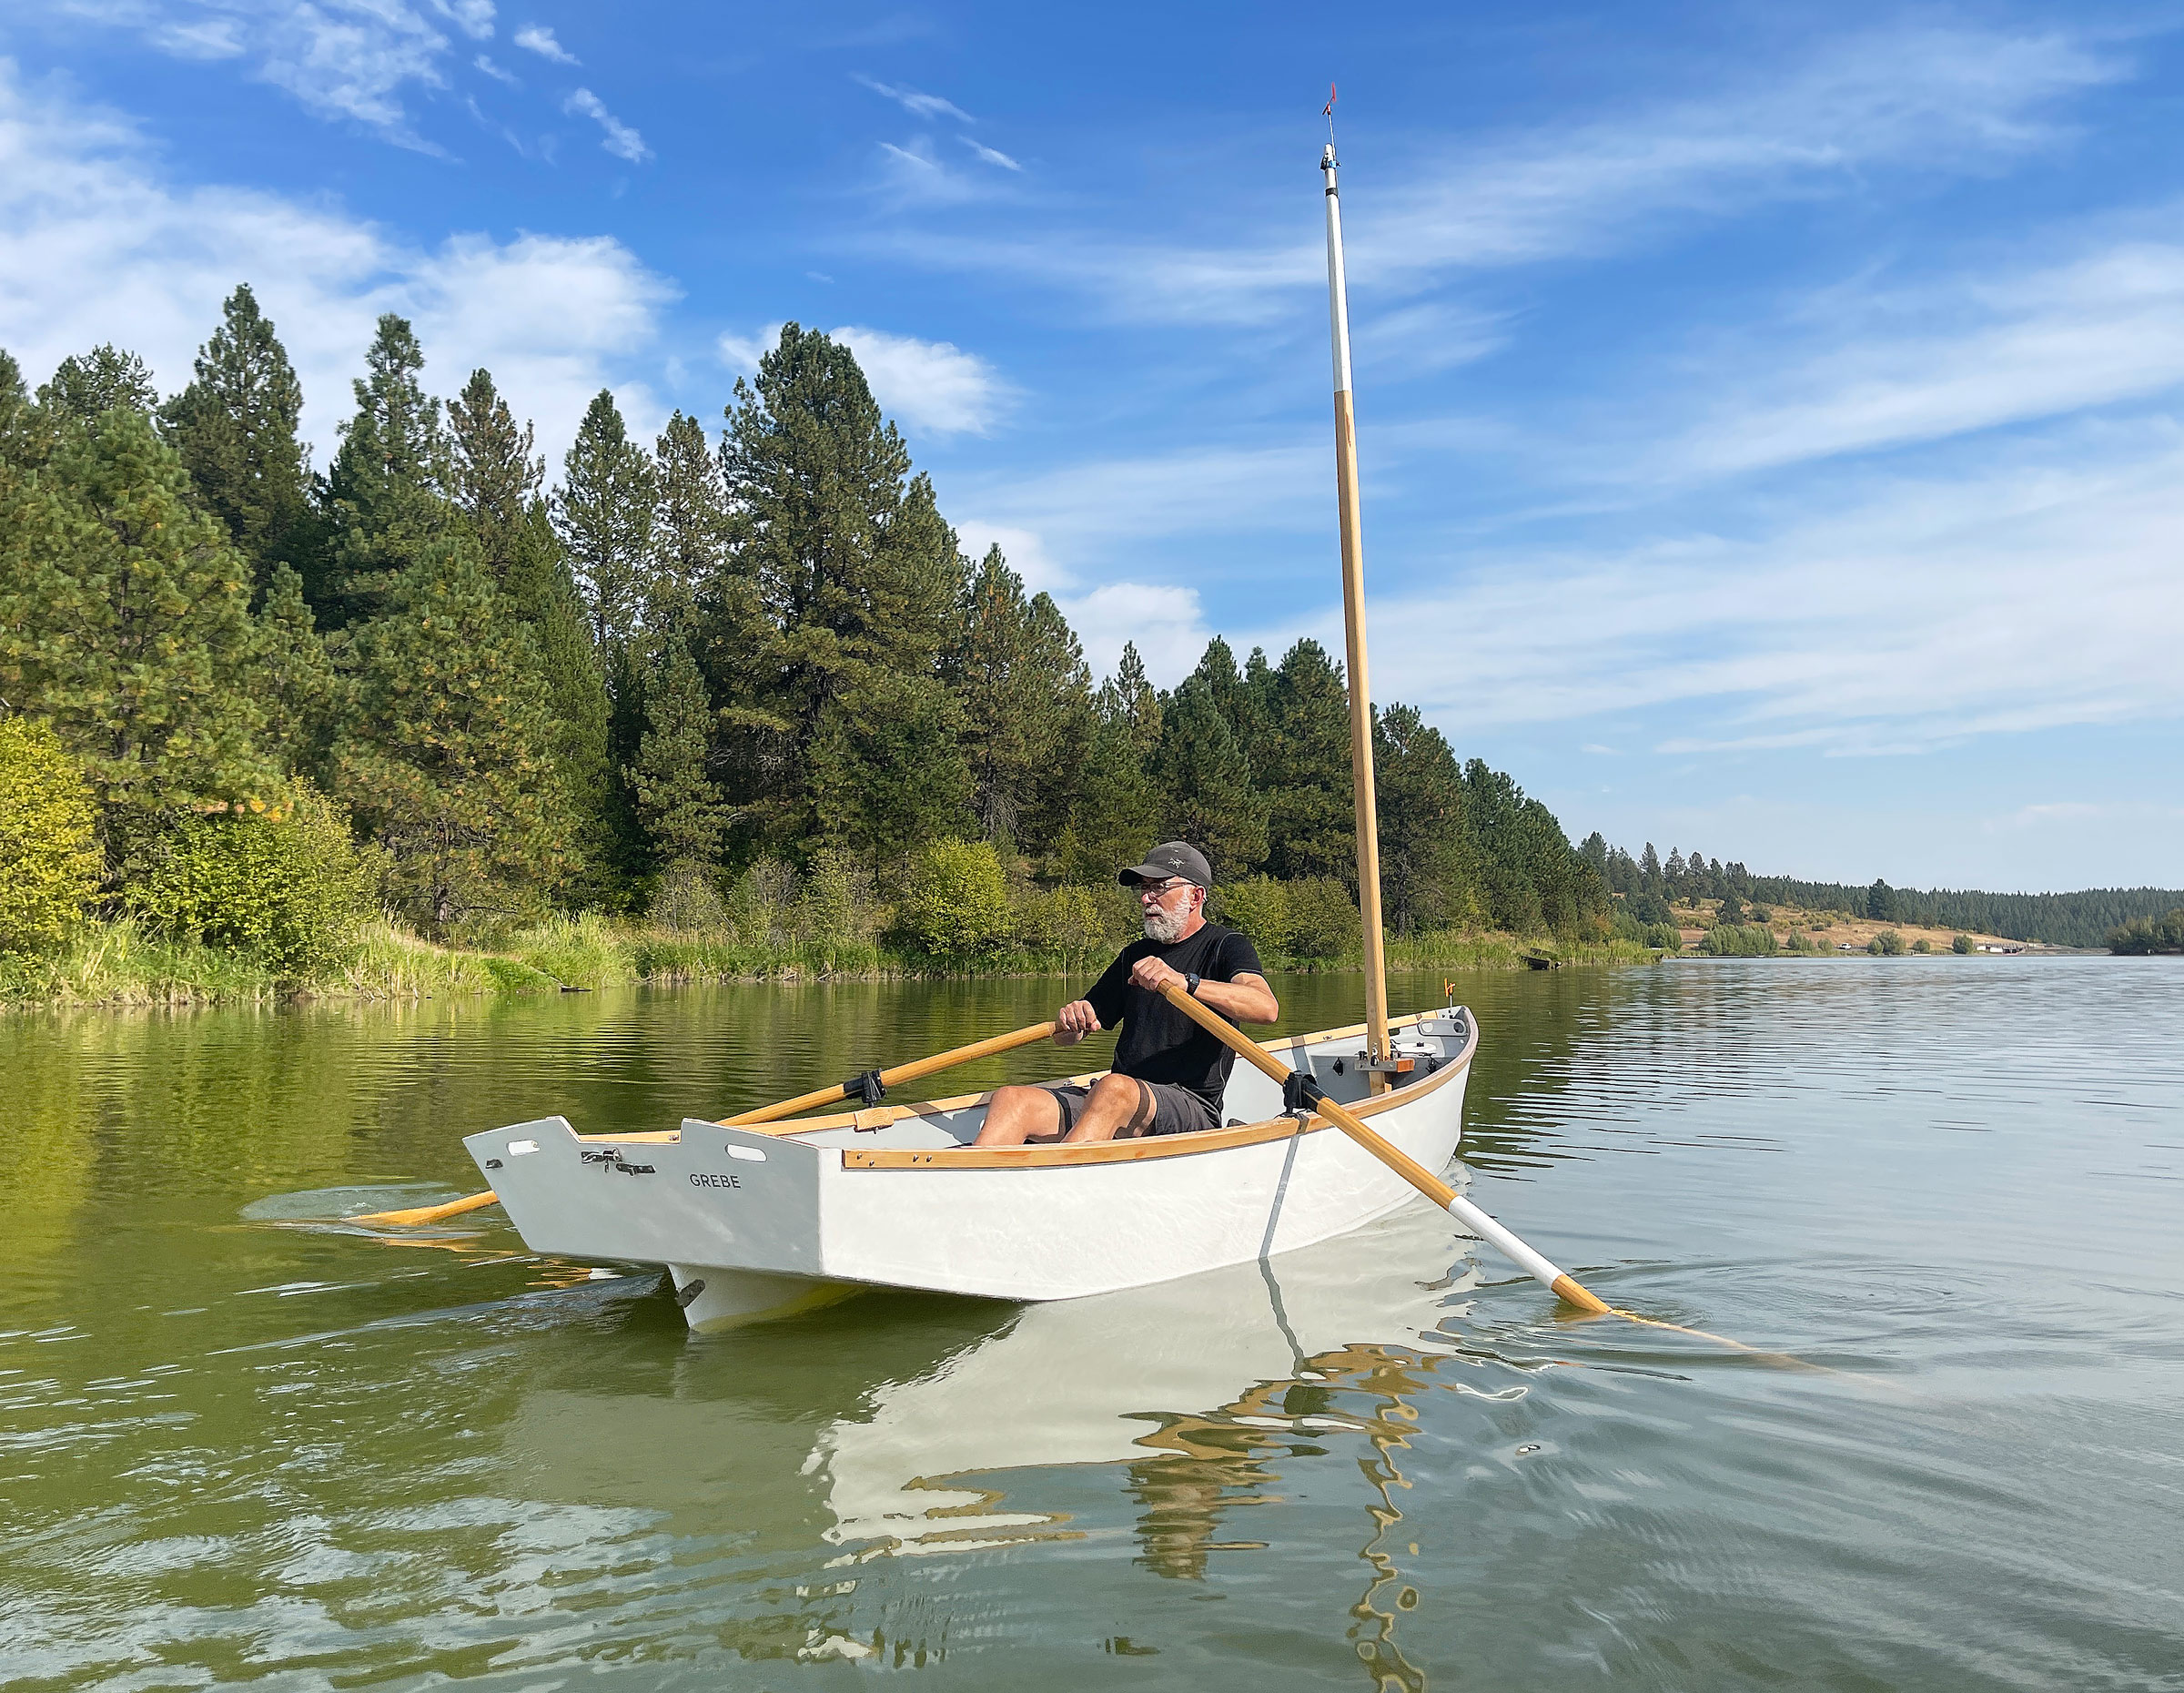
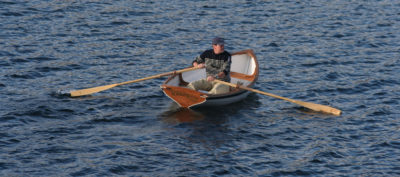
The 4′ 6″ beam provides a good oarlock span for 8′ oars.
The hull’s side and bottom panels are 6mm (1/4″) plywood; the transom, rudder, and daggerboard trunk are 9mm (3/8″). I designed and added some 9mm frames and I also added some 3″-wide chine-to-chine transverse strips flat on the bottom to stiffen it up a little bit and provide some depth for screws to mount my foam-pad tiedowns. The daggerboard is doubled 9mm plywood with carbon-fiber inserts to stiffen it.
I applied fiberglass tape to the joints but did not cover the entire surface of the interior or the exterior with ’glass cloth. This has worked well, and the plywood is still in good shape after three seasons of use. I think I saved about 8 to 10 lbs of weight this way as well as a lot of labor.
Spruce spars are specified in the instructions, but I used fir from the lumberyard. I picked through the pieces carefully and then hung them from the ceiling of my shop for a few months to let them air dry. I tested the spars by shaping them and then jumping on them with 6″ blocks holding up each end. I managed to break one of them. Better to fail in the shop than while out sailing!
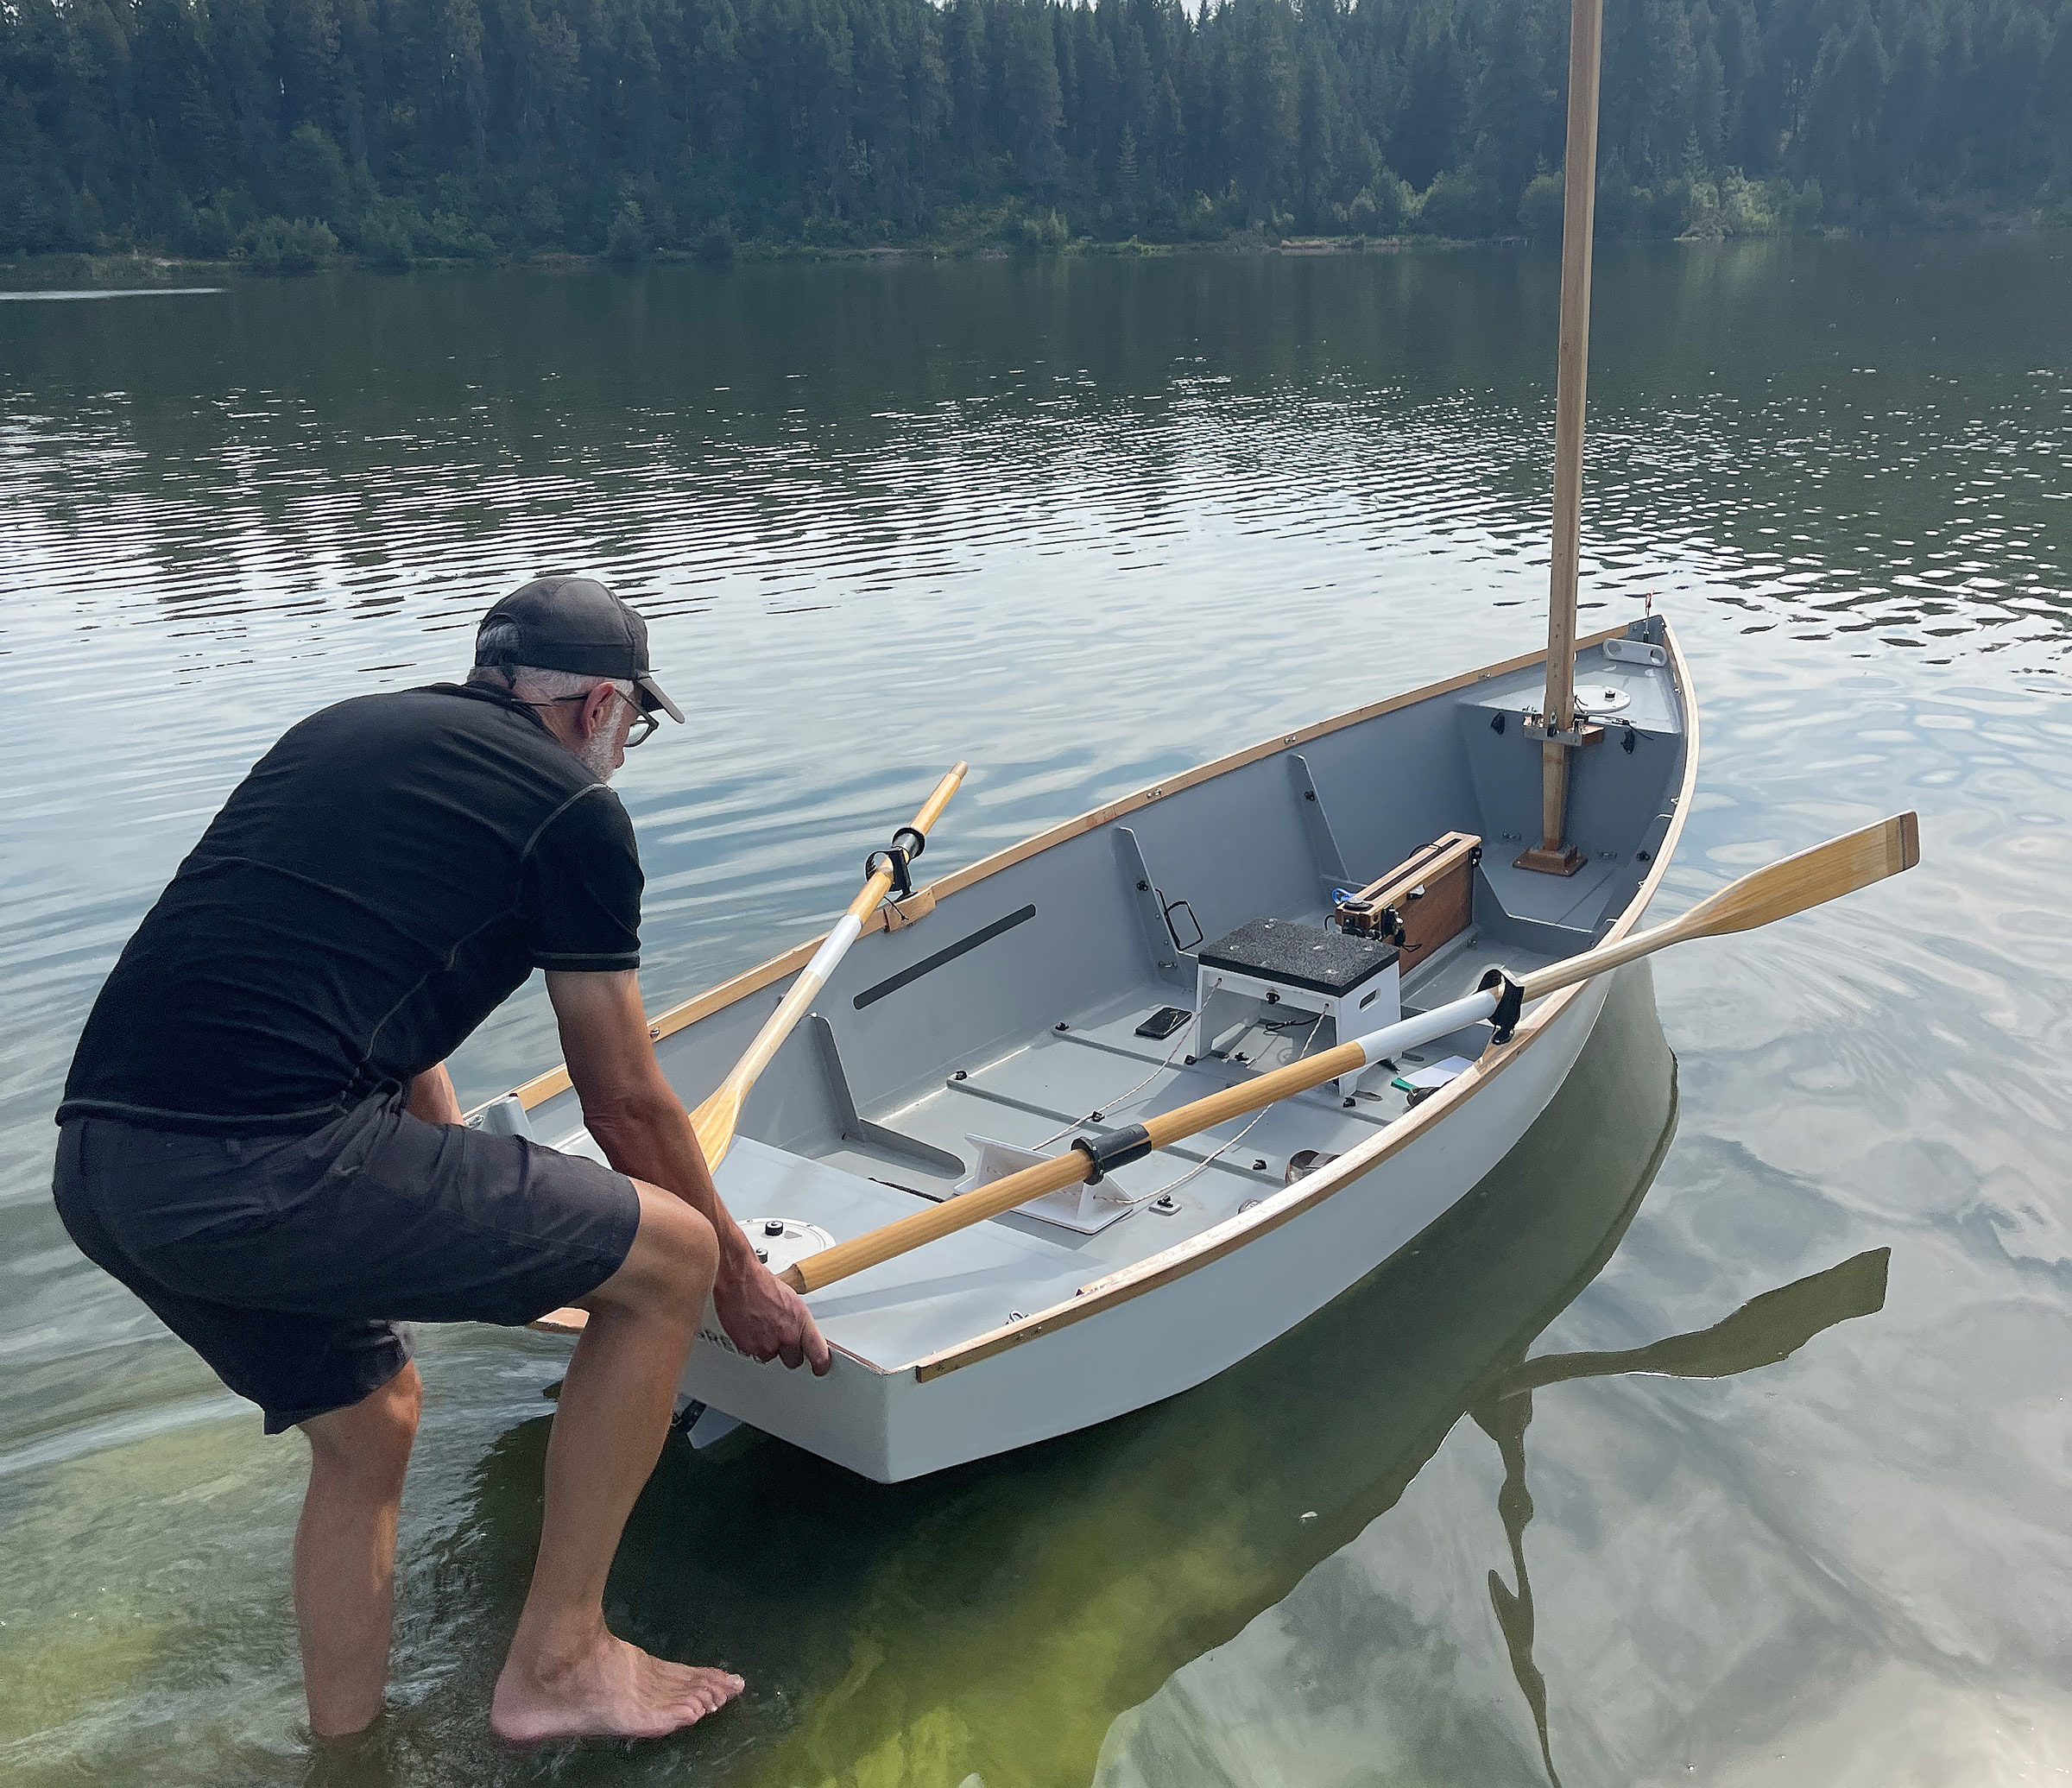
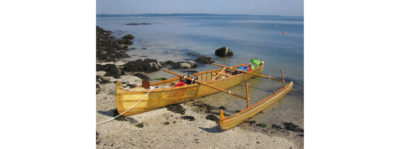
I spent about three months, full-time, building the Drake 13 and launched it on a cool spring afternoon. At 105 lbs (stripped of oars, spars, and rigging), it’s fairly easy to get it on top of the car and to drag it across a sandy beach to the water. I use two 3′ x 8′ pieces of carpet to protect the bottom from abrasion while dragging the boat over the ground.
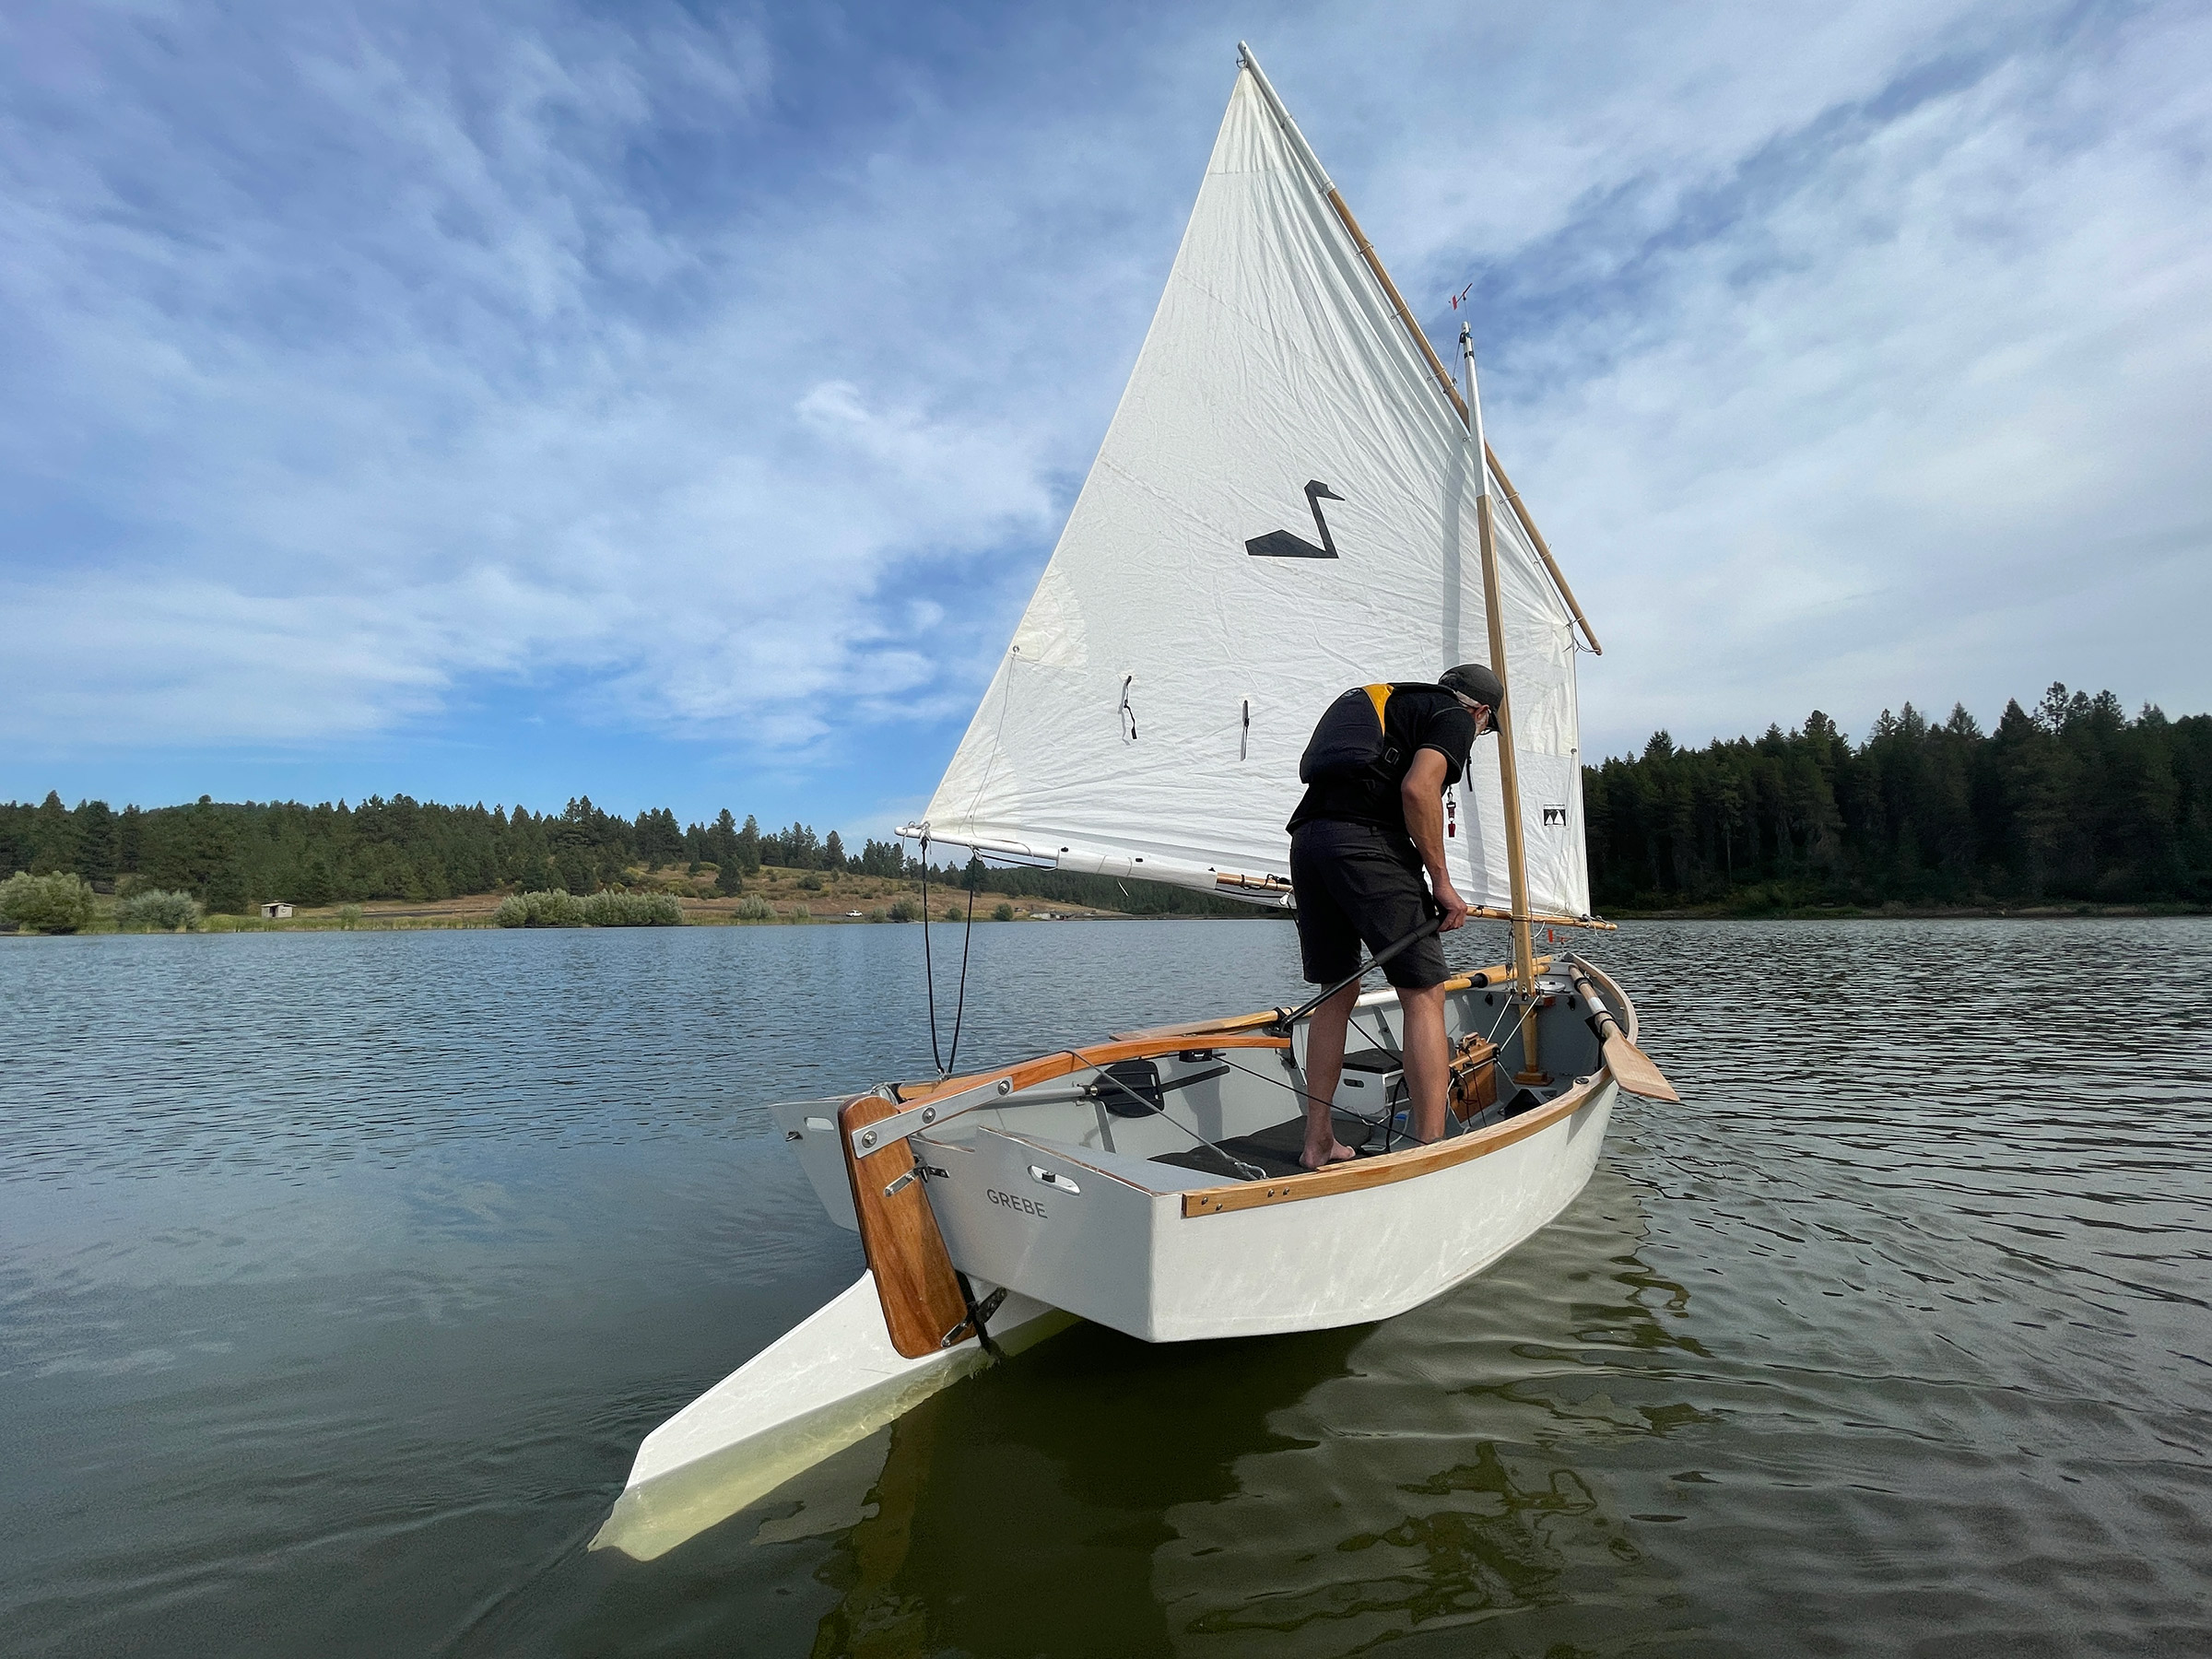
The rudder has a fixed blade with a horizontal bottom edge aligned with that of the skeg. For a better purchase on the water, the plans provide an option for adding a drop-down blade and the author added the horizontal wings seen here.
It takes about 30 to 40 minutes from cartop to sailing. That may seem somewhat slow, but that’s a result of being cartopped: the hull is transported bare, and everything needed on the boat must be packed in the car. Trailering would significantly shorten the preparation time at the ramp.
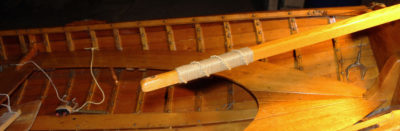
The oar length for the Drake is not specified in the plans. Mine are 8’ long and I use Gaco oarlocks, which are strong and smooth working. With moderate aerobic effort, I can row the Drake at about a 2-1/2-knot reading on the GPS. Ramping up to 80 percent effort increases speed to about 3 knots, and an all-out sprint might see 3-1/2 or a bit more.
On my first outing with the Drake, christened GREBE after the diving birds I see where I do most of my sailing, there was a sprightly wind. Once I got out on the water and all the various lines were adjusted, I sheeted in on a beam reach and the Drake leapt forward, soon sending spray over the gunwales and making that go-fast hum sailors love. The overall sensation was one of lightness, nimbleness, and speed. The Drake is quick and fun under sail, and I’ve seen a top speed of about 6 knots sail-surfing down a motorboat wake. Windward performance is satisfactory—the Drake tacks through 80 to 90 degrees. Cranking on the downhaul helps shape the sail well for windward work.
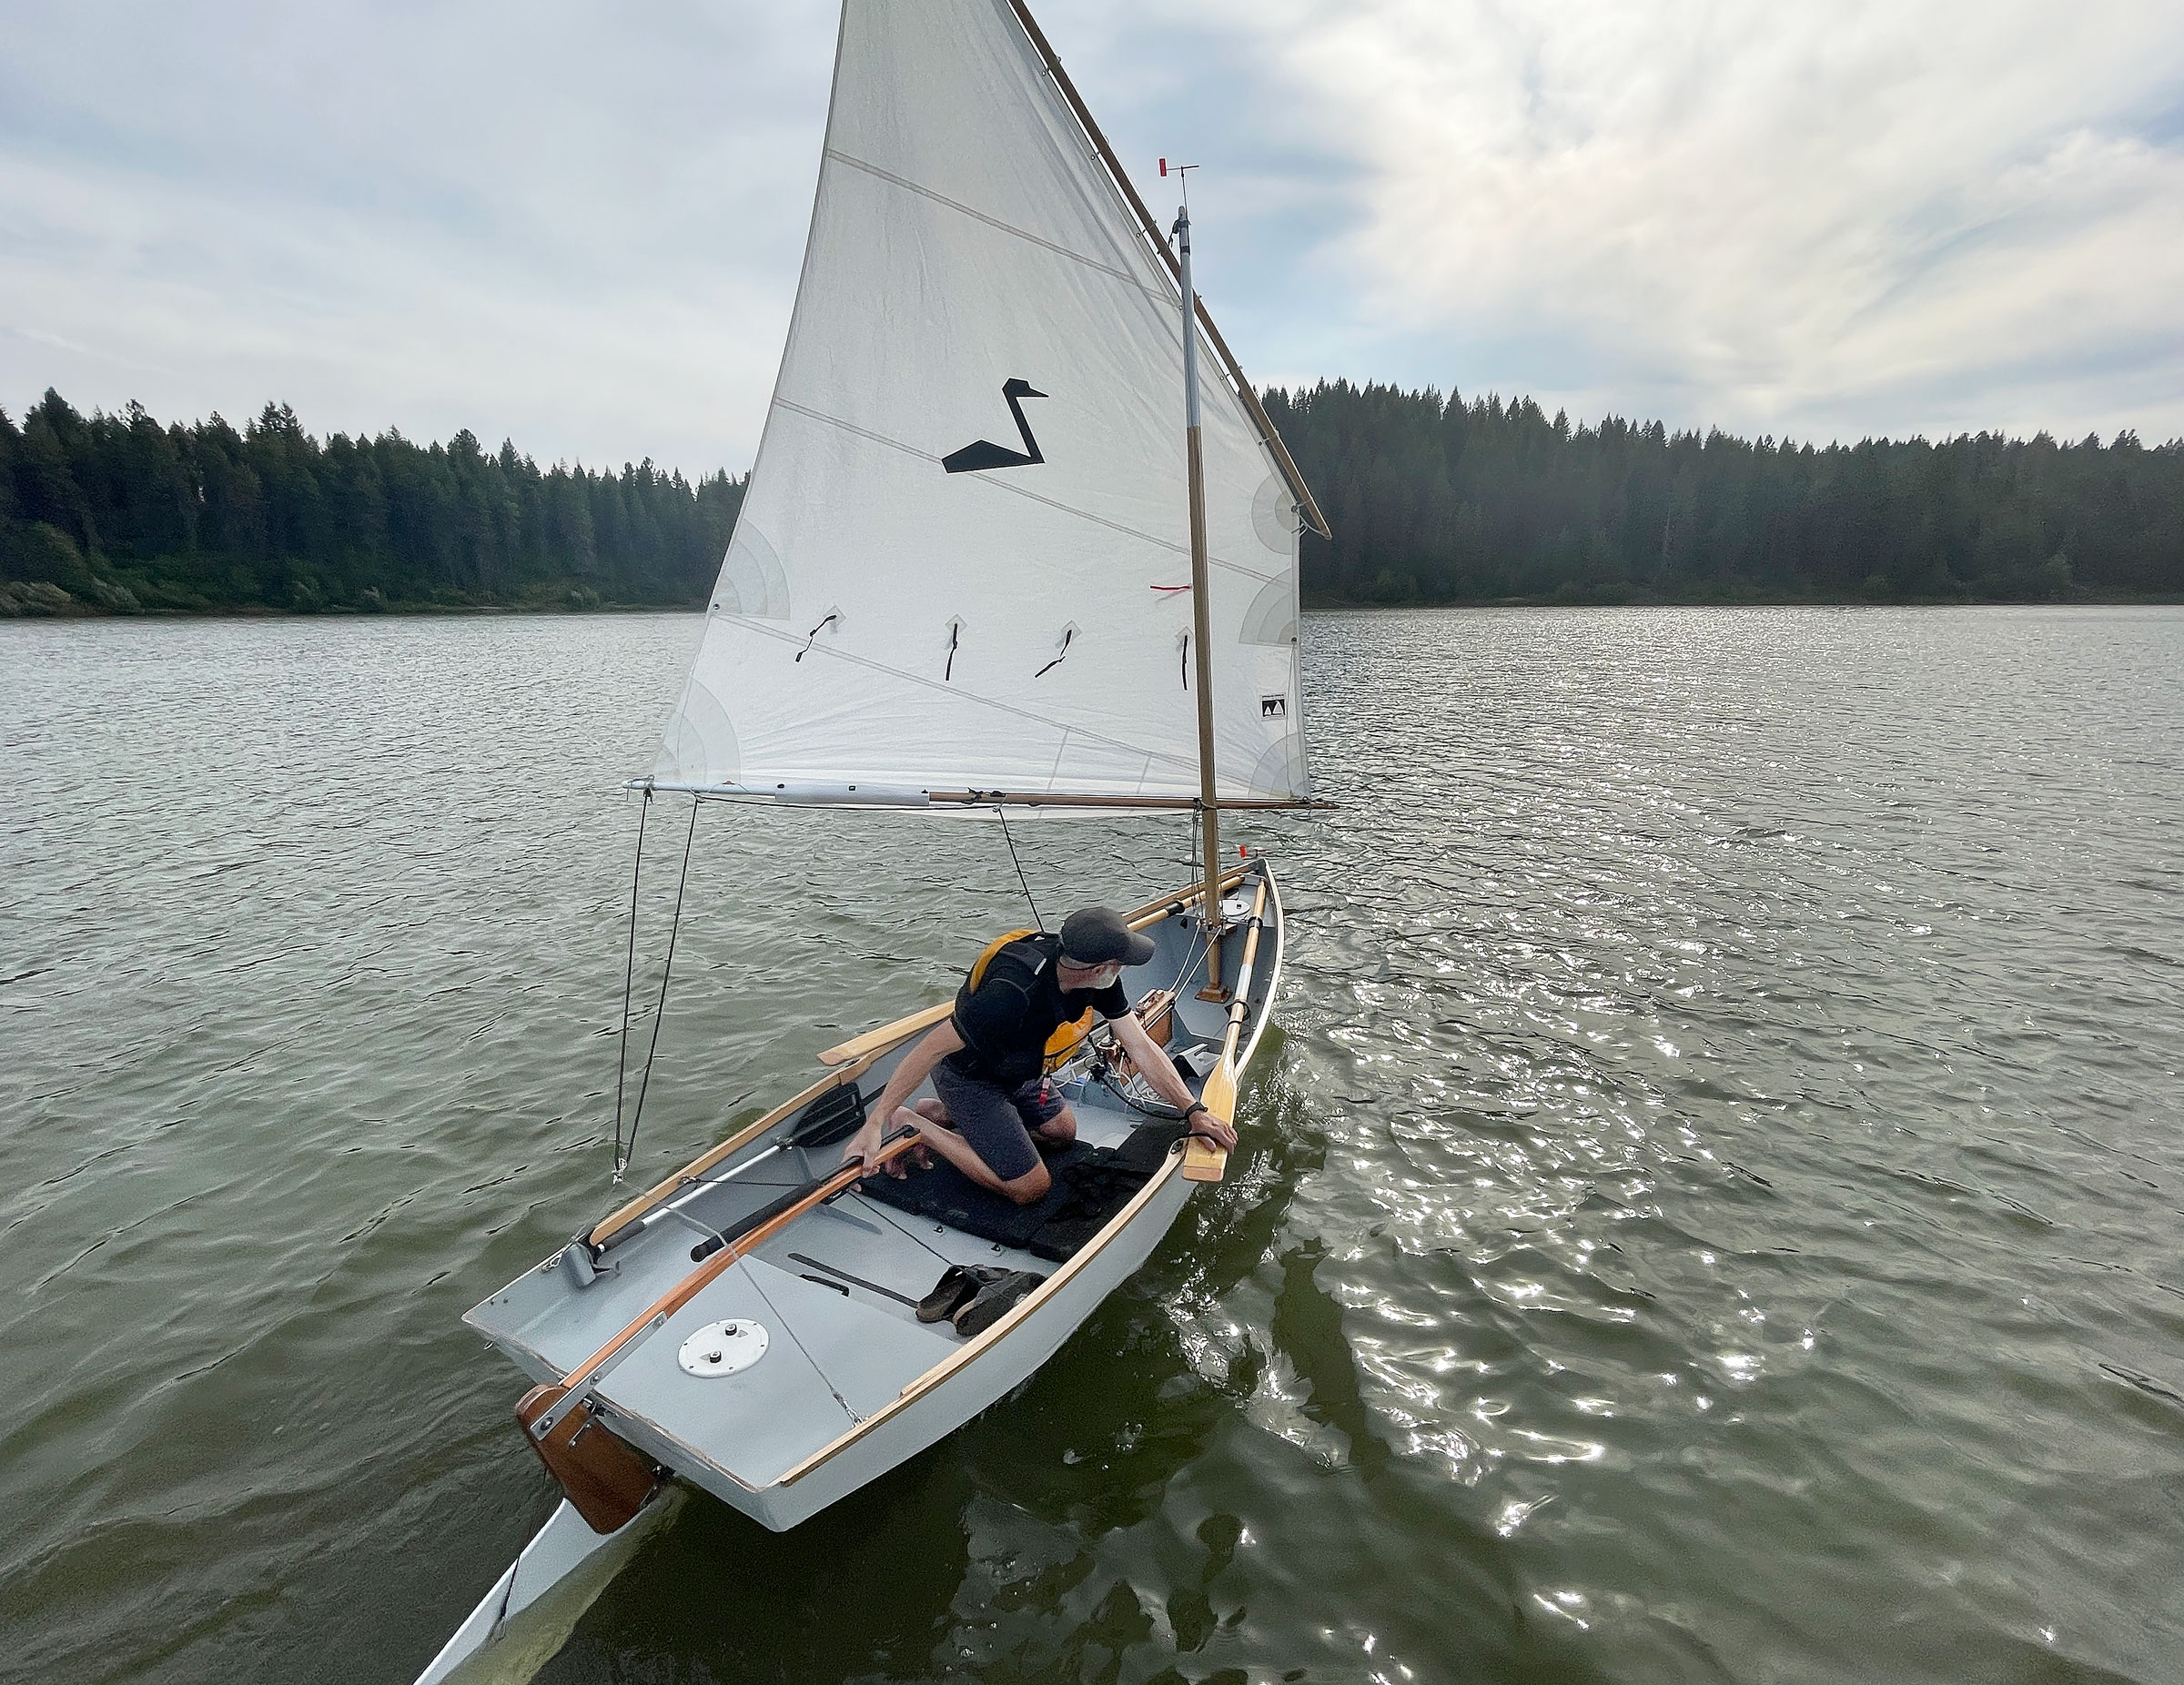
When sailing, kneeling on the bottom makes it easier to look forward while having a hand on the tiller.
During my first season of sailing GREBE, I found coming about difficult and often stalled halfway through a tack. To address the tacking performance, I added an endplate to the rudder to make it more effective without anything extending below the level of the skeg. (The instructions include details for a steel or aluminum drop-plate rudder blade that would give the rudder a deeper grip.) The endplate helped a lot. Falling off a little before the turn to build a little momentum and backwinding the sail are also very helpful in getting through a tack.
That flat bottom pays off when the boat is beached and sits nice and flat on the shore, but it can pound in waves. While sailing, I can shift my weight to settle one of the hard chines down into the water and lessen the impact with waves. Sailing on a run is a joy and jibing is made considerably more pleasant by the natural cushioning effect of the yard and boom squeezing together, allowing the boom to come across without a bang. In light air, I can center the tiller, lock it, and steer the boat by shifting my weight gently from side to side—pretty cool!

The plans call for a 65-sq-ft standing lug rig with the tack set to the mast. The author opted for a balance lug where the tack sets forward.
On one blustery day I had an opportunity to practice a capsize recovery. An unintentional jibe put the boat over with the mast and sail resting on the water’s surface. The boat righted easily—a little pull on the end of the daggerboard was enough. The aft flotation compartment supported me while I crawled back in over the transom. The sail should have come down to lessen the chances of the boat capsizing again. Although the stern and bow flotation compartments kept the gunwales above the water’s surface, the daggerboard trunk needed the board and the foam filler in place to prevent the ingress of water while bailing. About 15 minutes of adrenaline-fueled work with a large bailer removed enough water from the cockpit to ready the boat for rowing to shore. The longer centerboard trunk in the plans would need some similar way to seal its opening.
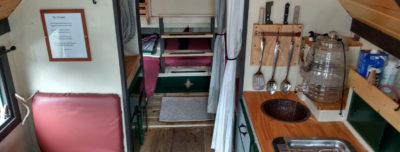
Selway-Fisher’s 13′ sharpie is a big boat in a small package and accommodates all the gear I need for overnight camping trips; I could probably pack enough in GREBE for a weeklong trip. Building a Drake 13 would be a straightforward project for an experienced builder and a suitable first boat for those with some woodworking experience. This little sharpie is easy to store and move, even by cartop. I have had so much fun daysailing and camp-cruising this pretty sail-and-oar boat.![]()
John Larkin recently retired from a career designing bicycle helmets and returned to his first loves: painting, drawing, building boats, and sailing. He lives in Moscow, Idaho, and sails primarily on Cascade Lake, a reservoir in central Idaho.
Drake 13 Sharpie Particulars
Length: 13′
Beam: 4′ 6″
Hull depth, ’midship: 1′ 4″
Draft, centerboard up: 6″
Draft, centerboard down: 2′ 6″
Sail area: 65 sq ft
Dry weight: approx. 120 lbs
Capacity: 3 to 4 adults
Plans for the Drake 13, printed or PDF, are available from Selway-Fisher Design for £65 (approx. $72 US).
Is there a boat you’d like to know more about? Have you built one that you think other Small Boats readers would enjoy? Please email us!


Been looking for a first boat to build and the Drake 13 looks like the one.
Will be ordering the plans.
Walt
Would this be a good boat for a 220-lb person and an 8-hp motor?
Nice article. I like everything about this boat. Could it be lengthened to 15′ ?