The Ladybug pram, a small dinghy with a wheel permanently fixed in a case in its bow, allows for a nearly seamless transition from the water to a beach, all the while keeping its passengers’ shoes dry. The boat can be built in either a 6′ or a 7′ model. I first spotted it at The WoodenBoat Show at Mystic Seaport, Connecticut, in 2008, on a visit to designer-builder Harry Bryan’s booth. The prototype Ladybug was perched on the grass in front of Harry’s display. Sitting there on its bottom, with oars-cum-wheelbarrow handles at the ready, the boat’s concept spoke for itself. Harry and I had barely exchanged pleasantries when I handed him $25 for a sheet of plans, and began set- ting up the project in my head. I needed this boat, as I’ll explain in just a minute. But first, allow me a short digression to illustrate this boat’s niche.
Fifteen or so years ago, I went on an evening outing with friends in a 24′ sloop in Maine; they were considering buying the boat, which the builder turned over to them for a few hours. We set out halfway through the tide’s ebb, rowing to the mooring from a gravelly beach—which had grown significantly wider when we returned to it at dead low tide after sailing. The prospect of lugging that dinghy up the beach after our pleasant sail was sheer drudgery. As we were considering our approach to the job, the sailboat’s owner-builder appeared on the beach in his pickup truck, drove to where we were standing, and stepped out of the cab without saying a word. He looped the beat-up fiberglass dinghy’s painter around his bumper hitch, returned to the cab, and stepped on the accelerator pedal. He hit stride at about 20 mph, the dinghy bouncing along behind him.
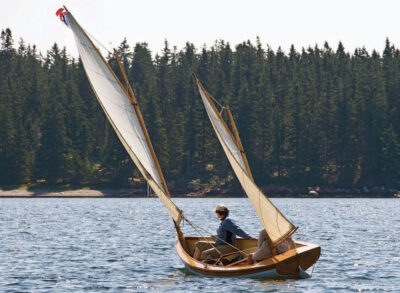
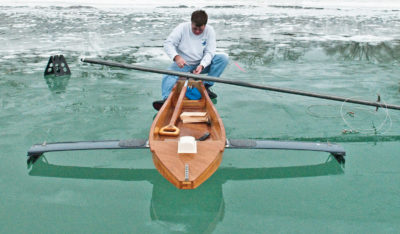
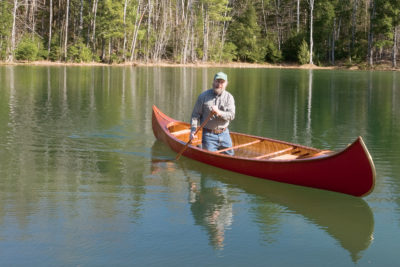
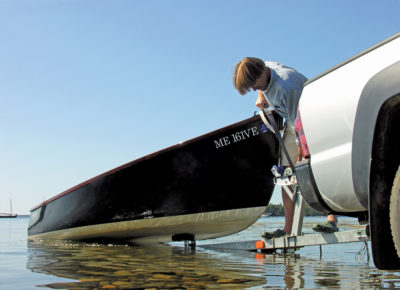
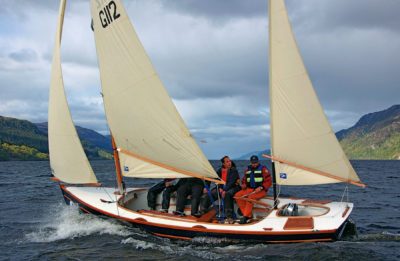
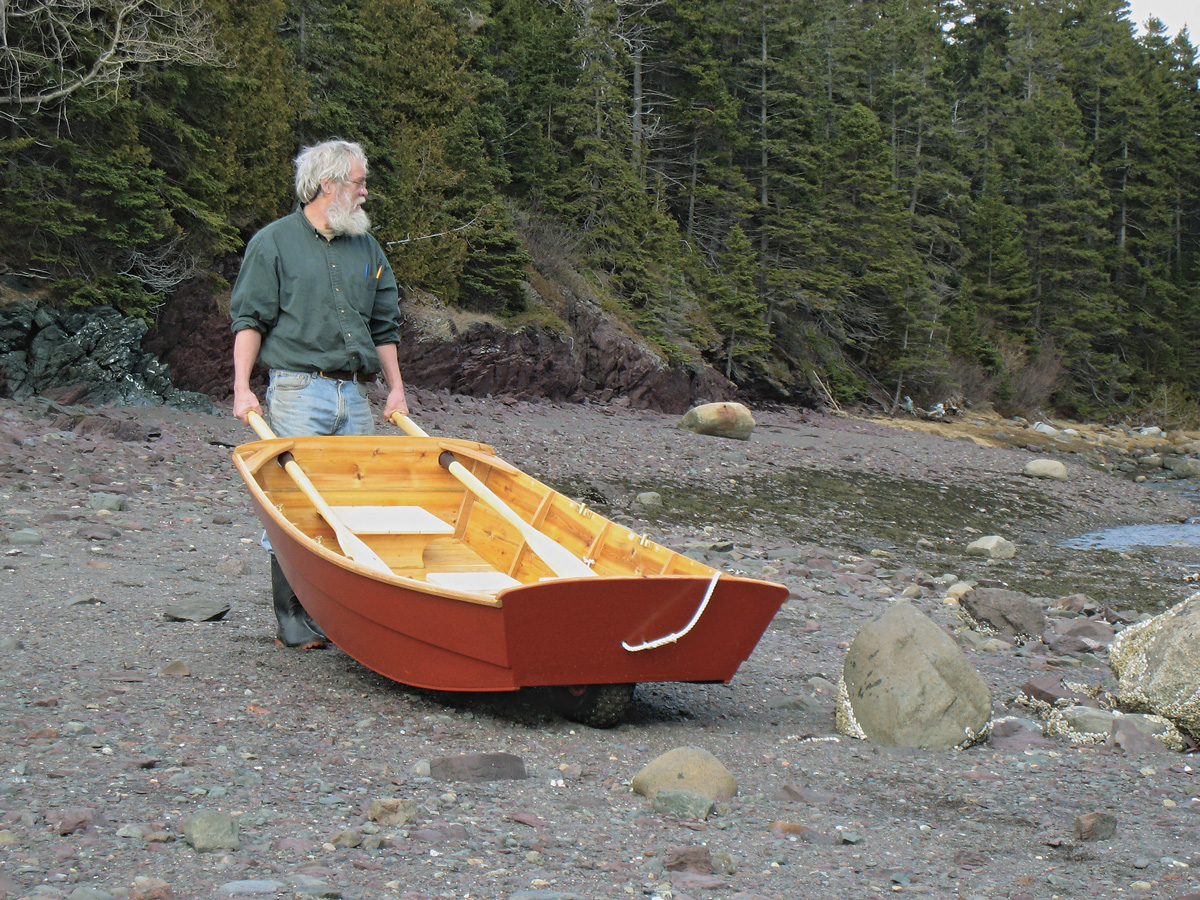 Photo by Bryan Gagner
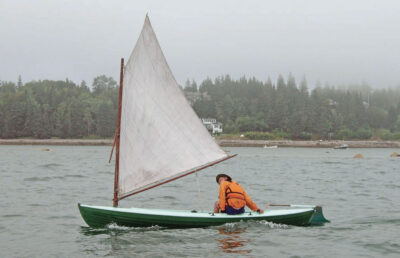
The Ladybug pram, with a knobby tire permanently mounted in its bow, eases the transition from water to land for beach-based sailors.
It was an impressive, albeit utilitarian, approach to a common problem: Many mooring-based sailors and powerboaters work from the shore without a pier and float, and they need a reliable dinghy system. Some use outhaul anchors, leaving their dinghies afloat and hauling them in to shore when needed. Some use dollies. Some use pickup trucks. And some use brute force, straining their backs and compressing their lumbar discs into sciatic-nerve-tweaking protuberances (ask me how I know). Very few people these days use wheel-barrow boats—an old concept that Harry Bryan revives with the Ladybug.
My wife, Holly, and I live near a gravel beach at the foot of a field with poor road access. We maintain a fairweather mooring off this exposed beach, and for several years have accessed this mooring with a dolly-mounted dinghy. It’s an adequate approach to the beach-dinghy problem, though it typically requires a trip overboard in knee-deep water to secure the dinghy to the dolly. It also requires some awkward lifting of the boat to place the dolly under it. And, the boat must be strapped down before its trip up the beach, lest it be rattled frustratingly askew of the dolly.
The difference in using the Ladybug for this transition from water to land is profound. The boat’s bottom has a pronounced rocker, or longitudinal curvature, at either end, allowing it to settle on dry land before the rest of the boat grounds out. The flat bottom forces the boat to sit bolt upright when it takes the ground, making it easy to step out and onto the beach. If you’ve backed onto the beach—my preferred approach—then you simply feed the oar handles through their respective holes in the transom, cleat the oar blades to the boat’s thwart (the oars are retrofitted with wooden cleats for this purpose), lift the transom, and back the
rest of the boat out of the water on its wheel.
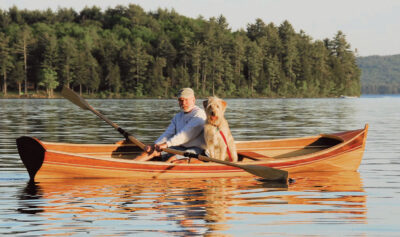
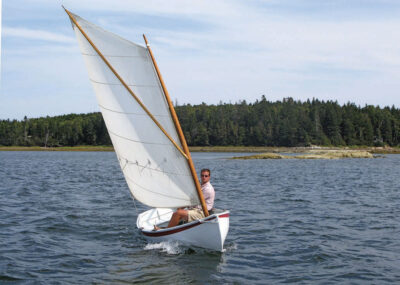
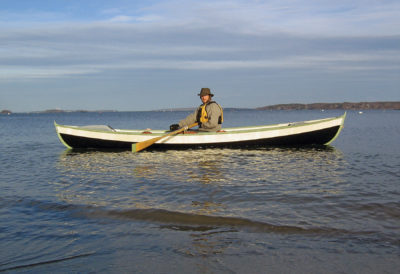
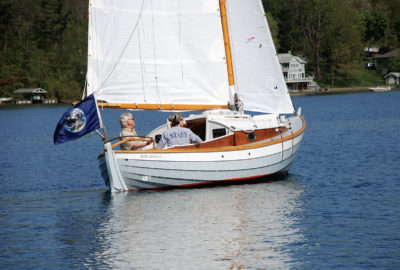
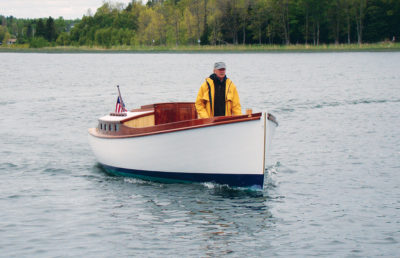
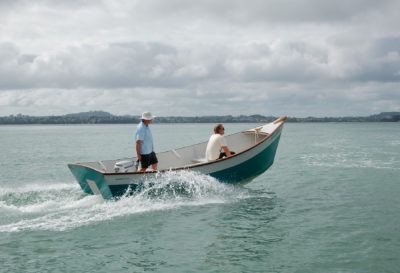
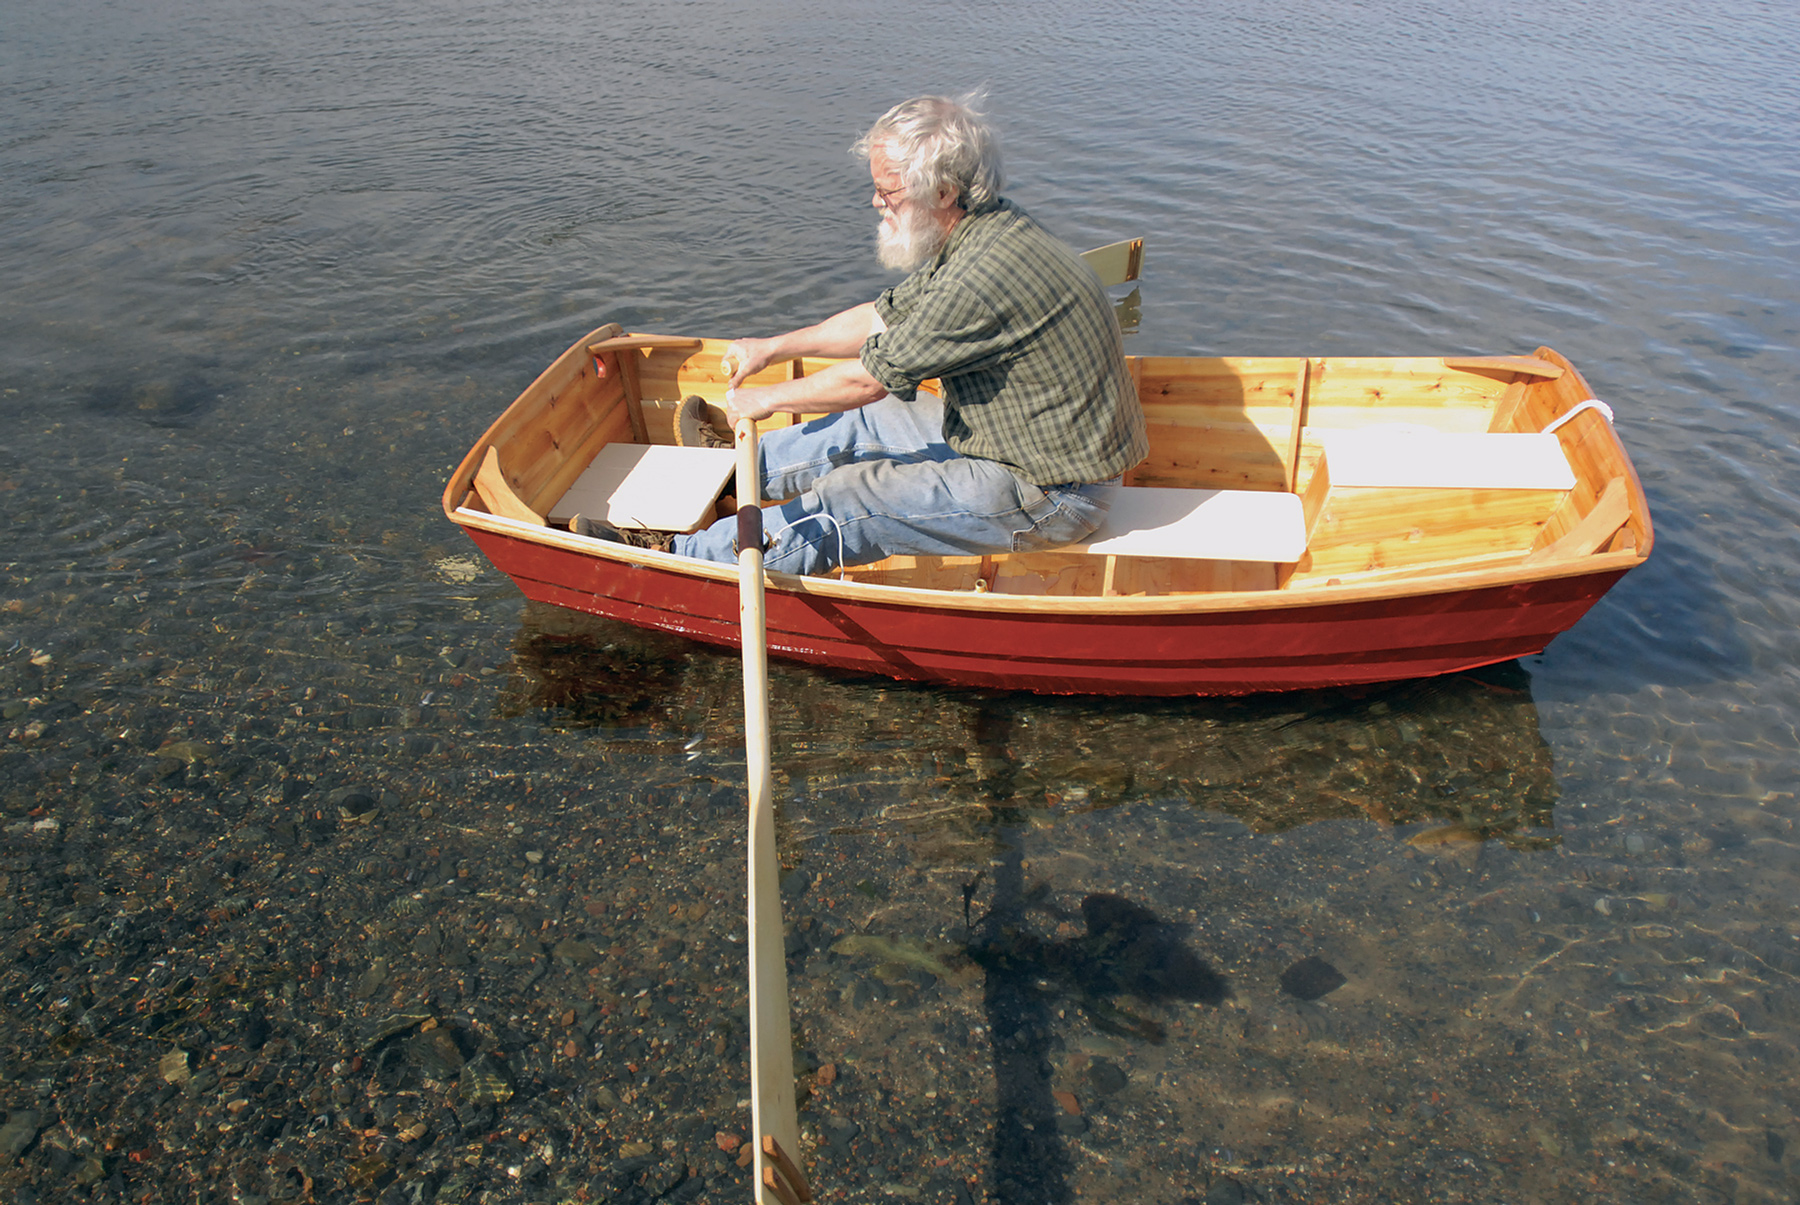 Photo by Bryan Gagner
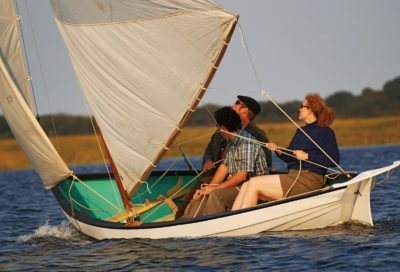
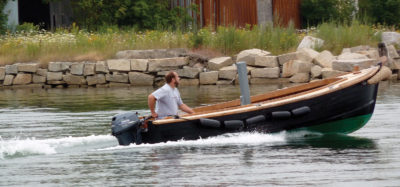
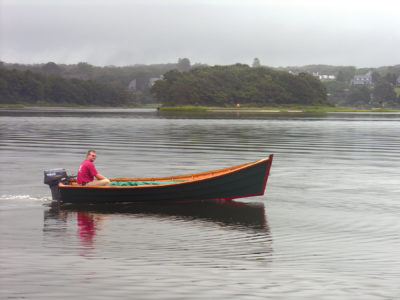
Ladybug has ample freeboard when carrying a sole rower; she’ll carry an additional passenger in calm conditions.
Designing the Ladybug
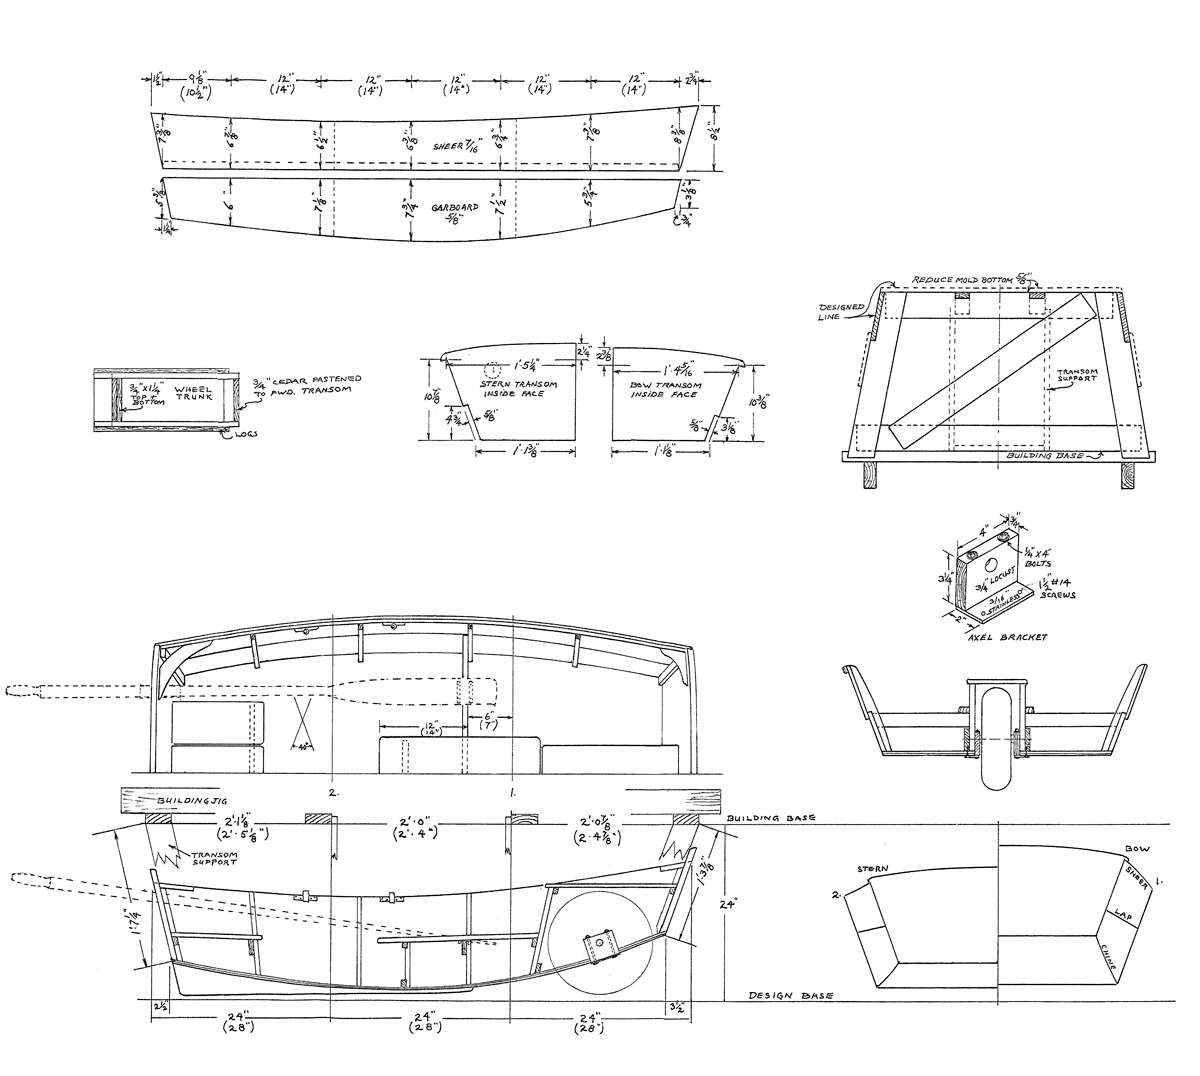
Ladybug’s basic dimensions are based upon a William Atkin dinghy called Tiny Ripple. Holly and I built our Ladybug over the winter in an unfinished spare bedroom in our house. We borrowed the building jig from one of Harry’s WoodenBoat School classes, so I can’t comment on the moldmaking and jig construction—except to say that if you know how to use a tape measure, saw, and screwdriver, you probably won’t find this job too mentally or manually taxing.
The bow and stern transoms are laid out according to dimensions on the plans, fixed to the jig in their exact locations, and then beveled to accept the planking. The planks—just two per side—are likewise laid out according to dimensions shown on the plans, though their shapes can also simply be traced from the jig. The two planks are joined together by a riveted lap. Once they’re fastened, the bottom edges of the garboards are beveled to accept the bottom planking.
Harry offers three different options for the bottom: (1) a single layer of cross planking, with splined edges; (2) a sheet of plywood; and (3) two layers of thin planking, diagonally laid. The third option, in my opinion, is the best, as it makes economical use of short stock and creates a watertight panel that doesn’t rely upon swelling to achieve its watertightness, which is a good thing for a dinghy that spends most of its life on land. Holly and I took a slightly different approach to option number three. Since we had a stack of cedar of adequate length and generous width, we laid the first course of planking athwartships, and placed the second layer (each was 5⁄16″) fore-and-aft. Stuck together with thickened epoxy, the result is a two-ply sheet of cedar plywood.
With the transom, planks, and bottom in place, the boat is removed from the jig, flipped over, and fitted out. The fitout is pretty straightforward stuff: a handful of frames to improve the stiffness of the sides; a stern seat, a rowing seat and its supporting thwart, rails, oar-locks, and knees. The rowing seat is unconventional, as it is oriented fore-and-aft. This allows micro-adjustment to the boat’s longitudinal trim, without requiring the rower to switch thwarts.
The wheel is an off-the-shelf item from Seitech, manufacturer of small-boat dollies. For about $90, you purchase a knobby tire, a plastic rim, an aluminum axle, and nylon bearings. Then you make an axle bracket from plate bronze or stainless steel and oak or locust. The whole thing is affixed to the bottom with four screws, which allows for easy removal for servicing. The wheel lives in a case in the bow which, when viewed when the boat is in the water, could be mistaken for another seat or a gear locker.
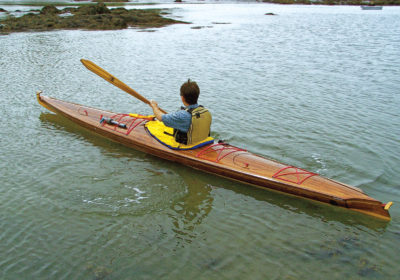
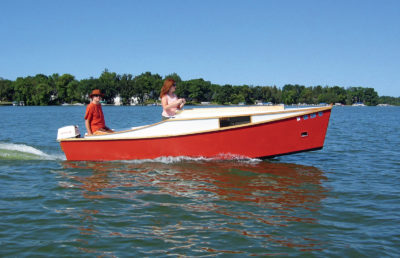
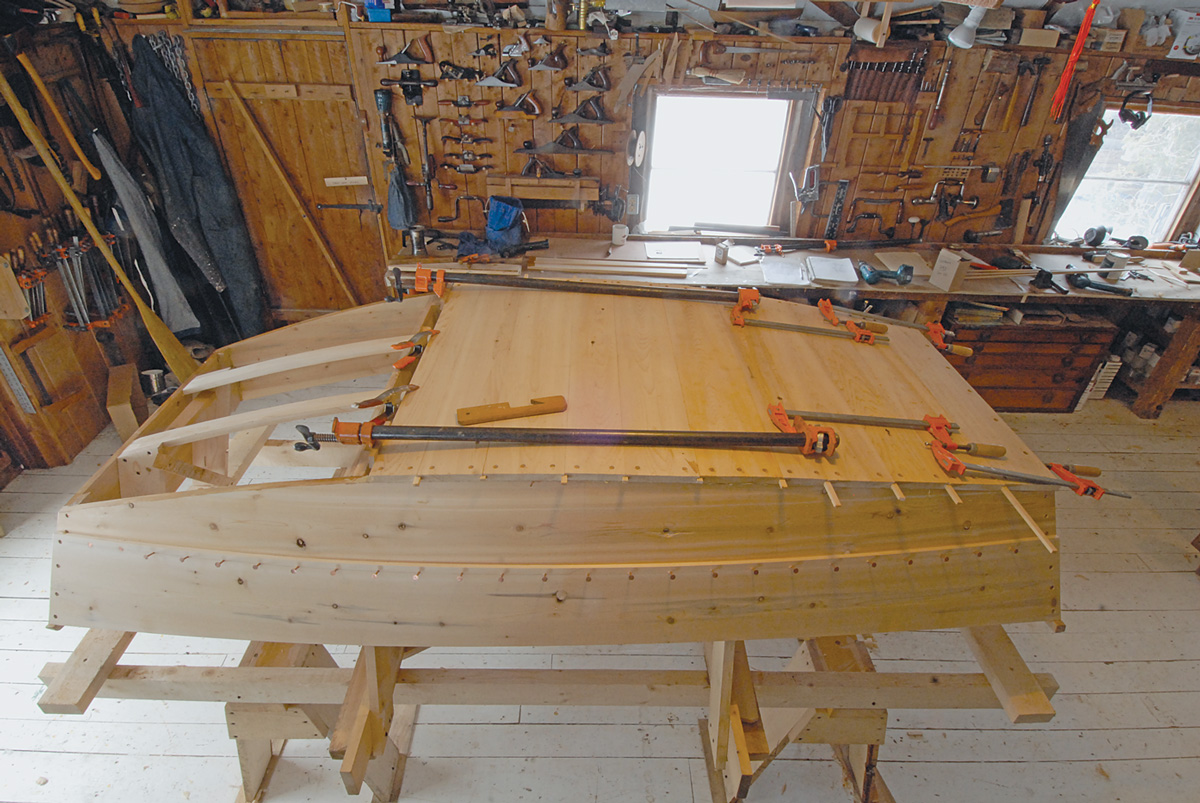 Photo by Bryan Gagner
The boat’s bottom can be built in one of several different ways, depending upon available material and personal preference. Here, a Ladybug bottom is being cross-planked in a single layer of cedar, edge-fitted with splines.
Ladybug Pram performance
How does this amphibious dinghy perform? To be fair, we should consider it in both of its media and in the context of its intended purpose; this is a utilitarian dinghy, not a performance rowboat. It rolls over coarse terrain and short meadow grass very well. One can actually load a fair amount of gear into it and use it as a cart. Launching, depending upon the slope of your beach, is easy, too. I’ve found it best to load and unload over the stern transom. Typically the boat is afloat by the time I’m aboard, and little poling is needed. But, if a shallow-sloping beach requires it, a push on the beach with one of the oars is usually all that’s needed to get into navigable water. I lucked into a set of beater oars a few years ago, and these now belong to our Ladybug; it would be rather hard on the conscience to press a pair of new Shaw & Tenney spruce oars into such service on a rocky Maine beach. A dedicated pole would be handy.
And how does she perform on the water? The rowing ergonomics are fine, she glides between strokes, and I forget the wheel is even there. Ladybug is a small boat. Harry has piled three adults into his, and recommends such loading only in dead-flat water. In chop, while settling ourselves into the boat, Holly and I took a small amount of water through one of the oar holes—just once, but enough to warn us of the possibilities if we pushed things too hard in poor conditions. I spoke with Harry about this, and he had been thinking of some sort of flapper cover to stem such flow. I think that’s a good idea, and am mulling over the possibilities in neoprene. The rails are closer to the water than I’m used to; I would not feel comfortable in this boat in a significant chop with a large passenger aboard. I have, however, rowed it in breeze and chop alone, and feel perfectly safe in such conditions.
As with any small dinghy, loading and unloading at the mothership require careful weight distribution. One must adhere to the convention of unloading the ends of the boat before the middle. I’ve found standing from either of the low-slung seats to be a bit of a chore, but I’ve also been spoiled over the years by higher thwarts and larger dinghes. I wouldn’t change the position of Ladybug’s thwarts, as her rowing geometry is quite good as specified.
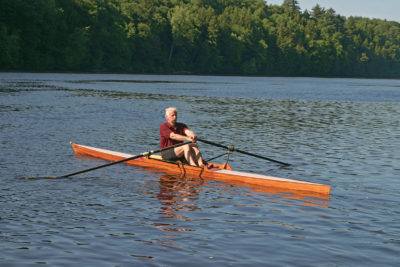
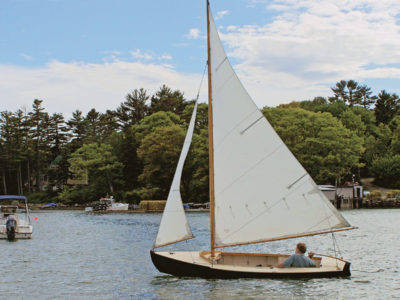
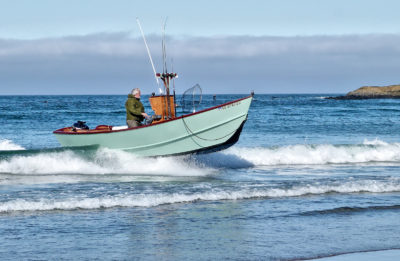
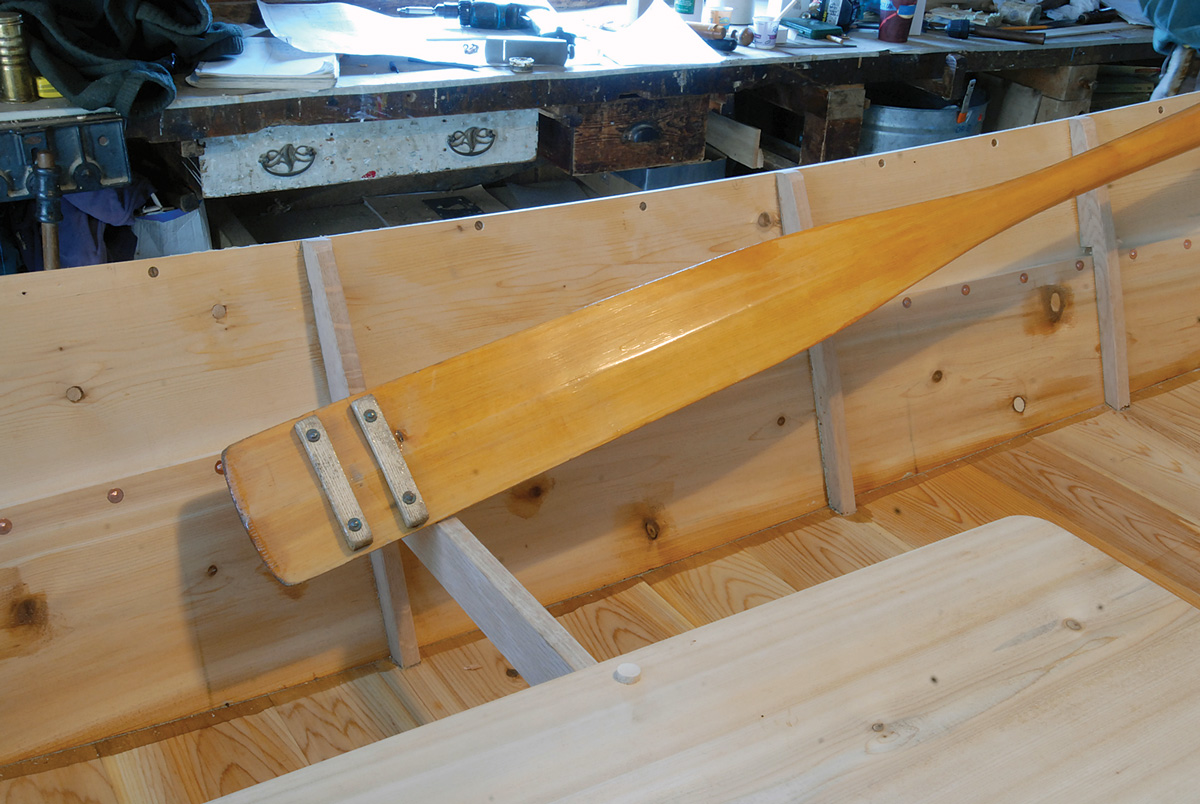 Photo by Bryan Gagner
For overland transport of the boat, Ladybug’s oars must be retrofitted with wooden cleats; these notch over the thwart, securing the oars to the boat.
Ladybug tows well behind a bigger boat. Her bow is rockered so high that the wheel rides clear of the water—except when surfing downwind. Then, it does have a tendency to catch the surface and spin as the boat scoots down the face of a wave, but with no bad consequences. An ample skeg keeps her tracking straight.
This little dinghy lives up to its promise; it’s changed the way I get on and off the beach. Every time I slide those oars into their wheelbarrow position and roll the boat to the water, I feel a glimmer of satisfaction spiced with disbelief that the transition from shore to sea could be so easy.![]()
This Boat Profile was published in Small Boats 2010 and appears here as archival material. For more information about the Ladybug Pram, visit Bryan Boatbuilding.
Check out these other designs by Harry Bryan
Quite a few Harry Bryan designs have been featured on Small Boats. Here are some of our favorites.
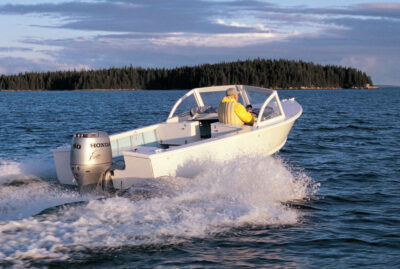
Handy Billy | An outboard out of sight
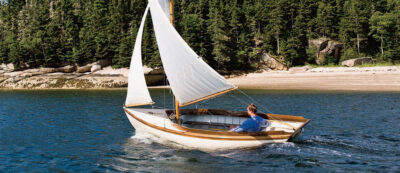
KATIE | Harry Bryan’s 20′ cruiser
Fiddlehead | A solo canoe for double paddle


The wheel barrow boat was a lot of fun to build and my son used it to get out to his clam boat in Oyster Bay Harbor on Long Island NY.
The instructions were very good and it was nice to be able to turn the boat over by myself.
This is a perfect first boat for anyone who is thinking about boat building as a hobby.
Thanks for the memories
Over the years, I built two of these little dinks, both out of plywood. I see that Mr. Murphy departed as I did from Atkin’s design, in that Atkin drew the stern seat as a true thwart. Trouble with that was there was no room for your feet when rowing solo. I did not incorporate a wheel at either end, but I have seen other wheelbarrow boats (Pete Culler designed one, for example, with the wheel and its trunk in a central location to also act as a centerboard)
Atkin claimed lifeboat functionality by having flotation tanks at each end. I used blocks of closed cell foam instead. I found the little boat rowed quite well–certainly better than the plastic abominations one could get from the local department store. I once raced a Livingston dinghy pushed by a tiny snarling outboard, and beat him to the beach. We also found it quite capable in a chop.
We often towed it behind PLATERO, our little 21′ wooden cutter, an Ed Monk design built in 1935. One time, under perfect conditions (stiff breeze off the stern quarter, broad-reaching into a roller-coaster sea sliding down from far north in the Georgia Straight between Vancouver and Vancouver Island), the dinghy was planing on a taut towline. A couple of porpoises accompanied us for a few moments, popping up on one side and then the other. One of them dropped back to check out the planing dinghy, which delighted us. This was one of my favorite moments in years of sailing, and I still cherish fond memories of it.
Here’s a little ditty for those who can’t remember how to spell dinghy:
How dingy is the dinghy,
How peely is its paint;
It floats upon the water,
But a haughty yacht it ain’t.
I am wondering what the weight would be for this pram?
I never weighed mine; I cut into the stern seat a fingers-wide slot for a hand grip. This let me carry the dinghy vertically, though comfortably for only a short distance. I toyed with the idea of a wheel, but a narrow one in a trunk under the stern seat. My idea was that this would act as a sort of keg. The narrowness of the (hypothetical) wheel would have been to reduce drag.
I never regretted using plywood for planking, but I found bending in the chine logs to be a pain. Were I to build another one, I’d use stitch-and-glue for the sides-to-bottom connection.