The Wyman 12 is about as basic a boat as there is. It is simple to build, easy to row, stable, and can carry a load. Its flatiron-skiff design has been, and is still, the pickup truck of workboats along our Maine waterfront for many years. Ben Fuller, a preeminent small-boat guru, believes that the original flatiron skiffs, which had cross-planked bottoms caulked with oakum, originated in the United States around 1880, likely in the Long Island Sound oyster industry.
Soon after my wife Susan and I relocated to Blue Hill, Maine, I realized that we would need a boat to get to the sailboat that we’d moored in Blue Hill Bay in front of our house. Shortly after moving in, I attended the annual meeting of the Downeast Chapter of the Traditional Small Craft Association. There was so much boat knowledge and experience in this group that finding advice about a skiff, or just about anything concerning boats, was an easy task.
 Haley Blake, Wilson Museum Manager of Community Engagement and Museum Experience
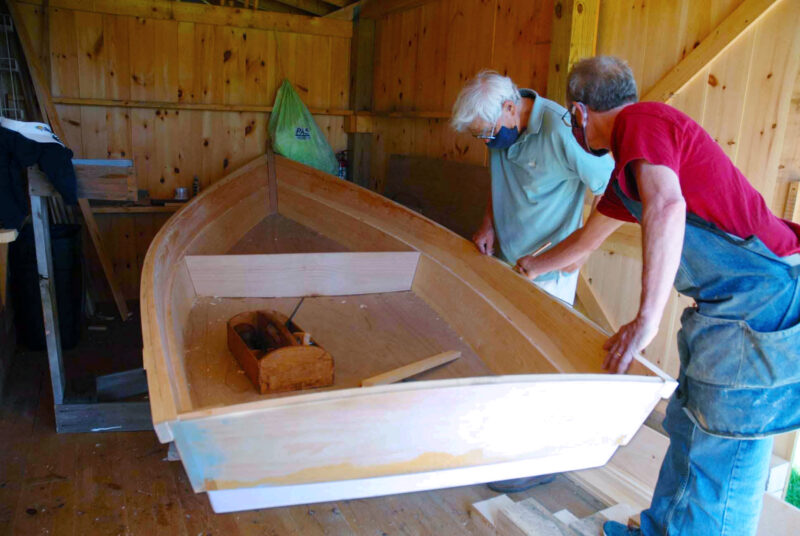
The ’midship frame has a slight curve from side to side and the lower planks, when angled and bent from stem to transom, create a fore-and-aft rocker for the bottom. The resulting compound curve stiffens the 3⁄8″ plywood bottom. Note that the jog in the sides of the transom allows the simple overlap of the planks to run all the way aft.
Shortly after that meeting, David Wyman, a respected naval architect and engineer, asked me to stop by his boat shed to see the 19′ yawl that he had designed. While there, I noticed a skiff propped up against a wall and mentioned that building one like that was next on my list. David didn’t hesitate to offer to design one for me. It was probably David’s easiest design challenge, as his impressive designs catalog includes everything from submarines for Navy Seals to VIRGINIA, a 51′ pinnace.
David’s plans for the Wyman 12 could not be more straightforward. They include two sheets of drawings: one with plan, profile, and body views, and the other with measured drawings for the planks, transom, stem cross section, and ’midship form. A page of construction steps and a materials list complete the set. There is no table of offsets, as lofting is not needed. David drew the plans knowing that I had some boatbuilding experience, so he didn’t include a lot of construction details.
 Haley Blake, Wilson Museum Manager of Community Engagement and Museum Experience
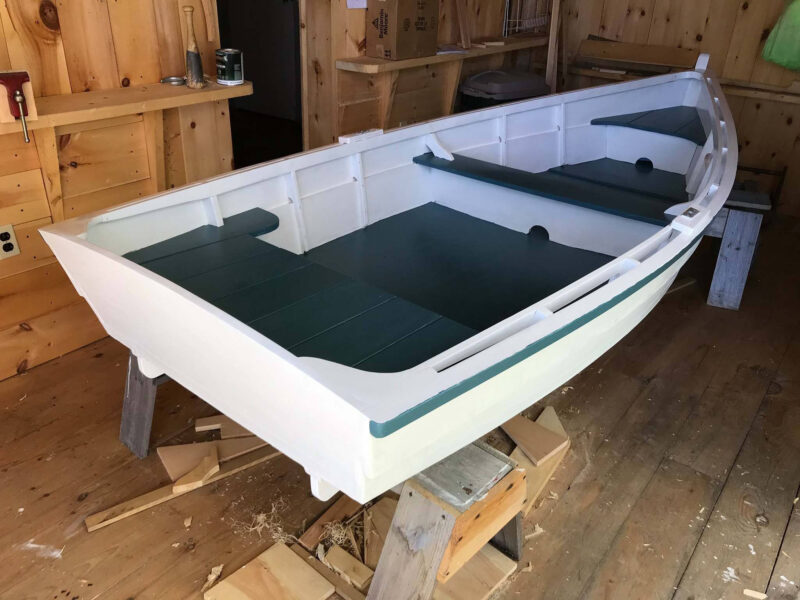
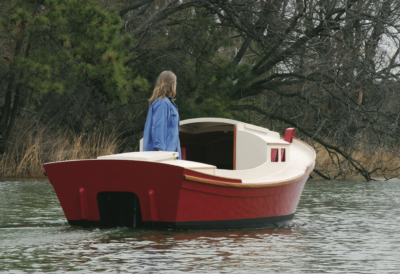
The twin skegs are visible beneath the transom of this finished Wyman 12.
To simplify the construction of the Wyman 12, David specified 3⁄8″ marine plywood for the bottom in lieu of cross planking. The materials list notes #2 white pine for the planking, transom, gunwales, and thwarts, and white oak for the stem and side frames. I opted for western red cedar for planking because it was available at the local hardware store. I used cherry for the transom and gunwales, a bit fancy for a workboat, but I had a good supply of it on hand. I carved a rabbet in the stem, a slight variation from David’s plans, which specified separate inner and outer stems.
The lower planks, which start out with straight and parallel edges, are attached to the stem with screws and glue, then bent around a white-pine ’midship frame. The aft ends of the planks are then fitted and fixed to notches in the transom that make beveling or cutting gains in the laps between the bottom and upper planks unnecessary.
The plywood bottom, slightly oversized, is set in place. The bottom edges of the ’midship frame and transom are both curved and give the plywood a 1″ camber as its perimeter is secured to the beveled lower planks with Monel ring nails and polyurethane. After the bottom has been fastened, it is trimmed flush with the lower planks and the transom bottom.
 Steve Brookman
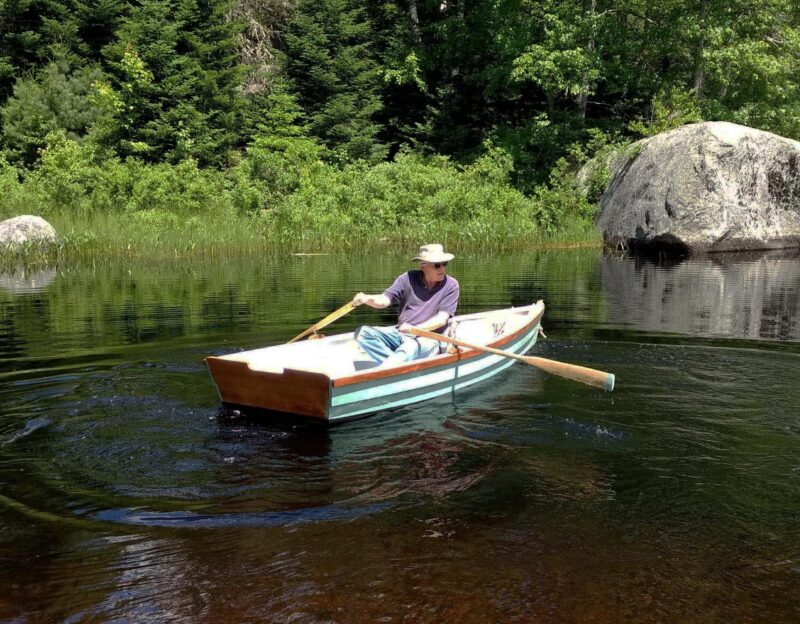
Designer David Wyman took a turn at the oars of the author’s skiff. After seeing the boat built according to his plans, he decided to raise the sheerline from amidships to the stemhead for a livelier look.
For most of their length, the top planks have a 1″ lap with the lower planks without bevels. The plans don’t specify how to work the laps at their forward ends, so I opted for an 18″-long gain at the bow to bring the planks flush with each other at the stem. I secured the laps and plank ends with PL Premium polyurethane construction adhesive rather than the Titebond III or 3M 5200 specified in the materials list.
The instructions specify fiberglass tape on the outside chine to keep it leakproof. I opted to cover the entire bottom with Dynel and to add a couple of runners to show some respect for Maine’s rocky shores. The instructions call for a keelson and two sister keelsons. The bottom gets two skegs, one on each sister keelson. On the inside of the bottom I added a strip of black locust for a heel brace, which is not in the plans but is very useful for rowing. David recommended 7′ oars; I carved mine from leftover ash.
White cedar is used for the seating: slats oriented fore-and-aft in the ends, and a solid thwart amidships. They sit on the top edge of the lower strake. The ’midship thwart also has white-pine knees, but I made mine from 3⁄4″ marine plywood. Rigid foam, glued under the seats and thwart, provides flotation.
 Steve Brookman
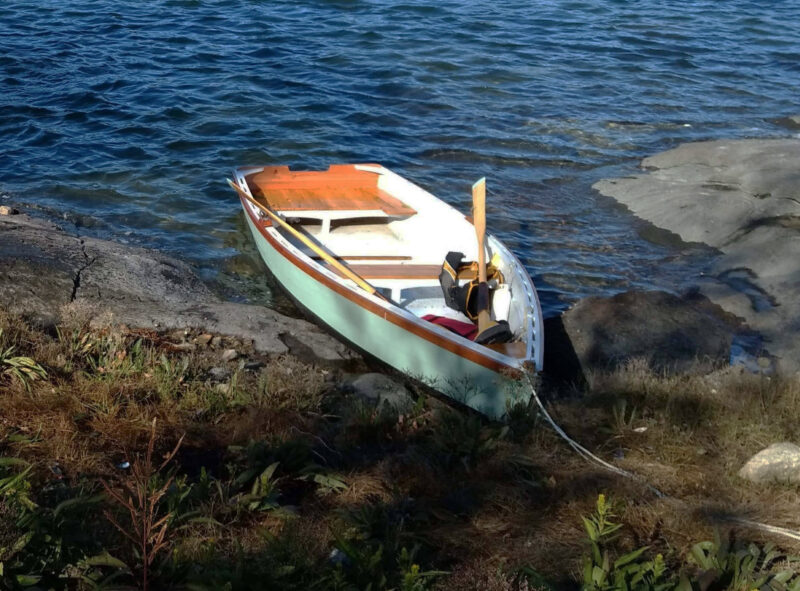
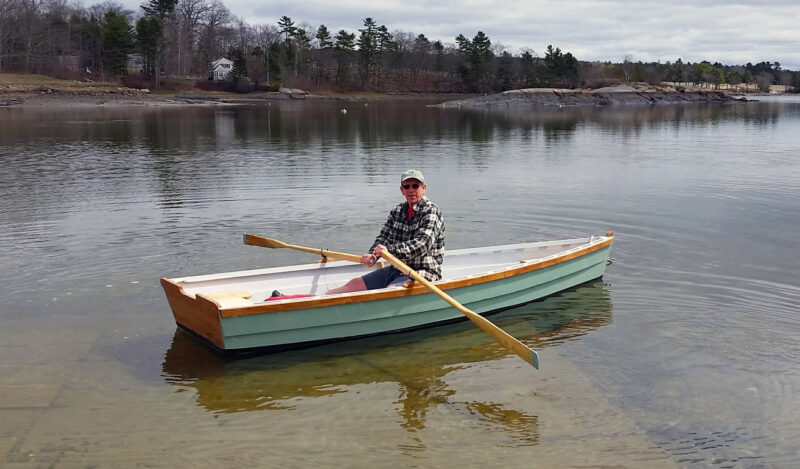
The bright-finished cleat spanning the bottom aft of the thwart is not indicated in the plans, but is a useful addition that anchors the rower’s heels to put more power into the stroke. The 7′ oars proved a good length for the boat’s 52″ beam.
I didn’t keep track of the time or expenses, but it took a few months of occasional work to build my skiff. Over the past few summers, a group of volunteers and I built two Wyman 12s at Castine’s Wilson Museum, working just a few hours two days a week while talking with visitors and getting kids to help.
I estimate the Wyman 12’s weight to be about 150 lbs. I transport it using a bed extender on my midsized pickup, and Susan and I manage to get it in and out of the truck without much difficulty. We first launched my Wyman 12 at Blue Hill’s town wharf without fanfare—after all, this is a simple working boat. The boat was not particular about how it was boarded, and stable no matter where that first step landed. The 7′ oars were the ideal length. I was impressed with the boat’s rowing ability as it tracked nicely, leaving a straight wake. It was very maneuverable and, while approaching a dock, I found it quite easy to turn with just a few strokes. Two large golden retrievers that I ferried to a nearby island hopped about in their excitement and barely rocked the boat. When I had to rescue one that jumped overboard, lifting that heavy, wet dog by her doggy life jacket was a non-event as the boat had more than enough secondary stability to handle the shifting weight. When any water gets aboard, from wet dogs, spray, or rain, the open gunwales allow for complete draining when the boat is tipped on edge.
Soon after launching, I met David at a local pond with my boat so he could row it. He was pleased, and the only change he made to the plans was to give the sheer more spring by adding a piece of planking forward, increasing its height at the stem by 2″; bending the outwale upward along that piece establishes the curve for the sheerline.
 Susan Brookman
The author, seen here at the oars of his Wyman 12, built the skiff before the side frames were added to the plans. In six years of use, the boat has not suffered from their absence.
With a 40-lb, 3-hp electric outboard hung on the transom, the boat needs a passenger or weight forward for proper trim. For another skiff we recently built at the Wilson Museum, David modified the design to accommodate an electric trolling motor. Moving the after seat forward created space for the battery. It has not been launched as of this writing.
My skiff has held up well over the last six years while setting moorings, being dragged up on rocky beaches, and sitting in the mud twice a day enduring the 10′+ local tides. It still has the original black locust runners. I kept the cherry varnished for a few years, but then it and the oiled thwarts gave way to more easily maintained paint. I added lengths of 1″ three-strand rope to the outwales, and fire hose to protect the transom. It now looks like the workboat it was designed to be.![]()
Boats have been a major force in Steve Brookman’s life. He grew up near a lake in northeast Connecticut, and spent as much time as possible on, or under, the water. Family vacations on their 26′ classic wooden bassboat cemented his love of being on the water. He even attended “boat school,” the U.S. Naval Academy. While flying in the Navy he spent years dreaming of boats, studying them, even attempting to design them. For a few years he got to live on and cruise sailboats. After retiring from an airline career, he and his wife Susan moved to Blue Hill, Maine, largely for the boating. Her love for snow, sugaring, and the charming small town of Blue Hill made that retirement decision easy.
Wyman 12 Particulars
Length: 12′ 3″
Beam: 4′ 4″
Depth amidships: 14″
The complete plan set is available here for free download:
Is there a boat you’d like to know more about? Have you built one that you think other Small Boats readers would enjoy? Please email us!




Thanks for a great story and skiff. I hope we both win the lottery and can see each other in May. Socks are still on my trip list.
I have been slowly making parts for the skiff over the summer. I’m interested in your rabbeted stem. Did you use the plan stem dimensions or something larger before cutting the rabbet?