In the days of square-riggers, water-sails were common. Deployed below the boom, they were used in light air when sailing off the wind, on a broad reach, or a dead run. Today, they’re largely forgotten.
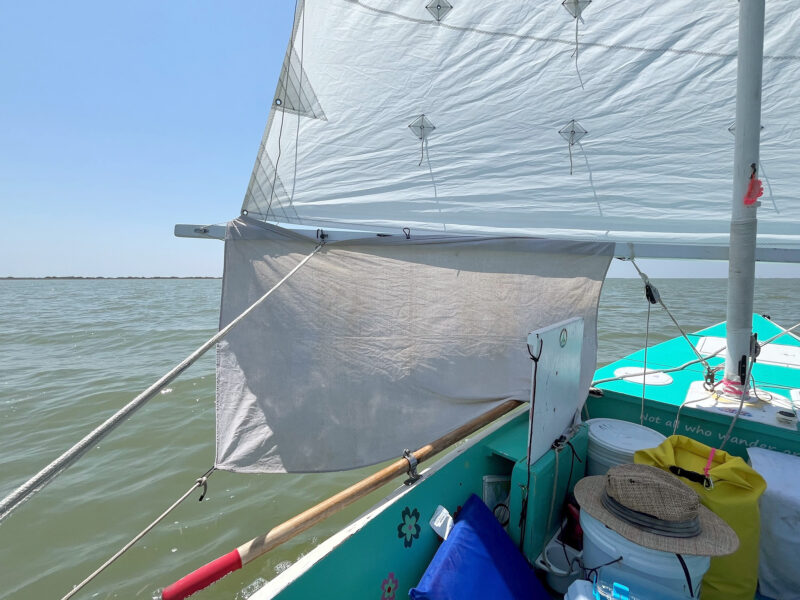
My experience with water-sails started when I was on a multi-day camp-cruising trip about five years ago, and had a long downwind leg to sail one morning in very light air. I had just packed up my tent along with the 6′ × 3′ piece of poly tarp that I use as a ground cloth. While sailing along in the light air, it occurred to me that the rectangular tarp would fit perfectly below the boom and sit right above the water’s surface, giving me about 25 percent more sail area. I used the grommets in the two top corners to secure this makeshift sail under the boom and attached a line to each of the two bottom corner grommets so that I could sheet-in the tarp. The increase in boat speed was immediately noticeable, and I’ve had good success with similar makeshift water-sails on several trips since then.
 Photographs by the author
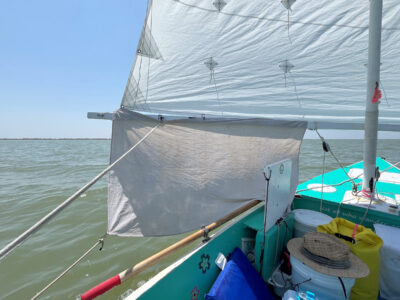
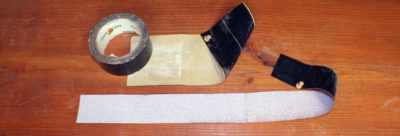
My first water-sail was a makeshift arrangement that utilized a 6’ x 3’ ground cloth I had on board during a camp-cruising trip. I tied it around the boom and fastened a sheet to the outboard lower corner. It wasn’t the best-looking sail but when set it noticeably increased my speed on a calm morning.
When the need arose for a water-sail during the 2024 Texas 200, I improvised another one from a piece of canvas that I had on board. After the success of that most recent makeshift water-sail, I decided it was time to make a proper one for my 15′ 6″ Bolger Featherwind.
I purchased a piece of coated ripstop nylon and cut it to 74″ × 32″ with sharp scissors. I sewed simple 1″ single-fold hems, held by two rows of zigzag stitching, one row over the cut edge, to give me a final sail size of 72″ × 30″. Your boat’s rig will determine the size of sail for your boat.
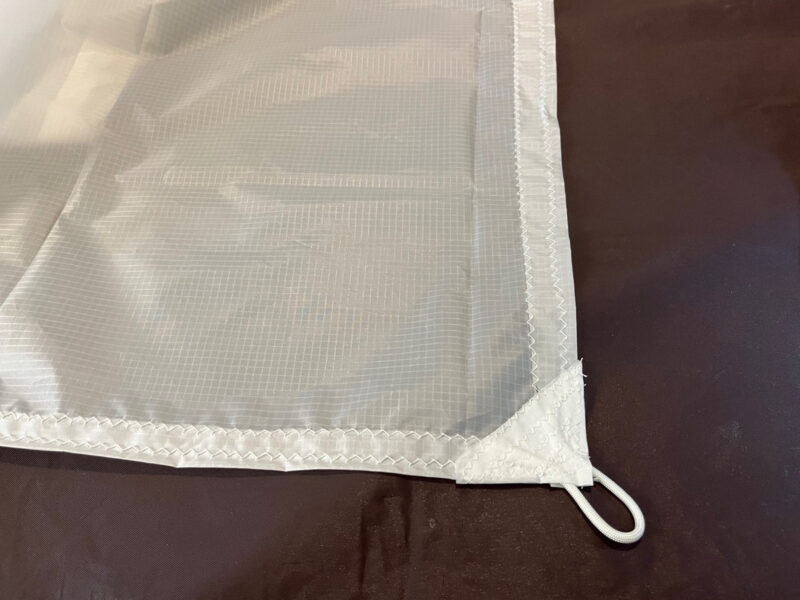
In the new purpose-built water-sail I kept things simple, using paracord sewn into the reinforced corners rather than grommets. It was a similar setup to the groundsheet with which I had previously improvised.
I decided against installing grommets in the corners, and instead sewed loops of paracord under triangular reinforcement patches in each of the four corners.
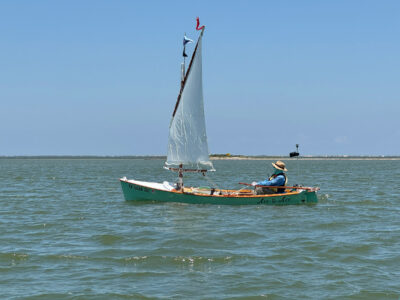
The finished simple rectangle adds about 15 sq ft of sail area to my boat’s 76-sq-ft balanced lugsail, fills most of the space under the boom and outboard from the hull, and rides about 6″ or 8″ above the water.
I added a stainless-steel pad-eye at the end of the boom, just past the clew of my mainsail, so that I can attach the outer upper corner of the water-sail with a small carabiner. For the inboard upper corner, I added another pad-eye to the boom, about 3″ past the end of the water-sail; I tied a small length of paracord to the loop and ran it through that pad-eye to the outhaul’s cleat, thus avoiding the need to install another cleat.
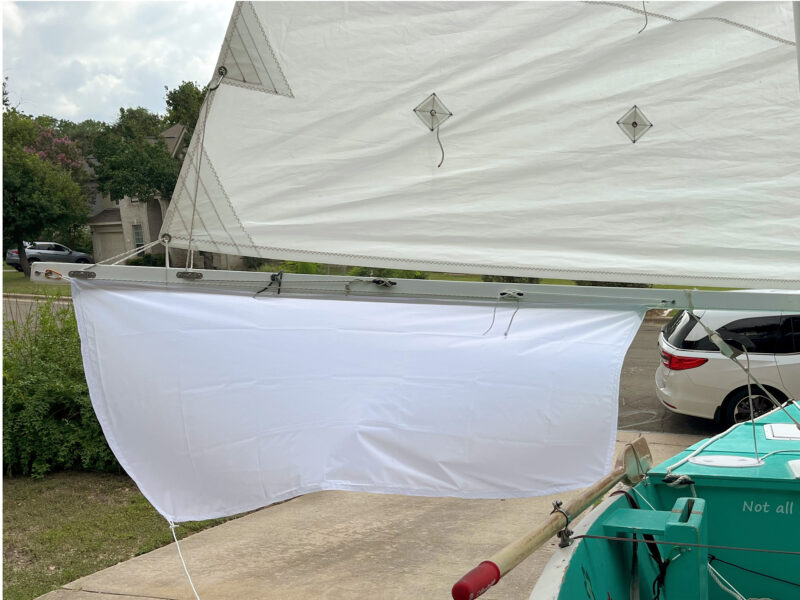
When needed, the water-sail is easily rigged up. The outboard upper corner is fastened with a carabiner to a pad-eye, while the inboard corner has a line that leads through a pad-eye purchase and back to the mainsail’s clew-outhaul cleat. This simple arrangement allows me easily to tension the head of the watersail along the boom. The two lower corners are controlled by a sheet and tack tie-down.
At the bottom of the water-sail, I attached a length of paracord to each corner. The outer corner is where I’ll do most sheeting for the water-sail. The other corner is adjacent to the gunwale, and its control line simply needs to be fastened somewhere just inboard of the gunwale to keep it from blowing out or forward.
If you have ever been sailing in extremely light air and wished that you could quickly deploy some additional sail area to help move your boat along just a little bit faster, you should consider making a water-sail. ![]()
Matt Schiemer has been sailing for nearly 45 years in a range of boats from sailing dinghies to 50′ keelboats. He started sailing as a young boy on the coastal bays of New Jersey and has since sailed on lakes, rivers, and bays as well as a handful of the world’s oceans and seas. He lives in Austin, Texas, and sails regularly on Lake Travis and the Texas Gulf Coast.
You can share your tips and tricks of the trade with other Small Boats readers by sending us an email.
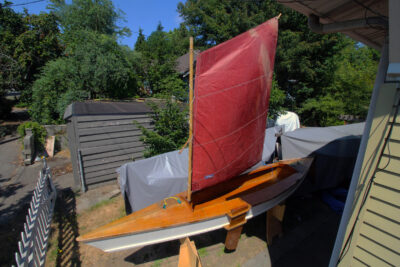


Square riggers had no lower booms on their lower sails. Must have rigged water sails differently.
Falconer’s Marine Dictionary (1780) has this definition of a water-sail: “a small sail spread occasionally under a lower studding-sail or driver boom, in fair wind, and smooth sea.” Studding sails and drivers both have a boom holding the sail’s foot.
Here’s the dictionary’s definition of a driver: “an oblong sail, occasionally hoisted to the mizzen peak, when the wind is very fair. The lower corners of it are extended by a boom or pole, which is thrust out across the ship, and projects over the lee quarter.”
—Ed.