At 81 years of age, I decided to build a small boat in my studio workshop. As a full-time professional woodworker, I had the space, the power tools, and the hand tools to undertake such a task. But I had never before built a boat.
Having worked in Norway for a number of years as a woodcarver, I was familiar with lapstrake construction. In 2010–12 I had worked as the lead carver on the construction of the Oseberg Viking Ship replica. As I carried out my carving work on SAGA OSEBERG I was able to watch closely the process of building a lapstrake hull, from hand-splitting the planks, to laying the keel and stems, fastening the overlapping planks, and fitting the frames—everything about the process was an amazing revelation.
 Photographs by the author
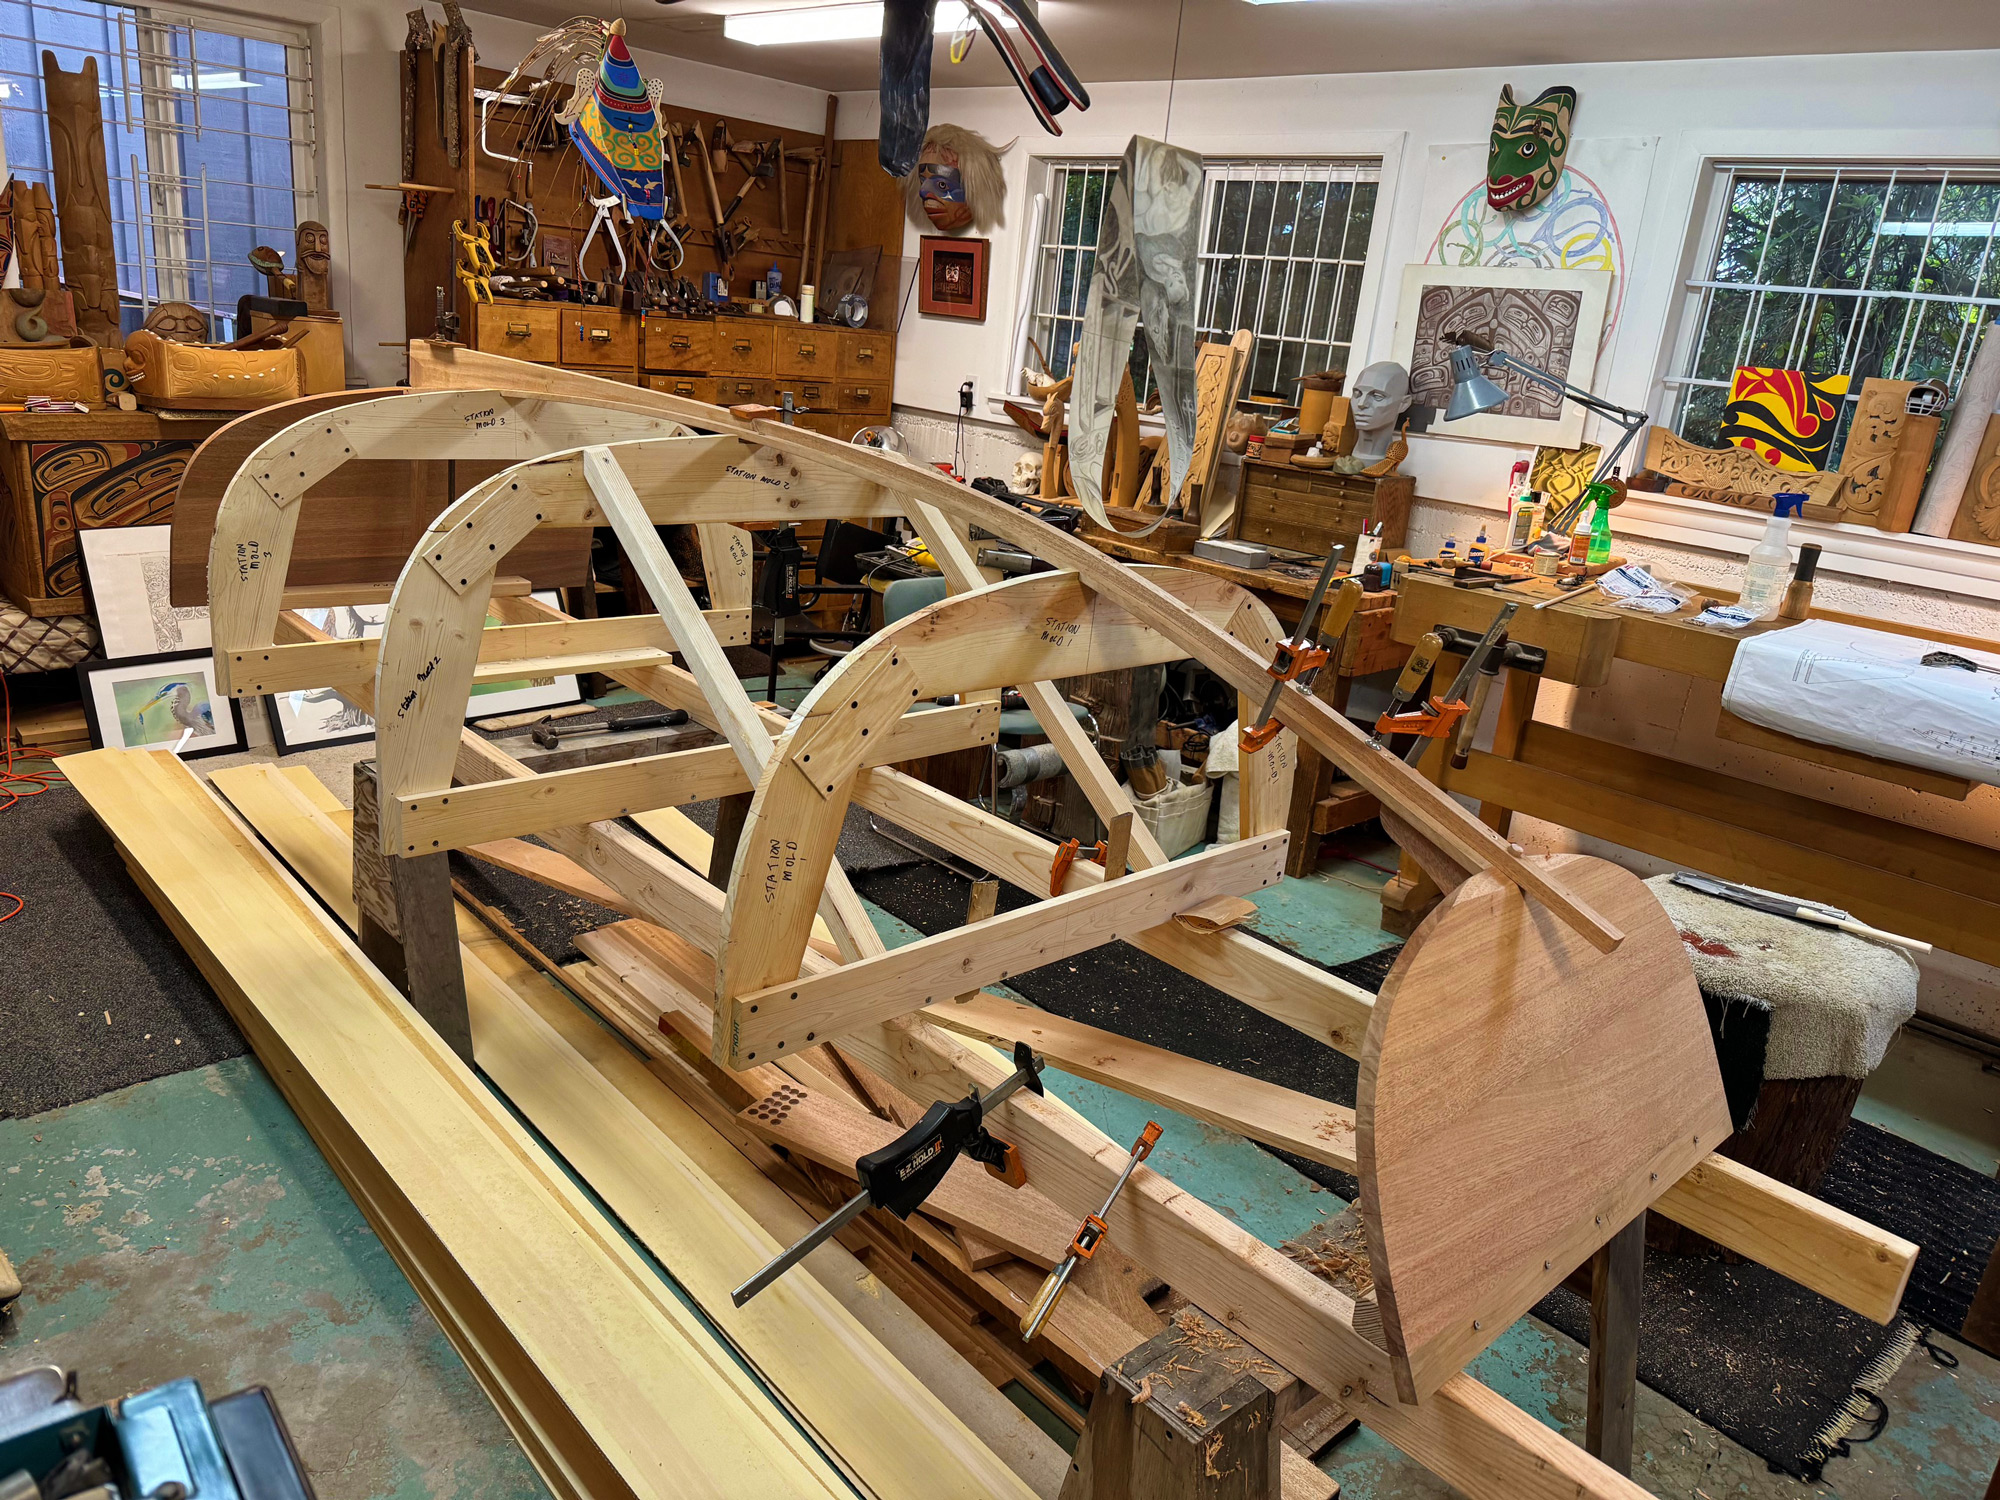
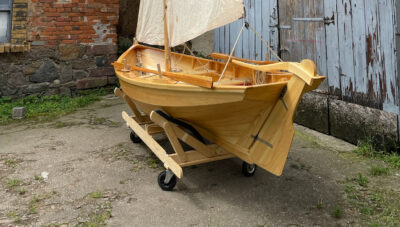
After the strongback was made level and stable, the two transoms and the keel were fitted. The addition of the keel previewed the sweet curve of the hull’s bottom shape from its lowest point at the skeg to its highest at the bow, where the bow transom sits well above the waterline.
When I decided to build a boat, there was no question that I was going to use some type of lapstrake construction. I also knew that I wanted a simple rowboat that I could use around the waters and lakes of the Seattle area, and that it needed to be small enough to build inside, and come out of, my basement workshop. I searched the internet for designs and plans. The process of lofting seemed too overwhelming, but I knew I didn’t want to build from a kit, or use epoxy, but that was where my search kept leading me… Until, that is, I came upon the website for Jordan Wood Boats.
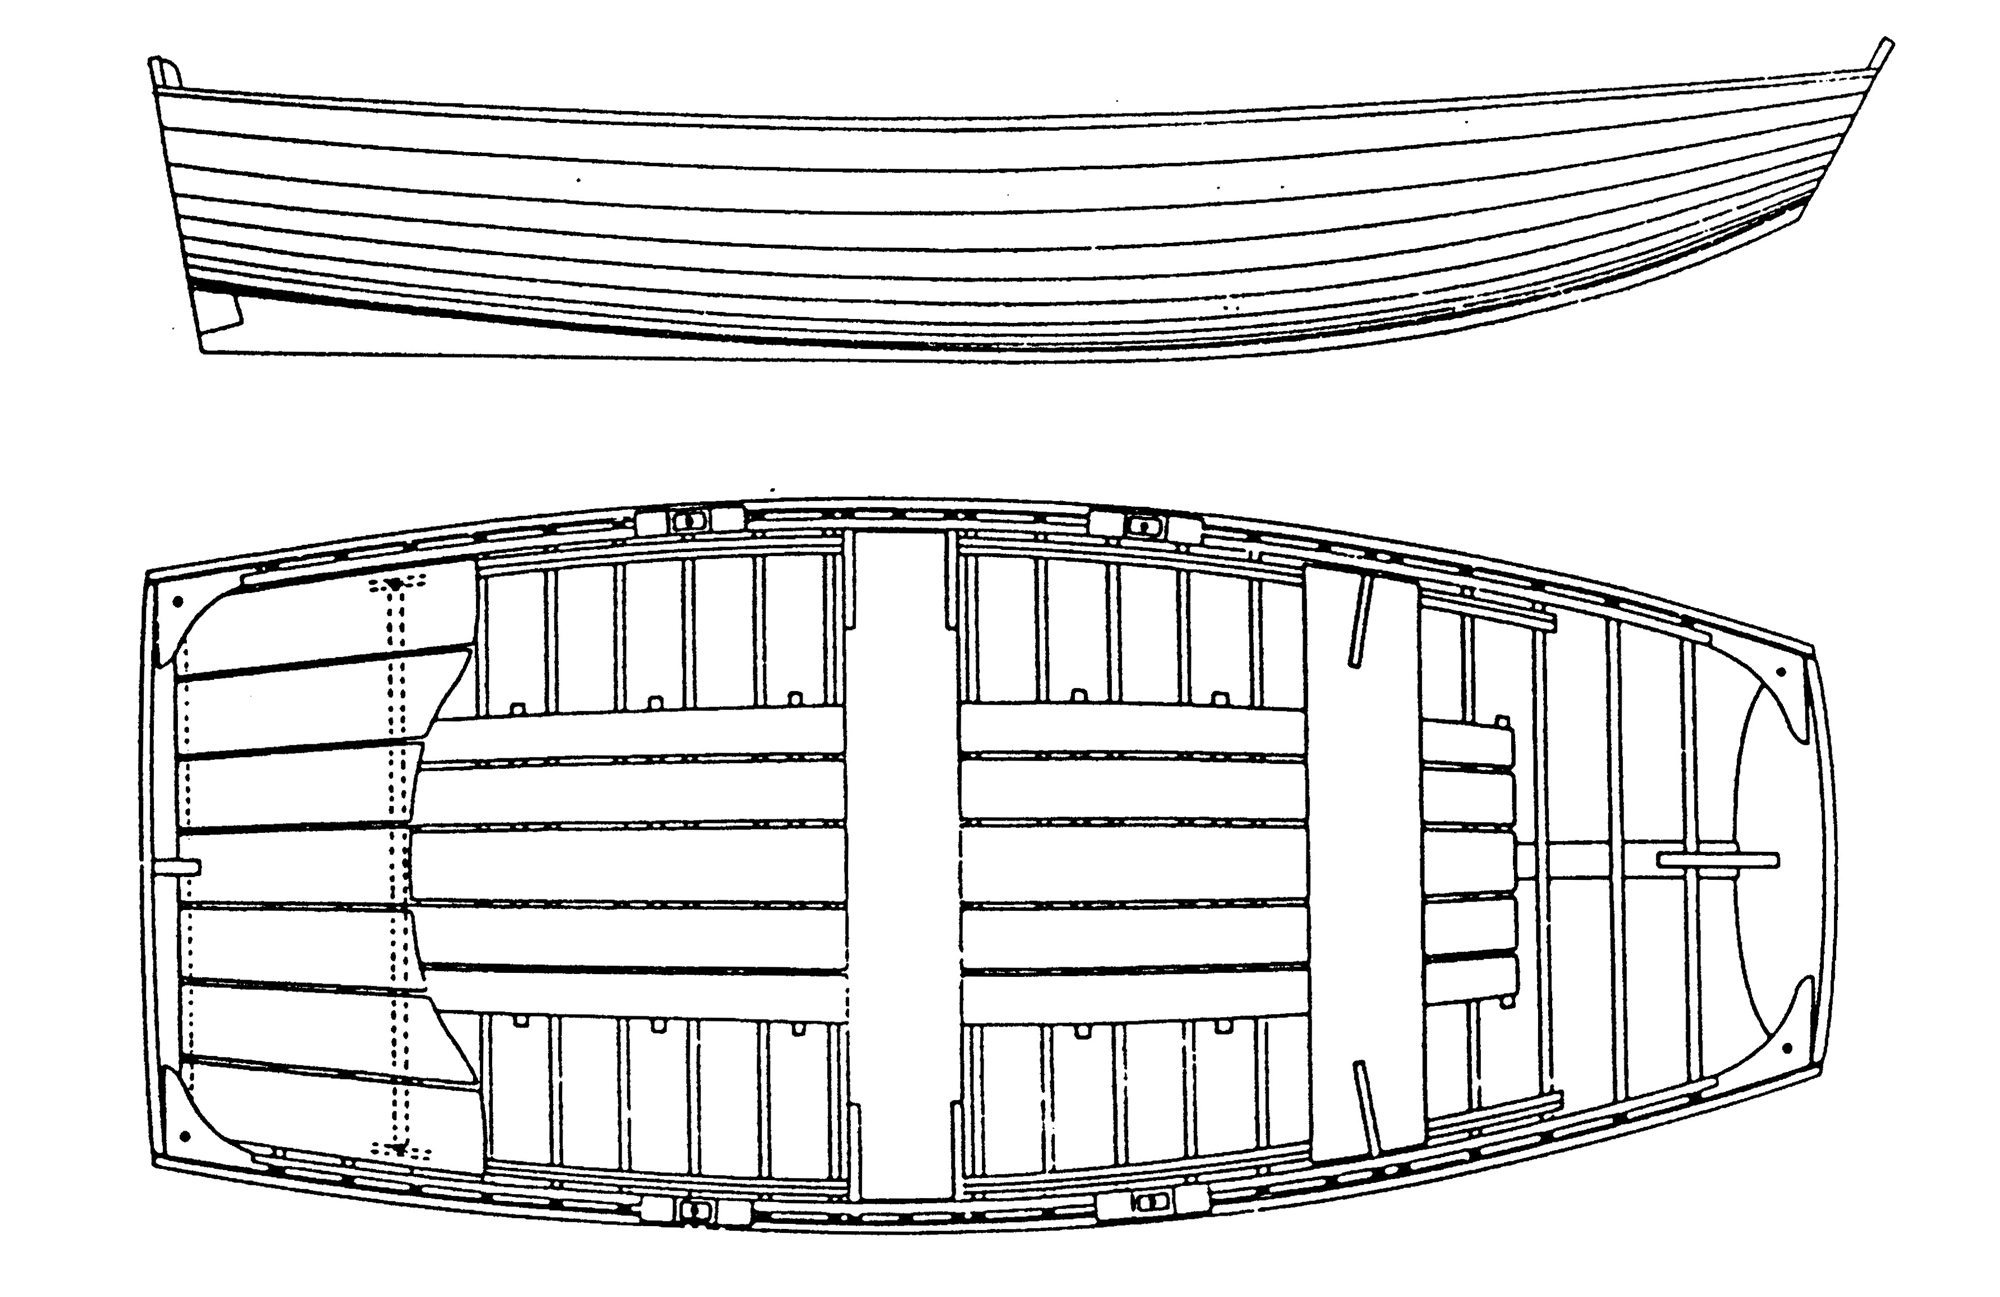
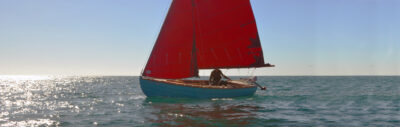
And there it was… the design for a Norwegian lapstrake pram, Dulcibella. The site described the Dulcibella as “a classic lapstrake pulling boat in the tradition of the renowned Norwegian pram. She is elegant but practical, offering both excellent stability and load carrying capacity in a relatively short length, making her an ideal tender. Two rowing positions provide good balance under various loading conditions and she is very responsive and easily propelled. Dulcibella is designed to be built using traditional lapstrake construction methods. The pram bow provides an easy shape to build; the thin planks bending easily into place with very little twist in the ends.”
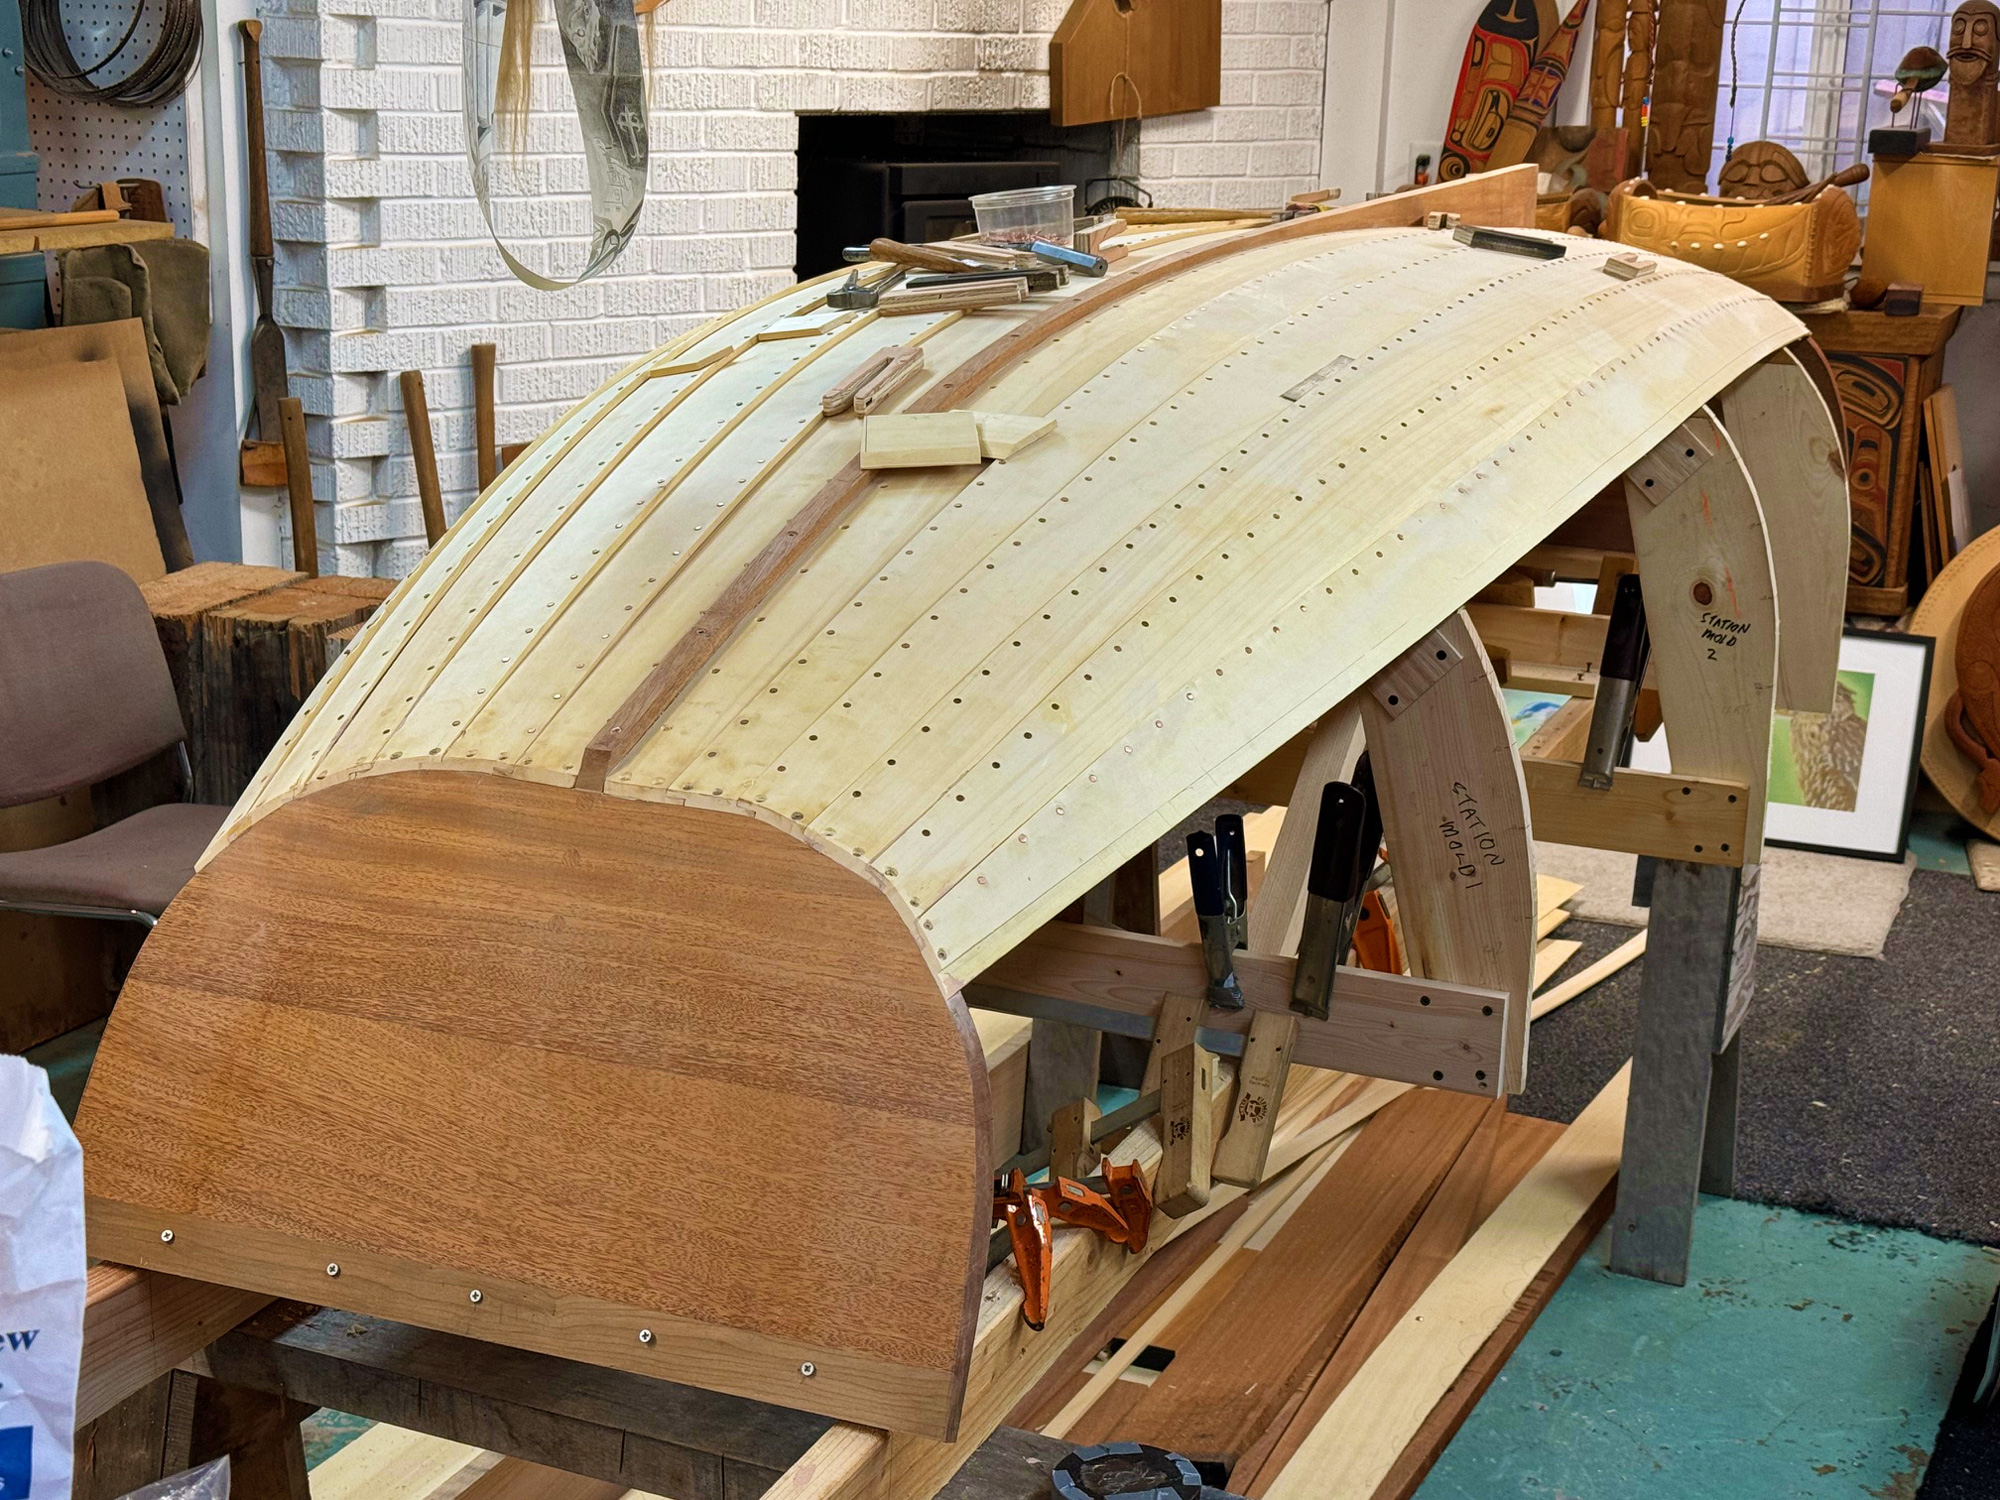
The Alaska yellow cedar planks—nine strakes per side plus one mahogany sheerstrake—were screwed to the transoms and riveted at the laps. The garboards were also screwed to the keelson.
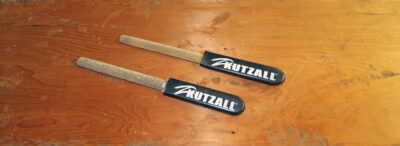
It was perfect, and at 10′ LOA, 4′ 2″ in the beam, and with a midship depth of 1′ 2″, it would fit in my workspace, and could even be moved around. I ordered the plans and awaited their arrival with eager anticipation. When it arrived, the package included all the necessary information: detailed large-scale construction drawings for all the parts; full-sized patterns for the molds and transoms (stern and bow); a diagram with instructions on how to build the ladder-frame jig and backbone setup; plans for 7′ 6″ oars. The website assured me that no lofting would be required and that, to “clarify the building process, comprehensive construction notes are number-keyed to the corresponding assemblies in all the drawings.” Being new to boatbuilding, I also ordered a book offered on the Jordan website: Boatbuilding My Way, by Warren Jordan, which introduced me to such things as spiling, beveling the plank laps, cutting the gains, and peening rivets.
Building the Dulcibella
With book and plans to hand, I immersed myself in the language and construction of small wooden boat building—everything was new to me. Nevertheless, as I proceeded through the build, I discovered that the materials from Jordan Wood Boats gave me everything I needed to succeed. Whenever I made a mistake—and I made plenty—I reread the instructions and plans and, sure enough, the error would be down to me; with careful study I could figure things out.
Warren Jordan’s book listed those tools that he considered essential: bandsaw, tablesaw, drill press, belt sander, 3⁄8″ drill, orbital sander, various hammers, nail sets and center punch, various saws, and low-angle, rabbet, and jack planes. He further listed detailed items under the heading of “chisels, files, drill bits, clamps, measuring and marking tools, wrench and pliers, and miscellaneous.” Fortunately, I already had all the necessary tools.
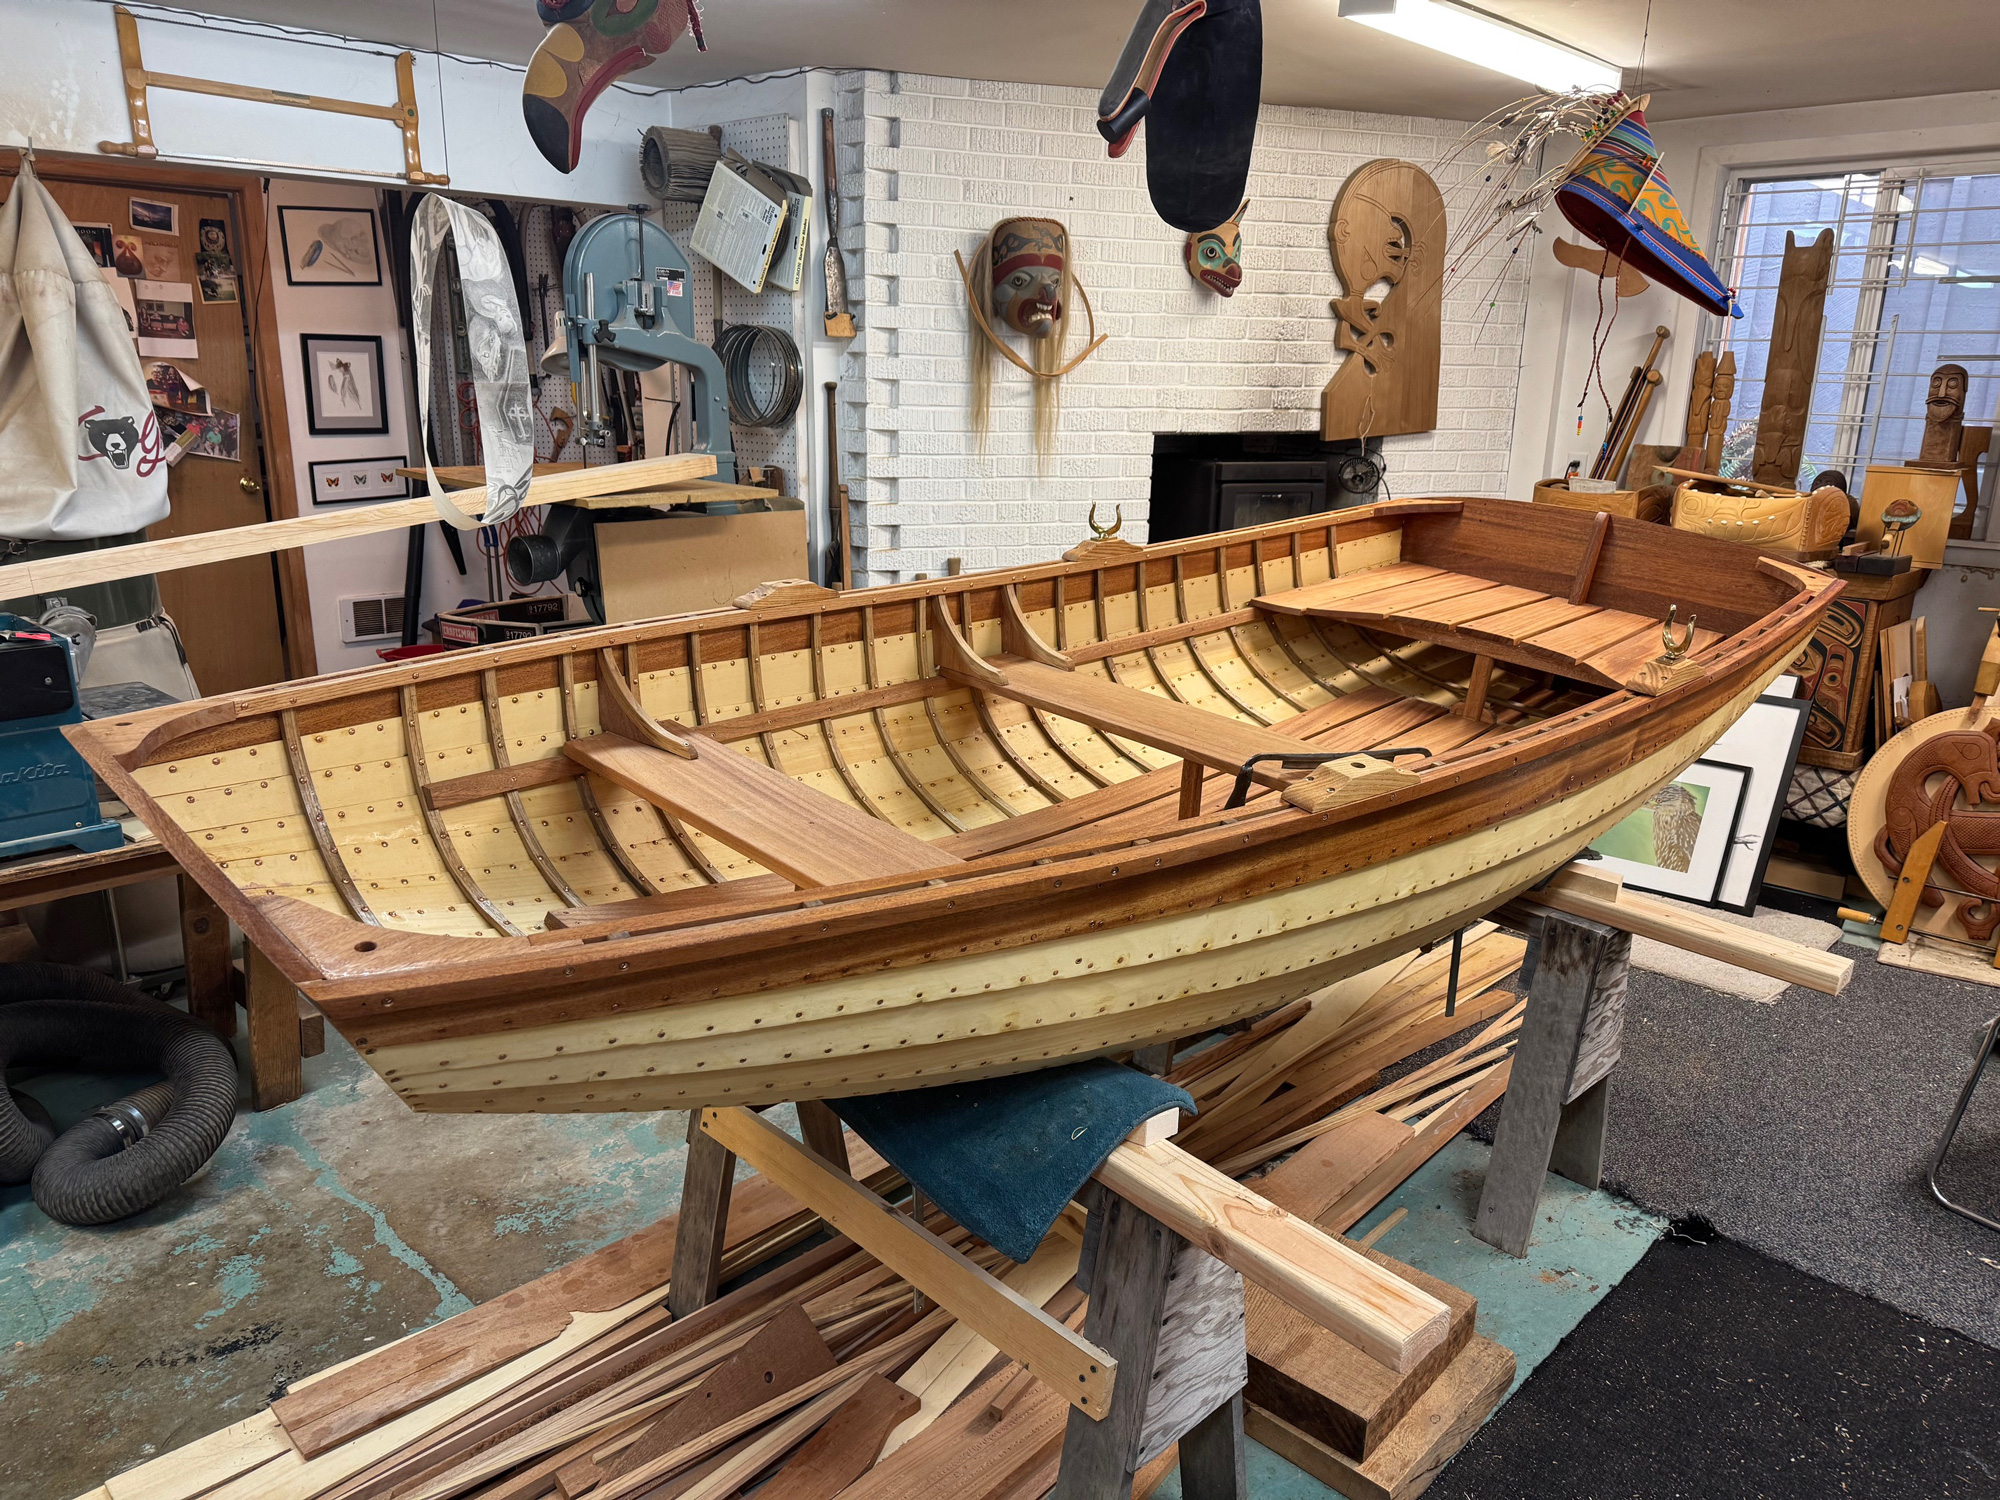
The Dulcibella is built using traditional construction methods—no epoxy, no fiberglass. The interior fit-out included the installation of 20 steam-bent white-oak frames and nine sawn floor timbers. Each transom knee is cut from a single piece of wood; the thwart knees have laminated curved elements combined with backing blocks.
For the keel, transoms, thwarts, knees, and sheerstrake I used mahogany. The planking was clear Alaska yellow cedar milled to 3⁄8″ and planed to 1⁄4″ (the plans recommended yellow cedar, Port Orford cedar, white cedar, or Honduras mahogany). For the floor timbers and steam-bent frames I used bending white oak (flat, straight-grained wood that has been kept green to retain its moisture content for easier bending), which was recommended. For the fastenings I used silicon-bronze, square-drive, flat-head screws, and copper rivets and roves.
The Dulcibella is built upside down. After constructing the strongback of 2×4s, I attached the pine molds, and then assembled the backbone (keel, skeg, sternpost, and transoms). Then came the planking. There are 10 planks per side, all 1⁄4″ Alaska yellow cedar. For an aesthetic contrast, I used 1⁄4″ mahogany for the sheerstrake. Each strake was screwed to the transom at each end and copper-riveted to the plank adjacent to it. The garboards were screwed to the keelson.
Once the planking was complete, I turned the hull over and installed the frames—20 in all—which I steamed in a 4″-diameter PVC pipe, with the steam coming from an old water-filled propane tank heated by a propane-fired crab cooker. I then fitted the nine sawn floor timbers, before moving on to the interior fit-out, all of which was fairly straightforward.

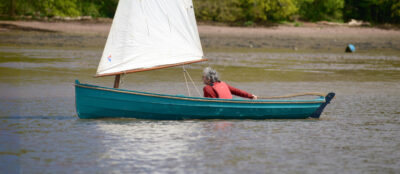
For a small pram there is good legroom for even a tall rower. The choice of rowing stations ensures that the boat remains well trimmed with from one to four people on board. The 7′ 6″ oars were made according to Warren Jordan’s plans. CORA was named for my grandmother.
While the plans implied that the Dulcibella can be built with little prior woodworking experience, I do believe that some previously acquired boatbuilding skills would be beneficial, perhaps necessary. There were many parts of the overall build that I think would have been difficult for a novice builder.
I finished the pram, both inside and out, with three coats of a clear marine oil.
The Dulcibella’s performance
The Dulcibella weighs 120 lbs and I transport mine on a small trailer, but someone younger and stronger than me could, perhaps, load it onto a car roof rack or into the back of a pickup truck.
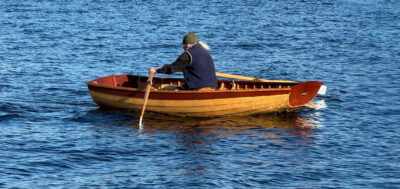
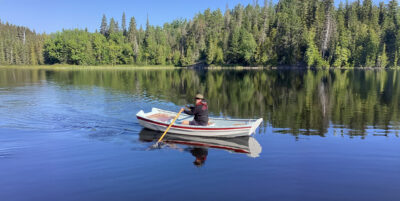
Rowing the Dulcibella is a delight. It is set up for two rowing positions. Which station you use depends on how many people are on board. When rowing solo, the best position is to sit on the center thwart and use the aft oarlocks; but with one or even two passengers, the best trim is for the passengers to sit in the stern, while the rower moves forward to the bow thwart. I made the 7′ 6” oars according to the plans, using Sitka spruce. Each oar has a 5″ rounded grip, an 18″-long octagonal cross section from the grip to the leather, and a round cross section from the leather to the throat of the blade. I coated the tips of the oars with a white epoxy paint.
 Ron Berry
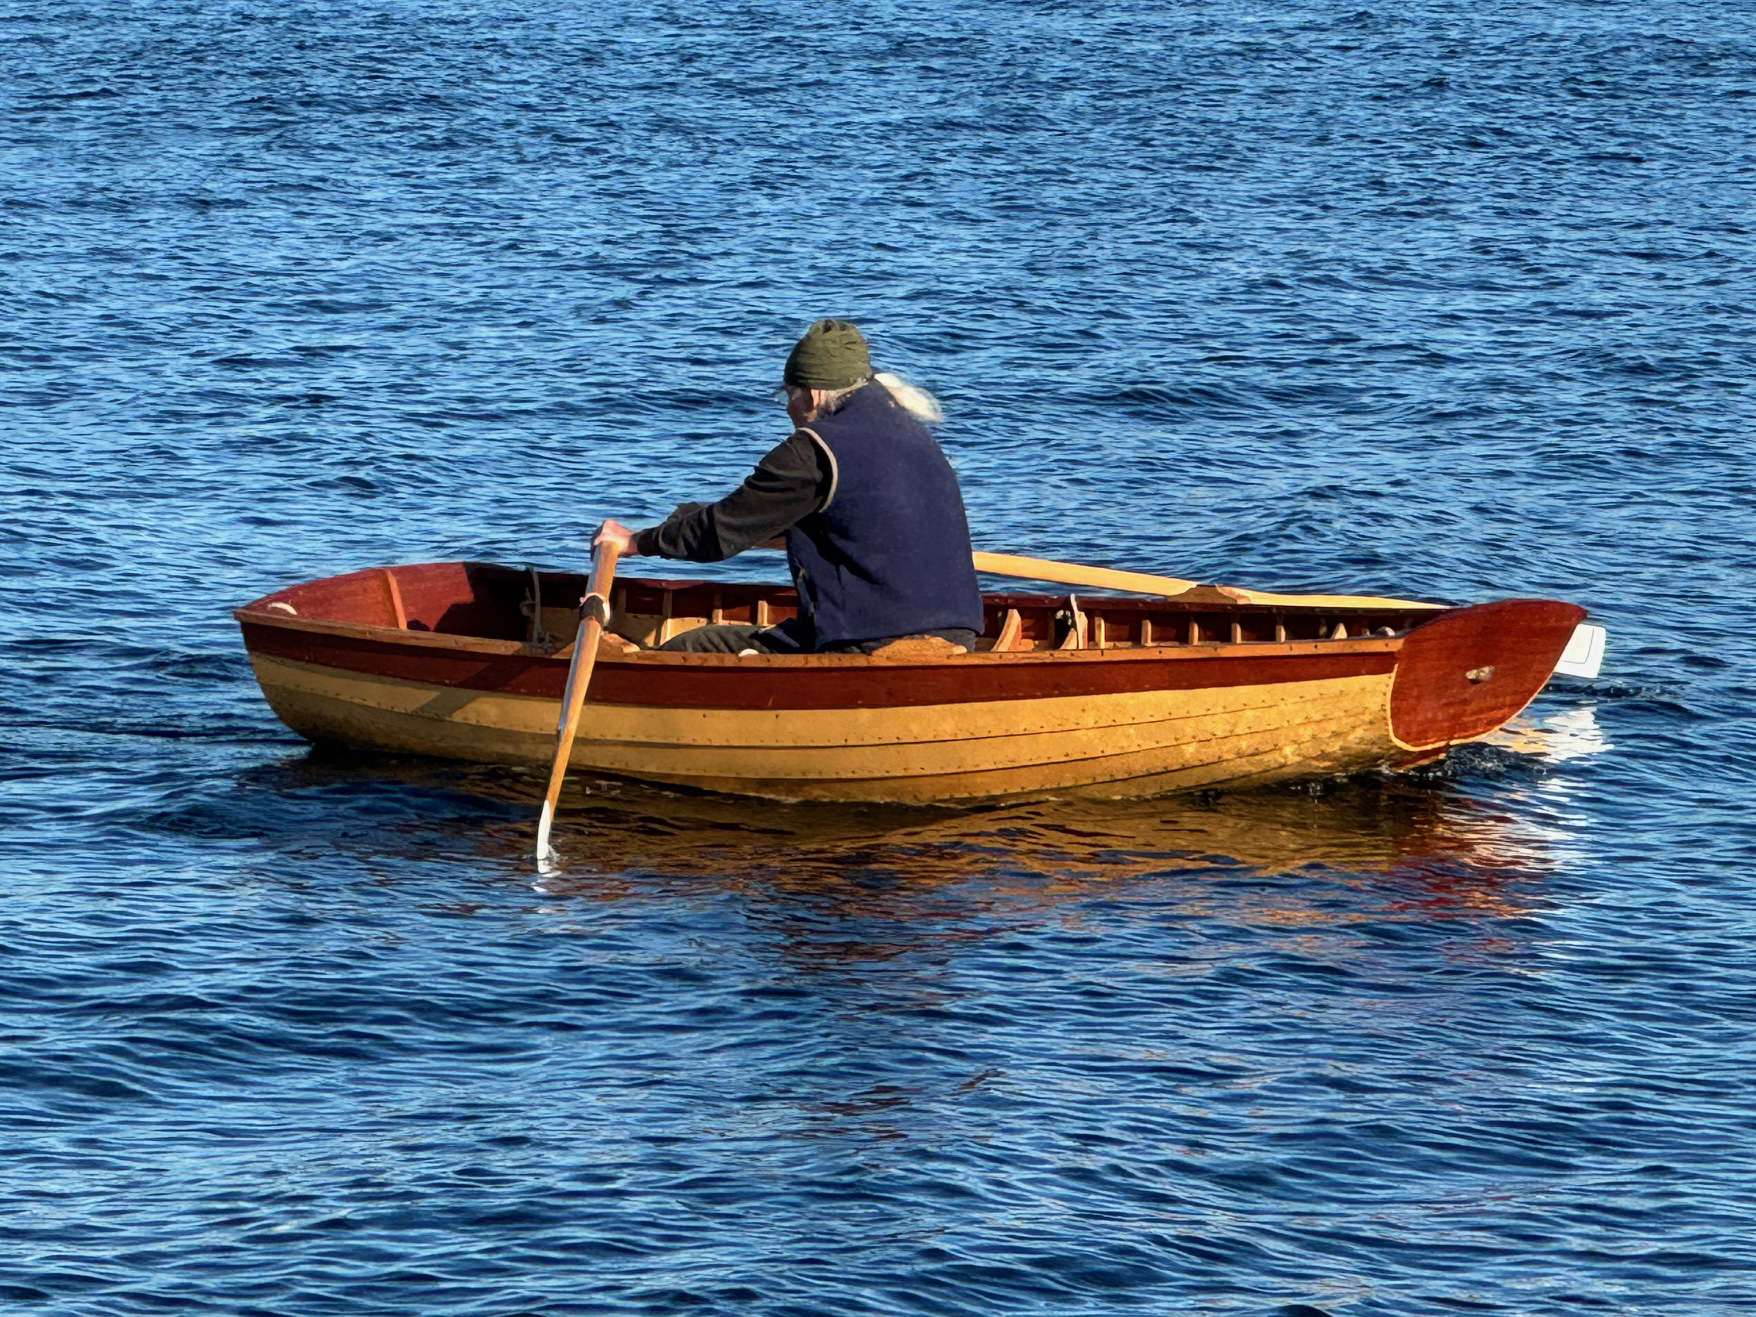
I was very happy with the Dulcibella’s performance. It has good stability, tracks well, and yet turns on a dime.
The boat tracks well, feels very stable, and handles mildly rough water well. It turns on a dime. From time to time I do have to make course corrections, but that may be down to my lack of rowing skills rather than any fault in the boat’s design. I have some mobility issues but am happy to report that I’m able to board from a dock without difficulty, and friends who have used the boat report no issues with stability.
Overall it was a pleasure to build the Dulcibella, in spite of my inexperience in small-boat building. It was worth the effort: the Dulcibella is a joy to row and draws appreciative glances and comments wherever it goes. I would recommend it to anyone looking for a sweet small boat that could serve either as a beautiful tender for a larger boat or be enjoyed in its own right.![]()
Obert Jay Haavik is a former Lutheran minister and urban planner who discovered, in his early 30s, that making things out of wood was his calling. He began with Northwest Coast Native art, moved on to fine furniture, and then to Viking-era art. He is currently building his second boat, and thinking about his third. Some of his work can be seen at www.jayhaavik.com.
Dulcibella Particulars
LOA: 10′
Beam: 4′ 2″
Midship depth: 1′ 2″
Plans for Dulcibella are available from Jordan Wood Boats, $74 for PDF copies, $89 for printed. Boatbuilding My Way by Warren Jordan is also available, $19.59 for PDF copy, $29.95 for printed.
Is there a boat you’d like to know more about? Have you built one that you think other Small Boats readers would enjoy? Please email us your suggestions.
For further reading on traditional lapstrake construction, see:
A Lapstrake Livery Boat, a Whitehall for quick construction, by Christopher Cunningham
The Melonseed Skiff, a daysailer and duckgunner reviewed by Mike O’Brien
Guillemot, an Iain Oughtred design built traditionally, by Nigel Sharpe


That was an excellent article. At 71, I am also building my first boat but from a CLC kit, so I can appreciate may of the things you wrote about. I am really impressed that you built it at 81.
Well done.