In 1982, when Eric Hvalsoe was fresh out of a two-year boatbuilding program at Bates Technical college in Tacoma, Washington, he launched the first Hvalsoe 13 (then named the Valso 13), a lapstrake skiff he designed and built for a client who wanted a boat that would perform equally well under sail and oars. The boat exceeded expectations and was followed by the Hvalsoe 15 and Hvalsoe 16. Eric most recently designed a larger version of the boat for Seattle small-boat aficionado Tim Yeadon to cruise the inland waters of Washington and British Columbia, and the first Hvalsoe 18, built by Tim in the garage of his Seattle home, was launched in 2015 and christened HAVERCHUCK.
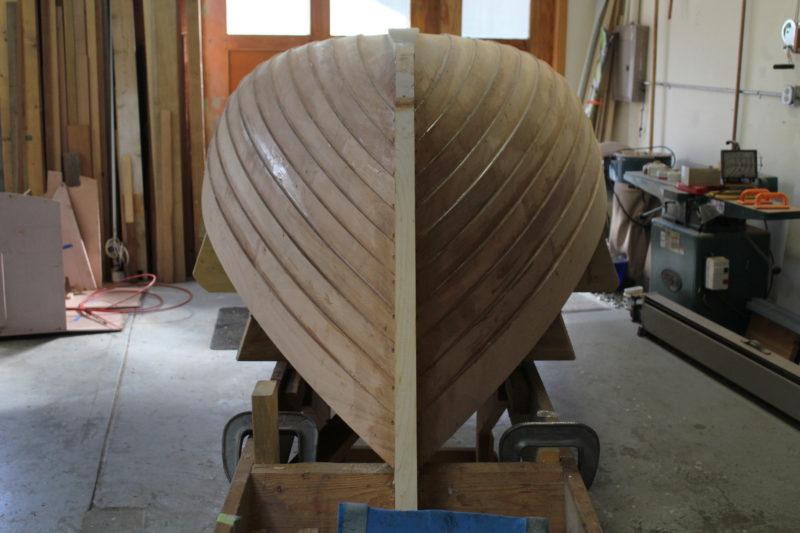
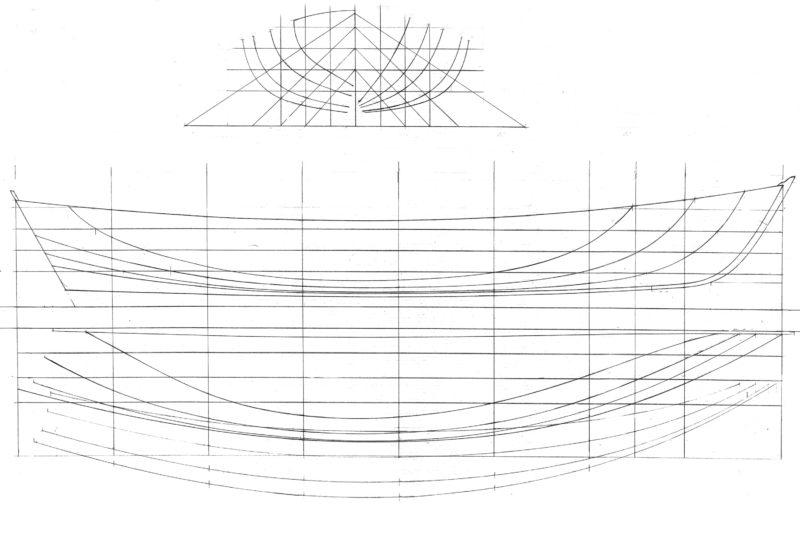
The Hvalsoe 18 measures 18′6″ by 5′4″, and while it is easily recognized as one of the Hvalsoe series of boats, it is not, writes Eric, “just a blown-up HV 16.” His goal for the design was “to create a boat that was comfortable to inhabit—in the oar-and-sail sense of inhabit—for long days on the water.” Among the differences in the new design is some extra fullness in the ends to keep them riding high in rough water and to provide extra stability for stepping and unstepping the masts while afloat. The midsection is fuller and flatter than the previous models. And while the HV 18’s stem has the same look above the waterline as his previous designs , instead of meeting the keel at an angle as with the previous models, it curves into it below the waterline, the better to endure the wear of beaching the boat.
 all photographs by the author
The HV 18’s midsection is fuller and flatter than the previous models. The midsections of the Hvalsoe 13 and 16 look almost semicircular in comparison.
Eric favors traditional methods and draws his designs by hand, pencil on paper, and makes area calculations with a planimeter. He also prefers traditional lapstrake construction, and the HV 18 could be built in that fashion. Tim had taken one of Eric’s classes in lapstrake boatbuilding and had built a Matinicus peapod with cedar on oak, but built his HV 18 in glued-lap plywood—largely for the option to incorporate buoyancy chambers for safety’s sake—and Eric followed suit with the HV 18 he’s building in his Shoreline, Washington, shop.

Hull #2 is under construction in Eric Hvasloe’s shop. The planking is laid over an inner keel and stem assembly, then bevelled to receive the external elements.
Eric drew the lines for the HV 18 with smooth curves for sections, leaving it up to the builder to line the hull for lapstrake planking and determine the number of strakes required. There are no patterns for the 18, and between the lofting required to make the molds and the lining and spiling required to shape the planks, this project is best suited for builders with a fair bit of boatbuilding experience or the patience and tenacity to learn the skills on the job. Tim and Eric settled on 11 strakes, the minimum number required to take the designed shape without having to cut facets into the curved edges of the molds. While I might balk at planing so many running feet of bevels and gains, the results are worth the effort. The narrow strakes create a beautiful pattern, and the shadows of the laps emphasize the hull’s curves rather than its planes and angles. The hull brings to mind the ventral pleats under the chin of a blue whale.
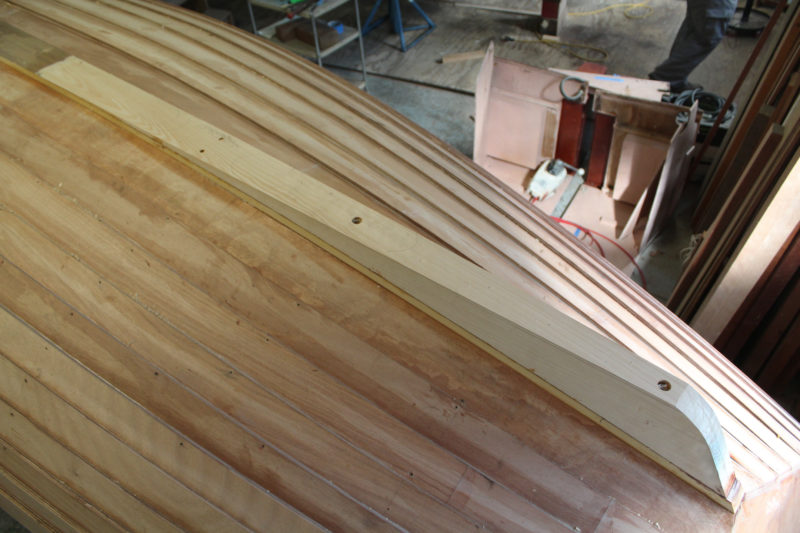
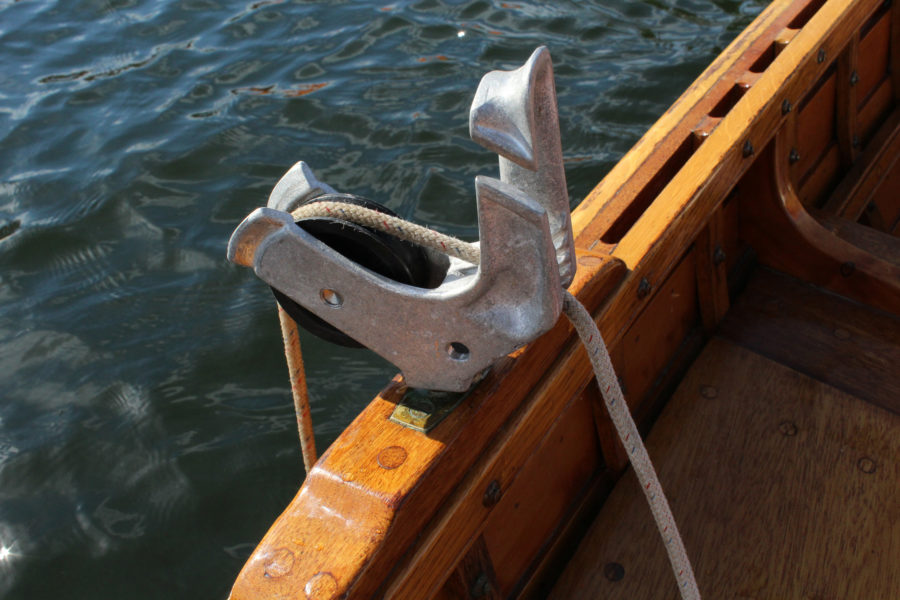
What Eric calls his “beach skeg” is shaped from a timber wide enough at the forward end to cover the keel. The extra width gives it a very solid attachment to the keel and helps the boat “ski” over cobble without digging in. A 1/2″ thick shoe will cover the skeg and keel.
The hull is built around seven molds, and in the finished boat the 9mm okoume plywood planking is supported by the 12mm-plywood bulkheads for the flotation compartments and two laminated frames in the cockpit. A narrow plank keel supports a sturdy skeg that covers the keel’s full width and tapers with it to the transom. The skeg, along with the rocker and drag in the keel profile, are designed to strike a balance between tracking under oars and easy tacking under sail. The skeg’s tail end is cut to a generous radius and covered with a strip of high-molecular-weight polyethylene to better absorb the punishment of coming ashore stern-first on a rocky beach. There are 90 lbs of ballast under the cockpit sole: six 15-lb cast lead bars secured to bolts anchored to the inside of the hull on either side of the centerboard trunk.
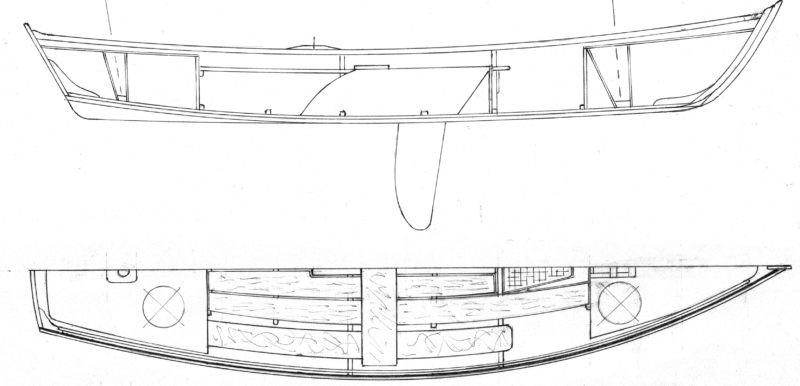
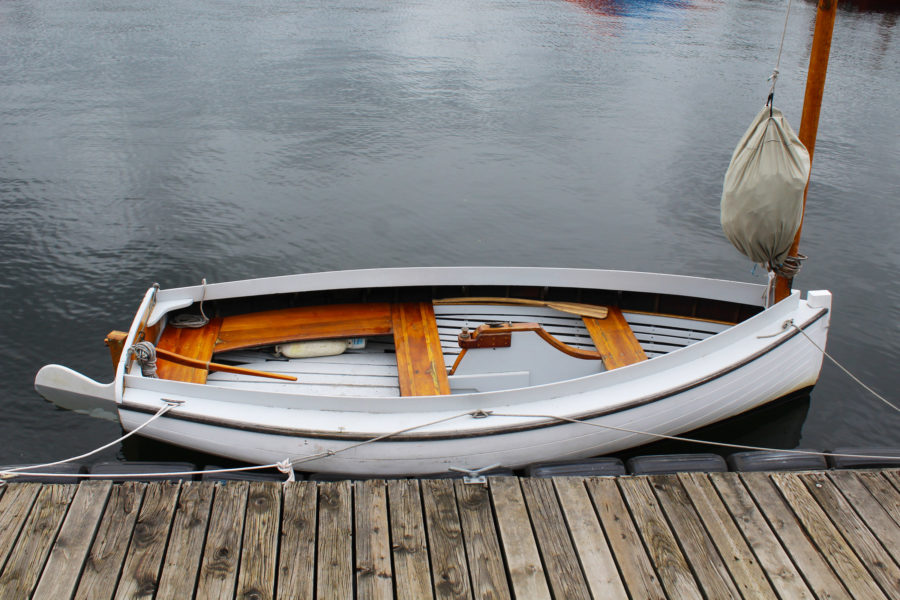
The HV 18 was designed with a simple cockpit and good stability even with your weight in the ends so “you can walk upright from one end to the other,” notes Eric, “rather than crouching from one thwart to the next.”
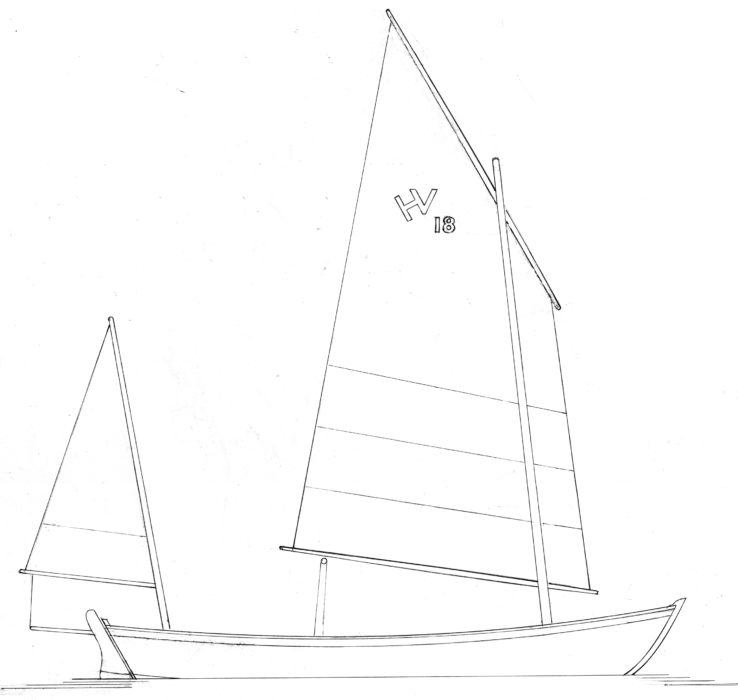
After Tim completed the hull, he built the sailing rig to take a Sooty Tern mainsail and a Ness Yawl mizzen, both sewn up from Sailrite kits for those Iain Oughtred designs; Eric’s drawings for the lug yawl rig reflect that arrangement. The masts are built bird’s-mouth fashion. There’s not much weight to be saved by making a spar as small as the boomkin hollow, but it’s well worth the effort: the mizzen sheet is run through the boomkin, which not only serves as the fairlead to bring the sheet into the cockpit, it also allows the sheet to emerge from the tip of the boomkin, making it impossible for it to get fouled when coming about. A Norwegian tiller steers clear of the mizzenmast, and the rudder blade clears the water when retracted for rowing.
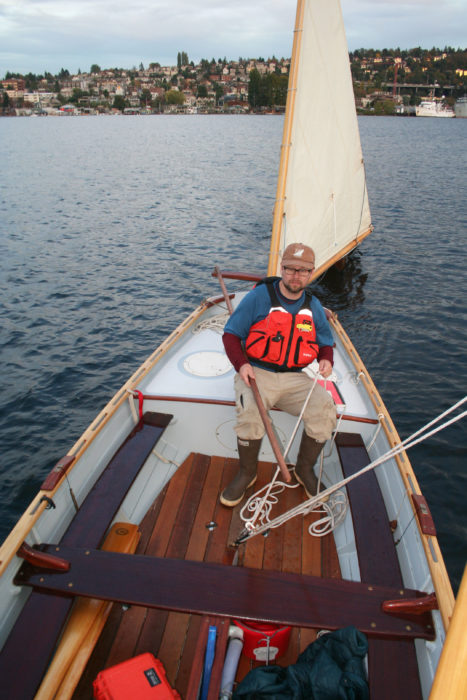
The cockpit sole provides good footing for moving about in the cockpit.
Tim later modified the thwart, outfitting a section of it with sturdy hinges, to open up a space for sleeping aboard.
The interior arrangements were inspired by Oughtred’s Arctic Tern. A thwart amidships braces the centerboard trunk and provides seating for a lone rowing station. Tim recently cut a section from the thwart’s starboard side and reinstalled it with sturdy hinges so it could be pivoted up out of the way for sleeping on the cockpit sole. When it is returned to its normal position, two stout bolts secure its outboard end and the thwart resumes its role of bracing the hull and centerboard.
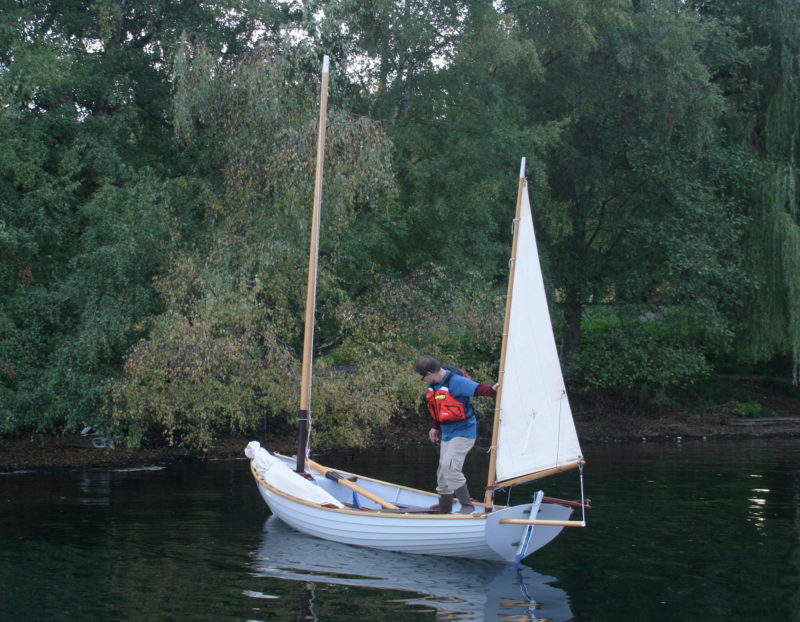
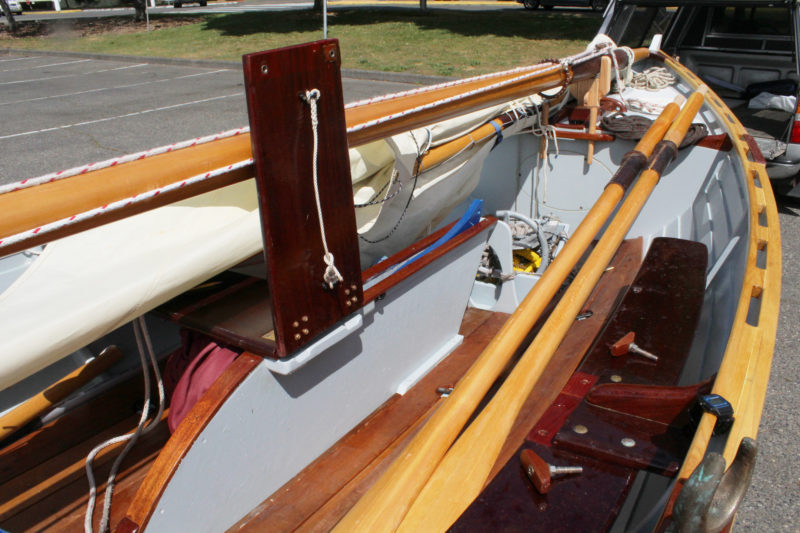
You don’t have to hold the mainmast fully upright to get it stepped. The elongated box guides the heel in; then you can push the mast upright and lock it into place.
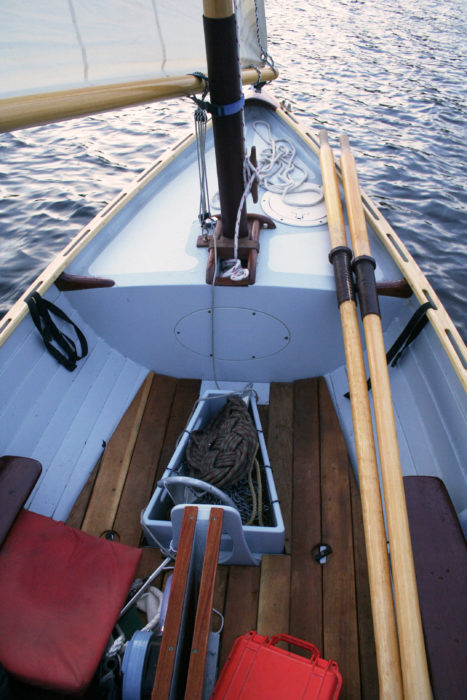
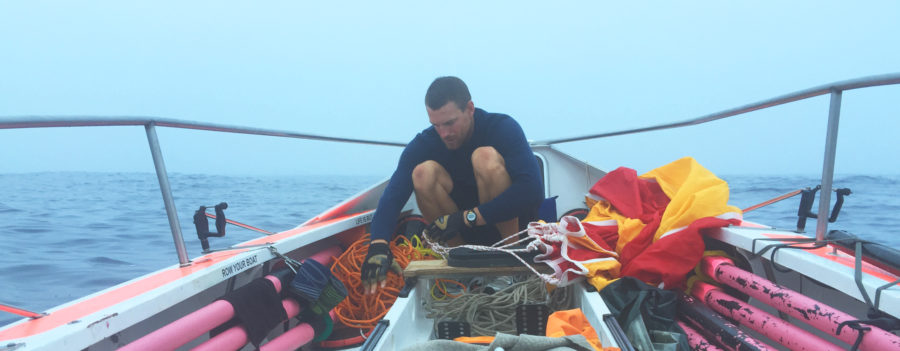
Just forward of the centerboard trunk there is a removable trapezoidal box to keep the anchor, chain, and rode neatly stowed and their weight low to contribute to the boat’s stability. The deck of the aft compartment makes a comfortable perch for sailing, and the curved side benches and long tiller allow the helmsman to slide forward to get some more weight closer to amidships on the windward side. The rest of the aft deck makes a convenient place to set things to keep the clutter out of the cockpit and have the sheerstrake, rail, and transom prevent them from rolling overboard. The bulkheads that seal the flotation compartments have oval hatches, though Tim has those sealed and semi permanently installed; they’ll be opened only for maintenance work. The 10″ composite deck plates offer easier access to gear and a quick watertight seal. The masts are stepped in boxes that guide their heels in and keep the flotation compartments watertight. Water that accumulates in them drains into the cockpit through copper tubes. The boxes are elongated to allow the rake of the masts to be adjusted.
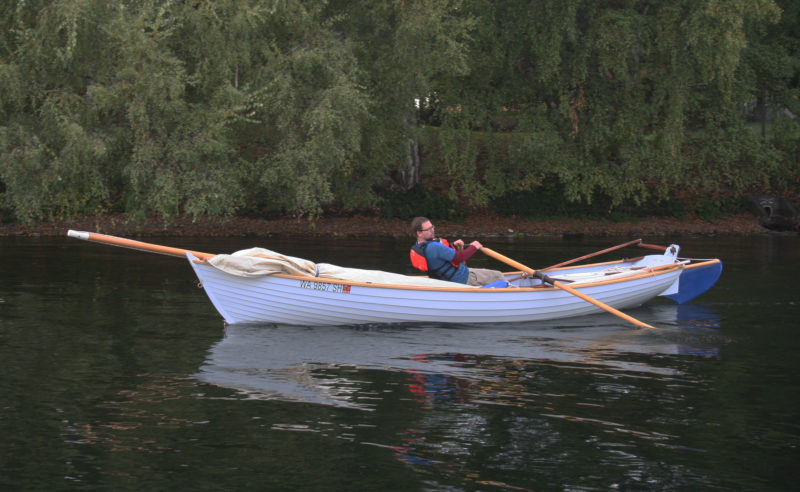
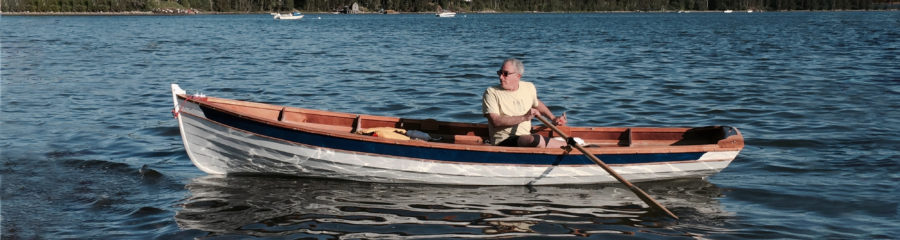
Designed as a solo cruiser, the HV 18 has a single rowing station. Kicked up, the rudder blade is clear of the water and doesn’t interfere with rowing.
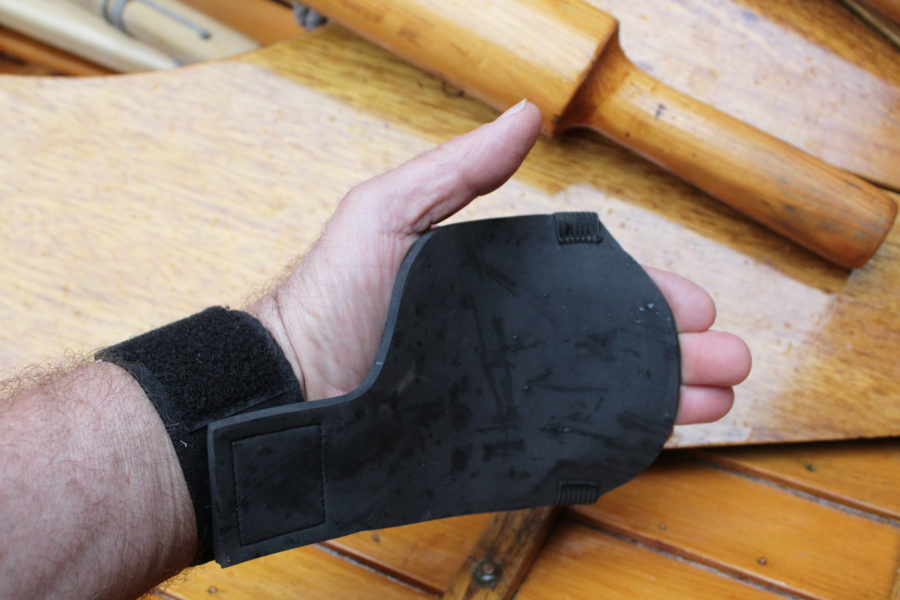
The first thing I noticed when boarding the HV 18 is its stability. The fairly flat bottom and full bilges contribute to the solid feeling underfoot, and the 90 lbs of lead hidden under the floorboards help drive the point home. The ballast’s inertia slows the boat’s roll, so it feels like stepping aboard a much larger boat. Eric weighed Tim’s HAVERCHUCK at a truck scale, and the hull, with ballast, came in at 520 lbs. Sailing rig and ground tackle added 125 lbs. The 9′11″ oars Tim had for the boat were a good choice for the weight of the boat and the 62-1/2″ span between locks. The oars’ flat blades were well suited for rowing with the dory stroke, a technique that eases the strain on the rower while moving a heavy boat. I could do a GPS-measured 2-1/2 to 3 knots at a moderate, sustainable effort—a respectable cruising speed when there’s not enough wind to fill the sails—and I could get the HV 18 up to 3-1/2 to 3-3/4 knots if I hustled along. A short sprint peaked at 4-1/4 knots. The HV 18 tracks very well under oars and yet spins around like a much smaller boat with one oar pulled and other backed.
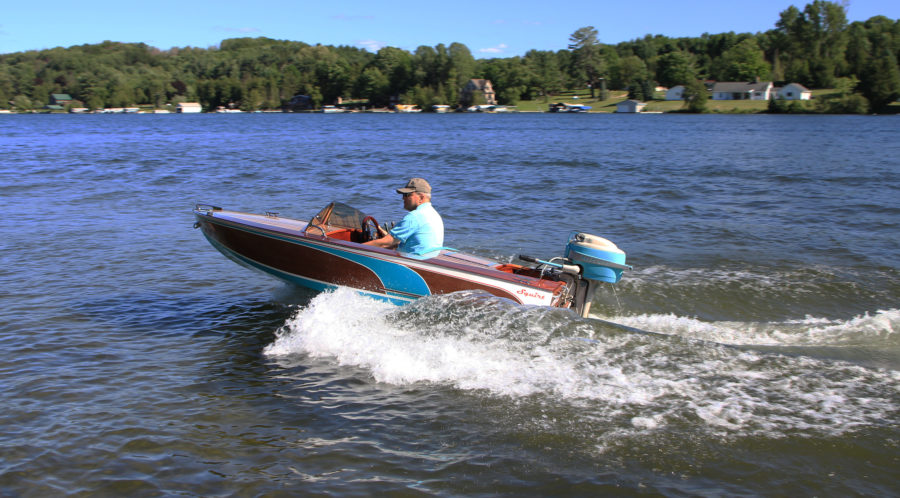
The transom is raked at close to 30 degrees and not meant to take a small outboard, and the aft sections are kept fine at the waterline for rowing, and won’t take the weight of a motor and operator sitting in the stern. If a motor is required, Eric suggests installing a well, an option well suited to glued-lap plywood construction.
Having the mizzen sheet emerging from the end of a hollow boomkin prevents it from fouling when coming about.
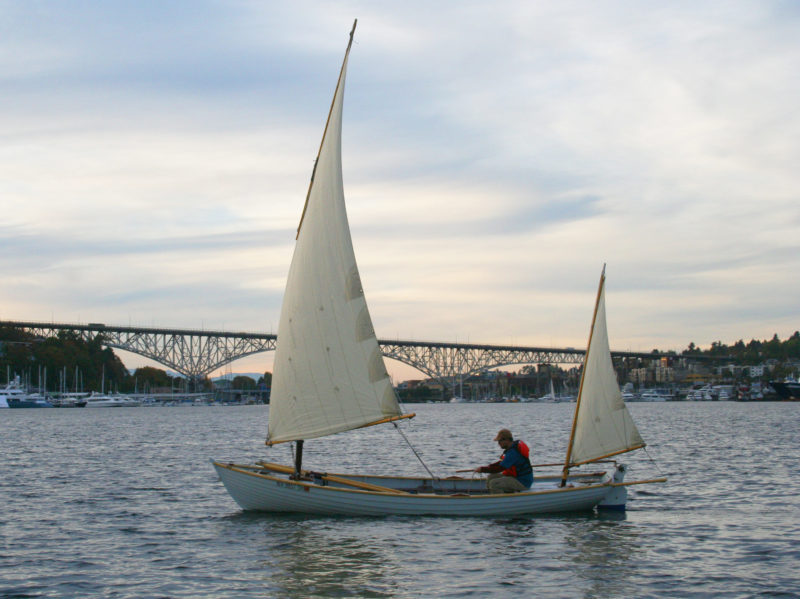
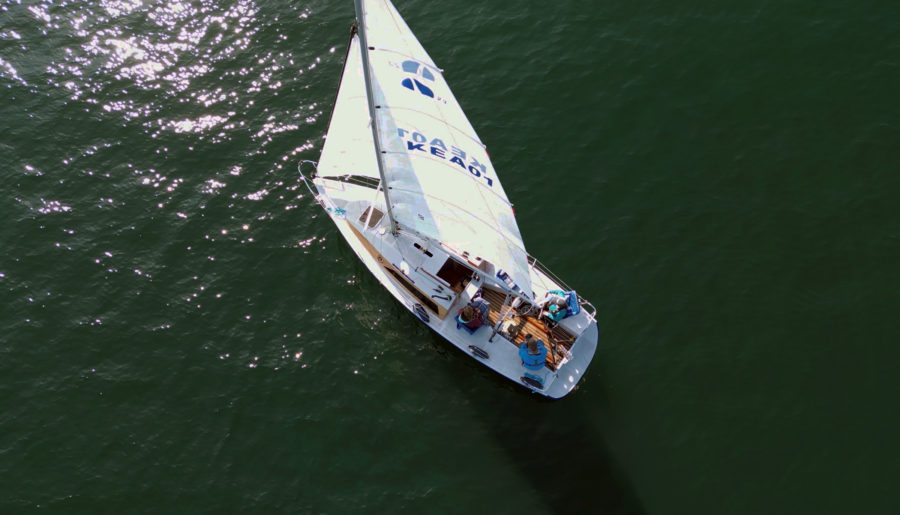
During my first outing in the HV 18 the wind was light, and the sailing sedate, but the 120 sq ft of the lug main and a leg-o’-mutton mizzen provided enough boat speed to make sailing a better option than rowing. The boat coasted through tacks, never getting caught in irons; it will come about with the rudder left untended—sheeting the mizzen in to bring the bow into the wind and backing the main a few degrees to push it across, then easing the mizzen sheet.
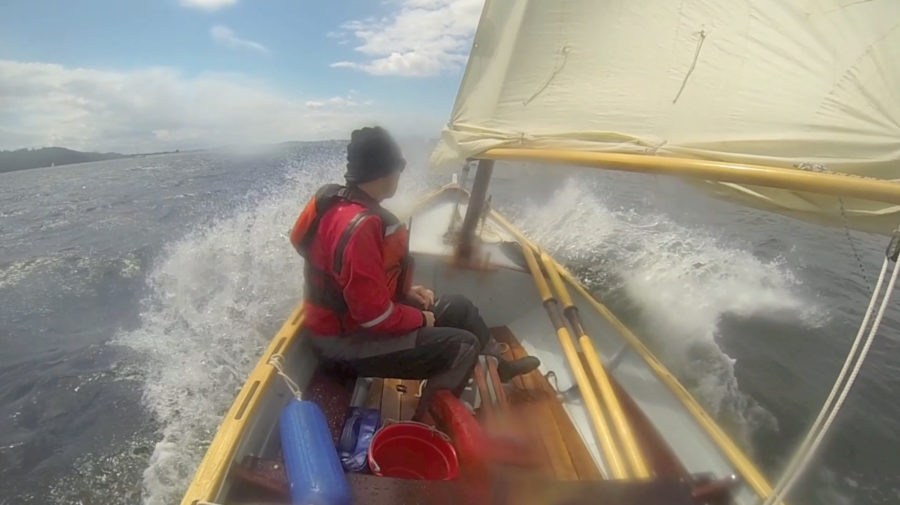
For my second outing, Tim and I went out on a whitecapped Puget Sound with a brisk wind. My anemometer clocked sustained puffs of 22 knots at the launch site, and the weather station a mile upwind of us recorded the wind at 16 knots for the hours were sailing. Not long after we’d set sail, a gust snatched my baseball cap and dropped it in our wake a couple of boat-lengths back. Tim had tucked in two reefs in the main when he’d rigged the boat, and that turned out to be on the verge of being too much for the boat with two of us aboard. The helm was sensitive to the unreefed mizzen, and I often eased the sheet to lighten the weather helm. We took a lot of spray over the bow when working to weather, but we were both wearing dry suits and enjoying the ride. The HV 18 did 5 knots on all points of sail; I saw 6.2 knots on the GPS on a broad reach; the maximum speed recorded was 6.7 knots, and that was in waves only 1-1/2′ high, not really big enough for surfing to account for the impressive peak.
On one tack, the bow had just gone through the eye of the wind when a wave crest lifted it over a trough. The wind pushed the bow downwind, I got caught with the main sheet locked in the cam cleats, and the HV 18 was suddenly beam-to the wind. The leeward rail went under and Tim climbed to the high side as water poured in. I freed the mainsheet from the cam cleat, let it run out, and the boat popped right up. I noticed later that I hadn’t cleated the line that holds the rudder blade down, so while the partially deployed blade was covered enough to provide good steering, it wasn’t as deep as it should have been and may have lost its grip in a trough. That may have been another factor in allowing the bow to fall away so quickly. Still, I was pleased with the boat’s stability in that near knockdown. The rail could be “sailed” underwater and the point of capsize still lay beyond that extreme angle of heel. Tim went to work with the large diaphragm pump he has installed on the side of the centerboard trunk and all was well.
When Tim conducted capsize drills with HAVERCHUCK, the rig kept the boat from a full capsize and stabilized it lying on its side. The flotation compartments kept the centerline above the water, and Tim could slip under the mainmast without having to duck his head underwater to get past it. He pulled the boat upright with centerboard and, with the boat riding low in the water, easily crawled aboard over the rail. He said that taking up a position just forward of the centerboard trunk and keeping his weight low helped keep the boat upright while he bailed.
Tim’s plan for the boat is to cruise north from Puget Sound along the Inside Passage. He has several weeks off from work and will see how far he gets. I think the boat carry him safely and in comfort for as many miles as he chooses to travel.![]()
Christopher Cunningham is the editor of Small Boats Monthly.
Particulars
[table]
Length/18′ 6″
Beam/5′ 4″
Weight/430 lbs
Ballast/90 lbs
Design displacement/750 lbs
Sail area/ 120 sq ft
[/table]
Finished boats or plans for the Hvalsoe 18 are available from Hvalsoe Boats in Shoreline, Washington.
Is there a boat you’d like to know more about? Have you built one that you think other Small Boats Monthly readers would enjoy? Please email us!

Fine looking lines. Looks like a great solution for Tim’s trip. I hope to hear about it.
Recovering from a capsize was surprisingly easy. The video showed the boat coming up with little weight on centerboard and after it was righted it has plenty of freeboard.
On these craft, I find it useful to drop the main when I am bailing. Keeps the drama down as the boat rolls around. Mizzen keeps her aimed into the wind