You wouldn’t know from its good looks, but the Salt Bay Skiff is a quick-and-dirty boat to build. I discovered the skiff through the Willamette Sailing Club (WSC) in Portland, Oregon, where RiversWest Small Craft Center hosts an annual family boat-build on a summer weekend. For the past ten years, each participating family builds their own Salt Bay Skiff. Chuck Stuckey, one of the founding members of event, said, “We picked it because we believe it to be a real boat, not a 12′ toy.”
In 2017, my brother and I, with two of our friends, joined in the largest group to date, with 16 families packed into the club’s modest boat-parking lot. We started on a Saturday morning and the next afternoon rowed the unpainted hull across the Willamette River. With four adults aboard, it rode pretty low in the water but it did not swamp. With a rated capacity of 300 lbs for passengers and gear, the 500-or-so lbs we had aboard was, admittedly, pushing it.
 Photographs and video by Jay Hideki Horita of Outdoor Asian
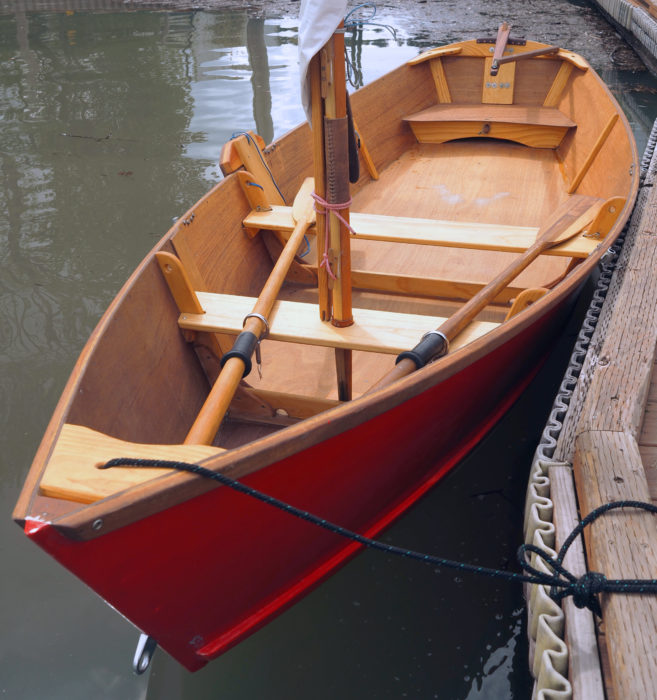
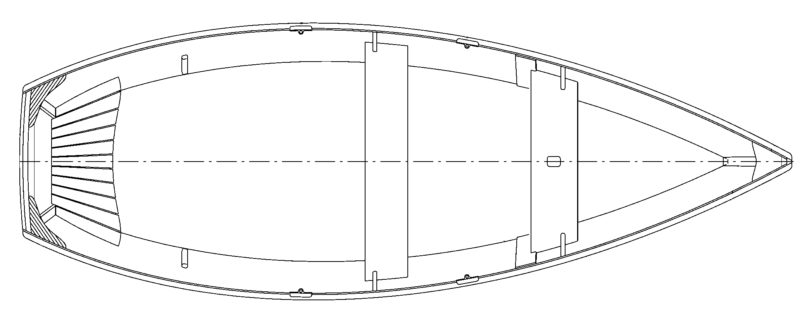
On the starboard side, amidships, you can see the tongue that holds the leeboard in place. The chine logs, on the outside of the hull, simplify and speed construction.
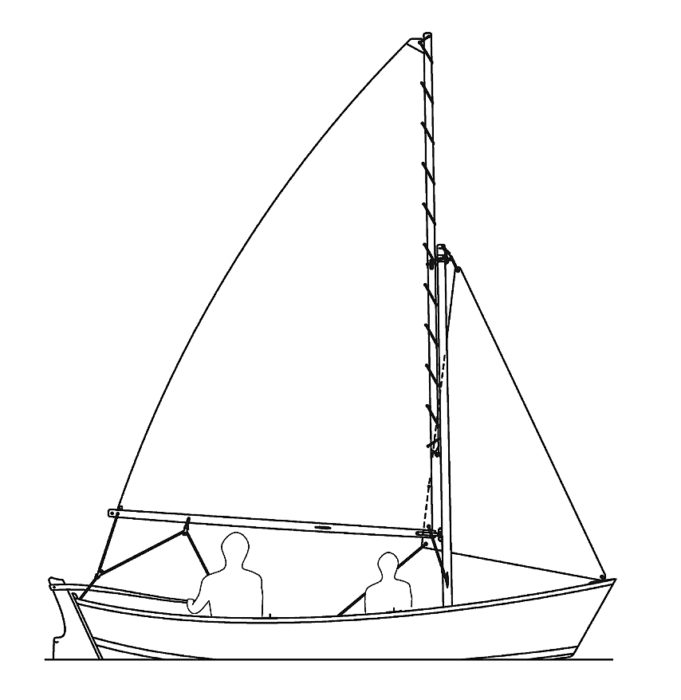
Designer Chris Franklin set out with the intention to create a simple, sturdy boat. It was introduced in Getting Started in Boats, Volumes 7 and 8, supplements to issues of WoodenBoat in the winter of 2007-08. These issues were specifically geared toward building boats with kids. Thanks to the simple design and ease of construction, there is plenty of flexibility for personal modifications. Most Salt Bay skiffs are built as rowboats, but some build them as driftboats by omitting the keel and skeg. The skiffs can be sailed, and the plans include dimensions and drawings for adding a leeboard, a rudder, a gunter rig with boom, and jib. Some builders have rigged the boat with the gunter without the boom, or without the jib, or with a lug sail instead of a gunter.
I decided on a sprit rig, for greater sail area aloft for the 9′4″ mast height, and included a boom for better downwind performance. I wanted a camp cruiser that I could sleep in, so I stayed with the leeboard to preserve cockpit space that would be taken up if I opted to install a daggerboard trunk. With a 12′ overall length and a 4′ beam, there’s not much extra room. A sprit rig and a leeboard may not be best for sailing upwind, but if I ever needed to travel against the breeze I figured I would simply strike sail, pull the board, and row.
The boat requires two 4′ by 8′ sheets of marine plywood: one 1/4″ sheet for the sides, and one 3/8” sheet for the bottom. A half sheet of 3/4″ plywood provides the transom, rudder and leeboard. Add to that a few boards of pine for the seats, quarter knees, breasthook, keel, and frames, and some strips for the gunnels, chine, and stem, and all that’s left to buy are glue, screws, and paint. At the family boatbuilding event, we used marine-grade polyurethane glue in place of the epoxy recommended in the instructions, as the two-day event couldn’t afford the time it takes epoxy to cure.
The volunteers who prepare the kits each year spend about two months of weekends and evenings for 12 to 16 boats, giving builders at the weekend event a head start. If you begin with nothing but a pile of wood and a bucket of screws, getting to a finished, painted boat rigged for sail can easily be done in the span of a summer.

The author’s sprit rig is a departure from the gunter rig in the plans.
The sail is where I diverged most from the original Salt Bay plans. Drawing upon the information in David Nichols’ book, The Working Guide to Traditional Small-Boat Sails, I determined the dimensions of the spritsail that would best fit my boat and my weight: 6′8″ luff, 7′7″ foot, 9′5″ leech, and 4′2″ head. I aimed to keep the mast height low to preserve stability by reducing weight aloft, and that led to the short luff. The boom could also only be so long before it extended beyond the transom, resulting in a shorter foot. Even with these limitations, the spritsail carried more area than the gunter main, while still meeting the constraints of the spars. The longer leech and head make up for the shorter luff and foot. The Salt Bay Skiff works with a variety of sails in the range of 30 to 50 square feet. My sail is 44 square feet.
I made the spars from spare lumber I scavenged from the RiversWest shop—primarily cedar, Douglas fir, and white oak. Though I made the spars lighter than the ones in the plans, they have held up to 15-knot breezes well enough in my opinion, and suggest the originals are more than stout enough.
The instructions don’t mention what material to use for the sails. The low-budget option is to make one from polytarp or Tyvek house wrap, and I considered this at first, but decided against it because the sails I had seen made with these materials appeared to stretch too easily. Luckily, another builder in the shared RiversWest workshop had an old genoa, and I reused its fabric for my own sail. The Dacron sailcloth was a little wrinkled, but to me looked much nicer than tarp or Tyvek.
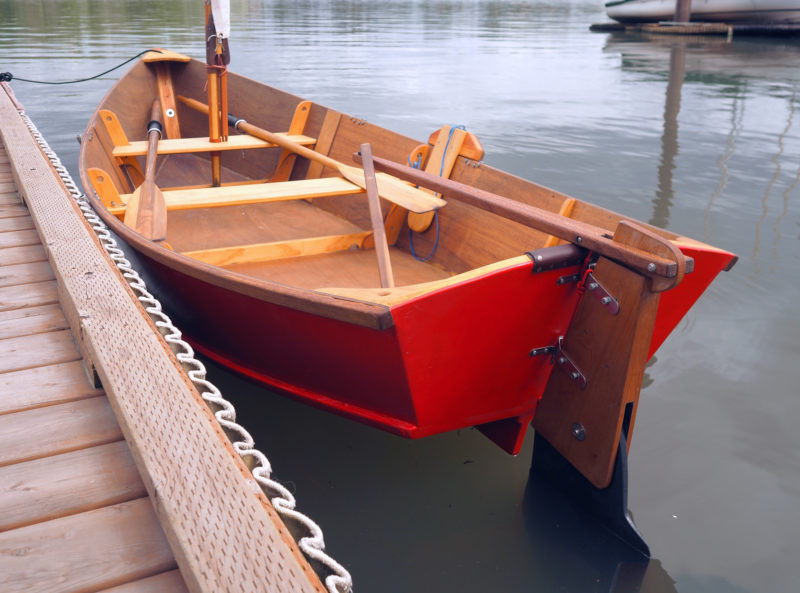
The plans specify an one-piece plywood rudder. The author made his rudder with a kick-up blade for sailing shallow waters.
The only changes I made to the leeboard were for aesthetics rather than improved performance. I made the rudder with a pivoting blade, rather than fixed, to make for easier beaching, and added an extension to the tiller. The rudder is a bit large for this size of boat, but that is useful when navigating at low speeds, not to mention sculling through lulls by wigwagging the tiller. A leather guard across the transom is important to protect both the tiller and the transom from abrading each other. The leeboard is symmetrical around its vertical axis and can be mounted on either side of the boat, and switched at any time. The tongue that slips inside of the gunwale fits nicely between the mid-frame and aft oarlock mounts.
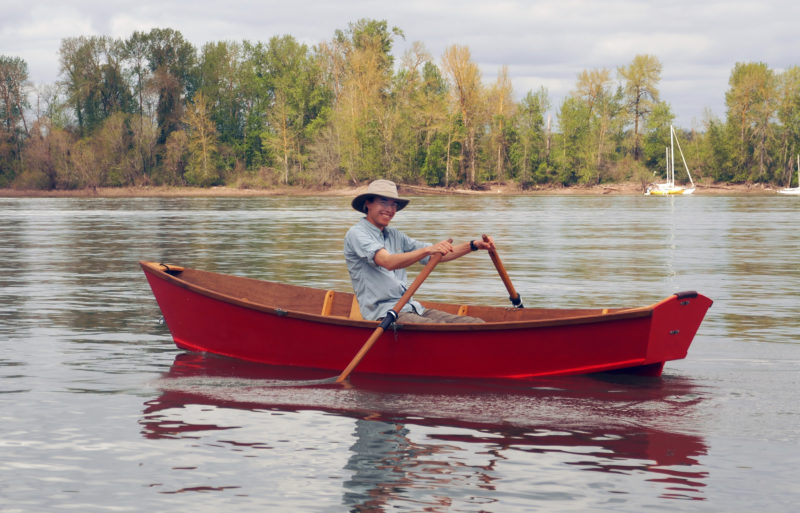
The designer recommends 7′ spruce oars for rowing and a pair of 5′ oars as auxiliary power when sailing. The shorter oars will take up less room in the cockpit when under sail.
For a boat that you can practically make with spare change and scrap lumber, the Salt Bay holds its own on the water. No one would expect it to break speed records, or to endure the ravages of estuary bars and whitewater rapids, but for having fun with friends or kids on a calm summer’s afternoon it does quite nicely. I found on my 100-mile voyage on the Columbia River that it can also serve as a cozy camp cruiser for protected waters.
For voyaging, the boat is really best suited for one adult. When messing about and traveling short distances, two adults or an adult and two kids is a comfortable occupancy.
The skiff has great secondary stability. When sailing, I have sometimes heeled the boat until the gunwale is inches from the water. This has also proved useful when I want to pool water along the chine for bailing. My friend John modified a Salt Bay by installing airtight tanks along the sides to provide flotation in the event of a capsize or swamping. Closed-cell foam blocks, tied down between the frames or under the thwarts would also keep the boat afloat.
Chances are, if someone is in a Salt Bay, it’s not going to be for clocking speed. Indeed, I haven’t myself. I’d estimate I row it at a steady 2-knot pace, with sprints just over 3 knots. Sailing downwind in a good breeze is the fastest way to go, topping out between 4 and 5 knots. What really matters is that it moves fast enough to feel like I can get somewhere.
The cost for my boat, including the sail, rigging, trailer, and cover, came in at just over $1,000. Keep in mind that much of it was bought secondhand or salvaged. For one who wants only to build the boat and has no need for a trailer or cover, the cost would certainly come in under $500.
The Salt Bay Skiff was easy to build, inexpensive, and car-toppable, but is also pleasing to the eye, and impressively functional. Taken in the context of the boating world at large, it’s a humble boat. But for those who own one, it often represents a first step into boatbuilding and boating. I could not think of a better companion for such a milestone.![]()
Torin Lee lives in Portland, Oregon, and wears a few hats at a local solar installation company. On summer weekends he teaches at the Willamette Sailing Club. He learned to sail in college, racing Flying Junior dinghies. He still enjoys racing with the club fleets, and got the boatbuilding bug from the folks at Portland’s RiversWest Small Craft Center.
Salt Bay Skiff Particulars
[table]
Length/12′1″
Beam/4′4″
Sail area, main/38 sq ft
Sail area, jib/13 sq ft
Weight/ under 100 lbs
[/table]
The full-sized printed plans mentioned in the articles are available for $50 from designer Chris Franklin at [email protected]. Plans and instructions for the Salt Bay Skiff are available as digital downloads of Getting Started #7 and Getting Started #8, available from The WoodenBoat Store for $1.95 each.
Is there a boat you’d like to know more about? Have you built one that you think other Small Boats Magazine readers would enjoy? Please email us!








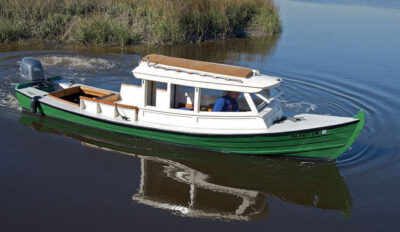
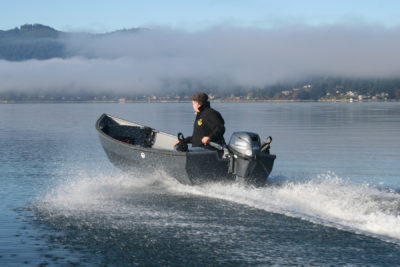
After a lifetime of designing and building “perfect” boats with great care and expensive materials, I’ve recently developed an appreciation for simple, inexpensive, quickly built boats. Don’t get me wrong, the sleek, pricey, soft-form boats really are better, but using them in less than ideal conditions can be fraught with unwelcome anxiety. I live in an area blessed with rocky rivers teeming with fish that I’ve always been hesitant to chase after in my “good” boats. This was intolerable to a fishing addict like myself. A couple of years ago I went to a big-box store and bought four sheets of 1/4″ construction-grade plywood and a couple of 2x4s, which my wife and I cut, bent and glued (without plans) into a basic dory shape. We covered it in epoxy-saturated fiberglass to make what has become the most-used boat in our collection. No, I would never put my company name on it, but I’m loving the newfound freedom that comes with owning a care-free quick and dirty boat.
I have one in my barn at this time, but a friend built it, so I have no plans. I need a set of plans for the mast, boom, and sails, also names of sailmakers.
Thanks,
Jerry