SYMRA is a classic wooden sloop designed by John Alden and built by the Edison Vocational School in Seattle, Washington. She was launched in 1941, and has been in my family for 66 years.
When I took over her stewardship from my father in 1974, I soon grew extremely frustrated with the quality of the paint lines I was achieving with masking tape. Unless that 1970s-vintage tape was applied with enough pressure, paint would seep under its edge and leave a mess; tape applied with enough pressure to prevent seepage often pulled away small pieces of the underlying freshly applied topside enamel when the tape was removed.
In those days I was masking both the boot top and covestripe. After those early disastrous experiences, it was easy to jettison the accenting covestripe and leave the cove the same shade of white as the hull. SYMRA has relatively low freeboard, and didn’t need this accenting element. But I wanted to keep the boot top, and this presented a different problem.
Sponsored by: Pettit Paint
I solved the boot top problem by scribing in its lines and painting freehand—that is, without masking—to these scribed lines. In the heyday of wooden yachts, this was actually the standard approach to painting waterlines. It yields a line that’s more eye-pleasing, and more repeatable, than a taped one.
Emboldened by my newly developed skill at painting without tape, I soon learned how to paint the enamel surfaces above decks—the cabin sides and trim—without resorting to tape. I now paint everything without tape except for the line where the paint of the cabintop meets the varnished teak trim; for this line, I use automotive detailing tape. Practice has made me a better painter. But one must start somewhere, so here are some fundamental concepts I’ve learned over the years.
SYMRA needed new paint on the cabin sides. That project serves as an example of how I prepare her for painting, and what can be done without tape.
 Nancy Bourne Haley
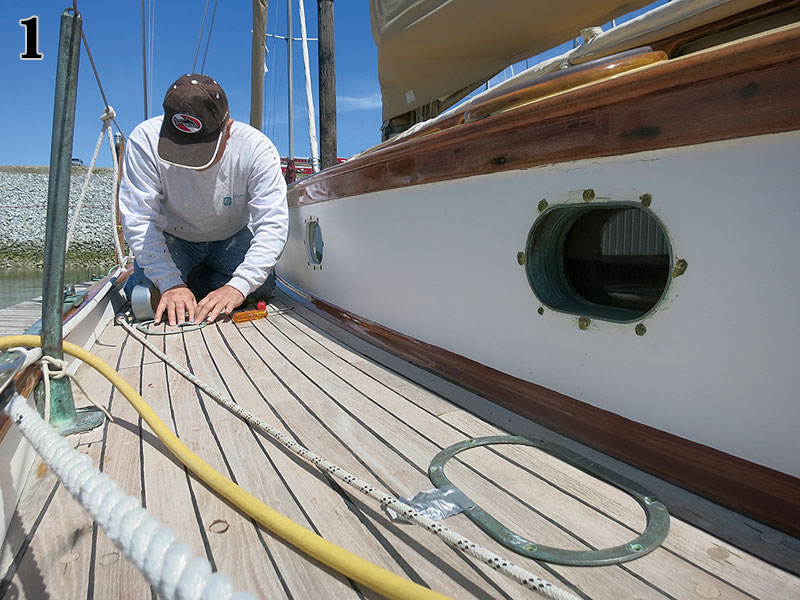
Photo 1—The job begins by removing any hardware that’s easily taken off and later refastened, such as the bronze portlight bezels. To keep track of their wood-screw fastenings, I duct-tape them to the bezels. Painting without hardware in place undoubtedly creates a cleaner edge and keeps paint from building up in the corners, but removing hardware must be balanced against the time required to properly refasten it. Often, cutting a paint line to a piece of hardware, being quicker, is the way to go.
 Nancy Bourne Haley
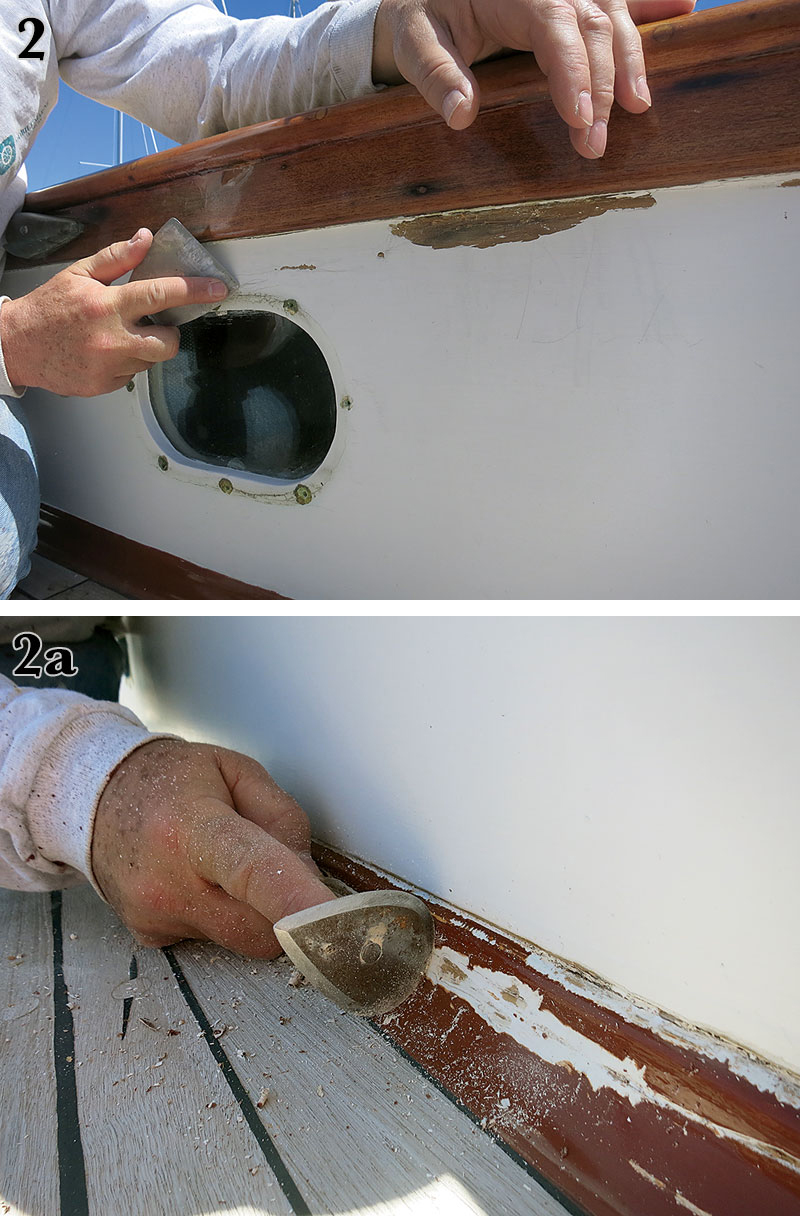
Photos 2 and 2a—The first step in preparing the surface is to chip away loose flakes and bubbles using a putty knife whose corners have been rounded to avoid gouging the wood. Those rounded corners can be used to “open up” an area of loose paint. Following up with a sharp scraper removes any paint that isn’t very well stuck to the surface. I use a teardrop-shaped scraper. Its flat edges work well on the wider expanses of the cabin sides, and if rotated, its radiused profile works nicely on the coved-out area where the sides meet the deck.
 Nancy Bourne Haley
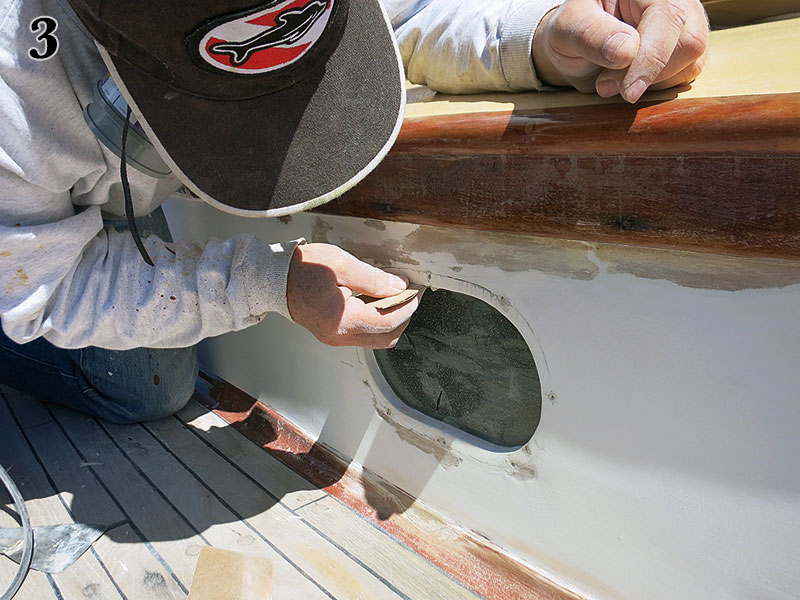
Photo 3—With scraping complete, I sand the entire surface with a square-pad orbital sander. I use coarse grits (100–120) for “feathering” the edges of bare spots, and finish the entire surface with 150–180-grit. I’m careful to not over-sand when feathering, as this will only dish-out the bare wood. Certain areas, such as where window glass meets the house sides, must be carefully hand-sanded so as not to scratch the glass.
 Nancy Bourne Haley
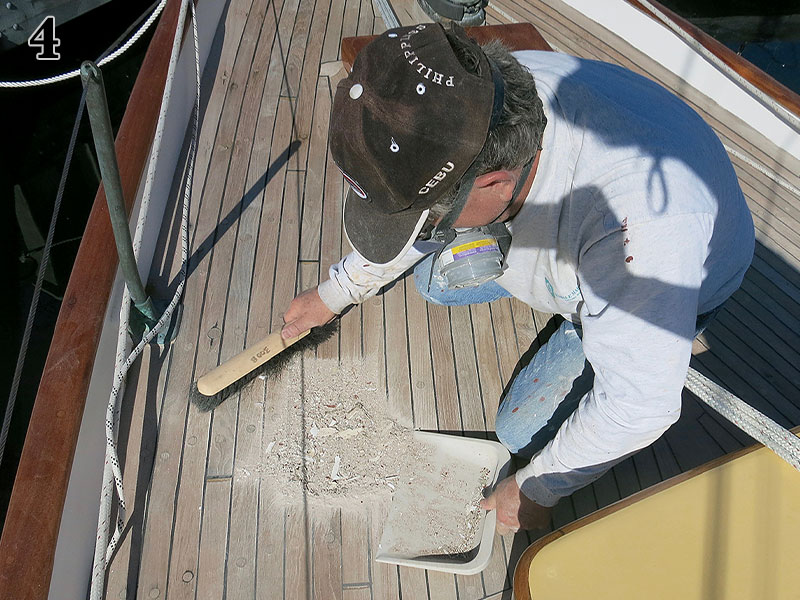
Photo 4—Tidiness is critical to a good job. When the scraping and sanding stage is complete, I do a good cleanup before moving on to the next step.
 Nancy Bourne Haley
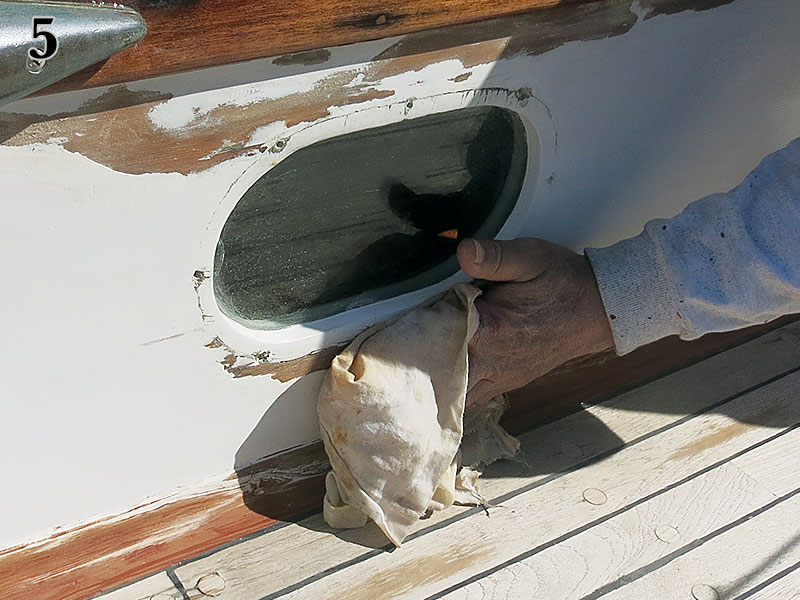
Photo 5—In preparation for undercoating, all bare wood is wiped clean with a fast-evaporating solvent that does not leave a residue. Generally, the proprietary thinner you use with your brand of paint is appropriate for this.
 Nancy Bourne Haley
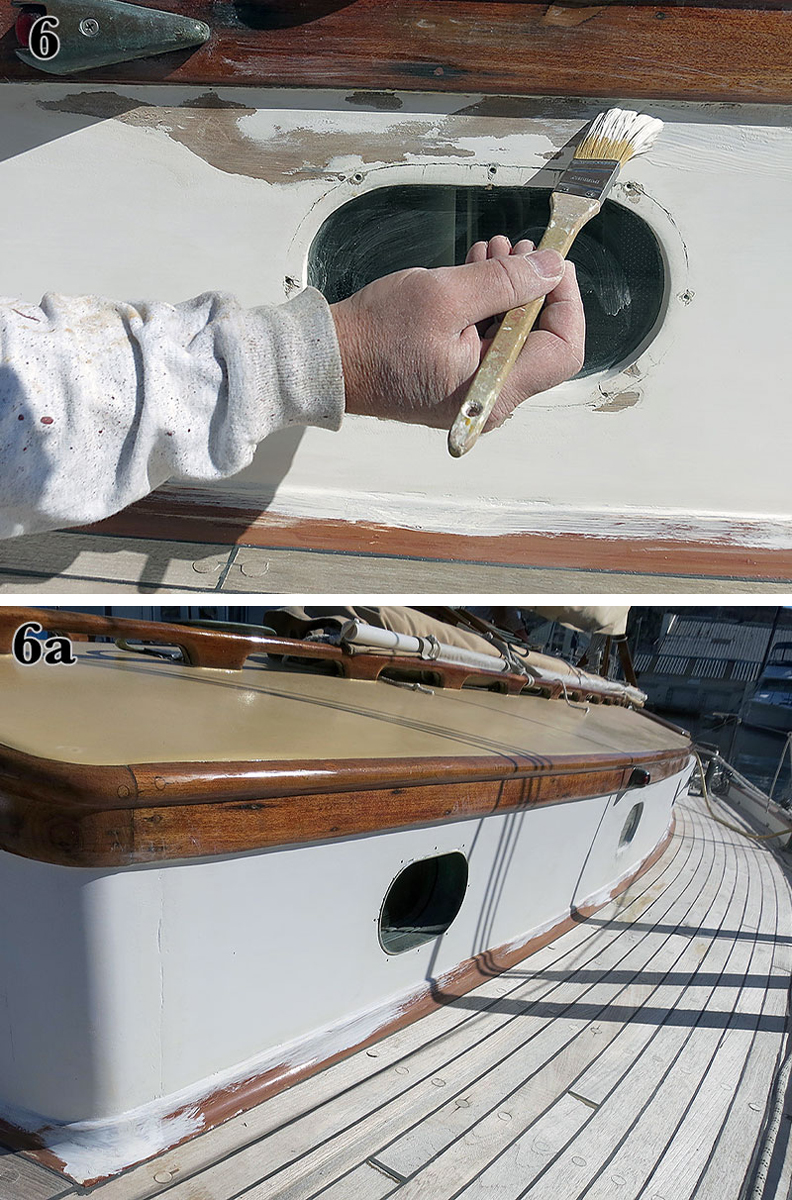
Photos 6 and 6a—All bare wood is spot-primed with an appropriate undercoat. This serves a few purposes: it begins blending the bare wood’s color with the surrounding paint, and it provides a surface for the glazing, which will come next. Glazing fills in the “craters” created by the scraped-bare wood, whose surfaces do not match the level of the surrounding areas that are still built up with paint.
 Nancy Bourne Haley
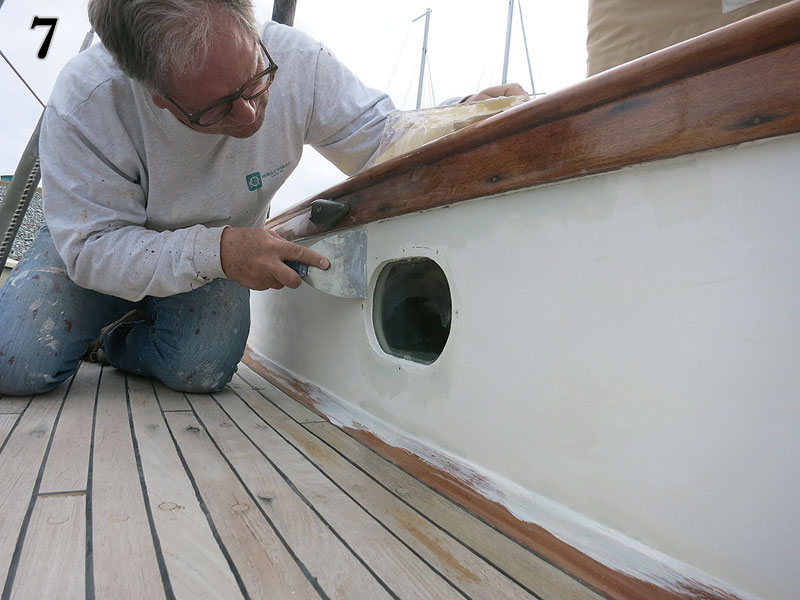
Photo 7—Here, the scraped, sanded, and primed areas are being glazed, or built up, to the same level as the surrounding painted surface. The choice of product is important at this step. I use Evercoat Polyester glazing putty with white hardener (not the blue hardener that comes with the can, as this would require additional undercoating to match the finish color) to avoid having to apply two coats of undercoat before painting. Evercoat is a super-smooth, non-shrinking, and easy-to-sand glazing compound that yields a very fine surface. Resist the urge to use Bondo here: it is hygroscopic, meaning that it absorbs water, which can lead to finish failure (at best) and rot (at worst).
 Nancy Bourne Haley
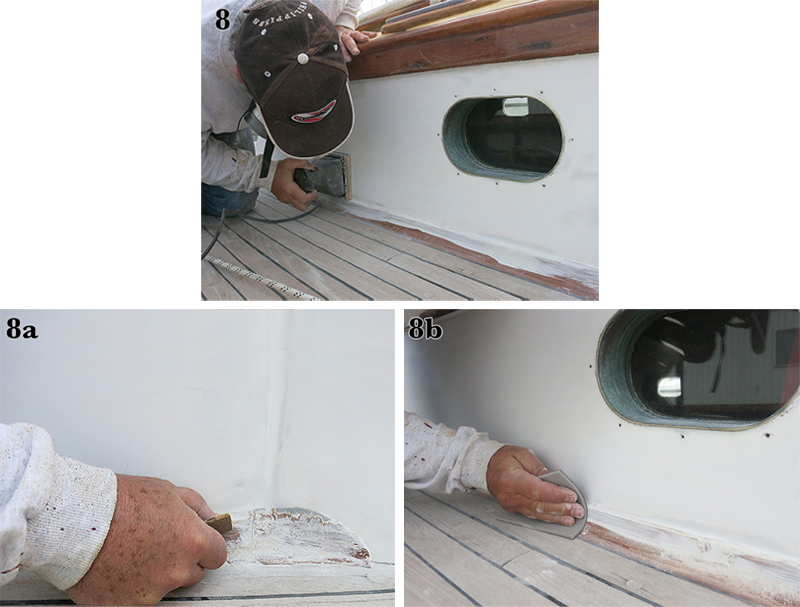
Photos 8, 8a, and 8b—I use an orbital sander with a firm pad, fitted with 150-grit paper, to sand the glazed surfaces flat to match the surrounding areas. A round, random-orbit sander works here, too, but the square pad can come closer to intersecting surfaces without damaging them. Tight spots, again, must be hand-sanded. The coved-out base trim is hand-sanded with a sanding sponge. Note the areas of the previously glazed cabin sides around the portlight, which have been sanded flat. Once all glazed surfaces have been sanded smooth and fair, they receive a second coat of primer. This is then hand-sanded smooth with 180-grit paper. If this hand-sanding breaks through to bare wood in any areas, here’s a neat trick to quickly repair them: give them a light spray of an oil-based primer. I use Zinsser Cover Stain, which may be found in almost all paint stores. This will dry in a few minutes and can be painted over with enamel almost immediately.
 Nancy Bourne Haley
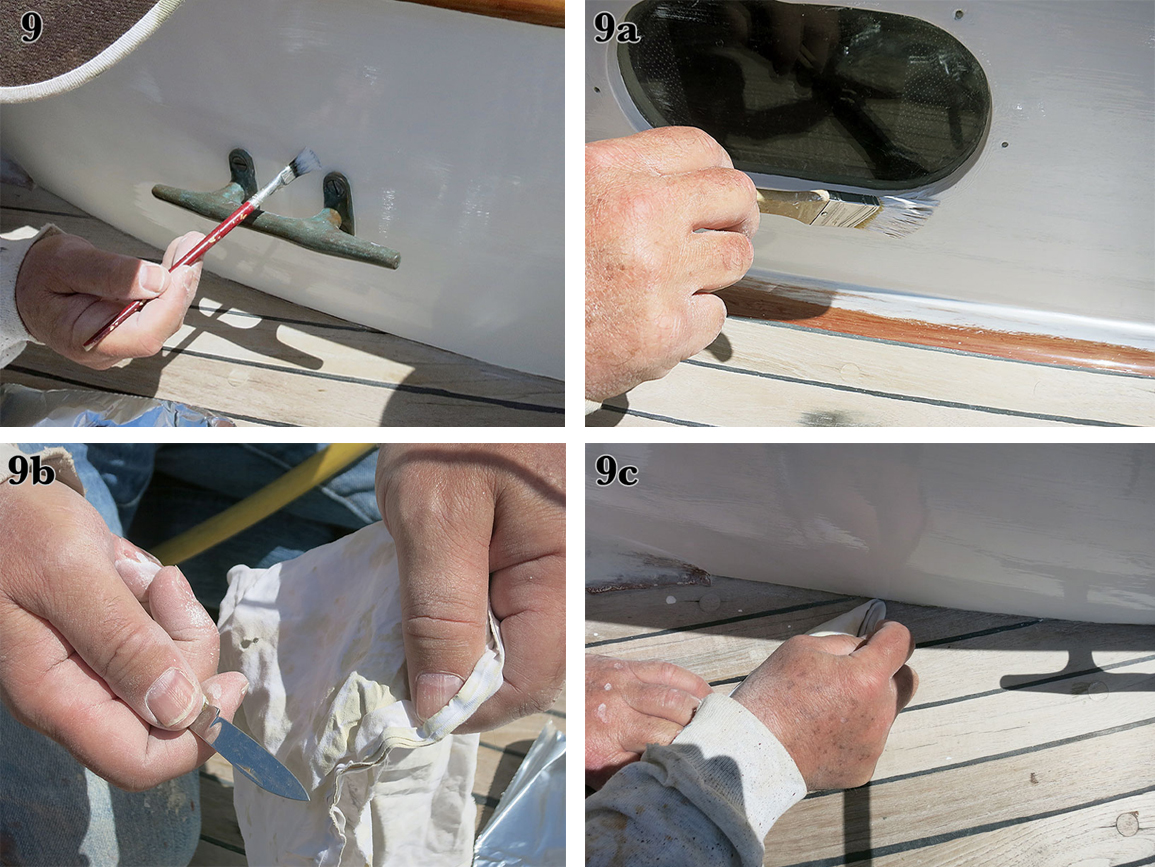
Photos 9 and 9a—I keep several brushes on hand and select the right-sized one to “cut in” various areas while simultaneously keeping my wet edge advancing. The smallest brushes allow for delicate painting up to bronze hardware. Slightly larger ones—say, 1″—ease the job of cutting in against varnished surfaces or the deck; they hold adequate paint, but don’t dispense it so heavily that it ends up where I don’t want it. But, if it does, a knife point wrapped with a rag can be used to clean the deck or bronze hardware of unwanted wet paint (Photos 9b and 9c). Any drips or excess paint on glass can be scraped off with a razor blade when dry.
 Nancy Bourne Haley
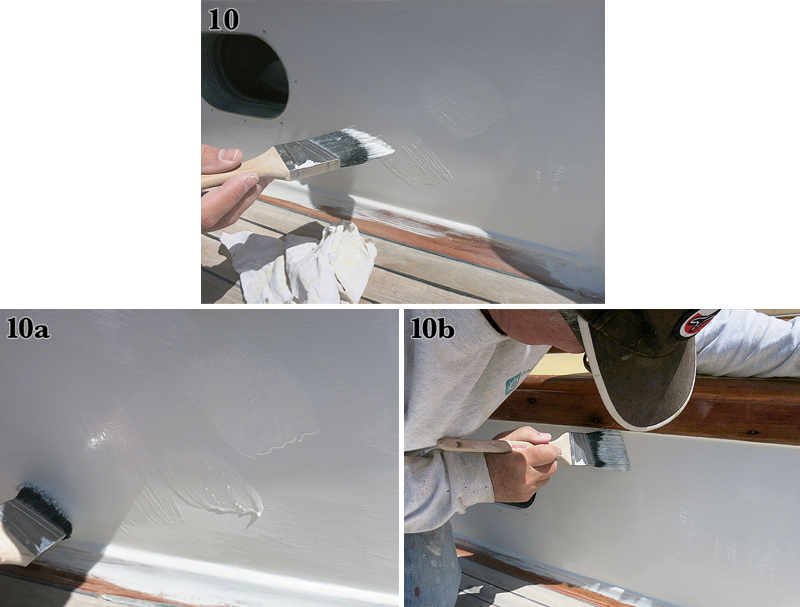
Photos 10, 10a, and 10b—While cutting-in the nearby edges, I also paint the flat expanses of the cabin sides. To properly load the brush, I dip it in paint about halfway up the length of the bristles, wipe one side on the edge of the paint pot, and then dab paint onto the surface in a criss-cross pattern next to the so-called “wet edge”—the advancing front of the new paint. I then brush out those criss-crosses to cover the entire section and blend it into the wet edge of the previously painted section. Long, flowing strokes parallel to the grain avoid sags and lead to smooth dried surfaces. Especially in warm weather, I use Penetrol, a paint additive for oil-based finishes; it helps maintain a “wet edge” as the painting progresses, and it helps the paint to “level”—that is, for the brush marks to disappear.
 Nancy Bourne Haley
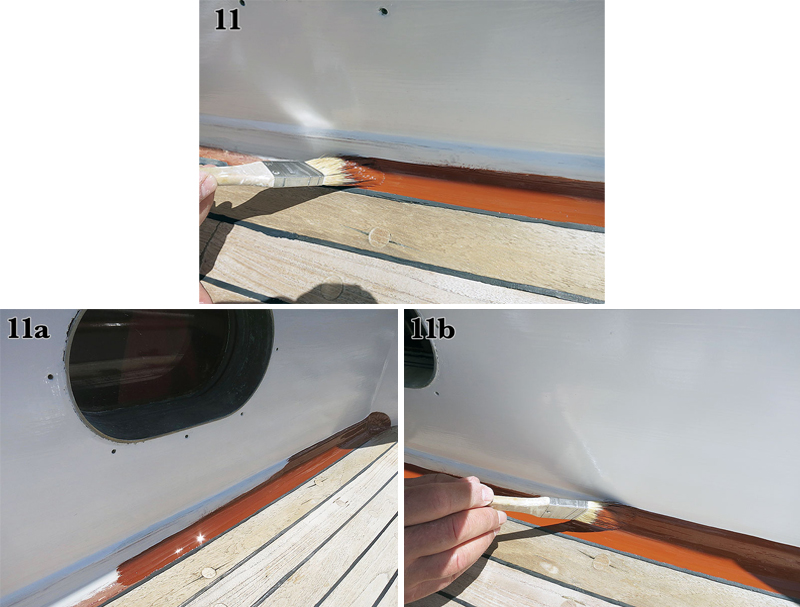
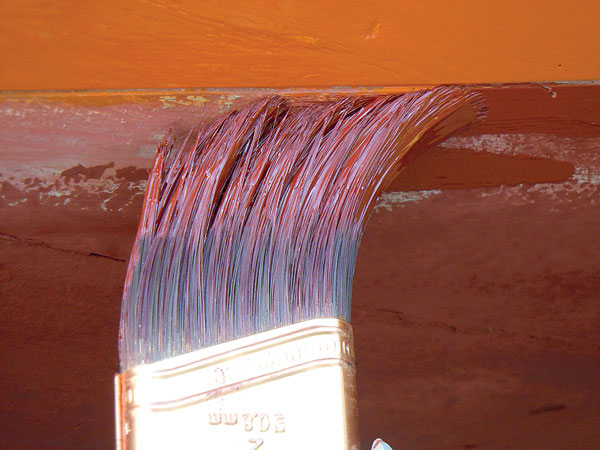
Photos 11, 11a, and 11b—For areas such as the cove where the cabin meets the deck, I first brush paint onto the center of the piece, and then lay a bead of paint along its bottom edge, next to polysulfide deck-seam compound. I then cut in the top using the intersection of the cabin side and trim-piece as a natural “edge” to be followed. Long, smooth paint strokes push paint up to the white cabin side. Note the orientation of the brush: it is skewed slightly, so only its very tip is working along the edge.
 Nancy Bourne Haley
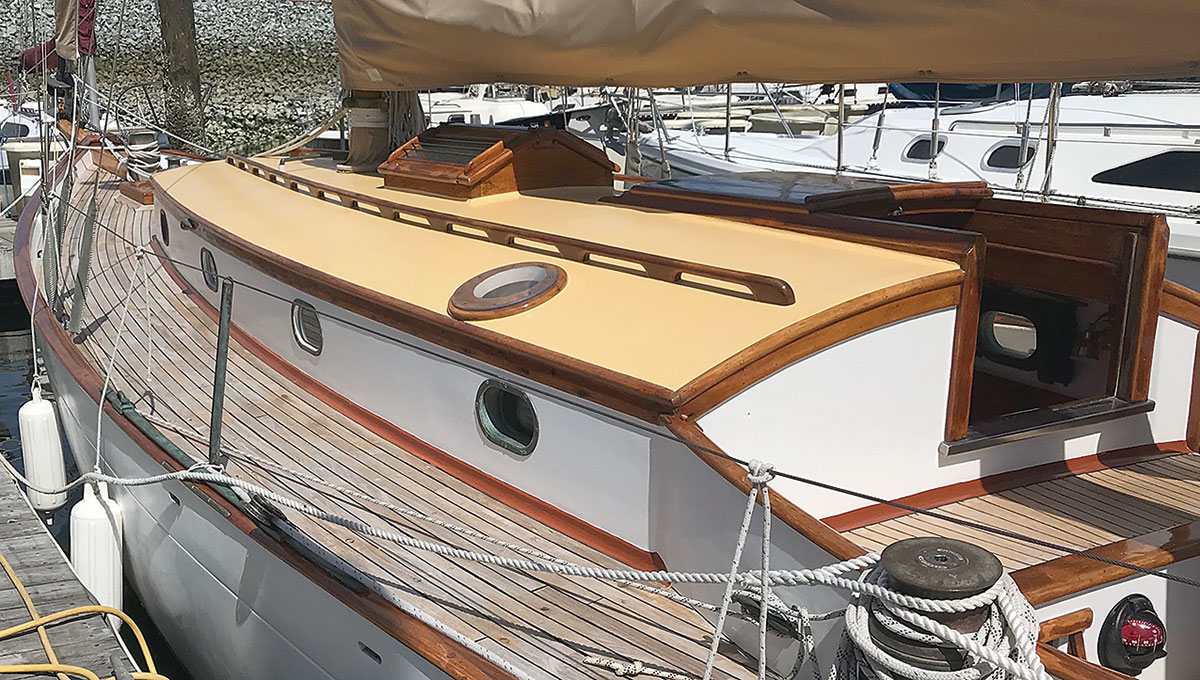
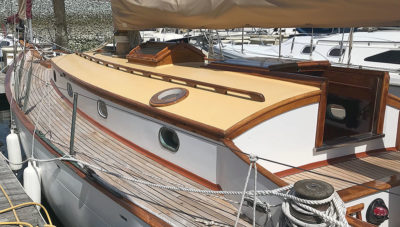
Photo 12—Here is the finished job, accomplished without the mess, waste, and potential damage of masking tape.
Mark Haley, who is now in his seventh decade, is a lifelong sailor and racer. He has been sailing on SYMRA out of her home port of Tacoma, Washington, since he was a one-year-old; his father began having him at the helm, on his own, at age 11. He has sailed out of or between five continents.
Painting Scribed Waterlines
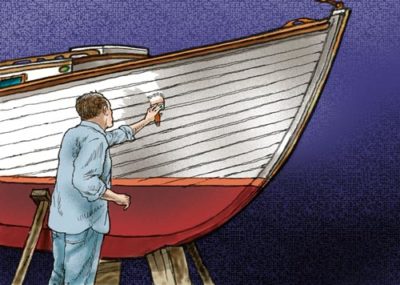
A yacht’s waterline is typically scribed into the hull, meaning it is delineated by a shallow, precise, line that’s cut into the wood’s surface. If there is a boot top, then there are two such lines to scribe. These lines do more than record the locations of waterlines; they also provide a means by which one can “cut-in” the paint.
A waterline has to be periodically rescribed after sanding and paint begin to obscure it. If the line is still fair and correctly located, then one can simply tack a batten along it, and then, with light pressure, drag the corner of a saw along it to scribe the line. If the scribe marks have been obliterated, then the scum line, or line of oxidized bottom paint, can serve as a reference provided the boat has been in proper trim. (The bottom paint should reach above the line of flotation for effectiveness as well as appearance.)
The boot top is maintained in the same manner as Mark Haley’s cabin sides: scrape, sand, prime, glaze, sand, prime, and paint. As with Haley’s description of cutting-in the red trim detail against his white cabin side, a scribed waterline provides a natural detail to which to cut. When an observer backs away just a few feet from the boat, the scribe mark is imperceptible to the eye; all one perceives then is the crisply cut waterline. Some painters imagine the scribe mark as a sort of micro-moat. They load the brush with a modest amount of paint, and hold it slightly skewed to its direction of travel so that only the tip is contacting the scribe mark. As the brush moves along the scribed line, paint flows off it and into the “moat.” It takes a steady hand, but the scribed line provides a sure reference. If the amount of paint is, indeed, modest, then the paint will be contained by the scribed line, and a fair and smooth painted line will develop. Other painters see the scribed line as a sort of fence, to be painted up to, but not in to; this has the benefit of not filling in the scribed line with paint. Regardless of which technique you develop, the rest of the area is painted as portions of the line are cut-in.
Mark reports that he used a 1″-square residential painting pad—an “edger”—to paint his waterline, with very good results. —Eds.


Great article, learned a lot even after twenty years of wooden boat painting, varnishing and general maintenance. I, too, use Penetrol for the very reason that Mark points out, leveling and keeping the elusive “wet edge.” I was a little surprised that he is using a polyester-based product to glaze. I was always told that polyesters were a “no-no” for marine applications. His rationale for not using Bondo makes sense, so perhaps this Evercoat is a better product for life on the sea. Will have to try it.
Again, great article, good photos, well written.
Great article and impressive skills you have both in your work and describing your method. Thanks for sharing.
One question for you, if I may, is the cove piece painted with a Pettit product and what color is it known by?