Moving back home to Eastern Washington after being away for decades required that I get a boat. Lakes Coeur d’Alene, Priest, Chelan, and Roosevelt, together with the Columbia and Spokane Rivers, needed to be re-explored. Alright, as my wife correctly noted, “required” is too strong a word. Nonetheless, the move gave me a good excuse to buy or build a boat.
My requirements were simple. The boat would have to be light enough to tow behind our four-cylinder SUV, small enough to fit in the garage, and capable of getting two of us and our gear the 50 miles from the south end of Lake Chelan to Stehekin on the north end and back again in the afternoon when the lake gets rough.
Although there are many affordable aluminum and fiberglass boats that would serve my purpose, I wanted something distinctive. Fond memories of my uncle’s 16′ Thompson Sea Coaster, with its lapstrake hull and mahogany deck, prompted me to look for a small wooden boat to restore, but I didn’t find one nearby. While searching for an old boat, I came across the Peeler Skiff, a 15′ plywood kit boat from Chesapeake Light Craft.
Although I am proficient in the use of hand tools and have built a model, I’d never built a boat before. Before purchasing a boat kit I studied the thorough and well written Peeler Skiff construction manual, read posts on the Chesapeake Light Craft’s Builder’s Forum, and watched YouTube videos about stitch-and-glue construction, roll-and-tip painting, rotary steering installation, and striking a straight waterline.
 Fred Corbit
The kit parts are assembled using cable ties rather than copper wires. The aft frame’s center section is precut so it can be removed after it is no longer needed to stiffen the frame during construction.
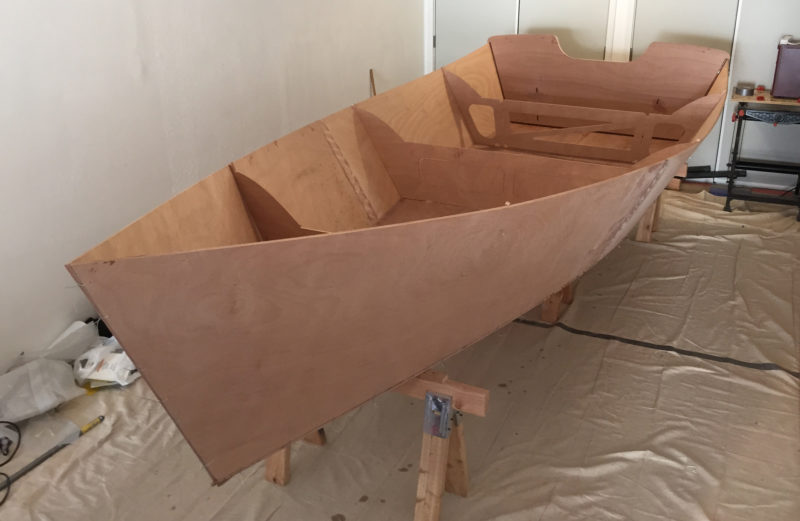
Eventually, I became confident that I could build a Peeler Skiff and bought the kit. I was able to build the boat in my 12′ x 20′ garage—adequate room for building, flipping, and painting the boat. The garage is heated so I was able to build the boat during the winter using the MAS epoxy with non-blushing slow hardener supplied with the kit. I kept the garage around 60 degrees Fahrenheit as recommended for curing of the epoxy.
My inexperience with boatbuilding caused me to waste some epoxy, and as a result, I had to order more epoxy than what came with my kit. The extra epoxy allowed me to practice laying down good fillets before applying them to the boat.
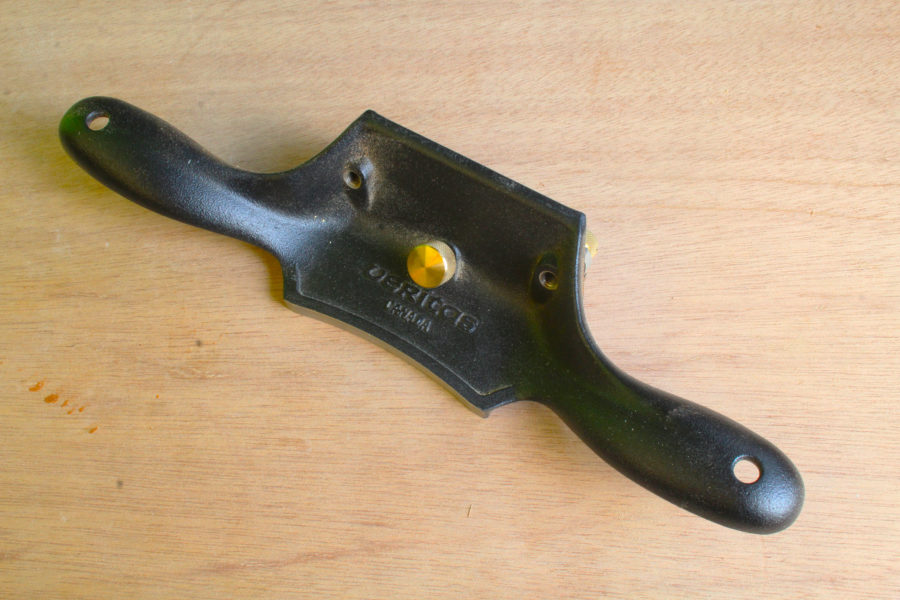
There were some new tools I bought that turned out to be useful in construction, including a Shinto rasp, a Japanese saw, and a set of rifflers for smoothing fillets in tight corners. Because I was a novice at applying epoxy, and there were many high spots that had to be leveled, the tool I used most was my orbital sander connected to a shop vacuum for dust collection.
The plywood pieces in the kit are precisely cut on a CNC machine. Pieces to be joined to form long panels had tight, curvy puzzle joints. The bulkheads had tabs that fit in slots in the bottom to assure proper position and alignment, and the aft flotation-compartment sides also had tabs to fit slots in the transom and center bulkhead. Pre-drilled holes in the panels further assured properly positioned pieces.
 Courtesy of Chesapeake Light Craft
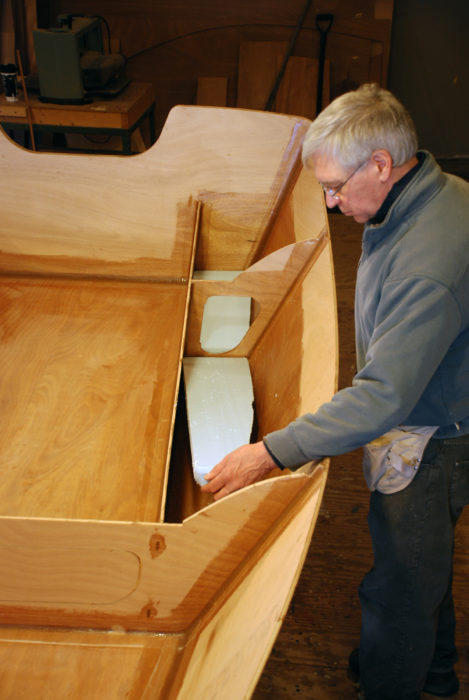
Foam cut from sheets provides flotation without poured foam’s propensity for creating rot.
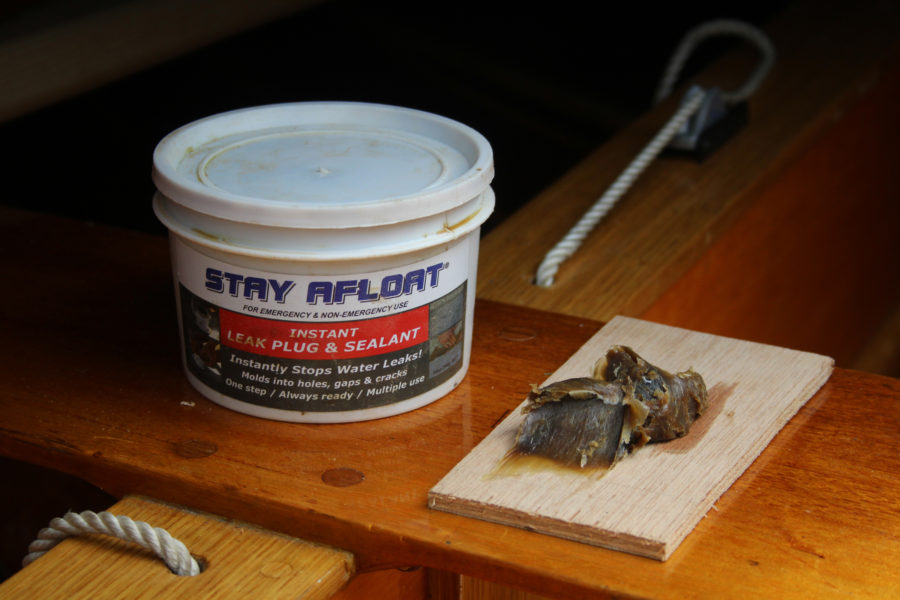
The skiff has three flotation compartments, one in the bow and two in the stern under the side benches. Together these compartments, filled with stacks of sheet foam shaped to fit, provide 1200 lbs of flotation in the event of a swamping.
The boat has to be flipped a few times during construction, so it is wise to enlist the help of some strong friends and to have sturdy sawhorses ready. During the holiday season, I had several family members over to my house to watch football and we flipped the boat during halftime.
While the hull was upside down, the extra epoxy I purchased made it possible to add an optional second sheet of 6-oz fiberglass on the bottom as recommended in the manual. The doubled ‘glass, covering the 3/4″ thick plywood bottom, the 3/4″ thick doubler over the center seam, and the two skids, made a stiff bottom.
 Courtesy of Chesapeake Light Craft
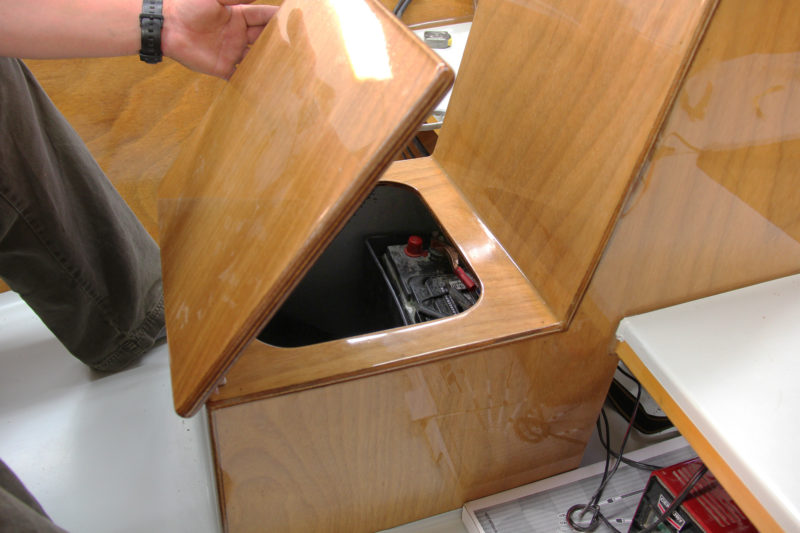
The center-console option adds a seat with a backrest and a storage compartment for battery.
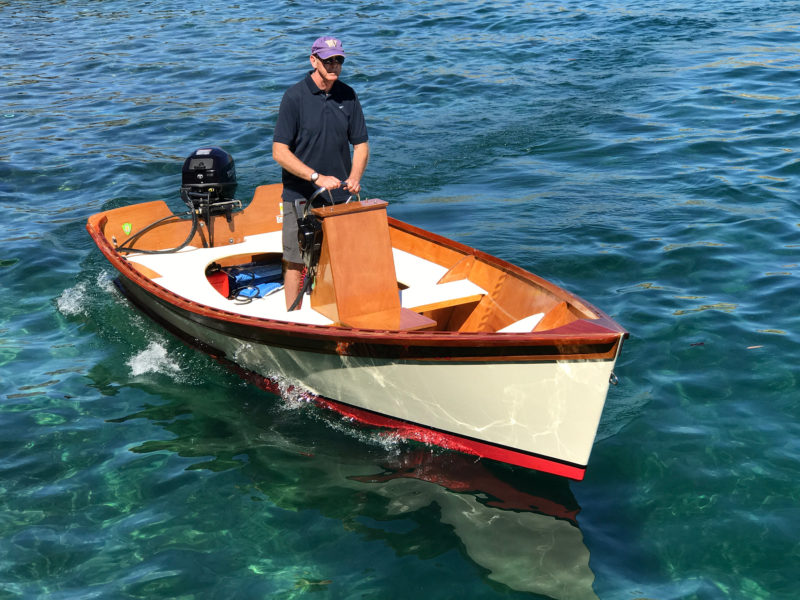
In a basic Peeler Skiff, the skipper sits at the stern and steers with the outboard’s tiller, but I much prefer, and strongly recommend, the center-console option. With it, the boat looks good and drives nicely. The center console brings the weight forward to help keep the bow down, provides a seat and backrest for a passenger, and incorporates a storage compartment that I use for my battery. On the console, I deviated from the construction instructions in once instance. Instead of using wood screws to hold down the top, I permanently affixed stainless steel hanger bolts in the console and used stainless steel washers and cap nuts at the top. The change provides an attractive accent that matches the steering wheel and gives me easier access to the steering system than I’d have with wood screws and finish washers.
 Merilee Corbit
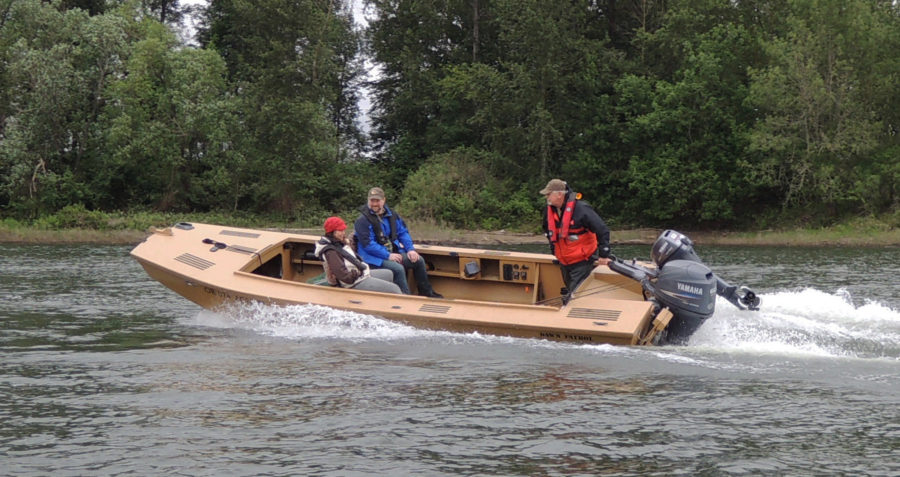
The skipper has a non-skid surface to stand on; for longer runs there’s room to set up a folding chair.
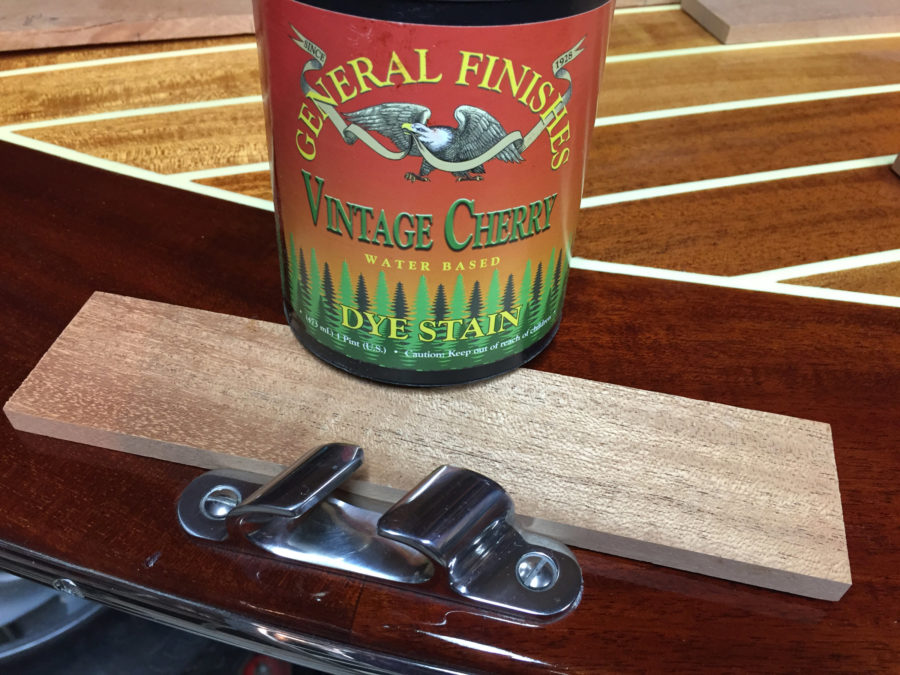
The various paint and varnish options had me scratching my head, but what I selected has worked out well. For the bottom, I used Petit ViVid antifouling paint directly over sanded epoxy. For the finish coats and boot stripe, I put Interlux Pre-Kote primer on the sanded epoxy and then applied Interlux Brightside. Where my passengers and I would stand, I added Interlux Intergrip in the final coat of paint for a nonslip surface.
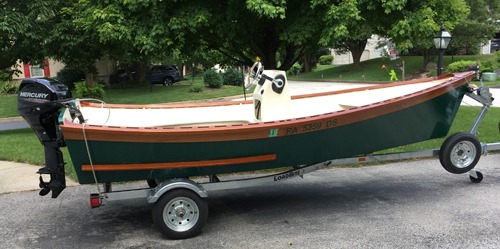
For my brightwork, I used Interlux Schooner Varnish. I think the varnished woodwork is what prompts many of the compliments the boat gets. I painted the bottom, transom and some of the horizontal surfaces in the interior, but the natural wood shows on the interior’s vertical surfaces, center console, splash rails, sheer strakes, breasthook, quarter knees, inwales, and outwales. The varnished okoume, with the interesting puzzle joints, is a beautiful sight.
The instructions estimate a construction time of about 200 hours. It took me about 250 hours to get from kit to launch, not too far off the mark considering the extra layer of glass on the bottom and the center console construction.
 Merilee Corbit
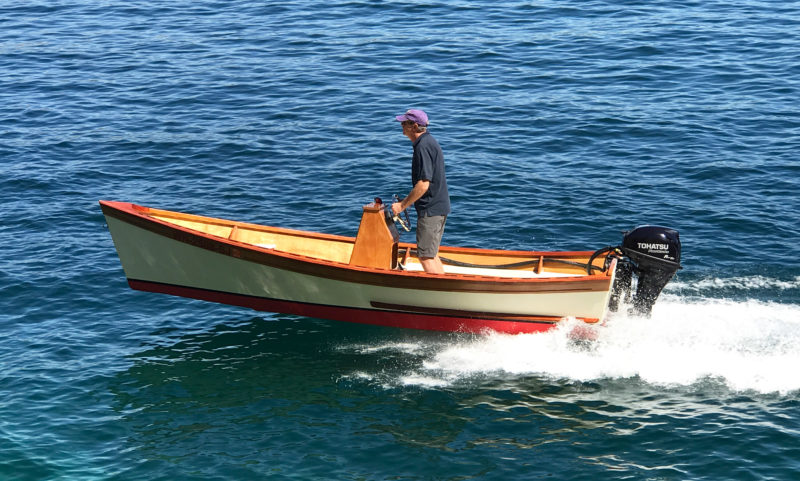
The fuel tank rides just in front of the transom. The motor is bolted on to give it a solid, permanent mounting.
The Peeler Skiff, at around 325 lbs, is a very light boat. It is approved for up to an outboard motor up to only 15 horsepower, so I purchased a 15-hp Tohatsu with a 20″ long shaft, an electric start, and power tilt. My motor came with well designed remote controls that I attached on the starboard side of the center console. With one hole drilled in the forward corner of the main seat and holes drilled in the starboard bulkheads, I neatly routed the control cables to the motor. Because I had selected a motor that was within the Peeler Skiff’s Coast-Guard rating, I was able to have the Tohatsu dealer install it. The shop mechanics appreciated my new boat and took pride in their work, which made me comfortable when they were drilling the holes for motor mount bolts into the shiny transom.
 Merilee Corbit
The center console brings the weight of the helmsman and the battery forward to improve the Peeler’s trim.
The 15 and 20 hp Tohatsu motors weigh the same, and I was tempted to put on a 20 hp motor for a little more speed. I’m glad I didn’t cheat—while I may have gotten away with using 20 horsepower when the water was smooth, I go fast enough with the 15 horsepower motor and feel comfortable loaning my boat to friends and family even though some of them are novice boaters. With 15 horsepower, with two of us aboard, and loaded with gear and gas, my Peeler Skiff quickly gets to a plane and moves along a smooth lake at 18 mph. At that speed it only uses about one gallon of gas per hour.
The boat always feels solid even though the flat bottom does cause me to pull back on the throttle to minimize pounding when the water is very choppy. At those times, I think the extra sheet of fiberglass really pays off.
 Merilee Corbit
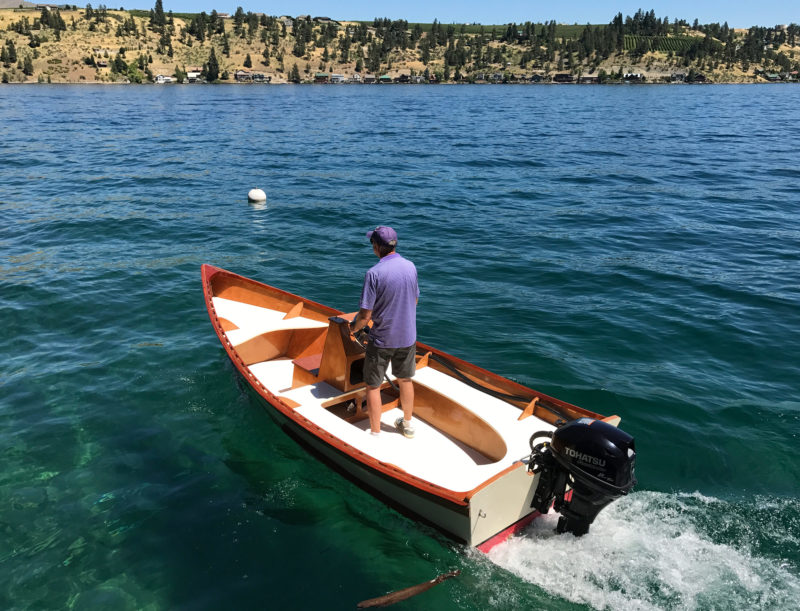
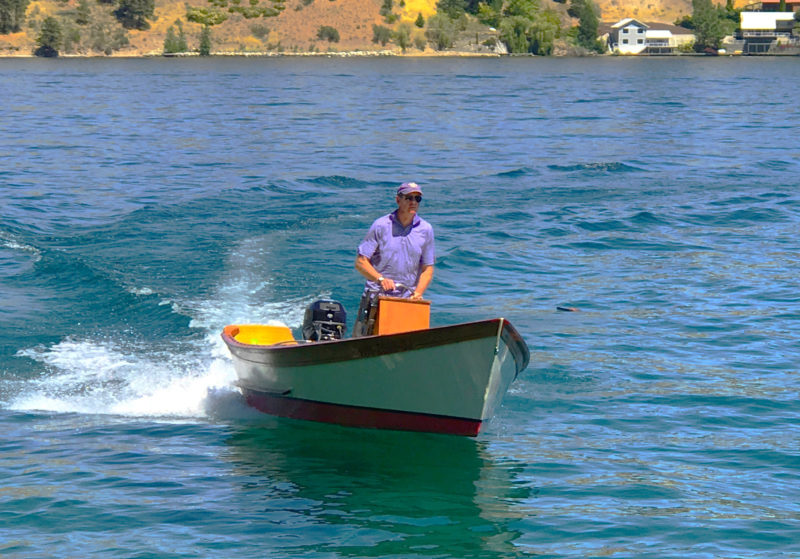
The Peeler carves through turns without skidding and banks enough to make it easy for the skipper to remain standing.
The boat rides a bit bow-high; I installed a small hydrofoil stabilizer on the cavitation plate of my motor to help keep it down. When turning, the boat is steady and does not skid around. At all times the boat feels stable, even when the people on board move around or when they shift to one side to put out the fenders while docking.
My Peeler Skiff was fun to build, looks great on a trailer and on the water, and performs as well as I hoped it would. It has now taken me on dozens of trips and has attracted numerous admirers. It is the rule, not the exception, that I get compliments about the boat at every launch ramp and gas dock. I would build another Peeler Skiff if only I had another excuse.![]()
Fred Corbit grew up around small boats in Eastern Washington. As a preschooler, his mother would put him in a life jacket and let him alone to row a small wooden boat that was tethered by a long line to a dock on Lake Chelan. Later he learned to drive his uncle’s Thompson outboard skiff, and when he went off to college he sailed Lasers and Hobie Cats. When he began a career as a lawyer in Seattle, he raced J-24s and Soling sailboats, and kayaked on Puget Sound. He and his wife now live in Spokane where he is a United States Bankruptcy Judge.
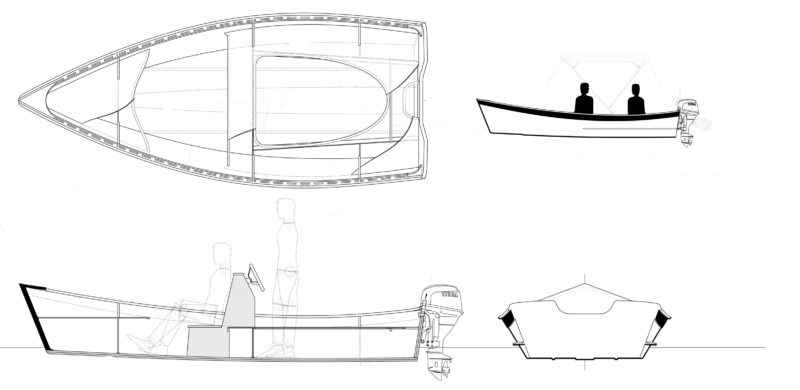
Peeler Skiff Particulars:
[table]
LOA/15′ 2″
Beam/6′ 3″
Hull weight/325 lbs.
Rated capacity/4 persons or 840 lbs. (1000 lbs. persons, motors, gear, 15 hp motor)
Recommended outboard/8 to 15 hp
[/table]
Peeler Skiff plans ($134) and kits ($2547)can be purchased from Chesapeake Light Craft. (2017 prices)
Is there a boat you’d like to know more about? Have you built one that you think other Small Boats Monthly readers would enjoy? Please email us!


The boat is beautiful! Great job!
Nicely done, Fred!
Propitious posting of the Peeler Skiff. I just finished mine and chose it for some of the same reasons Fred did: my towing vehicle is a 4-cylinder SUV and I need to keep it in the garage. My outboard motor was just installed and, after watching the video, I can’t wait to get my skiff in the water.
Fred, she looks great. I built my Peeler in 2014 and have been more than pleased, both with the boat and with the quality of the kit and the support from CLC. I tow my Peeler with a MINI Cooper and she’s well under the weight limit for a MINI.
Currently, I’m in the process of adding a console as requested by my 71-year-old back and knees.
Great article and build, Fred. I noticed you bought a Tohatsu with remote power functions. I would like to do the same on my Peeler, but no boat shop has been able to find me a throttle package that will mount to the right of the console and include a right thumb trim switch. The best they could tell me was that I could have right mount throttle, but the trim switch would be on the outside, operated with my pinky. CLC Boats could not help me with this either. I seems I will have to mount just a throttle, then custom wire into the console face, a trim toggle, keystart, and kill switch. In your photo, it looks like you have an all-in-one throttle, remote start, kill switch package mounted just like I’ve been searching for. Is your trim activated with your right thumb right from the throttle? Should I check out Tohatsu? I had been exploring Mercury only, as that was all I could find for a small HP outboard with all of the remote power features. Your comments on this matter would be greatly appreciated.