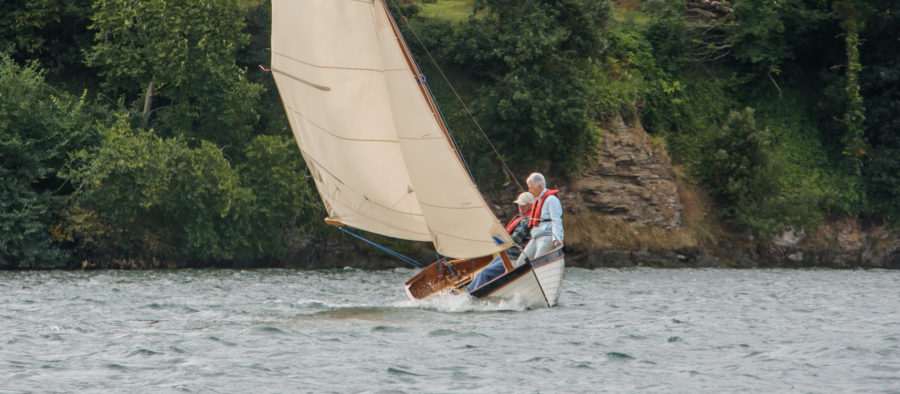
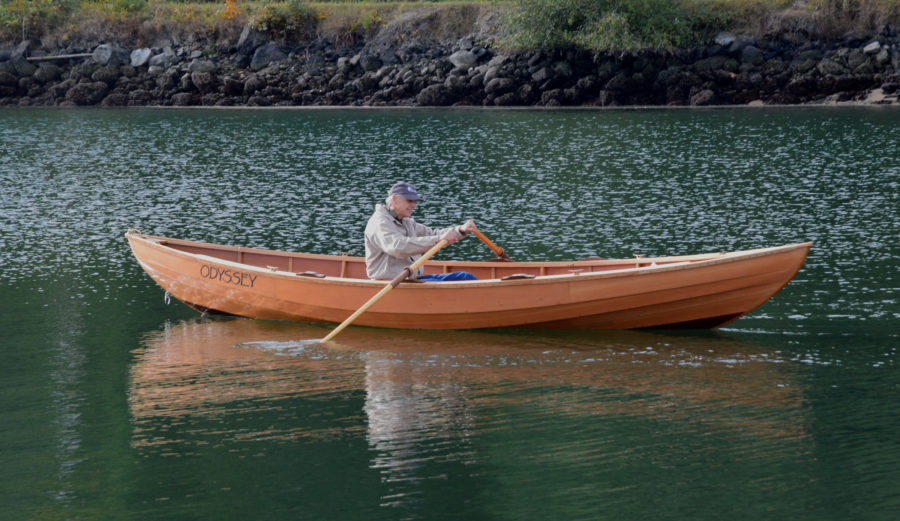
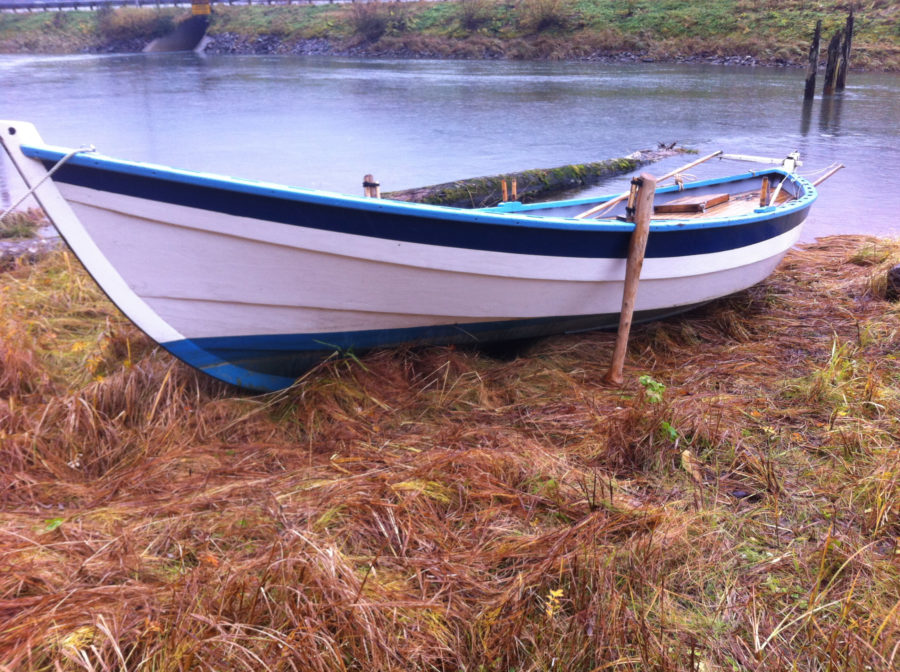
The Skipper and I launch our small sail-and-oar boats from our beach and dock, and coming and going we have to negotiate several obstacles. With the boathook we may pole off the beach, fend off from our beach groins, or push off the dock. We’ll also paddle to and from the dock and in and out of the wind shadow created by the shoreside trees. We like to carry as little gear as possible when sailing, so we created a combination paddle and boathook, which we call a “padook.”
 Photographs by the authors
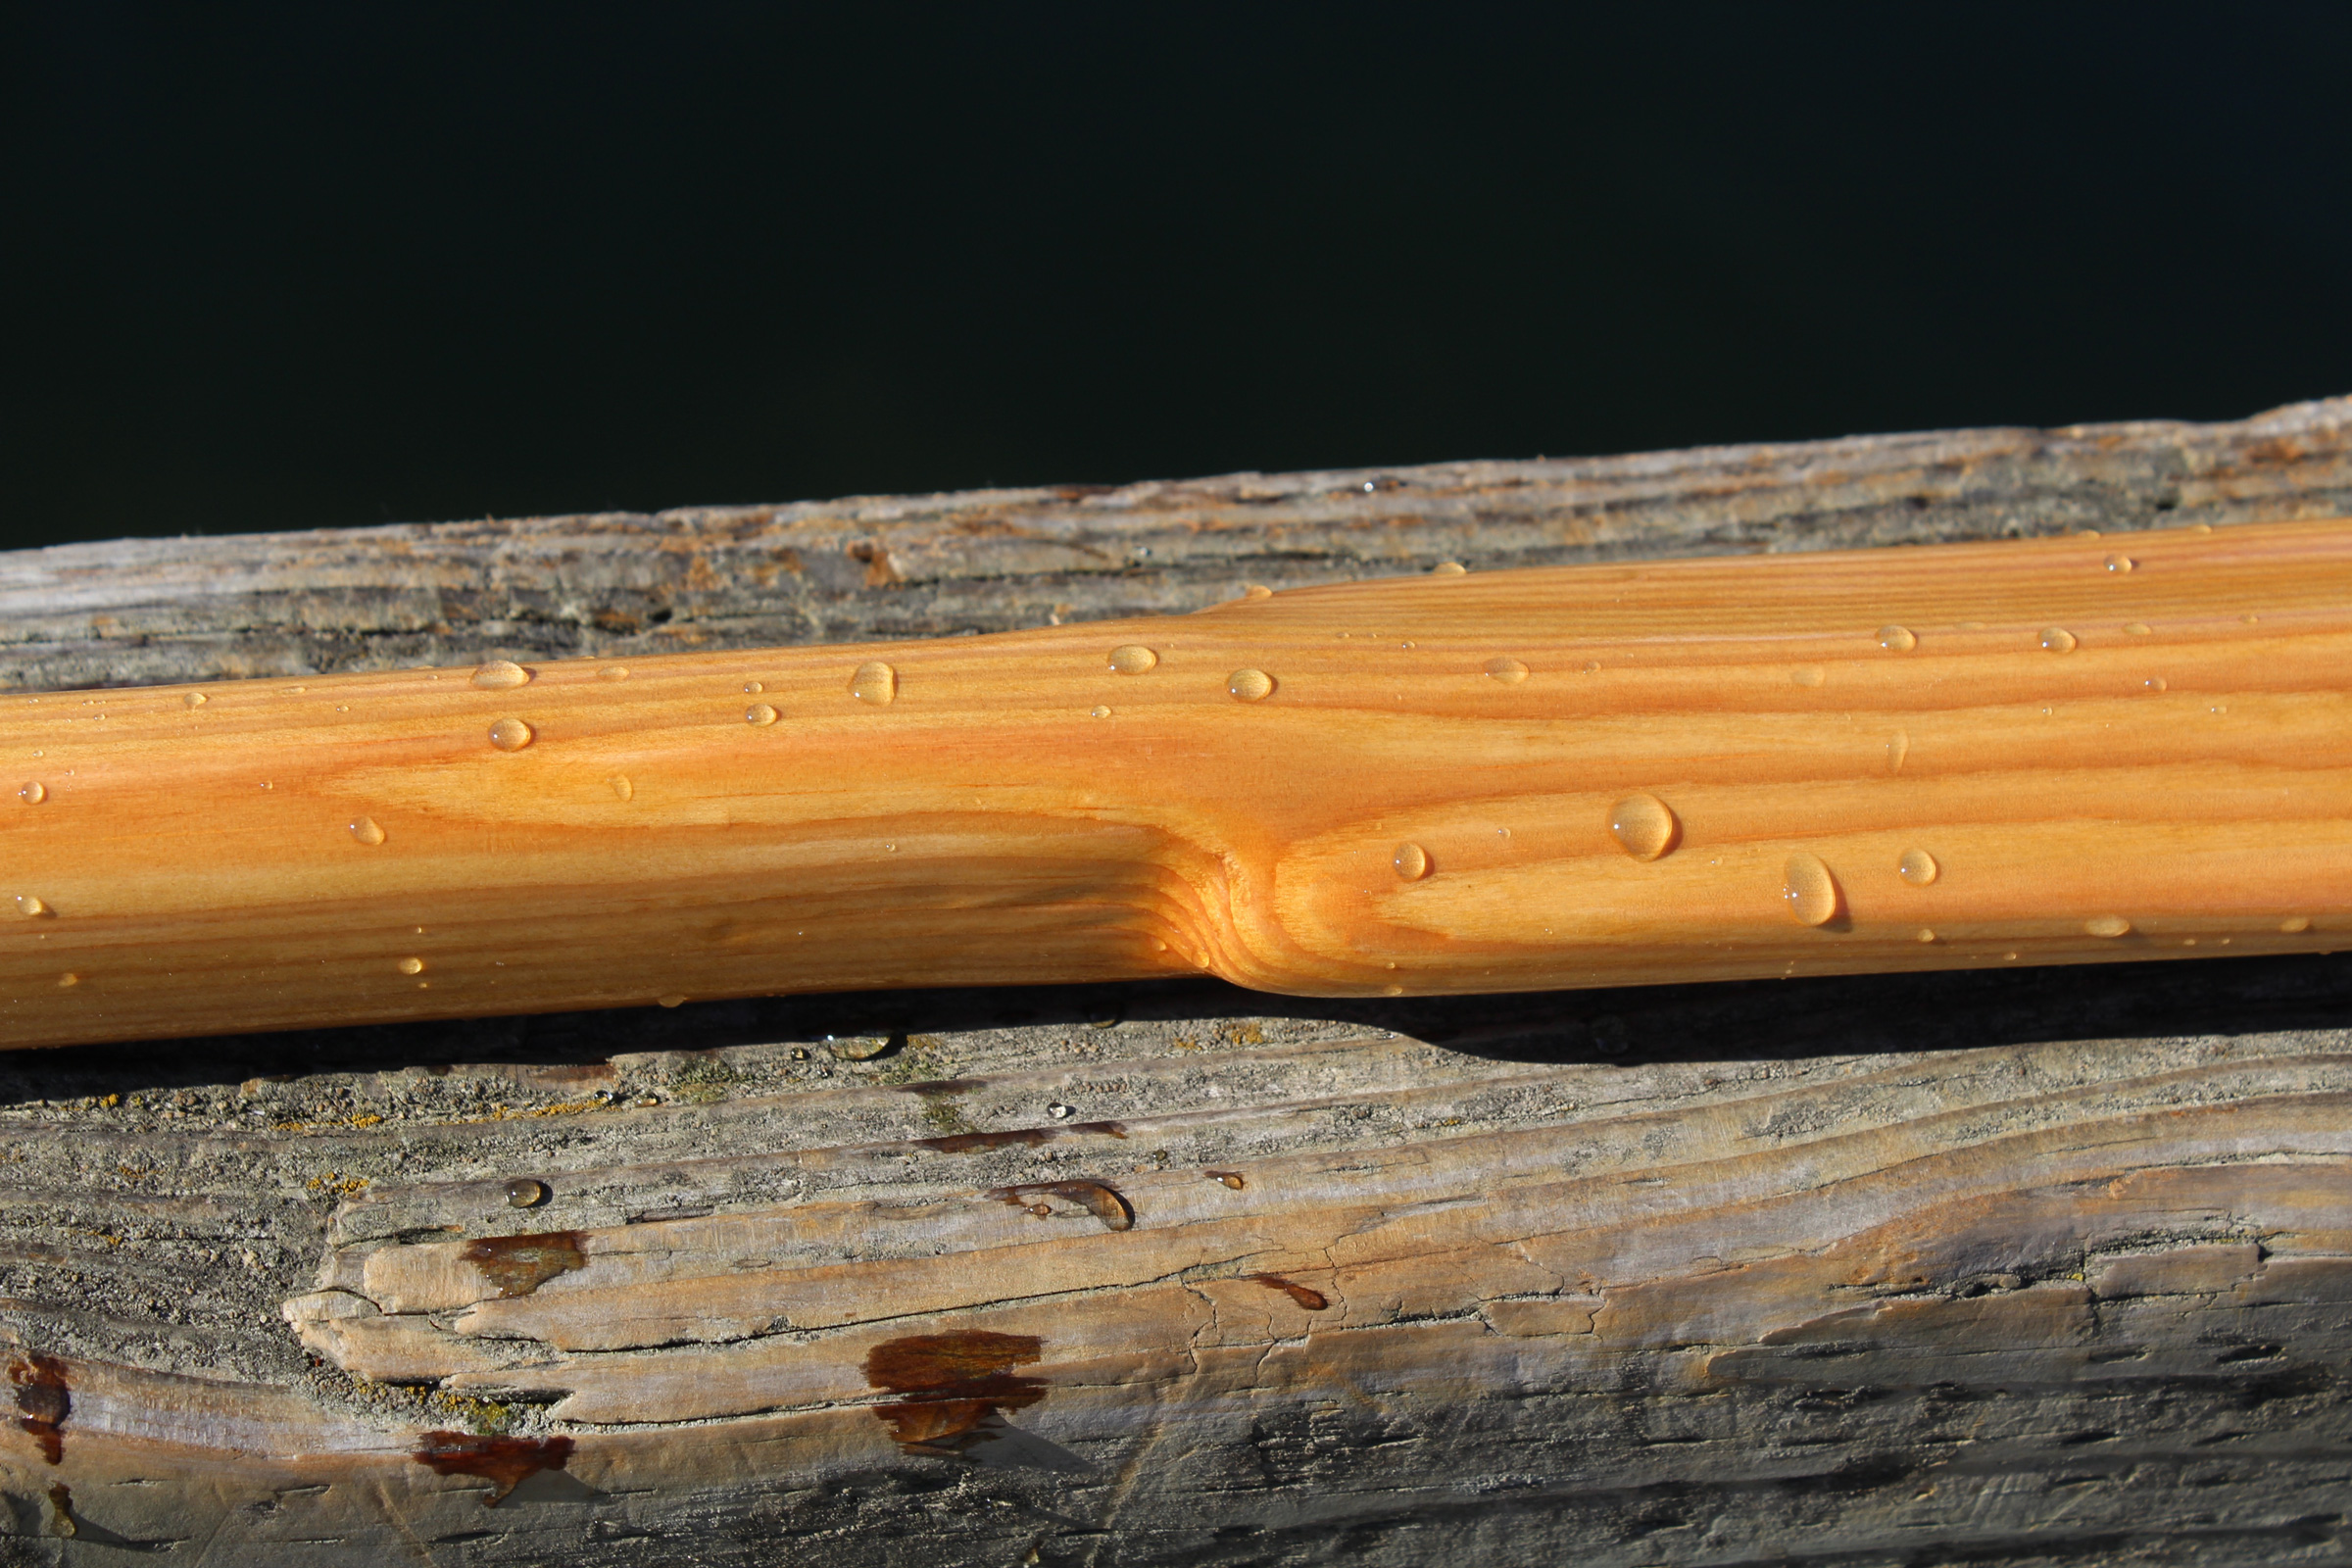
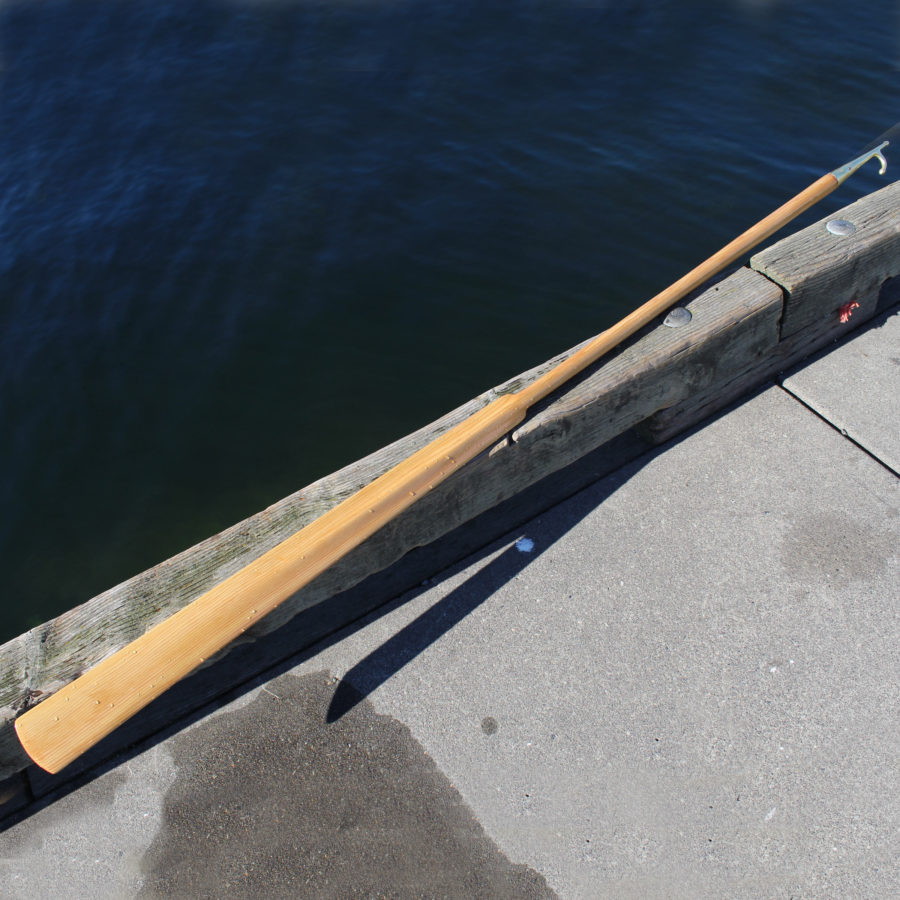
The blade of a Greenland paddle is narrow enough to provide a good grip when using the boat hook, but has plenty of area for power when used for paddling.
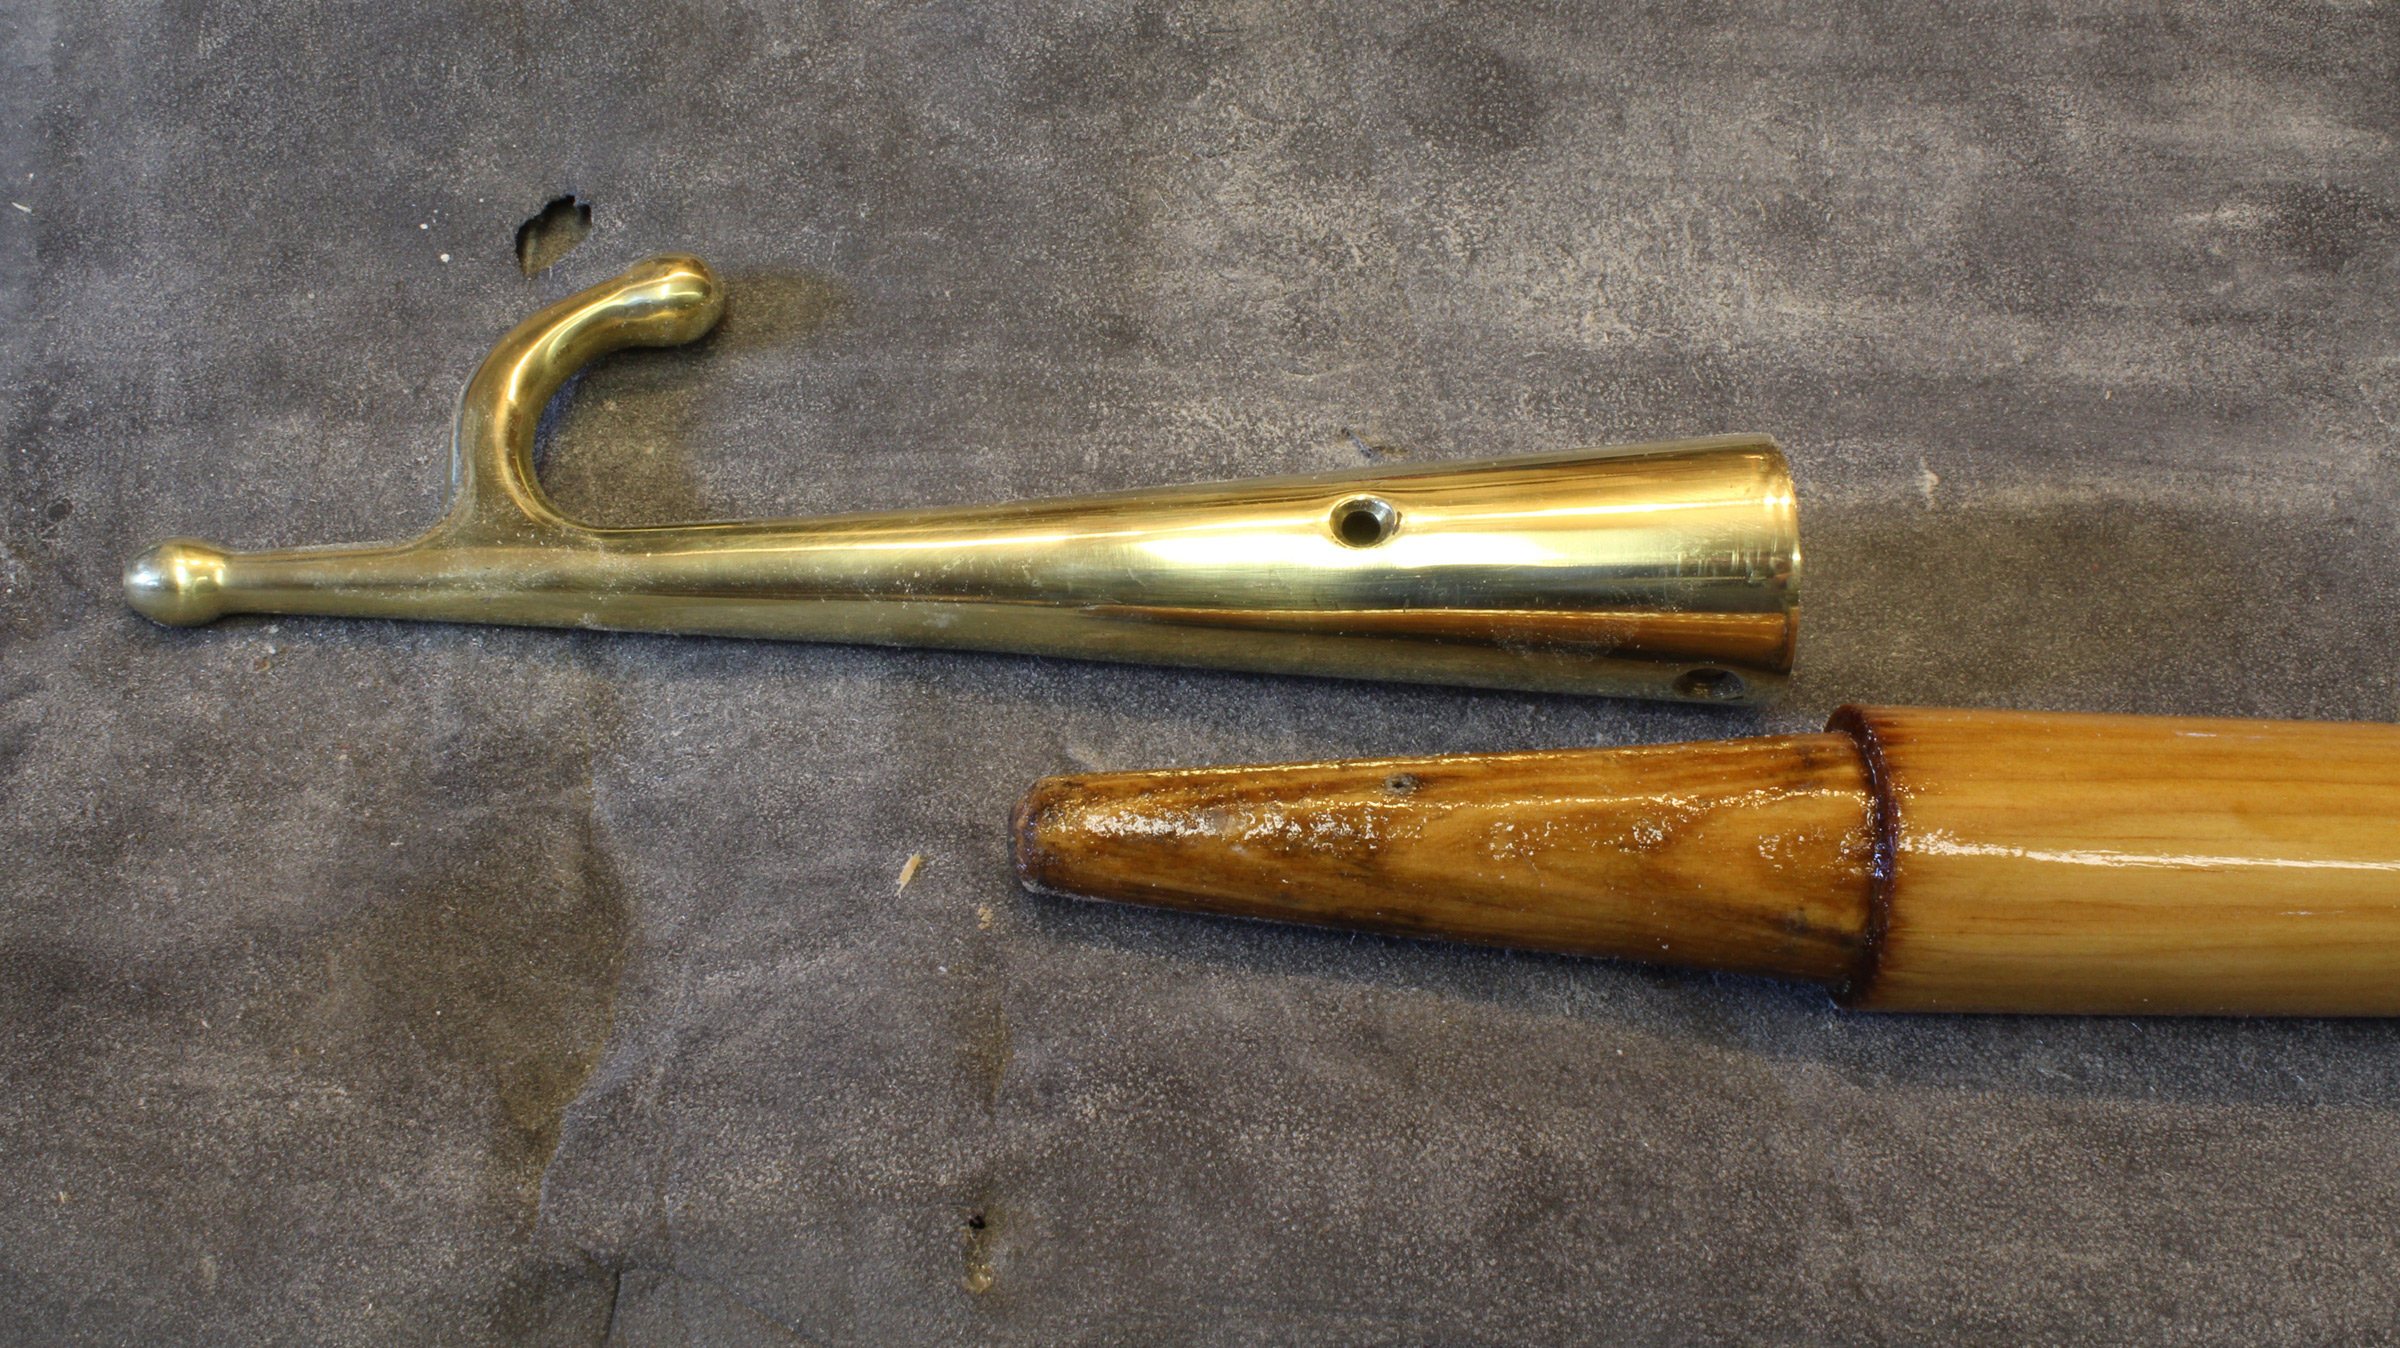
We liked the bronze boathook that we ordered from The WoodenBoat Store and attached it to a wooden shovel handle. Handle and hook together measured 5′, a length that worked well for our Penobscot 14; it had a good reach length and was easy to store and use, so we set that as the length for the padook. We bought another bronze hook and made a new shaft with a paddle blade shaped like that of a traditional Greenland paddle.
We both prefer using Greenland paddles for kayaking; used properly, the long, narrow blades have a powerful stroke and are very well suited for sculling techniques. The slender blades, unlike those of conventional paddles, are sized to provide a good grip in the hand and would also make the padook a little easier to stow aboard our small boat.
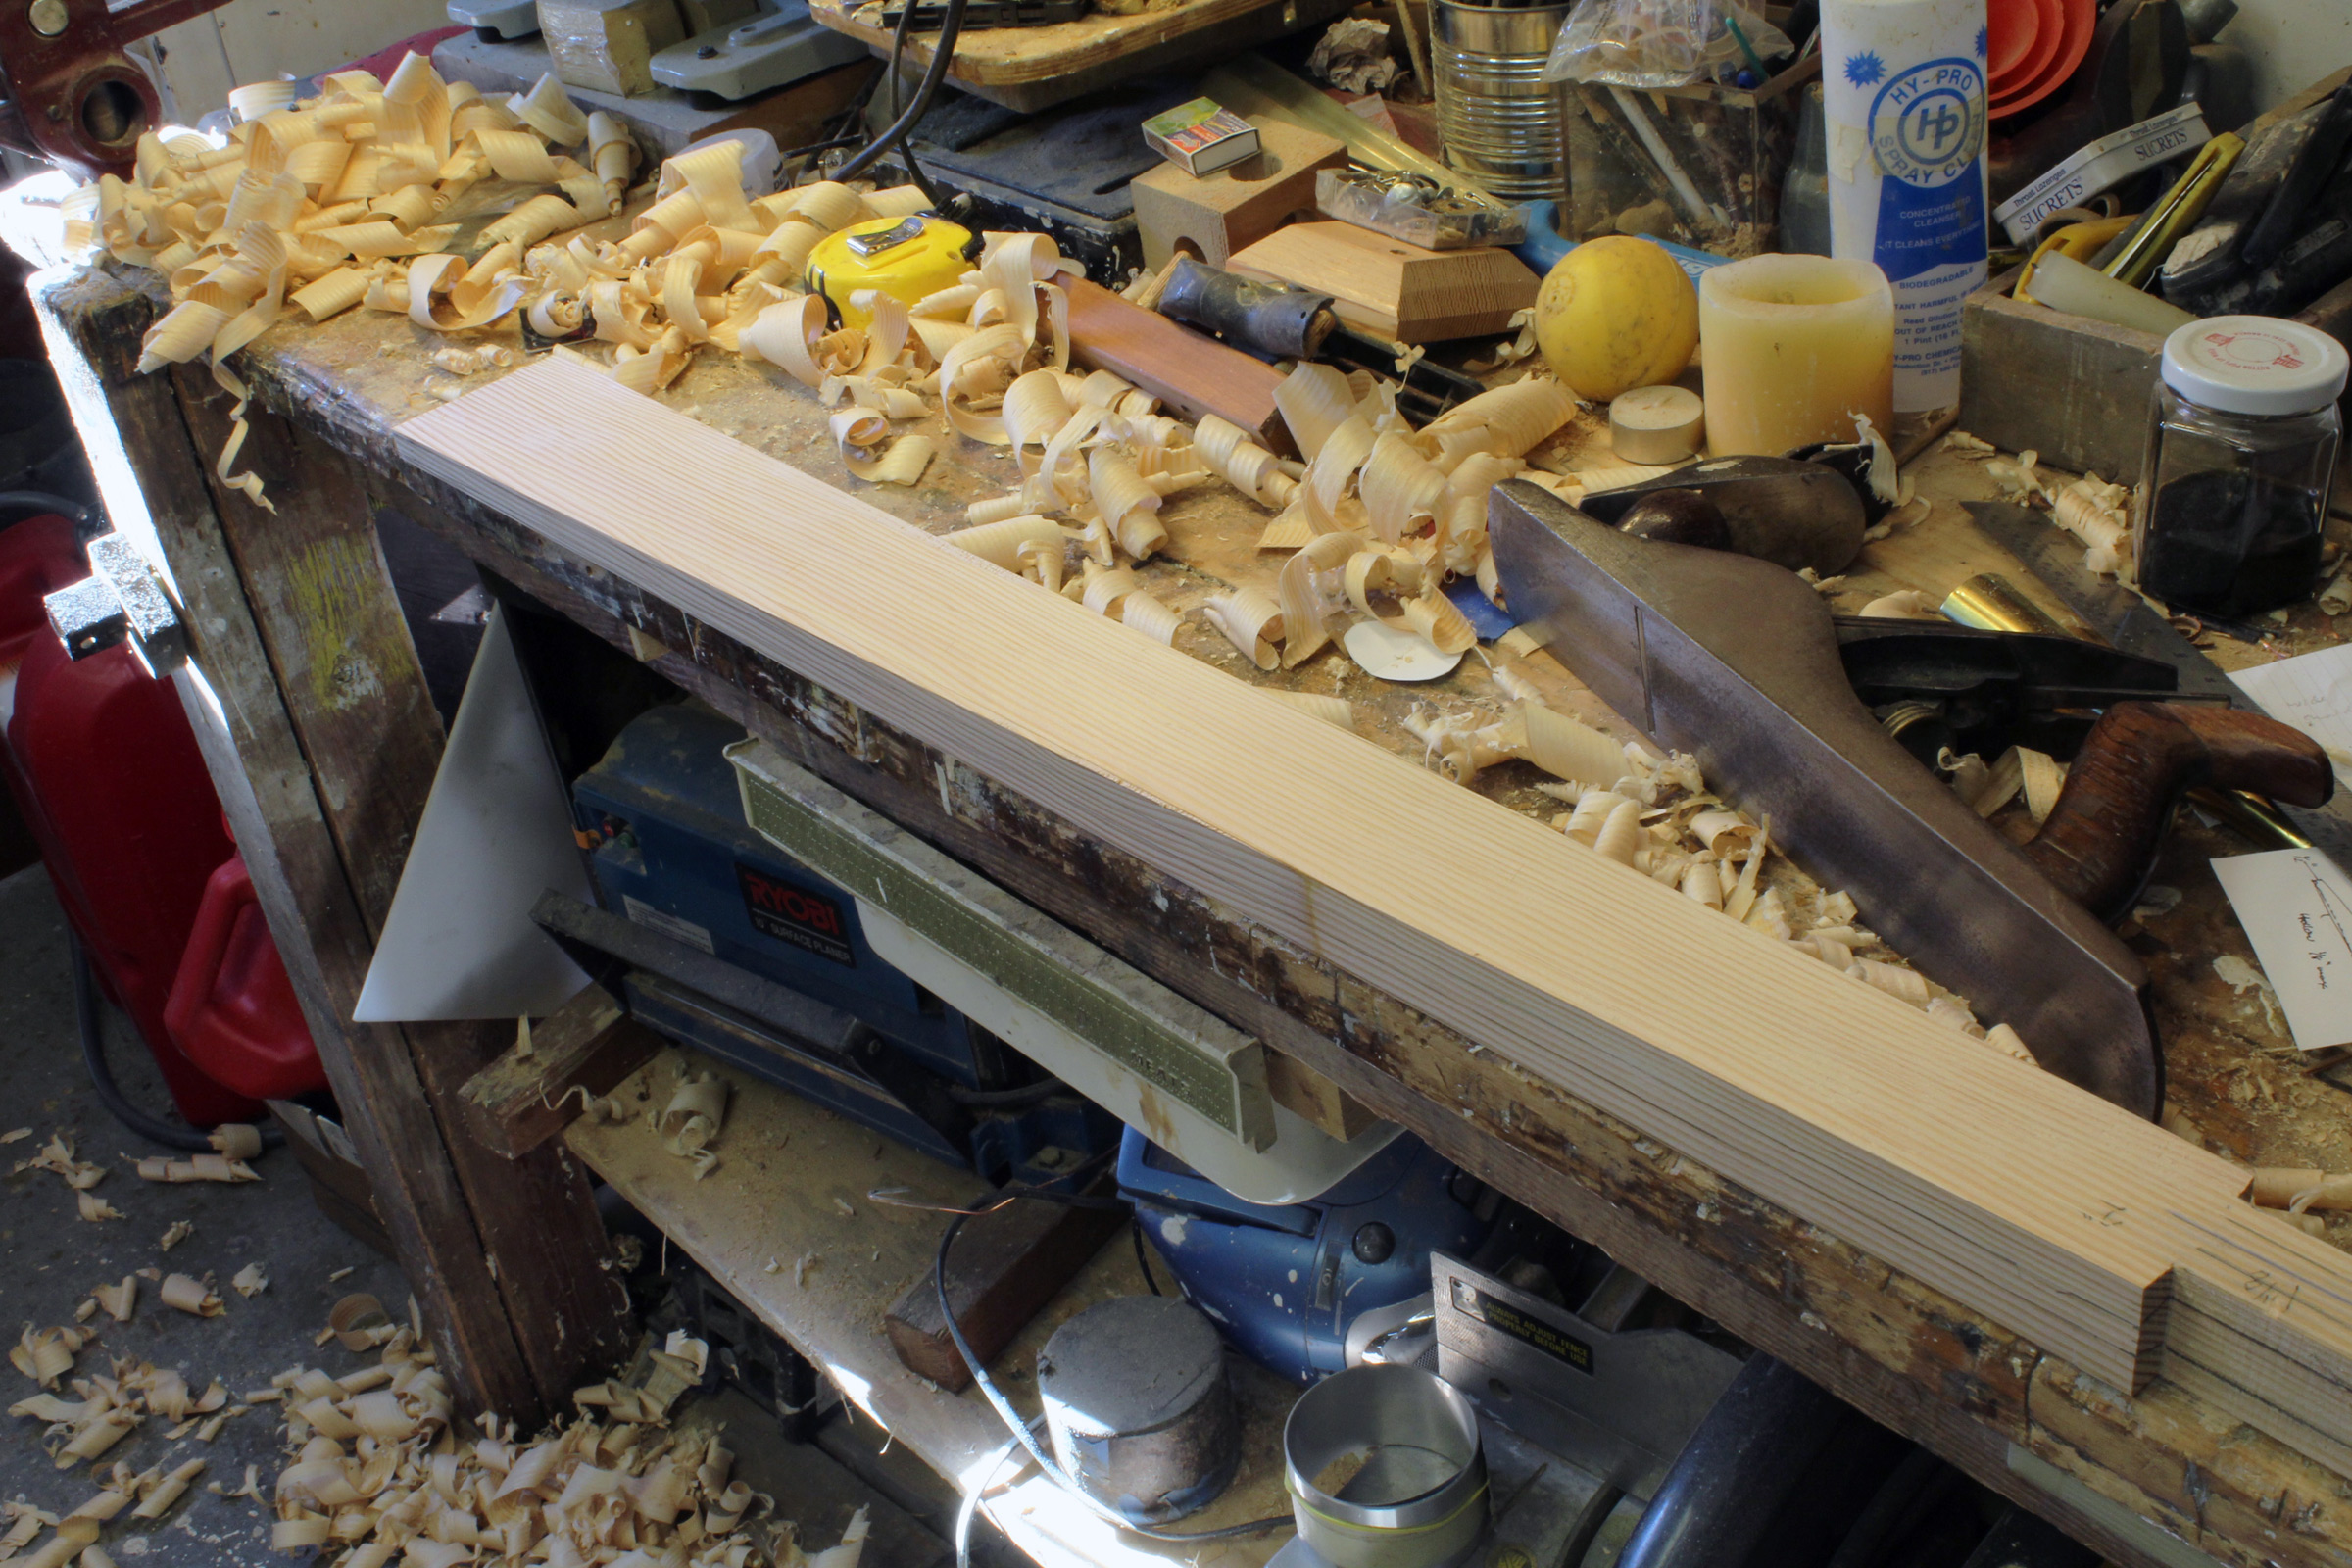
We started with a piece of white pine, trimmed it for finished overall length of 5′, and tapered the shaft end to fit in the boathook socket. The bronze hook is secured with two silicon-bronze wood screws. The wooden paddle part measures 1-3/8″ diameter at the hook end, transitions to a 1-1/8″ by 1-3/8″ oval at the paddle throat, and flares to 2-5/8” wide at the paddle tip. The blade is 34” long, tapers to 1/8″ at the edges, and has a center chord that tapers from the 1-3/8″ thickness at the throat to the 1/8″ tip. The edges have shoulders where they meet the loom, and for paddling this provides a good grip that’s easily oriented by touch in the dark, as well as a secure handhold when we have to pull hard with the hook.
As it is with Greenland paddles, the padook works best when the blade is moving slightly edgewise through the water. It will flutter when pulled hard straight back, but still provide power. Think of it as the blade of an airplane propeller instead of a plank on a paddle-wheel. The blade is very well suited for sculling; we can provide a constant pull and avoid having to pull the blade out of the water. Coming back home we use the hook end of the padook to fend off the dock and grab dock cleats.
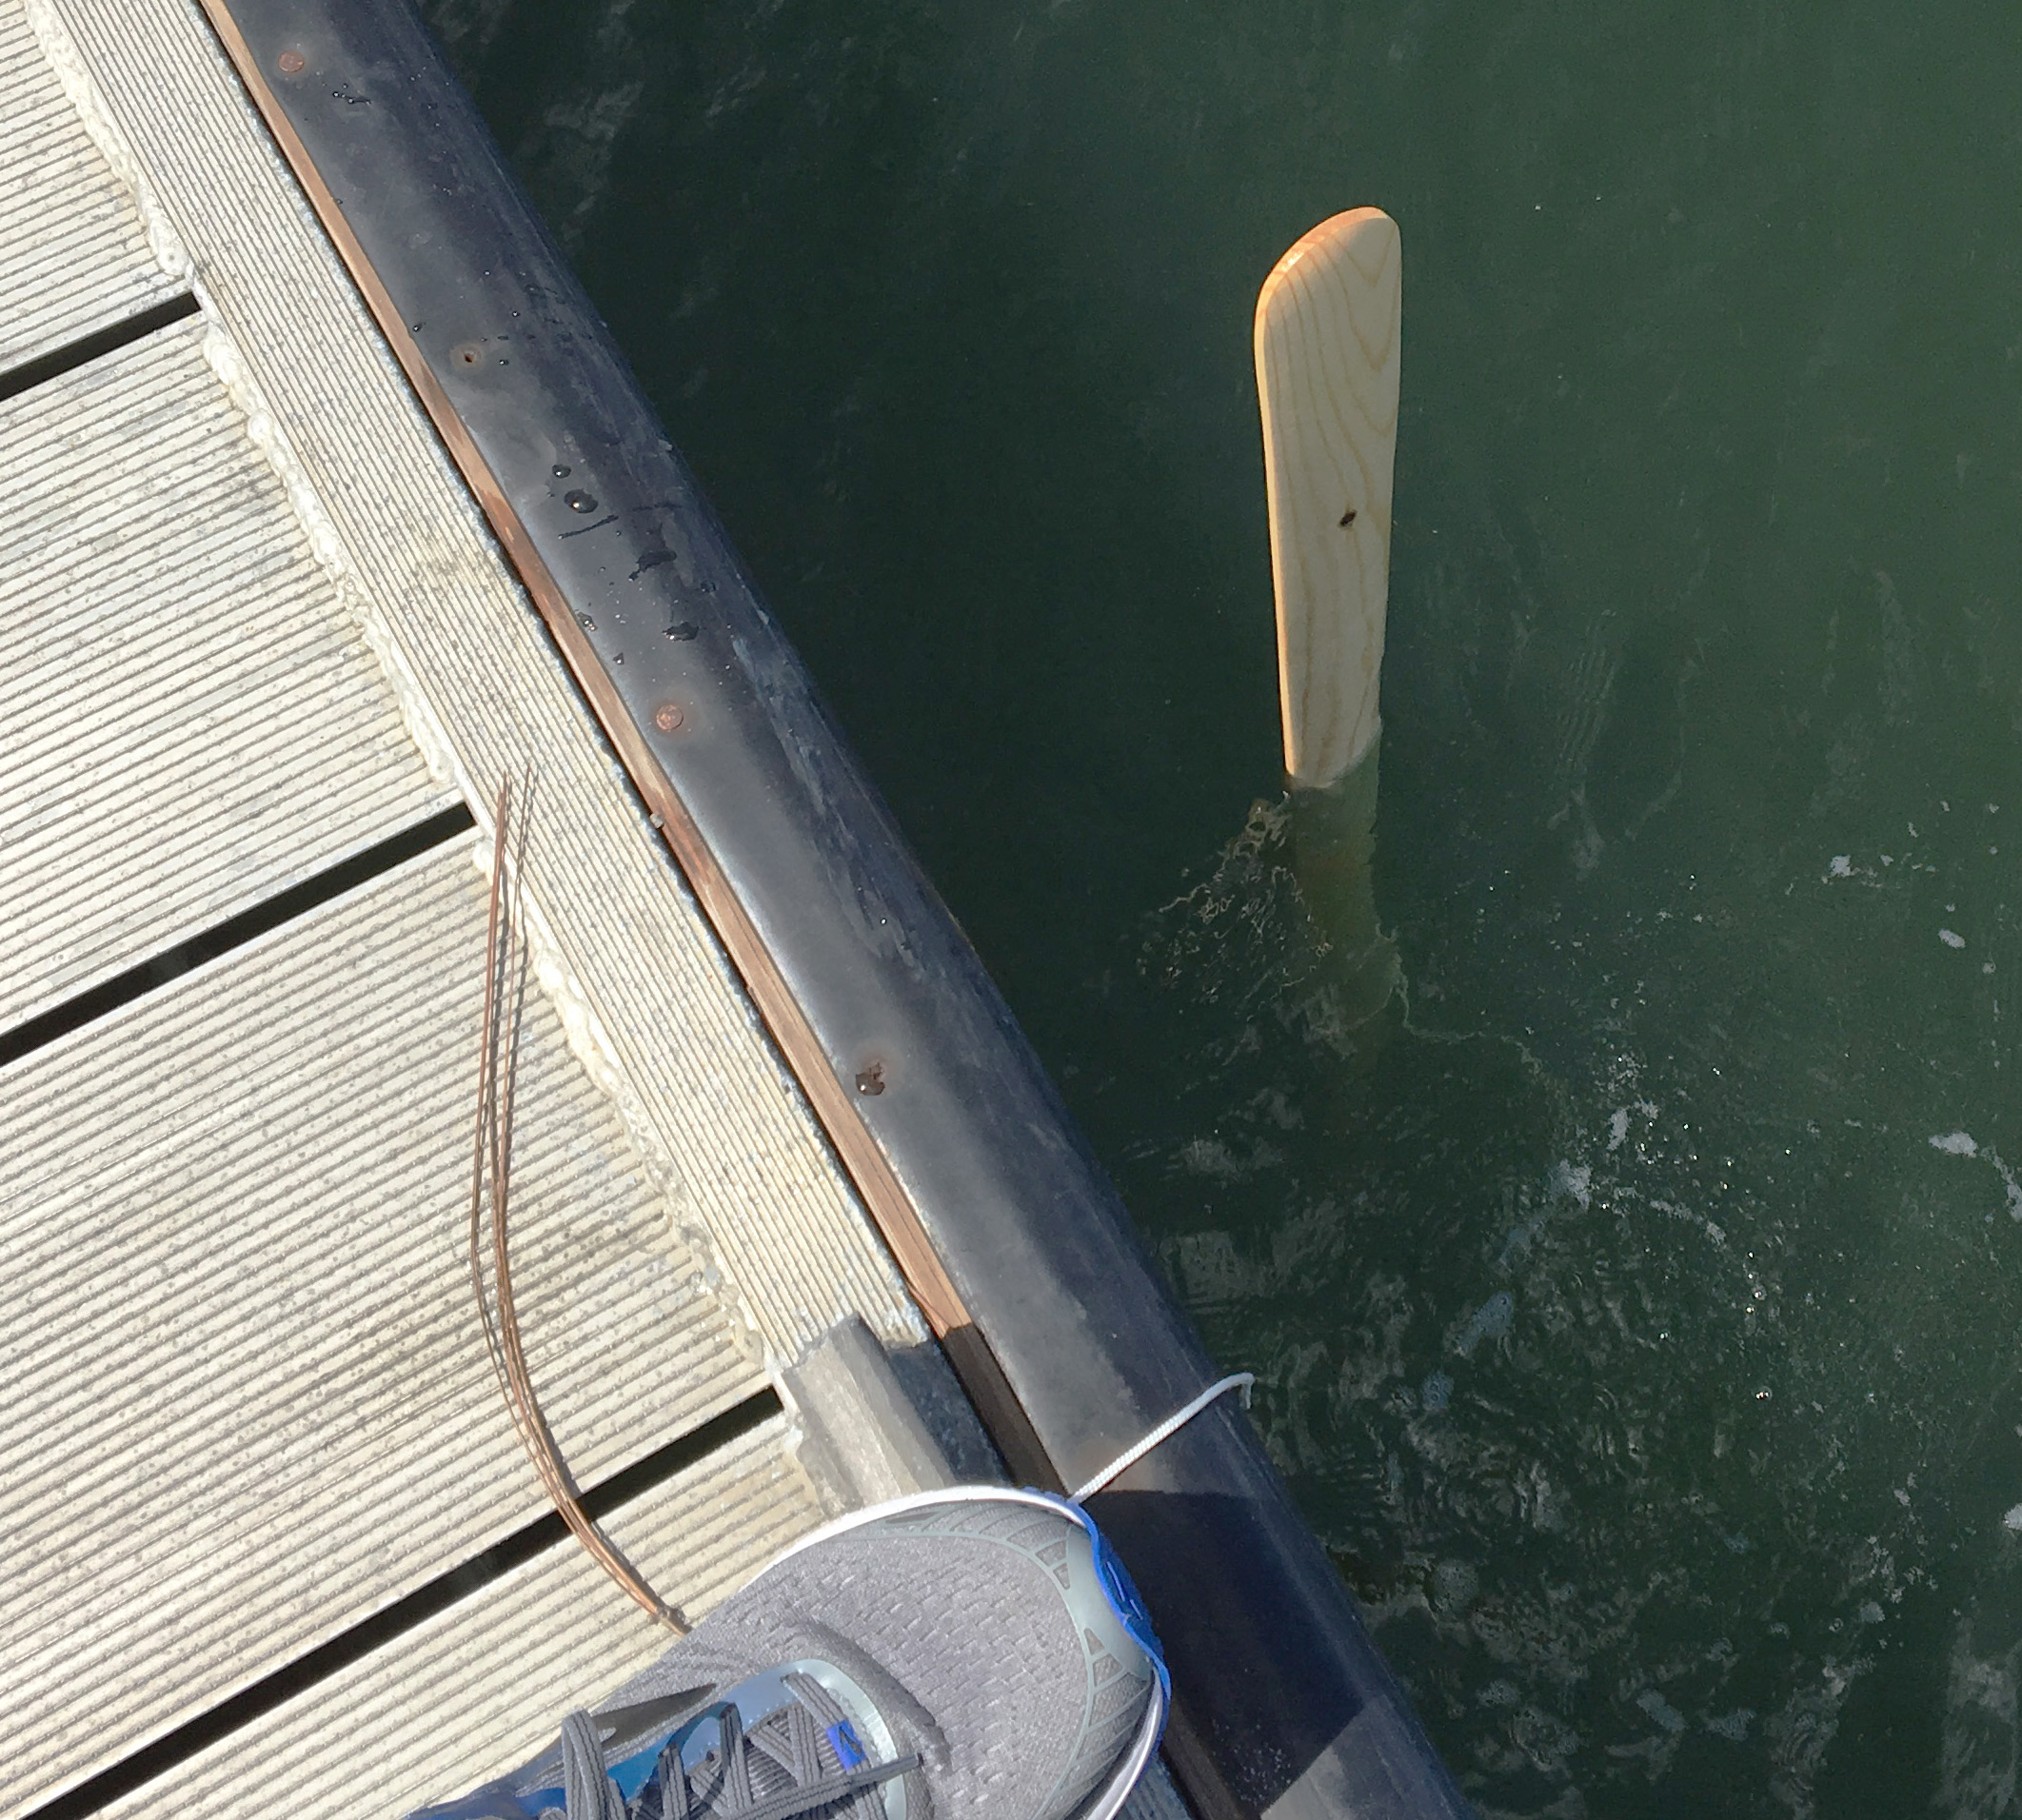
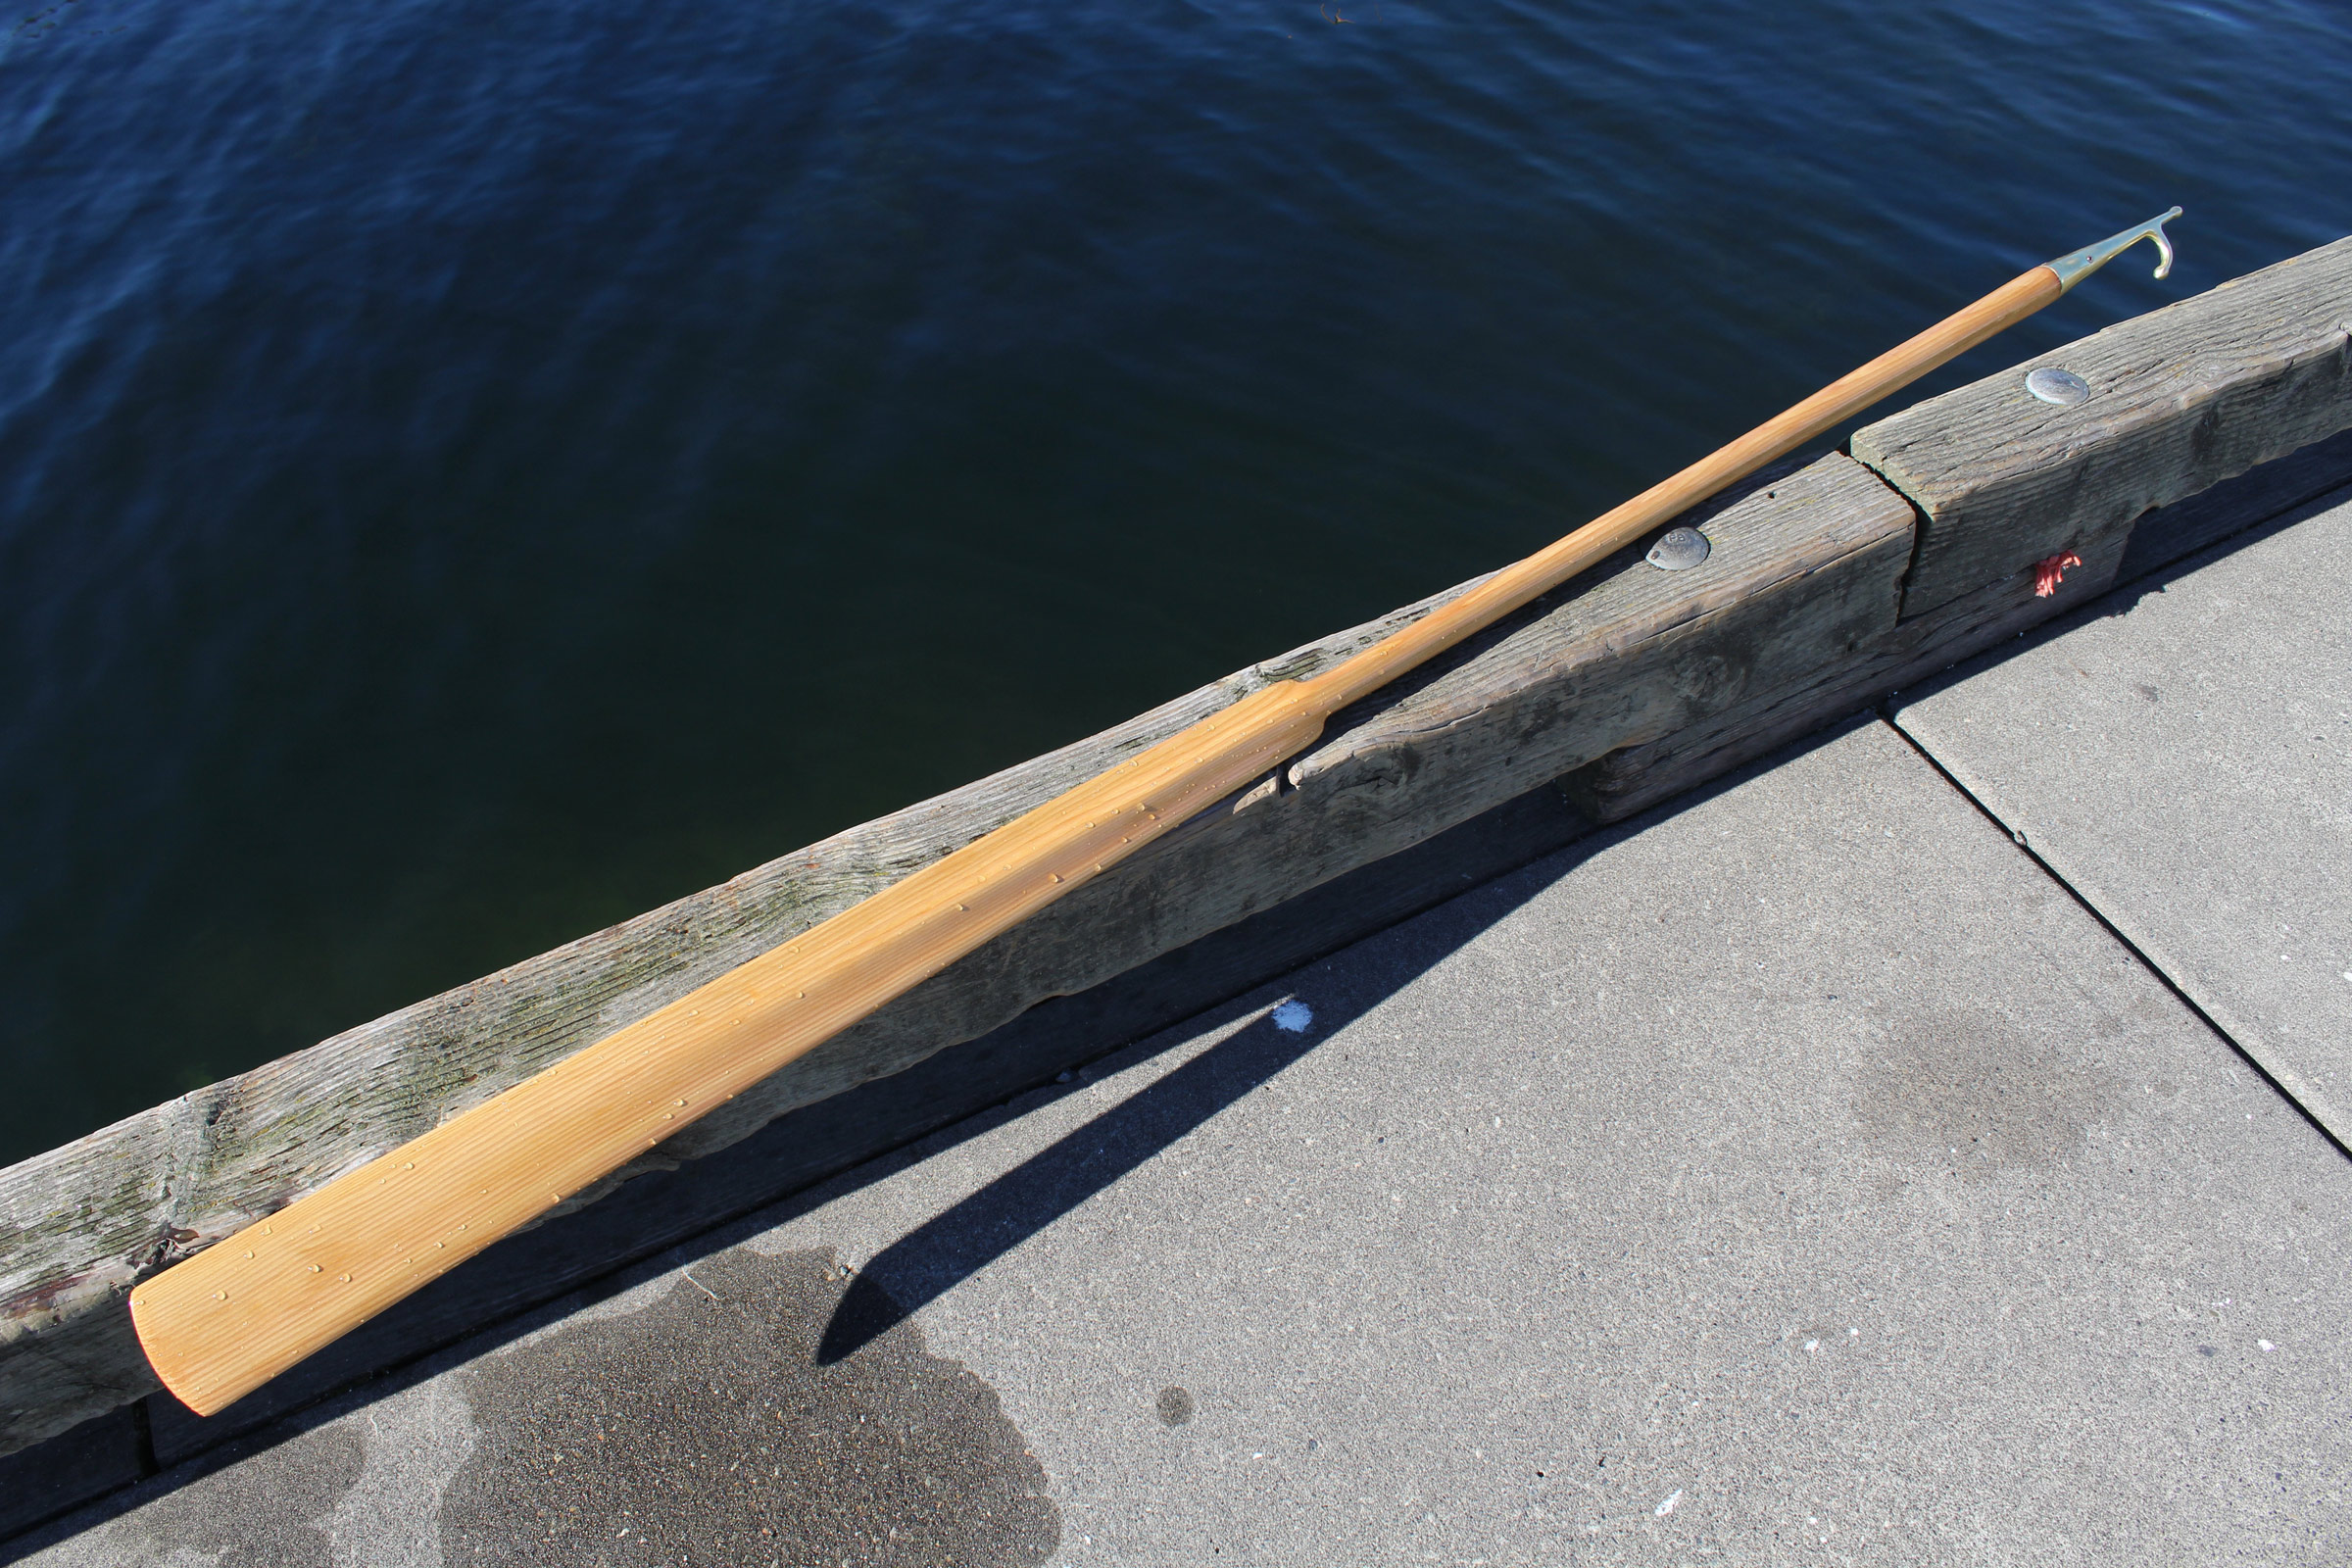
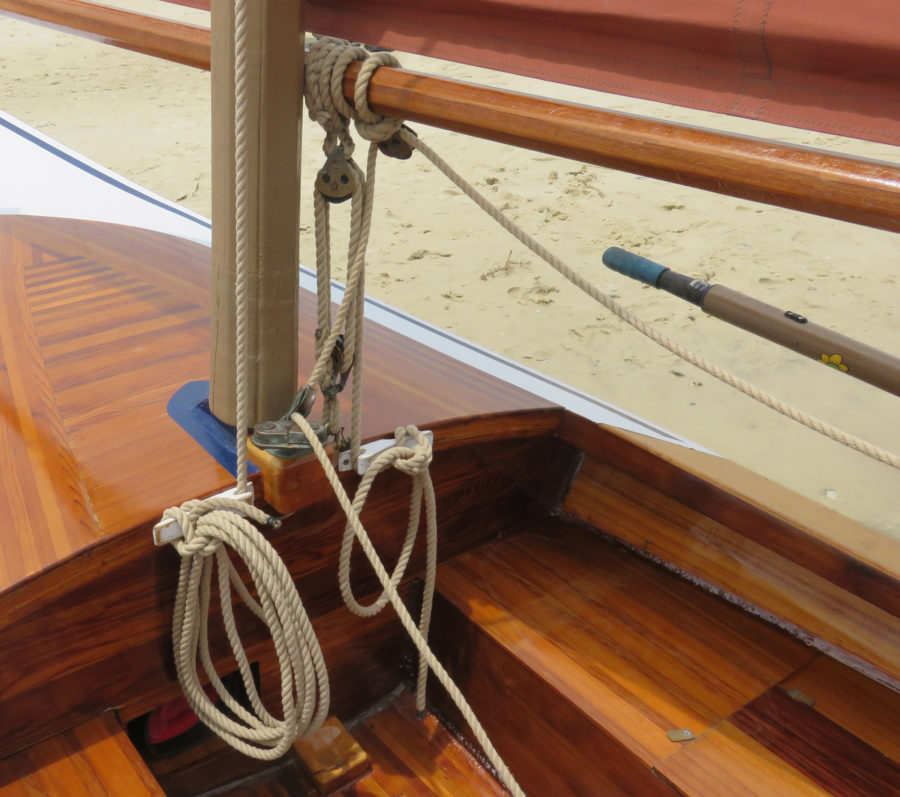
With the boat hook weighting one end of the padook, the blade rises above the water making it easier to see and to retrieve.
Like a proper boathook, the padook floats vertically—the weight of the hook pulls the loom down; 16″ of the blade sticks up above the surface, much easier to see and grab than a boathook that floats flat. The padook also aligns with our goal of having boating gear that serves multiple purposes. Maneuvering a boat around a dock usually requires a paddle and a boathook, and we like having a single device in hand that takes the place of both.![]()
Audrey “Skipper” Lewis and “Clark” Kent Lewis enjoy small boating along the bays and rivers of Florida’s Emerald Coast. Their adventures can be followed on their small boat restoration blog.
Editor’s notes:
I was intrigued by the Lewis’ padook and decided to build one for myself. It was an easy and familiar shop project—I’ve made several Greenland paddles in the past and described the process in a book I wrote, Building the Greenland Kayak. Here’s how I went about making my padook:
 Photos and video below by Christopher Cunningham
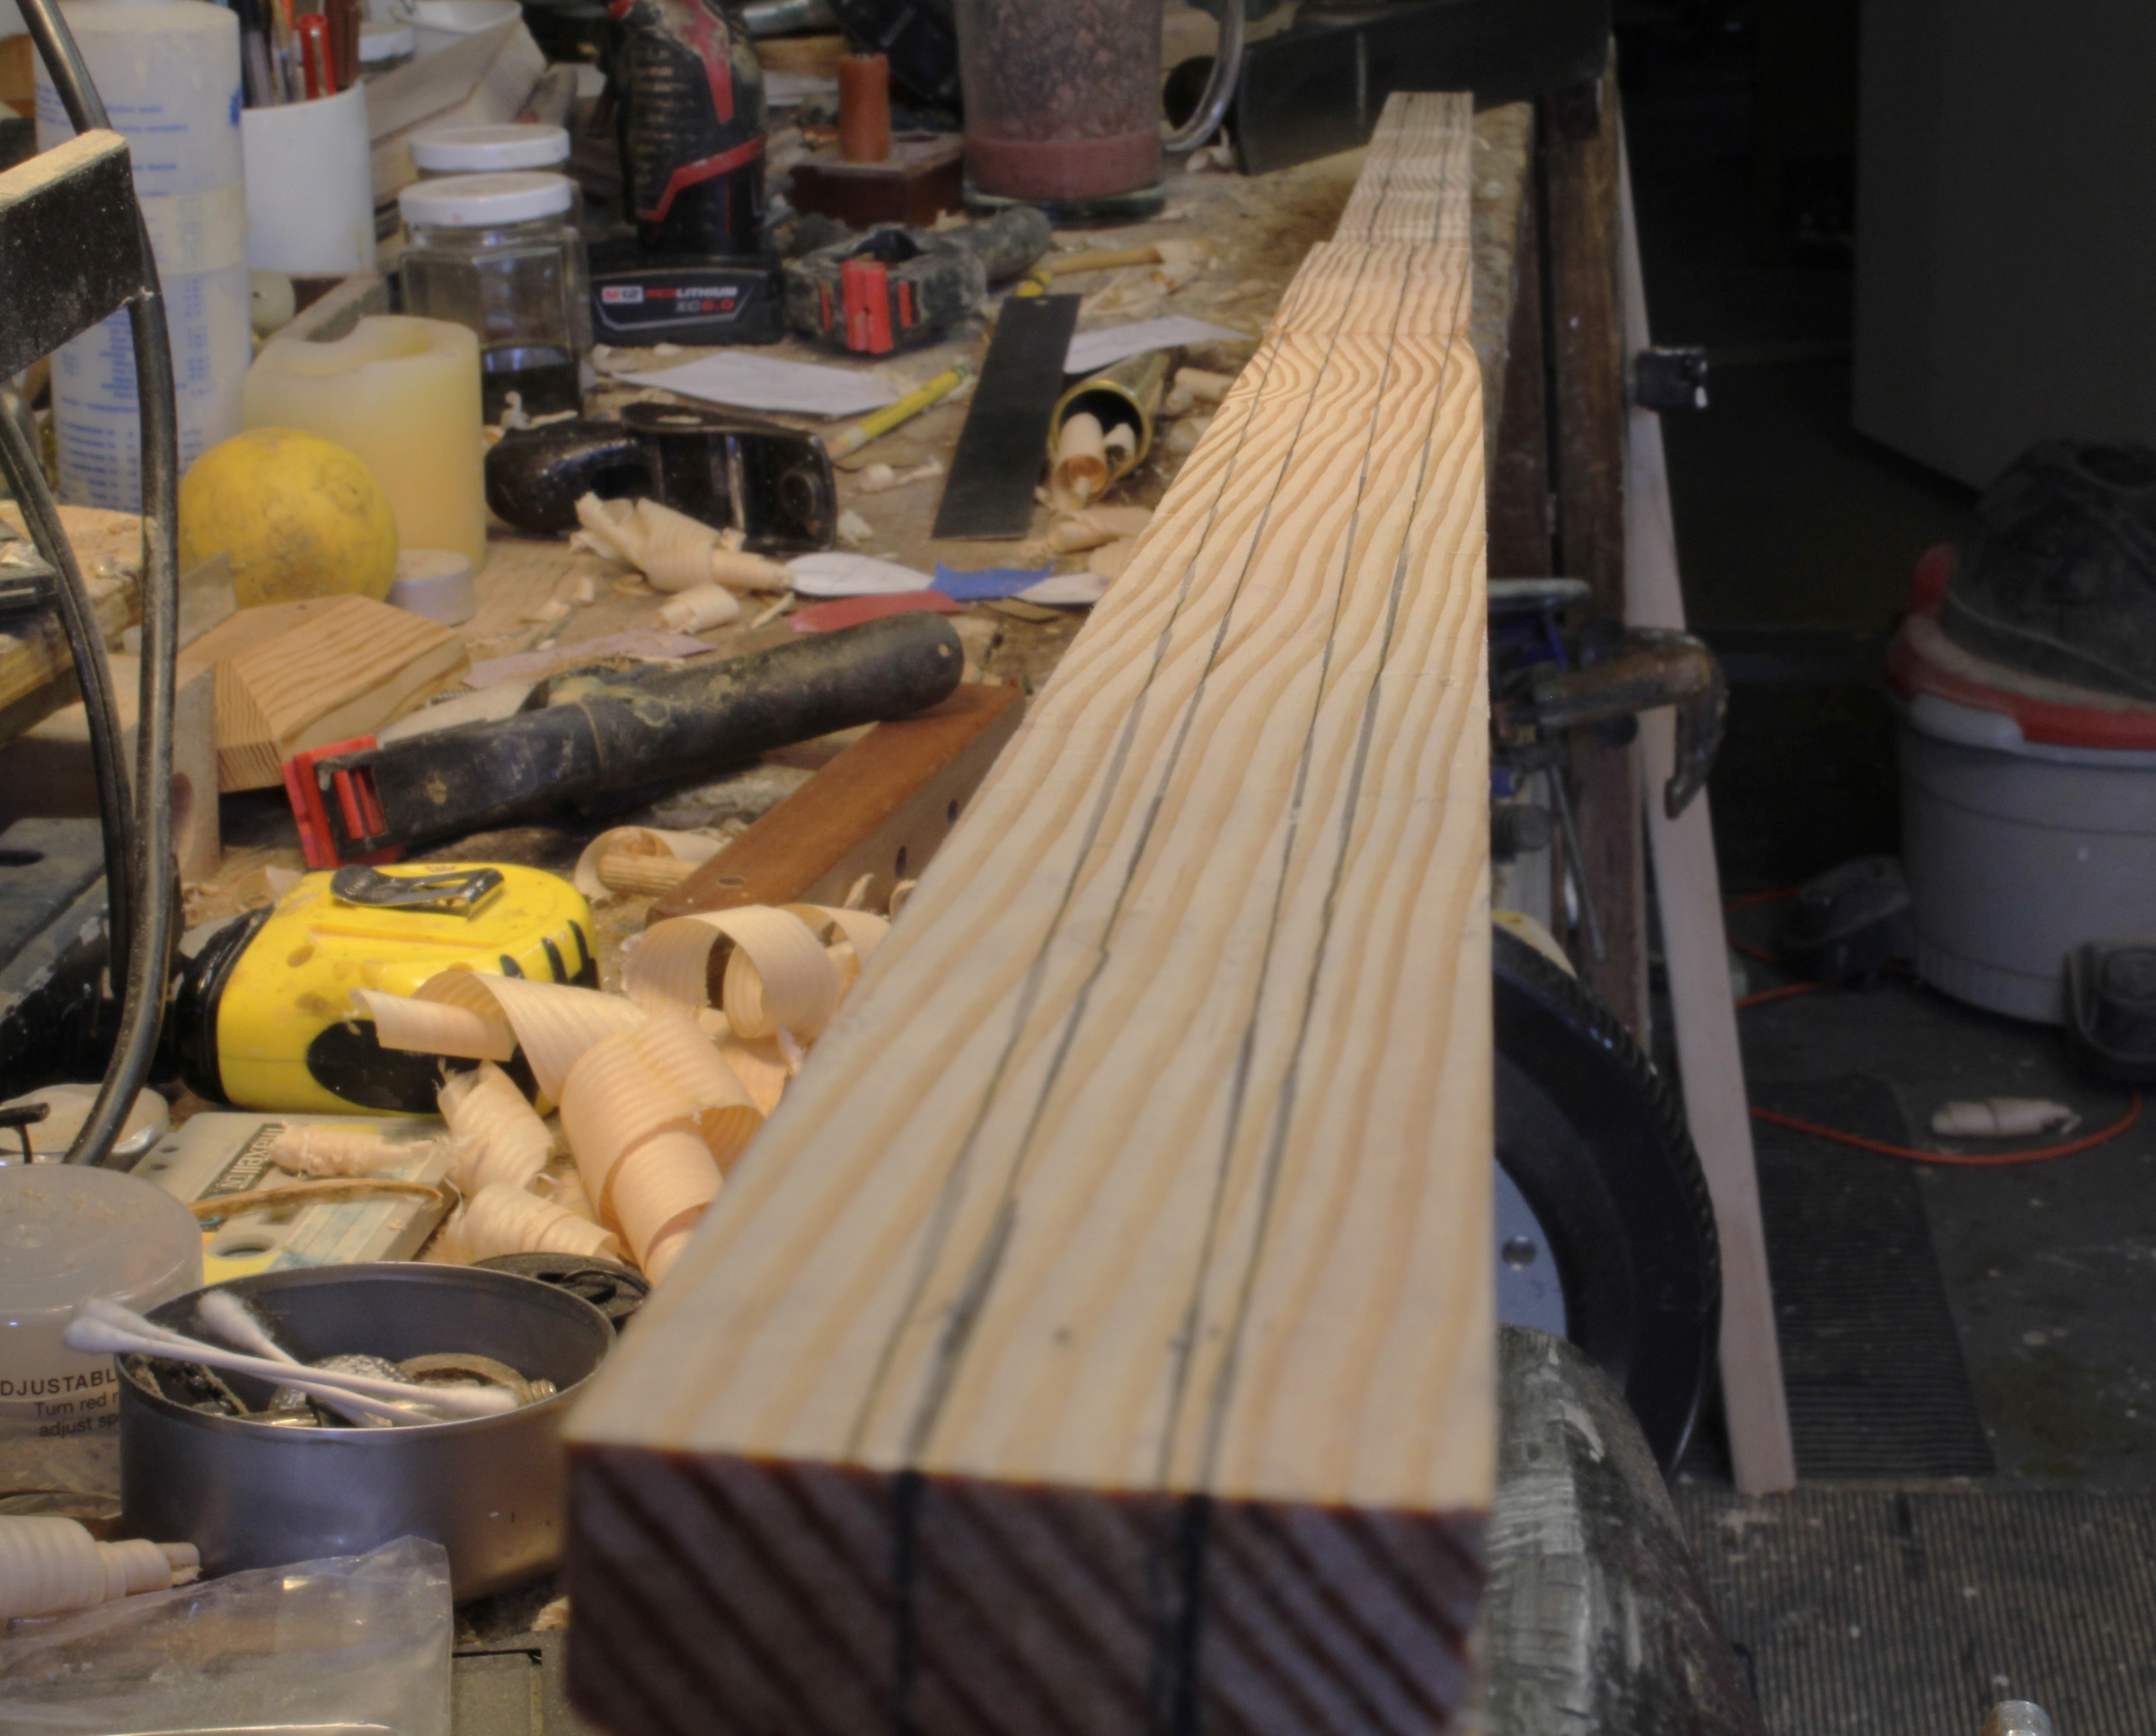
 The fir that I used was a 2×3 (1-1/2″ x 2-1/2″) so I glued pieces to the sides to get the 3-1/2″ blade width I felt was a good fit for my hands. If I’d started with a 2×4, the additional wood wouldn’t be required.

At the throat, I marked the inboard end of the blade for a 2″ width. The 1-1/8″ width of the loom marked here, with the full 1-1/2″ thickness of the 2×3, creates an oval loom that is a comfortable and secure fit in the hand and aligns the strongest dimension parallel with the direction of pull when paddling.
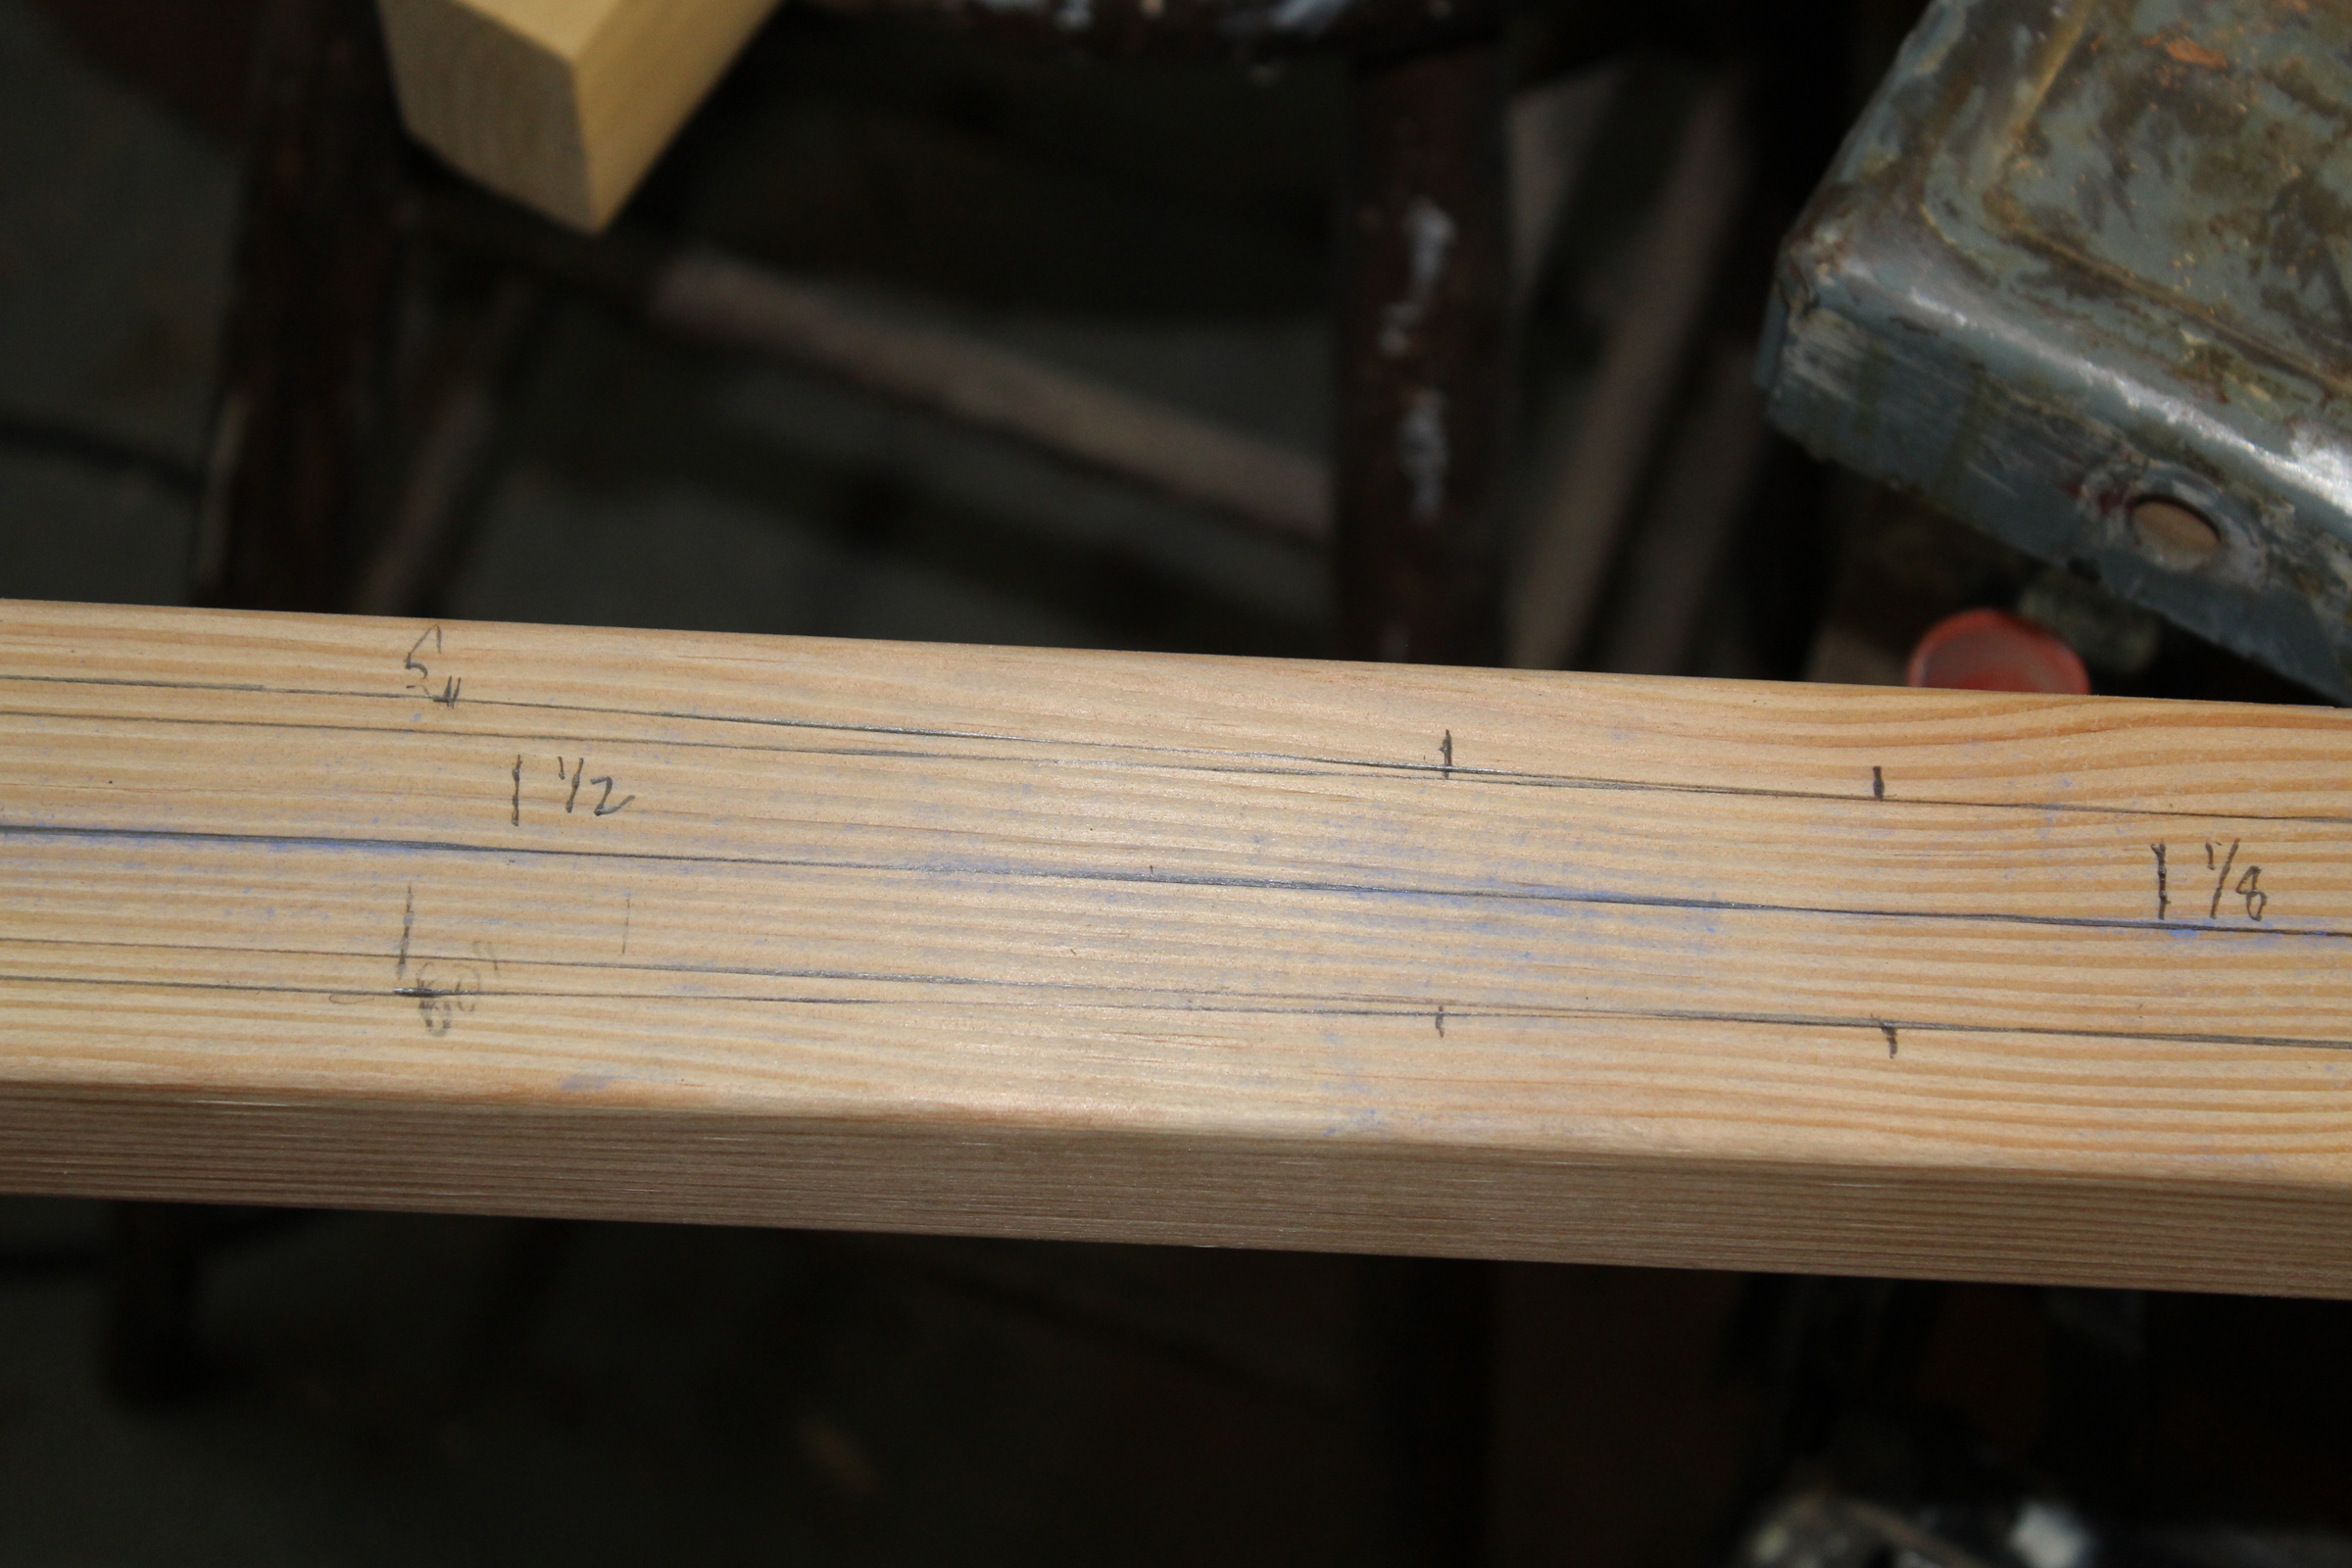
At the hook-end of the shaft, I marked the tapered of the loom out to 1-1/2″ to match the outside diameter of the hook’s socket.
After cutting to the outline of the loom and blade, I marked the loom with an eight-siding gauge and drew parallel lines for a 3/8″ thickness at the blade edge.
The tapered thickness of the blade is marked for cutting the bulk of the wood away on the bandsaw. The marks at the end are a bit wide of the blade width markings to avoid unintentionally sawing away too much wood.
The faces of the blade are planed to to a taper from the 1 1/2″ loom to the 3/8″ tip.
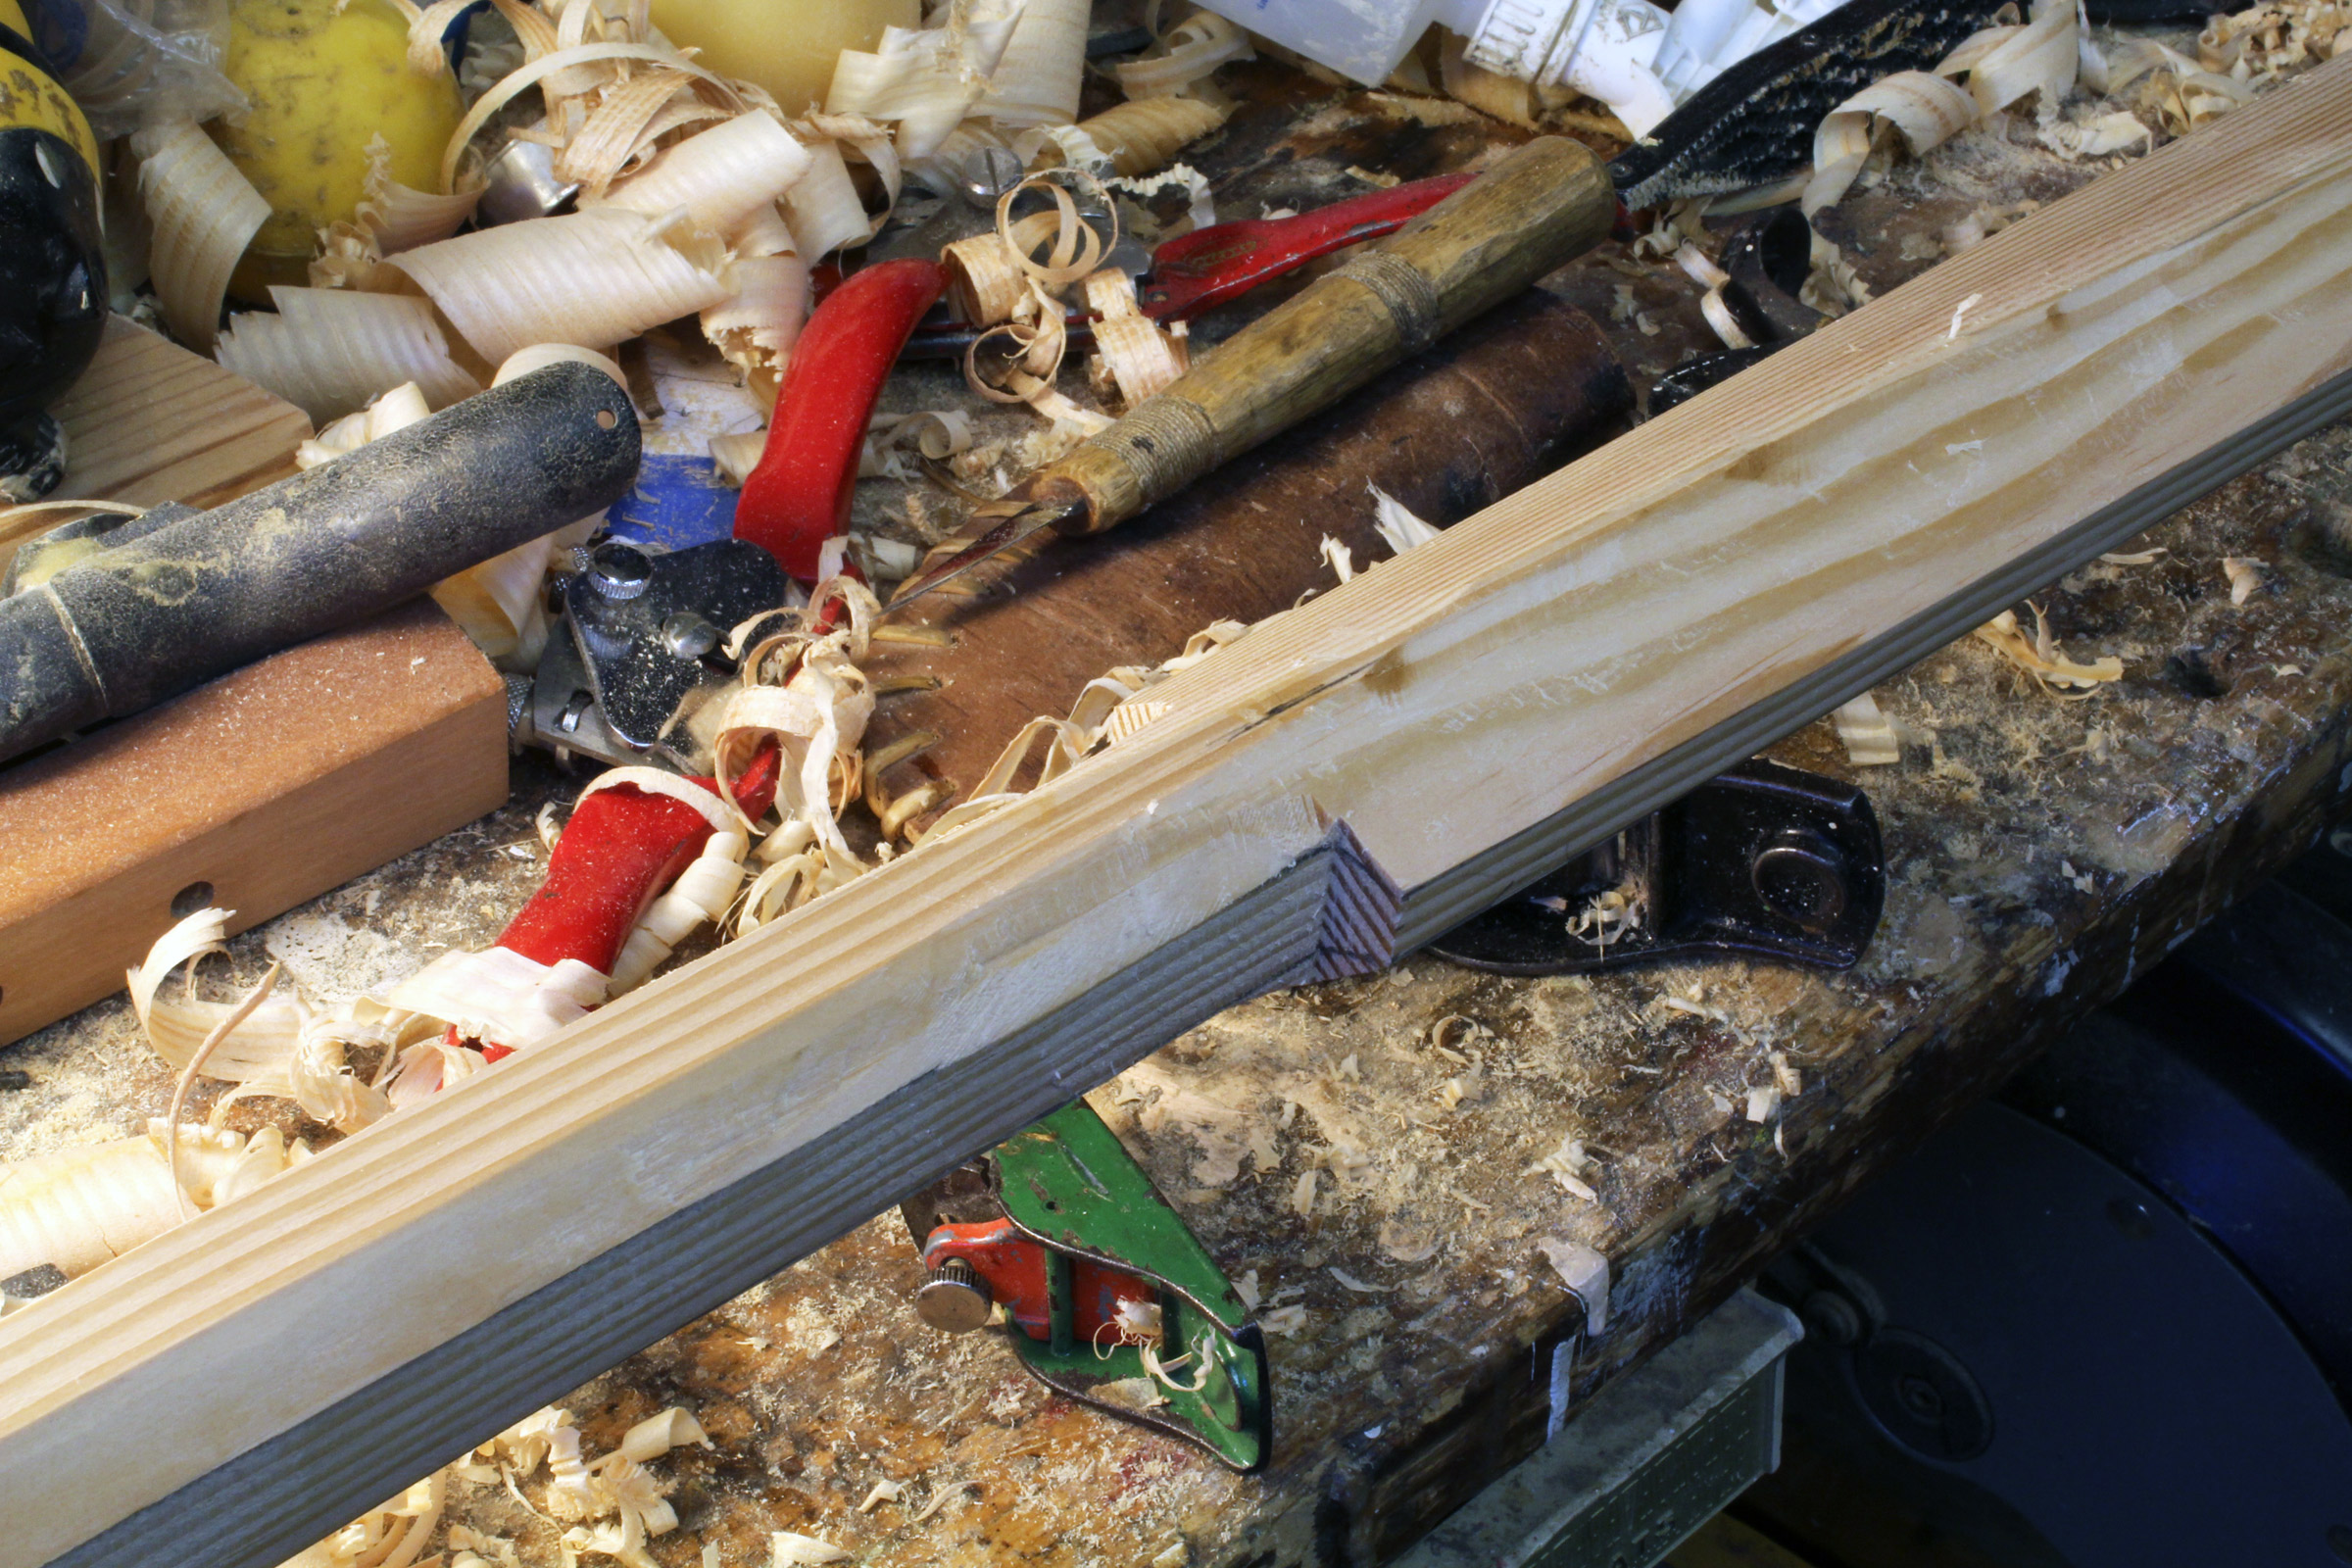
The loom is cut to the eight-siding-gauge marks and the blade has a rolling bevel between the centerline marking the spine and the parallel lines at the edges. The rolling bevel is best worked with a spokeshave and with small planes held on a diagonal to shorten the area of contact with the wood.
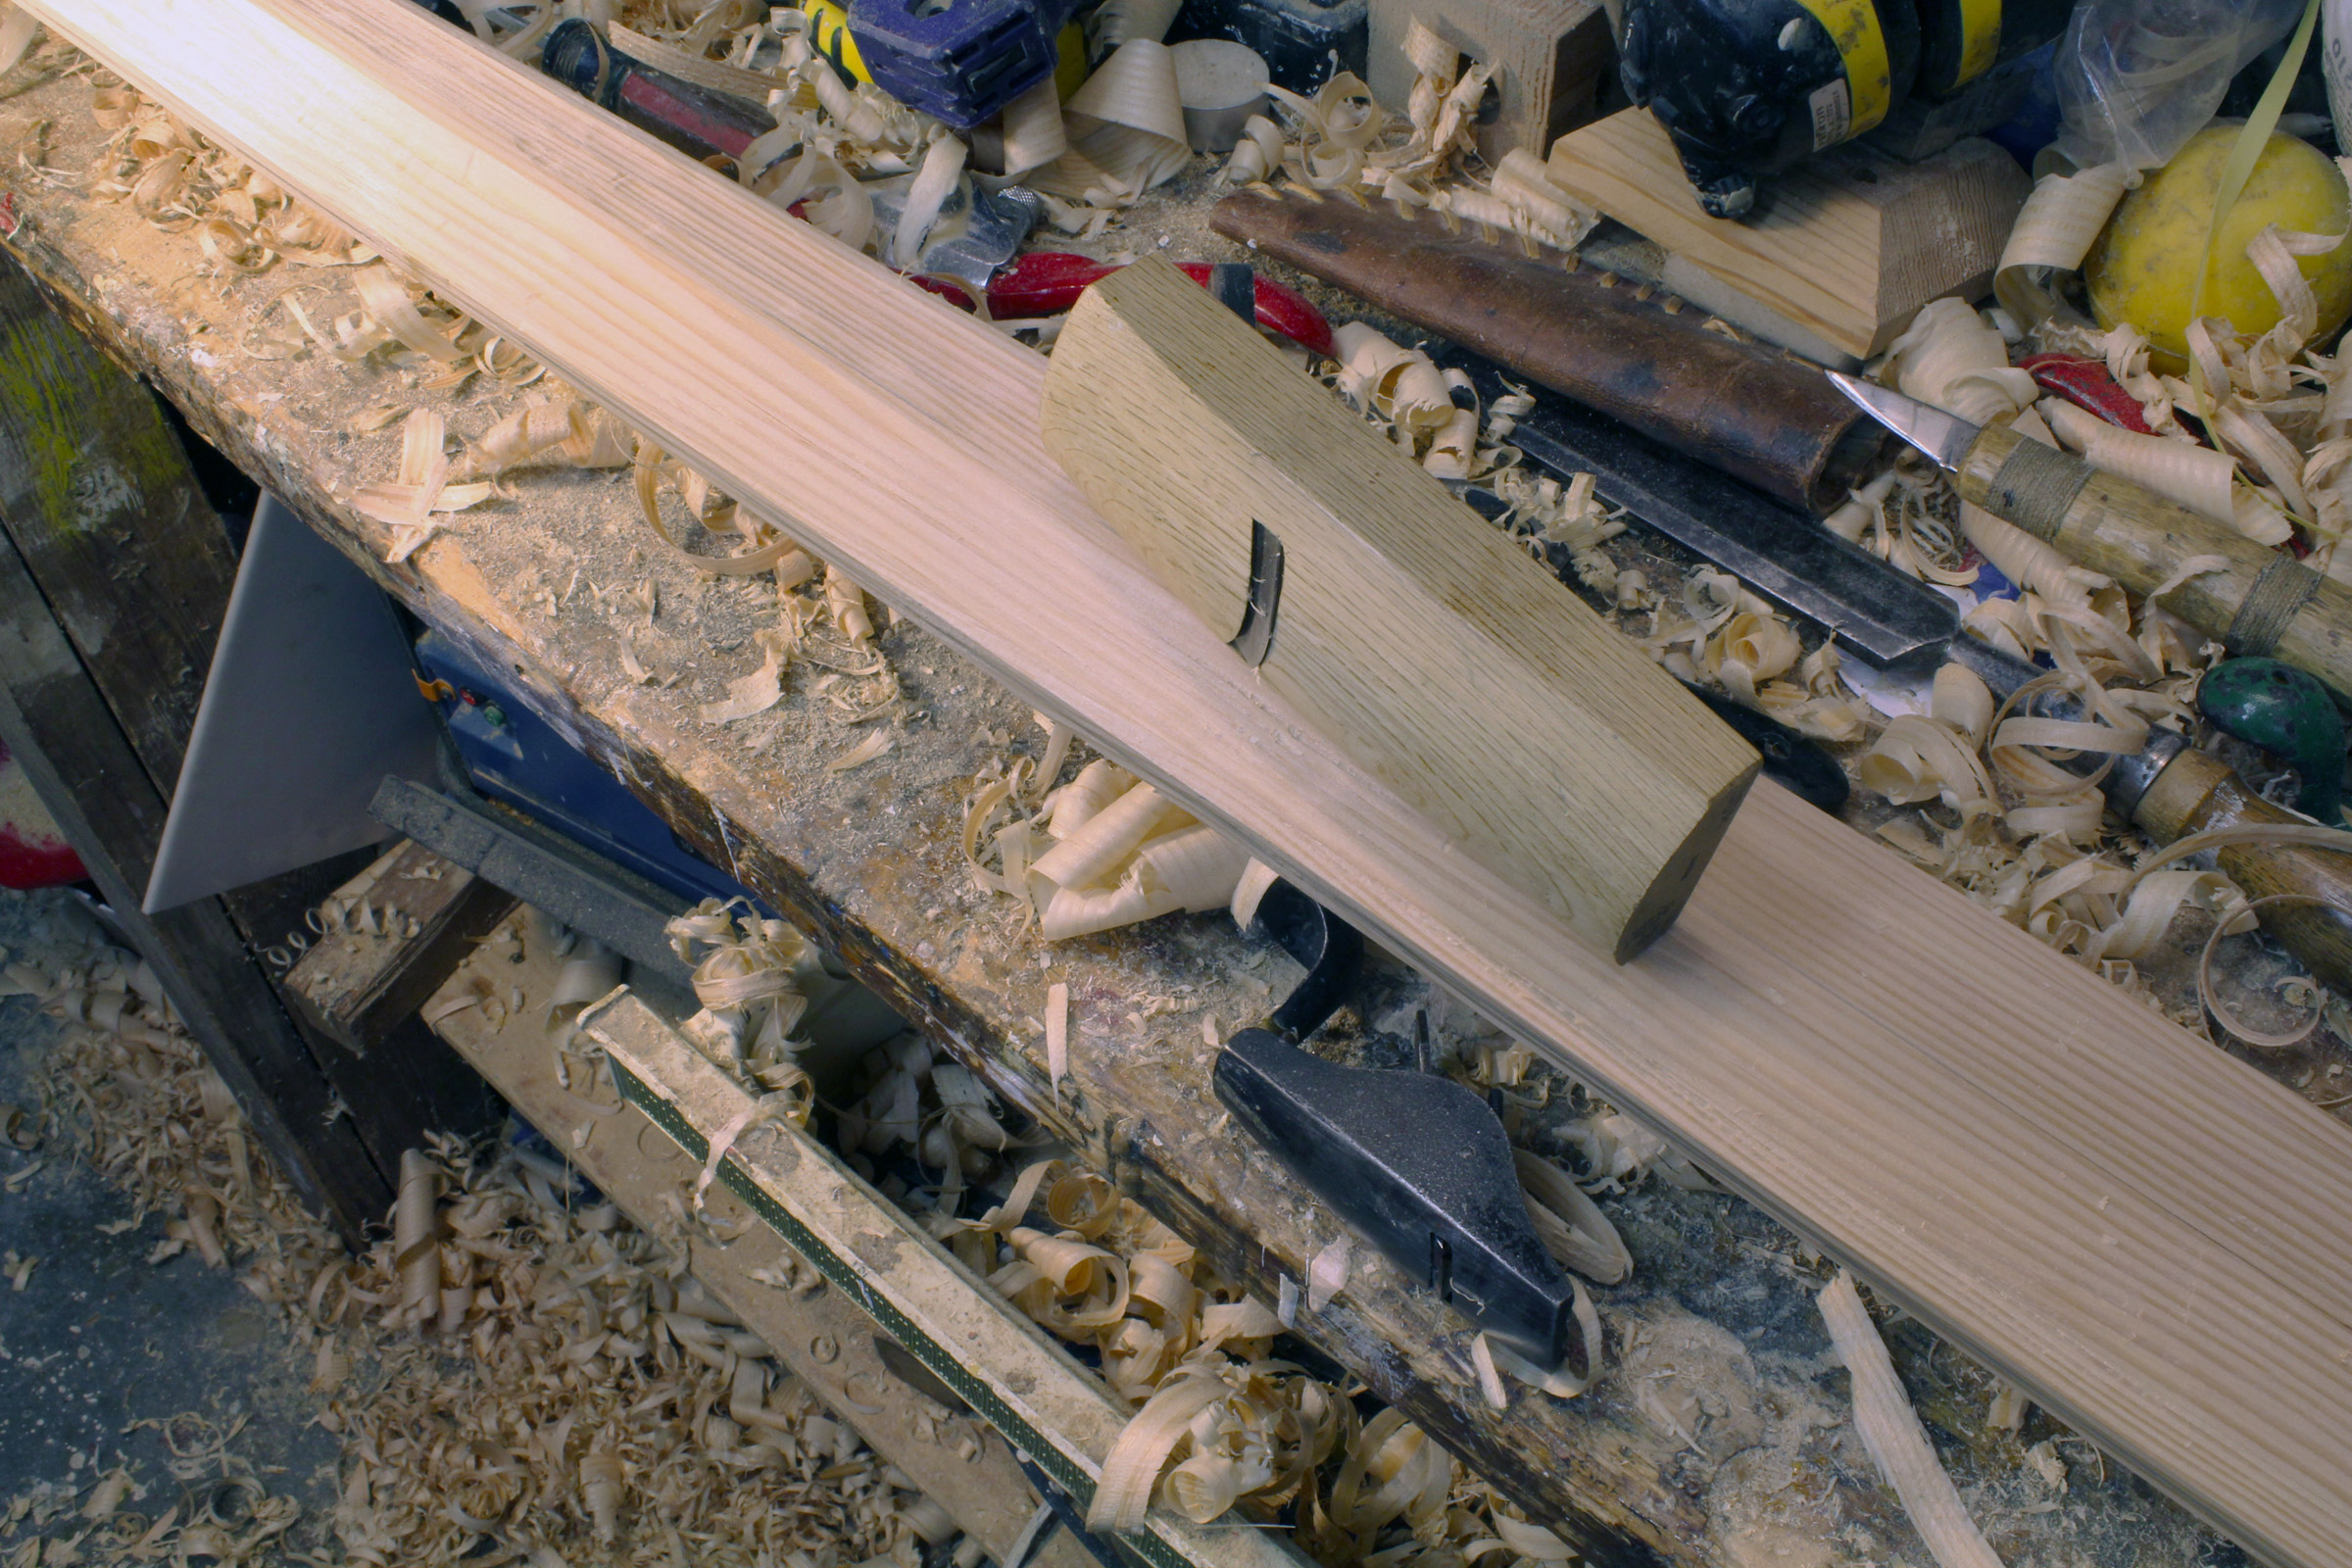
Spoon-bottom planes can work the hollows between the center ridges and the edges. The tool resting on the blade is a Japanese wooden plane; beneath the blade is an old Stanley palm plane.
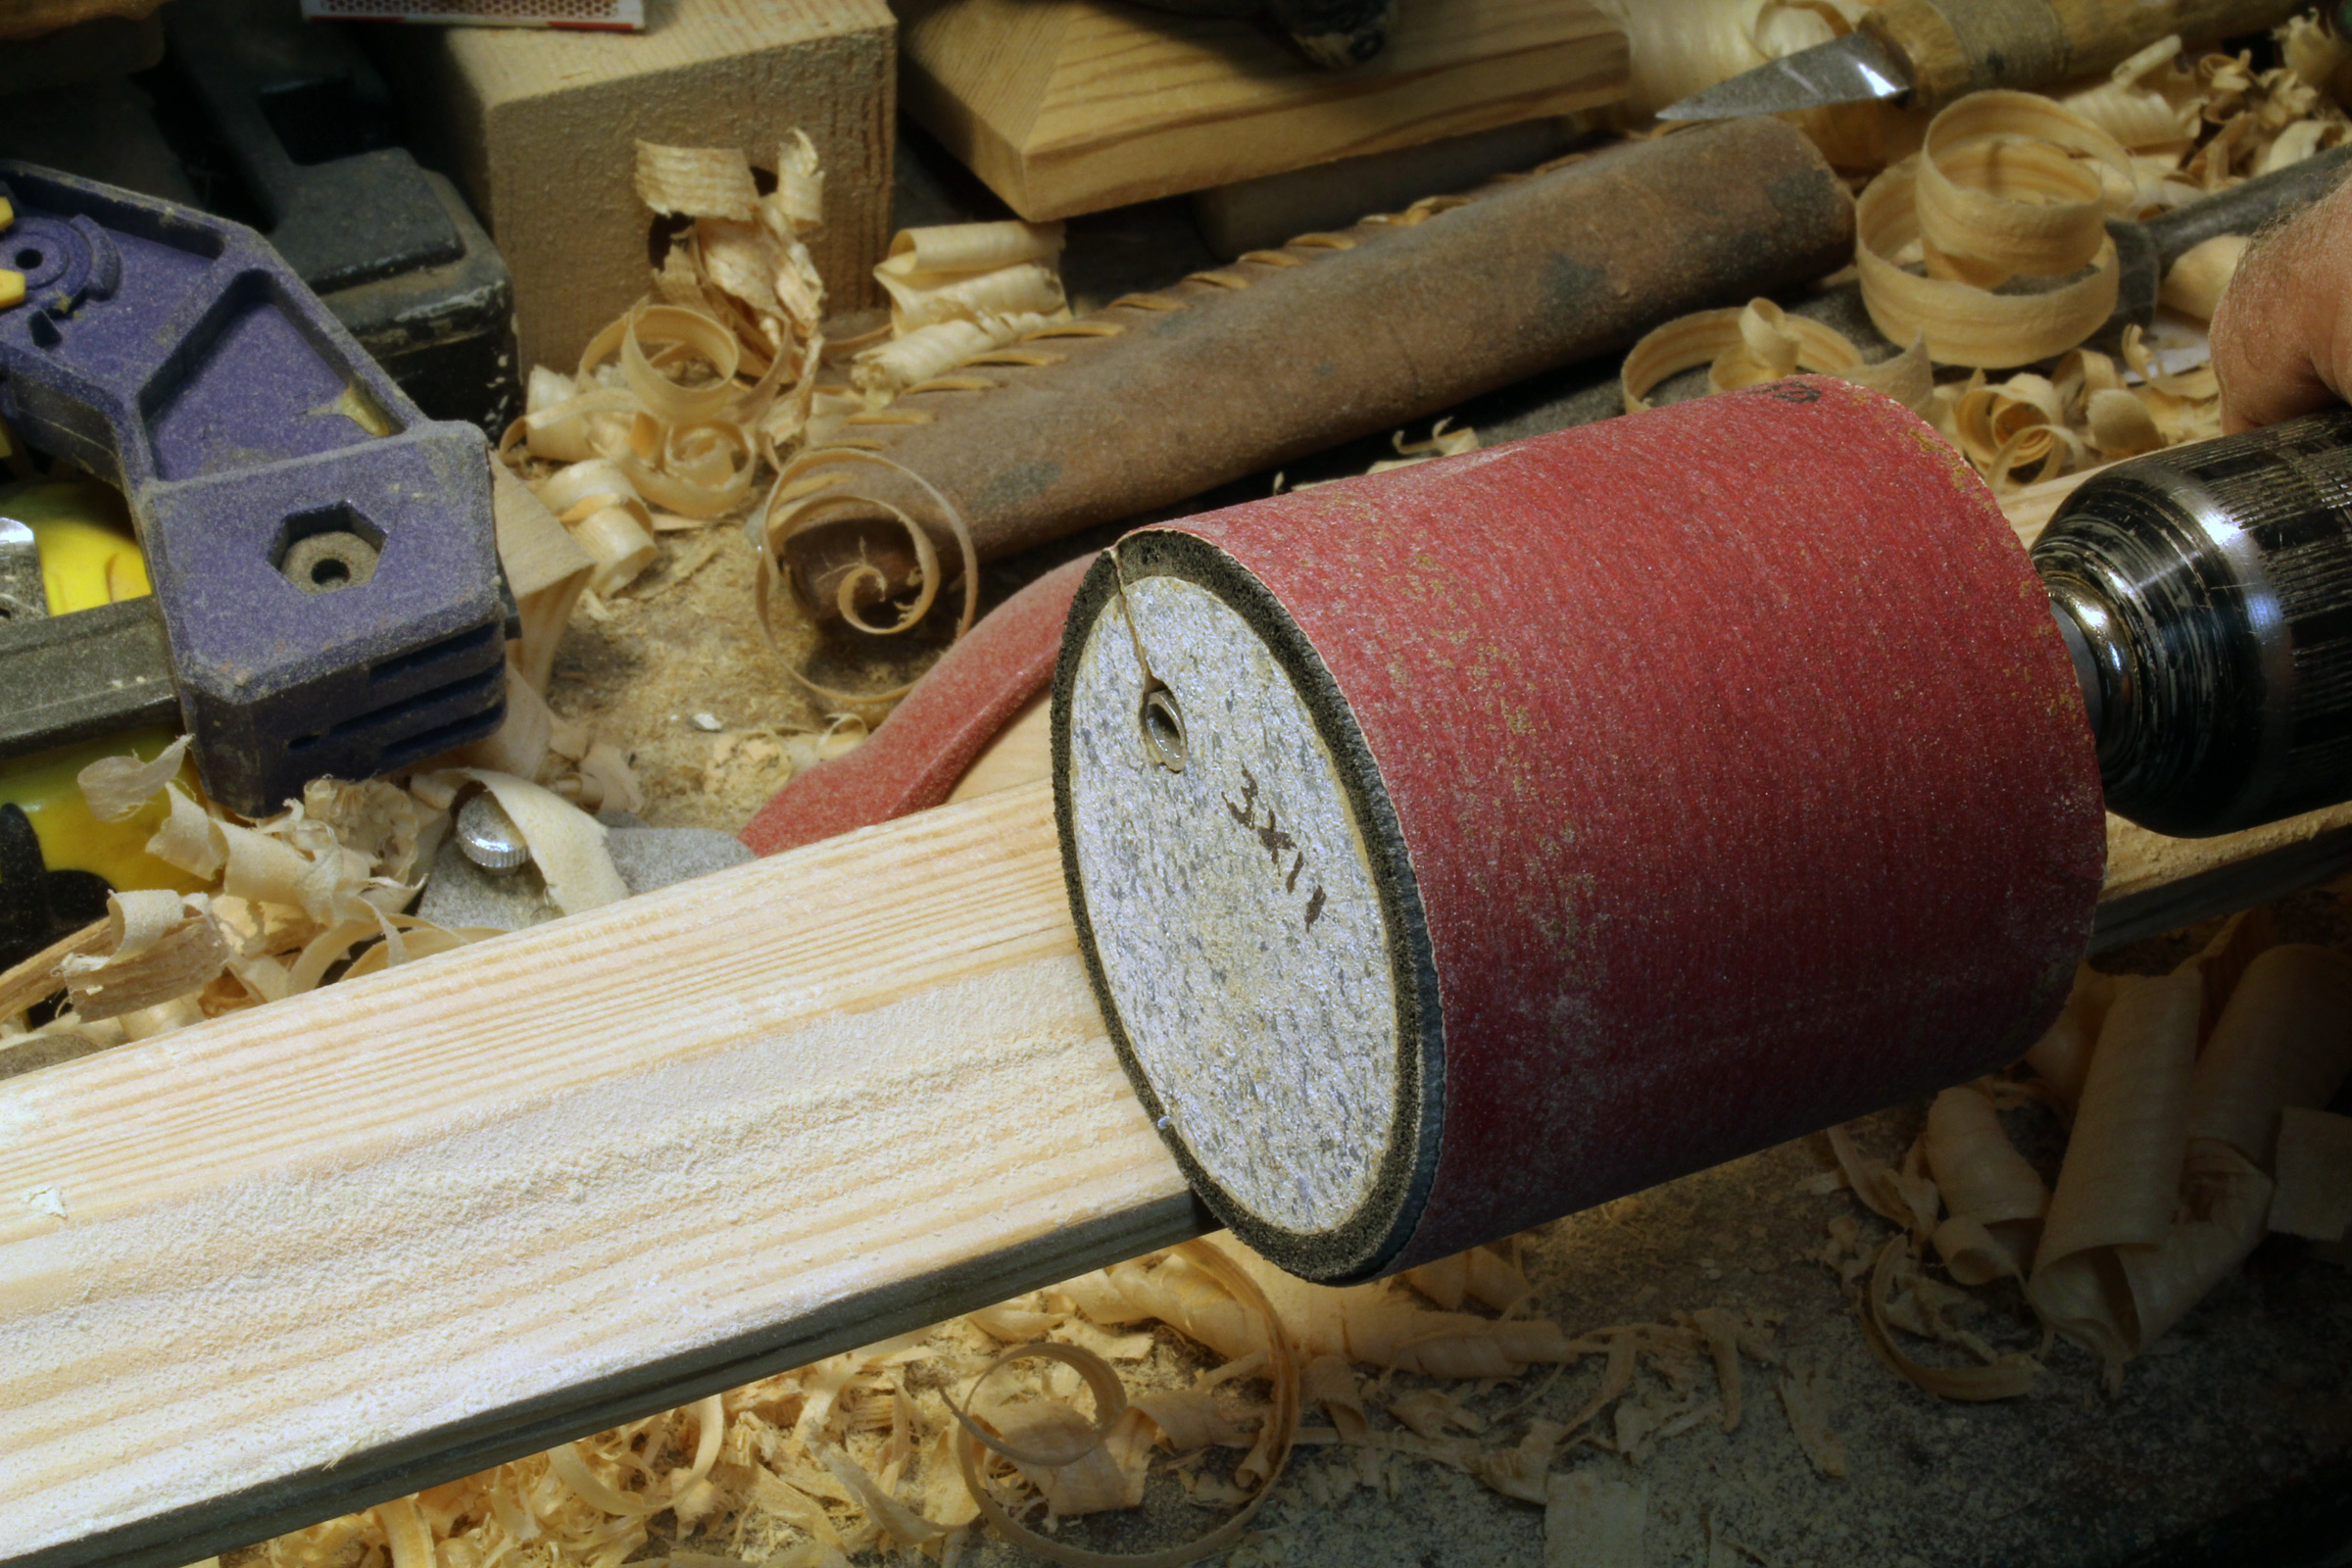
A 3″ sanding drum (see review, January 2018) chucked in a cordless drill had a good shape for hollowing the blade between the edges and the center spine.
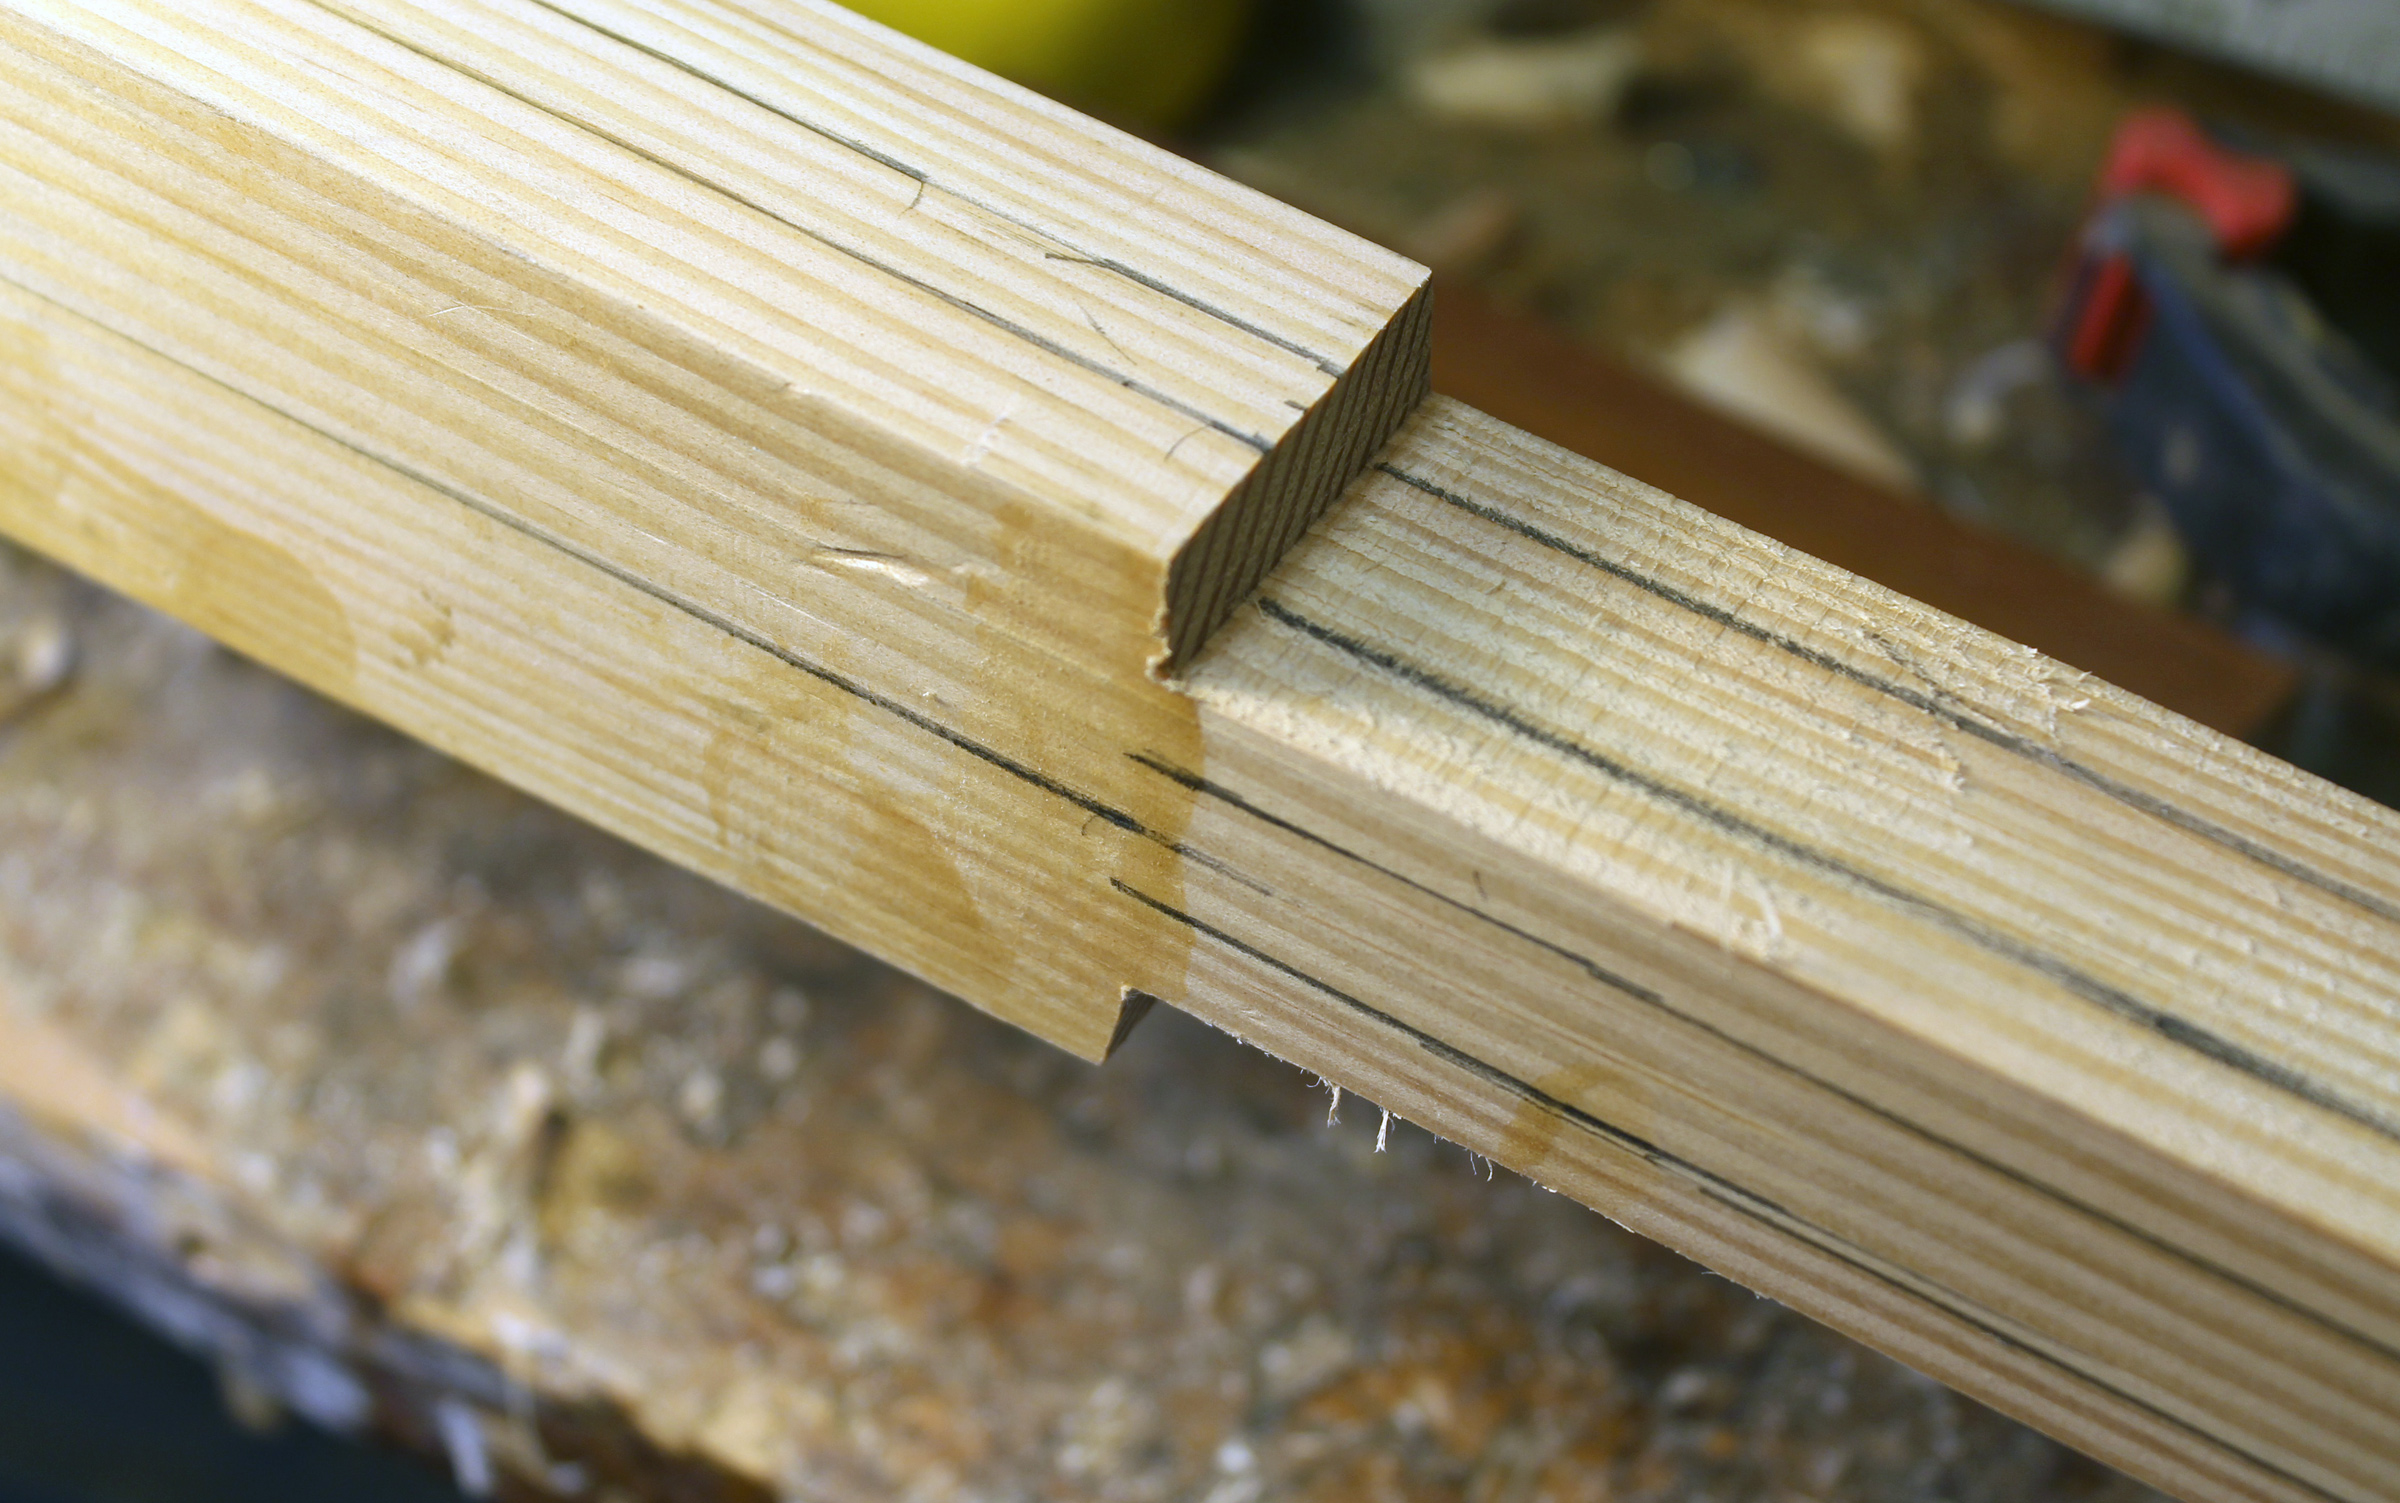
I measured depth of the hook socket and used that dimension to mark a shallow kerf for the shaft’s shoulder. To get the right taper, I scribbled pencil marks inside the hook socket, then twisted it over the shaft. Pencil lead would transfer to the high spots where I needed to remove more wood.
The finished shoulders are rounded and sanded smooth. They provide a good grip and at night indicate the orientation of the blade.
I made a padook with some straight-grained Douglas-fir. After the initial shaping it had too much buoyancy for the hook and floated flat. I puzzled over what to do to get it to go vertical. Trimming wood on the hook end would reduce buoyancy and eventually let the hook sink, and trimming the top of the blade would reduce the weight holding it flat on the water. It seemed that shaving both the shaft and the blade would do the trick. I trimmed everything down and the second float test worked. Kent and Audrey used white pine, a wood less dense than Douglas-fir and got about 16” of blade above the water. I got about 12” of my padook blade showing, using the same hook as they did.
![]()
You can share your tips and tricks of the trade with other Small Boats Monthly readers by sending us an email.

I carry a canoe paddle in my day sailer and have often thought about having a boat hook as well. The Padook is too good of an idea to pass up. Another project!
Thank you.
Beautiful work Chris, love the detail photos. Leave it to you to make it look easy and fast!
Cheers
Skipper and Kent
That Kent and Audrey have all the good ideas.
Geoff Kerr at Two Daughters Boatworks had a combo big paddle and hook on one of his videos but what we did was incorporate the slim design of the Greenland blade. It is very easy to grab, use, and stow on our small boats.
We also made a tiny paddle with the Greenland blade shape for our Sunfish. It fits in the cockpit, comes in handy on a no-wind day to paddle through a tack with one or two sweeps. Oh, wait, that’s Top Secret info….
Hi Chris,
I finally got to make one of these paddle/hooks, a couple of years after the article came out. I used lumberyard spruce and the Wooden Boat bronze hook. Greenland style blade. Came out as follows- LOA- 71″, blade length 30 1/2″, width about 3″,weight 2 lb. 4 oz., epoxy/graphite tip. Floats with about 18″ of the blade out of the water. Tested it first, floated pretty flat- thinned out the shaft, floated great. Oil finish. I will use it on the Atlantic 17 that I built for myself this past winter.
Walter, that is awesome, we feel like proud parents! Nice choice of materials and we’d love to see some photos of your Atlantic 17.
Cheers,
Audrey and Kent
In none of these discussions do I see mention of grip during rowing (or paddling). I assume one holds the metal taper of the hook in order to row or paddle. Is that right? if so, does the hook recurve interfere with one’s fingers? Or do you grip the wood shaft to row? That seems to bring the grip end of the oars too close together. Or…is this only for sculling? And if so, does the hook interfere with that? All of the discussion I have read here is about construction, flotation, and using the hook for fending off. I would like to know more about the oar/paddle functionality.
For paddling, I’ll put both hands on the shaft, as if holding a kayak paddle, with both hands on the same side of the shaft. I’ll also paddle canoe style, with one hand on the shaft and the other hand on the hook, with its point between my index and middle finger and my middle, ring, and pinkie fingers wrapped around the hook. That canoe grip works well for sculling to, with good control of the blade angle. Both grips work for sculling. I can also scull with both hands on the shaft, thumbs up, the lower hand pulling and the upper hand pushing. It all falls into place when you have a padook in hand.
The padook was created for paddling, we did not imagine rowing. But now you have us thinking… We do indeed hold on to the hook to paddle canoe style, with the other hand down by the shoulders of the blade.
Thanks for reading and sharing your thoughts!
Cheers,
Skipper and Clark