 all photographs by the author
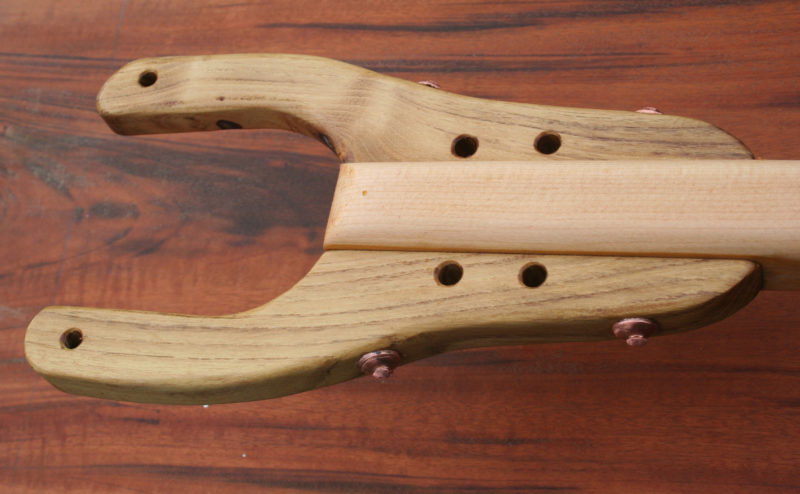
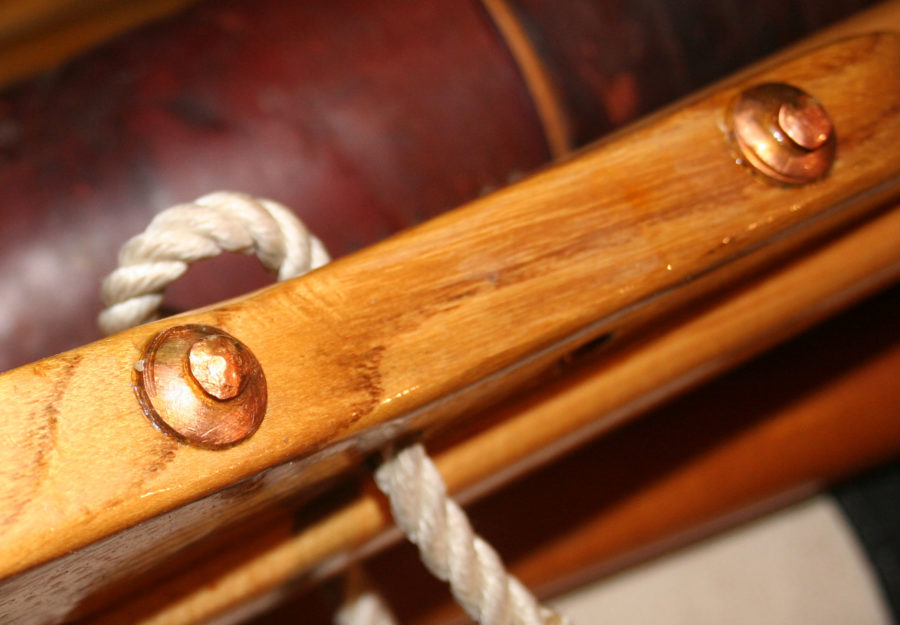
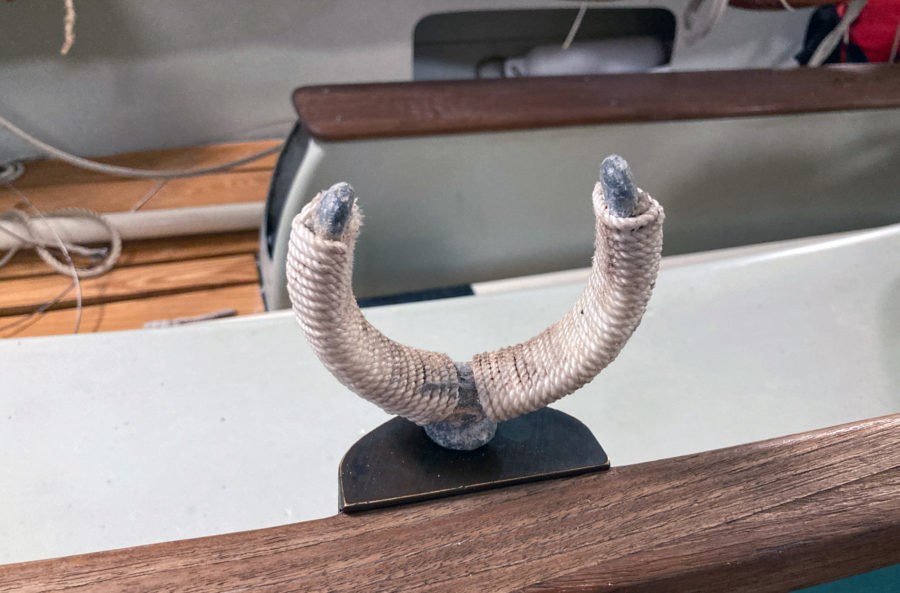
The locust-crook jaws for my Whitehall required a couple of extra-long rivets.
I recently needed a handful of long rivets to secure the sides of a centerboard trunk to its ledges and to fasten jaws to a boom. Even if I could even buy just 8 rivets, I didn’t want to wait several days for an online order so I decided to make my own. I started with some copper water pipe I had on hand and some 6-gauge copper grounding wire (about 5/32″ in diameter) sold by the foot or in coils from the electrical department of the local home-improvement store.
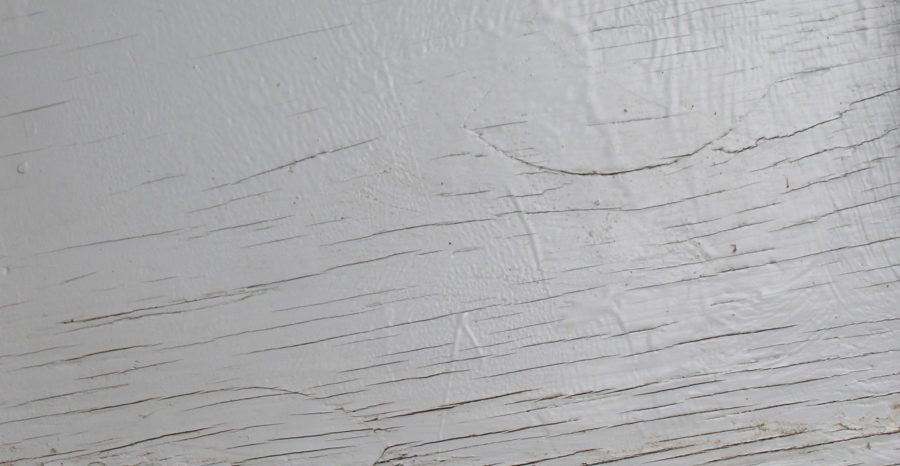
There are two things wrong with the wire as it comes off the spool: it’s round and it’s soft. Boat rivets are square to keep them from rotating as the wood around them moves; leaks would follow the slow wearing away of the wood. By hammering the wire I could make it square and at the same time work-harden the copper to make it rigid enough to drive into the slightly undersized holes I’d drill in the wood pieces I was assembling.

Hammering flat faces on household grounding wire work hardens the copper to make a rigid rivet shaft.
I hammered lengths of wire on the anvil at the back of my vise. A small pair of vice grips holding one end helped me orient the wire in 90° turns to hammer four flat faces. The wire curled as it stiffened but it was easy to straighten it by pinching it in the vise. Rather than try to form a head on one end I opted to put a rove on both ends of the squared copper rod.
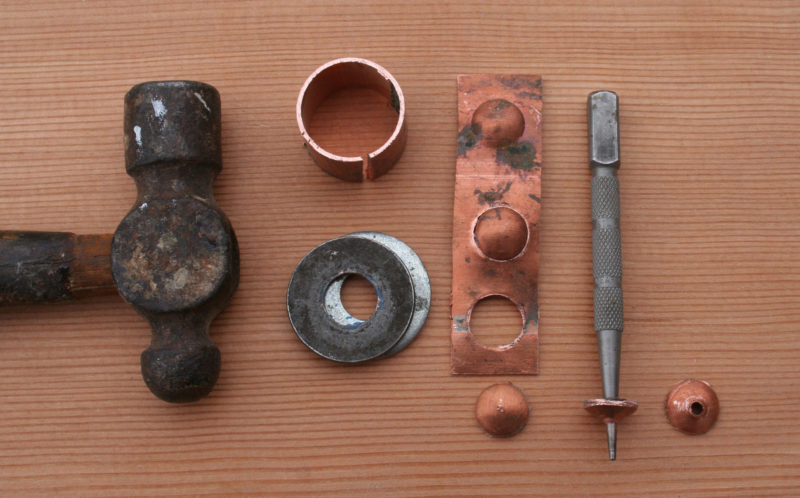
With a ball-peen hammer, a piece of copper water pipe, a couple of washers, and a nail set you can make your own dished roves.
I made roves from a short piece of copper 1″ pipe. (If you can’t buy a short piece, get a straight coupling.) I sawed through the pipe lengthwise, pried it open with pliers and hammered it flat on the anvil. To shape the rove I taped two 1/2″ washers (inside diameter 9/16″) on the anvil, with the face of the washer with the sharpest edge on top.
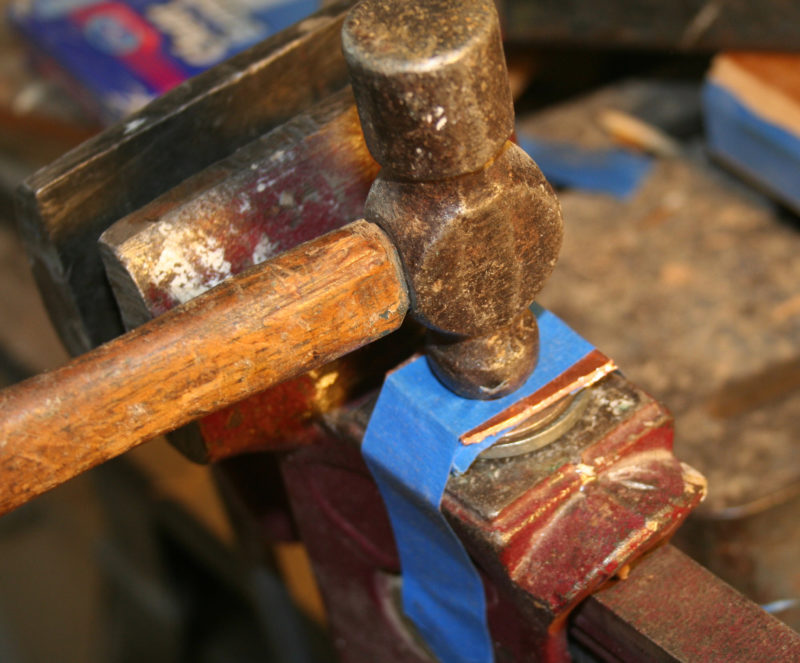
The hammer’s peen dishes the copper and ultimately punches it through the steel washers.
Two washers are required to provide clearance for the dishing of the rove. I taped the copper blank and the washers to keep everything in position during hammering. I set the peen of a ball peen hammer on the copper over the hole in the washers and hit it, face to face, with another hammer. Initially, fearing that one steel hammer might chip another and send shards flying, I used a wooden mallet but it didn’t completely shear the rove free. A second steel hammer was much more effective and neither hammer chipped. Naturally, I wore safety glasses. Taping a third washer on one hammer face will keep the two tempered hammer faces from making direct contact and still provide the sharp impact the copper requires.
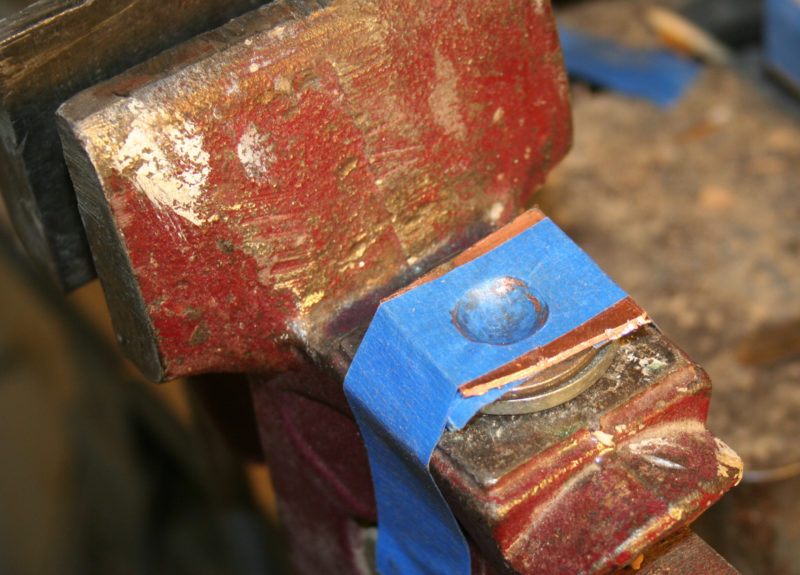
The copper is dished at this point and additional strikes of the hammer on the ball-peen will shear it from the copper blank.
The first blows dish the copper into a nice shape and work-harden it. A few more whacks shear it away into the hole in the washer. I used a fine-point nail set to tap a hole in the rivet’s concave side. A tap on the set with the rove on the anvil got it started; I finished driving the nail set through into a rove setting tool.
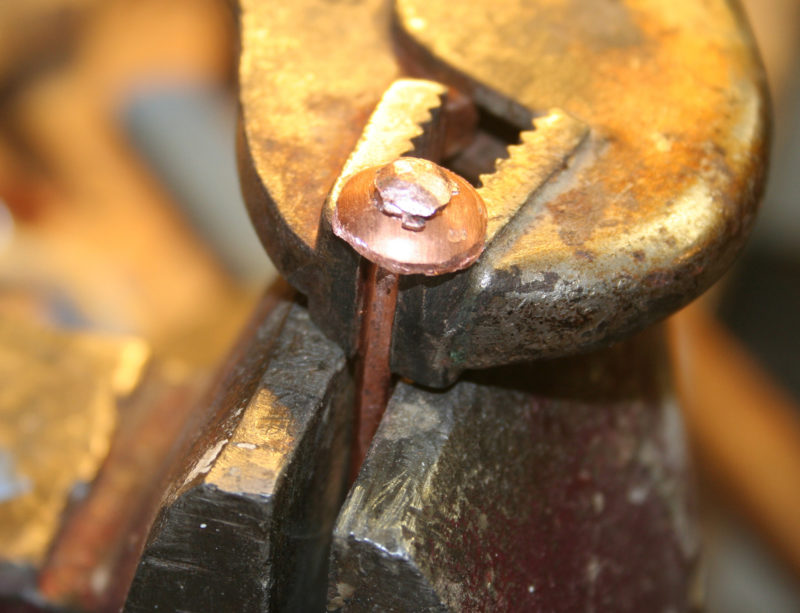
Fixing a rove on one end of the rivet gives it an easily made head. Vice grips keep the rivet shank from slipping during the peening.
The first rove goes on the rivet while it’s held in the vice. To keep the rivet from slipping through my vise’s smooth jaws as I peened the end, I squeezed vice grips on the rivet. Putting a point on the other end of the rivet is easily done with the same nippers you’ll use to clip the excess length of the rivet. One diagonal snip is all it takes. It’s also easy to create a point with a file, disk sander or grinder.
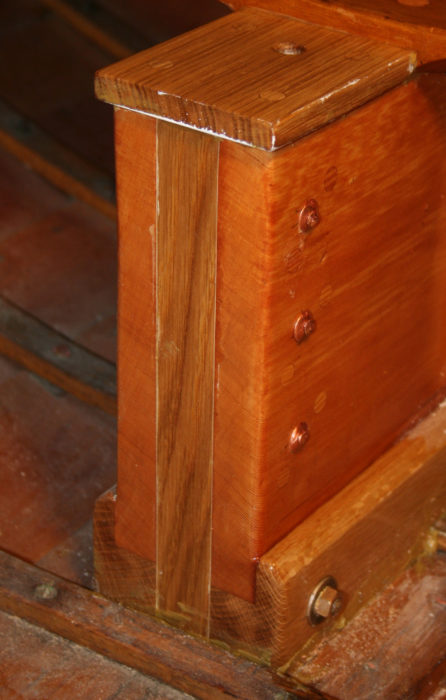
While I had already fastened the centerboard trunk sides to the ledges, I added rivets for an extra measure of strength in the fastening.
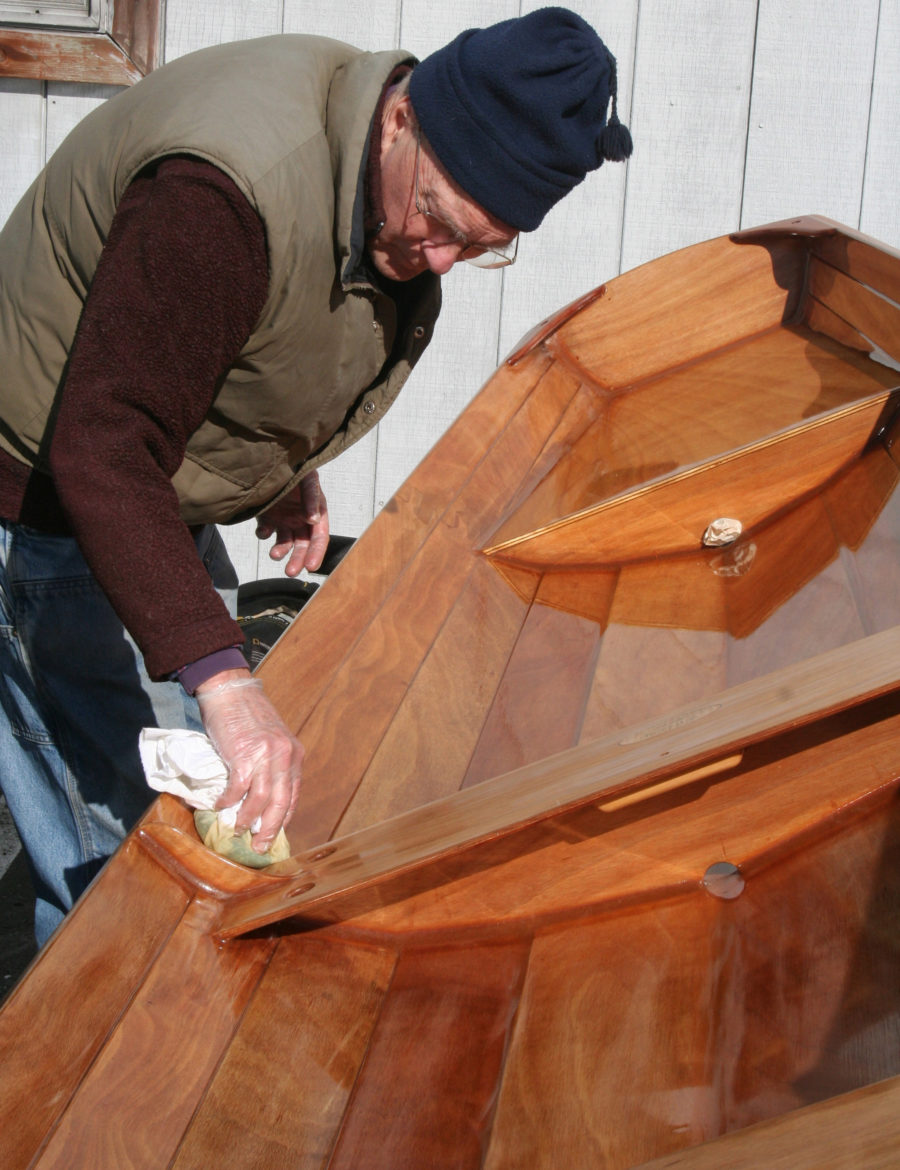
Now the rivet is ready to use on the wood pieces. Proceed as you would with a store-bought rivet: drill, drive, apply the rove, nip the rivet, and peen the end. ![]()
Christopher Cunningham is the editor of Small Boats Monthly
You can share your tricks of the trade with other Small Boats Monthly readers by sending us an email.

Chris, this idea sounds like something that I would think of or try. You did a good job with the rivets. Thanks.
Thank you sir, for the excellent idea. There are quite a number of instances on wooden boats and their parts where rivets are preferable to screws or bolts, particularly for longer lengths. The peening of the shank on the rove creates a lot of pressure to fit the parts together too! Your mention of working a strip of copper by hammering that hardens the material making it stiffer is another gem of practical knowledge.
Good description of using skills now almost forgotten to make what you need from what you can source locally rather than just going out andbuying it. I’ll remember this tip!
I especially like the home-made roves. Is there a technique to prevent bending the long rivet when doing the final peening?
After the long rivets are driven into the predrilled holes,they just require the same process and care you’d use with any other rivet. The greatest part of the rivet is snug and supported in the hole and not likely to bend. It’s only the part that’s protruding that’s prone to bending. After applying the rove, nip the end of the rivet to length, leaving just enough for peeing. Any excess invites bending. Peen with light tapping, lots of it, rather than nail-driving whacks.
Nice DIY article. Thanks, Christopher. I will use this one!!
In the late 40s, early 50s, I helped my father build cedar-on-oak boats. The rivets we used were purchased. Their shafts were round with a flat head and the roves were copper washers. After the holes were drilled through the plank and rib, the rivet was driven in hard enough to countersink the head about 1/16″,and the rove was added on the inside and the rivet was nipped.
To set the rivet, we used two tools. My father, in the inside of the boat, had an air hammer with a slightly concave hammer face. I had the “stop-iron” (not sure of the name) which was a 15″ length of solid 1″ bronze shaft, with a 3/8″ steel rod about 2″ long embedded in the end of the shaft, sticking out about an inch. On the other end was a 1″ thick “pancake” pad which enabled me to push the steel rod against the rivet head. Dad would use the air hammer in a slightly circular manner to put a neat crown on the inner end of the rivet, then yell: “Next!” I’d move to the next rivet and yell: “Ready.” This was repeated about every 5 seconds.
Christopher, thank you for the article and triggering some wonderful memories of a 10 year old kid living in Bay Head, NJ, surrounded by three working boat building yards, Hubert Johnson’s, Morton Johnson’s and Johnson Brothers.