 Carol Carlson
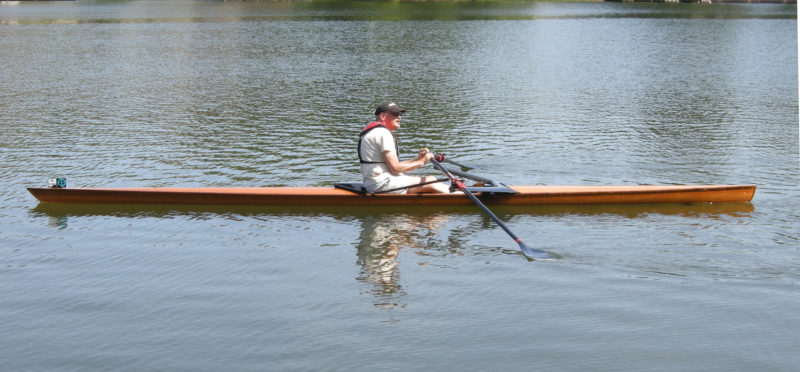
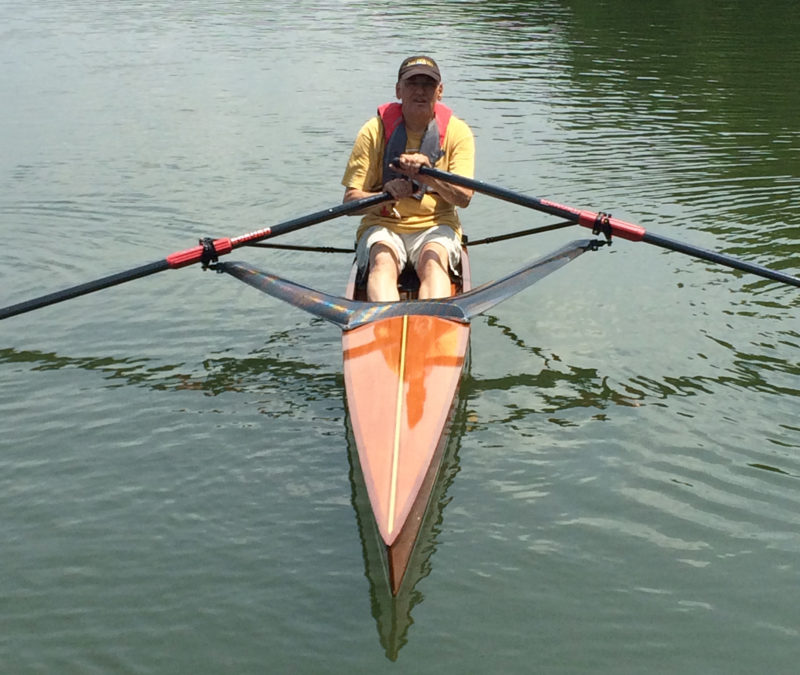
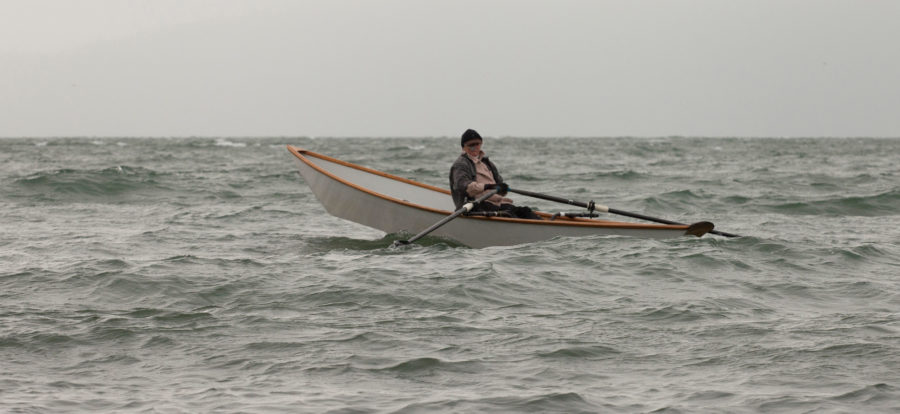
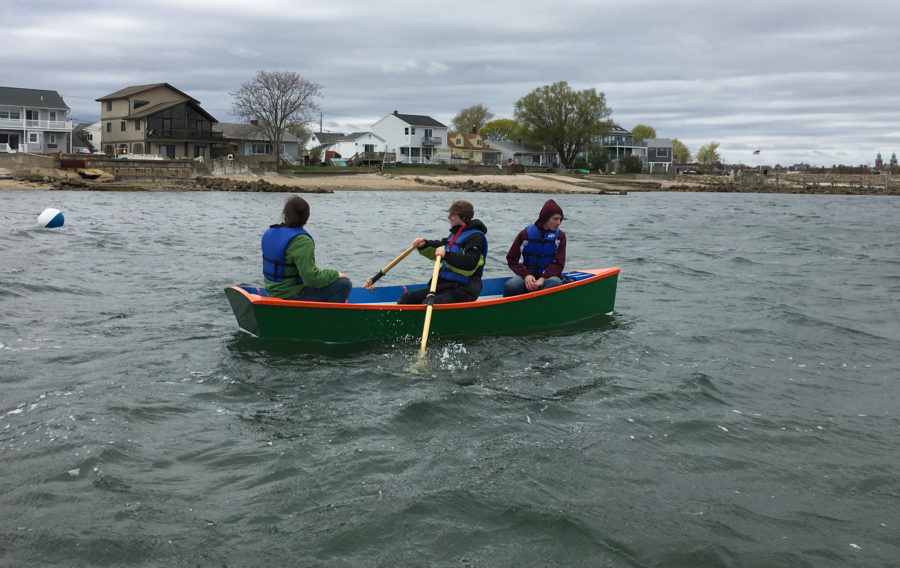
The Dragonfly has a length of 22′ 4″, a few feet shy of that of racing singles, but it is still capable of a good turn of speed.
When Bill Carlson decided to build a rowing shell, he had never sat in one, let alone tried to row one. But he had good shop skills: He’d already built an aluminum sailplane with a 56′ wingspan, a replica of a 1965 Cobra roadster, a MacKenzie River drift boat, and a strip-built kayak. And, now retired from a career as a manufacturing engineer in the medical industry, he had time to devote to building a shell and learning how to row it.
His search for plans led to Steve Killing’s Dragonfly, a rowing shell that the designer describes as falling “between a hard-to-master racing shell and a much-too-sedate recreational shell.” Bill “liked the idea of the recreational shell, which would offer the rowing-shell experience but with a little more stability,” but the Dragonfly, with a waterline beam of 17″ and an elevated seat, would still be quite tiddly. Its stability, like that of a racing shell, would come from the sculls, quick reflexes, and, eventually, a well-refined sense of balance.
 courtesy of Ron Frenette, Canadian Canoes
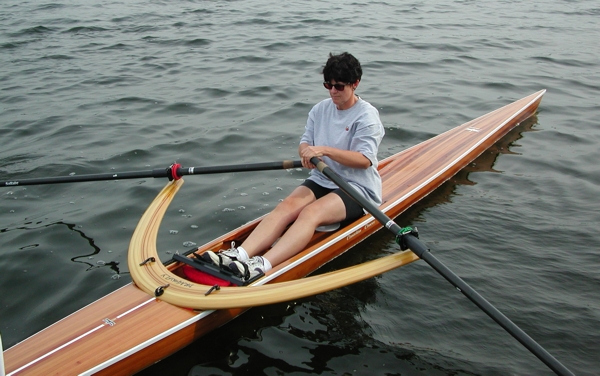
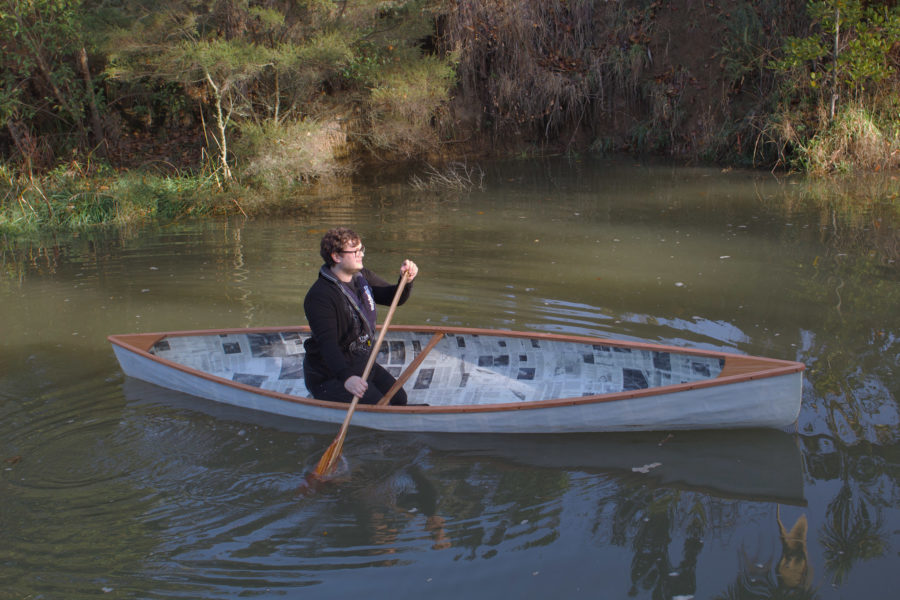
The original design included a laminated outrigger and a foredeck that slopes down to create the rower’s bench.
Bill’s experience with strip-built kayak construction would provide a good base for the demands of building the Dragonfly. He wanted to do exceptionally fine work on his rowing shell, so instead of using the 3/16″-thick western red cedar strips he’d been accustomed to, he milled Spanish cedar into 1/4″ strips. Spanish cedar, Cedrela odorata, isn’t a true cedar (neither is western red cedar, for that matter), it’s a variety of mahogany from Central America and was used in the building of racing shells through the early 1900s. Bill went online looking for the longest stock available, hoping to minimize the number of scarf joints required to make the strakes for the 22′4″ hull. He found a source for 3/4″ x 6″ x 13′ boards and had 11 shipped to his home.
Before he started sawing the cedar, he marked the boards so he’d be able to keep the strips in order for the best match of grain and color when it came time to fit them over the molds. Outfitting his tablesaw with a 3/32″ thin-kerf blade instead of a standard 1/8″ blade gave him gave him an extra strip for every eight he cut. To keep the milling as accurate as possible, he used feather boards to keep the stock tight against the rip fence and regularly checked the strips’ thickness with a caliper. At the end of the milling operation he had 165 strips and two 30-gallon cans filled with fragrant sawdust.
 Bill Carlson
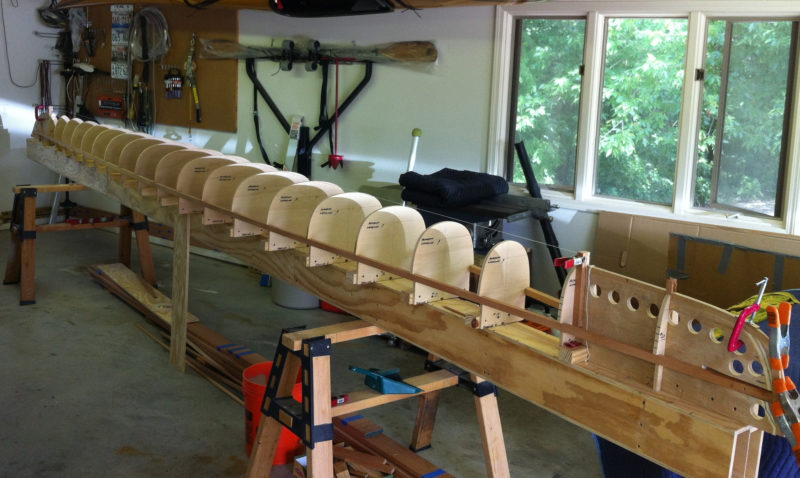
Closely spaced forms, carefully shaped and aligned, assured the hull would be symmetrical and fair.
Bill had a 16′ strongback he’d made for another boatbuilding project and added a 6′ extension to it for the Dragonfly. The plans called for 21 molds, one every 12″, and forms for the bow and stern. Precision was the key to a fair hull, so Bill had the plans copied onto Mylar, carefully cut each pattern, and traced them to high-quality plywood. With a disc sander mounted in his tablesaw he trimmed the roughed-out forms, splitting the pencil lines.
Aligning the forms on the strongback, Bill noted, “was probably the most critical part of the whole boat as it determined the final look and performance of the boat.” He spent two days at the task.
Applying the strips to the molds was also slow, painstaking work. Bill’s home-made strips didn’t have the bead-and-cove edges commonly used to eliminate gaps between them. Instead, he carefully cut 23′ -long rolling bevels with a sharp and finely tuned block plane. It could take him two hours to get a perfect gap-free fit for a single strip. With that level of attention to detail, using staples to hold the strips to the molds was out of the question. There would be no rows of holes in Bill’s Spanish cedar. He used dabs of hot-melt glue, wedges, and clamps to hold strips in place.
 Bill Carlson
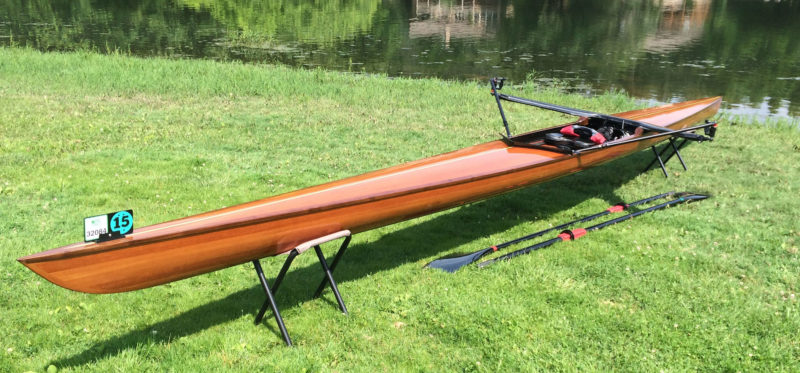
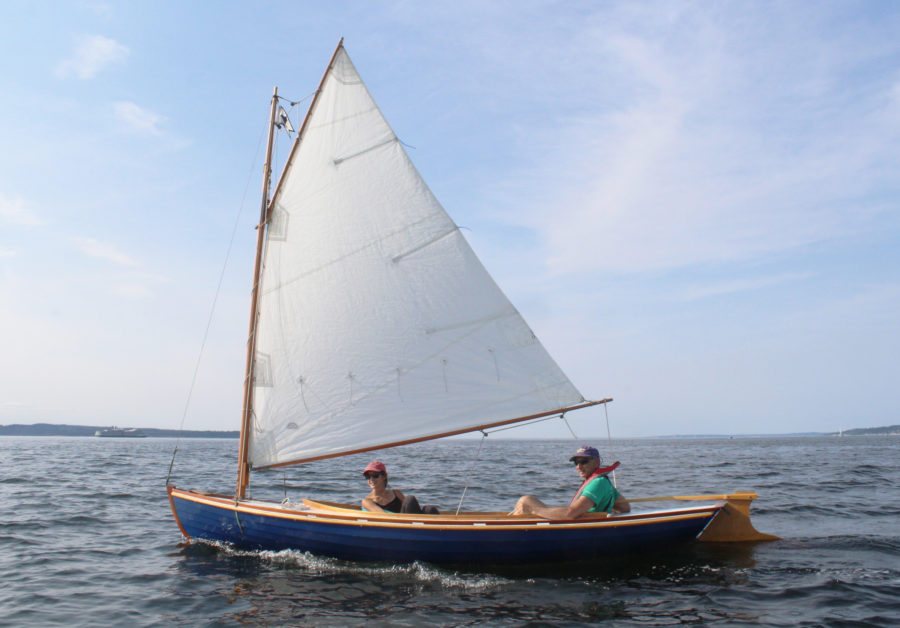
Bill modified the foredeck and added splashboards for a more traditional look for his Dragonfly.
The Dragonfly, as designed, has a foredeck that sweeps gracefully down into the cockpit and levels out to form the rower’s bench. It’s an innovative and sculptural feature, but Bill preferred a more traditional look and added washboards to define the cockpit. They’d also deflect any water that comes over the foredeck.
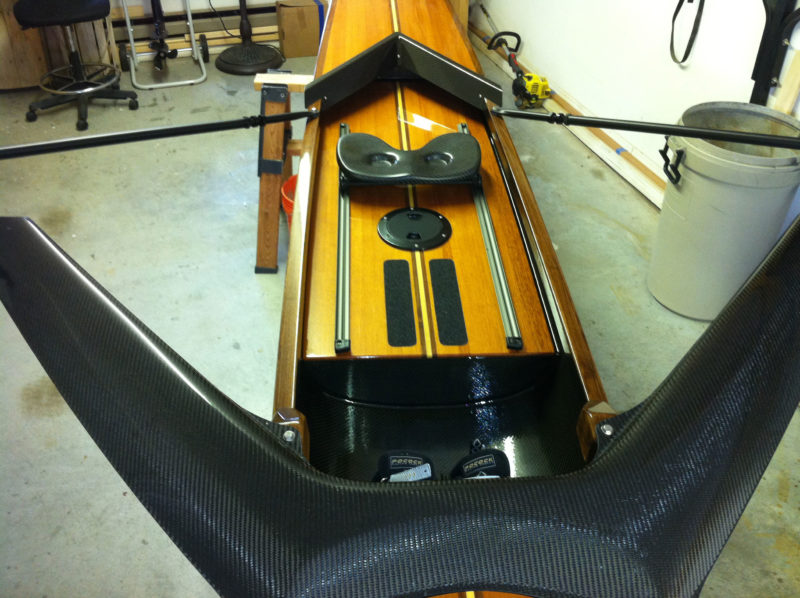 Bill Carlson
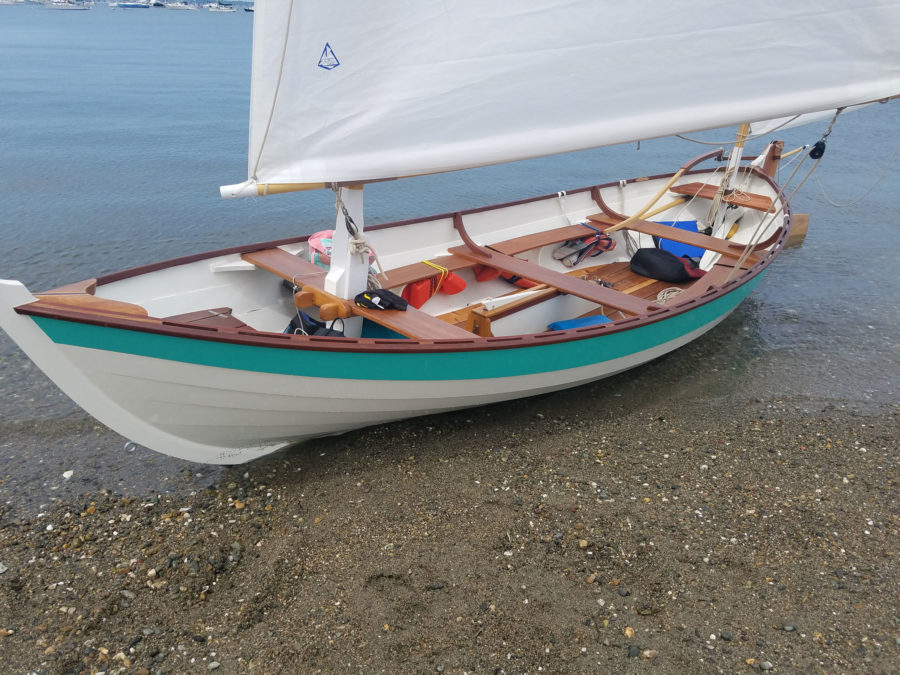
Bill’s modified cockpit brought a more traditional look and function to his Dragonfly.
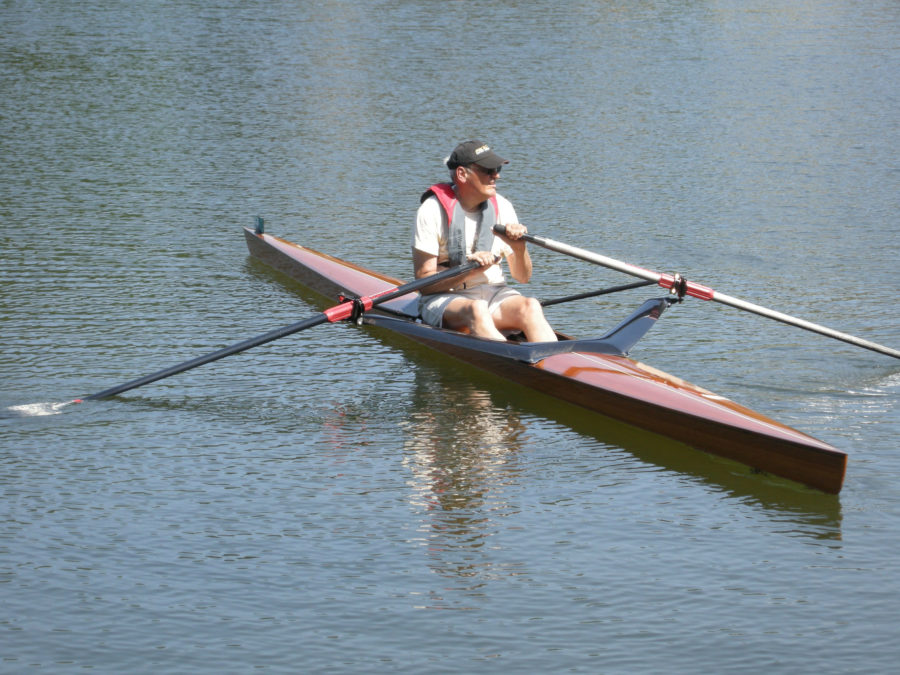
Killing designed a one-piece outrigger for the Dragonfly, a laminated wooden arc bolted to threaded inserts in the gunwales and aft deck. Bill opted for a carbon-fiber wing outrigger, which is lighter and, with backstays to the tops of the lock pins, perhaps stiffer. The other rowing components—seat, tracks, and stretcher—came from Pocock. Bill’s 10′ carbon-fiber sculls are by Dreher.
 Carol Carlson
The carbon-fiber outriggers by Pocock include backstays. Fastened to the top of the lock’s pin, they keep the lock from twisting and keep the pitch of the blades constant.
In the video here we see Bill take the first strokes of his newly launched shell. He’s a bit tentative and wobbles a bit, but he stays upright and his rowing form shows good promise. Last year Bill joined a rowing club to get some coaching and reports he’s enjoying the boat and his new sport. ![]()
Canadian Canoes engaged Steve Killing in 2001 to draw a single shell for a customer who had rowed while attending a university. Steve drew the lines for the Dragonfly and a few were built at the Canadian Canoe workshop, but an instruction manual was never written. For boatbuilders with enough experience to work from Killing’s drawings, copies are available upon request from Bear Mountain Boats.
Have you recently launched a boat? Please email us. We’d like to hear about it and share your story with other Small Boats Monthly readers.


Does anyone know of any racing shell kits? I have a Maas 24, similar to this Dragonfly but would like to fabricate a faster racing shell.