Like Ben Fuller, I have more boats than trailers to haul them, so when I read his article on the roller cart he built with Joe Liener, I was convinced that I needed one or two to shuffle my boats.
Wooden Roller
I didn’t have a section of an old mast to use for a roller and even if I did, I’ve never had much luck drilling long holes accurately, so I had to take a different approach. I bought an 8′ length of 2×6 and cut four 18″ pieces. I ran two of the four pieces through the table saw, making several passes, to cut a groove that would become a hole for the axle when I glued up the blank for the roller.
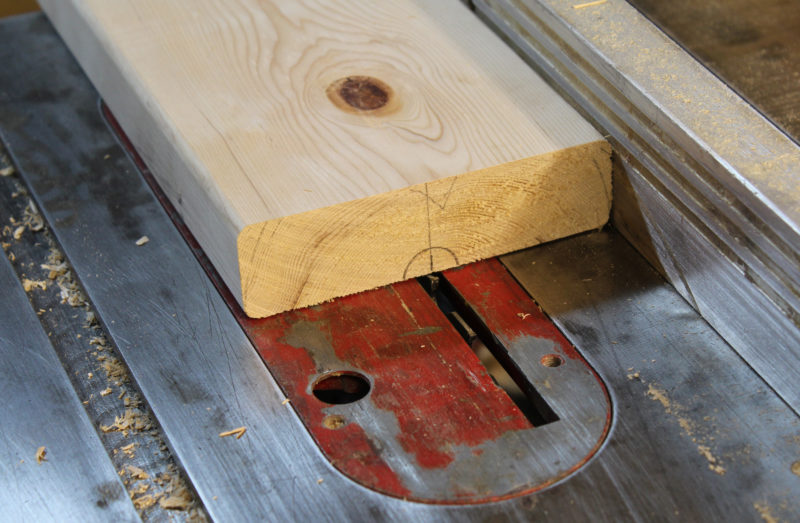
Each of the inner pieces of 2×6 needs a semi-circular groove to to accommodate the axle. Repeated passes on the table saw with adjustments to the fence and depth of cut, will remove the bulk of he wind inside of a half circle with a radius to match that of the axle.
Each of the inside pieces of 2×6 get sawn a pass over the tablesaw for every blade setting.
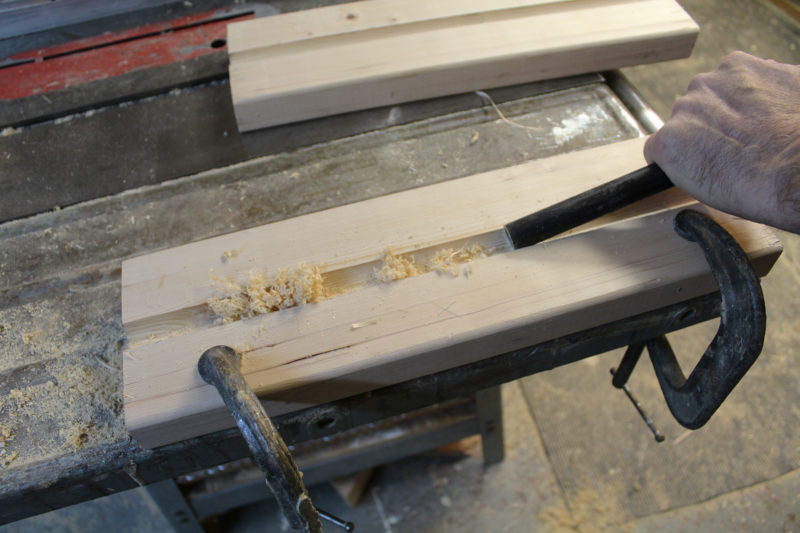
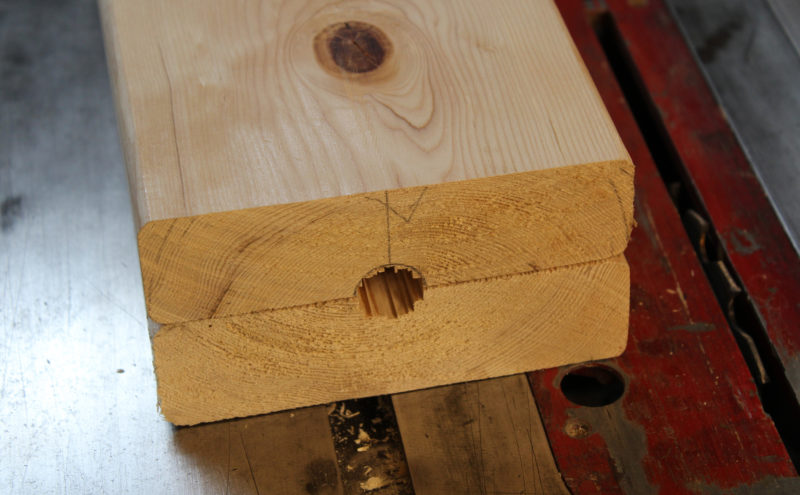
The axle itself is the tool for finishing the grooves. The working end is sawn off and occasionally sharpened with a file. The length of the axle makes it possible to apply a lot of force, and the rather crude cutting edge will produce shavings. With a piece of sandpaper wrapped around a 3/4″ dowel, I finished the grooves.
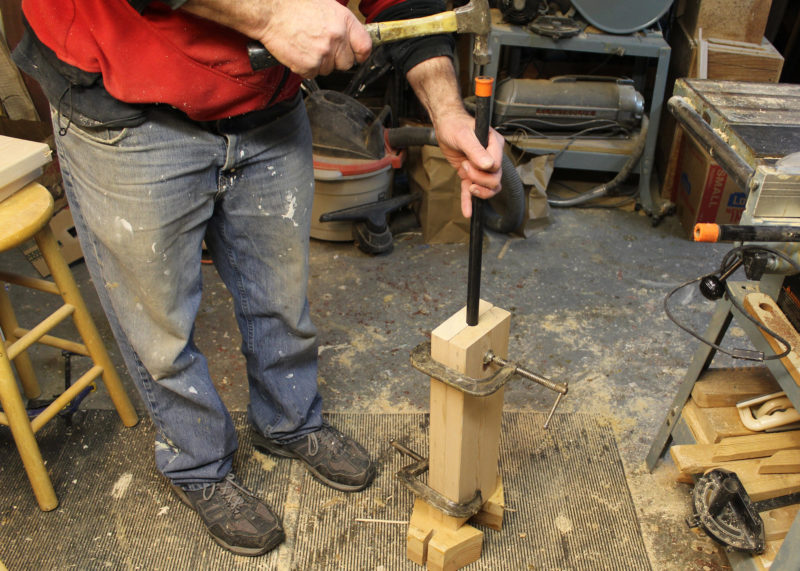
For the final fitting, I clamped the two grooved 2x6s together, lightly at first, and hammered the pipe through.
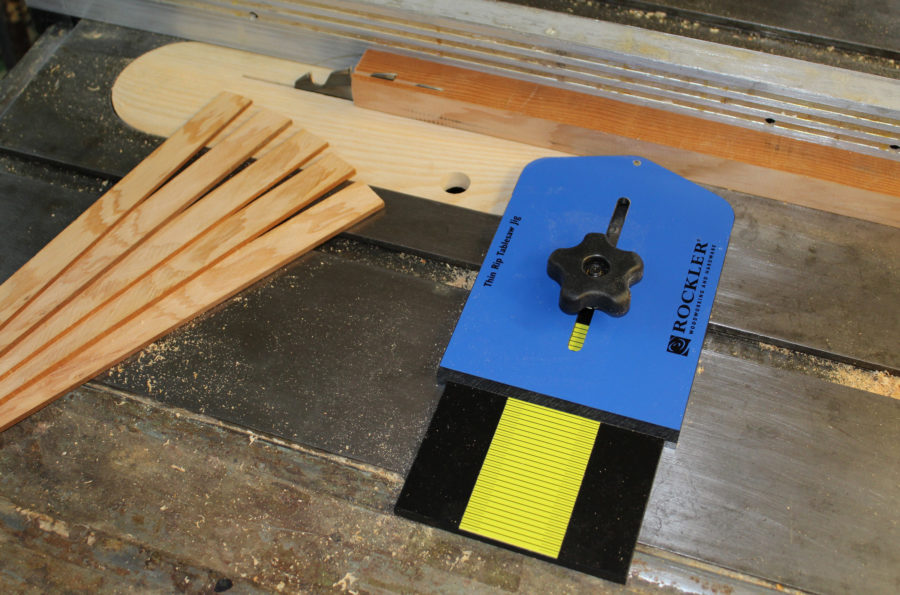
After gluing the four pieces together with epoxy, I eight-sided the block on the table saw, bringing the blank down to a size small enough to be mounted in the frame, a rectangle of 2x4s with ash cheek pieces.

The 2x6s get clamped together with pipe aligning the grooves, then removed as the epoxy cures.
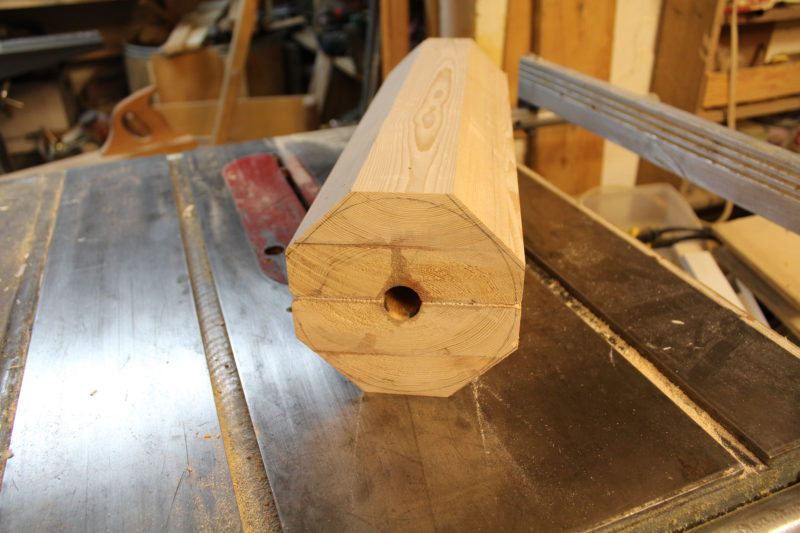
After gluing the four pieces together with epoxy, I eight-sided the block on the table saw, bringing the blank down to a size small enough to be mounted in the frame.
To make the blank round I used a technique I was forced into a few years ago when trying to make a few quenas, a type of South American flute. I bought a long ship auger to hollow out the stock for the quena, but I couldn’t keep it from veering off line, so I made extra-large blanks and then drilled the holes though them. Then it was a matter of trimming the wood around the hole to provide a uniform wall thickness. The lathe was out—the hollowed-out softwood was too delicate for that kind of work. I turned instead to my table saw and set up a jig on a sled. With the blade spinning and the quena blank rotating slowly above it, I could gently and accurately trim the wood down to a straight and uniform cylinder. The method worked well for the delicate musical instrument and I figured it would do the job for a roller.
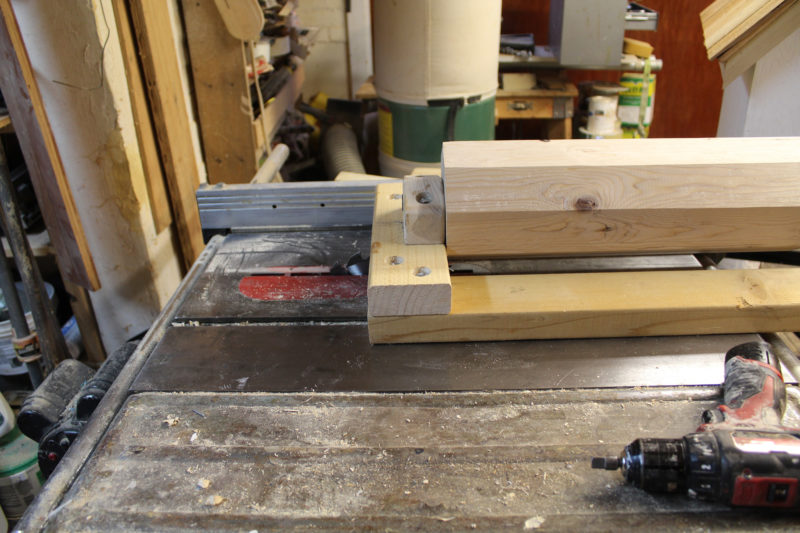
With the frame resting on the table saw and the fence adjusted to center the eight-sided blank over the blade, I could rotate the blank with a cordless drill connected to the pipe axle with a socket driver and socket (a drill bit inside the pipe would work as well) and lots of masking tape. I set the blade to take a fine cut on the high spots and turned the saw on. I got the blank spinning and pushed the frame along the rip fence.
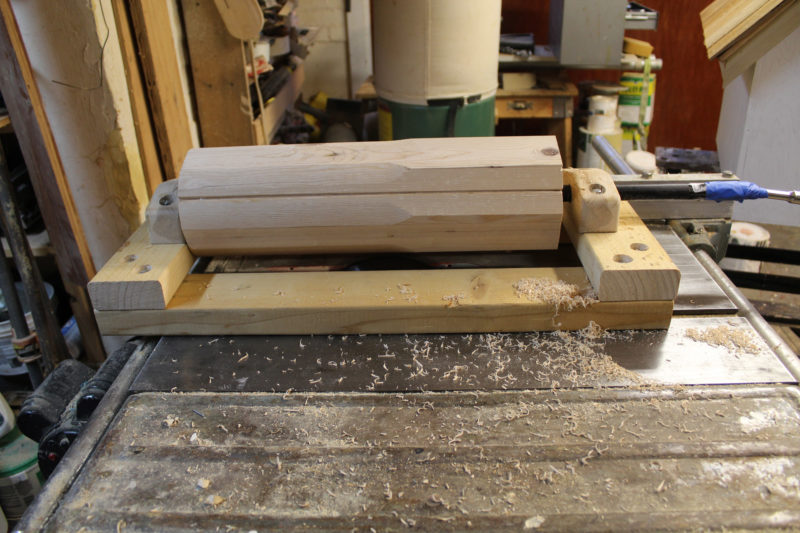
Partway through the first pass, the table saw is taking the corners off. The blue tape is all that was required to connect the axle to socket driver chucked in a cordless drill.
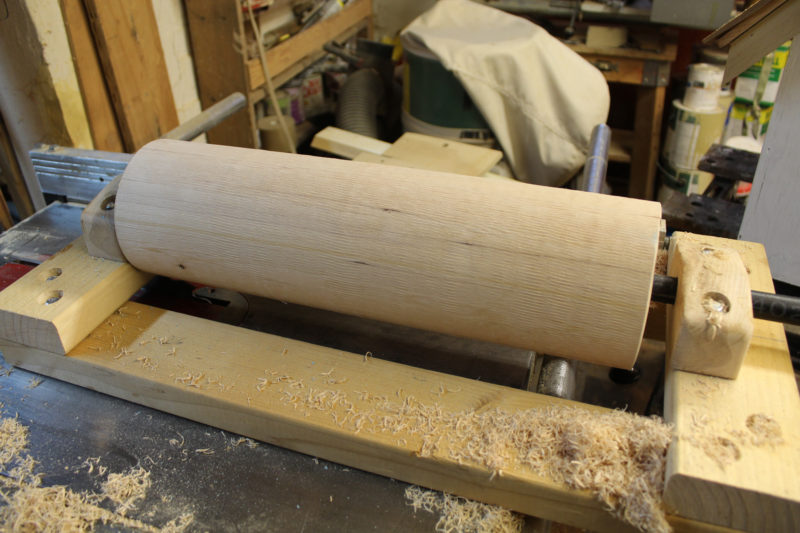
It took four passes to get the blank turned down to a nice even cylinder.
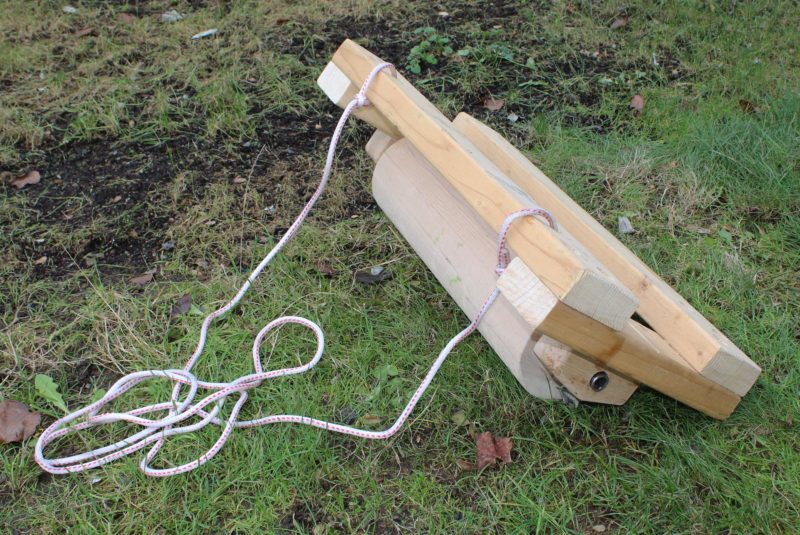
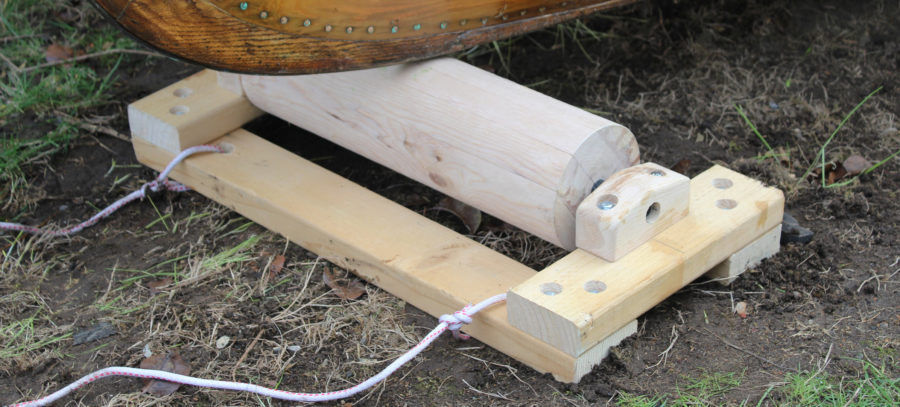
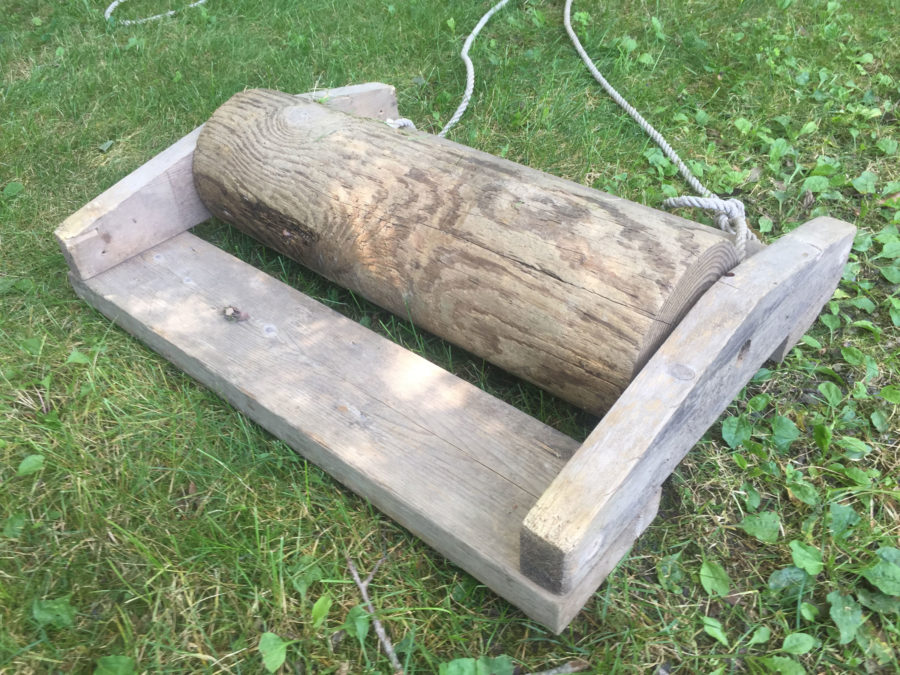
The finished roller cart with a wooden roller
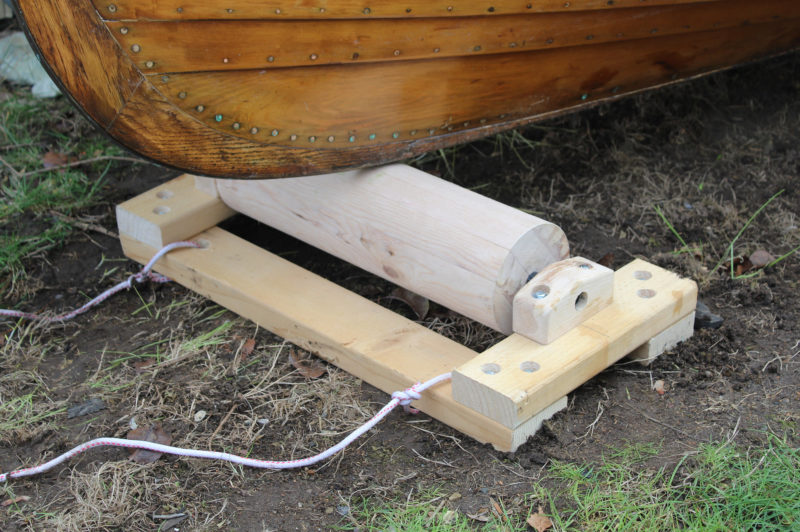
The wooden roller cart as a stationary roller
Plastic-pipe Roller
I made a second roller cart using a piece of very stout 7″ PVC pipe I had on hand. I made six disks of 3/4″ plywood with a 13/16” hole in the center.
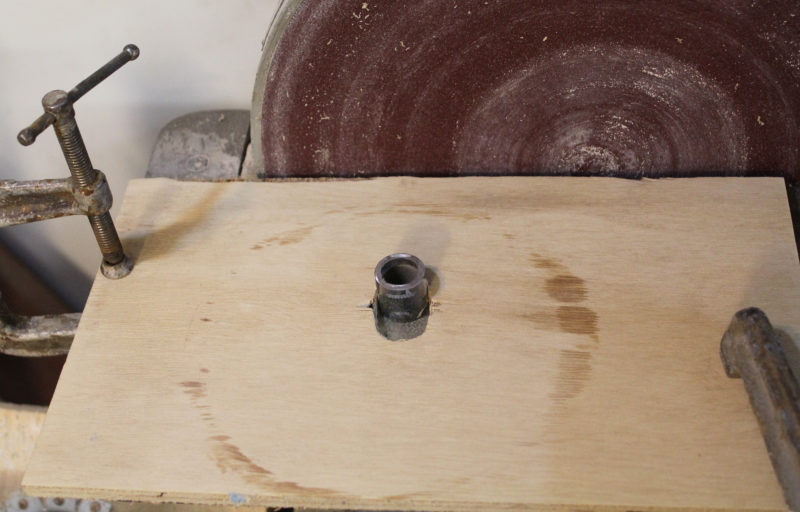
To trim the discs after they’ve been roughed out on the band saw, I used a disc sander with a piece of plywood clamped to its table. An oblong hole, cut to fit a piece of the pipe serves as a pivot that slides the closer to the disc, and stops when the disc has been trimmed to the correct size.
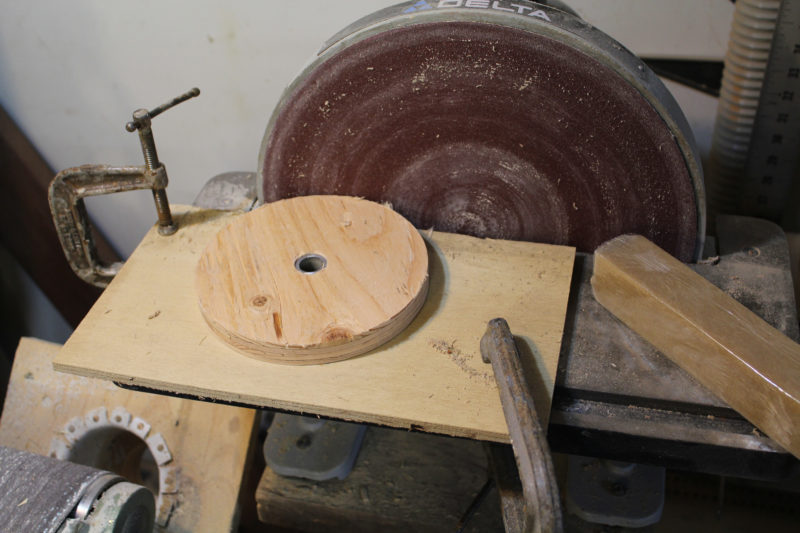
I put a short piece of the 1/2″ pipe in a plywood disc blank, pushed the pipe in into the oval below, and rotated the disc while pressing it against the sanding disc. When the pipe hit the end of the oval the plywood had a diameter to fit the inside the pipe.
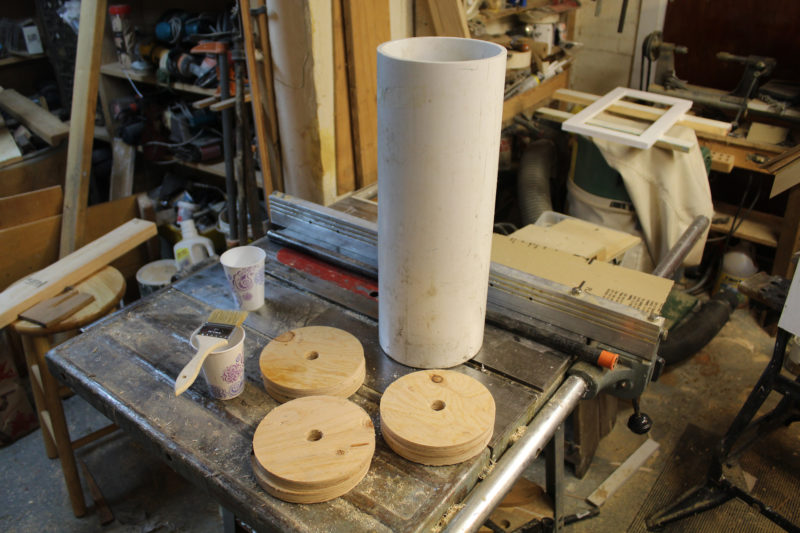
Ready for assembly: plywood discs, a cup of mixed epoxy, roller and black-pipe axle. I epoxied the discs together in pairs screwed together with stainless steel screws.
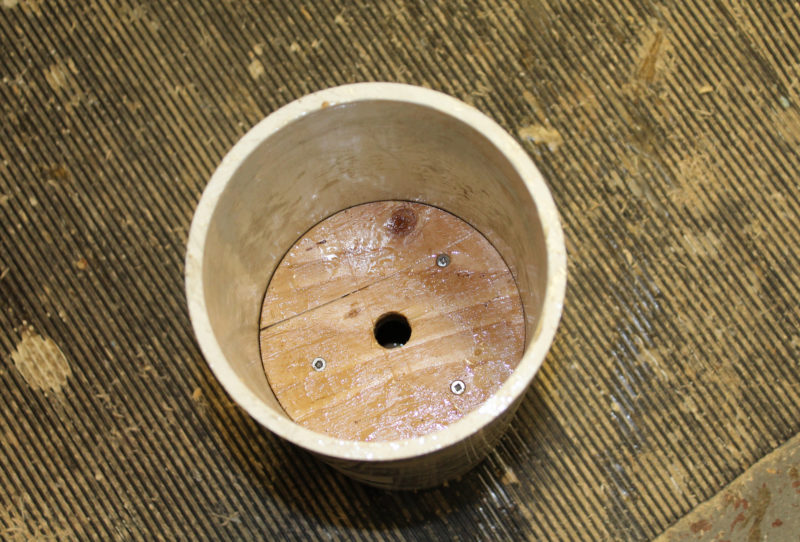
Two of the discs, joined with screws and epoxy, were tapped down to the middle of the pipe. Then one pair was tapped into each end.
The 1/2″ pipe I used for axles wasn’t truly round. There was a slight ridge where the edges of the steel strip that form the pipe were welded together. A little dressing with a file smoothed the lump and made the roller rotate more freely when assembled with the frame. The entire frame for the pipe roller was made of scraps of ipe, a dense tropical hardwood. It’s very durable but quite heavy.
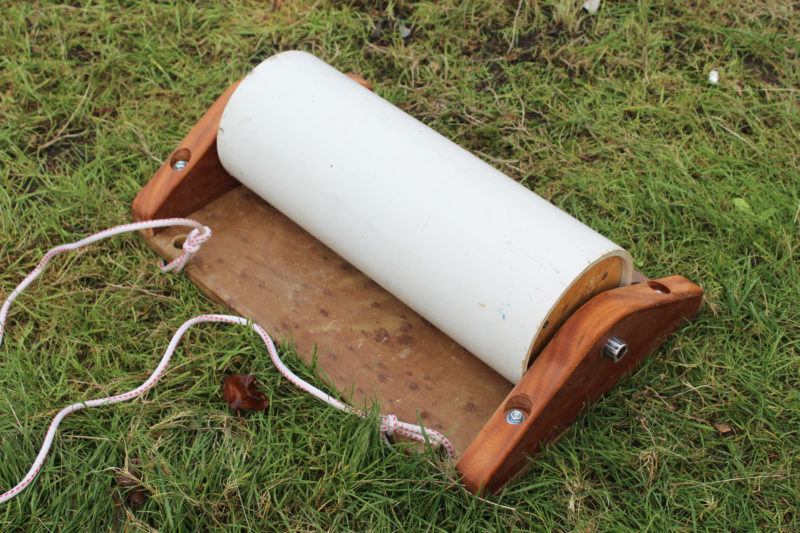
The finished plastic-pipe roller cart
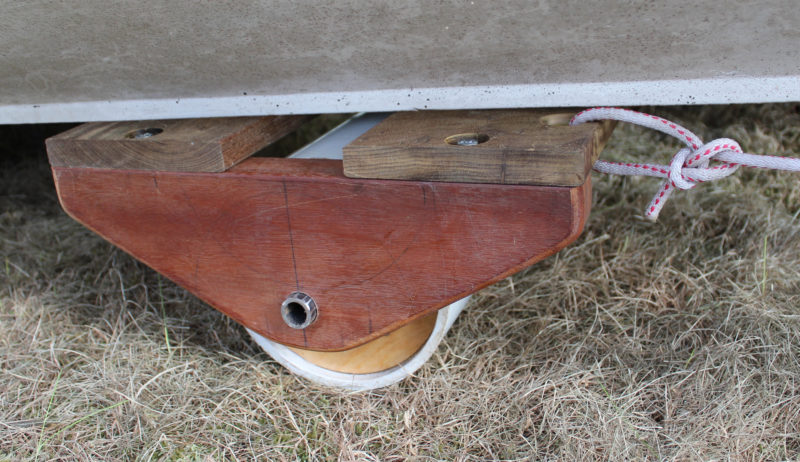
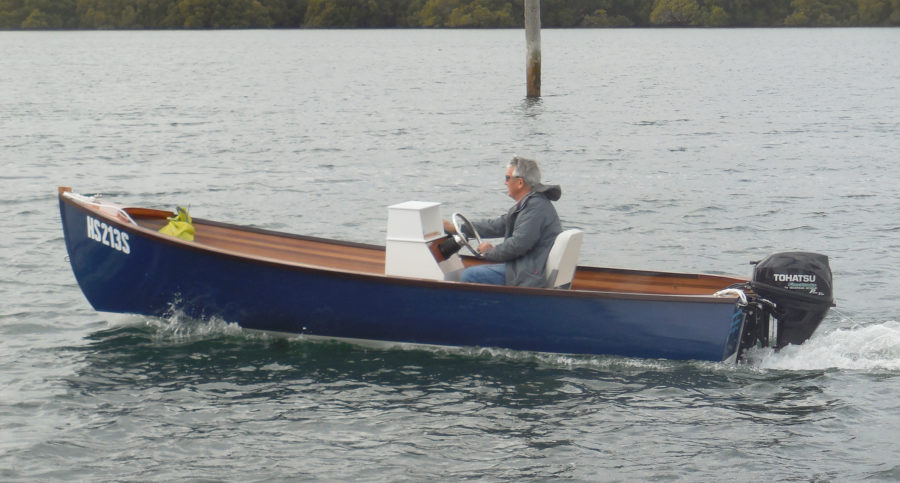
The plastic-pipe roller cart as a moving cart under a dory.
I have some inflatable rollers that also work very well for moving boats, but I’ll save them for cruising and let the roller carts do the dirty work of heavy lifting at home and for short outings at the local ramps.![]()


What a great idea! Now I know what my winter workshop activity will be. Who needs a stinking lathe, right? Doesn’t mean I still won’t get one though. Thanks for the inspiration!
Very interesting table saw technique for rounding the blank. Looks like it works well for this short piece. I usually 8-side , then round by hand with a plane. Good to know this, though.
Ditto on the table-saw technique. Very neat and I may try it. I’ve been using the following method myself for years for oars etc:
http://www.simplicityboats.com/rednecklathe2.jpg
My lathe set-up uses twin sets of old inline roller blade wheels. Imagine a set of inline skates without the boots, wheels up, spread apart about 2′ to 3′ shorter than the piece to be rounded (already 16 sided with a hand plane), and supporting the piece from below. It works best if you work closer to the support wheels where you can apply more pressure. 36 grit, then 60 or 80, then 120. I’m able to work through two or three of those grits, and if I recall right, get four 6′ to 8′ oar shafts to a nice smooth finish in about 45 minutes or thereabouts. Everything ends up covered in dust though, and round to the eye but often not round to the touch.
Table saw might be faster, more consistently round and maybe cleaner ie less fine dust everywhere in my garage… but would need to figure out a jig…. a V trough parallel to the blade but offset a half diameter would likely be the place to start…